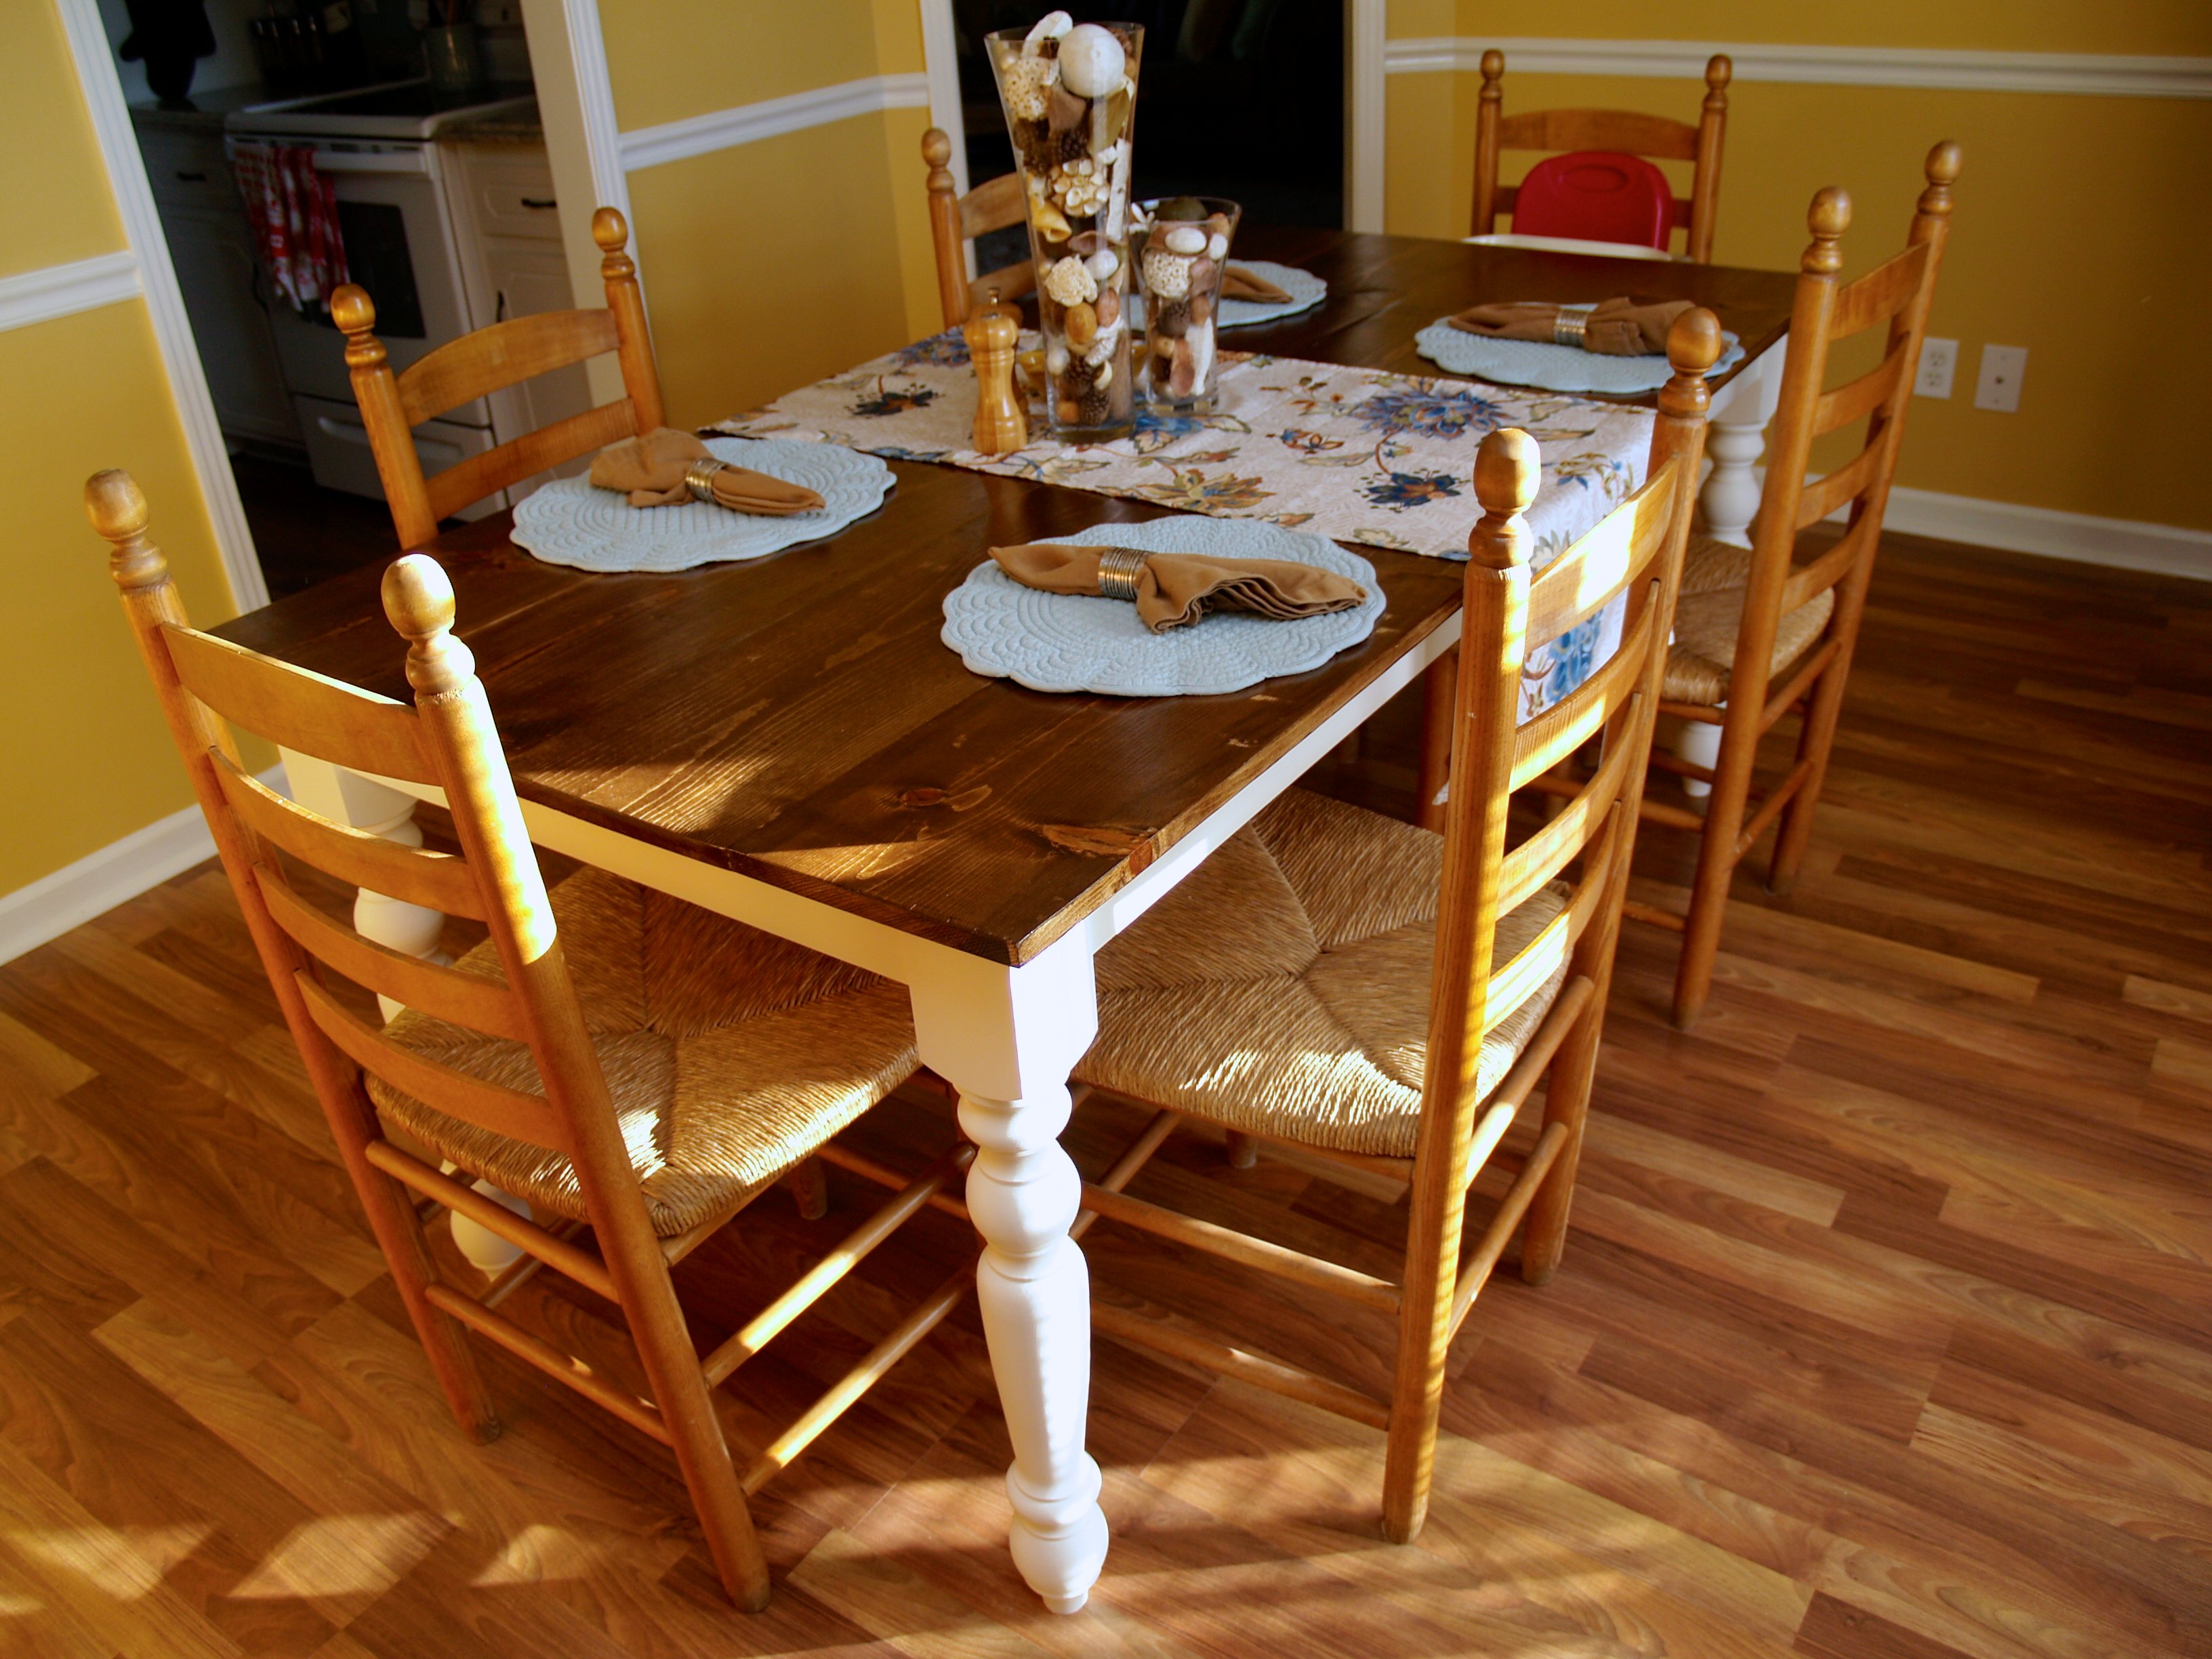
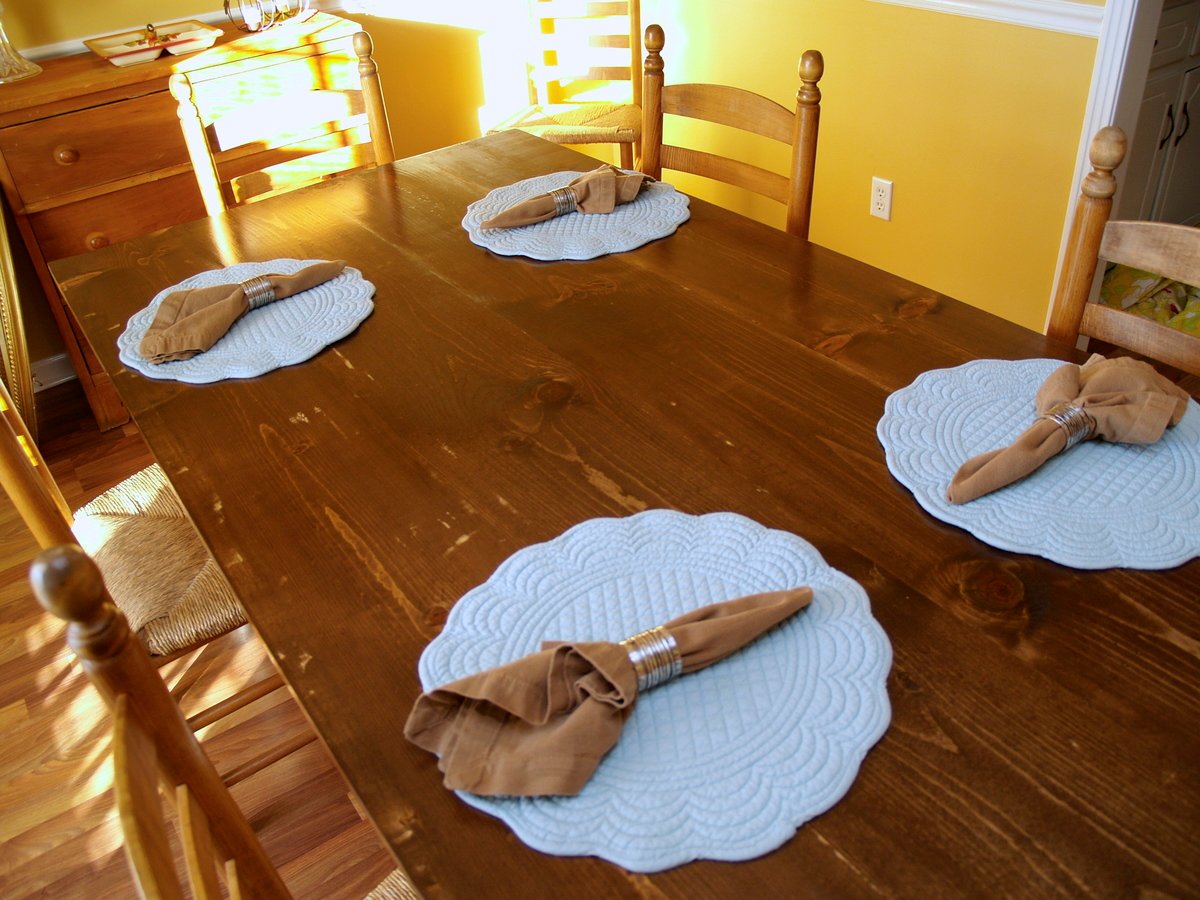
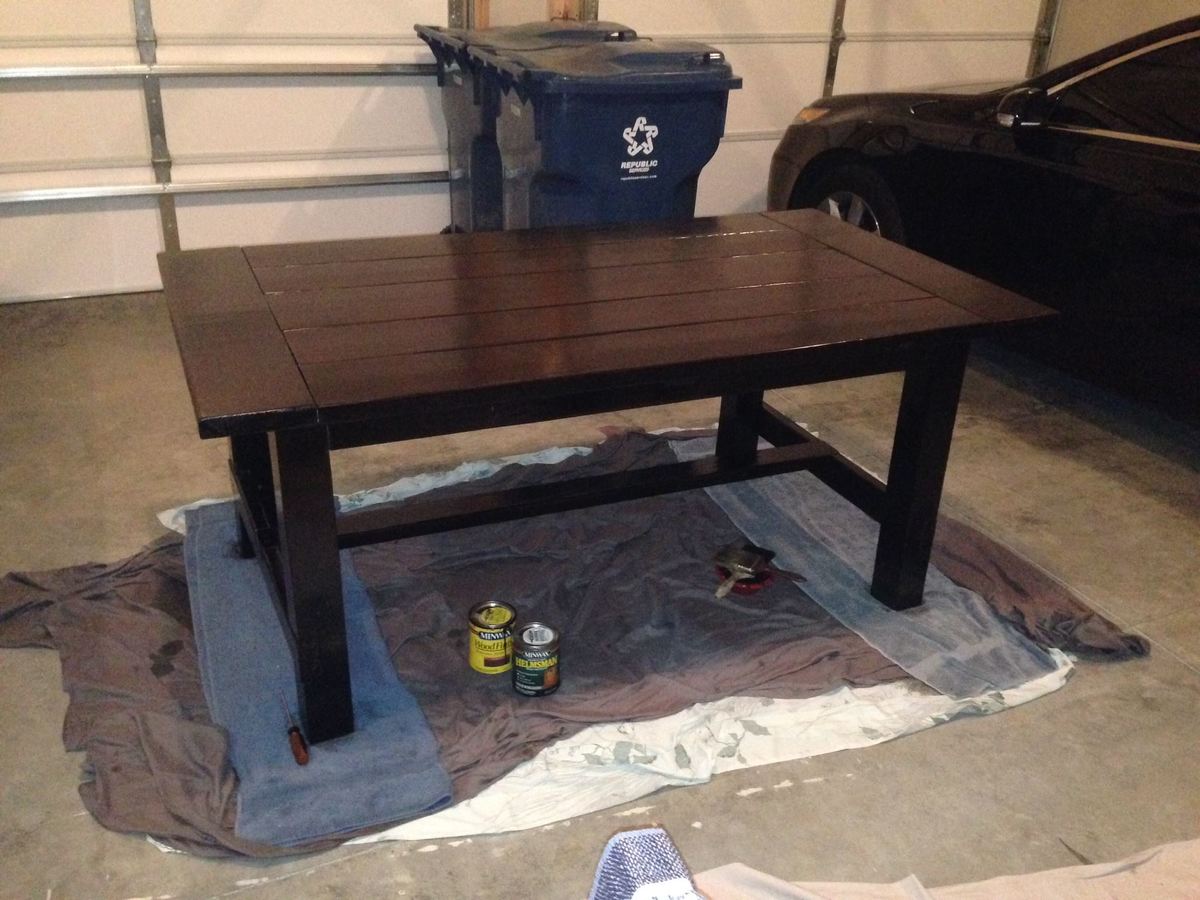
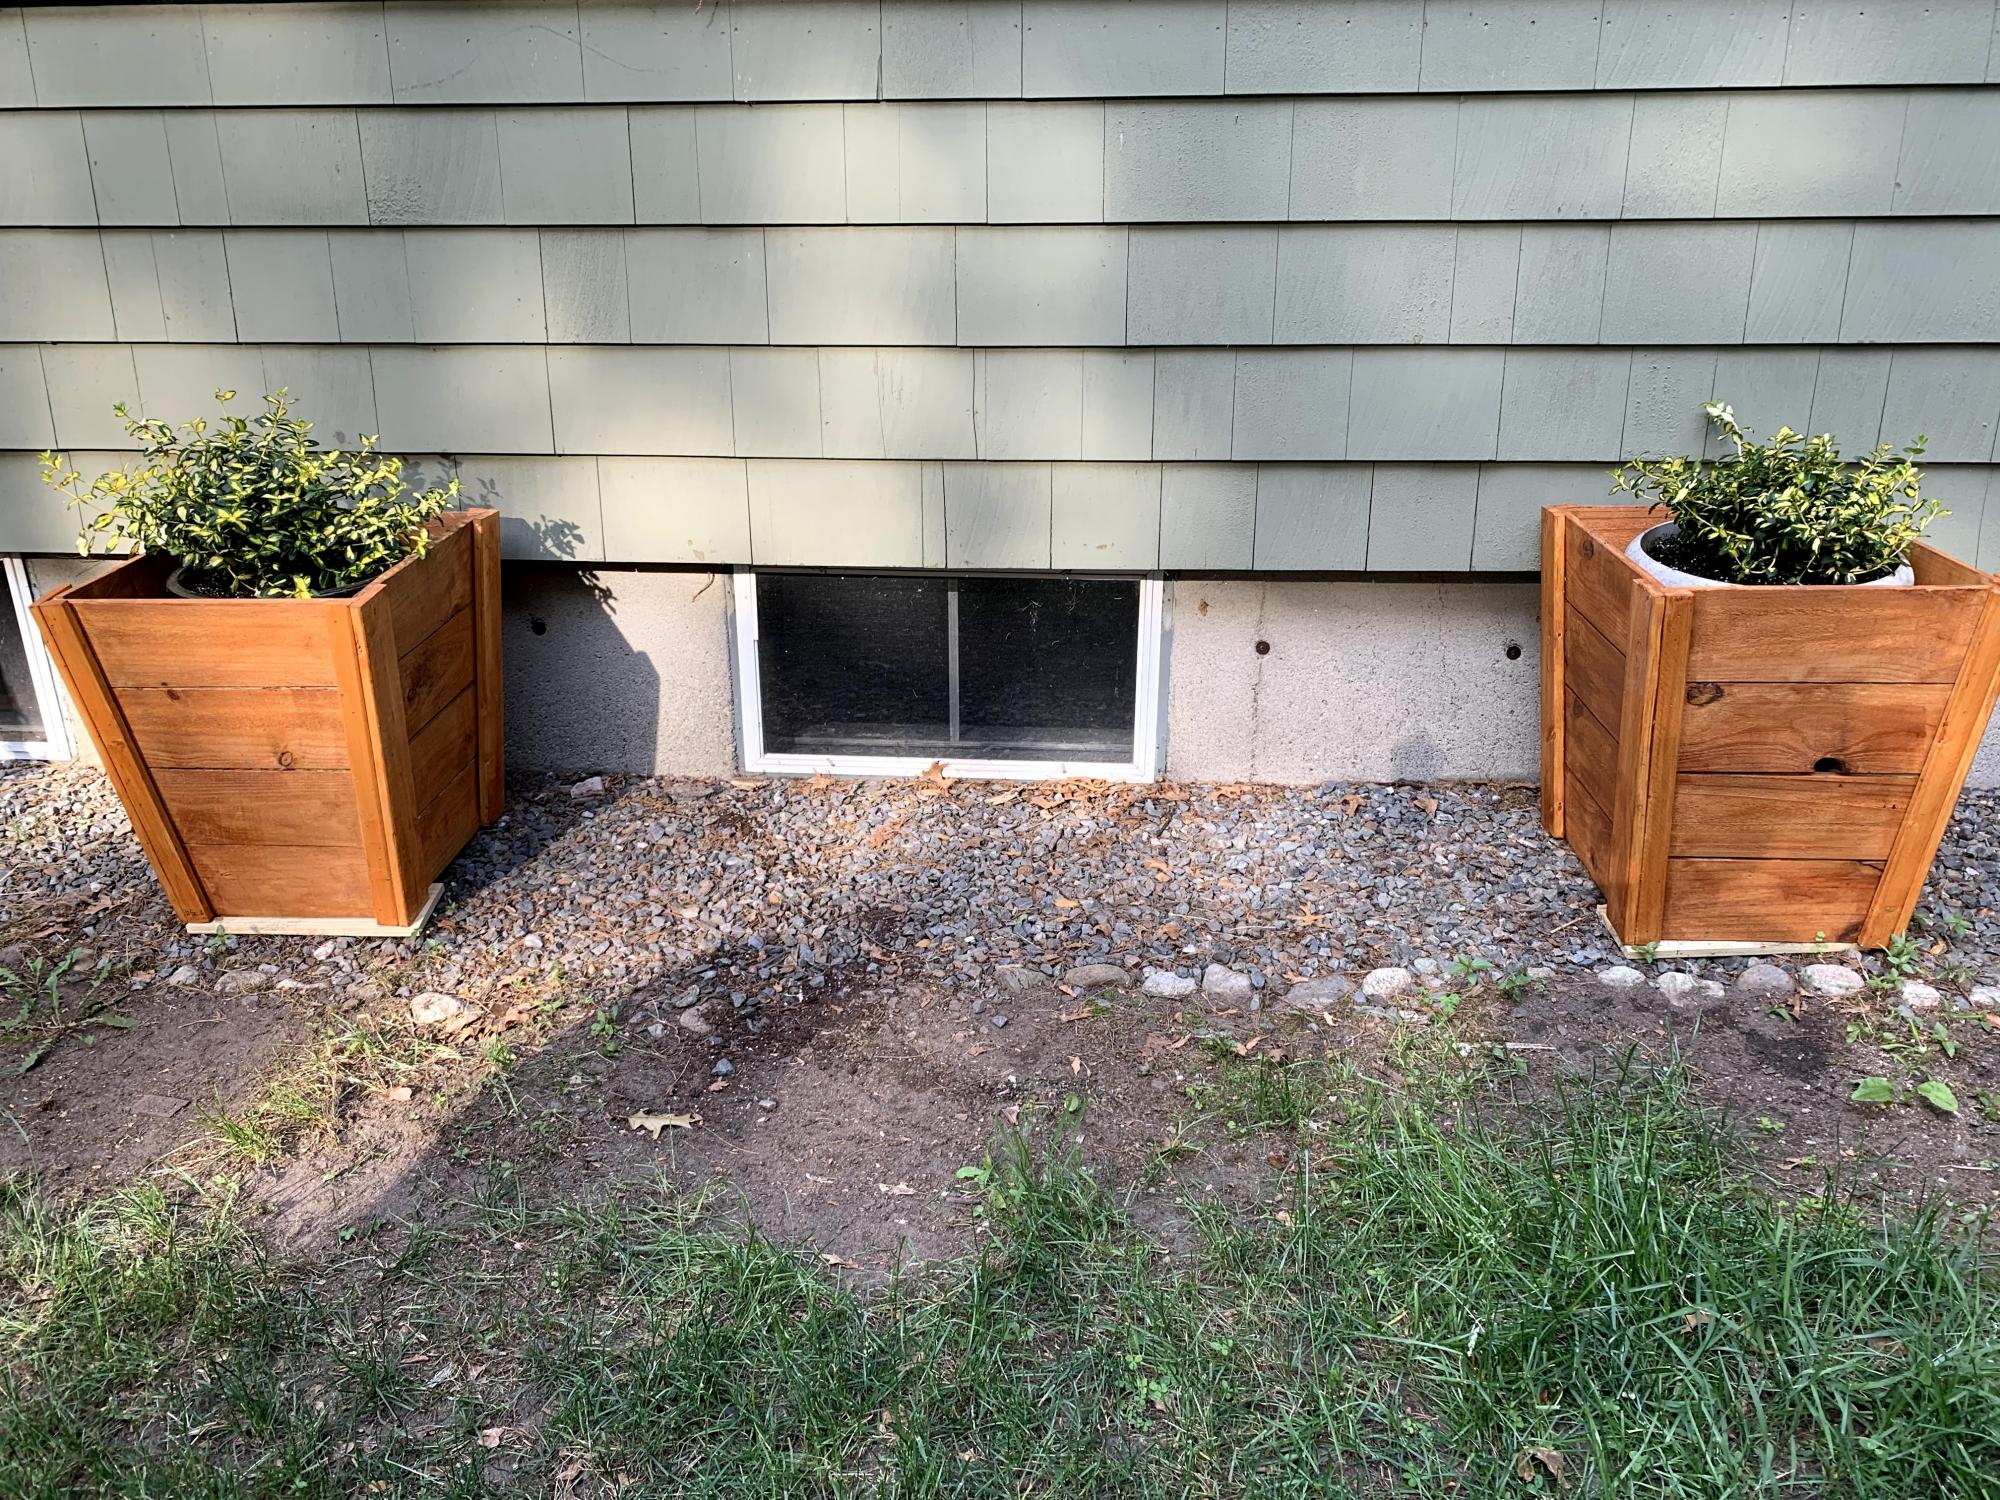
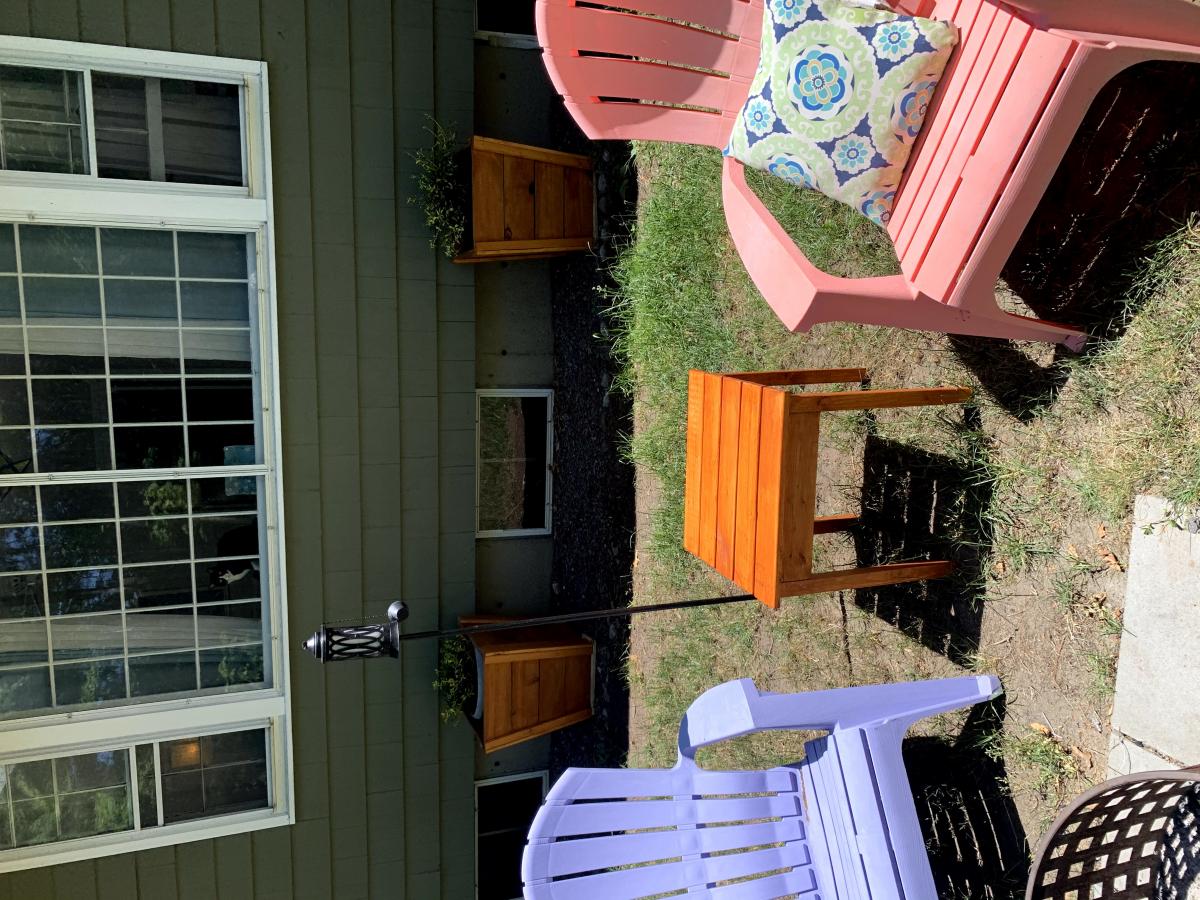
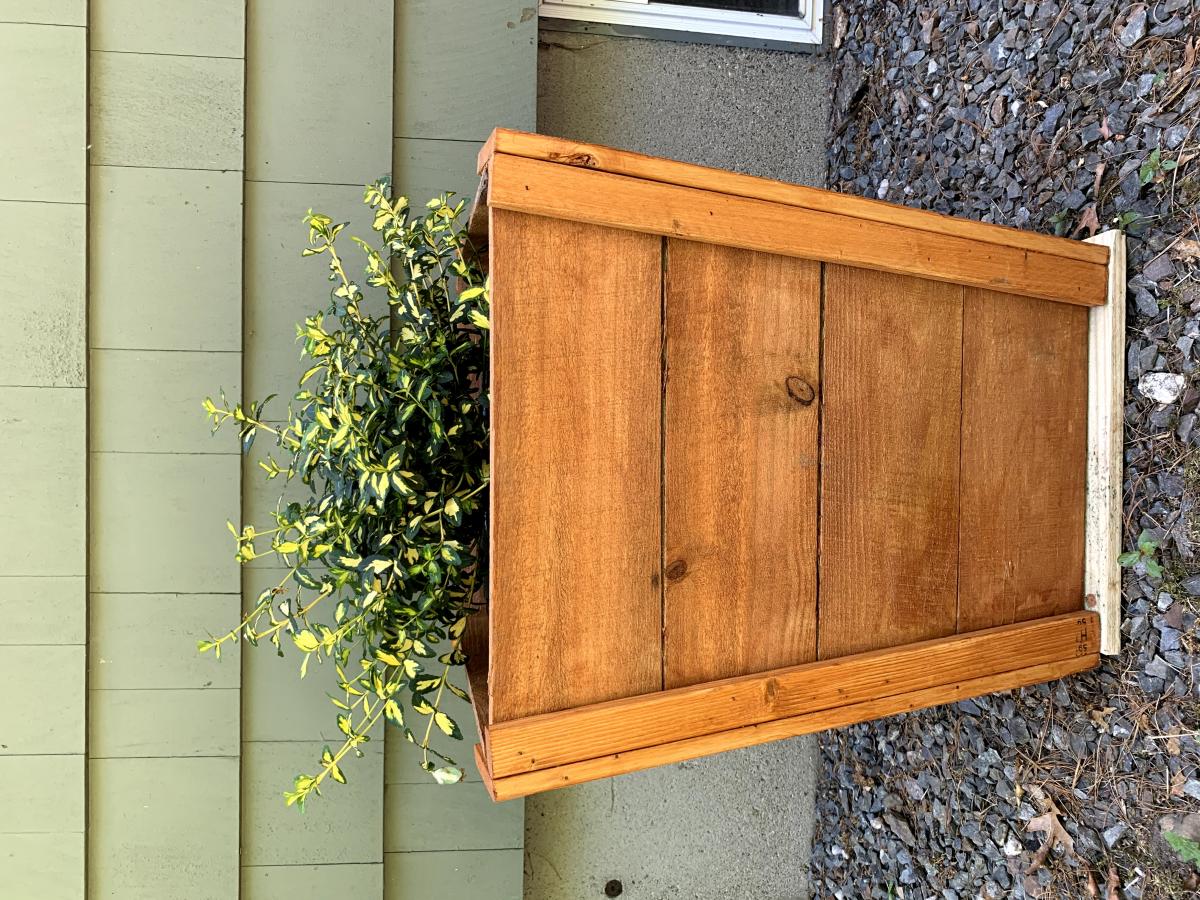
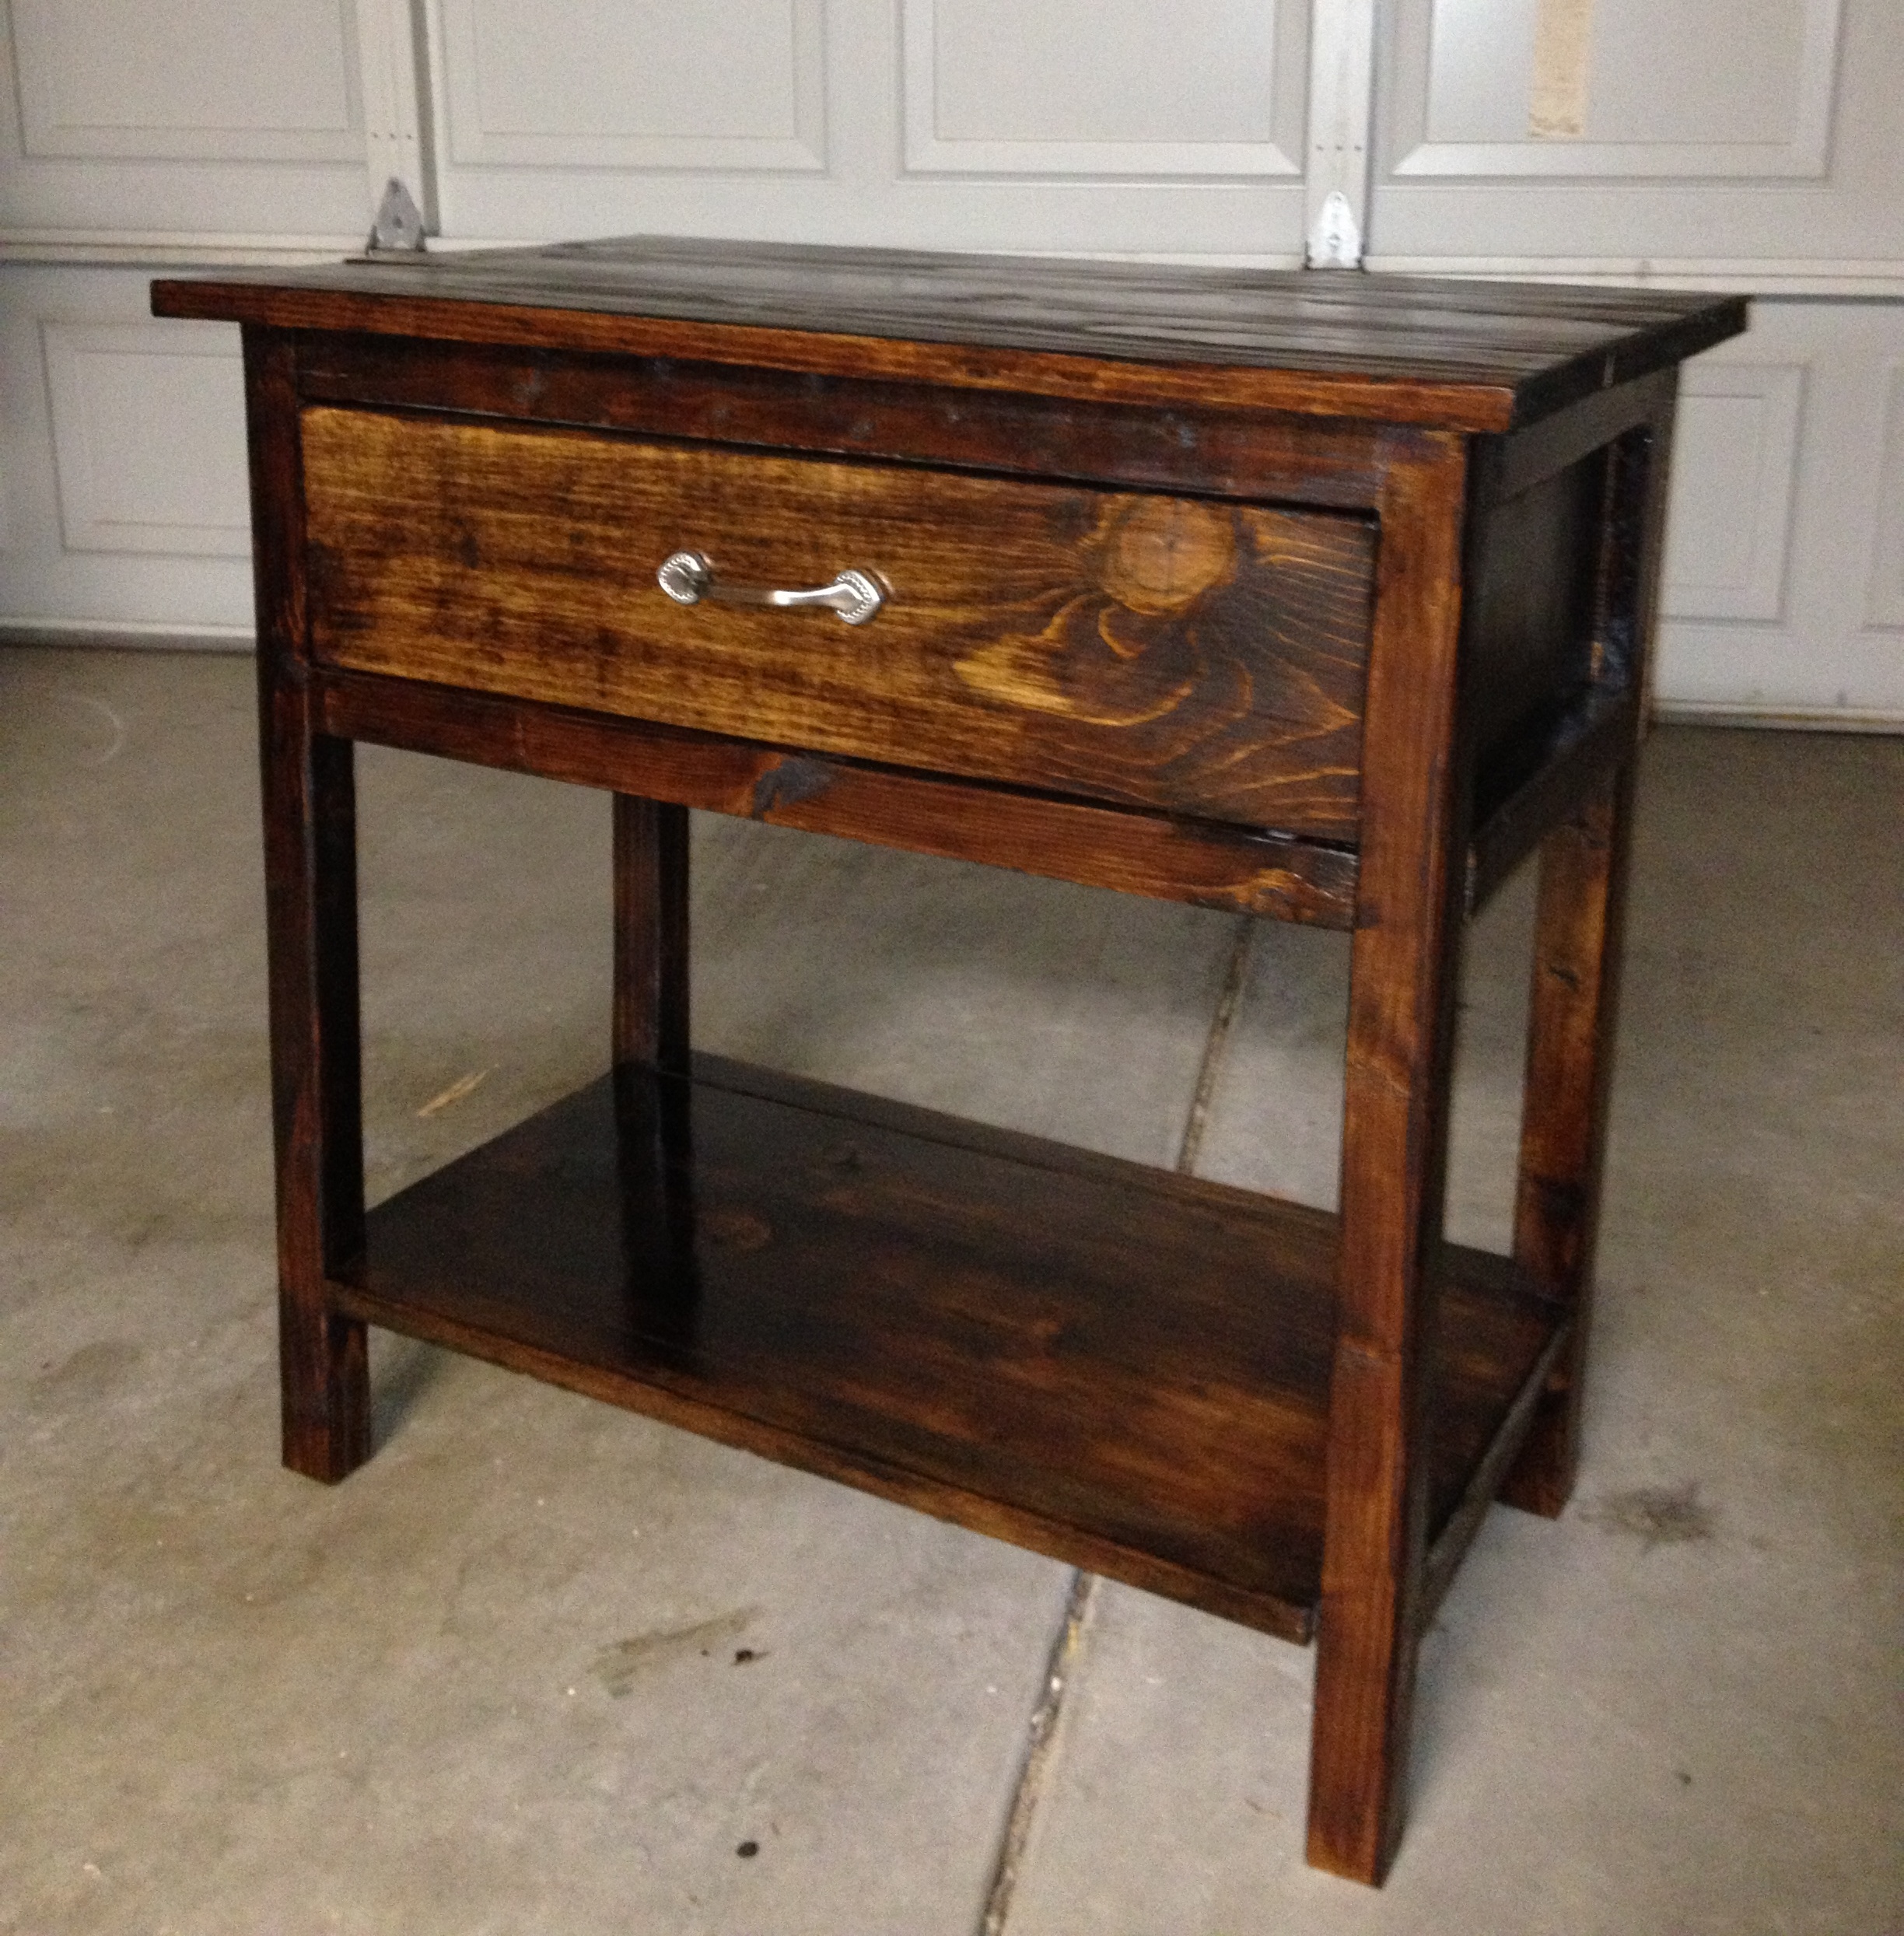
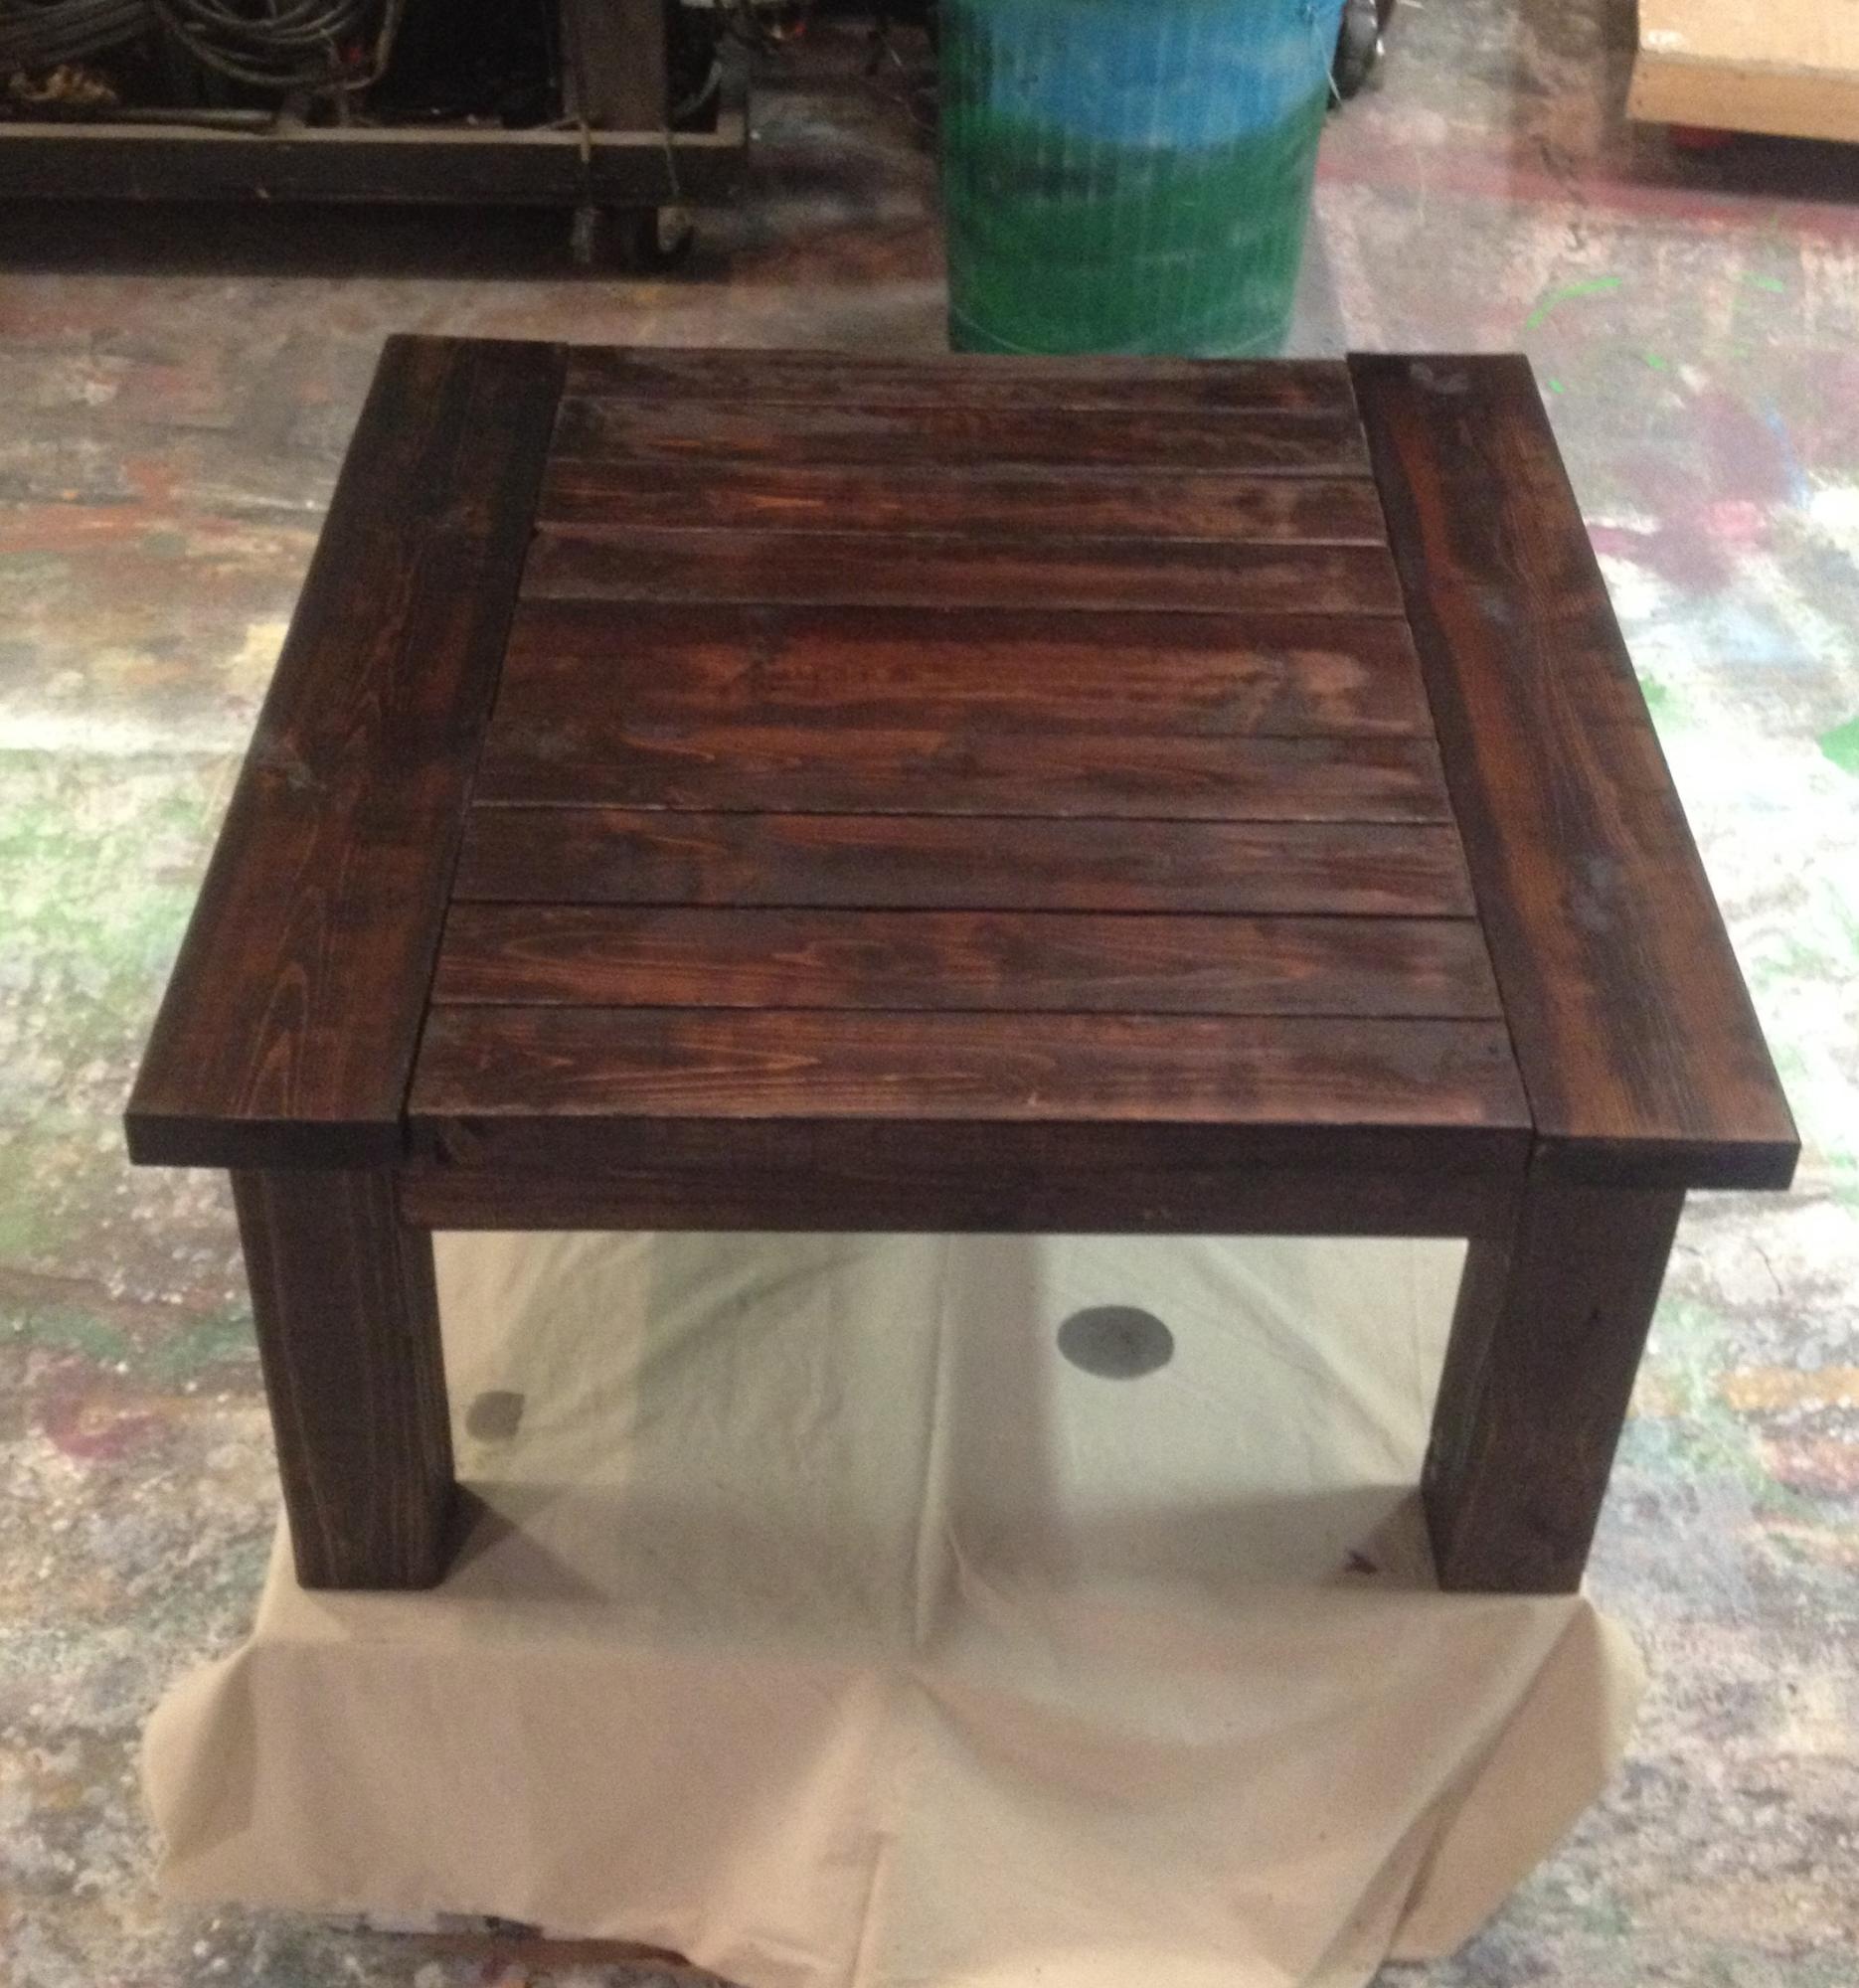
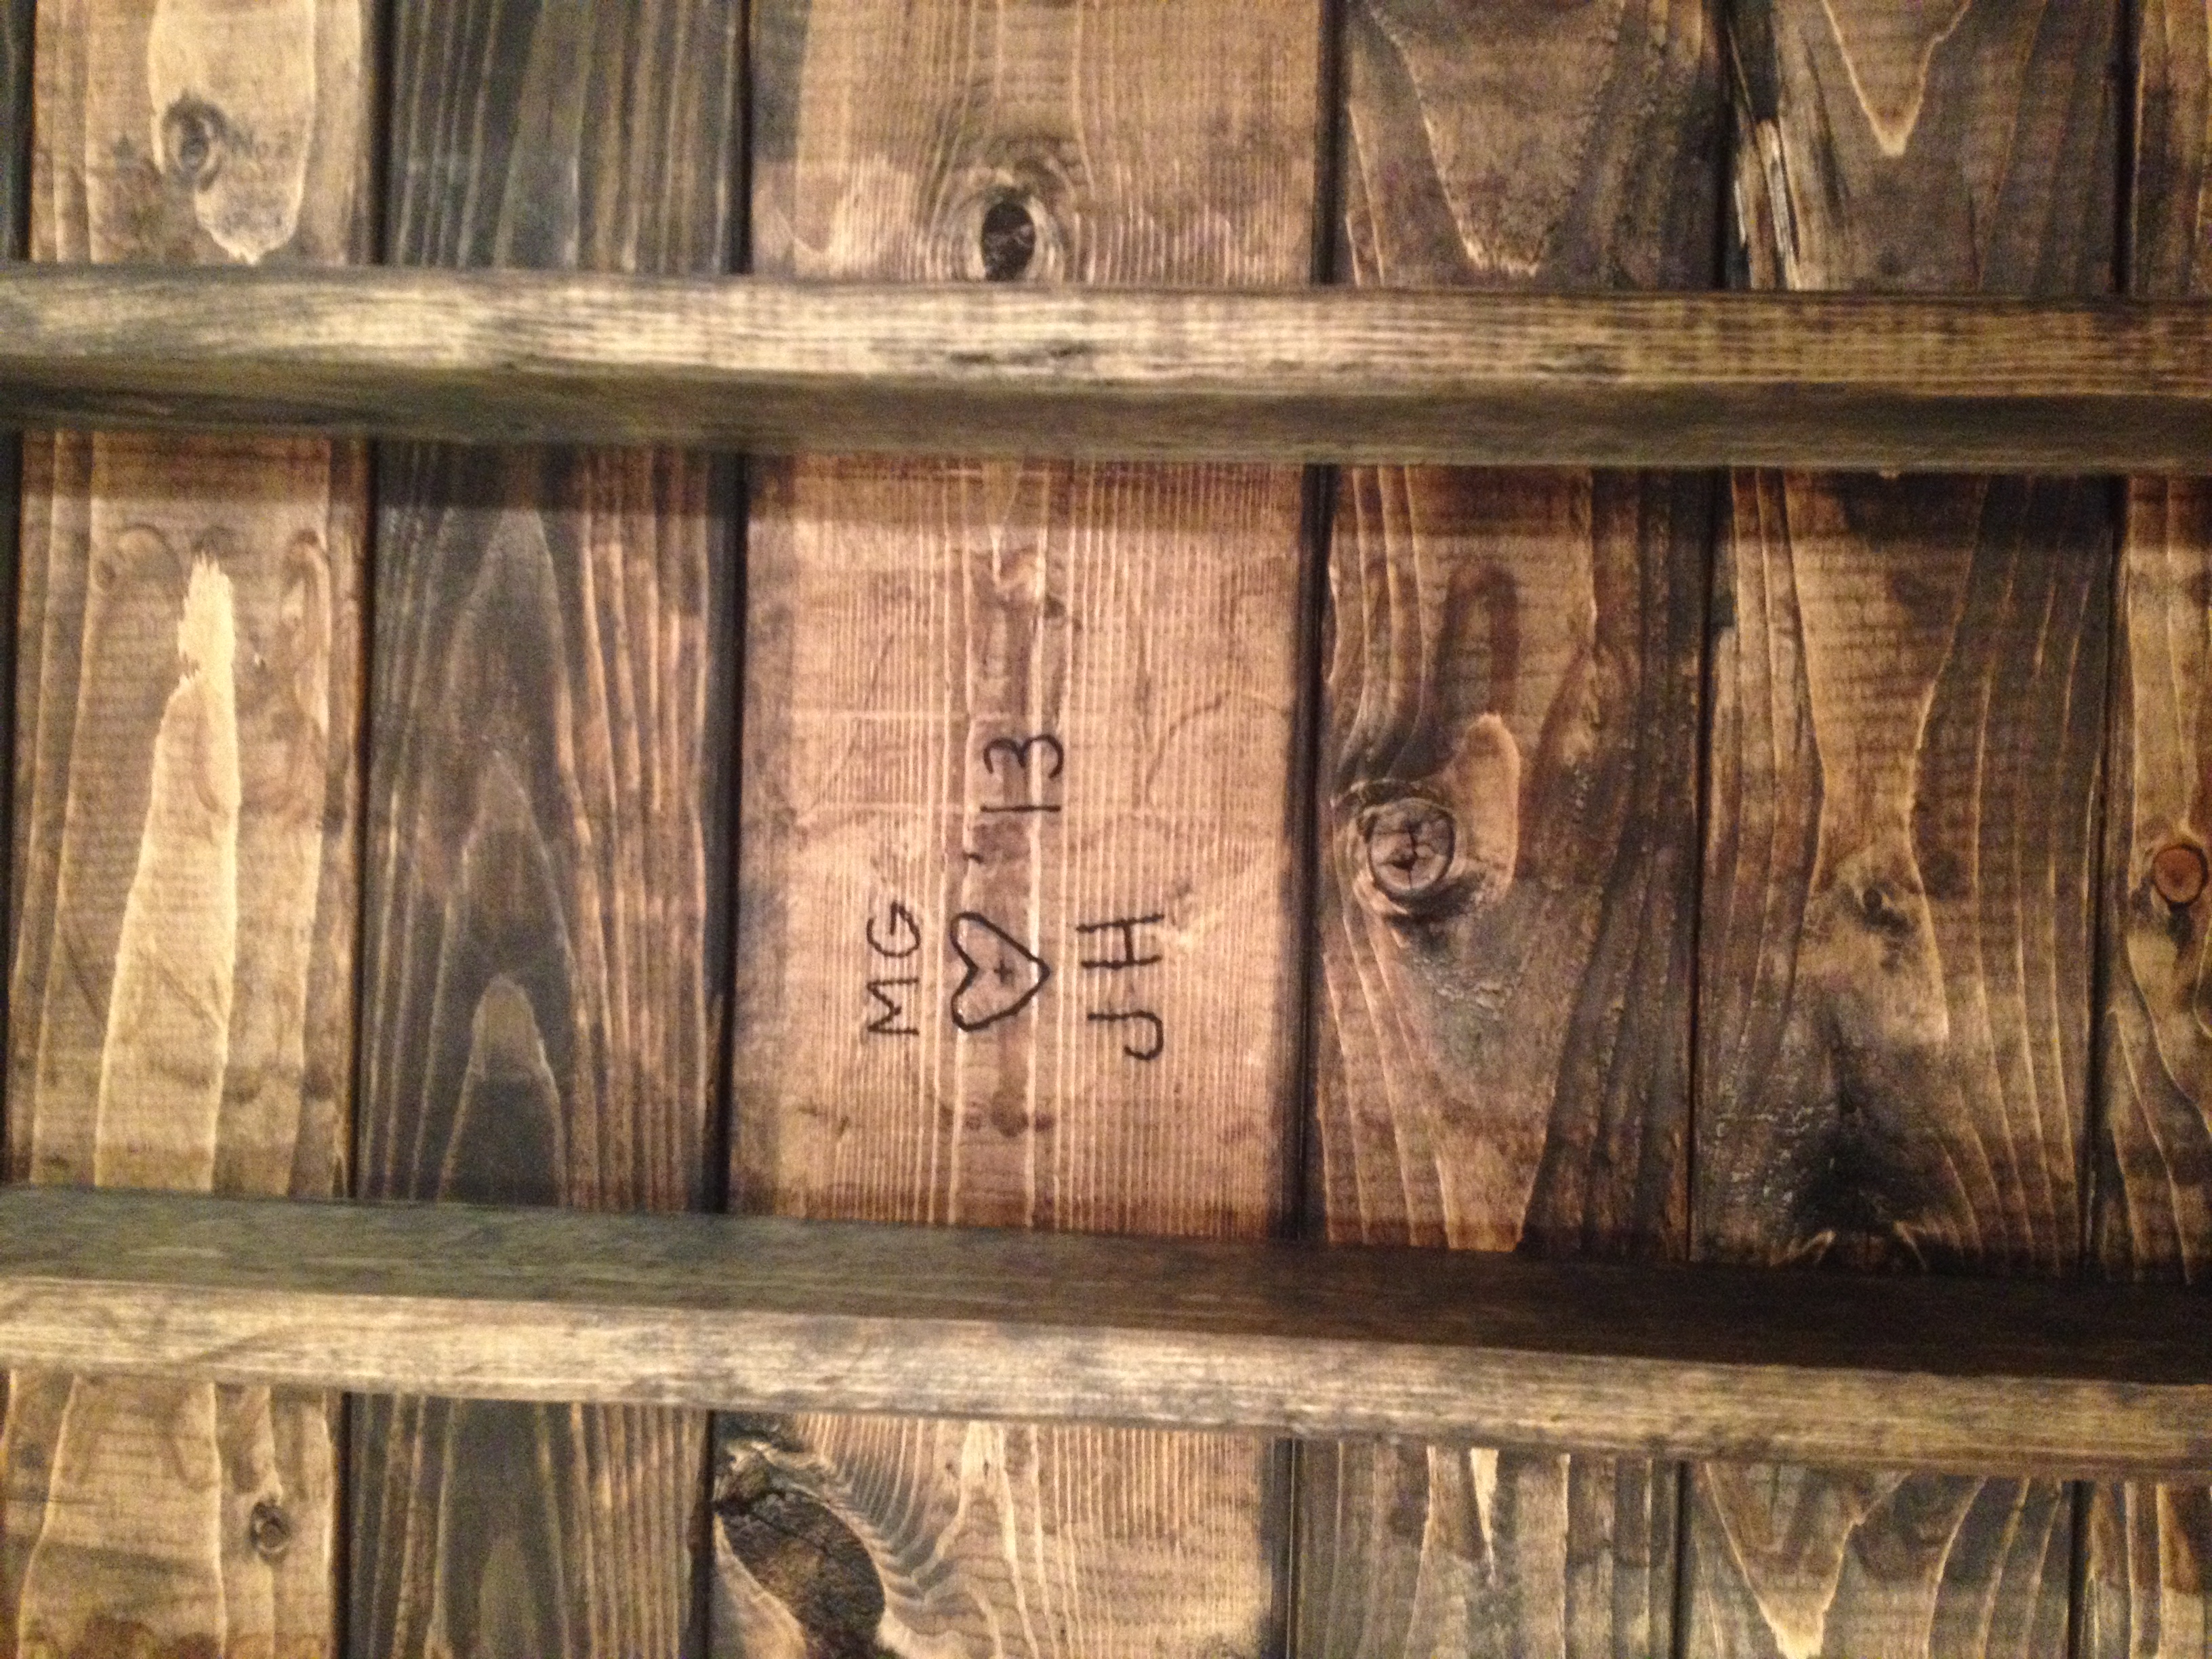
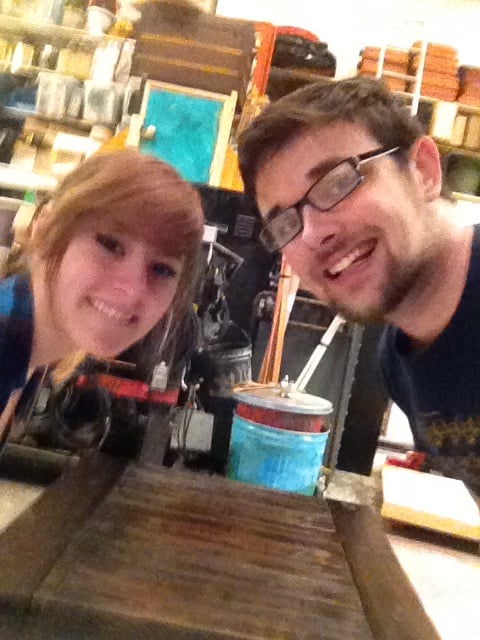
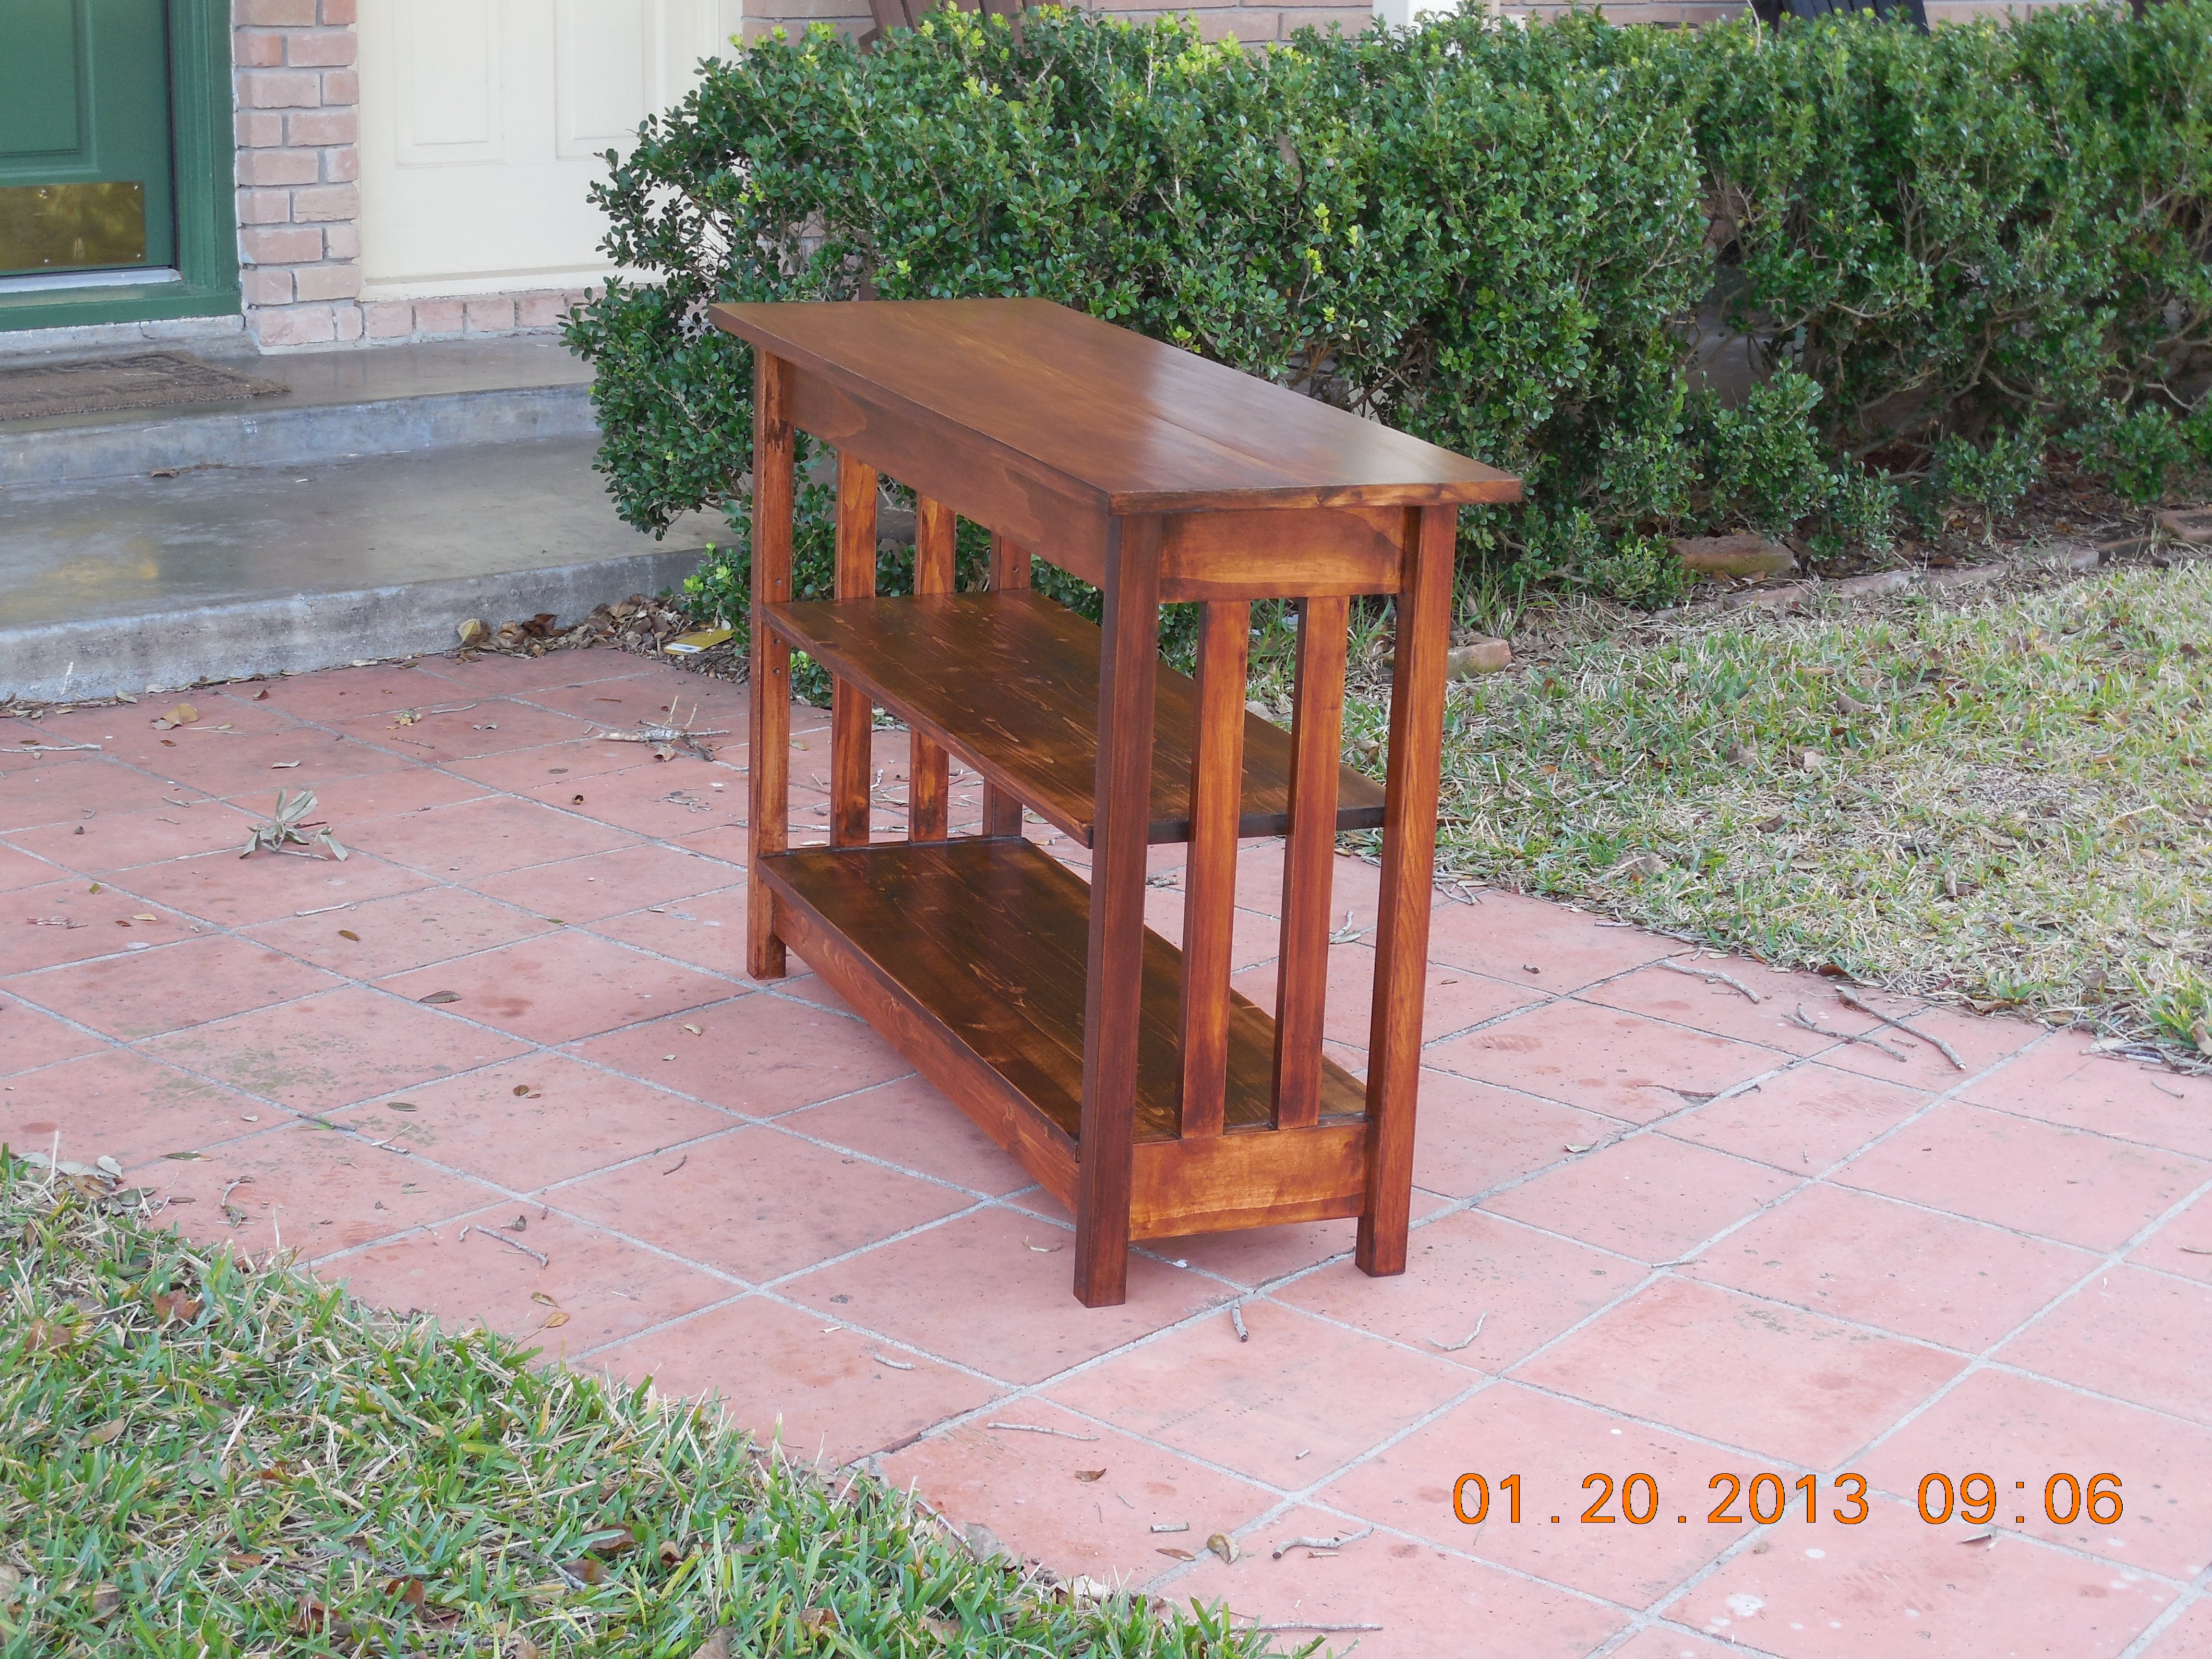
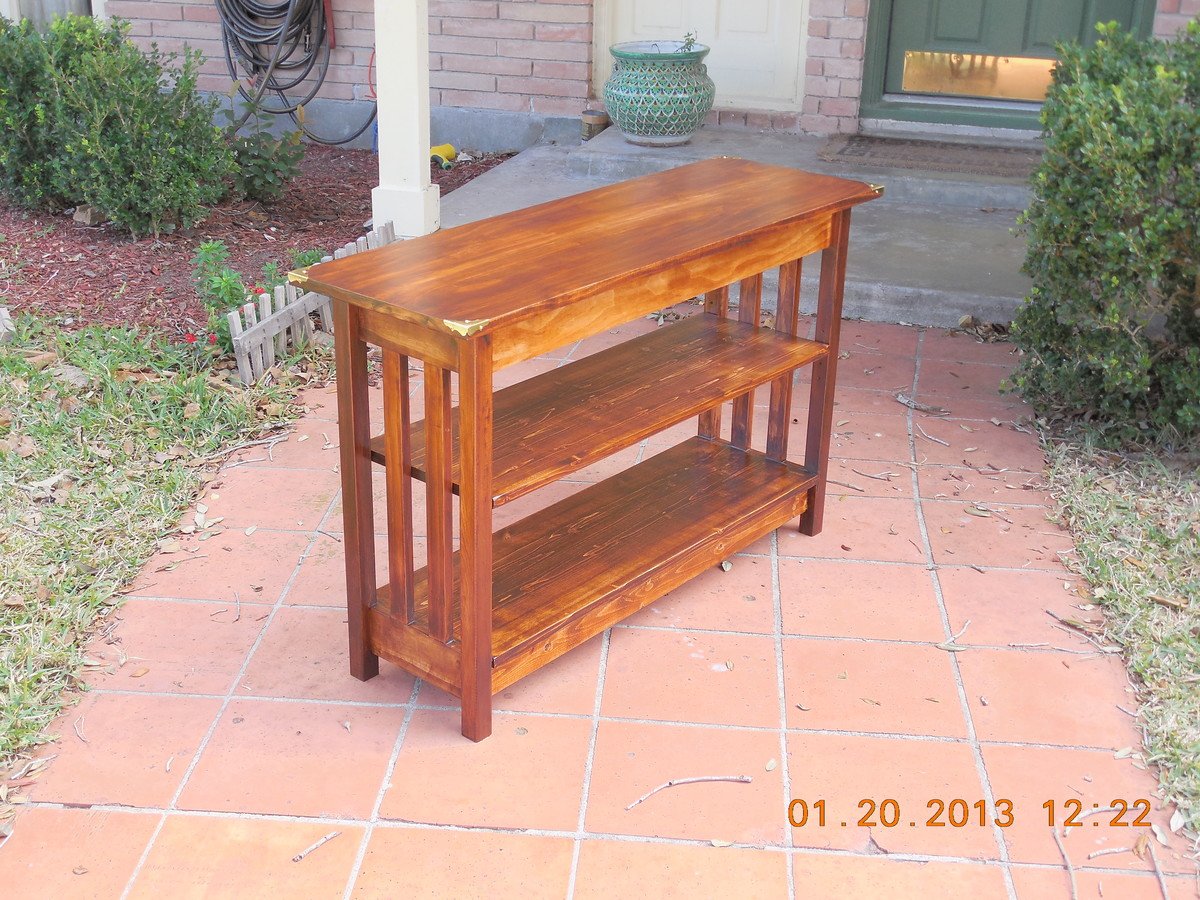
This was my first DIY furniture project!
The materials cost less than $50! Of course, I did buy some fun new
power tools!
Thanks to http://ana-white.com for the great plans!
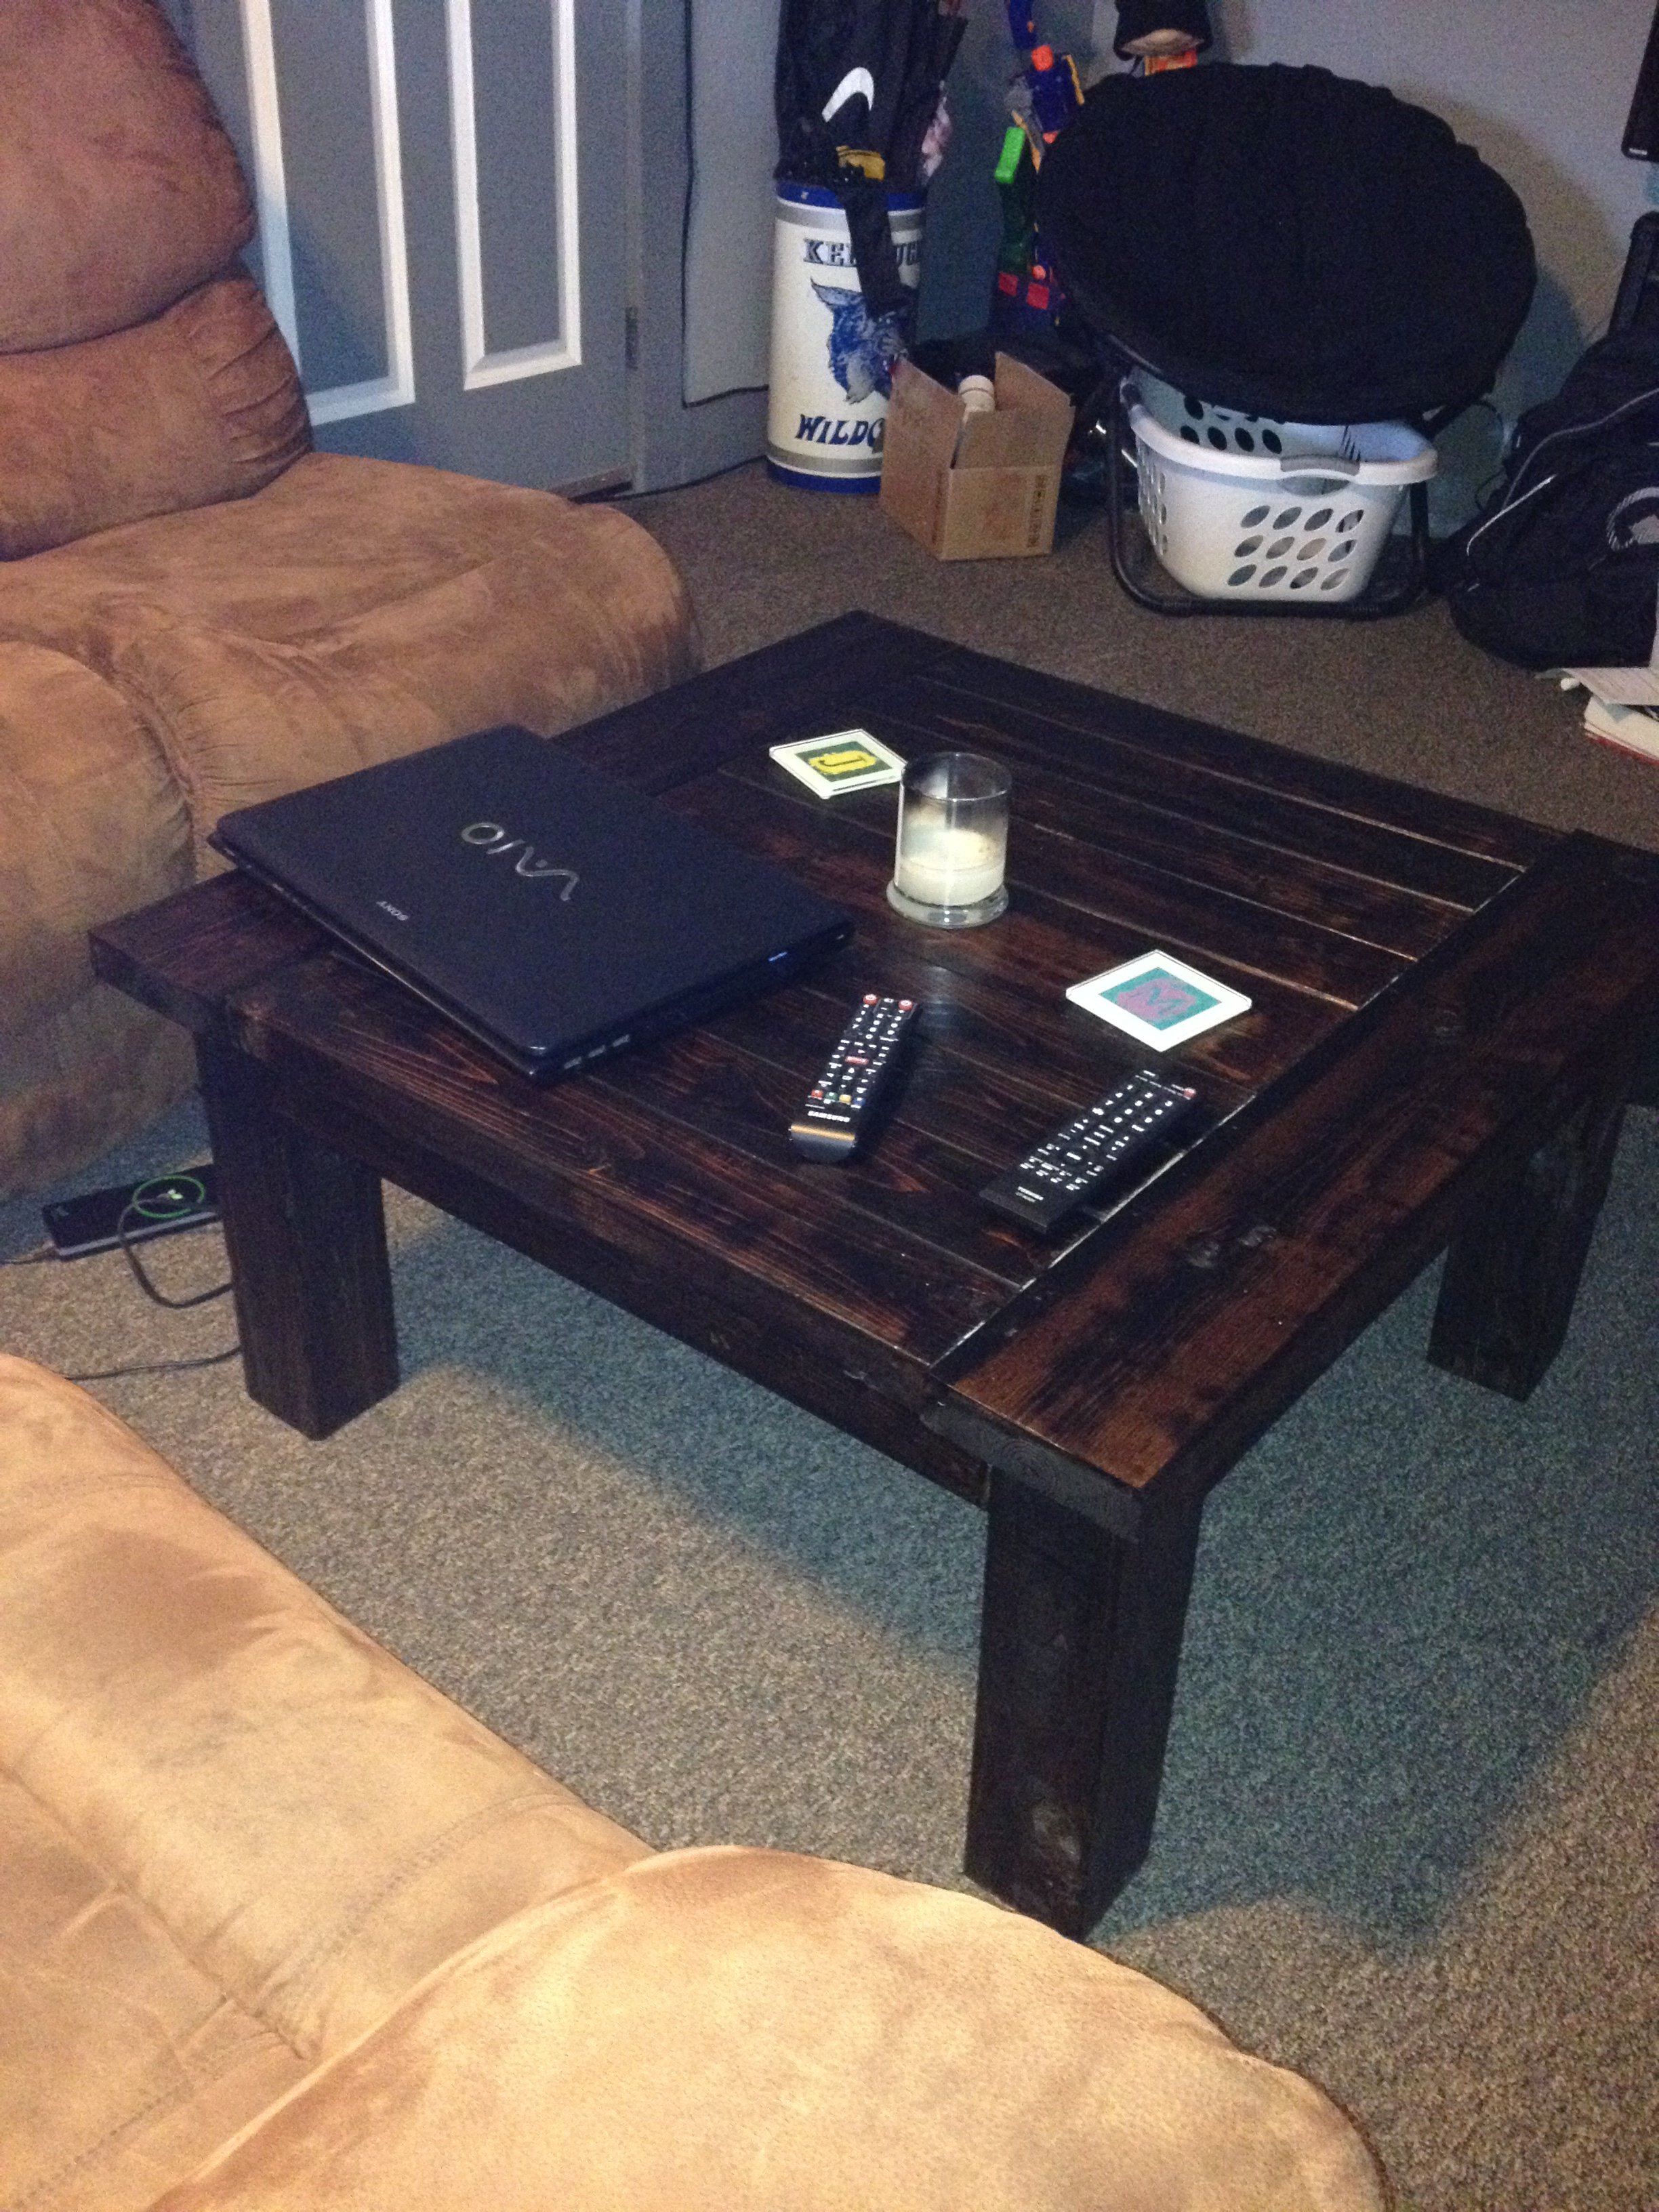
I learned quite a lot from this. The nightstand will go in our guest room but the next project will be Master-Bedroom-Worthy! I’ll try to share what I learned with you here so you can avoid my mistakes.
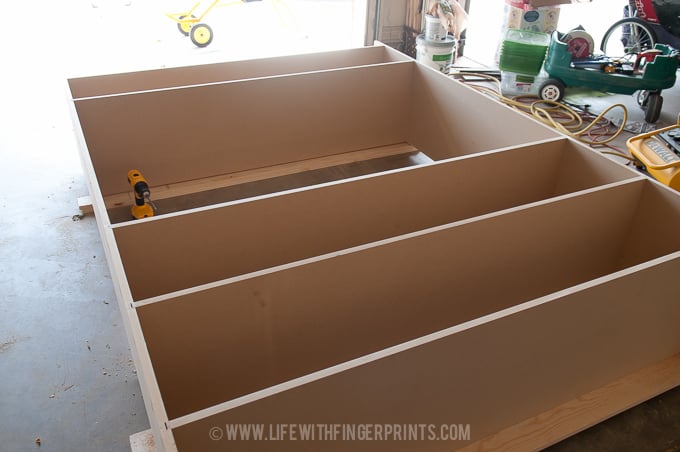
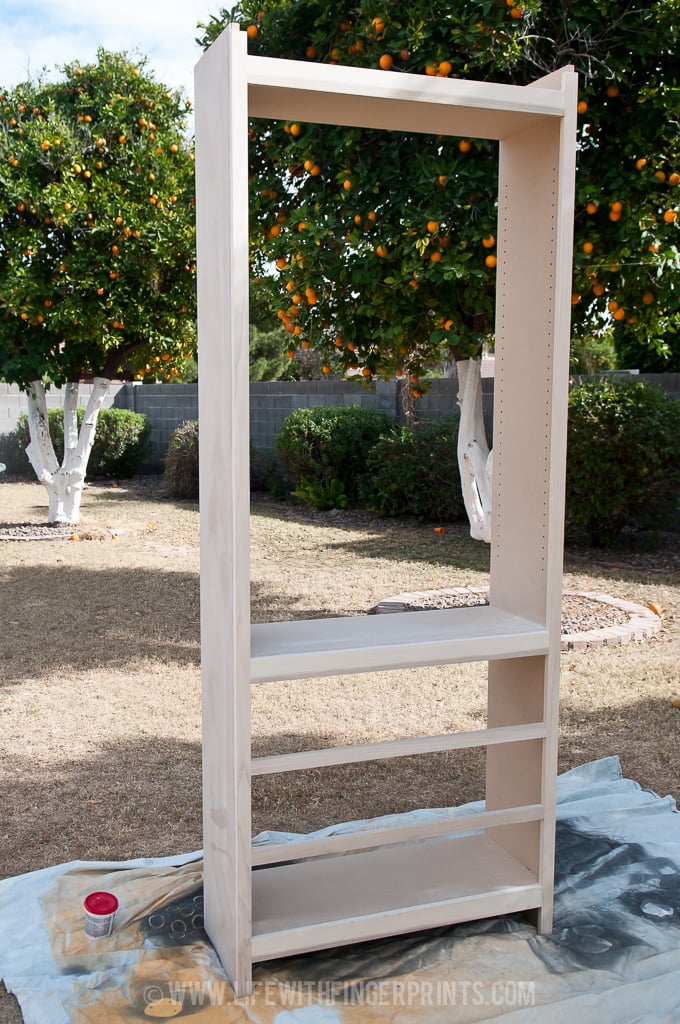
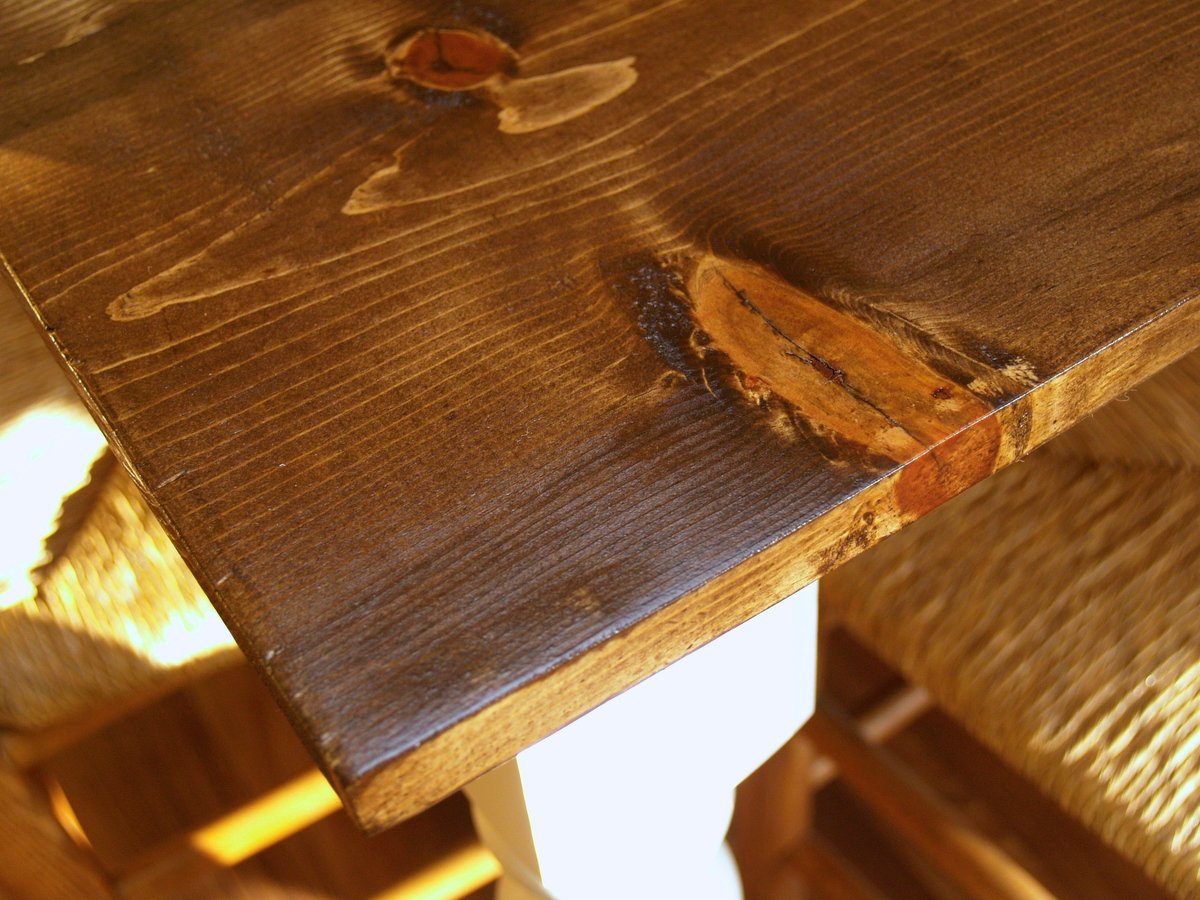
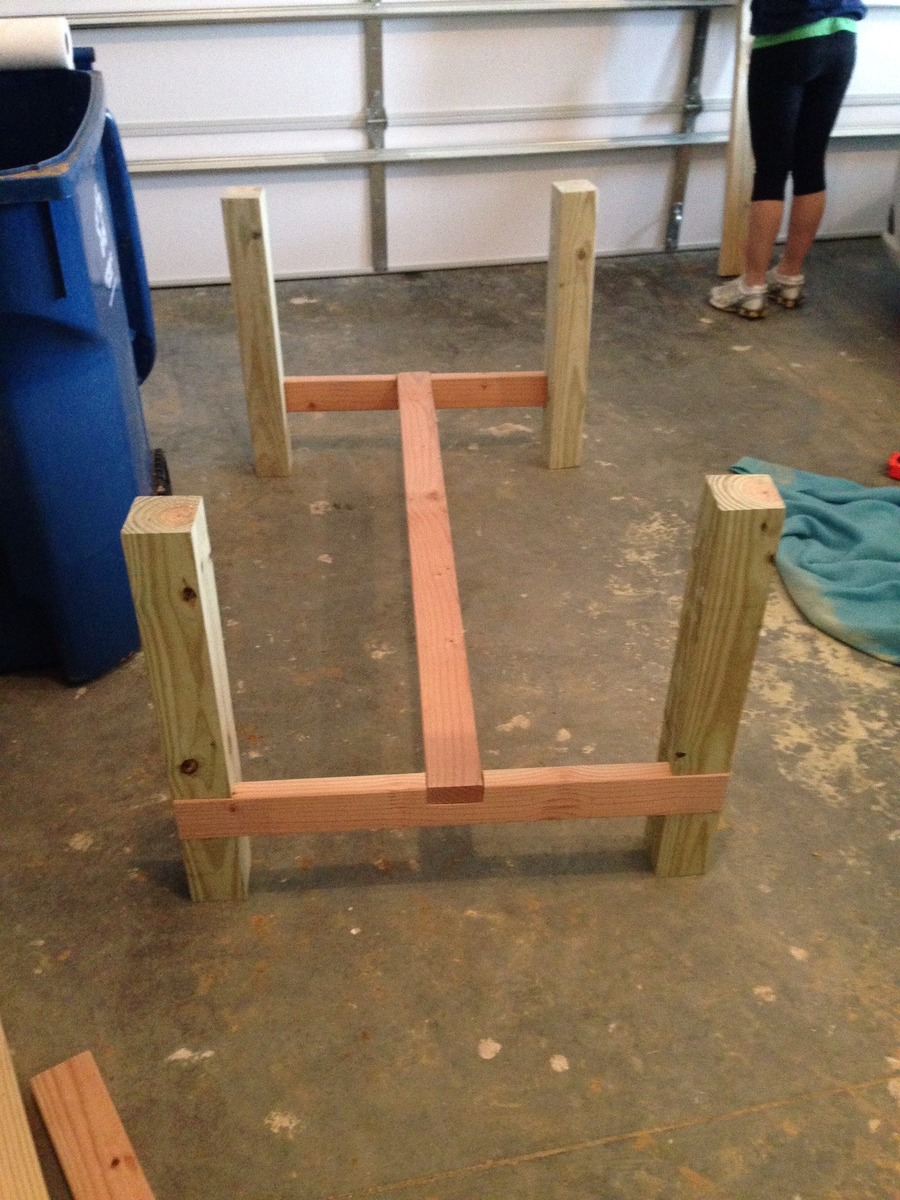
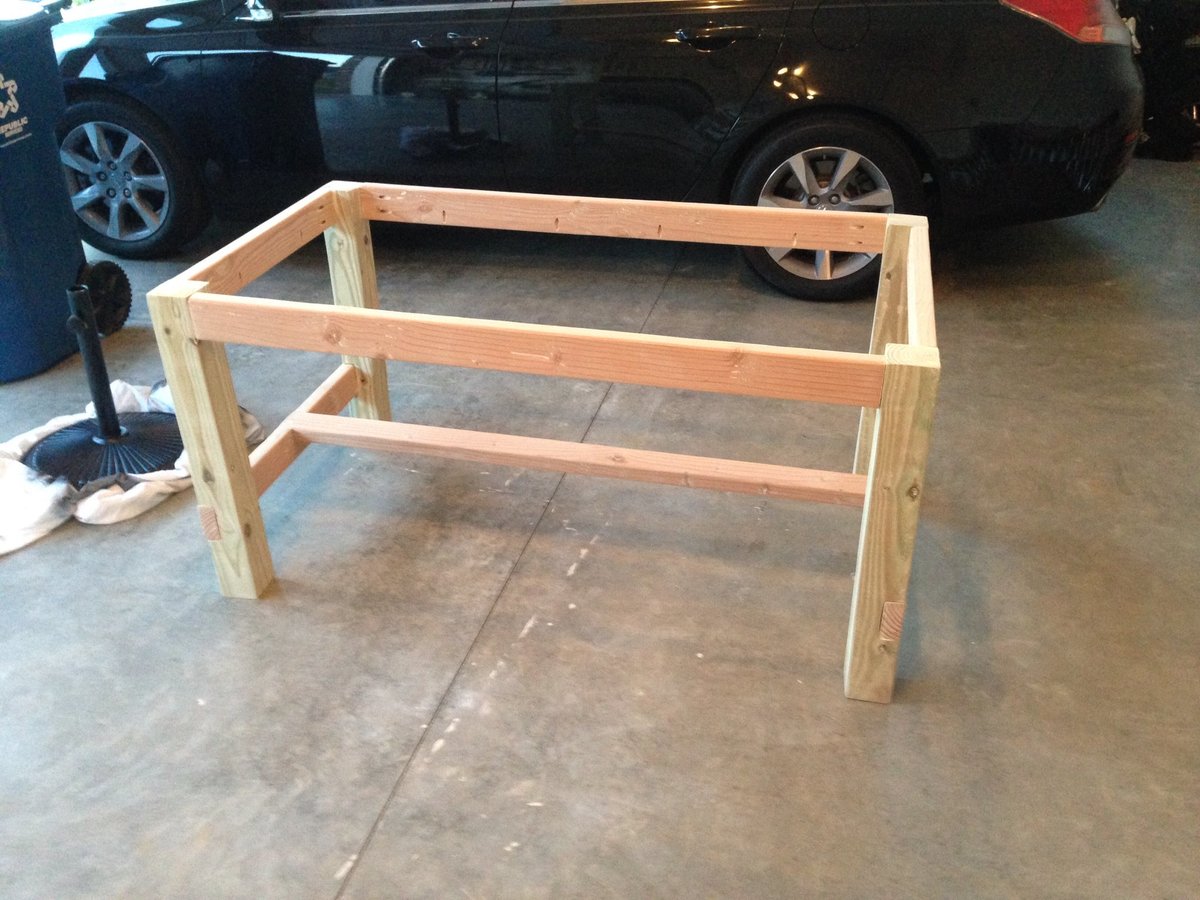
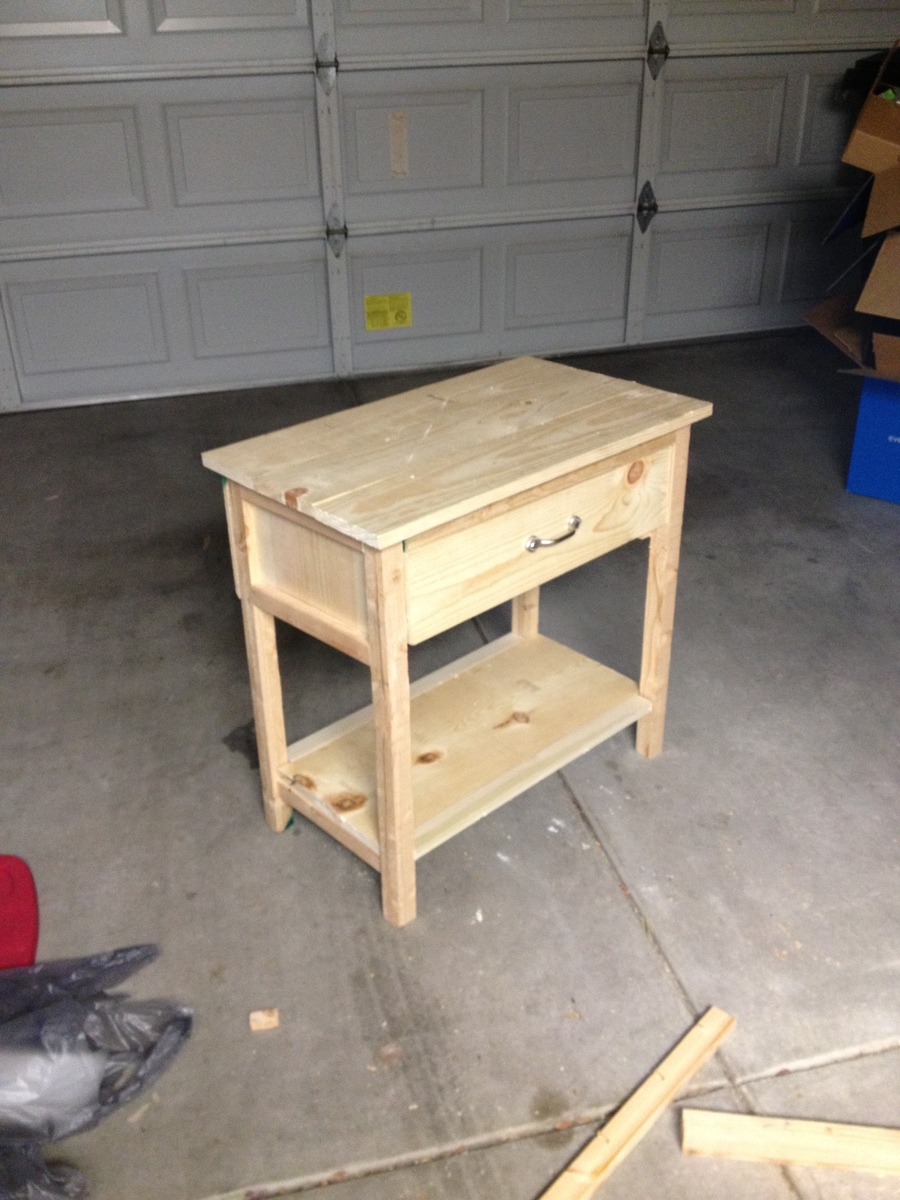
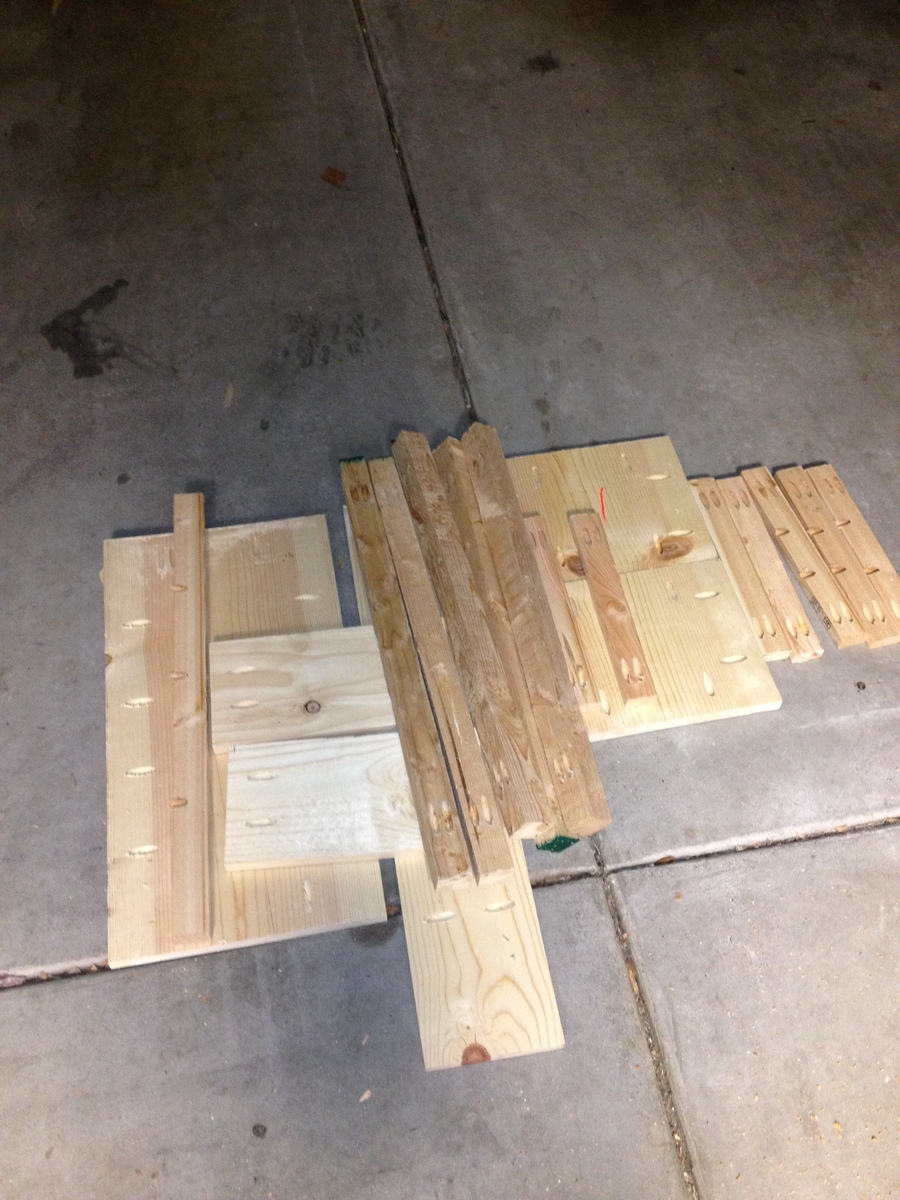
I cut all my pieces first. I used super cheap wood because I wasn’t sure how good I’d be at this. Needless to say, they weren’t all exactly straight so my “squaring up” didn’t work out quite as well as I’d hoped.
Lesson: buy straight boards
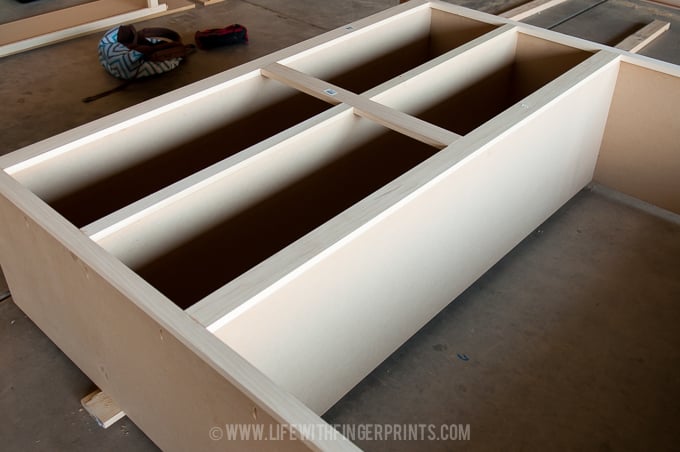
Then I went crazy with the Kreg jig and drilled all my pocket holes. I tried to use pocket holes for all the connections.
Lesson: just follow the directions
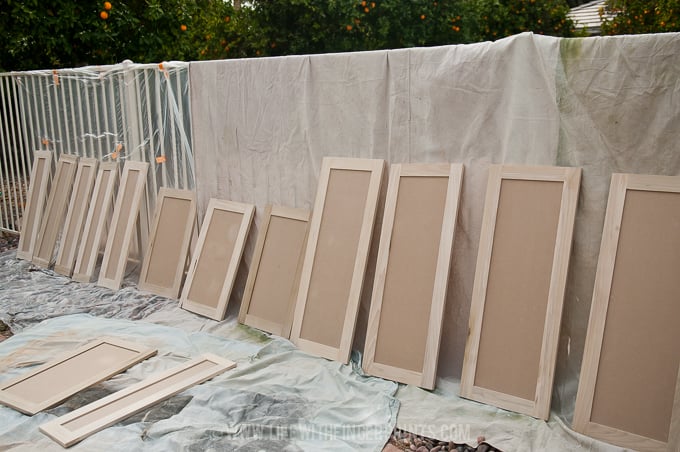
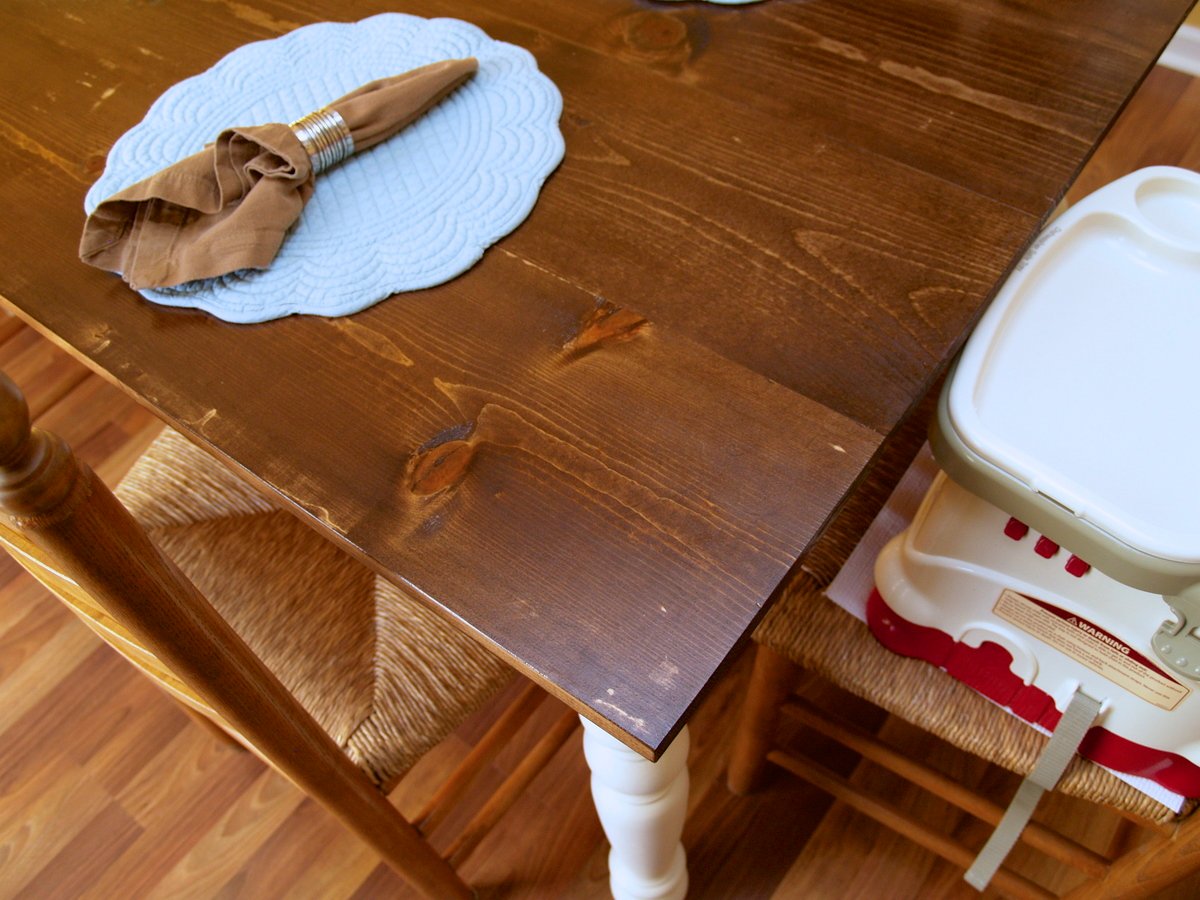
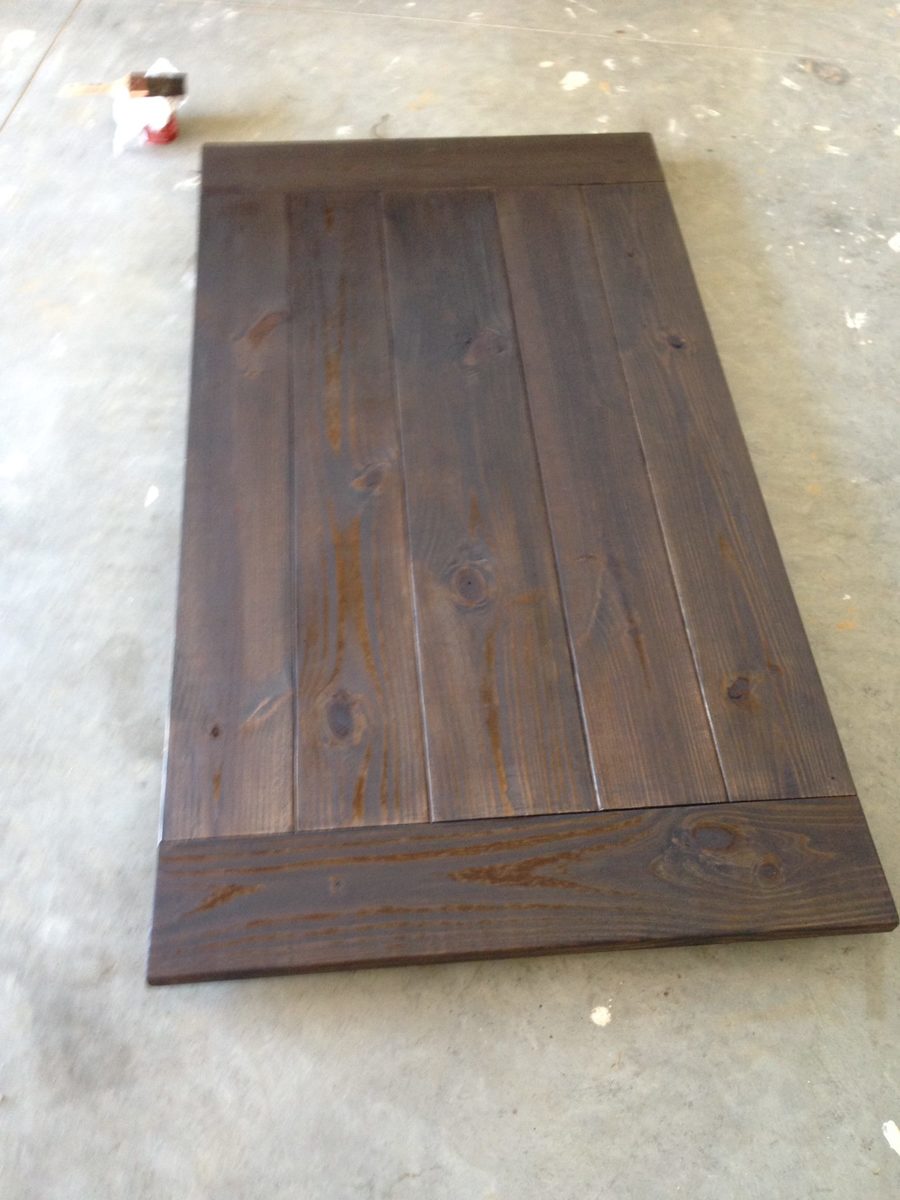
Another thing I'll do differently next time -- I'll sand and finish all the parts at this point before assembling the piece.
I can't wait to try my next project! Thanks Ana!!!


Comments
Ana White Admin
Sat, 11/07/2020 - 11:19
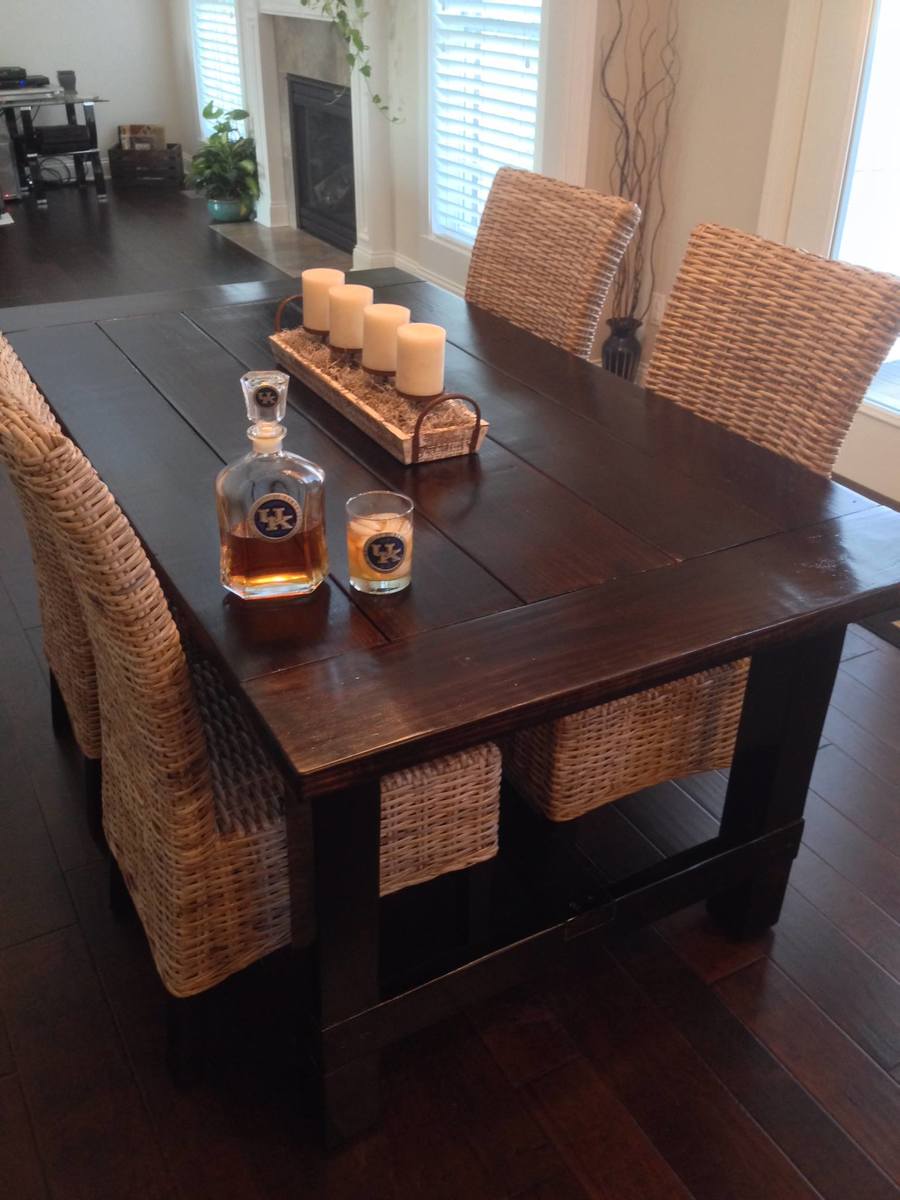
Love the rectangle version!
Looks perfect in your space! Thanks for sharing:)