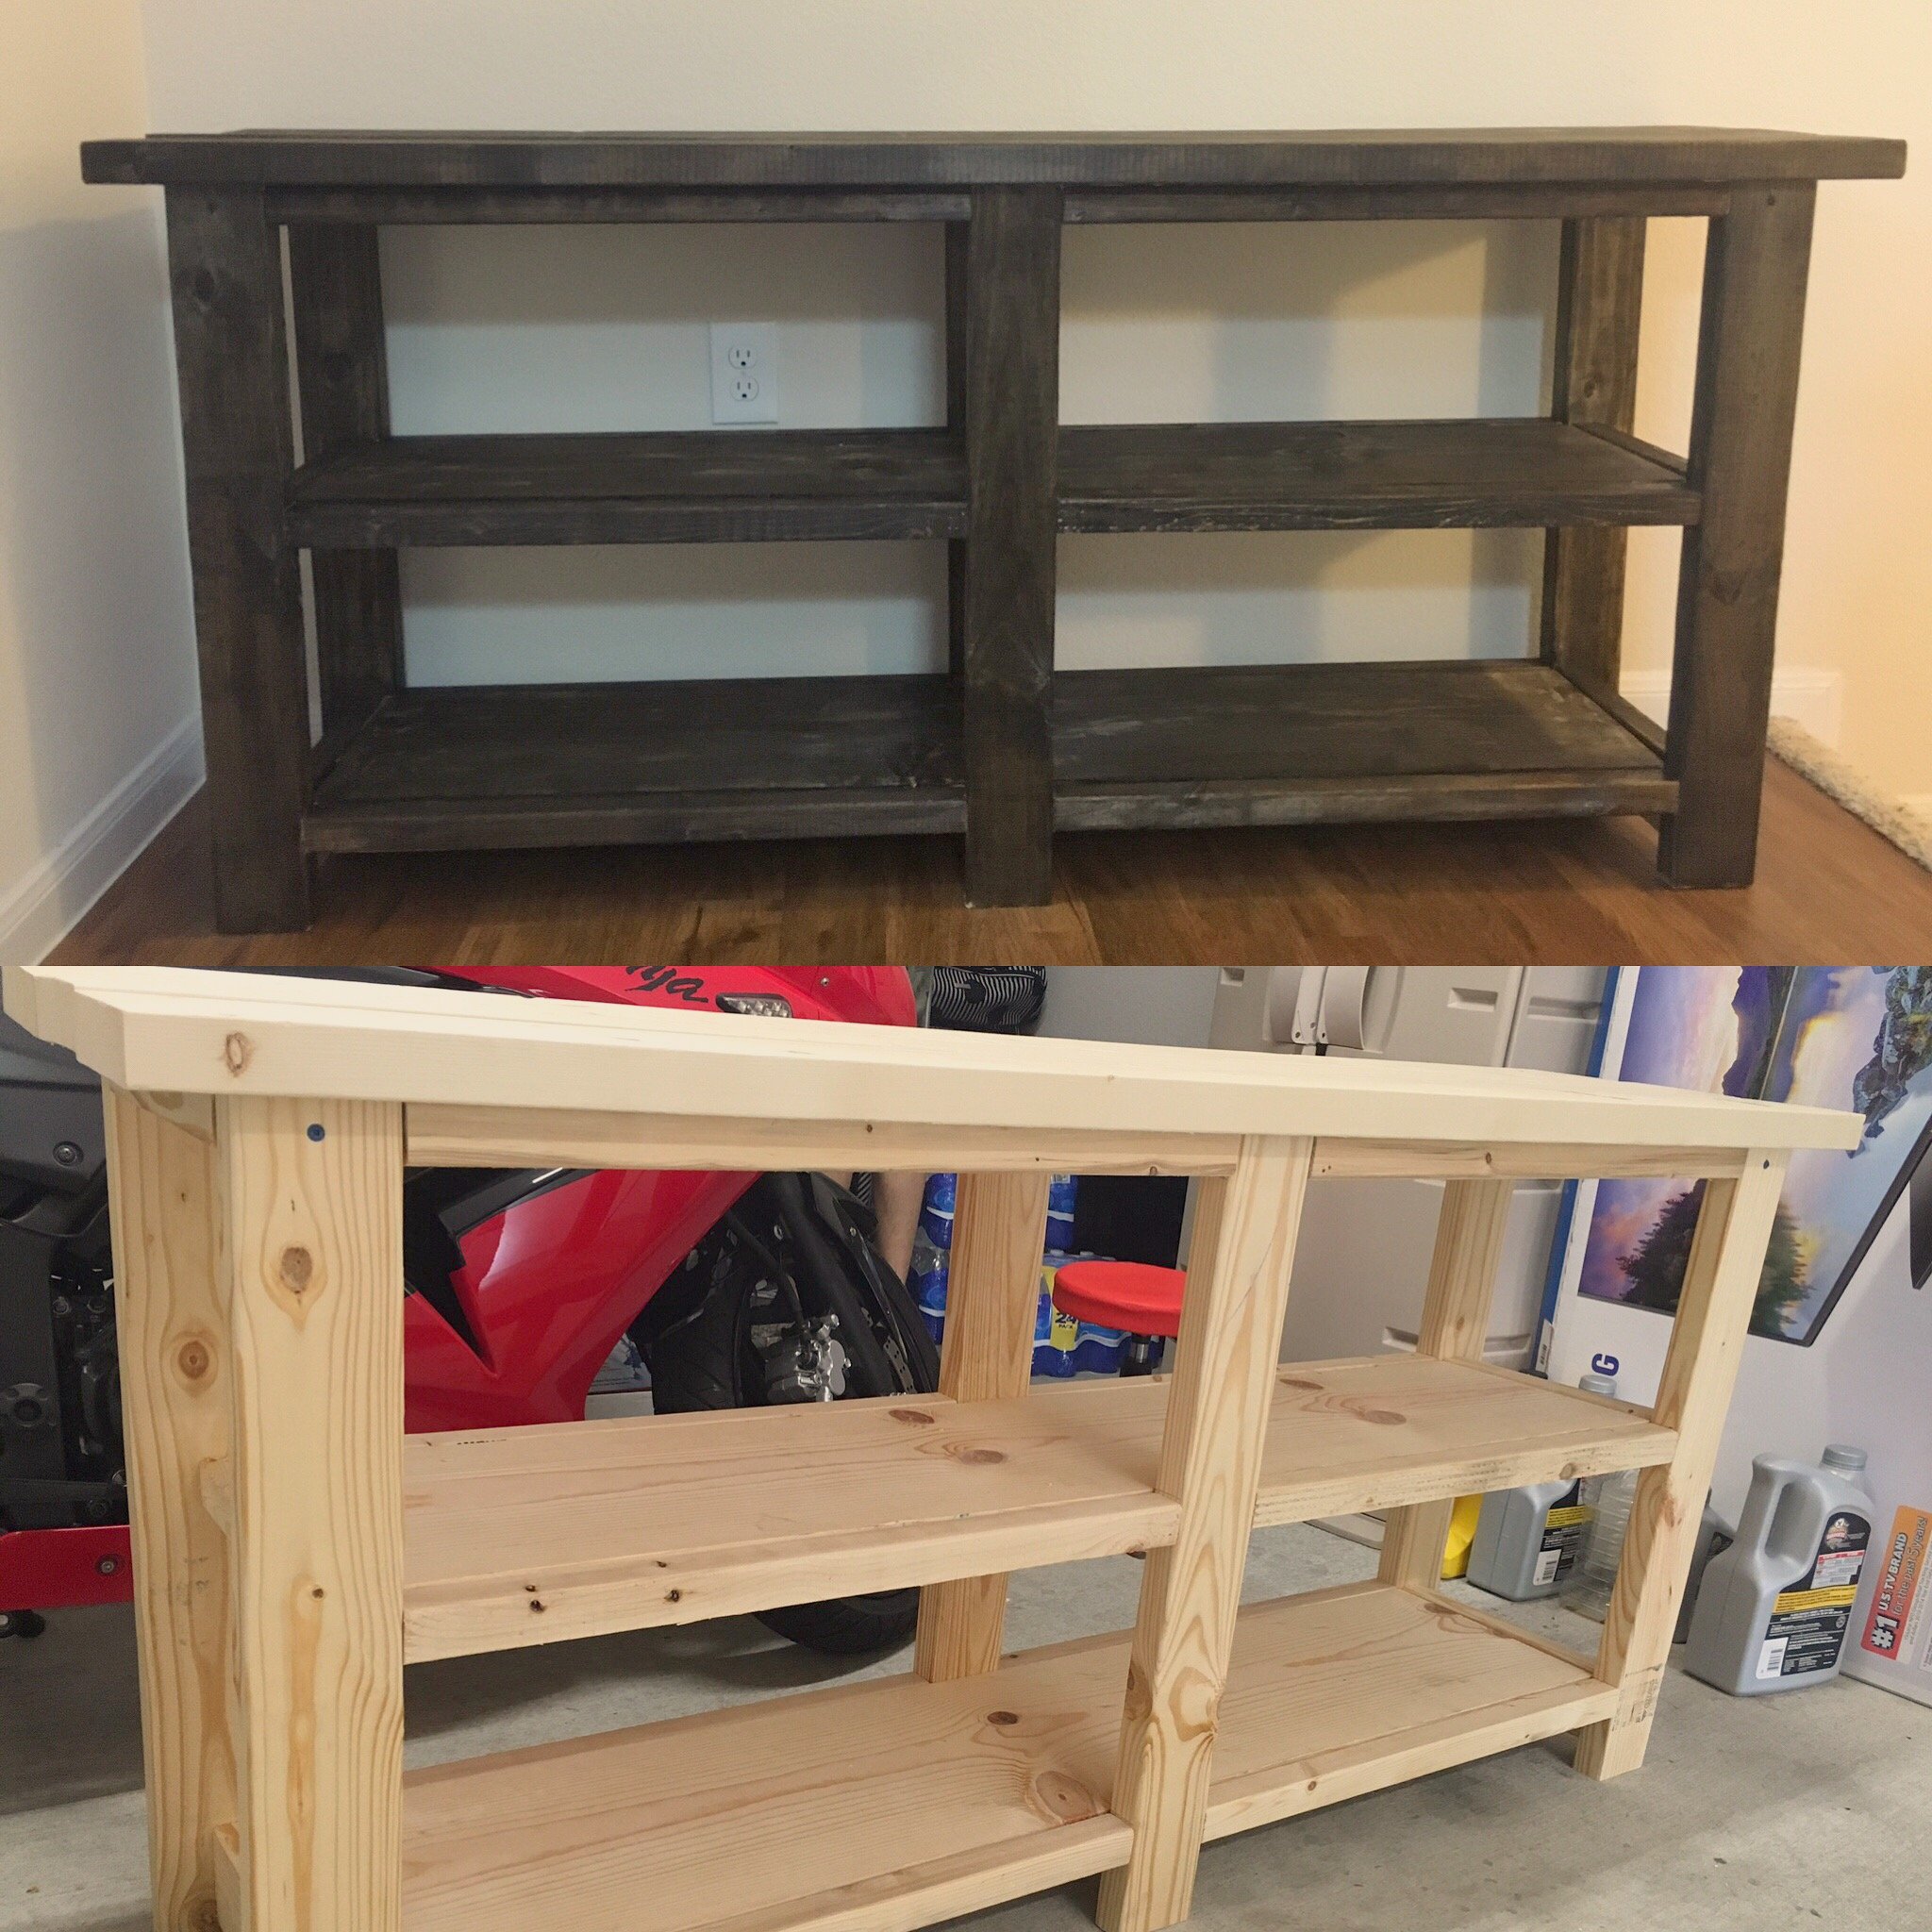
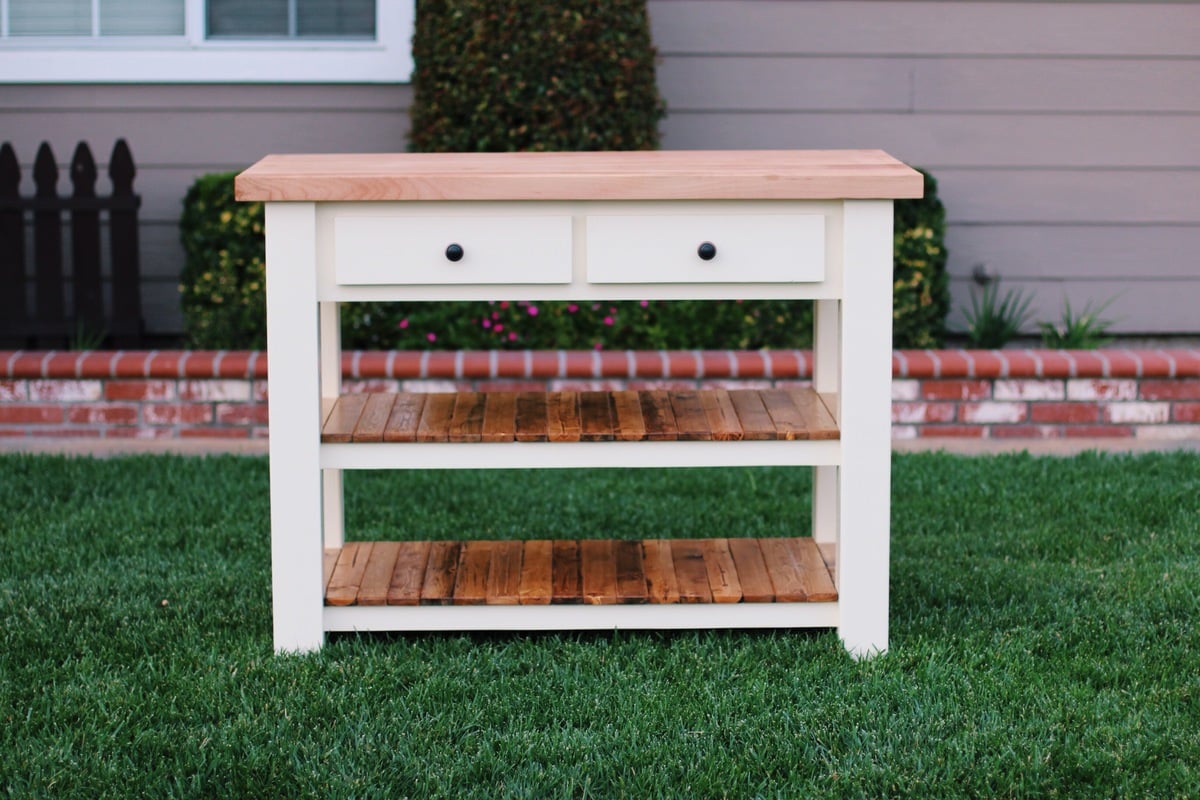
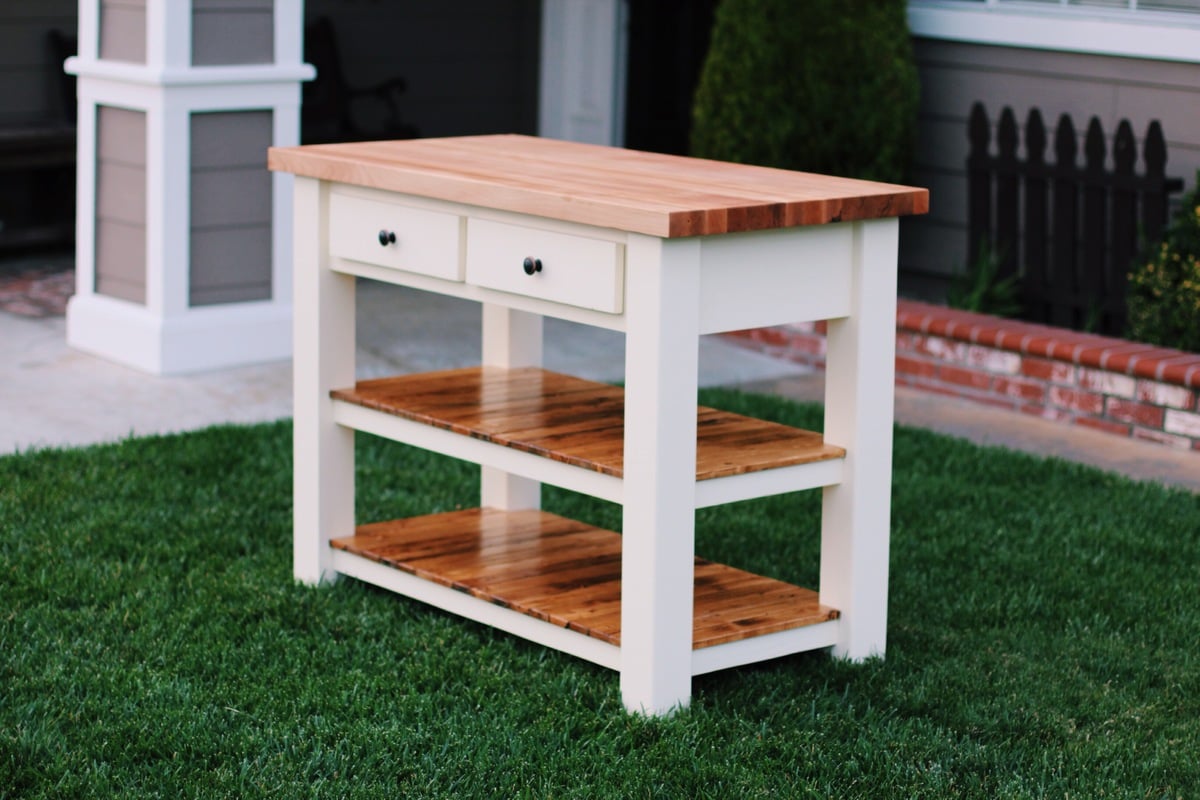
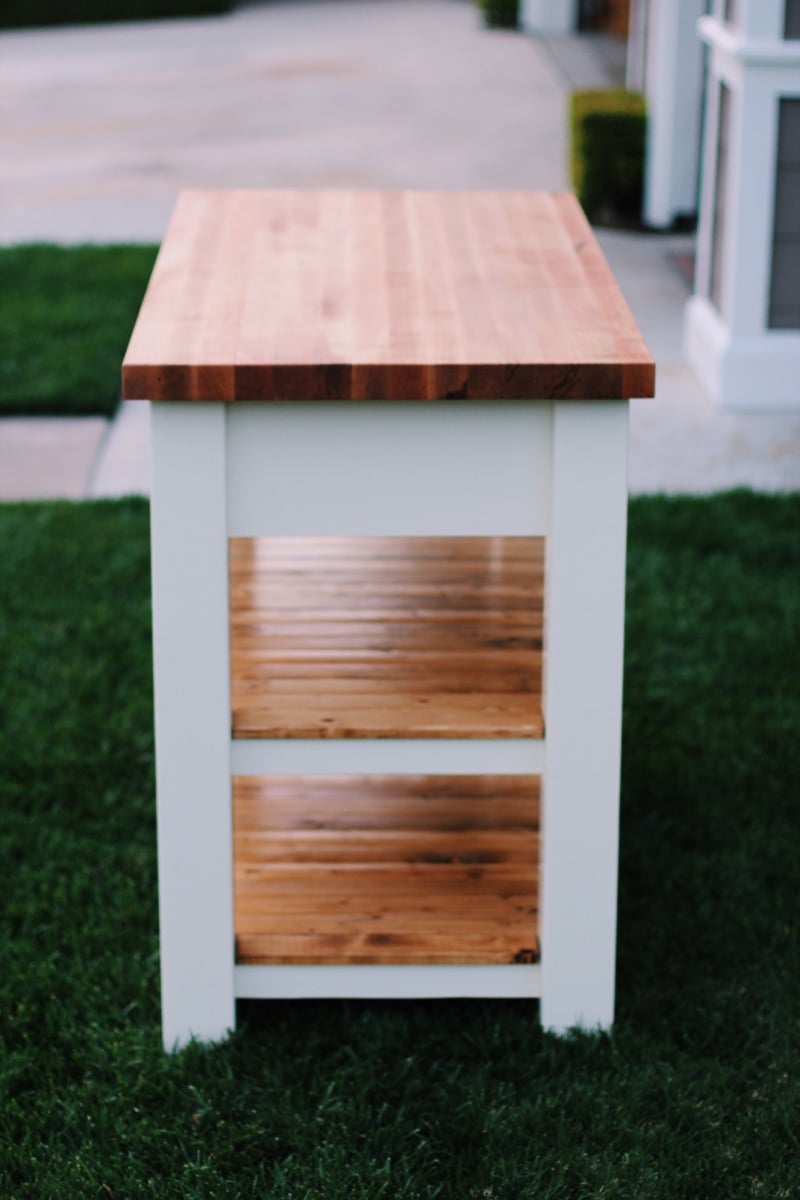
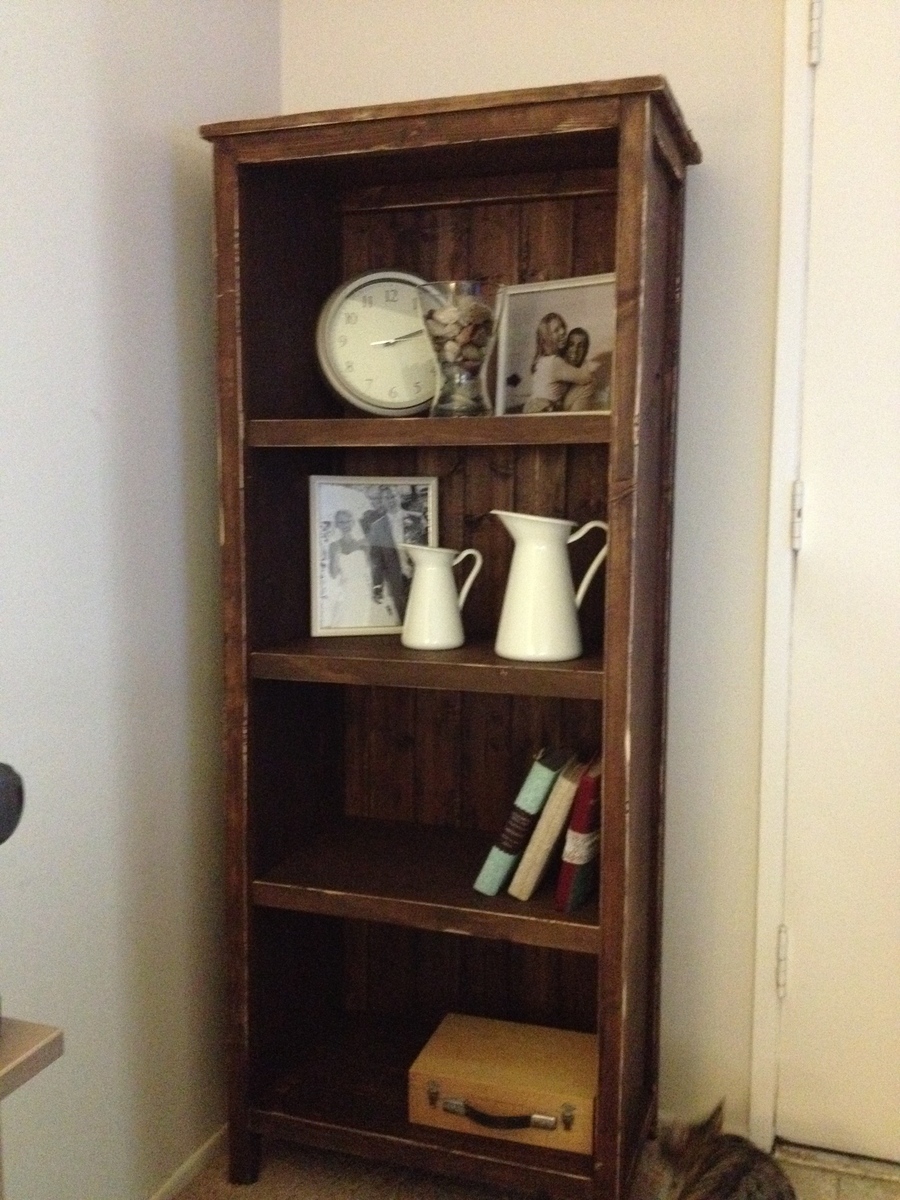
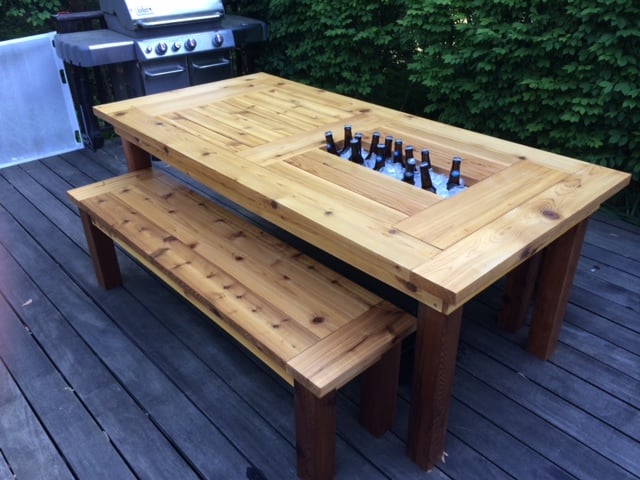
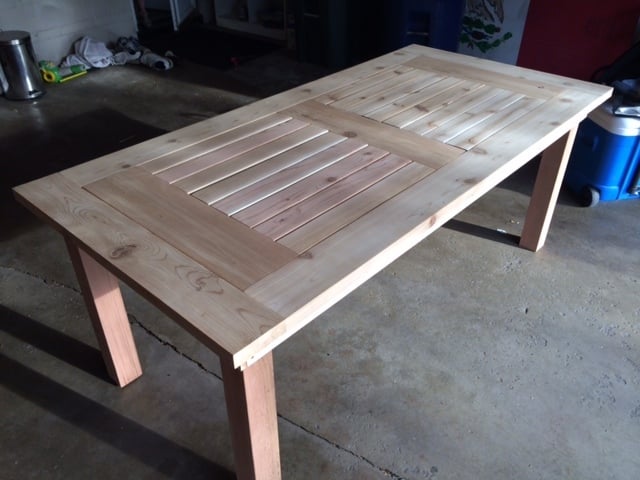
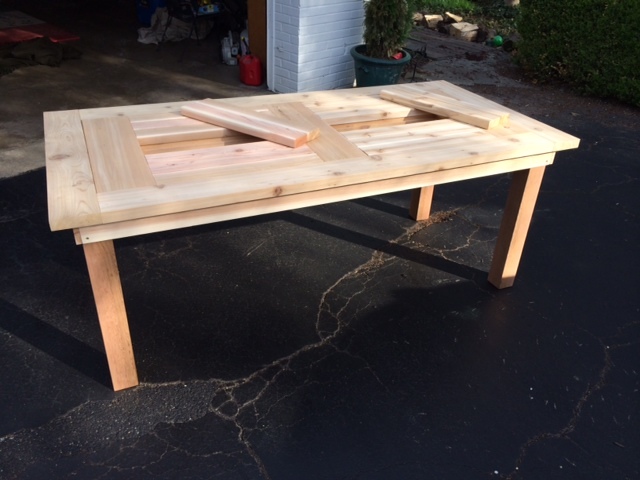
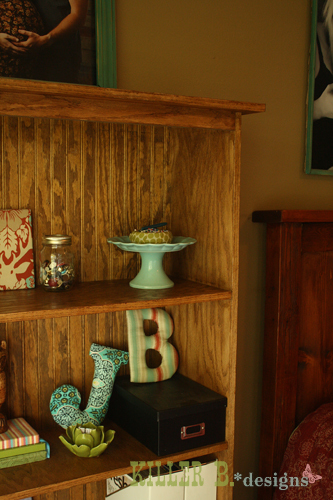
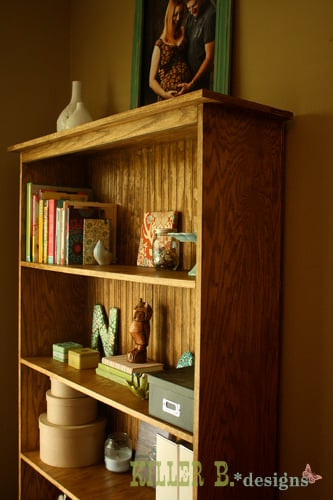
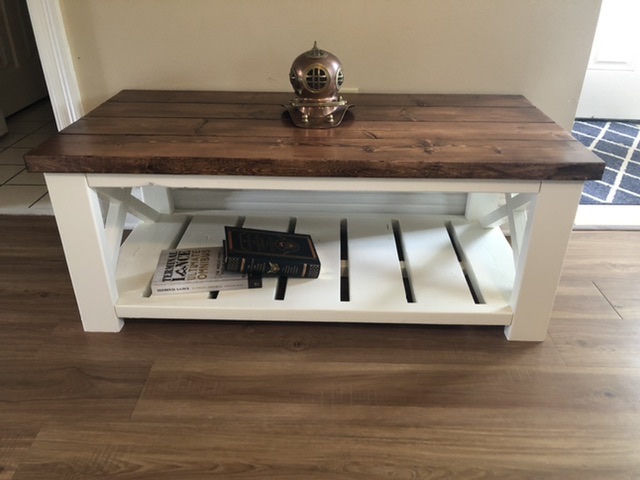
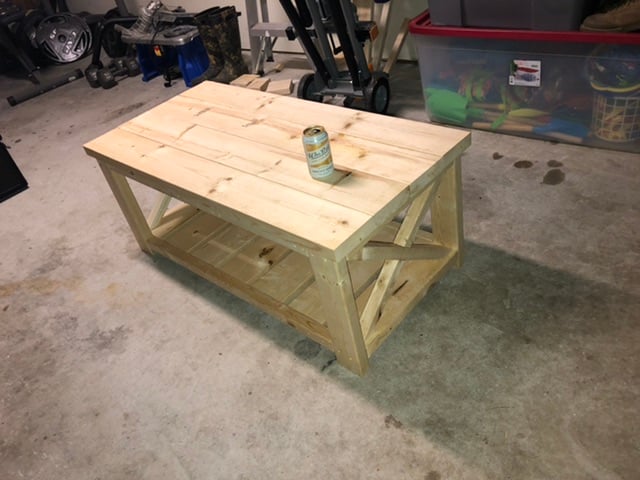
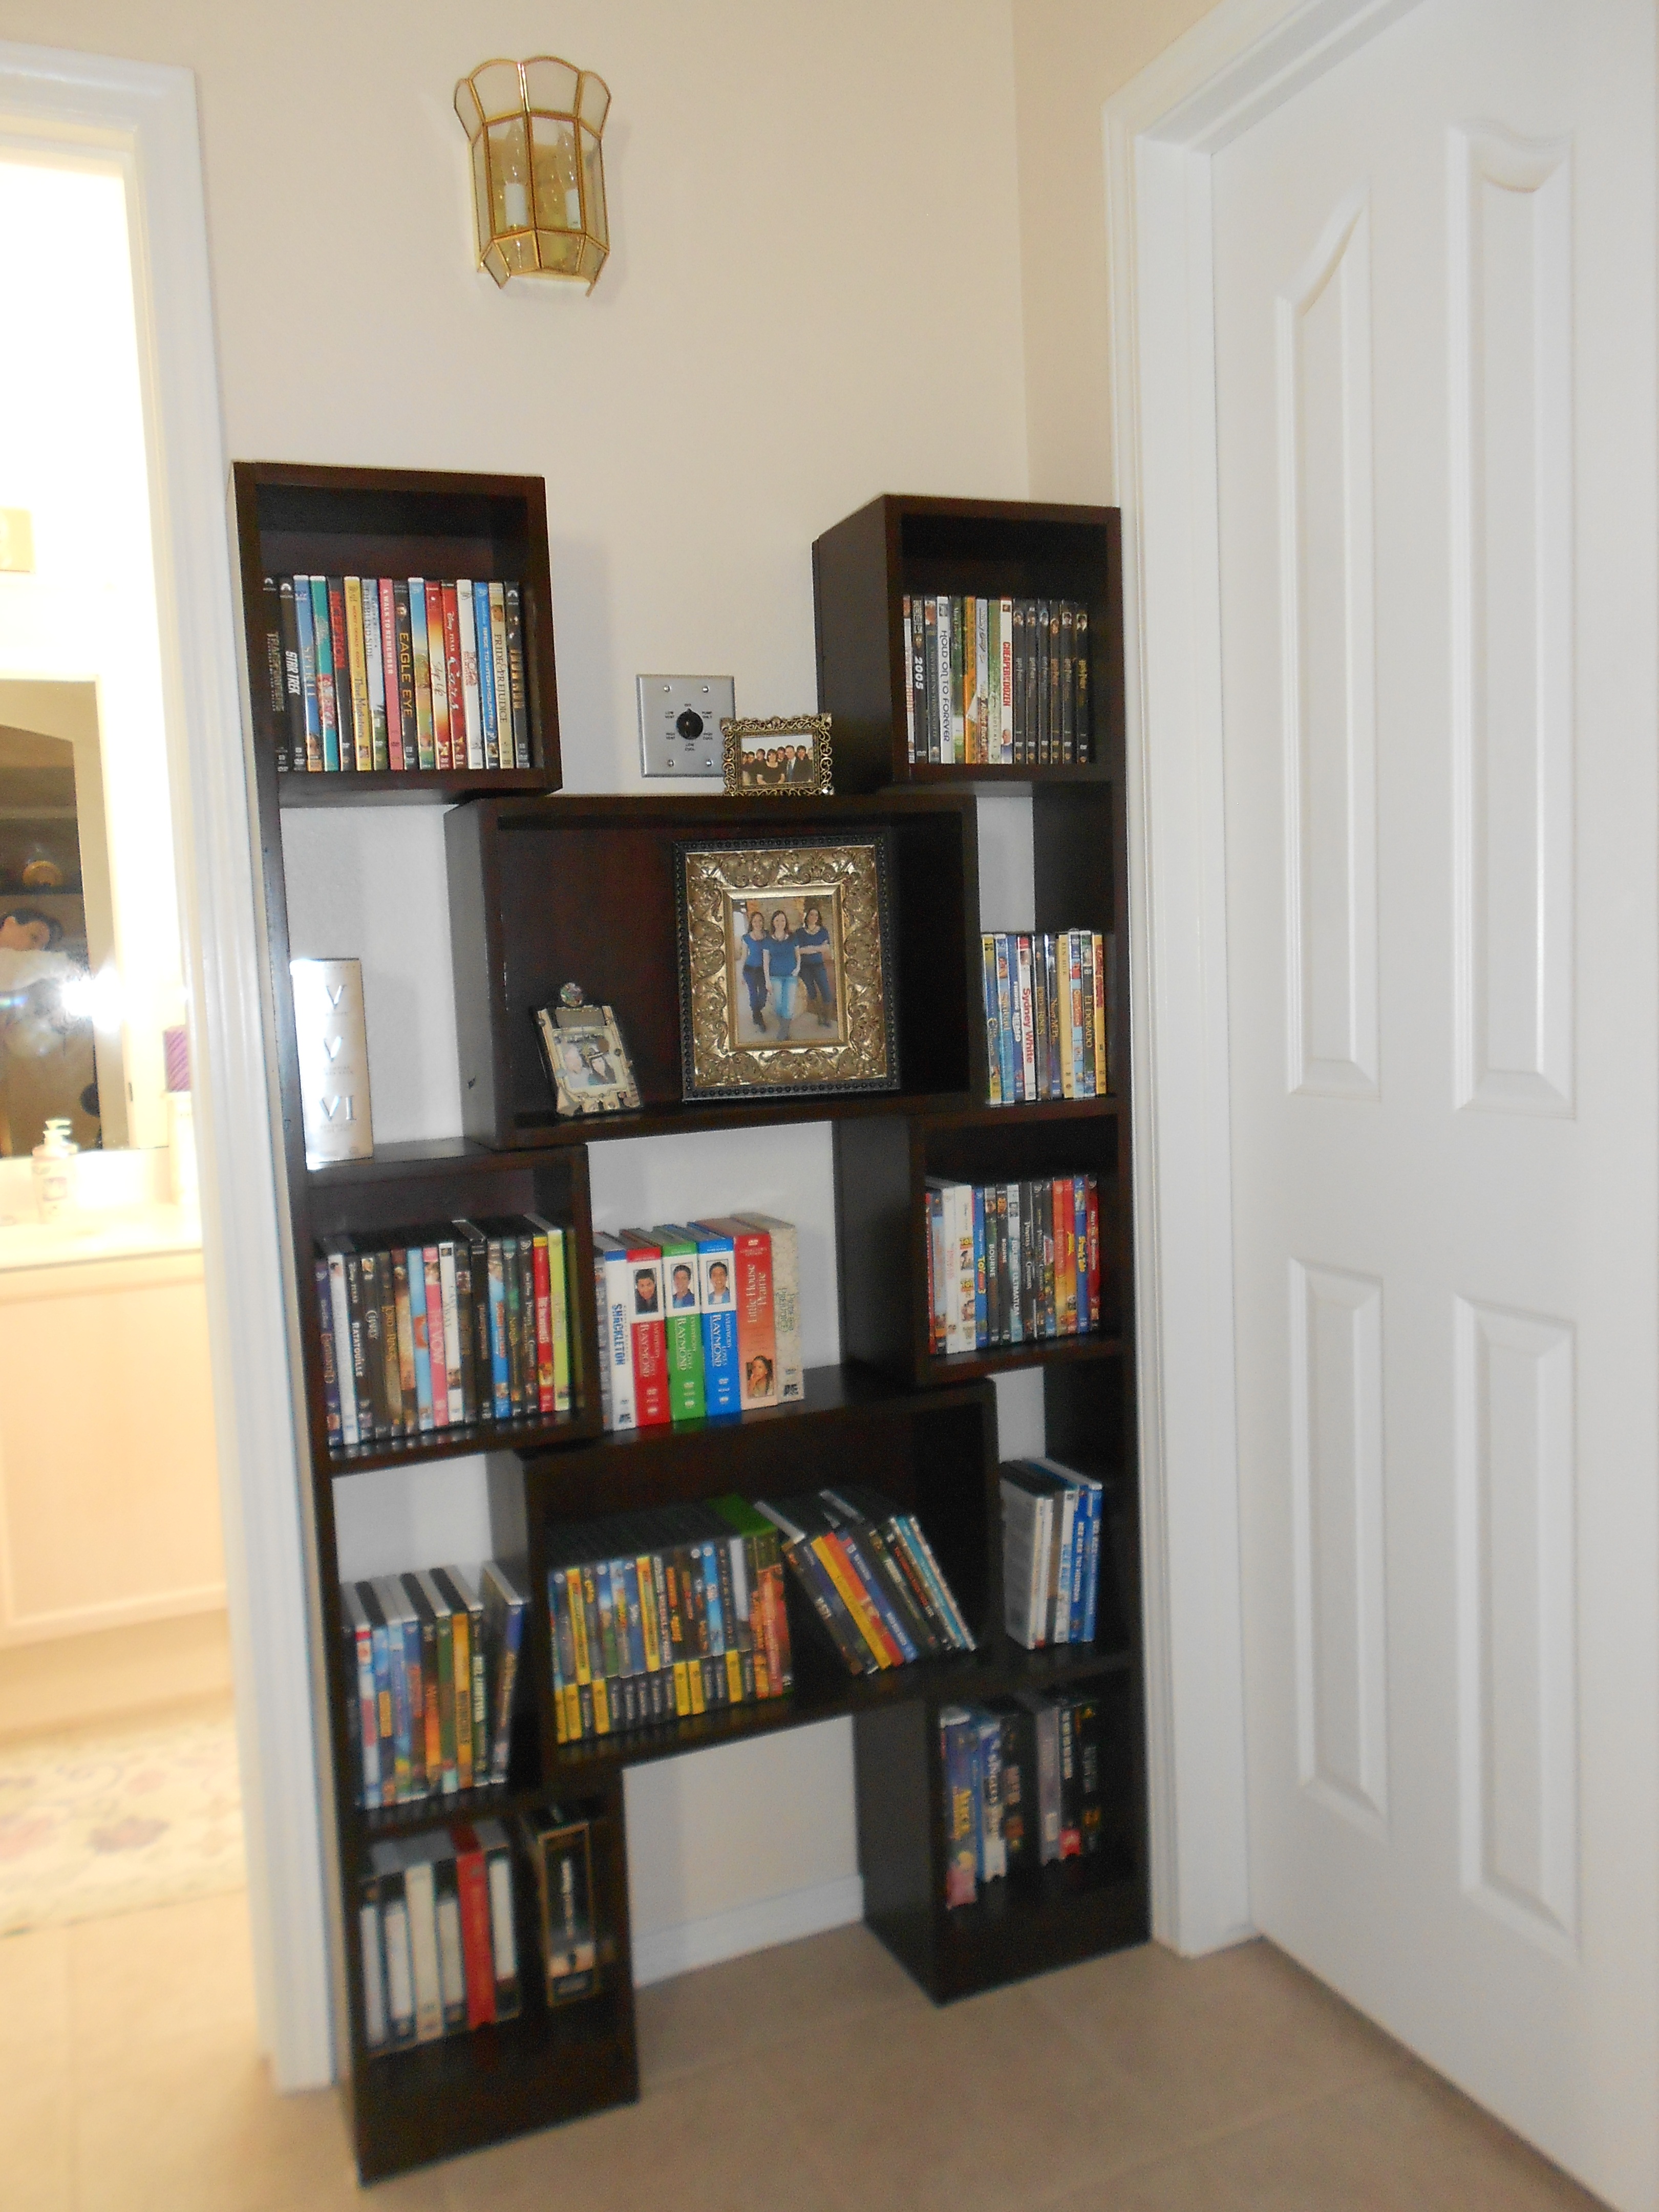
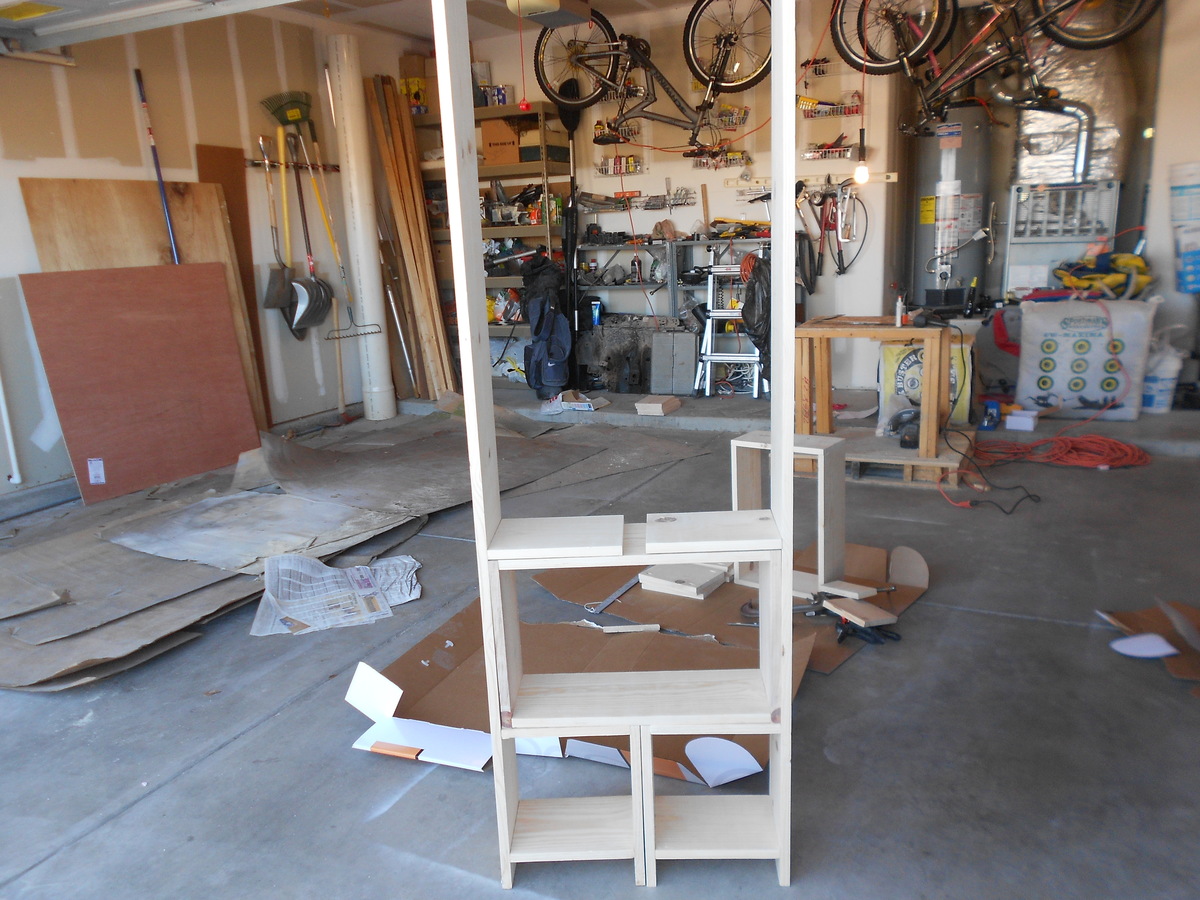
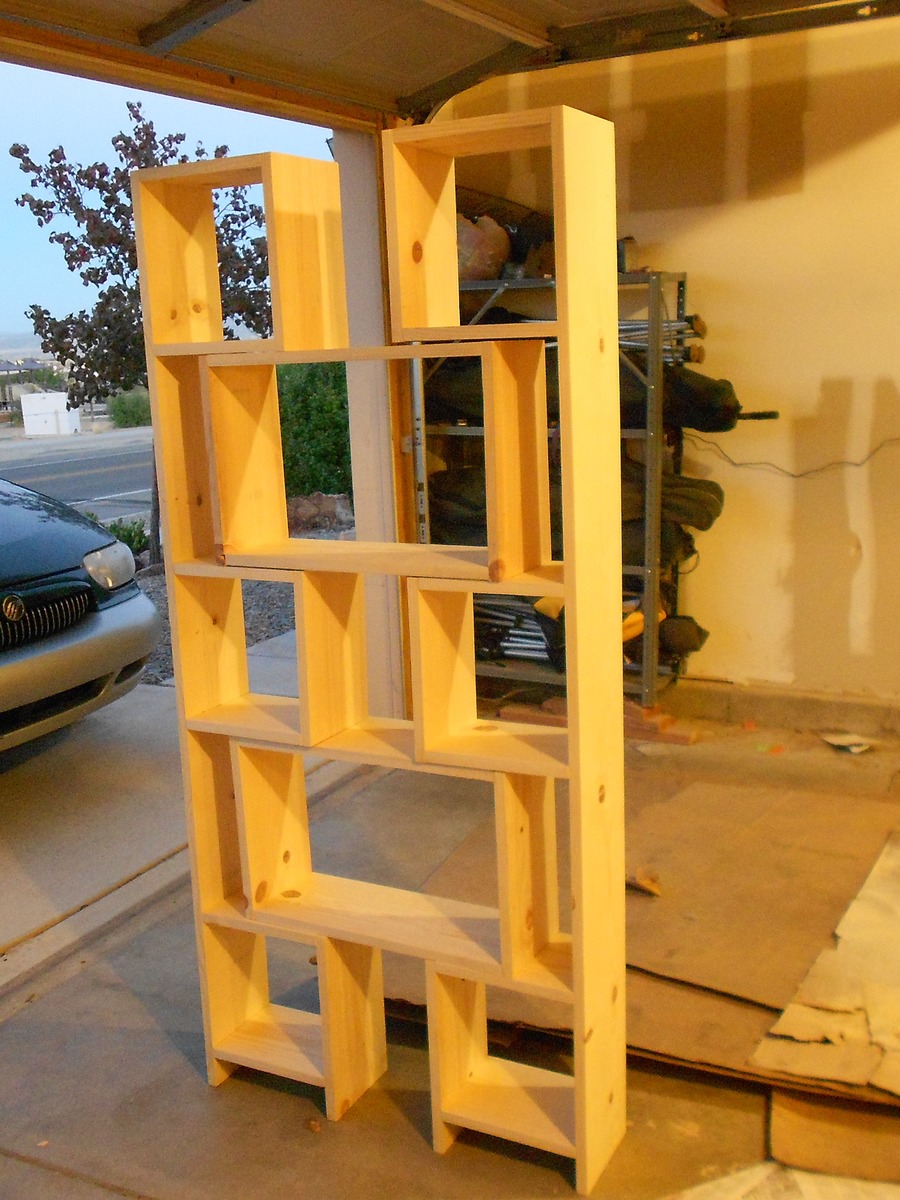
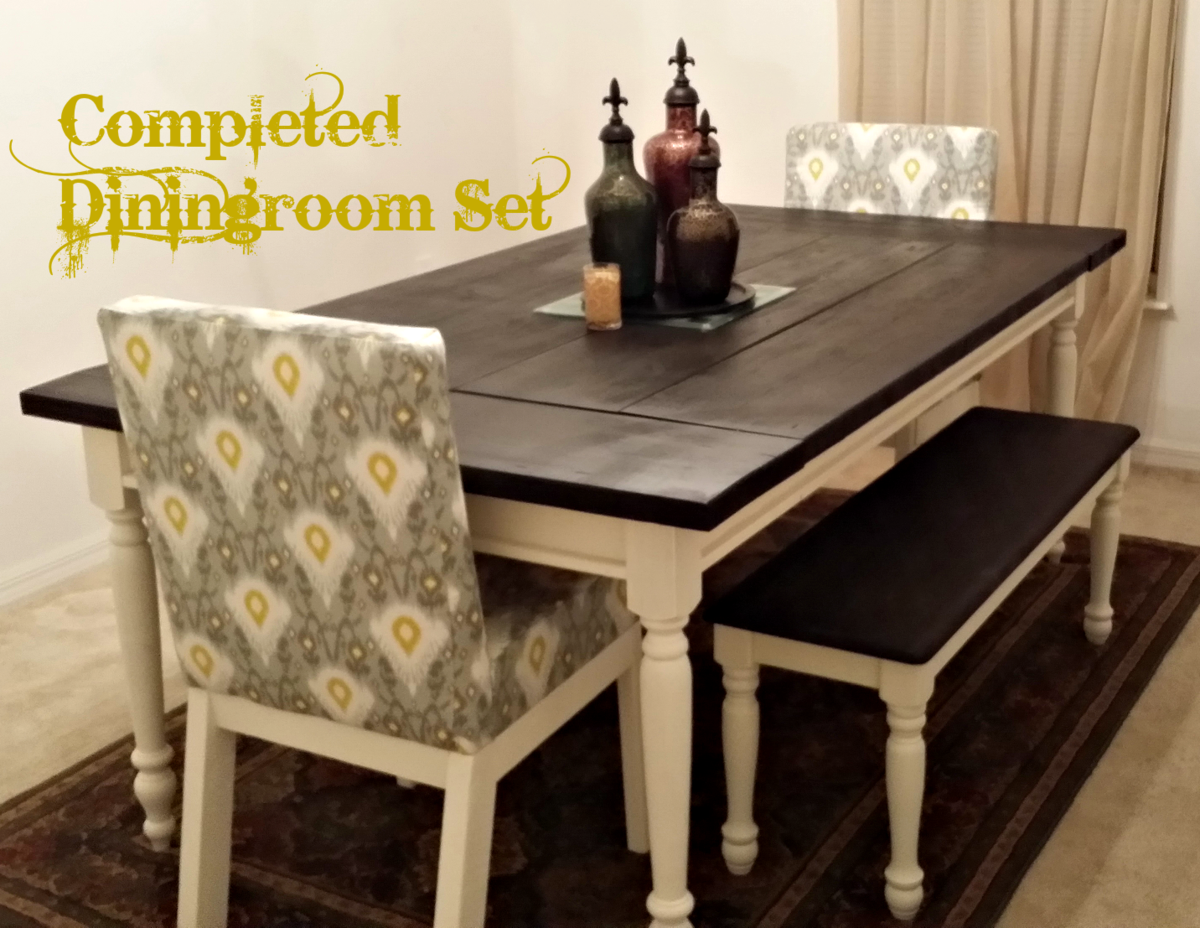
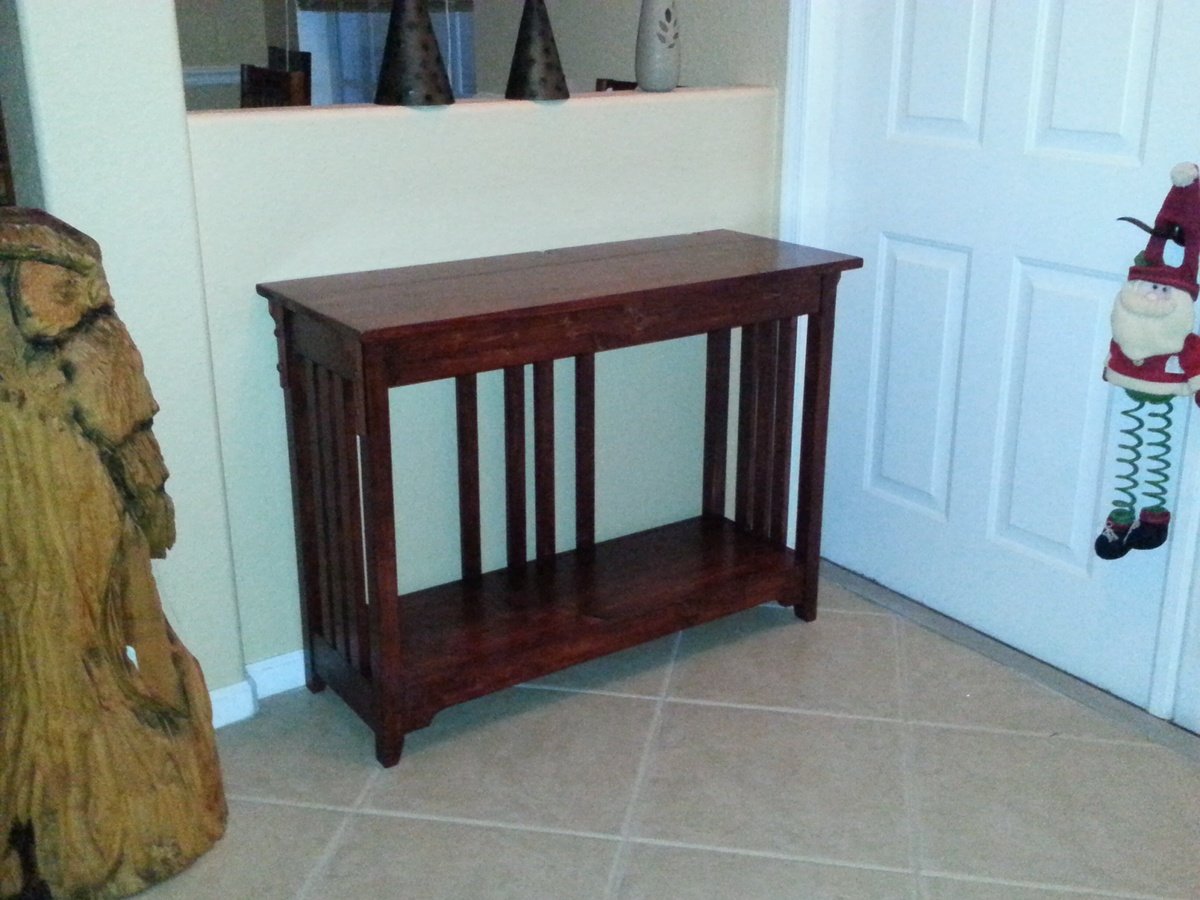
Mission style entry table
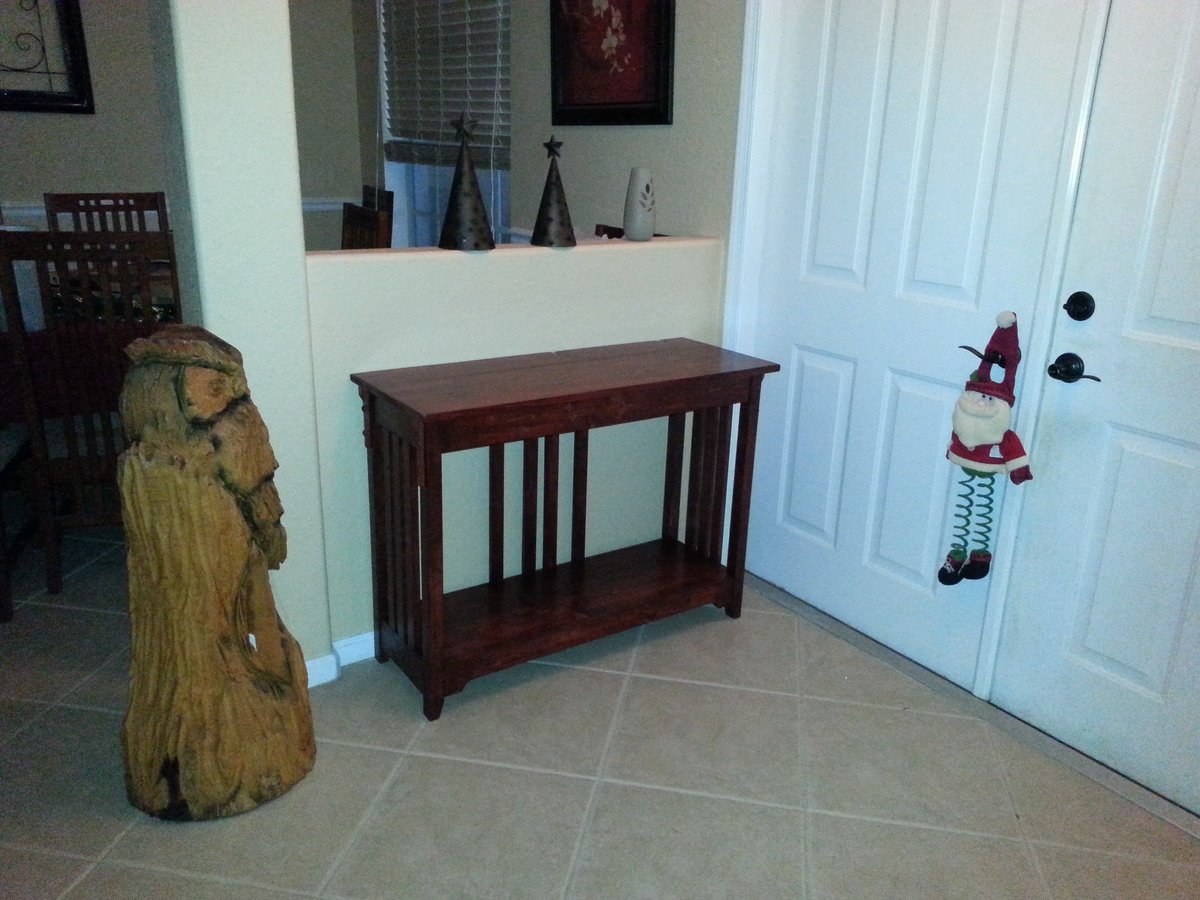
Built for my sisters house. I pulled a pic of a mission style table from the internet and then matched the details to her existing hutch. Color match took some work!
Just a tip for Florida folks. If it is humid and raining...stop and wait for another day to stain and poly. Trust me.
Built from Plan(s)
Estimated Cost
75.00
Estimated Time Investment
Weekend Project (10-20 Hours)
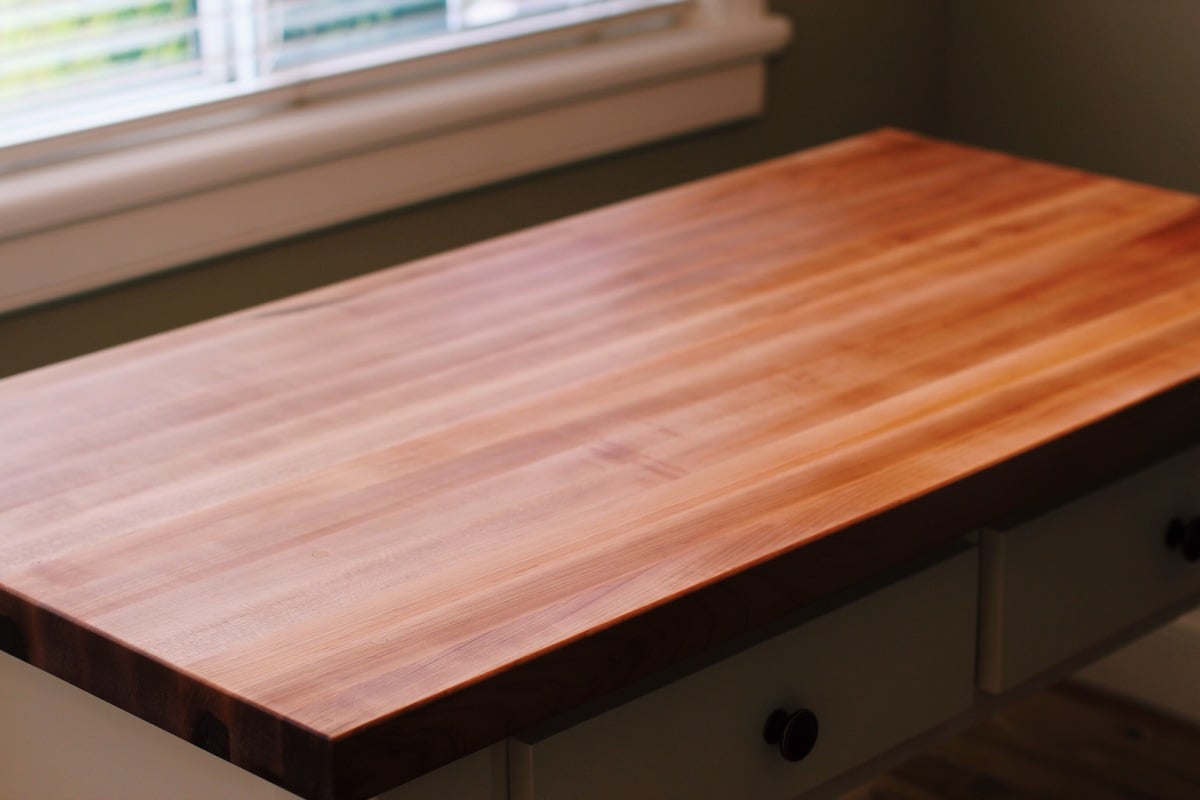
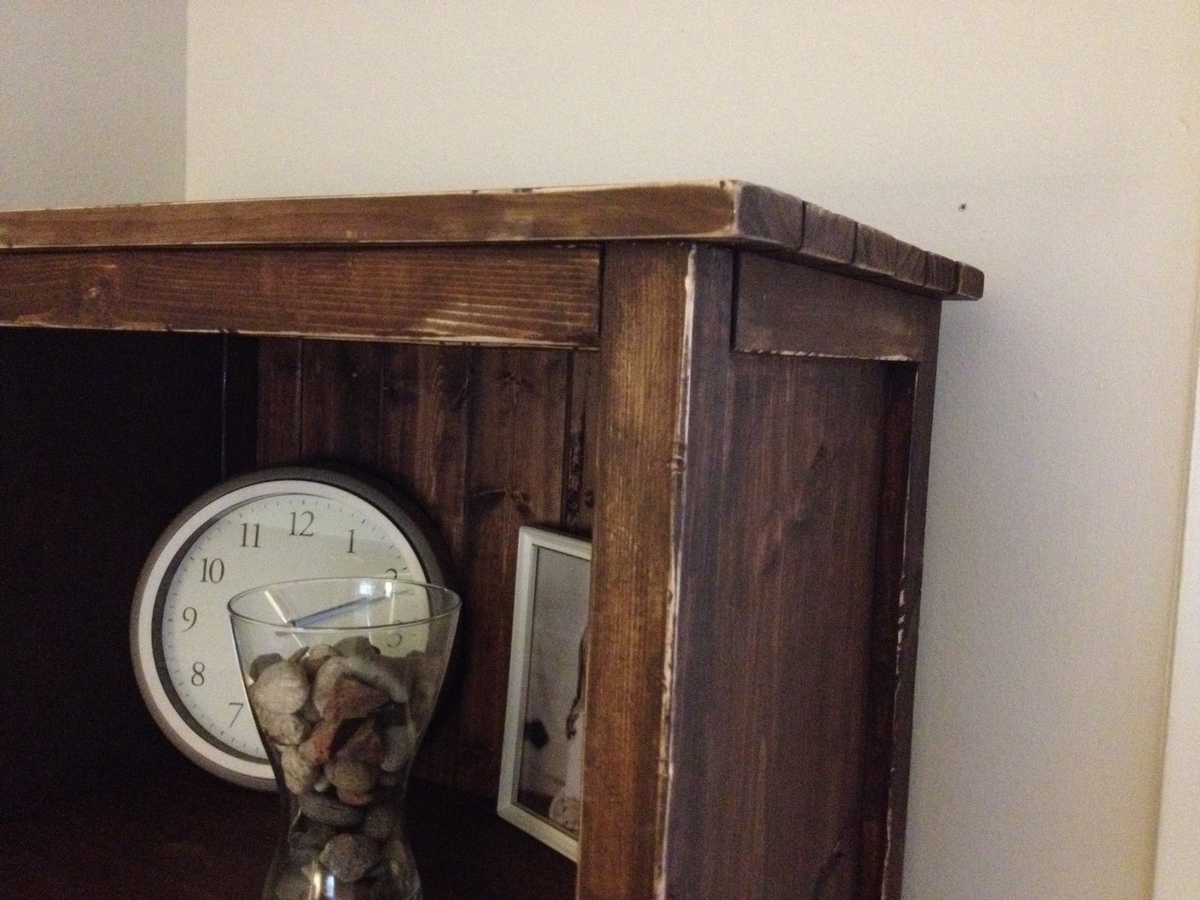
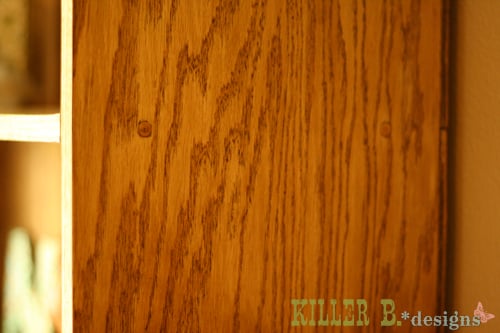
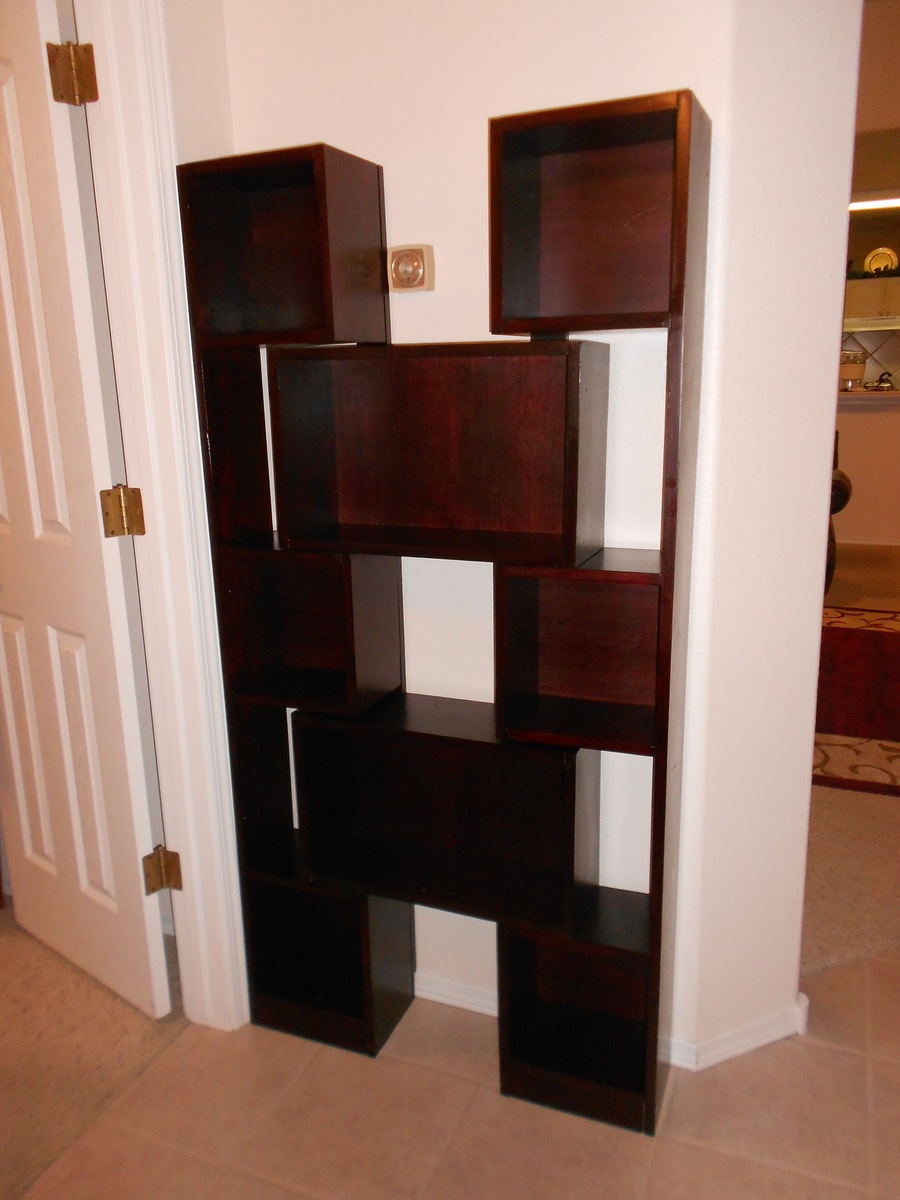
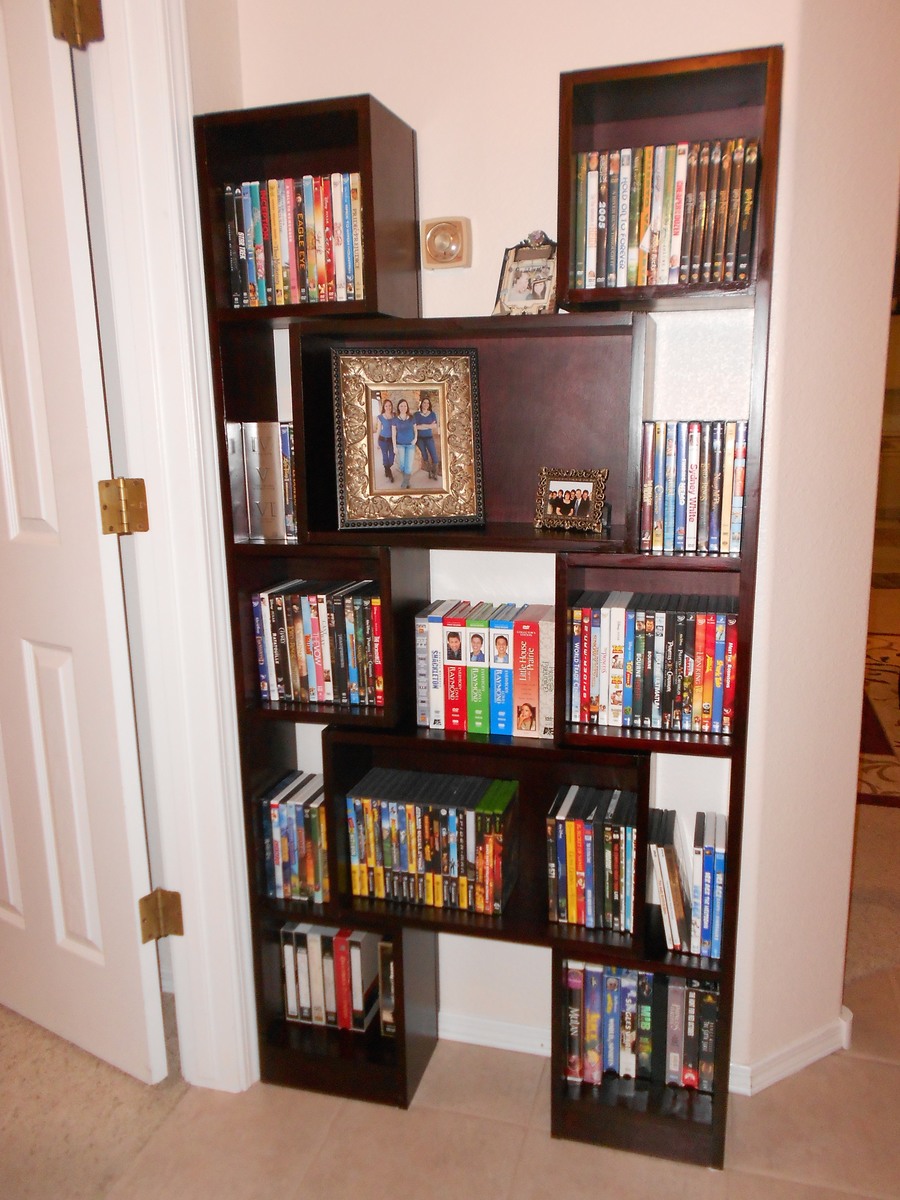
Finish Used
Varathane Red Oak mixed with Colonial Maple. Topped with 3 or 4 coats of varathane poly in semi gloss.
Recommended Skill Level
Beginner