Bench
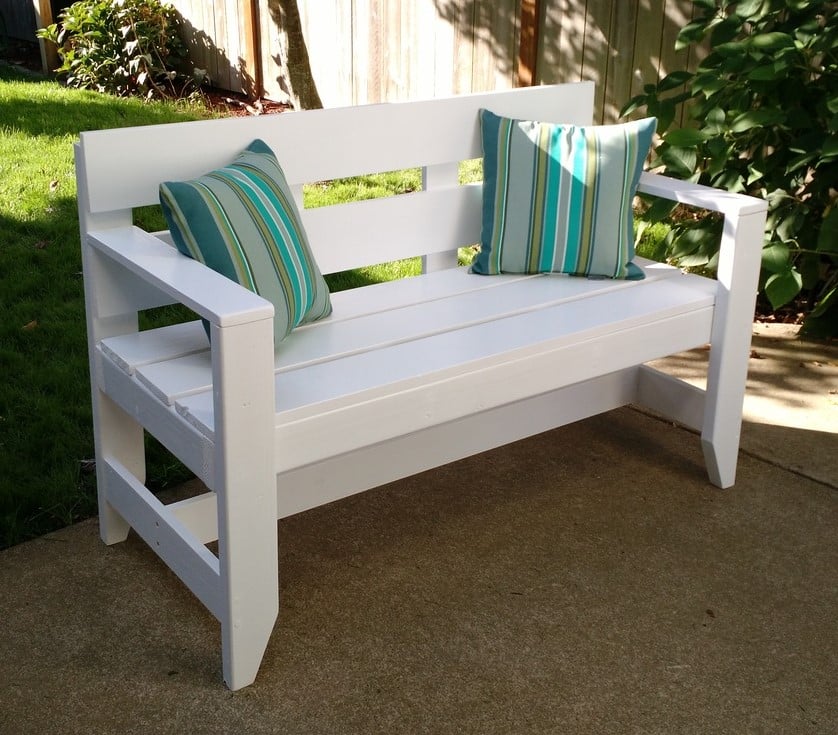
I used a mix of 2x4's and 1x4's for this project. It is only 4 feet long so I thought 2x4's would make it too bulky. It goes together very quickly and it looks great!
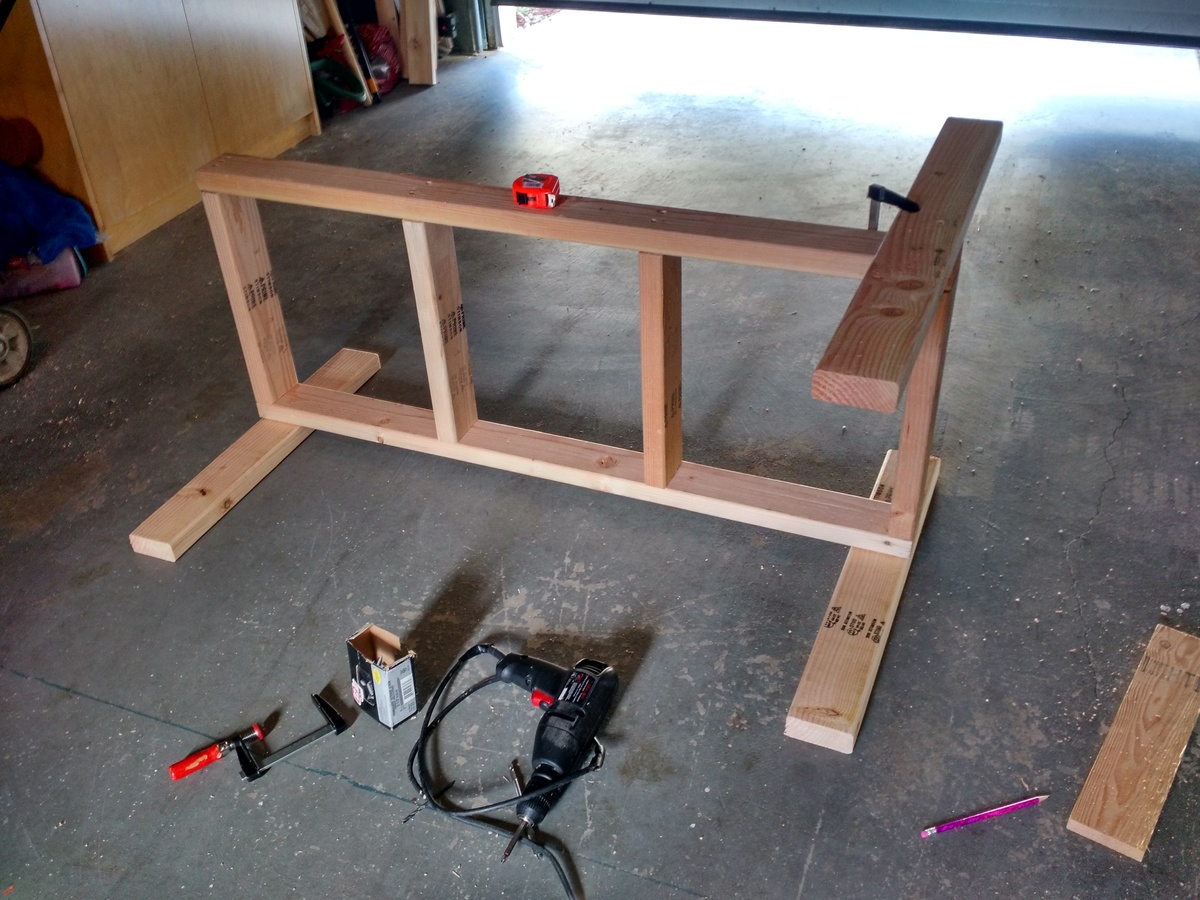
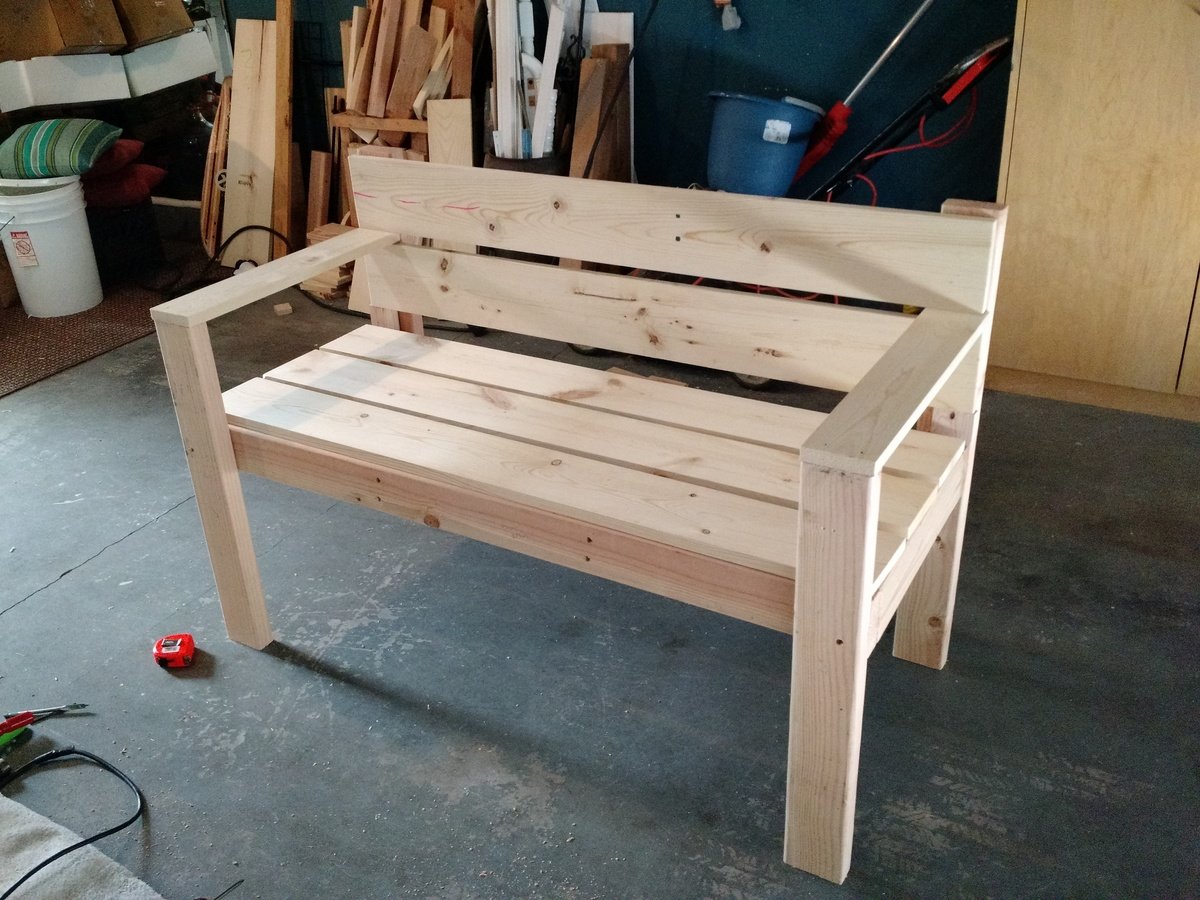

I used a mix of 2x4's and 1x4's for this project. It is only 4 feet long so I thought 2x4's would make it too bulky. It goes together very quickly and it looks great!


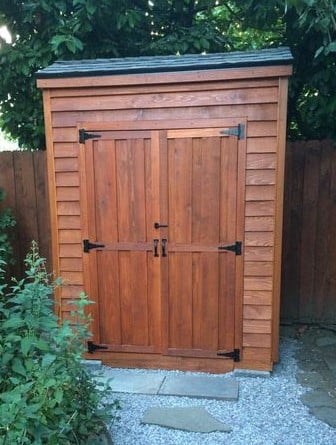
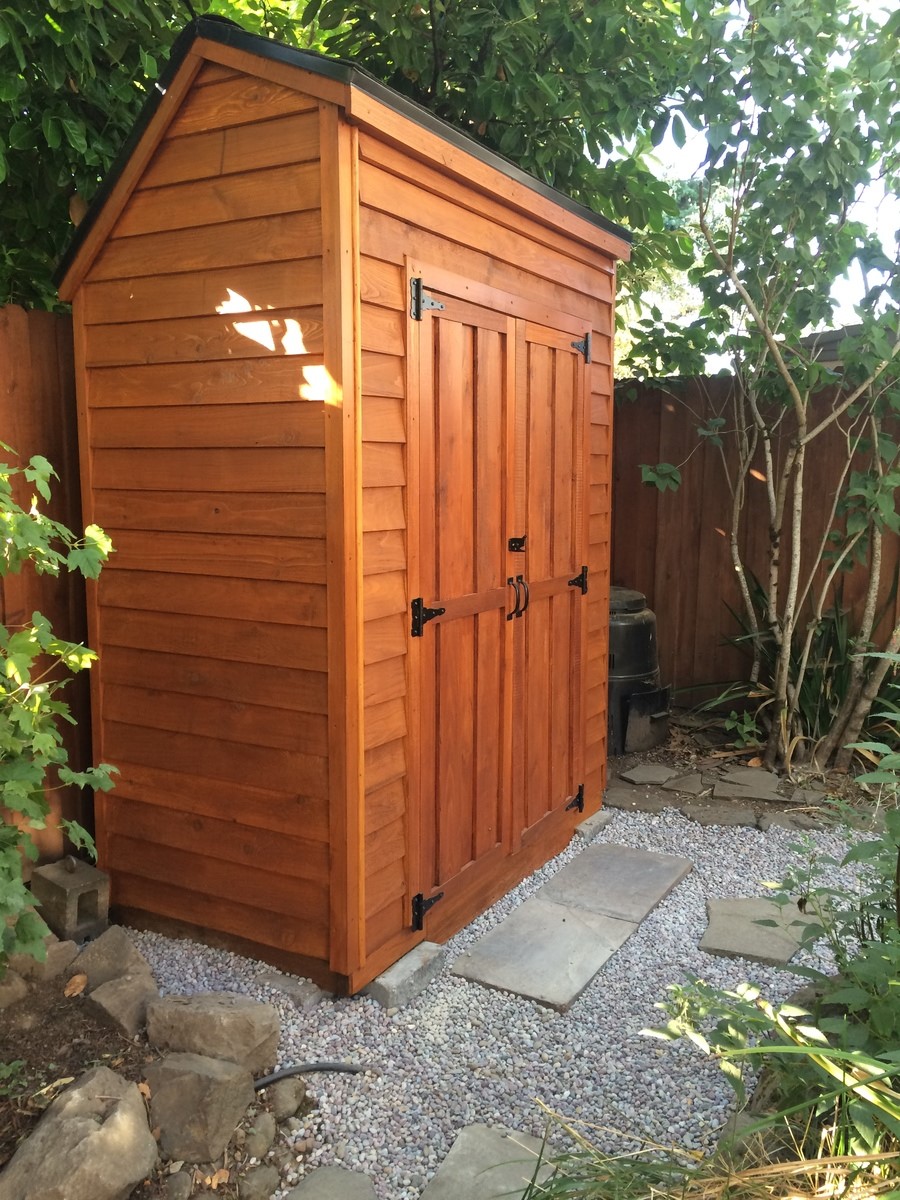
I changed the plans just slightly. I used 2x4's for framing and enlaged the shed somewhat and added a floor. I also used a different type of roof to handle the amount of rain in my area.
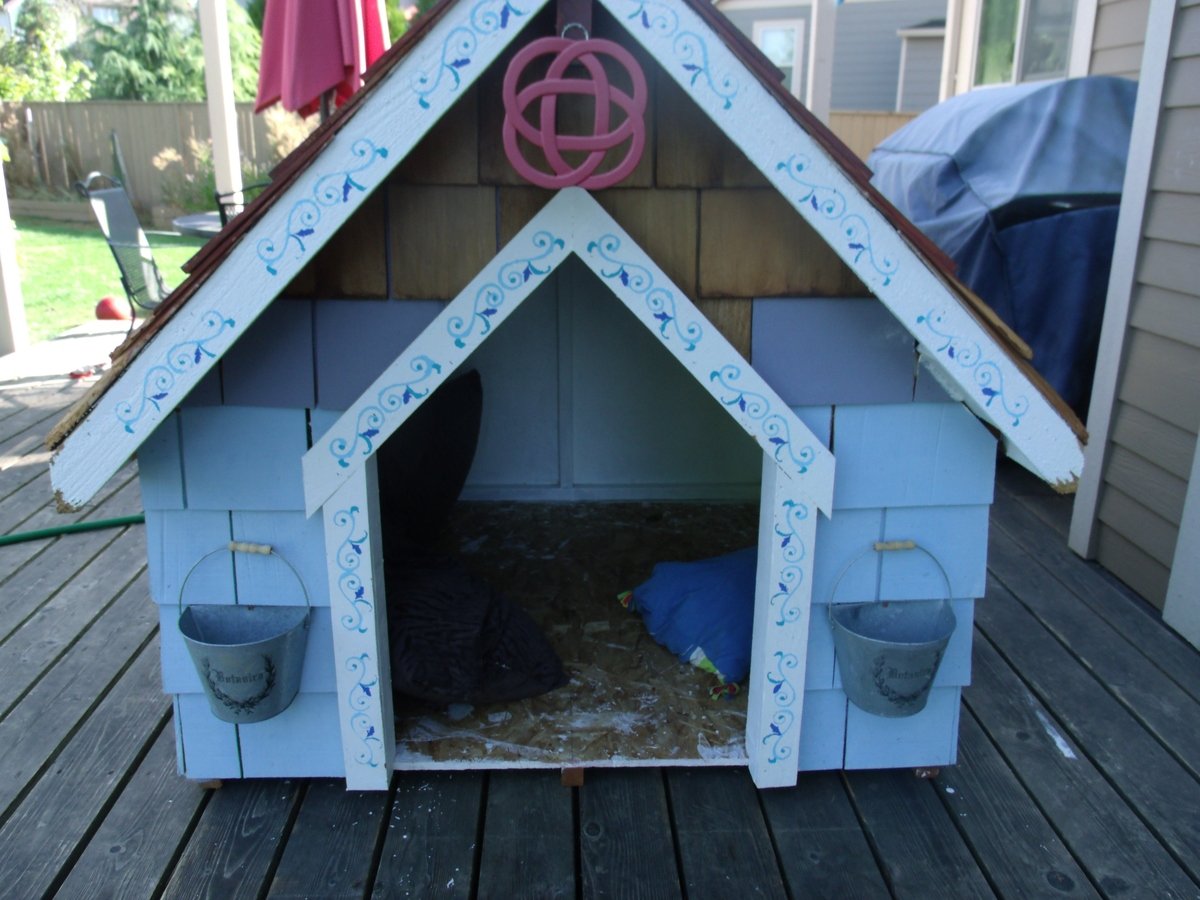
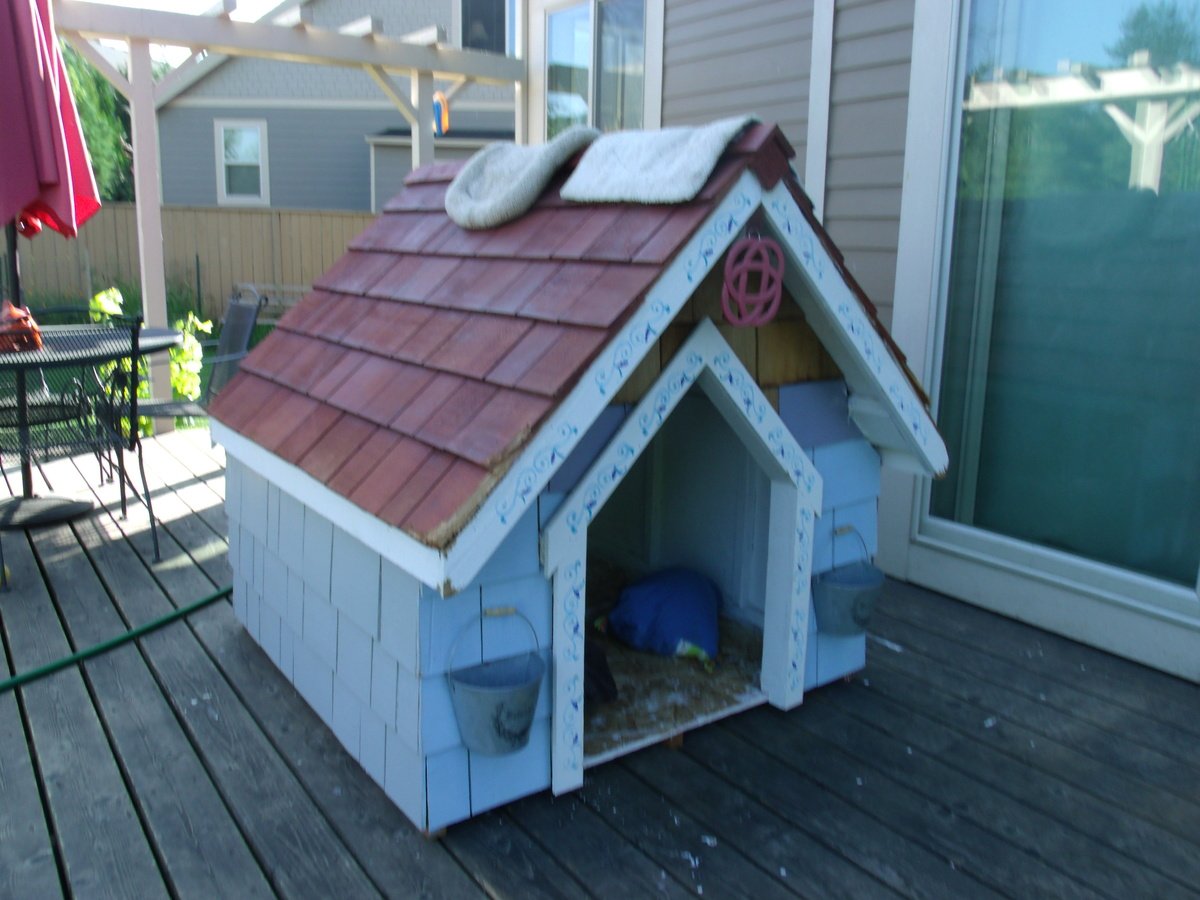
We adopted two puppies: Blueberry and Pink, and needed a dog house. I showed my bf the post of the East Fork Dog House on this website for inspiration. He winged the basic construction as he's a carpenter guy. Our foster children helped paint it, and the puppies love it (chewed the corners of it already).
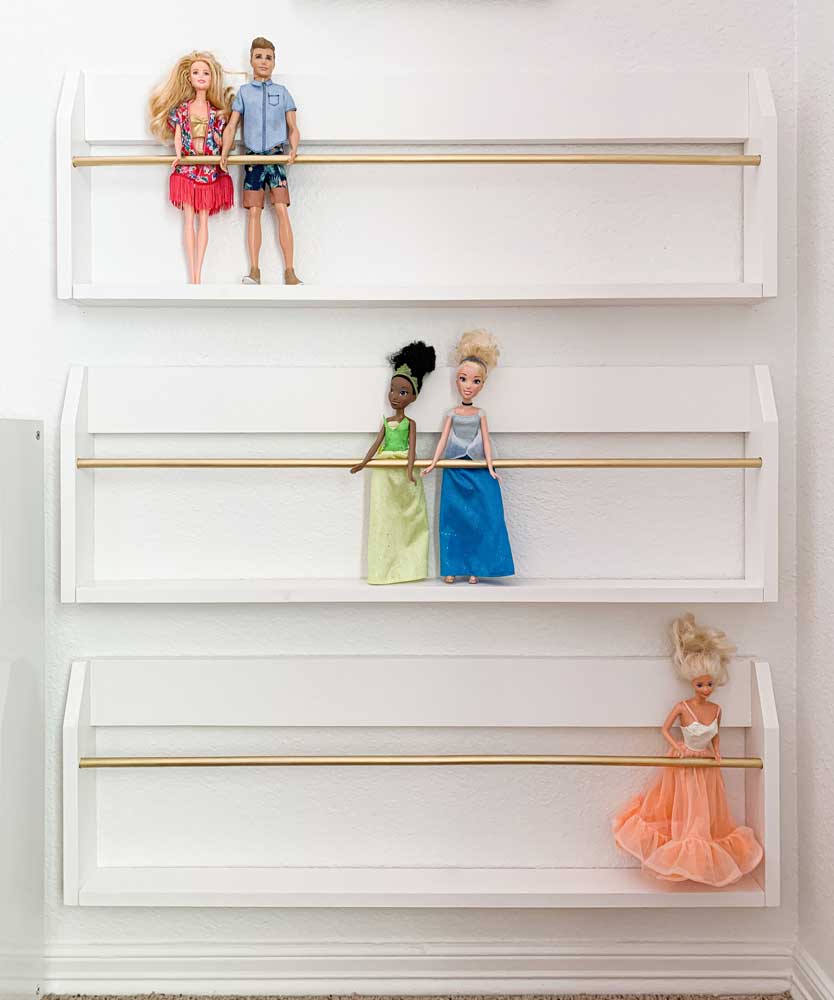
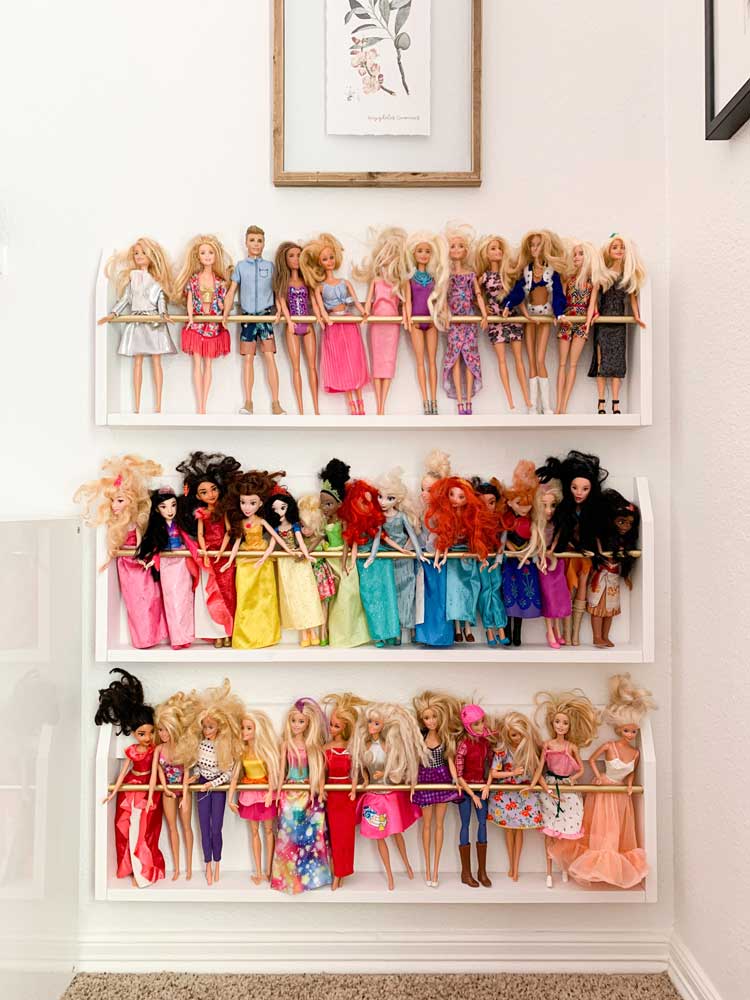
I was inspired to make these wall racks for my daughter's Barbie dolls after seeing a magazine rack on the Anthropologie website that sold for $118! I made 3 of them for under $15 each. Storing the dolls standing up keeps their hair from getting so tangled. It also makes it easier for my daughter to see her dolls, play with them, and put them away when she's done. Finally, they make wall decor out of toys she already owns and loves. This was an easy project that a beginner can do, and it only took a couple of days. We love our Barbie racks!
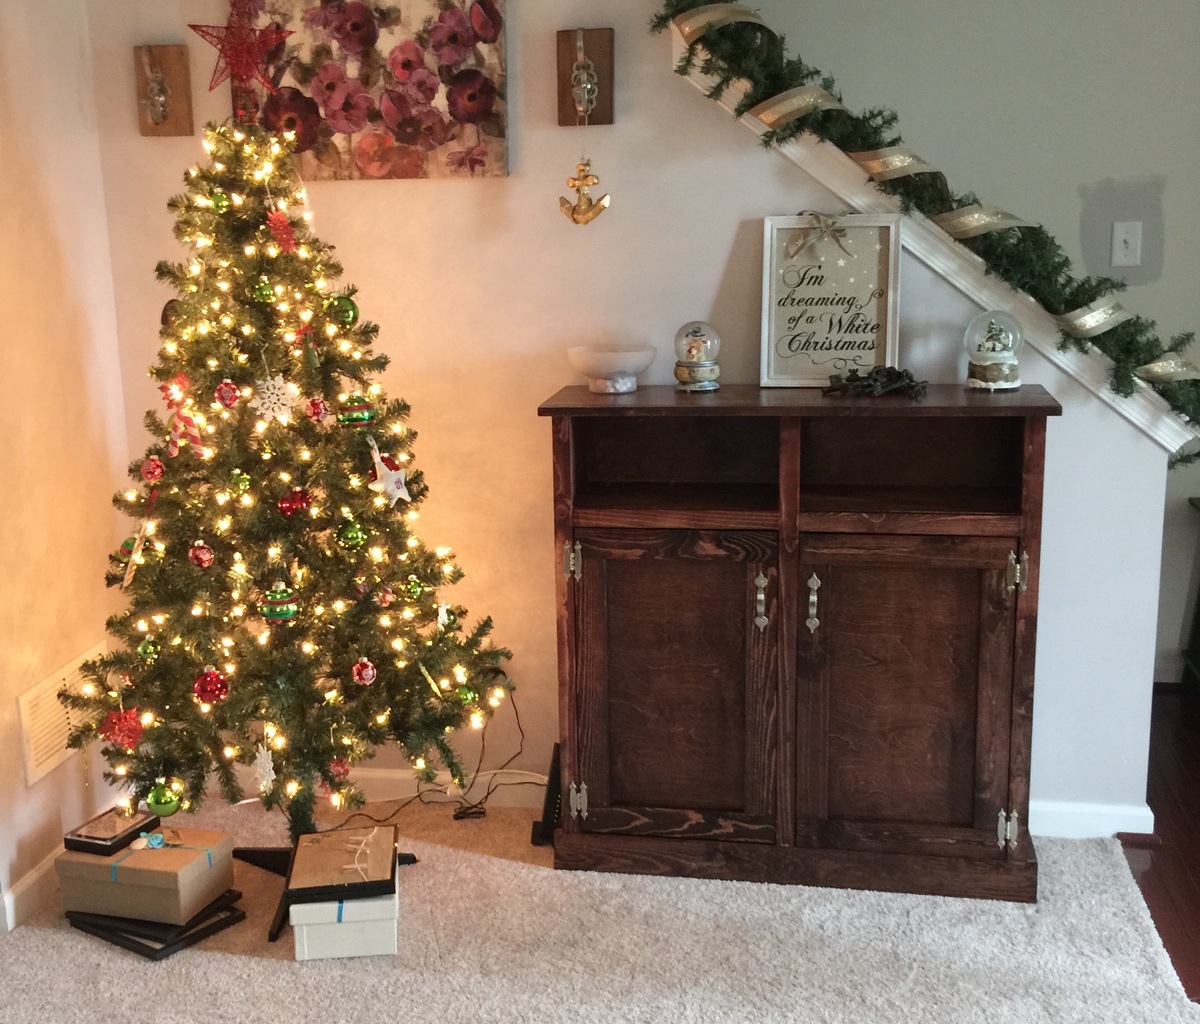
This was my first project with doors. I made it for my daughter's new house and she just loves it! I had a little trouble with the doors wanting to swing inside the console, so I added very small wood blocks on each inside top corner to stop them.
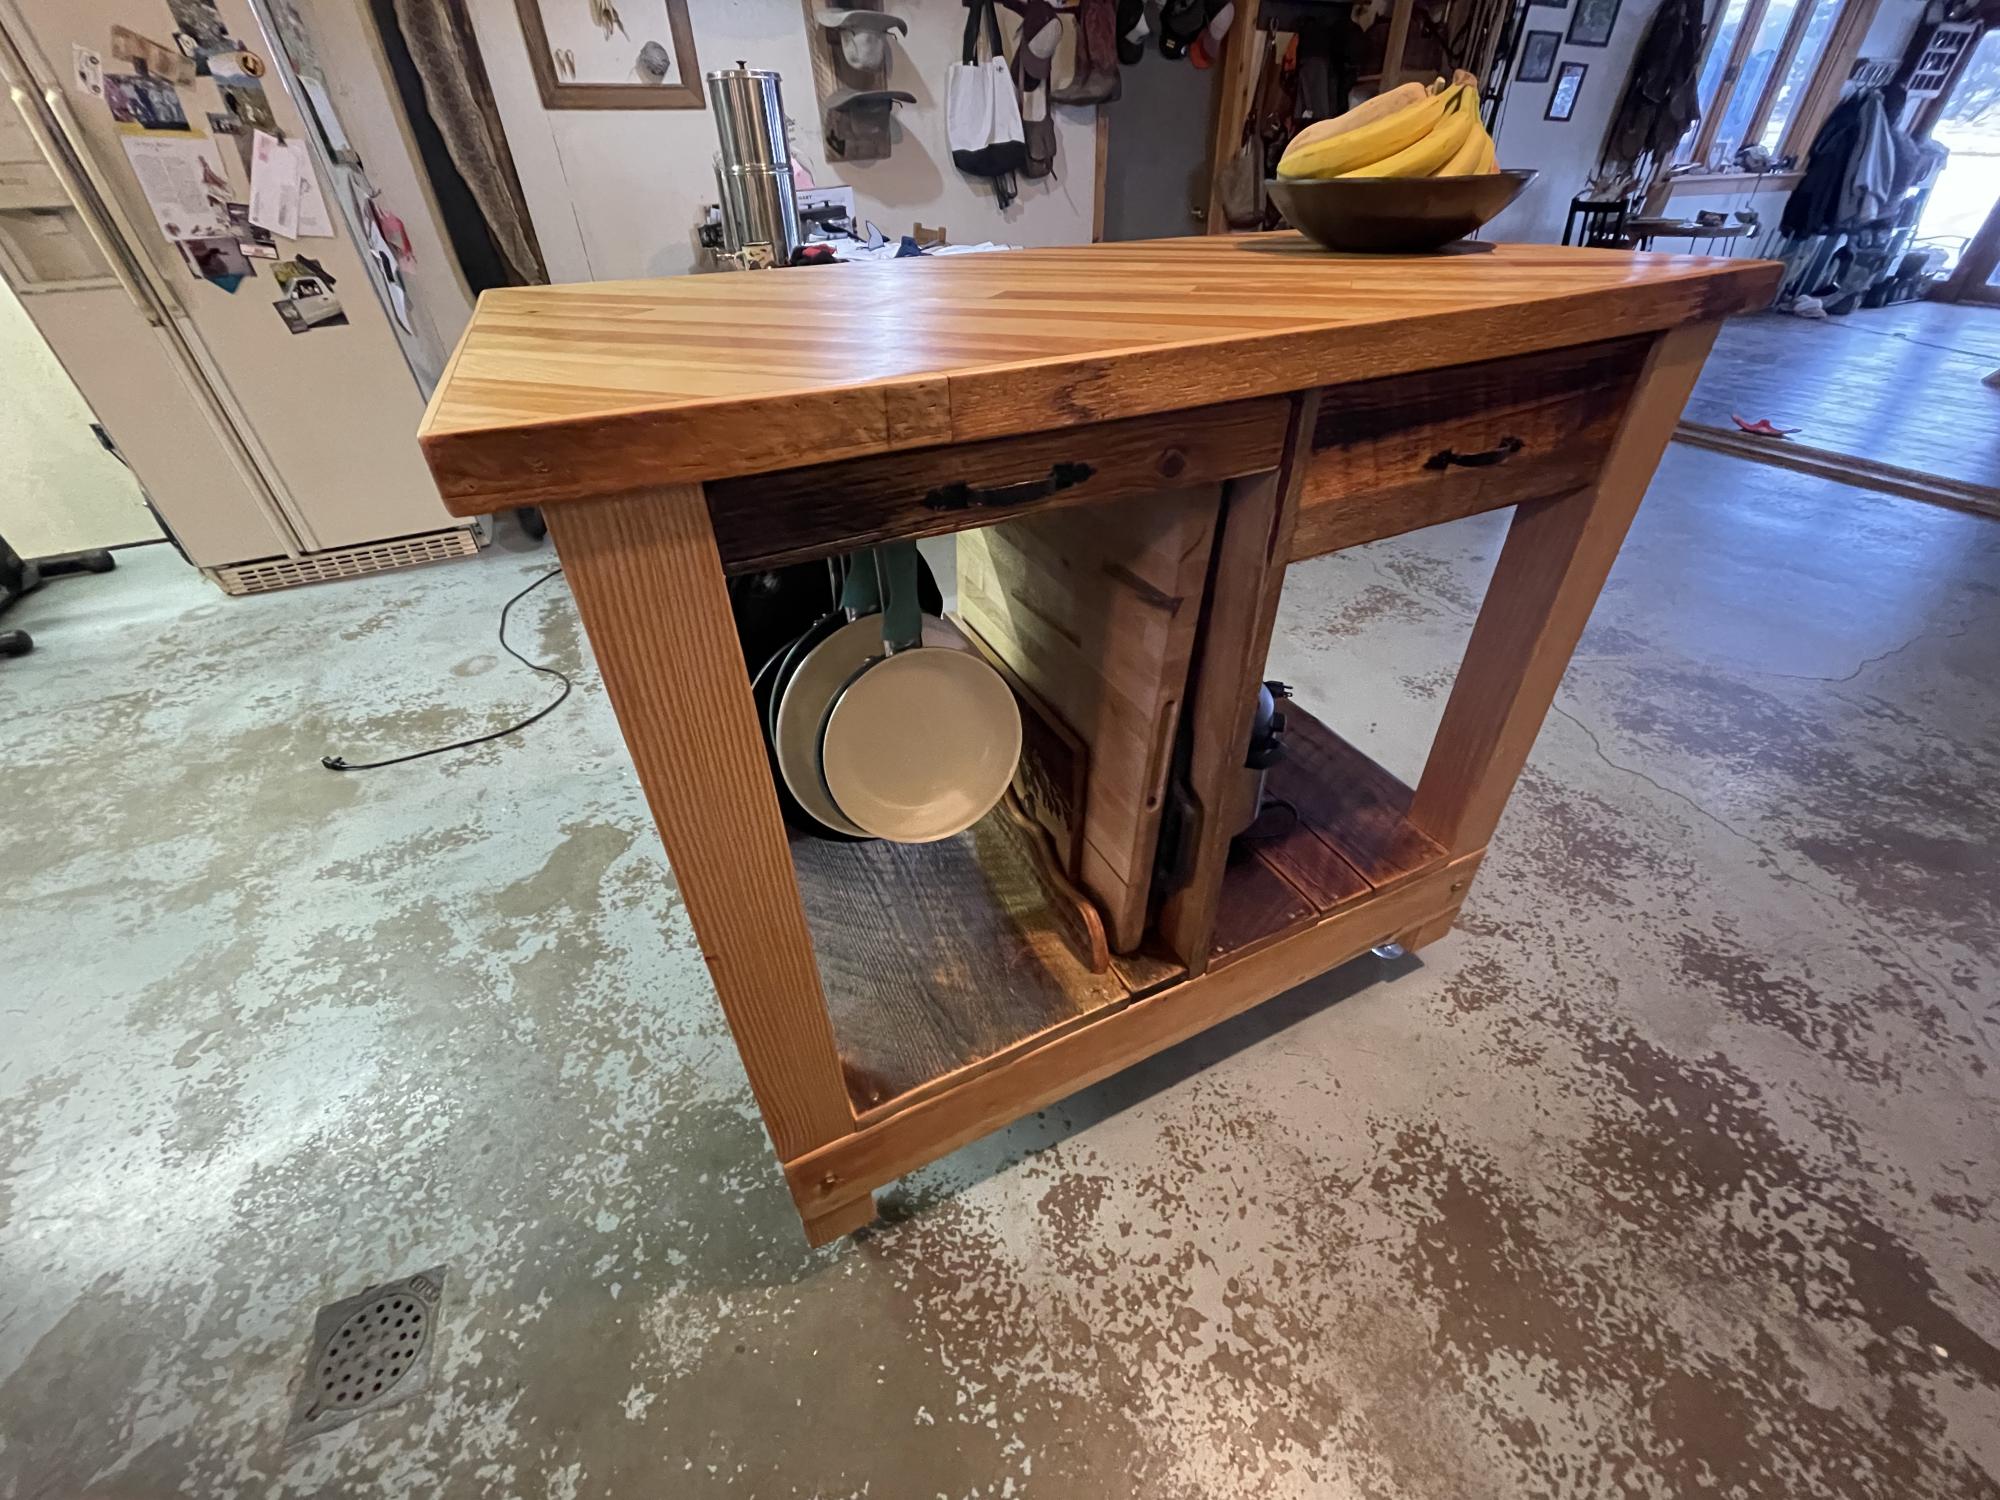
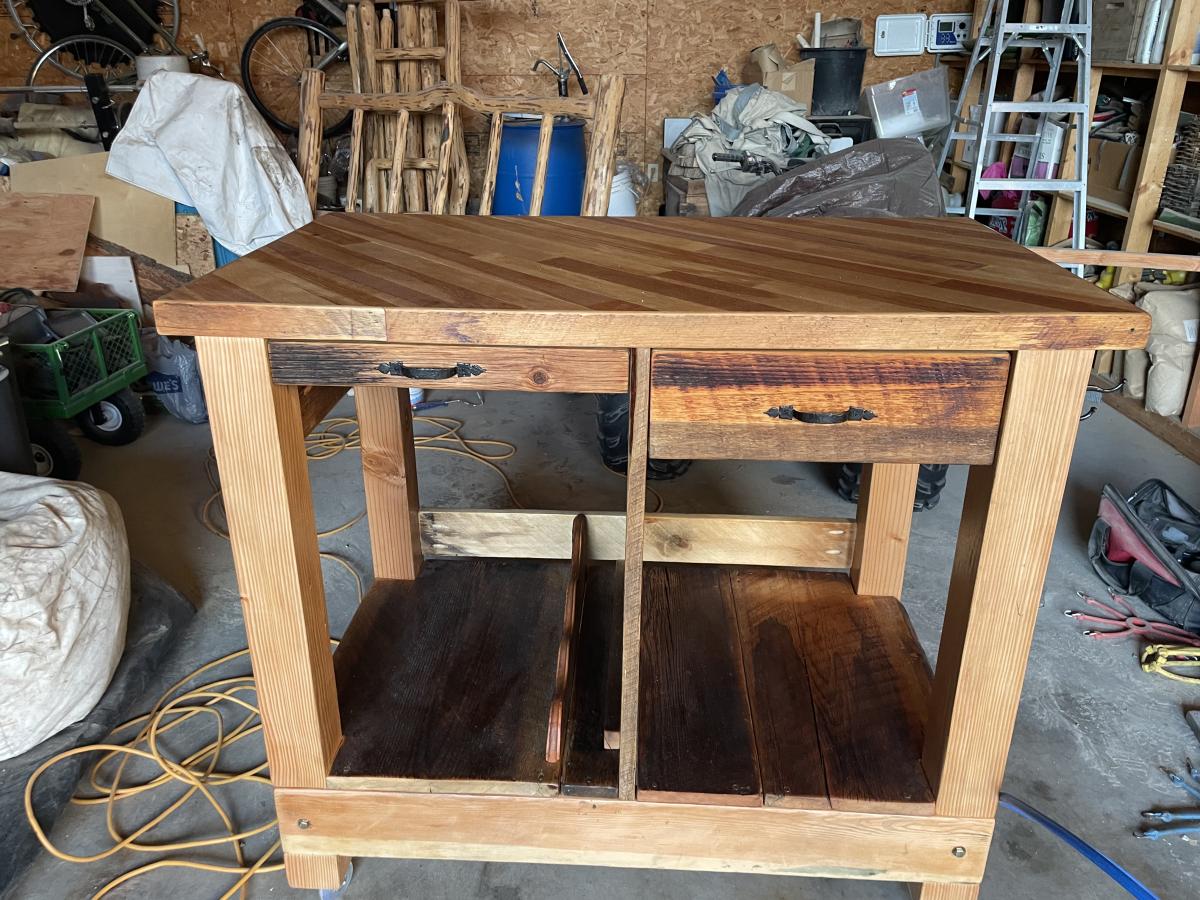
Inspired by Ana’s island plans with a few of my own tweaks.
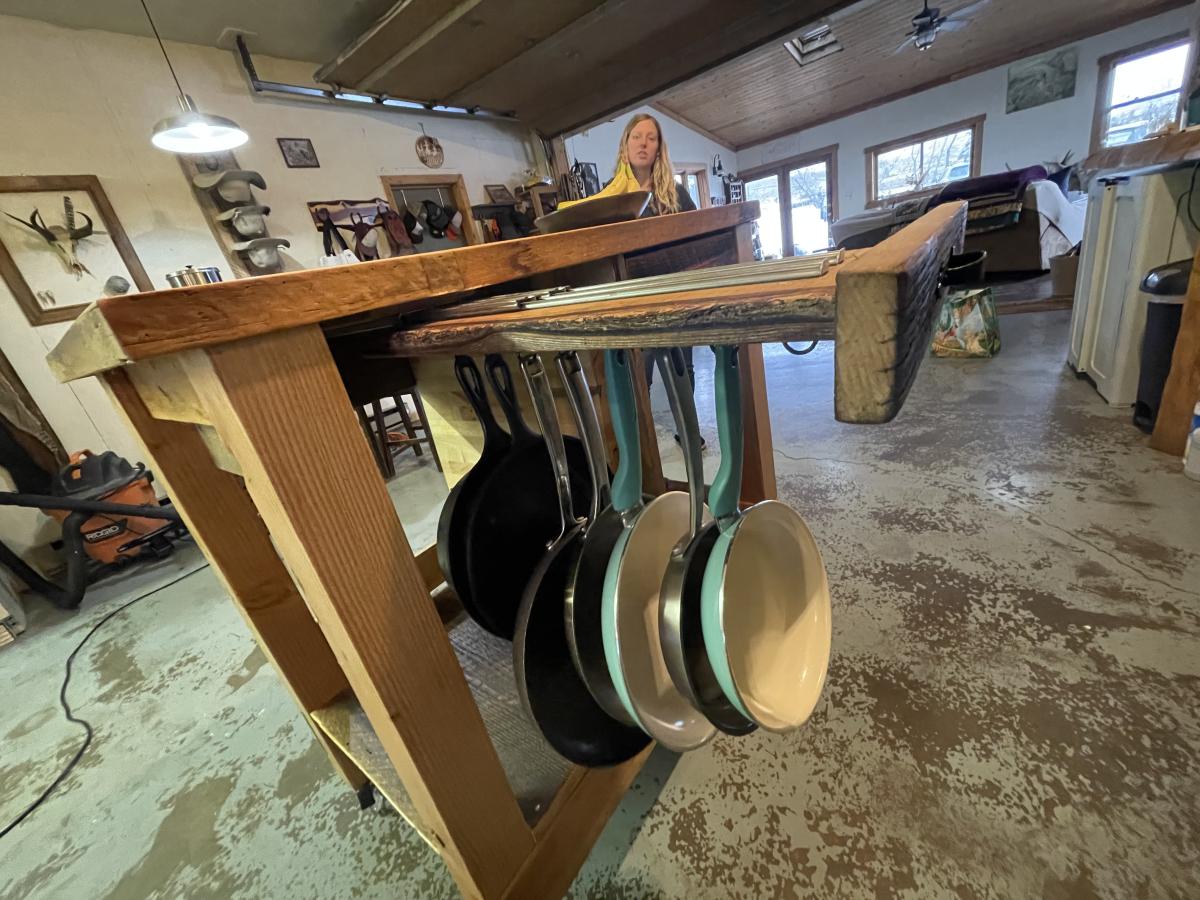
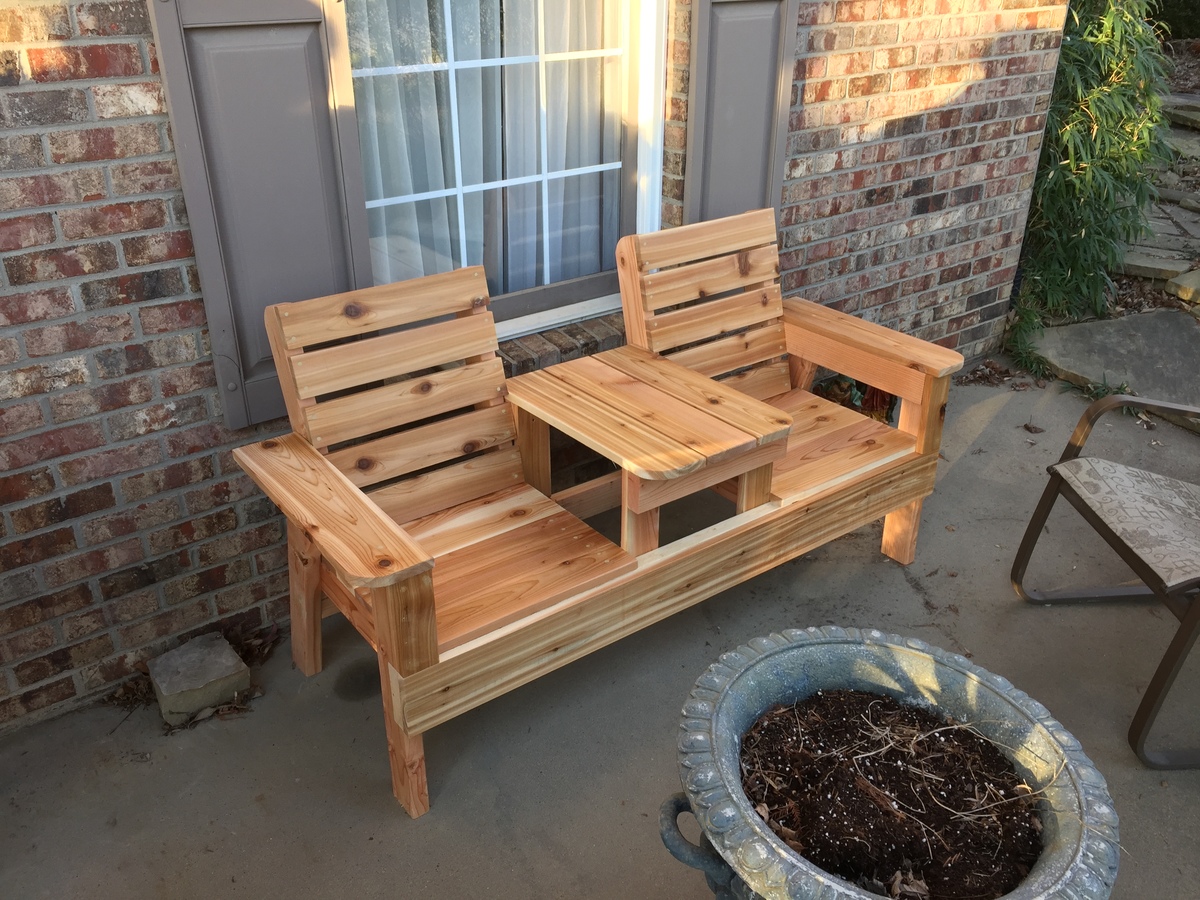
I took the plans from DIY and followed them to the "T"...more or less. I'm making 4 more of these for family and friends and will try the Kreg Jig to install the seat bottom and back rests.
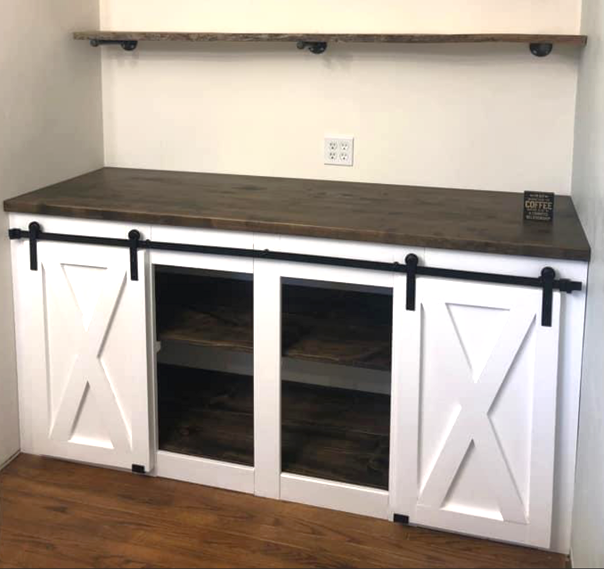
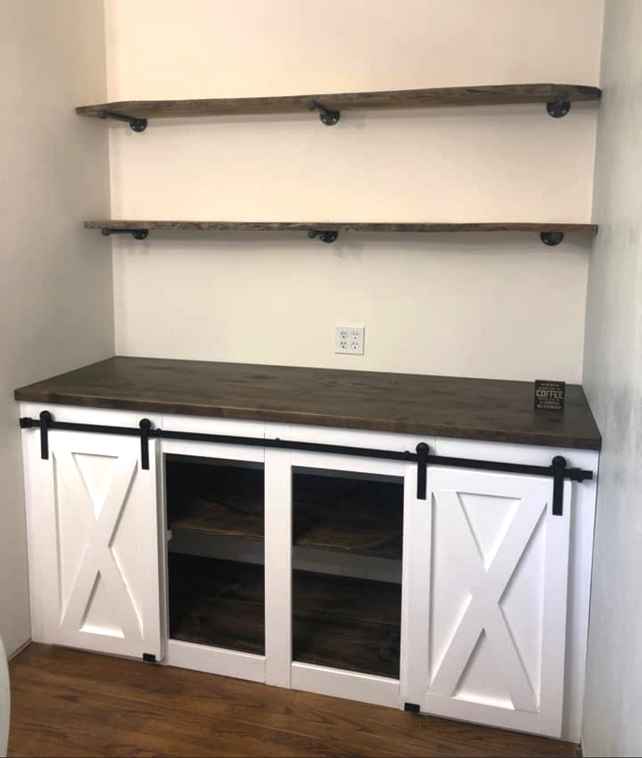
Coffee Bar Built-in! Shared by Katie Cain
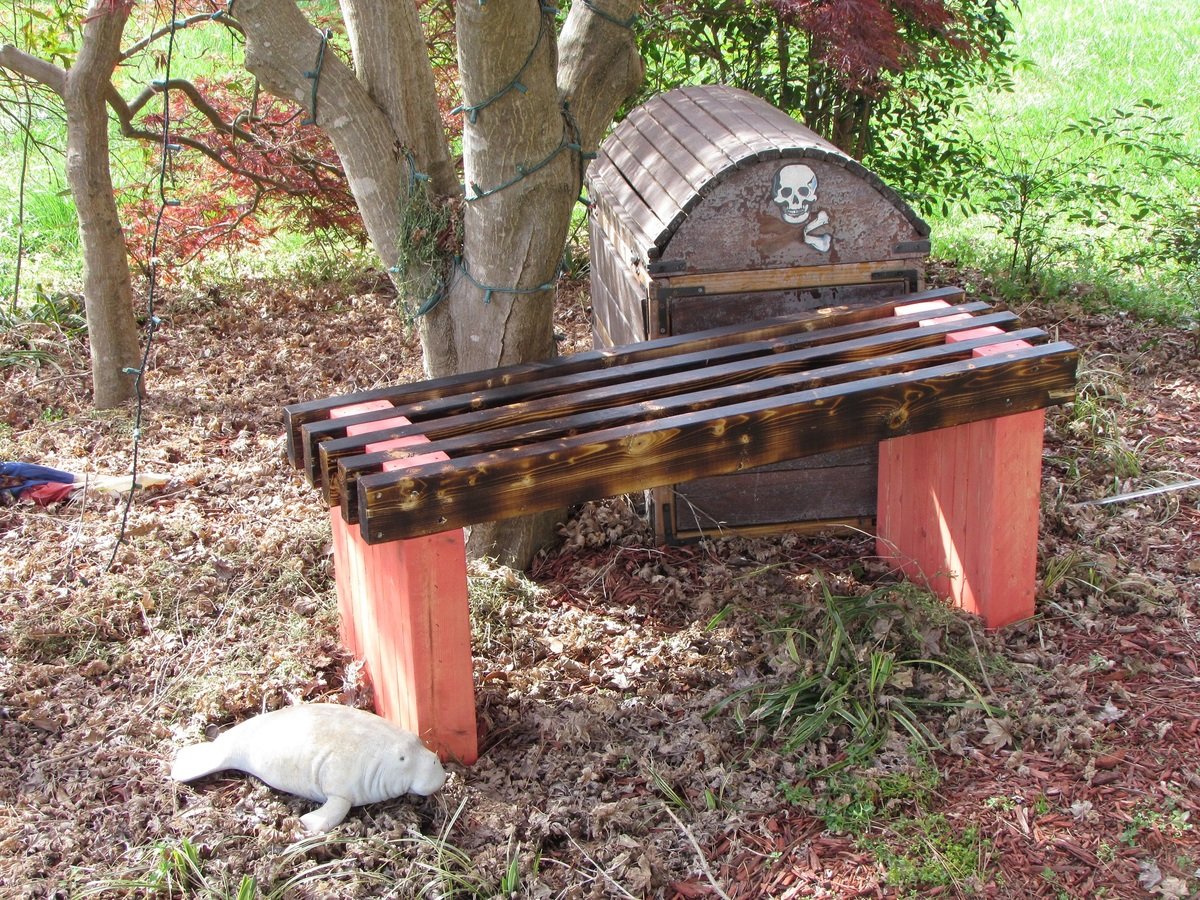
I extended the slats past the legs by 2 inches on each side. Stained the legs Cherry and Torched the seat. All the wood was reclaimed.
Here is the video: https://youtu.be/lI5d3r2-41o
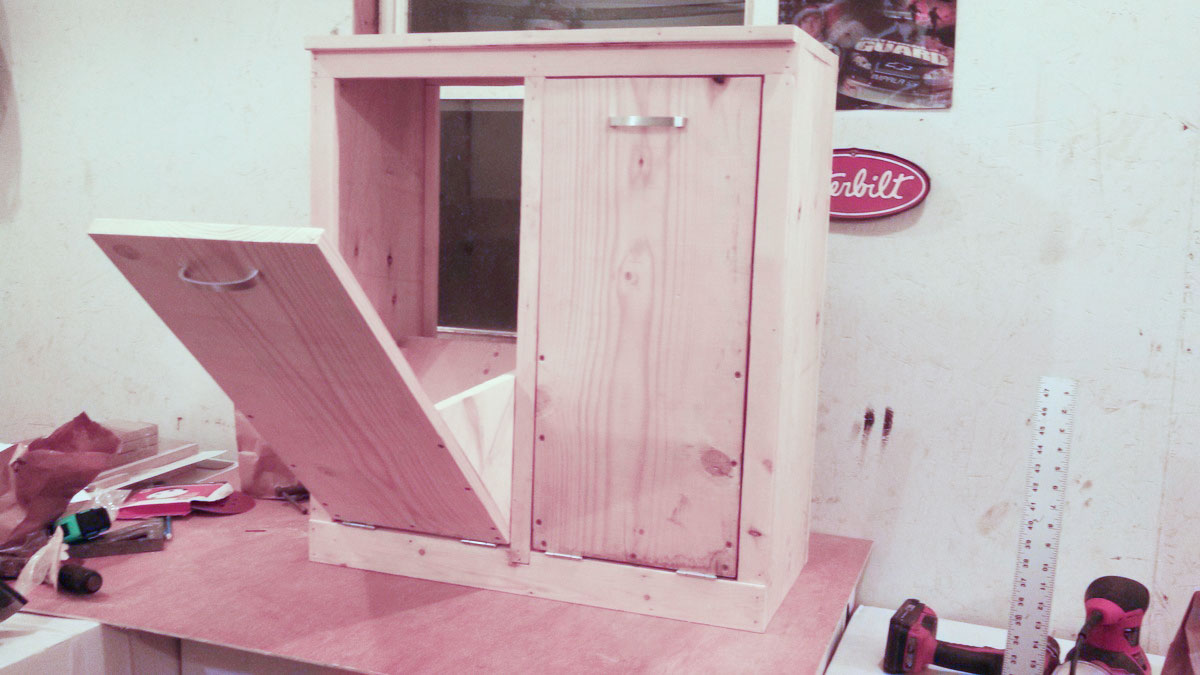
Really wanted one of these but everything I found was way too expensive so I found these plans, tweaked em a bit to fit the space I had and voila, double tilt-out trash bin. Thanks for the wonderful plans!
Sat, 05/02/2020 - 14:36
This is the exact Style I've been looking for!! I see that you made this ages ago - any chance you still have the dimension modifications you made somewhere?
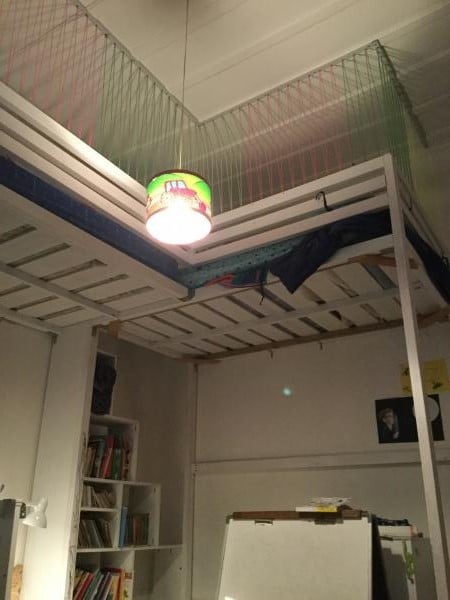
We have 12 foot studs in our house so I wanted to make use of the height of our ceiling to provide more space on the floor for the boys to play! With two boys sharing a room, the beds were going to take up a lot of valuable floor space. I found the bunk bed plans in Ana's book and decided to modify them to make loft beds. We had to do two so decided on an L shape so we could fit them into the room! Once we made the first bed we decided we should put only one set of stairs in to save space. The safest way we could think to do this was to place the stairs against the wall so the boys were less likely to fall. The stairs double as book shelves. The coloured rope was an added safety feature we thought up and gives me peace of mind! This was a fun, relatively easy build for two non-builders making their first big project. I bought a Kreg pocket hole jig for this project and it was a life saver. I can't imagine doing this build with out it!!! We completed it in about two to three days while my brother was down on holiday. It was fun and good brother sister bonding time! I am about to embark on phase two of the boys room, this time by myself , adding a storage dresser under one bed. I will modify Ana's laundry dresser plans to fit some plastic storage boxes. Then a day bed/sofa under the other bed using Ana's Alaska cabins day beds plan and finally (if I'm still standing) a shorter version of the craft table for the middle of the room! That's my year planned! Hope you enjoy the pictures, the beds are so big and high it's very hard to get a good photo.
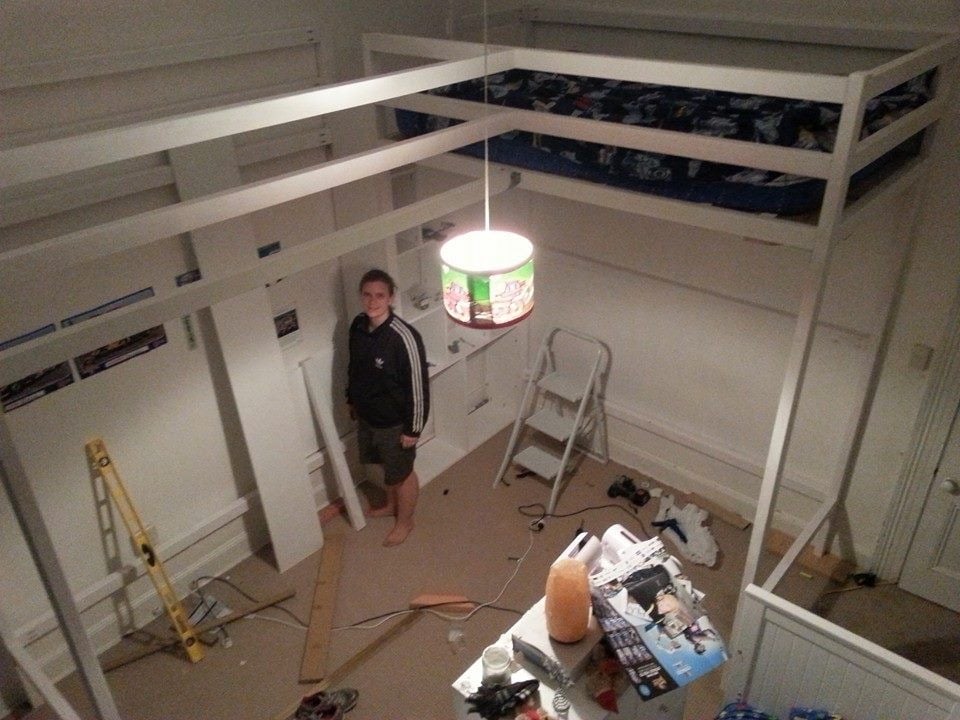
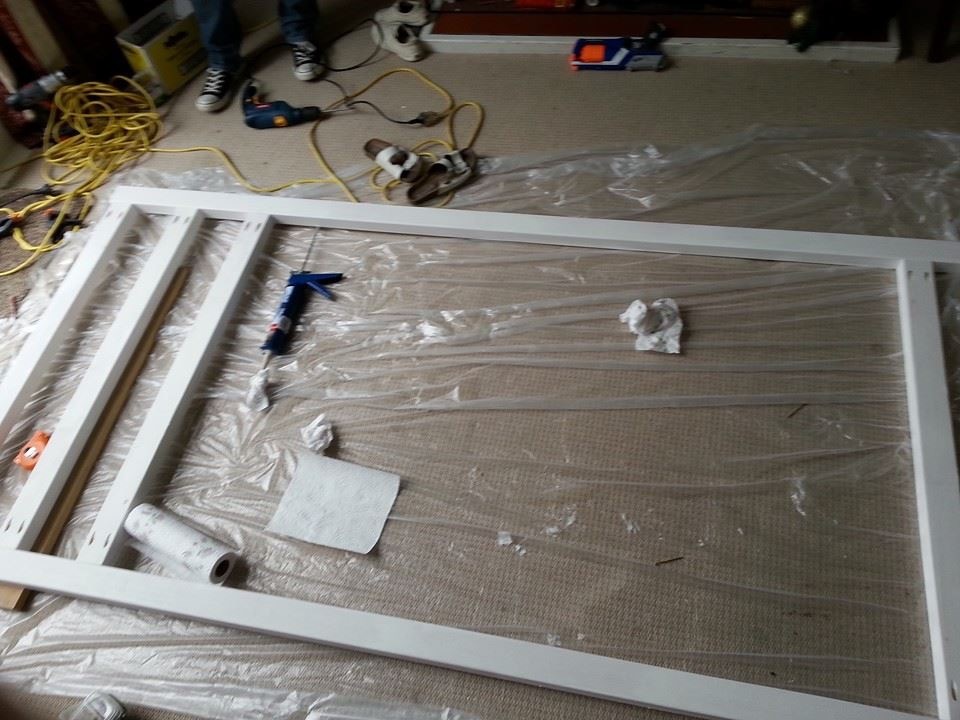
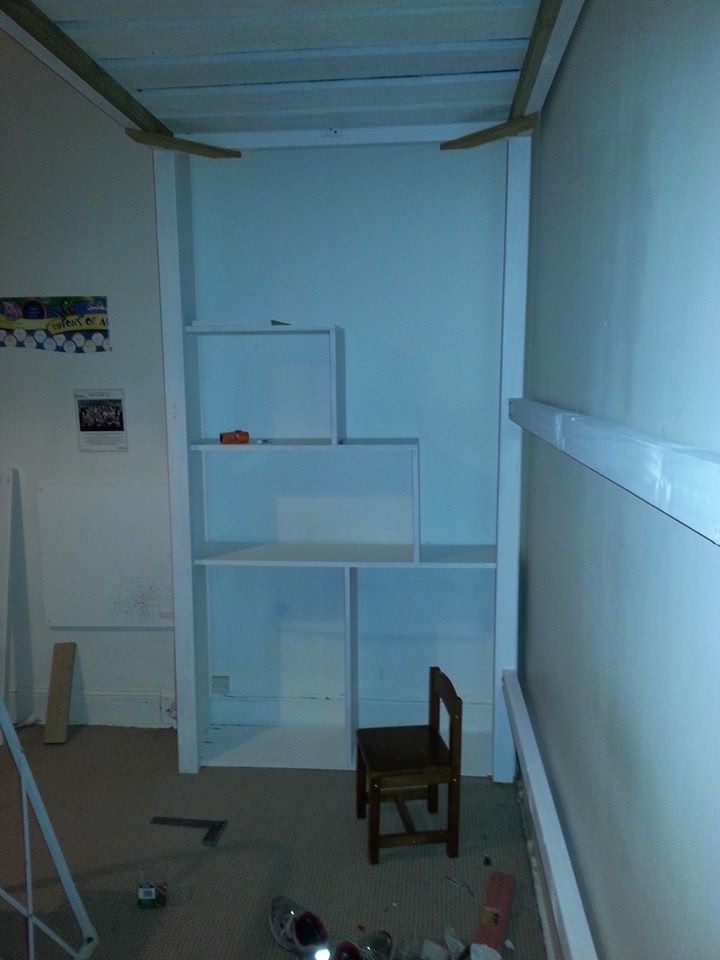
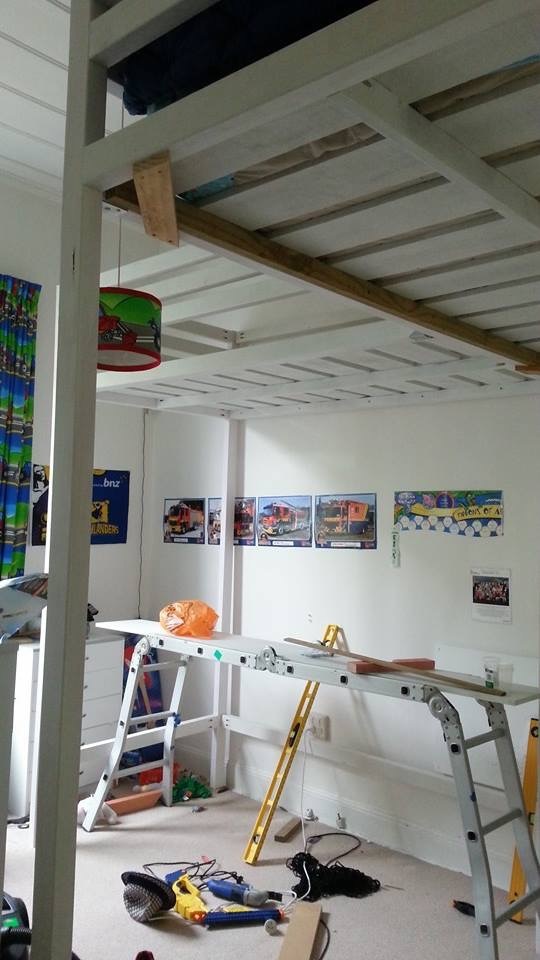
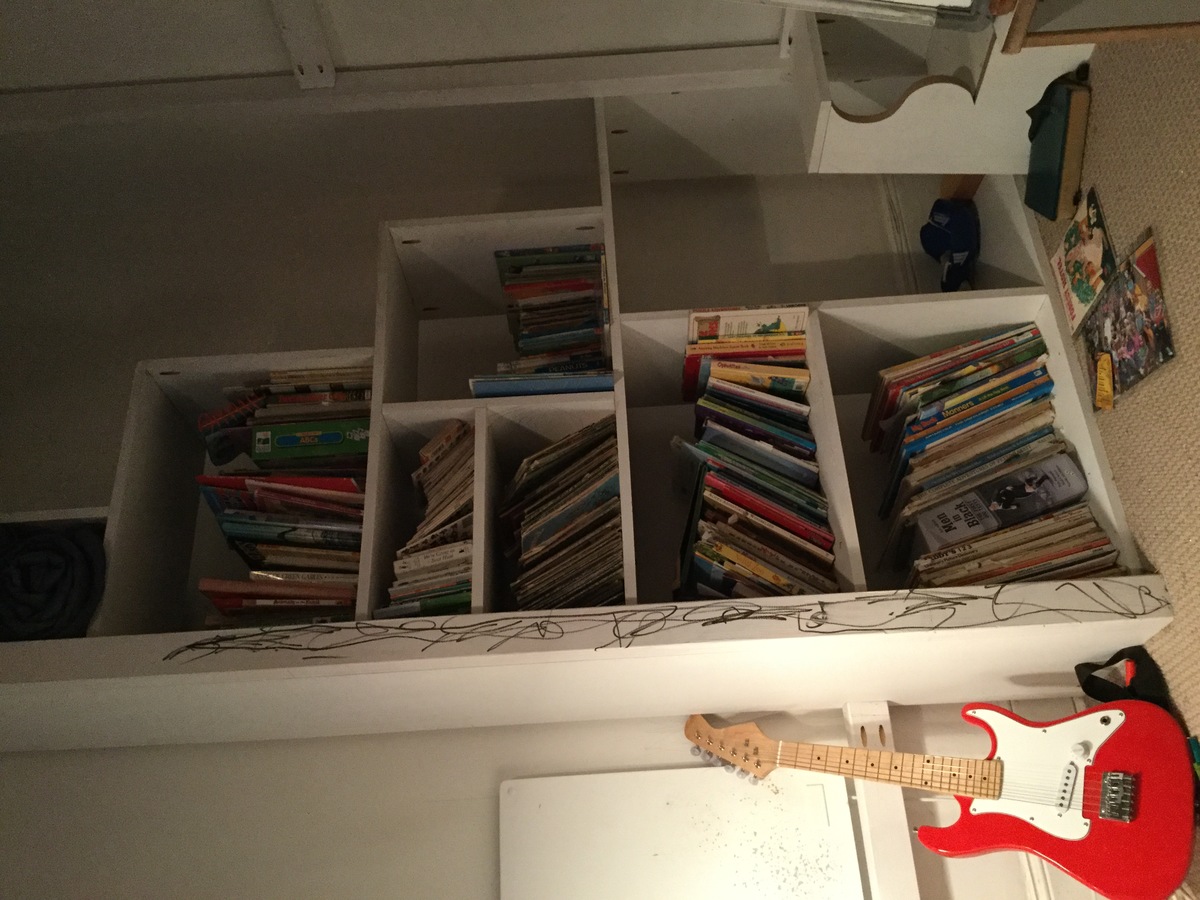
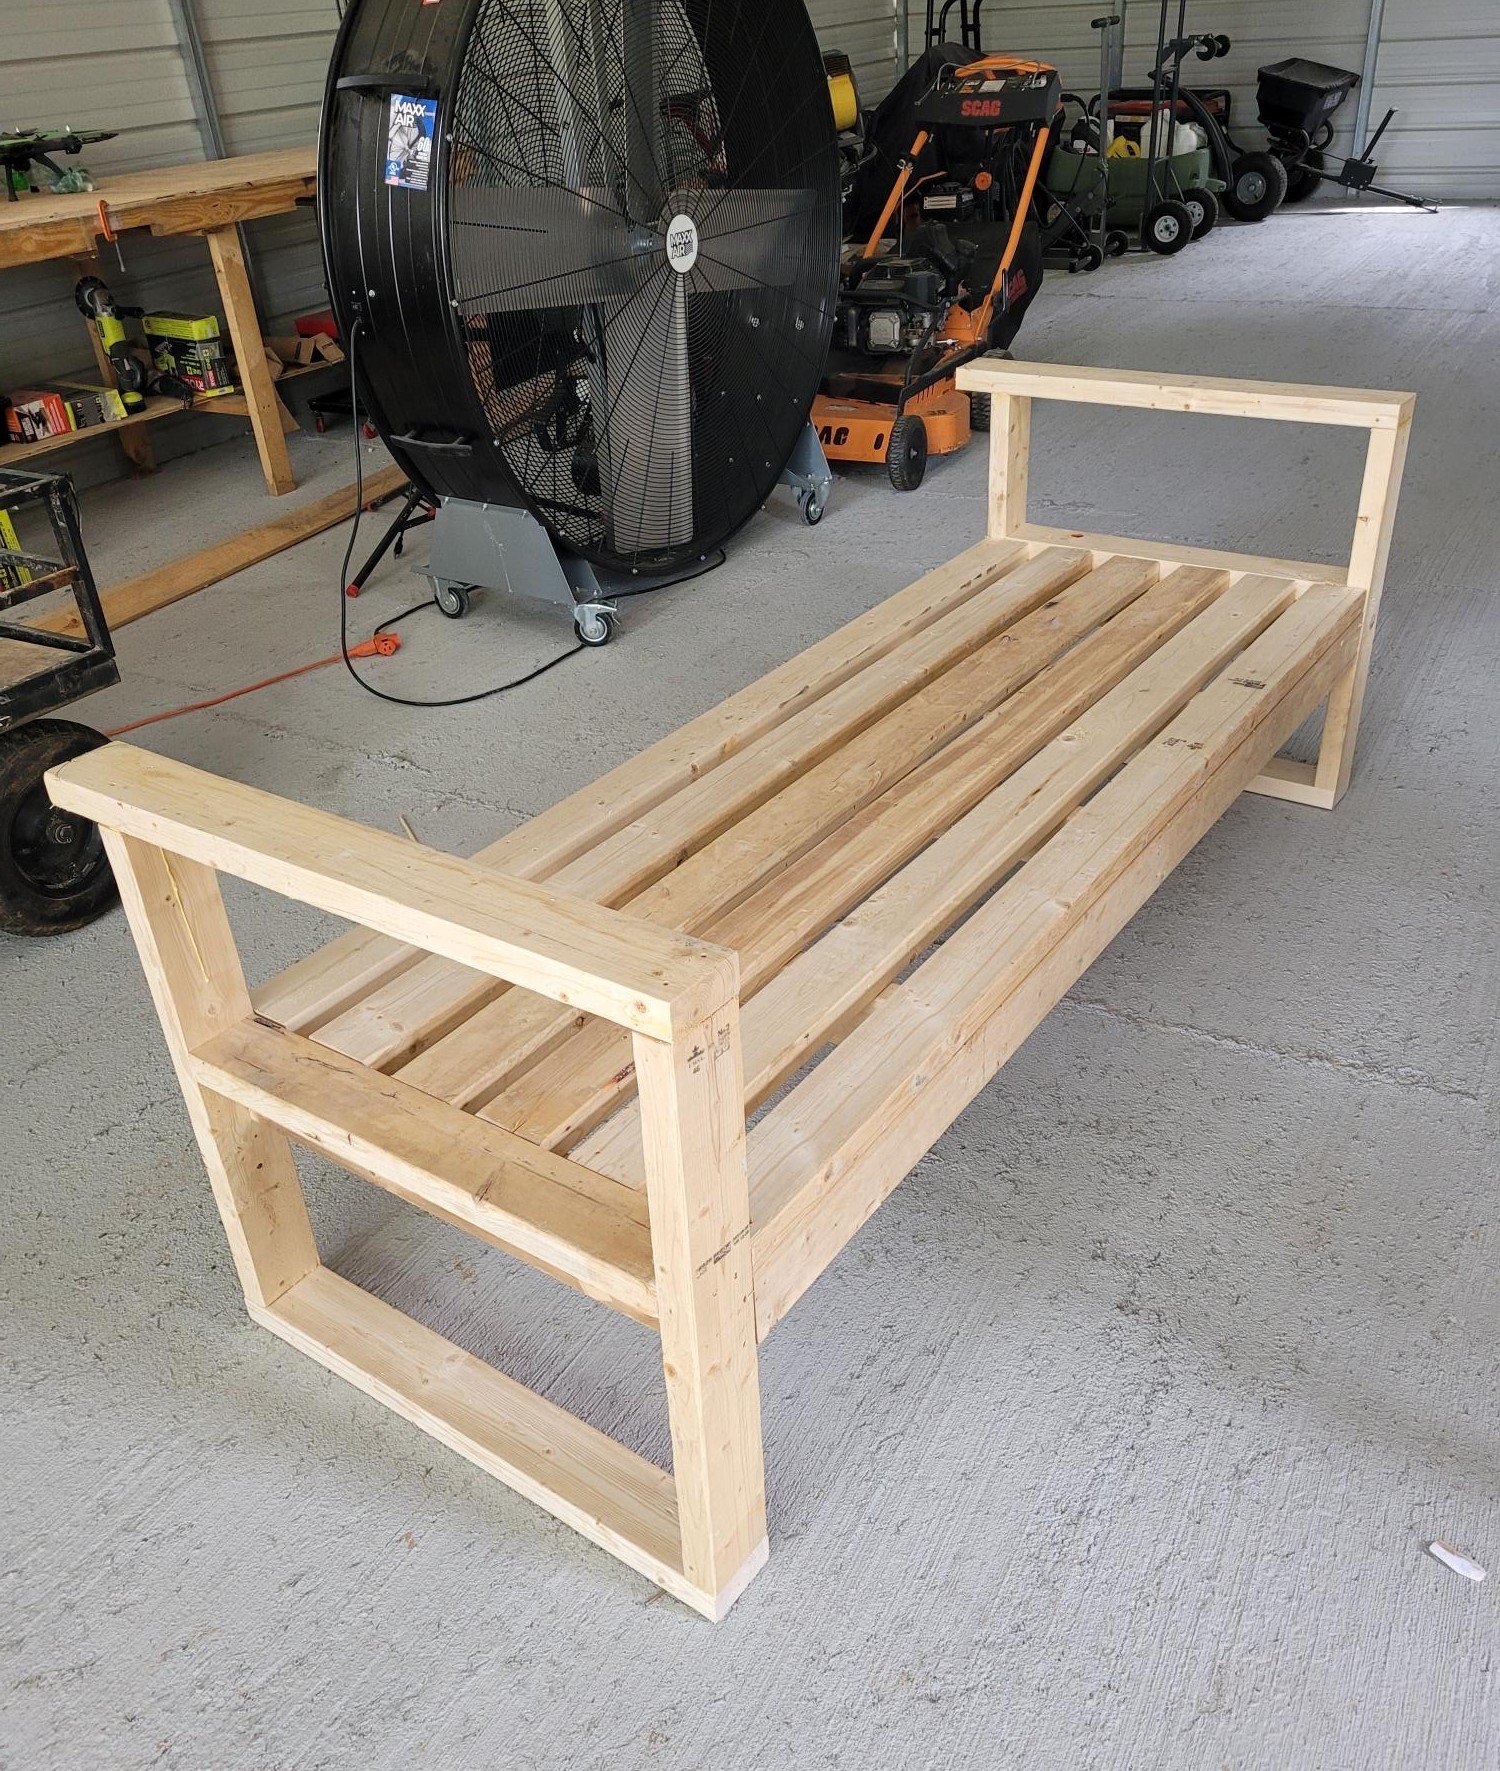
After thinking about it for 2 weeks, going over and over in my head of the sizes to cut and remembering the video of what went where, I put it to action. Took me about 2.5 hrs to build and modify where I needed to.
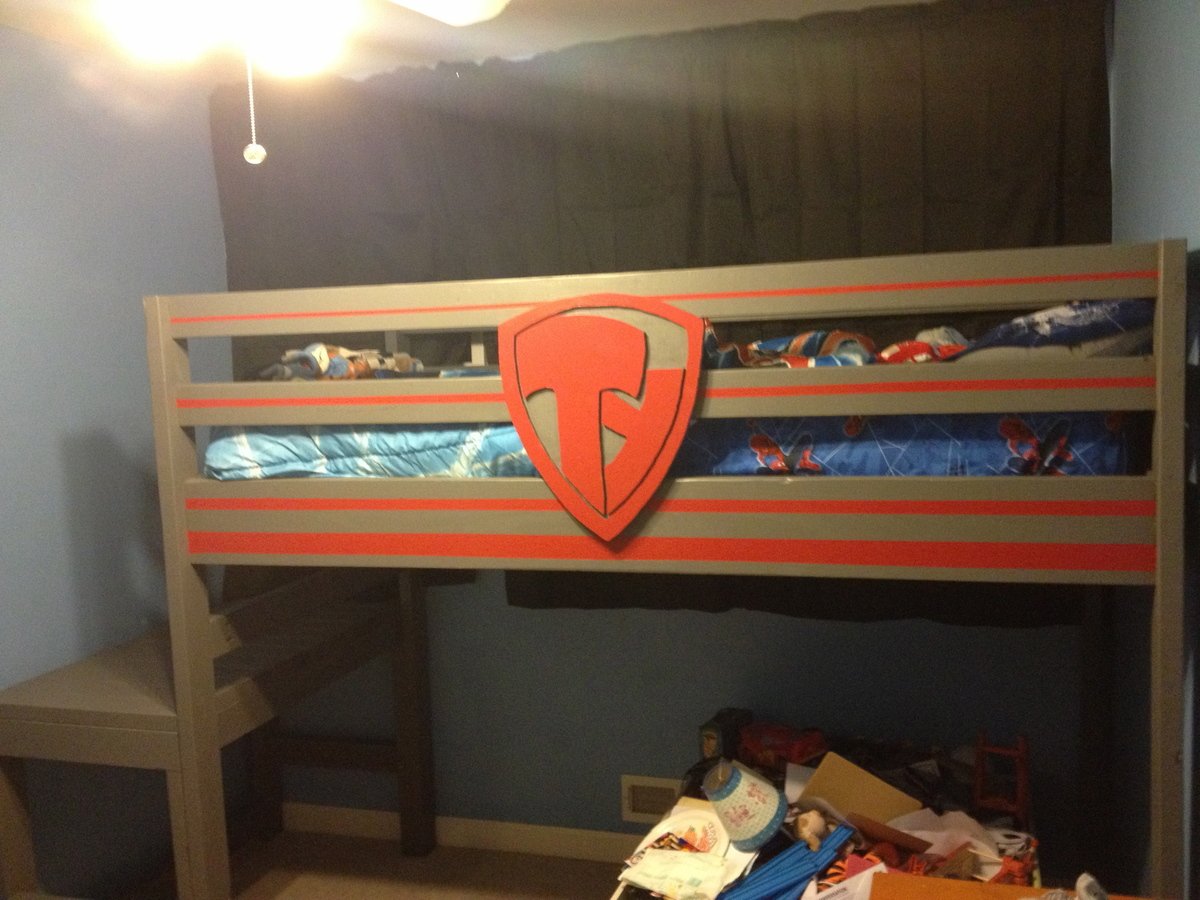
This was my first Ana White project and we had a blast putting it together. The plans were clearly explained and the end result is a sturdy loft bed for my son.
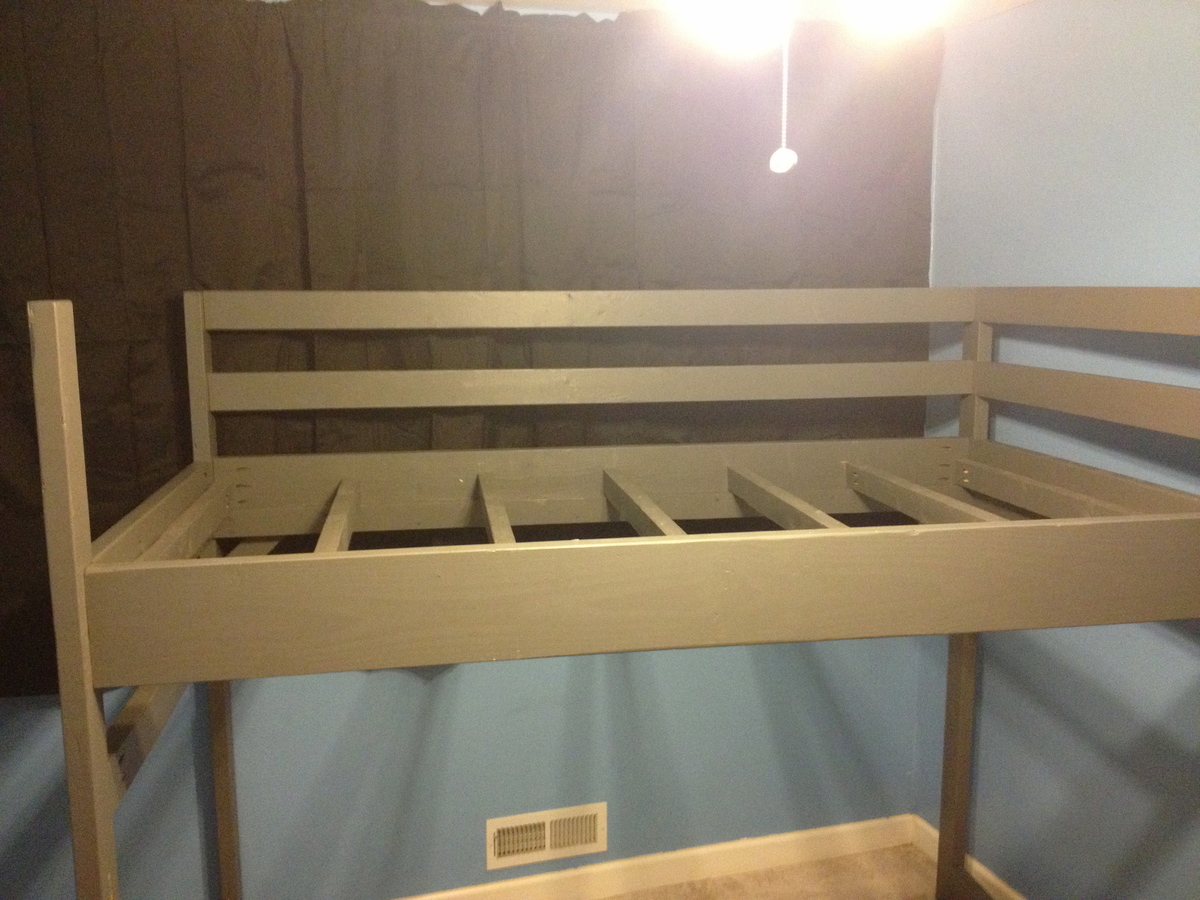
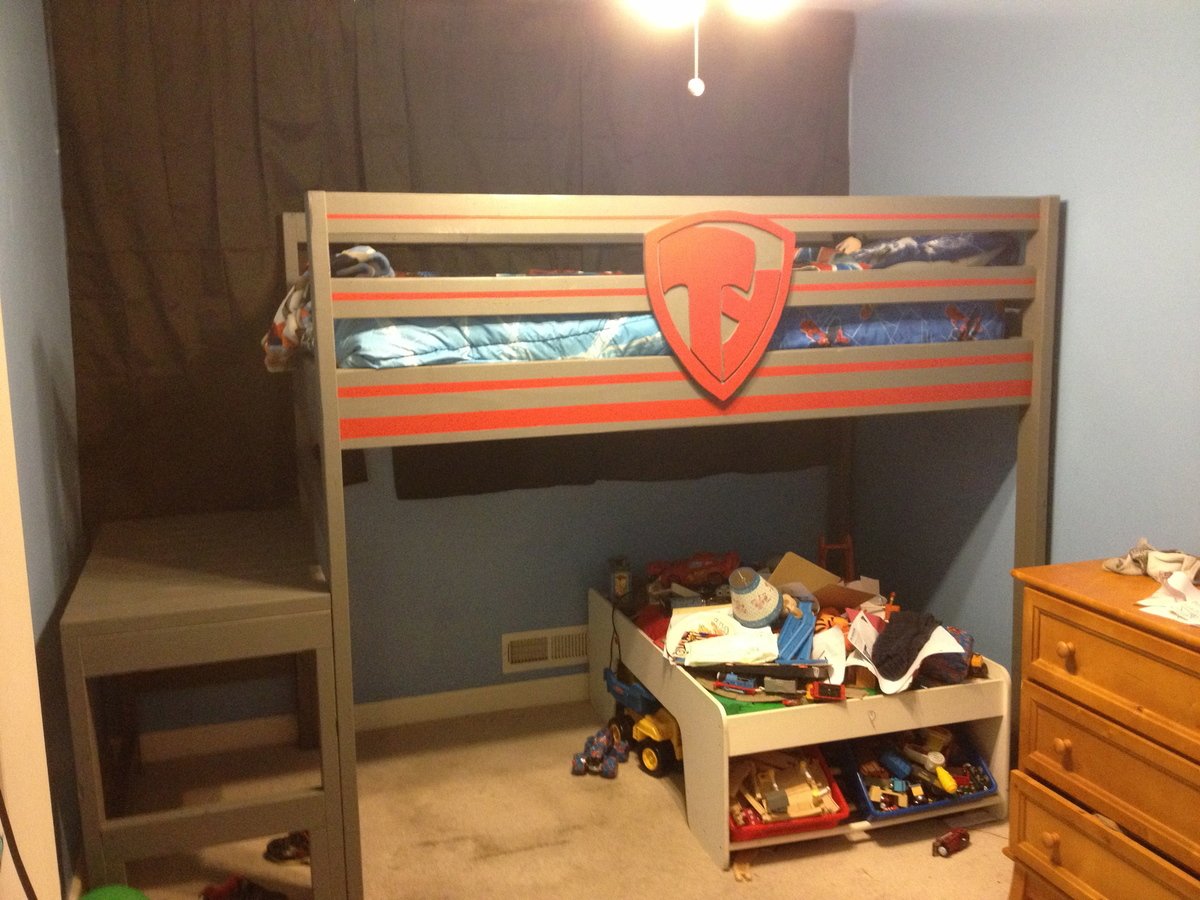
There were only a few modifications to this build from the suggested plans. First, I traded out the 2X6's for the bed supports and replaced them with 2X8's. I also replaced the cleats with 2X3's and used the same for the bed slats. Between the slats and the mattress is 1/2" OSB. We also did not use the steps as it took too much floor space for our needs. We added some 2X4's for a ladder step up to the landing.
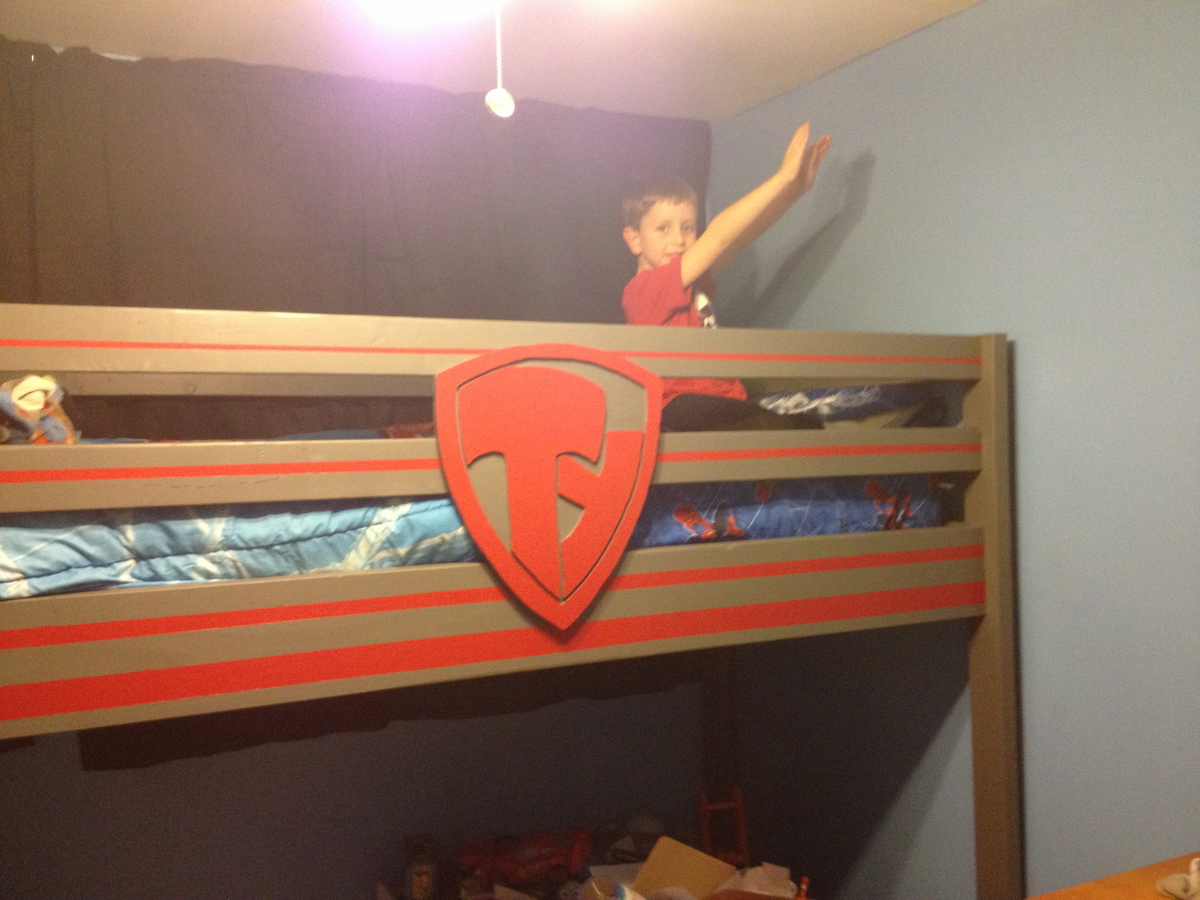
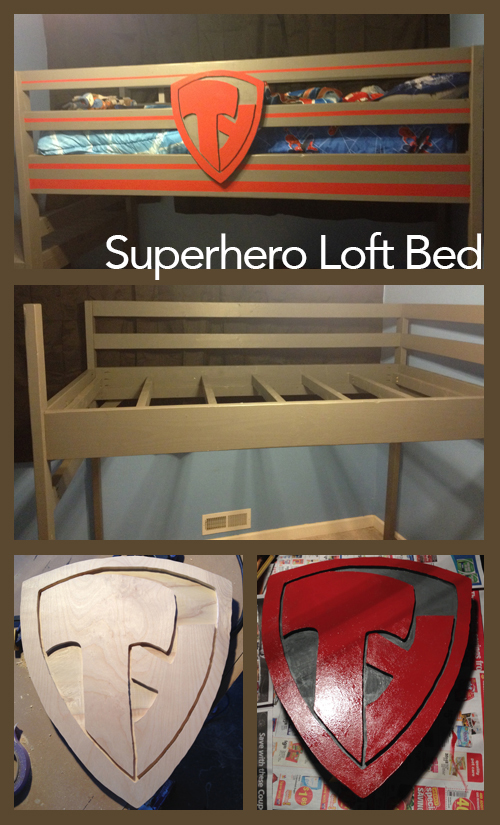
The theme is Superhero so I designed a custom hero logo in Adobe Illustrator, printed it out and carved it into 3/4" birch plywood with a rotary tool and router.
We're pretty much done with the bed. We now just have to arrange the room and add some lights underneath and maybe some extra storage under the landing.
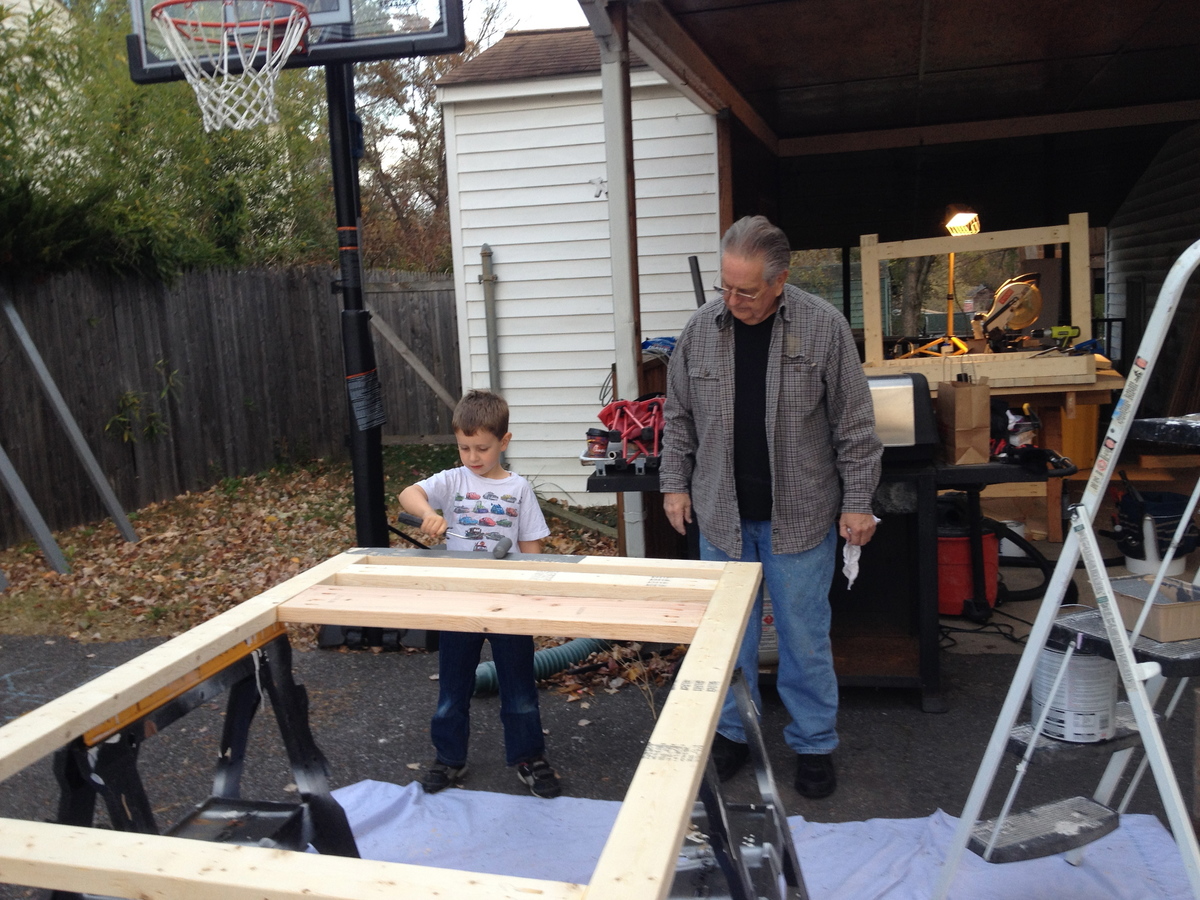
My boy loves his new bed and I loved building it with him and my dad. It was a blast and will be one of the most memorable weekends of our lives! There's nothing like building with family.
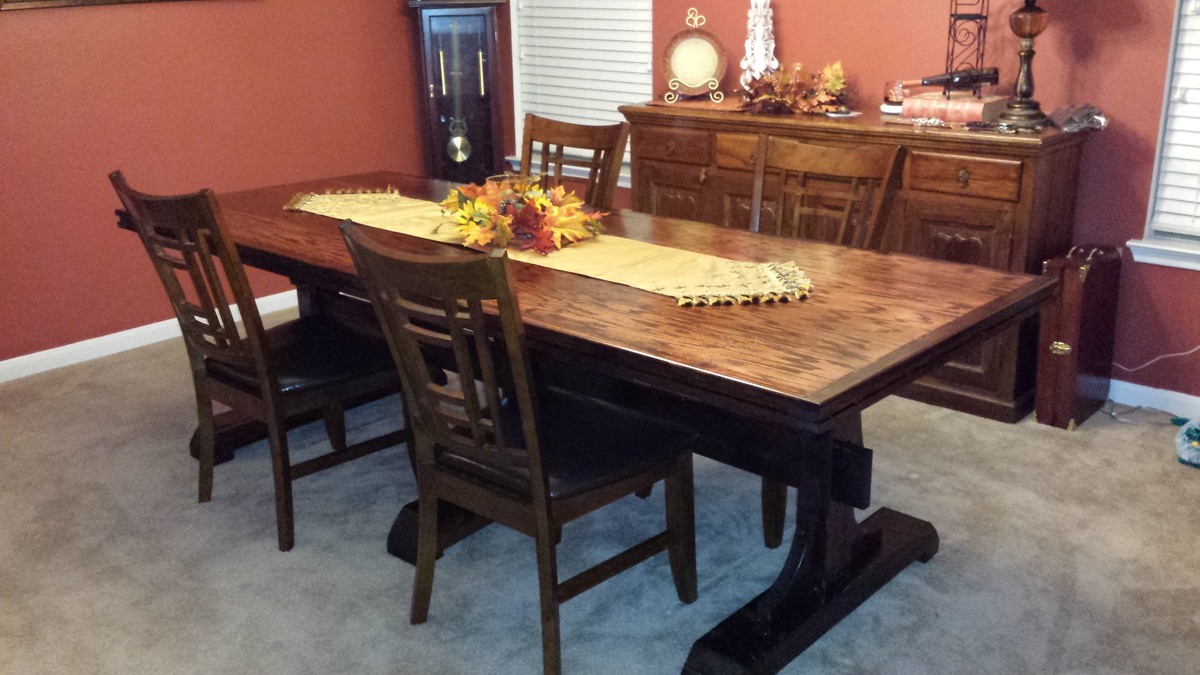
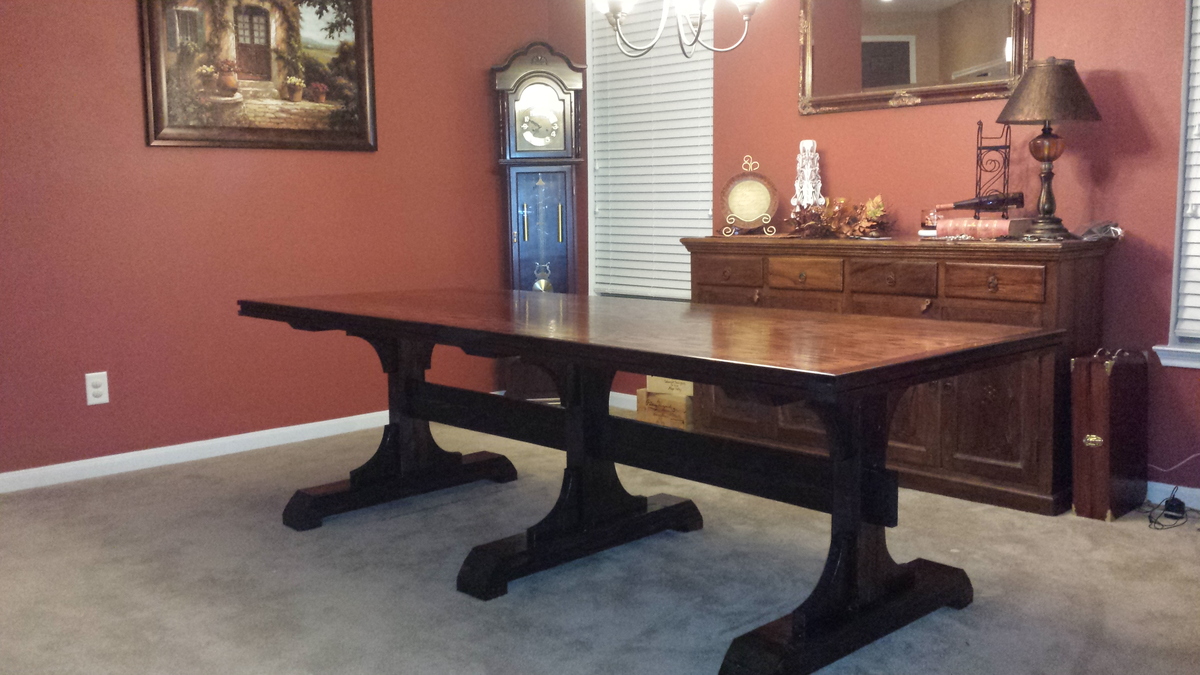
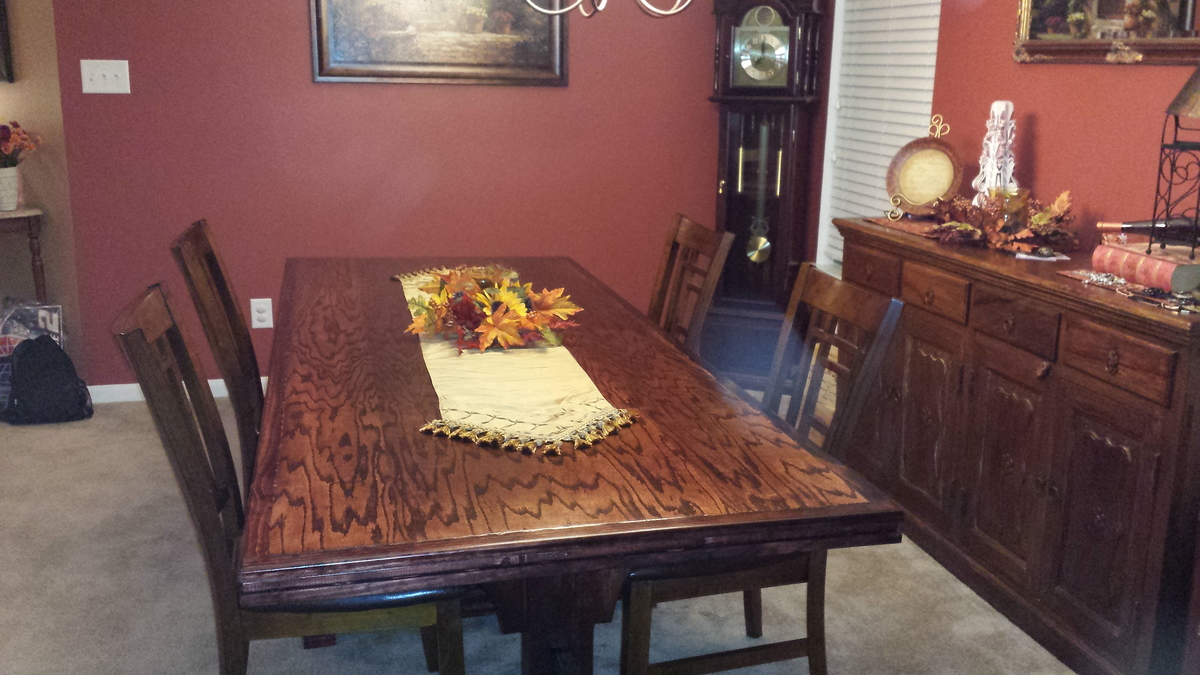
This beautiful table measures a little over 8ft x 3ft and made out of oak plywood and pine.
Instead of using individual slats for the main surface as in the building plans, I decided on one large 8ft x 3ft piece of oak plywood. I encased it in 2 inch pine and routed the top edge with a 1/4" round over bit.
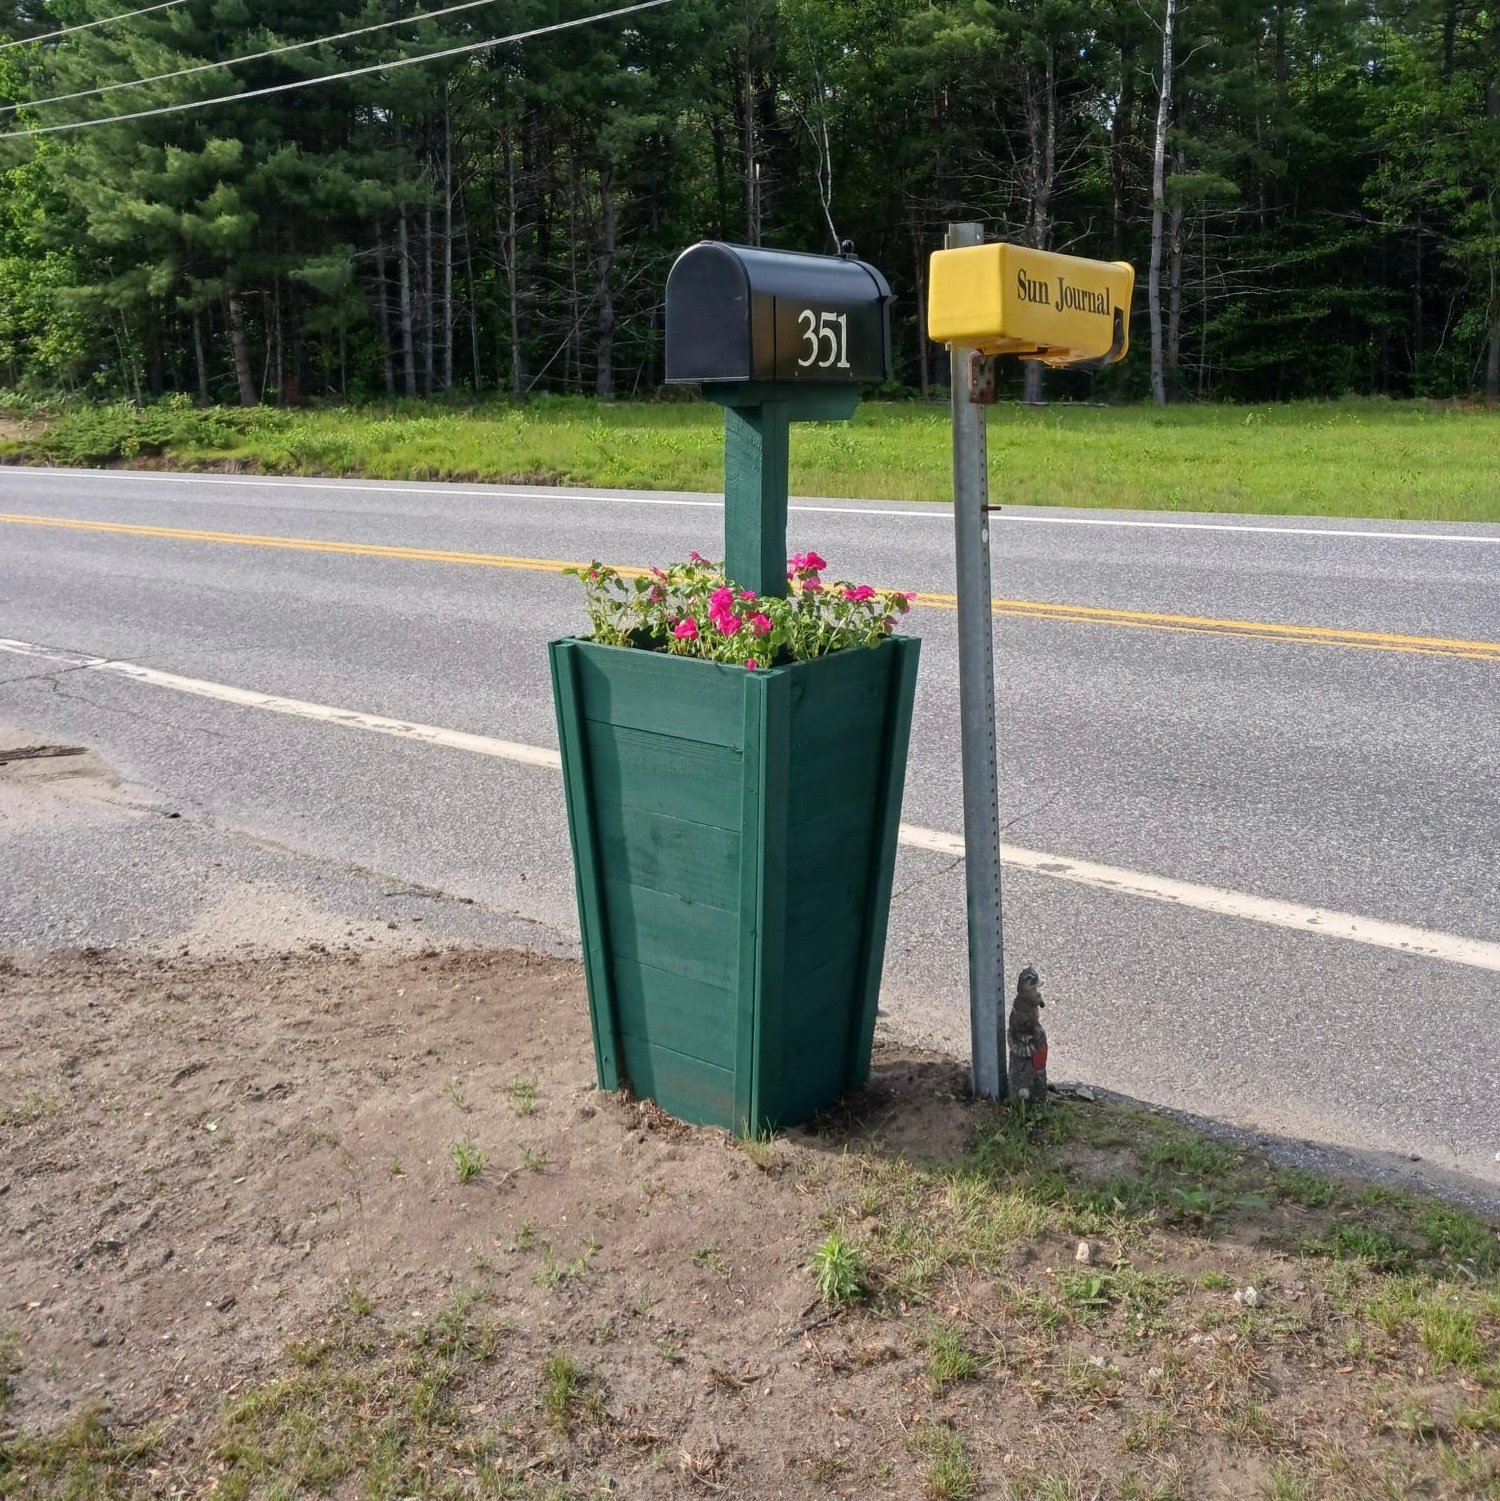
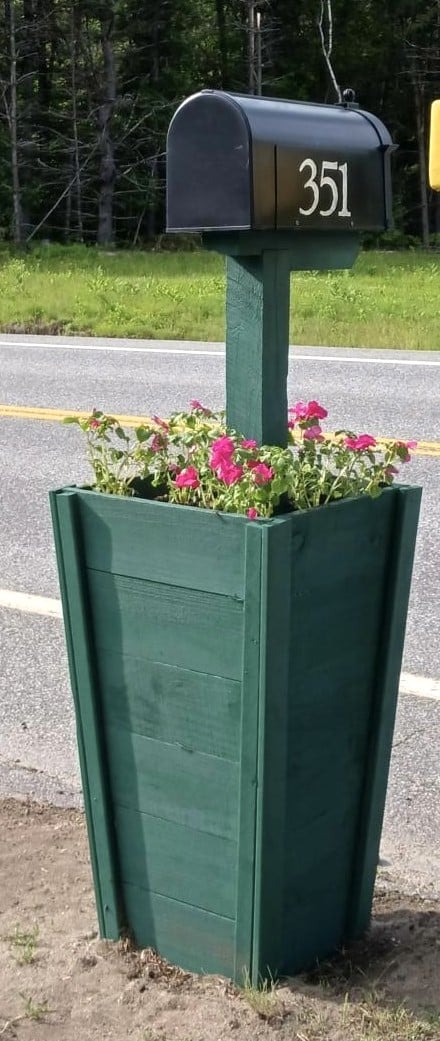
Thank you, Ana, for providing such great plans and video so I could accomplish the mailbox planter. It took me a lot longer than it did you, but I got it done! Had a hard time finding cedar pickets in my area, but ended up using the dog-eared ones as that's all I could get. Keep up the phenomenal content on your site...it is very much appreciated!
Thu, 06/15/2023 - 14:29
Love the idea of using this plan for a mailbox planter, well done! Thank you for sharing.
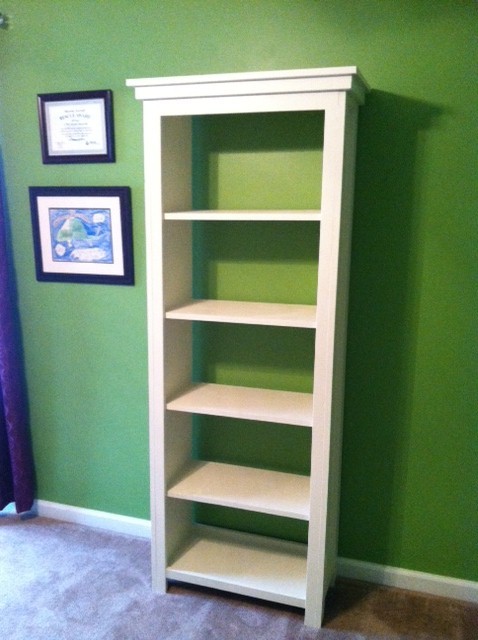
This is the first piece of furniture I have ever built. I'm super proud. It was fairly easy. I can't wait to fill my house with all of my future creations!
My daughter, like most other 2 & 3 year olds, love playing dress up. Over time we have collected a large selection of princess dresses and various other dress up clothes. Where do you put this stuff? My wife went to Pinterest for ideas. She came to me asking if I could make her a closet. A closet, what? She then showed me a picture. I said "that looks like a box. I can do better." the idea of repurposing a dresser sounded like a much better and time saving idea. So I set off to the second hand stores in search of a sterdy, decorative, not too expensive dresser.
Once the dresser had been procurred ($30 at Goodwill) and transported home, the project began. I first removed all but the bottom drawer and drawer supports. Next I removed the hardware from the remaining drawer and deglossed the entire dresser and drawer. Once deglossed, I put down a single coat of white primer. The next day I came back and put down two coats of paint. The outside I used a cream color to match the playroom where it would be housed. On the inside of the dresser I painted it bright Pink; Bear Paint calls this color "sexy Pink". We'll call it bright pink since its for my 3 year old.
After two coats of paint the project was pretty much complete. Then I had the bright idea to add lights. I went to the hardware store looking for under cabinet lighting. I was unimpressed with the lighting options and price points. To Amazon.com I go. I found 16 feet of LED Strip lighting for $4 and a power supply for a couple extra bucks. The lights came with a remote control. When UPS delivered the package of lights I couldnt wait to install them. This was going to put the closet over the top. I cut the strip to the size I needed and installed using the provided 3M tape. It could not have been easier to install. I was able to cut the strip into the size strips I needed (64 inches total).
The final product with the lights on can be found on my youtube page:
http://www.youtube.com/watch?v=gE1soeC2OaE
My daughter was THRILLED! She loves using the remote to turn the lights on and off as well as changing the colors of the lights.
This project was super easy!
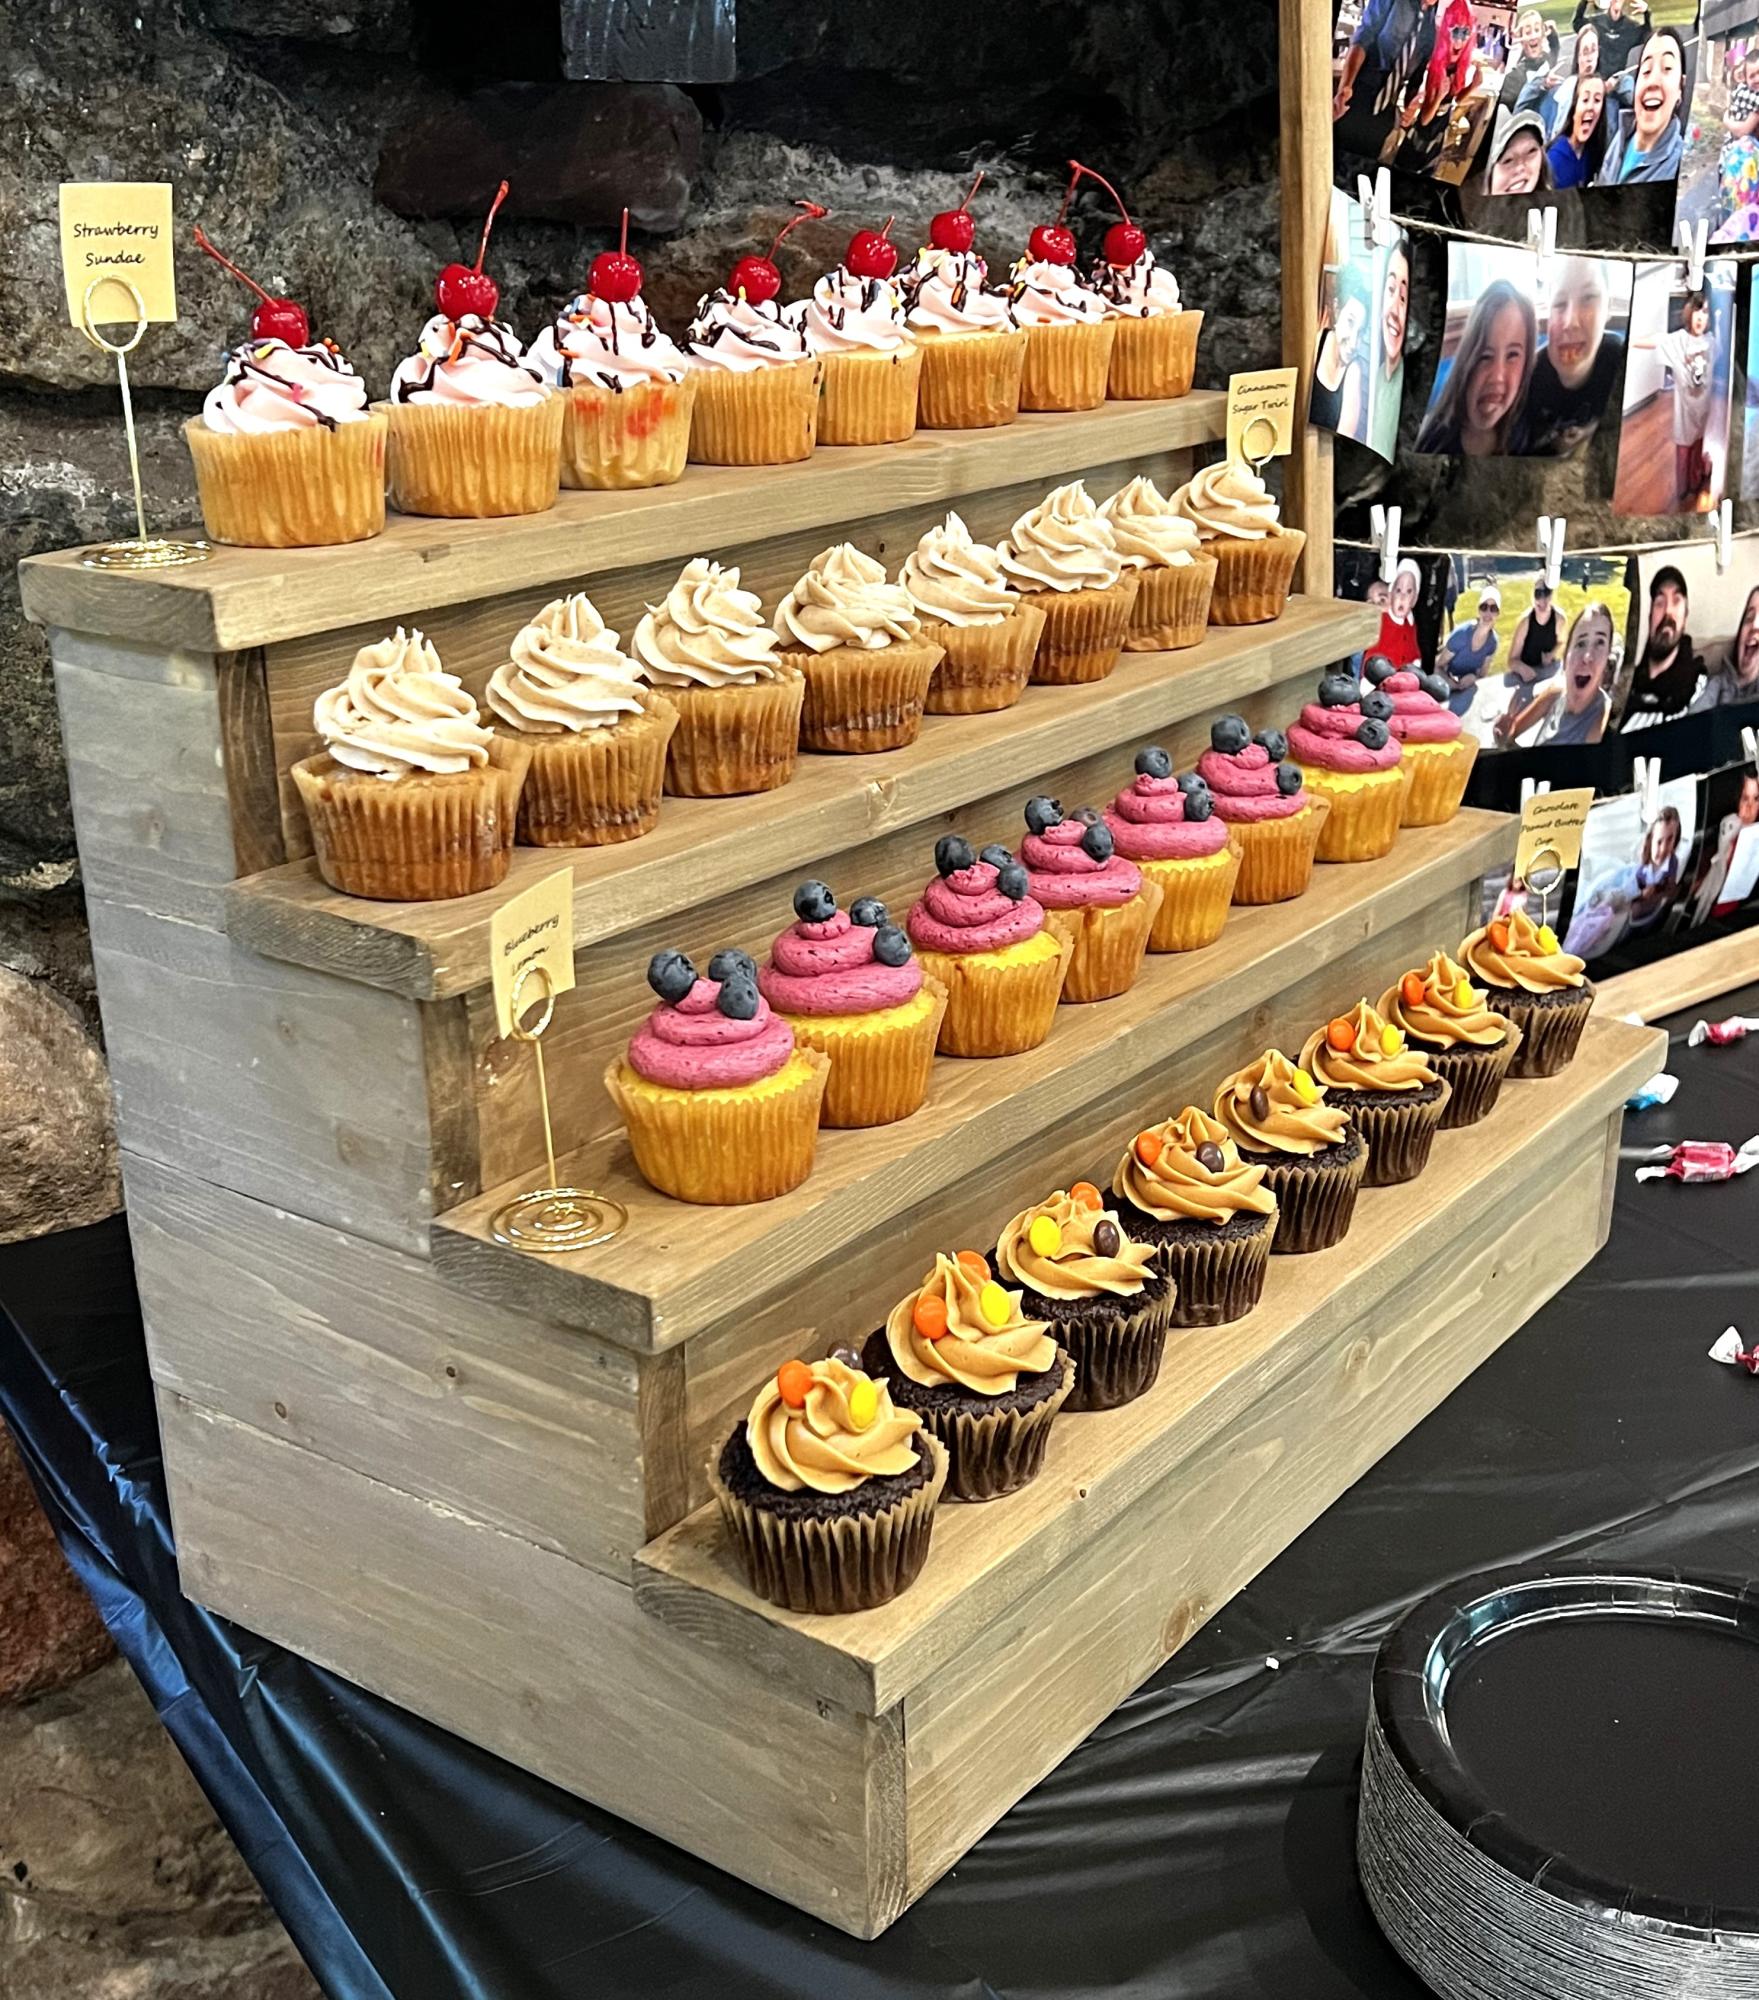
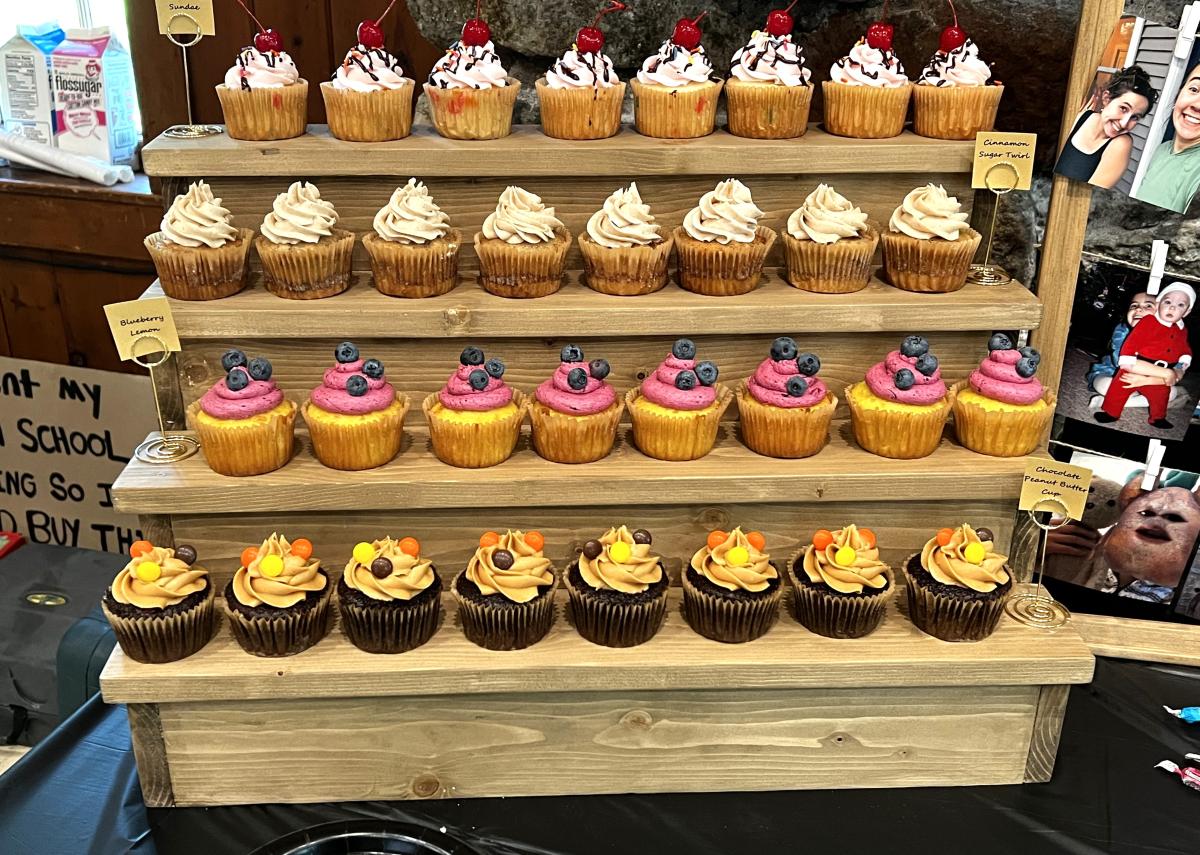
Cupcakes for my daughter’s graduation party displayed beautifully on Ana White’s stand I built.
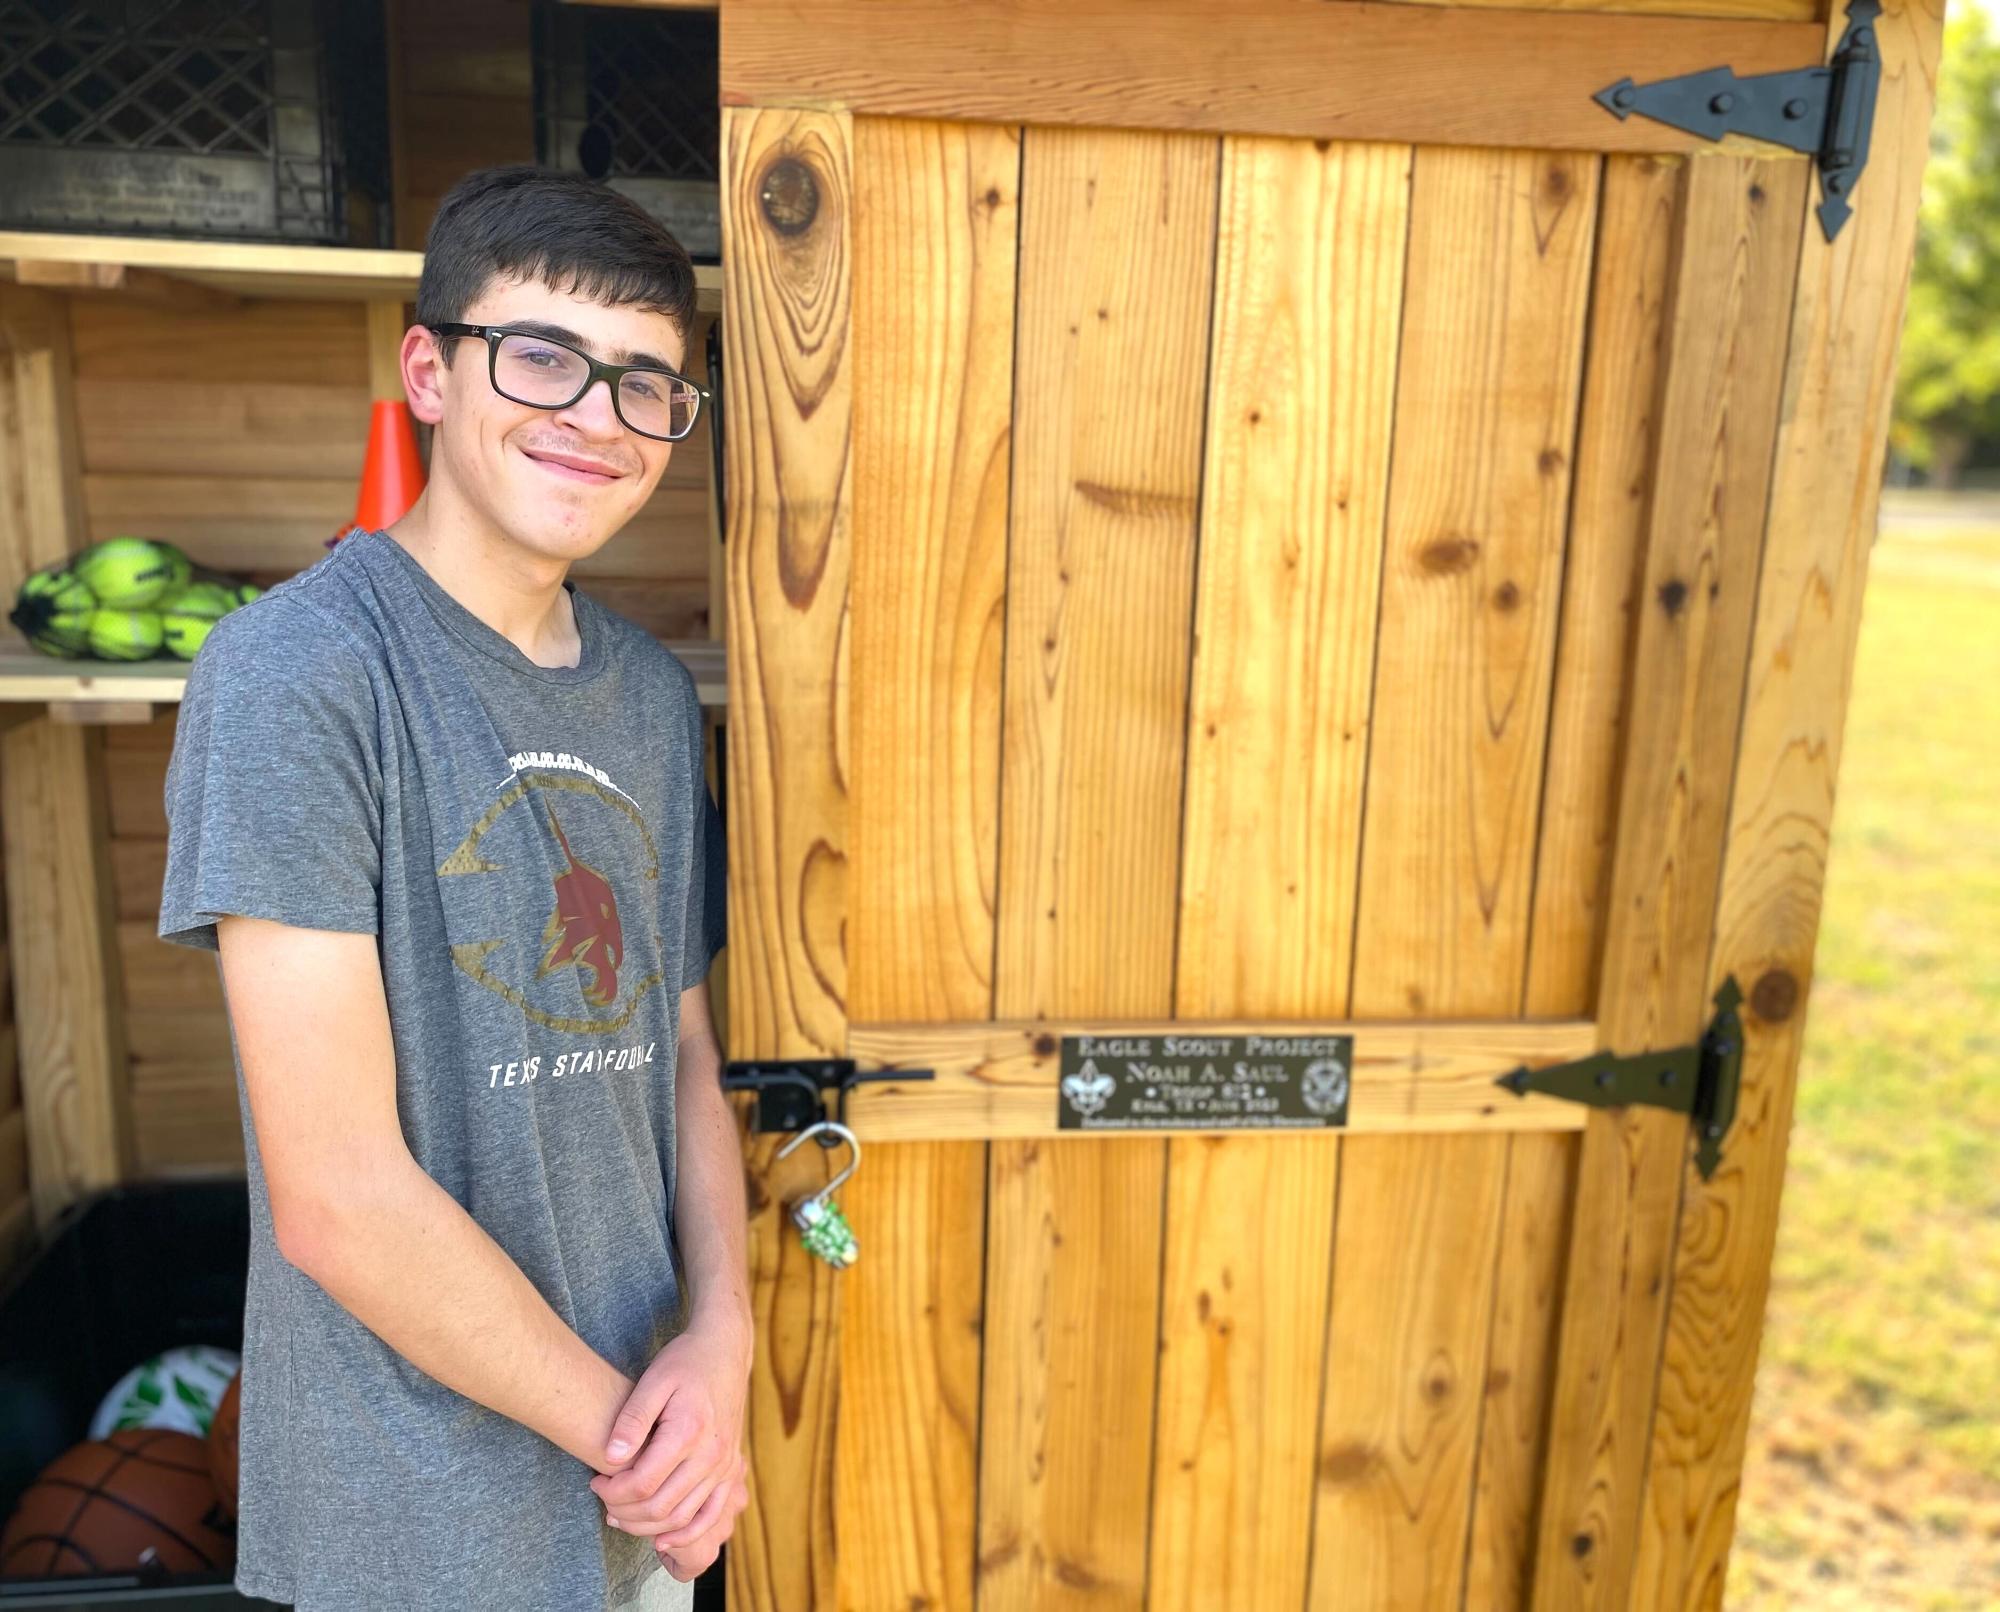
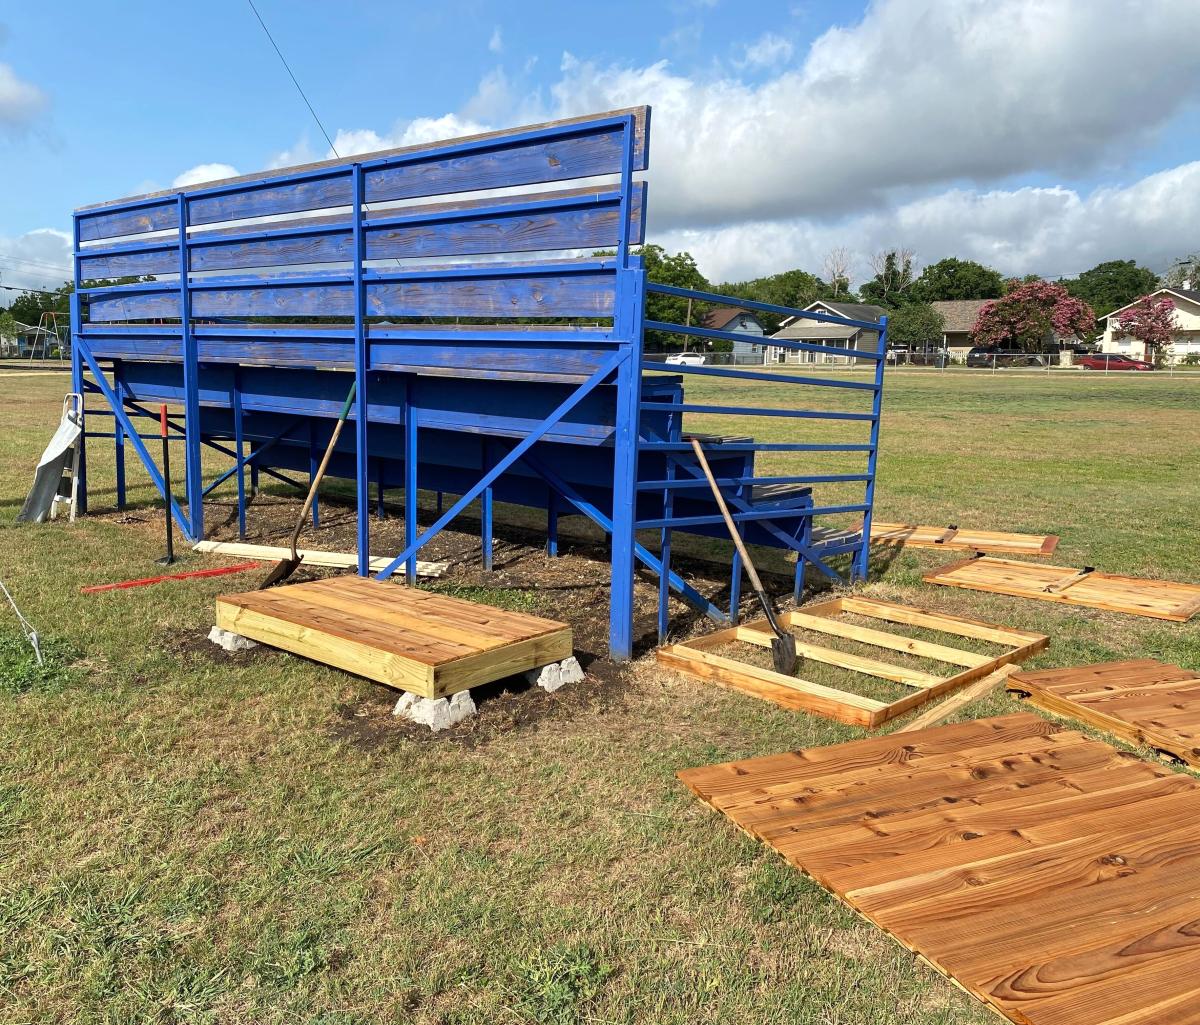
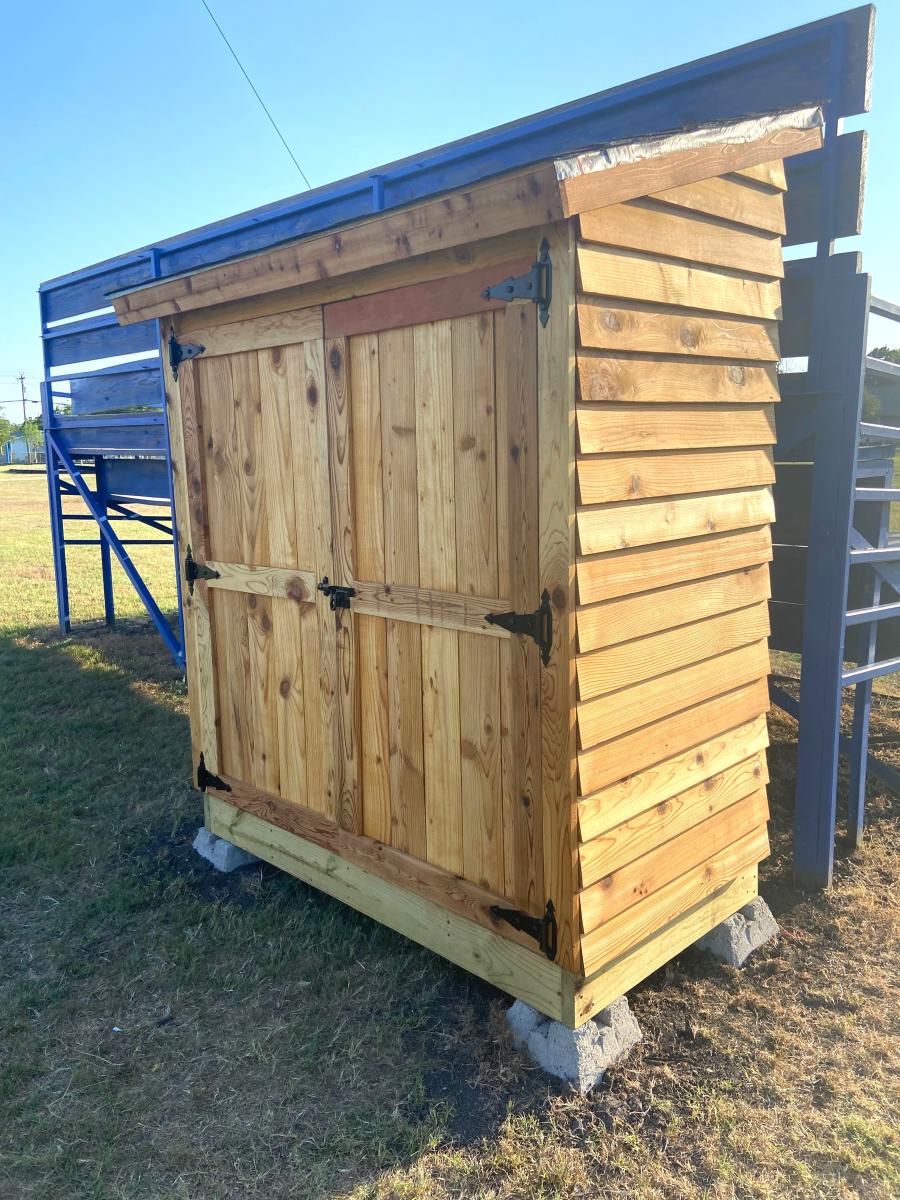
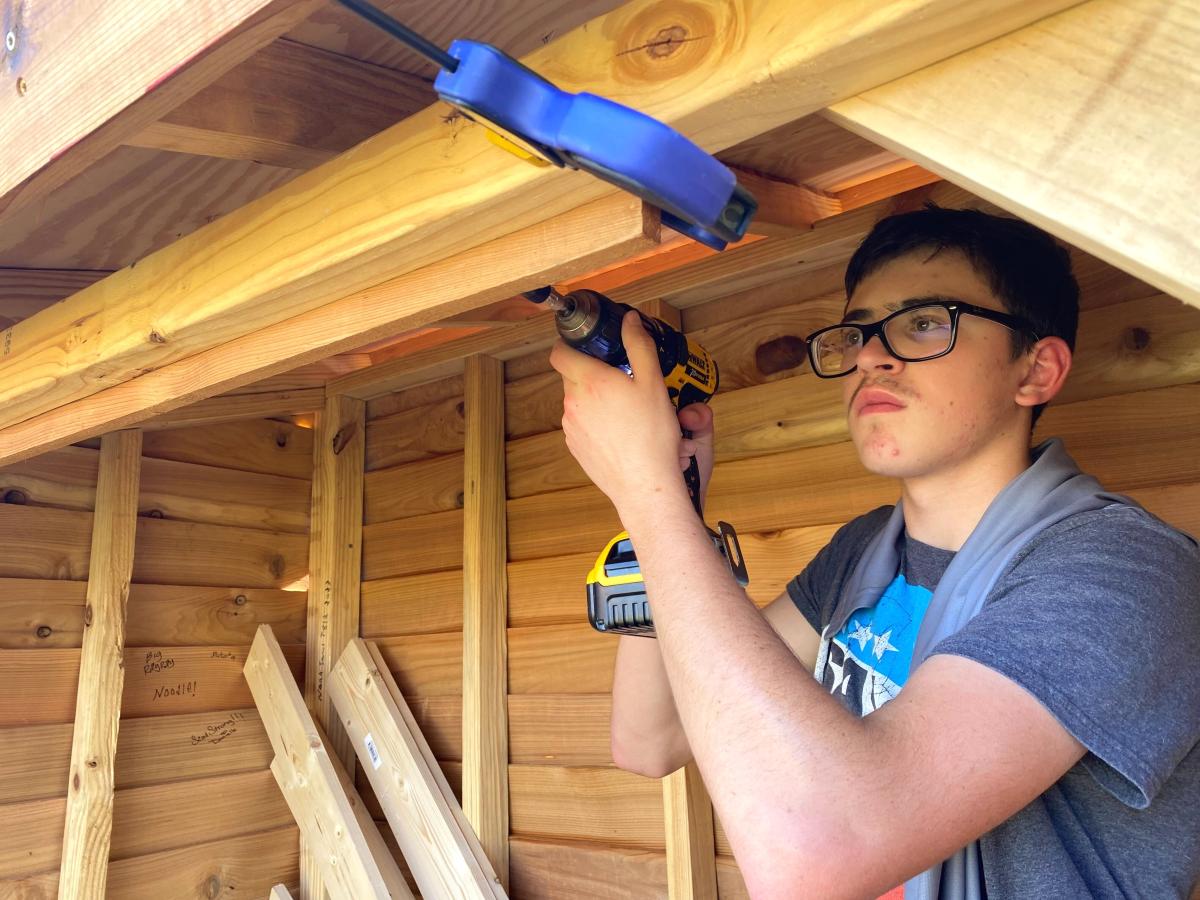
My son used your plans to help students at his old elementary school for his Eagle Scout Project. He was able to adjust the plans to meet the school's needs. Local Austin Texas news did a report on it. Thank you for the inspiration!
https://www.fox7austin.com/news/boy-scout-builds-shed-stocks-it-with-re…
Robert Saul
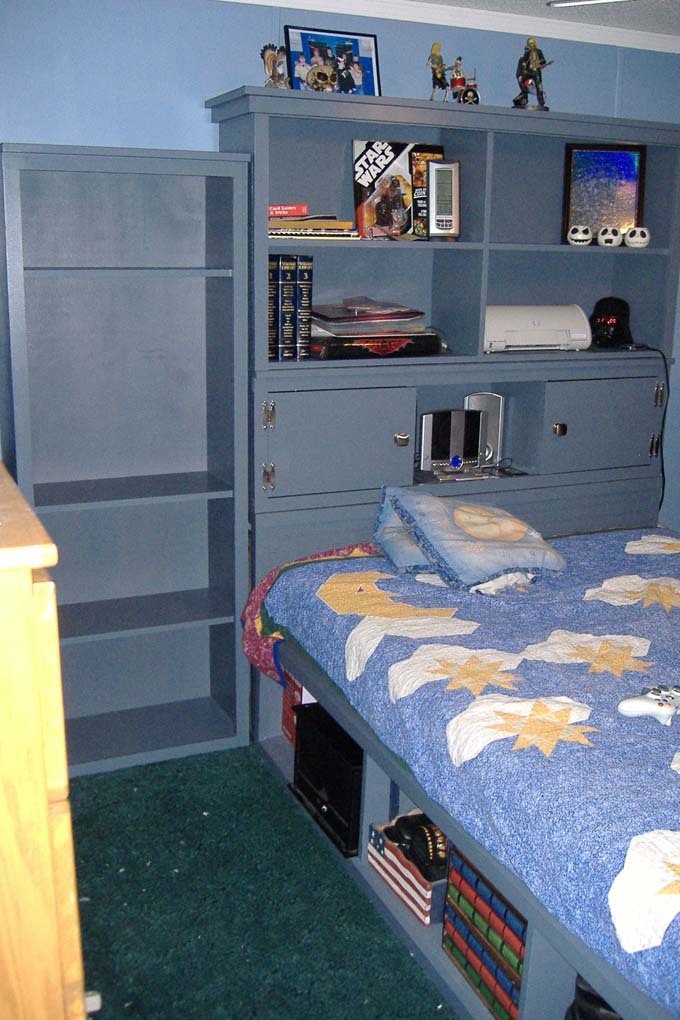
My son chose this system for his room (minus one bookcase - the room wasn't large enough!) and even painted a few of the pieces himself! he's very tall so I lengthened the bed to 92" which is the length of the extra-long mattresses. For the time being, I added 6" high-density foam to the end of his mattress. I also used plywood with edge banding instead of 1x12 boards.
Sat, 04/21/2012 - 10:23
I love it - the hardware finish is amazing! Great job.
In reply to I just built the same thing :) by mycreativeescapes
Sat, 04/21/2012 - 13:26
It was such an easy build! I built a piece each weekend and primed/painted during the week! One day, when he has a bigger room, he'll get the other bookcase!
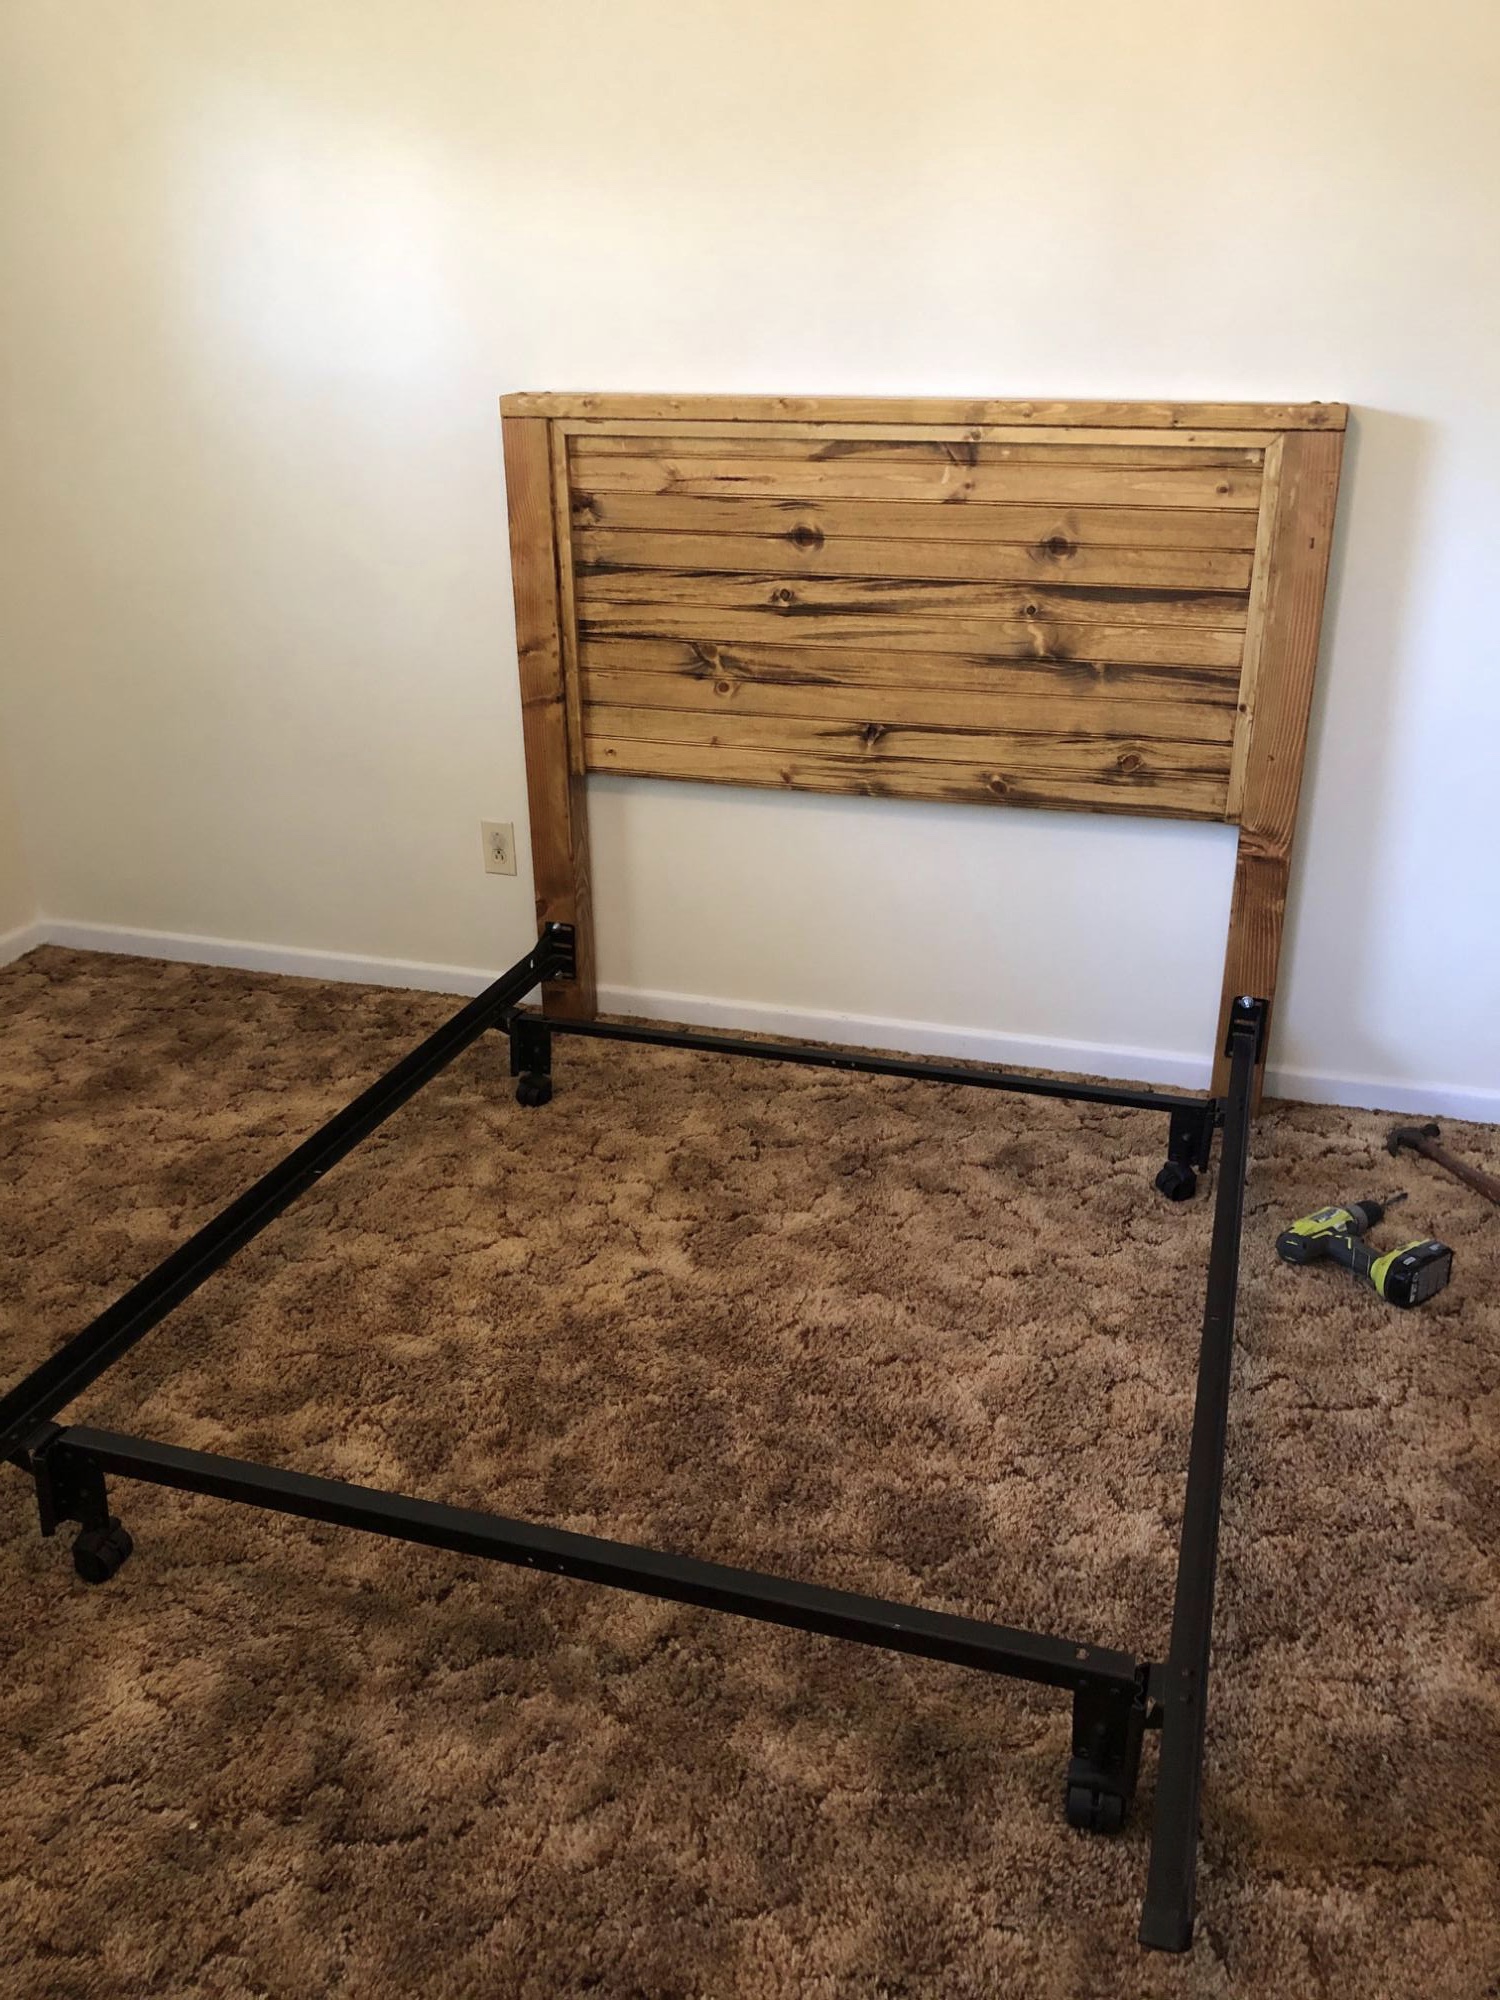
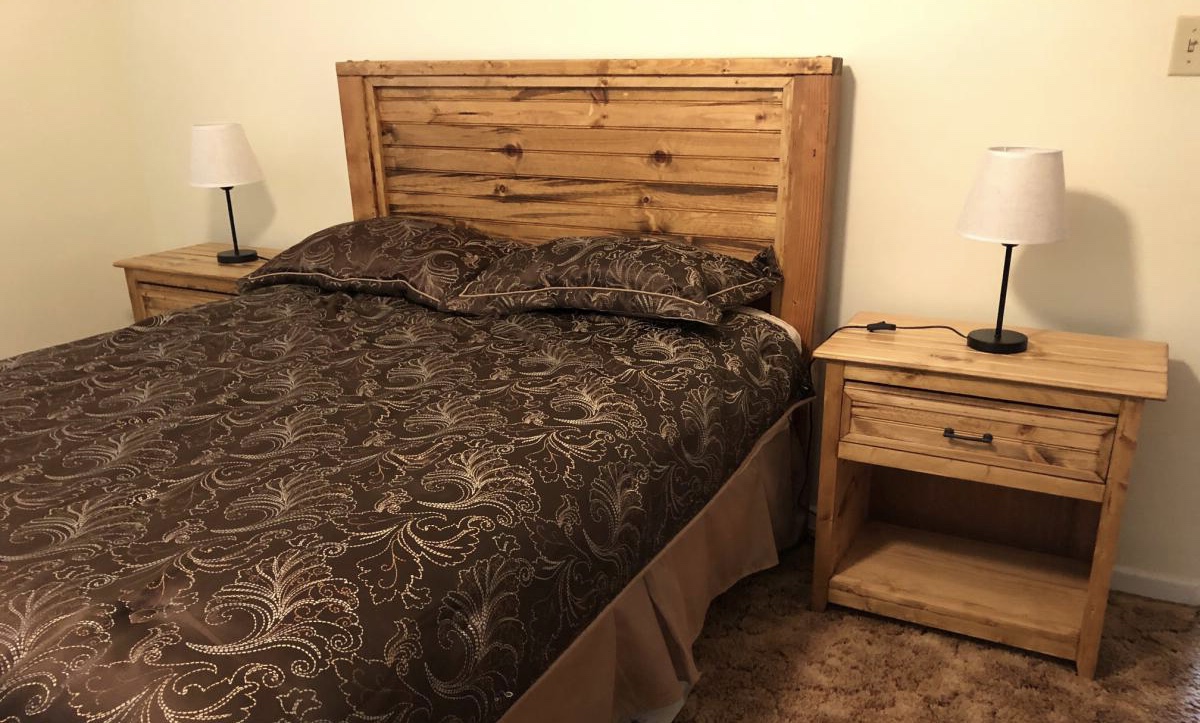
I only needed a headboard for the full size bed in my guest room. I attached it to the existing metal frame with carriage bolts. I built matching nightstands from plans found elsewhere on this site.
Comments
Smokeydog
Fri, 11/13/2015 - 07:15
Very nice!
Very cute bench. Nicely done!