Community Brag Posts

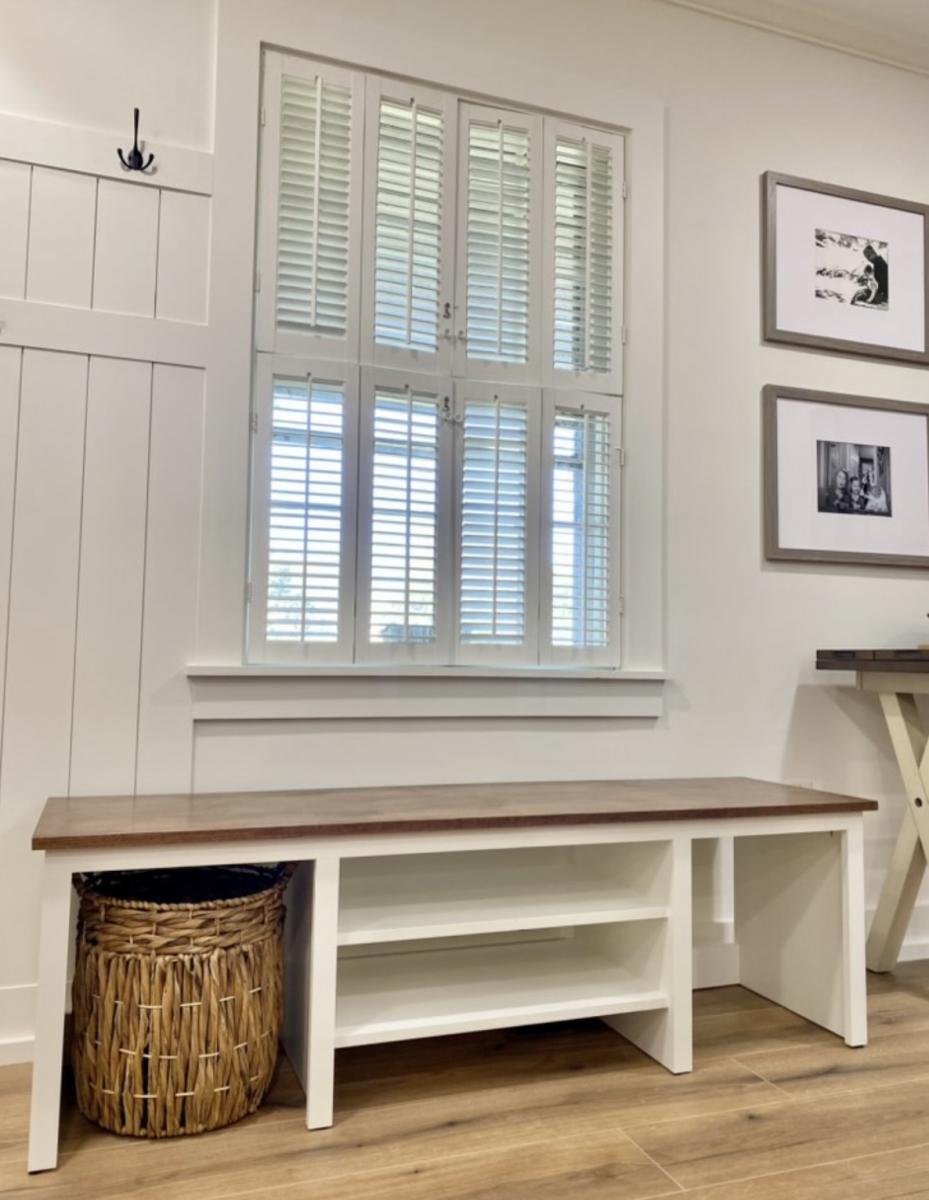
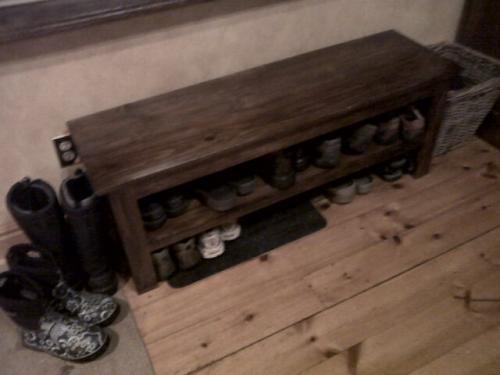
Entry Shoe Bench

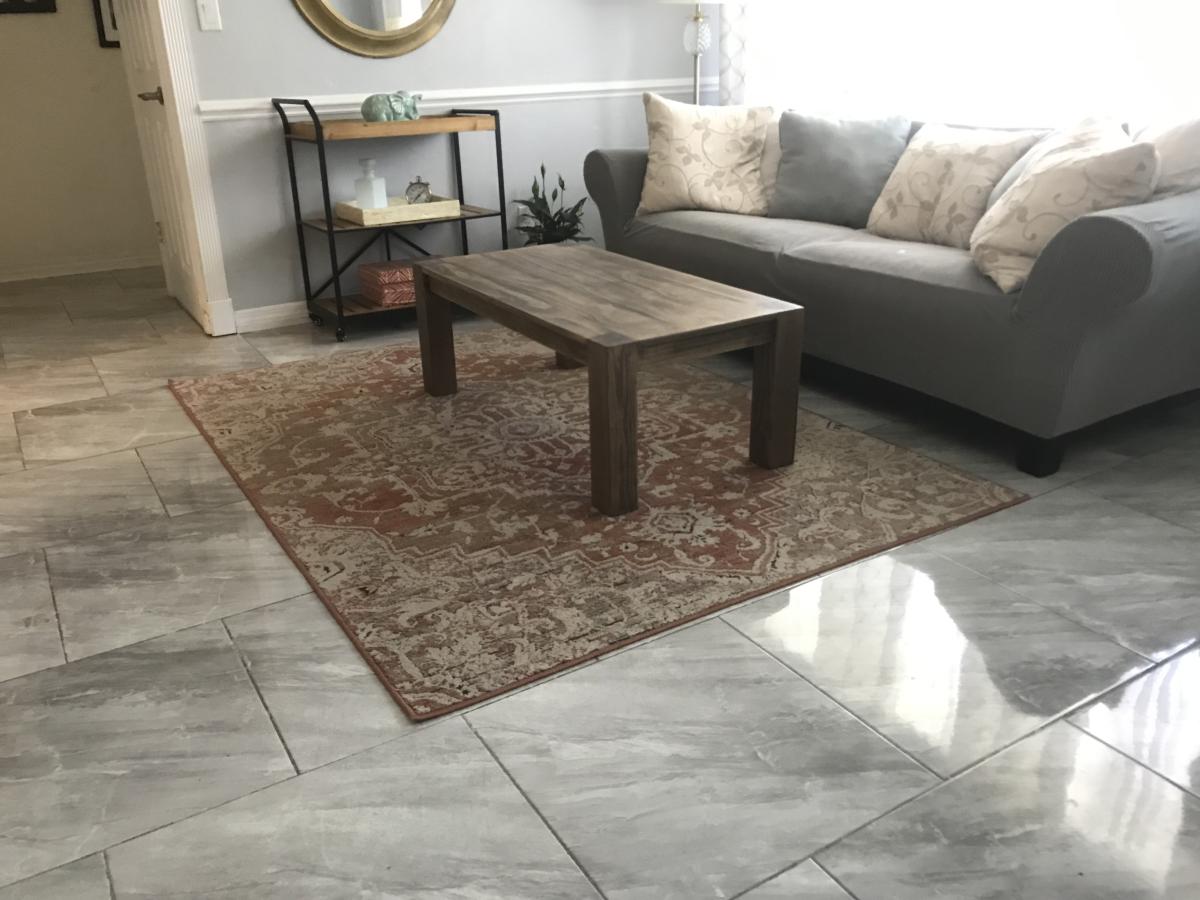
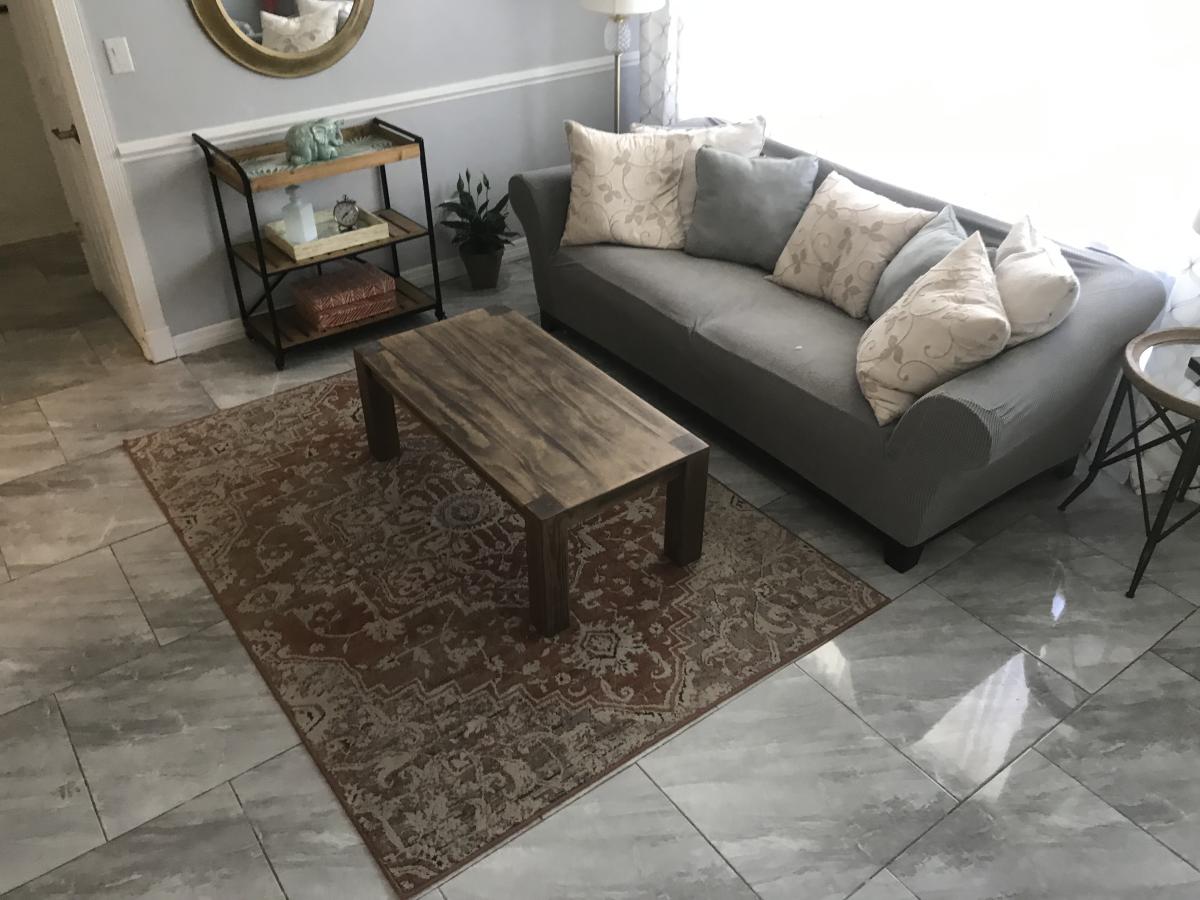
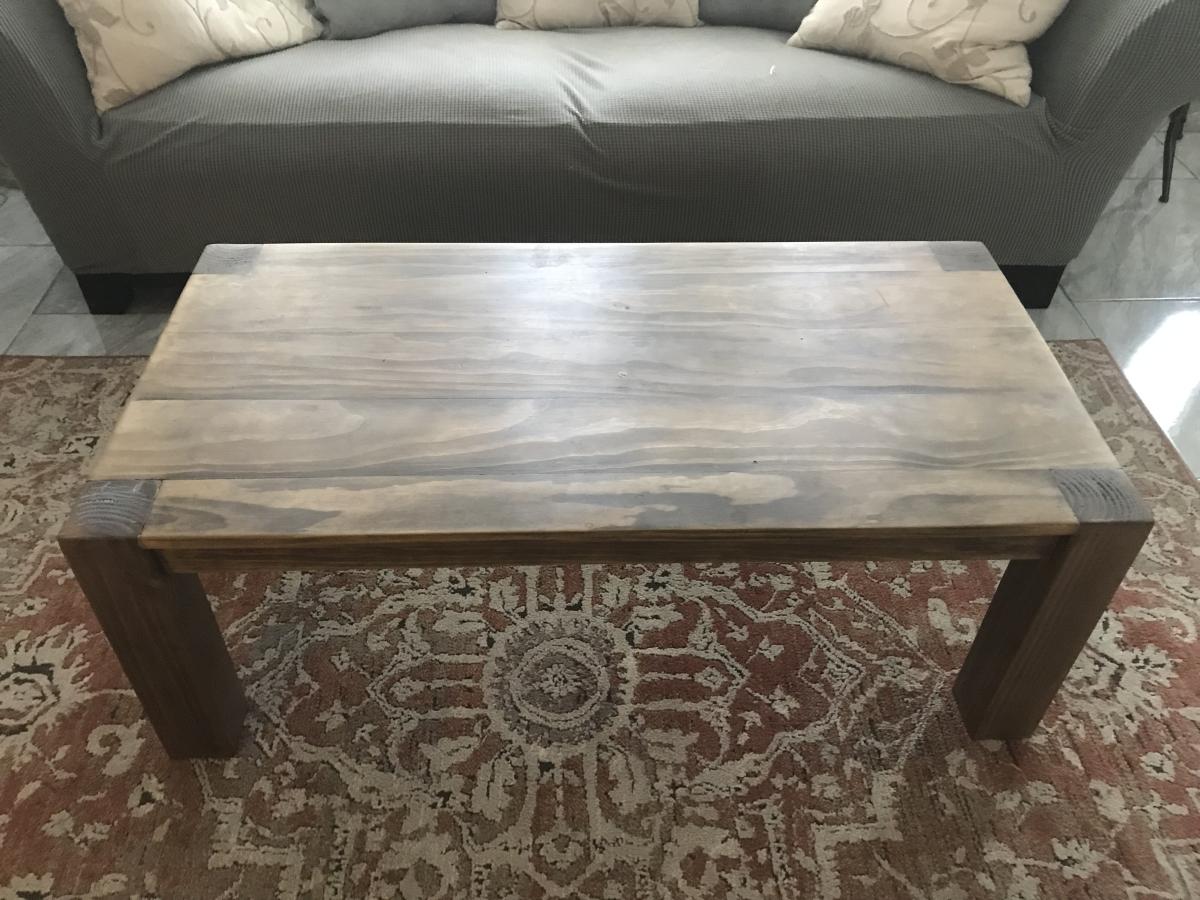
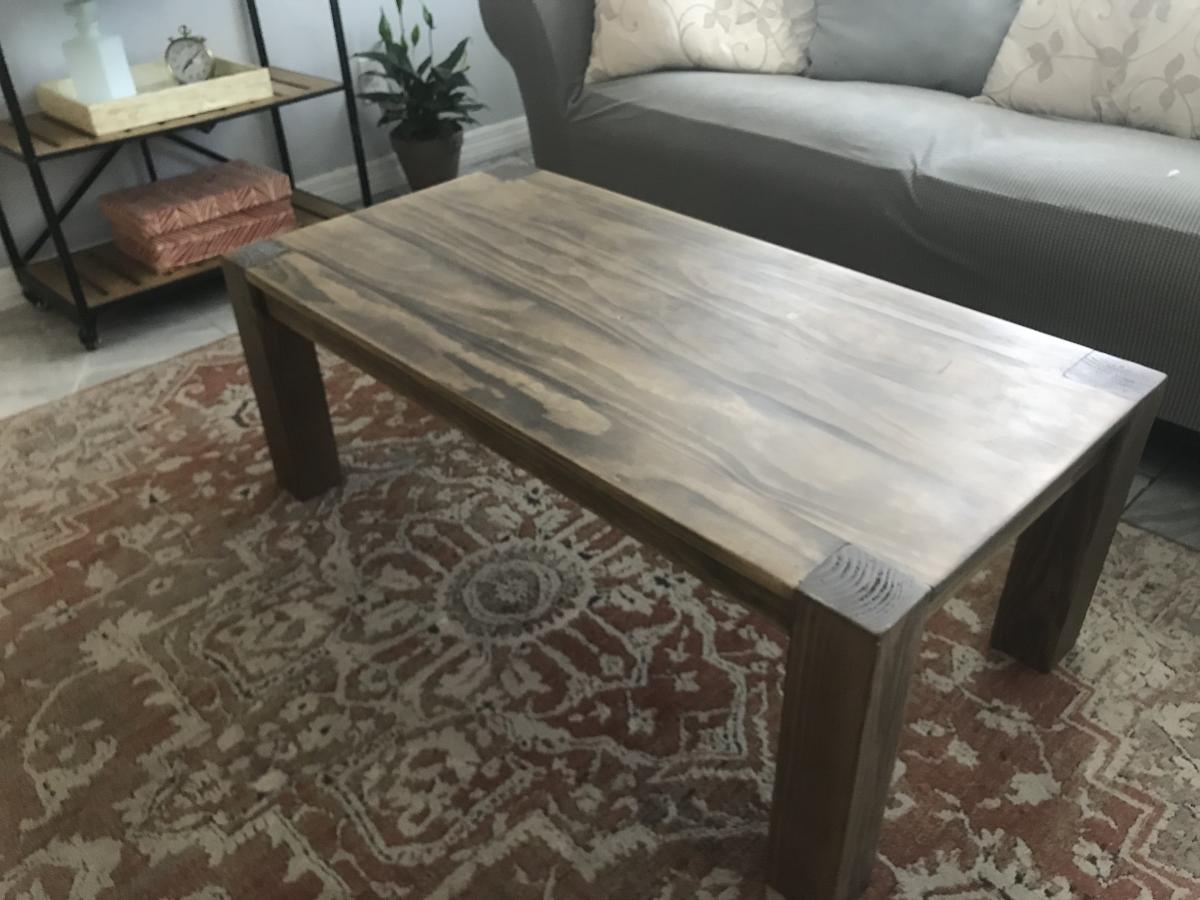
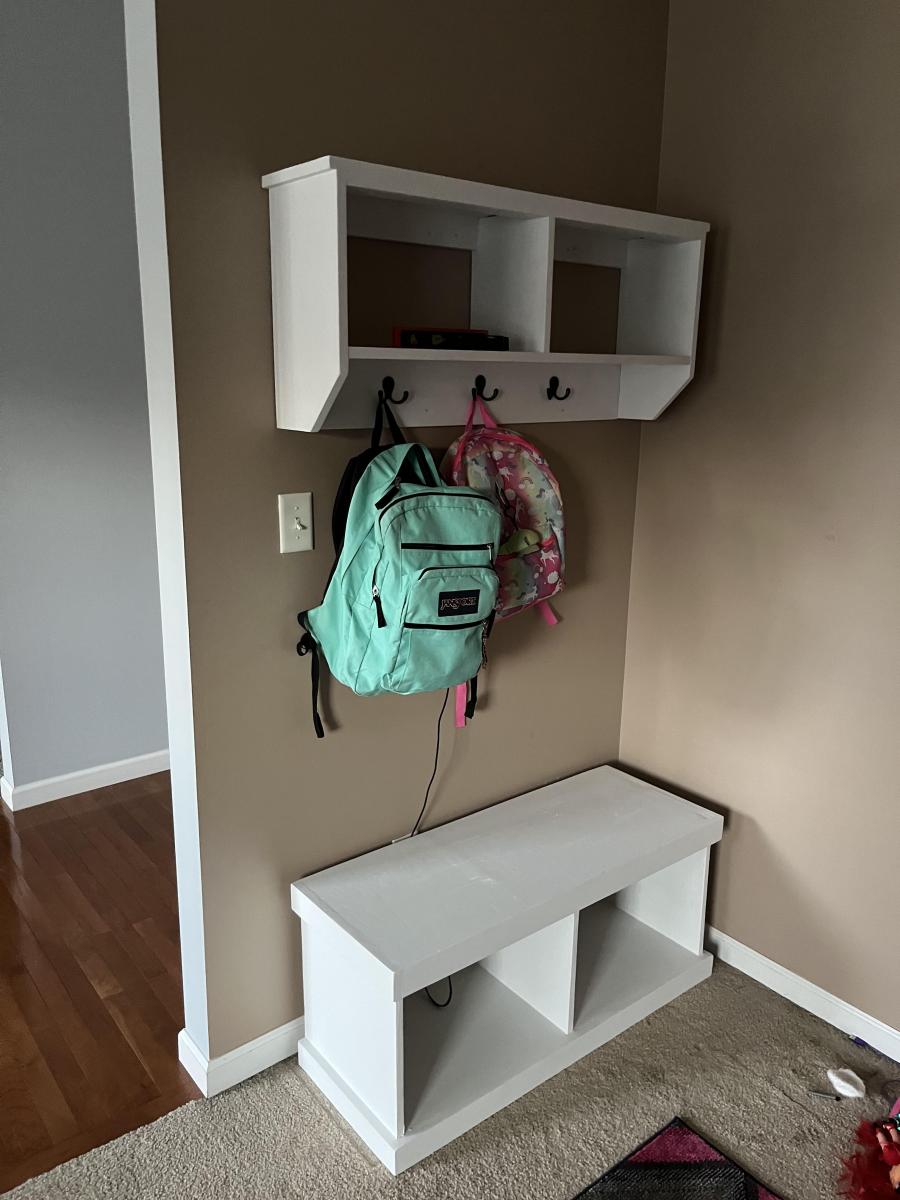
I've officially stopped stalking and started building! First project a modified spa bench. Still have to stain it, but it already makes the big pile of shoes by the door look neater! I'm a hands-on person and not afraid of power tools (got a band saw for my birthday!) but it's still a challenge building a piece of furniture. I've already learned lots of do's and don't do's for next time!
Thanx a bunch for your site, Ana! It definitely gets the mind plotting great projects to come!

Built from Plan(s)
Estimated Cost
~50$ (honestly, I can't remember!)
Estimated Time Investment
Day Project (6-9 Hours)
Finish Used
PolyShades Royal Mission, several coats... and a spray can of clear coat too.
Recommended Skill Level
Beginner

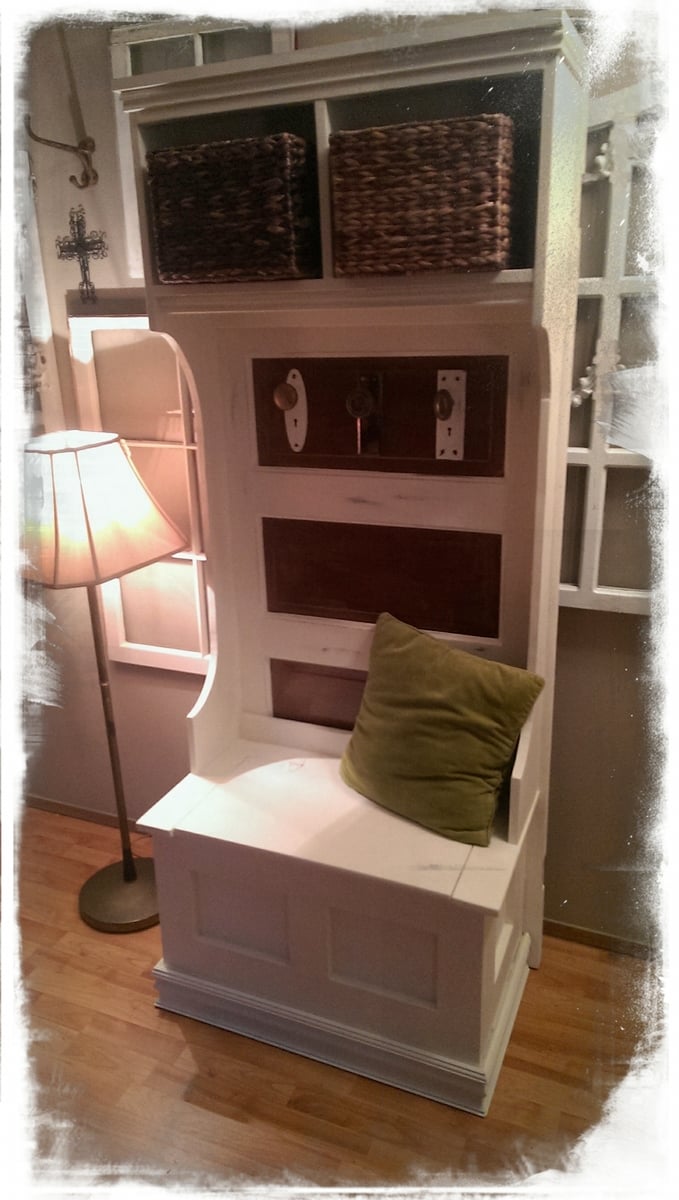
Hall Tree made from old door

Submitted by novofinds on Fri, 05/24/2013 - 20:56

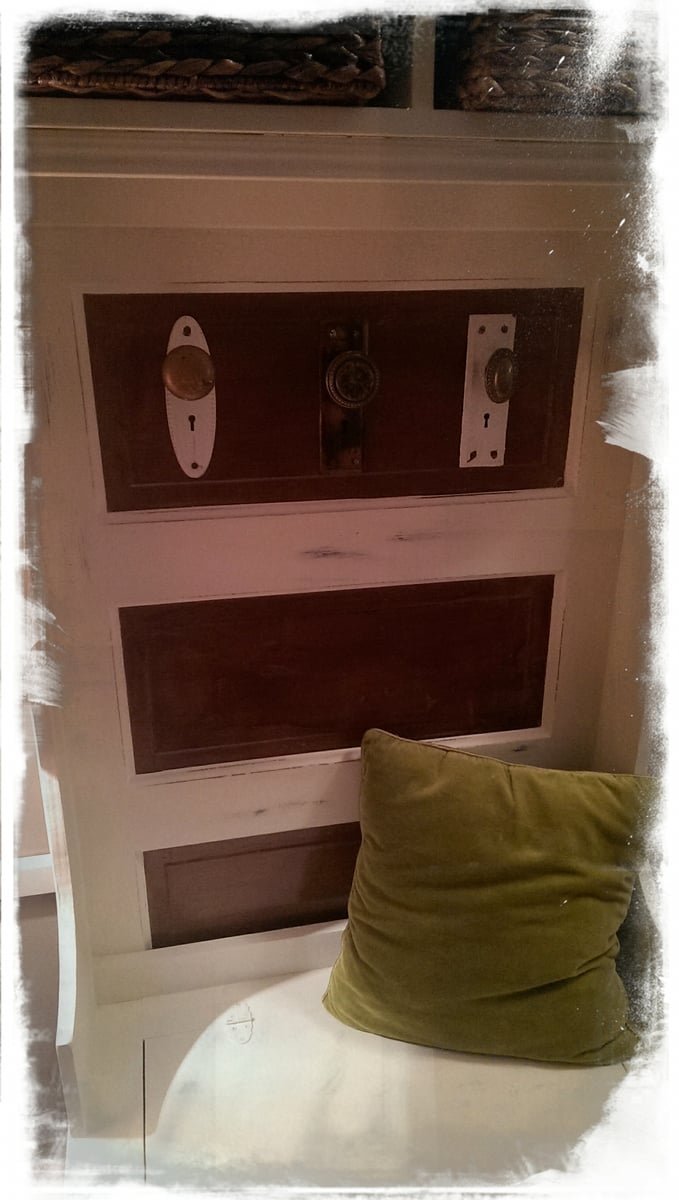
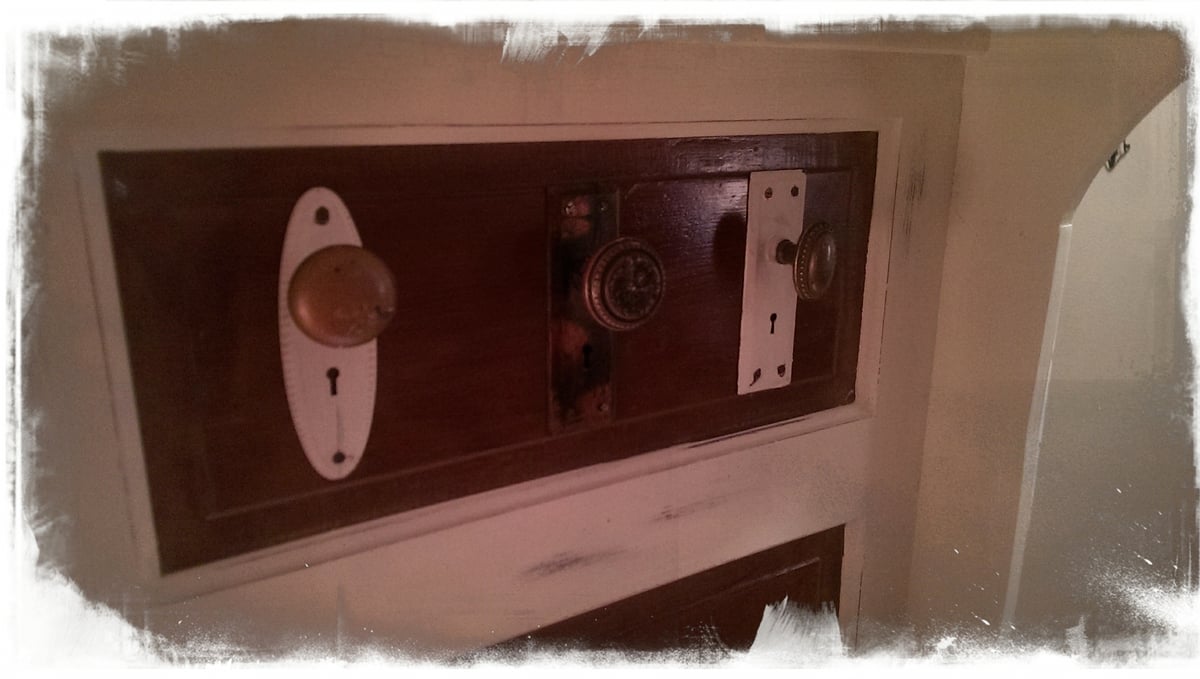
This is my first Ana-White build and I love it so much! I used a 100 year old door for the back and antique knobs for the hooks. I plan on making a farm house table next :)

Built from Plan(s)
Estimated Cost
120
Estimated Time Investment
Weekend Project (10-20 Hours)
Finish Used
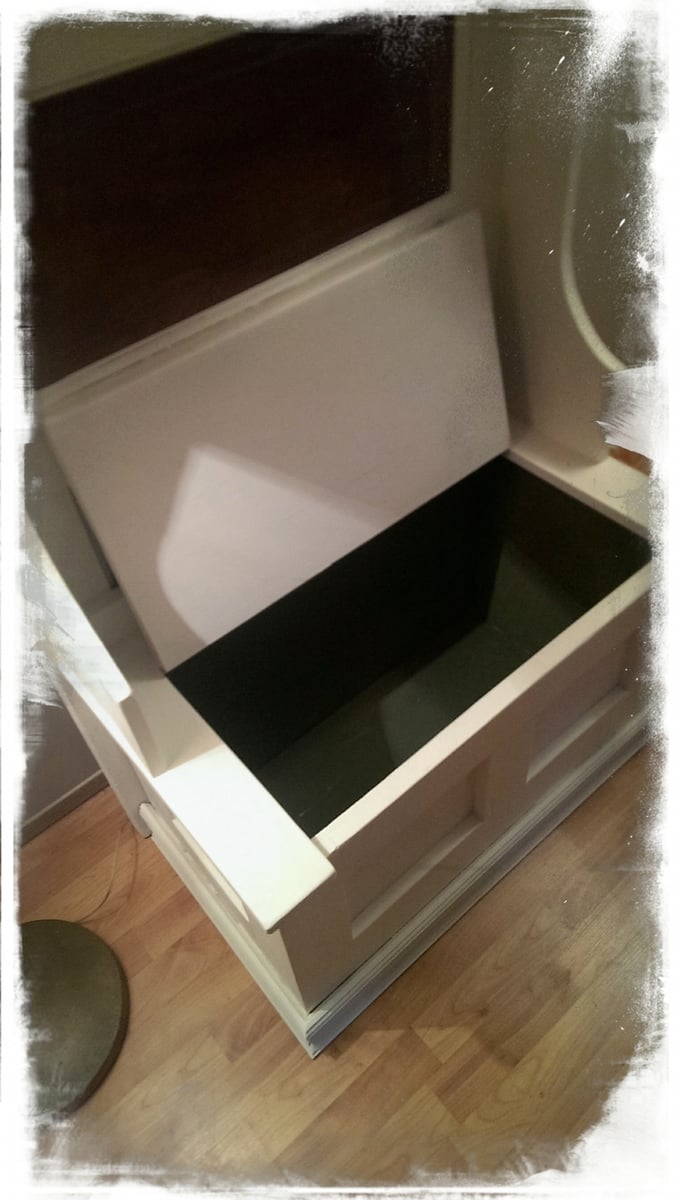
Annie Sloan chalk paint in old white and olive on the inside. Waxed and lightly distressed.
Recommended Skill Level
Intermediate

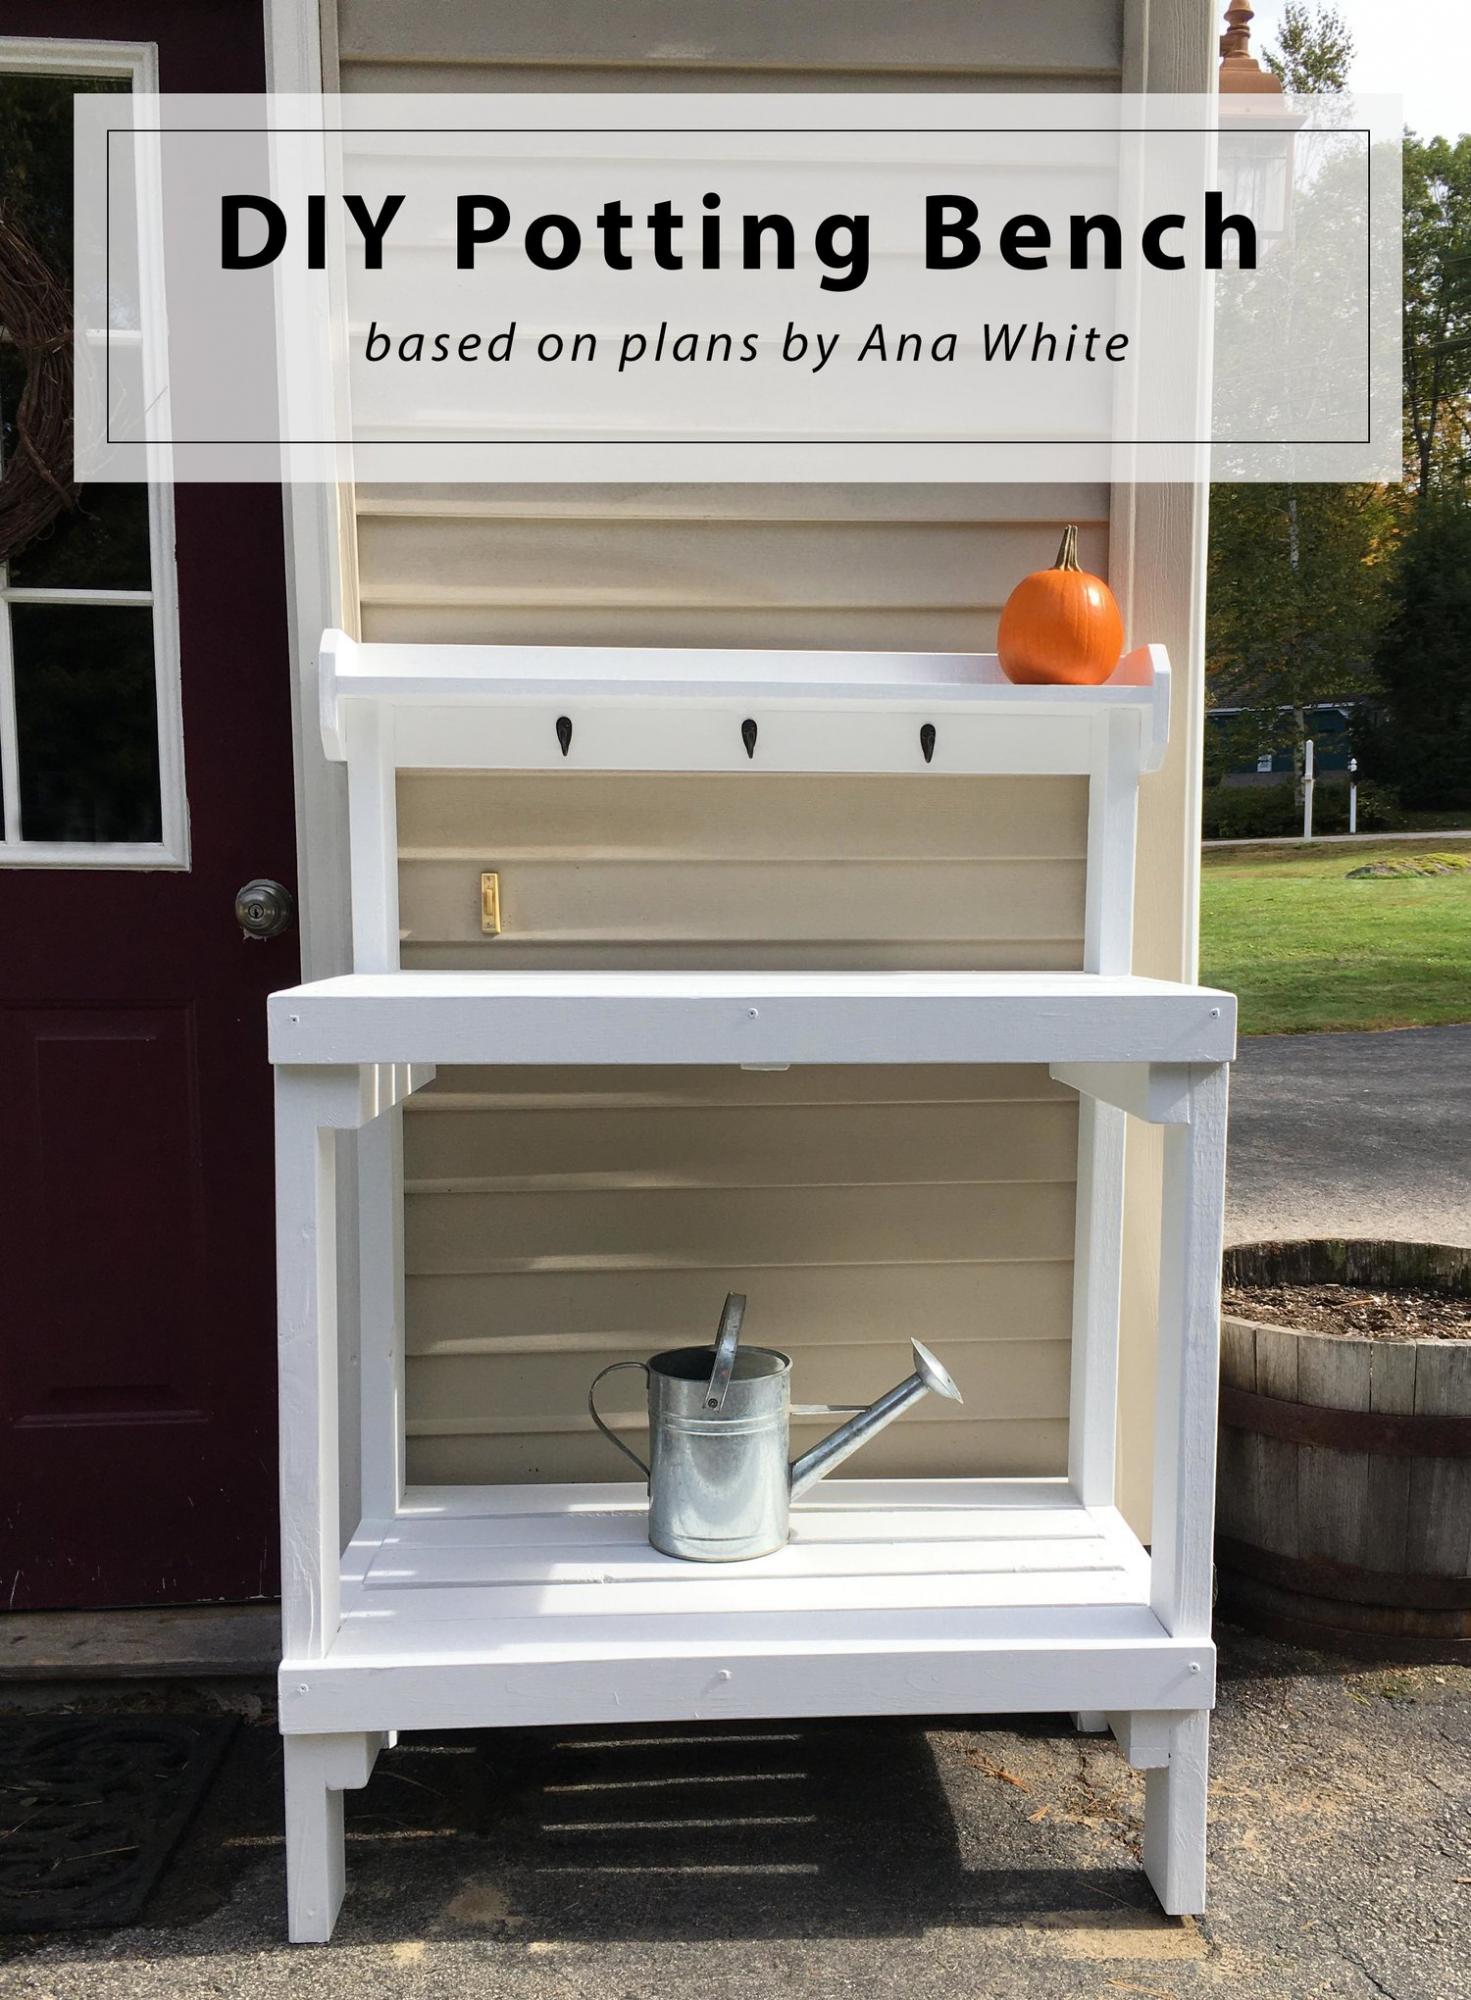
DIY Potting Bench

I’ve been wanting a potting bench for a while now - something by the back door to display some decor, use as an outdoor work station, and double as a place for UPS to leave packages. After looking around online and at local stores, I couldn’t find anything that I liked that fit the narrow space - so I did what any #woodworkingmom would do, I decided to build it myself. Please see my blog post for additional photos and lessons learned during this project.

Built from Plan(s)

Comments

Seasonal And Holiday

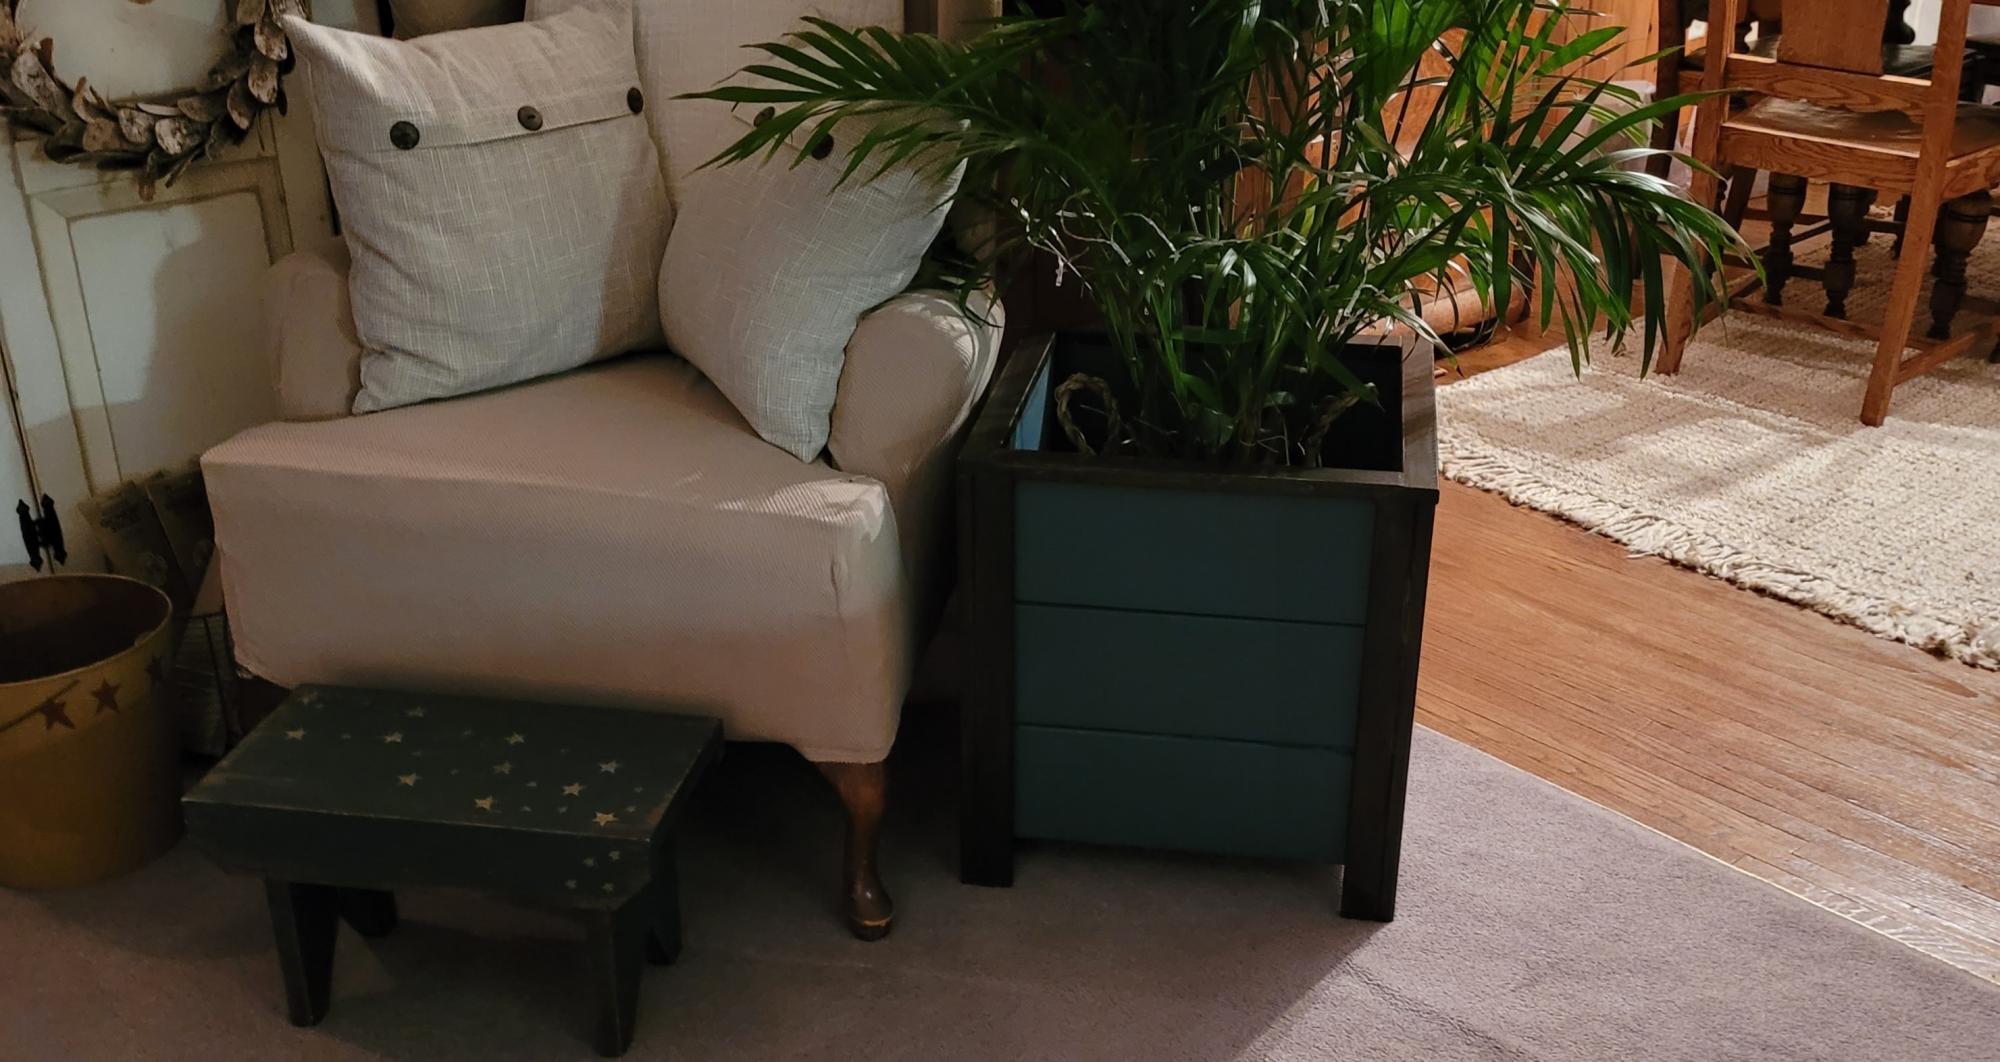
DIY Planter Box

Submitted by Anonymous (not verified) on Sun, 12/12/2021 - 17:37

My very first project. Was so easy thanks to Ana's instructions. Dark walnut gel stain and Fusion Seaside. Thank you so much Ana.

Comments

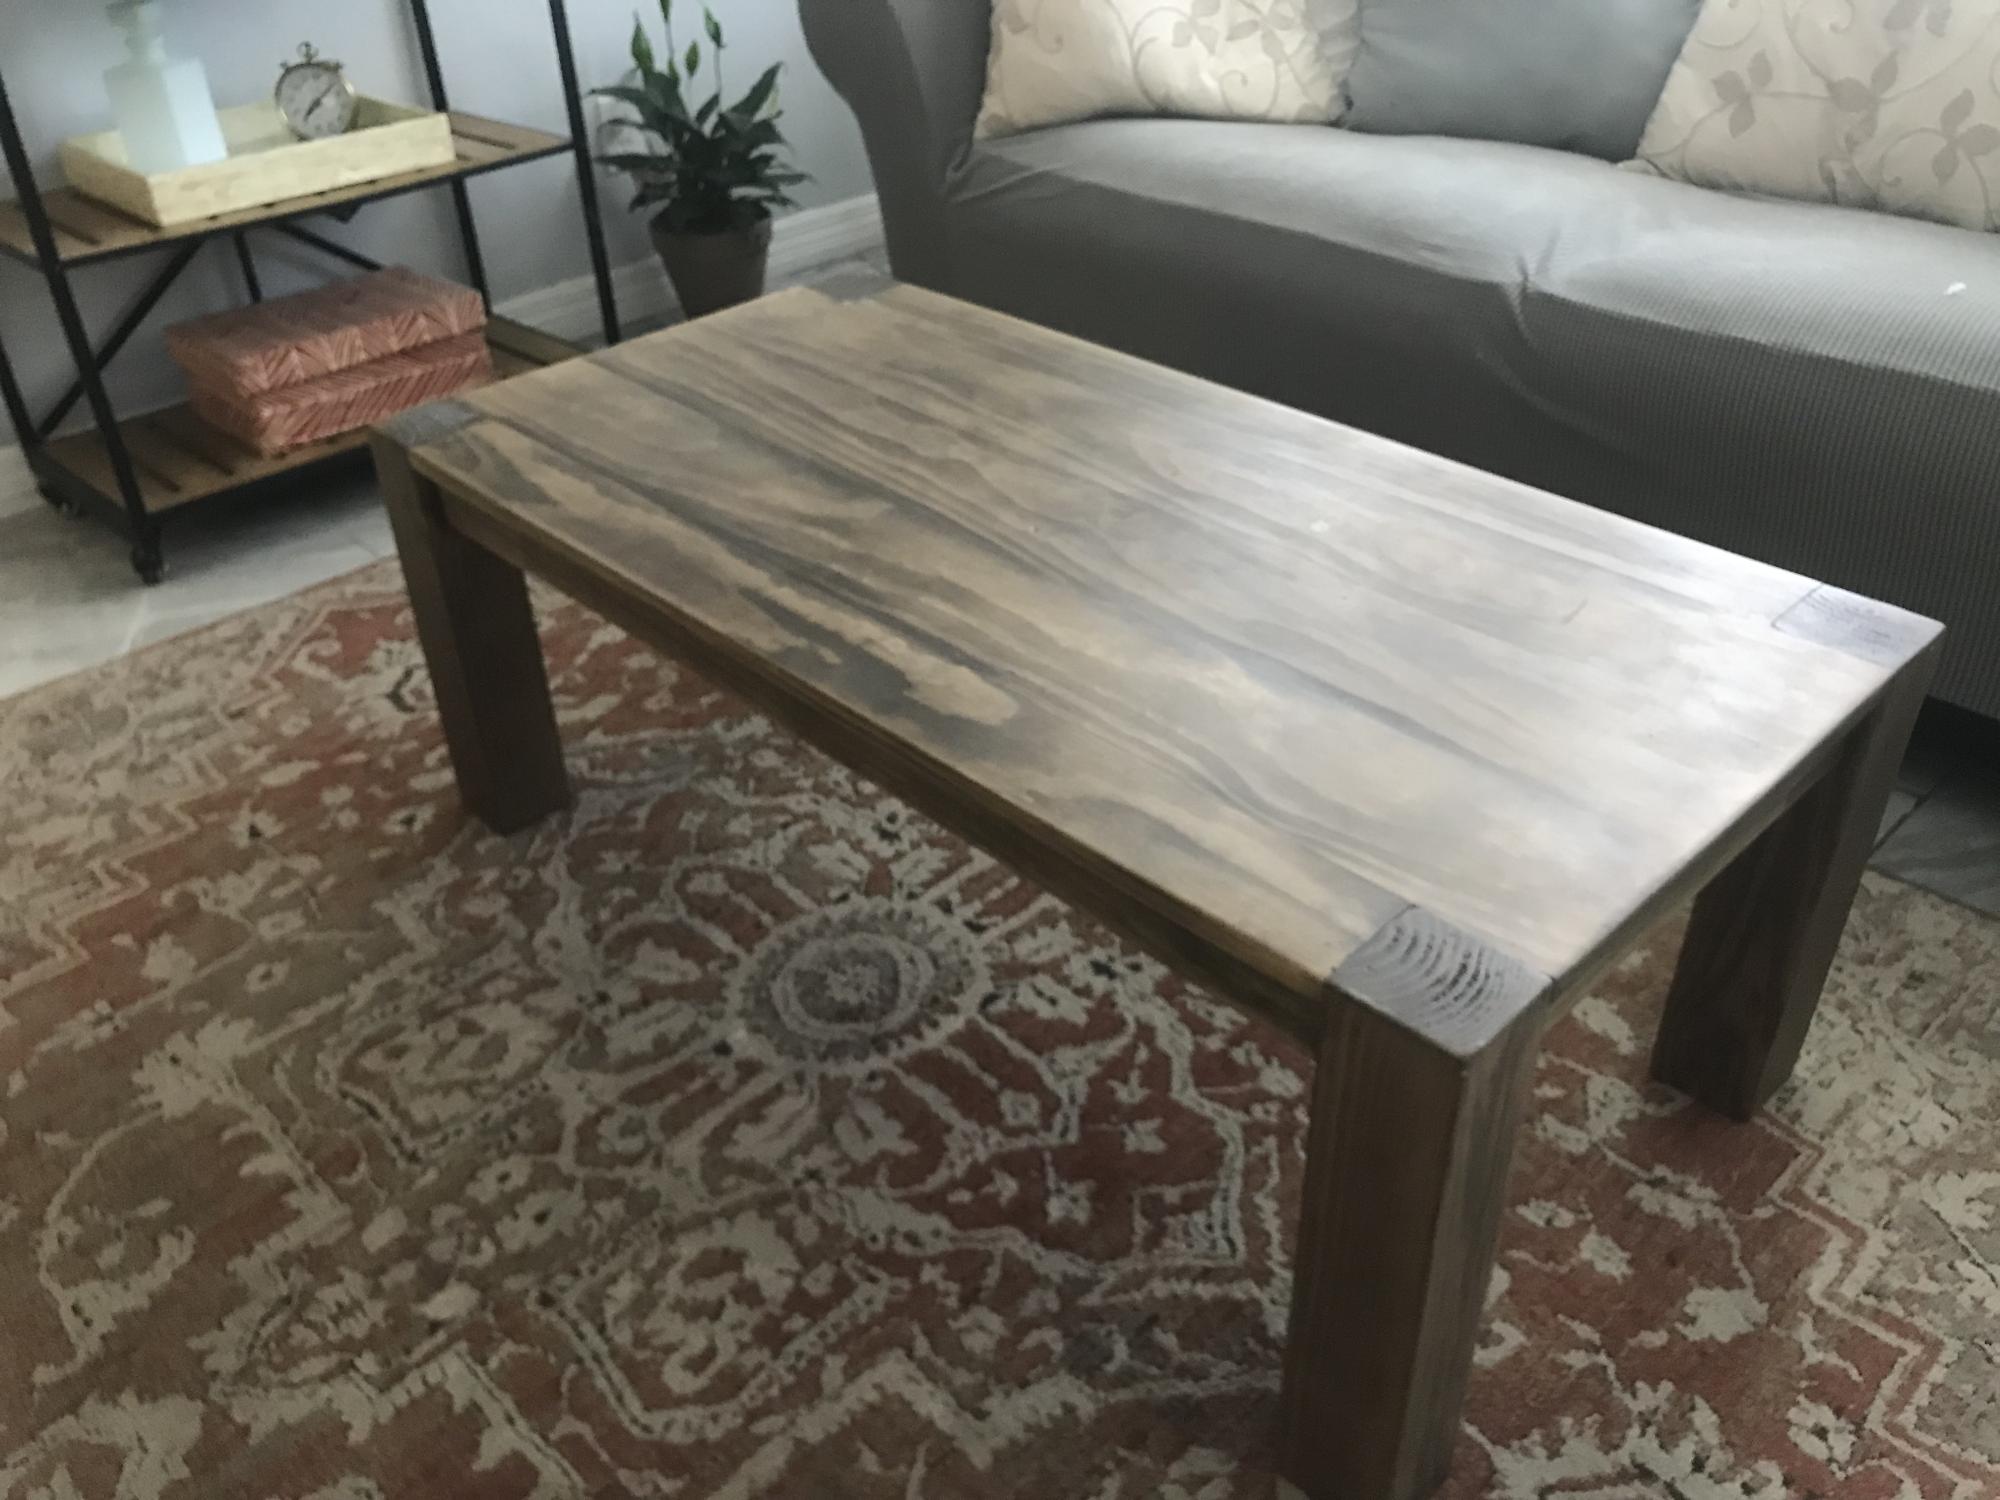
In love with the Parsons

Submitted by avls on Wed, 01/26/2022 - 10:43

Love the result! Your plans for this is fool-proof for someone like me. Easy to build… only after attempting use (4) 1x6 for top and messed up the corners to attach legs with my terrible jigsaw skills, I scratched the 4th board and went with the (2) 1x4’s on each side surface. I’m now in love with this style and plan on (finally) having matching new furniture, once I build some of the other pieces in this Parson style collection! Thank you for the plans

Comments

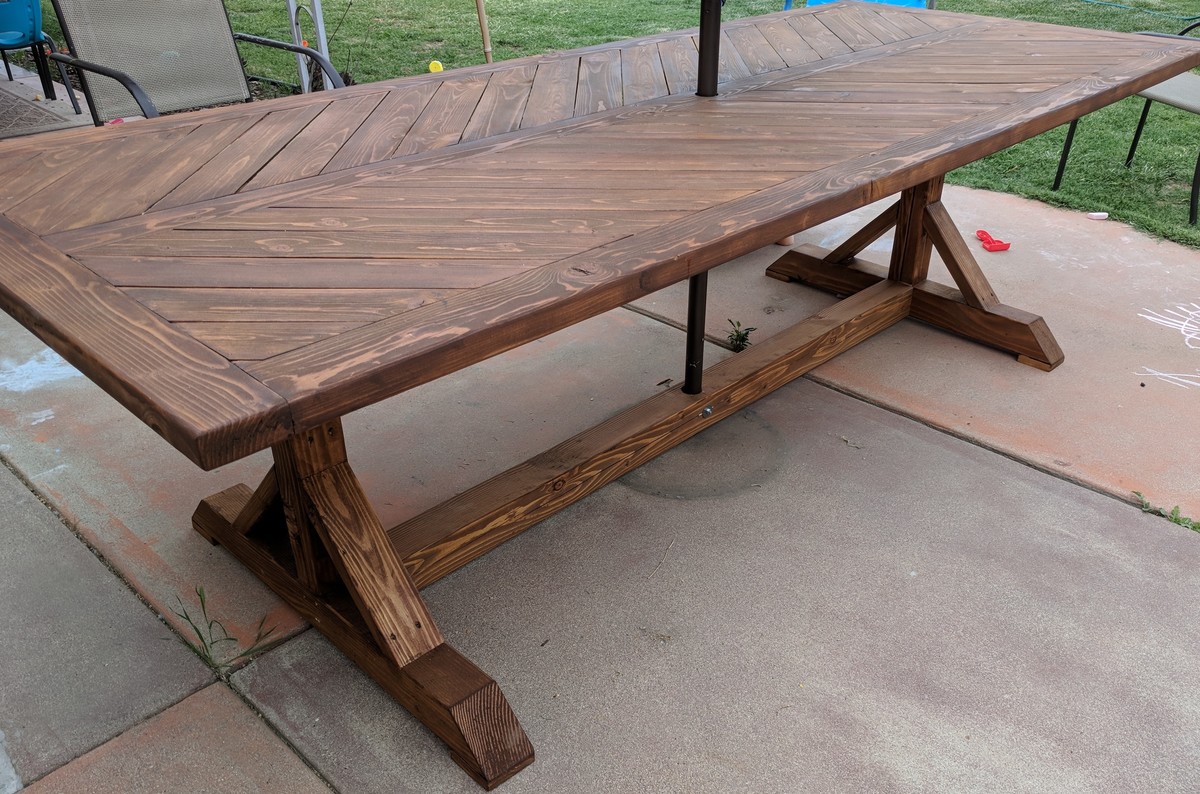
Split Chevron Trestle Table

Submitted by rbgreene04 on Wed, 04/18/2018 - 22:32

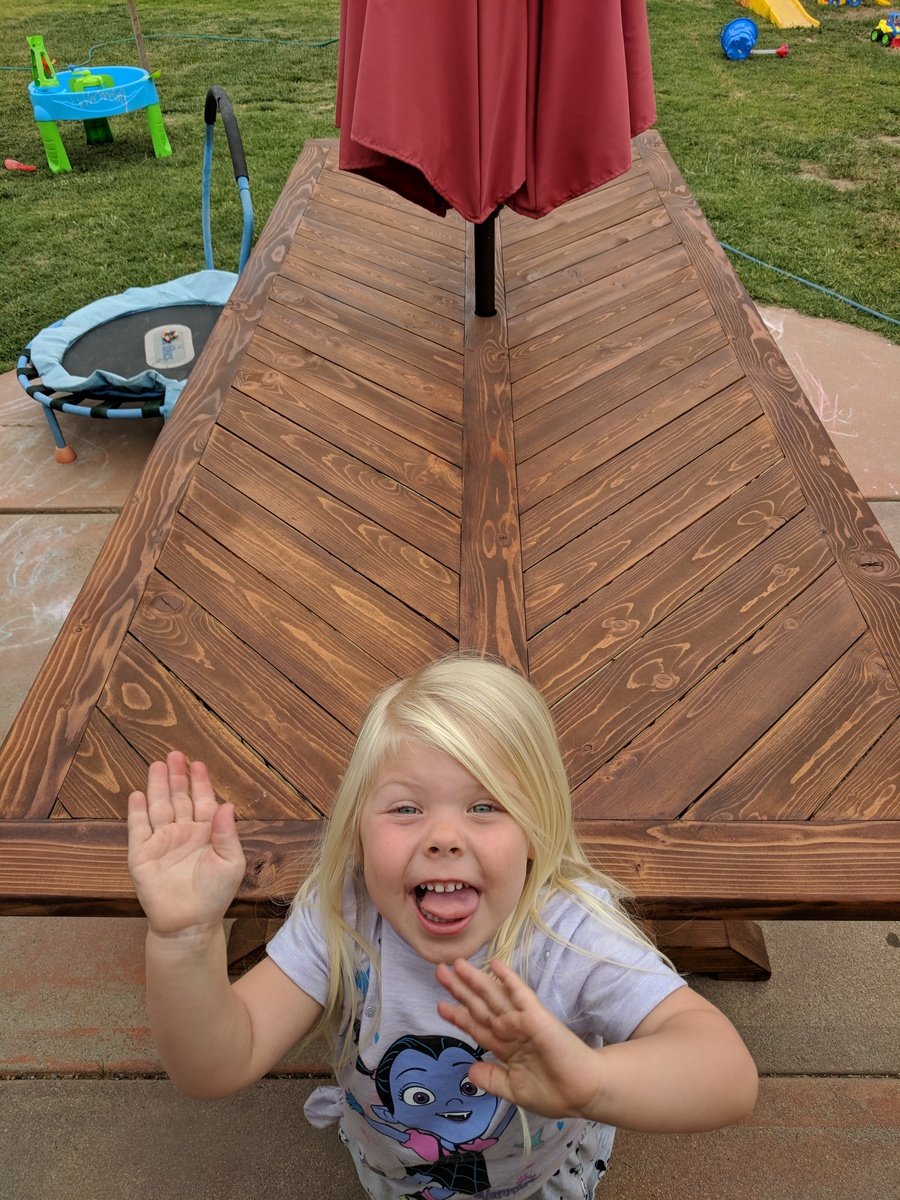
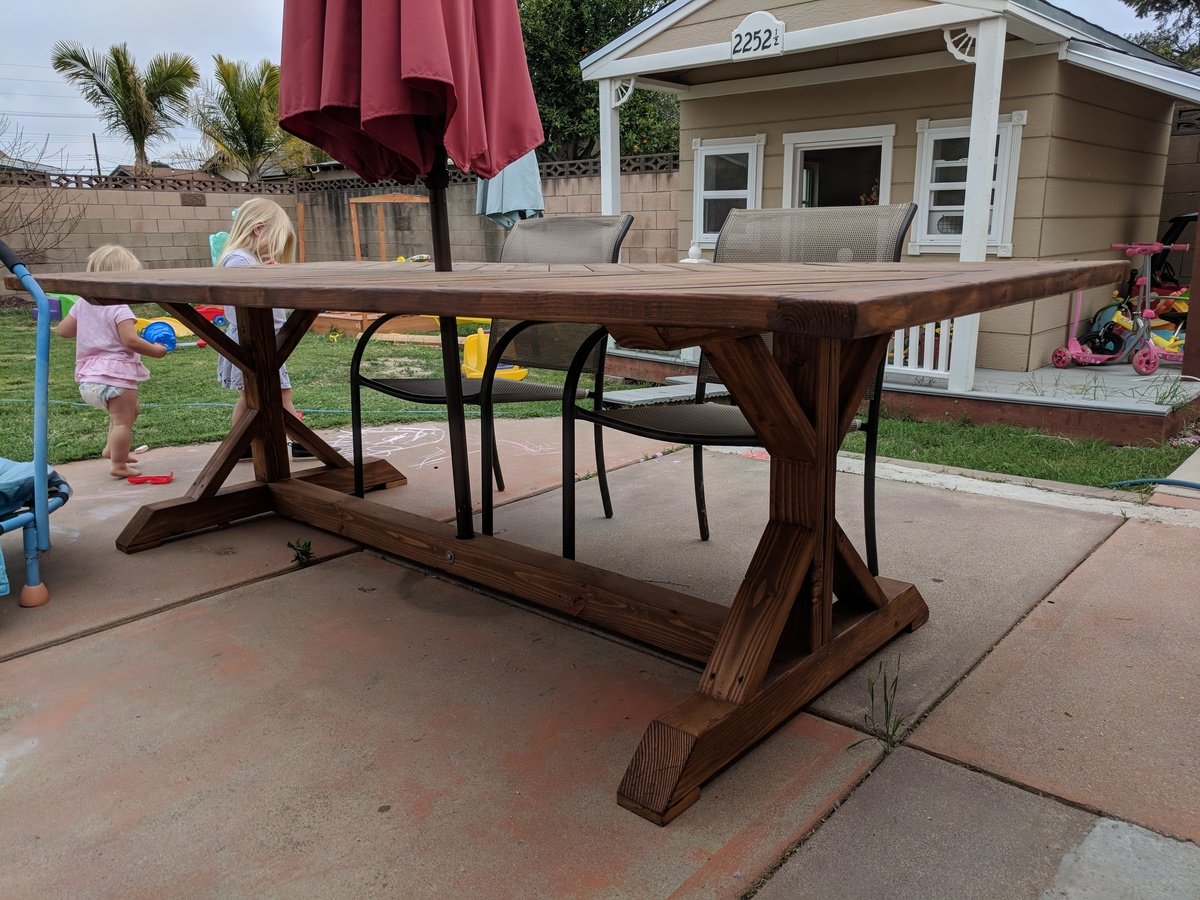
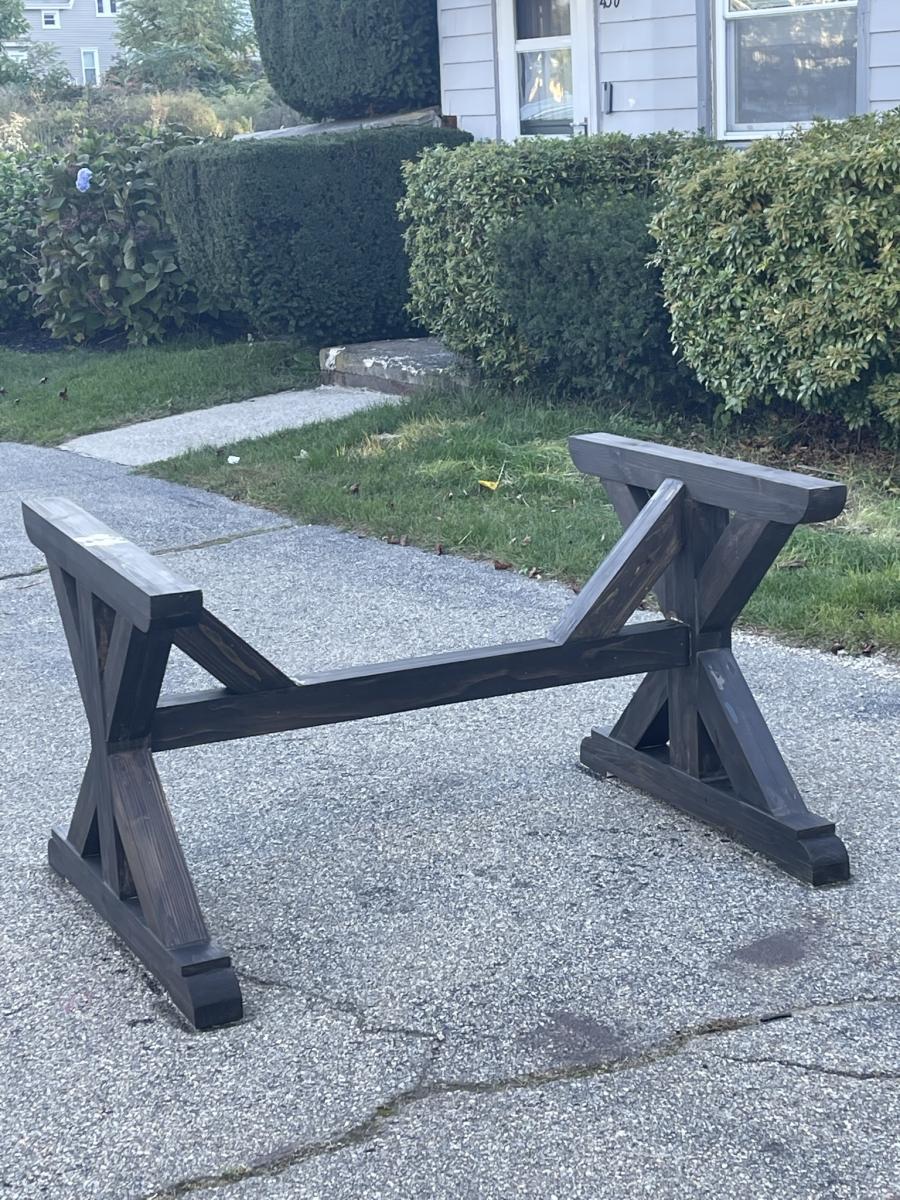
I followed the X-table plans for the base and then went a little nutty on the table top. I also beefed up the bottom stretcher on the base as I felt it complemented the 4x4s used for the feet well. I left off the diagonal braces as I liked the contrast of the beefy legs and stretcher and the open airy appearance between the base and tabletop. There were several blogs/ideas on Pinterest about a Chevron style table top. I took pieces from all of them for my design. The table measures 99.75 inches long by 41 inches wide. I thought being a quarter inch under 100 was a bit quirky and did it merely for that reason. Oh and please forgive the photo bomb by my daughters. I could not take a picture without getting at least one of them in the frame. My oldest is being a little silly in the pic trying to show the detail of the Chevron design--or split Chevron as I'm calling it. 

Built from Plan(s)
Estimated Cost
Under $100
Estimated Time Investment
Weekend Project (10-20 Hours)
Finish Used
My last outdoor table failed miserably (it was a beautiful design IMO, of plywood strips layed on edge to create a striated table top). I finished that failure with spar urethane specifically for boats. But plywood, while extremely stable indoors, is a terrible choice for outdoors. Lesson learned. For this table I used a deck stain and sealer. It's Olympic Maximum in Canyon Brown color. Hopefully I'll have better luck!
Recommended Skill Level
Beginner

Comments

Great Shelves - made to measure!

Submitted by tailspin10 on Fri, 09/04/2015 - 08:54

Thanks for the plans Ana!

I stuck to the design but changed the dimensions to suit the space and the boxes we intend to store. This made the shelves 7.5 feet high by 8.5 feet wide. The timber was supplied in 17’ lengths so this also meant very little wastage. The frame is composed of 2x4’s, the shelves are 4.5 x 1.5’s  - as I wanted the shelves slightly shallower this meant I could get away with three boards for each shelf instead of 4 as on the plans. 

For the short cross pieces I used woodglue and screws – to attach the long shelf pieces I just used screws. I predrilled holes in the first piece for each of the screws, but I didn’t drill a pilot hole in the next piece, the screws were self-tapping and didn’t need one.

The back wall is concrete block and I screwed each upright to the wall using wall plugs and screws. I’ve 2 young children and as the shelves are quite high I was afraid they might climb on them and tip them over otherwise. The attachment to the wall definitely makes the whole thing feel much sturdier – the structure is completely rigid.

The only real issue I encountered was that some of the boards were slightly twisted or warped – and I had to apply some force to keep everything square when I was gluing up. Overall I’m very happy with the end product, and found it reasonably easy to put together. Now its time to put the shelves to good use and start tidying up the garage!
Estimated Cost
$180 including screws - I'm in Ireland and unfortunately wood seems to be more expensive here :-(
Estimated Time Investment
Day Project (6-9 Hours)
Finish Used
I gave it a quick wipe of some old danish oil I was going to throw out, I'm not that bothered about finish as the shelves are in the garage.
Recommended Skill Level
Beginner

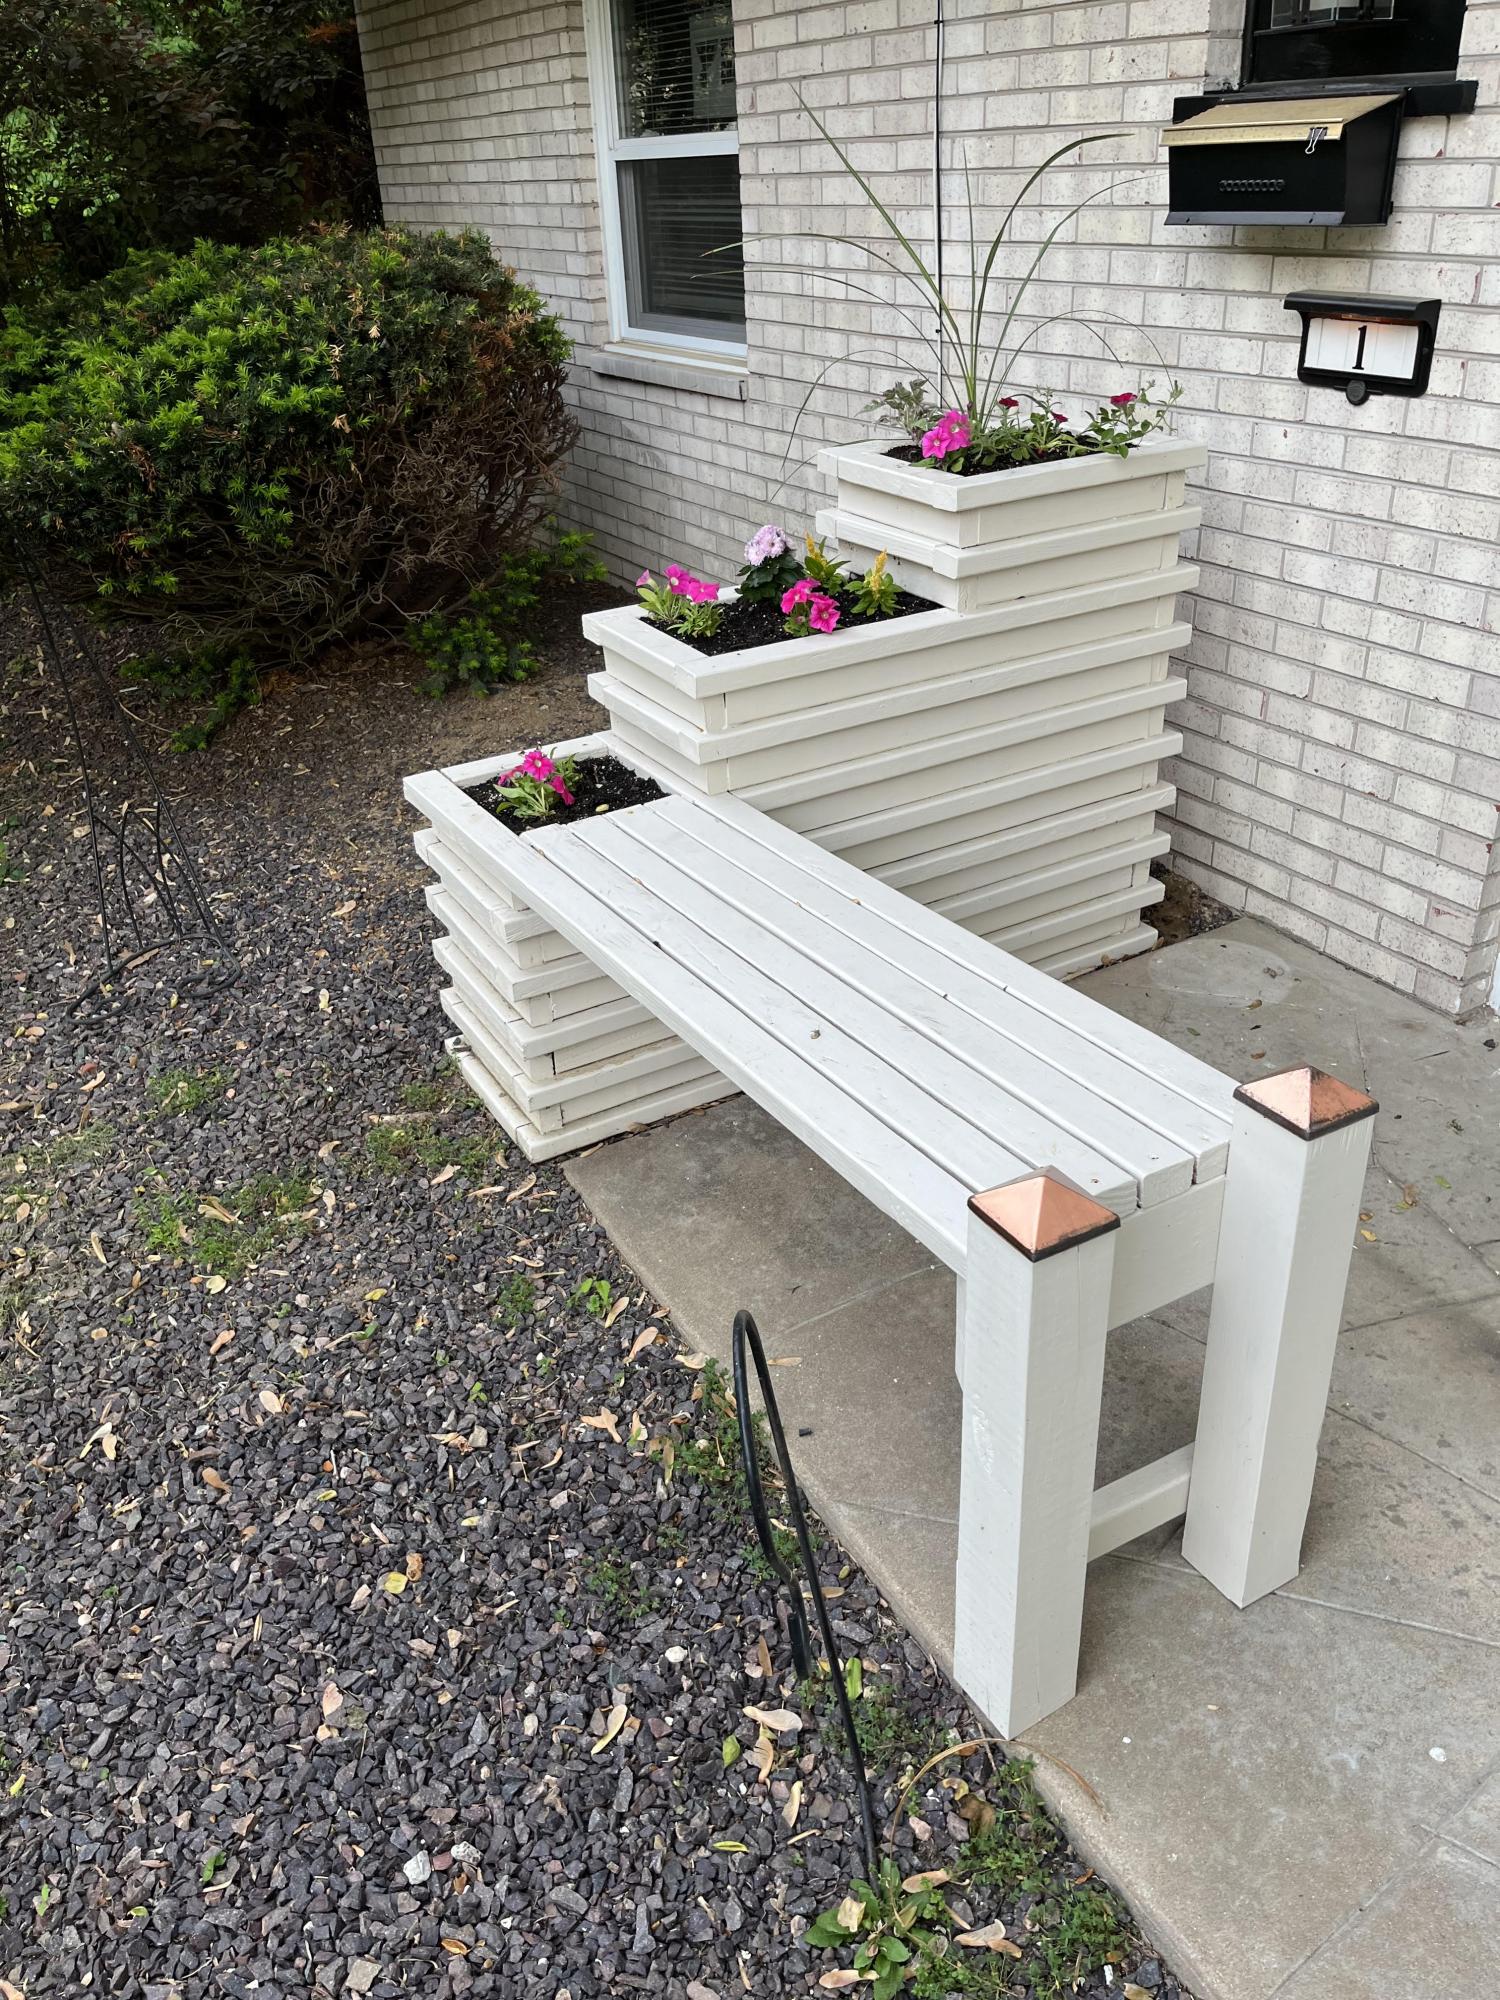
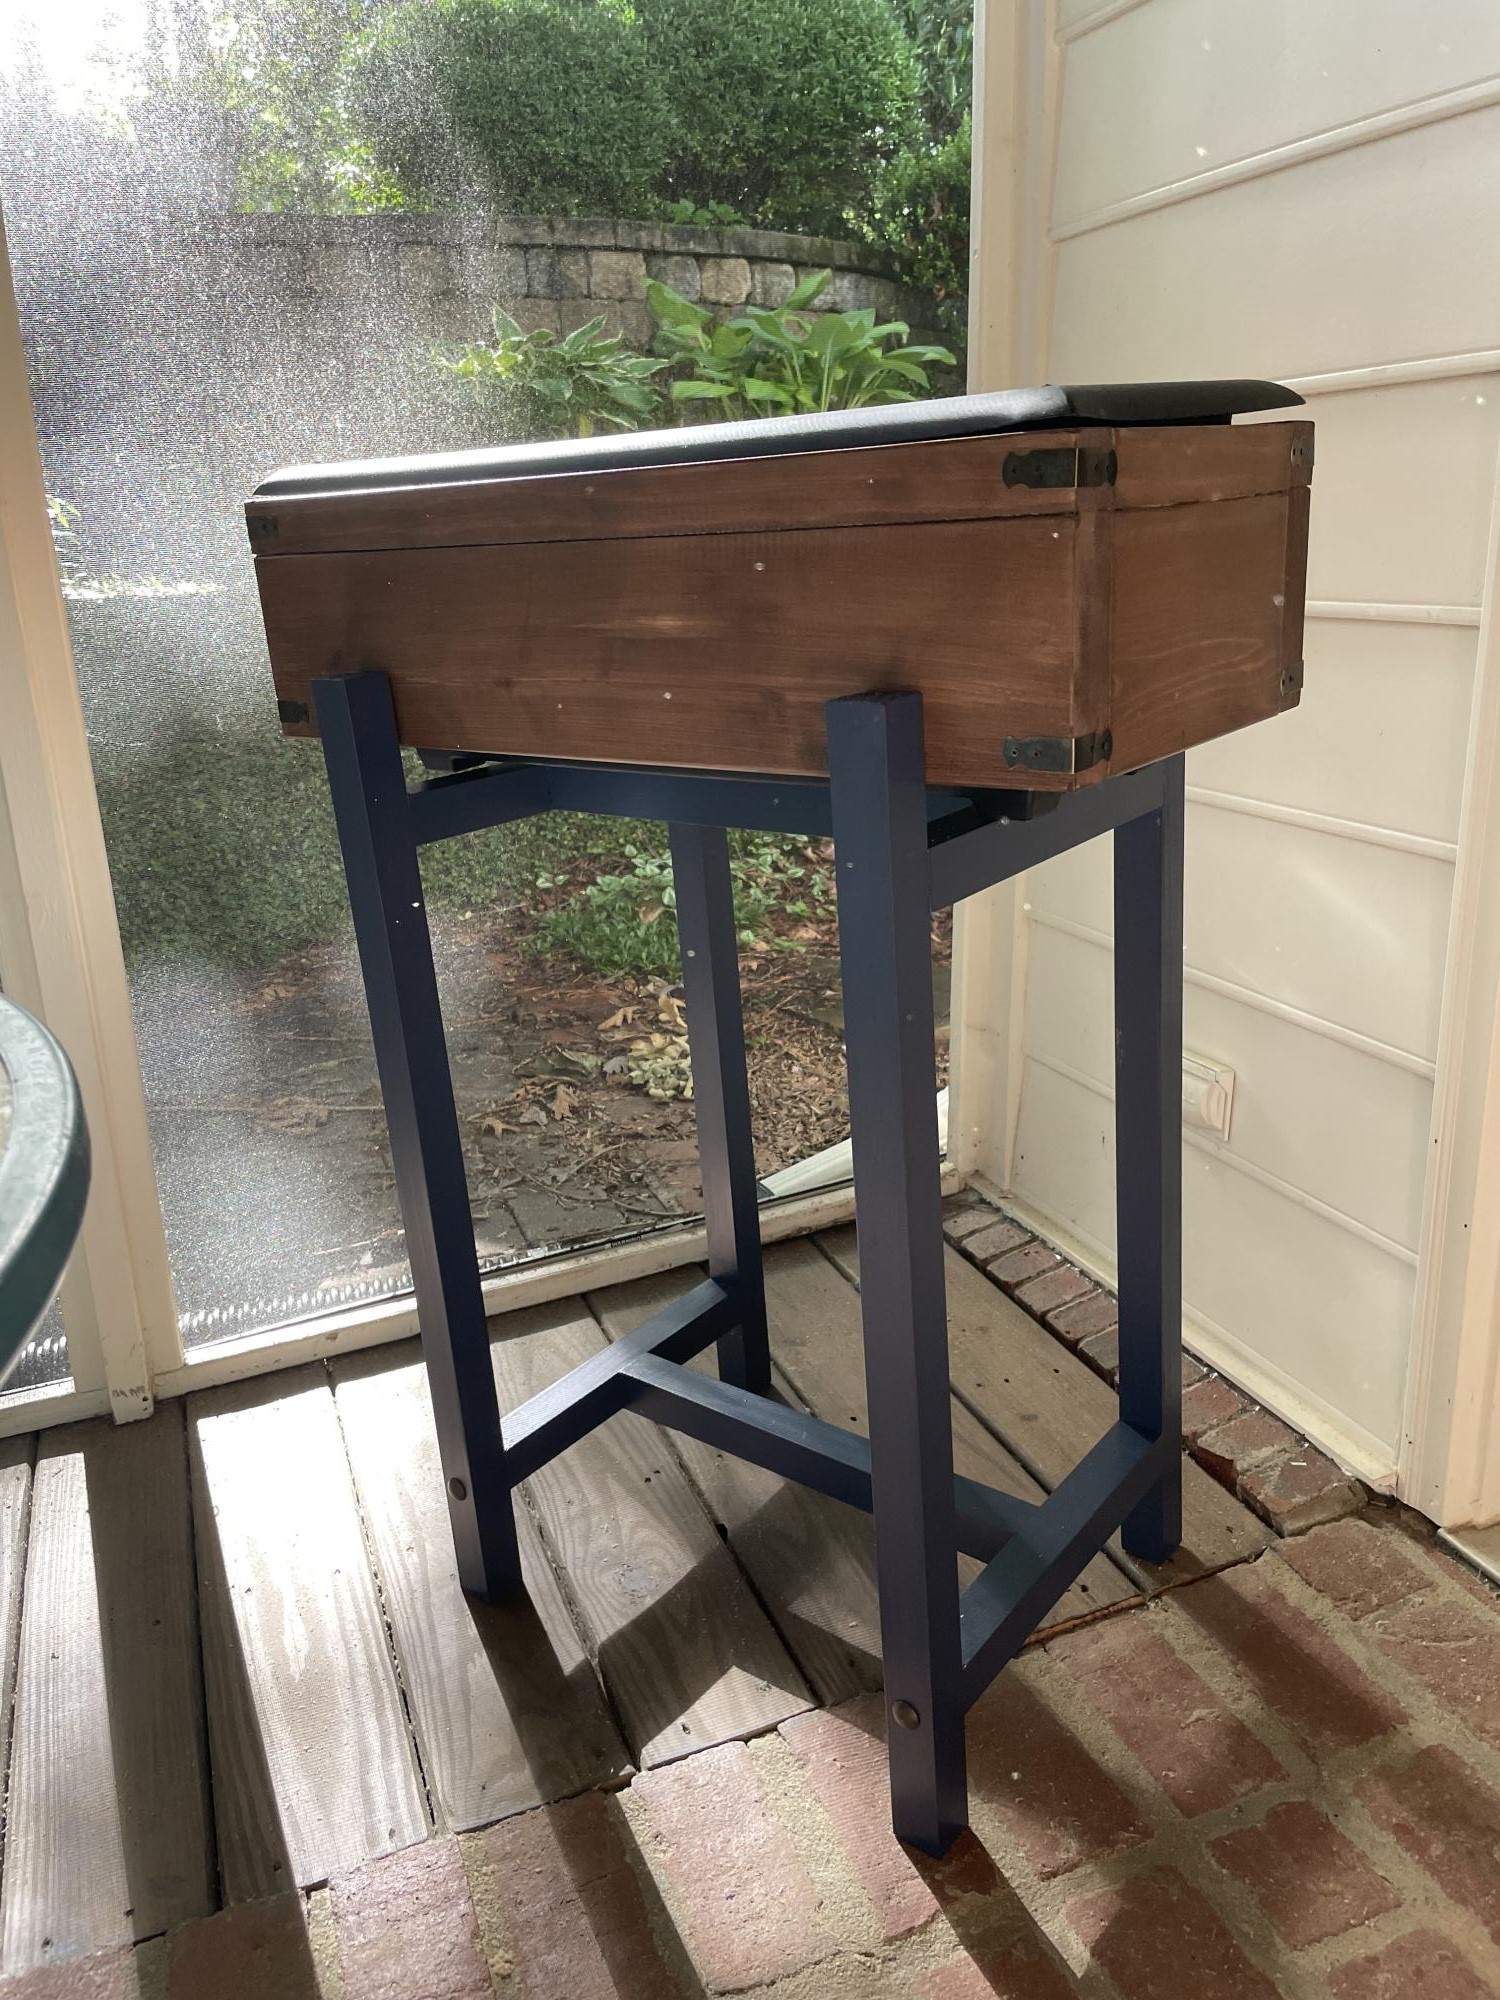
Small raised planter stand

Submitted by Anonymous (not verified) on Fri, 06/10/2022 - 17:04

Plan to use as a cooler :) adjusted dimensions to fit a bigger planter box and added some decorative details. It came out great!

Built from Plan(s)

Comments

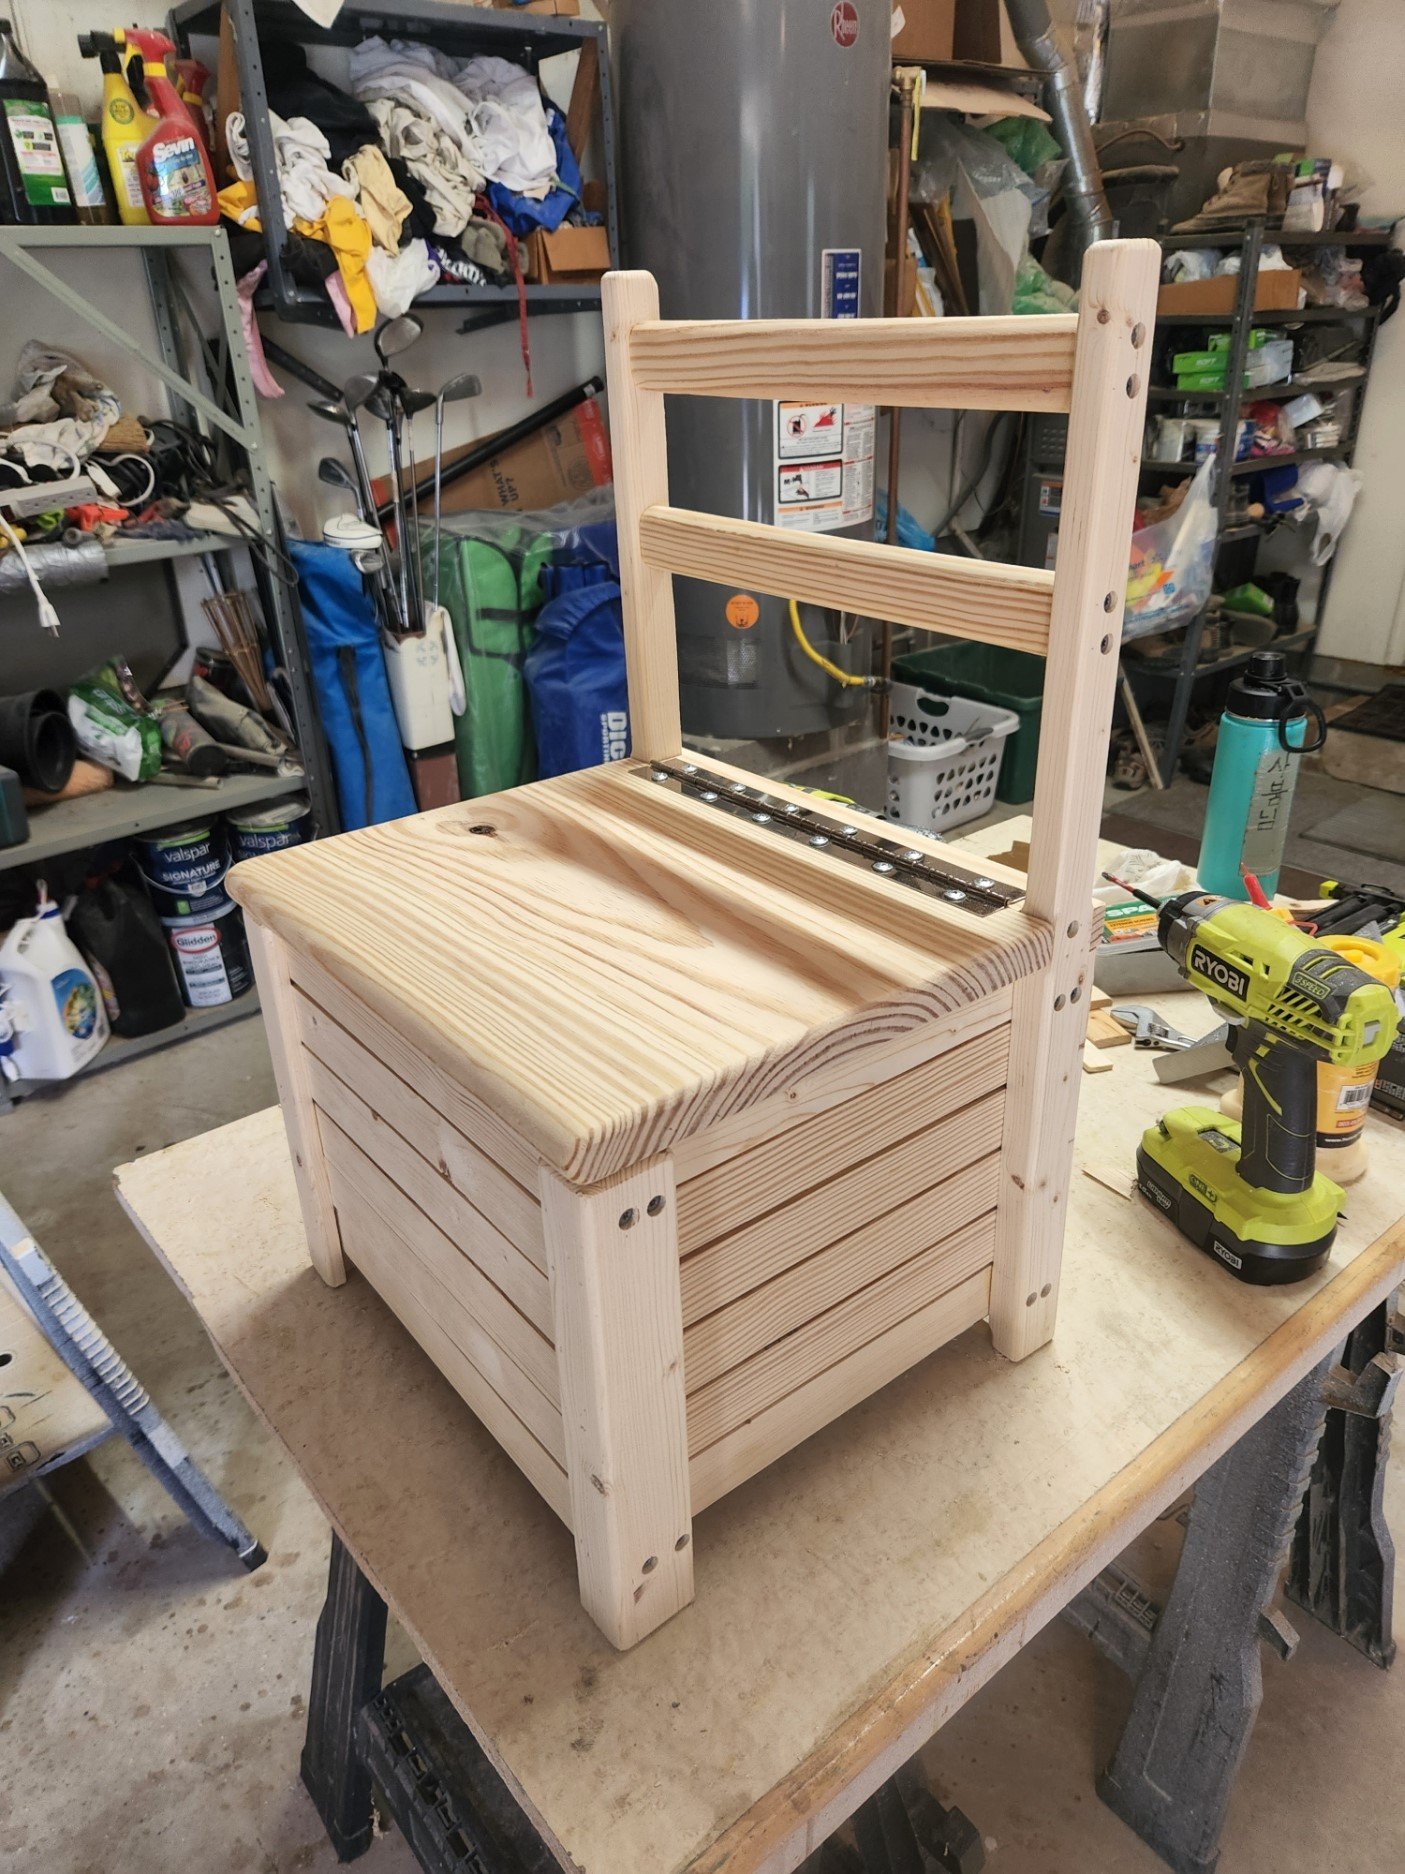
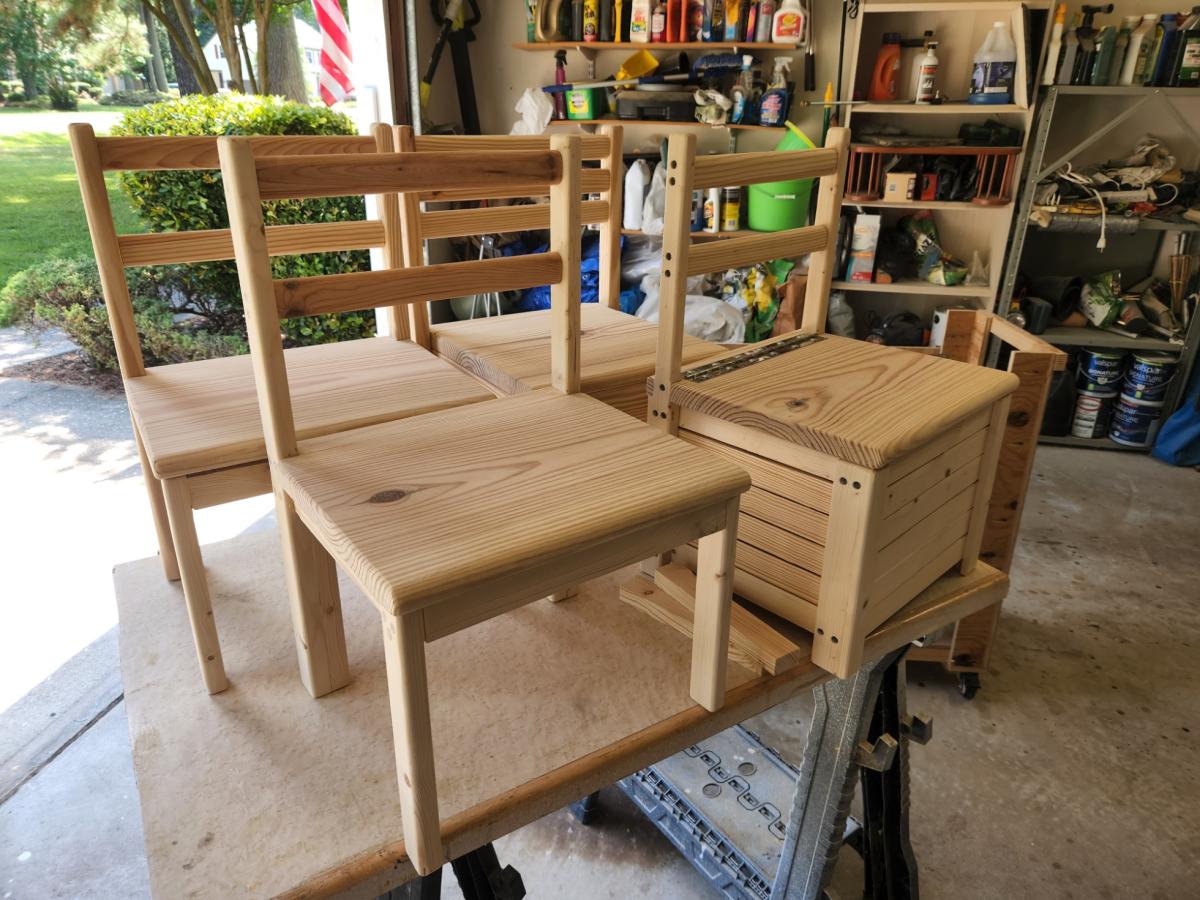
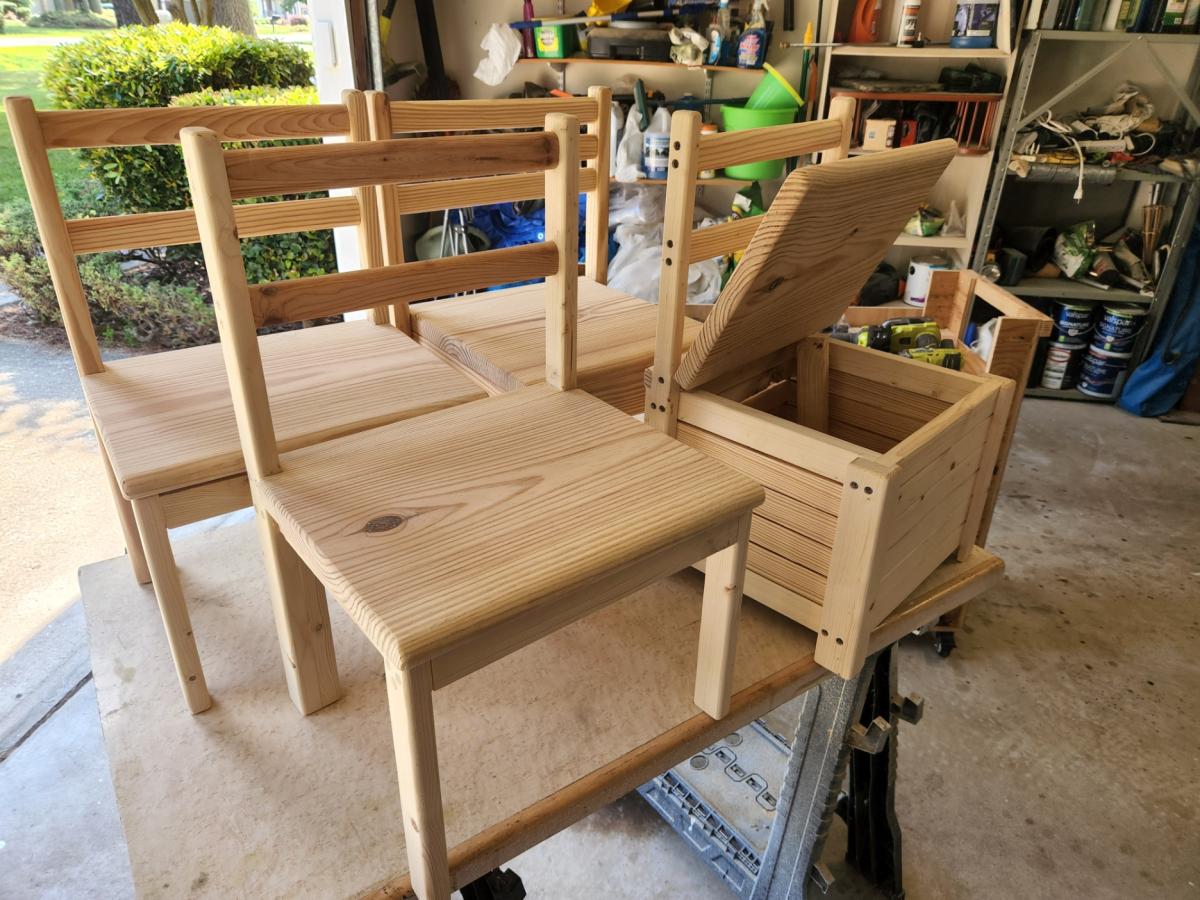
Kids Chair with Storage / Toy box

Submitted by bozarthm1 on Mon, 07/04/2022 - 18:24

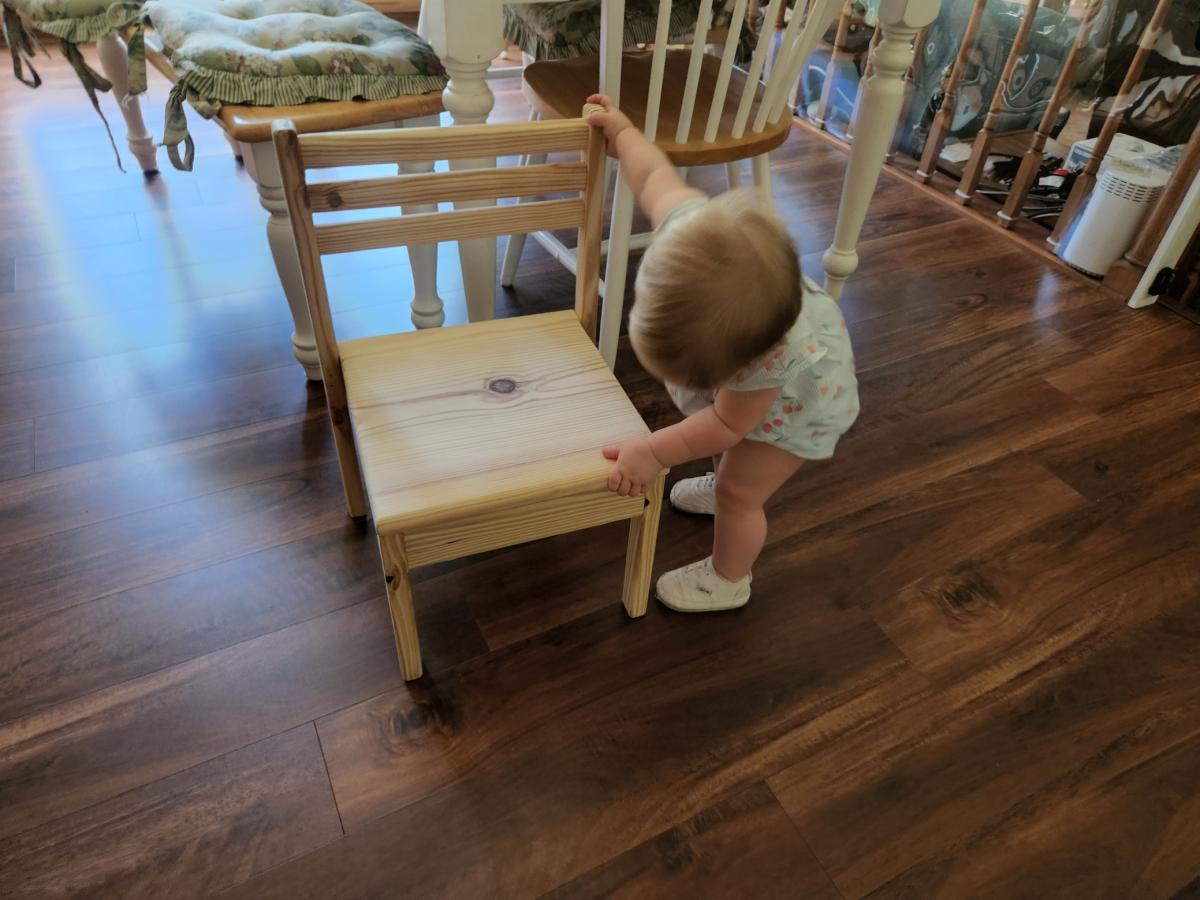
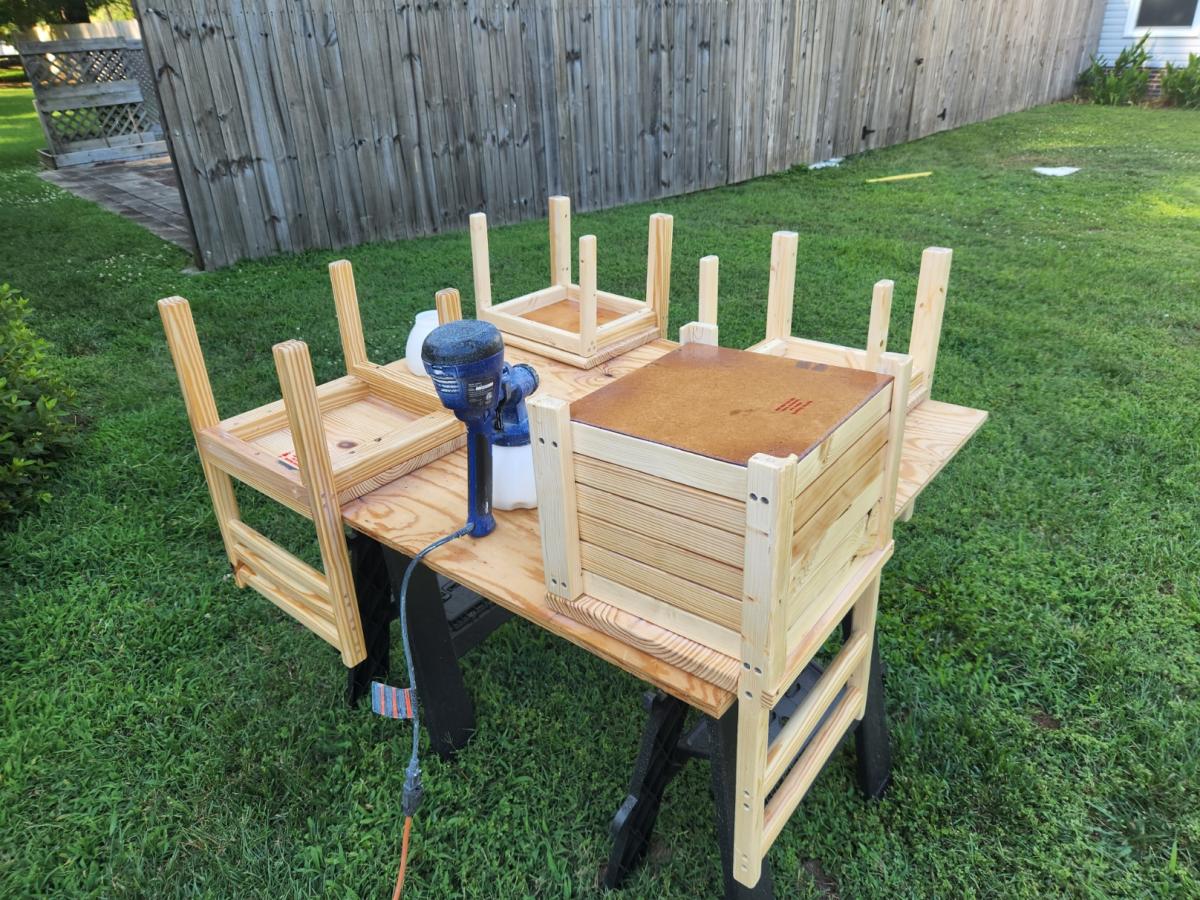
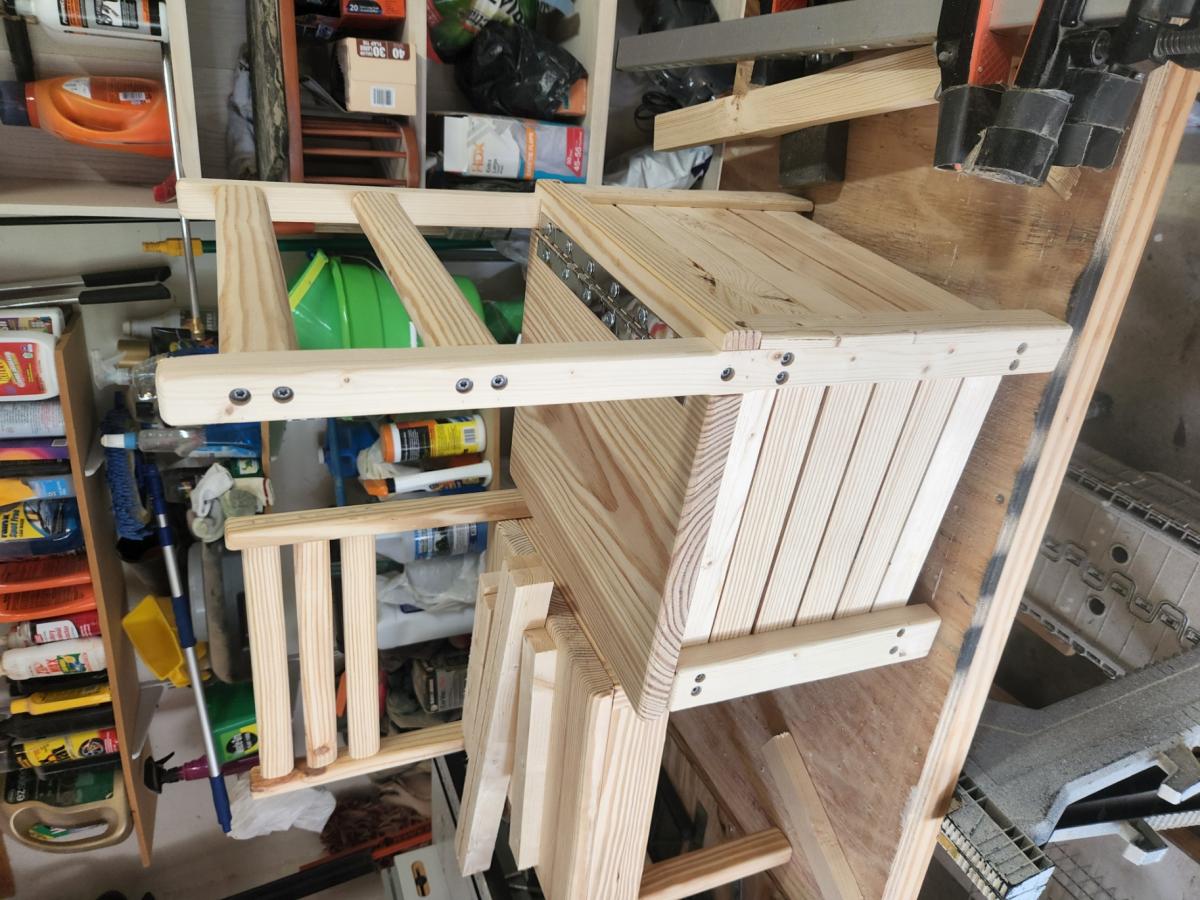
Made from Ana's Kids Chair with Storage. Love these little chairs. I riped up some 2x4's to 7/8th and used a 1 x 12 stair tread for the seats. glued with screws, then removed the screws and replaced with glue and dowels. Made for kids, strong enough for adults.

Comments

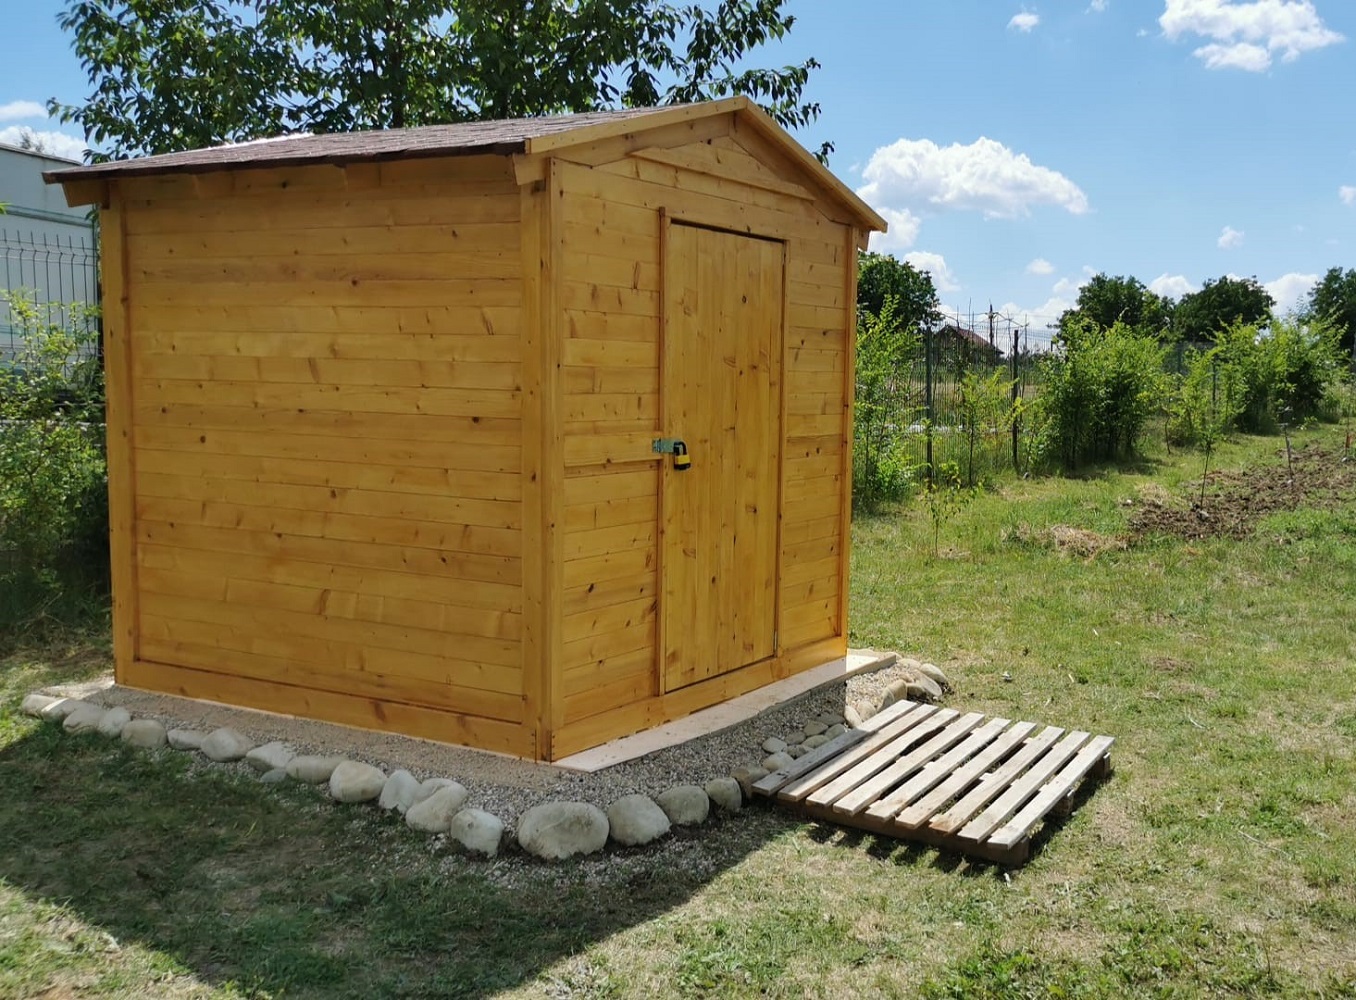
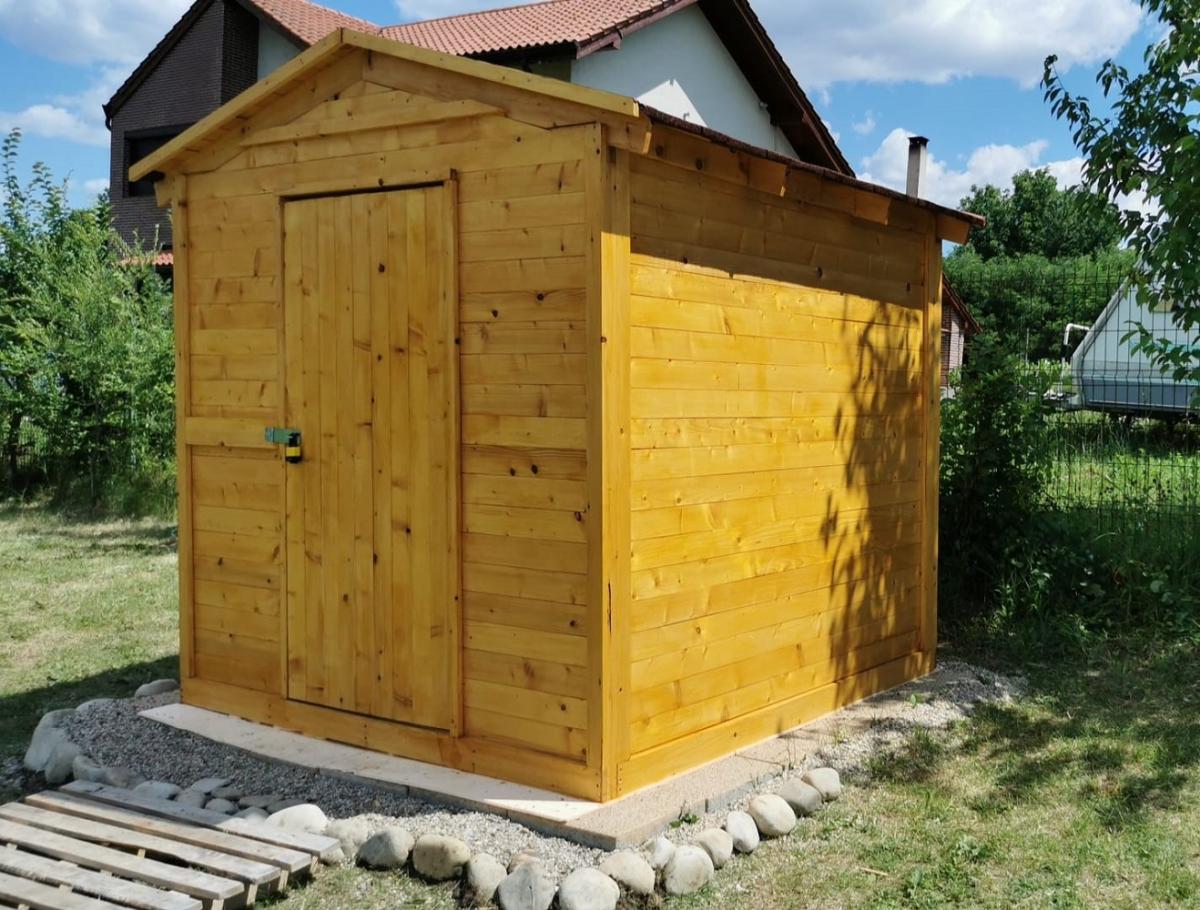
Wooden garden tools storage shed

Our last project was building a tiny garden tools storage shed. We used only 1 x 4 boards. We don't have any plans, but you can watch the entire building process on our YouTube channel. We are very proud of the way the project turned out.

Built from Plan(s)

Comments

Seasonal And Holiday

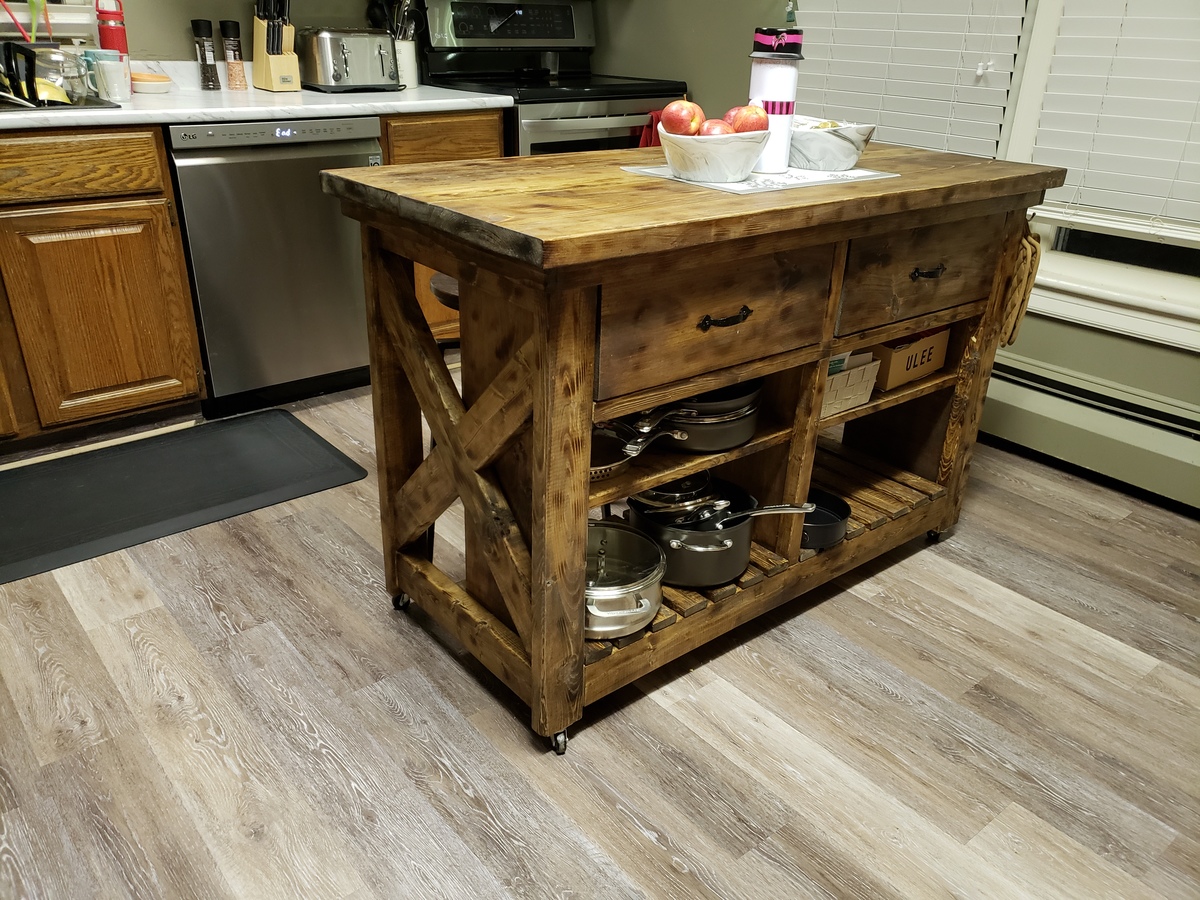
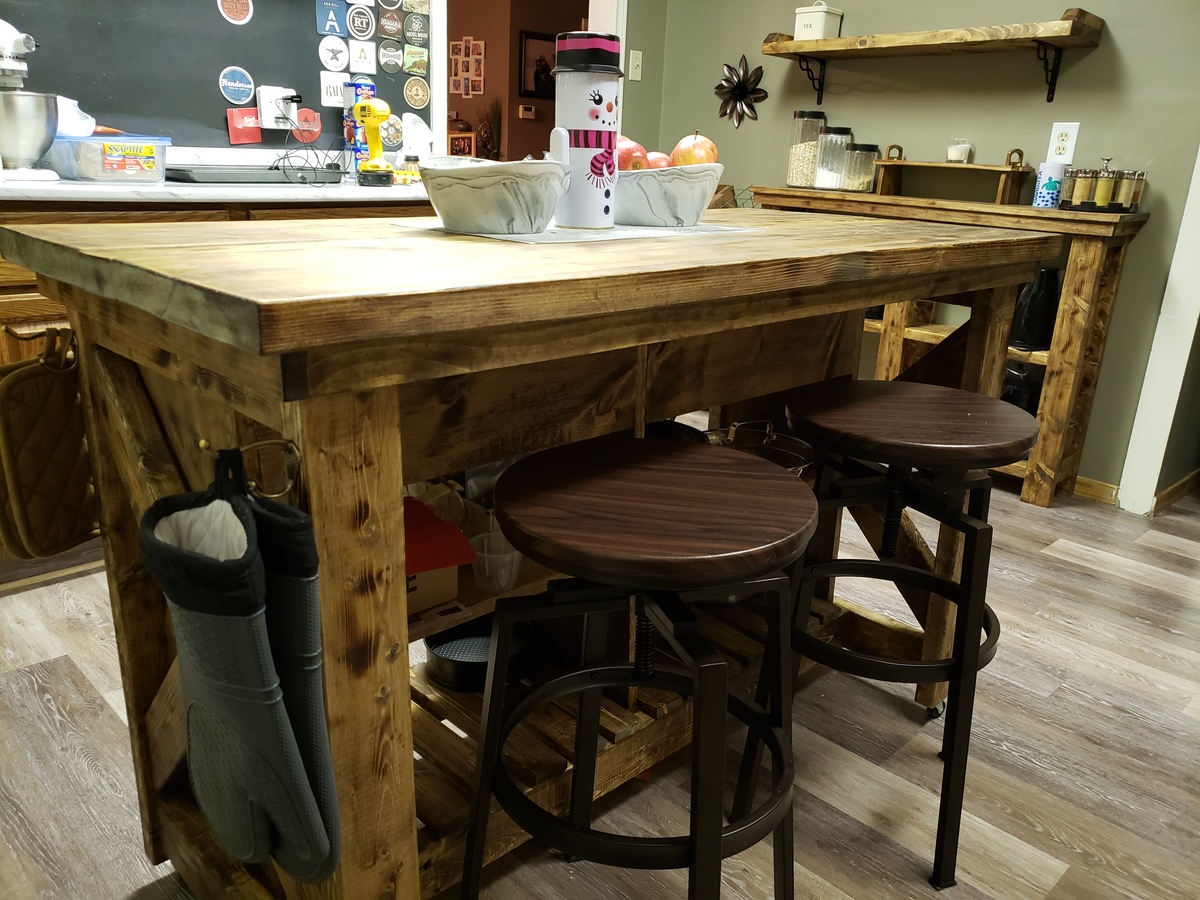
Rustic X Kitchen Island - Double

Submitted by Anonymous (not verified) on Mon, 01/14/2019 - 01:54

I followed the plans except for the top, I used a 2x12, 2x4 and 2x12 pocket holes together.


Burnt the wood with a torch and stained over.

Thanks for the plans!


Questions? [email protected]

Built from Plan(s)
Estimated Cost
200$
Estimated Time Investment
Weekend Project (10-20 Hours)
Finish Used
Minwax provincial and topcoat polyurethane and mineral spirits 75/25 mix
Recommended Skill Level
Intermediate

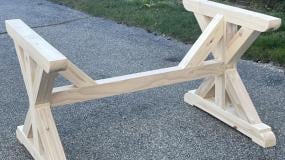
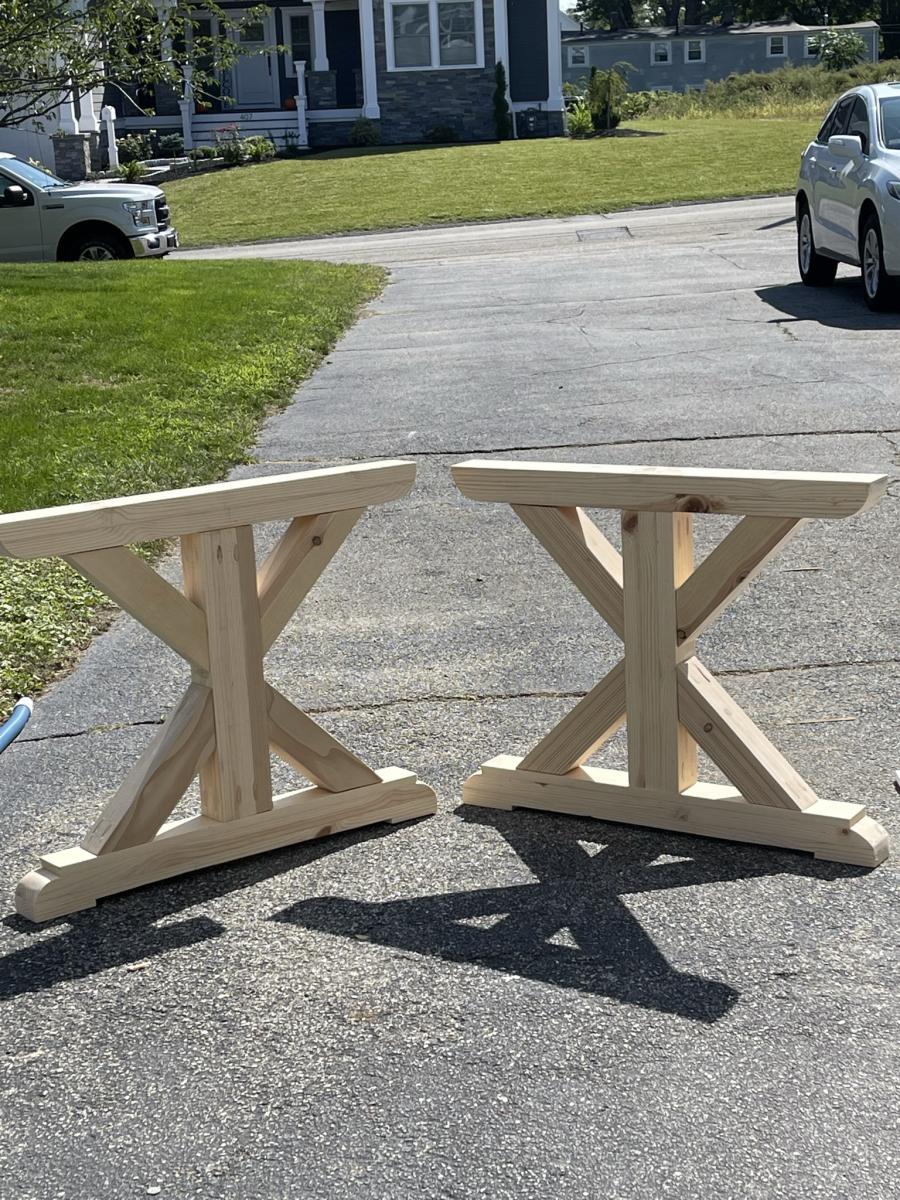
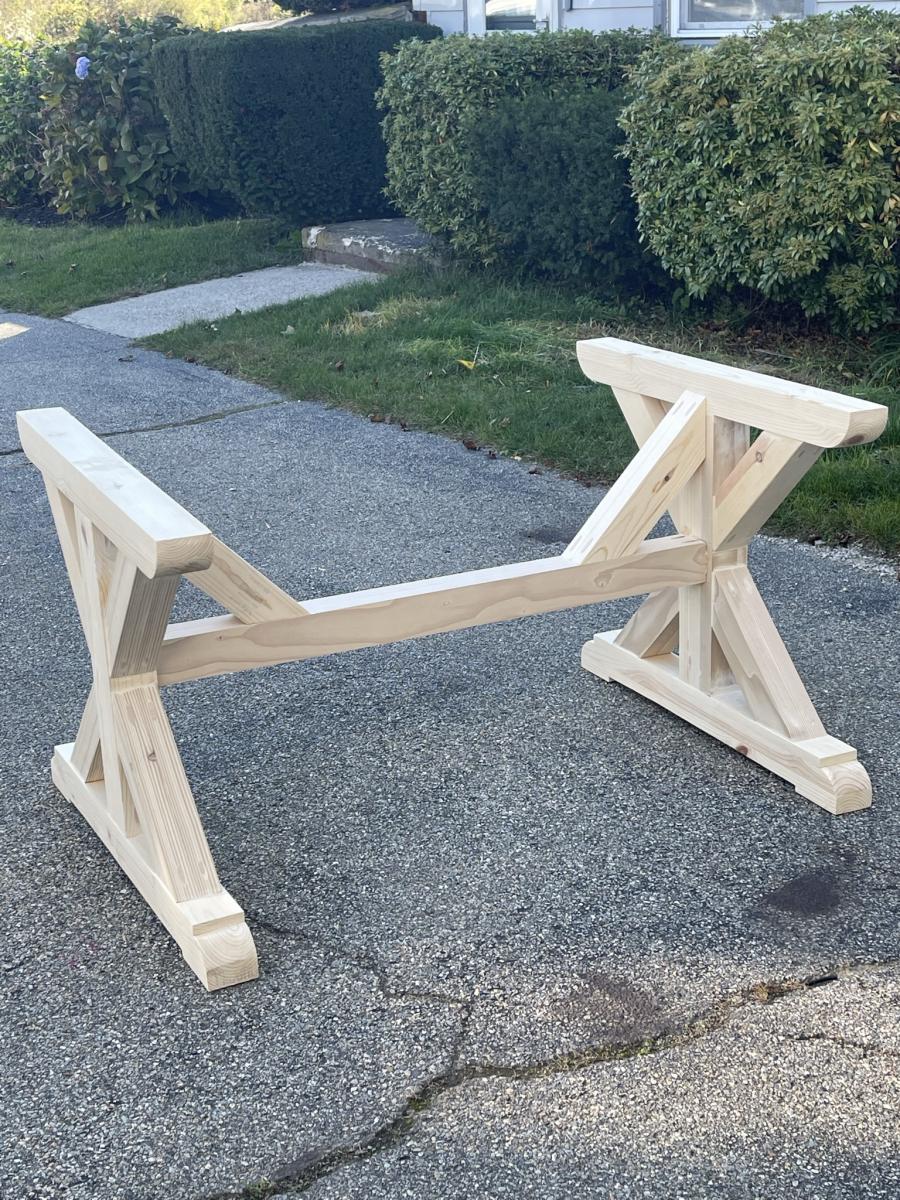
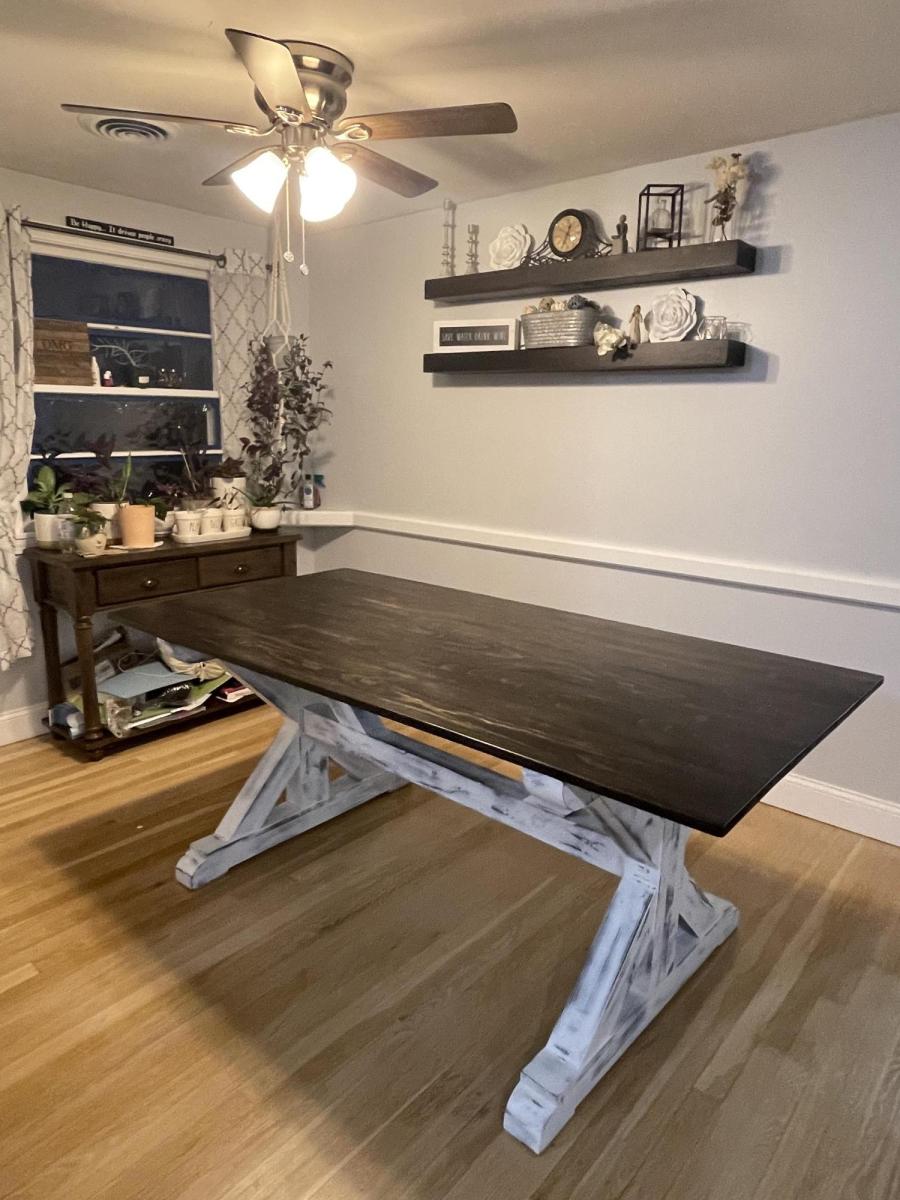
DIY farmhouse table

Submitted by Anonymous (not verified) on Wed, 12/28/2022 - 16:05

A farmhouse table I built based on one of your inspiration projects! All by hand and chiseled myself 😍

Built from Plan(s)

Comments

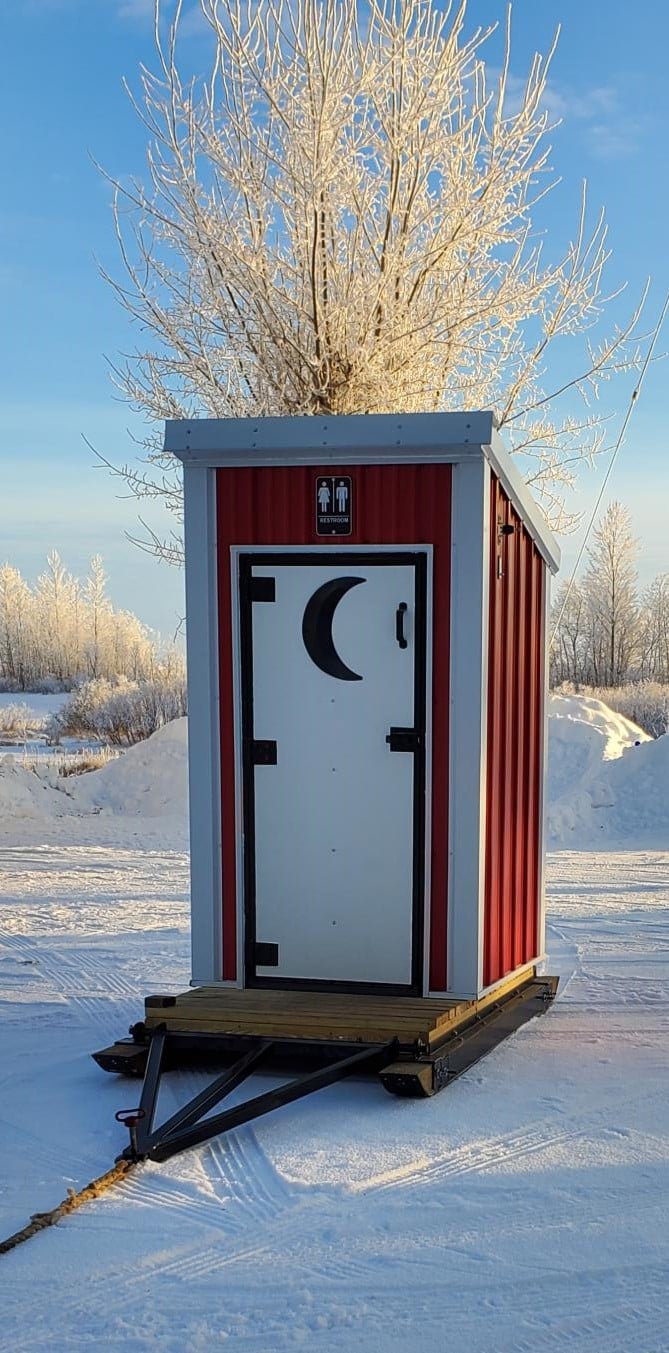
Solar Outhouse - By Deb

Your outhouse design was modified for a snowmobile club project as the building needs to be towed across a lake to a site next to a warming shelter.  An LED light with a timer switch and solar battery charger were installed to provide light in a remote area of Lake of the Woods.

A steel hitch and skids with hyfax were added to the design.

Thank you for providing a design that allowed us to make modifications for winter outdoor recreation accommodations.

Built from Plan(s)

My Daughters Playhouse- My First Project

Submitted by SheilaS on Sun, 10/09/2011 - 08:32

My 2 year old daughter played in a playhouse at a farm and was just amazed by the "little house" every time we would see them at the store or driving down the road she would just scream "mom, its a little house, little house!" I knew I wanted to get her one and started to search. Couldn't believe the price of playhouse kits so I figured I could build it. This playhouse took about 2 weeks to finish but I only worked on it a couple of hours at a time just a couple times a week. Total cost for me for just the playhouse not including paint was $343.90. Thanks Ana for posting the plans and showing everyone that anyone can build!

Estimated Cost
$344.90
Estimated Time Investment
Weekend Project (10-20 Hours)
Recommended Skill Level
Beginner

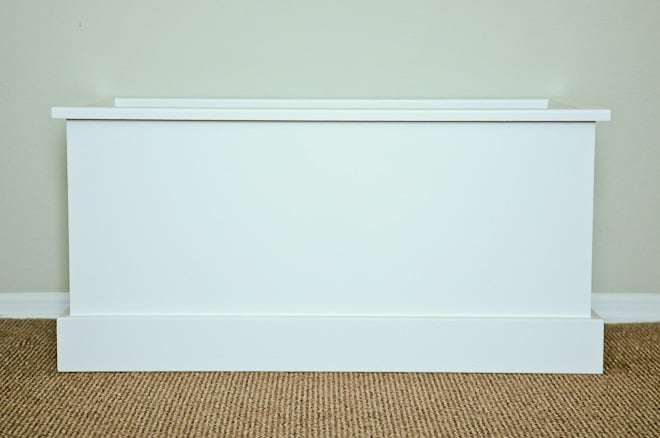
Toy Box

I longed for two matching toy boxes to sit at the foot of my boys beds. I loved the idea of a simple/clean line box without a lid that they could throw toys or blankets and pillows in without the chance of any fingers getting pinched. I altered the plans slightly from the ones provided by Ana and finished them off with a satin white paint.

Built from Plan(s)
Estimated Cost
$25
Estimated Time Investment
Afternoon Project (3-6 Hours)
Finish Used
White satin paint rolled on with a foam roller.
Recommended Skill Level
Beginner

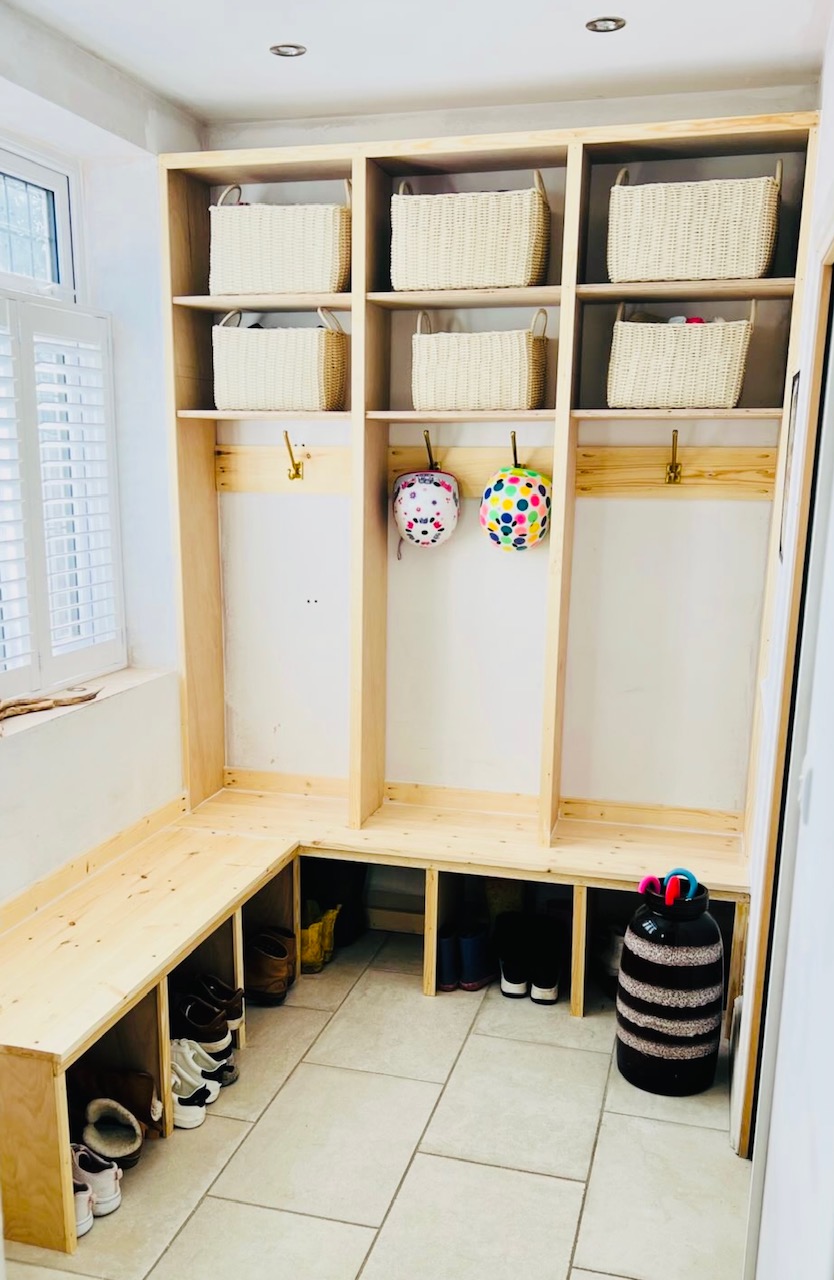
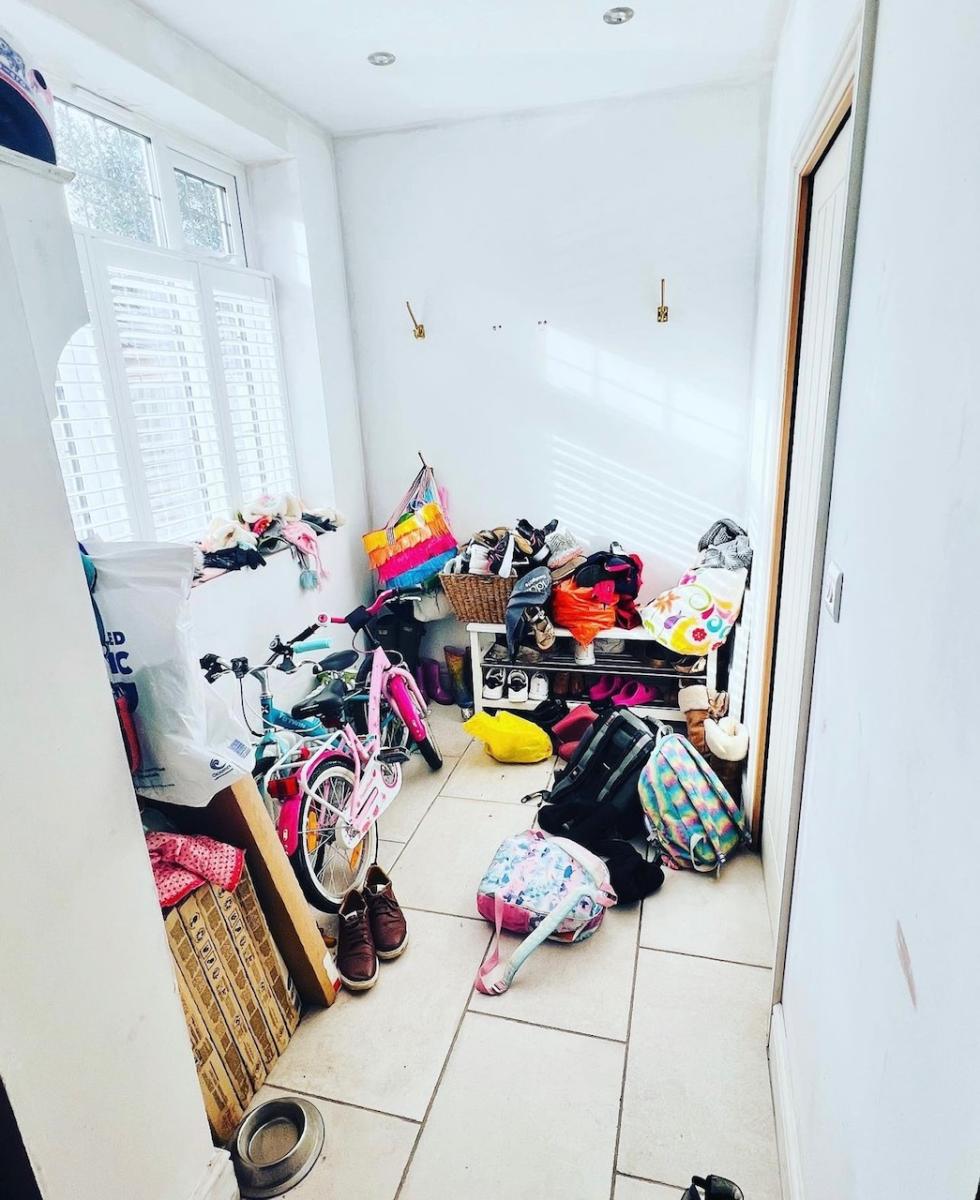
Boot Room Before and After

Got bored, built a boot room! Thank you Ana White for the plans!

Comments

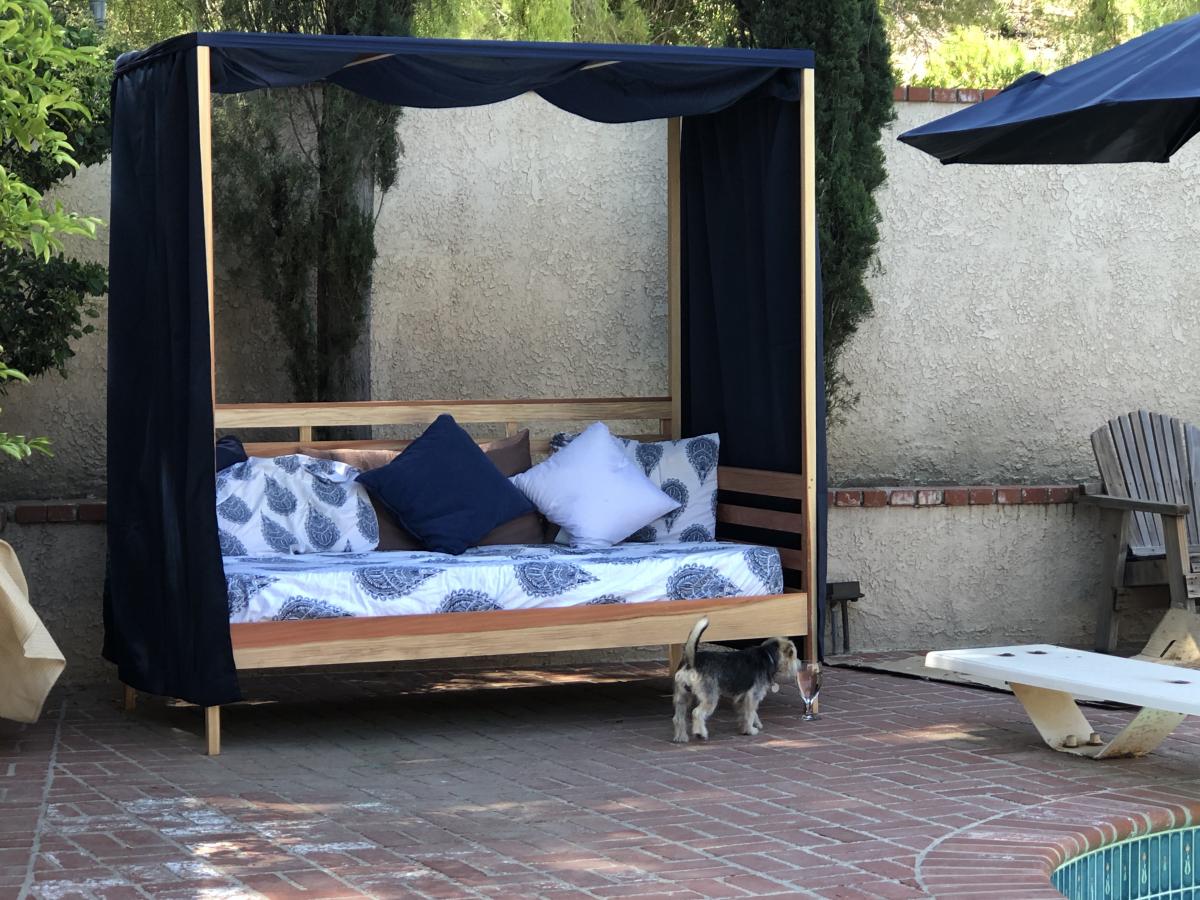
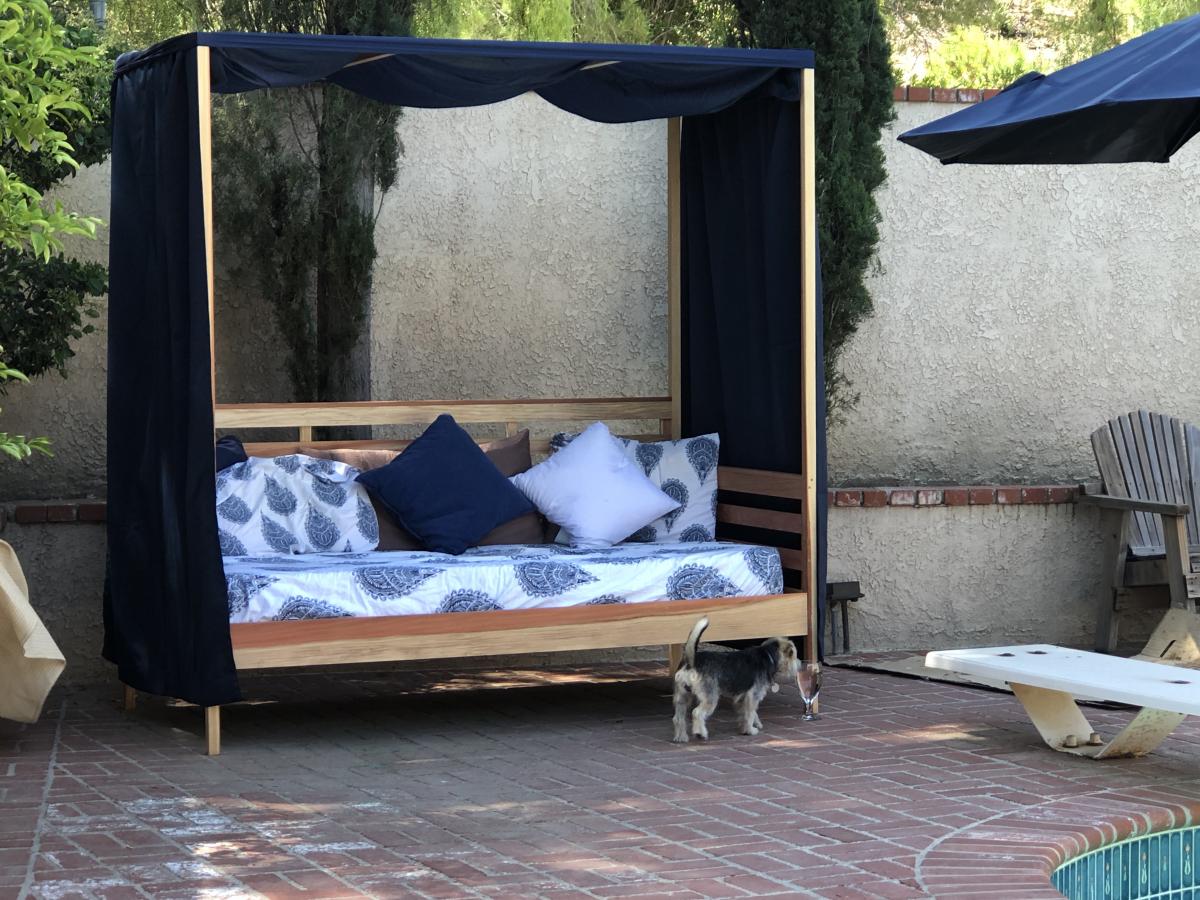
Outdoor day bed

Submitted by TamTamW on Wed, 07/03/2019 - 09:28

Loved making this. Used old sun curtains and a sheet for extra splendor. 

Built from Plan(s)
Estimated Time Investment
Weekend Project (10-20 Hours)
Finish Used
None.
Recommended Skill Level
Beginner

Comments

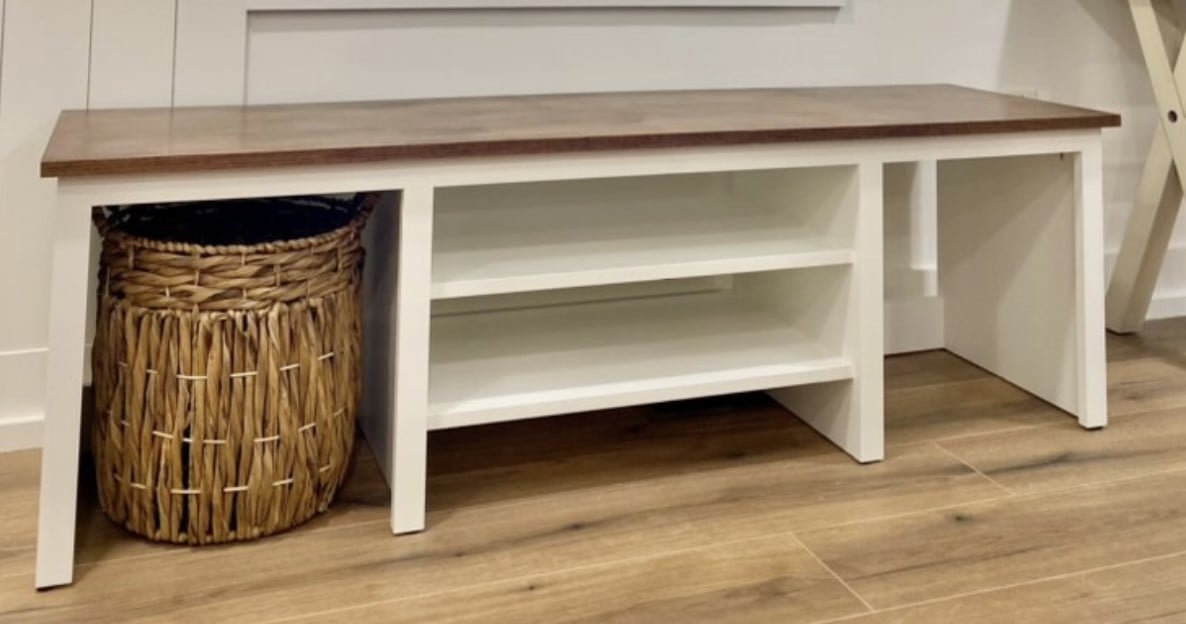
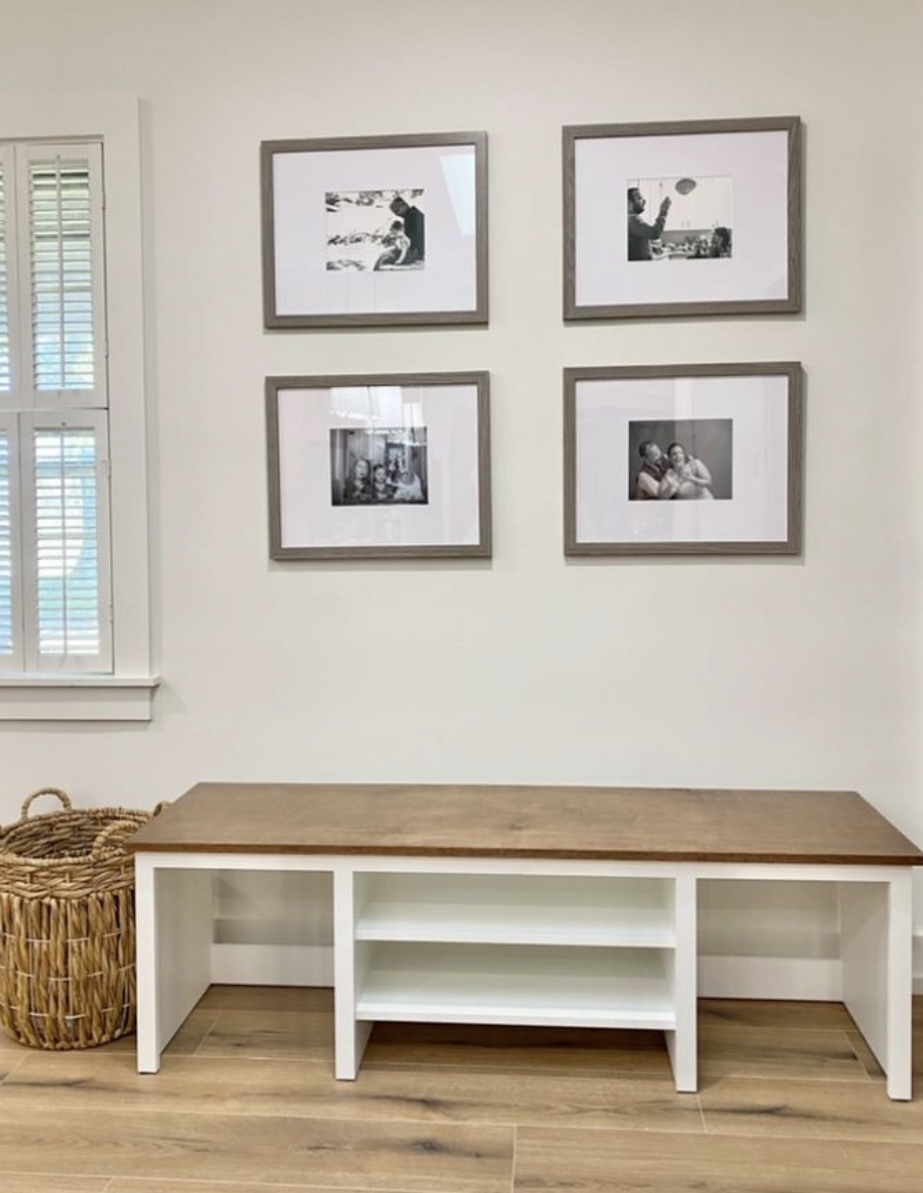
Custom Storage Bench

Storage bench using Shelf Help by Judith Noffz

"What can I say … we love Ana White’s Shelf Help Now.
We both love the quality of the wood. You just can’t find that around here. I love that I can create what’s in my mind with a drawing and rob can take her template and build!!!"

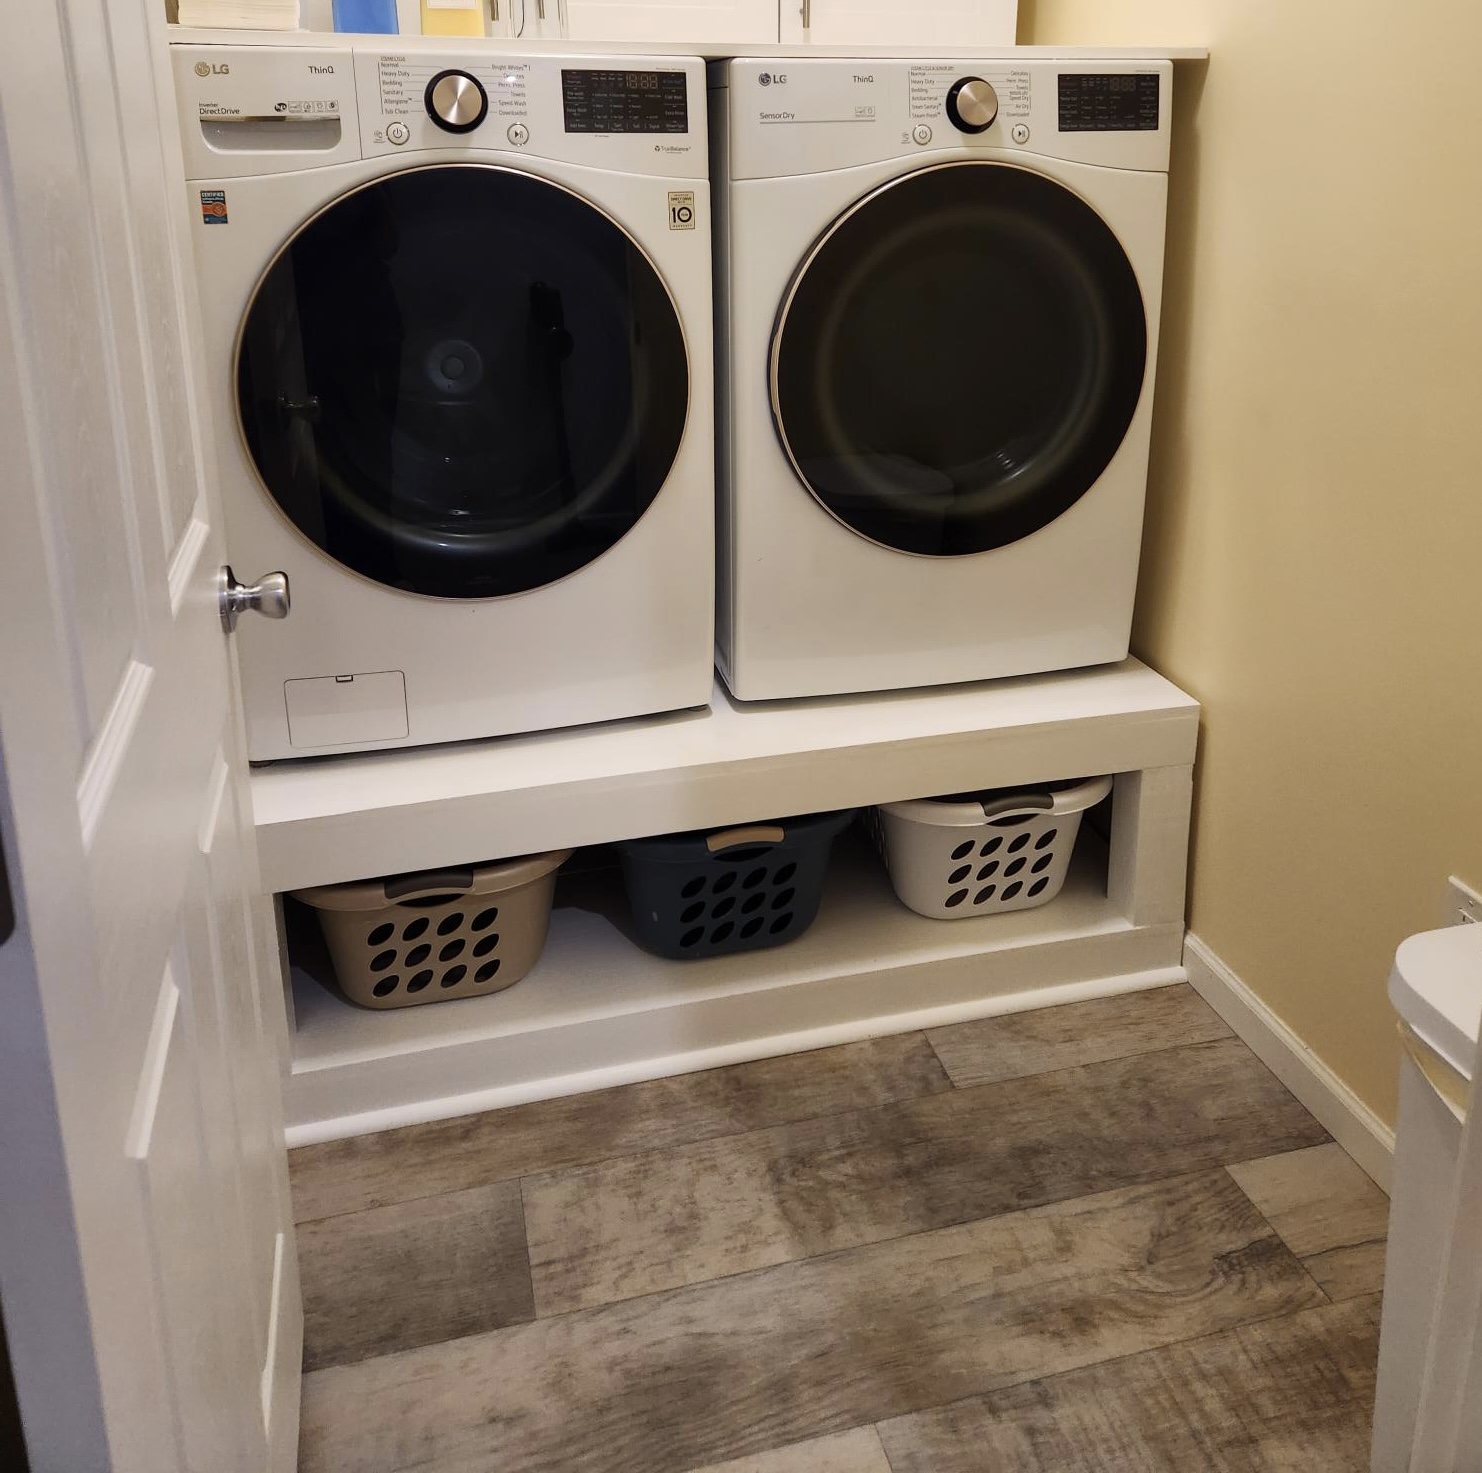
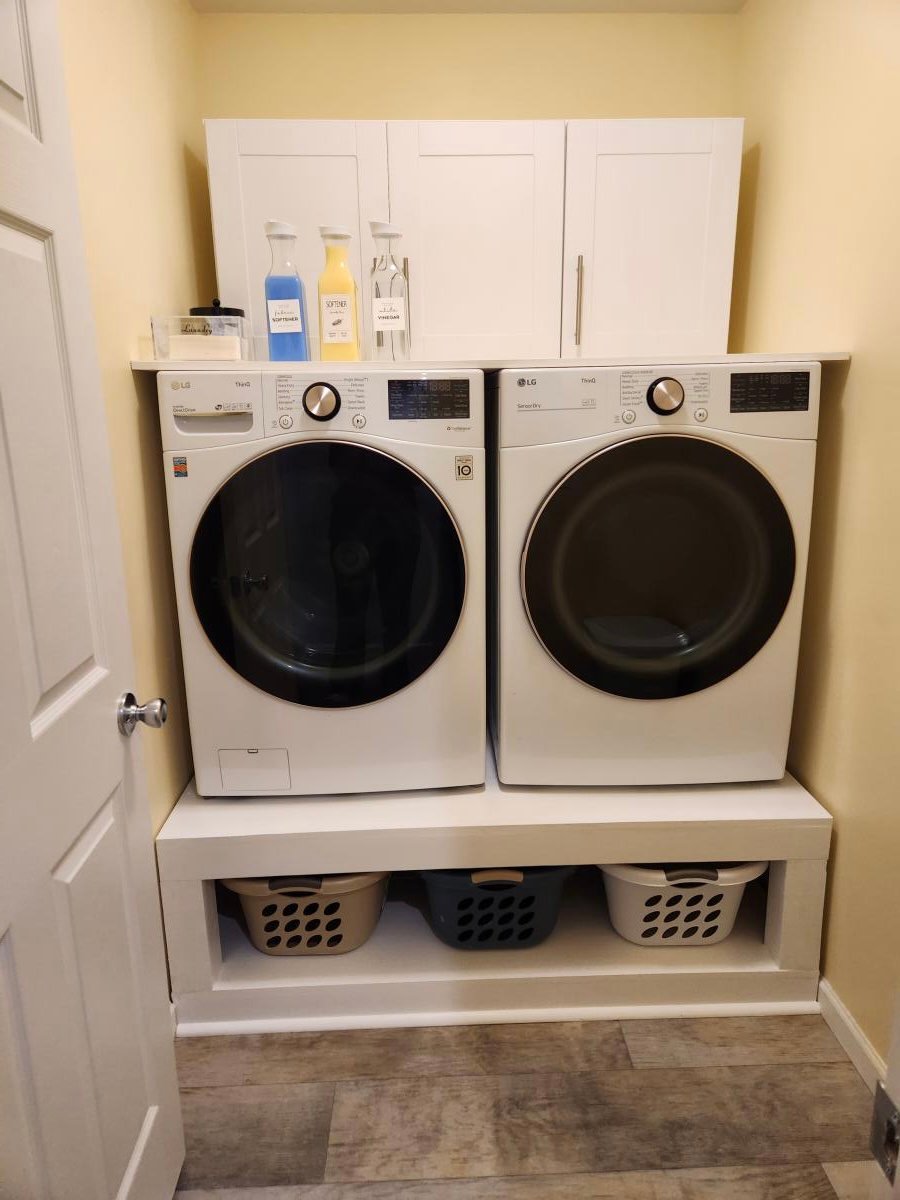
Washer Dryer Pedestals Bases

This pedestal base for the washer and dryer really created the perfect opportunity to organize and declutter our tiny laundry room. Had to resize it a bit to fit the space but it turned out perfect! I added a super easy top for an even counter space and bought some stock laundry room cabinets to sit in the back for extra storage. Such an upgrade!
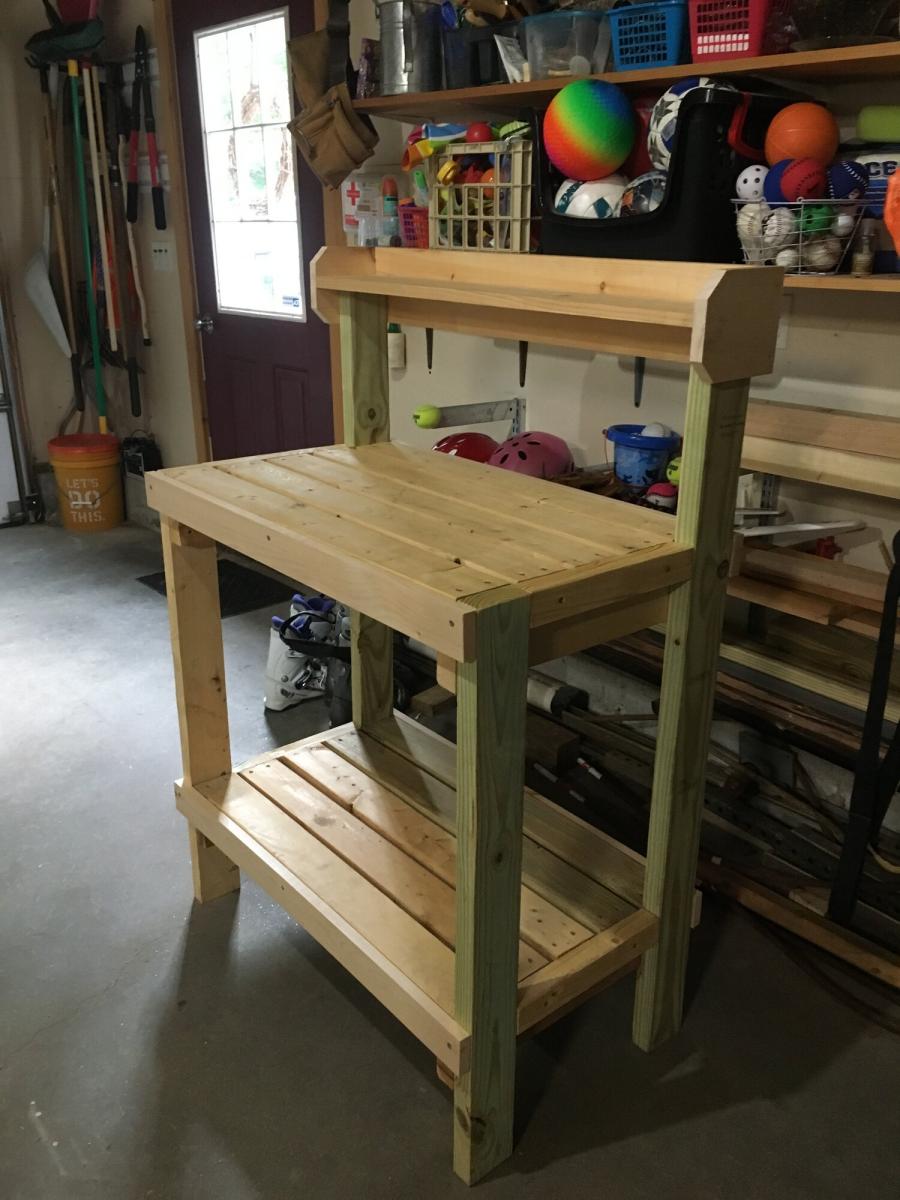
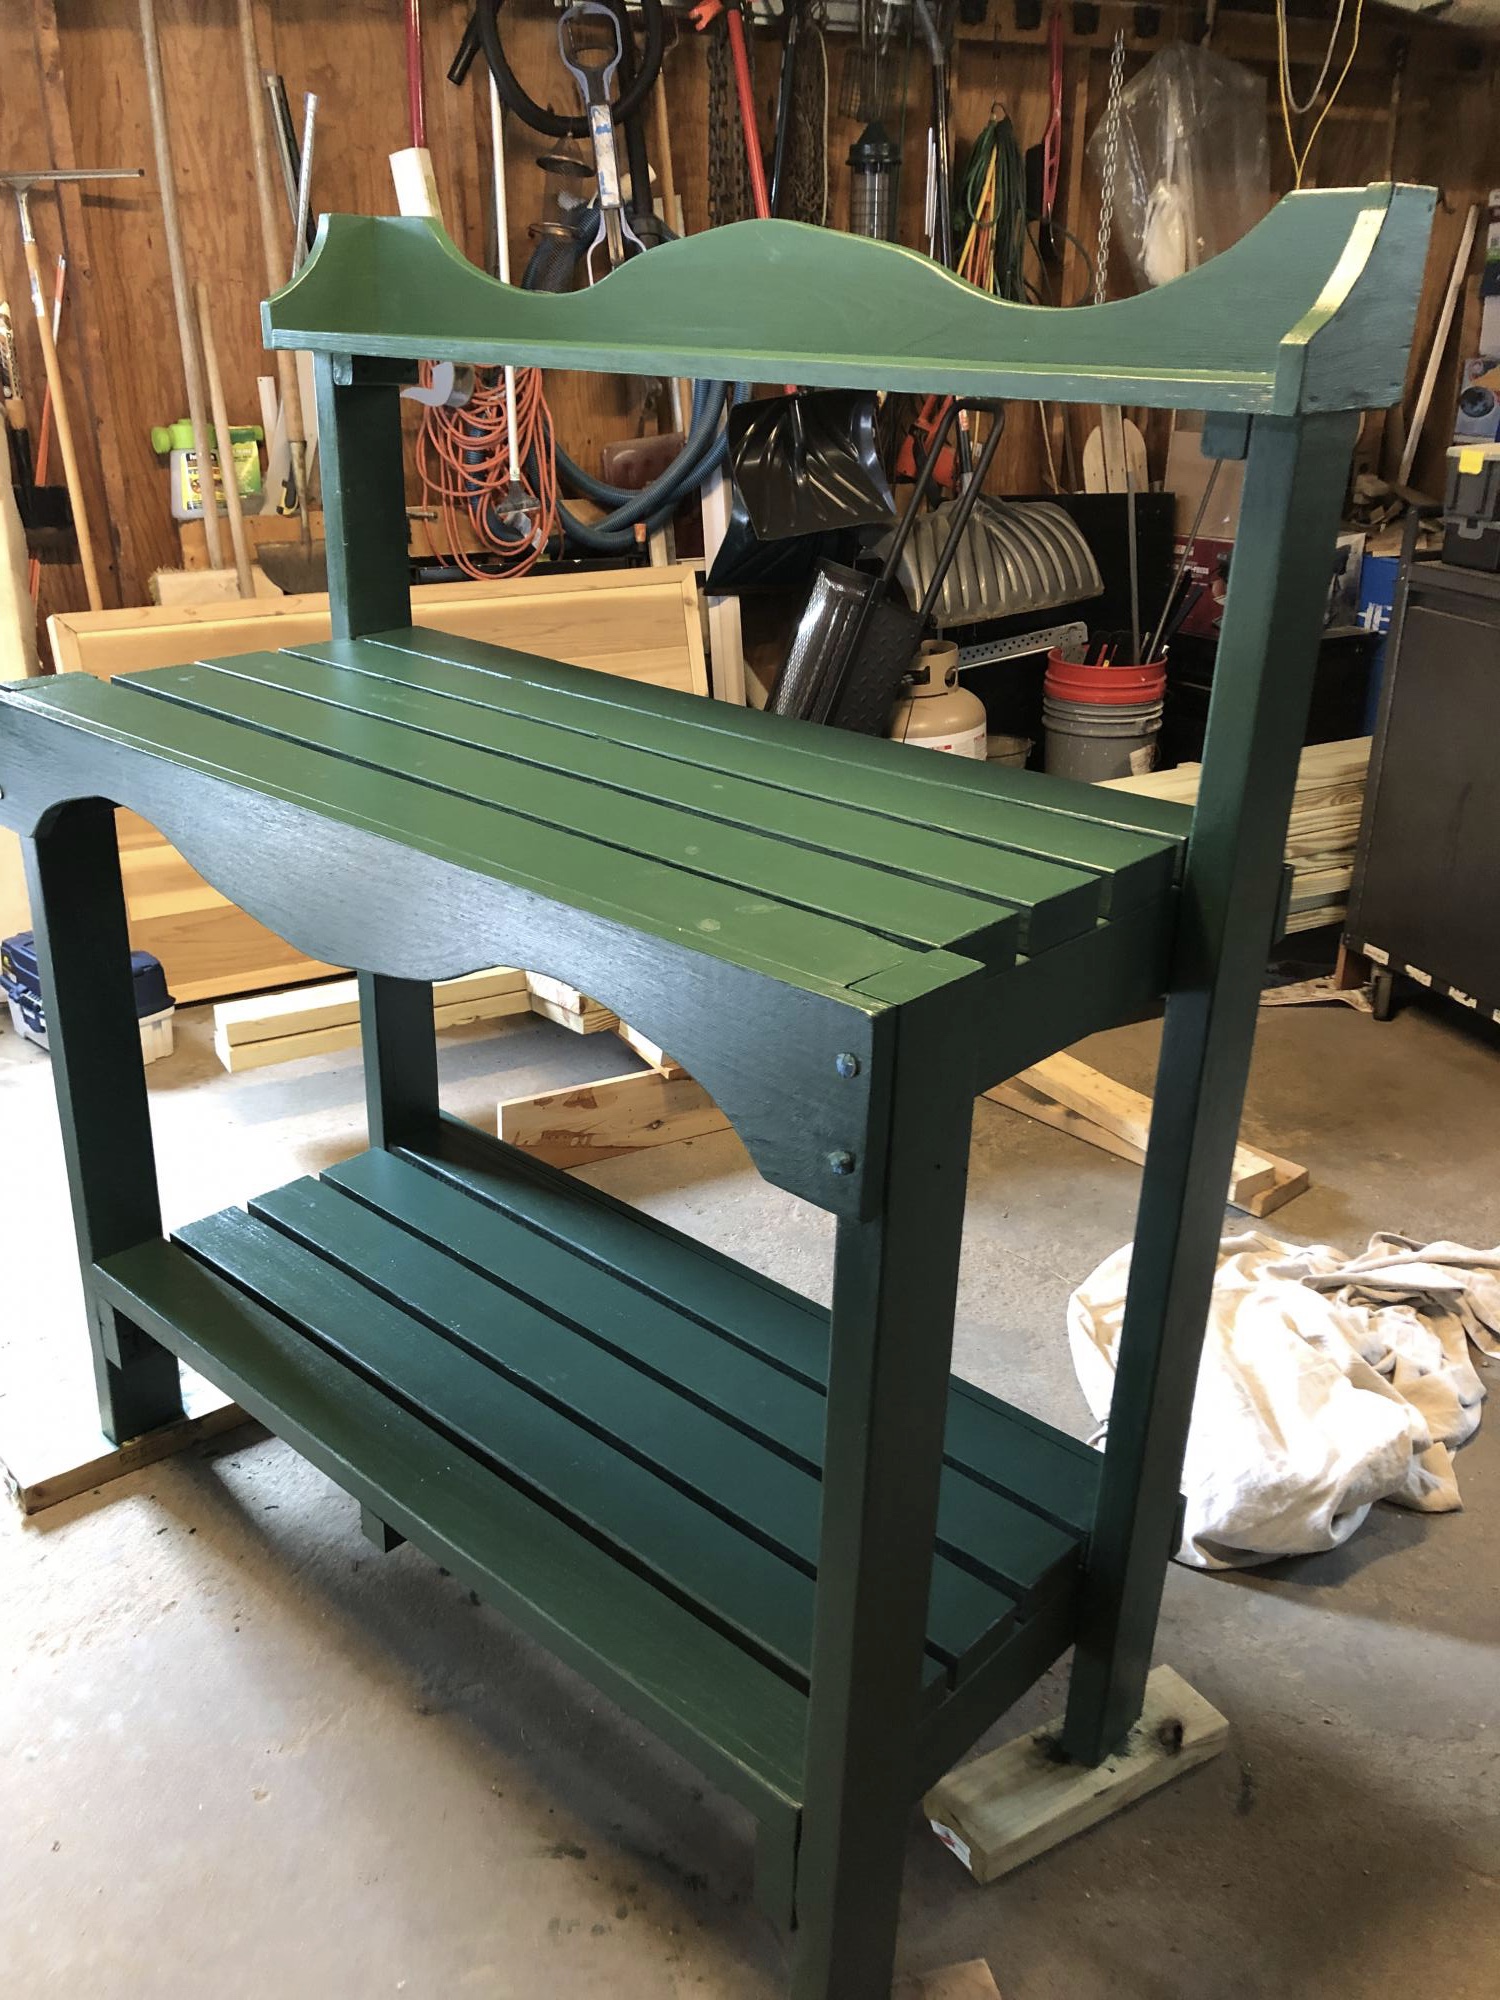
Potting bench

Submitted by Anonymous (not verified) on Sat, 09/21/2019 - 08:52

My good friend asked me to build her a potting bench for her garden wedding reception. She shouted me a photo of one from the internet. I used your plan and made a couple modifications. This is the color she requested and I used Cabot solid stain. I’m not a fan of solid stain and won’t use it again. She loved it.

Built from Plan(s)
Estimated Cost
$85
Estimated Time Investment
Weekend Project (10-20 Hours)
Finish Used
Cabot solid stain