Community Brag Posts

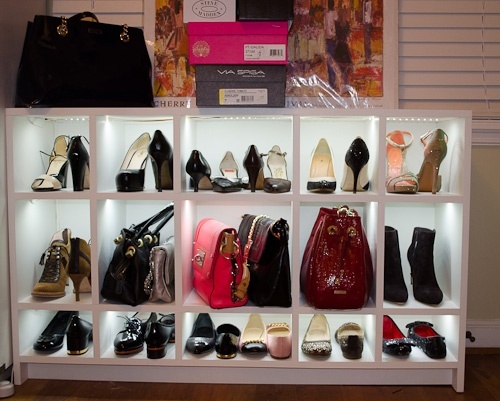
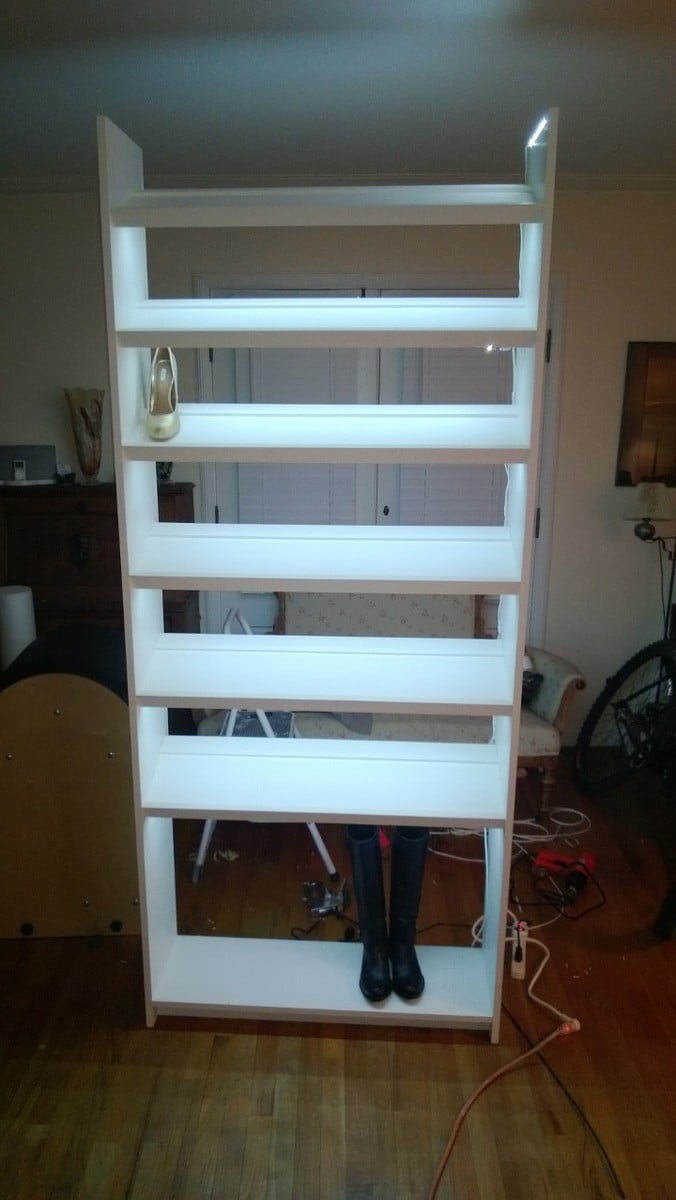
Adapated shoe cubby to on its side with LED lights.
Submitted by forbeskm on Thu, 03/21/2013 - 22:26

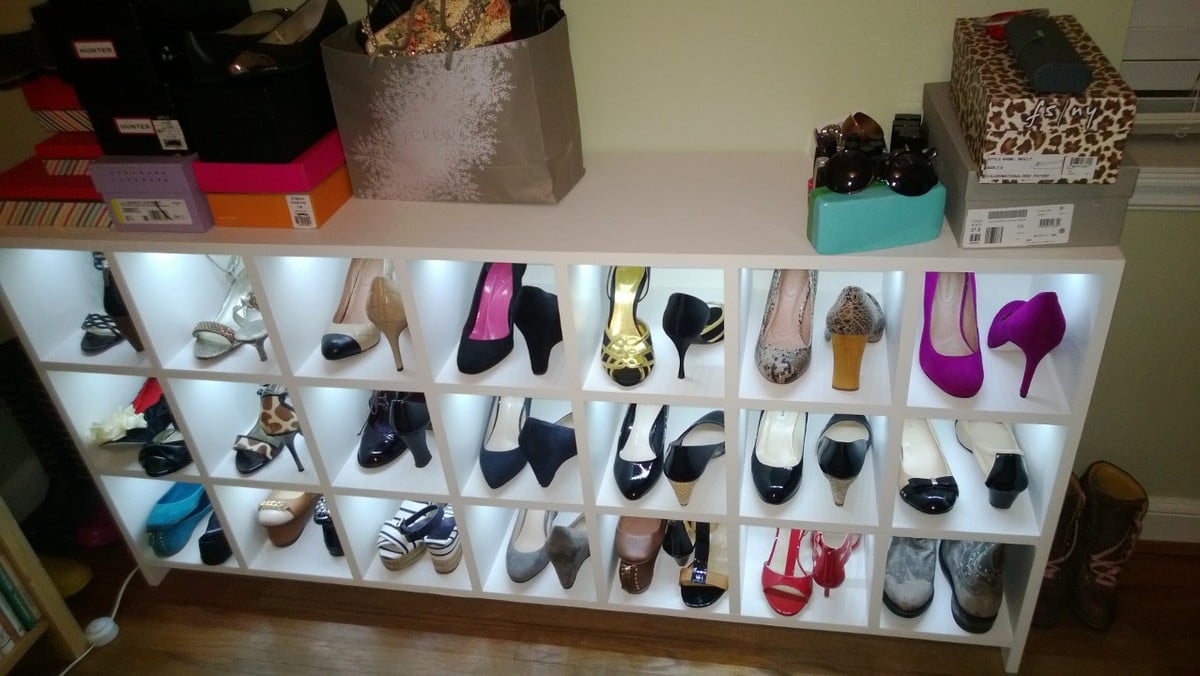
This is an adaption of the shoe shrine shelves. Since I didn't have a closet or other room than the bedroom to put these, I put them on their side. I modeled these off the shoe shrine shelves.

Each cubby is 11 3/4 deep x 8 x8 for the long version. The 2nd version I made was only 48 inches wide and did not divide well so I simply left the center cubby wider. I also made the 48" version to have different height shelves for purses in the middle and flats on the bottom.

I basically flipped the shoe shrine's on their sides and added LED lights. This also inspired a tall version for a cubby we had upstairs.

I used a panel saw to cut the plywood and then assembled with a Kreg pocket hole jig for horizontal pieces and biscuits for the top and the dividers. I did not want to fill the holes or I would have used Kreg instead of the biscuits.

I used 3/4" paint grade plywood and a 1/4inch back panel.

LED lights came from LED wholesalers on amazon. This step requires electrical knowledge! Not much more than a wiring a light but do not attempt if you are not qualifed to do so. LED strings required a fine tip soldering iron, wire and heat shrink.
Built from Plan(s)
Estimated Time Investment
Week Long Project (20 Hours or More)
Finish Used
Latex Behr Swiss Coffee sprayed on.
Recommended Skill Level
Intermediate

Comments

forbeskm

Fri, 03/22/2013 - 11:50

The LED's came after we designed them. I was like there is no light where these are going and its hard to see inside the cubbies. This is true for the bottom cubies which are only 5 inches tall. So for 30 bucks a cabinet it was a quick and easy addition that really made them pop. Only downside is it can make the room look like you are in Nordstom's :) so she doesn't leave the lights on regularly.

Kai777

Thu, 09/18/2014 - 01:42

Very nicely done.  Do you mind telling me more about which particular LED product you used and the process to wire them in?  Did you mill out any part of the cabinet to set the lights?  How are they activated?  Thanks in advance.  You can also email me at [email protected].  Much appreciated!

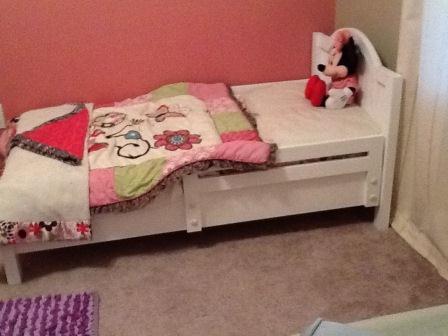
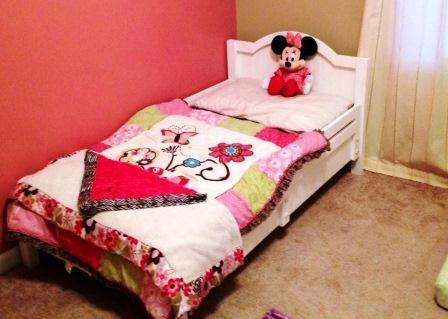
First bed for granddoughter

Submitted by Budhutch on Mon, 02/02/2015 - 08:48

I made this for my granddoughter.  

Built from Plan(s)
Estimated Cost
$45.00
Estimated Time Investment
Weekend Project (10-20 Hours)
Finish Used
white paint
Recommended Skill Level
Beginner

Comments

Toy Box with Cubbys

Submitted by Anonymous (not verified) on Mon, 05/01/2017 - 05:53

This was my first real woodworking project. This design was perfect for my one year old niece. Used Rustoleum Chalked Linen White and Clear Matte Topcoat. Made sure to use Zissers Bullseye on all the knots in the wood so they wouldn't bleed through, although I should have primed the entire piece. Pretty simple to make, with the angled cuts being the hardest. Found the label holders at Hobby Lobby in the scrapbook section. 

Built from Plan(s)
Estimated Cost
$90 for wood, screws, glue and paint
Estimated Time Investment
Day Project (6-9 Hours)
Finish Used
Rustoleom Chalked Linen White and Clear Matte Topcoat
Recommended Skill Level
Beginner

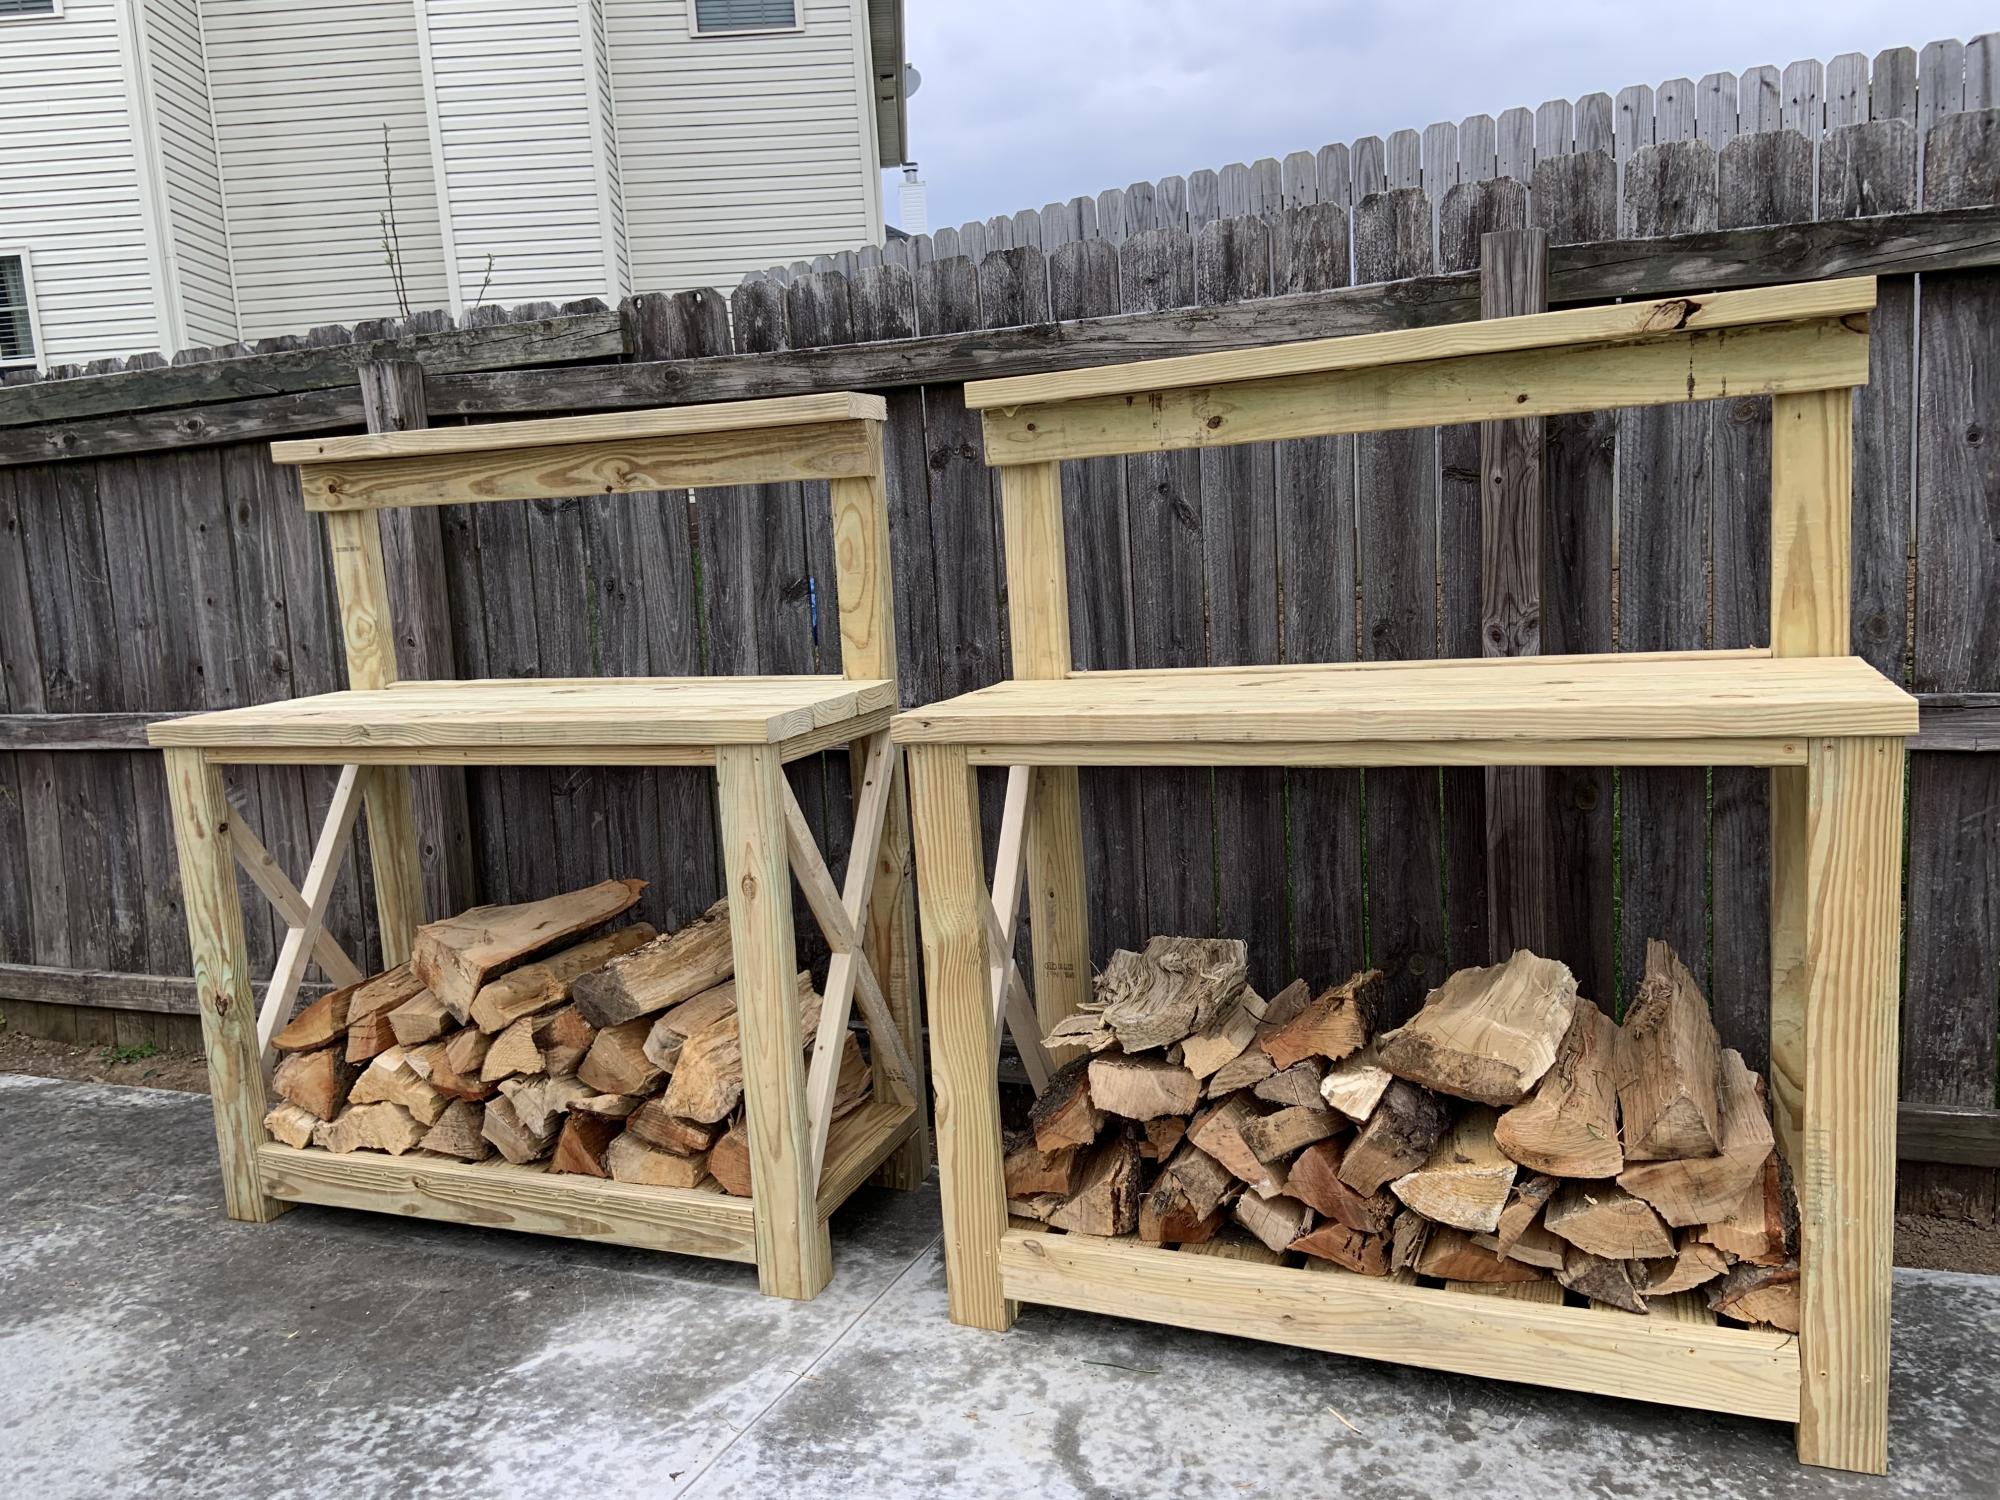
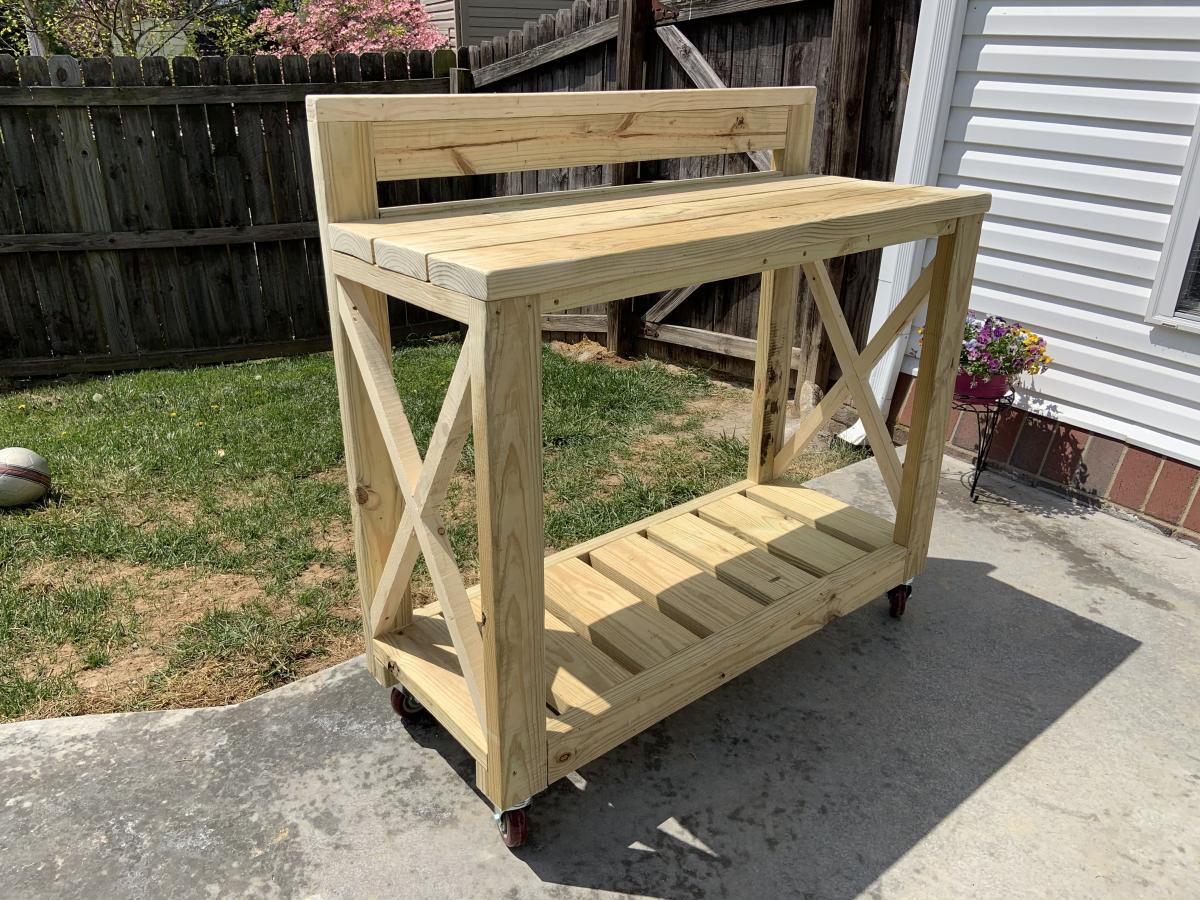
Potting Bench turned wood storage & deck table

Submitted by kentopolis on Mon, 04/19/2021 - 12:10

Thanks for the design, we modified the bottom cross brace to be 2x4's in order to carry the weight from the wood, and then on the third table removed the bottom of the legs and put casters on the bottom and gave it a shortened (height) top with a 2x4 cross beam capped by a 2x2 (we also didn't overhang the top boards except on the front edge on this table). We are using these for patio serving tables and quick access to some firewood for our fire pit and a chimenea on the other side of the yard.

We will sand and stain eventually as well. They were made out of pressure-treated lumber.

Estimated Cost
$100-120
Estimated Time Investment
Weekend Project (10-20 Hours)
Finish Used
Unfinished.
Recommended Skill Level
Beginner

Comments

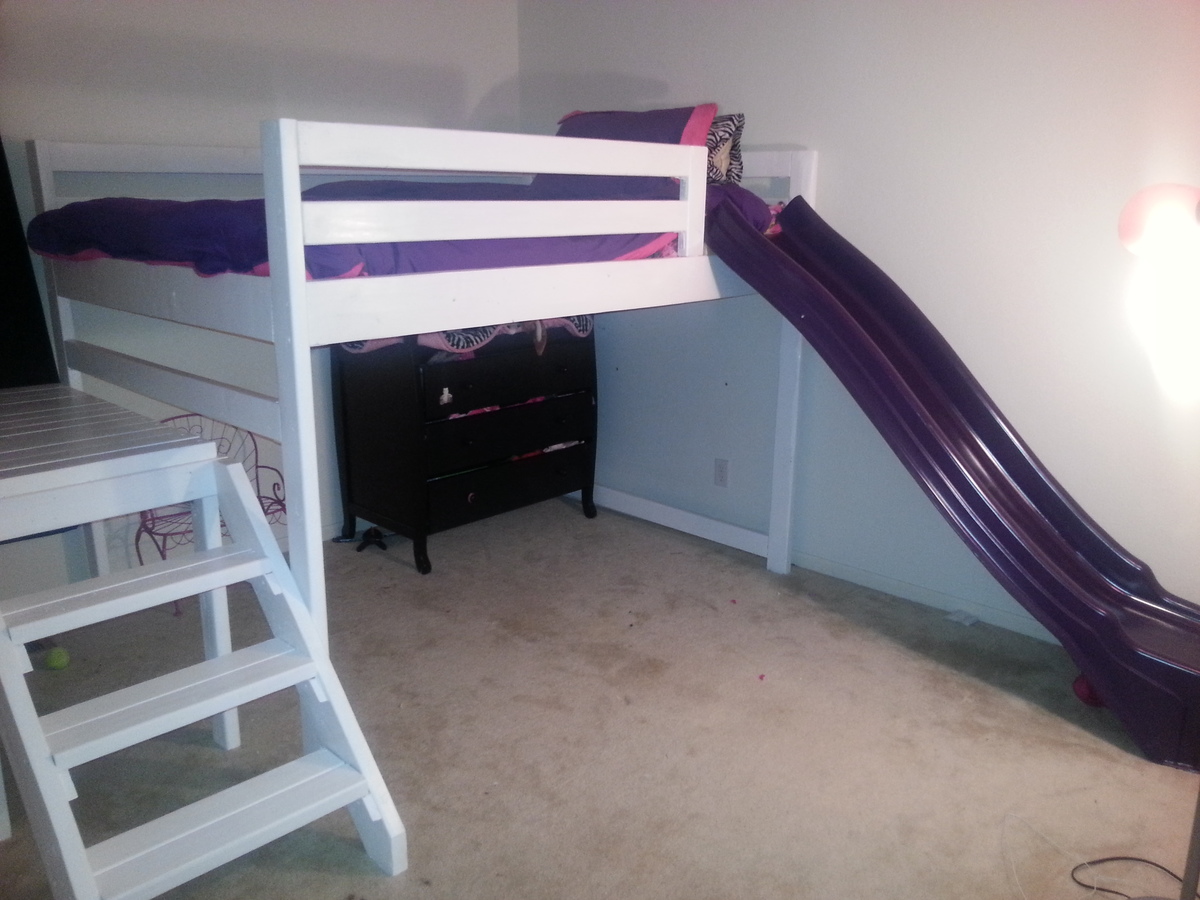
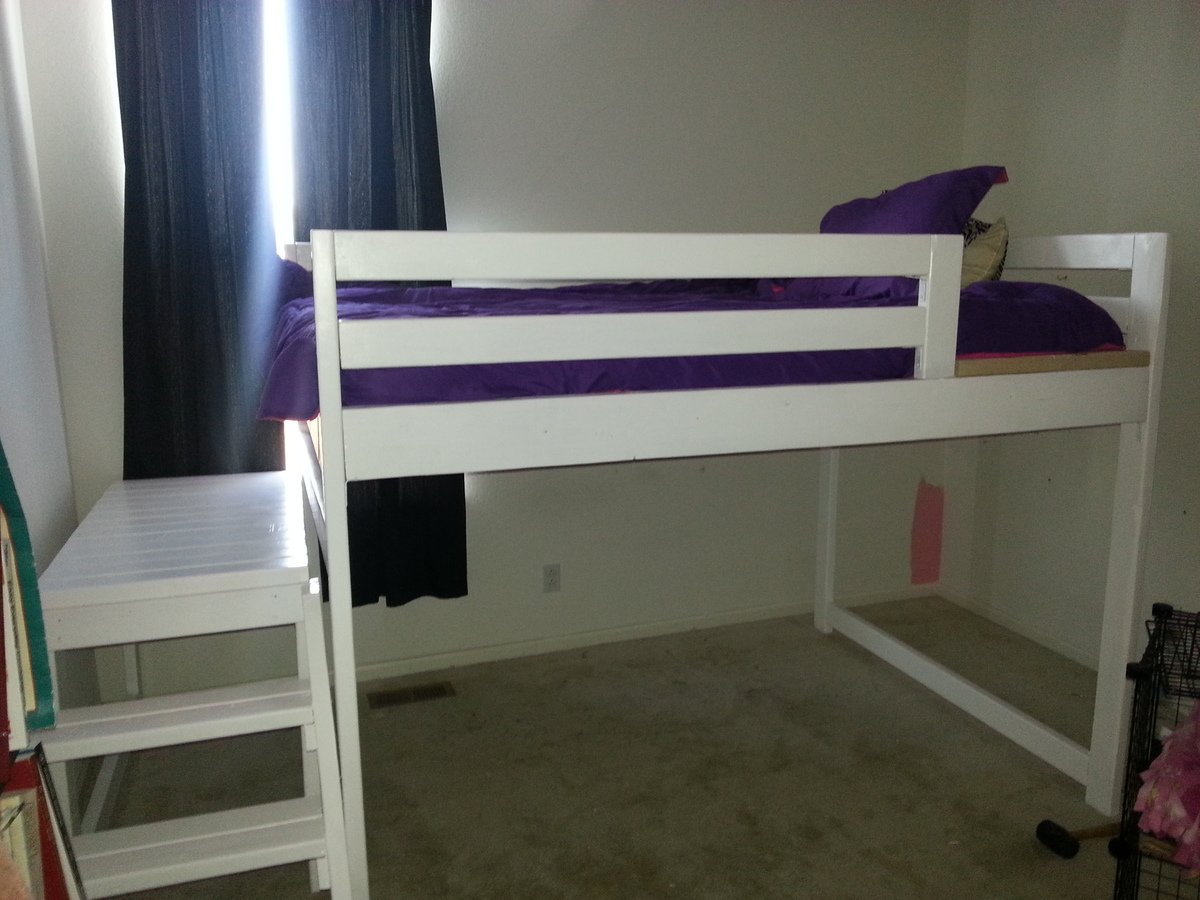
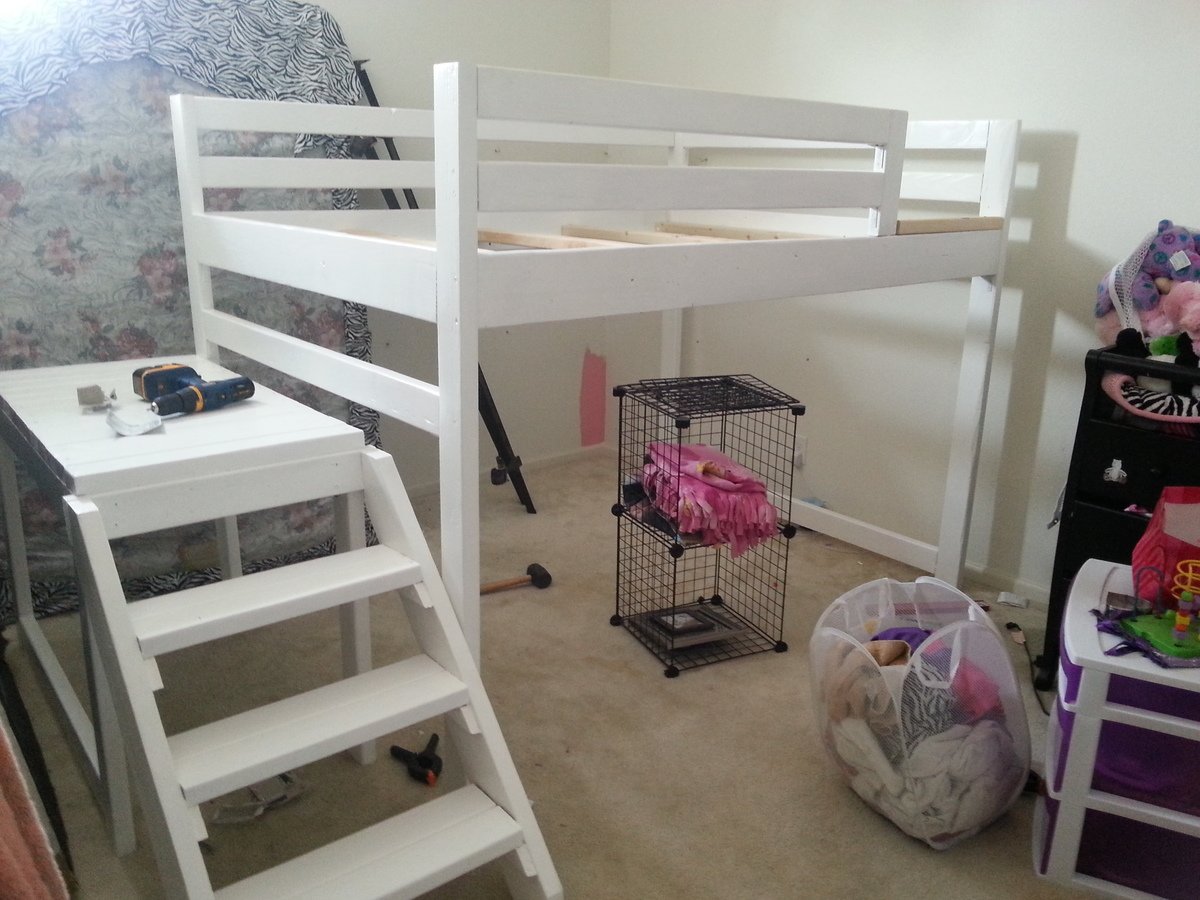
Sienna's loft bed!

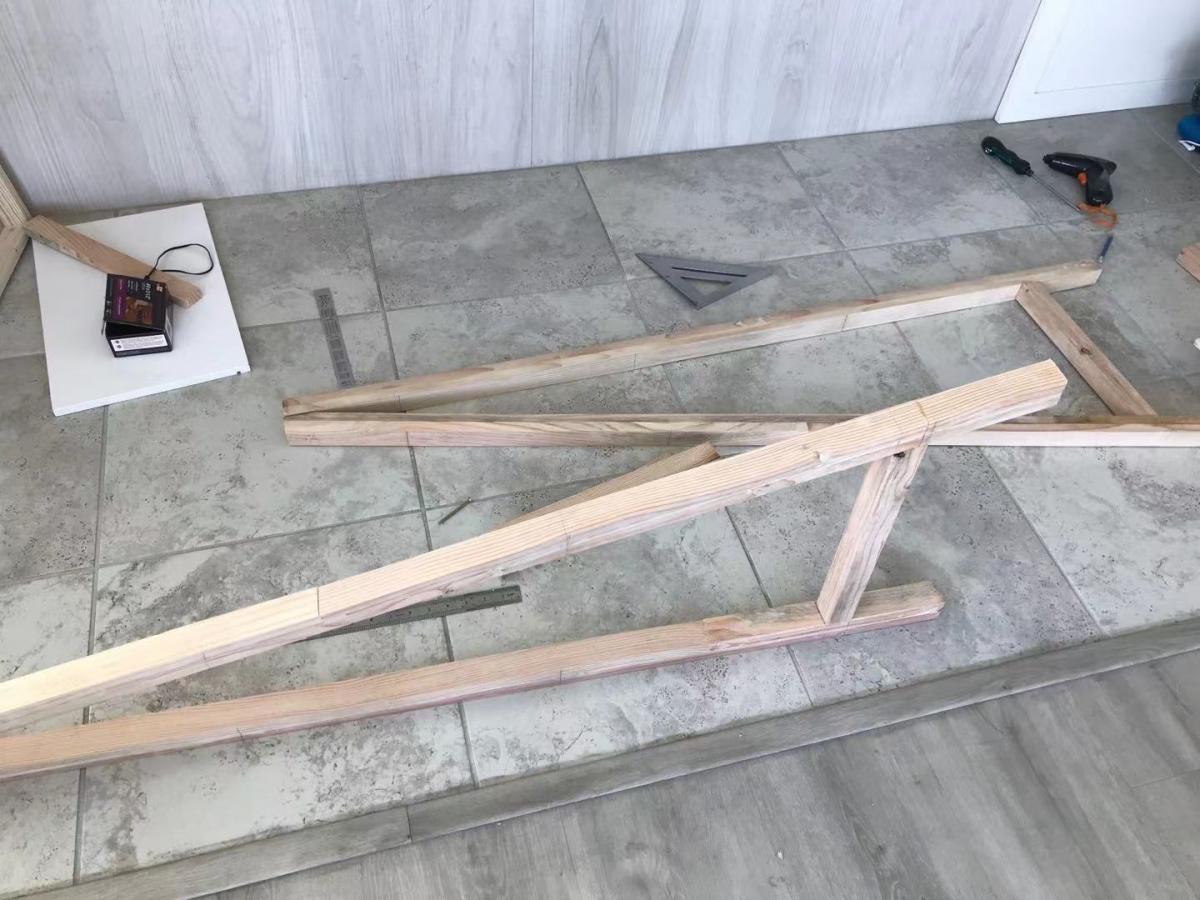
I started with the Camp style loft bed, and modified it. Since we had a full sized bed, we knew that we needed it to be wider. Also, we knew we wanted a slide, since baby girl LOVES slides. We found one on CraigsList that was too long, but we cut it down and found a way to attach it. We also aren't very good carpenters (yet), so we had some issues with our stairs being wider then our platform, and had to add an extra piece. Overall, this project took us 3 weekends and a few nights after work. Also, we were using the plans which suggested it would only cost around $50, wasn't quite the case with us...I am pretty sure we spent over $200, but we didn't really have paint, sandpaper, the slide, etc. So that is pretty all-encompassing. Very happy with our results, and We cannot wait for the baby girl to see the outcome!
Estimated Cost
250
Estimated Time Investment
Week Long Project (20 Hours or More)
Finish Used
white latex paint.
Recommended Skill Level
Starter Project

Comments

Handy Shanny

Tue, 09/01/2015 - 04:16

Looks great!  Could you please explain how you cut down and attached the slide?  Has it held up with use?  We are planning to do the same thing.  Thanks!

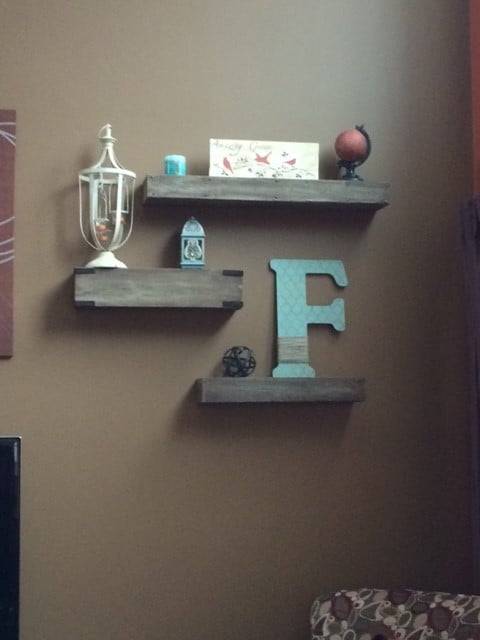
floating shelves

These shelves were easy and easy to customize the size according to your needs.  They are fun to decorate and add a rustic flair to my living room.  

Estimated Time Investment
An Hour or Two (0-2 Hours)
Finish Used
I distressed the wood then used grey chalk paint and dark wax
Recommended Skill Level
Starter Project

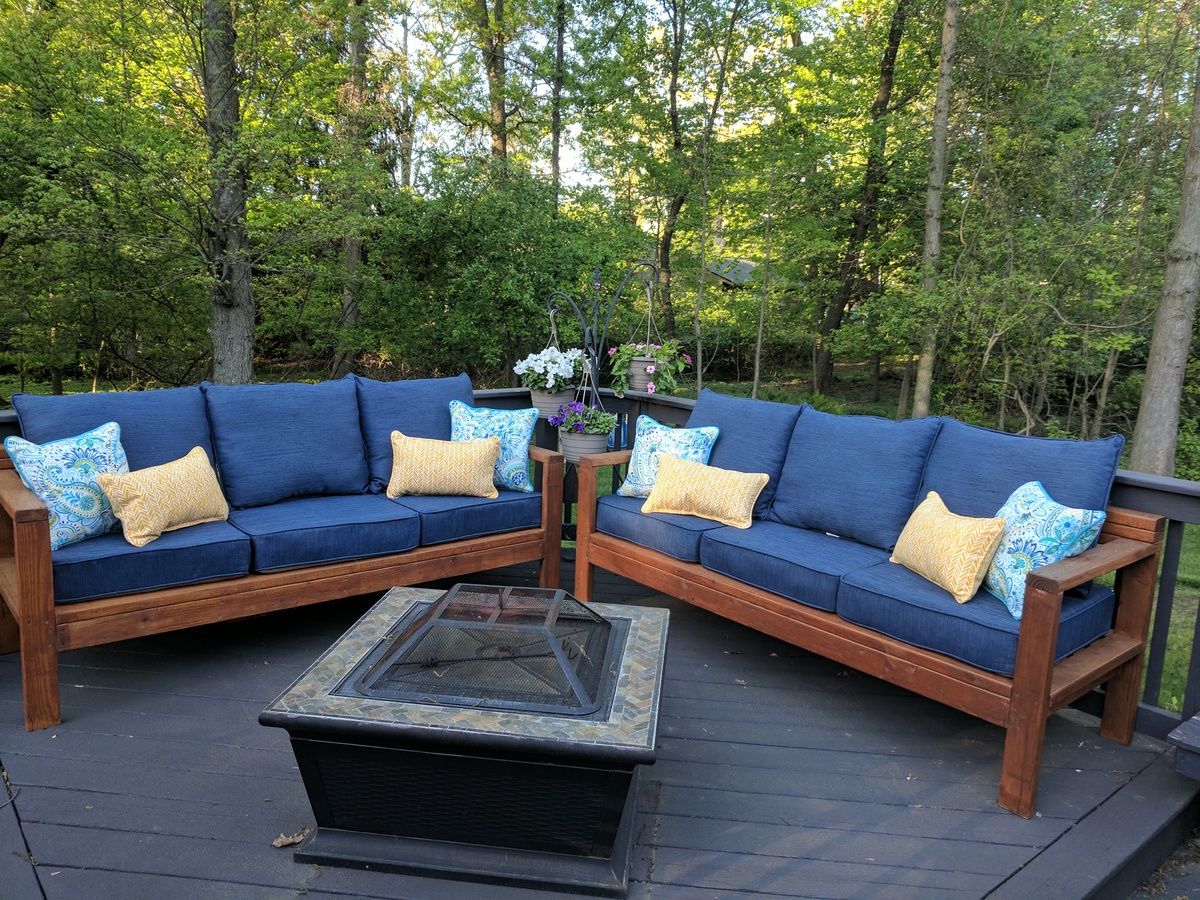
2x4 Outdoor Couches!

Submitted by Anonymous (not verified) on Wed, 05/03/2017 - 18:19

2x4 Outdoor Couches - stained and sealed 

Estimated Cost
110 for wood
350 for cushions
Estimated Time Investment
Day Project (6-9 Hours)
Finish Used
Natural Cedar stain and sealer
Recommended Skill Level
Beginner

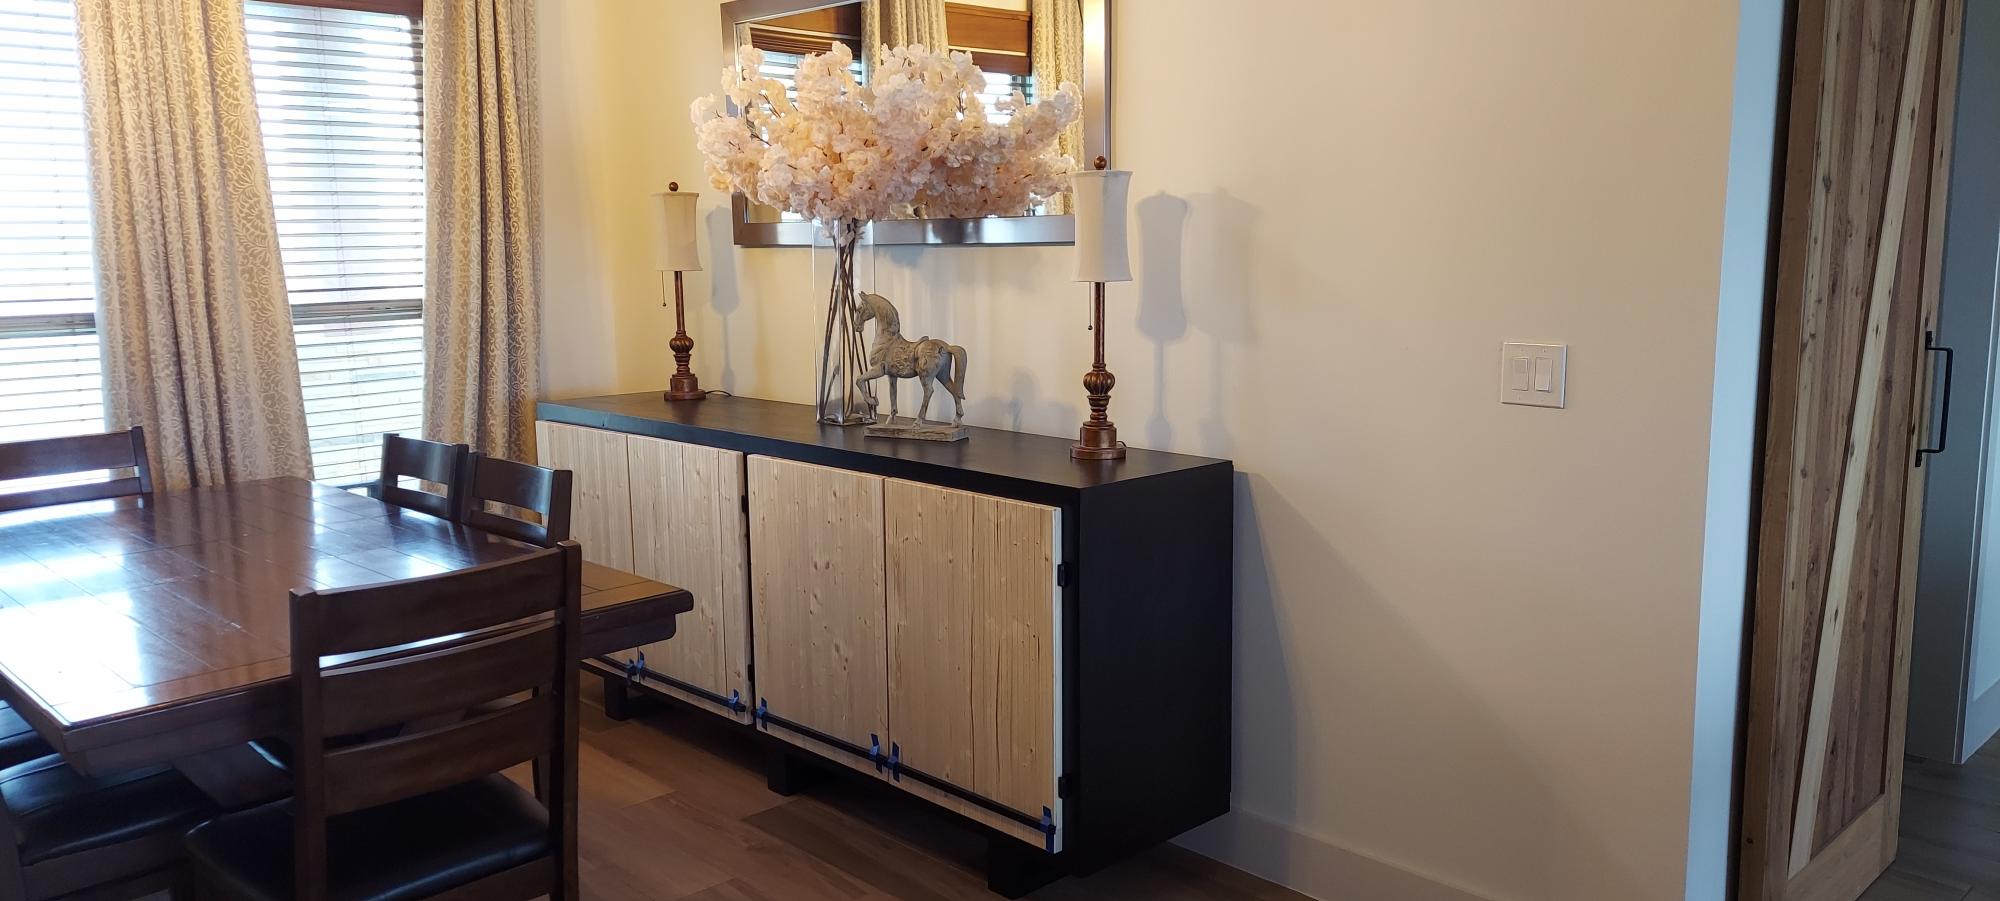
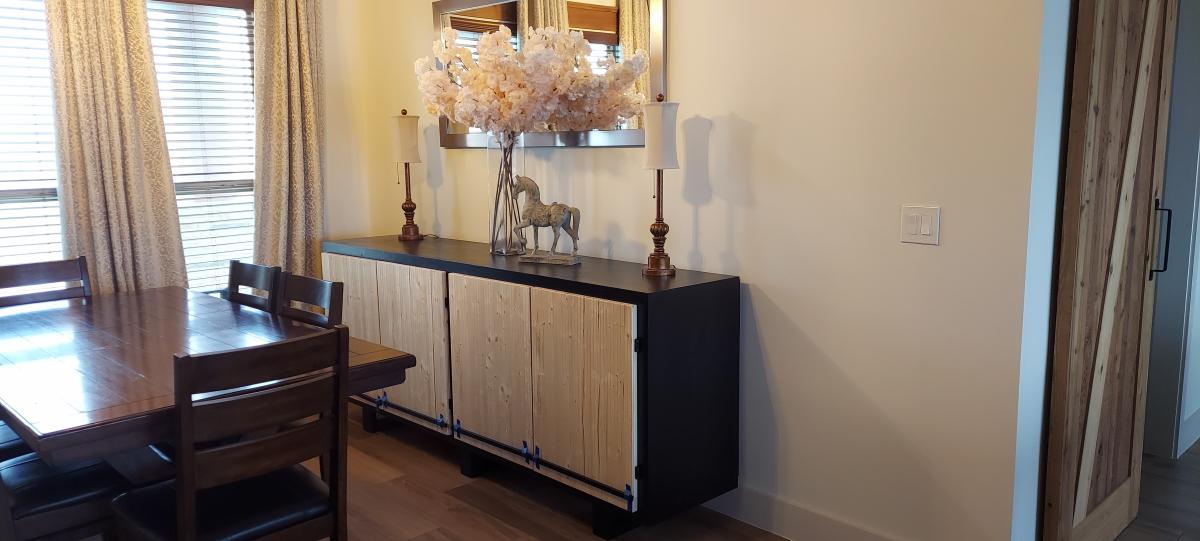
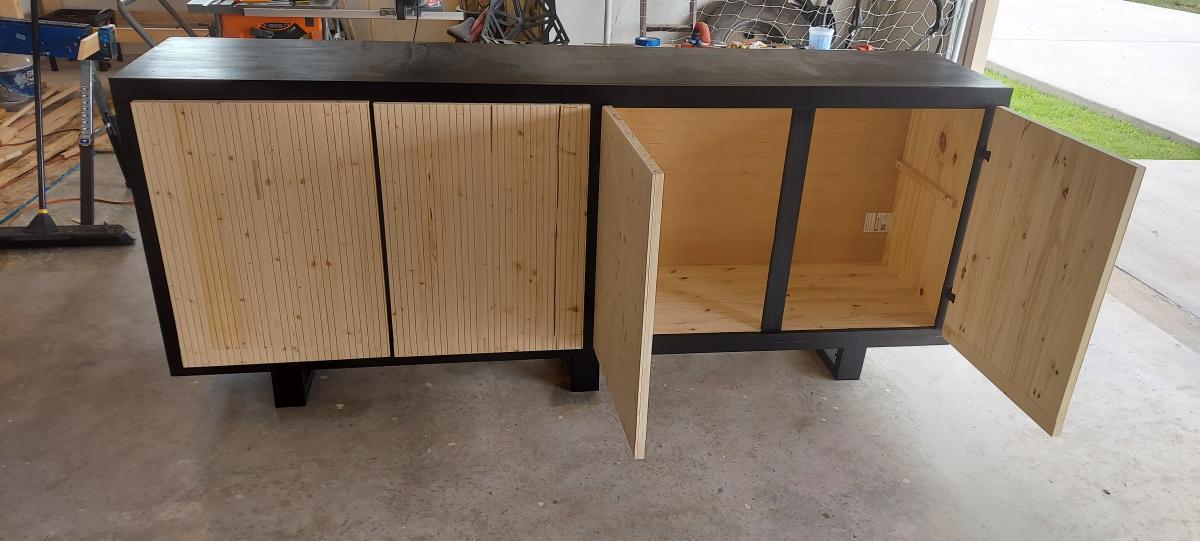
Extra long buffet

Submitted by tclane72 on Mon, 04/26/2021 - 07:58

Slight variation on the extra long buffet. Instead of drawers I substituted for 2 additional cabinet doors. It stands 40" tall, 96" long, and 20" deep.

Built from Plan(s)
Estimated Cost
$200
Estimated Time Investment
Weekend Project (10-20 Hours)
Finish Used
Black paint and natural wood.
Recommended Skill Level
Intermediate

Comments

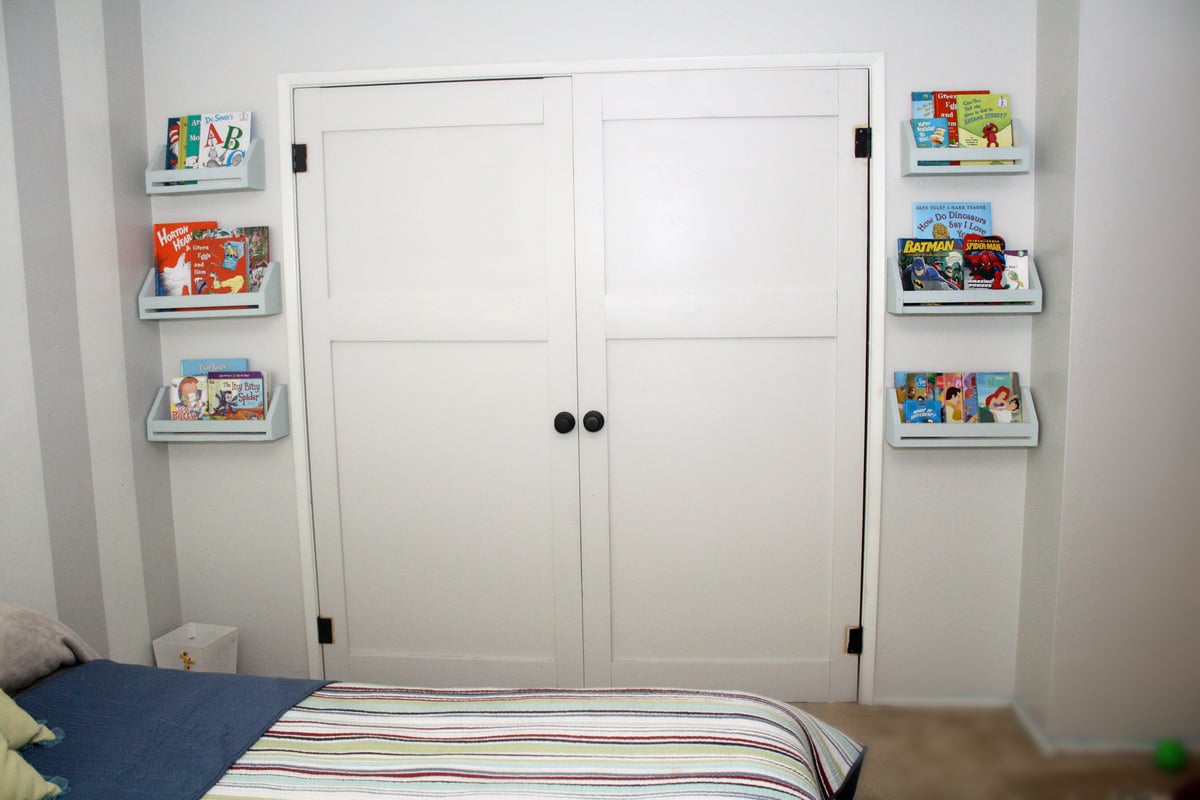
Book shelves

Submitted by Marisol on Wed, 03/27/2013 - 15:55

I have had these for a while but never finished with the painting, the most dreadful part...but found some chalk paint that I love, and will always use chalk paint to finish all my projects now.

Built from Plan(s)
Estimated Cost
free- scrap material
Estimated Time Investment
Afternoon Project (3-6 Hours)
Finish Used
I used Annie Sloan Duck Egg and made my own white chalk paint with a recipe found online that worked great with Paris Plaster, water and flar behr paint, I only got a tester for $3, plaster $6. Annie Sloan $65.
Recommended Skill Level
Starter Project

Comments

4x4 Truss Beam Table and bench

Love this plan and the table and bench turned out exactly as I hoped.  I did it by myself except for a little heavy lifting from my sweetheart. I researched the finish online and I am so happy with the results.

Estimated Cost
With finishing products and screws this was approximately $200
Estimated Time Investment
Week Long Project (20 Hours or More)
Finish Used
Minwax Pre stain conditioner, Minwax English Chestnut *( 2 coats), Varethane Poly *( 3 coats) then #0000 steel wool to smooth the bumps then Minwax Paste wax hand rubbed until the finish was perfect.
Recommended Skill Level
Intermediate

Comments

wjc129

Tue, 02/10/2015 - 08:19

We have been shopping for tables and cannot find anything we like for a good price. I keep going back to building one myself. Your table top looks great .. nice and flat. Did you follow the plans to a T, did you use a kreg jig?

roadtripmom

Tue, 02/10/2015 - 22:13

I did change the dimensions of the top a little. I wanted a wider surface. I did use a kreg jig, it made it a breeze to build. I spent a lot of time on the finish, sanding, using steel wool, and several coats of polyurethane. Thank you for the compliment !

First One!

Submitted by Anonymous (not verified) on Mon, 05/08/2017 - 05:29

Very easy, completed with just a work bench, circular saw, clamp and screws - I painted mine after assembly, used small brush to get in between, then a roller to finish. Next one will be MUCH easier! I also sanded all the edges of wood, to give it a "worn" look. Three more to come, enjoy the process.....

Estimated Cost
$50
Estimated Time Investment
Afternoon Project (3-6 Hours)
Finish Used
Behr Wood Stain Waterproof, Slate. Cleans up with soap/water.
Recommended Skill Level
Beginner

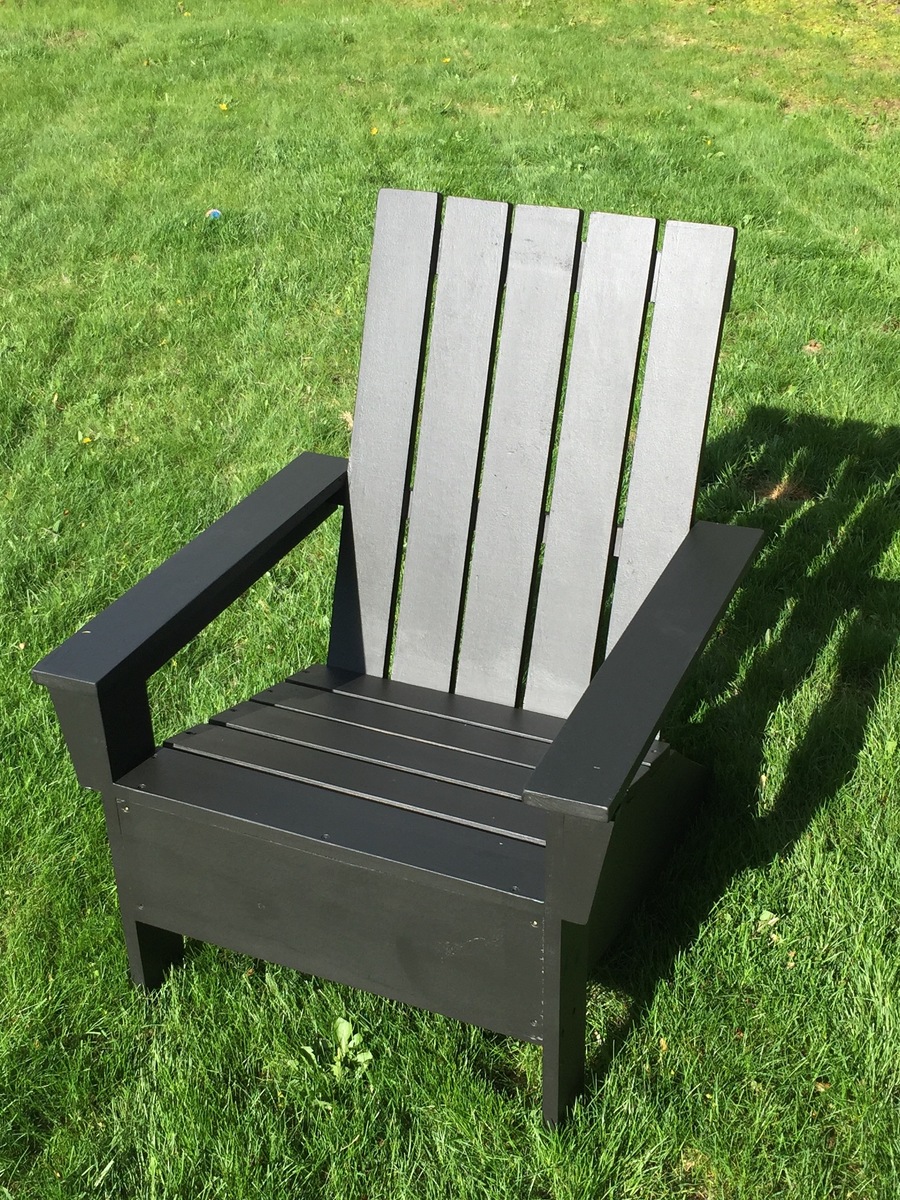
Adirondack Chair with a few modifications

Submitted by Anonymous (not verified) on Mon, 05/03/2021 - 09:45

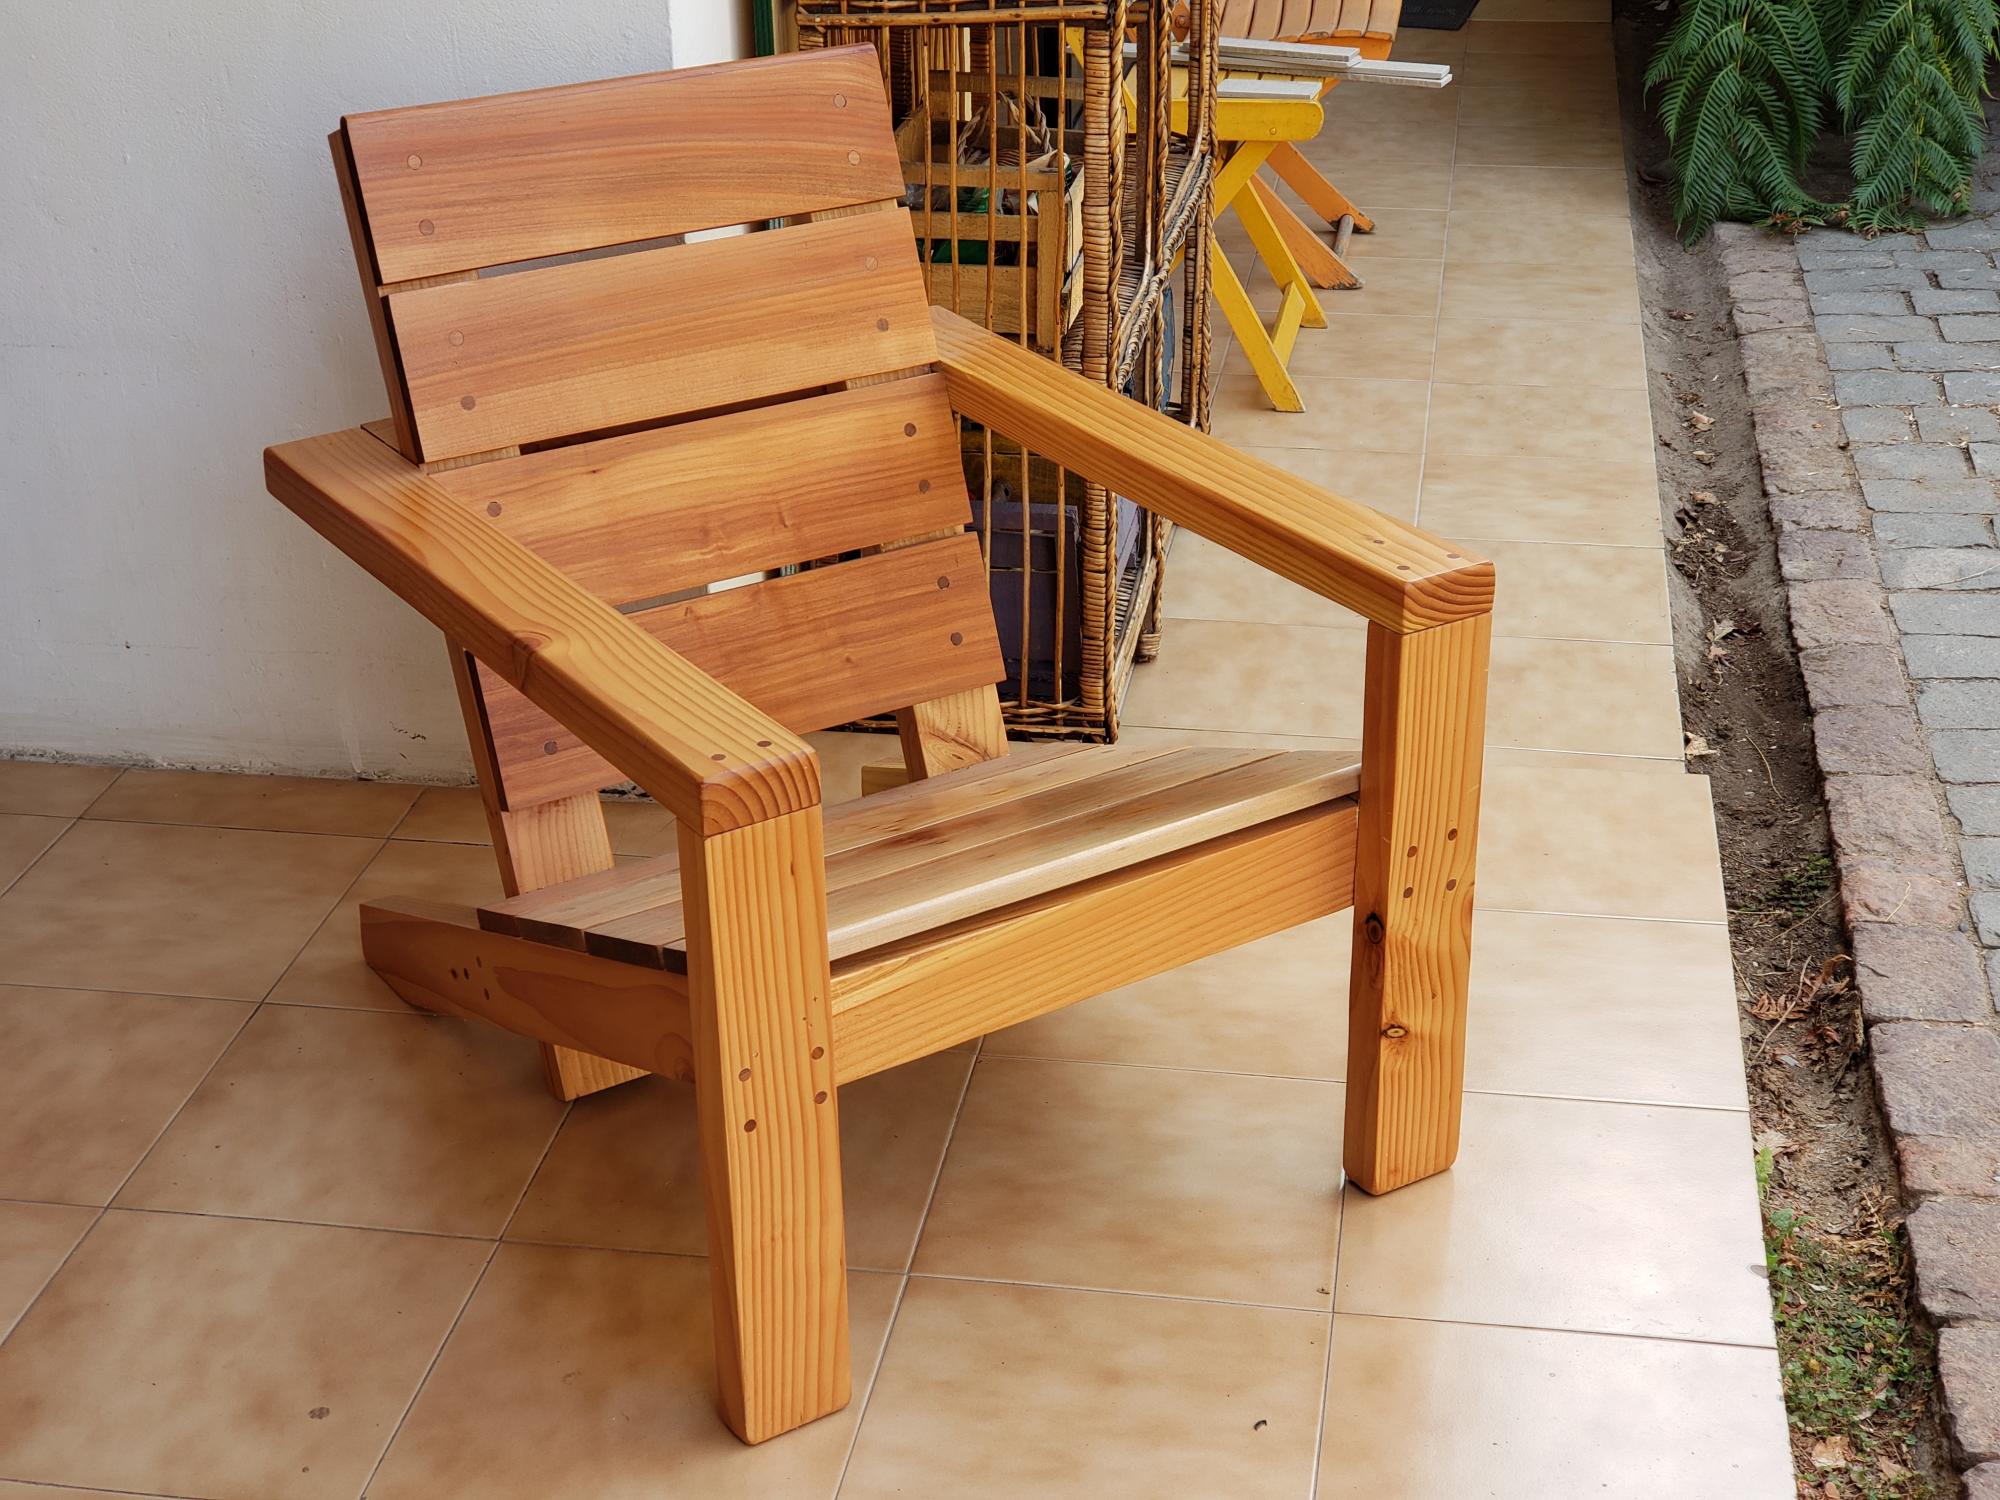
I followed the instructions on the web site and on the you tube video. Overall, it was easy to build though I had to improvise and make my own 2x4s from 2x6s that I had available. I also changed the seat and back slats and used a local version of oak (1x6s). I made a mistake with the back supports and attached them flush with the floor and not with the stringers. Thus, the back rest is not as high, although I like it just the same. It is very sturdy and comfortable. I covered the screw heads, which I sunk with a deep countersink, with dowels.

Estimated Time Investment
Weekend Project (10-20 Hours)
Finish Used
Osmo Oil for exteriors, no pigment
Recommended Skill Level
Beginner

Tryde Coffee Table

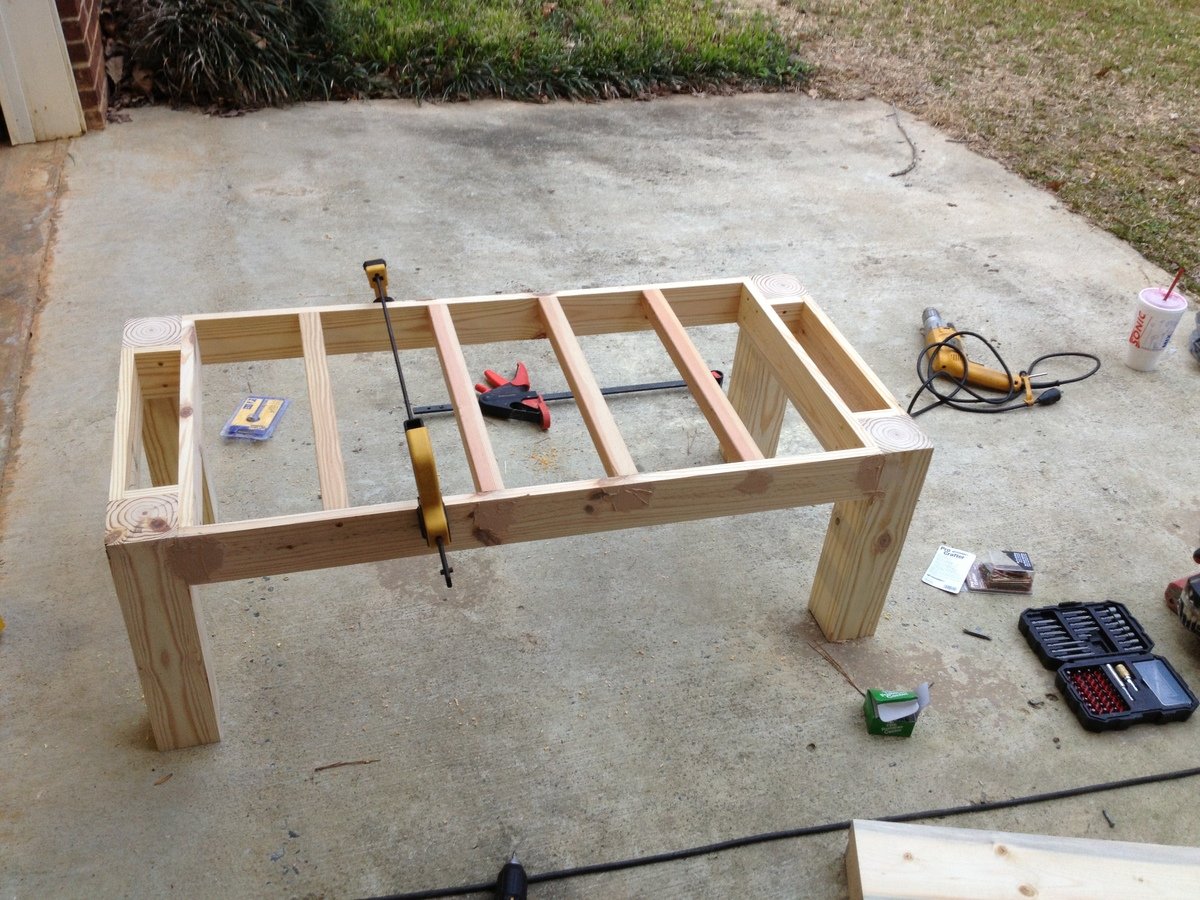
Had a lot of fun completing this project. I was assisted by my fiance and her little brother.

Built from Plan(s)
Estimated Cost
$80 or less
Estimated Time Investment
Afternoon Project (3-6 Hours)
Finish Used
Red Mahogany.
Recommended Skill Level
Beginner

Rustic Pot Rack

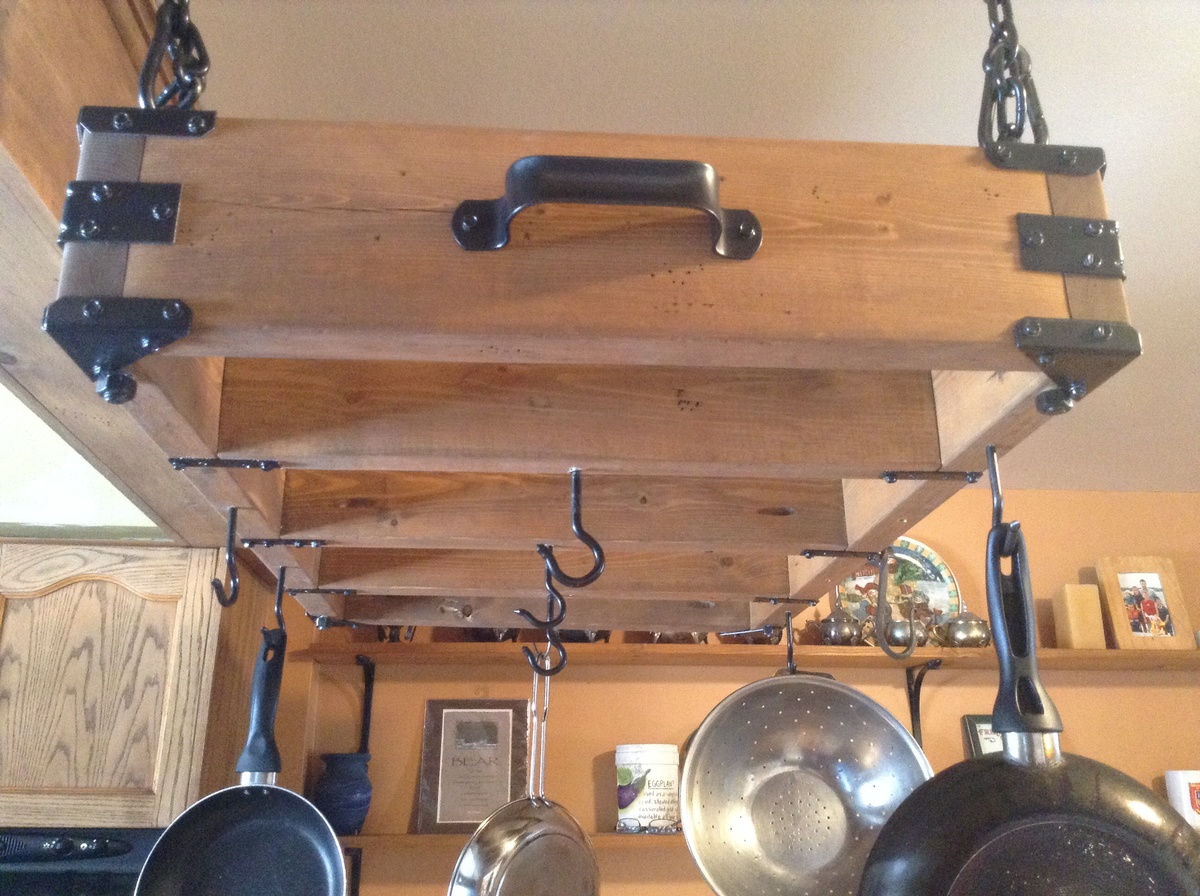
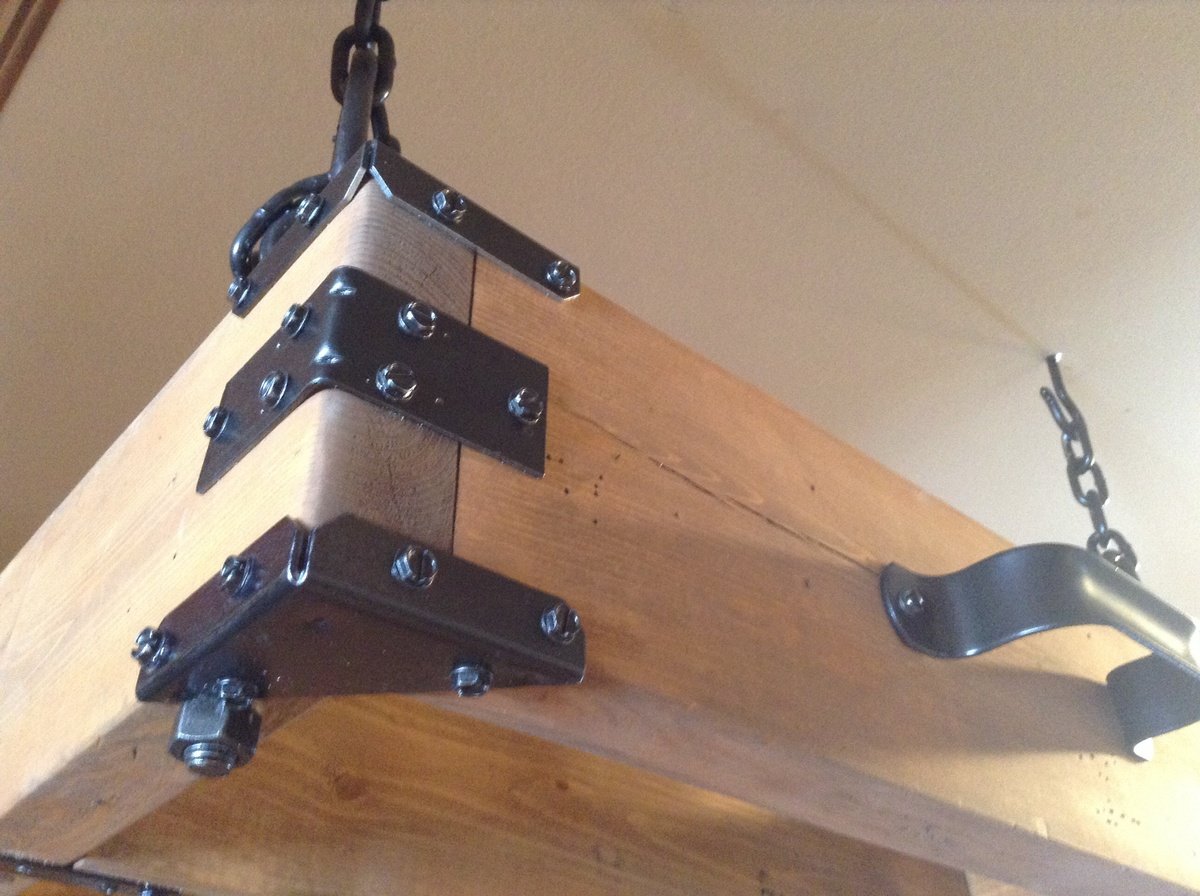
My kitchen needed a rustic pot rack to hang all my pots and pans. Instead of paying way too much money, I decided to get exactly what I wanted by making it myself. $20 worth of 2x6's and spray painted hardware purchased at The Home Depot in an oil bronzed was all that was needed to create this rack. I attached the hardware with metal screws to give it an even more rustic feel.

Estimated Cost
$20 for lumber
Approximately $60 for hardware
$10 oil rubbed rust oleum spray paint
Estimated Time Investment
An Hour or Two (0-2 Hours)
Finish Used
Minwax Special Walnut
Minwax paste finishing wax
Recommended Skill Level
Starter Project

Comments

Master closet

Submitted by Anonymous (not verified) on Wed, 05/10/2017 - 18:37

I tried to follow the plans as well as I could. I had the sheet of plywood and paint already. So I just had to buy the screws and coset rods. It was  around $40 or less! 

Estimated Cost
$30-$40
Estimated Time Investment
Afternoon Project (3-6 Hours)
Finish Used
White paint
Recommended Skill Level
Beginner

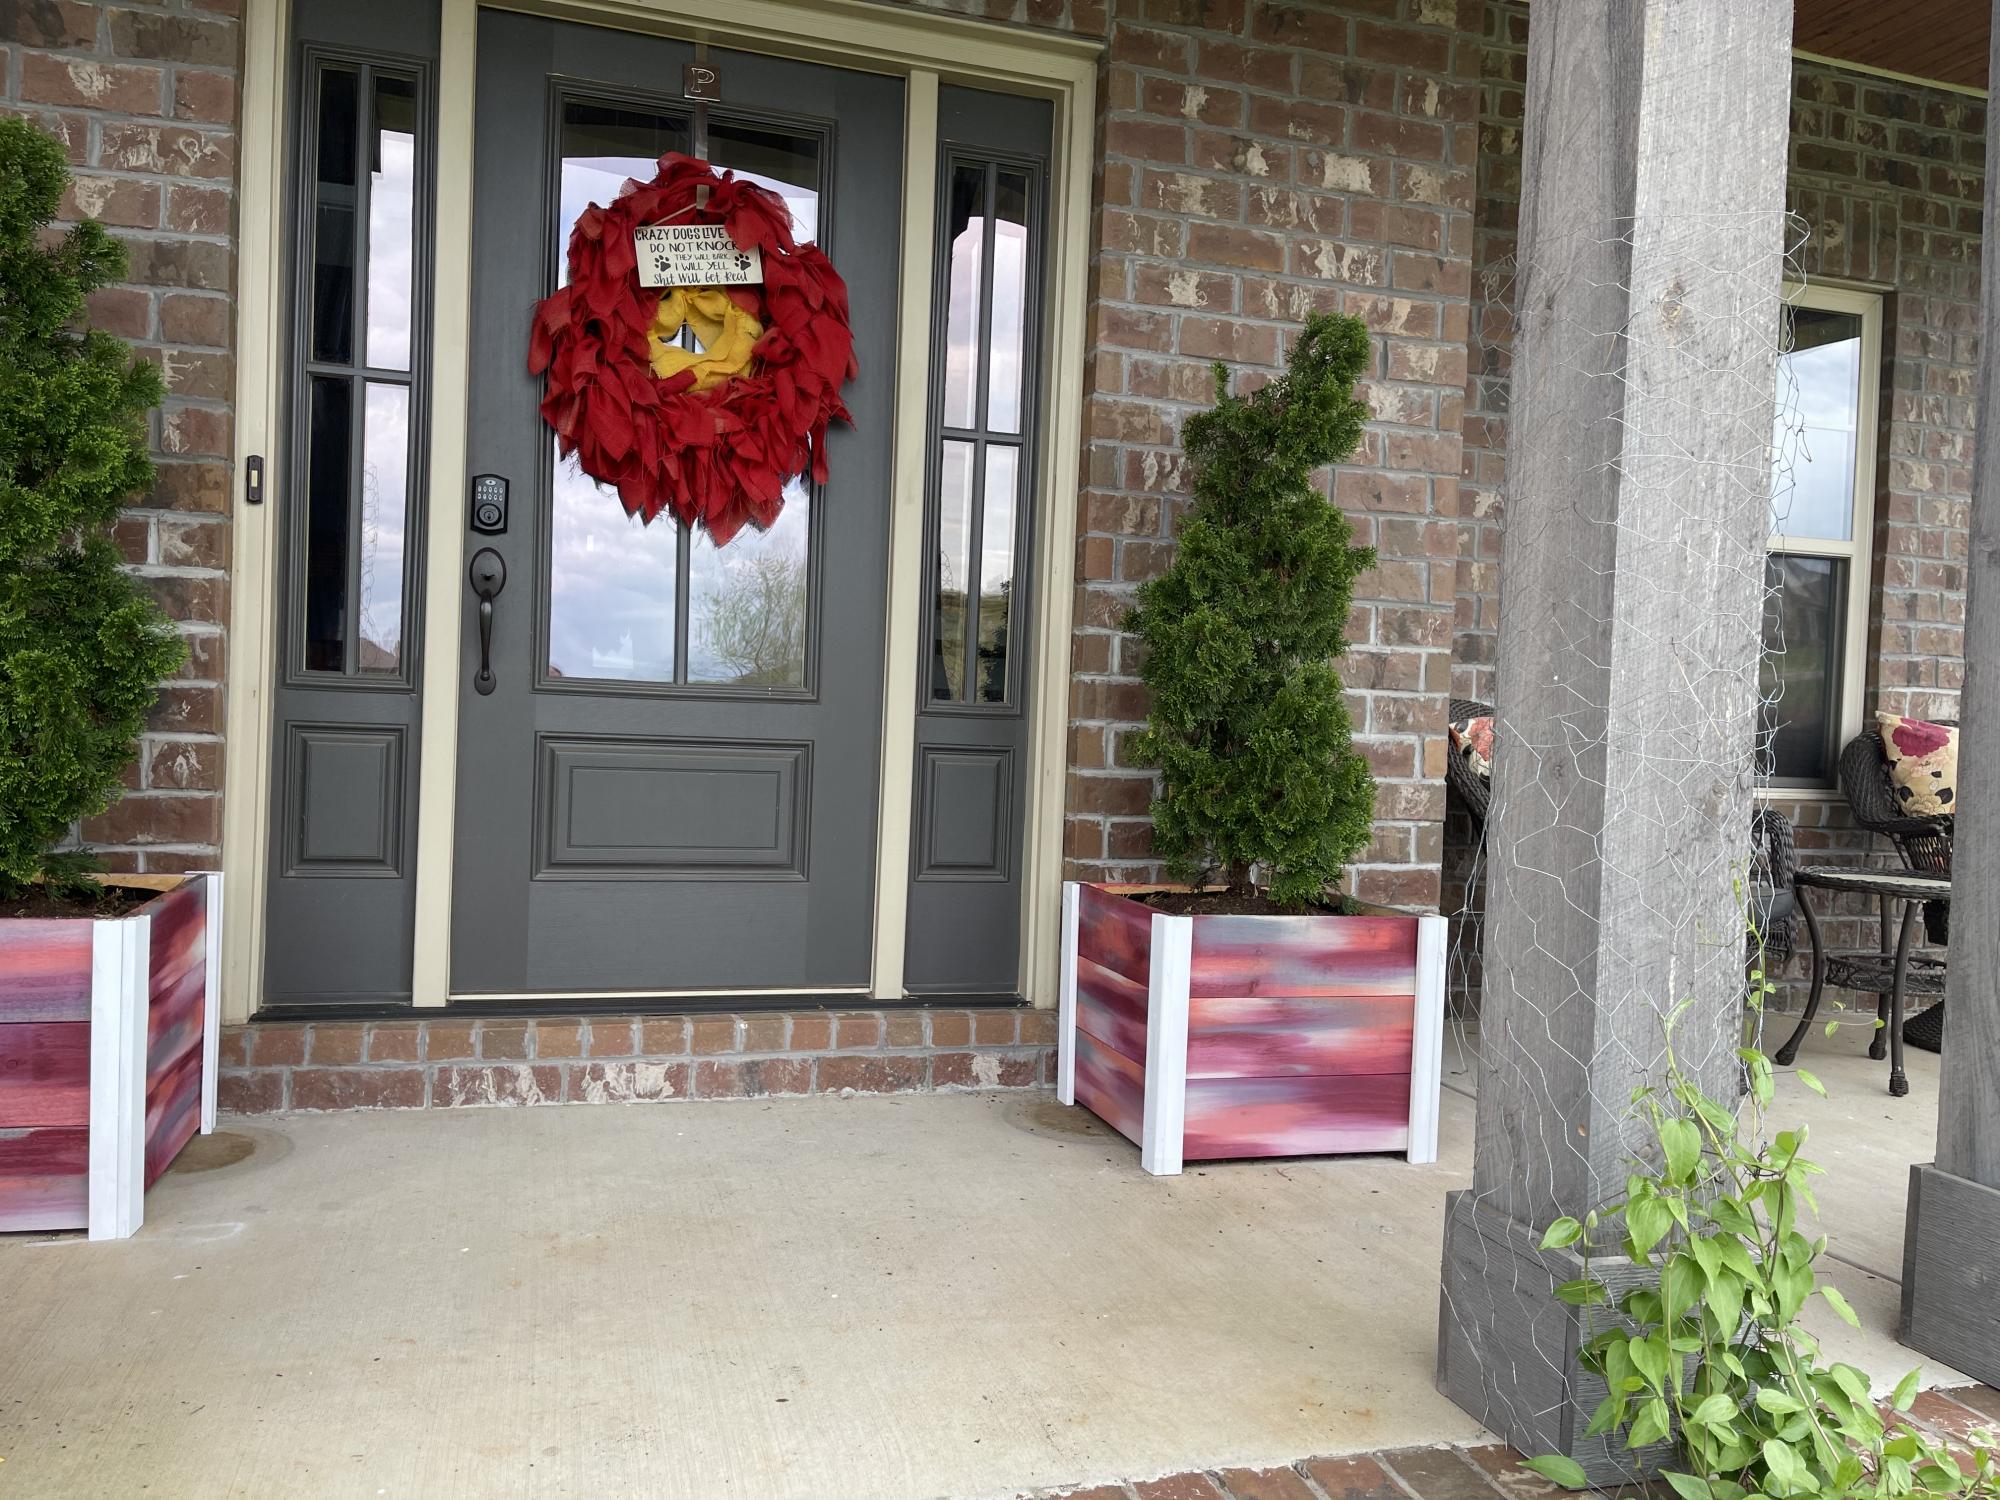
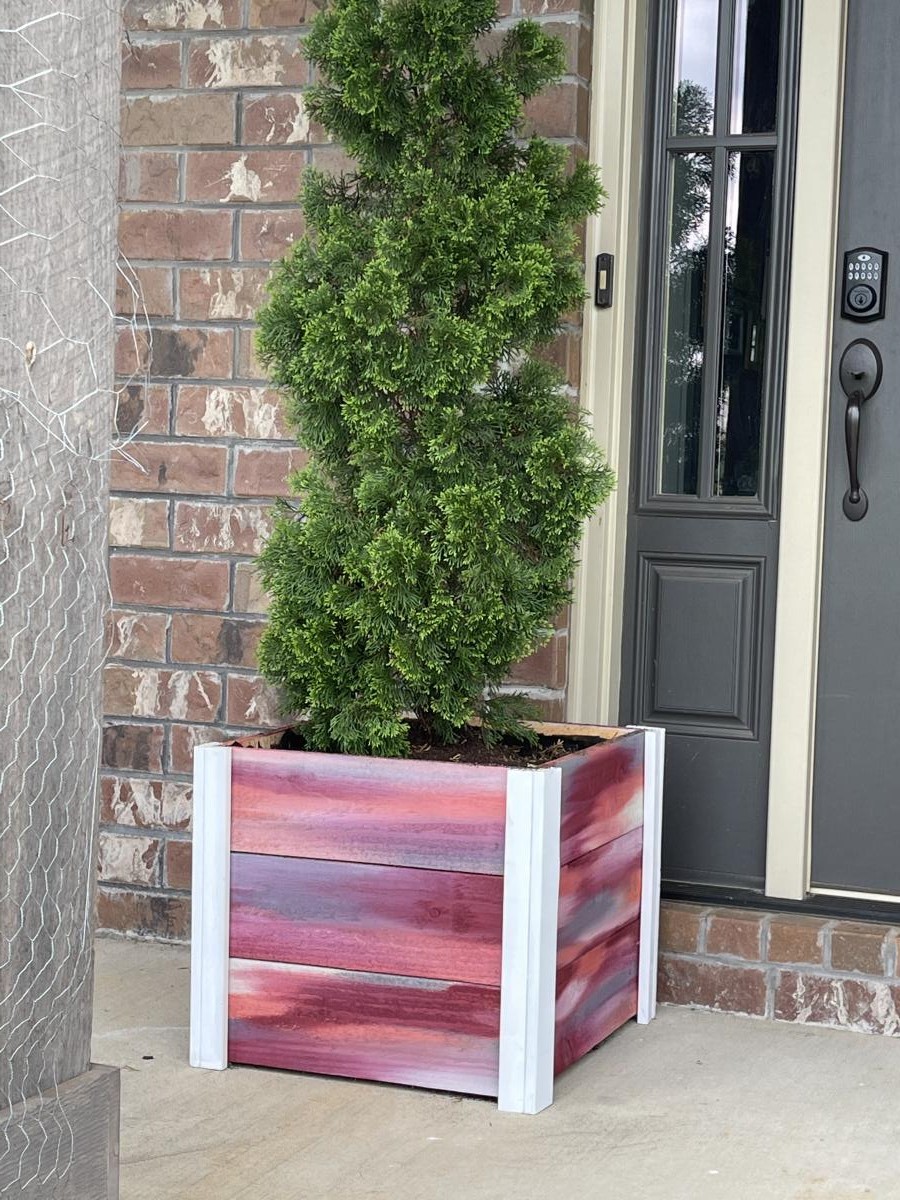
Planter Boxes

Submitted by Anonymous (not verified) on Wed, 05/12/2021 - 02:15

Stained with different colors. 20x20 to fit the big trees.

Comments

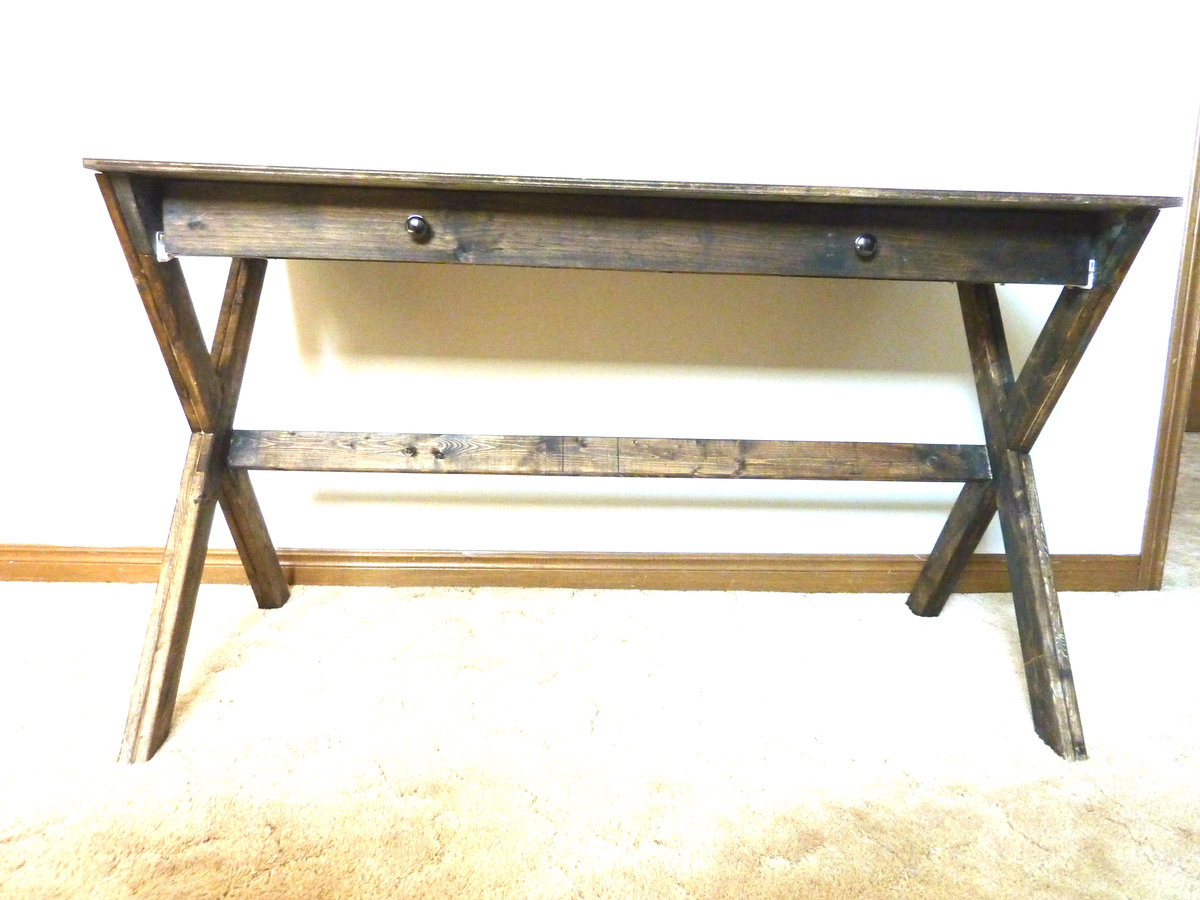
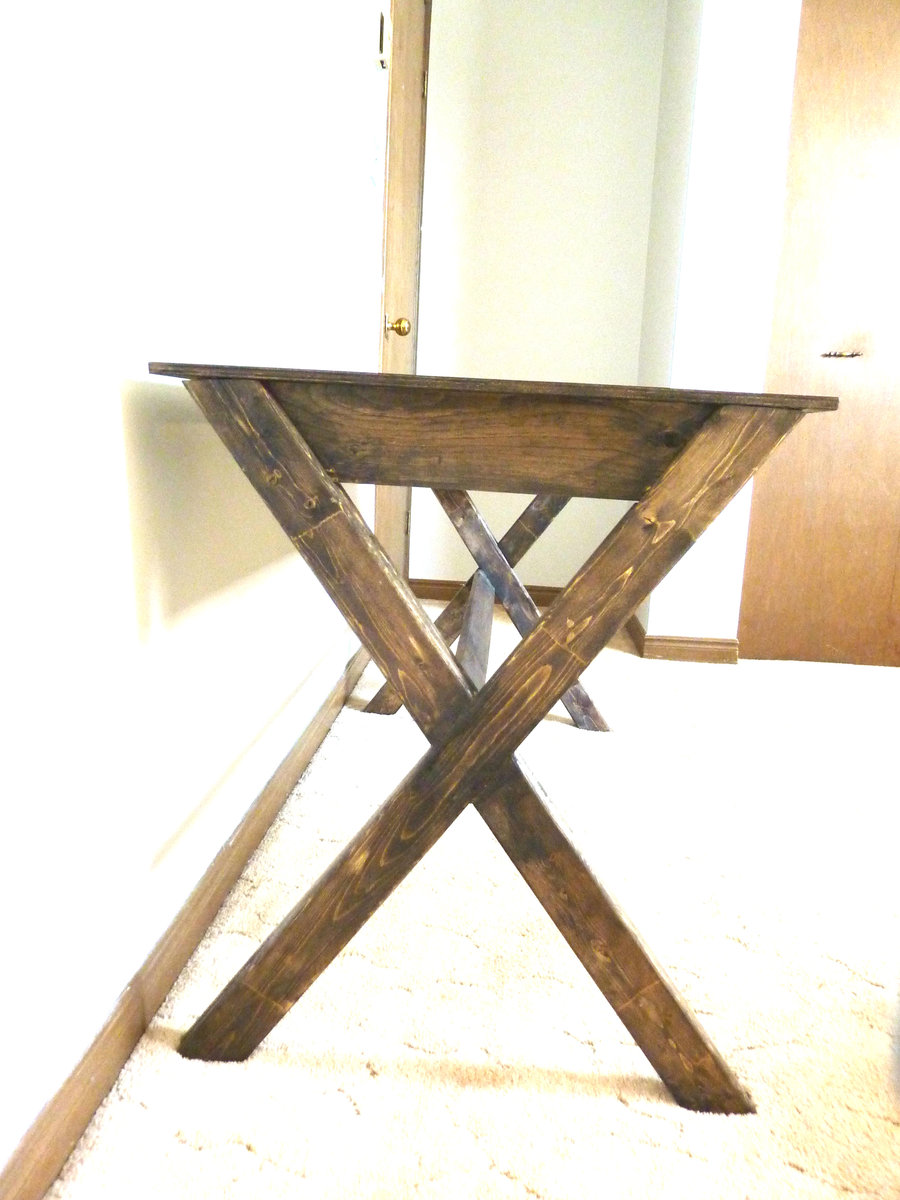
X desk with drawer

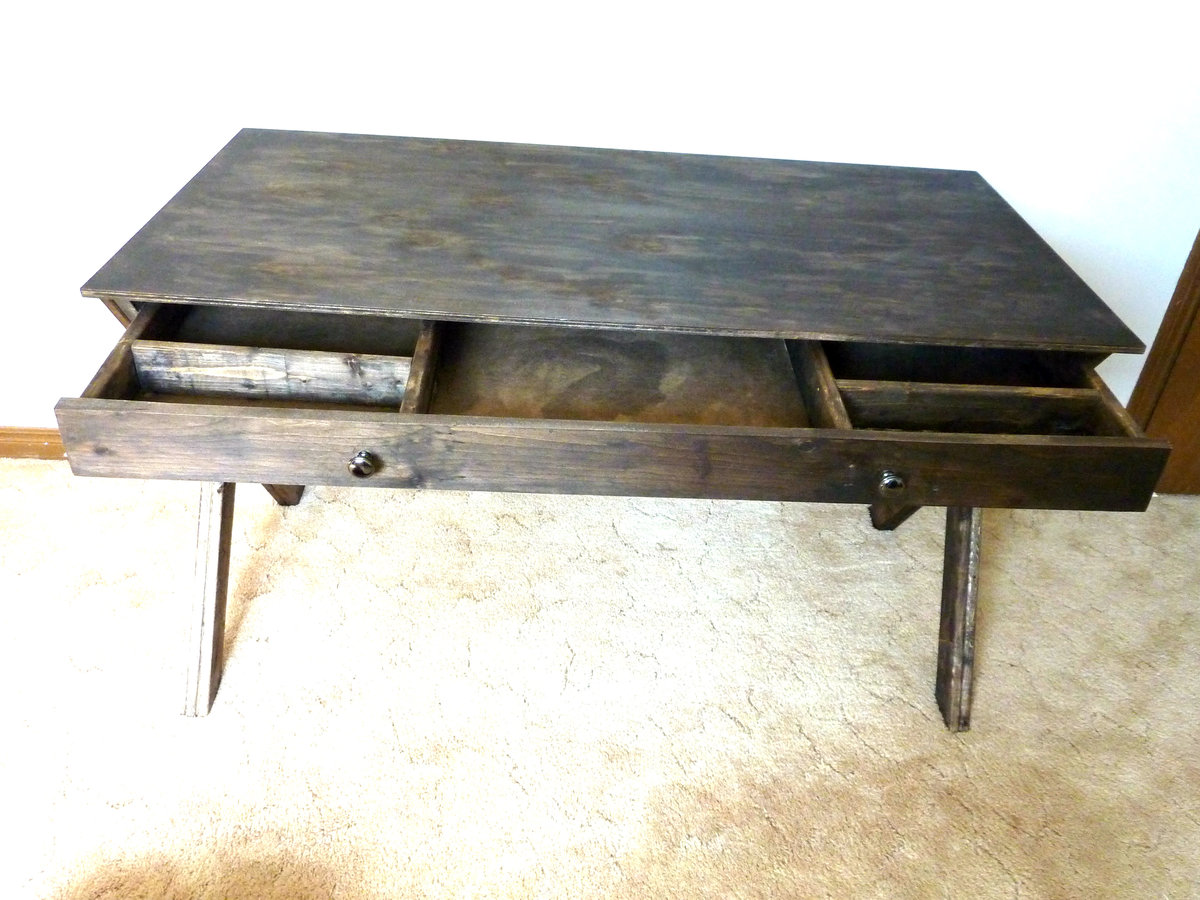
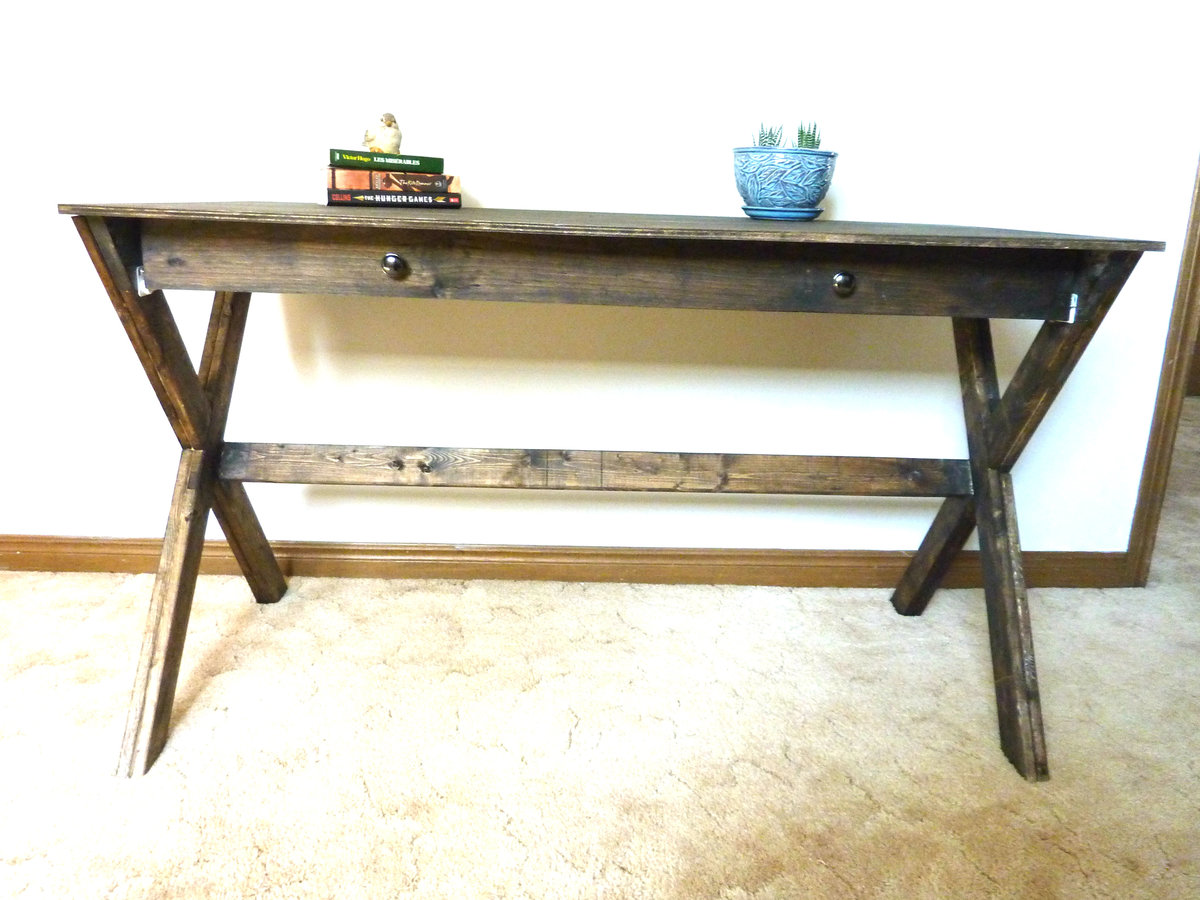
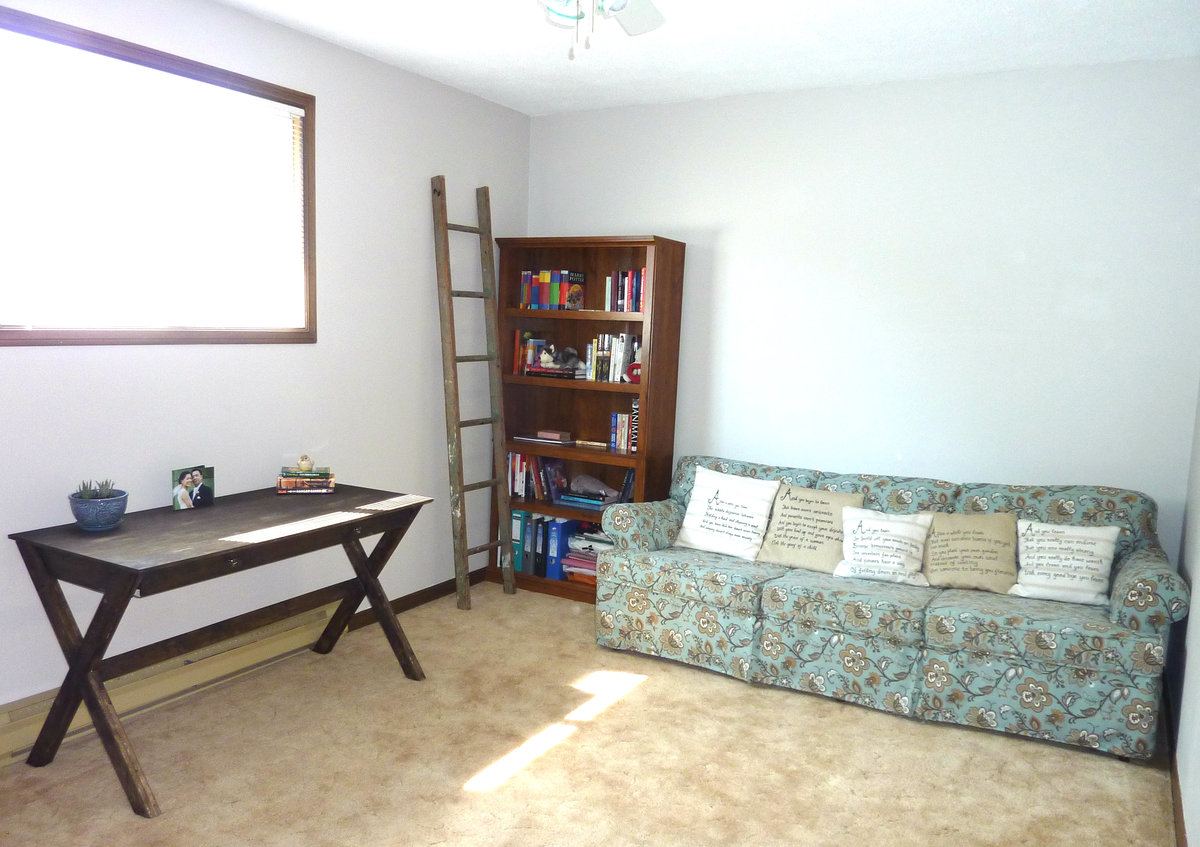
Submitted by RoseOfShaz on Tue, 04/02/2013 - 10:59

This was my very first project (yay!). I finally got over my fear of power tools and my husband bought me a jigsaw for my birthday. (Yes, I built this whole thing with a jigsaw! Clearly I was clueless about power tools back then! :) But even a jigsaw was pretty intimidating at that stage!)

Ok... so in hindsight it was a really bad idea to start on a project marked as "intermediate" for my first project, but I was so in love with this desk that I just HAD to have it. The drawer made it really tricky, but I figured no one has to know if it has its little quirks. :)

I saw a similar version of this desk on Pottery Barn's website, which retailed for a whopping $700! Thank you Ana for giving us the gift of amazing furniture for a fraction of the price!

Built from Plan(s)
Estimated Cost
$70 (probably about $50 if you already have some nails, screws, etc lying around)
Estimated Time Investment
Weekend Project (10-20 Hours)
Finish Used
Miniwax Jacobean wood stain
Recommended Skill Level
Intermediate

Comments

Console

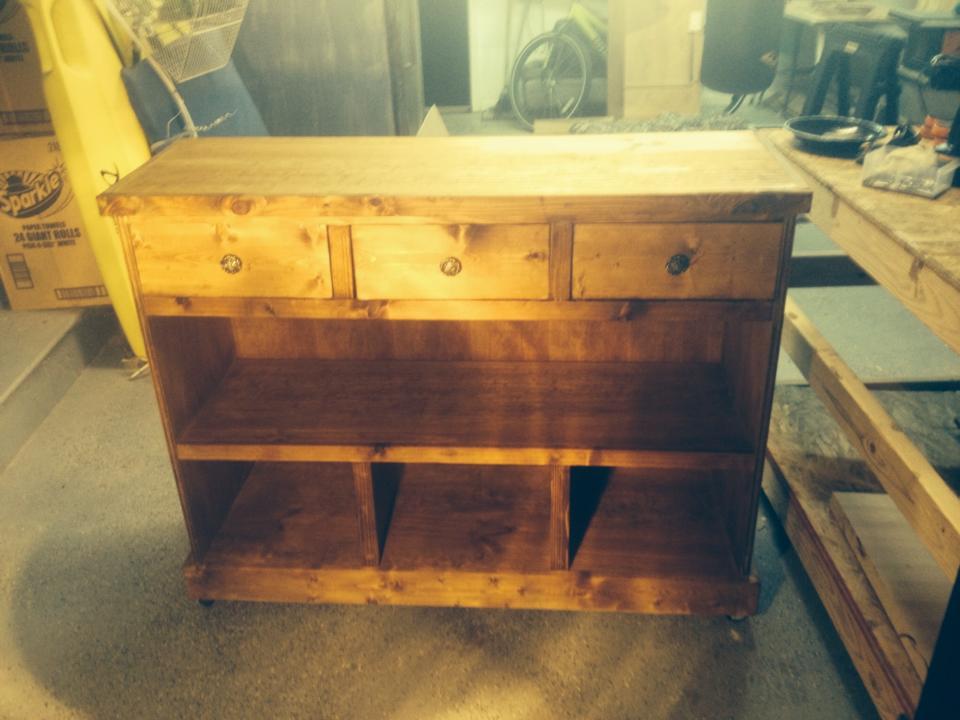
Made from pine boards and plywood.  Golden Oak stain

Estimated Time Investment
Weekend Project (10-20 Hours)
Recommended Skill Level
Intermediate

Comments

Anna's Outdoor Sofa

Submitted by Anonymous (not verified) on Sat, 05/13/2017 - 22:26

We used Anna's outdoor Sofa plans, which were very easy to read. For wood, we kept costs low by using pressure treated wood, and staining it with Minwax Colonial Walnut stain. We did use the lumber cutting service at Home Depot- only $15 for the cuts, and it made the project time very quick.  The cushions were from Lowes, and throw pillows were purchased the previous season at Homesense. We are so happy with how it turned out. Thanks, Anna!

Estimated Cost
$95 for wood, including cuts done by Home Depot
Screws and wood glue $15
Lowes cushions $ 200
Stain $0 (used for previous project)
Total cost $310 CDN
Estimated Time Investment
Afternoon Project (3-6 Hours)
Finish Used
Minwax Colonial Walnut
Recommended Skill Level
Starter Project

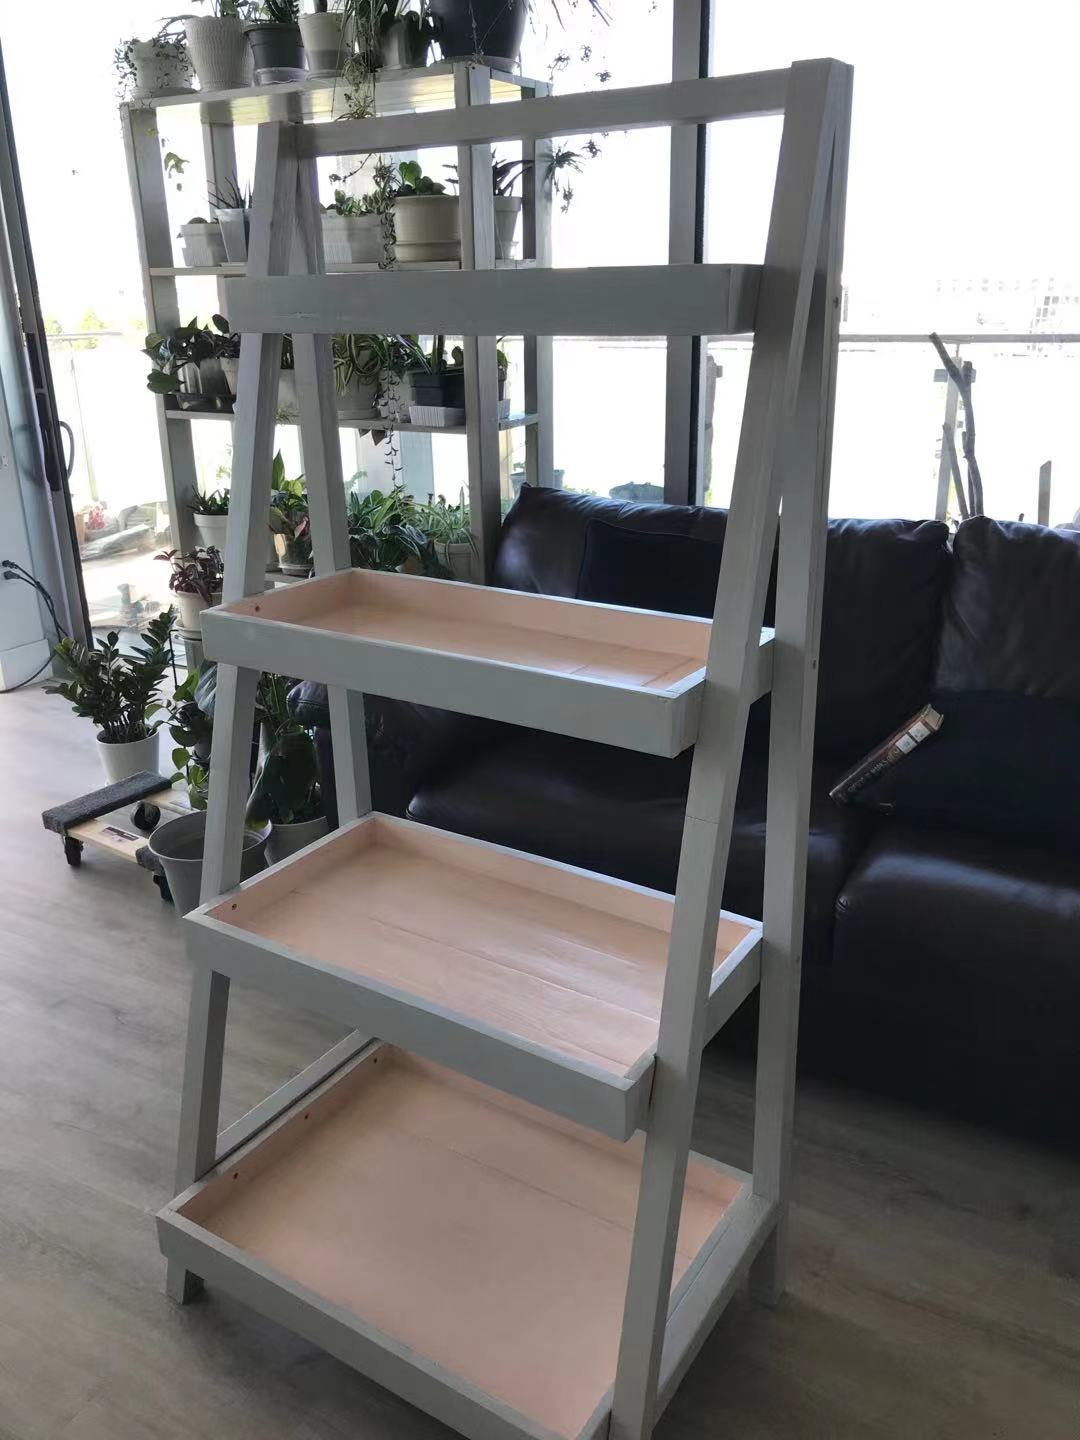
painter's ladder shelf

Submitted by Anonymous (not verified) on Thu, 05/20/2021 - 13:28

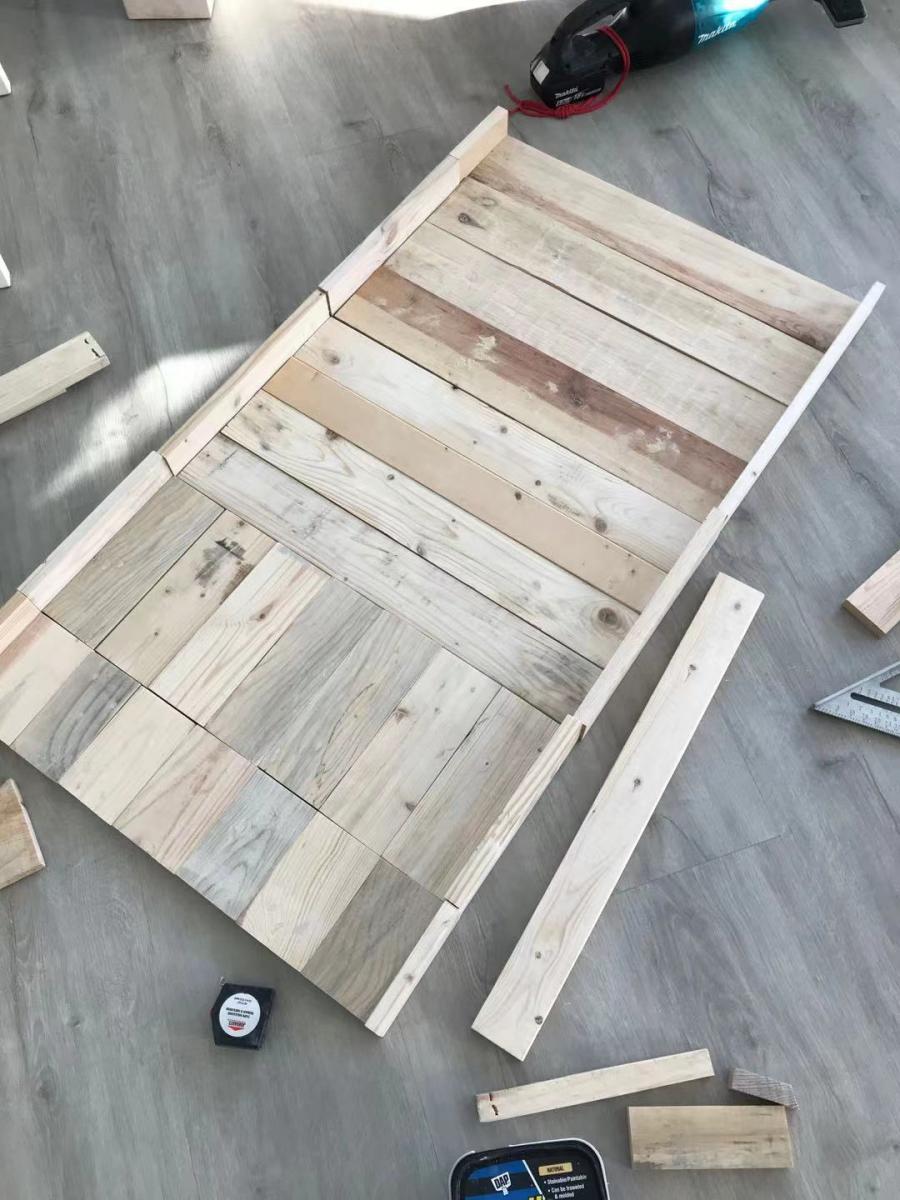
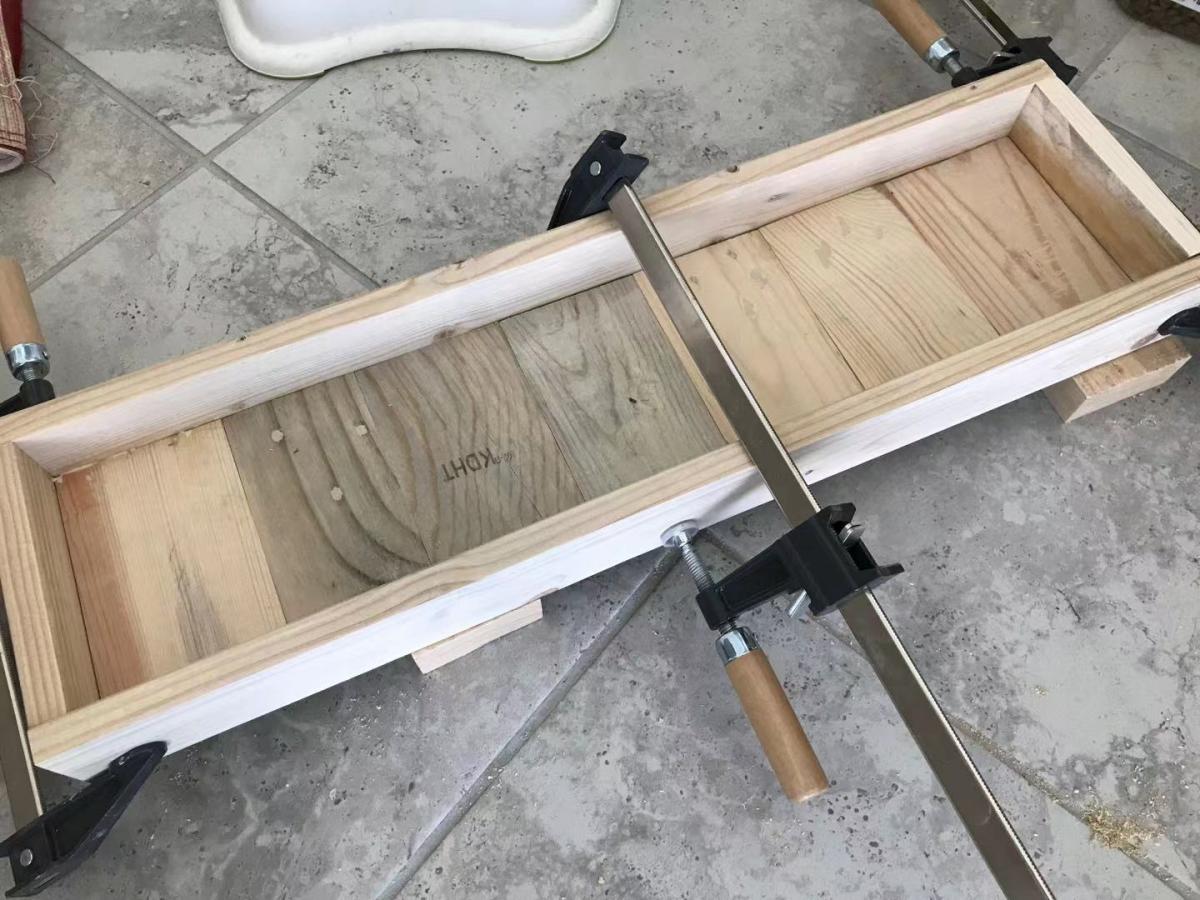
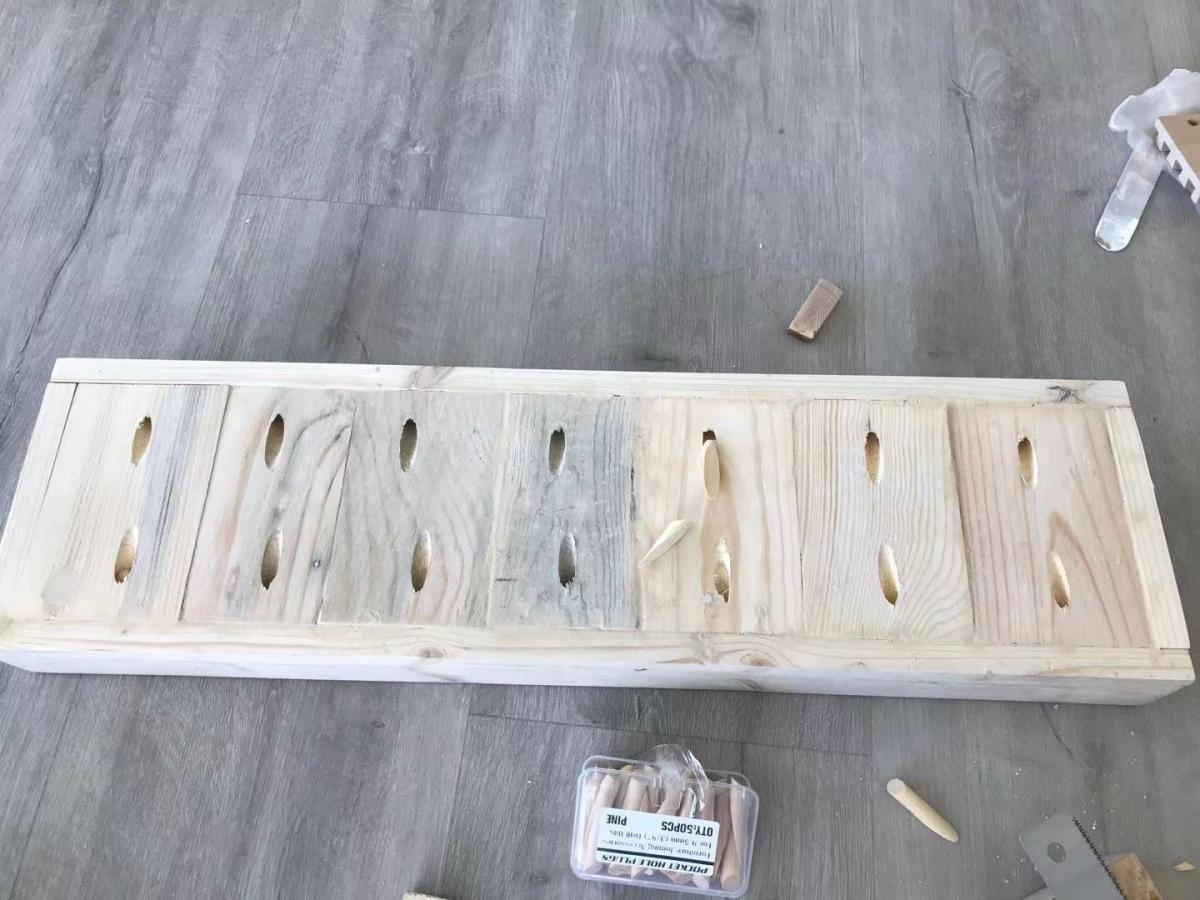
I made this shelf from some old pallet wood, it took me long time to sand them.
I also made it about 5 inch higher, 1 inch deeper.
The result is perfect, I've already put my plants on it, love it! thank you Ana!

Built from Plan(s)

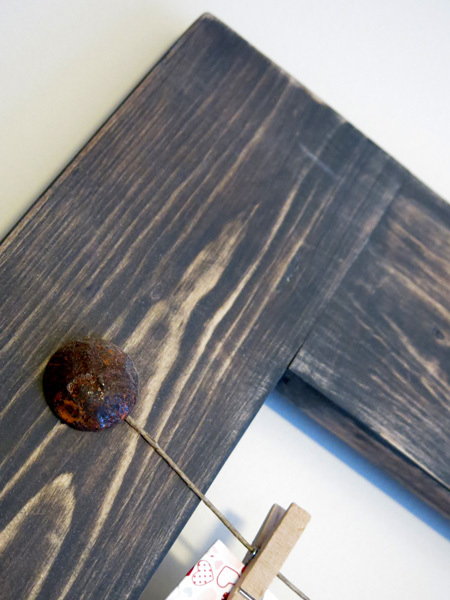
Clothesline Peg Display Frame

Submitted by AndyH on Tue, 02/17/2015 - 16:41

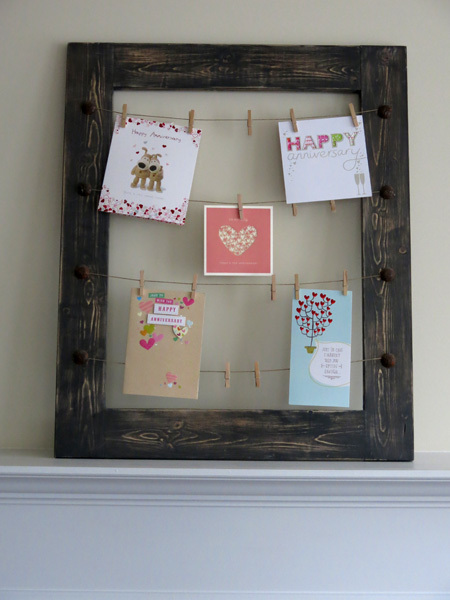
Initially made this to display Christmas cards in.

Made from 1 by 4 No. 2 Whitewood.  Was stained with Rustoleum Driftwood and then painted with some left over paint I found in garage.  I then sanded it back a bit to show the grain and stain through.

The nails are 1 inch Clavos nails from a website called www.Directfrommexico.com

Measures about 30 by 25 inches on outsides.


Estimated Cost
Wood $4.50 as only needed one piece and used one left over piece. The large hammered nails were most expensive part at about $8. Line and pegs around $5.00 Stain and paint were leftovers. Total about $17.00. Have specified an hour or two but the down time between stain and paint drying obviously adds time.
Estimated Time Investment
Day Project (6-9 Hours)
Finish Used
Rustoloeum Driftwood as base and some left over paint. Painted on the stain without conditioner. Let dry overnight. Painted the next day and left another day to fully dry. Sanded by hand to show some grain through.
Recommended Skill Level
Starter Project