I love Ana Whites's site. I go to it all the time when I have project ideas. The Video tutorials, combined with plans, is just amazing. Plus, the brag pages of people that have done projects from what they found here. Thank you Ana.
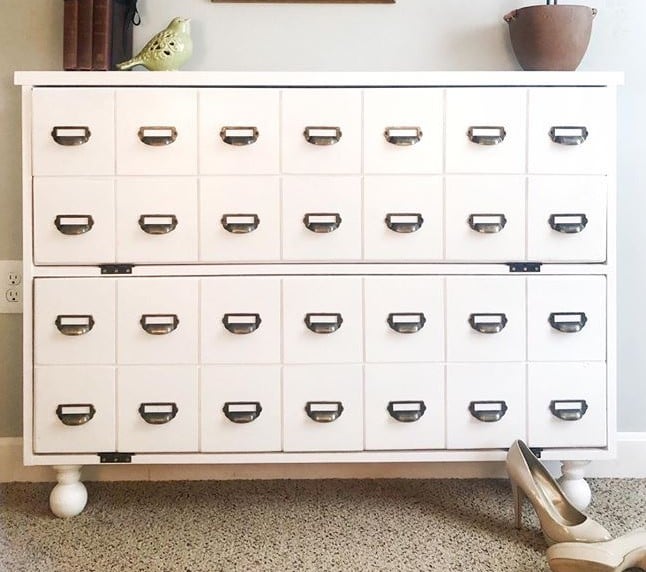
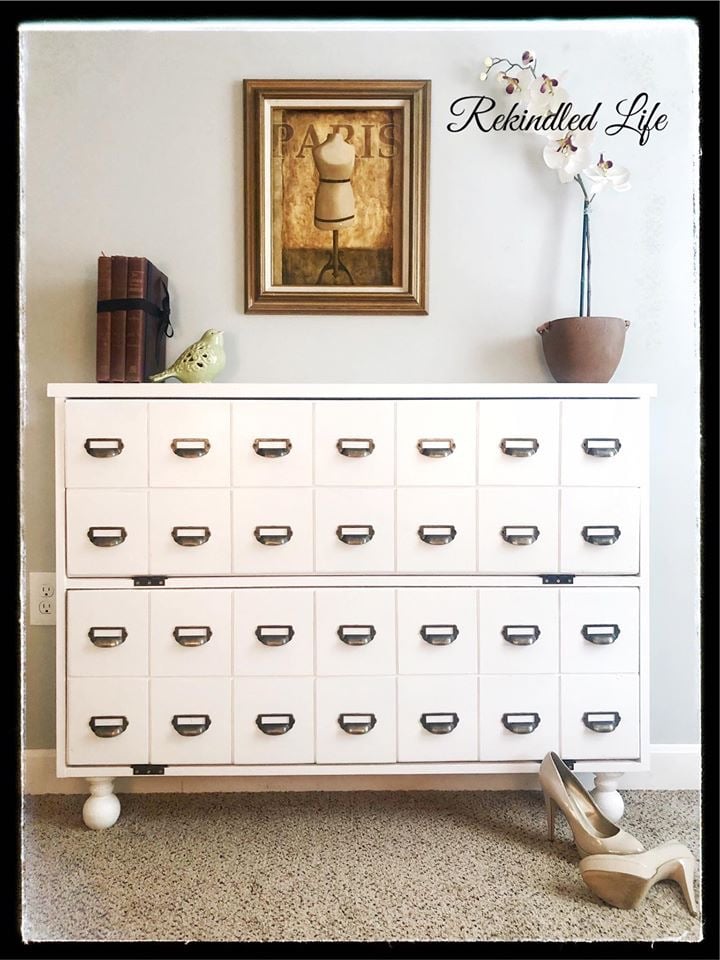
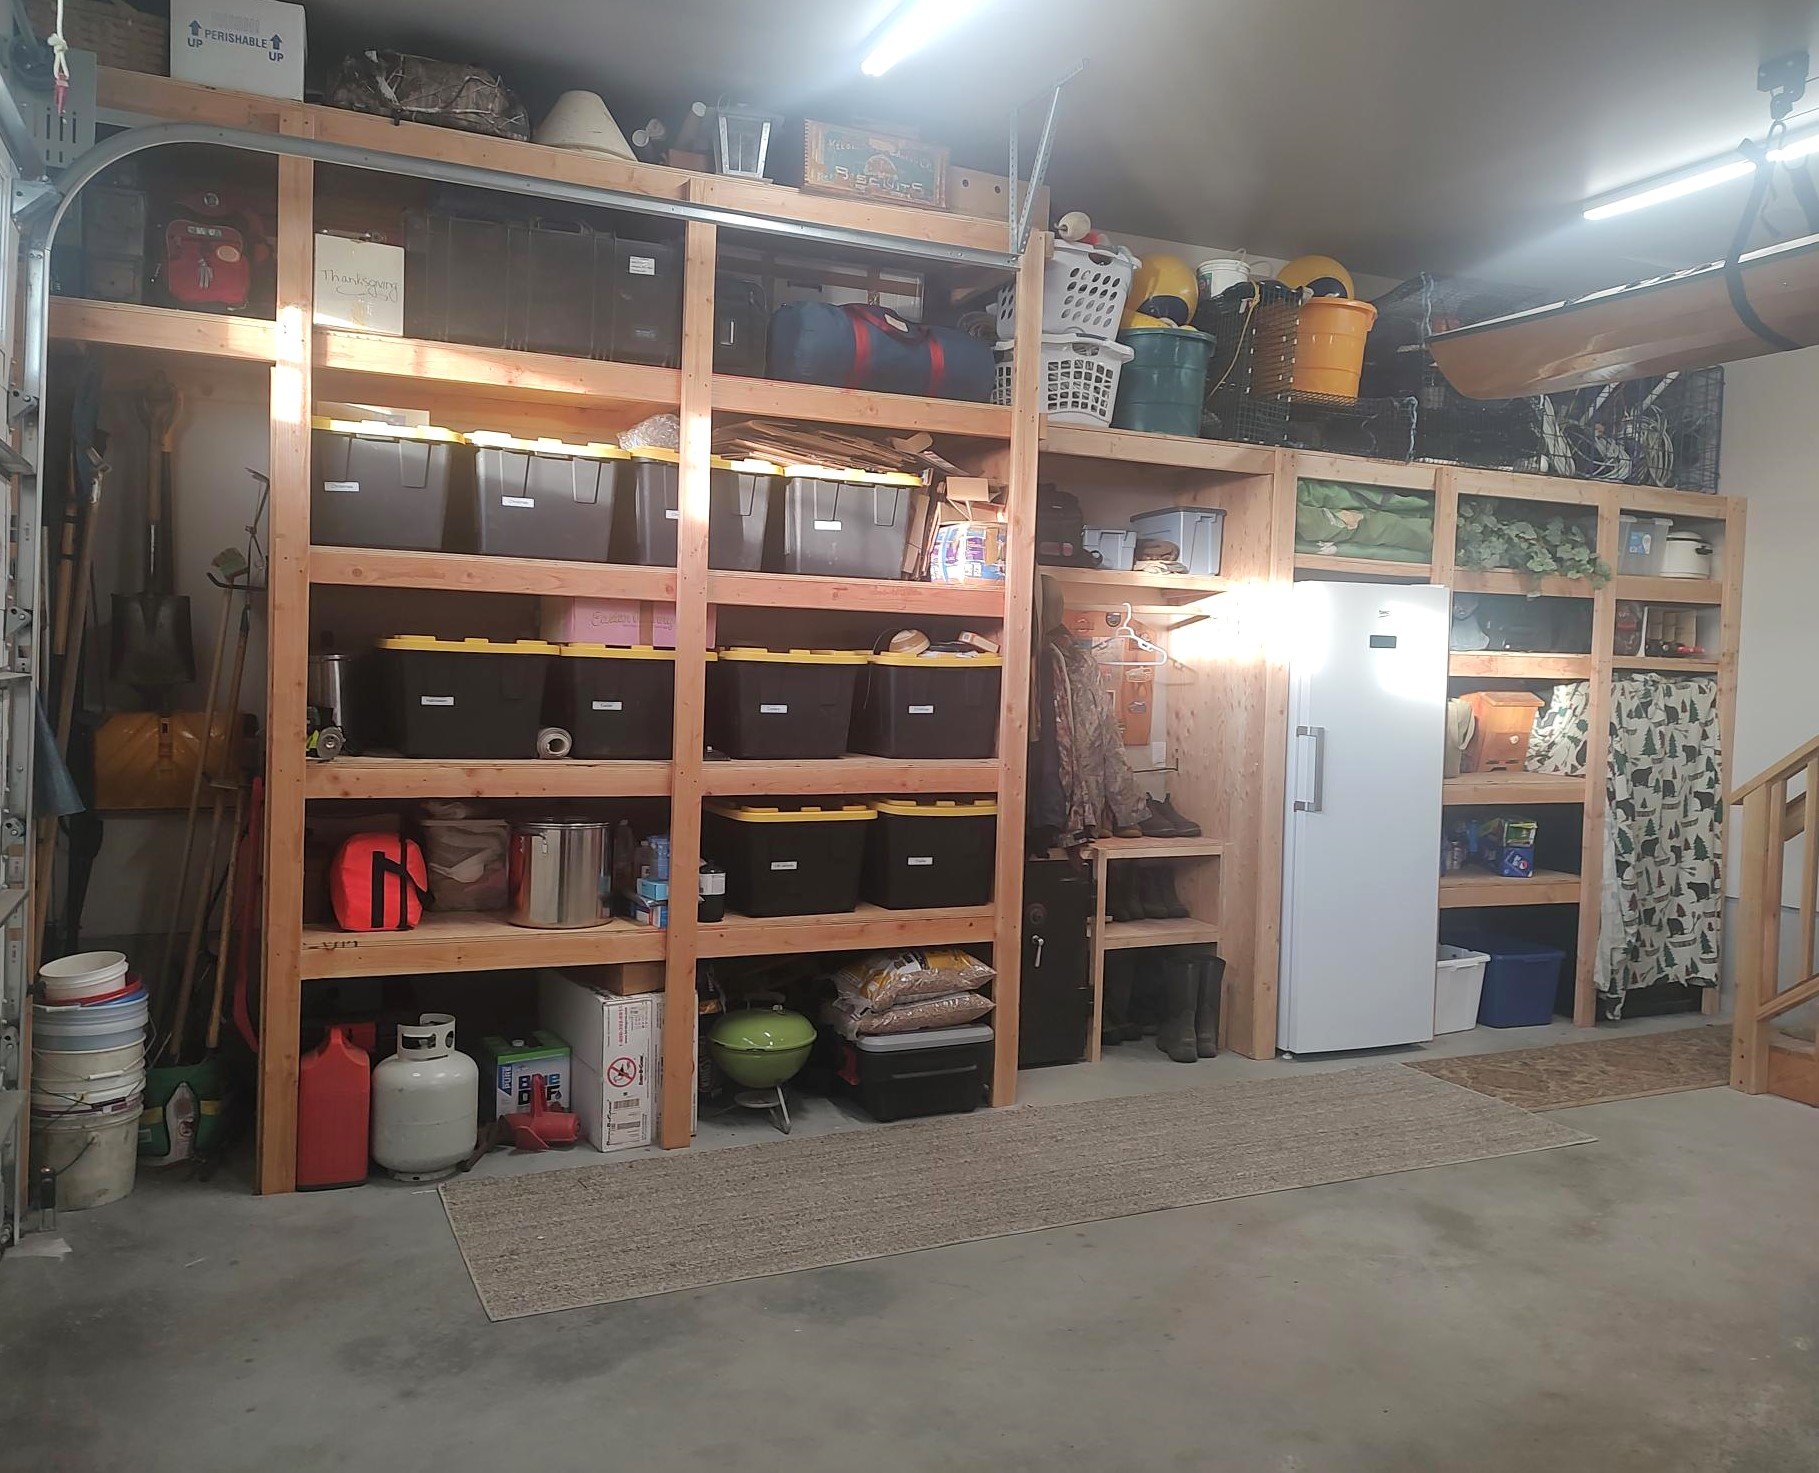
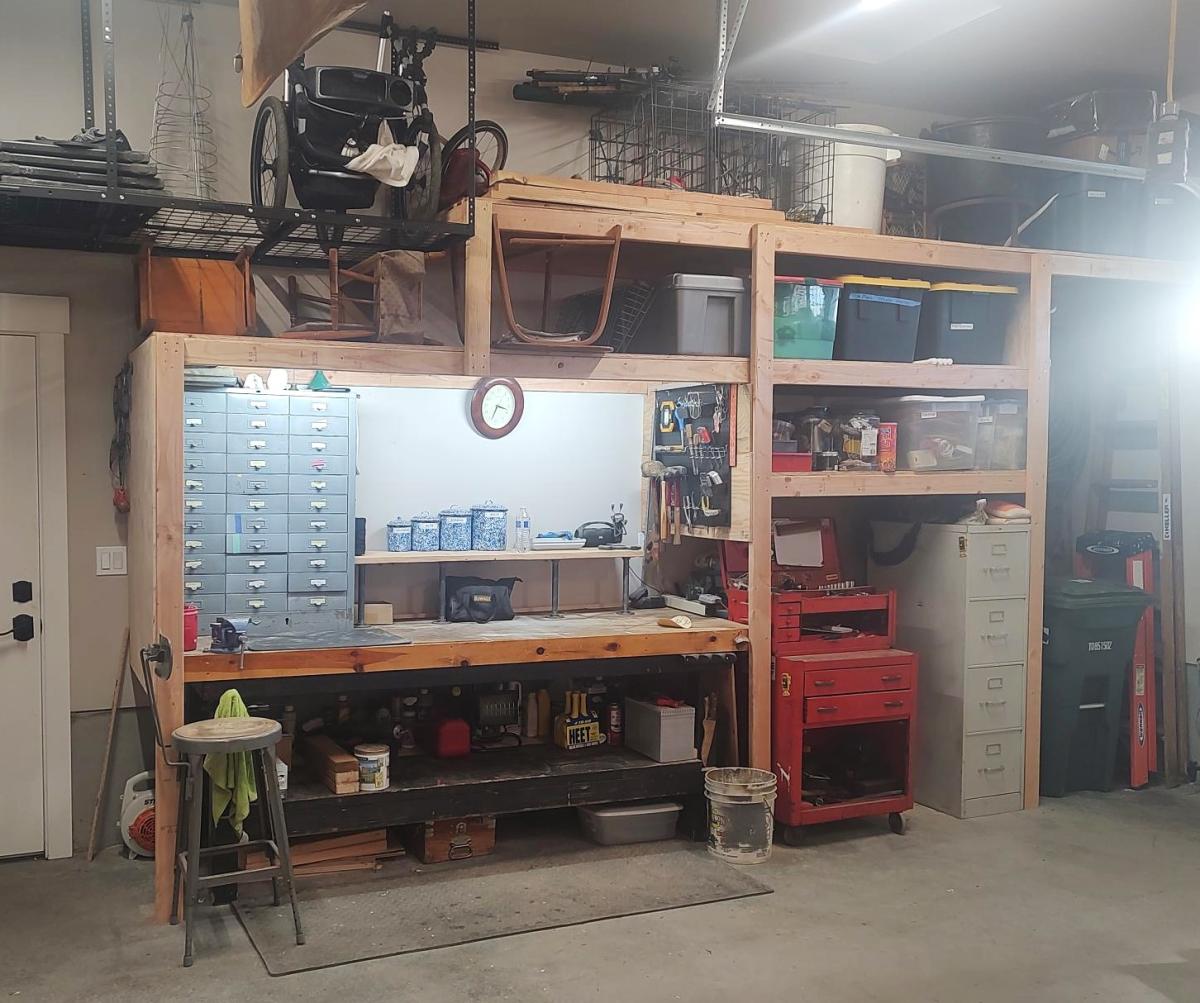
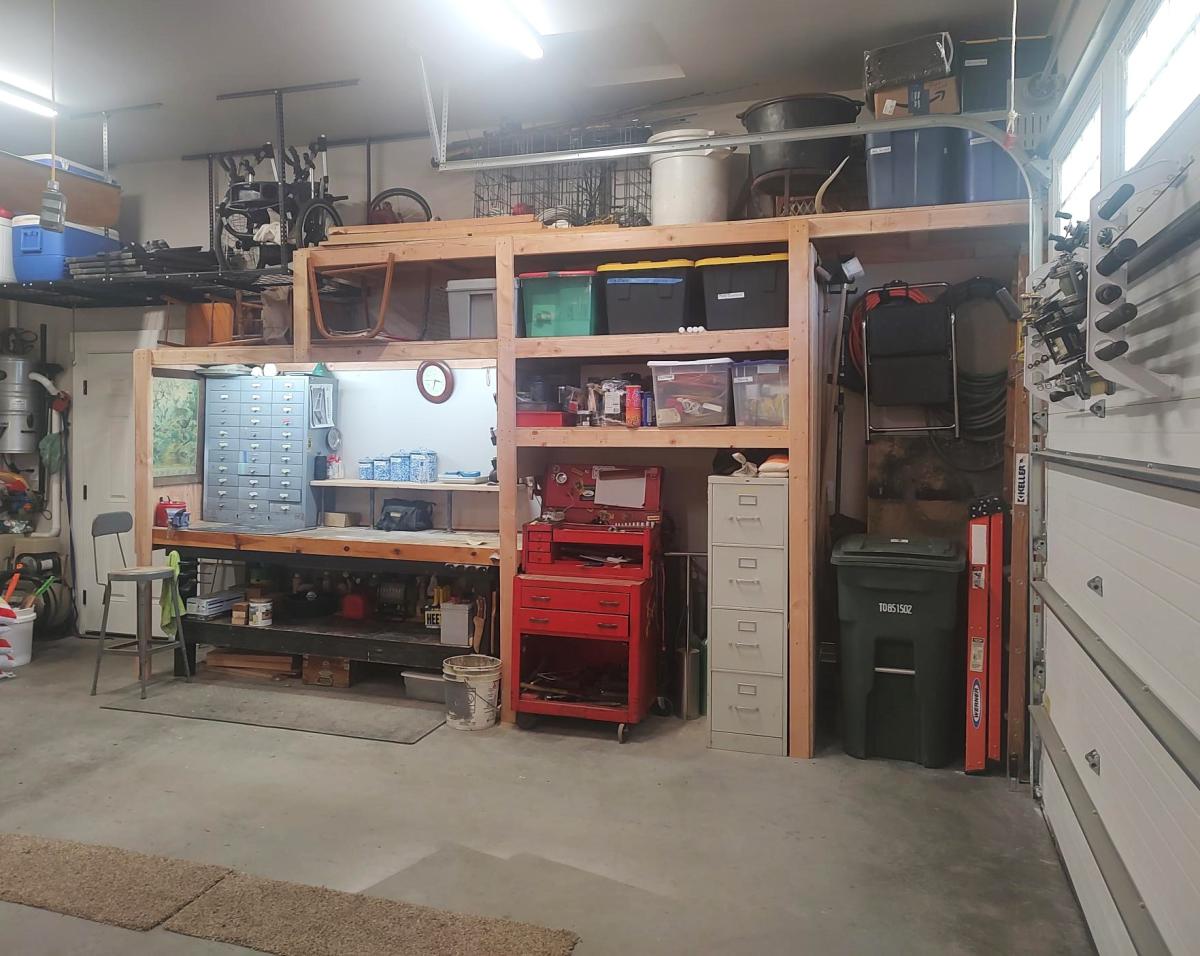
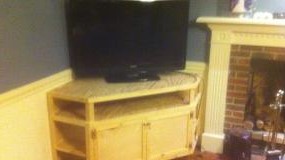
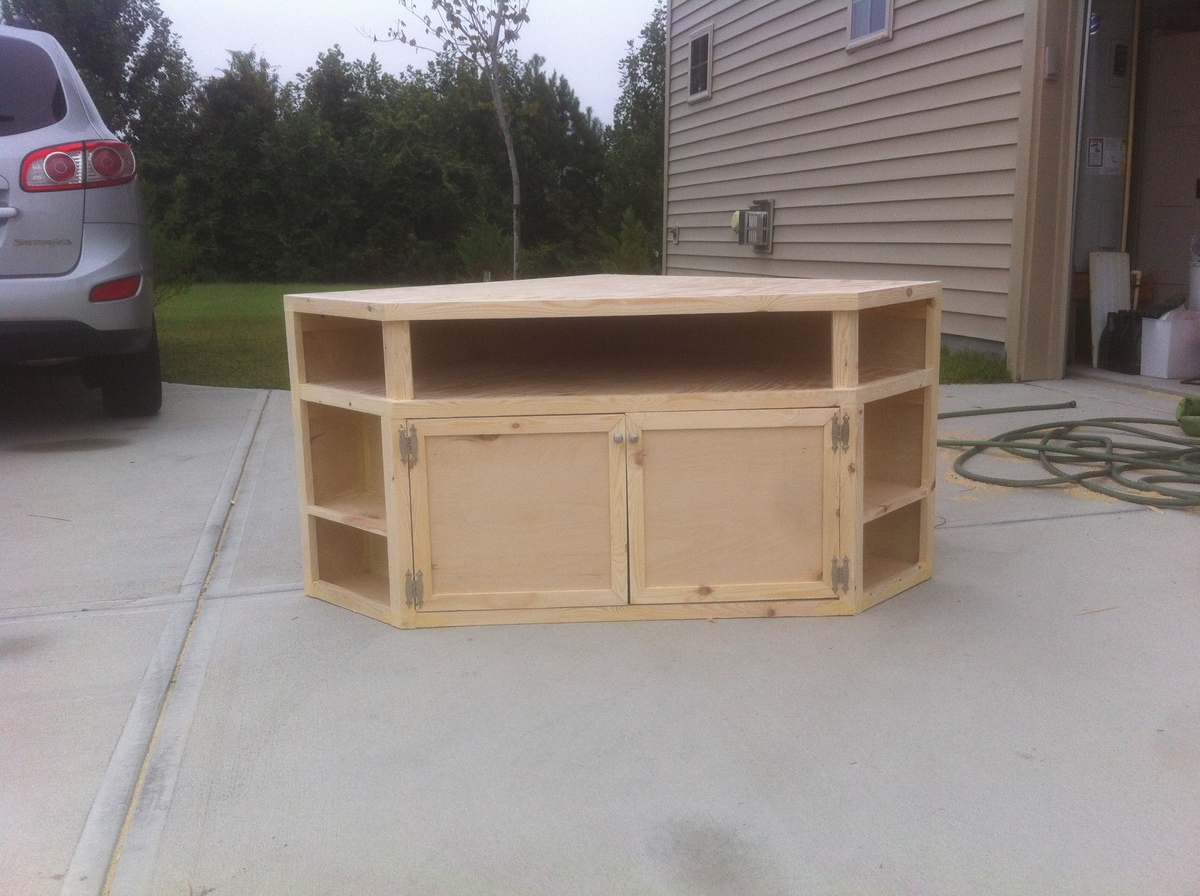
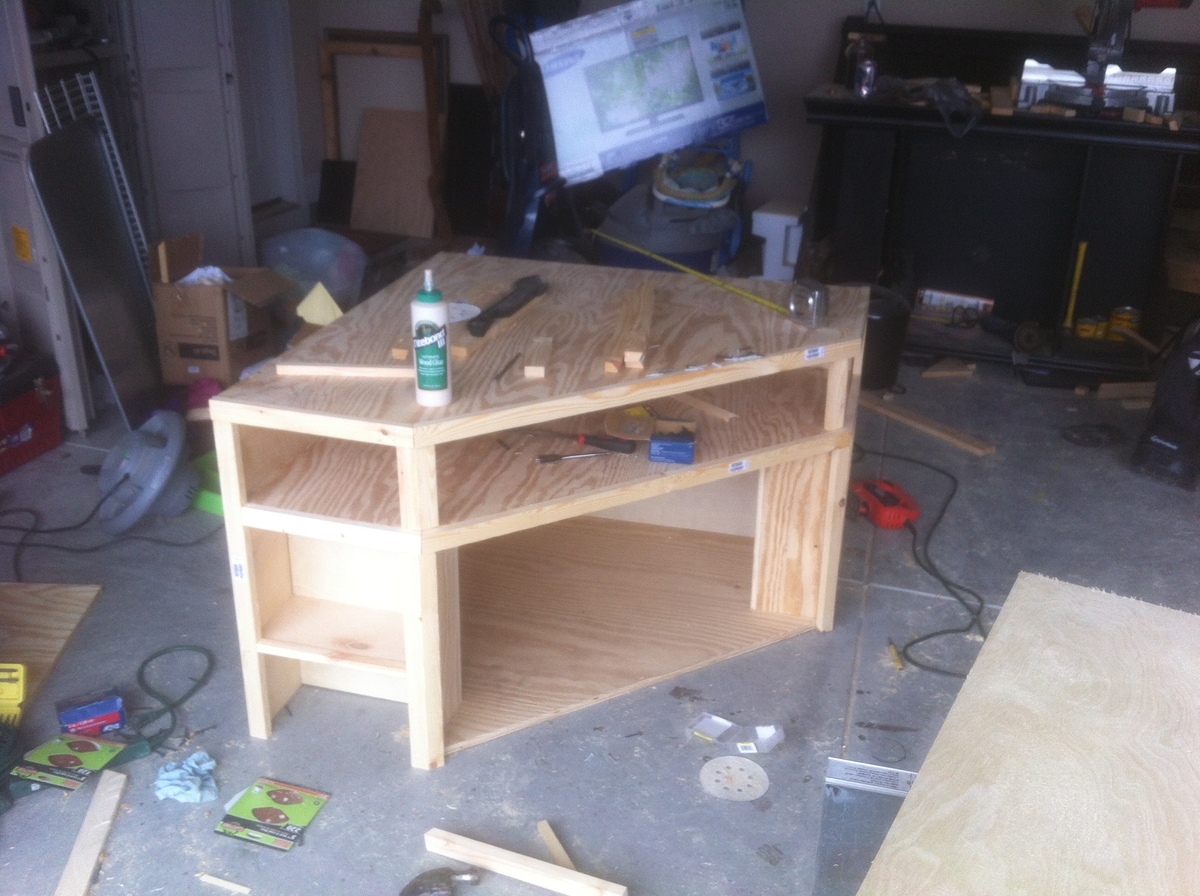
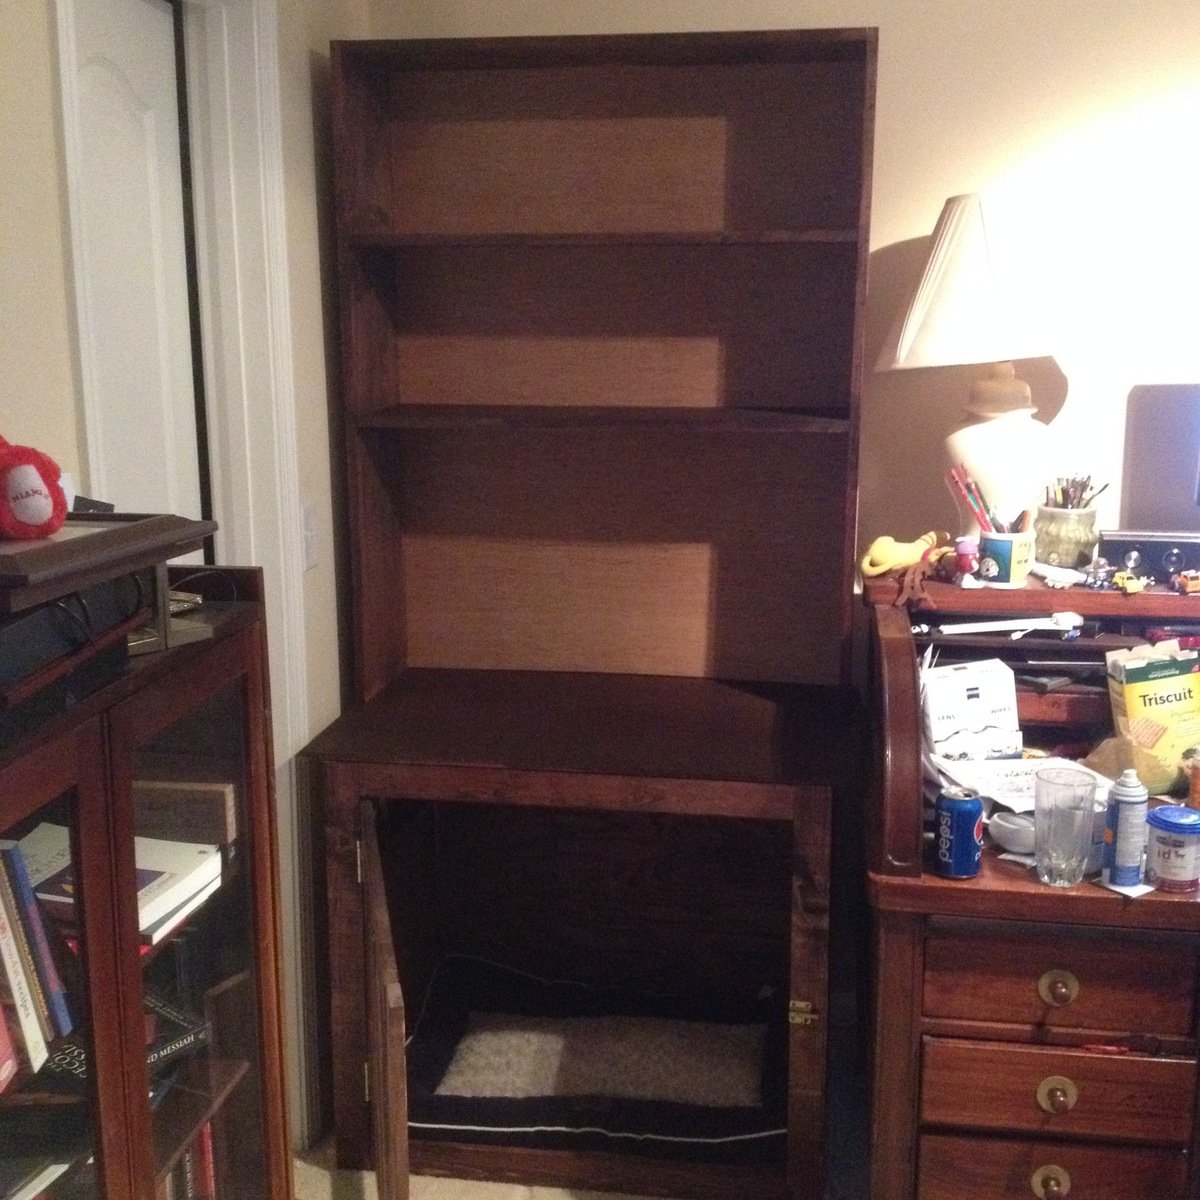
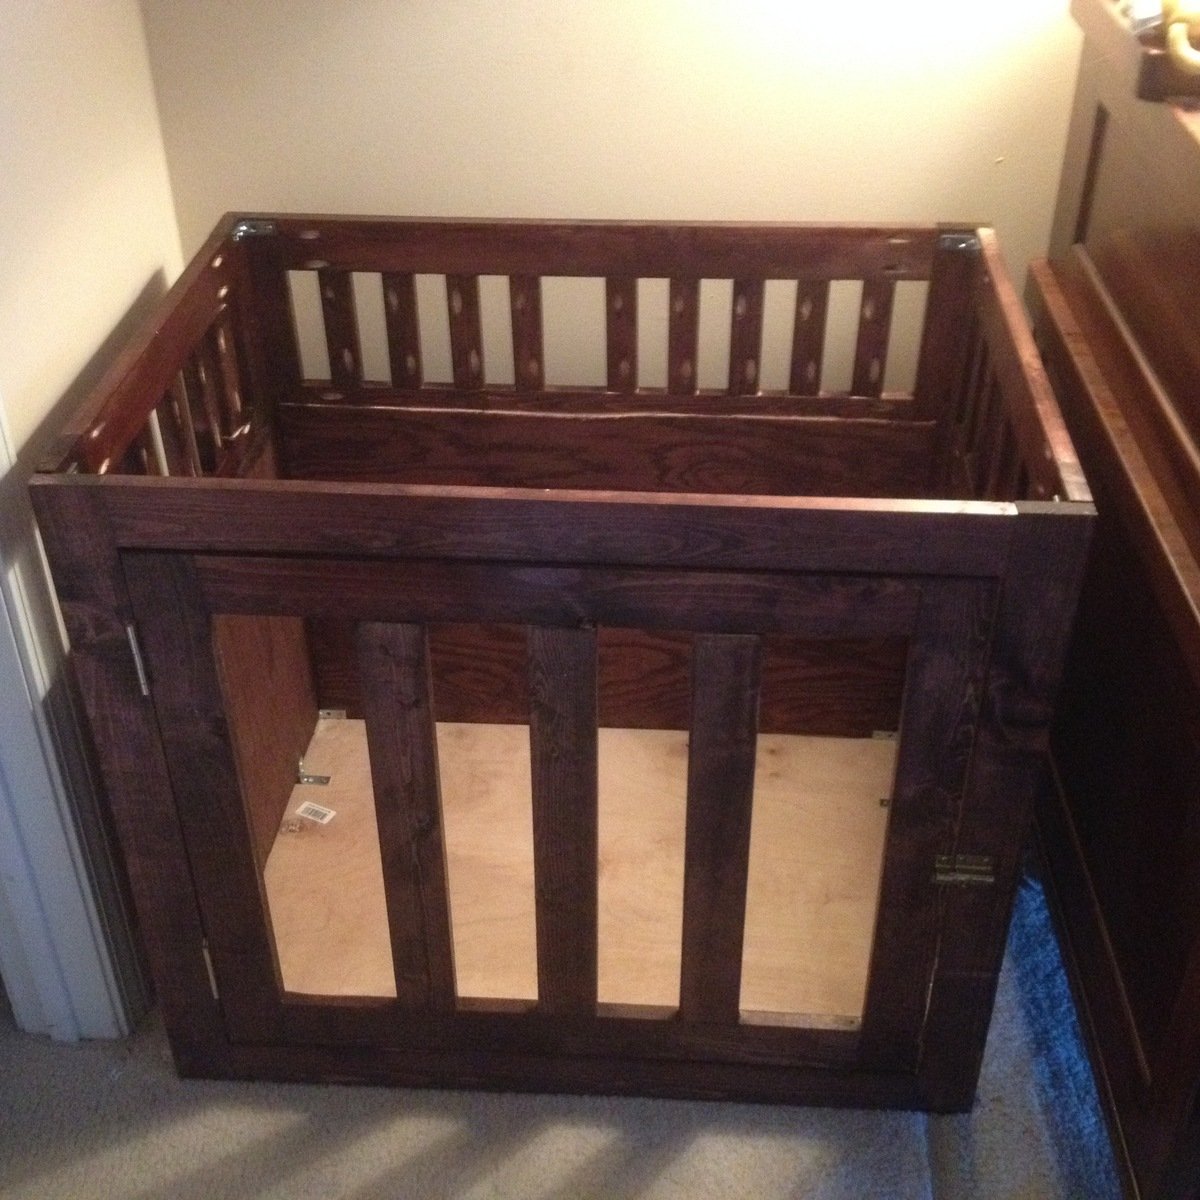
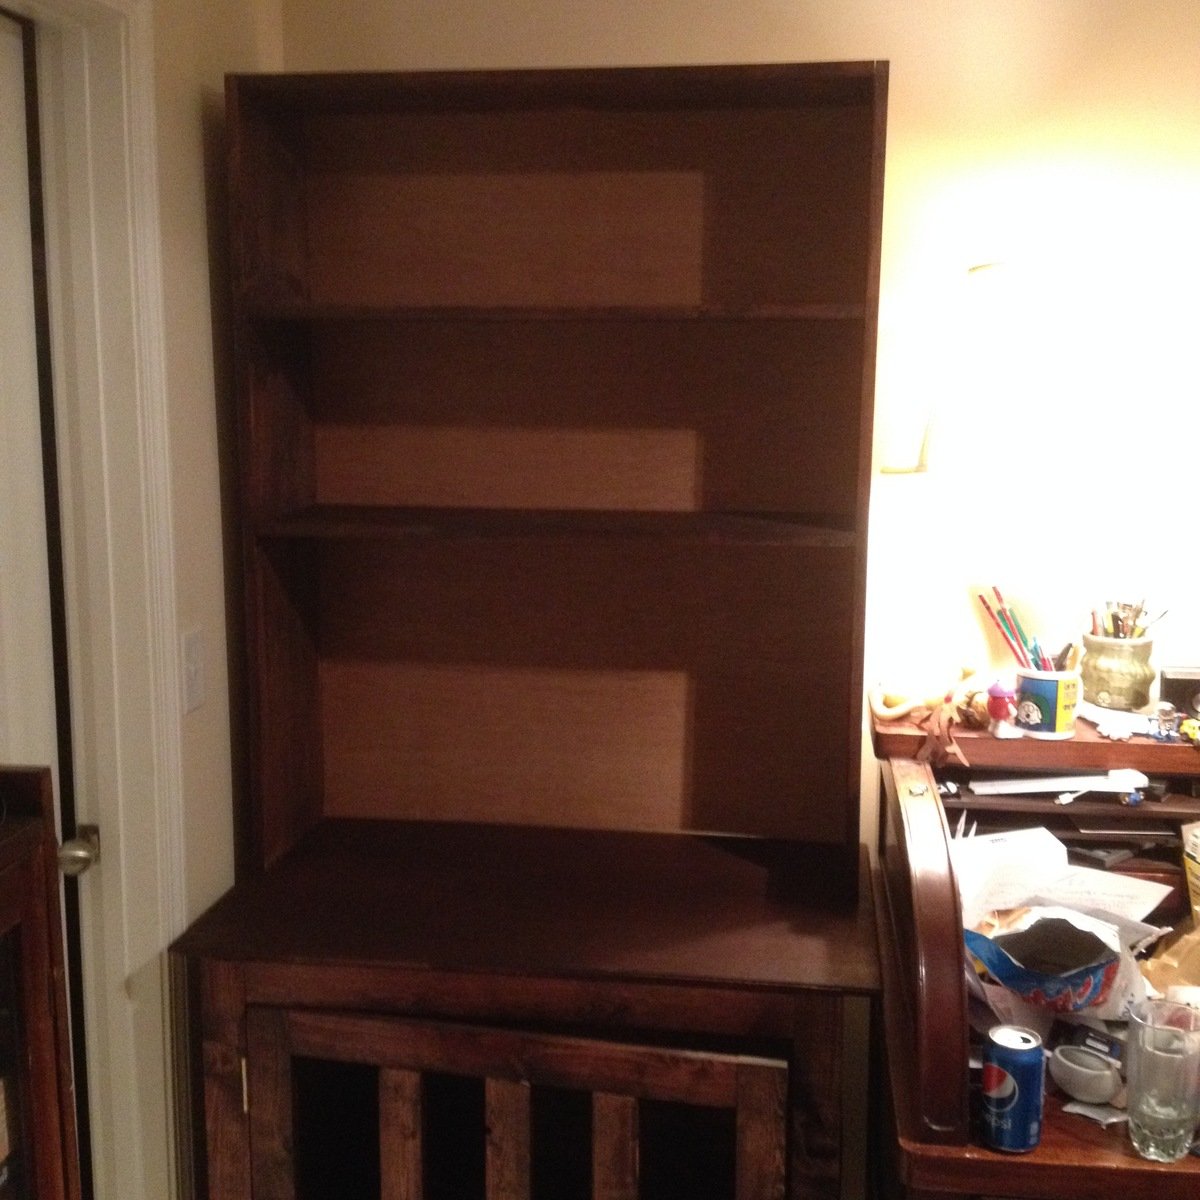
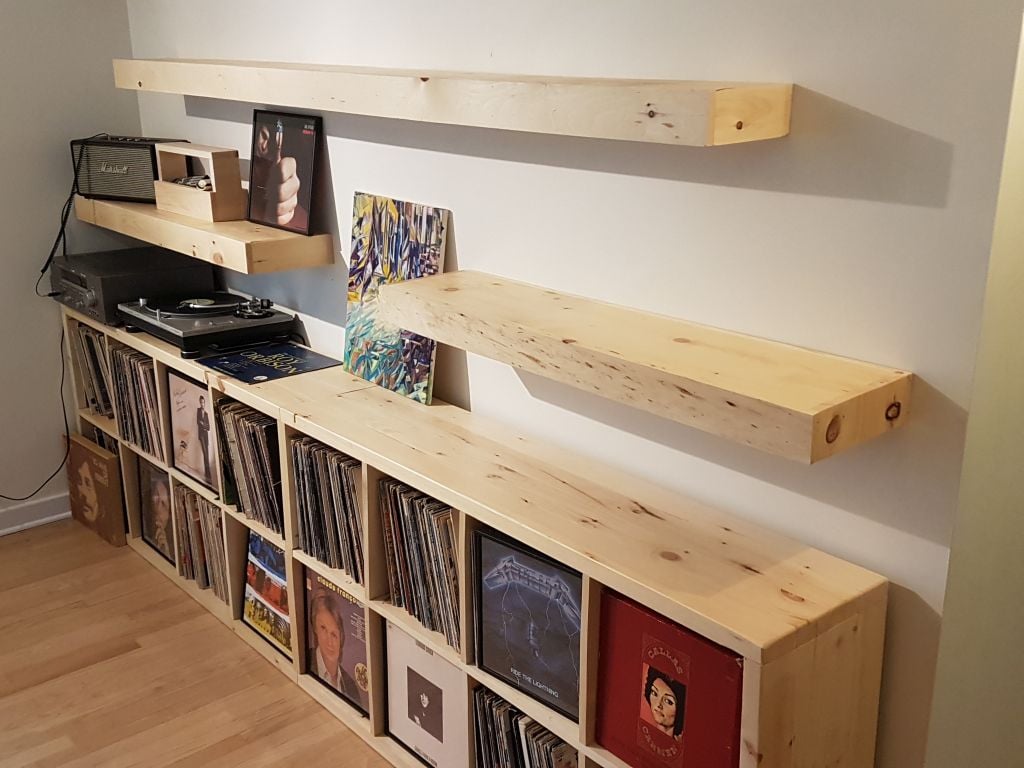
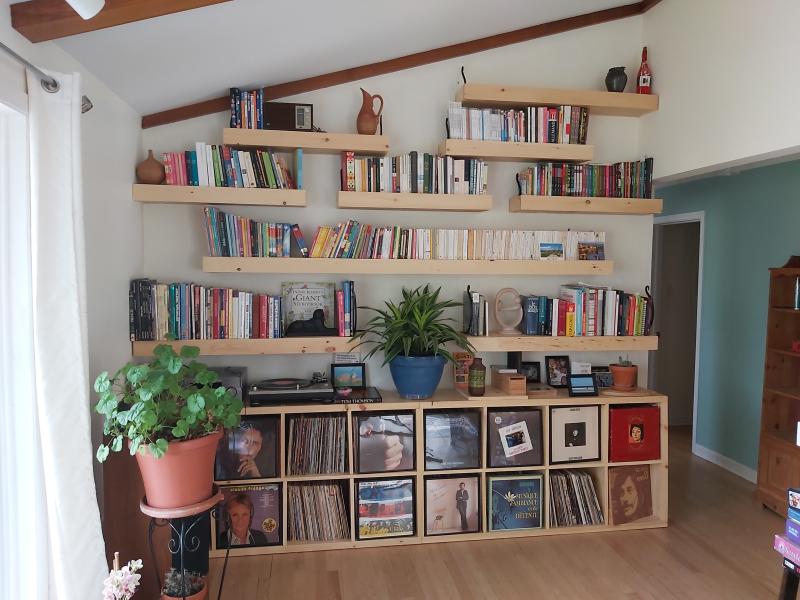
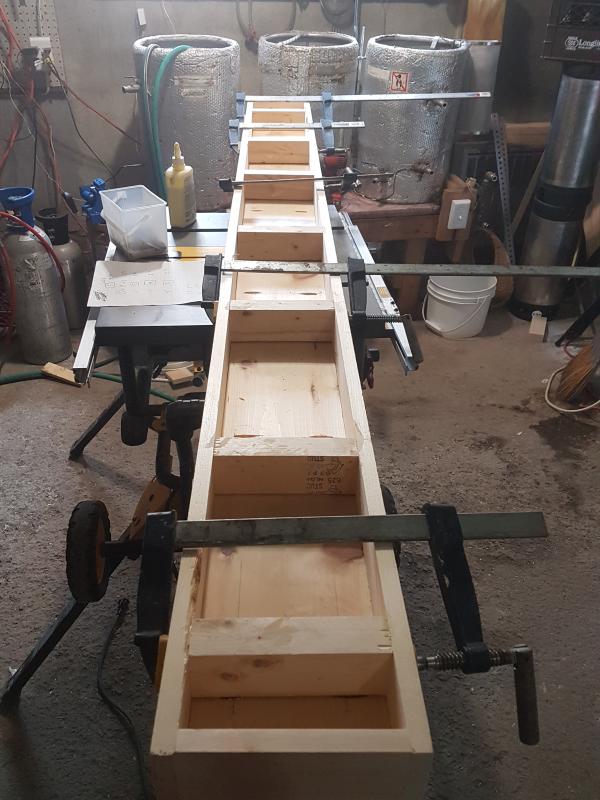
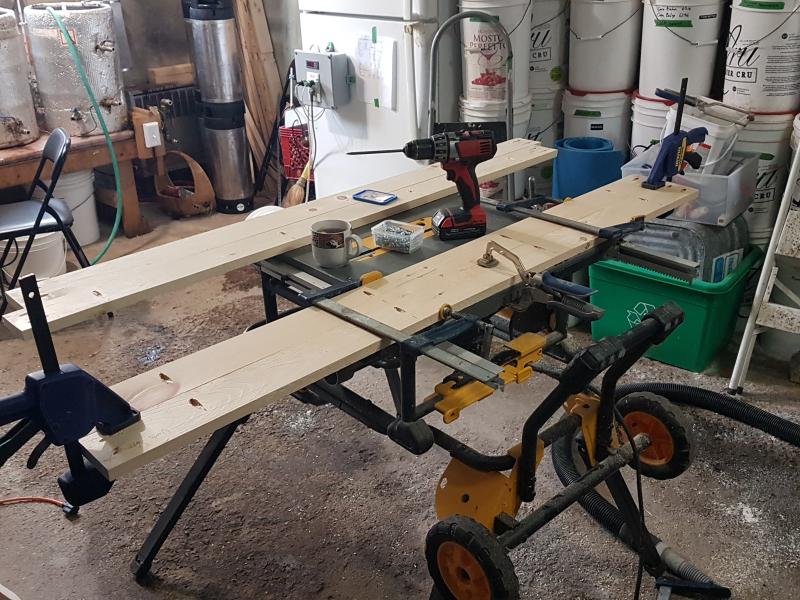
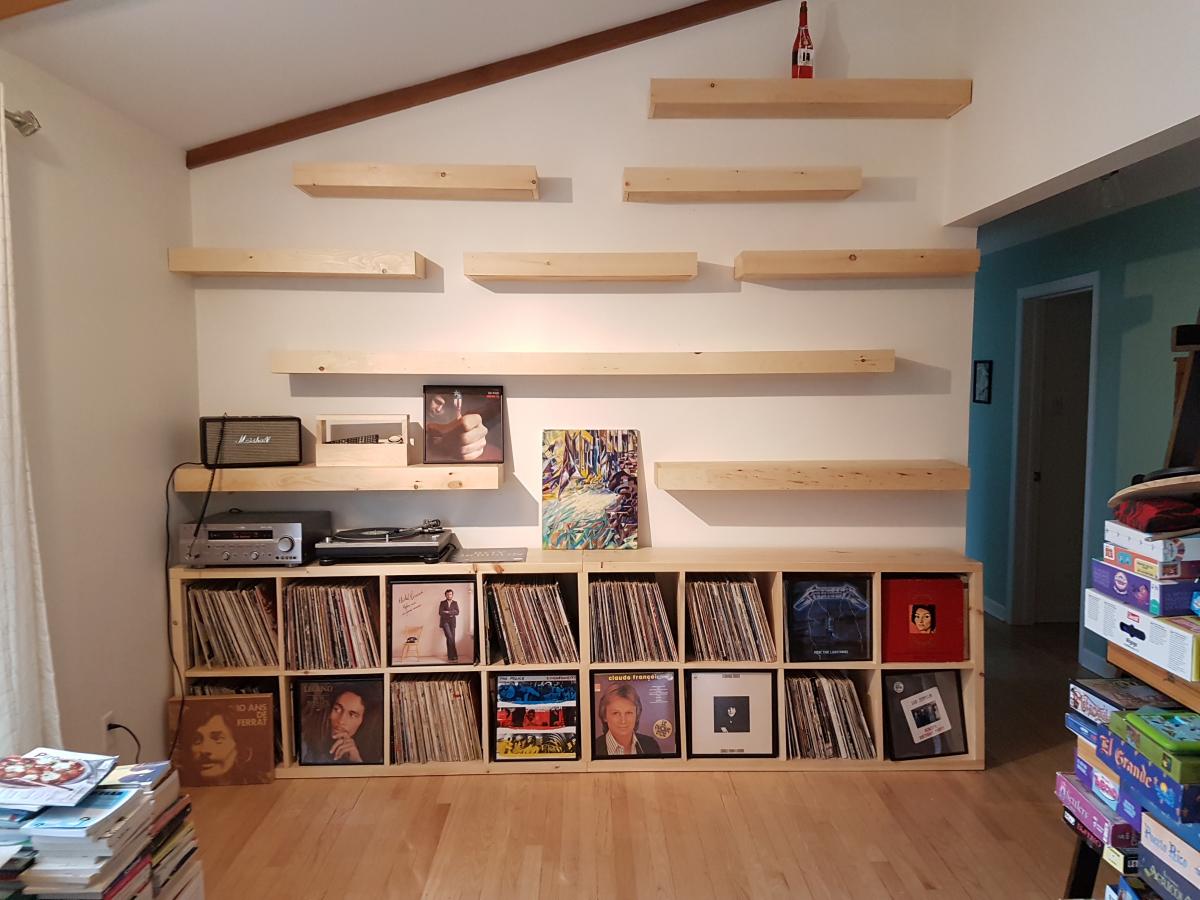
The floating shelves part was from Ana's site. The other part was done using my own plans (I used SketchUp to draw them)
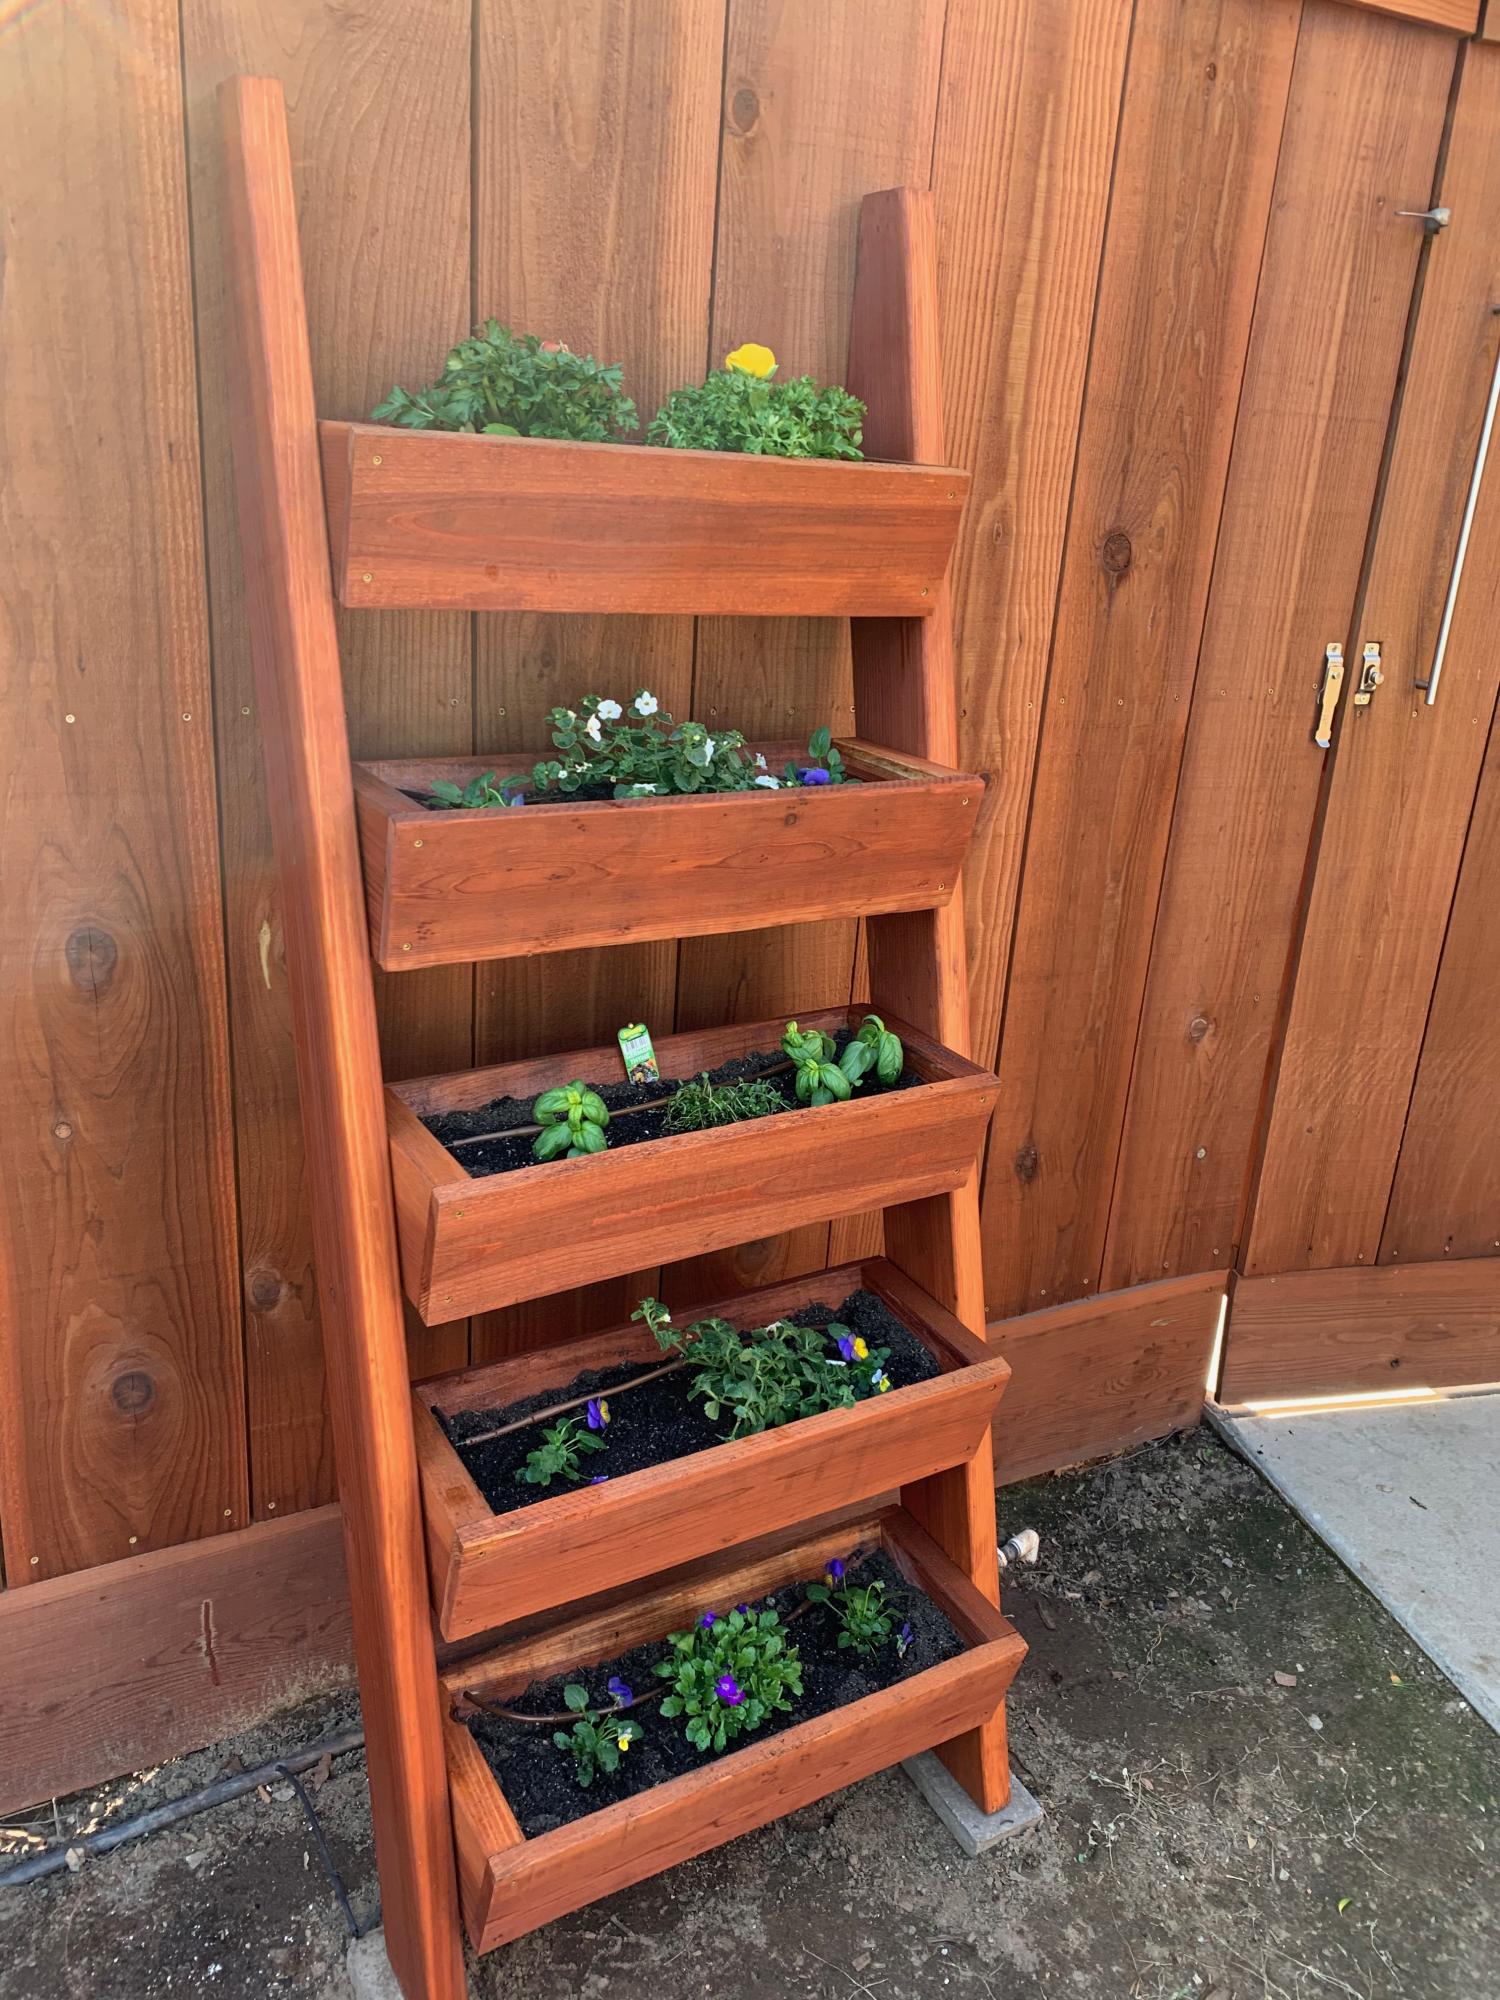
My wife added the books, plants, and decorations, and I finally opened the dusty boxes that contained my insane LP collection. The experience has nothing to do with steaming music, it is far more complete.
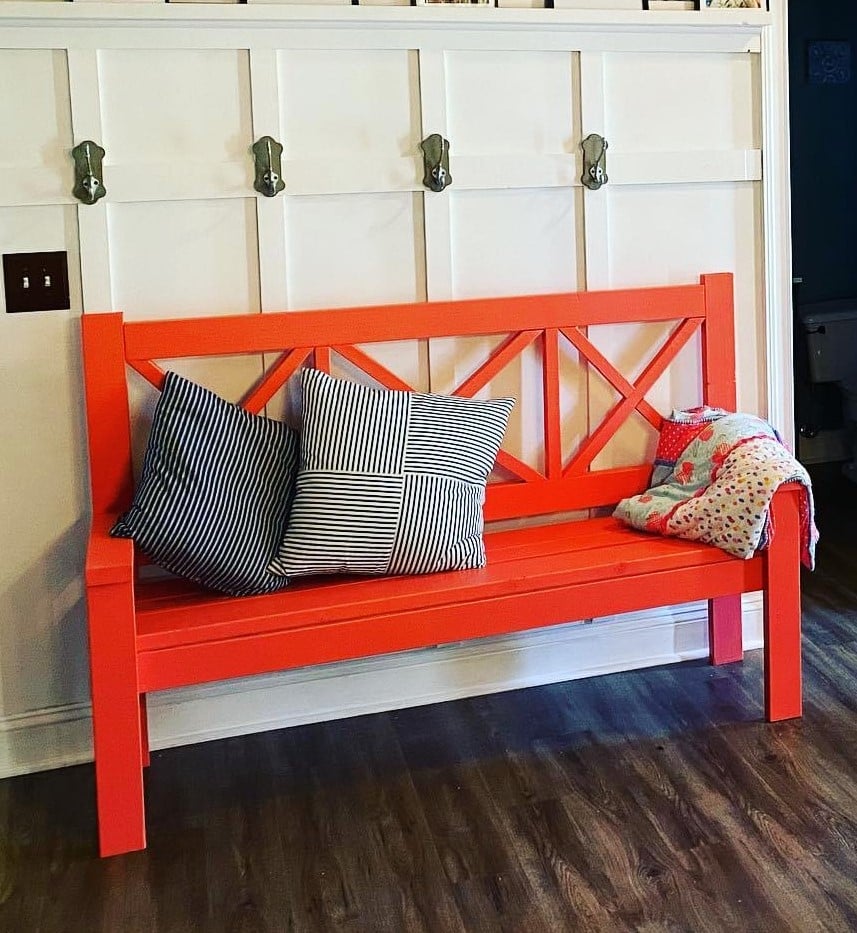
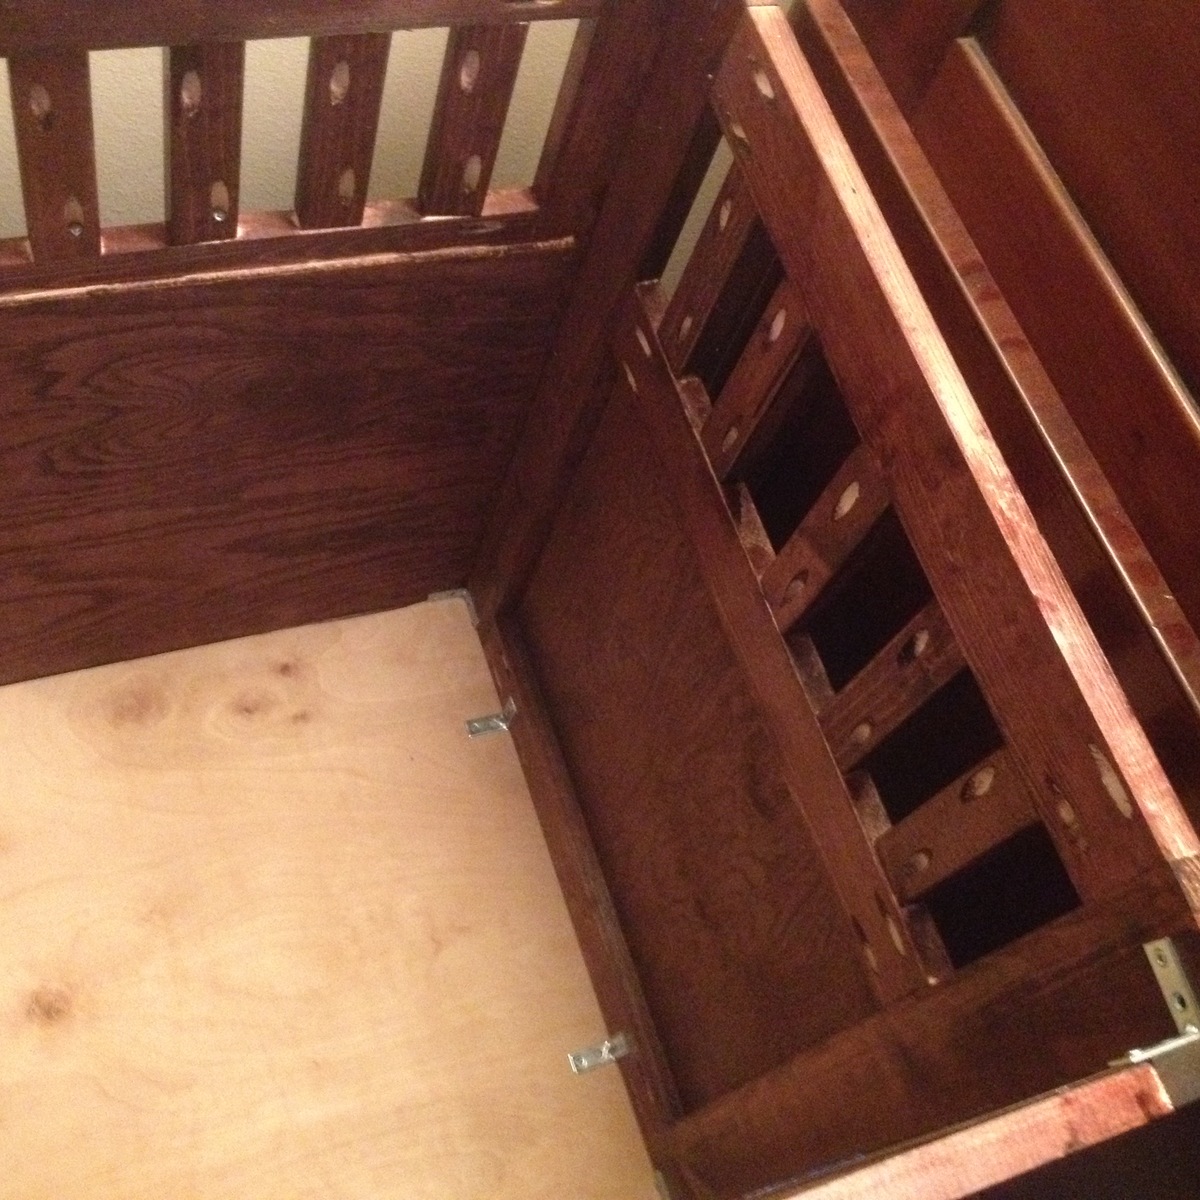
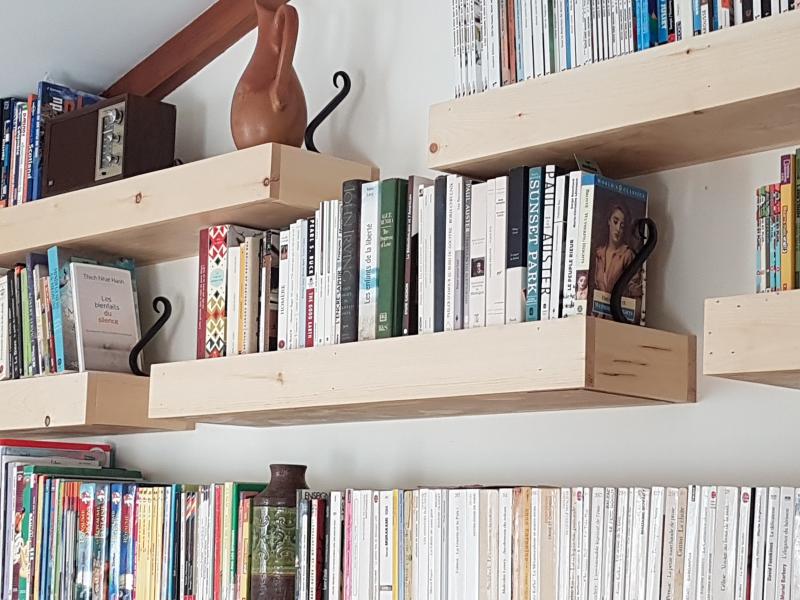
I used plant-lantern brackets to prevent books from falling from the sides of the shelves. All done, this is great.
I would like to change the main picture, but I get strange messages from the site when I do this.
Estimated Cost
This part is hard, as wood cost has never been this expensive. Also, the plant hocks were rather expensive. In fact, I don't want to know the total I've spent on this, but glad I did it myself, otherwise, cost would have doubled, if not more.
Estimated Time Investment
Week Long Project (20 Hours or More)
Finish Used
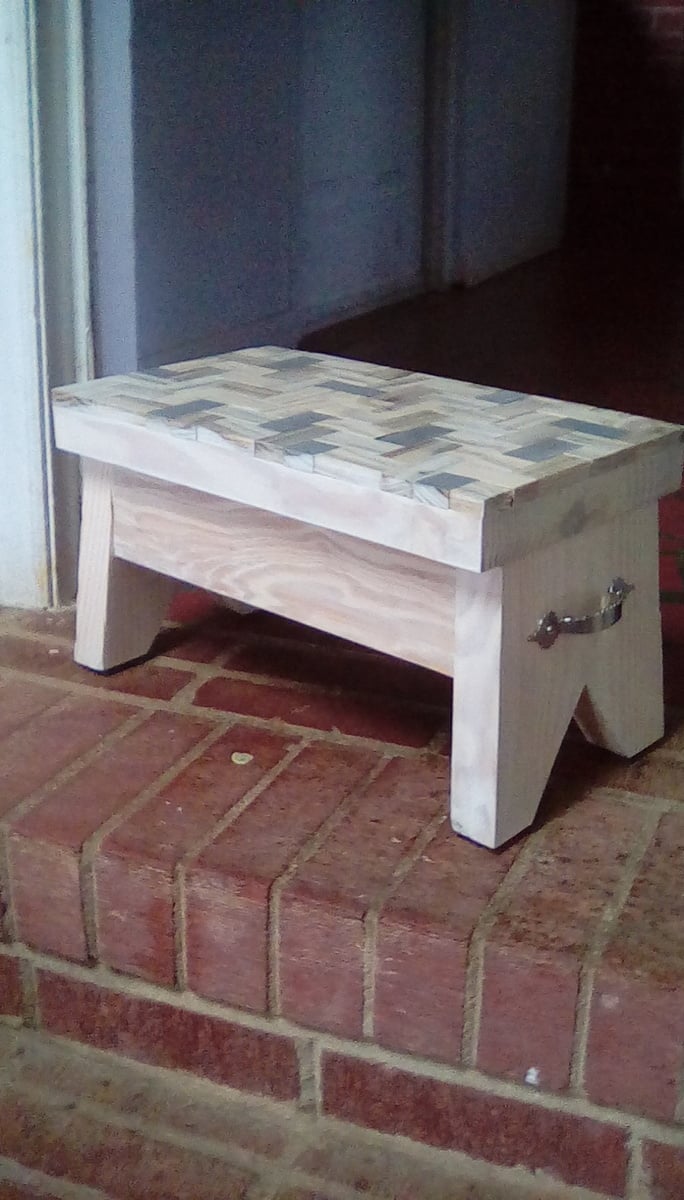
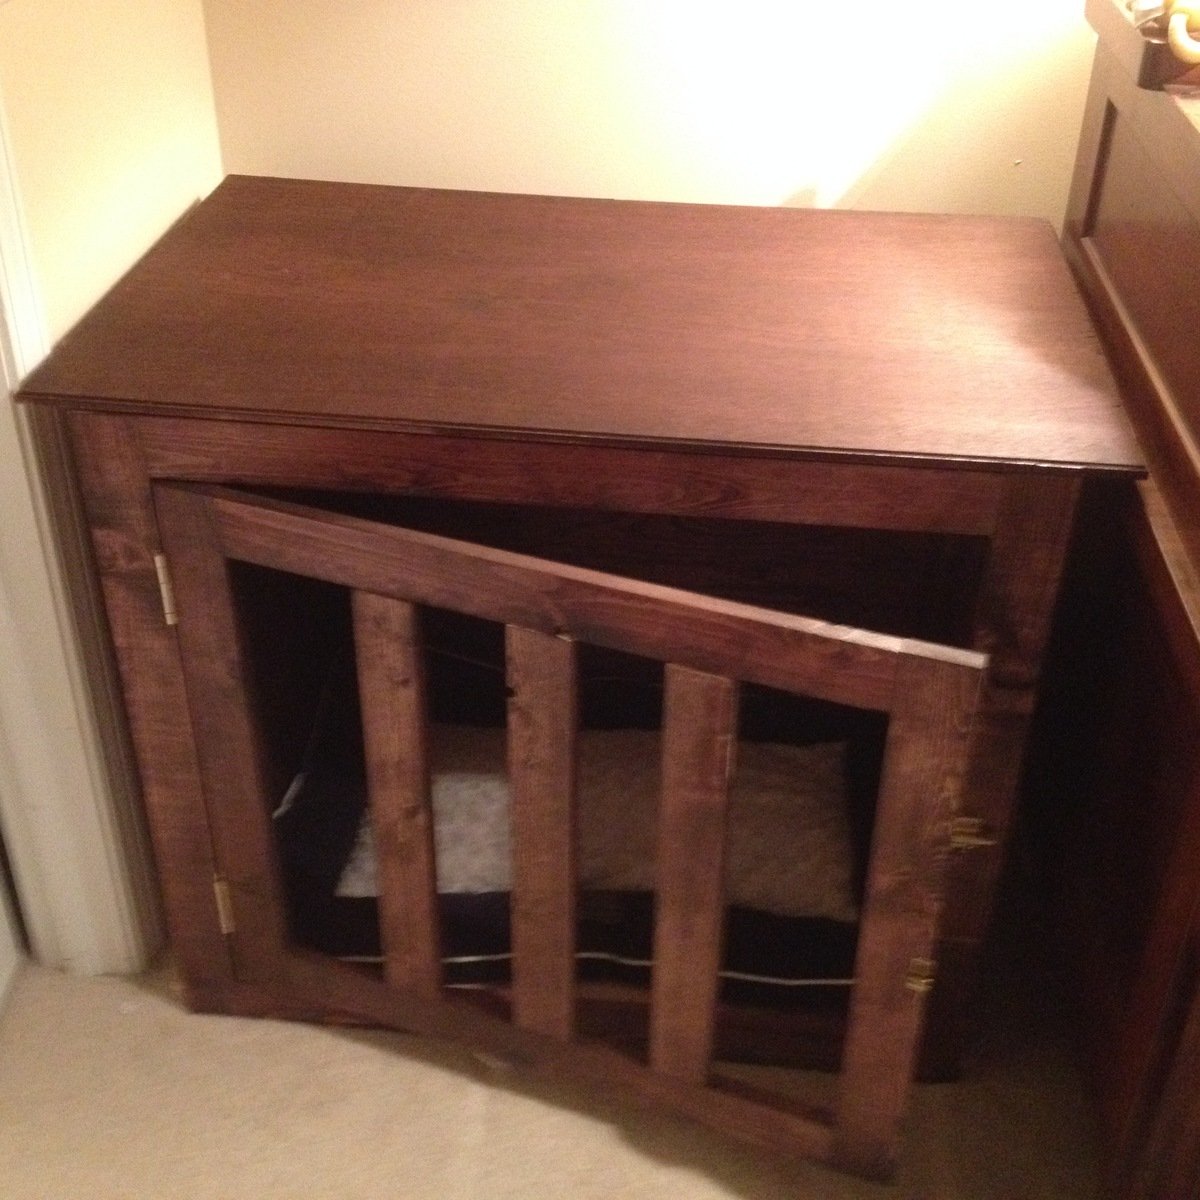
Hard wood floor stain (2 coats on the sides, 3 on the main surfaces).
Recommended Skill Level
Beginner