Raised planter
![](/sites/default/files/20170521_140648.jpg)
Had a great time building this!!! Thanks for the plans!
![](/sites/default/files/raised.jpg)
Had a great time building this!!! Thanks for the plans!
I loved this project!!! And am so happy with how it turned out!! I have 4 kids and this has so much space for everyone!
We paired the double trustle table with the farm table benches ( which I adjusted the length and height of the legs to make it kids size.)
The table top instead of a solid top we used 2 1x12 boards. And for the beaches we used 1x10 board for the seat.
Thank you for the amazing plans!
This was a simple yet very time consuming building. Lots of pieces and lots of sanding. I am really pleased with how it turned out. I stained the edges of all the 1 x 4's prior to assembly just to make things easier. I also increased the sides of the chair from 24" to 26" and set the seat height to 18" to match the bench.
I may have spoiled my Grand-daughter a bit too much and her room was really full of stuff. I decided that I should just go ahead and spoil her a little more by building her a new bed for her birthday. I used the Camp Loft Bed plan but did modify it to fit her full size mattress and raised the height just a bit to make sure that her doll house would fit underneath. I am so happy with how it turned out! I love that I can fit her toy bins underneath the stairs where they are out of the way and how much more room she has to actually play. I used some really fat yarn and crocheted the little stair runners so it is nice and soft on her feet going up and down the stairs. This project did take longer then some of the others that I have done but I do also work a full time job. I had the bed actually built and put together in a weekend but then took it all apart for staining and finishing which took a long time. There were a lot of pieces to stain with multiple sides and coats to get the coverage I wanted so it would match her other furniture. I also did 3 coats of topcoat on each piece. Looking back if I had to do this over again I would have used 4x4's for the legs/bed posts. She is only 6 right now but as she gets older I will probably switch those so that it is a little more sturdy as she gets bigger.
Great Plans. I extended the back with an extra 1x10 and it works great being that I'm 6' 4". Also used a router to round the arms, front seat board, and the top back board. Just need to stain and waterproof for the patio. I'm new to woodworking (besides home trim work). Your plans are great as is or for just getting started. I'm trying this out as a hobby for retirement (sometime in the next 5 years). Buying the equipment now as needed. Thanks so much for the plans and videos.
This great plan!! Thx Ana!
This locker cabinet was my first build and I learned a ton. For example:
1. Use the Kreg face clamps while drilling into the Kreg Jr.
2. Buy straight wood.
3. Buy wood that is not warped.
4. Do not try to buy wood with grouchy kids in tow.
Are you seeing a theme? Yep, your project will only be as square and perfect as the wood you buy.
I modified the locker plan to include apothecary-style drawers for our cell phones, sunglasses and chapstick. I also drilled through the back of one of the drawers to turn it into a charging station for our cell phones.
The locker has been super useful so far and is such a great way to keep my kids' backpacks and lunchboxes organized. The baskets are designated for my purse, stuff I need to return to stores, the dog's leashes, and library books. It's so nice to have all this stuff near the front door and never wonder where any of it is!
1/2" oak ply, cedar fence post, 1/4 inch oak ply
First brag! I had a little time to play in the garage and decided to join the scrap wood bandwagon. The wife loves the bunny box and now the mother-in-law NEEDS one. Back to the garage I go...
Built three Adirondack Chair, got the dimensions from Ana's Adirondack Chair and modify dimensions for the smaller chair for my daughter. Used ceder and pine. Cost about CDN 40 per chair. Specially I would like to thanks Ana giving information about simple but beautiful furniture designs.
Needed a table for food prep with my grill and found your plans! I used treated lumber for the base and nice cedar planks for the top. The treated lumber had a whiter than usual color which made the base really pop out. I put a nice pecan stain on top and a few coats of poly so the BBQ sauce wouldn't stain it! This was so easy, literally took 2-3 hours to build, stain and poly was done over the next few days. Ready for my next ana-white project. Thanks for posting these plans.
Wed, 07/09/2014 - 16:24
I was looking on Pinterest and found this table. It was exactly what I was looking for. You inspired me to go out and buy a miter saw and some wood and make the table. It turned out wonderful. It now has a permanent place on my patio and gets used when I grill mostly. I was hoping to be able to upload a photo but don't see the option to do so. Anyway, I want to say thanks for the great plans/instructions.
Made this Loft bed for a full size mattress in 2019 and it is still strong. I added a stretcher on the bottom of bed across the length of the the bed added strength.
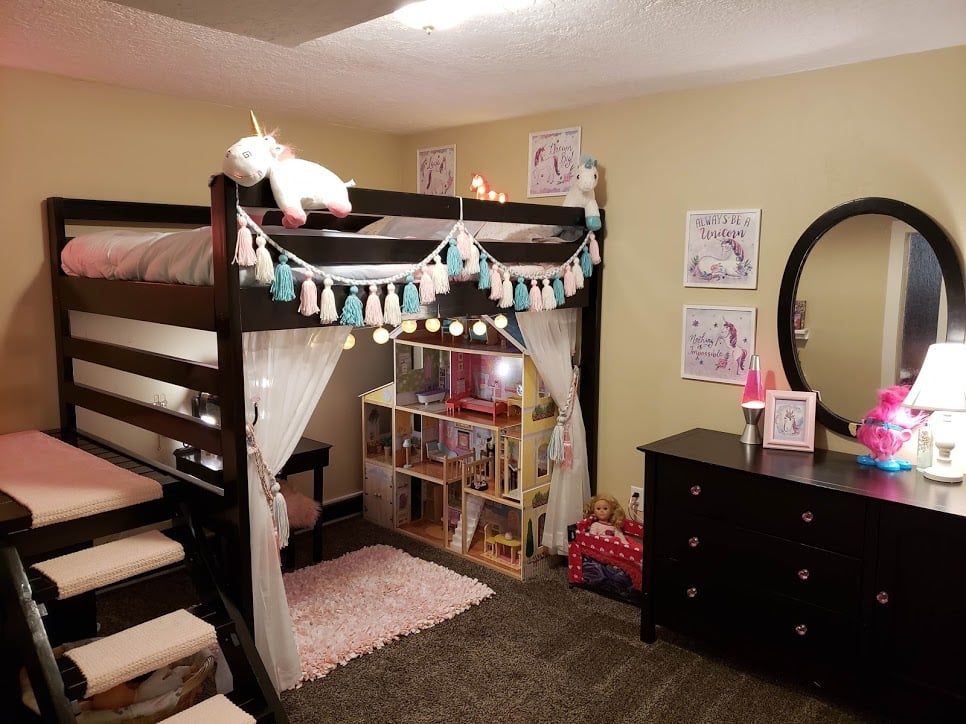
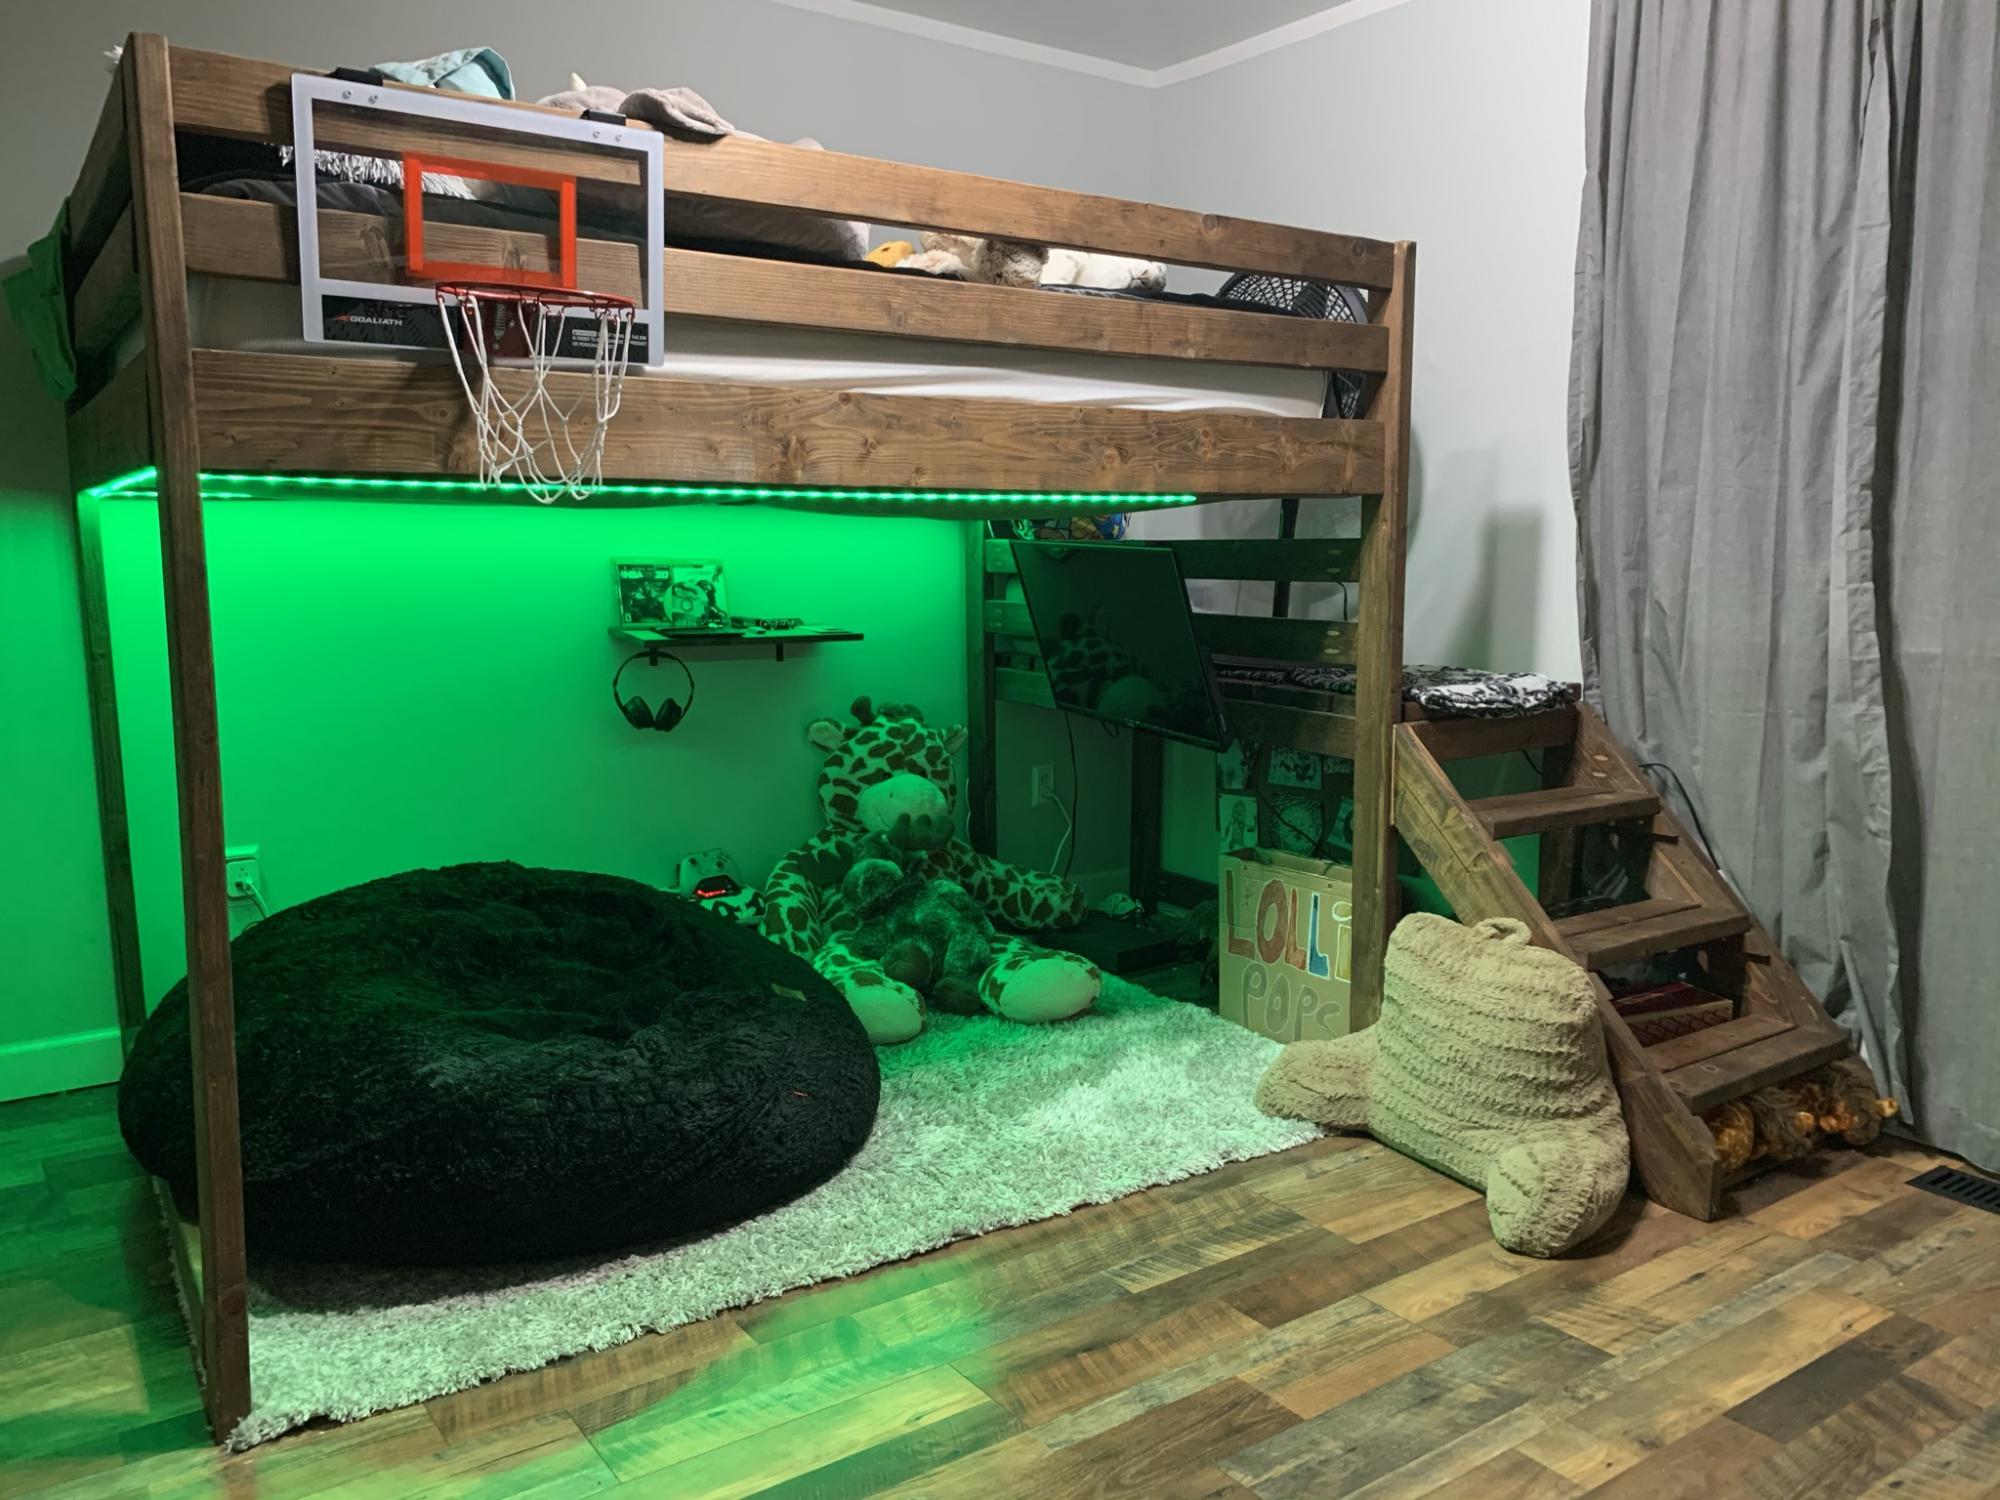
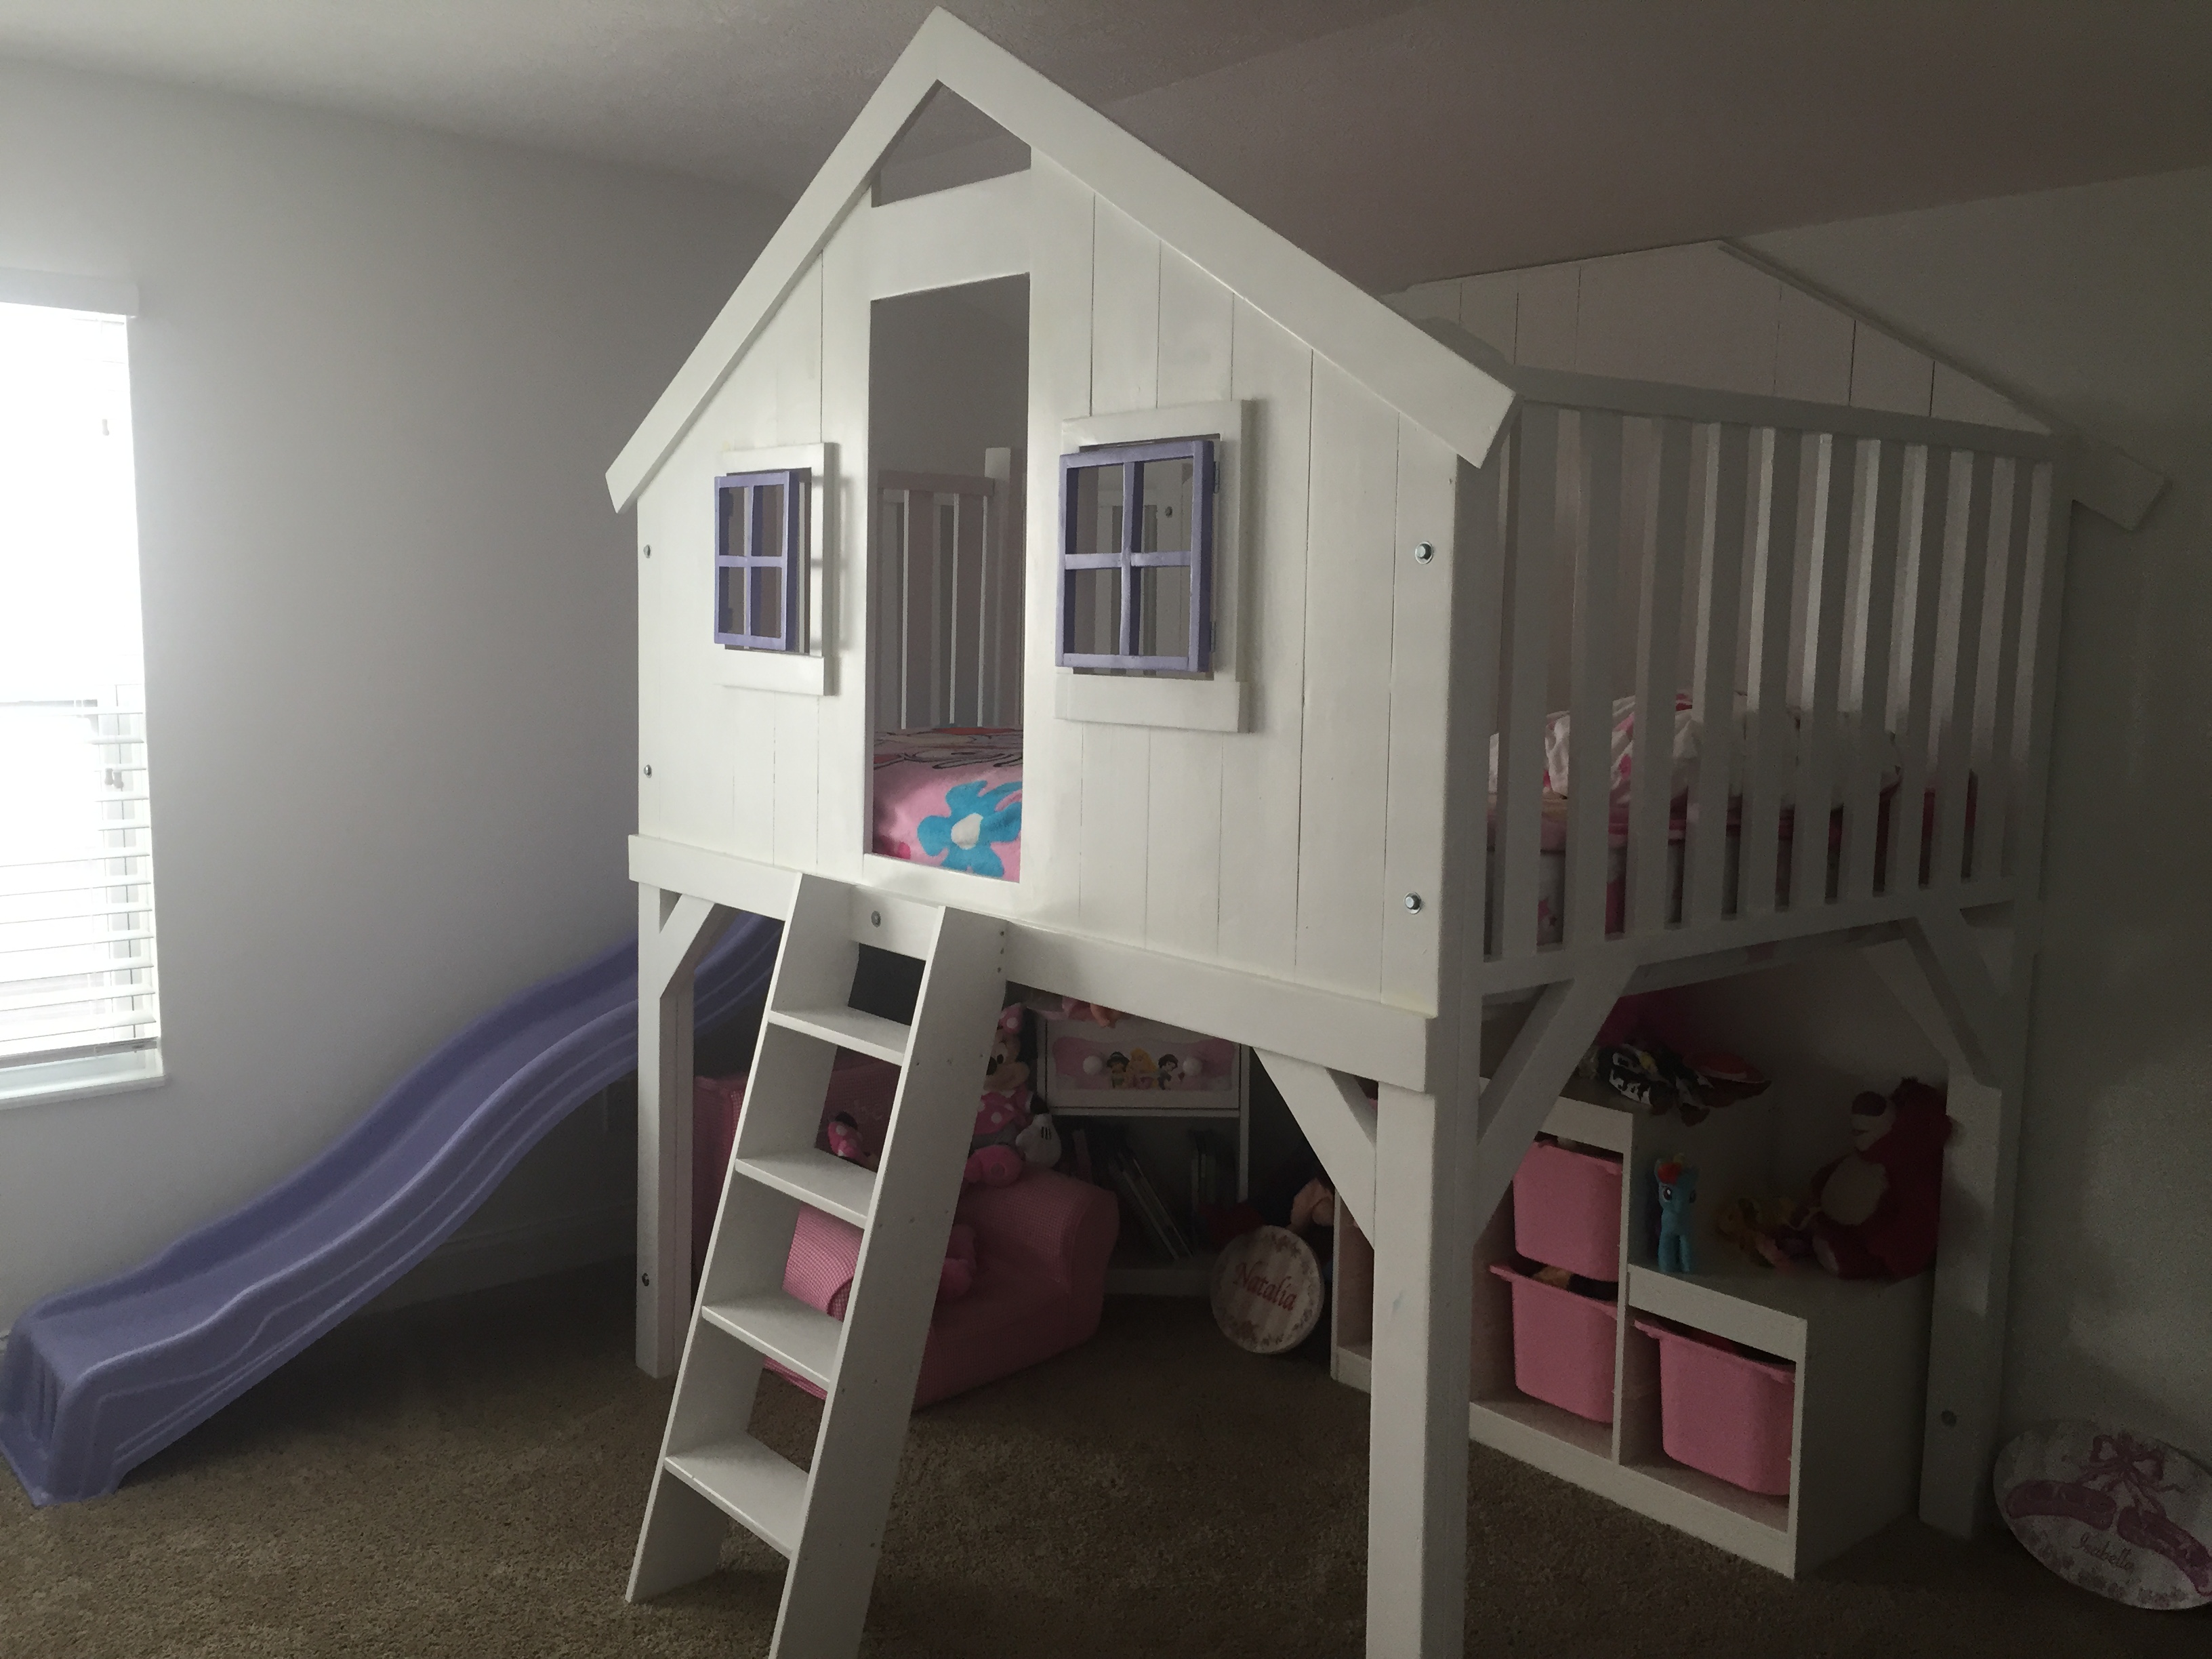
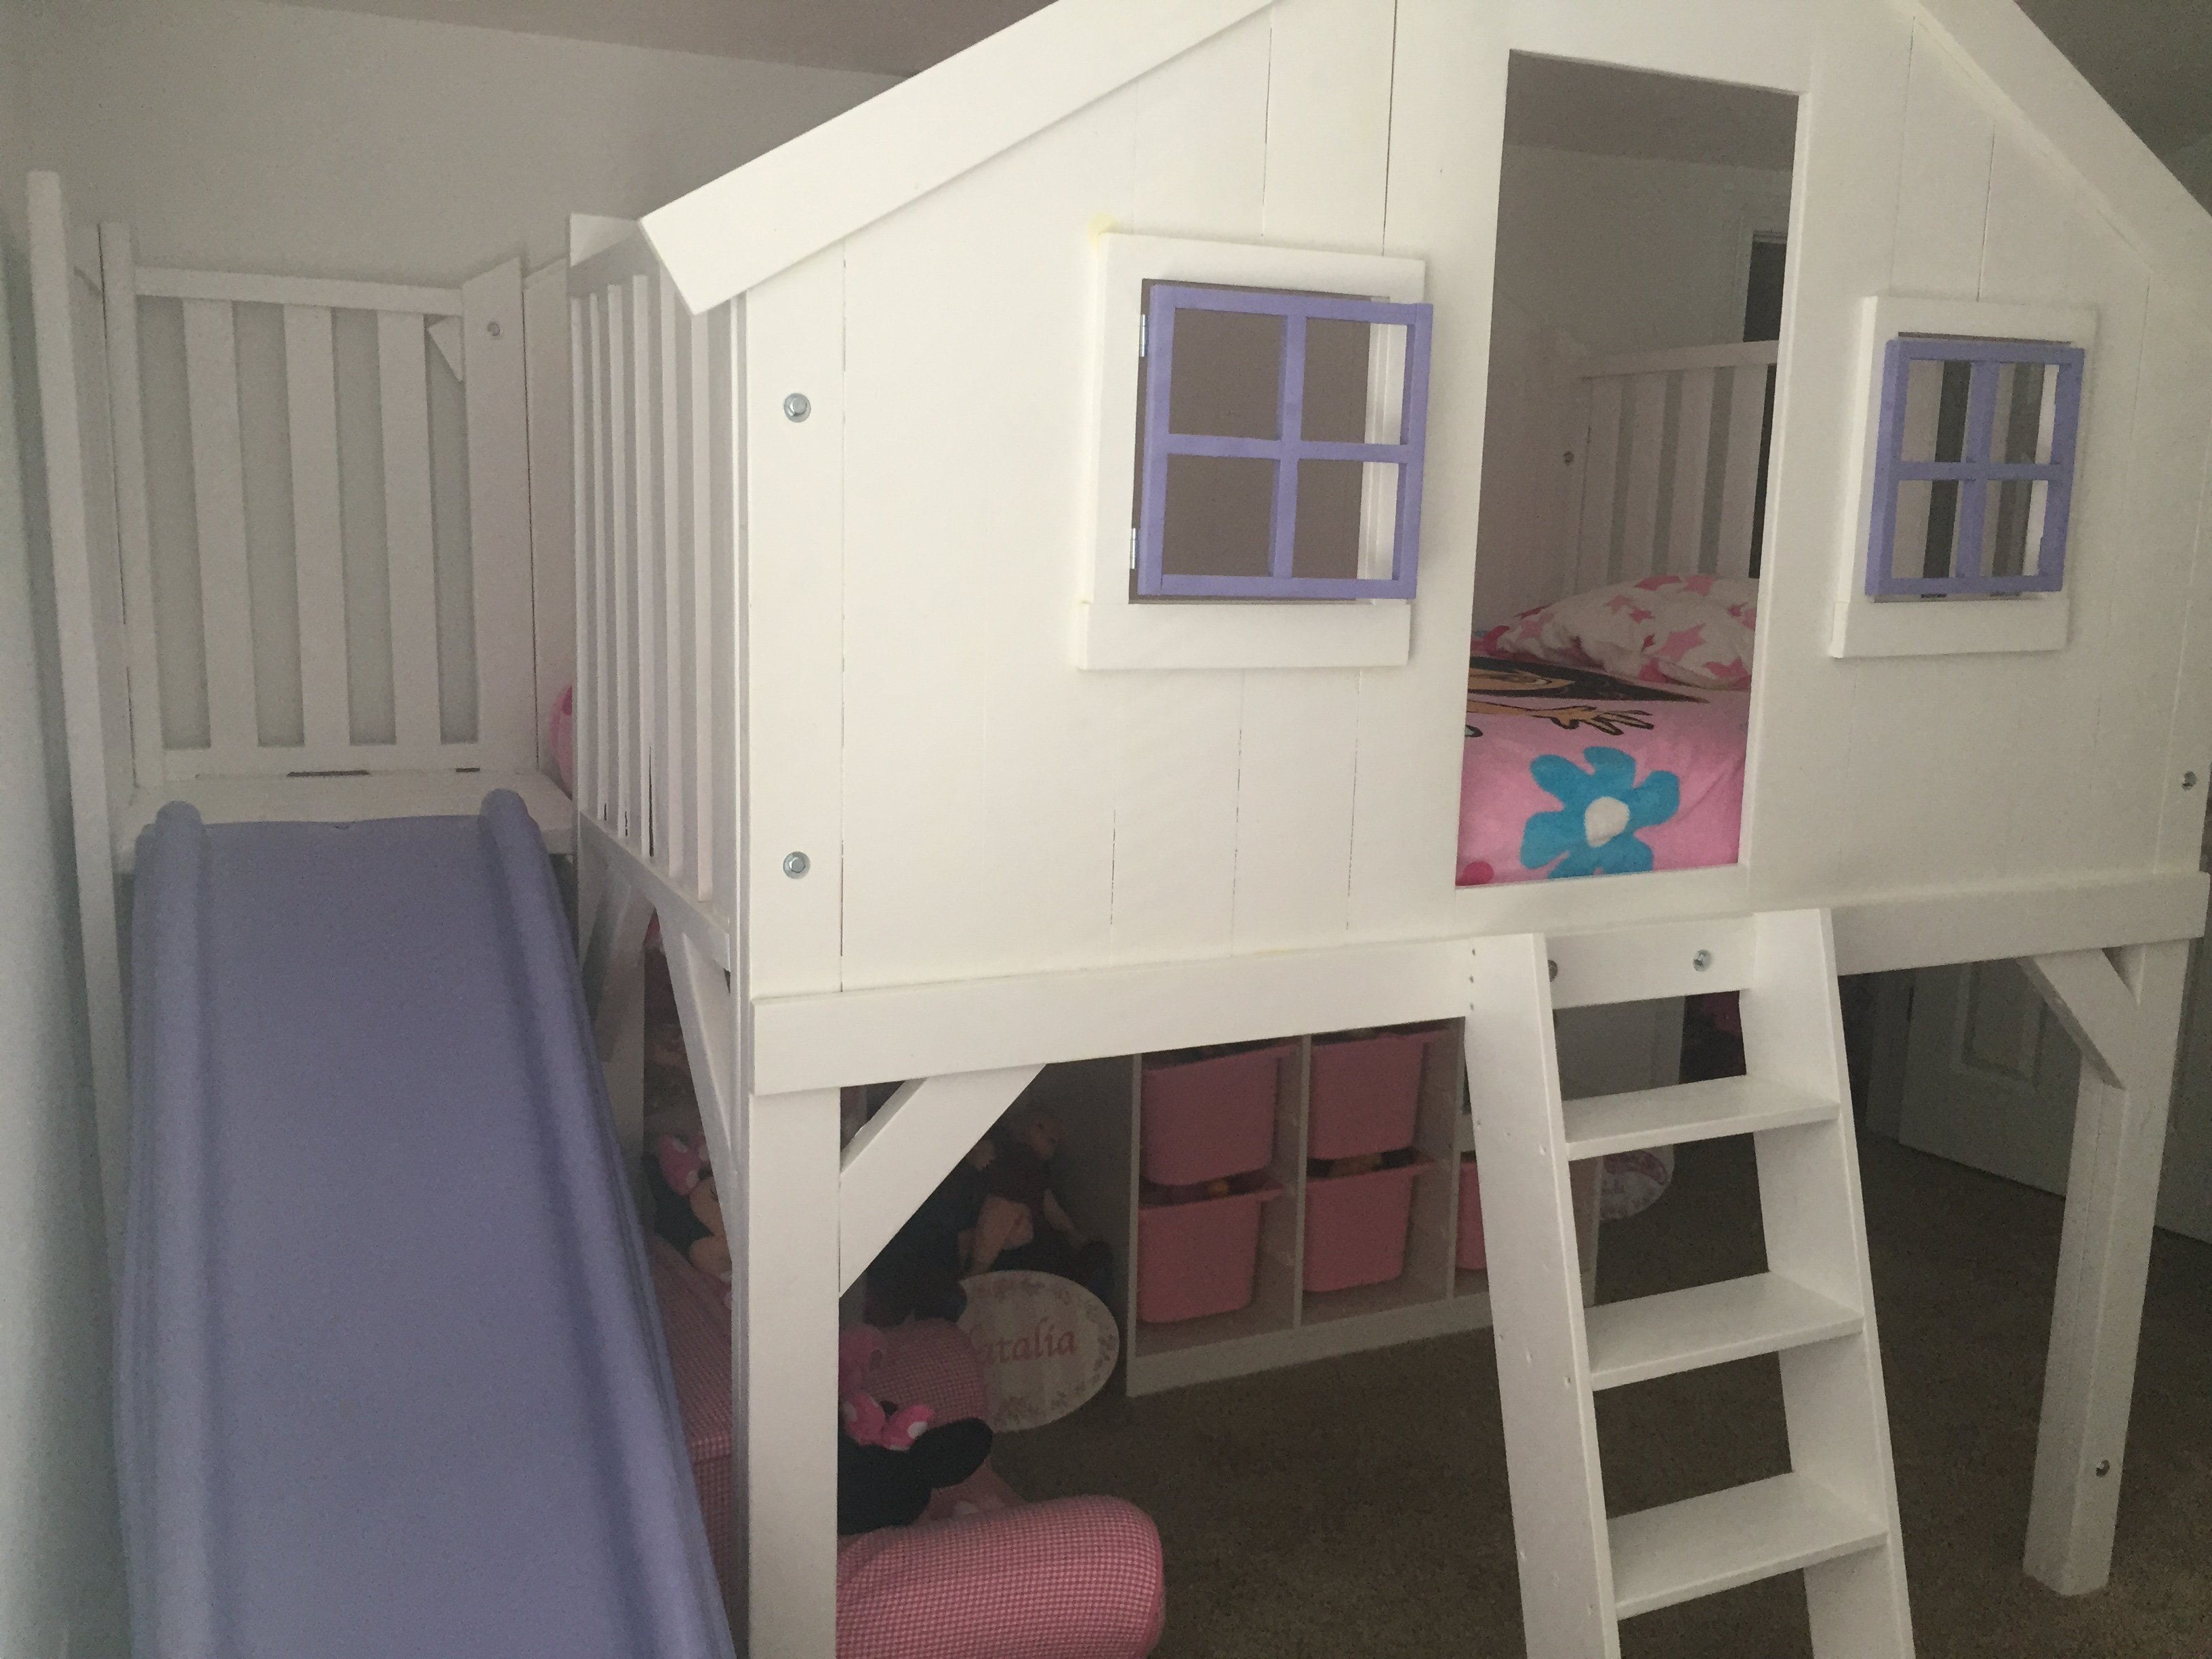
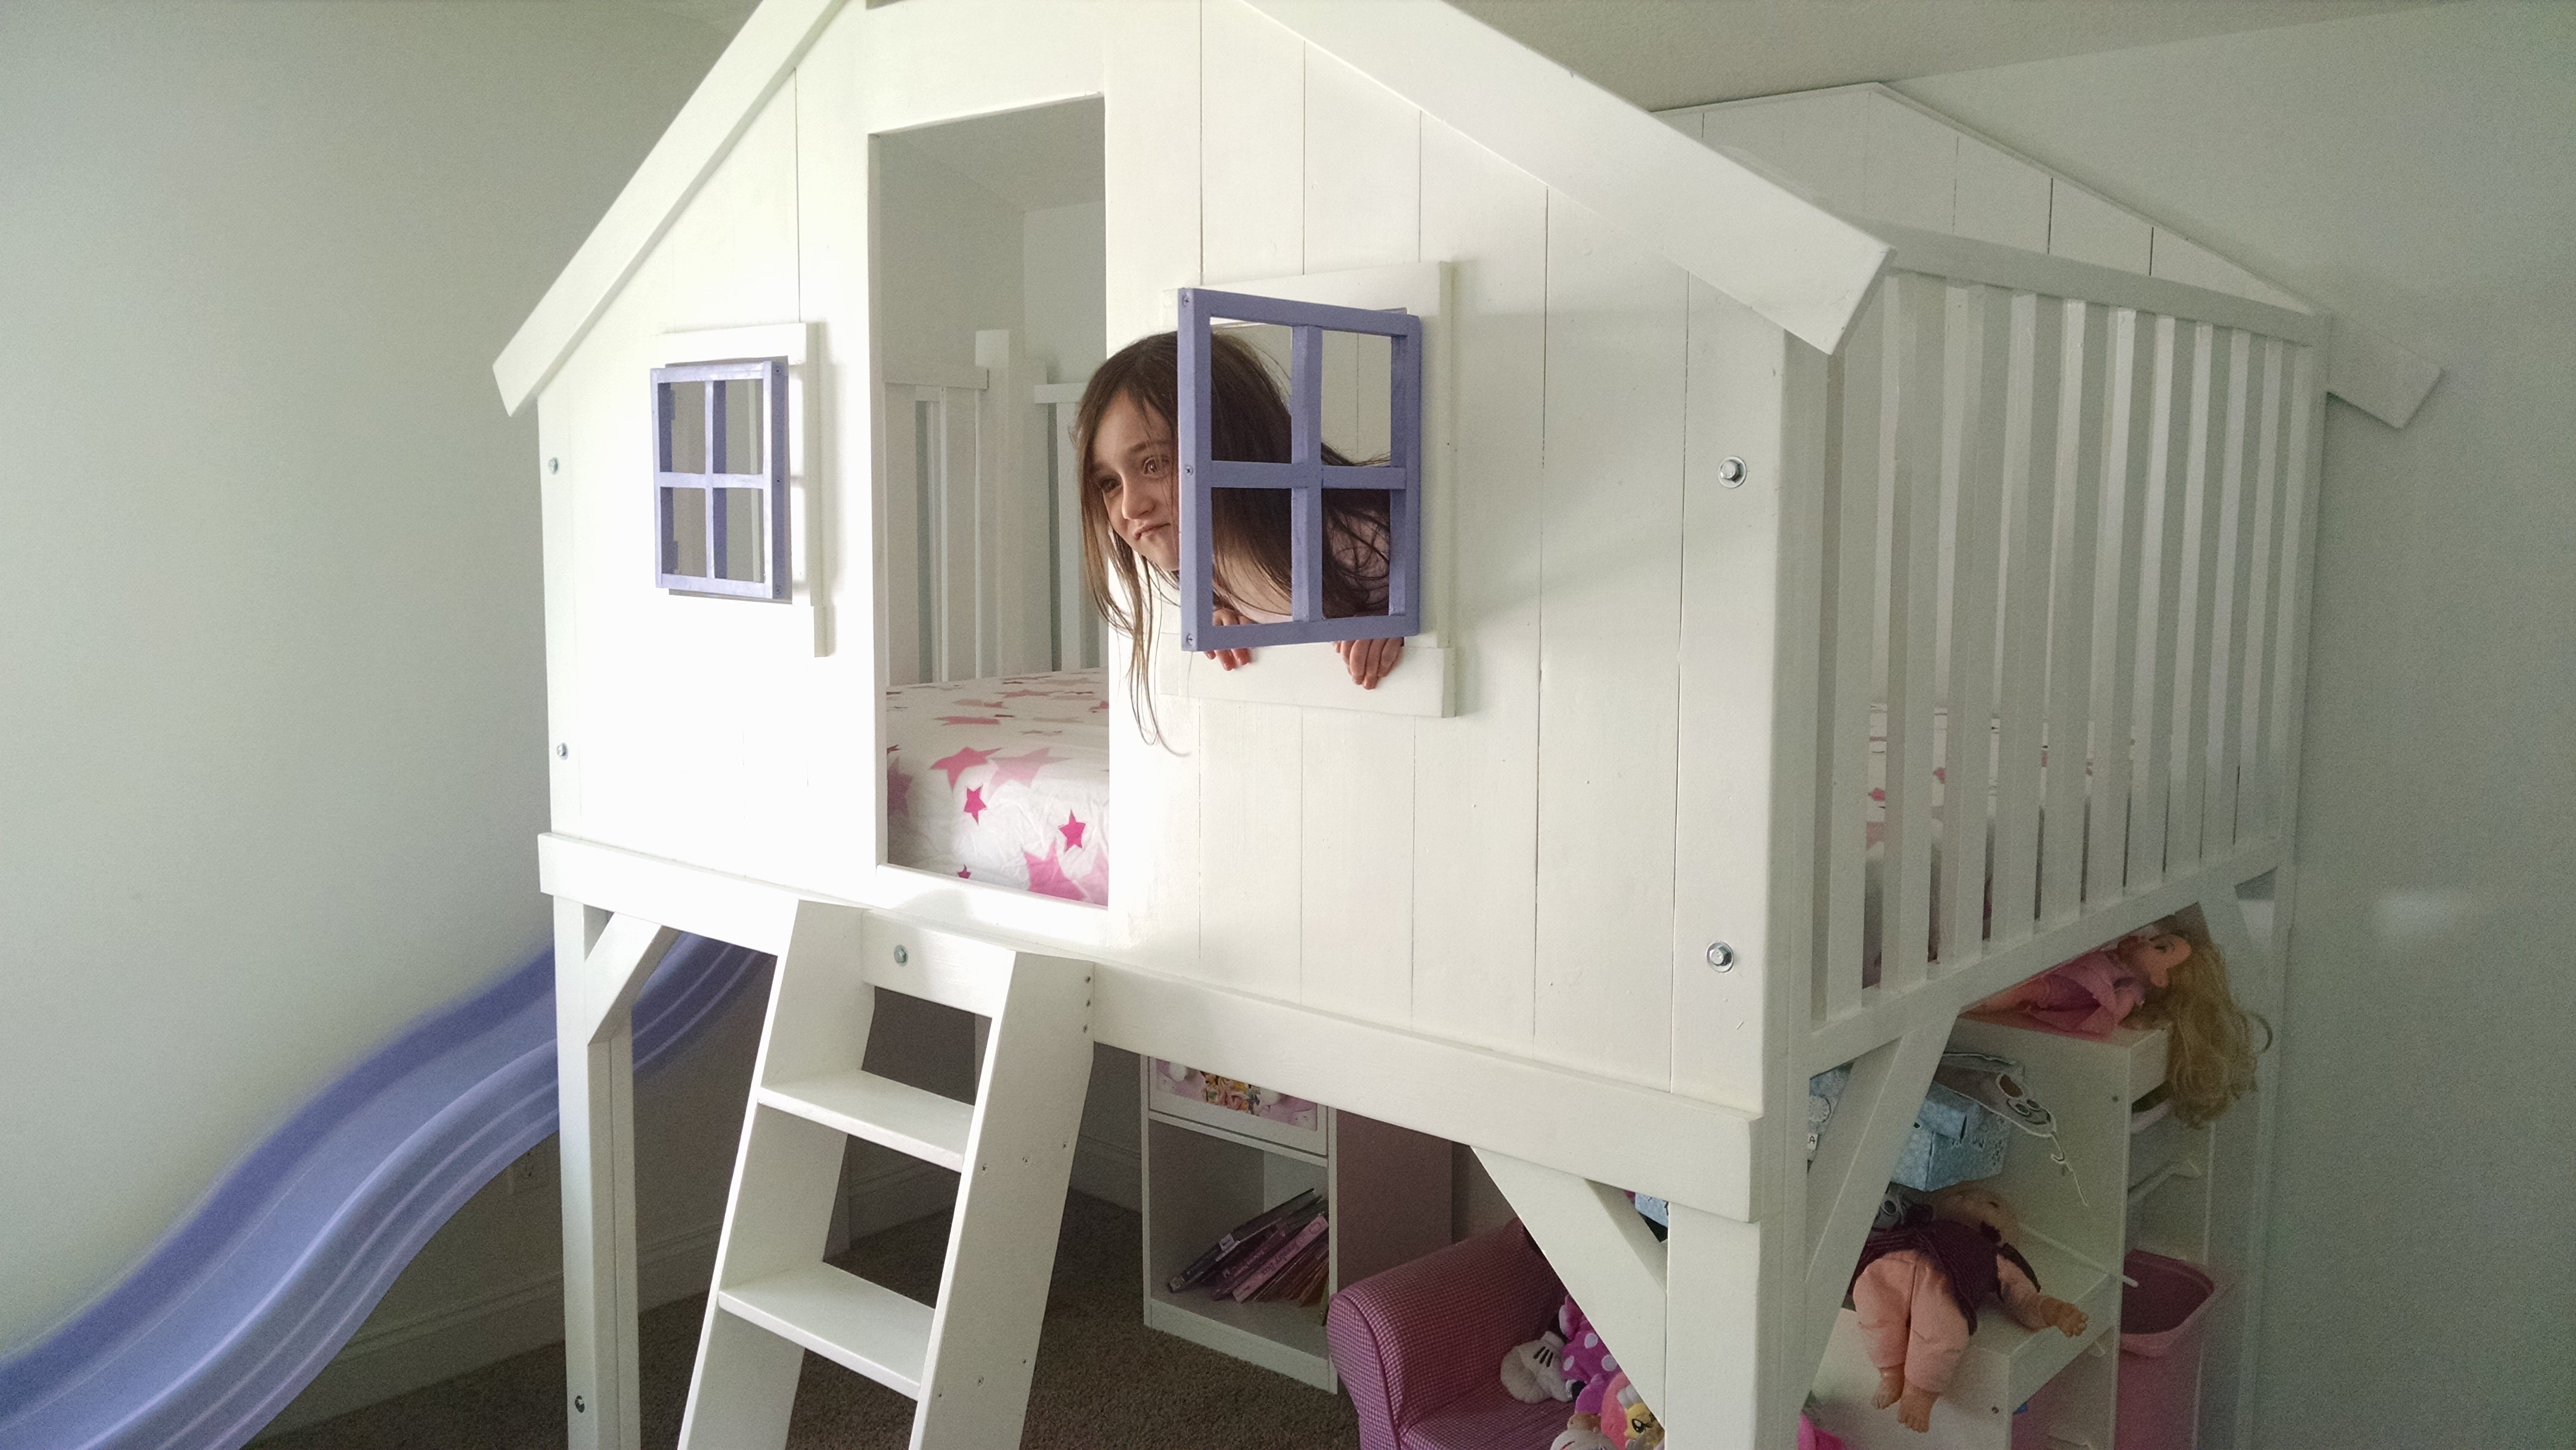
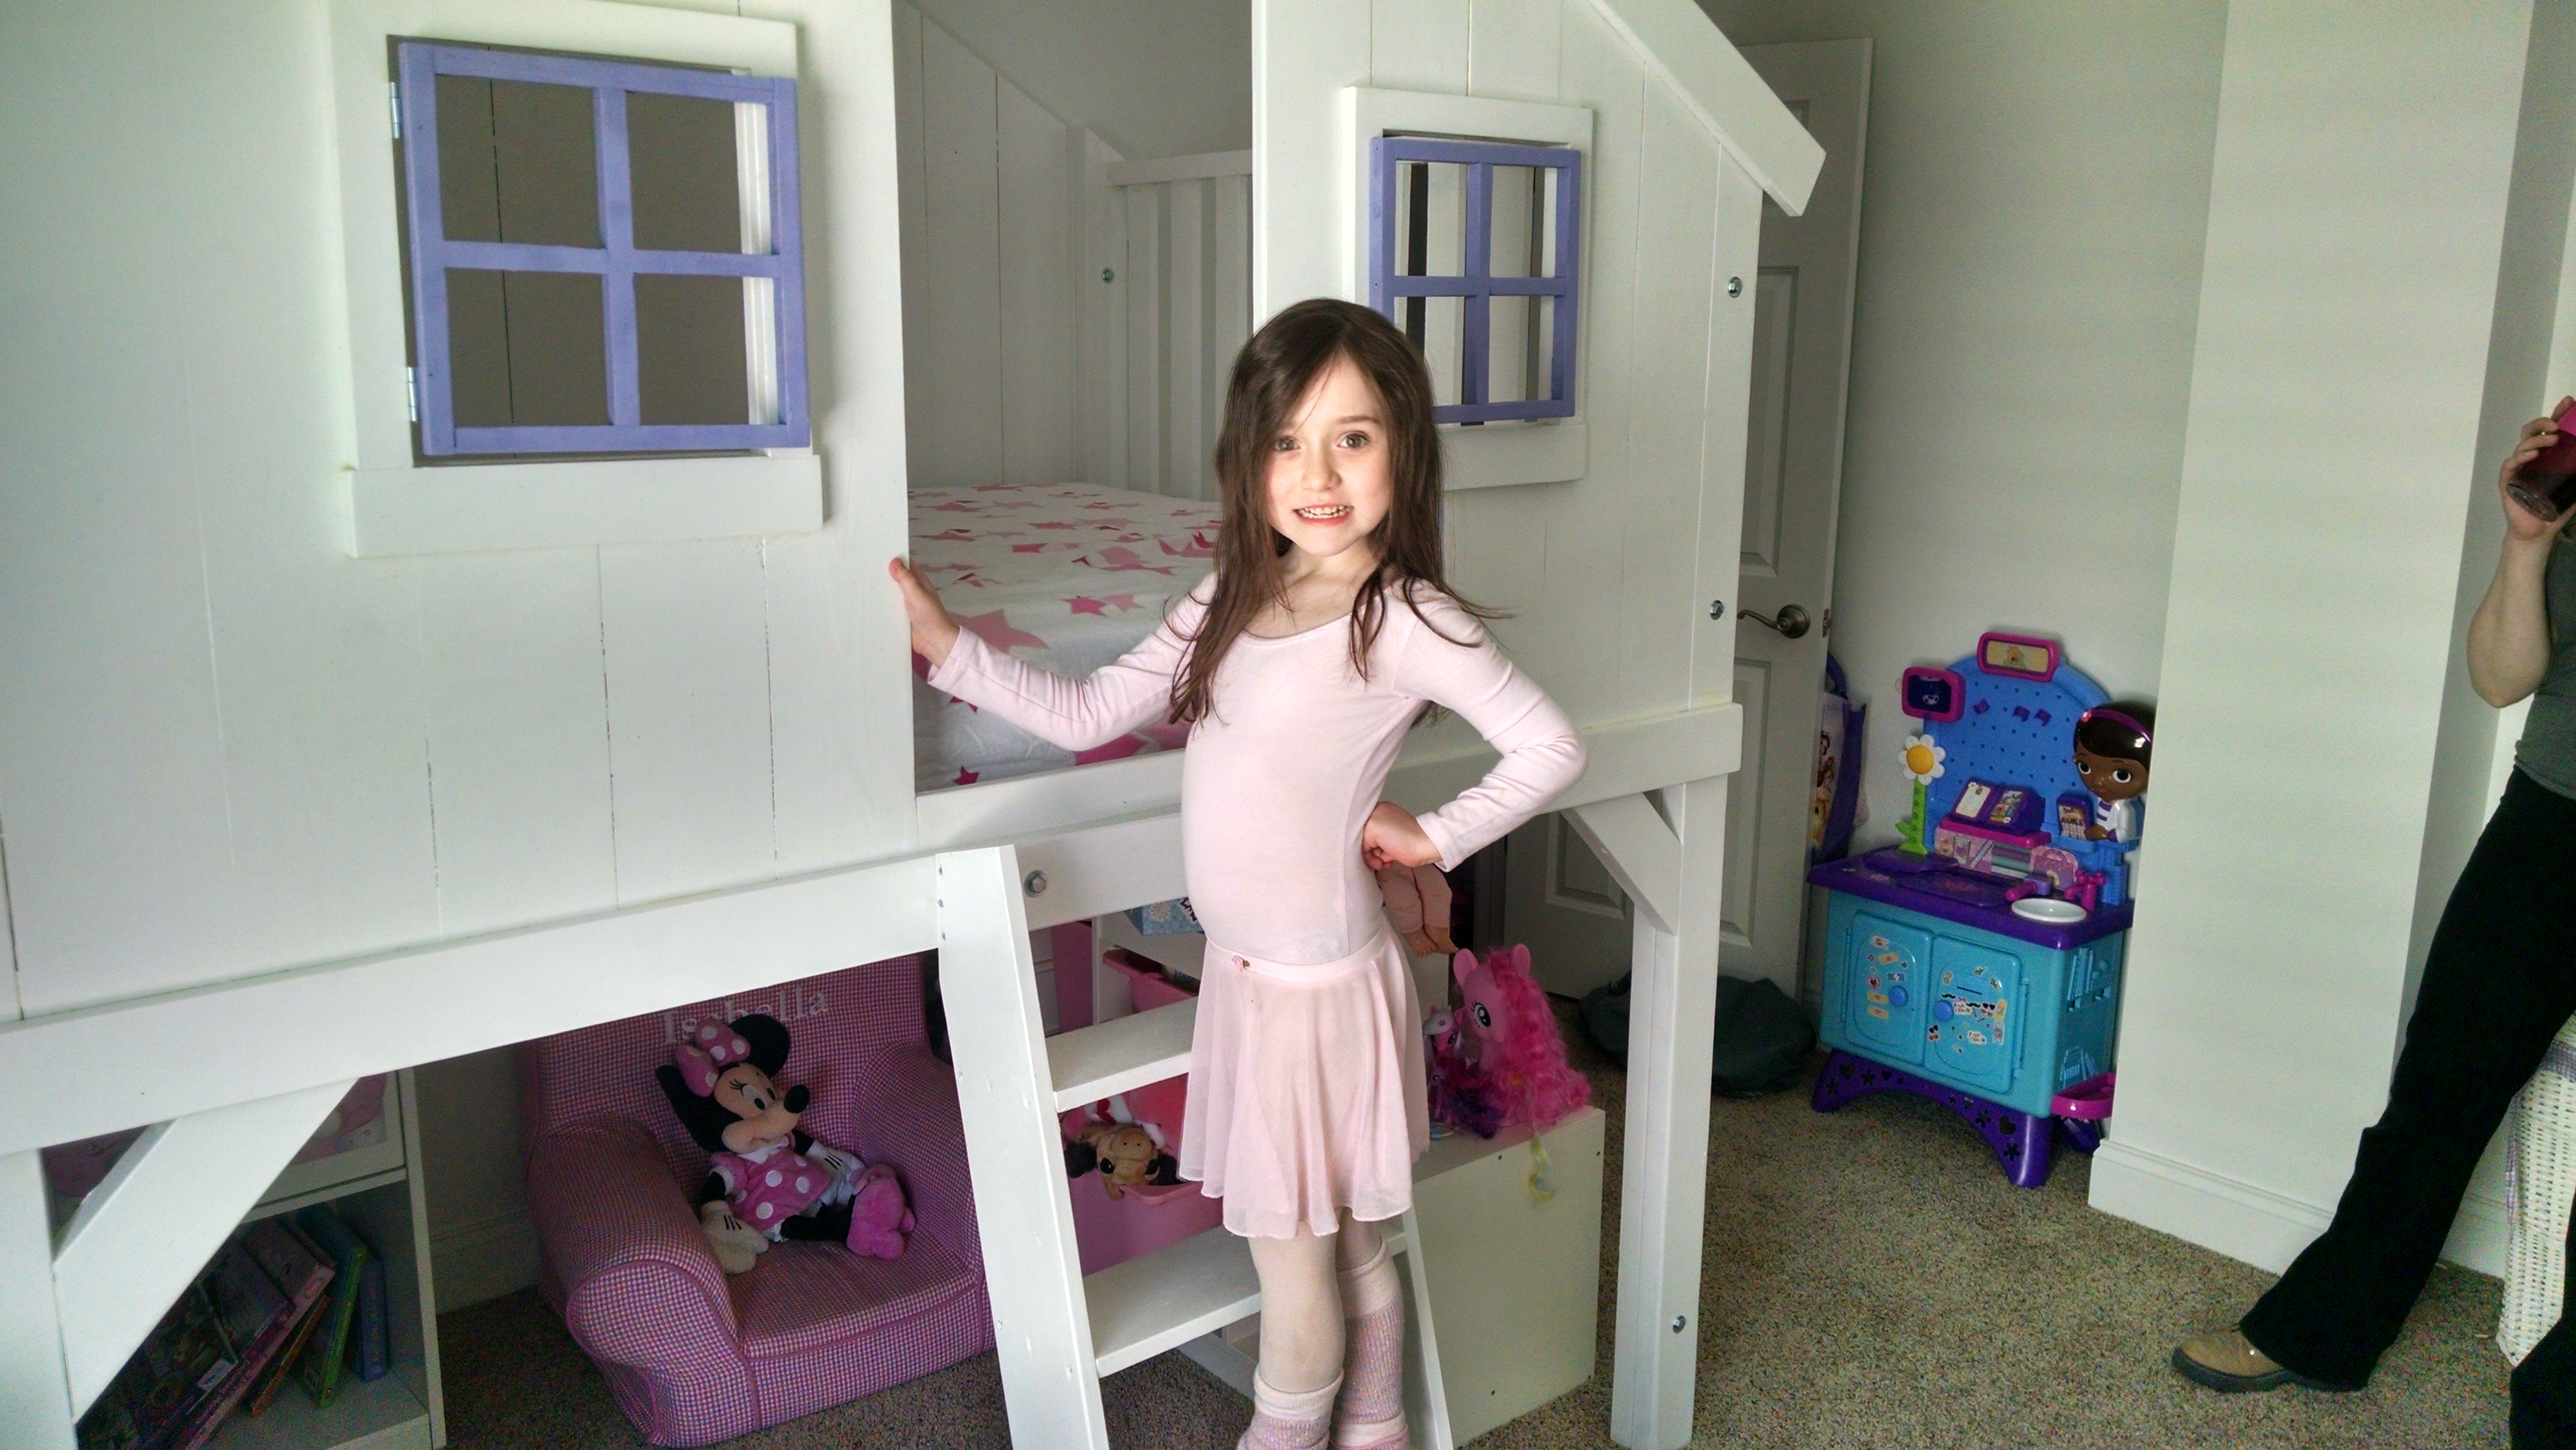
Thank you Ana for the clubhouse bed plans! I added 15" to the width of the rails to accommodate a full size mattress. On the other side I made a slide platform! I chose a standard plastic slide because I couldn't find a way to make a wooden slide at home with the swoop at the bottom to keep the kids from hitting the carpet hard :). We couldn't have a green outdoor-looking slide, am I right? I used Rustoleum spray paint made for plastic in French Lilac color. After the paint I used a top a coat of Minwax 3x polyurethane. I also used the Rustoleum spray paint for the window grids.
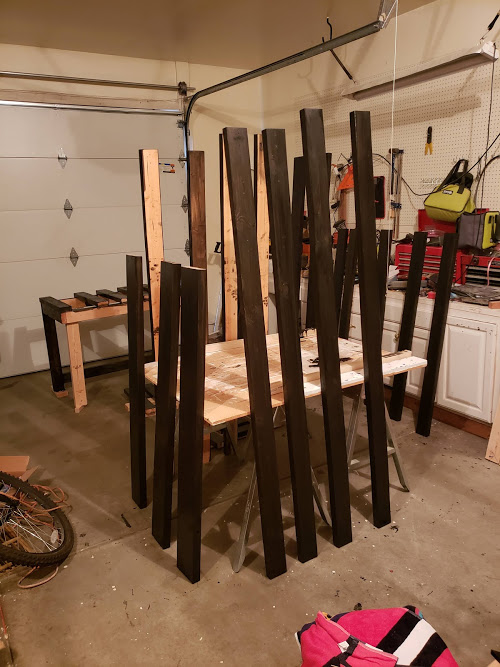
To accommodate the slide specs I needed to raise this bed 5". I just made each leg 5" longer. Also, the ceiling in my daughter's room slopes down so I cut the point off the back of the bed. Totally not noticeable. I needed to do this even if I hadn't raised the bed :)
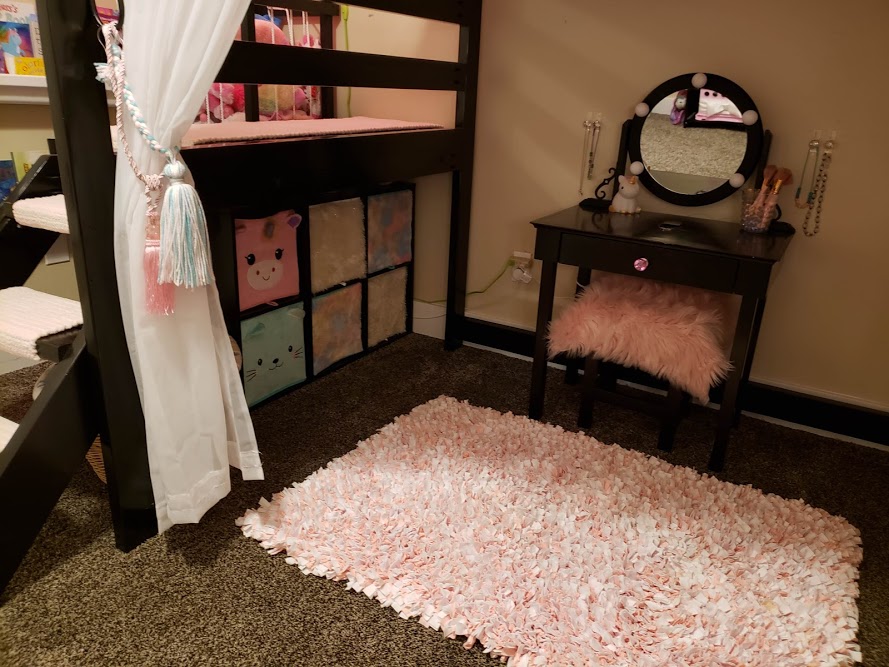
I also added full window frames around the window to make the bed a little more girly! One unexpected result is that the bedroom looks BIGGER with this bed in it. She had a twin size step 2 plastic castle bed before but now there is so much more room to play. Win! Changing the sheets isn't too bad but you need to get in the bed to do it.
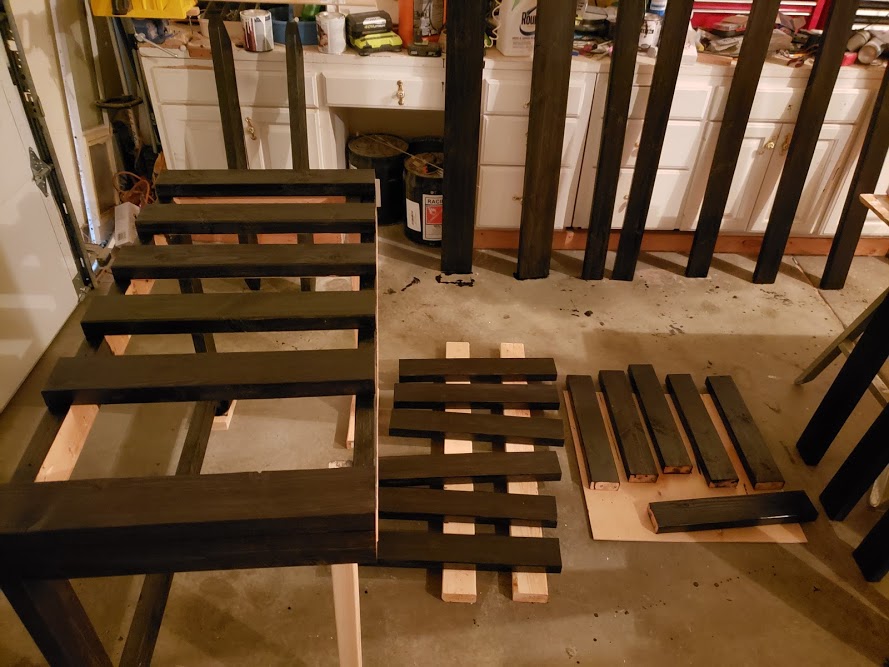
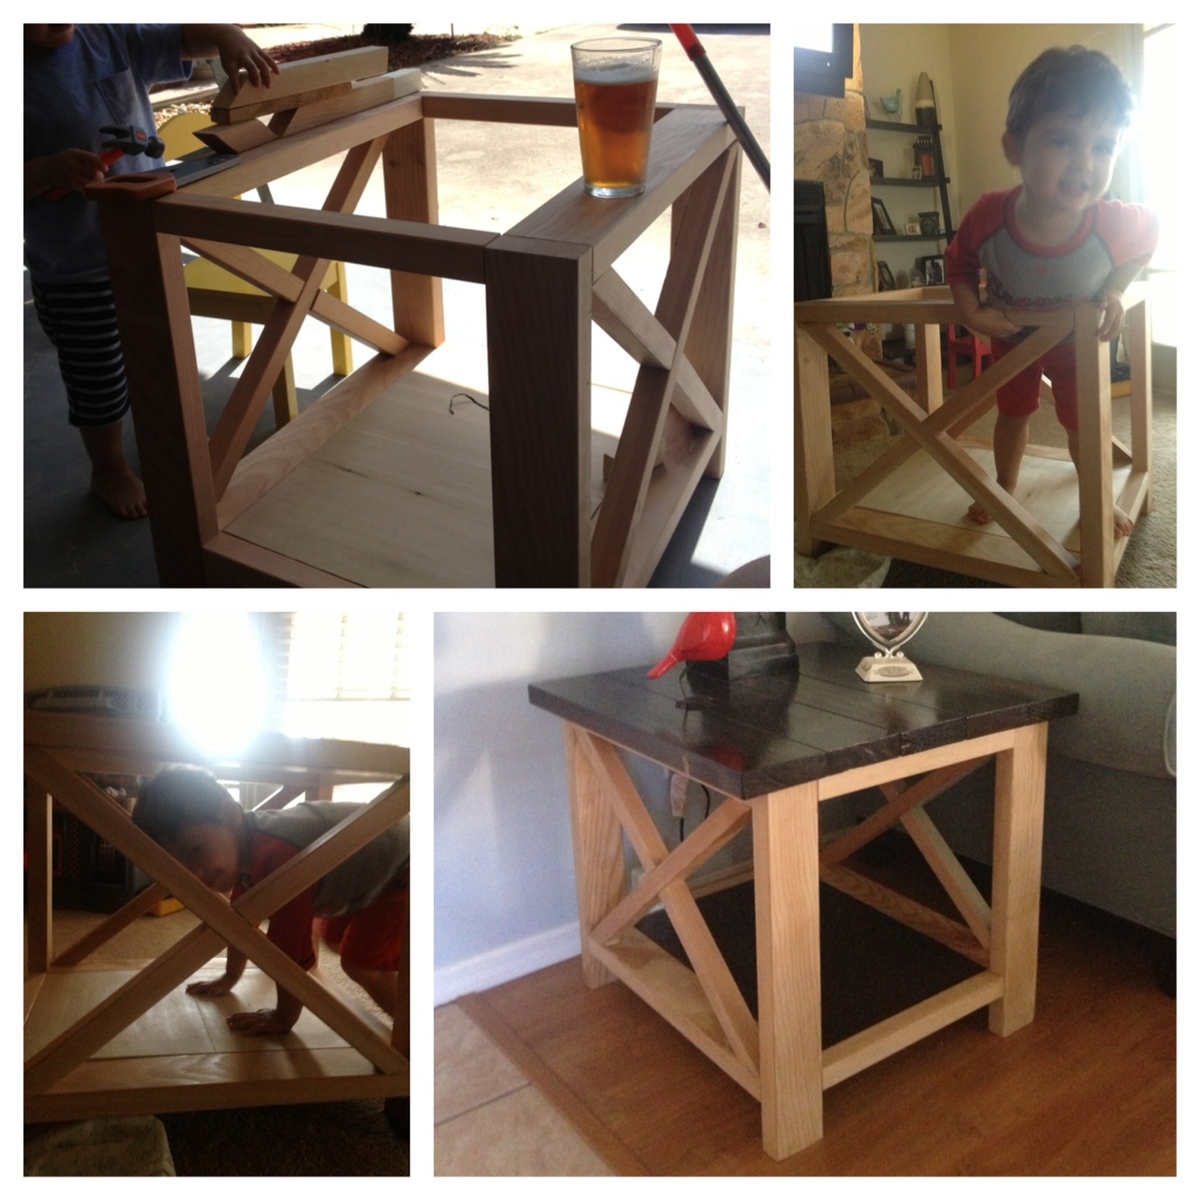
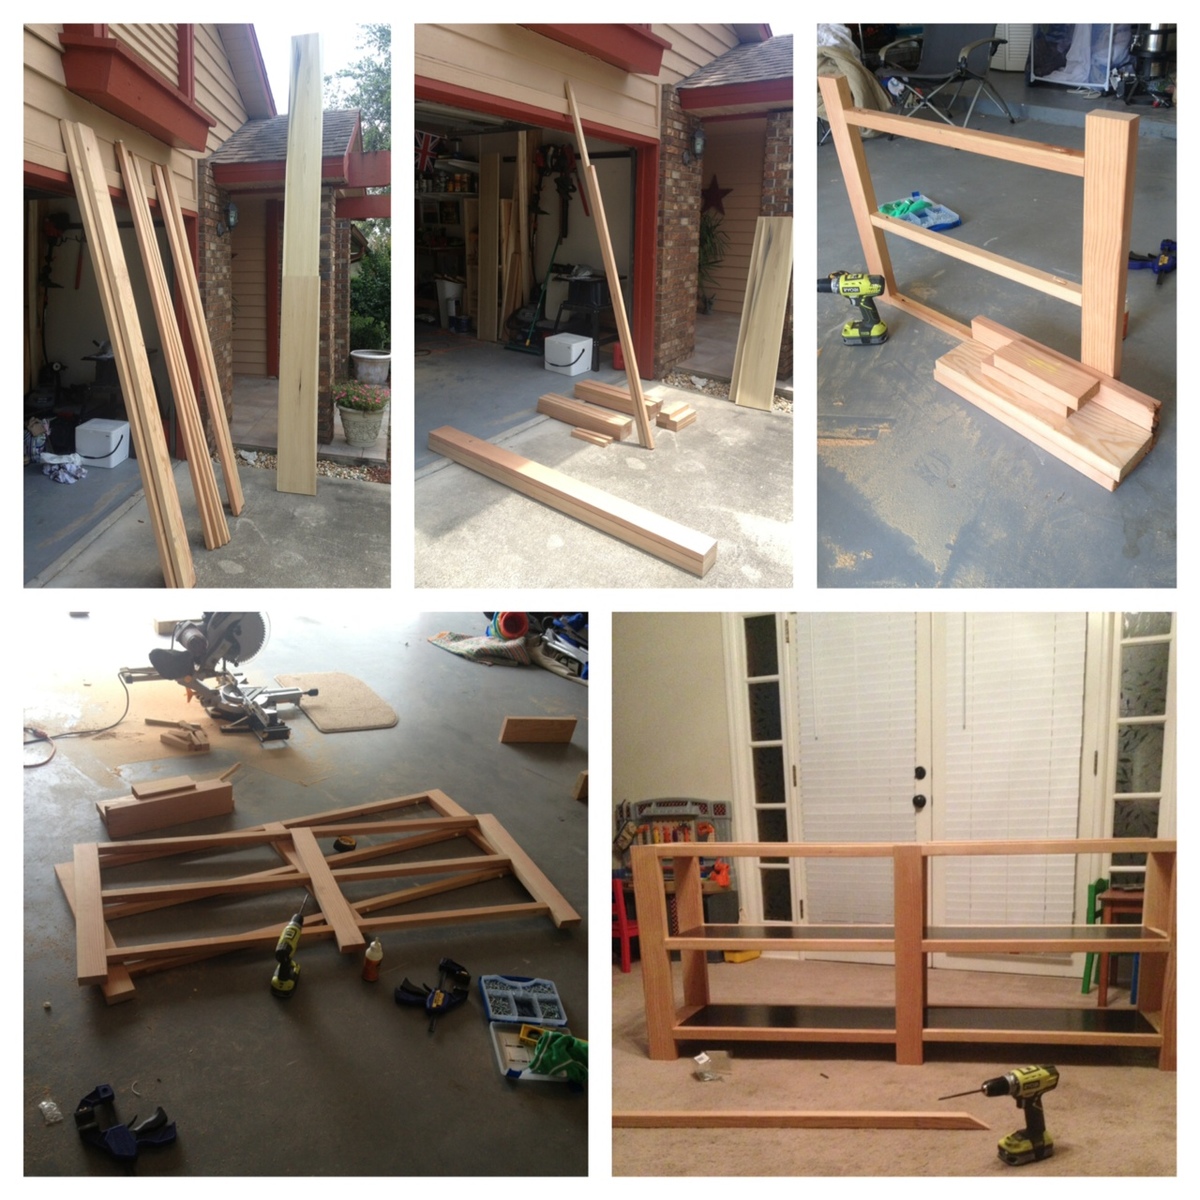
I built this bed by myself. Don't be afraid, you can do this! Once the panels are assembled they get a bit heavy so you have to be sort of creative to drag them across the garage floor :)
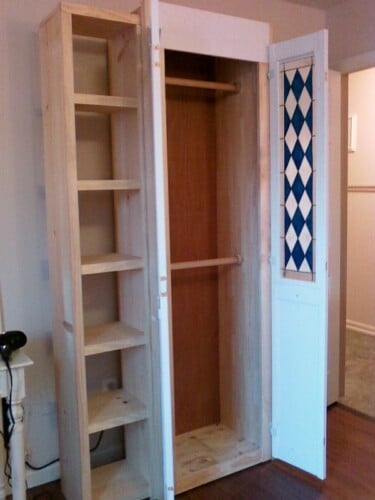
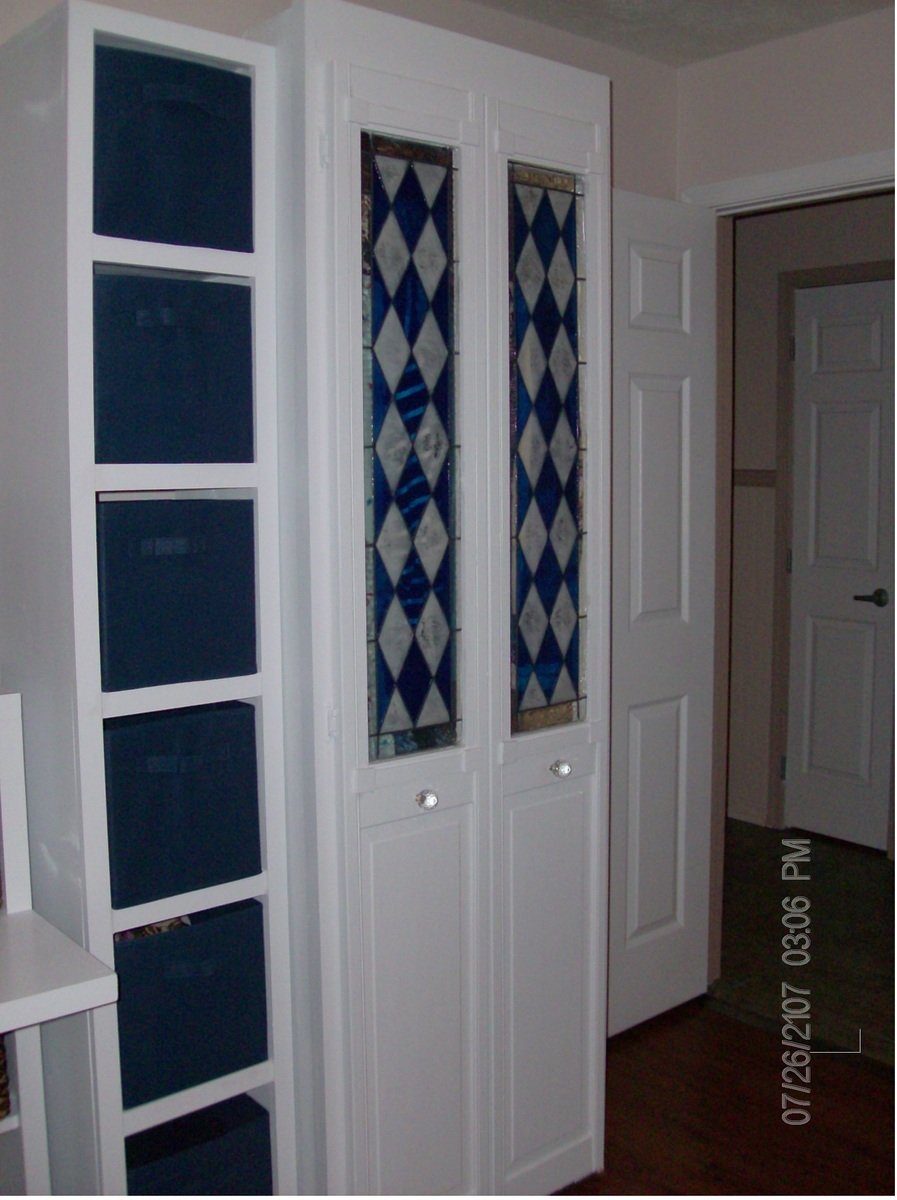
Next up: mailbox for the bed, shelves under the slide and window boxes!
Sun, 05/03/2015 - 07:37
This looks amazing! What an awesome job! I love the slide!
This was made from several heavy duty palettes that were used for delivering stone. Because of the wood I could get off the palettes, I switched the thin and thick pieces so that the slat gaps were where the 2x4 pieces were missing instead of the 1x4s.
This is modified from Ana's Simplest Armoire plan, re-sized to fit the door (already had this, from another project -- I couldn't part with it when that room was remodeled- that gallery glass insert took me so long to make) and deep enough to hang clothes. Used my favorite new toy, the Kreg jig for this.
Such a fun project, now we're hooked! We've made a bedroom full of pieces to go with this one, and still making more.
Ana, thanks for the inspiration!
We used ana's plan but modified the top
Thu, 05/30/2019 - 13:00
This is EXACTLY what I'm looking for but I can't find the plans that were used to build it. Do you happen to still have the link for them?
Sun, 06/23/2019 - 22:39
I found some 12" boards that were really pretty unfinished. I used Ana's basic Shelf Help frameless bookshelf design to build this shelf. I added hairpin legs to give it some character and get it the height I wanted.
Only slightly modified cottage bench - I made the storage area bigger and added shelves to put my shoes. Only my second project so it's not perfect (especially the paint job) but I loooove it! Sure, the shoe rack I had was perfectly functional and bigger, but this is waaay prettier.
My son needed a dresser that would fit a small space (no more than 40 inches wide). I modified the Cabin Collection plans to fit the small space. Looking at the plan, I wanted to brighten up the wood and opted not to stain. Instead I purchased an airless sprayer and was very pleased with the finish. For the drawer faces, I found old barn wood. The barn wood was a little tricky because some of the boards were warped. I brushed the wood with a stiff nylon brush to bring out the deep grain texture of the wood. Finally, purchased bronze finished drawer handles. Very pleased with the outcome. Thanks for the plans. Can't wait to start my next project.
Christmas Tree Wall Shelf
Stockings hung using cabinet/drawer pull knobs that I found on Amazon
This was a blast to build. This was all a gift for my wife since the traditional 5th anniversary gift is wood.
The coffee table and console are both awesome! The only thing I would change/modify is the end table, because its kinda big and doesn't really look its part of the set other than the "X". I would maybe take about 2 or 3 inches off all sides or maybe 3 off the sides so its not such a box.
Thu, 06/20/2013 - 07:31
I'll start one! Go for the poly. You're absolutely right, it will bring up the beautiful grain, and show off the "X" accents. Nice work, by the way!
Thu, 06/20/2013 - 07:32
I'll start one! Go for the poly. You're absolutely right, it will bring up the beautiful grain, and show off the "X" accents. Nice work, by the way!
Thu, 06/20/2013 - 08:39
Beautiful builds! Wow, they look wonderful. What an amazing gift! From the pics, the end table looks fine, too, as the furniture isn't a small scale. I love the two-tone so I say go for just the poly!
Thu, 06/20/2013 - 12:08
I think you did an amazing job :) love the contrast of the two tones. Using poly for the rest would be beautiful. I cant wait to do this project myself.
Thu, 06/20/2013 - 15:47
What a wonderful gift! These tables are beautiful, great job on this build! I love the two-tone - One more vote for the poly! :)
Fri, 06/21/2013 - 13:04
I'm going to go with only the Poly over the bare wood. Thanks for the comments and advise! It will be a few weeks due to work and travel but I'll send updated pics once its done.
Sat, 02/24/2018 - 21:18
I like the naked/poly look too. The other option I think would look good would be painting it white. The contrast between the white frame and darker kona top and shelf would be cool.
I'm James Farquhar, designer, and fabricator. This is the second set of cornhole boards I built this year. This set is the regulation size of 48" x 24" according to the American Cornhole Association. It is made from fir 2 x 4 s and pine 1 x 4 s (6 per board). Each board is glued with Titebond II and countersunk Torx top screws (#8 1-1/2 inches). It is coated with Minwax polyacrylic (8 layers sprayed on) and Howard's bee's wax (3 layers). The boards are secured with 3-inch toggle latches in pairs. Kayak carrying handles with four screw ports; I used the same Torx Screws I used to put the boards together, extra for strength. The total weight of the boards is 60 pounds. I used a Texas Flame Thrower to Shou Sugi Ban (Yakisugi), as a finish.