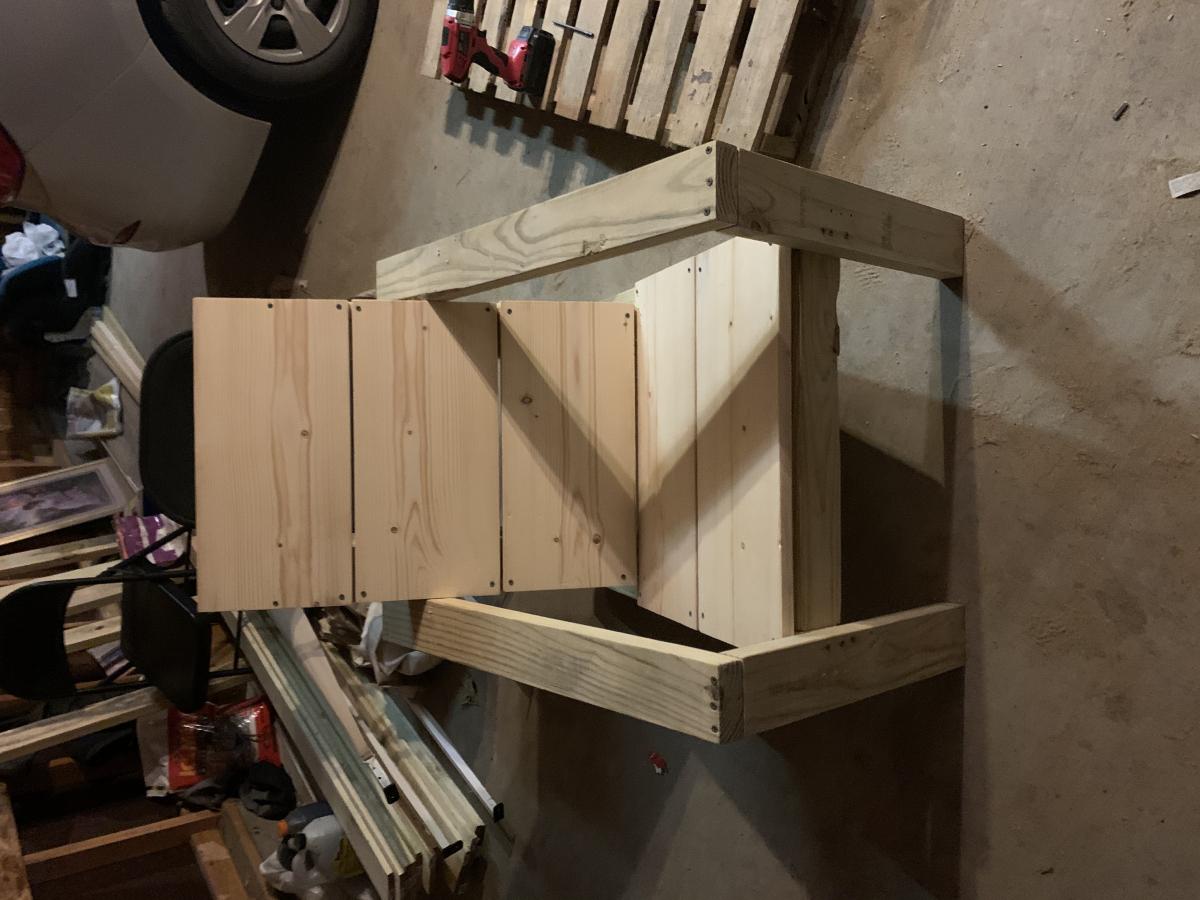
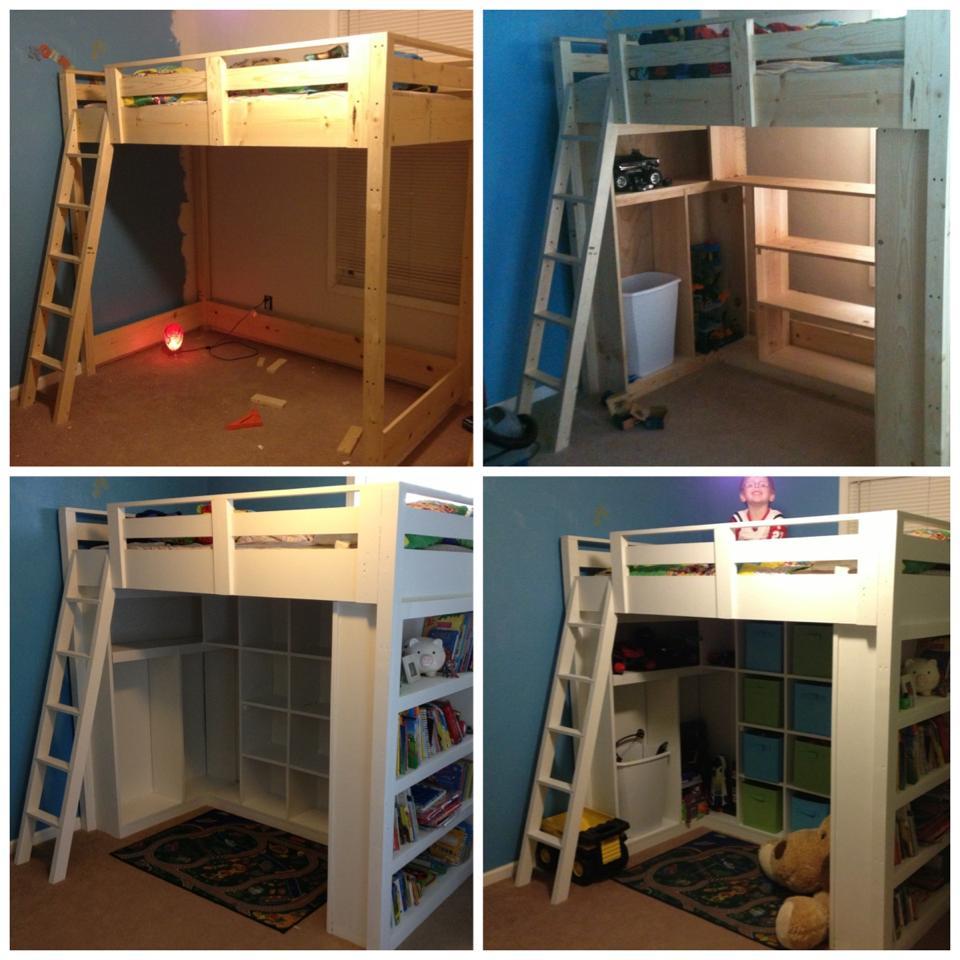
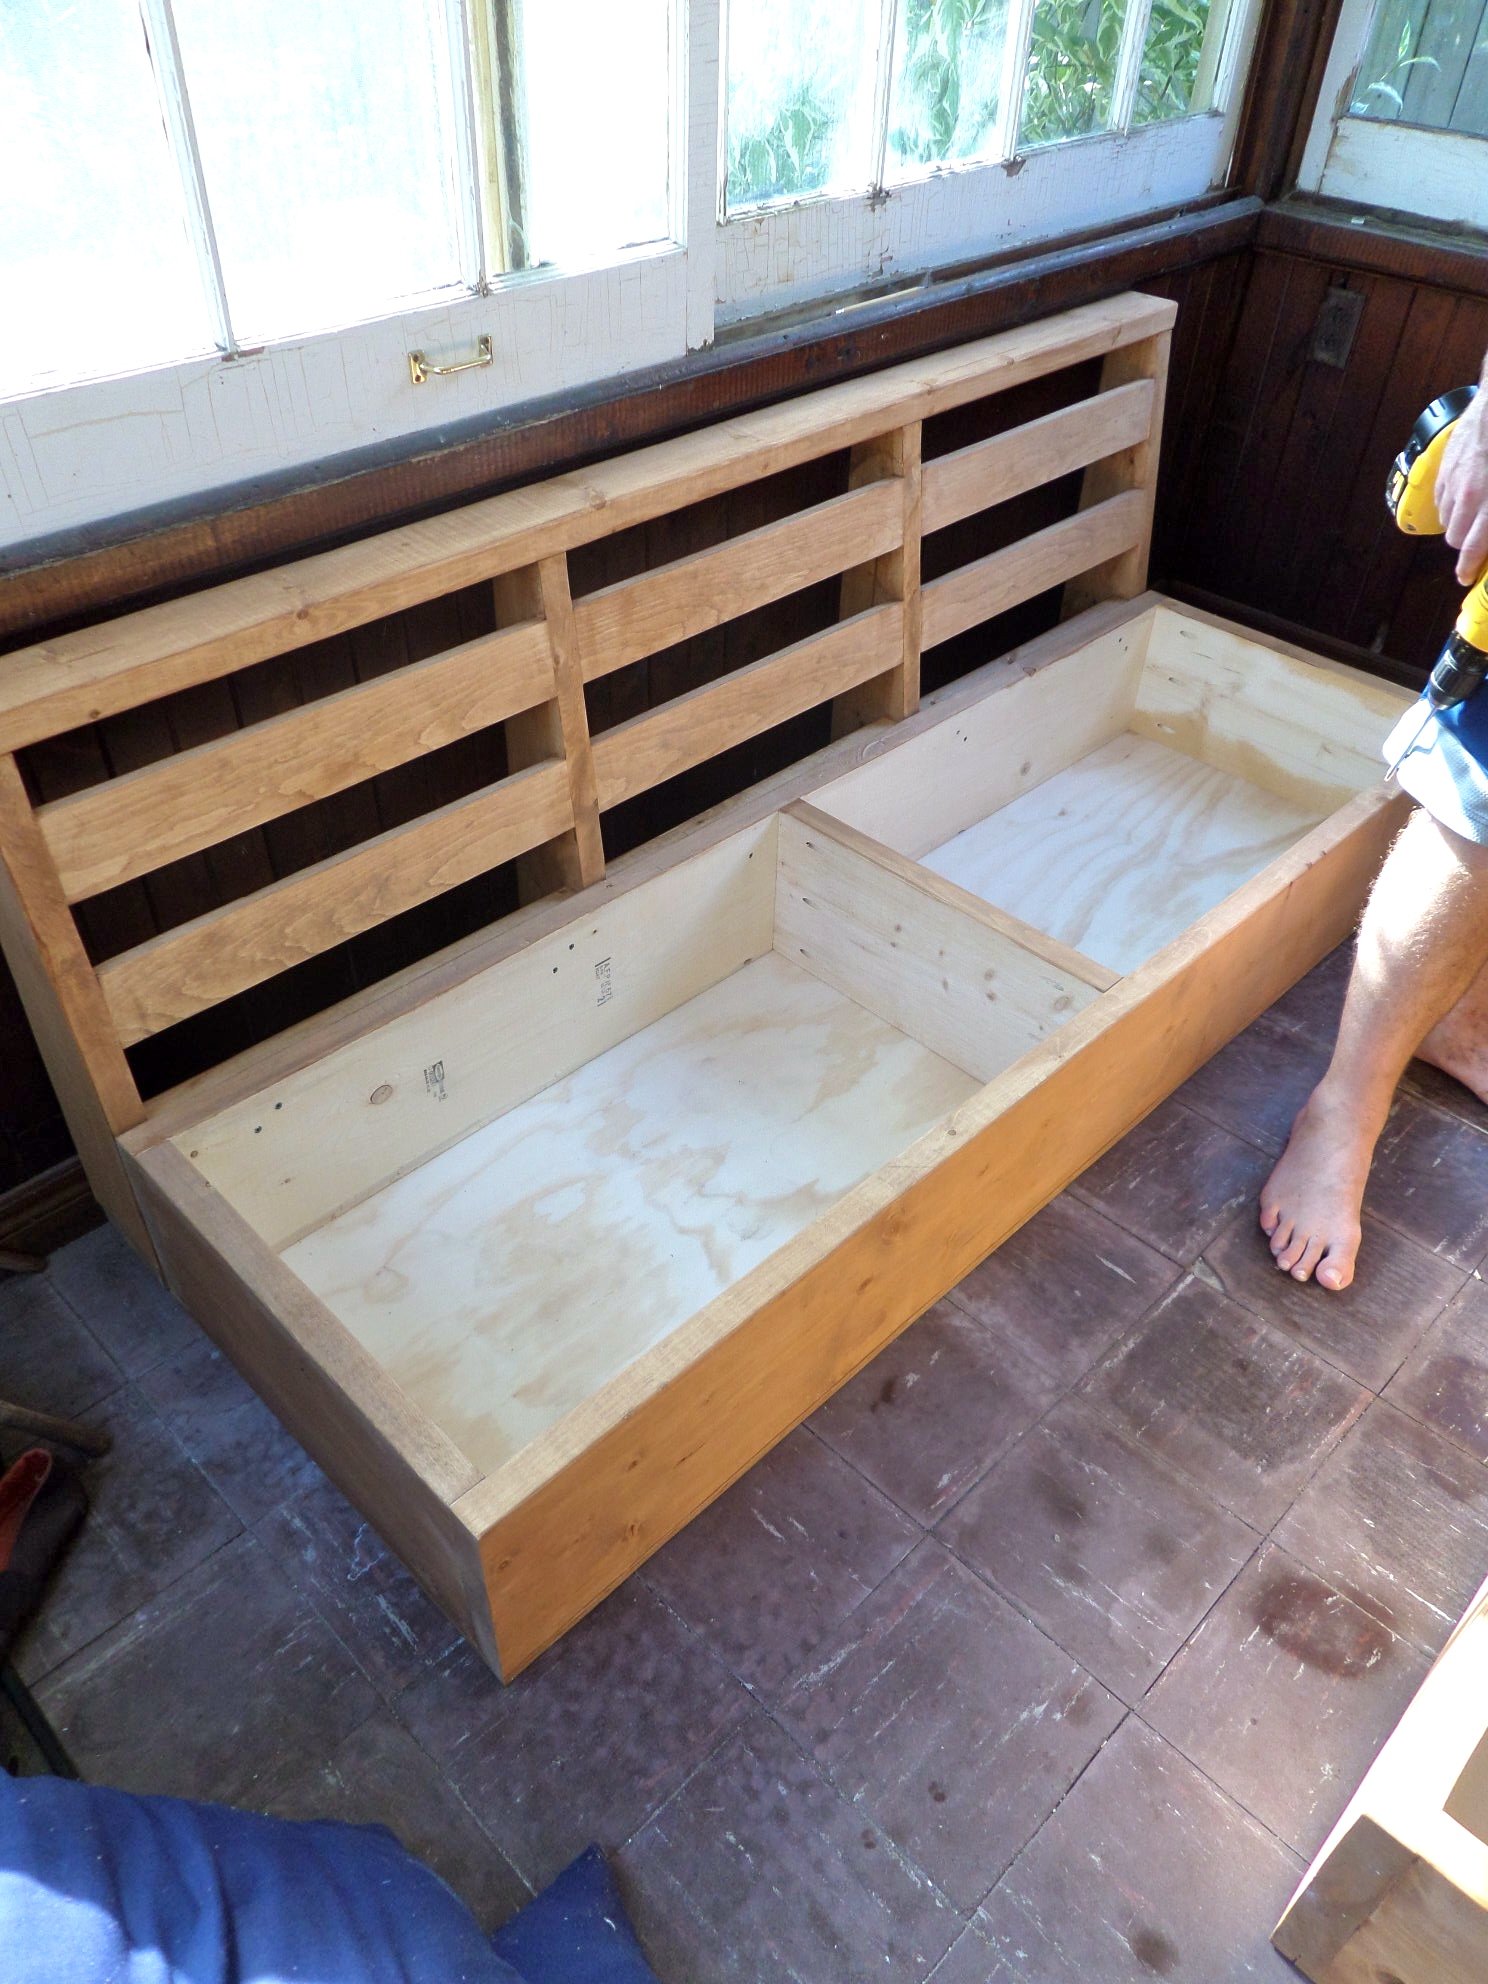
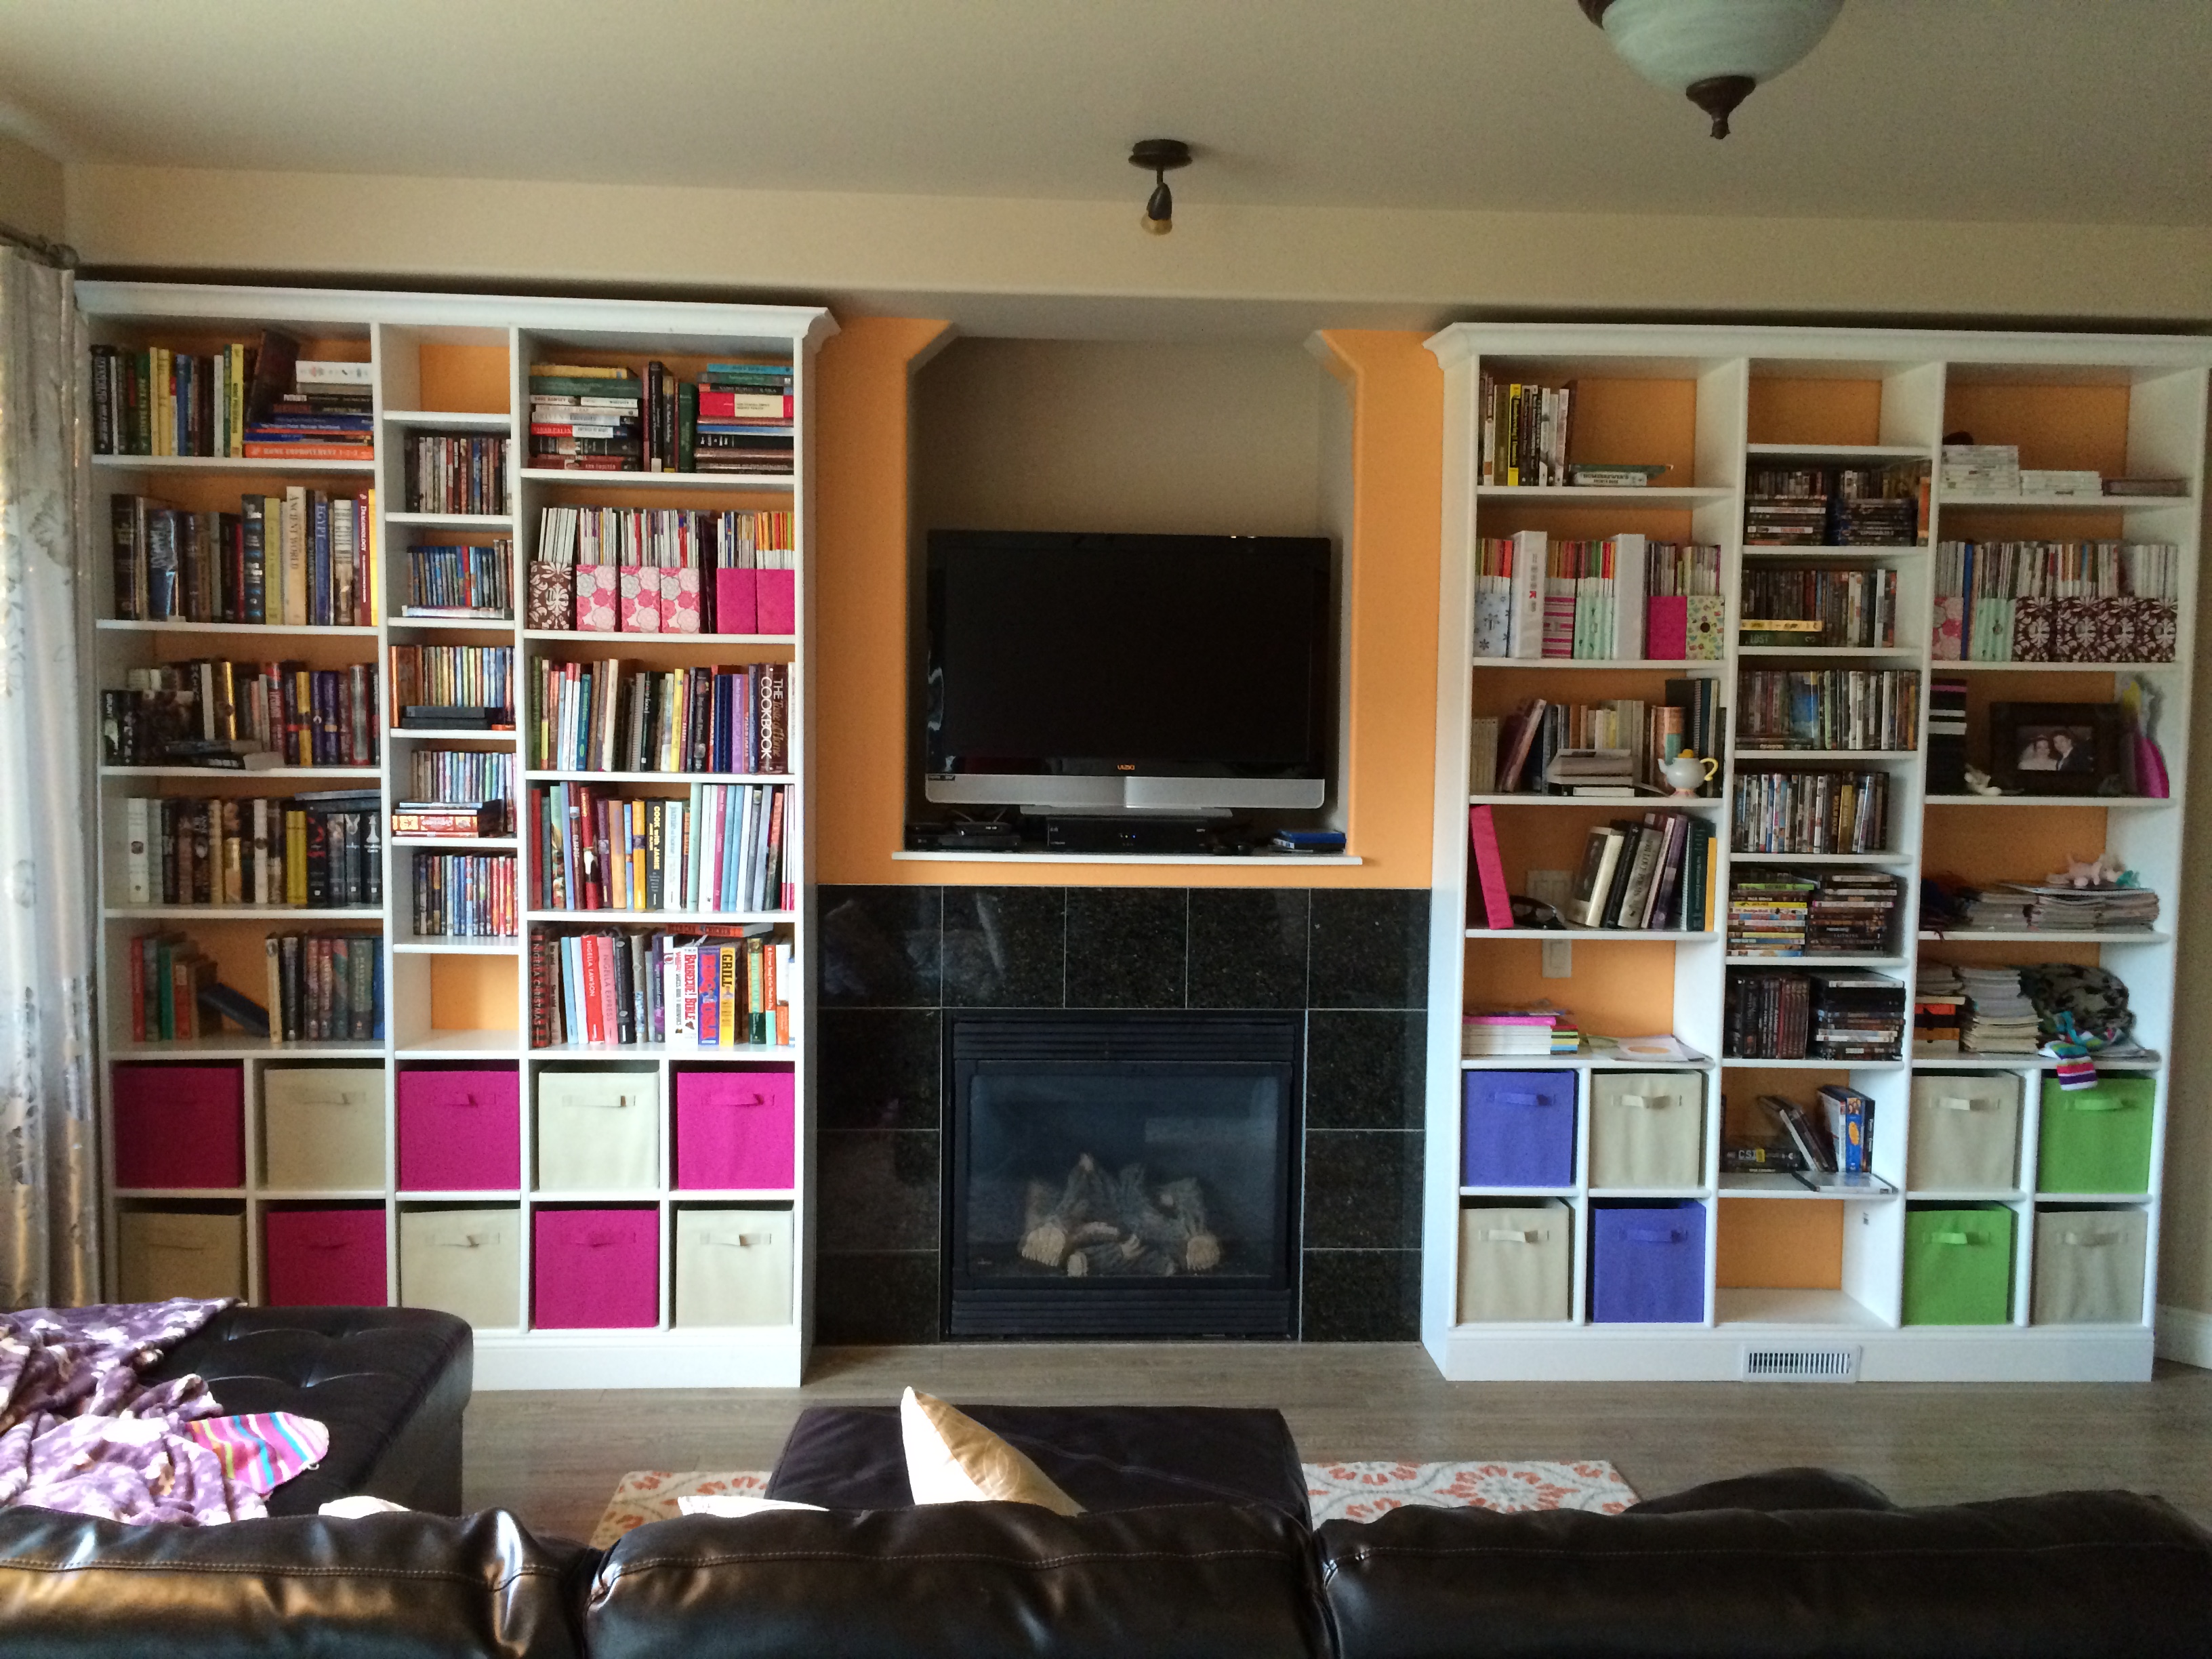
We have a small house. Okay, a TINY house. We just added a new baby to the mix, had a 5th birthday and Christmas, and suddenly, every room seems more cramped. We knew we needed more storage in our oldest son's room, and this seemed like the best solution!
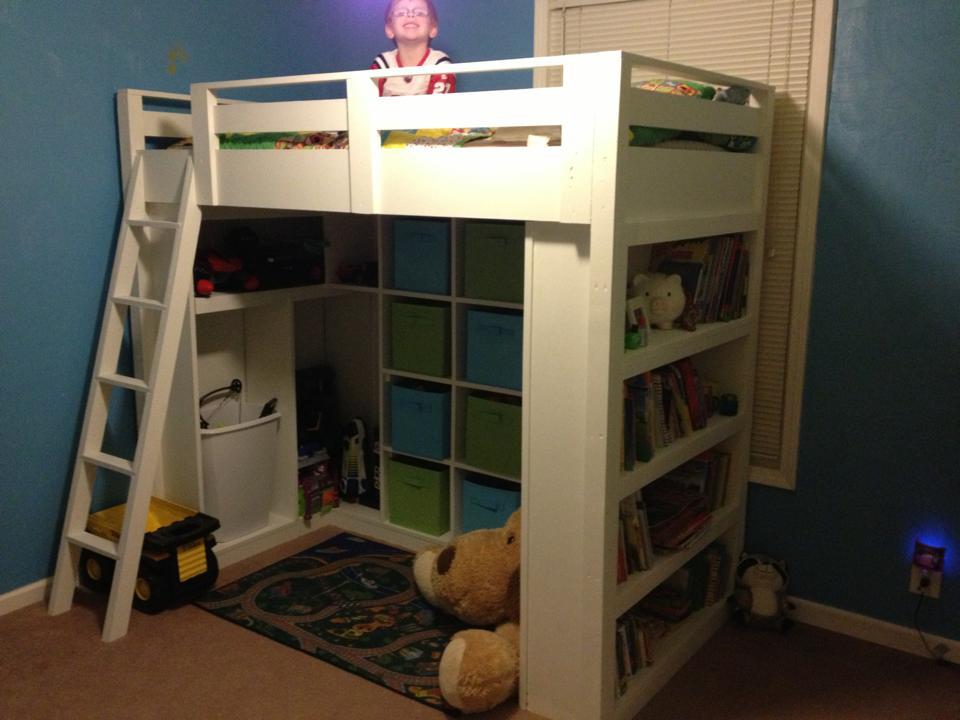
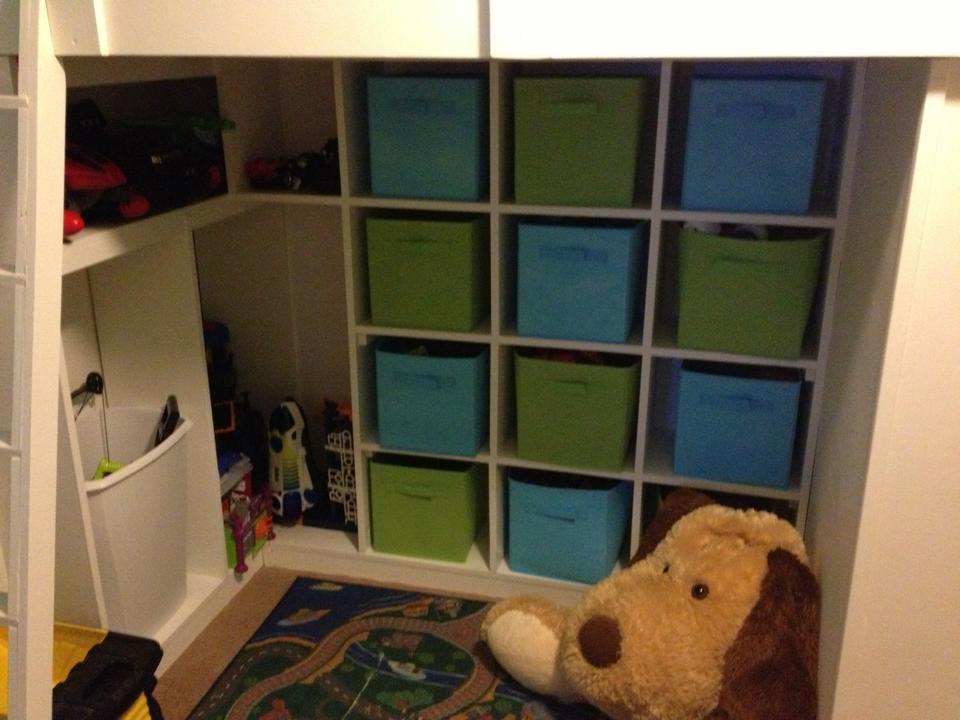
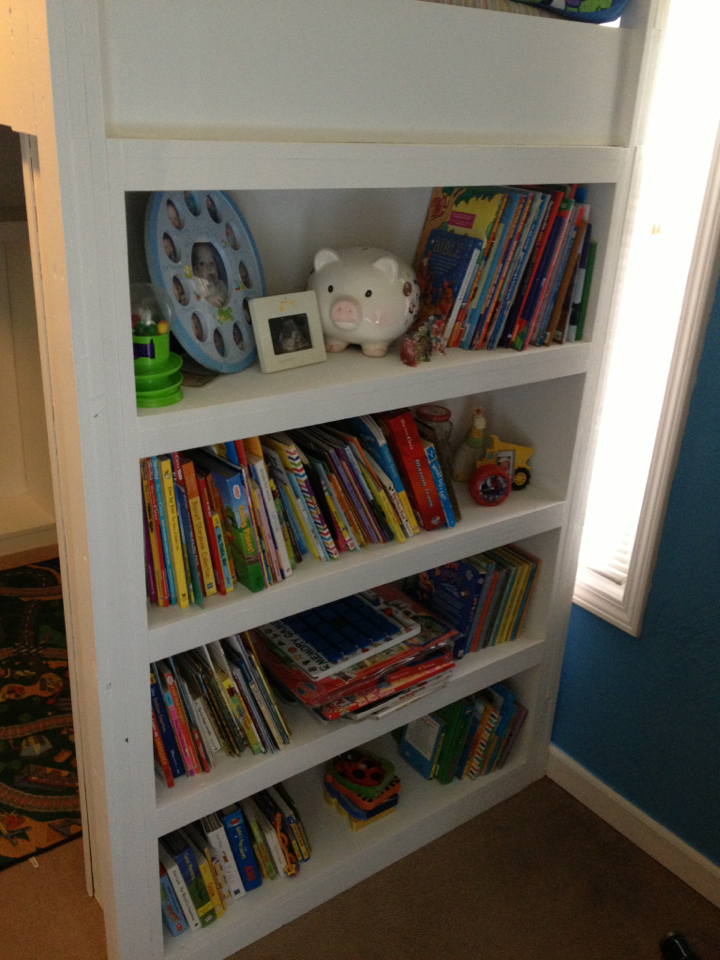
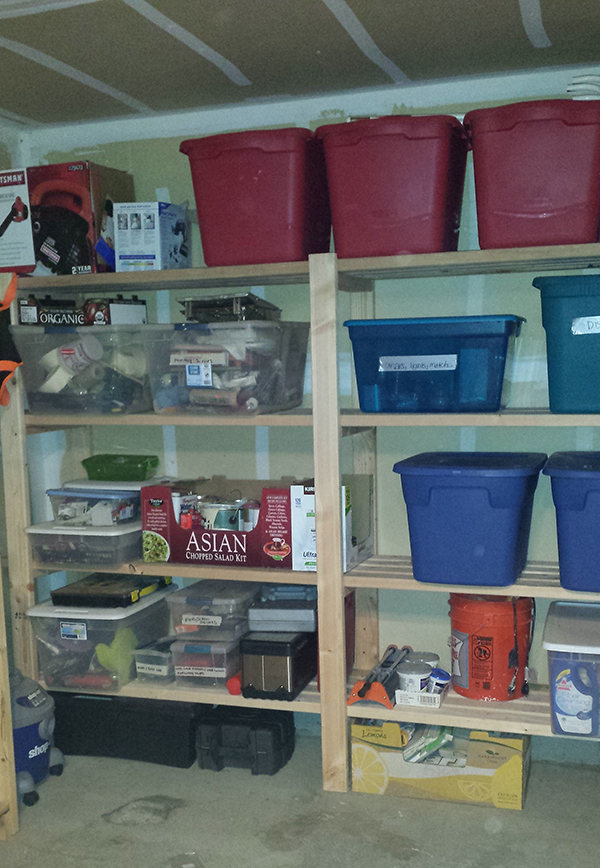
We used the plans for the bed to a T, and then did the bookshelf on the end to match. We then created a custom plan for shelves underneath, just the right size to accommodate the blue and green fabric bins you see. We also left some spaces for bigger toys, and added a hamper to keep taller toys (swords and such) organized.
We loved the look of the bed painted white in the picture, and since his walls were already practically the same color blue (and a green accent wall), we decided not to stray far from the original design.
Our son loves the bed, and we are thrilled with all the space he has in there now!
We estimated about $350 on the bed, that included the wood, screws, 2 gals Valspar paint, paint accessories, and the fabric bins and hamper.