Community Brag Posts

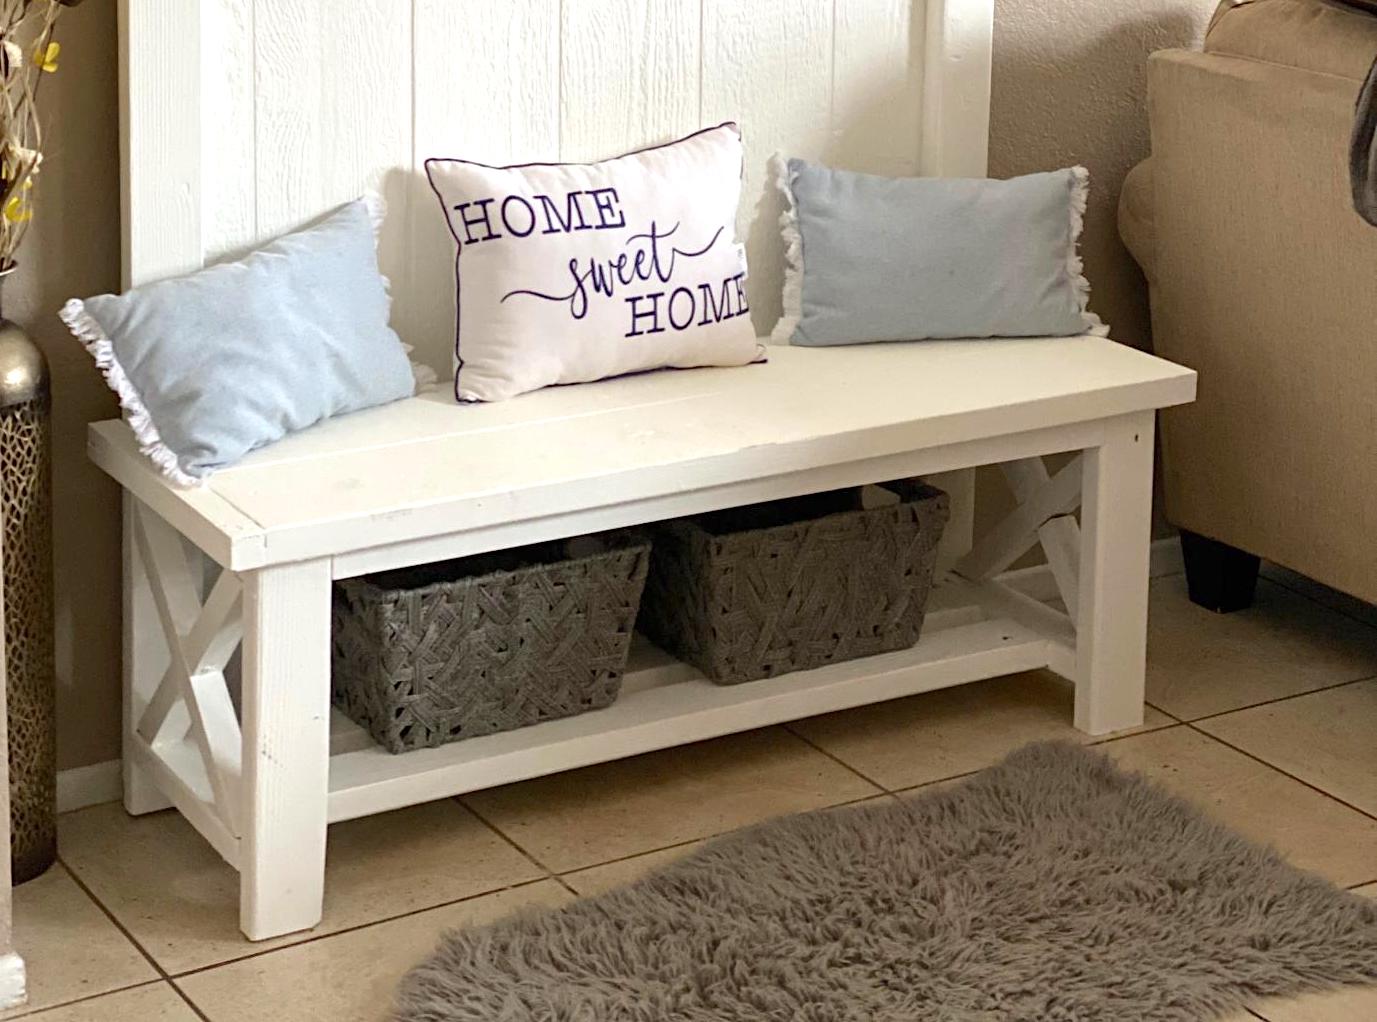
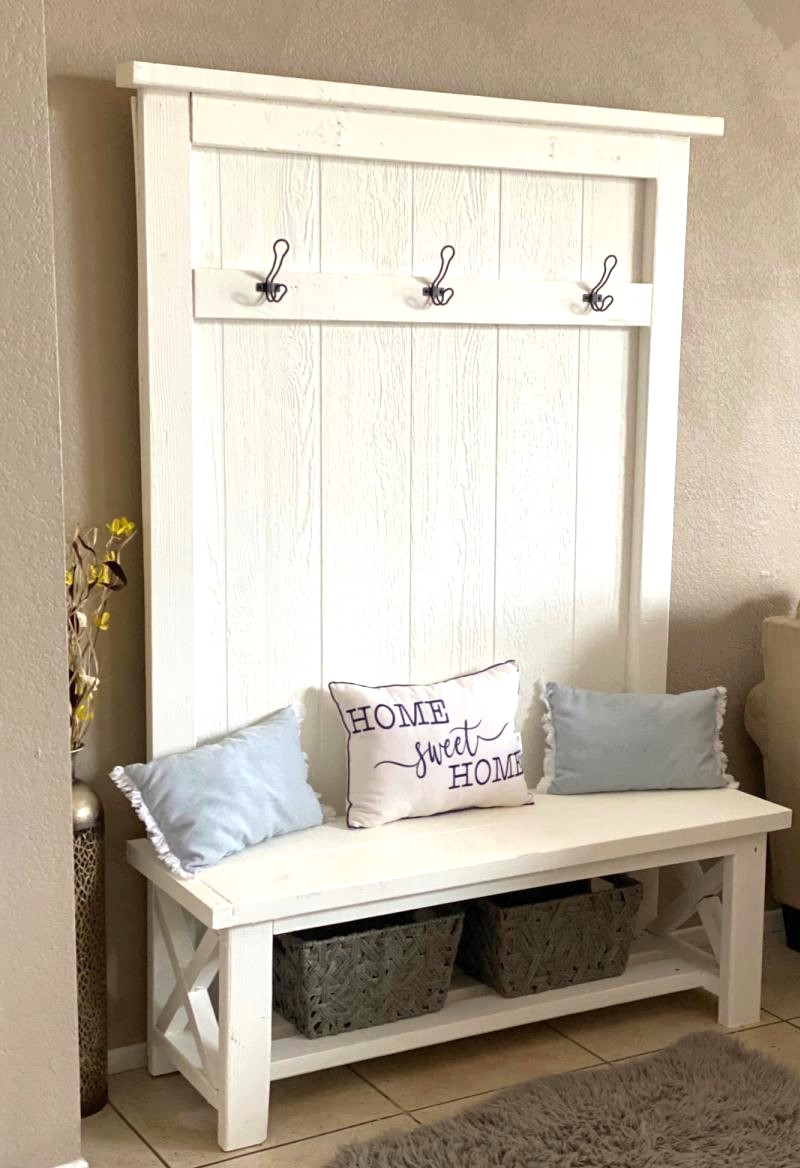
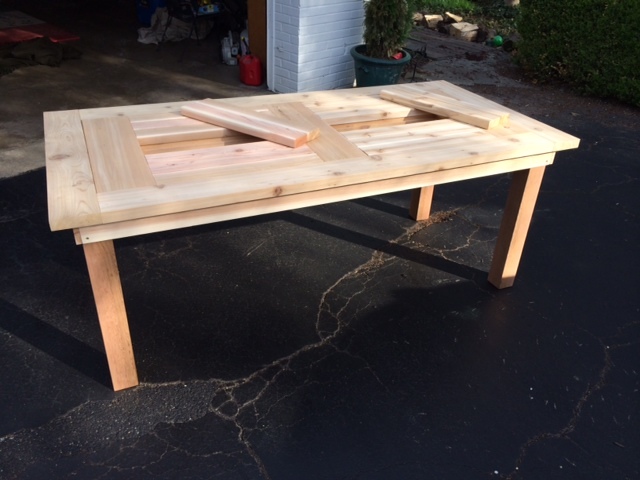
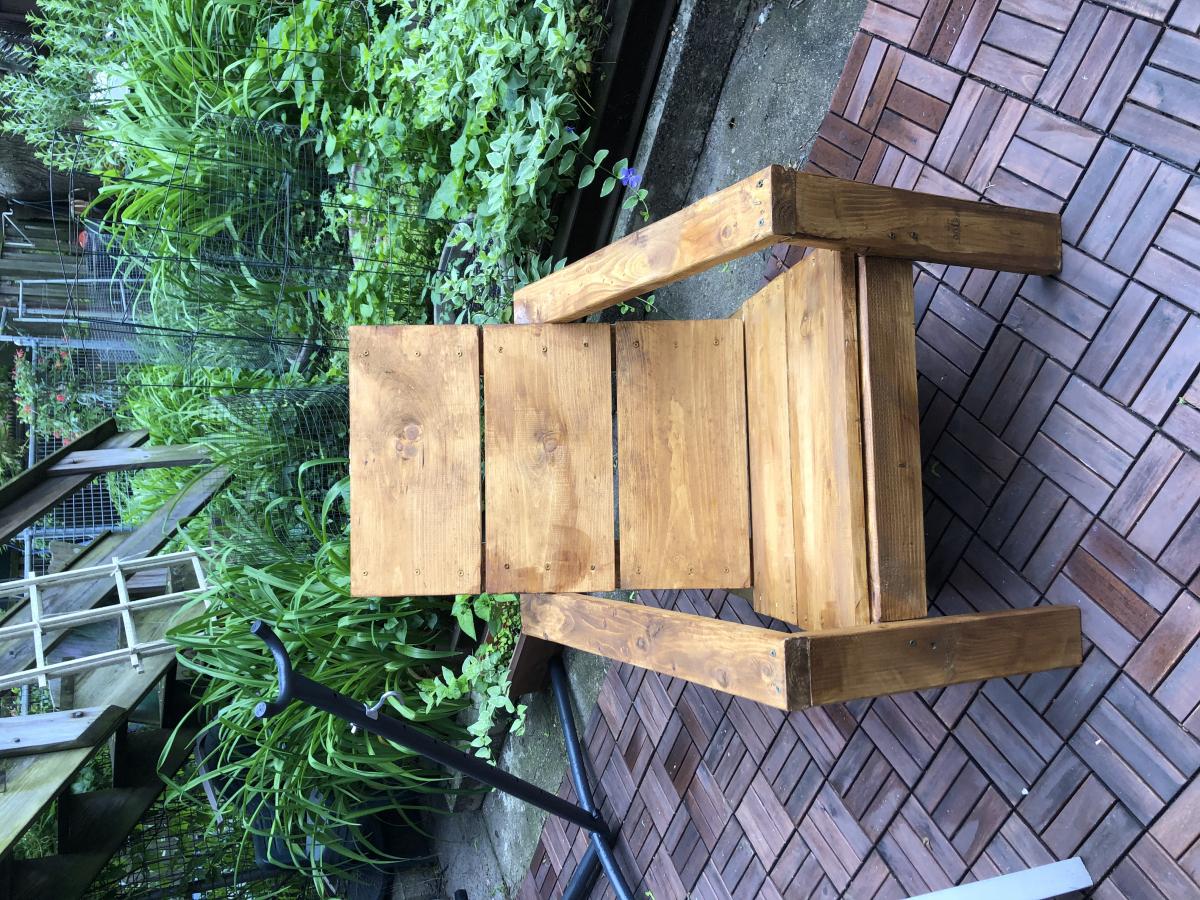
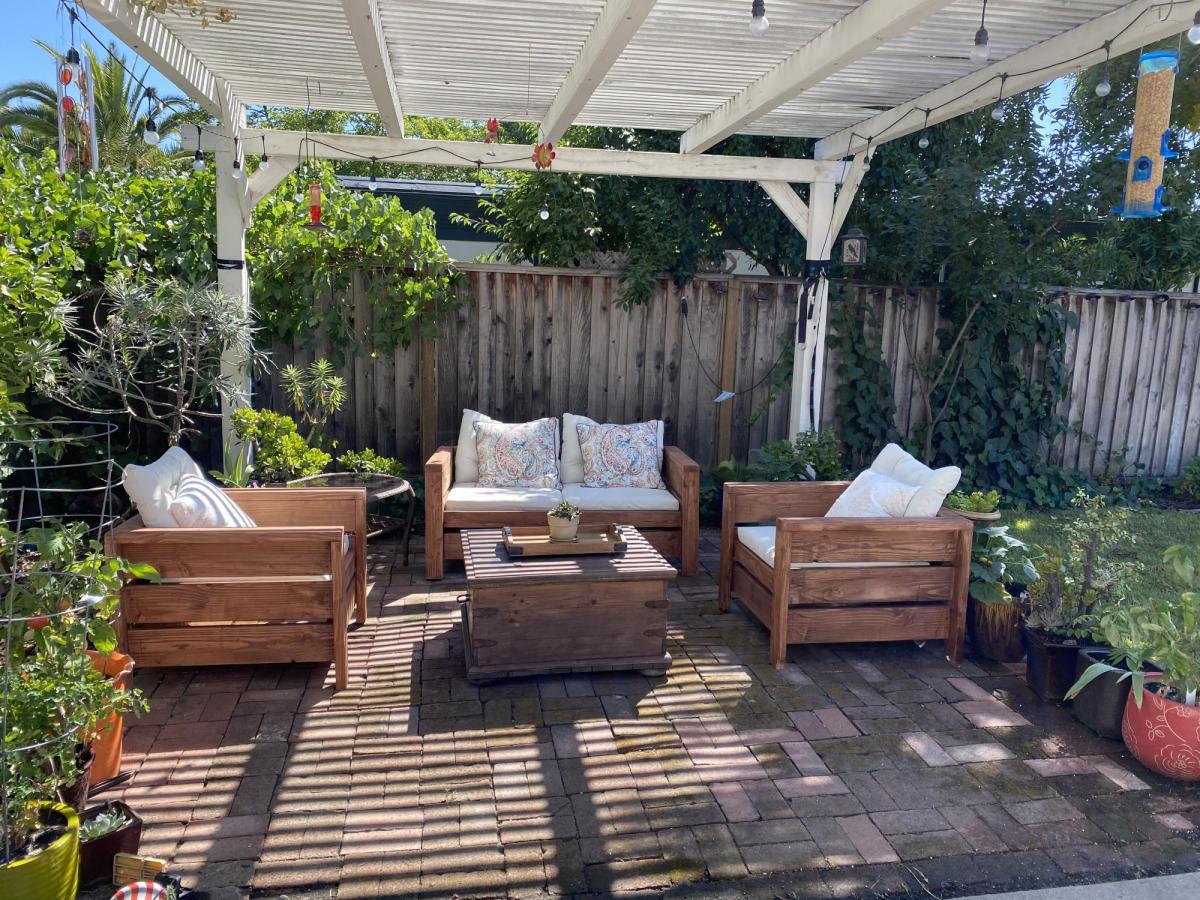
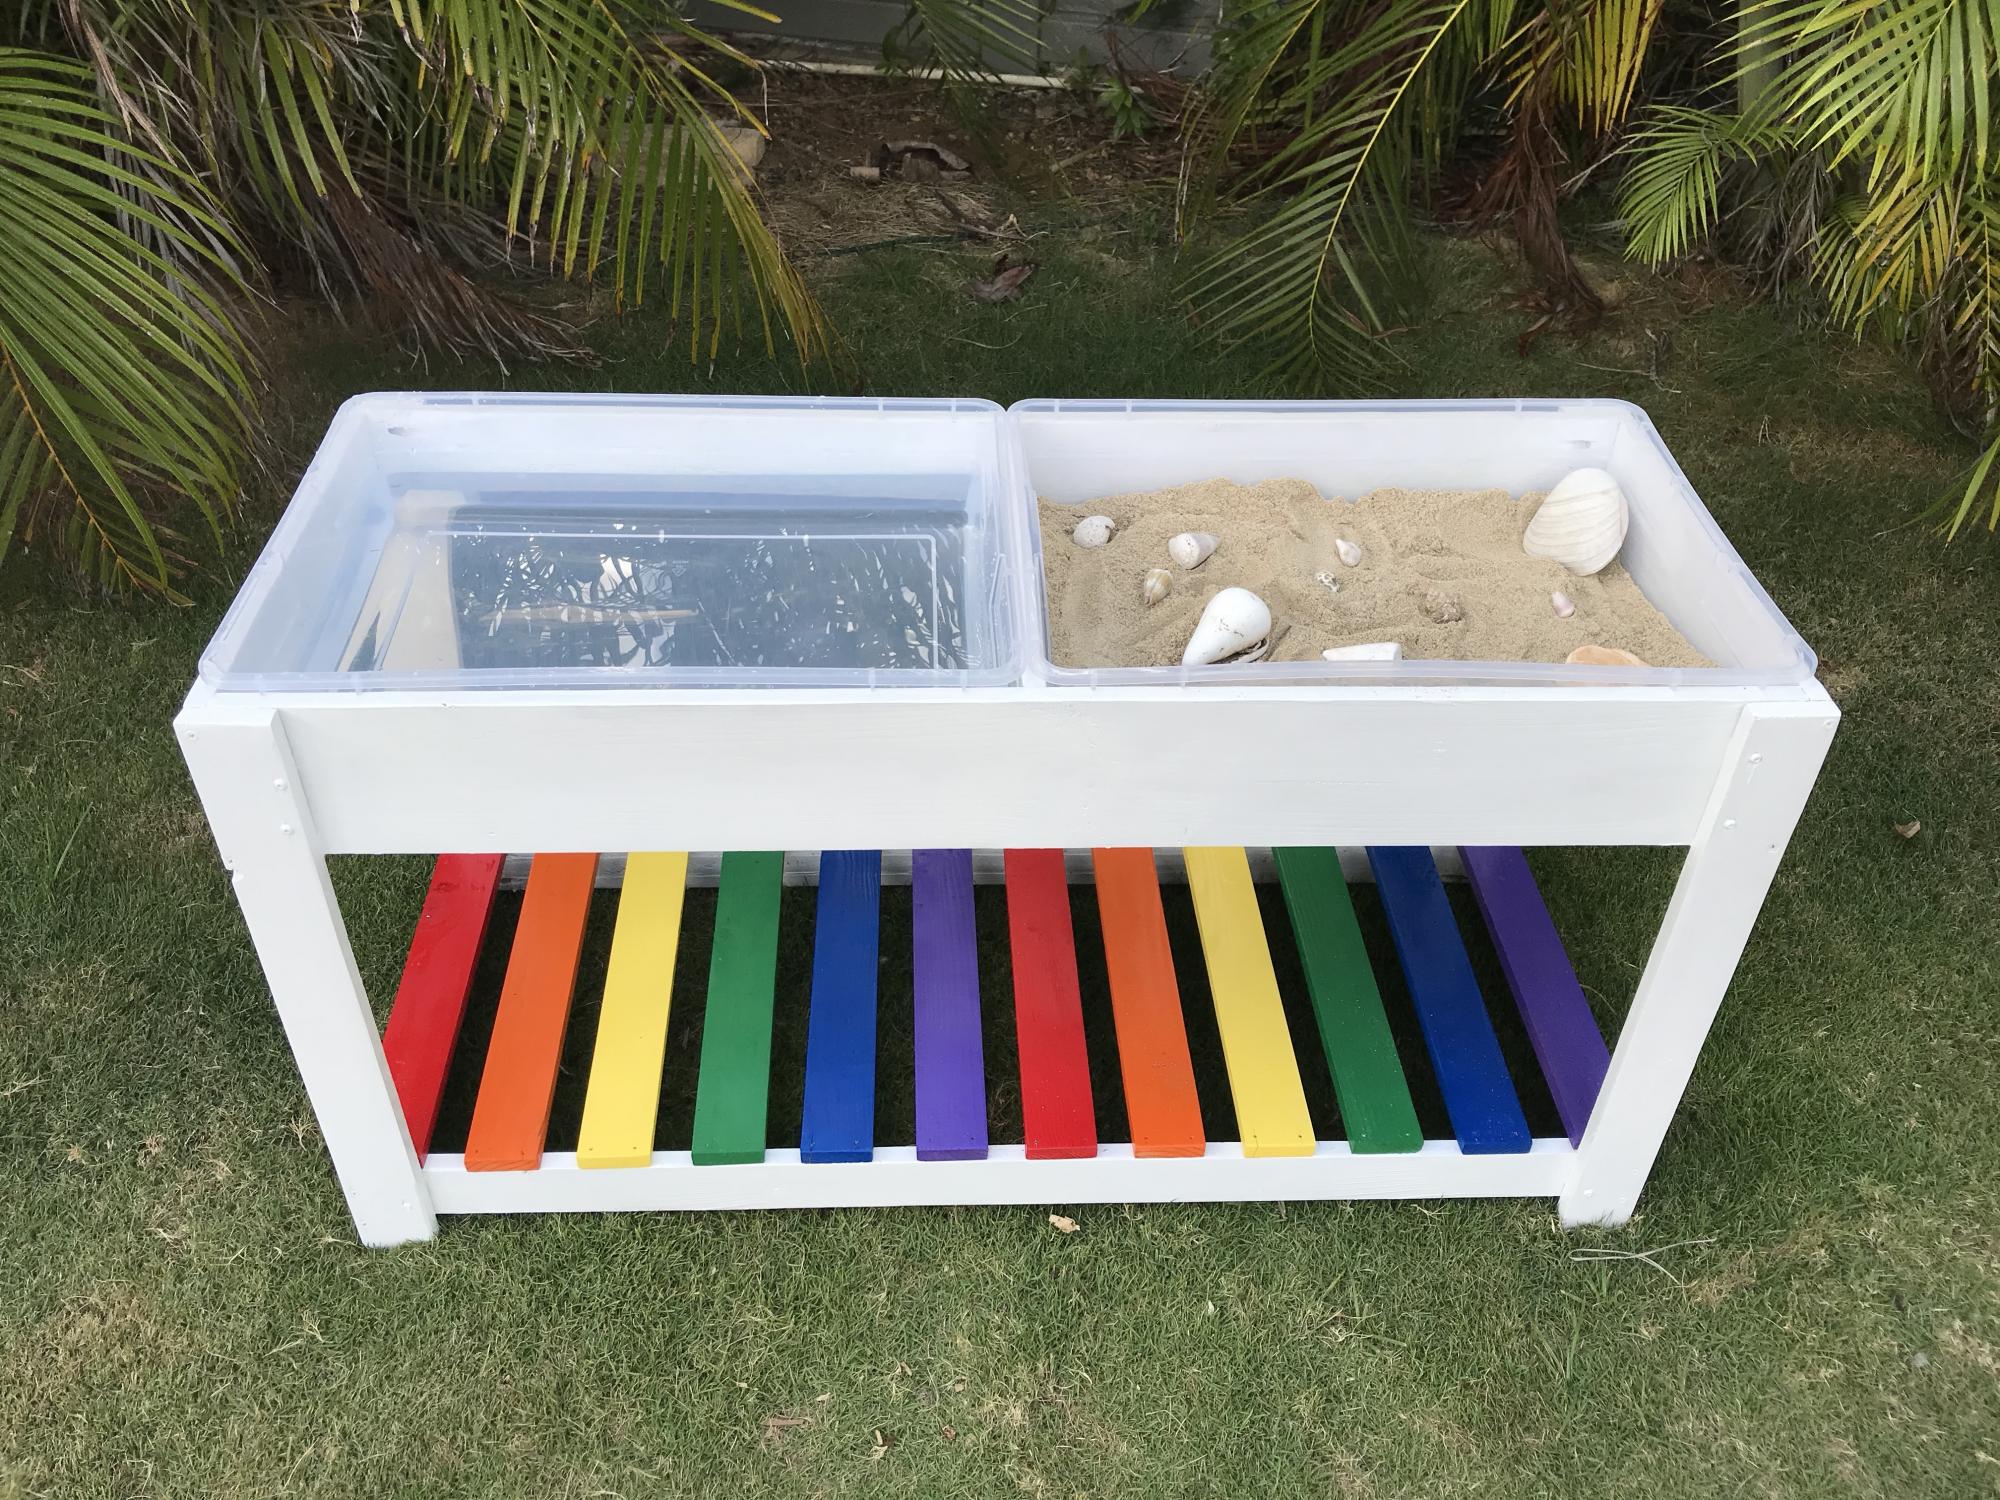
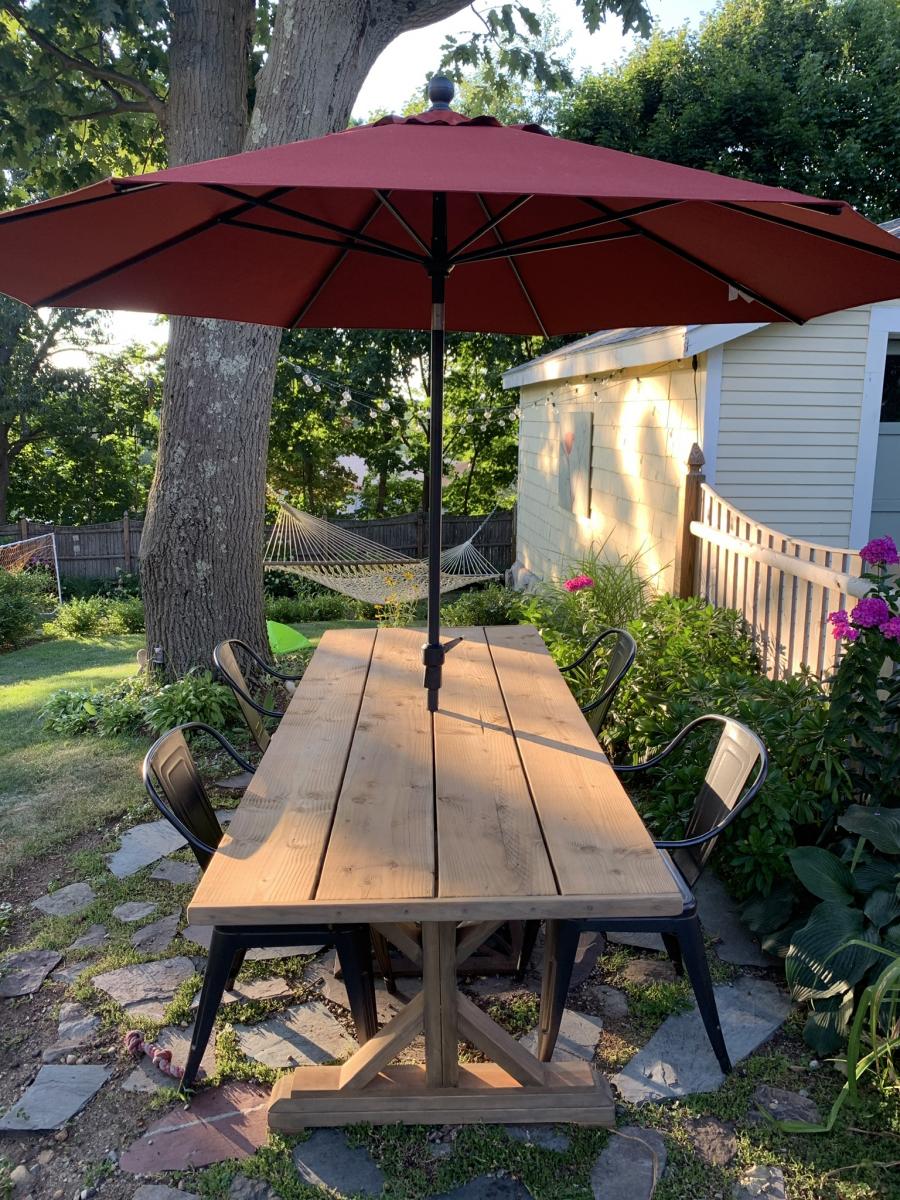
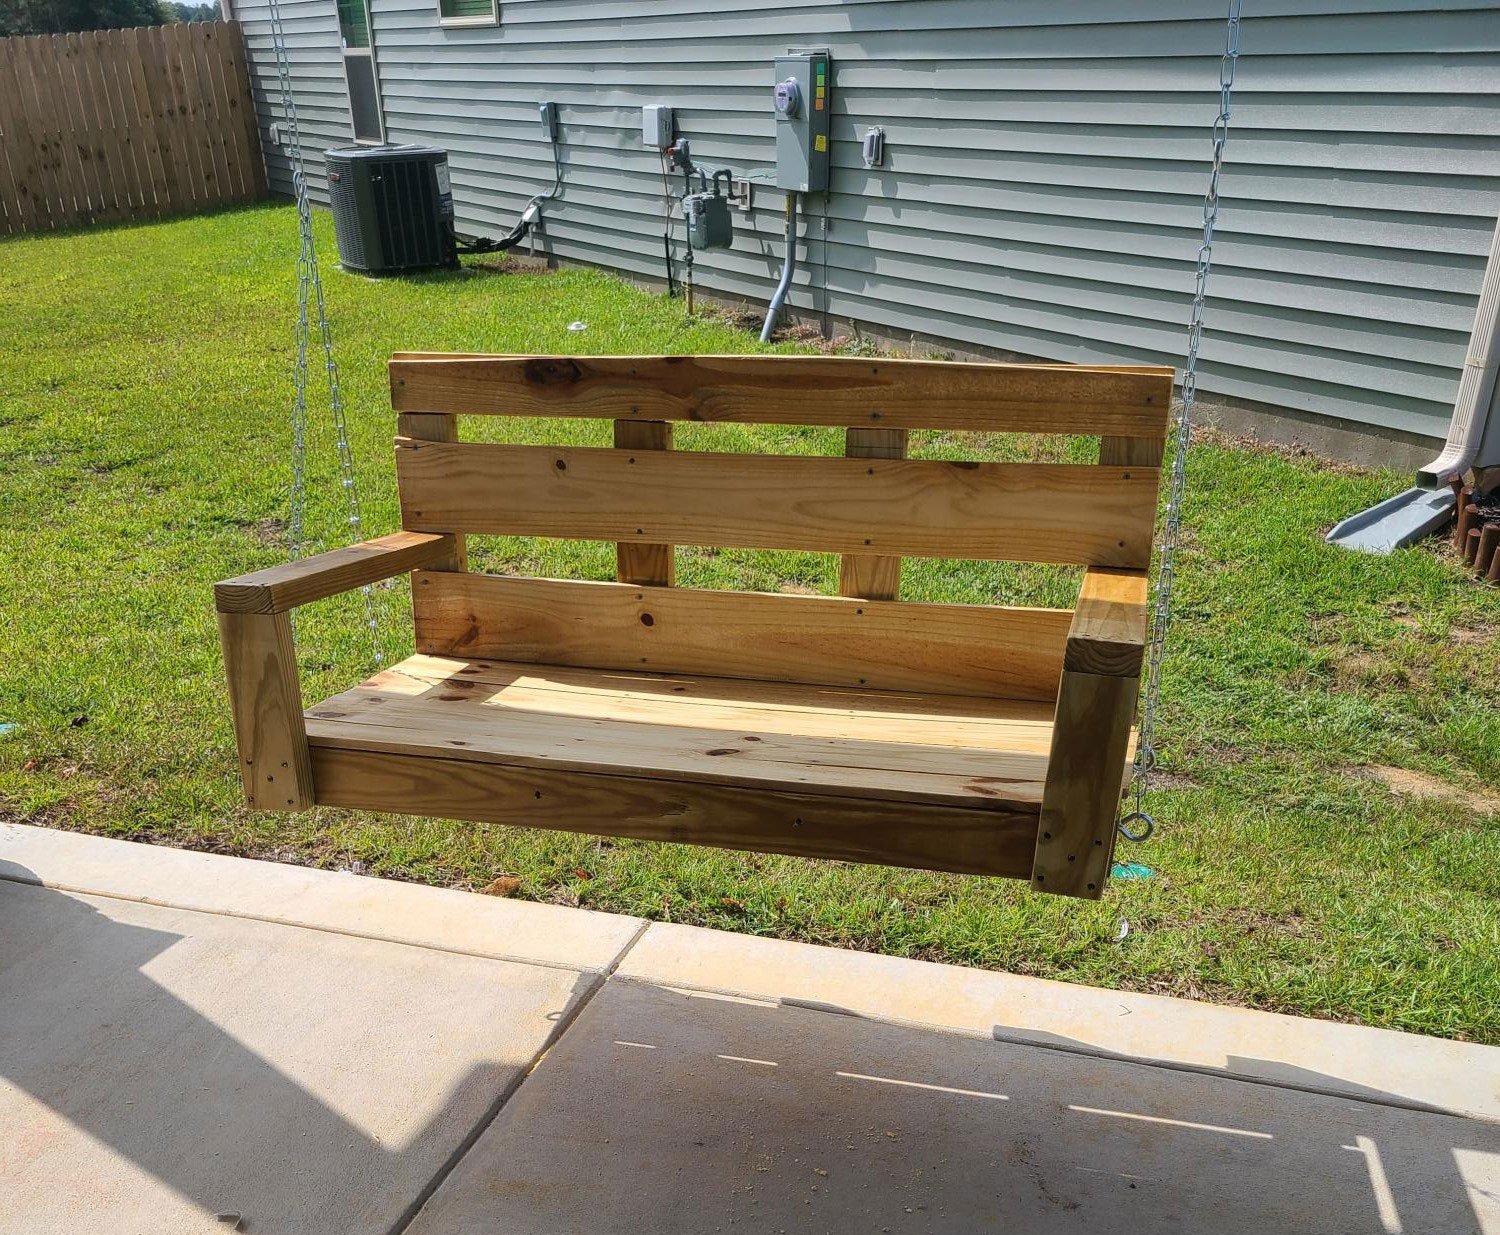
My first planter box!

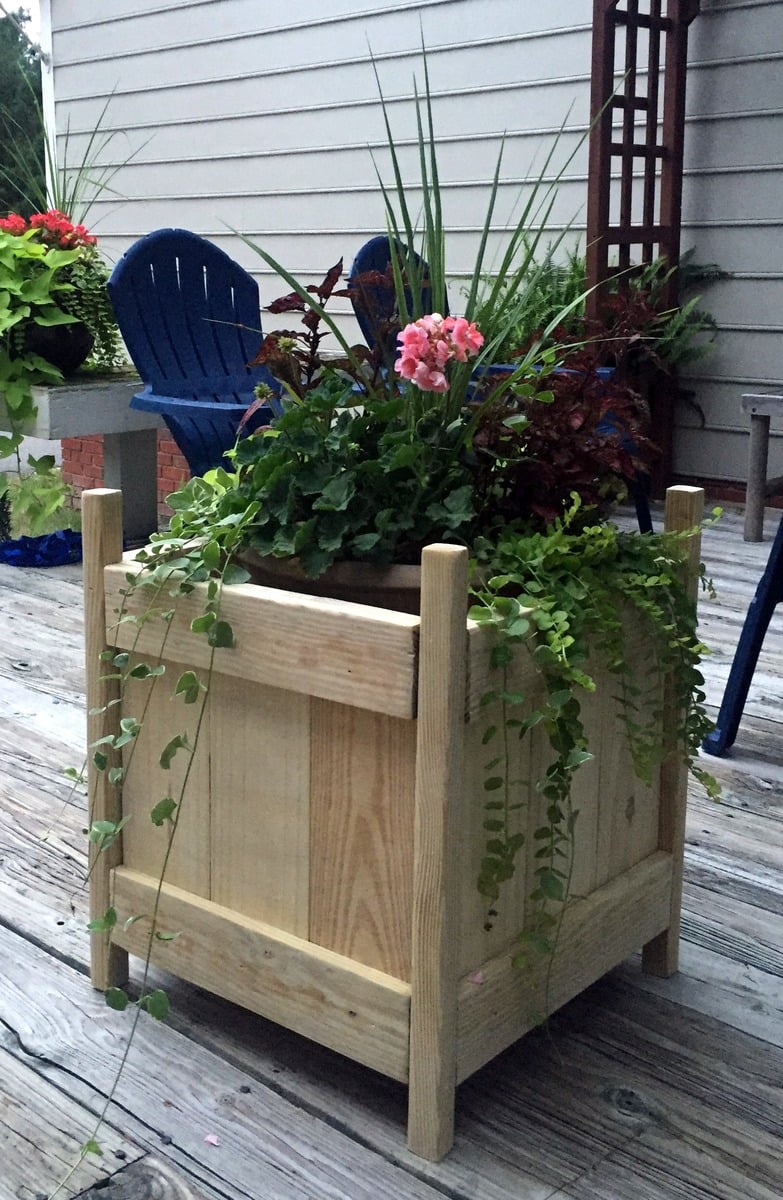
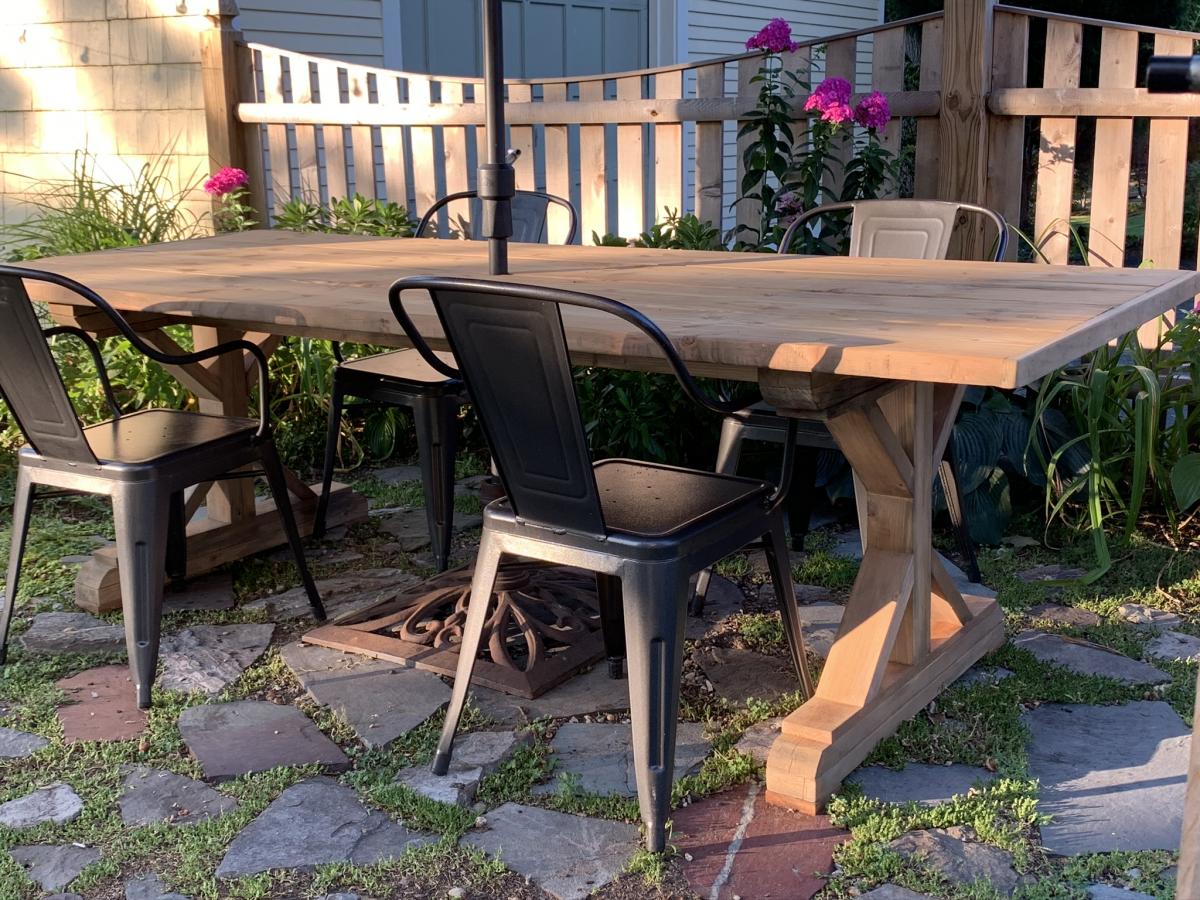
This planter box turned-out looking great! I put it together the first go-round using all kreg-jig screws, but couldn't get the pieces to sit flush with each other, so I took everything apart...and used star-drive screws instead of nails). I have decided that I hate nails.

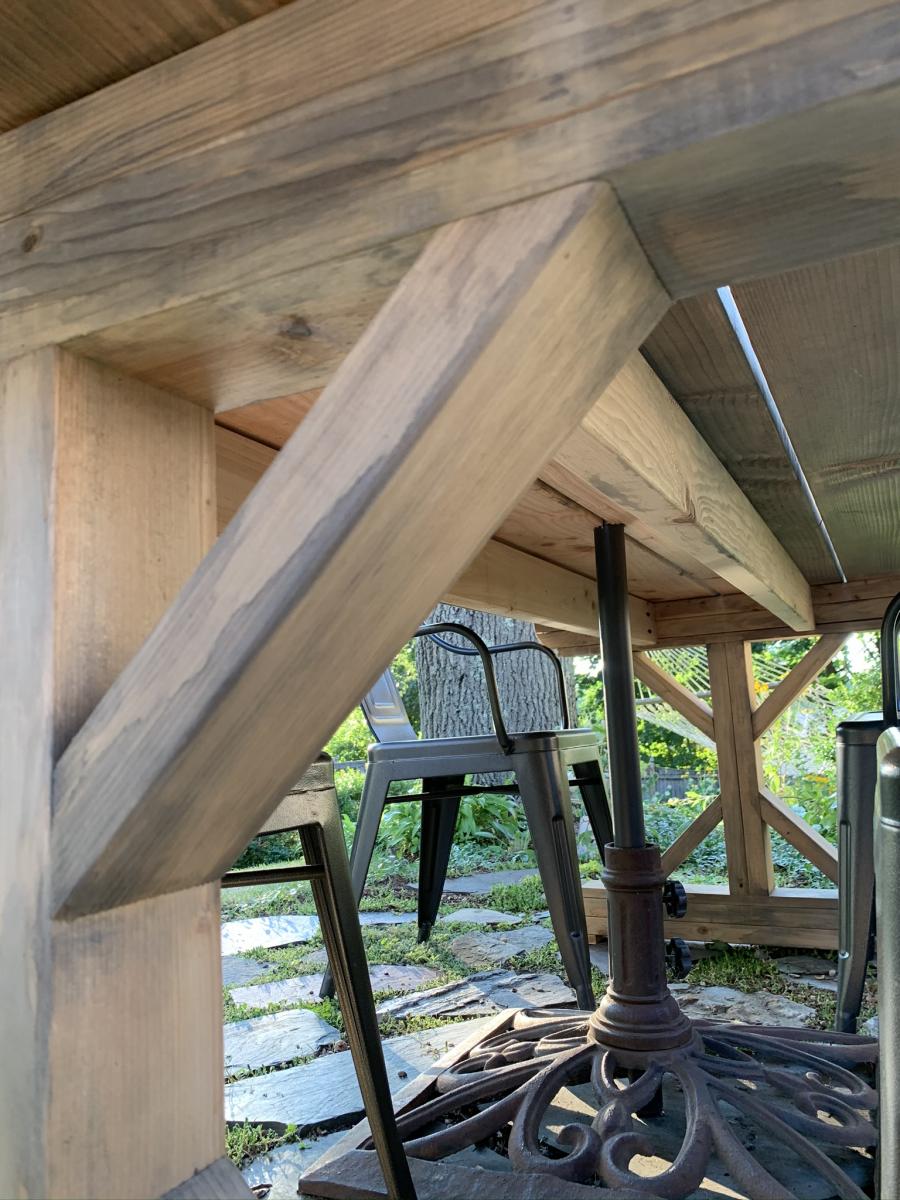
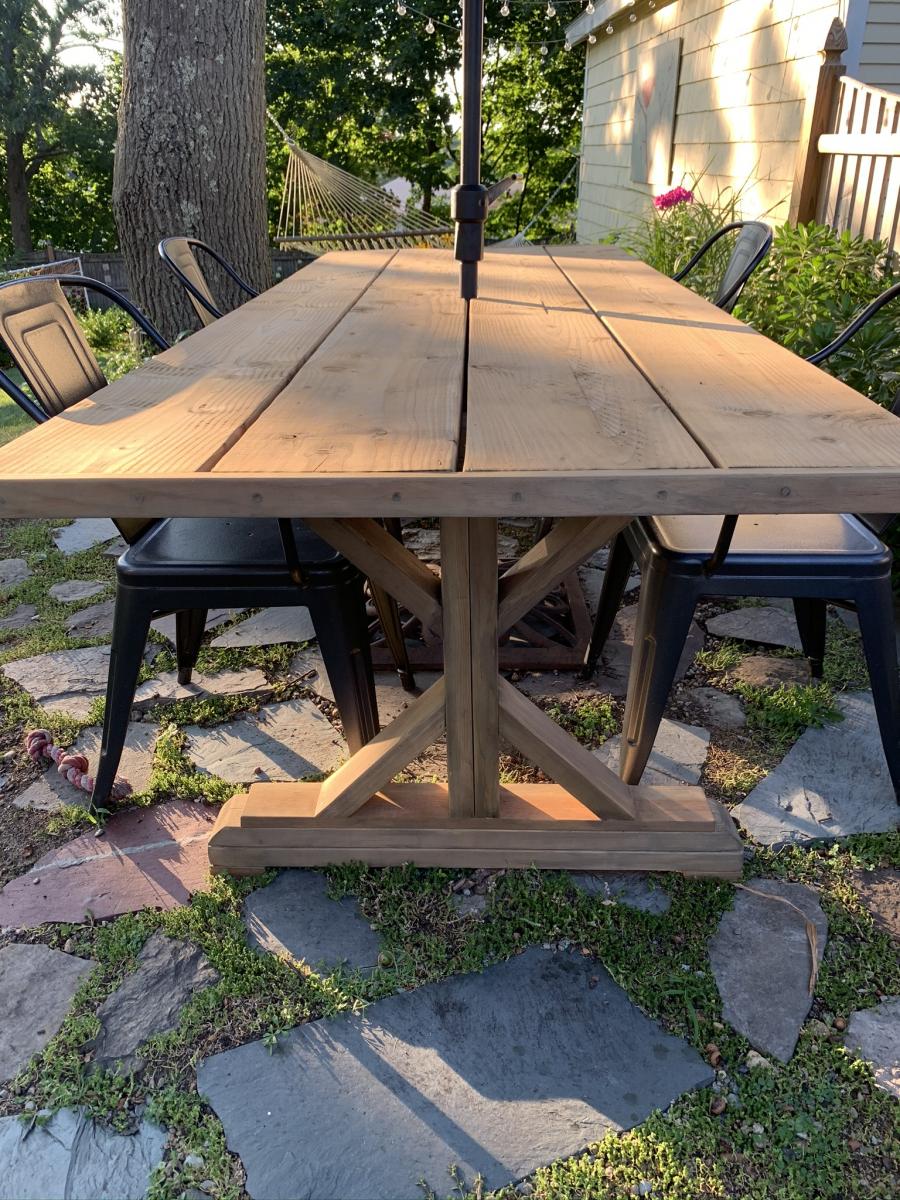
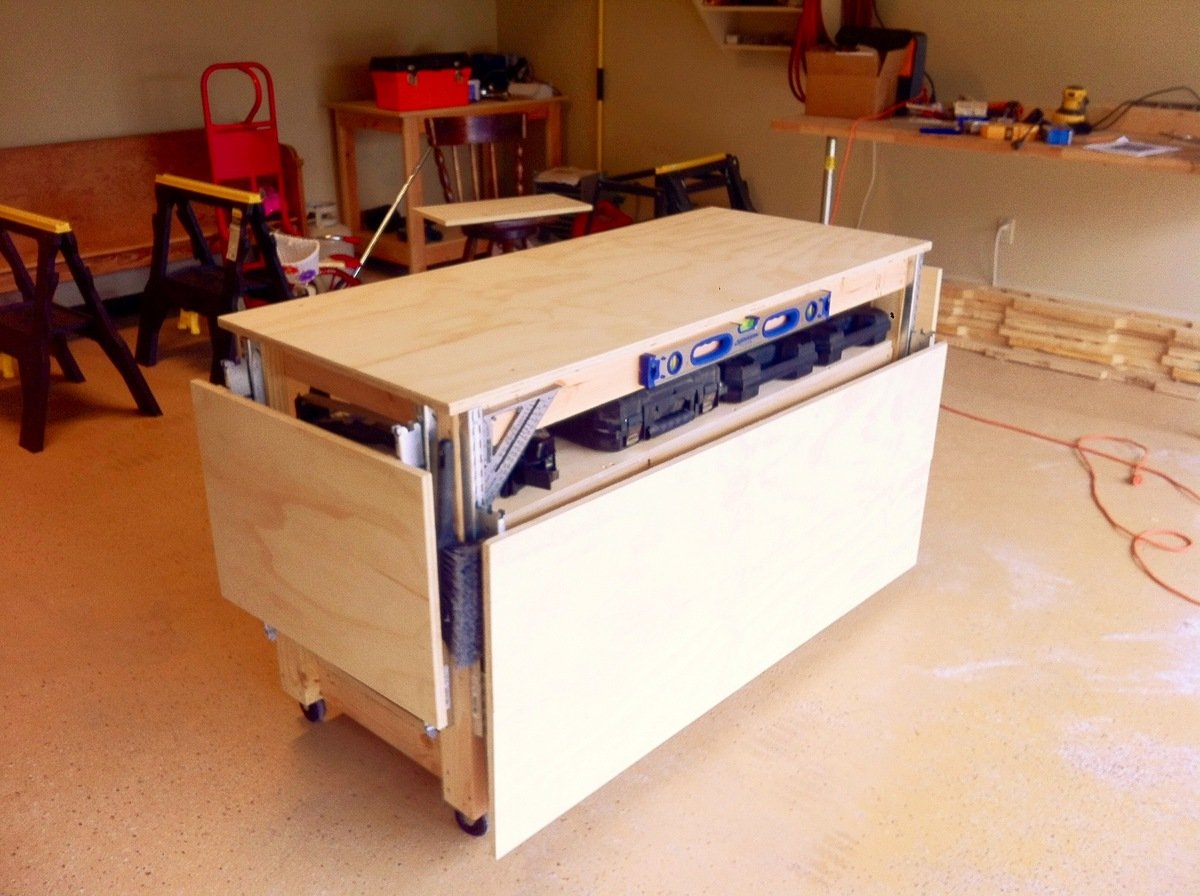
I used the kreg jig to attach the 4 posts, but then used brackets to attach the rest of the panels -- this worked well! Once I put the slats in the bottom, it was very sturdy.


TIPS: don't be afraid to alter the plan. If you like working with brackets, use them!

Built from Plan(s)
Estimated Cost
$20
Estimated Time Investment
Afternoon Project (3-6 Hours)
Finish Used
n/a
Recommended Skill Level
Beginner

Entry Way Bench

Built this plan and it came out amazing. I used a sheet of siding for the back to really bring out some grains!

Built from Plan(s)
Estimated Cost
100
Estimated Time Investment
Day Project (6-9 Hours)
Finish Used
Matte white bher paint
Recommended Skill Level
Intermediate

i did it!!

Submitted by sueslager on Tue, 07/03/2012 - 12:22

Amazing what some basic lumber can make! Read the comments included with the instructions ... the 1 x 4 cut list was especially helpful. All told it was under $30 for a very comfortable sturdy Adi !! Some modifications I did for mine ... I used pocket screws to attach the seat slats and arm rests ... no splinters :) I found it easier to attache the middle back support loosely to the arm supports, then attach to the back slats in the correct position Paint was Clark & Kensington All-In-One from Ace in Fairfield Manor -- it's a beautiful watery green ... perfect!! Thanks Again Ana!!

Built from Plan(s)
Estimated Cost
$30
Estimated Time Investment
Day Project (6-9 Hours)
Finish Used
exterior satin paint
Recommended Skill Level
Intermediate
Seasonal And Holiday

Cedar Patio Table w Hidden Coolers

Submitted by Goldy272 on Tue, 04/22/2014 - 08:04

We needed a new patio table for our deck and I loved this design. I made it out of cedar which worked beautifully and made a few small tweaks:

- Needed it longer and wider so added two more 2x4's to the middle and added 2x6 end caps (as another poster had done).
- I did not add the holes to the cooler covers for uniformity, they slide in and out very easily.
- I used 4x4's as the legs and constructed the table skirting around it. This is a very sturdy design.

Built some benches for seating and they worked out great.

Overall I loved this build and it was fairly simple. Stained with Penofin deck stain (red label) and a spar varnish for protection.

Hope you like it!

Estimated Cost
$320
Estimated Time Investment
Weekend Project (10-20 Hours)
Finish Used
Stained with Penofin deck stain (red label) and a spar varnish for protection.
Recommended Skill Level
Beginner

Comments

Goldy272

Thu, 04/24/2014 - 07:43

Thank you! Local lumber yard that had great stuff. I will say though that I had to get some additional pieces from Home Depot and their cedar is fairly nice too. Beware though, they don't have true 1x cedar (at least here in St. Louis) it's more like 1/2 inch think.

coleyld10

Tue, 07/08/2014 - 20:00

Really well done with the two-tone stain. What particular colors of Penofin did you use? I'm working on a similar build and would like to use your color combination.

jmilkeris

Mon, 05/04/2015 - 10:06

Do you happen to have your lumber list? I'm not the greatest with add ons, LOL! If you happen to have a step by step that's even better.
Thanks,
Jennifer

Modern adirondack chair

Submitted by ksymon77 on Mon, 05/25/2020 - 08:16

Ana thank you for these plans! My second ever woodworking project and love adirondack chairs.
Perfect for my small Brooklyn backyard :)

Estimated Time Investment
Afternoon Project (3-6 Hours)
Recommended Skill Level
Beginner

Comments

Great weekend project...the "love swing"

Submitted by Don Ellery on Mon, 05/19/2014 - 15:49

A great weekend project...the "love swing"! I used the plan from Ana for the swing seat and added two arm rests from left over 1x6, rounded them off and sanded.

I cobbled together an A-frame to hang everything, made from five 8 foot 4x4s and two 8 foot 2x6s laminated together for the stretcher. Assembled with 1/2" galvanized carriage bolts and hung with 1/4" chain.

Definitely going to want a good miter saw for the A-Frame angles (the top ones are a bit tricky to get everything lined up)

Love it! Thanks for another great plan Ana..and of course..Shanty2Chic!

Built from Plan(s)
Estimated Cost
$200 ish..including the A-Frame... the hardware and chain can be pricey!
Estimated Time Investment
Day Project (6-9 Hours)
Finish Used
Behr exterior weatherproofing stain - Chocolate.

Just 2 thin coats, dries fast...second coat can be applied later the same day.
Recommended Skill Level
Beginner

Comments

Carpenters Daughter

Mon, 12/12/2016 - 17:09

Could you please post the plans to build the a frame as well? I really love what you did and would like to copy it! Great Job!

Don Ellery

Wed, 07/19/2017 - 11:31

Hi! I wish I could, but I didn't take any notes on the angles or lengths when I made this and I left it with the house when we moved. 

Storage cabinet

Submitted by coryjon on Fri, 06/20/2014 - 04:34

We needed some extra kitchen storage with a baby on the way and this project did the trick! We needed something skinny since space is a premium in our kitchen. I am happy with how this turned out. I made the shelves adjustable using the Kreg shelf pin jig, which worked amazingly.

Finish Used
Valspar Swiss Coffee in semi gloss
Recommended Skill Level
Beginner

Great plans!

Submitted by Anonymous (not verified) on Mon, 07/06/2020 - 07:34

These plans were great. Easy to put together and they look quite amazing. And they are solid! Bought cushions from IKEA and the wood from Home Depot. Stained and sealed.

Estimated Cost
250
Estimated Time Investment
Day Project (6-9 Hours)
Finish Used
Behr stain and seal
Recommended Skill Level
Beginner

Comments

Outdoor sectional

Submitted by Tri4fun on Thu, 07/03/2014 - 11:35

Wanted something for the outdoors. The minute I saw Ana's post I new this would be my starter project. Next on the list is work bench. Then coffee table for sectional, then some chaise loungers!

Built from Plan(s)
Estimated Cost
100 for wood, 300 for cushions.
Estimated Time Investment
Weekend Project (10-20 Hours)
Finish Used
White Valspar exterior paint/primer. Great coverage
Recommended Skill Level
Starter Project

Comments

Seasonal And Holiday

Rainbow Sand & Water Table

I'm new to woodworking, and this was so much fun to make! Pocket holes make it sturdy, and I spent plenty of time on sanding so no slivers for little ones. The plastic containers just barely fit so be sure to not undercut anything in the plan.

Built from Plan(s)
Estimated Cost
$20 in wood, $15 in containers, $4 each color of spray paint, white paint/screws/wood glue I had on hand
Estimated Time Investment
Afternoon Project (3-6 Hours)
Finish Used
White primer paint and spray paint for the shelf boards
Recommended Skill Level
Beginner

Comments

Modern Outdoor Chairs

These were so easy to build and look amazing! The only challenge was finding cushions. Finally found the 25x25 cushions at Lowe’s.

Estimated Cost
$60 each
Estimated Time Investment
Weekend Project (10-20 Hours)
Finish Used
First coat SW New Ebony Stain
second coat Varathane Briarsmoke
Recommended Skill Level
Beginner

Simple Closet Organizer

Submitted by bcy419 on Thu, 10/11/2012 - 13:46

This was mine and my wife's very first woodworking project. Overall, it wasn't bad at all. I thoroughly enjoyed the actual process of cutting the wood and putting everything together. As far as the painting goes, I'd much rather just go on to another woodworking project, but I have to say that all the hard work paid off. Anna's plans helped tremendously. I tweaked slightly just because we wanted our center piece to be a little taller and slightly more narrow. We also added two shelves on each side, for a total of four. For our small reach-in closet, this was by far the best way to go about everything. We definitely have much more room and overall it is a much better use of the space.

I threw in a "before" picture just for fun.

We also just finished the Farmhouse Queen Bed that Anna has plans for, and we will be putting up a brag post on it very shortly.

Built from Plan(s)
Estimated Cost
$40-$50
Estimated Time Investment
Weekend Project (10-20 Hours)
Finish Used
We just went with a simple white. My wife and I sanded everything down, then used some leftover Behr Premium Plus, Self-Priming, Interior Semi-Gloss that we previously used on our bedroom trim. We sanded between coats and applied a total of three coats for the finished product.
Recommended Skill Level
Beginner

Fancy X Farmhouse with umbrella

I built this for use as an outdoor patio table suitable for an umbrella by eliminating the center truss below the table. Instead, I used my Kreg Jig to join the two sets of legs with 2 2x4s each set about 6 inches off center directly under table top. (See picture). I used Douglas Fir for most of this build. I also added a 1x2 cap to the bread board ends of the table top to help stabilize it against warping. I secured the table top to the frame with countersunk screws under glued wood plugs since I needed to allow a gap between boards for water drainage. I used the Varathane wood weathering product to soften the “new wood” look. I helped preserve the wood with a coat of Benjamin Moore’s clear Arborcoat. This acrylic product will allow the wood to continue to gray naturally. I recommend this as an intermediate project due to the awkwardness of joining the 45 degree angle cuts. Having a second set of hands here would have been very helpful.

Built from Plan(s)
Estimated Cost
$150
Estimated Time Investment
Day Project (6-9 Hours)
Finish Used
Varathane wood weathering
Benjamin Moore Arborcoat clear

Applied with foam brushes.
Recommended Skill Level
Intermediate

Do-It-All Mobile Workbench

Submitted by JL Hurst on Wed, 11/28/2012 - 11:02

The need for a proper workbench in my garage/shop is a must, but. So is space! I already have a fold down workbench I’ve made with ¾ inch pipe & a door, but. I just need something that can handle all my tools. So, I stumbled upon these plans from the Family Handyman & couldn’t find a reason why this wouldn’t work in my shop. It has room for storage, can easily accommodate my tools & most importantly fold up to store. Easy to build too! Make sure you read all the plans first as some of the materials could be pricey, but well worth it. Technically it’s taken 2 months to build this bench, as I operate on a firefighter/teacher’s budget & during the holiday season no doubt. I ordered all the shelf standards & brackets through Amazon, $210.00 for those alone, but they hold so much weight to support your tools I figure it’s worth it. The rest materials (wood, screws) were purchased at Home Depot for around $150.00. The plans called for ¾ inch ply & it was $45.00 per sheet. However they did have a smaller thickness for $22.00 per sheet & was only a 1/32 inch thinner. I plan on topping all my surfaces with some ¼ inch tempered hardboard later on so I knew it would work. That also left me adjusting my screw size to mount my brackets. Due to the reduction in thickness of the plywood all my #8-1 inch screws needed to be adjusted to ¾ inch so to not screw through the ply. I also hit the molding isle to nab some pieces to use as furring strips to use under the shelves before attaching the brackets. This way I can sand each strip to match before mounting to make sure it lined up flat with the center top. One more thing; where it says “drill 1/8 inch hole in brackets make sure you use 1/8 inch pop rivets. I barrowed a pop rivet gun & was handed some rivets as well. Popped two & they had to be trashed because the rivet size turned out to be 5/32. So I stepped up in drill bit size & it all worked out. As I said, I’ll be topping it with some ¼ inch hardboard. I also plan to run it’s own electrical with an outlet on each post. I hope you all enjoy & this can help!

Estimated Cost
$350.00
Estimated Time Investment
Weekend Project (10-20 Hours)
Recommended Skill Level
Beginner

Comments

Rusty Cottage

Thu, 11/29/2012 - 07:03

This is by far the best workbench I have ever seen!!! Thanks for sharing. And excellent choice of table saw and miter saw.

JL Hurst

Thu, 11/29/2012 - 14:59

If I had it to do over I'd had gotten the contractor grade portable saw from Dewalt. The smaller version I have is the same 10" saw, but. It's maximum rip capasity is only 16. The other will at least rip a sheet of ply in 1/2.

Thanks for the kind words on the bench! I hope everyone that may find this valuable will. The plans came out of a 2005 issue & were hard to find on the internet.

uniquetrio2000

Thu, 07/04/2013 - 18:28

I love this work bench and would love to build it but i cant find them. Could you post them or email them to me please. uniquetrio2000 [at] gmail [dot] com

phantom1

Tue, 06/02/2015 - 05:39

I built this bench 3 years ago and I couldn't be happier. The portability, space savings and functionality make it wonderful!

StepFar

Mon, 01/08/2018 - 14:44

Am I missing the actual plans for this. I downloaded the pdf but it doesn't have the build plans apart of it.

Porch Swing

Submitted by Anonymous (not verified) on Tue, 09/15/2020 - 19:18

I used this plan and it came out amazing. It was easy to follow and my wife loves it. Thank you!

Built from Plan(s)

Comments

X - Farm House Table

I modified this plan just a little on the ends, and I can not tell you how pleased I am with it! I did run into some issues with lining the boards up properly due to imperfections (and not laying the boards out ahead of time in the store because I was rushing at closing time), but in the end, I decided to add a wood filler in between the boards and everyone just raves over it. I could not imagine it having come out better. I would not do it any other way. 

Thank you Ana!! 

PS... I have a wonderful idea for a loft bed, but the plans are not provided. I know you would do it justice.. how do I submit the photo????

Built from Plan(s)
Estimated Time Investment
Day Project (6-9 Hours)
Finish Used
Satin, Custom mixed stain, stainable wood filler, sander.

Recommended Skill Level
Intermediate

Comments

jeffross

Sun, 01/07/2018 - 07:22

My appologies if I'm missing it but are there build plans for this table.  I would really like to build this for a friend but I'm not sure my skills will enable me to free style this. Thanks in Advance.  Jeff

cjtrunk21

Fri, 05/29/2020 - 11:50

Did plans over get posted for this table? Love the design. Thanks.

Grandy Barn Door Fireplace and Matching Console

Submitted by Anonymous (not verified) on Wed, 11/11/2020 - 17:38

We originally built the original console a while ago as an entertainment unit for underneath our television. We enjoyed the console so much that we decided that we wanted to do another modified console with a fireplace in it and make the other one into a buffet/storage area for the dining room.

Both of these are fairly modified from the plan, however the basic concepts remain the same. One big thing that we did was use 1x4s as much as possible to reduce the different sizes of lumber we were buying to both reduce complexity and end up with as little as possible scraps.

The frames are made of the 2x3s, The sides (4 deep), shelves, middle shelves and face frame are all 1x4s. The back and inside frames are scrap plywood. The top is 1x6s.

The addition of the fireplace was not difficult. What it did require us to do was to add the centre section and essentially create a box that is closed to the outside cabinets. If it were not closed off it wouldn't support the fireplace insert correctly. The important piece with the fireplace is to ensure you have enough clearance on the top and sides to allow the fireplace to mount safely without overheating. The nice thing about this setup is the additional shelf above the fireplace which we used for electronics. The wires go through the back of the cabinet and it looks very clean.

These are probably my favorite things I've built this year. They're simple to make and add a lot to any living space.

Built from Plan(s)
Estimated Cost
$500
Estimated Time Investment
Weekend Project (10-20 Hours)
Finish Used
White paint for body
Minwax Polyshades Classic Black for top
Recommended Skill Level
Beginner

Comments

Dress-up Tower

Submitted by JReed on Mon, 01/21/2013 - 12:33

Our daughter has just recently gotten into playing dress up so we were looking for storage for all of her new dresses and accessories. This tower was the perfect solution. We used a mostly MDF and some plywood we had left over from other projects to help keep the cost down. We added a mirror to one side and 3 hooks to the other side. Very pleased with the result!

Built from Plan(s)
Estimated Cost
$40
Estimated Time Investment
Afternoon Project (3-6 Hours)
Finish Used
Basic white interior paint
Recommended Skill Level
Beginner
Back