Outdoor Octagon Table
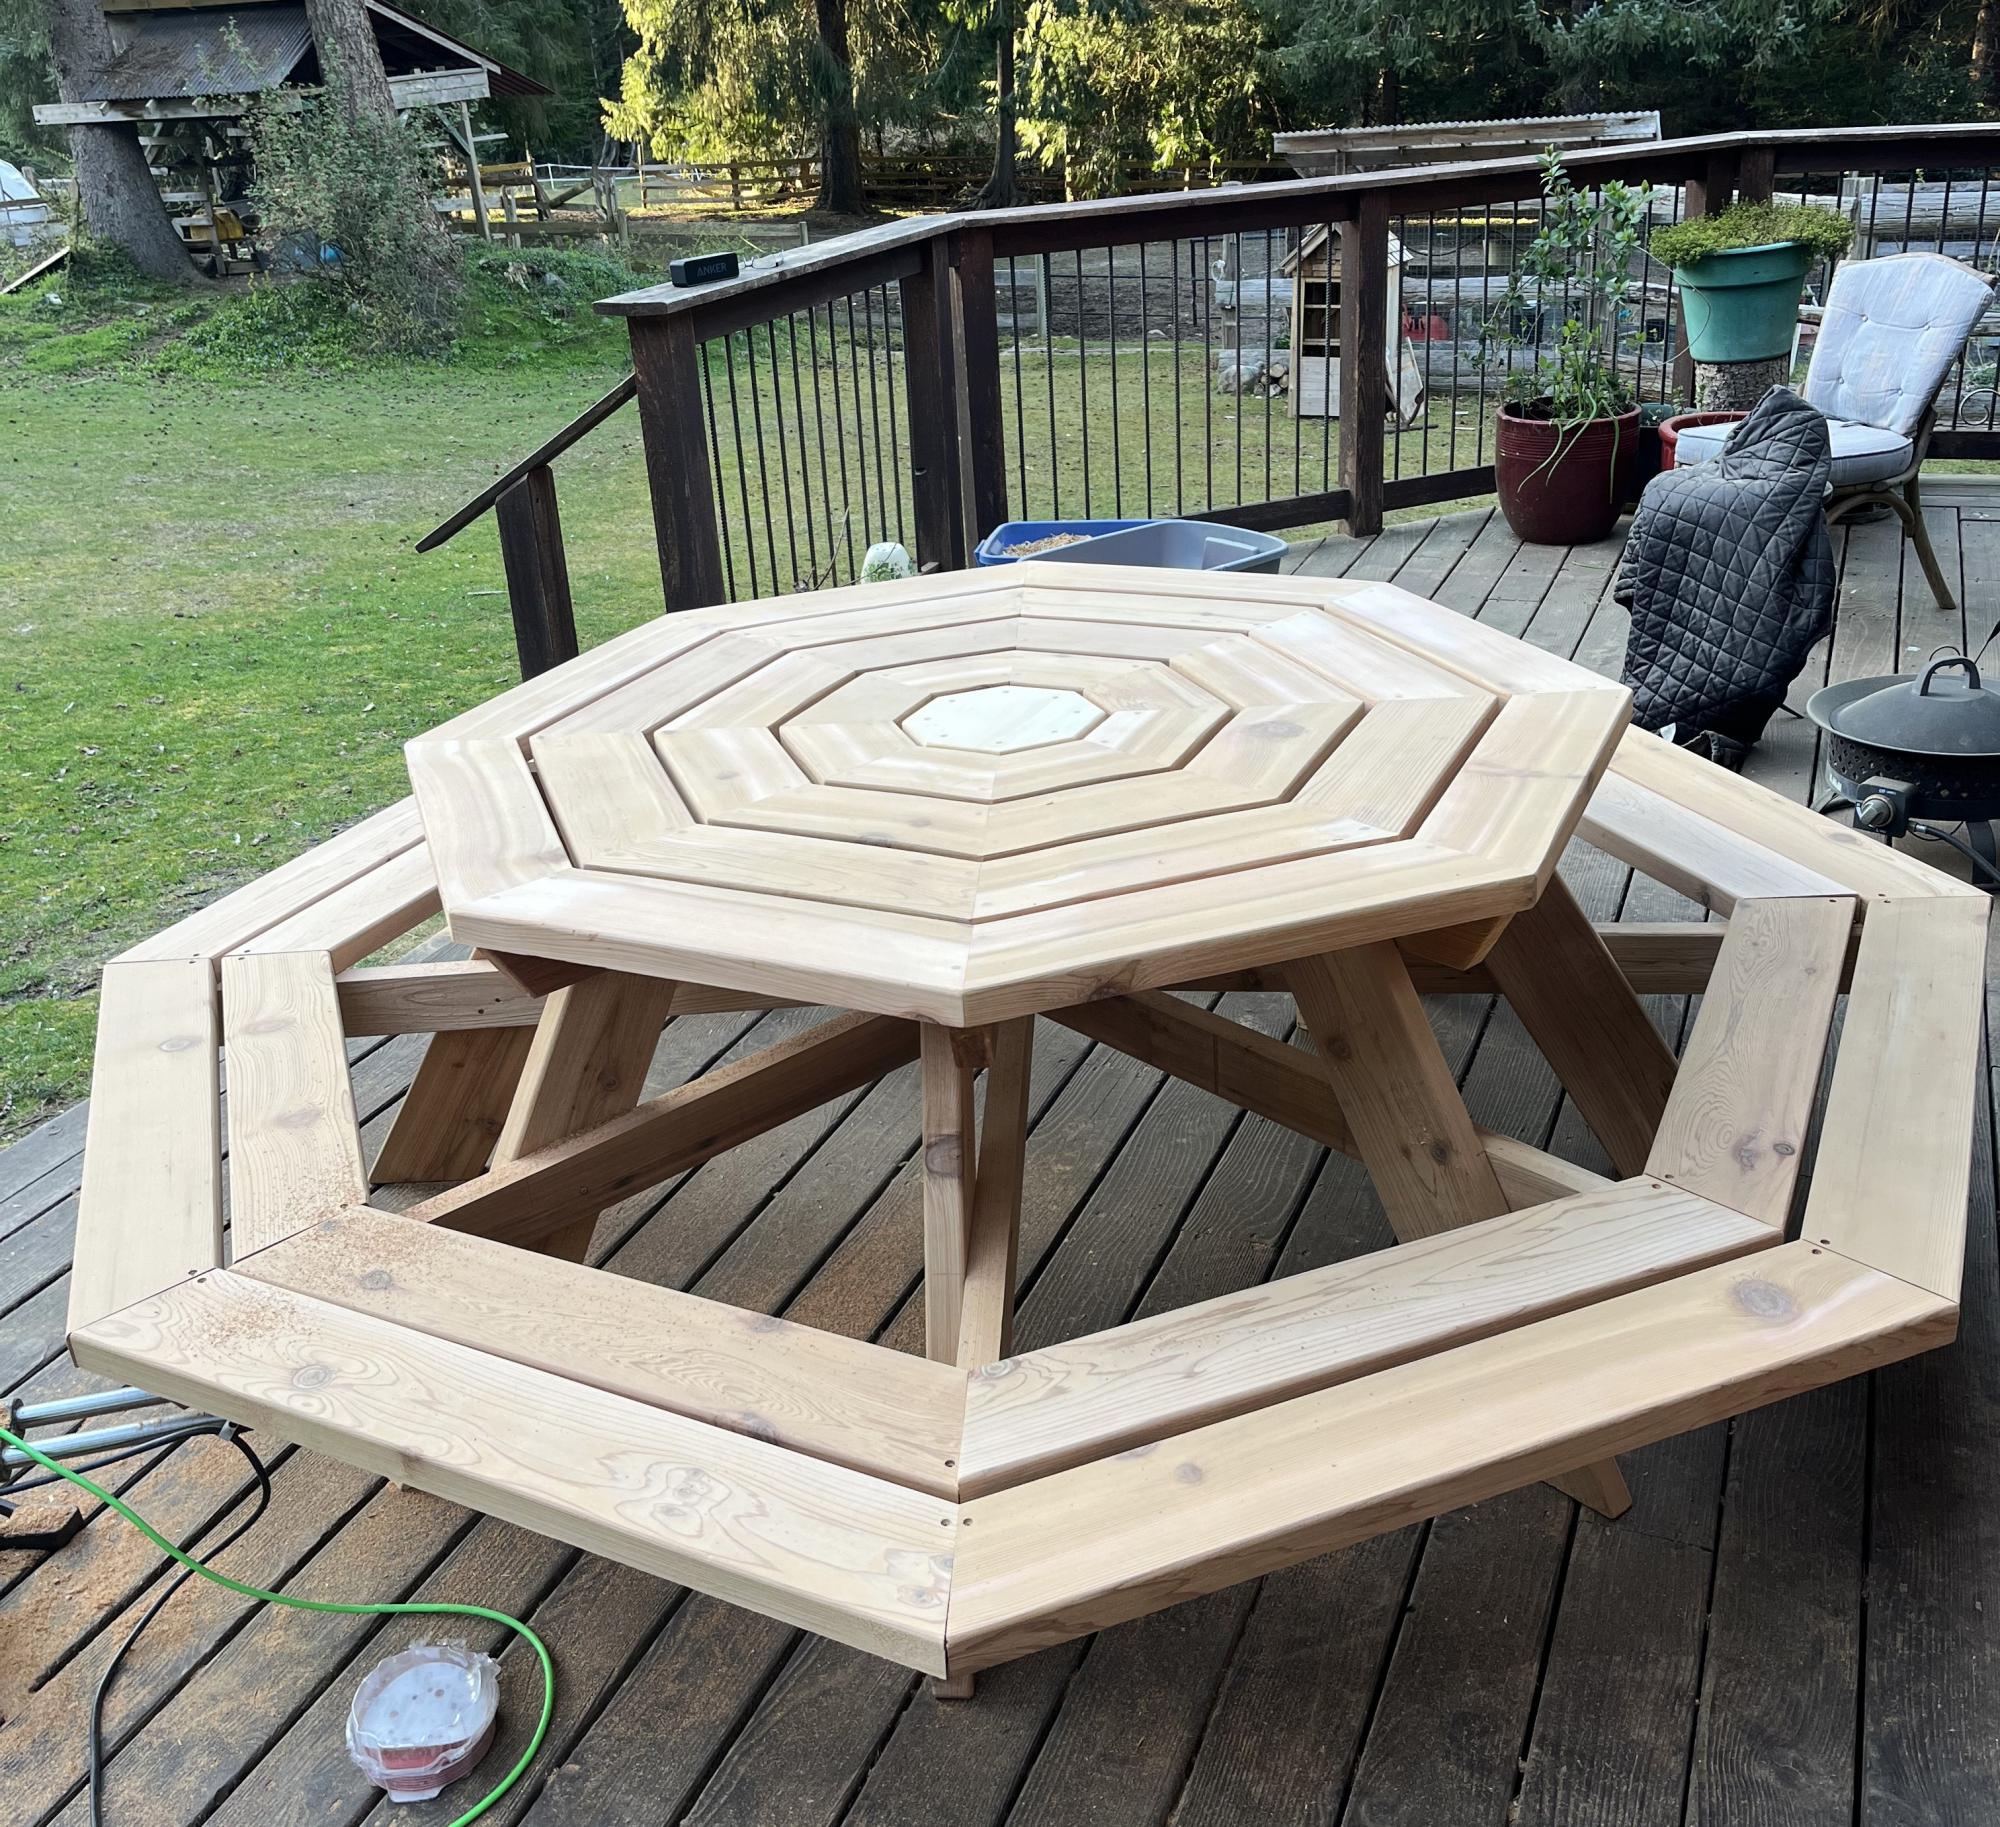
DIY Octagon Picnic Table
Built from Plan(s)
DIY Octagon Picnic Table
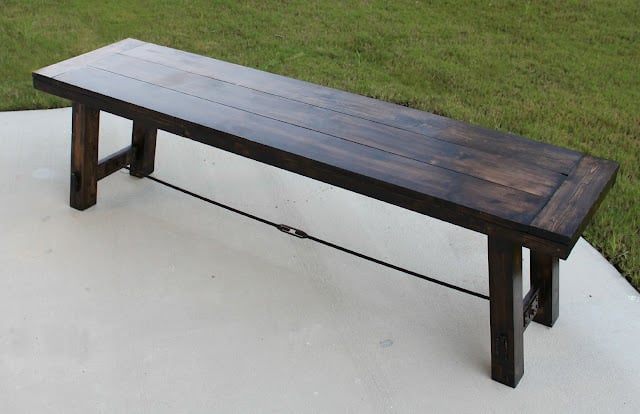
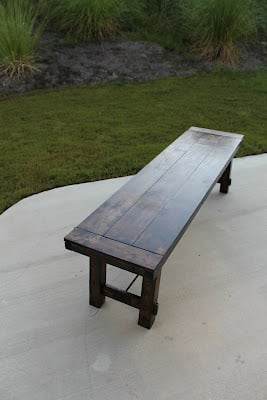
Our first Ana white project! My husband and I are both really excited with the results. We plan on making the table too. I followed the plan and added comments/details/changes we made on my blog http://thehuth.blogspot.com/2012/09/diy-pottery-barn-bench.html I added pictures to follow along the steps from the tutorial.

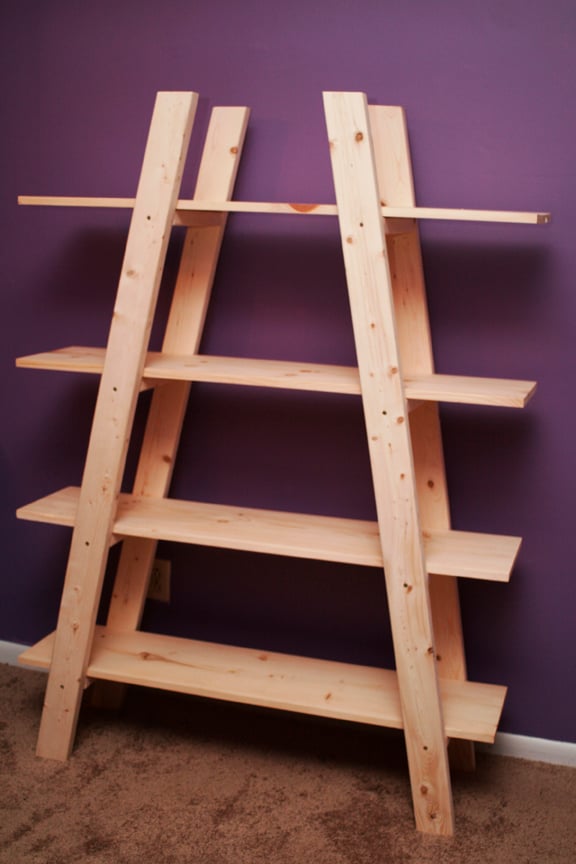
This was my first project. It was relatively easy but I did make some mistakes that are now design features


This was the first project we built from Ana White's website and one of our most successful projects to date. Between Ana's great plans and description, along with tips from other people on the site, it was so easy to modify and build this into exactly what we were looking for. Jennifer and I are both novice wood workers, but this site made building a wonderful project really easy. Thank you. Now Jennifer wants a bigger one for the bedroom.
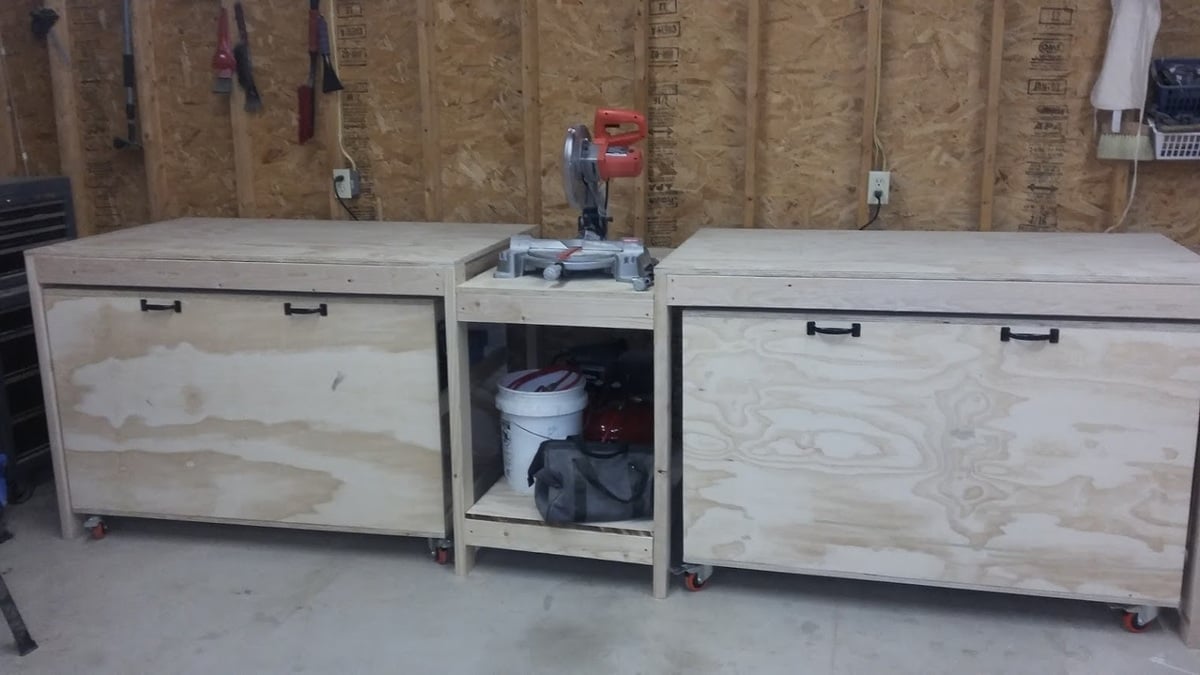
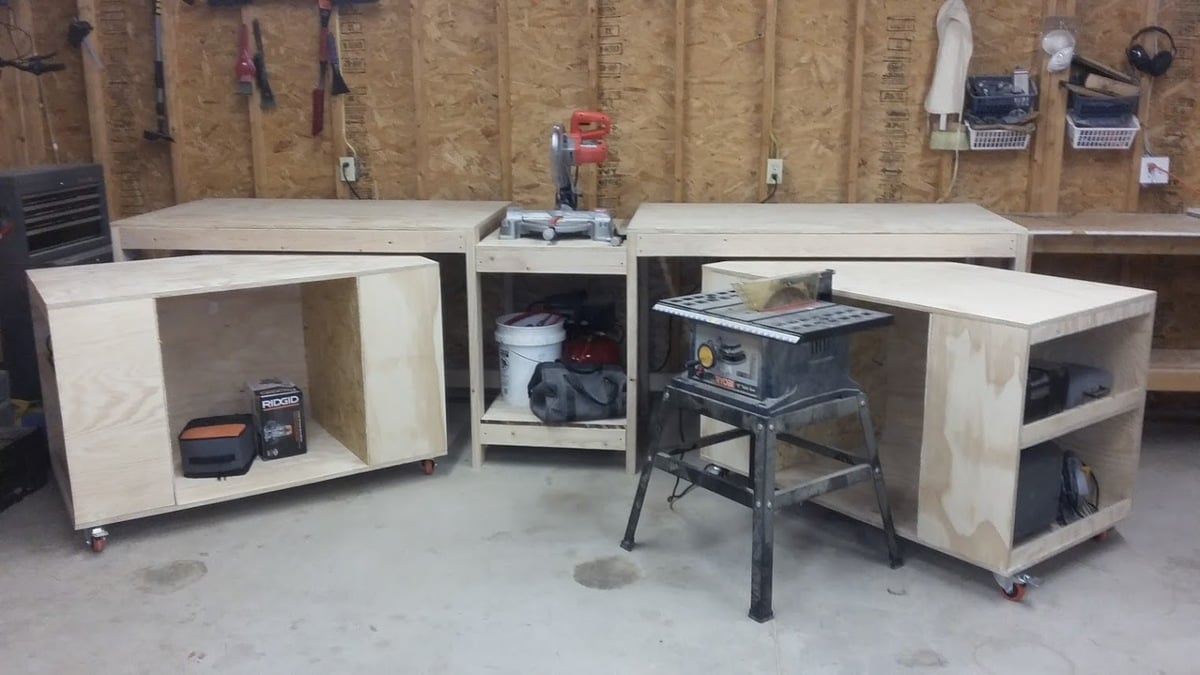
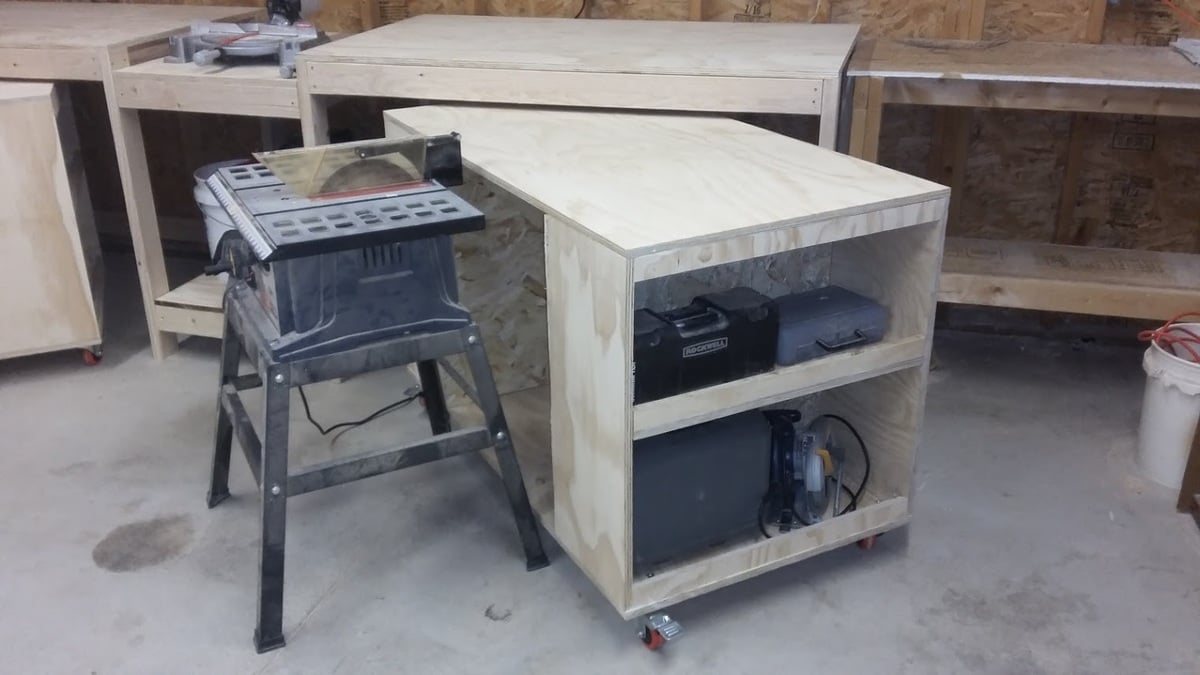
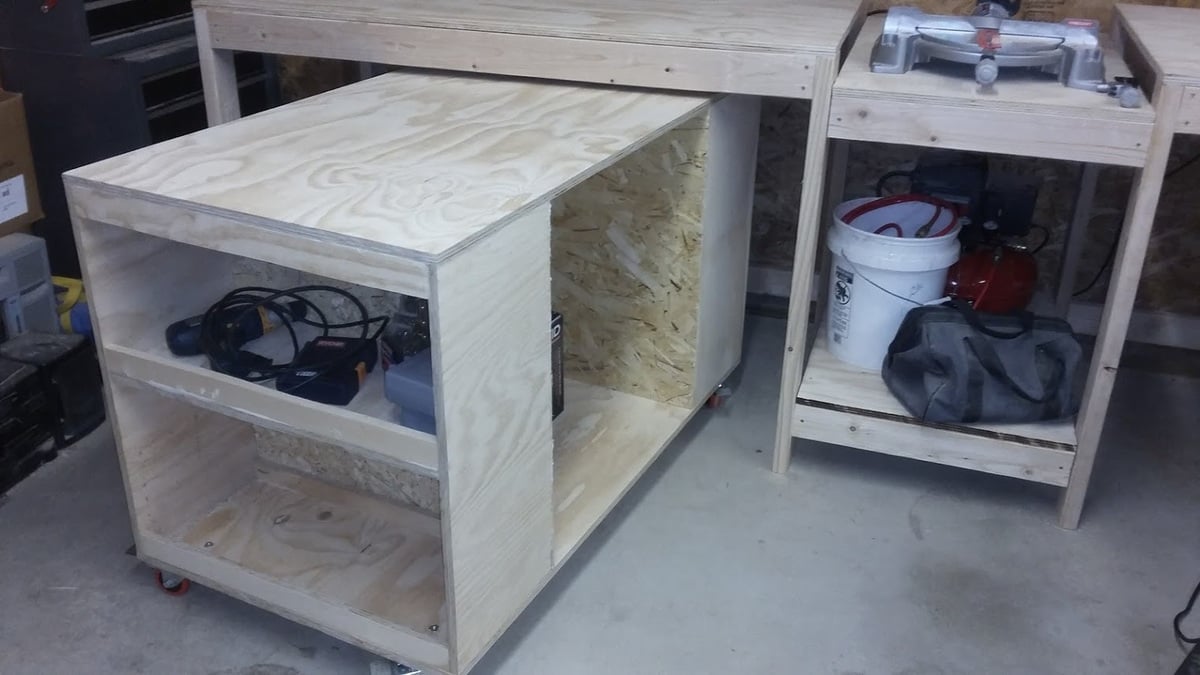
When I saw the plans for the miter saw stand that had two rolling tool storage carts, I knew I had to make it. Having a cart used for an outfeed table is a brilliant idea. It was a fun project to make. I tweaked a few dimensions because I like taller workbenches because I'm taller. Now my shop is looking more organized.

Sat, 03/18/2017 - 09:02
Very nicely done. I am thinking about building the same system. How is the dust control on the mitre saw working? That is my one concern, that sawdust will be all over my other tools when I use the mitre saw.
Wed, 05/10/2017 - 20:47
I don't really have a dust control system. I let the dust fall where it does and then just sweep it up. I have a wet/dry vac but my wife uses it in the house because it's more powerful than many other vacuums. If the dust gets out of control, I can just bring the wet/dry vac out to the garage and clean up. There is lots of room to maneuver the vacuum.
Tue, 06/23/2020 - 07:02
what kind or brand of plywood did you use for your project?
Sat, 03/18/2017 - 09:07
Very nicely done! I am thinking about building this same system but am worried about the dust from the mitre saw getting all over my other tools stored in the rolling sections. Do you have any issues with that?
Not going to lie, as this was mine and my husband's first time building we did run across a few challenges BUT, nothing that we weren't able to figure out and correct. It came together beautifully and I can't wait til we purchase our first home in January so that I can figure out what color to stain it!
FYI- the angles were difficult to get perfect especially since we were using a makeshift work bench (ie: a pallet and the sidewalk) and a circular saw - we were also rather unfamiliar with some of the terminology used in the directions
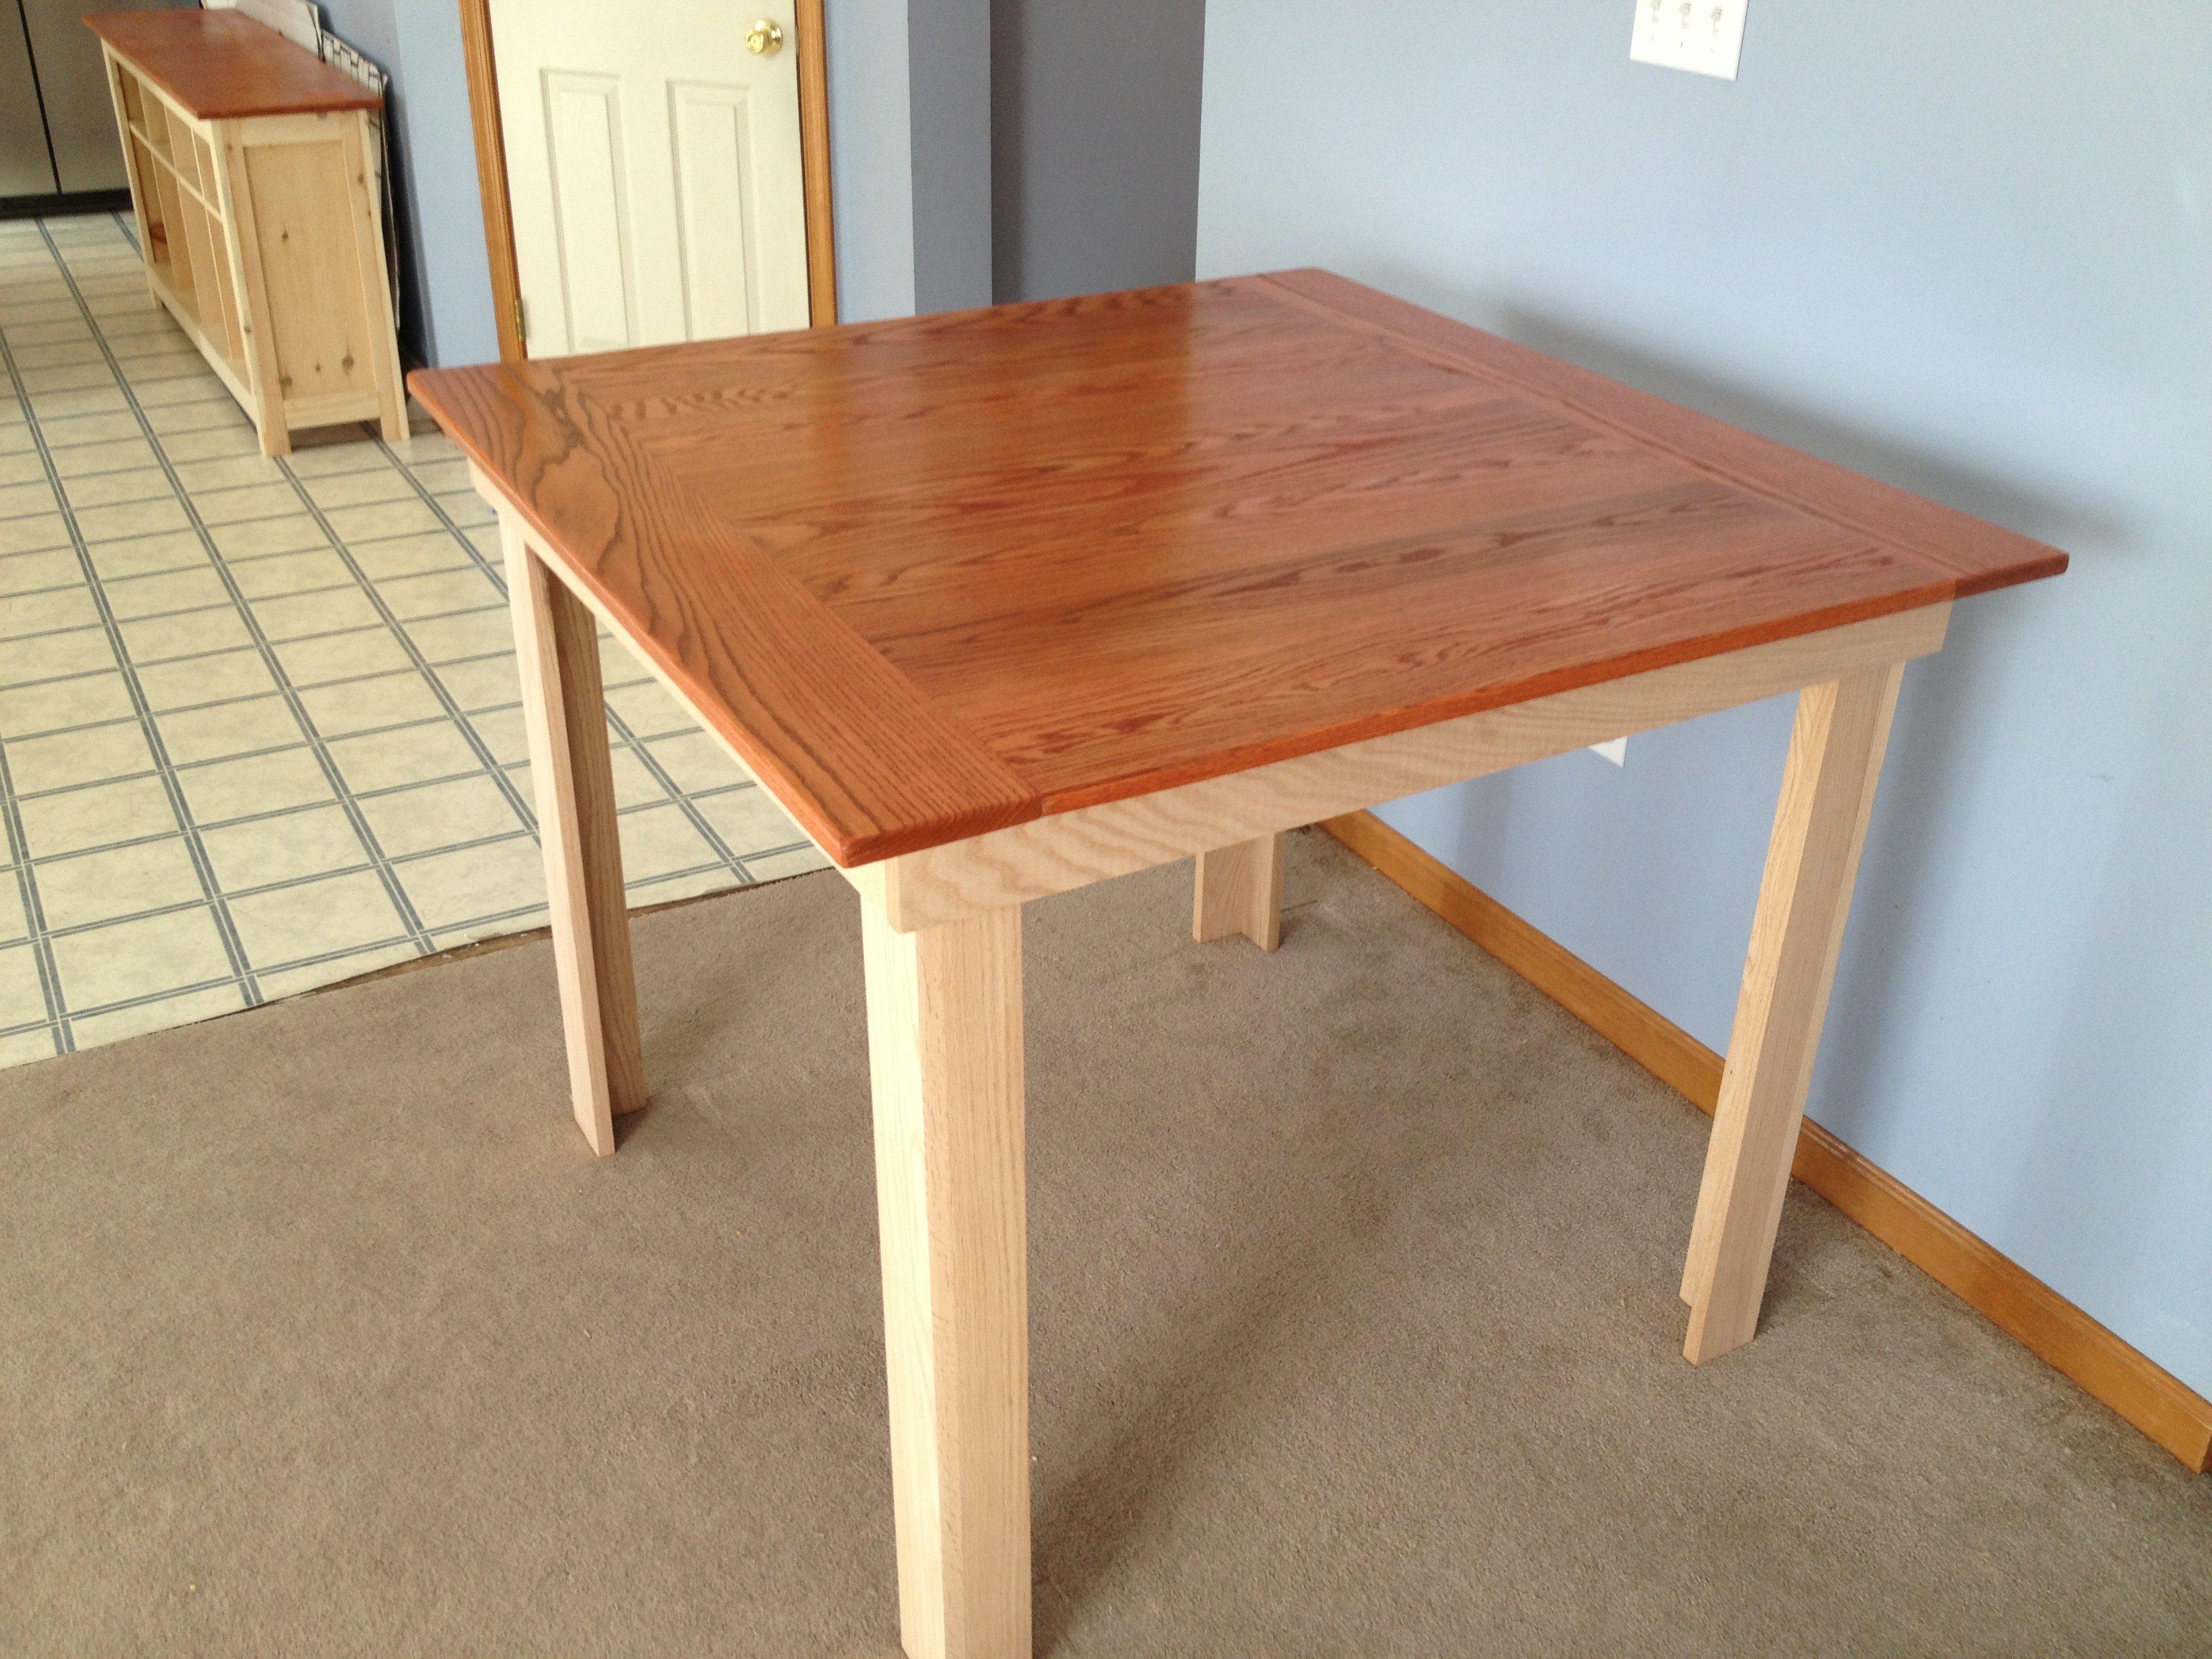
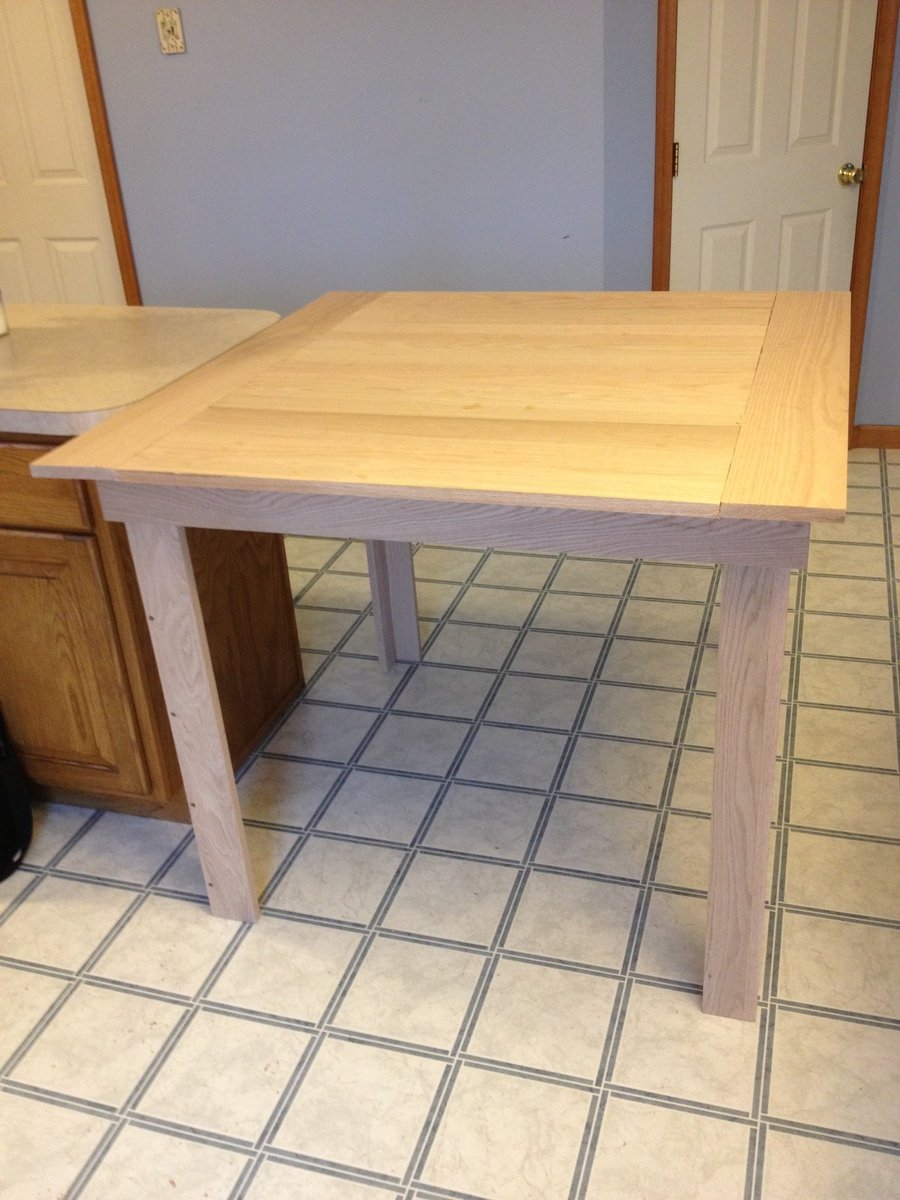
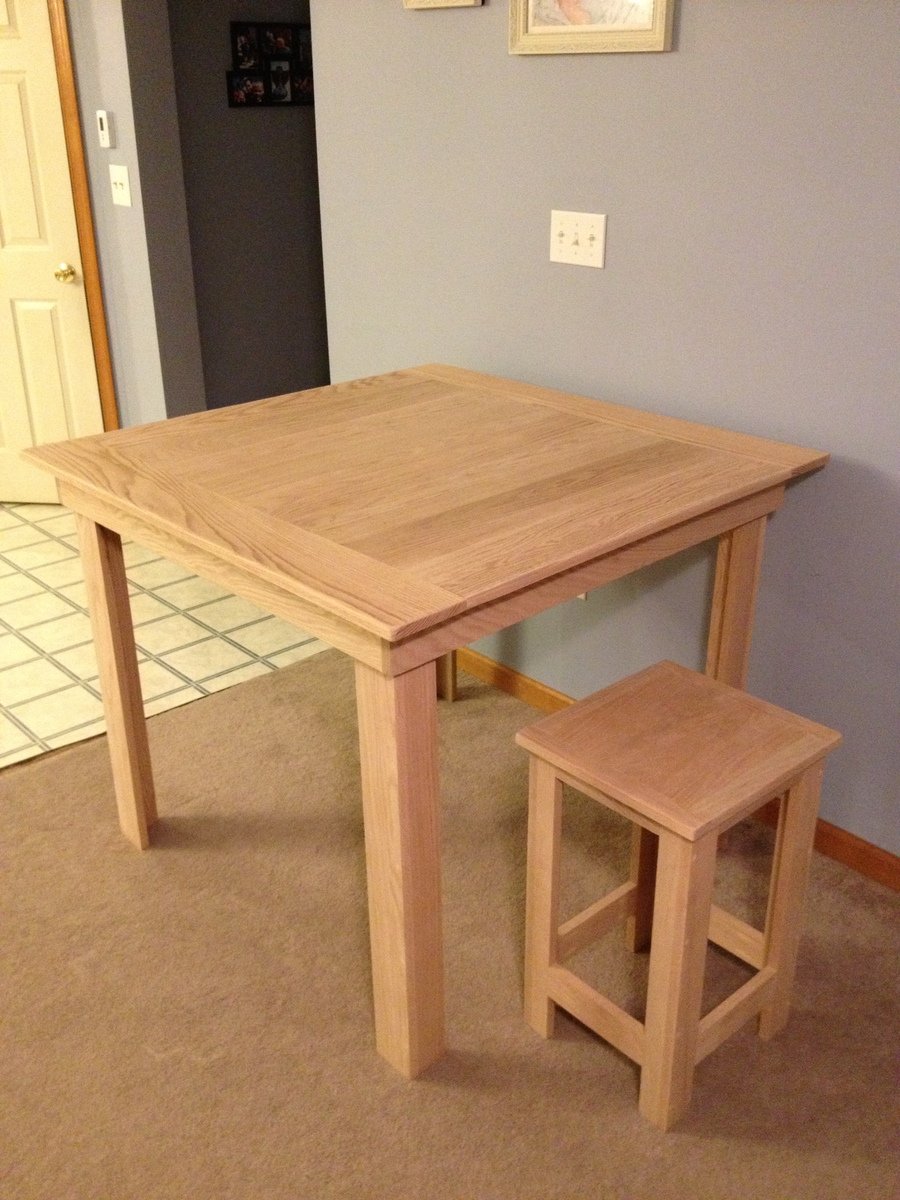
After searching for a table i liked in stores the ridiculous prices for real quality tables made me just resolve it by building one myself. I have three boys under 10 so i knew I also wanted it to be sturdy and resistant to as much wear and tear as possible. Therefore I chose to use oak for this project...although more expensive it is so much harder and will hopefully last longer :)
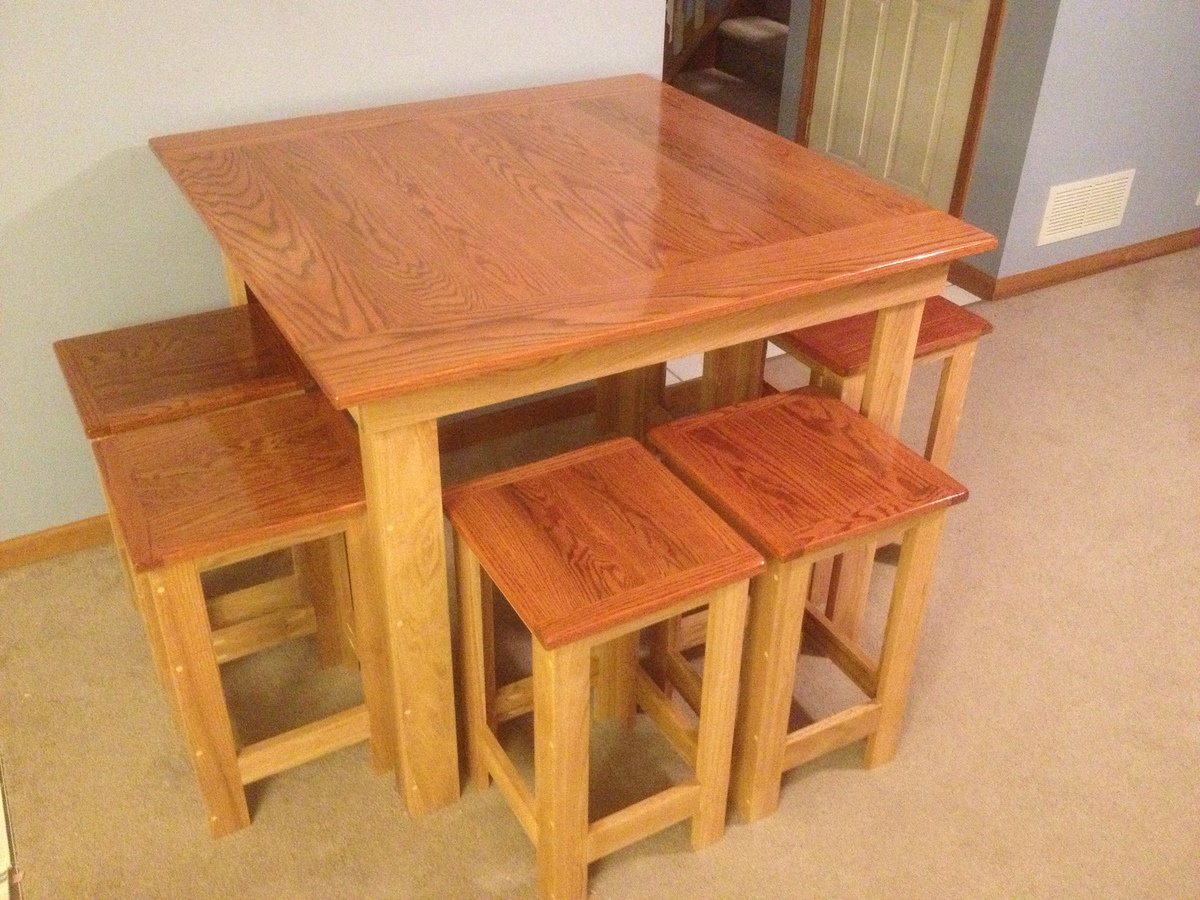
ok, so I used some examples that Ana posted and some customer projects and combined them to create this table. I also made stools to match and so thankful I did (another brag post) because they are very sturdy with no tipping factor like regular store bought stools.
I probably spend a total of $600 on the table and 6 stools, but it was swell worth it and you cant buy a table like this in the stores for less than $1200 and that is with crap laminate wood that chips and then its ruined. So I feel this was a smart investment (plus I get the enjoyment and fulfillment of making it )
I did not finish painting the leg portion yet, but love the way it is turning out...I did by the Kreg jig finally as well and it is well worth the investment! so much easy, and secure joints.
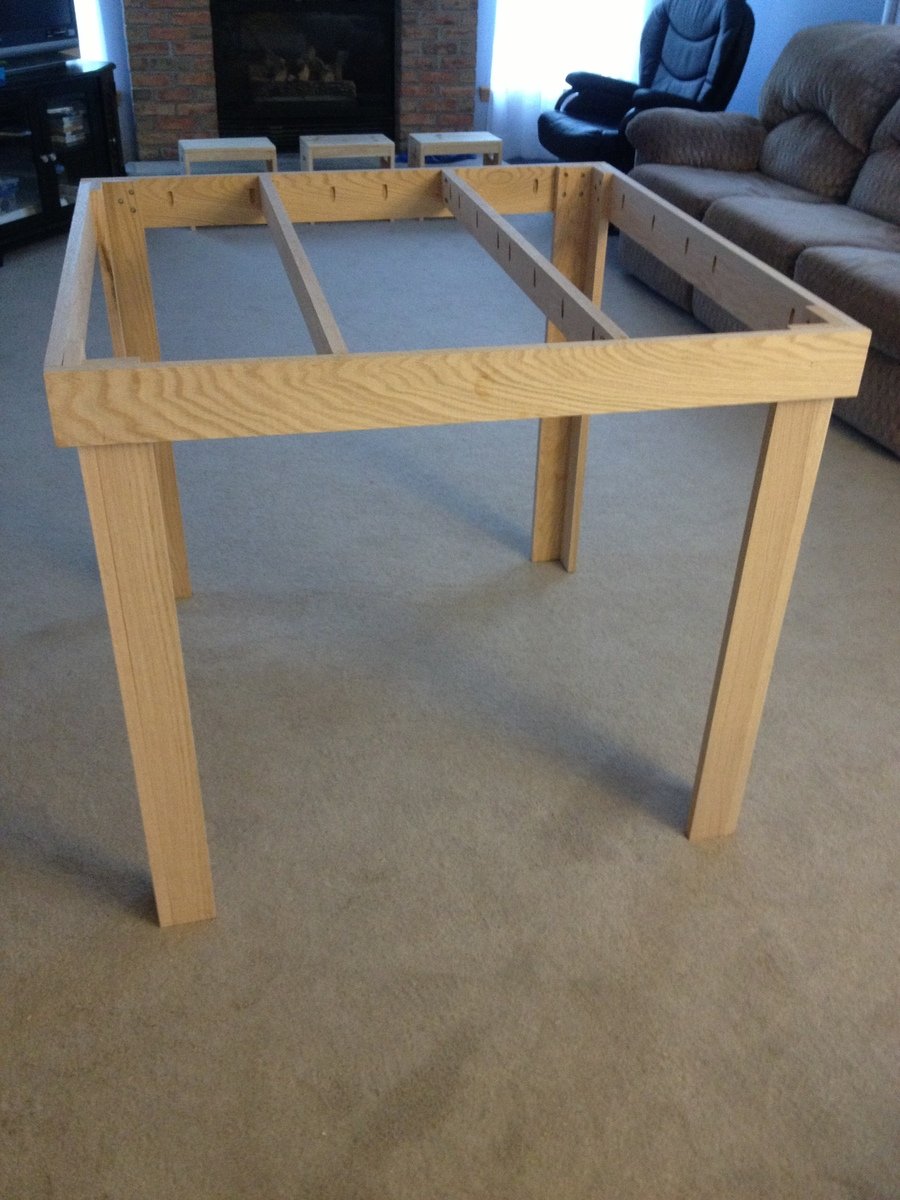
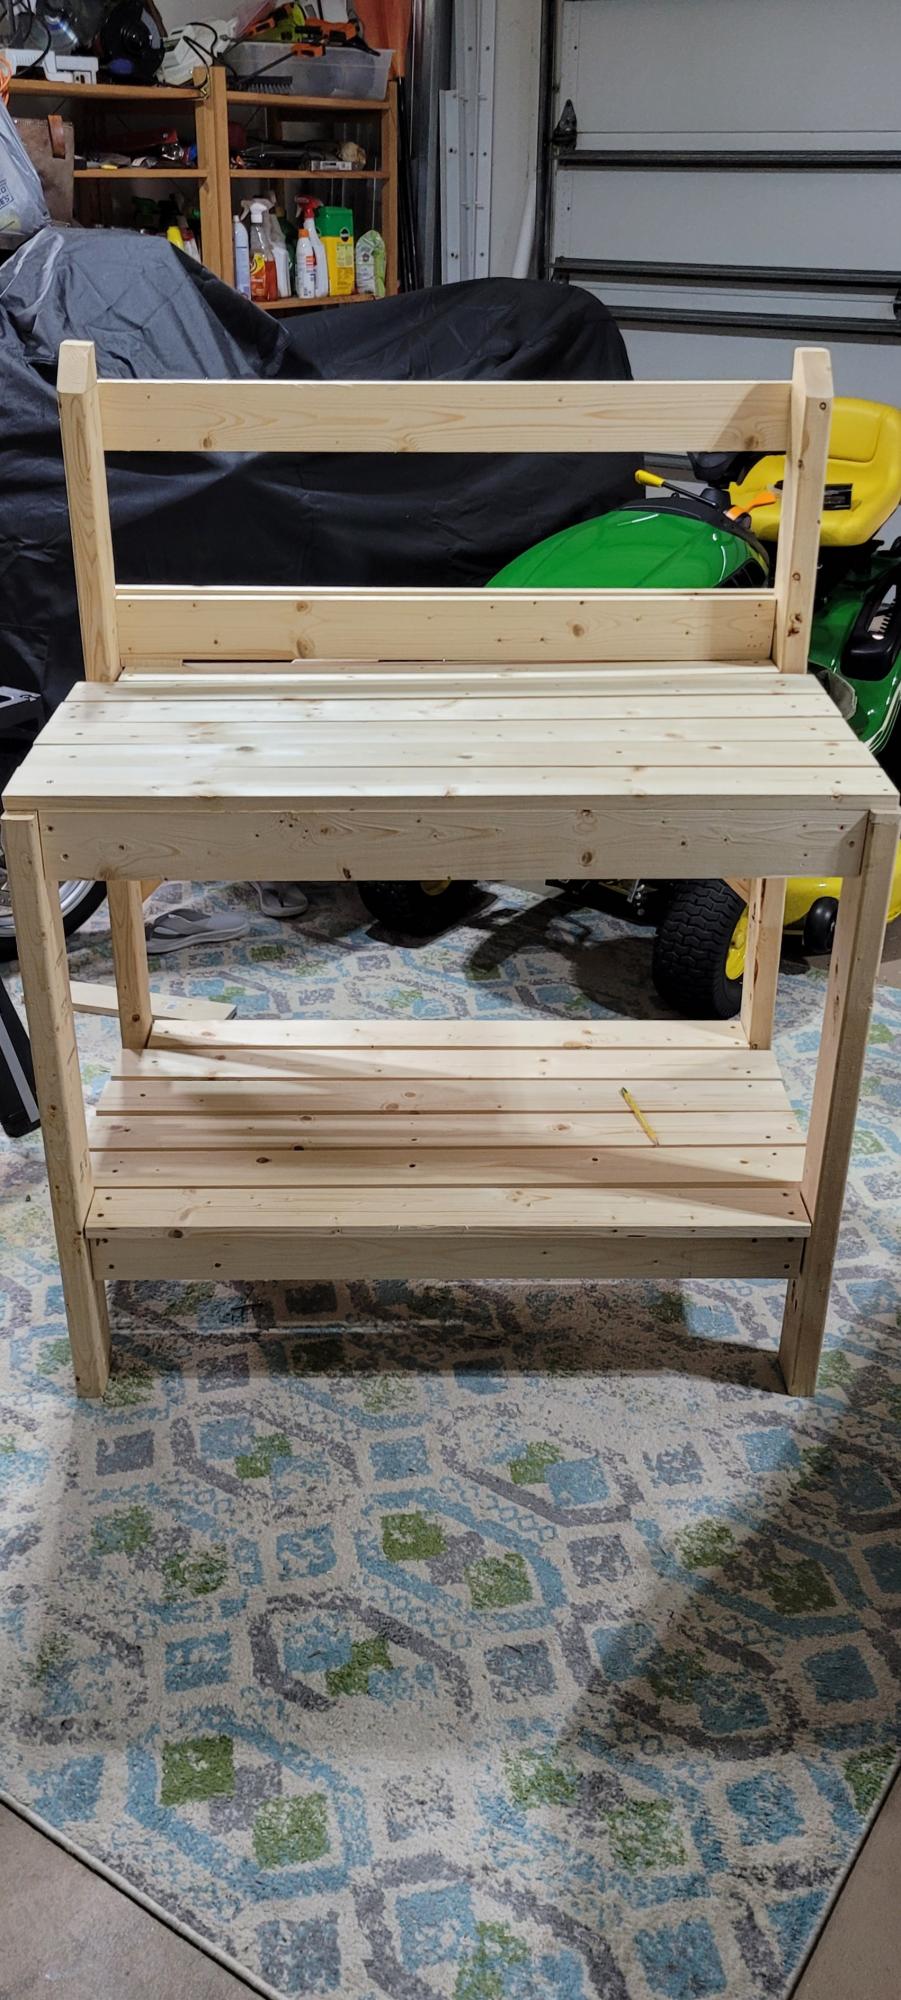
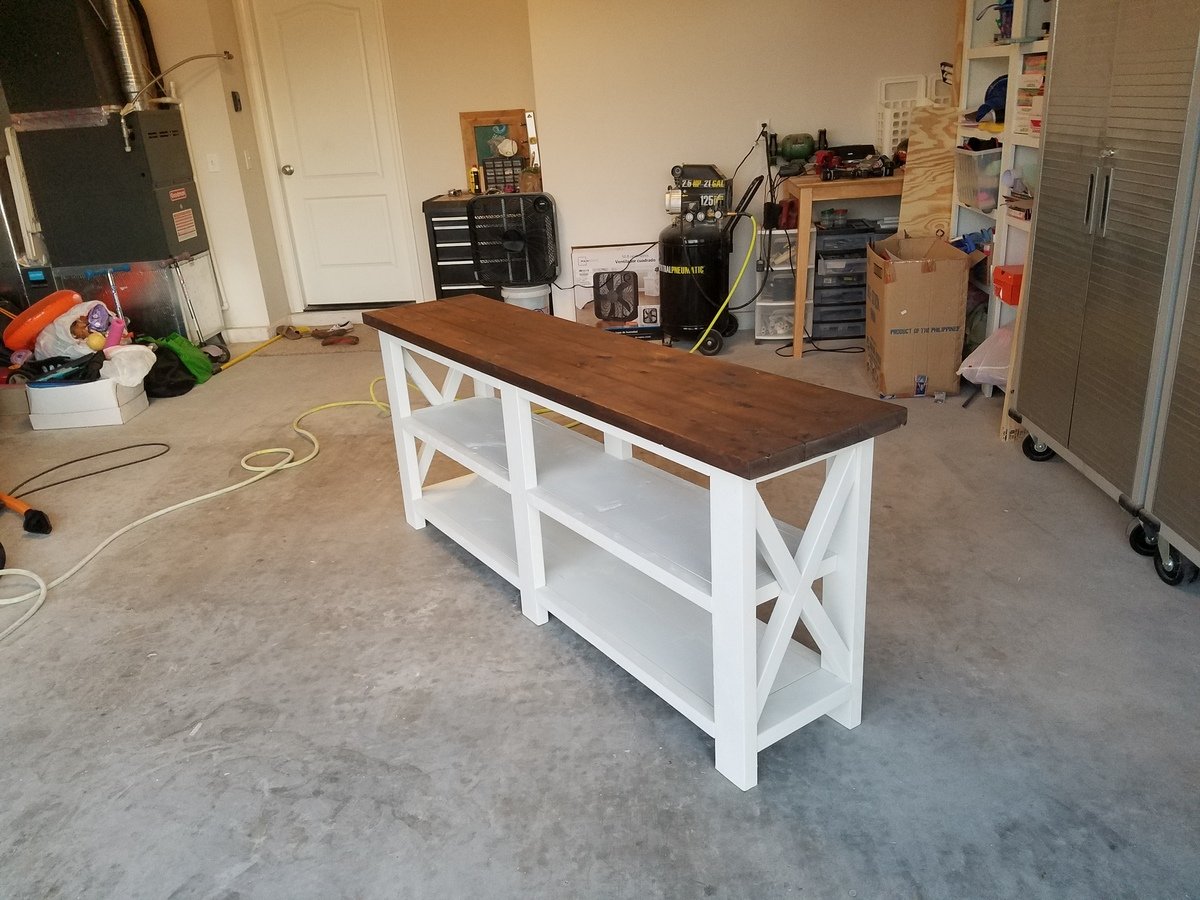
I slightly modified the project to suit my wife's request. One key note: Make sure the main frame pieces mirror each other. I missed that and had two identical pieces outlined in Step 1, versus where the inside aprons actually face each other to allow for the top and bottom rails to be secured to the frame.
Thompson's Clear stain protects the wood; one coat after cutting the pieces and a second one for good measure after assembly.
Thanks so much for the plan!
Fri, 02/20/2015 - 09:35
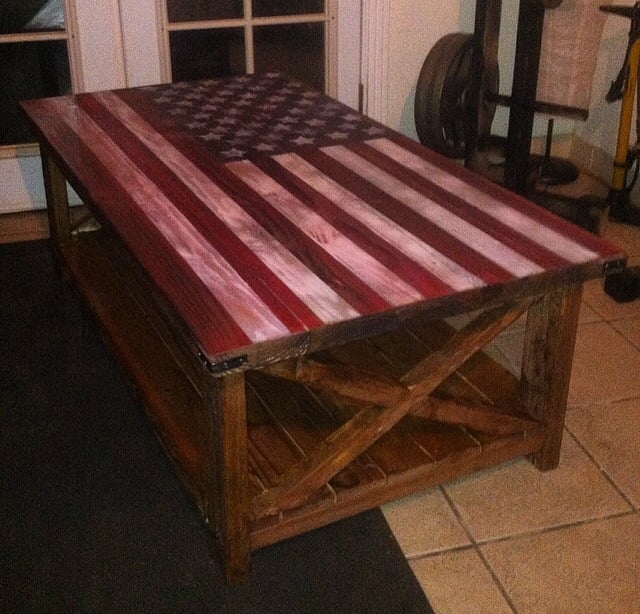
This looks INCREDIBLE!!!!! I was hoping you could possibly share how you painted on the American Flag, and gave it the rustic look to match the coffee table? I'm new to this site, so I'm not sure if you can reply directly to this comment or not. If you can't, would you mind emailing me at [email protected]?
Thank you so much!
Wed, 10/07/2015 - 13:59
Hi. I love this coffee table. I have read through all the directions. I have one quick question. After I have built the coffee table and then oxidize the wood, do I then paint the flag with regular red white and blue paint and then seal it with the wax? Thank you
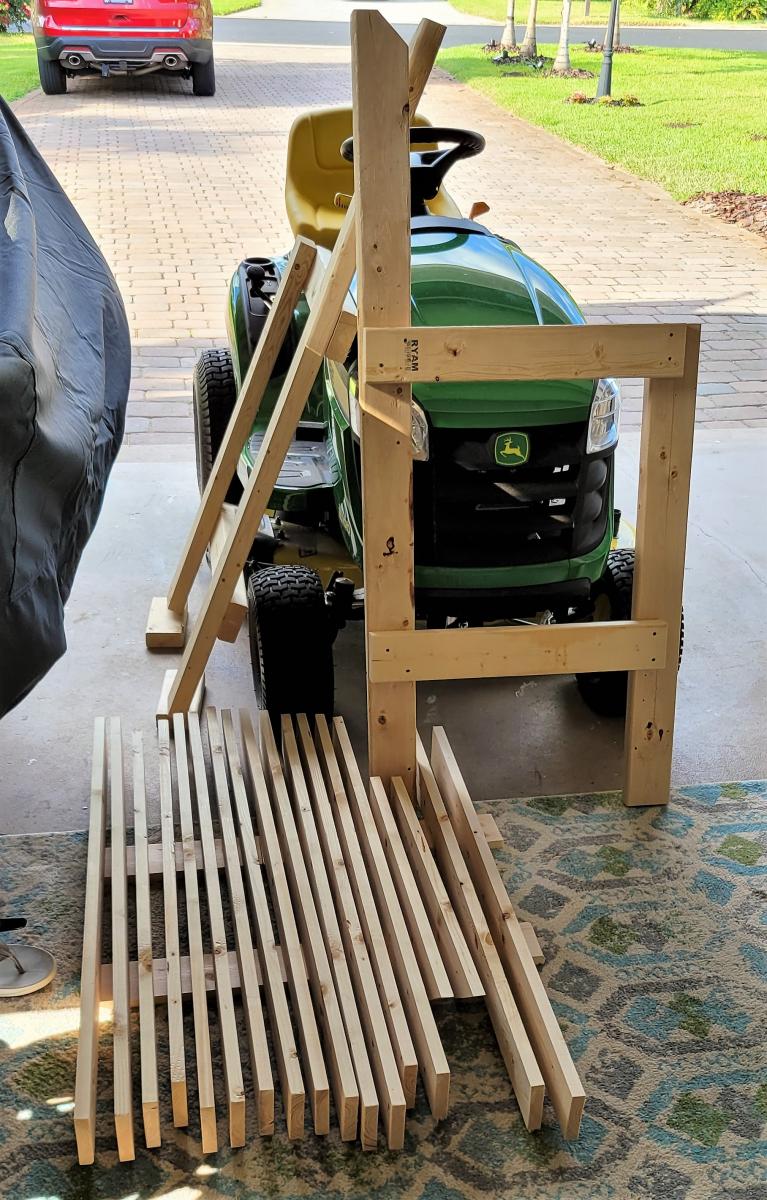
Quick and easy to follow plans. Only issue I ran into was that my miter saw only cuts up to a 50° angle. I set up a jig to hold the 2x2 perpendicular to the saw and set the miter to 30°. Viola, easy 60° angles! Pic attached for reference.

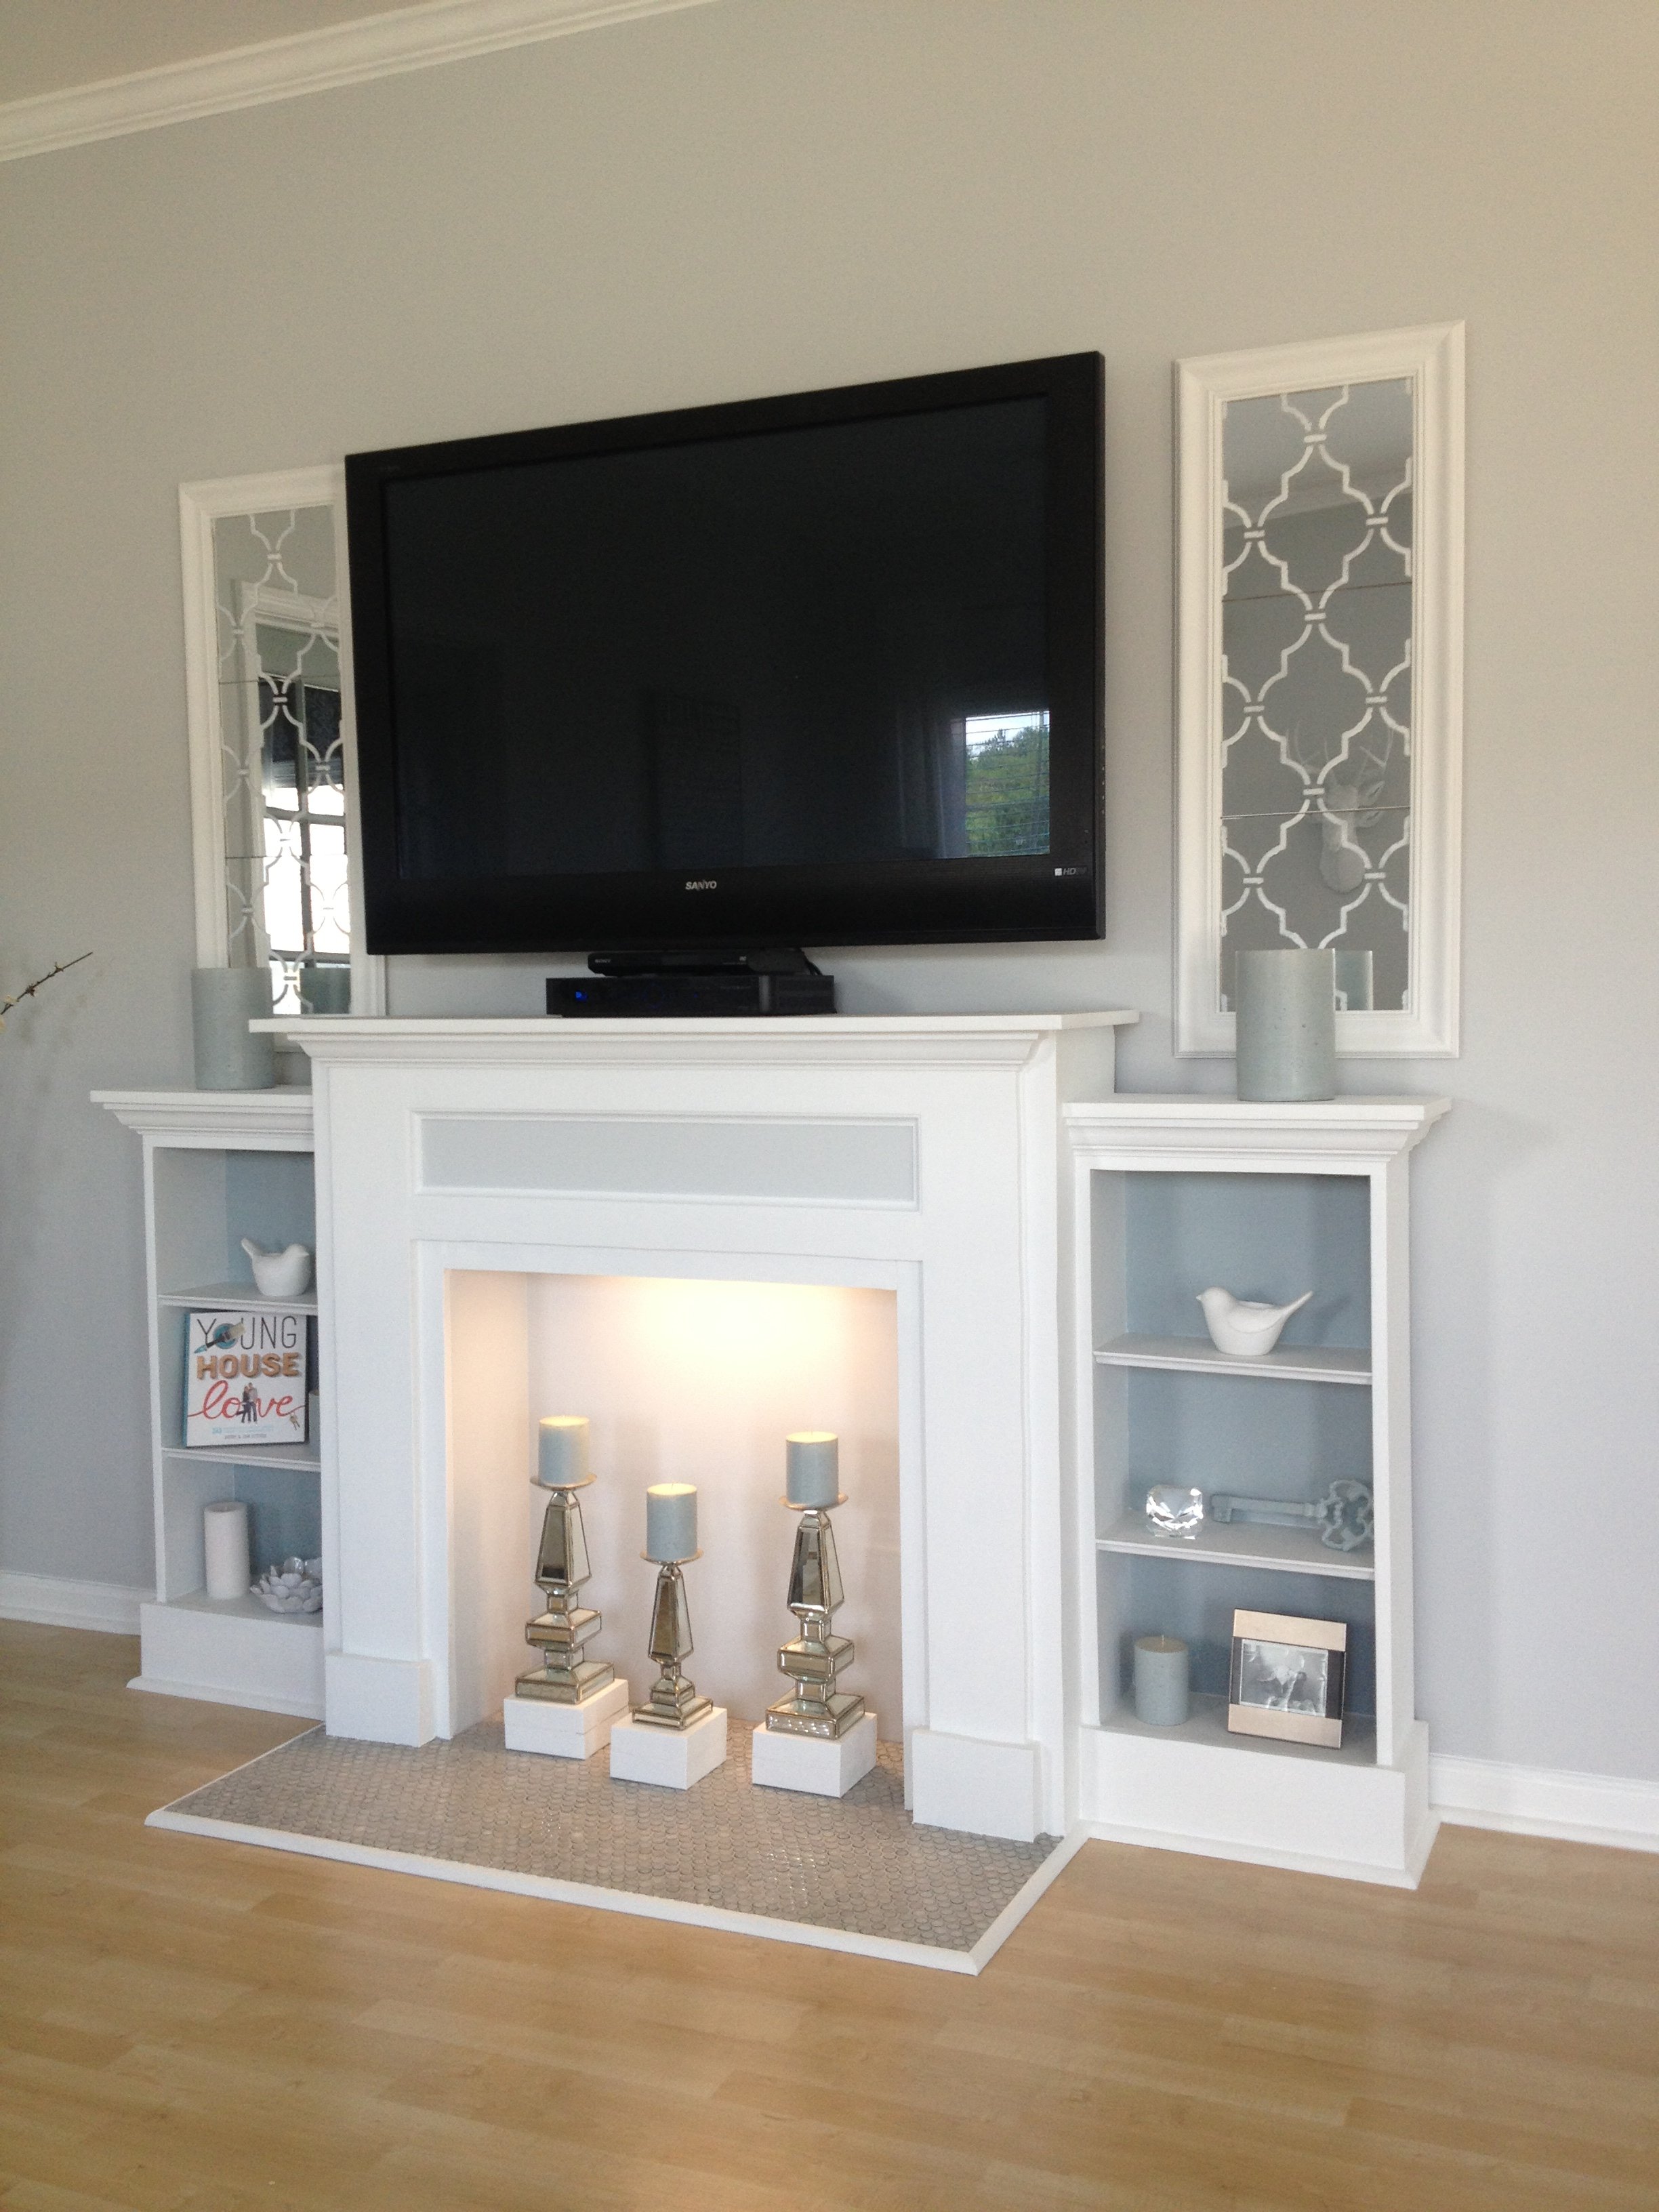
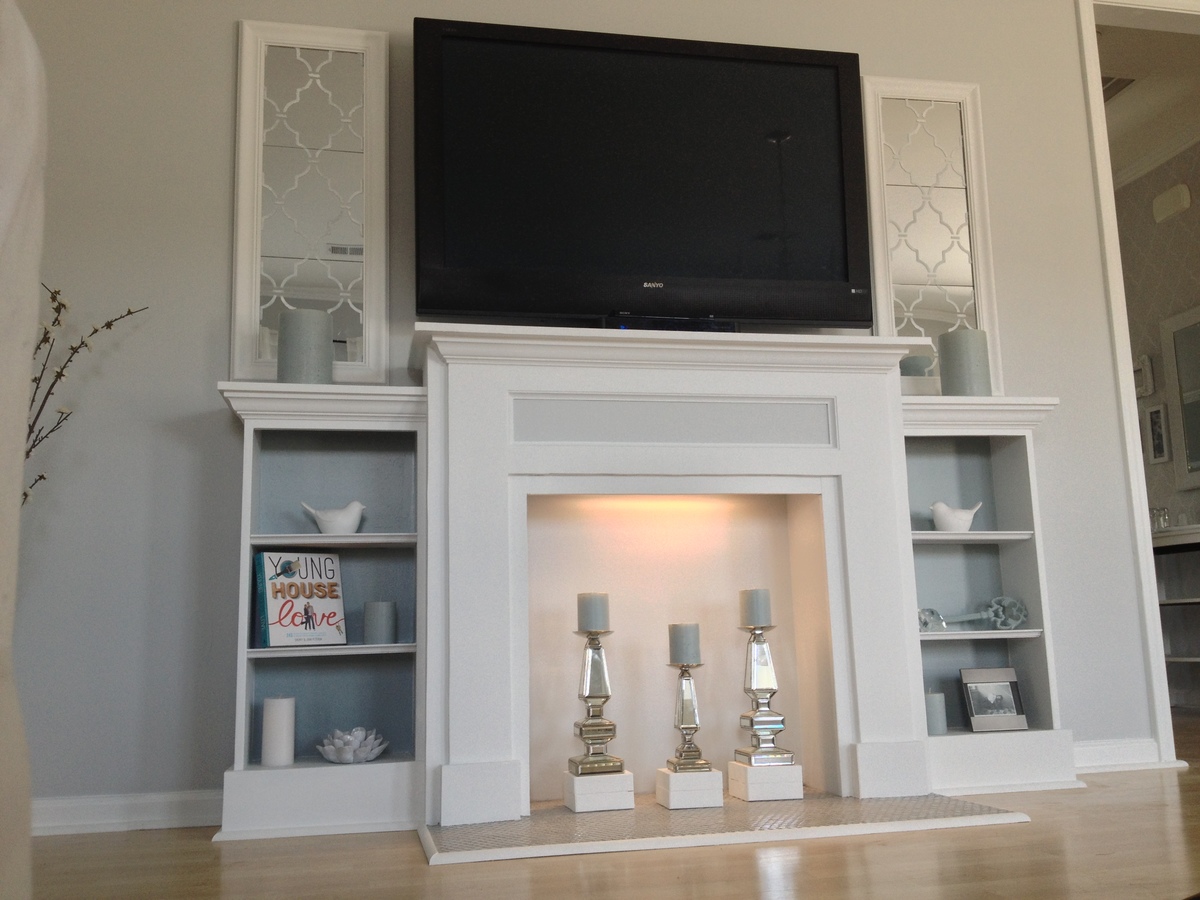
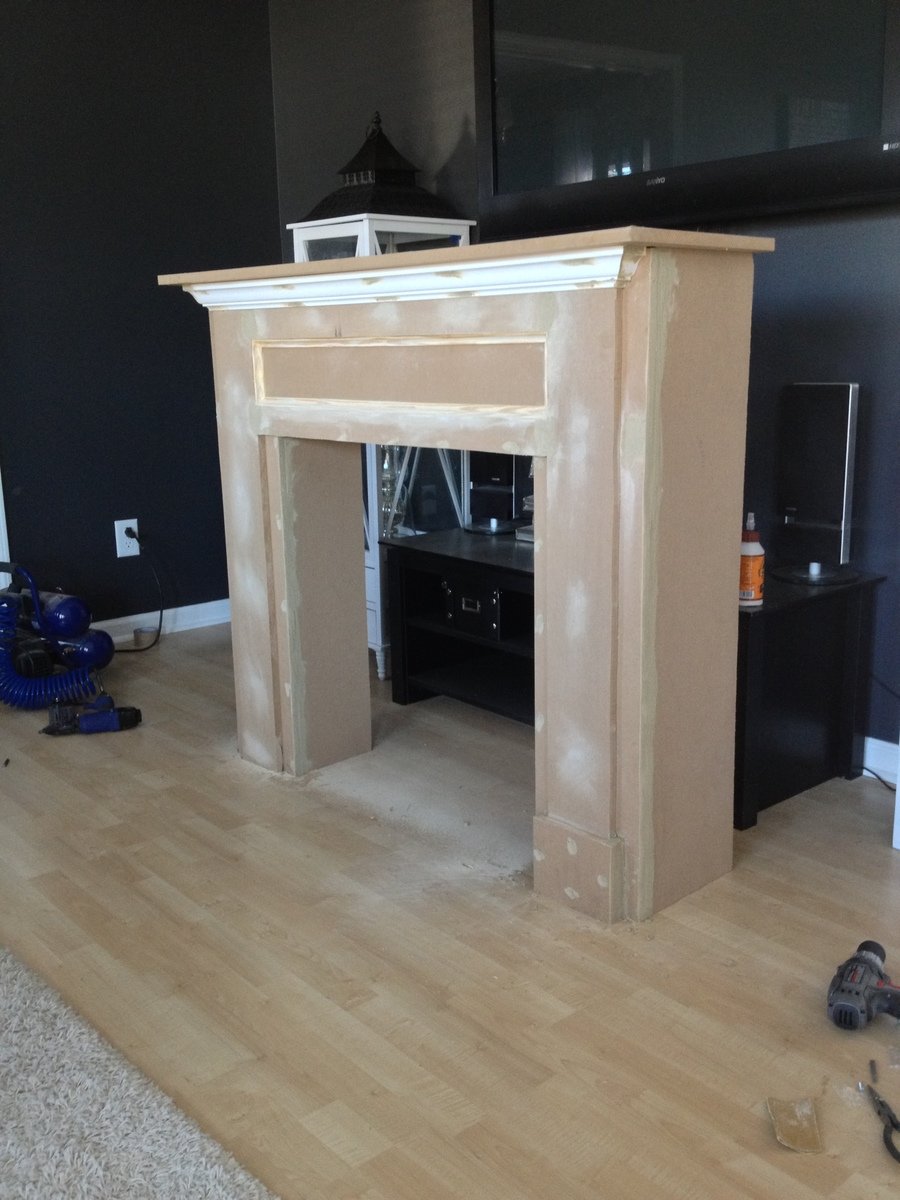
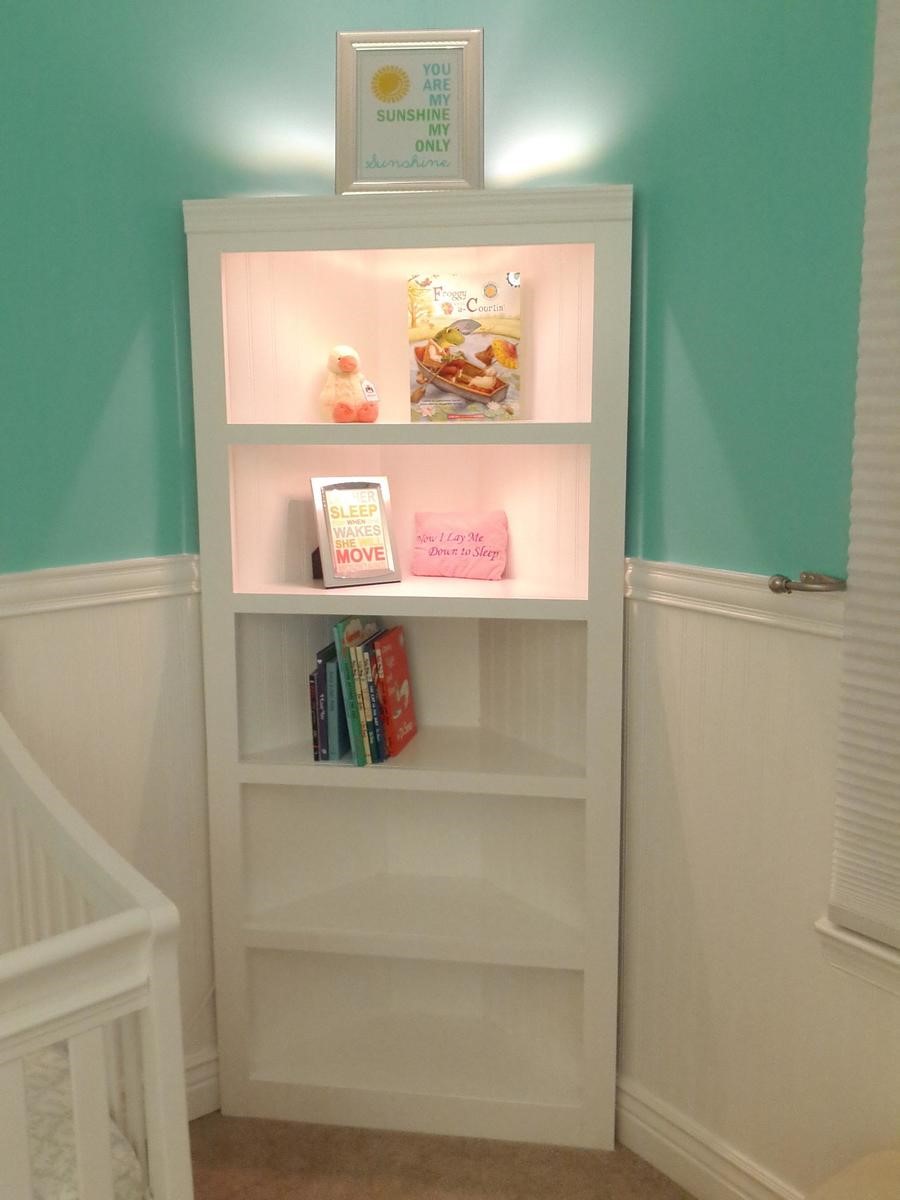
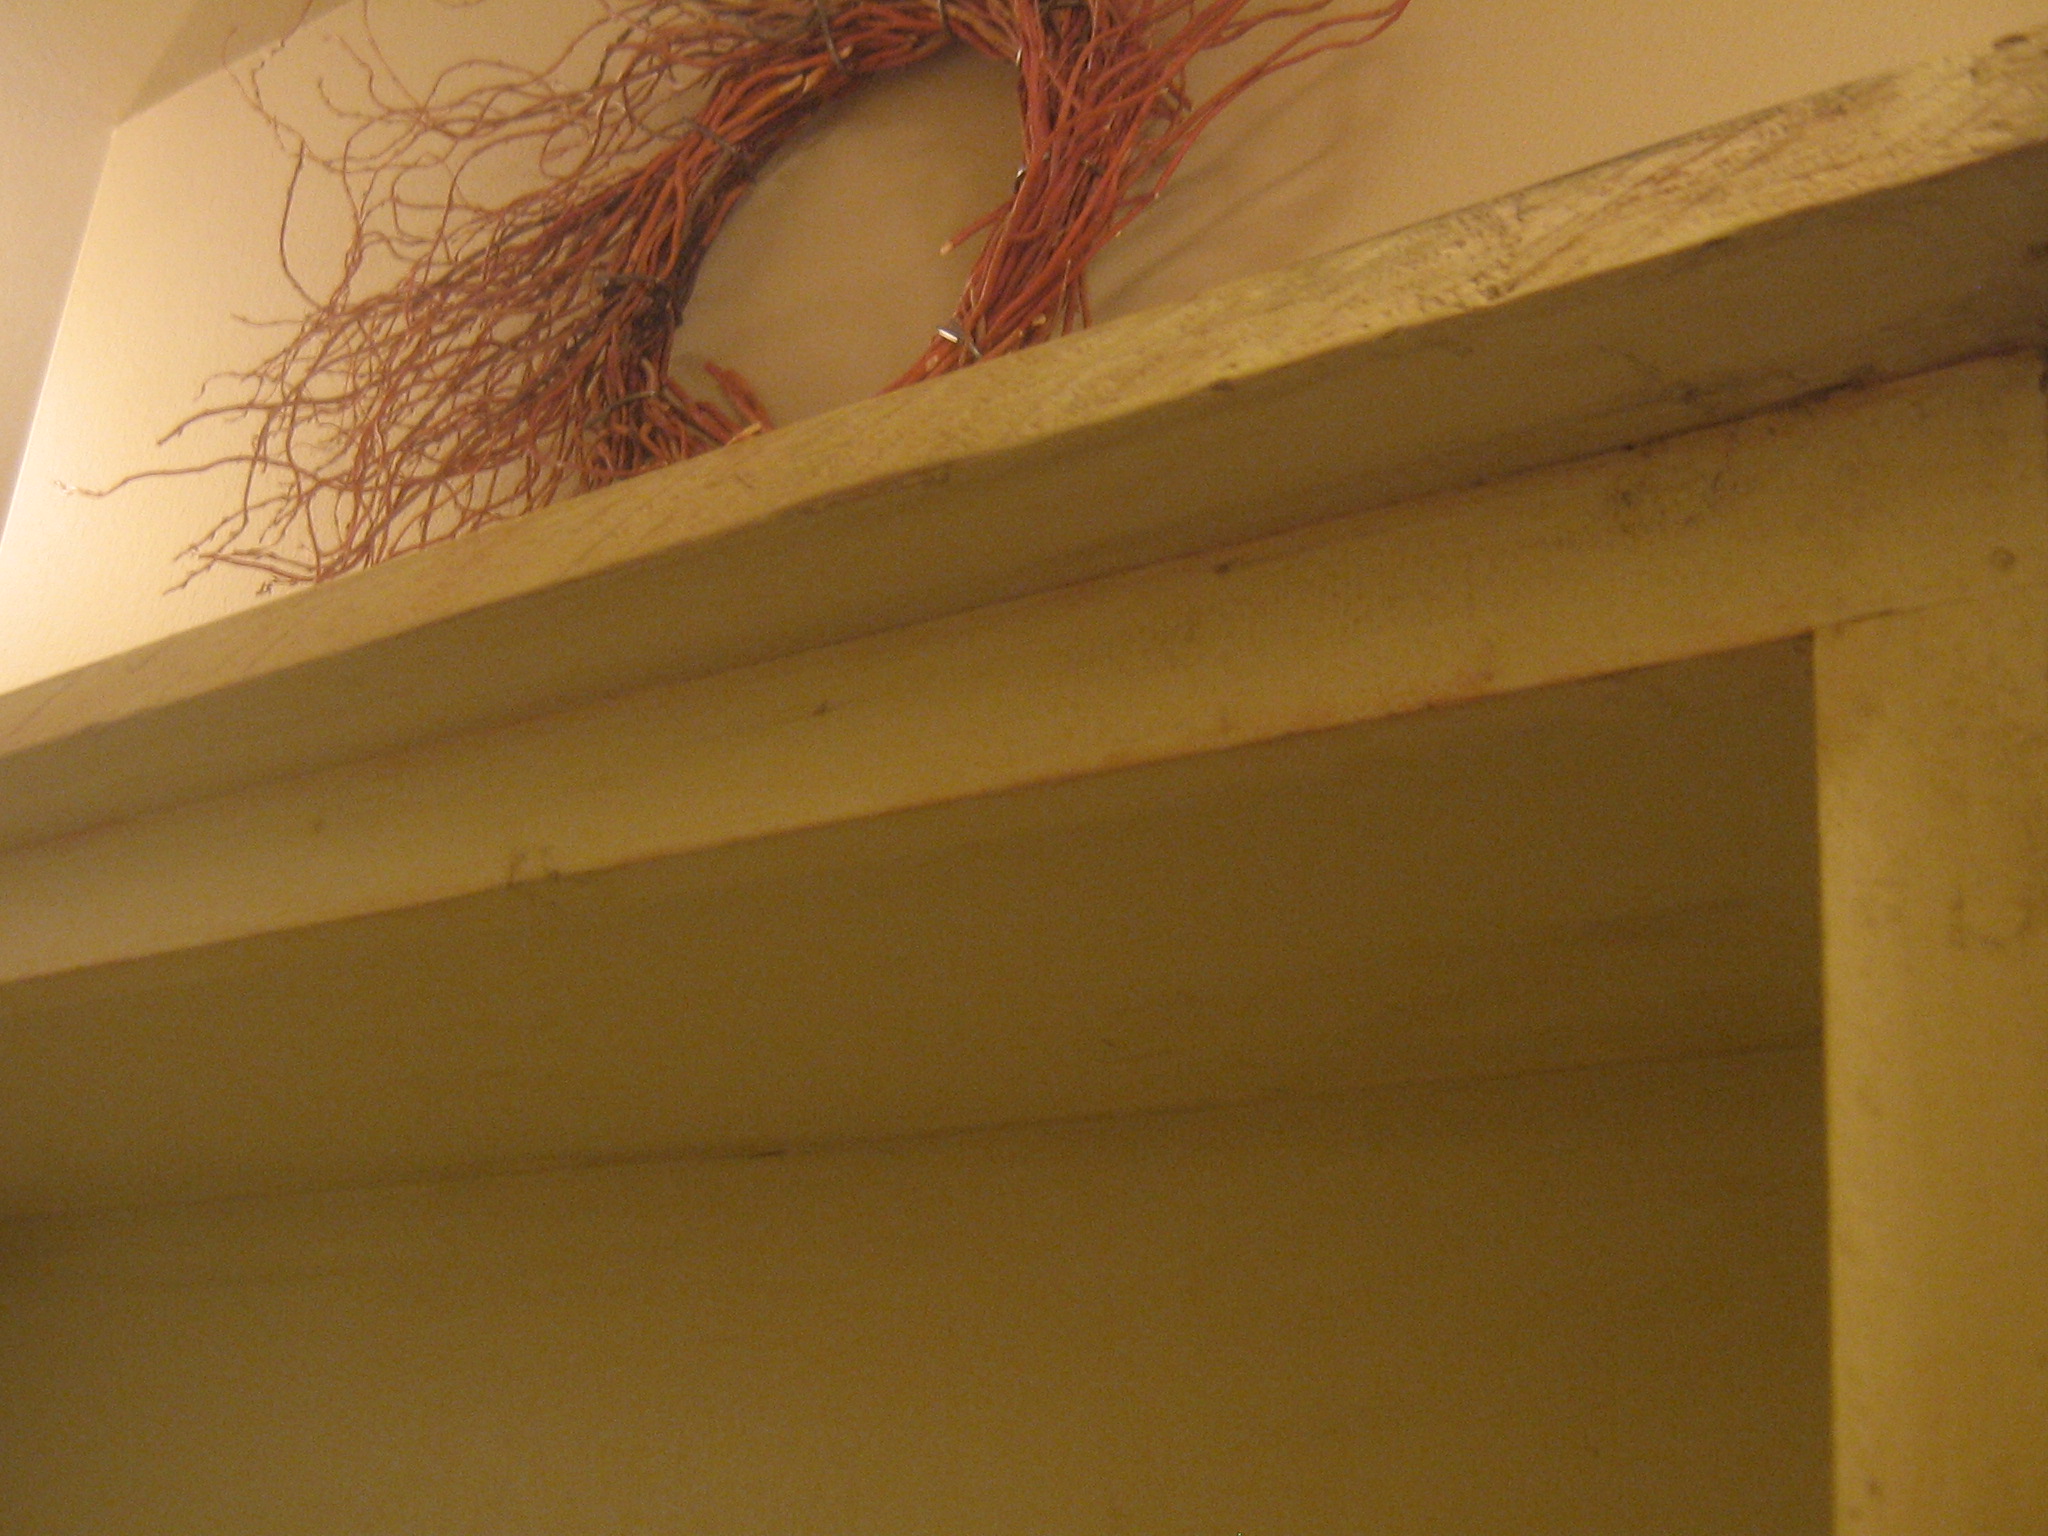
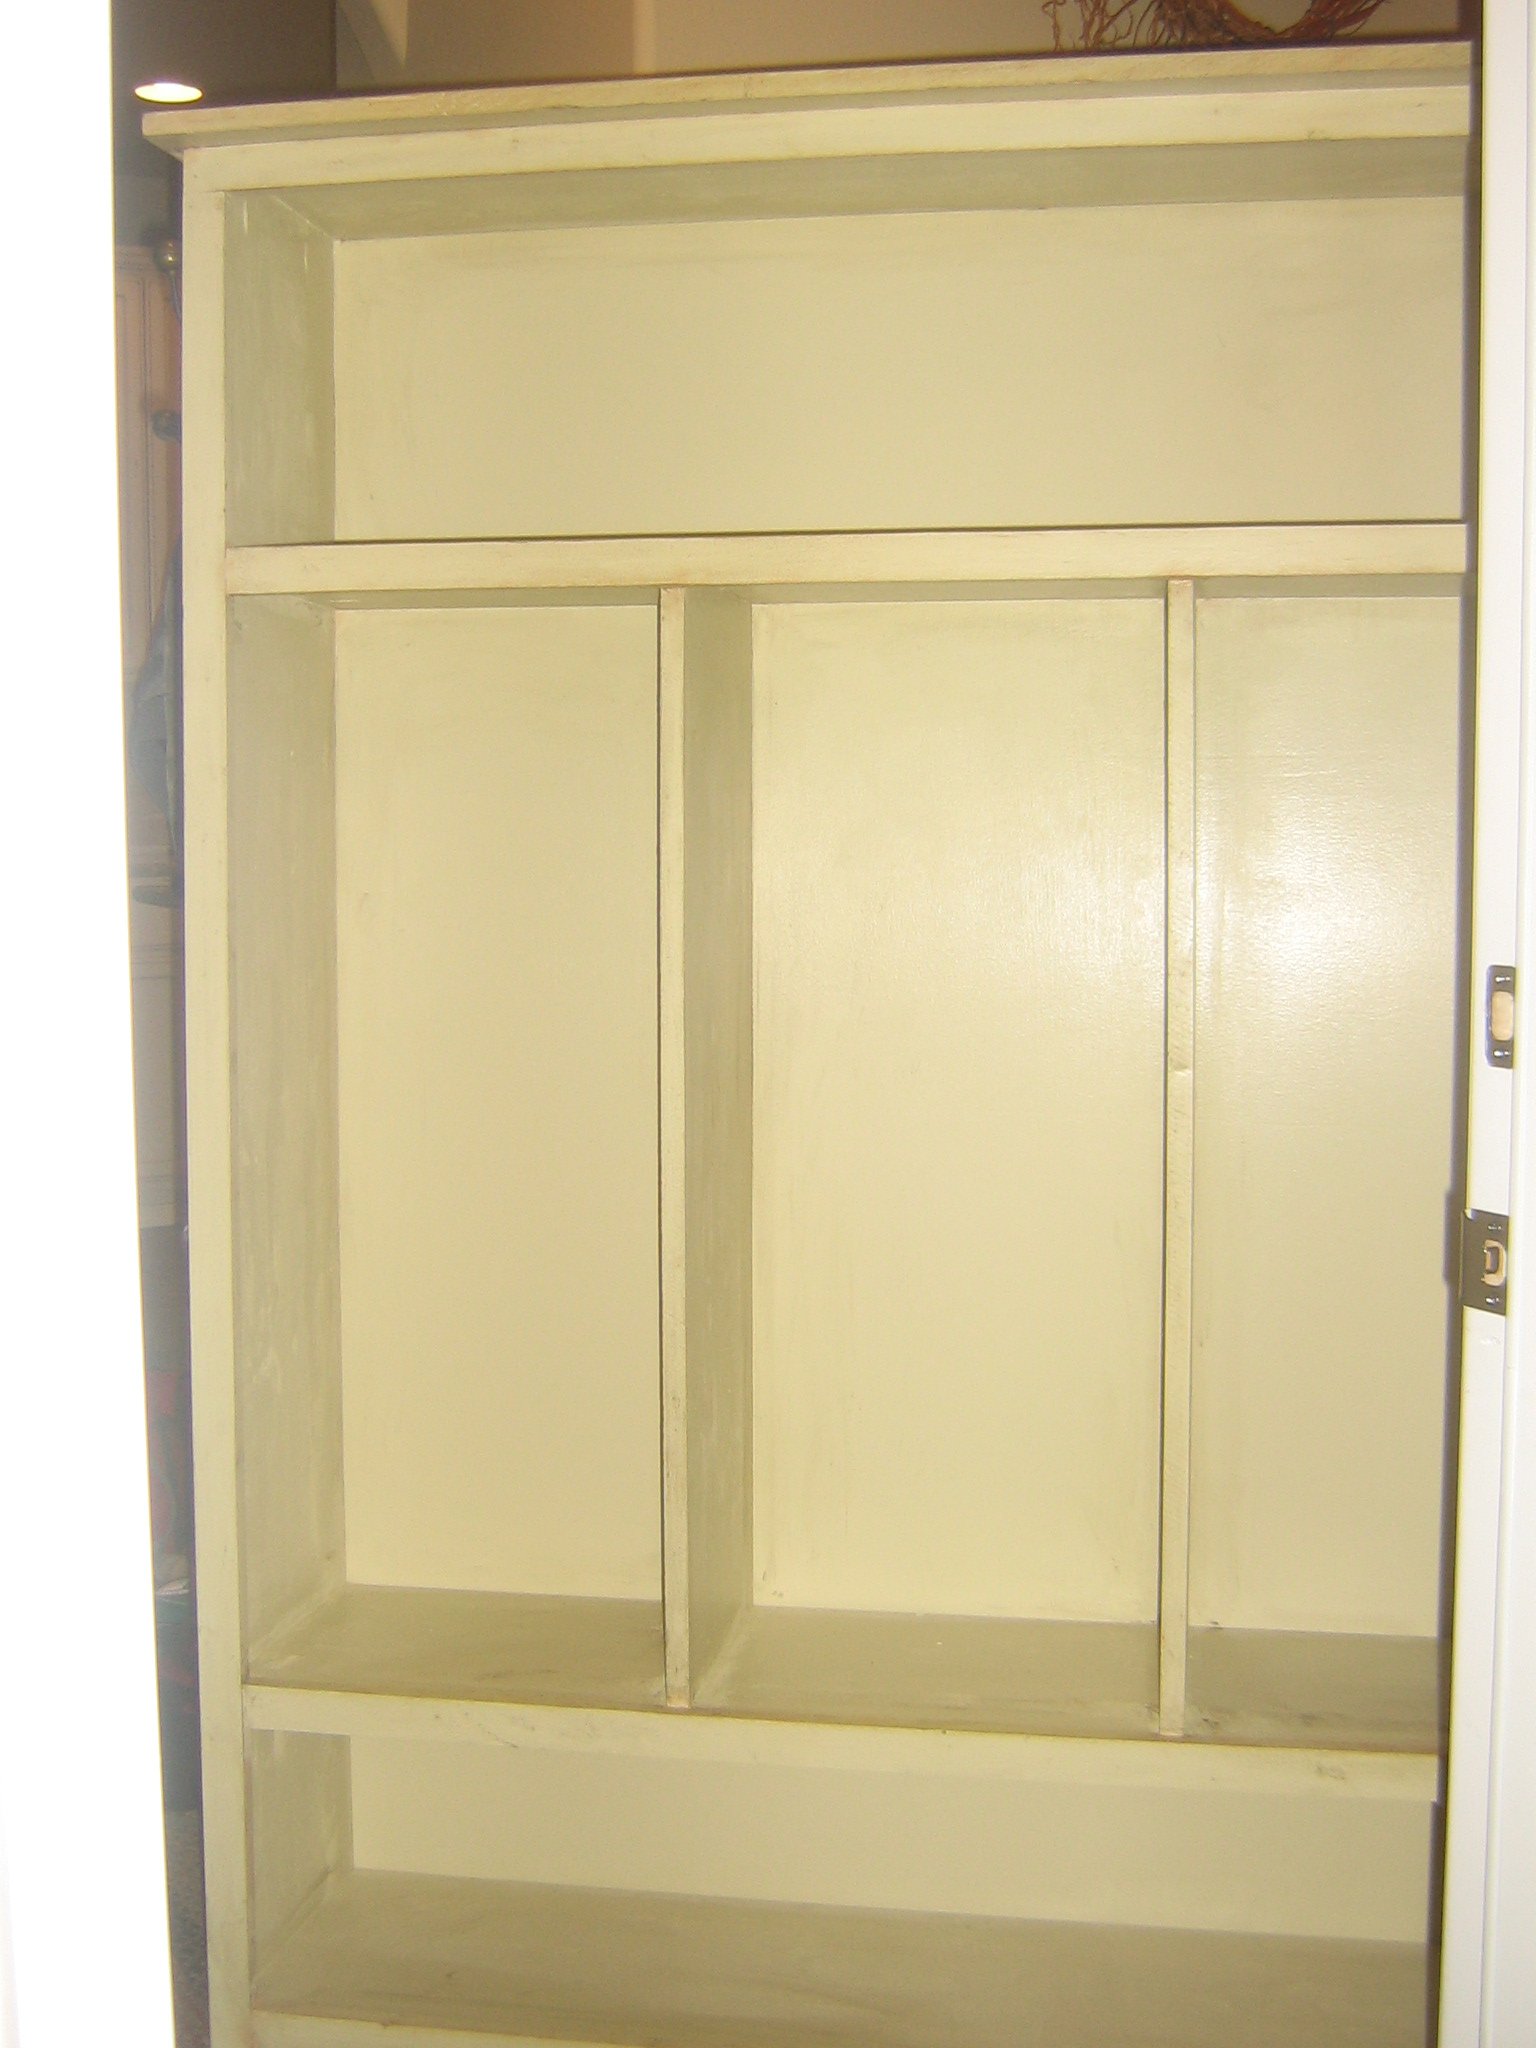
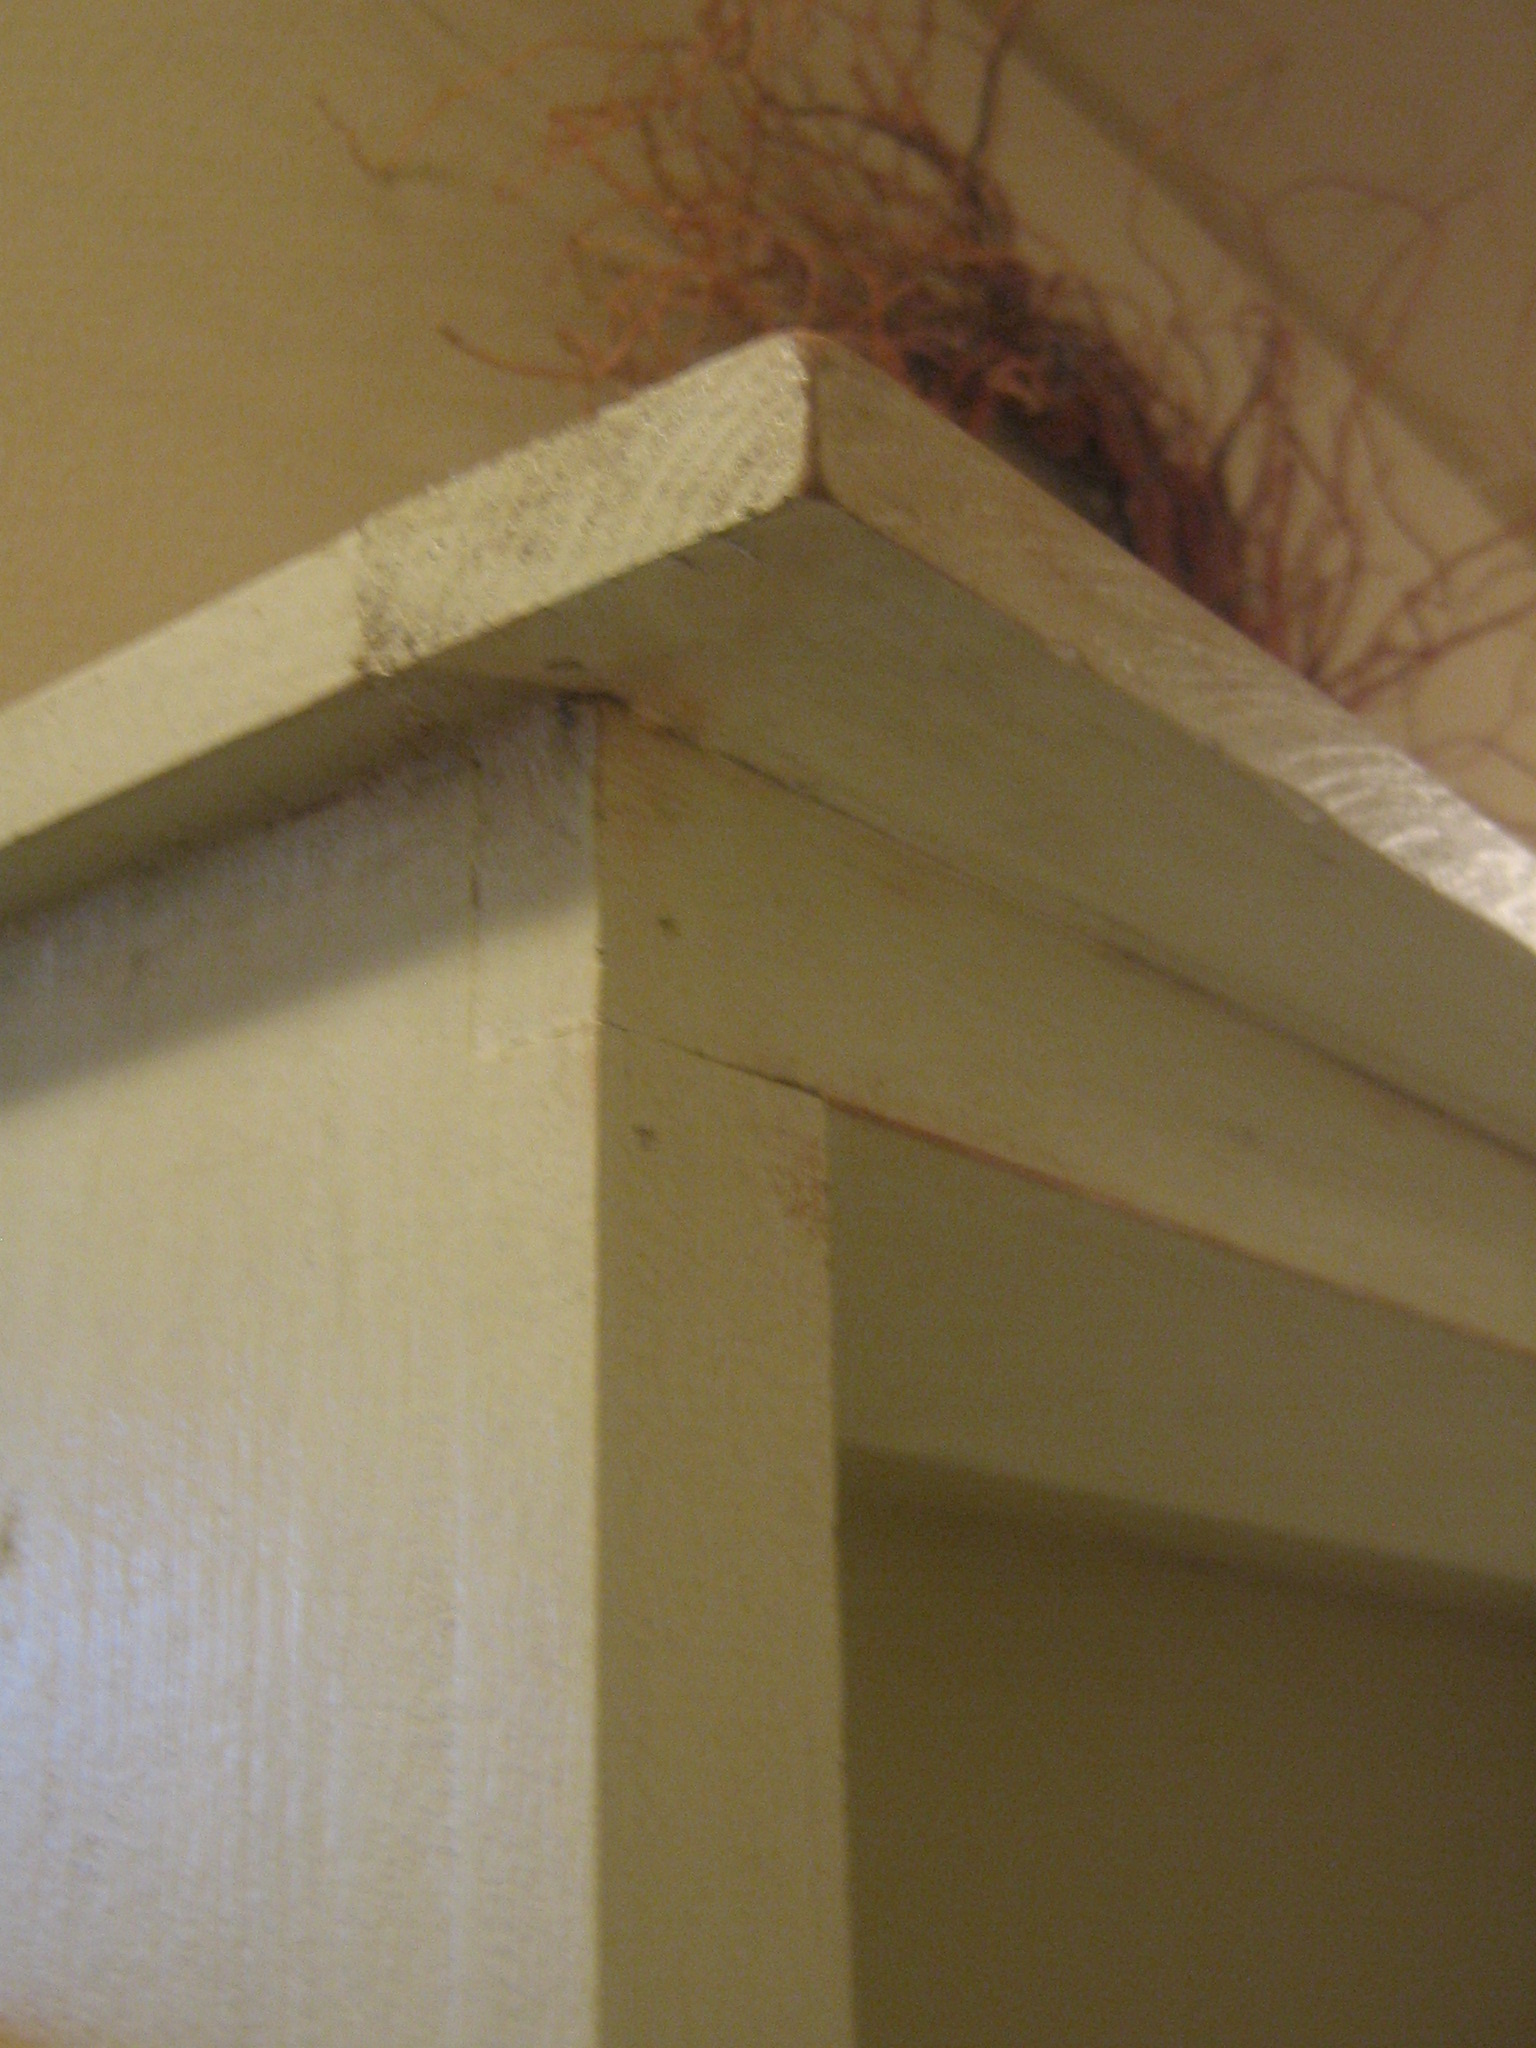
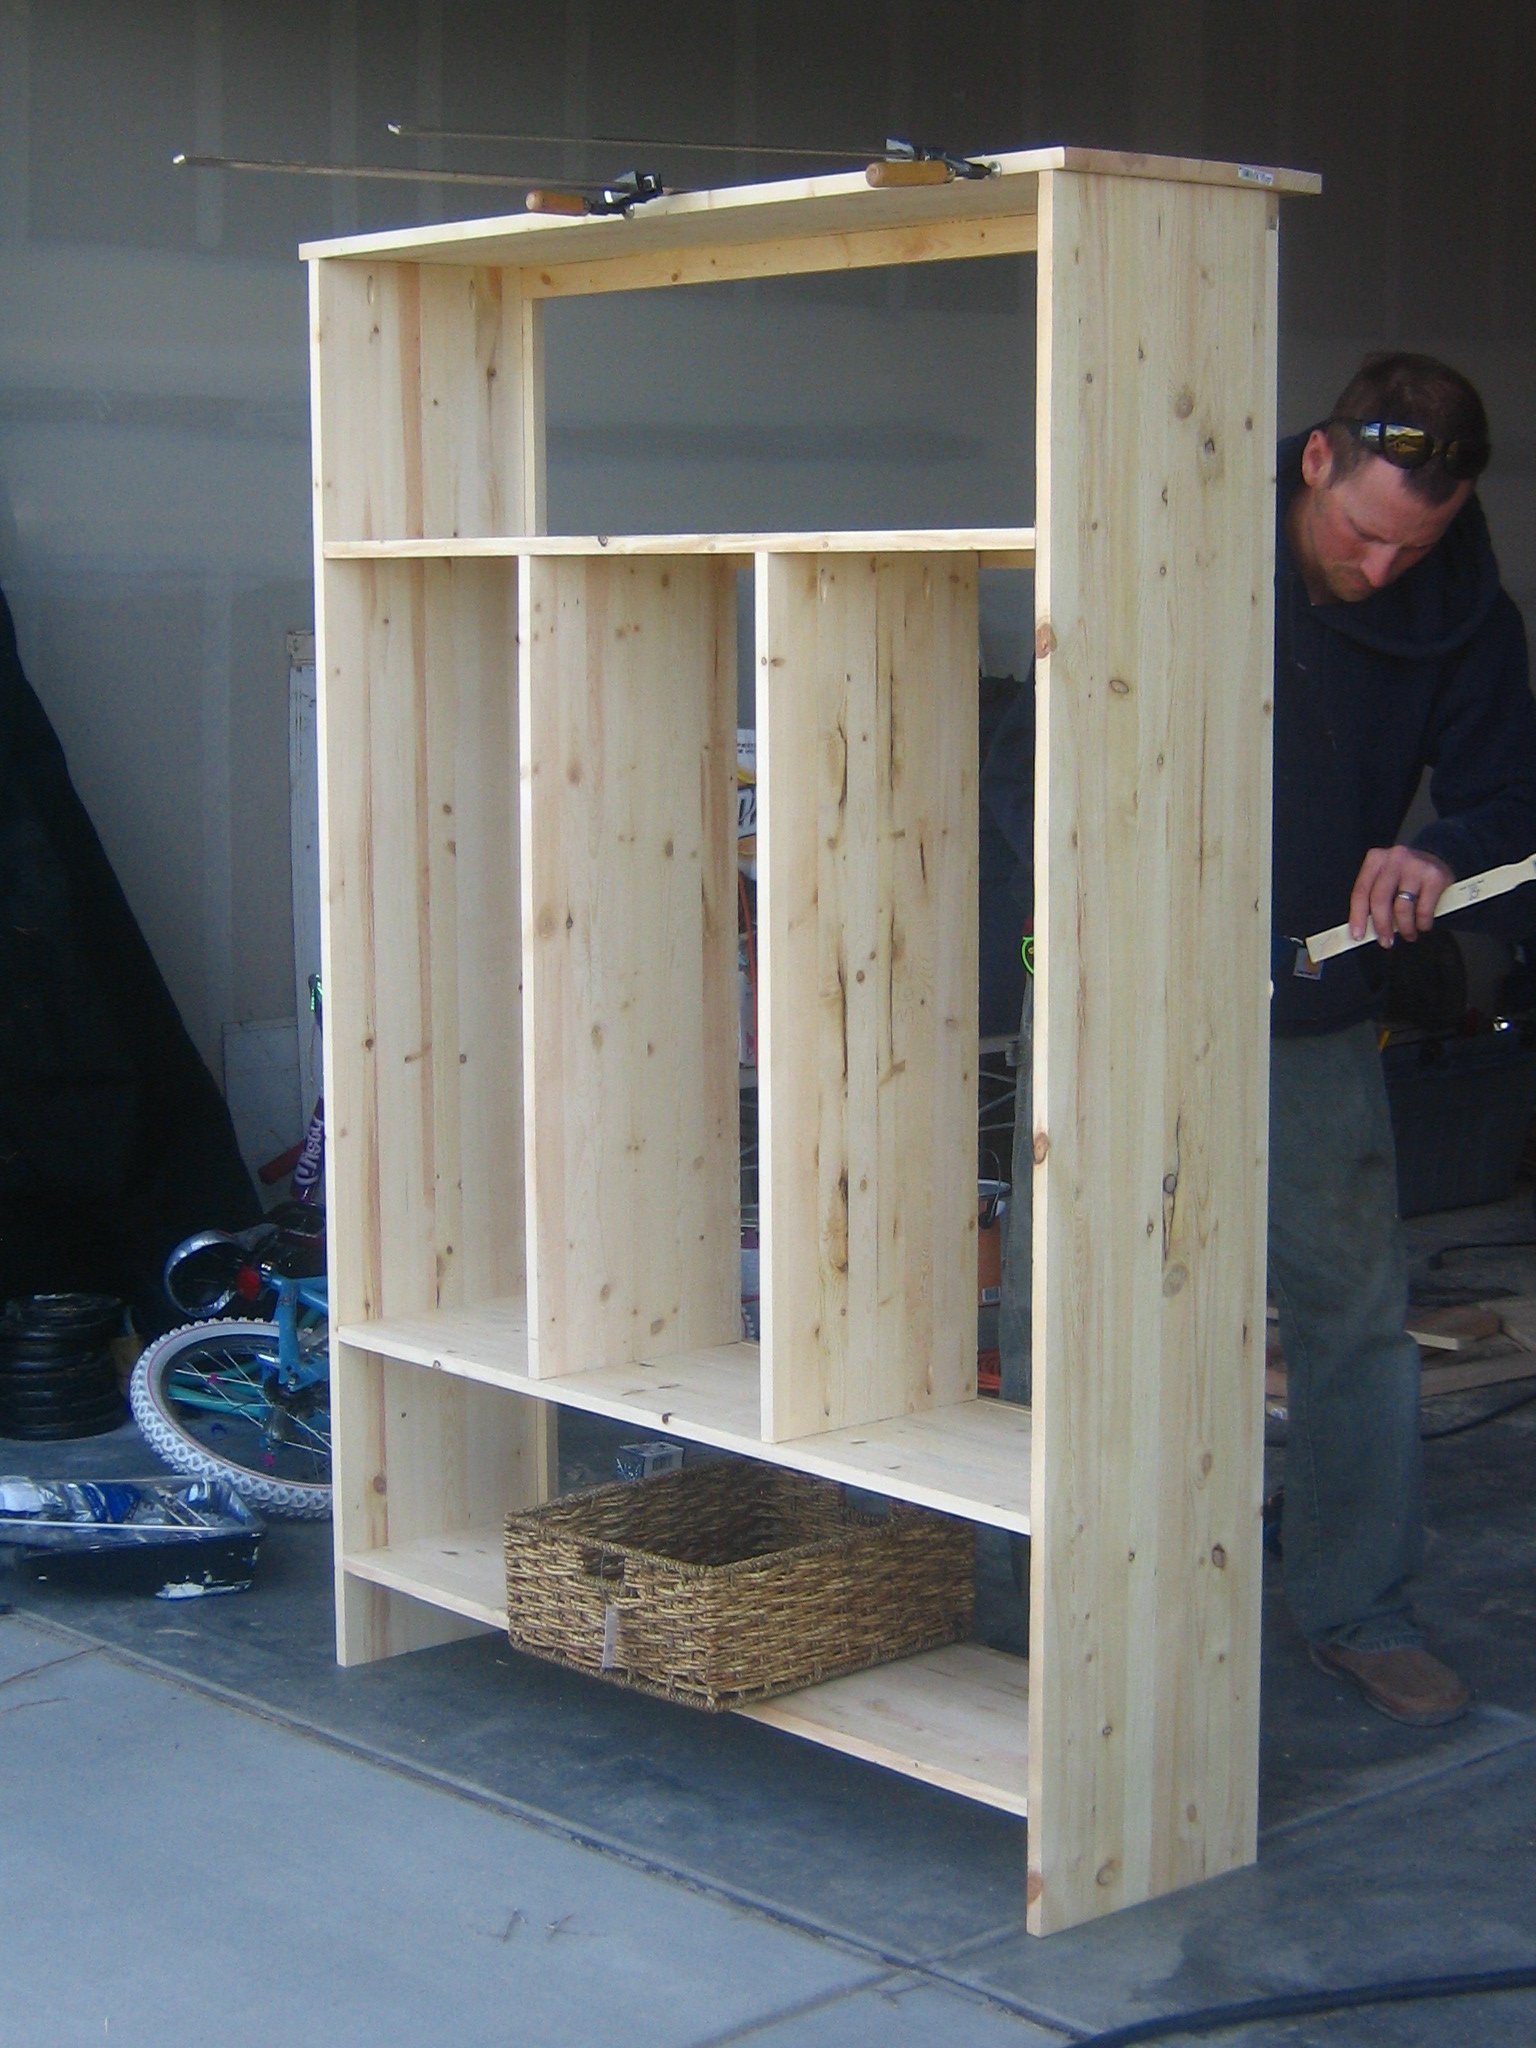
Finally Completed!!! Thank you rainy Saturday! So I wanted a new entertainment center of sorts... couldn't find one that was just what I wanted..... so why not just build what I want! Just DIY it. ;)
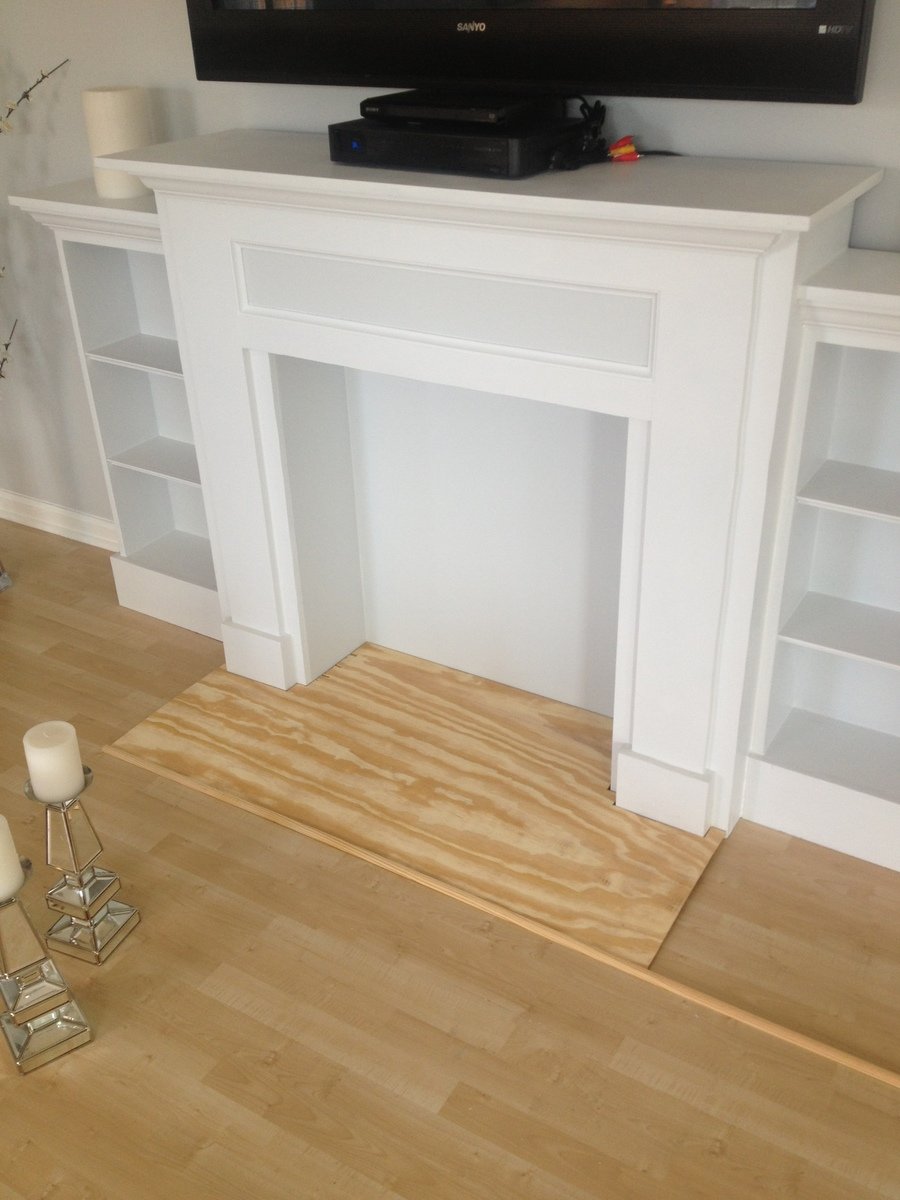
I used the faux fireplace plan and modified it to have attached shelves on the sides. I also added an extra strip at the top of the fireplace opening so I could mount an LED bar light.
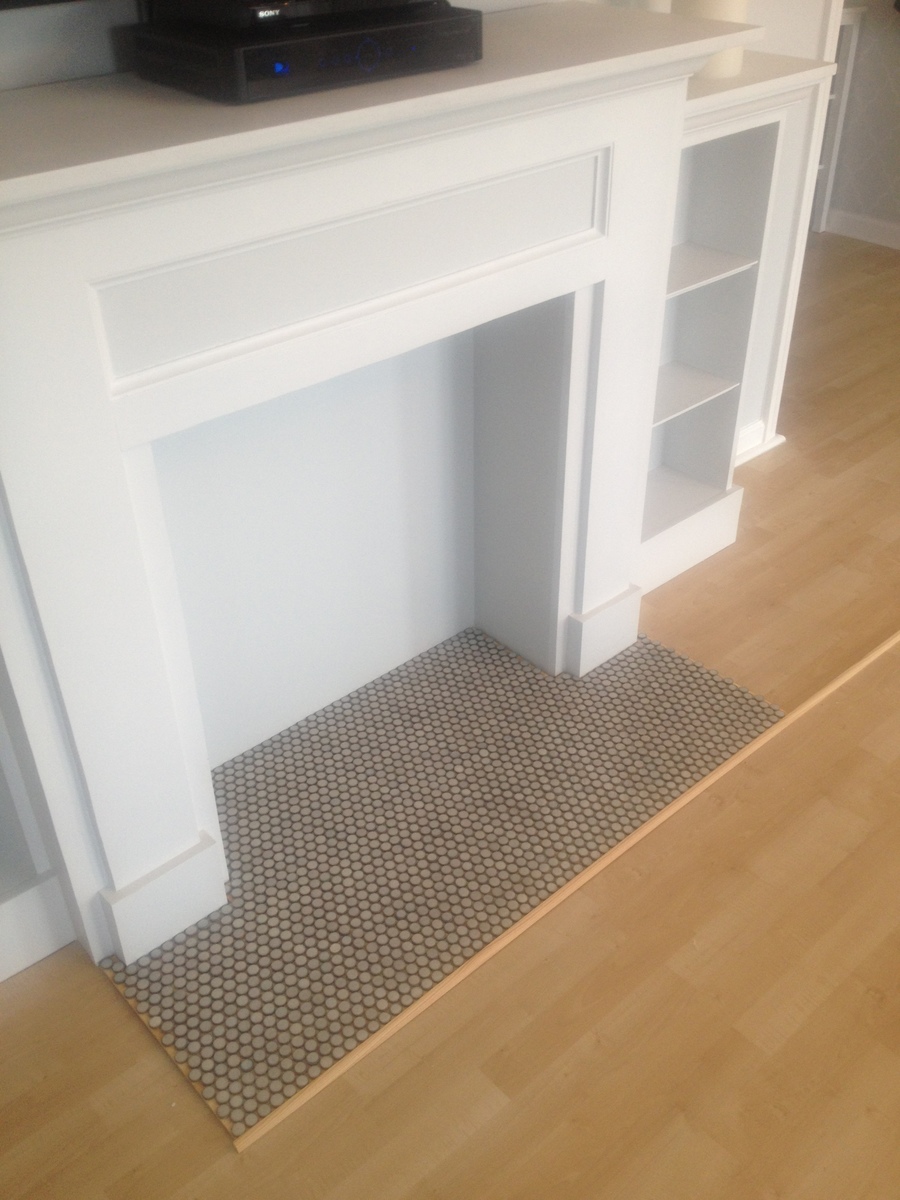
I used 1/4 plywood to make a tile base, penny tile, and 1/2 quarter round to finish out around the entire bottom.
Total project cost was less than $200 including the tile and light!
Best part is the whole thing is movable!
Thanks Anna White for such an awesome plan to start with!

Wed, 07/03/2013 - 10:24
This whole unit is great. My wife LOVES it, which means I will be building it! Did you purchase the two shelf units or build them yourself? Did you use a pattern or plan? Thanks!
Sat, 08/03/2013 - 18:25
I did make the depth of the fireplace deeper so I could have room for the halves on the side. I just sketched out the dimensions I wanted the side shelves and built them along the same lines as the fireplace. Wasn't hard to figure out and just made it to fit the size I needed. The inset of the fireplace does not go all the way back to the wall either, that way the power strip can fit on the floor behind it. Glad you like it and thanks for the compliments!
Wed, 07/23/2014 - 14:54
Hi Celeste 808, What a wonderful faux fireplace WITH the bookcases, especially. I'm hoping I can try this in our space challenged bedroom. Did you by any change reply to the chap who asked if you had some kind of dimensions or plans you could pass along to us? I would love to see if we can make it work in the space we have available.
Thanks again for the inspiration,
e
Mon, 10/28/2013 - 18:25
I absolutely love what you did with this. I am going to have my fiance help me make this for our house. If you still have the dimensions and details of how you built the whole unit I would greatly appreciate it if you could post it.
Tue, 10/29/2013 - 05:36
Love it. I wasn't going to build the side shelving unit, but changed my mind. This is beautiful... I really love the base.
Sun, 04/13/2014 - 13:00
This is gorgeous & I can't believe it's your 1st project. I would love to build this too. Did you use any particular plans for the side units? If you have any tips or information to share, that would be great! I've actually been trying to make up my own plans using Sketch Up, but that's not working too good, lol. Again, great job & thank you.
Lynda

Sun, 02/08/2015 - 12:31
I'm dying to know the dimensions you added to the width. Also, the dimensions of the book shelf. I have been trying to draw up plans for the last week and I'm stuck with trying to figure it out by looking at your pictures.
PLEASE HELP!
Thanks!!
Mon, 07/27/2015 - 09:15
Do you have the blue print of how you built the mantel and side book shelves? I am wanting to go buy supplies to build this tonight!!!
Thank you!
Sun, 11/15/2015 - 13:19
im having a hard time with the site. LOVE this and want to build it. how do i get the plans for it?
Sun, 11/15/2015 - 13:19
im having a hard time with the site. LOVE this and want to build it. how do i get the plans for it?
Mon, 07/18/2016 - 12:19
Hello! I love the design! If you have the dimensions or blue print for the shelves please forward along!!
Sat, 12/31/2016 - 18:06
Hi there! Love this look! Just wondering where you found the mirrors shown on either side? Thanks!
Tue, 12/19/2017 - 21:55
How wide is this? From the end of one bookshelf to the other? Also, how deep is it?
Super Easy.. I like it better without the doors. Recommend getting a KREG Jig. I have the Jr and it was perfect for this project.
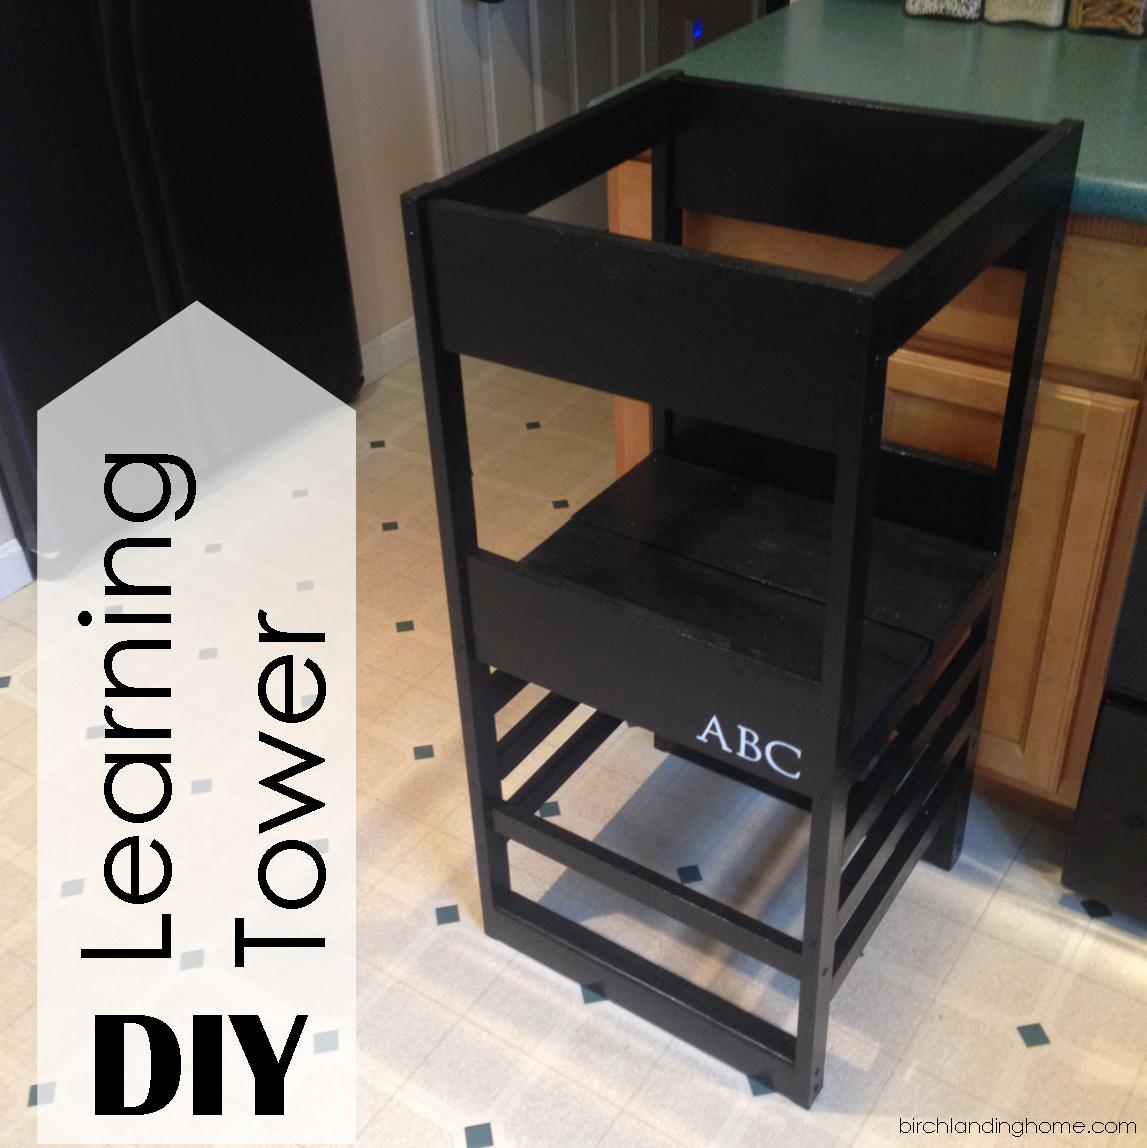
Our little one may be happily playing independently but the second I go to make dinner she demands to be held and refuses to be put down, making cooking impossible. To help keep her occupied but still involved I've been eyeing a learning tower / kitchen helper on Amazon for months now, but at $200 it just wasn't in our budget. My sister-in-law had made a learning tower from a plan by Ana White and suggested I try to make one too. I was unsure at first, I've never made anything more complicated than a birdhouse, but I decided to give it a go!
Please see my blog post for additional photos and lessons learned during this project.

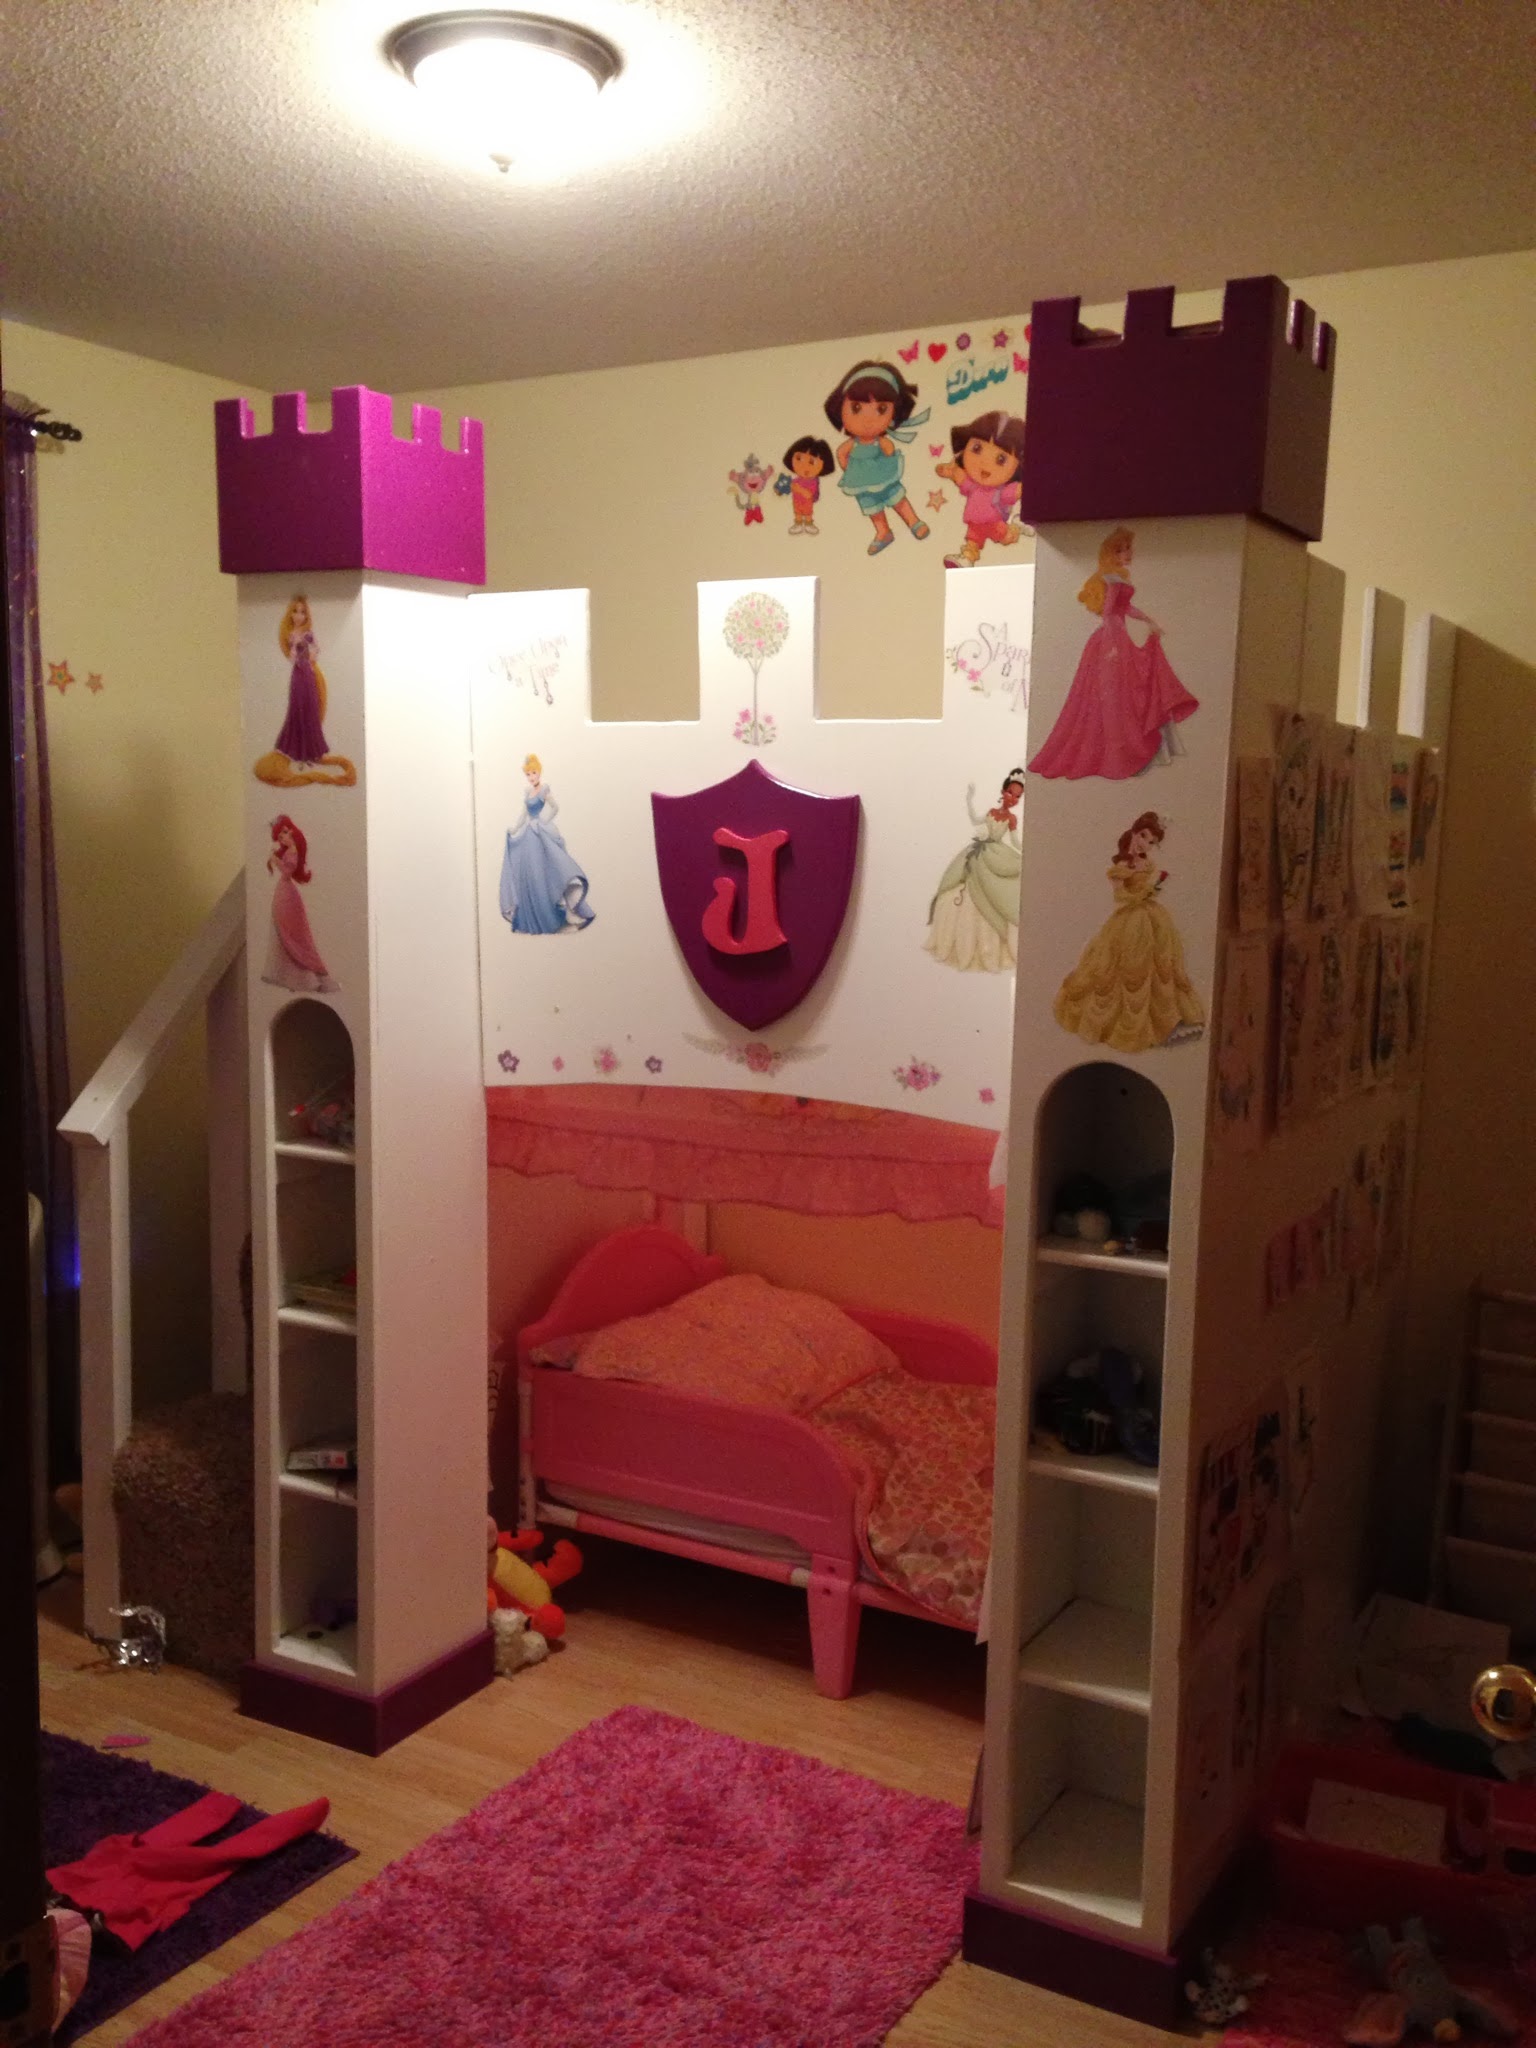
Our daughter has a very small room. She also LOVES disney princesses. So I wanted to build her a princess castle bed.... but how do you fit a castle bed in a 9x11 bedroom?
There were some plans on Ana's site (good plans), and others on-line. But many of these plans had the bed on the TOP of the castle, and we were concerned with her trying to make her way down if she needed to in the middle of the night.
She also loves her Disney princess canopy bed that she has now... so if I could somehow build the castle around that bed, we'd be set. Which is exactly what we did.
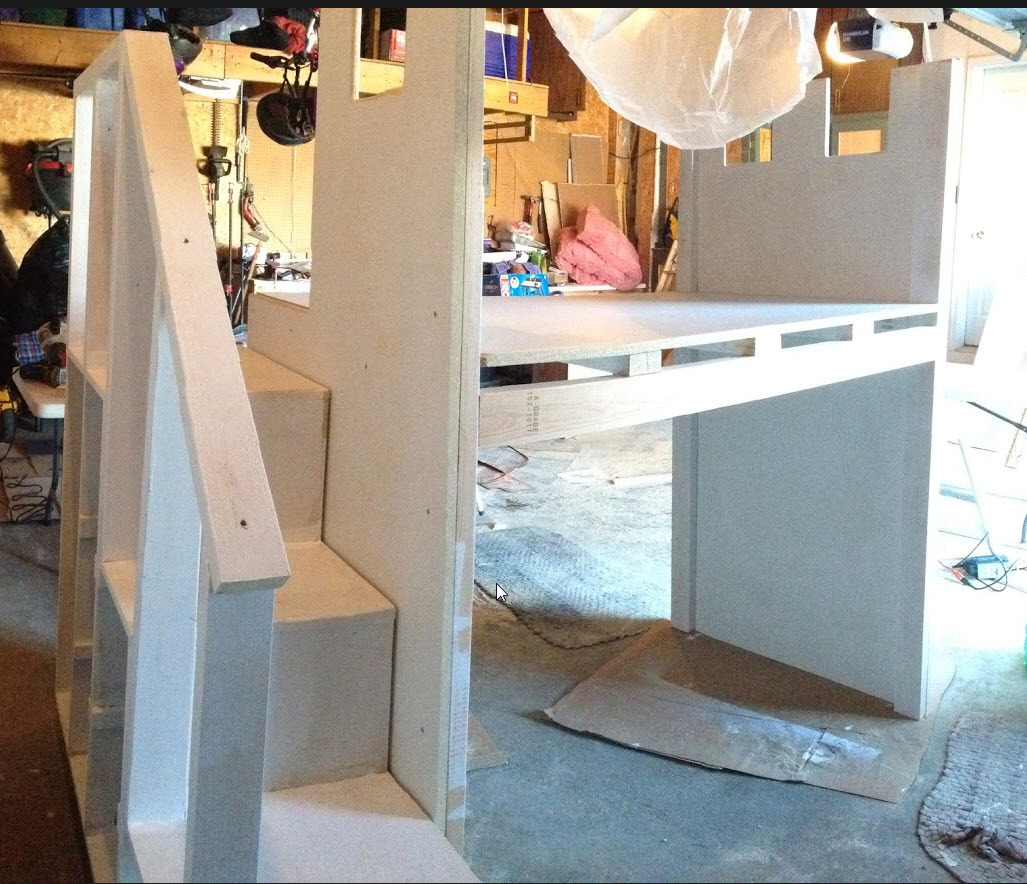
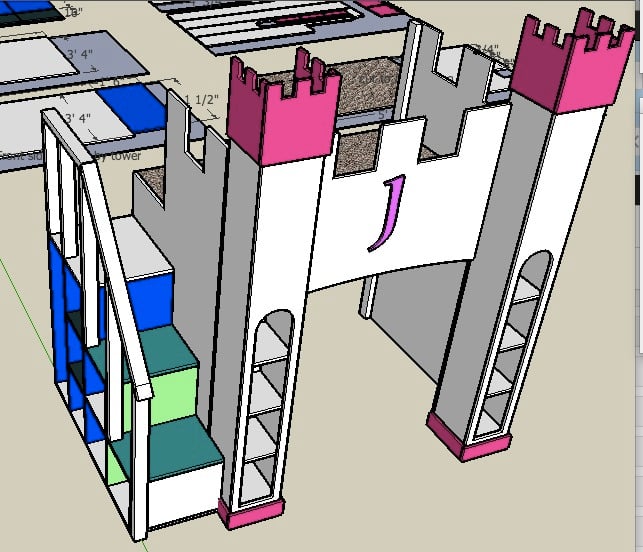
I reviewed several pictures online, and then designed this bed with Sketchup (I LOVE that tool).
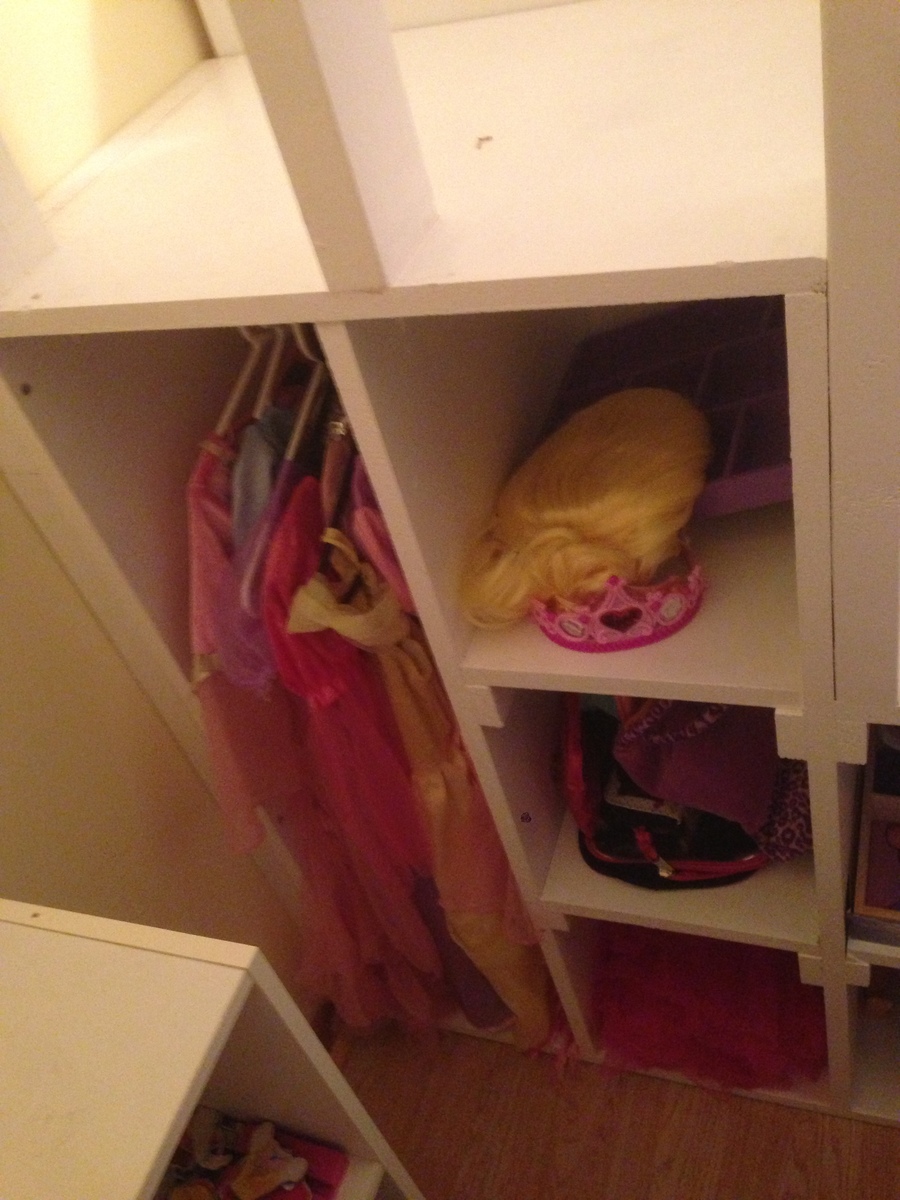
There is storage in the stairs, in the towers on the front down below, and in the back up on top. I also put rope lights inside around the ceiling over her bed for that 'Night light Princess glow."
There is also enough room on top for her bed if she wants to put it up there at some point in the future.
The idea for the decoration came from another poster who simply used the Vinyl Disney princess wall decals.
She loves it. Plus its big enough for daddy to read stories to her up in the loft at bedtime!
I've posted the plans on the sketchup warehouse... here is the link...
http://sketchup.google.com/3dwarehouse/details?mid=65f7fb029052c660cb6c…
If you can't find it with that search the sketchup warehouse for 'castle bed.'


Sat, 07/27/2013 - 16:17
Nice work. We worried about the height for our three year old, and if I were to build another (hah!) I would definitely make it lower. Carpeting the stairs is a good idea, I think I'm going to do the same. You've done well to cram everything into a small footprint. We're house-shopping now, and the tape measure comes with us. Gotta have 2.8m in the kid's room! Decals are great. My daughter went off hers for a while - nothing breaks your heart like a kid saying they want to give away something you worked really hard to build, even if you know they don't mean it. My wife put on some big wall stickers of a tree with squirrels and birds and suddenly she's in love with it again. Princess indeed (eyeroll).
Sat, 07/27/2013 - 20:53
Interesting your commented today :-) I am doing a similar project for my son for his 3rd birthday (this weekend) making a Lightning McQueen garage for his Ligthning McQueen bed...
Thanks for your comments... the castle project was fun. Its been fun to be able to even do these things now that I've visited Ana's site. And yes- I know its going to be a bummer when they no longer want the castle, or the garage (I had my son's bed in his garage tonight and not knowing better he hopped on the bed and jumped and bumped his head bad... now he's scared to have the bed in the garage- AND ITS NOT EVEN DONE YET!)
Thanks again..
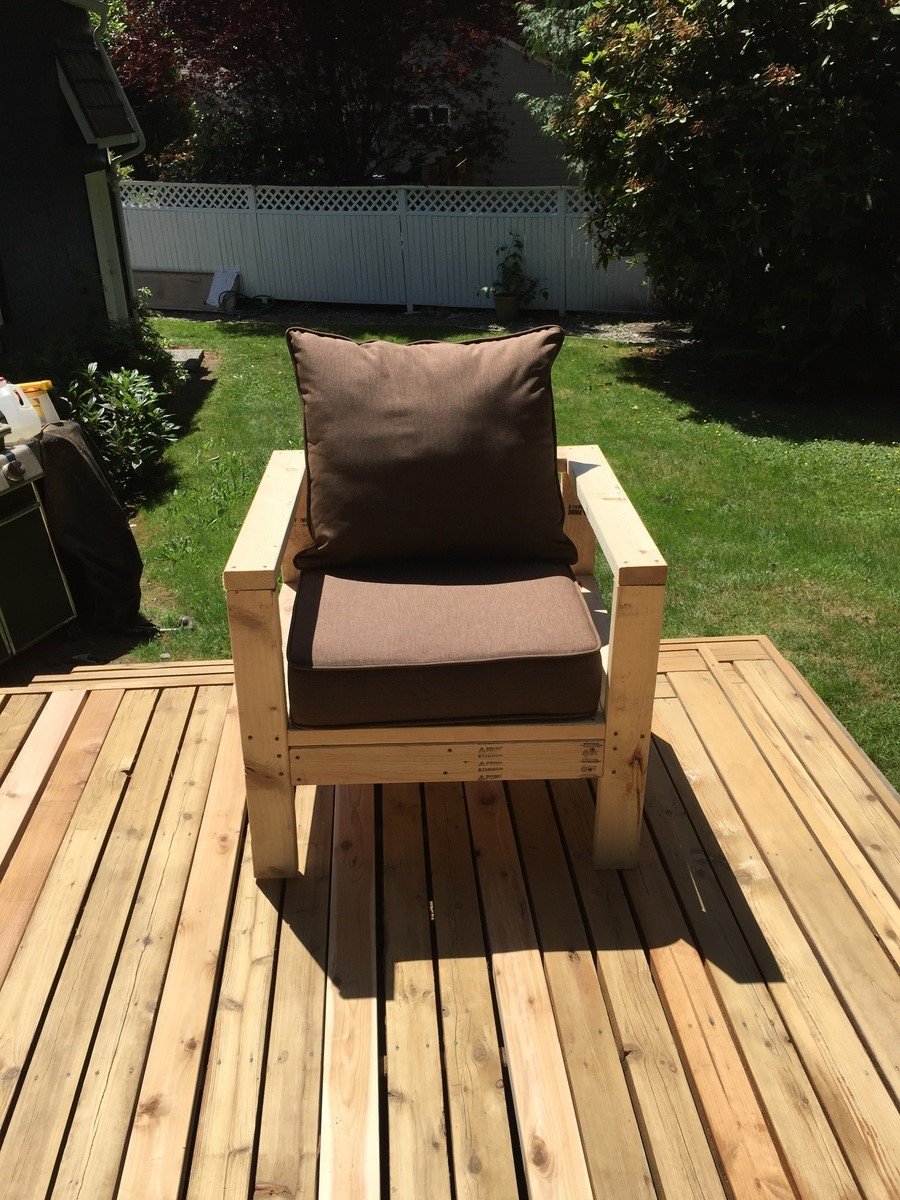
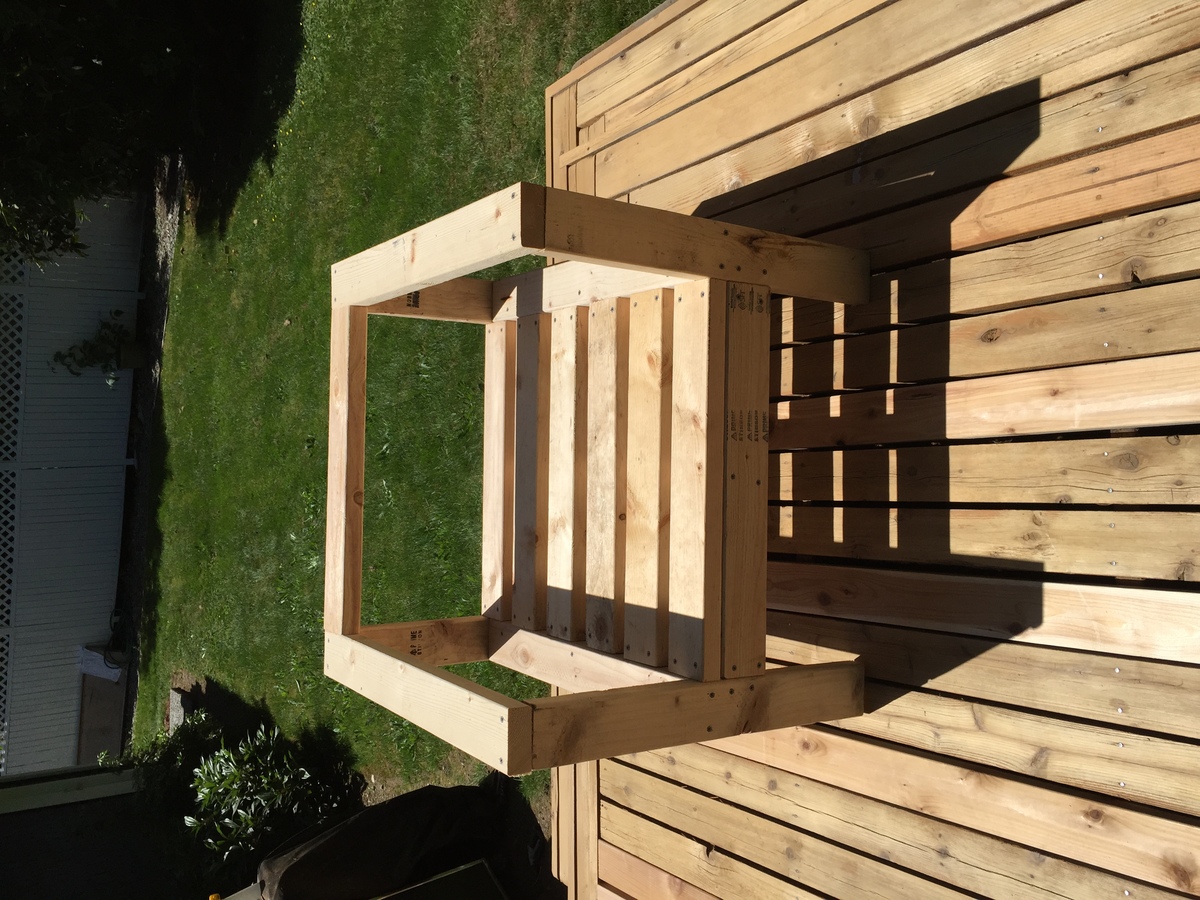
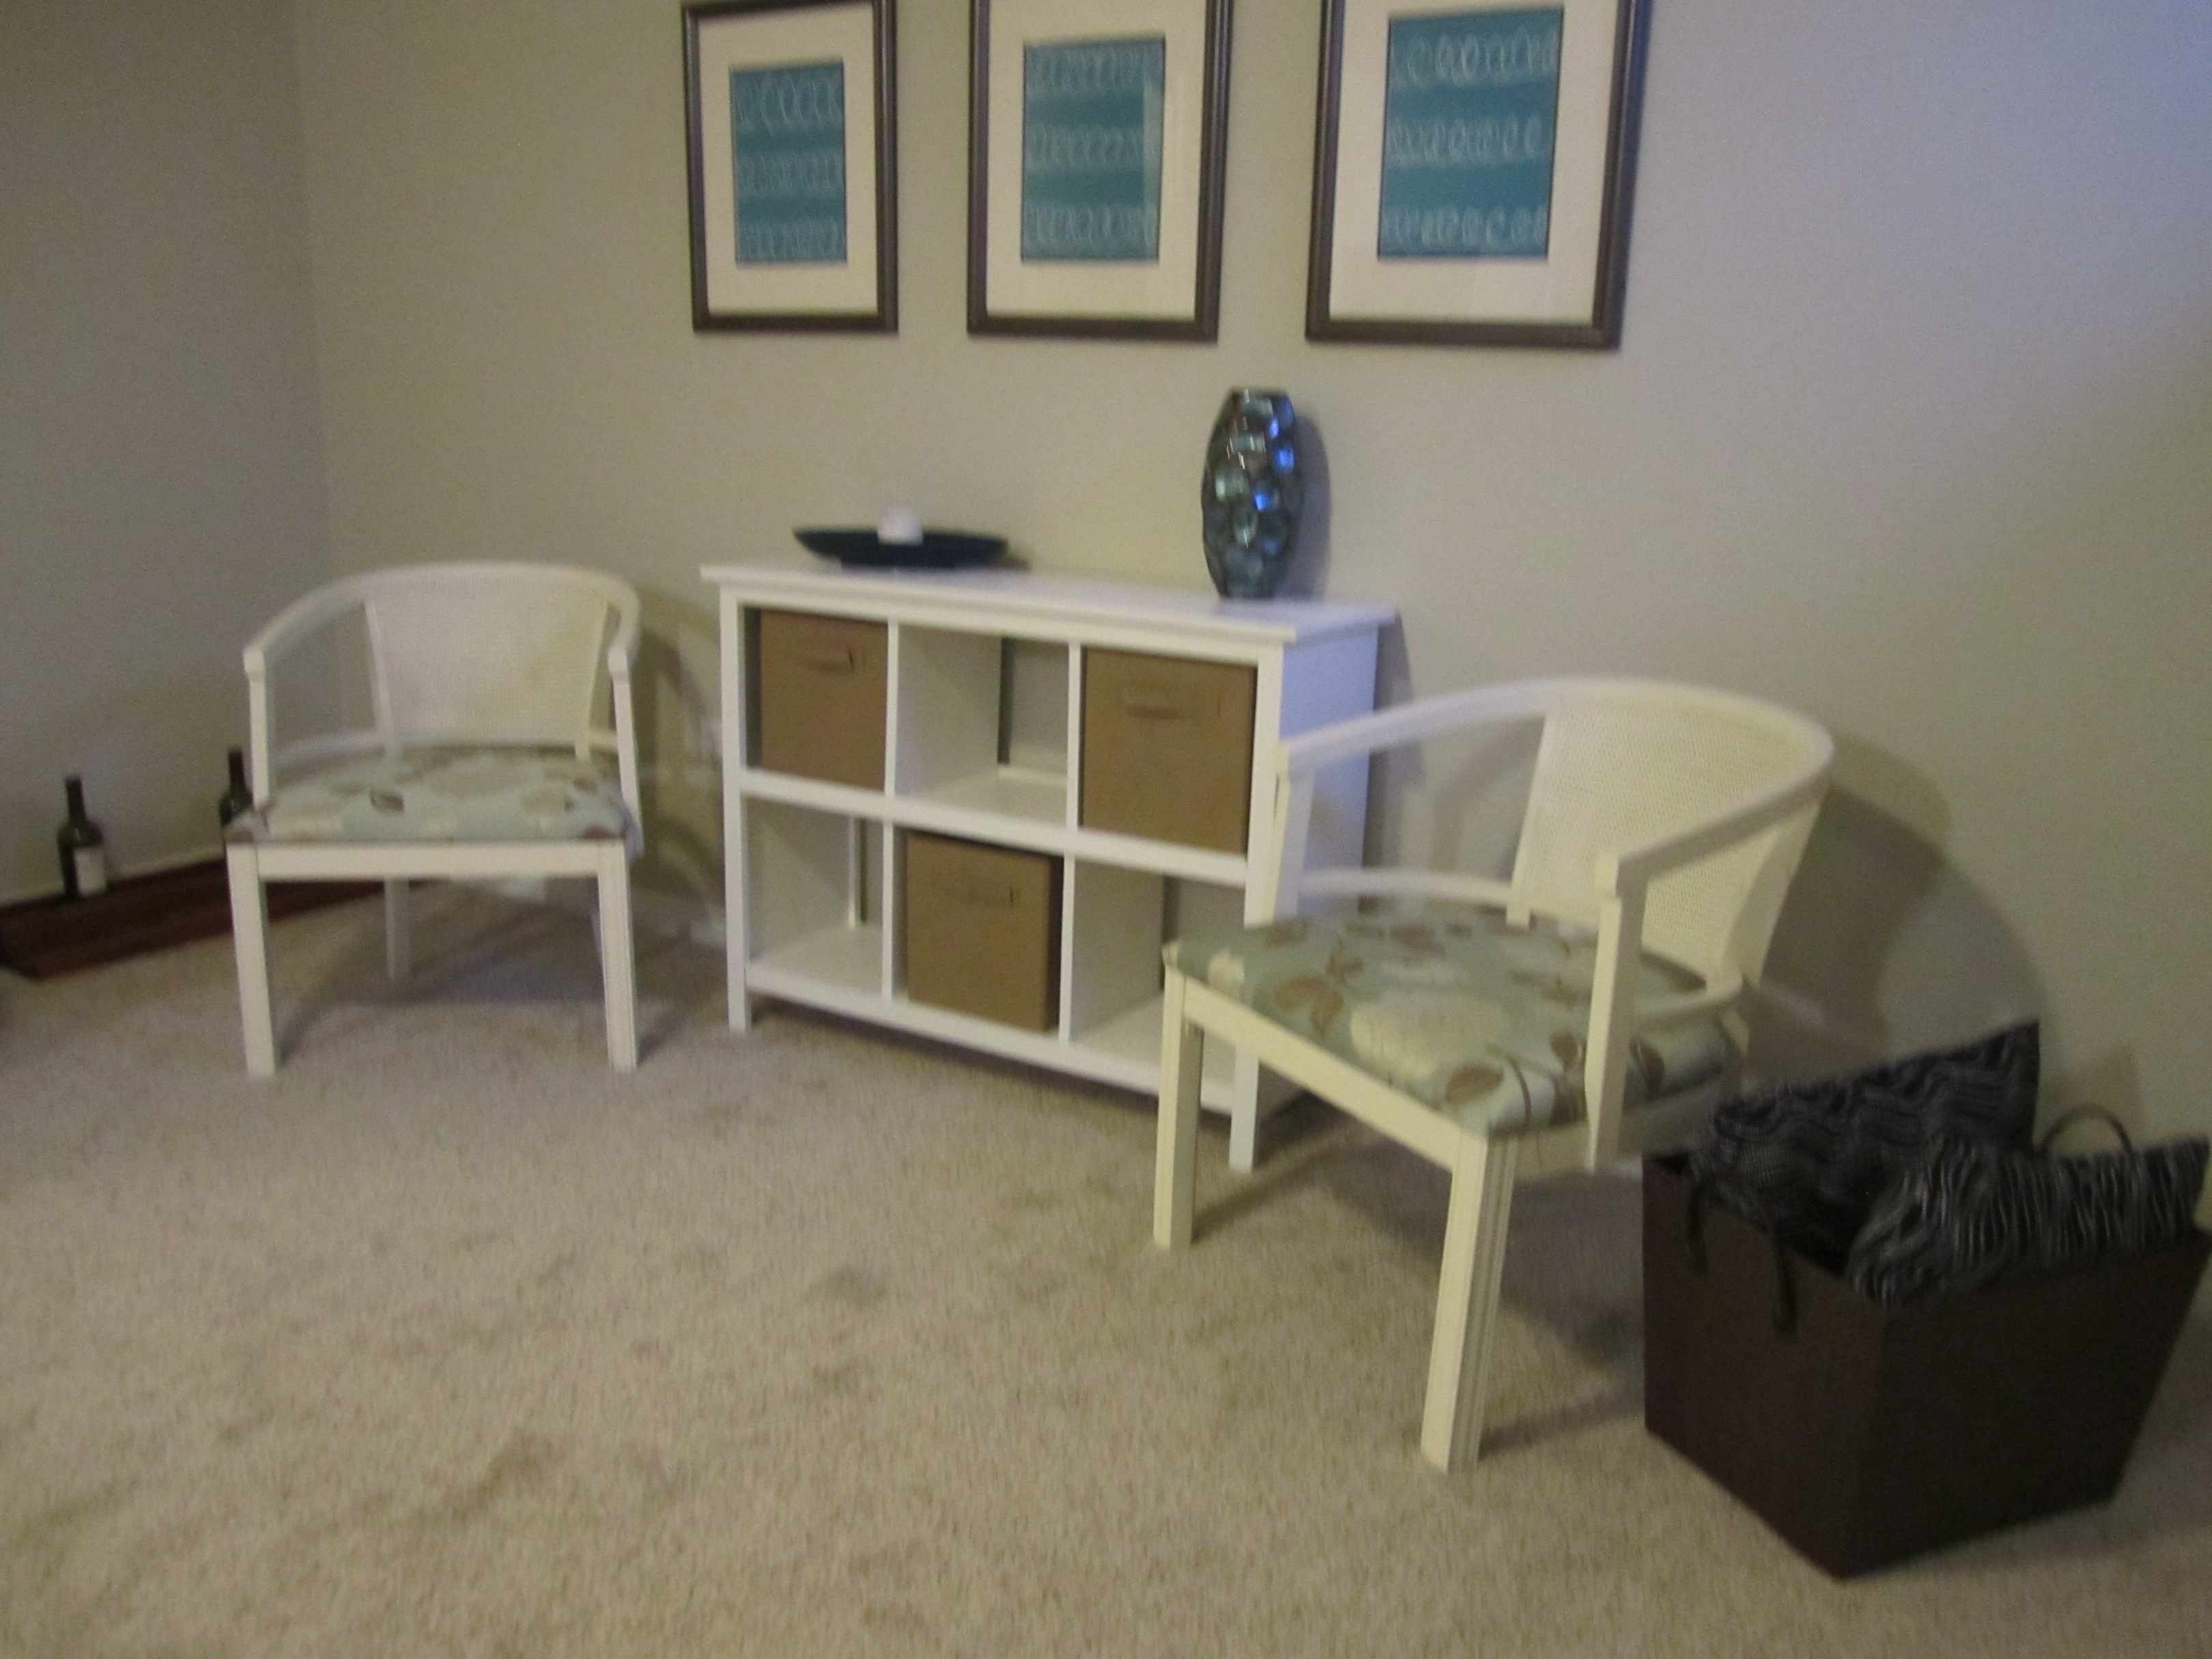
Clearly, not done with my project yet (sanding, priming/painting) but I was so excited I wanted to share right away. I've been checking Ana's site for about a year now and never had the courage to build anything... until today - I am thrilled I did. I had some cheap 2x4's studs at home so if I failed, no big waste of money. To my surprise... this was incredibly easy to build and that seat is sturdy. I modified the plan and intend to build 1 more chair and 1 sofa that accommodates 2 people. Thank you Ana! Amazing site and now I am so much more confident on my ability to build beautiful projects myself :)!
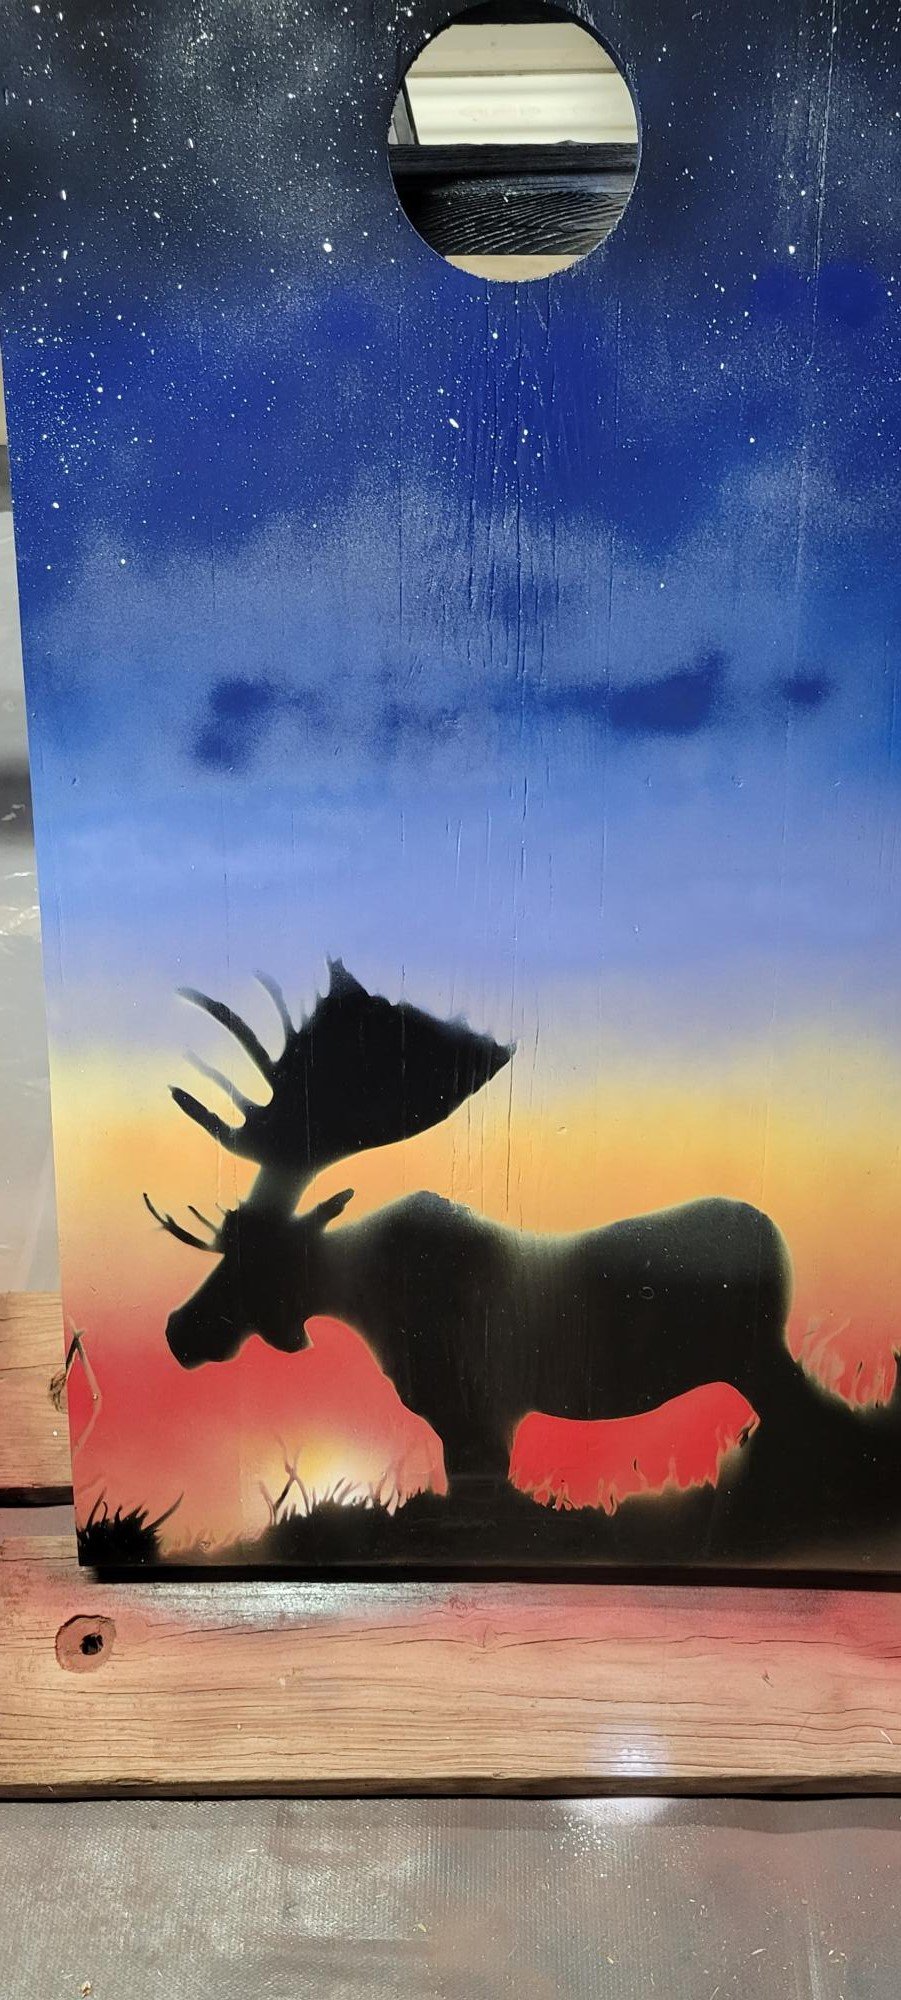
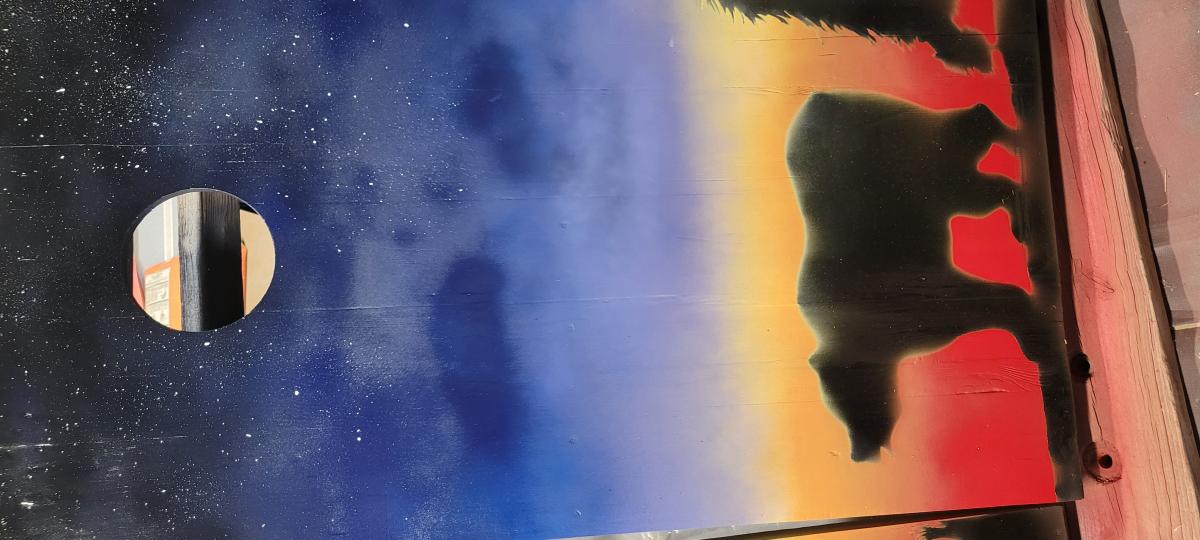
This is the first of the cornhole boards this year. Having never made such before, I learned a lot of the tips and tricks in this build. This build begins with cedar 2x4s and cedar fence pickets that I took down this last summer. I began by sanding the boards starting with 60 grit through to 320 grit with a belt sander up to 180 grit and hand sanding through 320 grit. The frame was glued up with Titebond II, then counter-sunk #8 x 1-1/2 screws. Next, we used nine (9) different cans of Rust-Oleum semi-gloss paint to fill in the background and to cover the moose and bear senciles drawn by my wife. The boards were then coated with Minwax Poly-Acrylic (9 coats) and Howard's Bee's Wax (6). The boards are secured with 3-inch toggle fasteners and the handles are Kayak straps with four (4) screw holes; I used the same Torx screws for strength and stability.
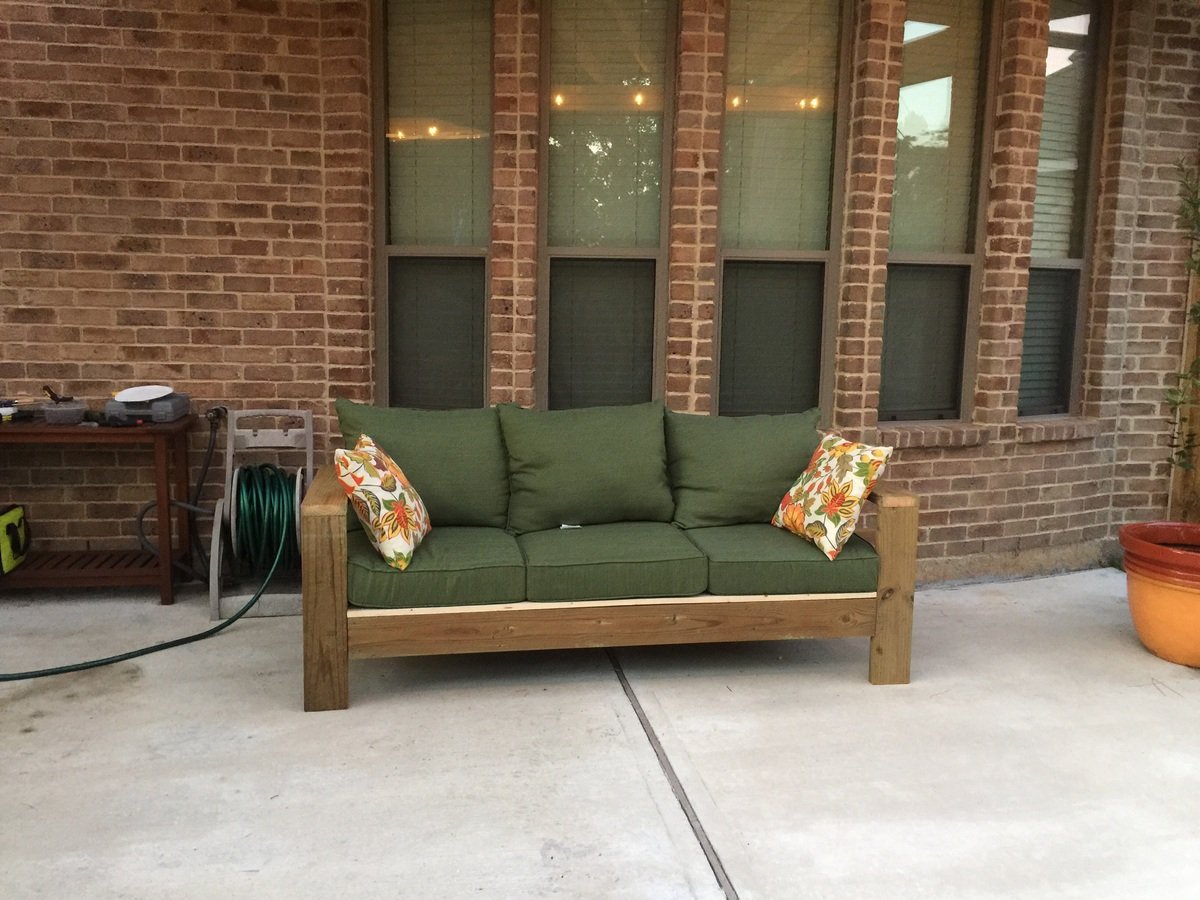
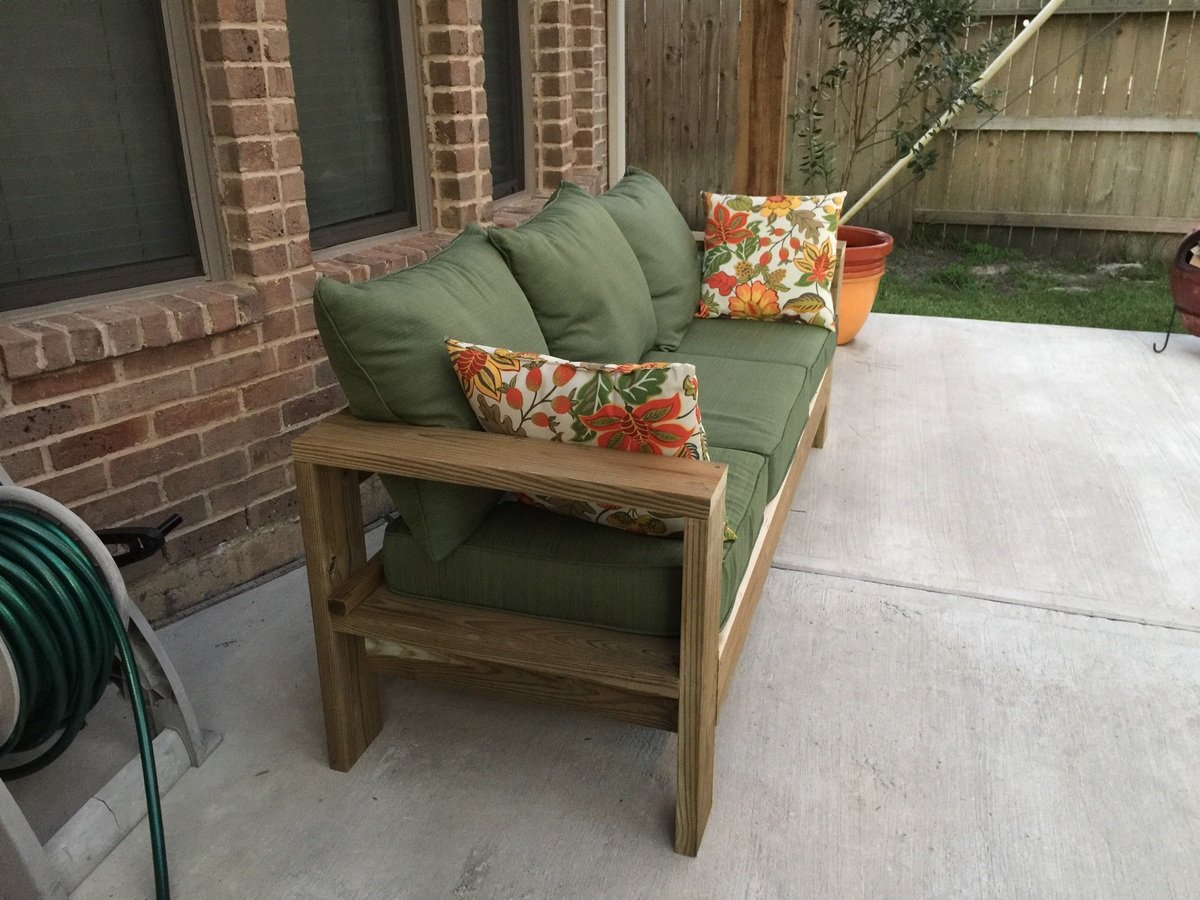
I created this sofa from 2x6s that were left over from a pergola we built. I got the cushions at Lowes for $57 per set (3 sets). This is the first thing I ever built and I did it all by myself including cutting the boards to length. In total it took about 4 hours. I am so proud!!! Thank you Ana White for giving me the confidence to build this furniture. I will never, ever, ever pay outrageous retail prices for wood furniture again.
Fri, 06/26/2015 - 09:27
I love the way your couch turned out in 2x6s! I, too, plan to build this soon. I really like the cushions you chose, too. I ordered mine from Amazon for about the same cost (a little more $, but without exorbitant WA state tax!). Thanks for sharing!
Mon, 07/25/2016 - 21:02
Can't see the plan for this sofa. Where can I get it from? Thanks

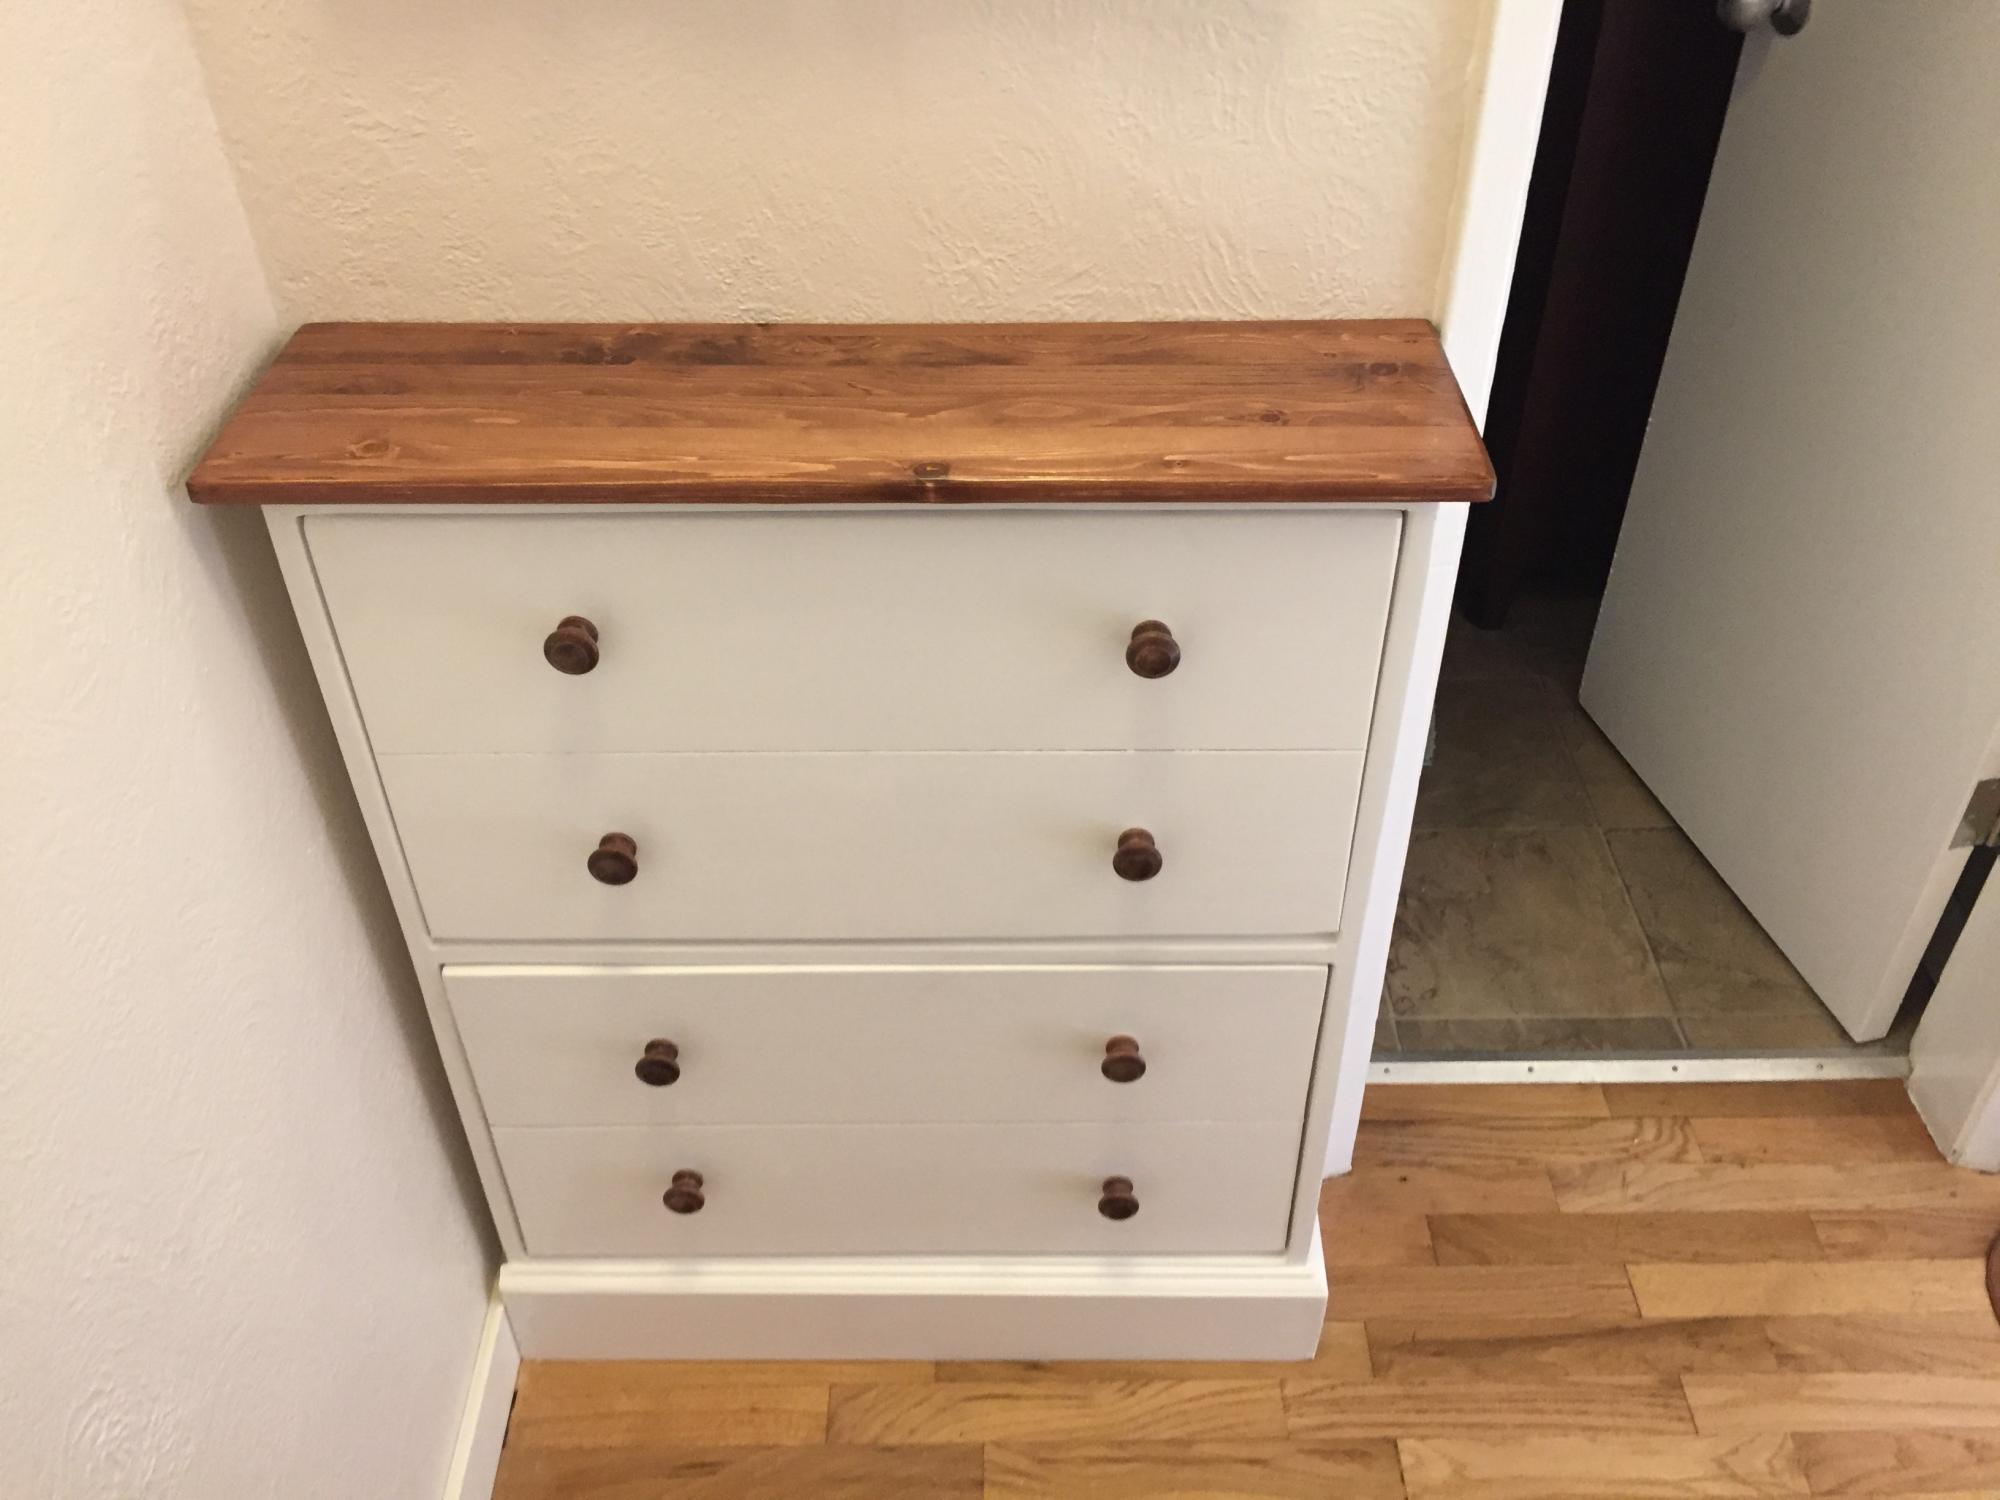
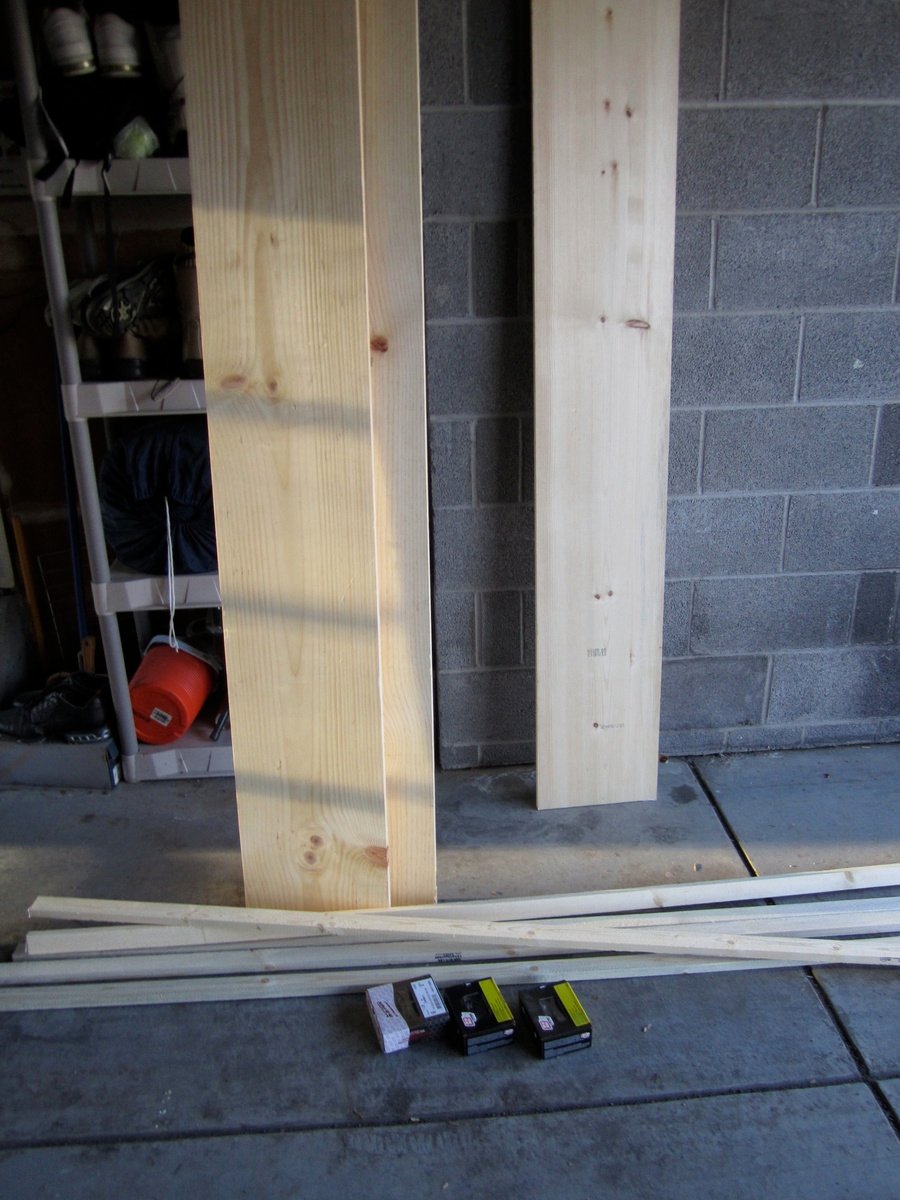
When we moved into our home we had minimal furniture pieces. On a tight budget and not wanting to buy something that was made of veneer, I stumbled upon the attractive and functional plans for the cube shelves. I love that I can "add on" to the set with additional pieces if I want to in the future. But for now, one set of cube shelving is just right for us.
This was the first project that I used the table saw by myself, and while it went just fine I do think it would have been helpful to have another set of hands around. Piecing together the first two joints was a bit challenging with only one set of hands holding the wood and putting in nails. But once I got a few done, the piece really came together quickly. It literally took me just a few hours to cut the pieces and put it together. It's the sanding painting and priming that can take some time and patience!
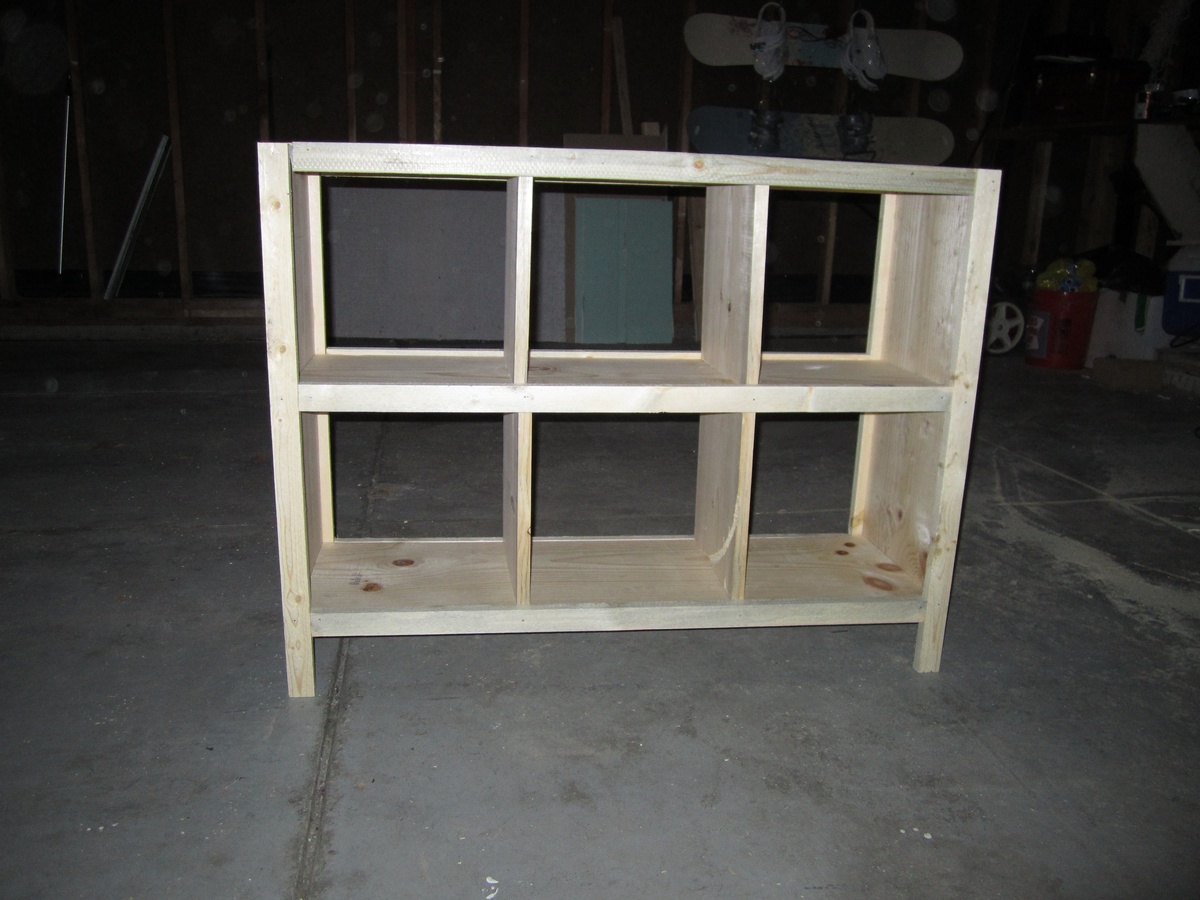
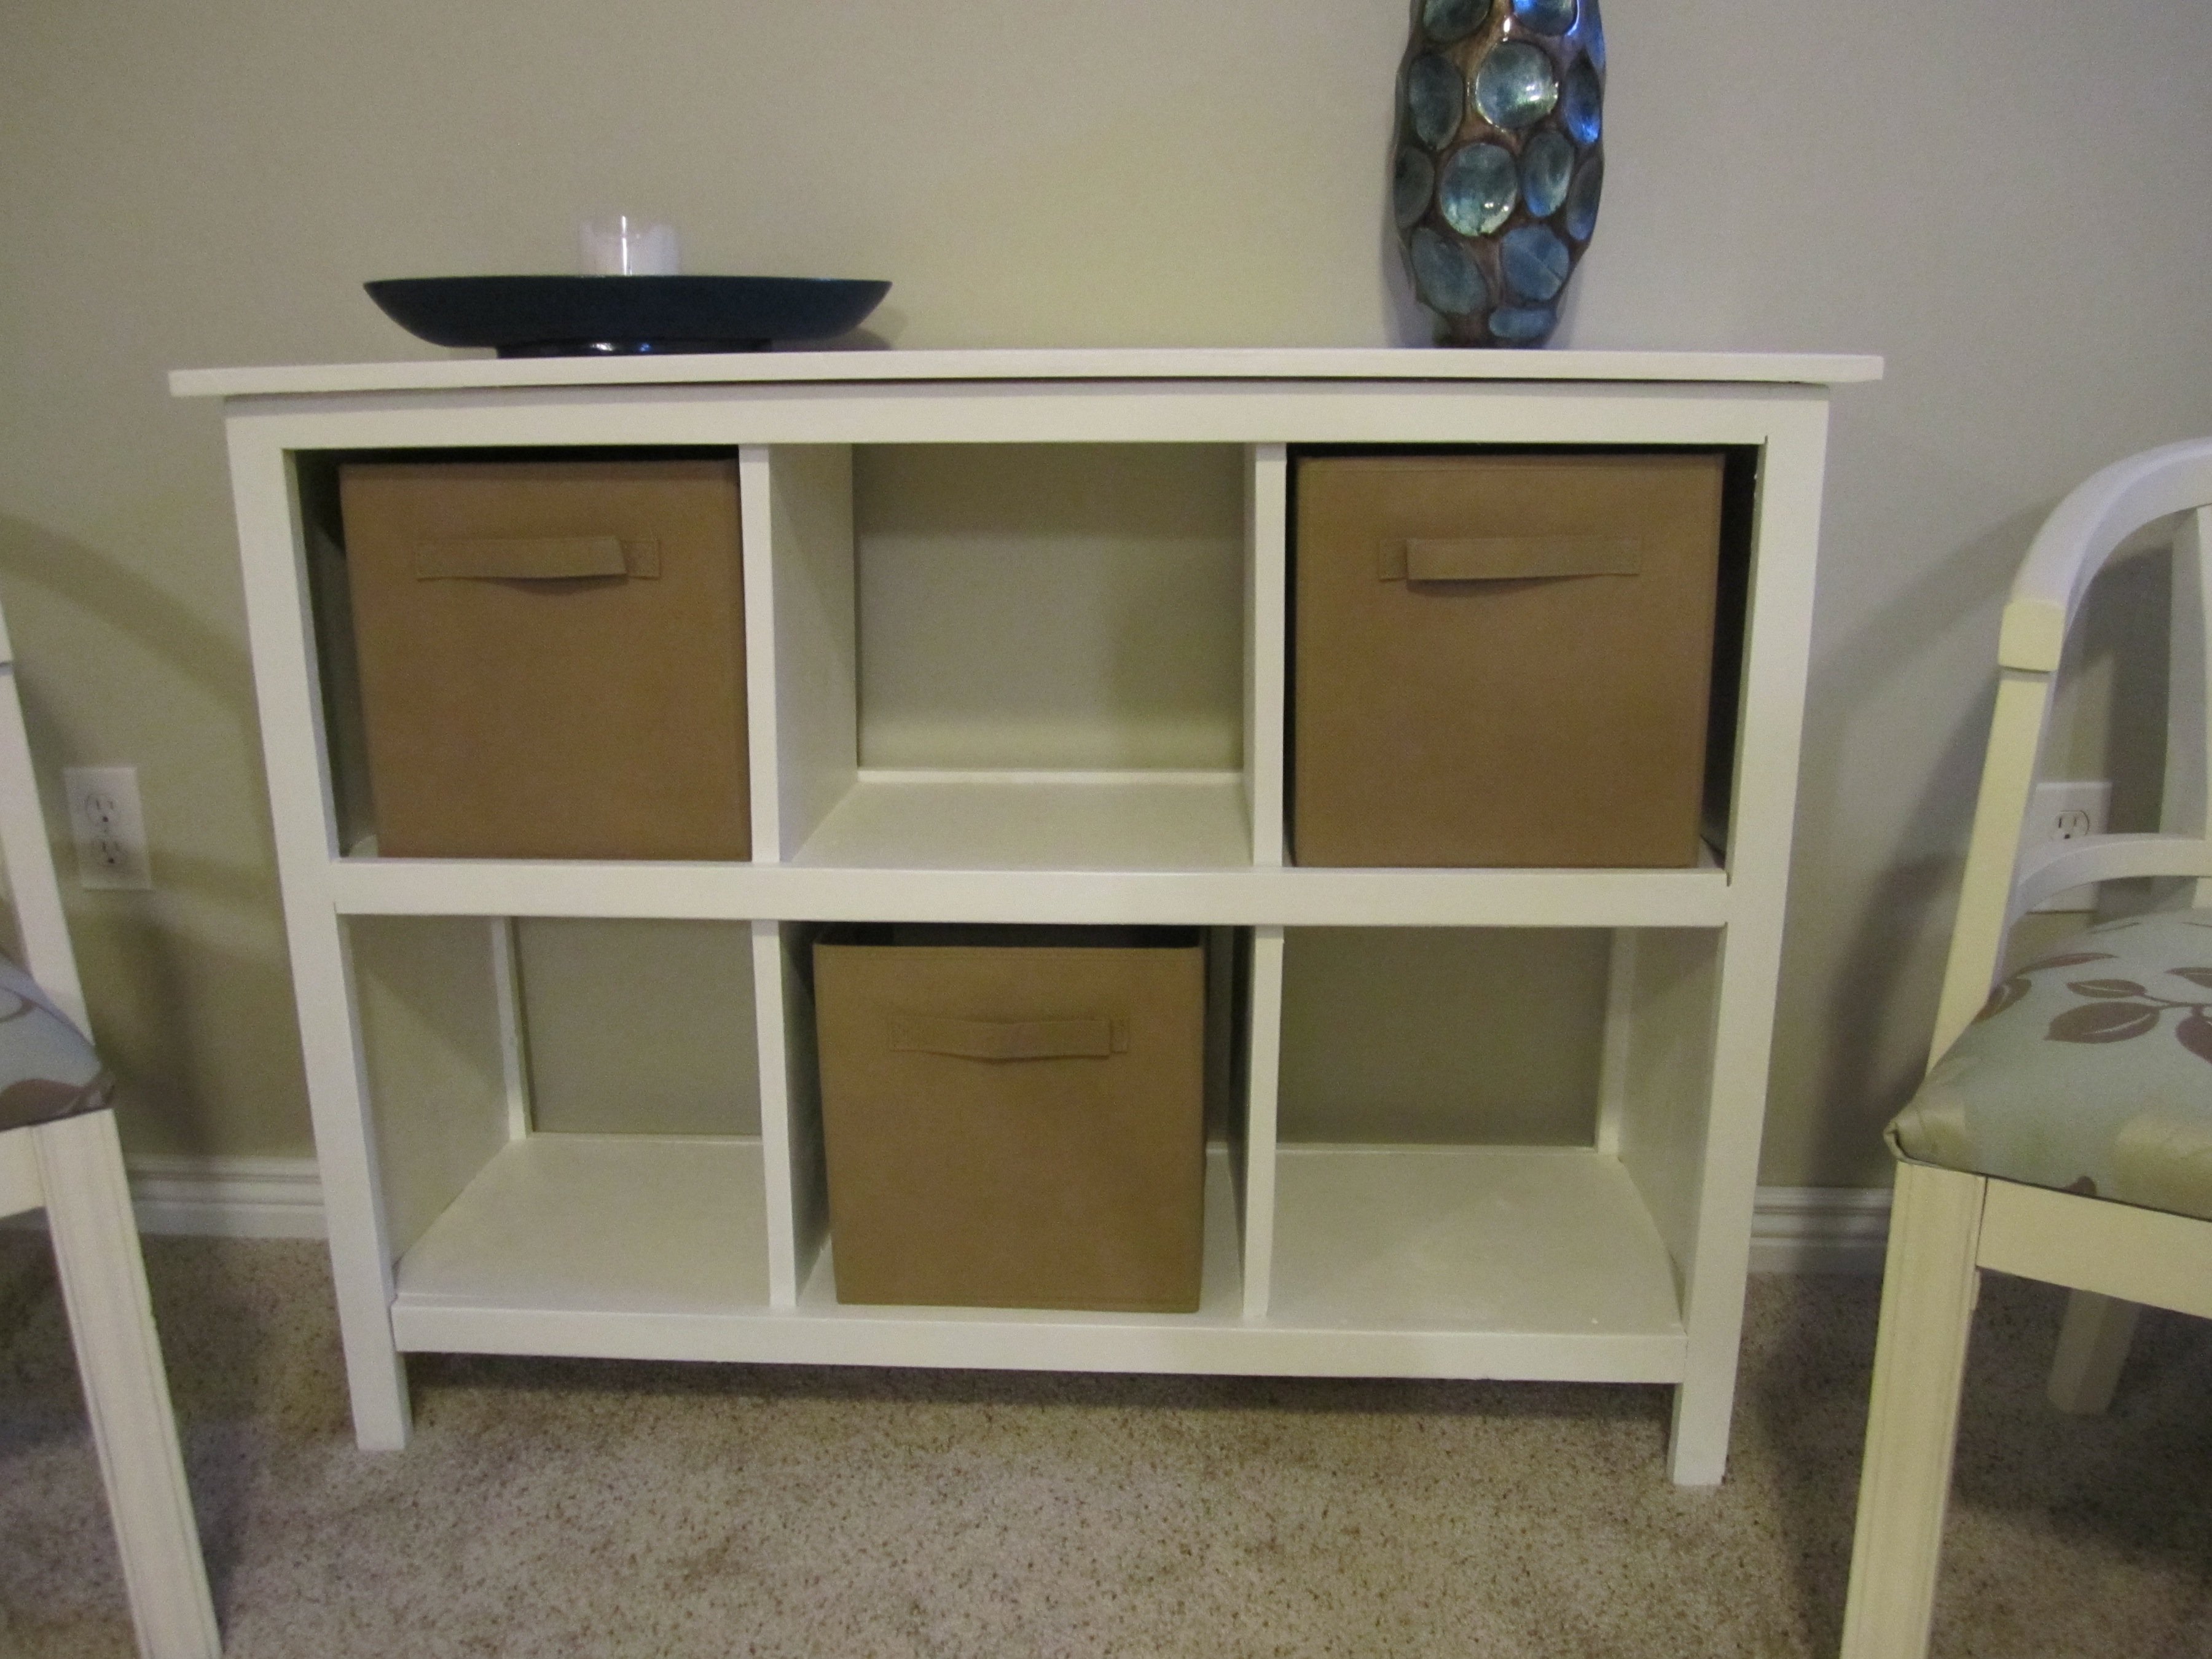

This was an easy build and after 2 months I am still in LOVE with it:)

Fri, 12/16/2011 - 10:59
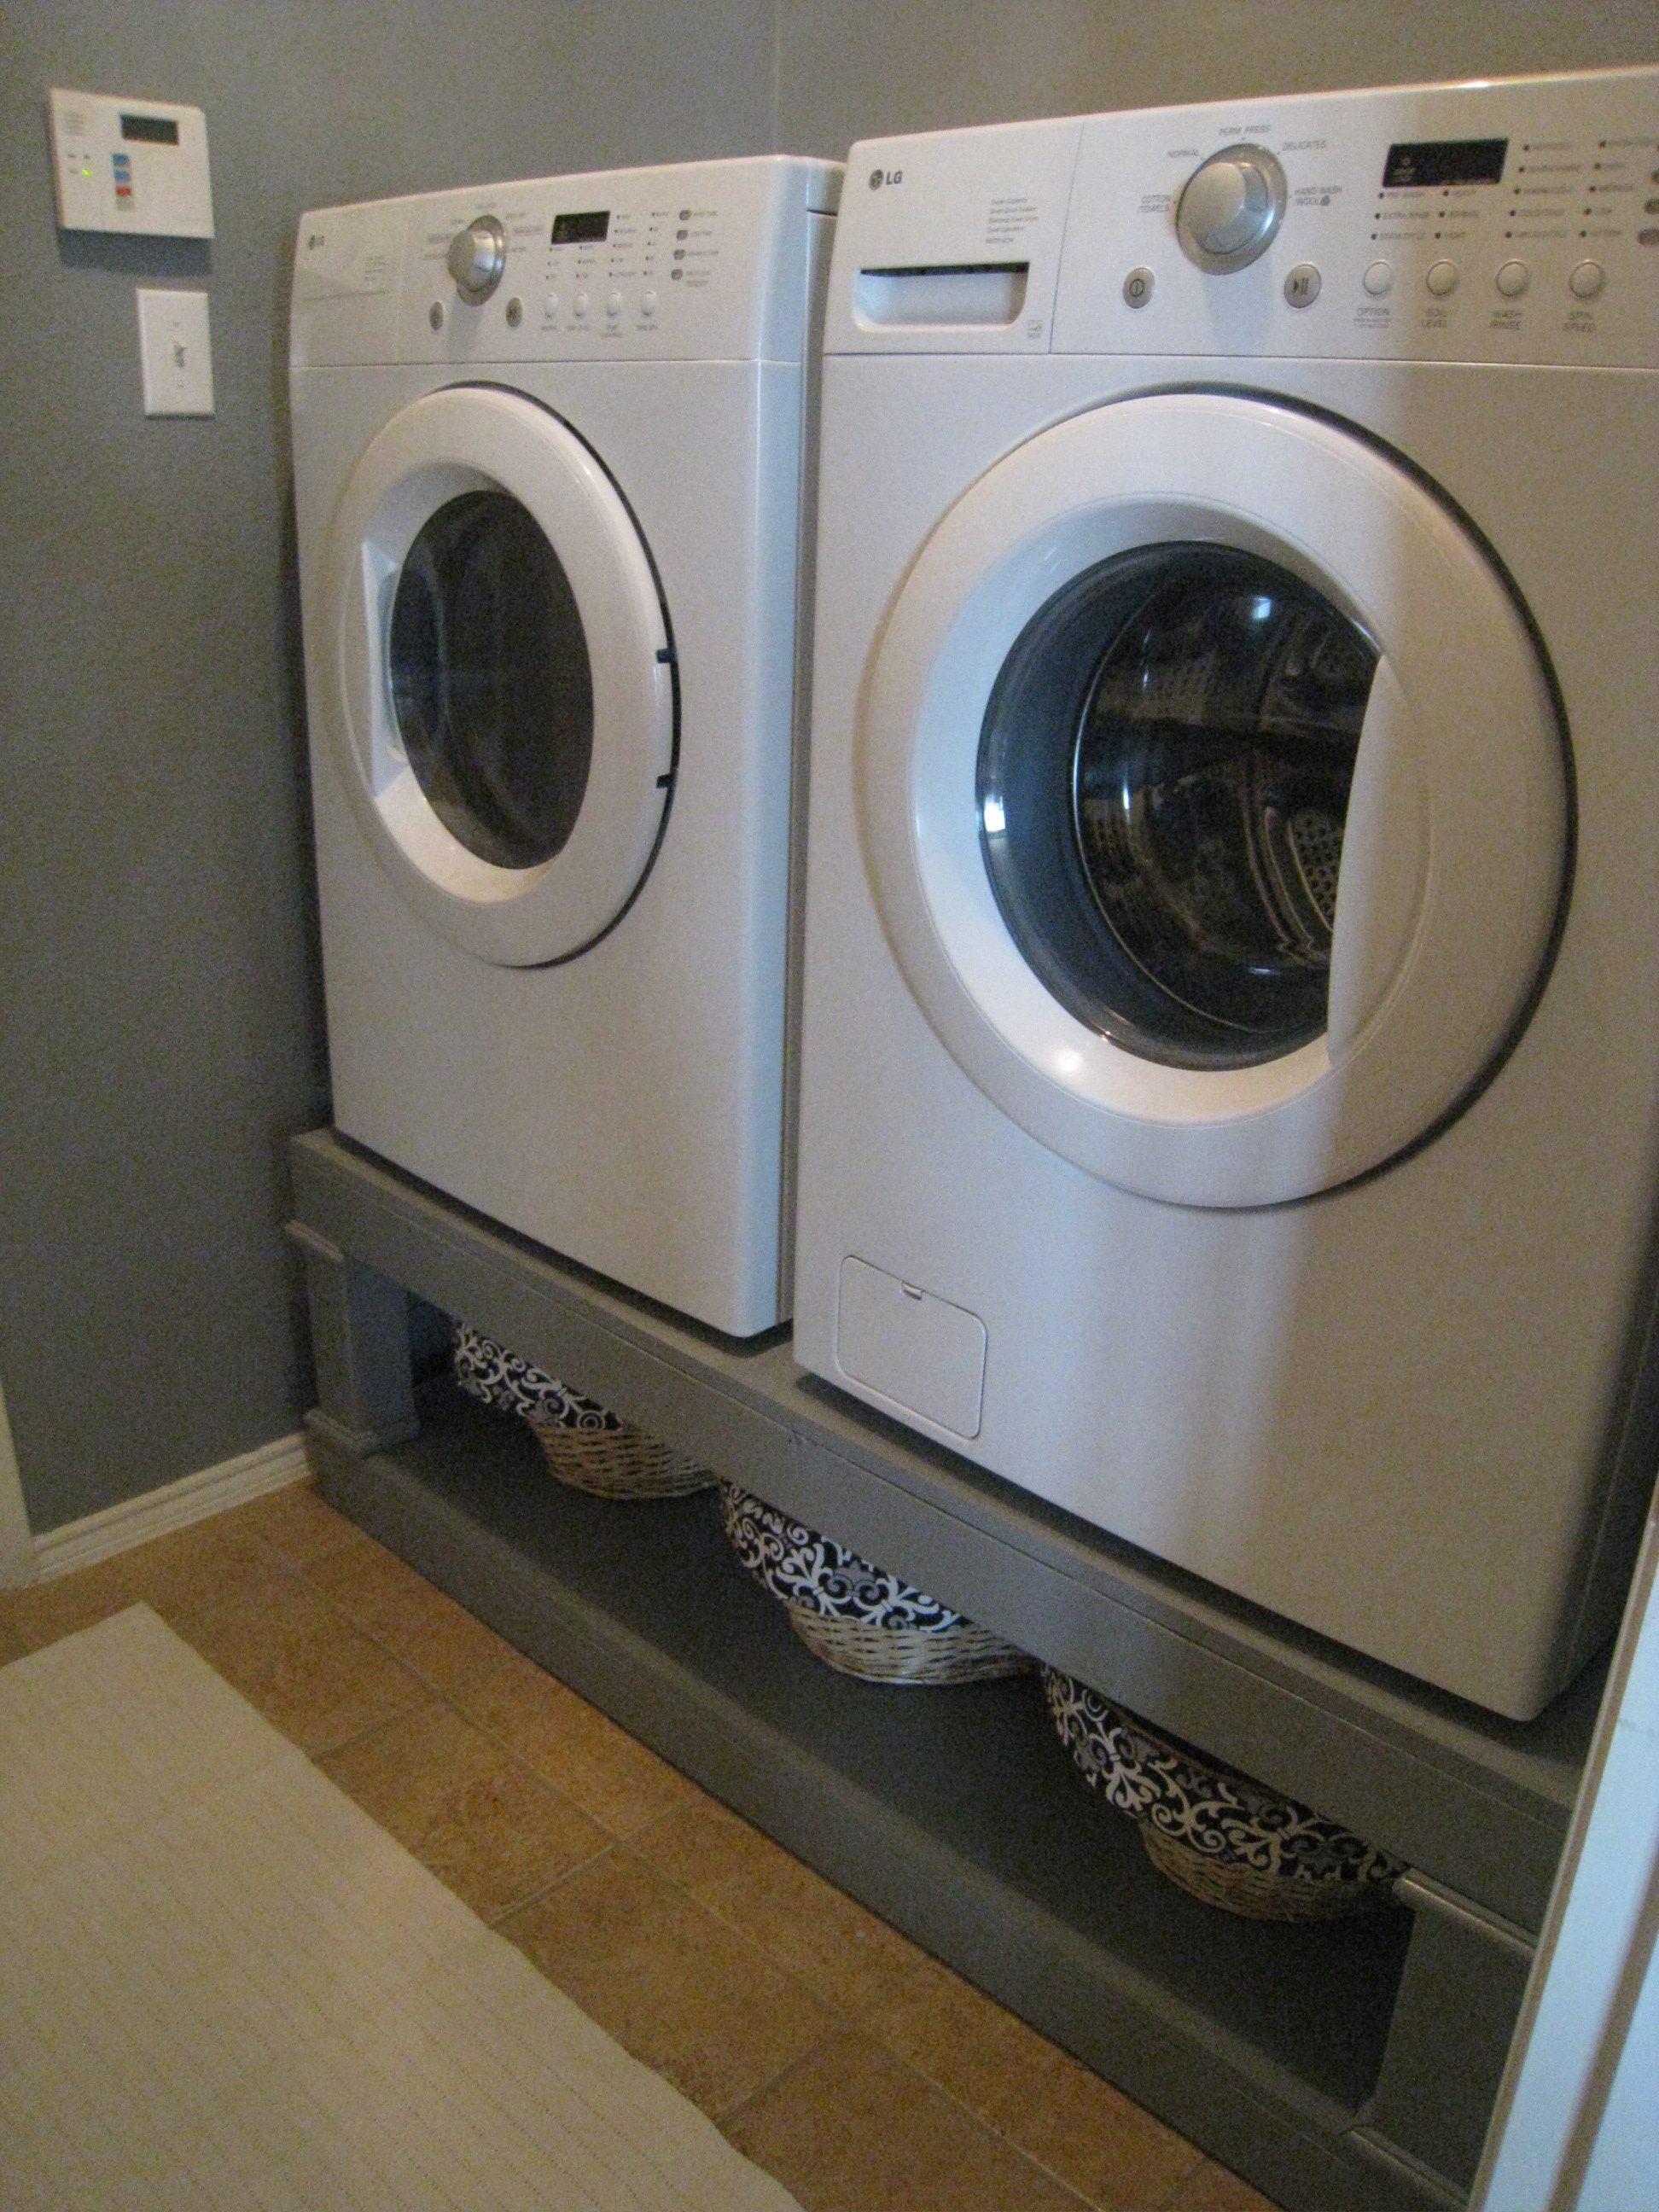
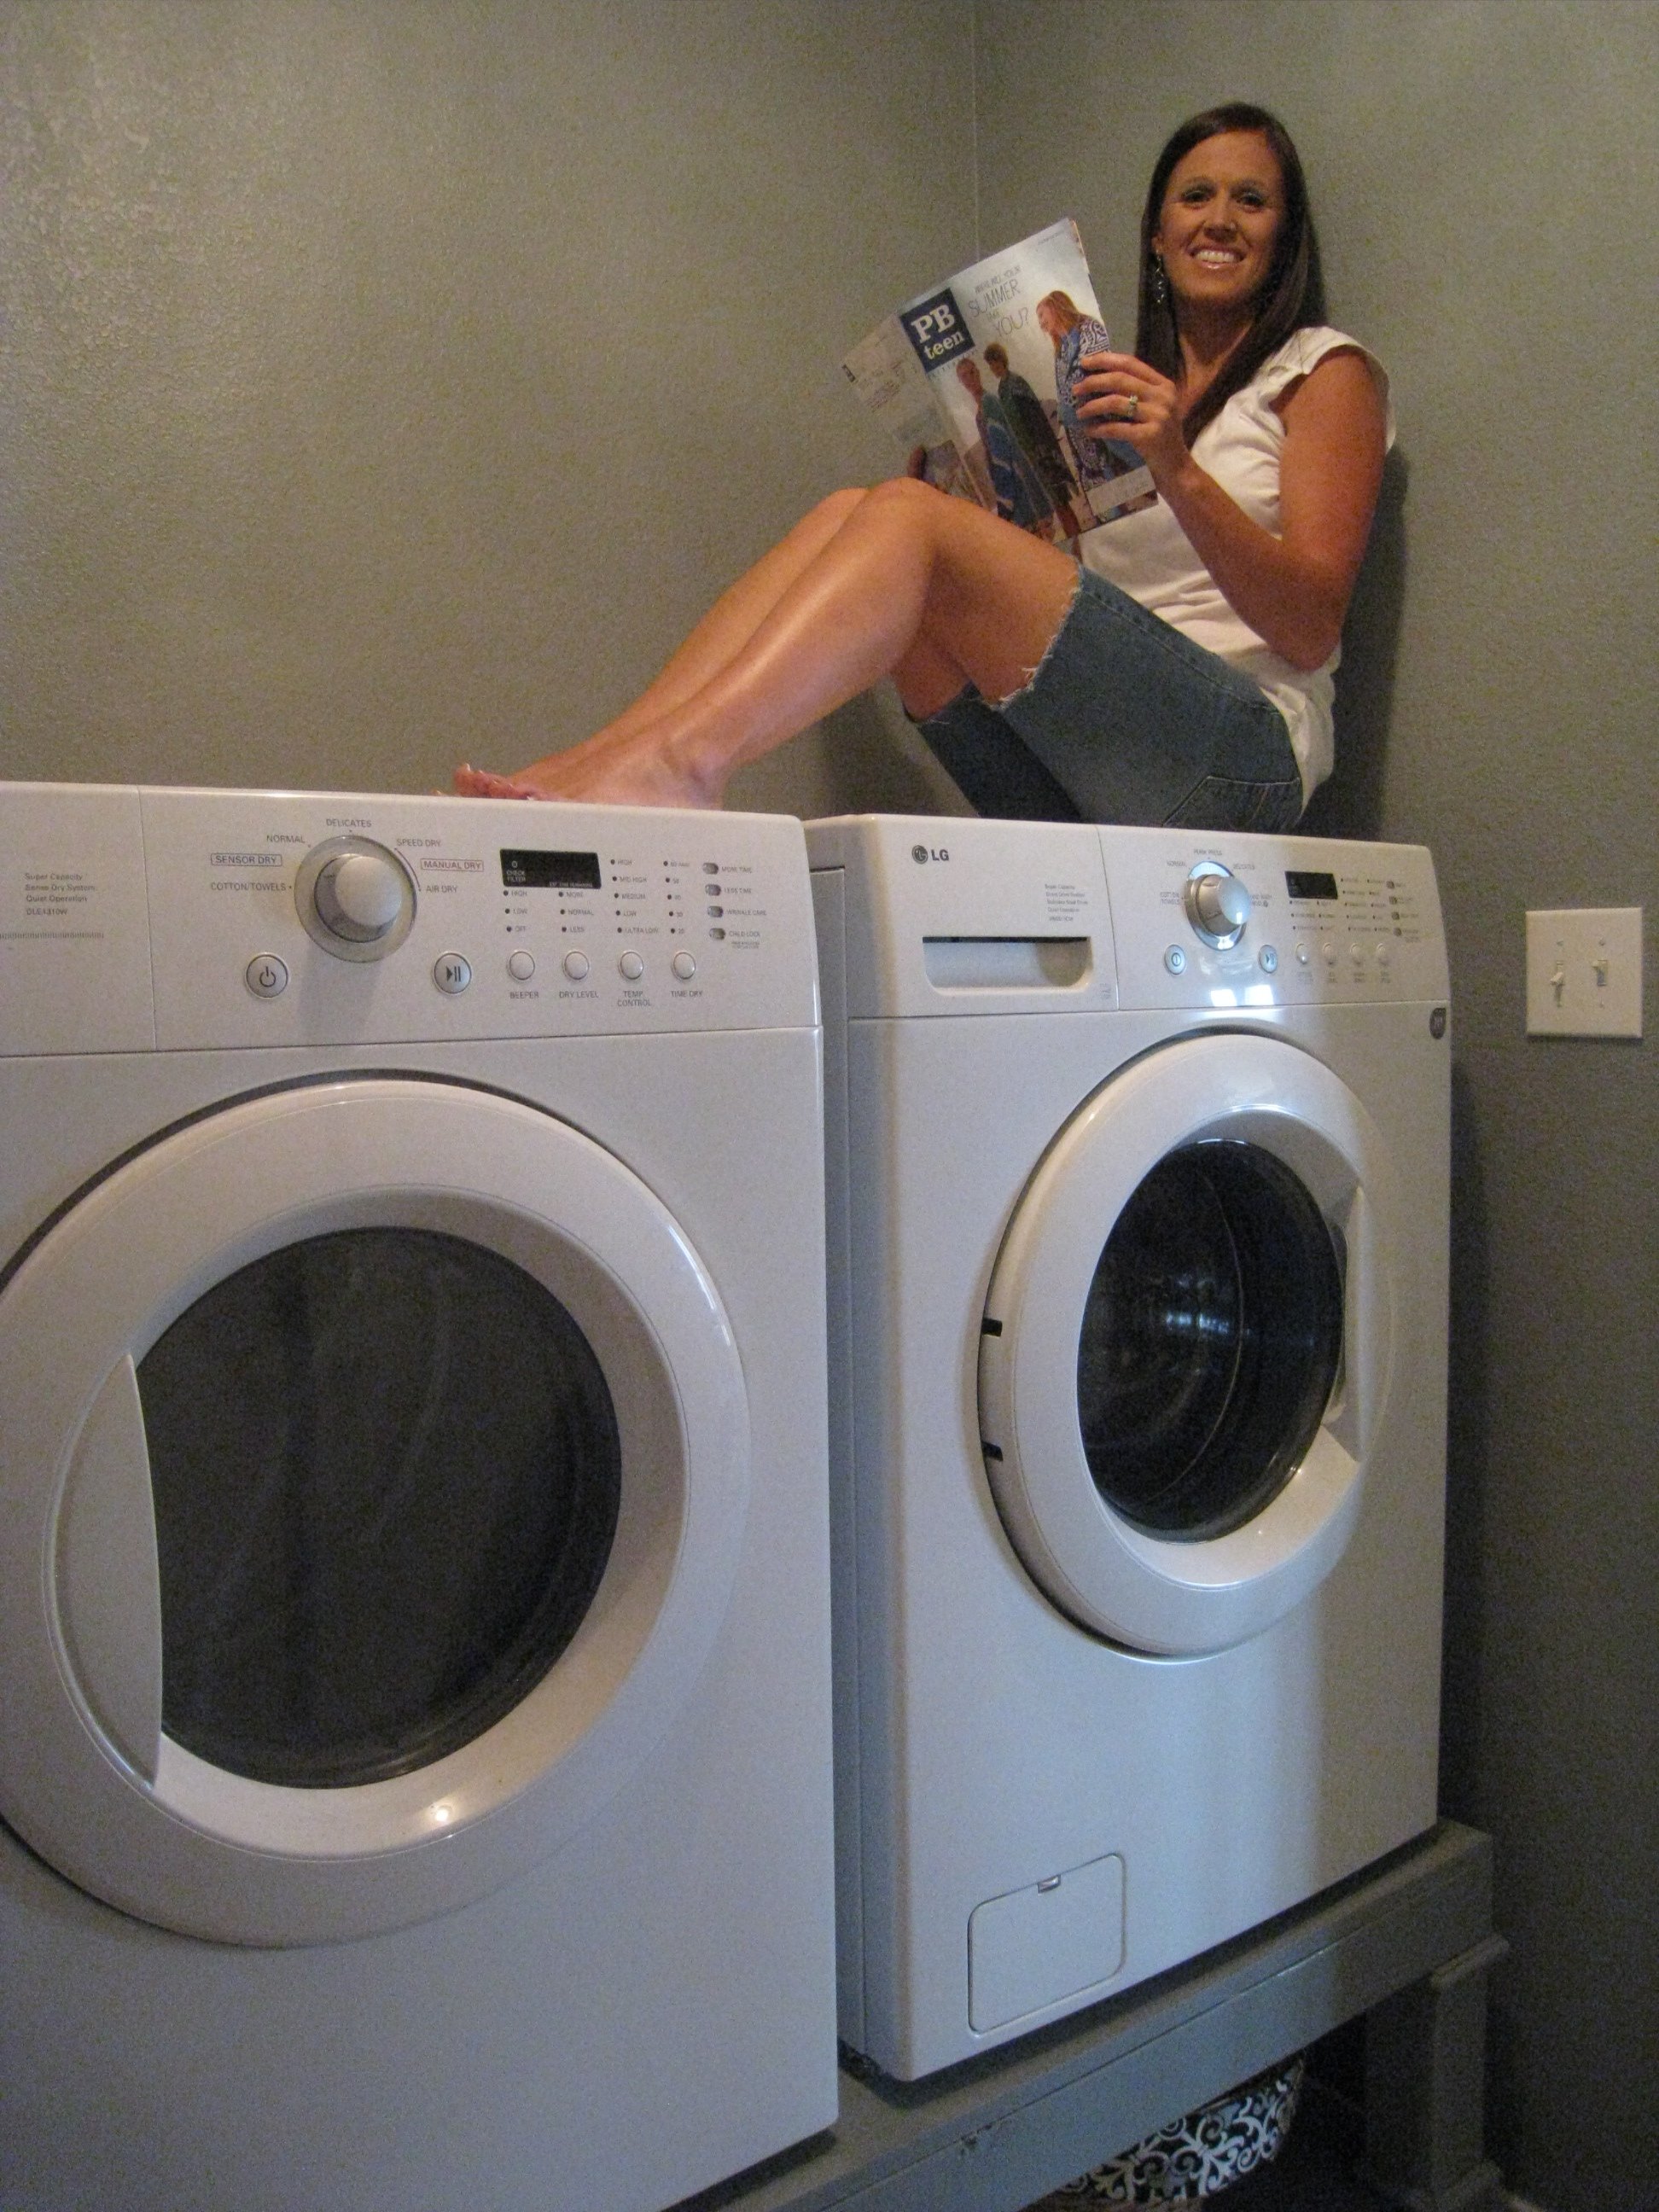
We have a HE front-loading washer and because of the power of the spin cycle, it vibrates/moves a lot. Anyone who has these pedestals have problems with that? I don't want a very expensive washer to take a tumble. :)
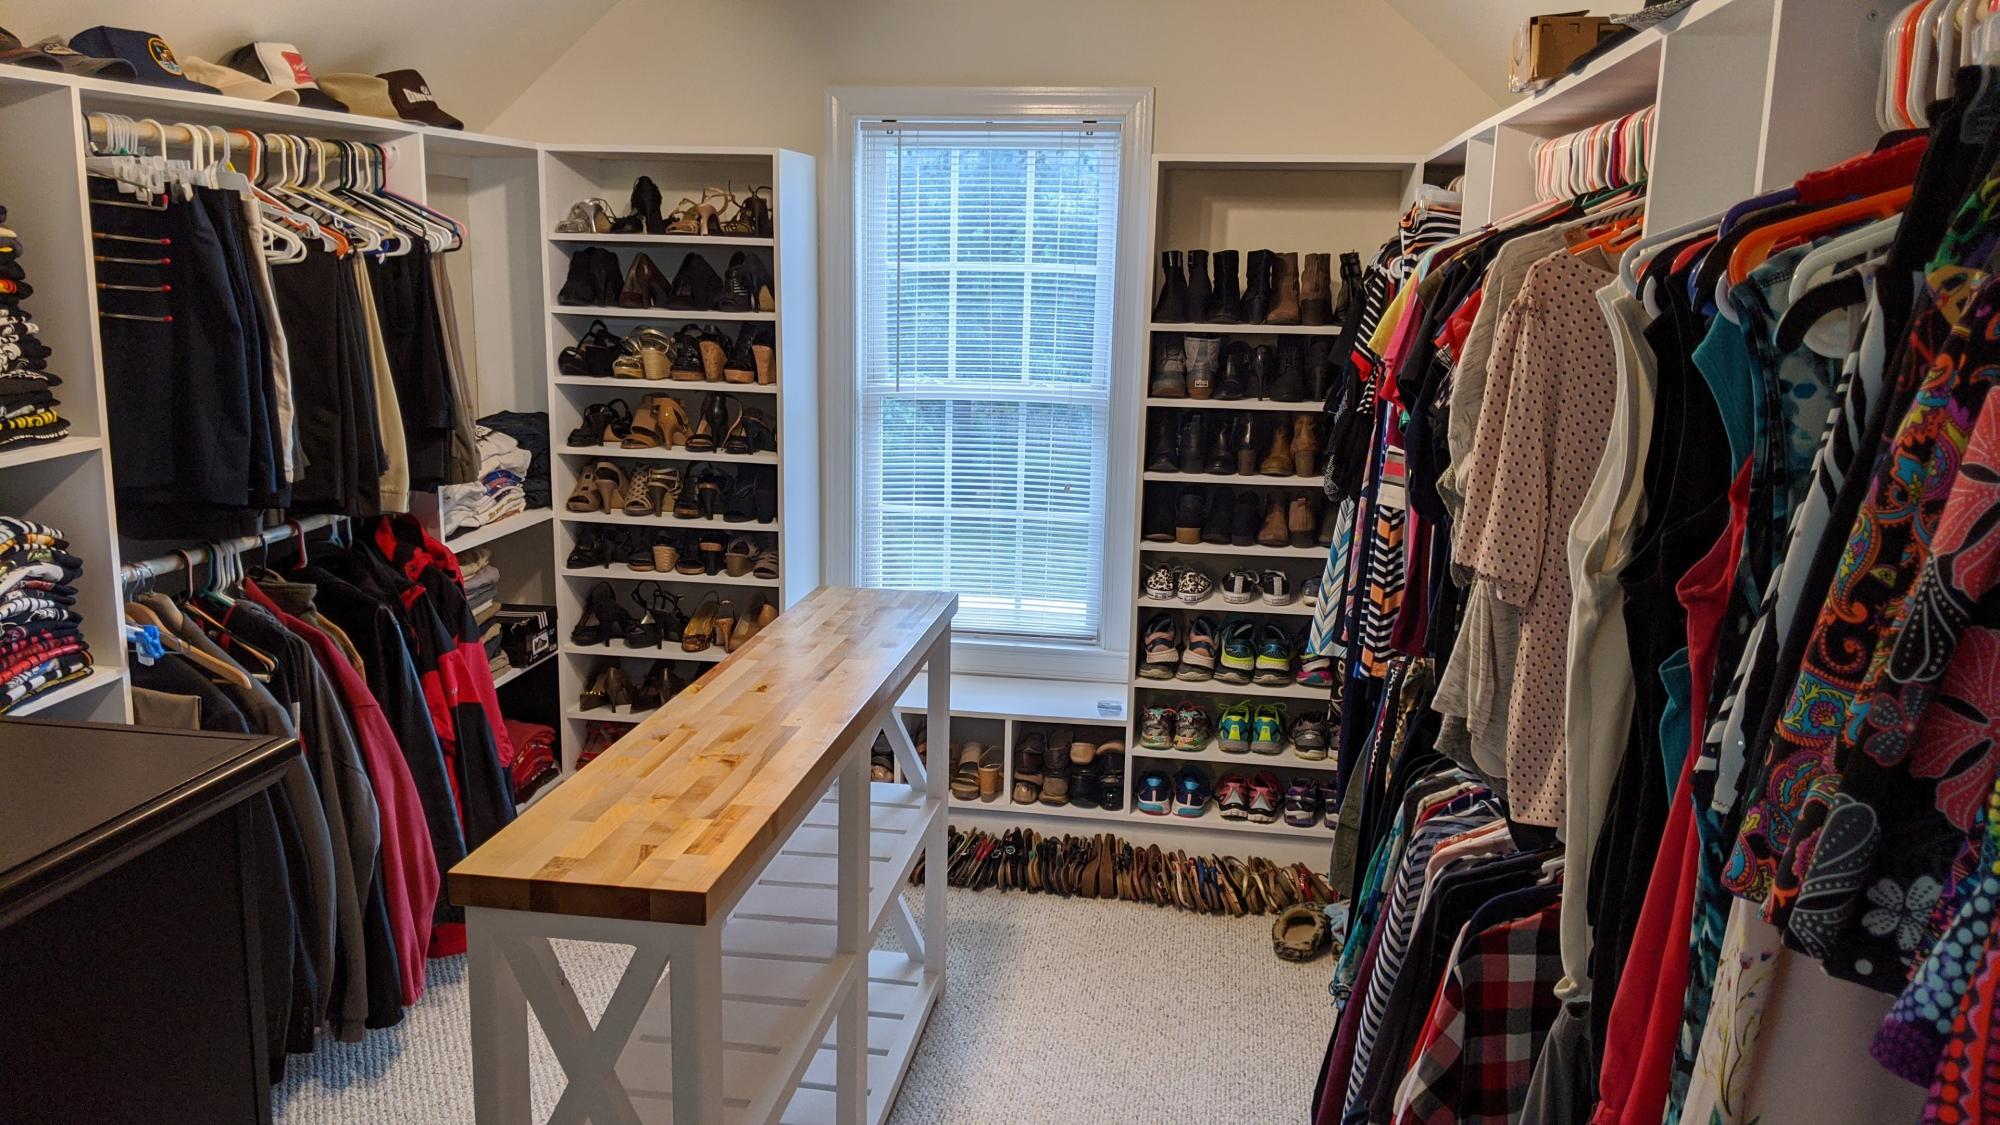
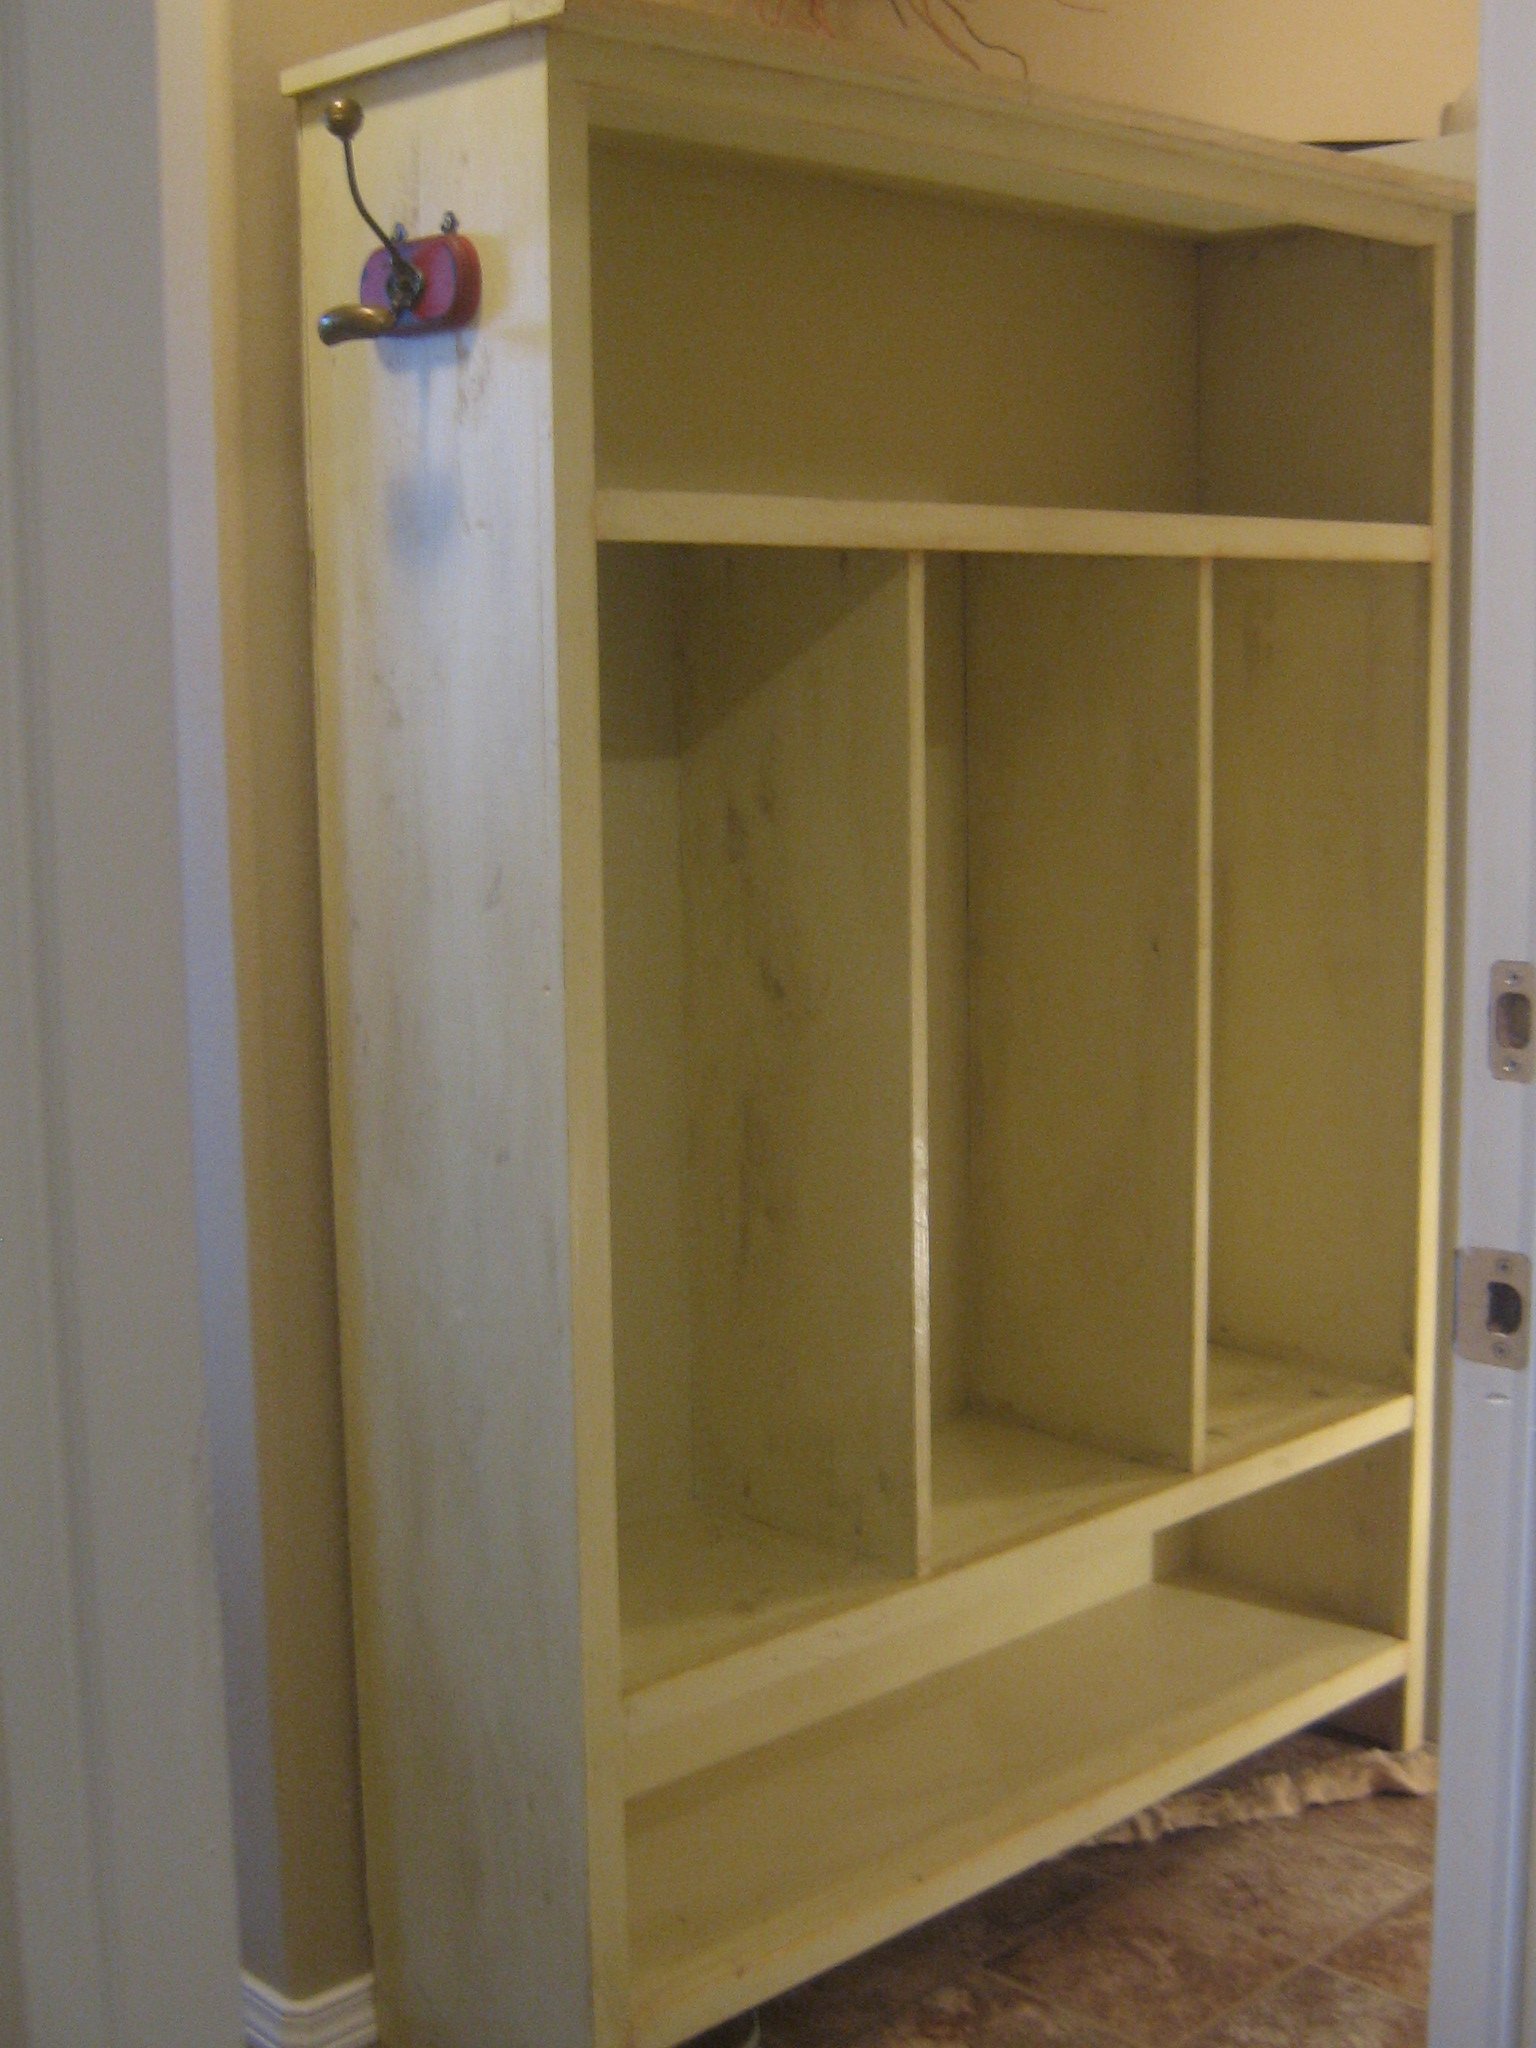
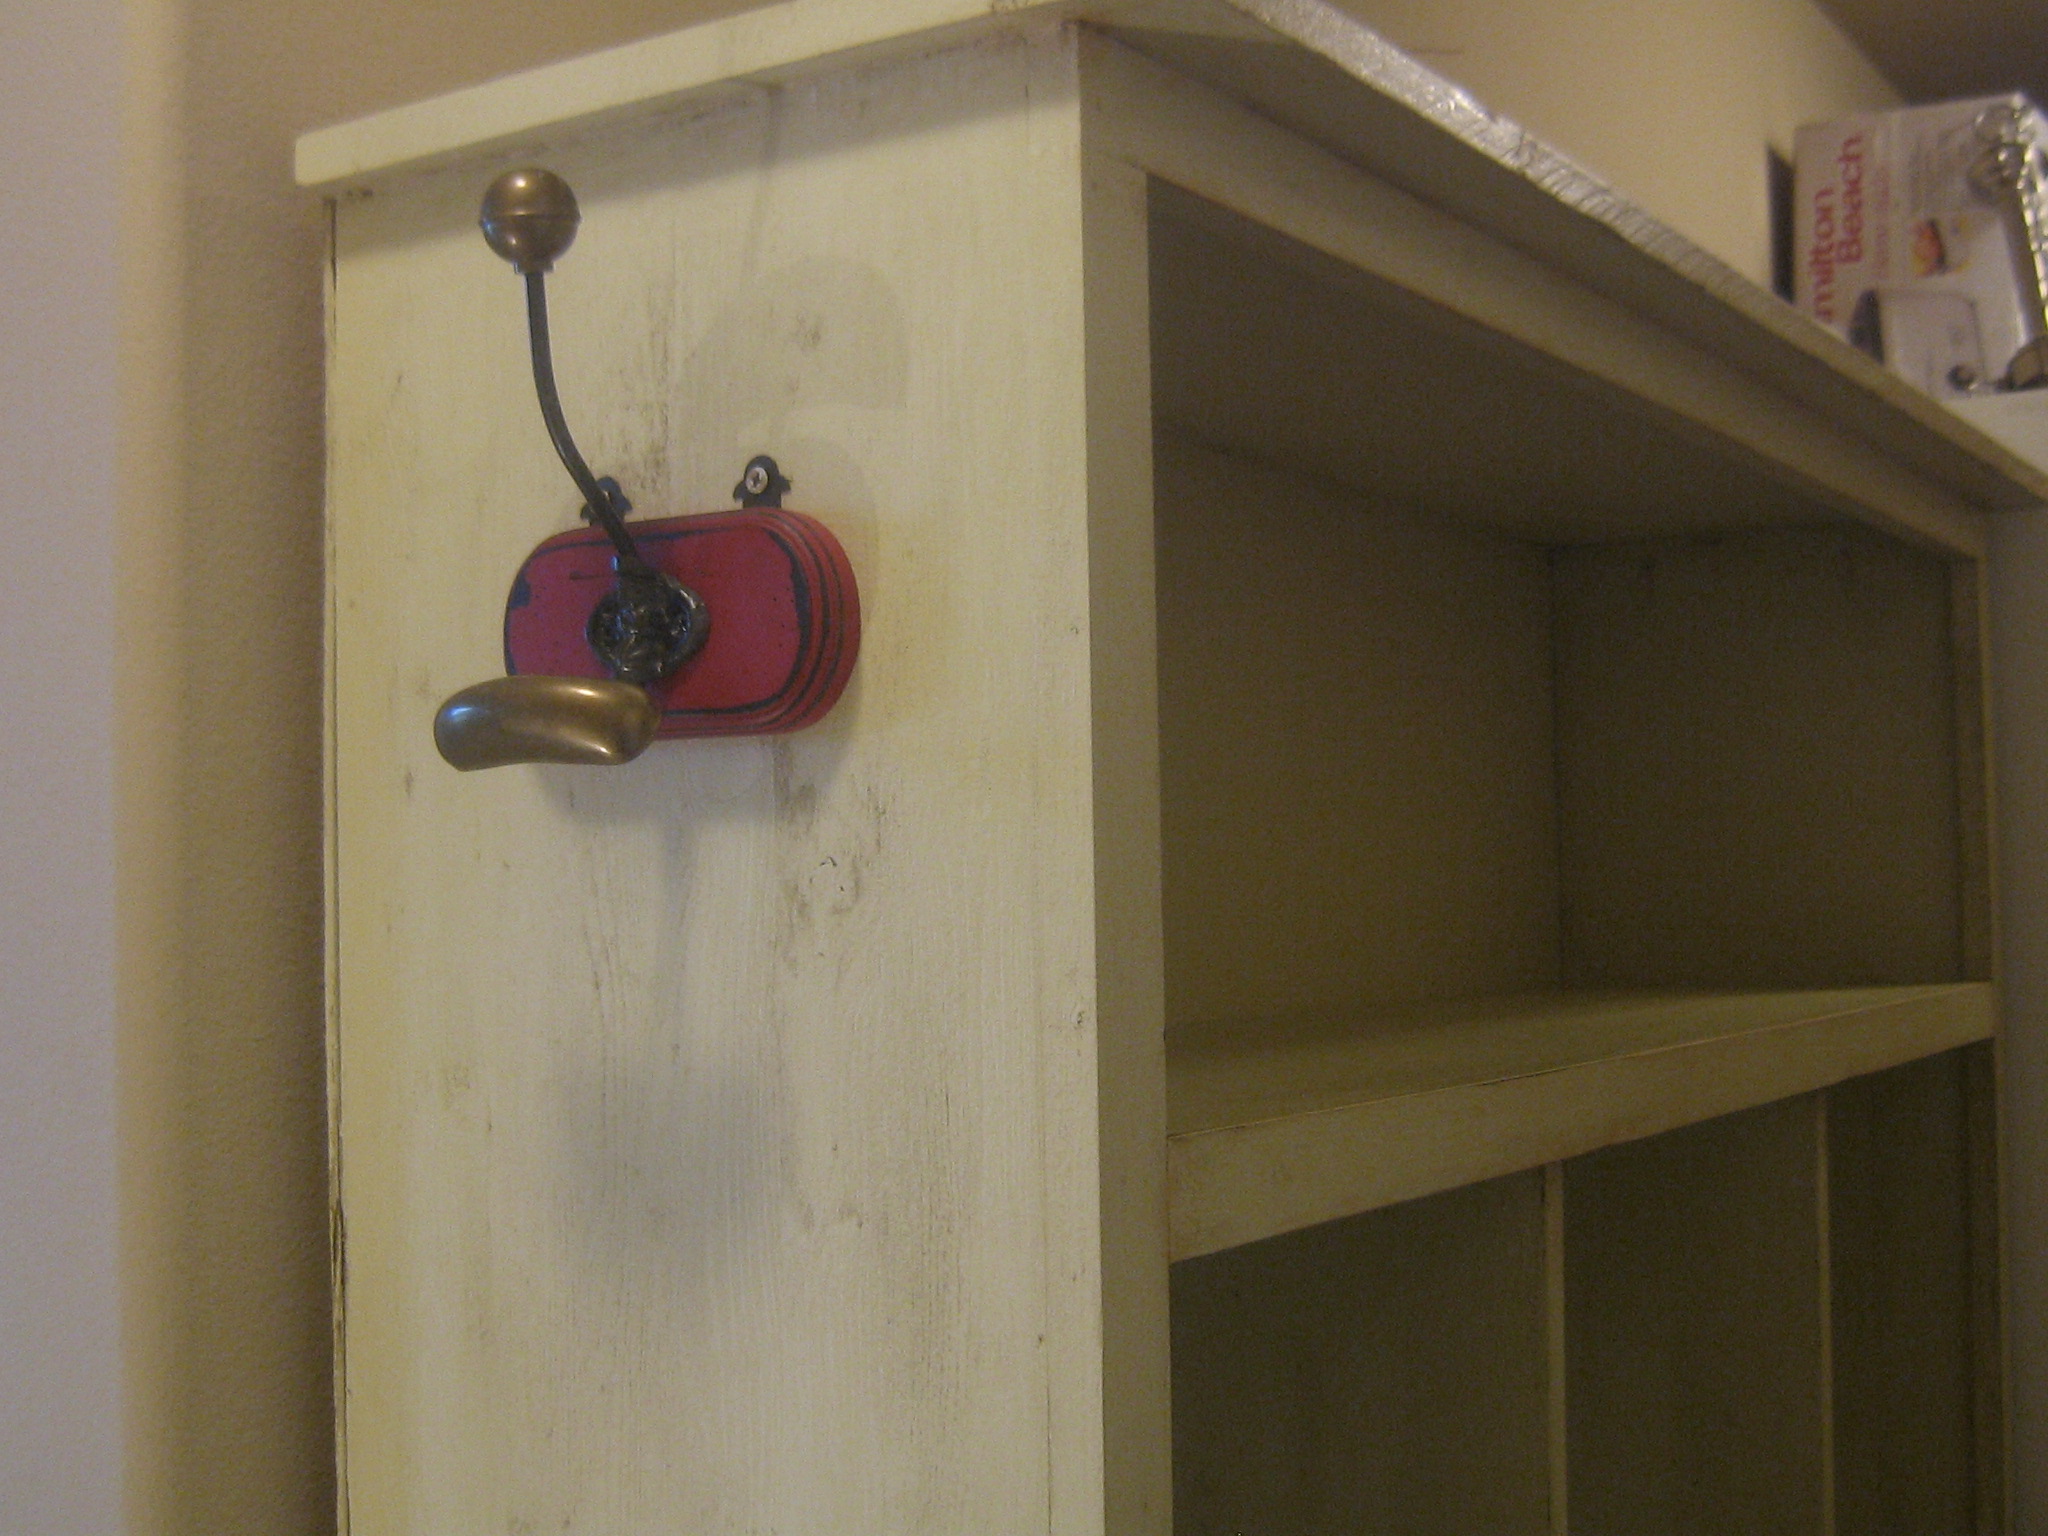
Our cheap wire rack in the closet pulled out from the wall...twice. With input from the wife, I took inspiration from the various tower style closet designs and built this epic masterpiece. I still go in and marvel at what I did...two years later. We doubled up the hanging space, provided shelves and cubbies for all the shoes! And even built the table out of scraps from the project (a neighbor gave us the tabletop material as scrap from a project they finished). I had some stain left over from yet another project that was accidentally tainted, but turned out as a great color on the table. Thanks Ana for all the inspiring work!


