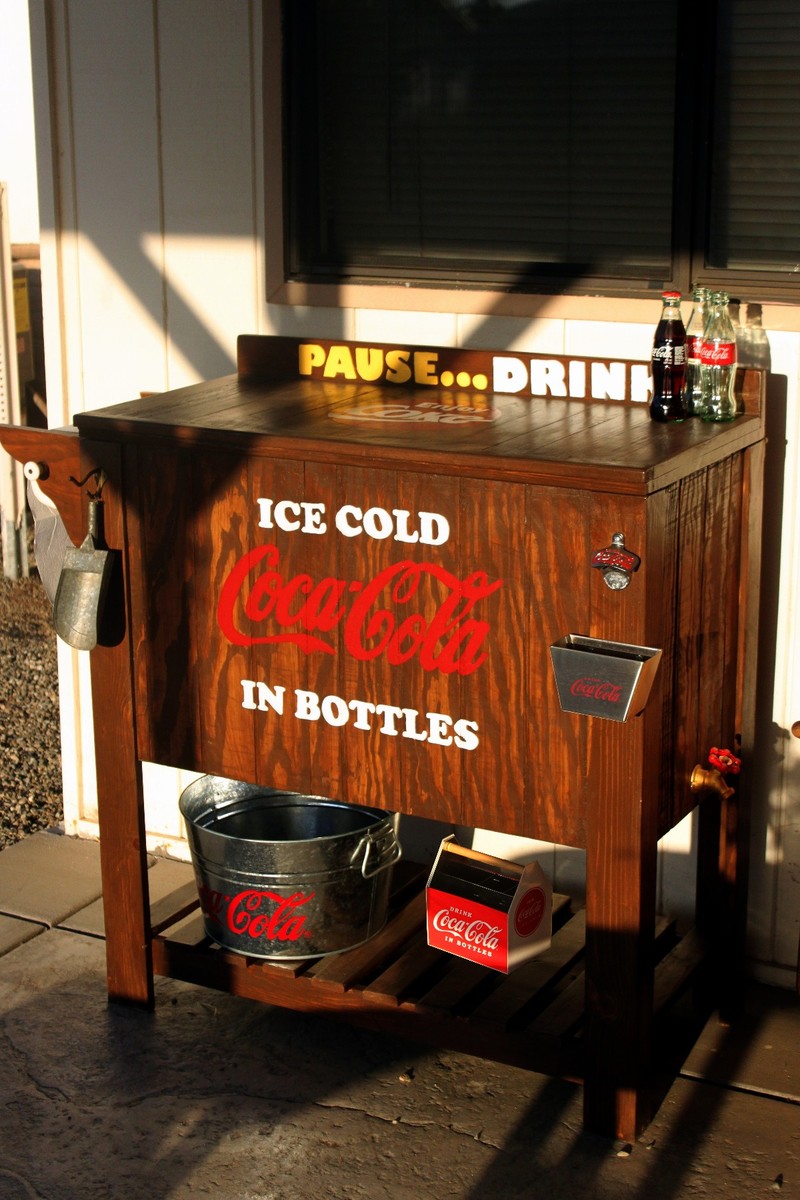
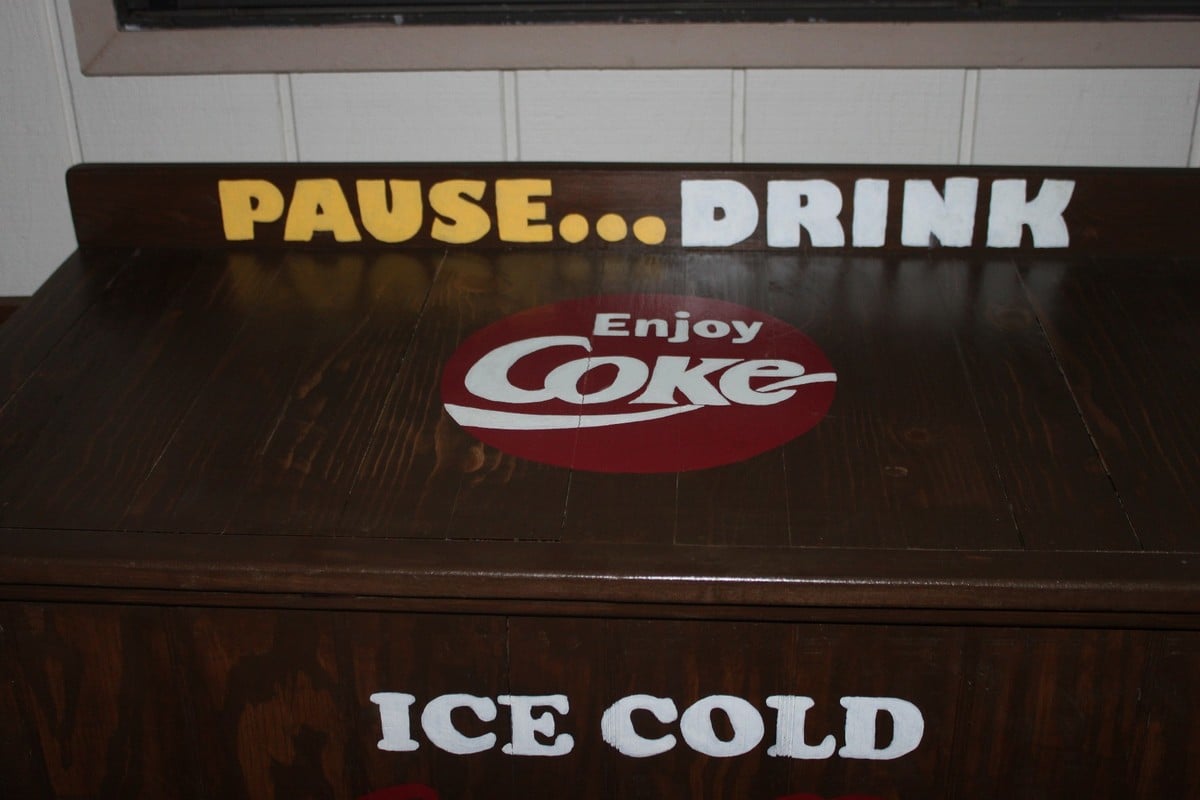
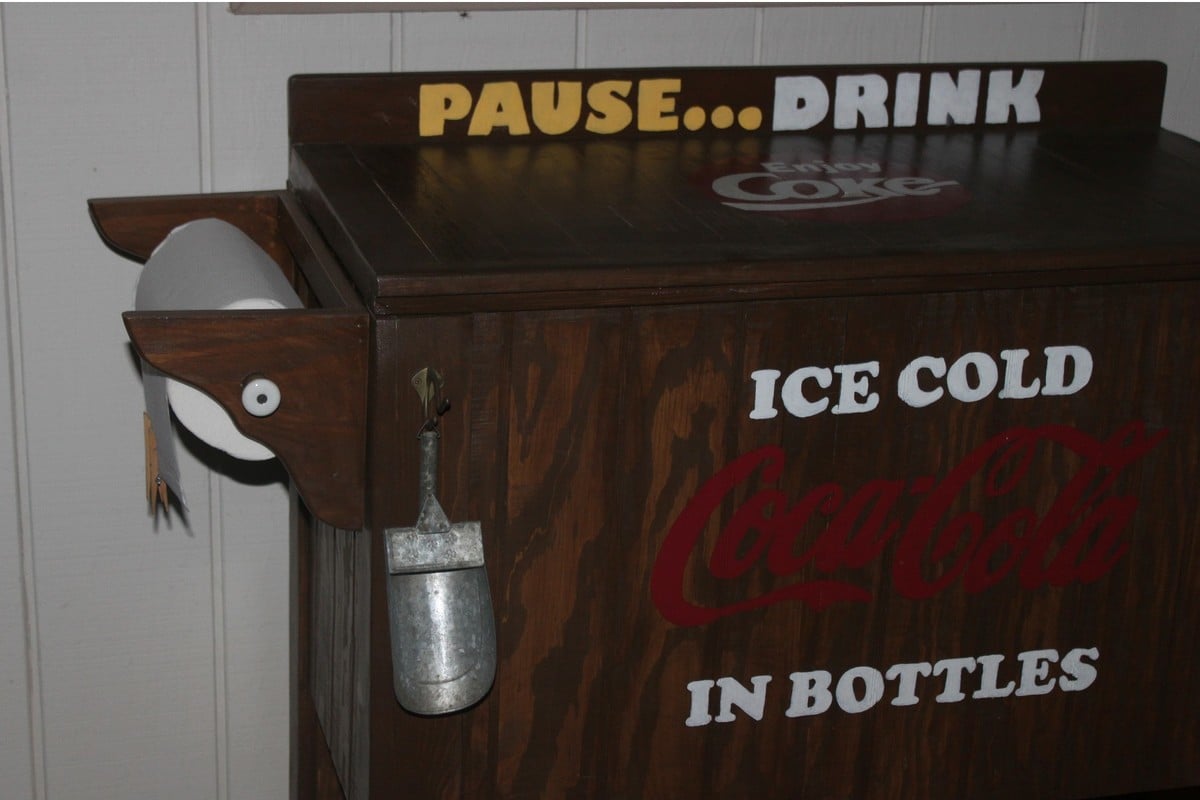
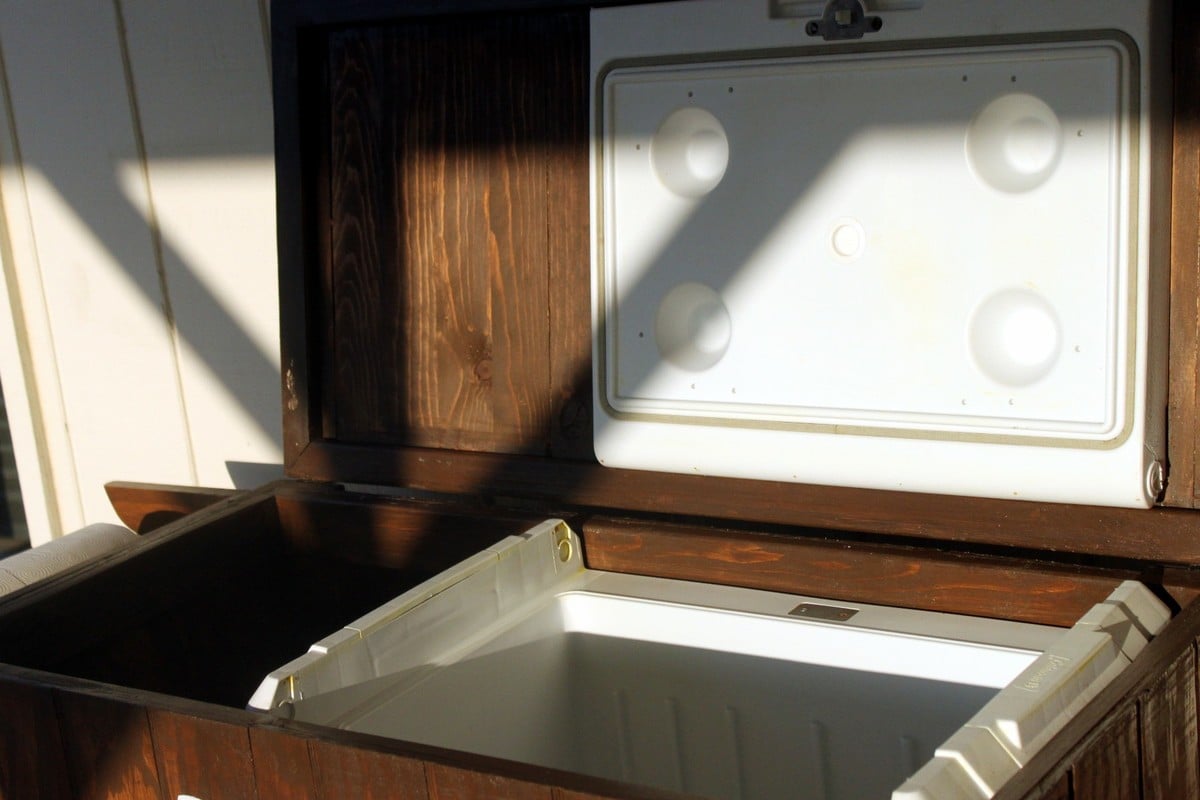
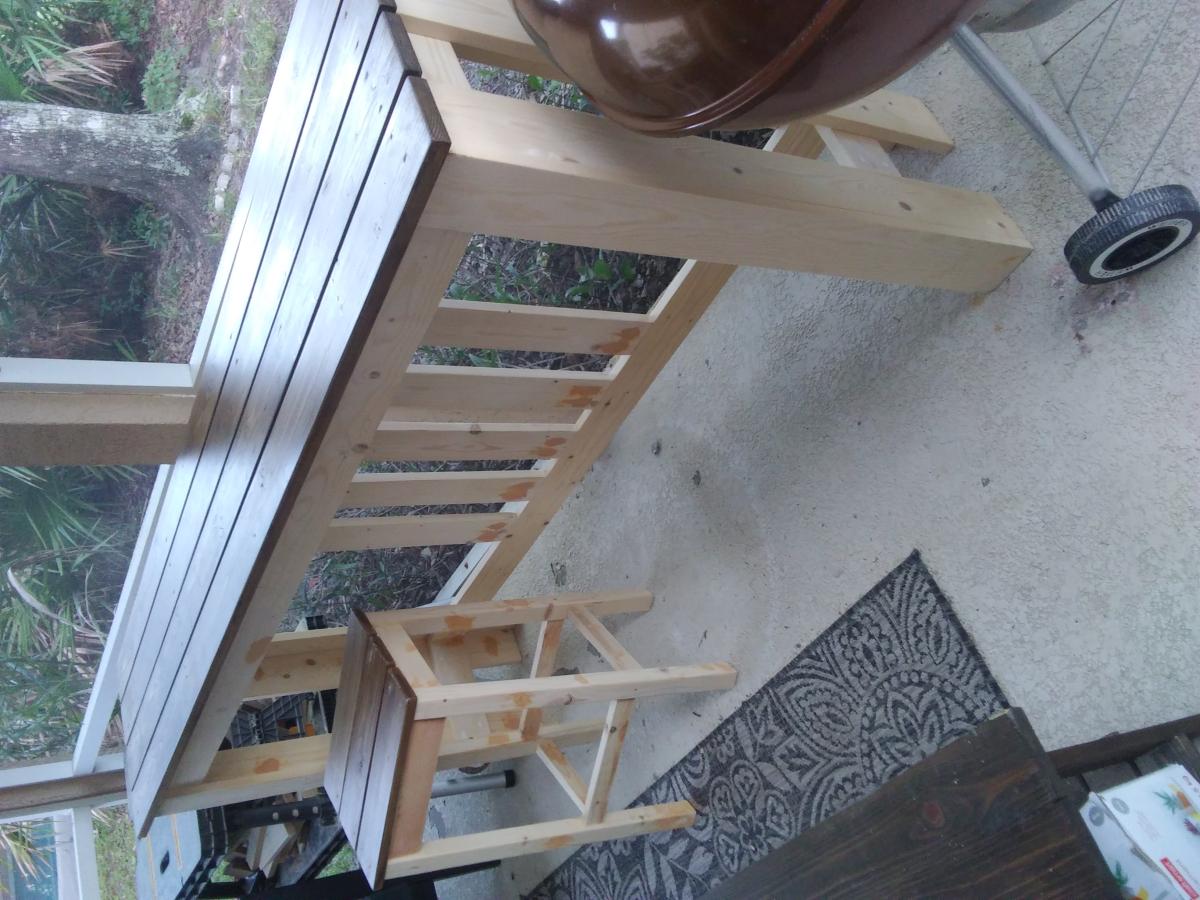
I went with my own measurements to accommodate my old cooler and leave a little room for storing extra water or whatever. As you can tell, I'm a Coca Cola nut...so I had to go with the Coke theme.
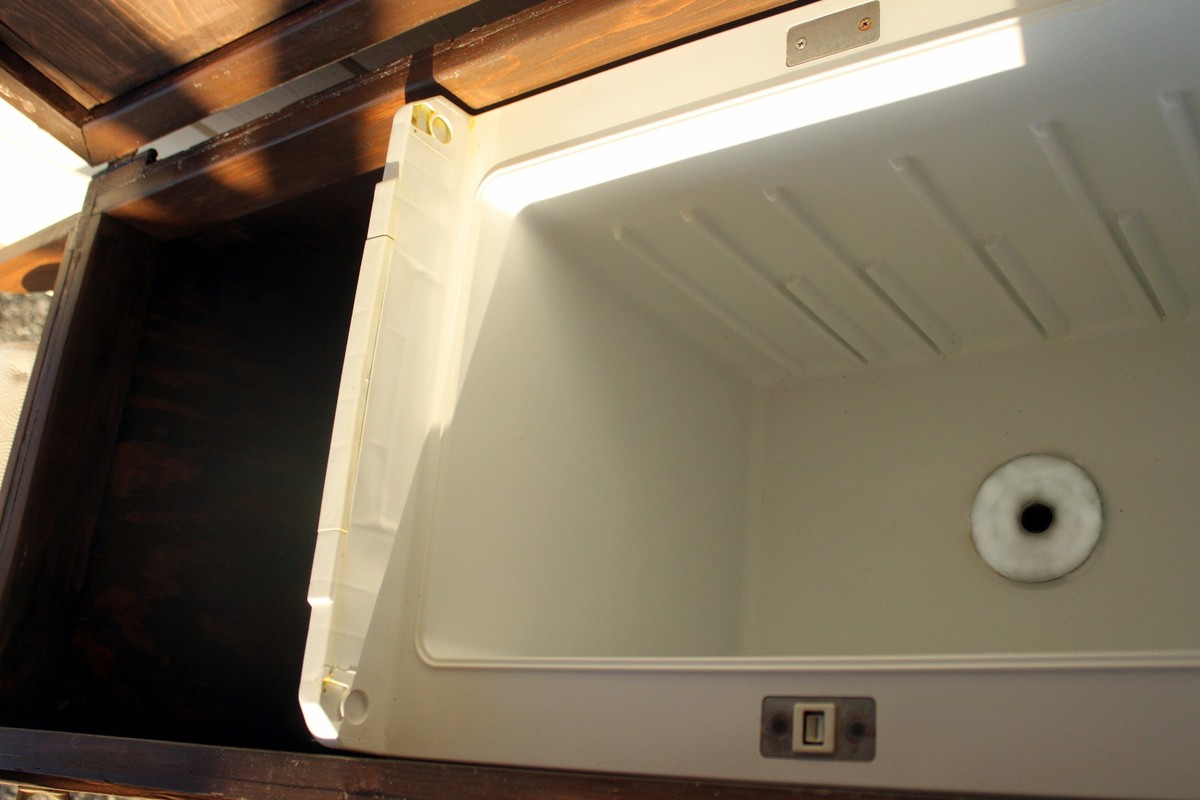
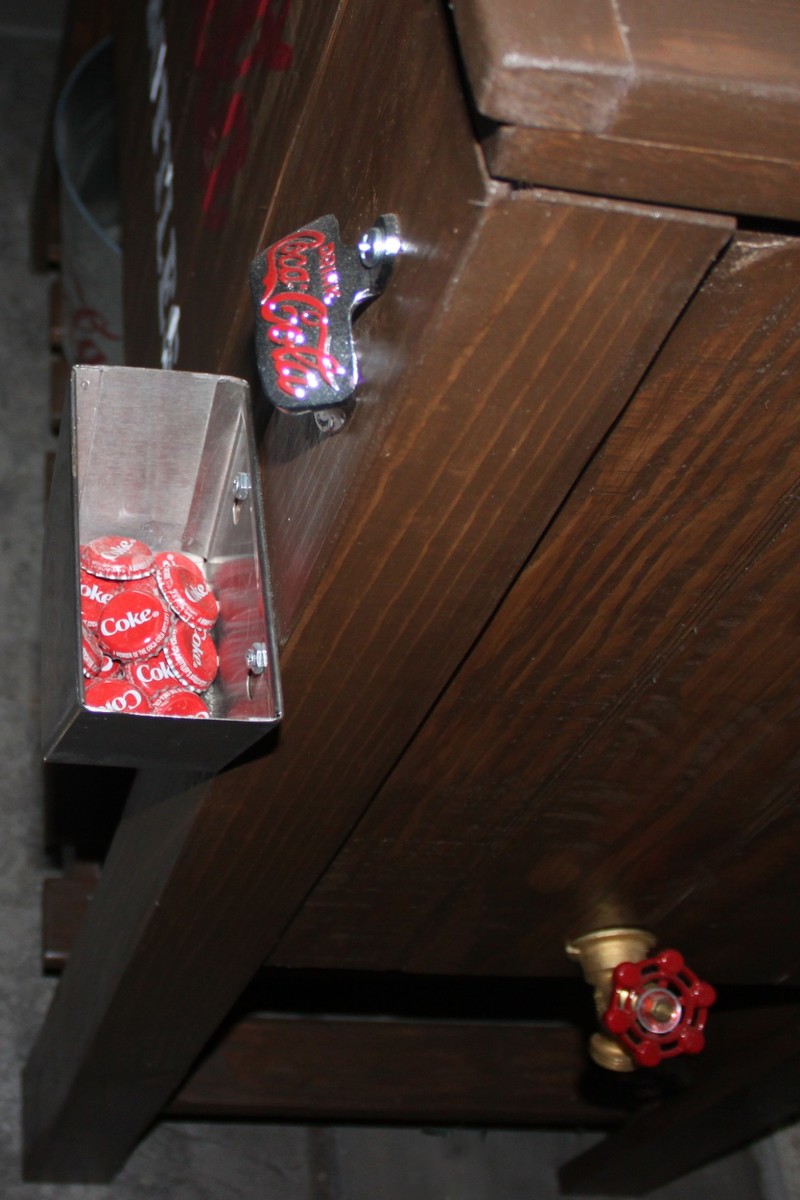
The cooler I used was actually a battery powered car cooler, so it didn't already have a drain. I just drilled through the bottom; added a drain and then ran some pipe over to a faucet at the end.
I glued some coke lids that I had been saving in the bottom of the "cap catcher" (not sure exactly what it's called), for special effects.
Because I'm always looking for a paper towel (I hate having wet hands); I added a paper towel holder on the end, instead of a shelf.
This was made entirely from scrap wood from other projects, so except for the faucet and of course my coke accessories, it didn't cost me anything and that's always a plus.
My husband loves it - every time he sees me looking at this site on the computer, he wants to know what I'm planning to build now.