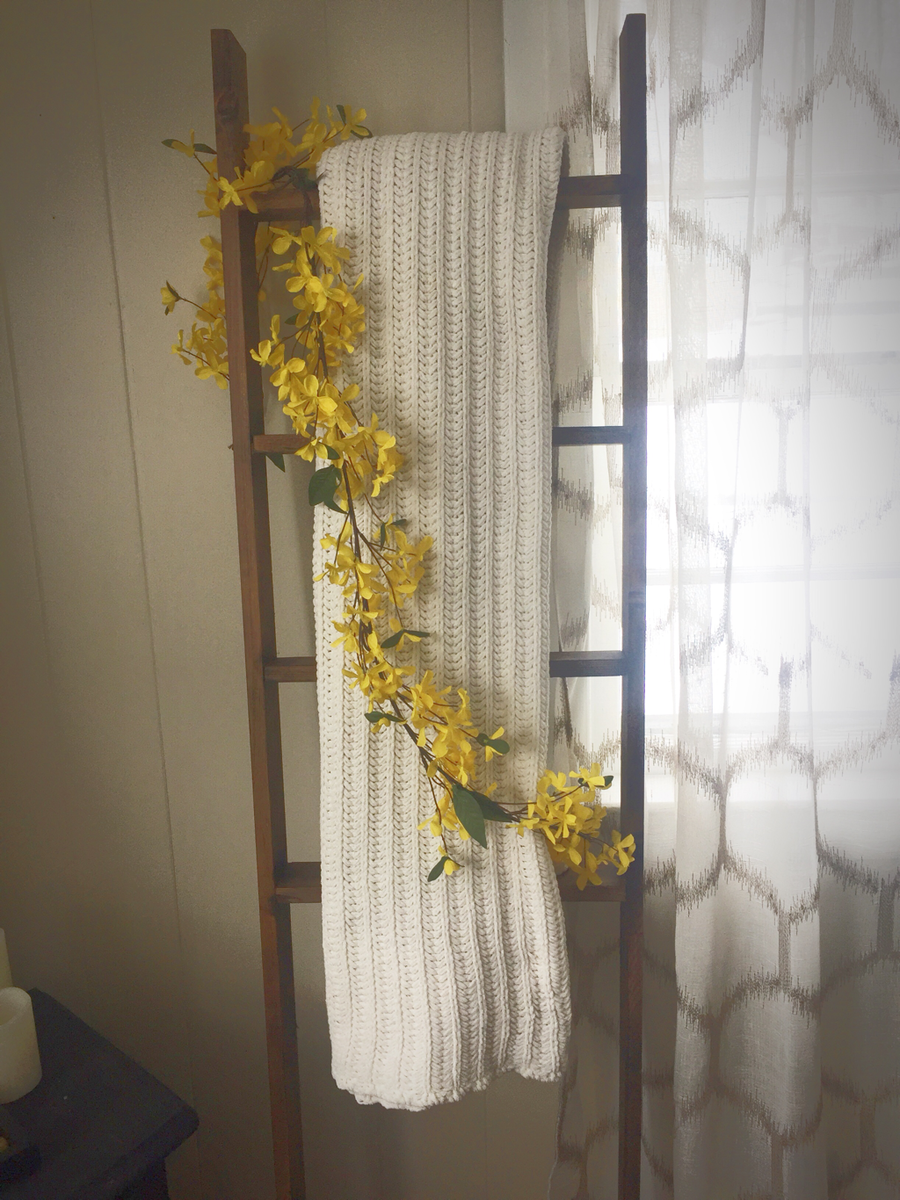
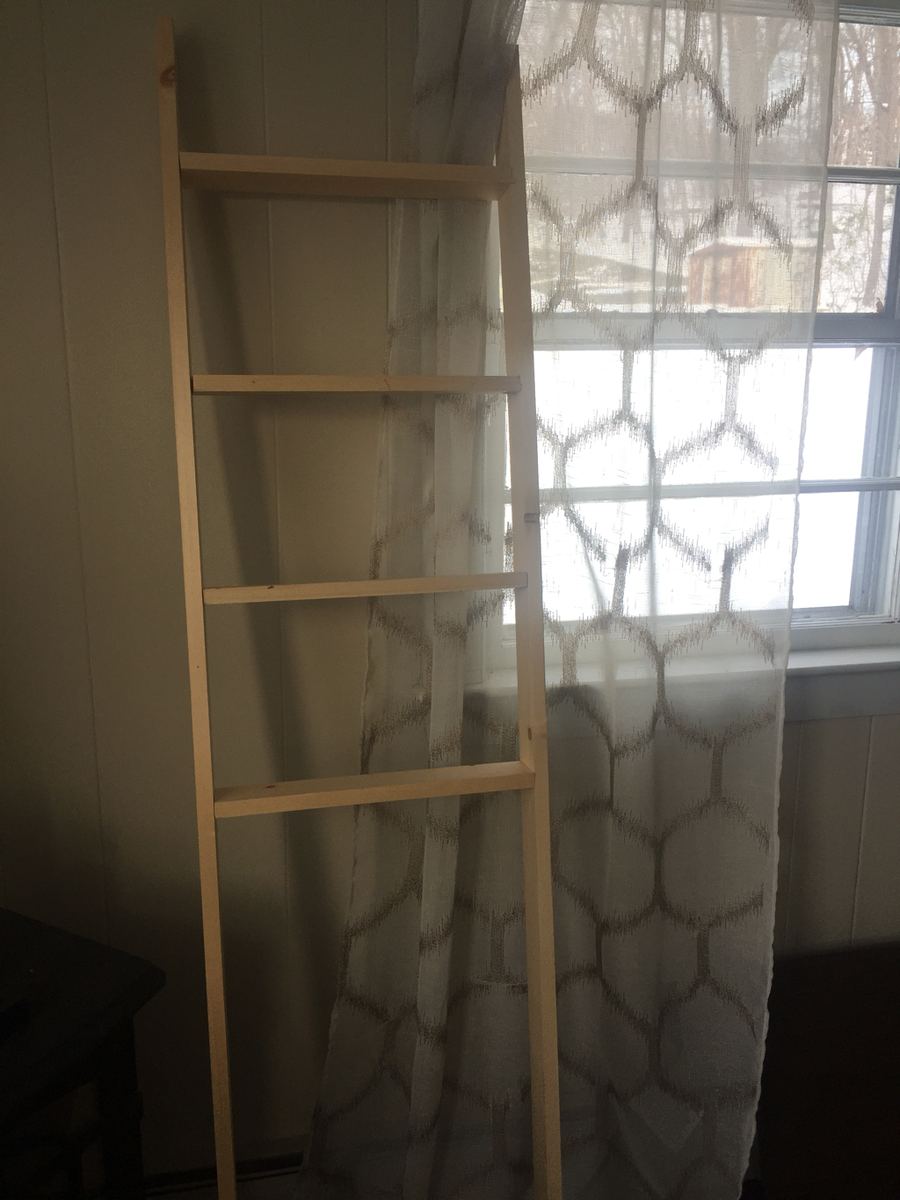
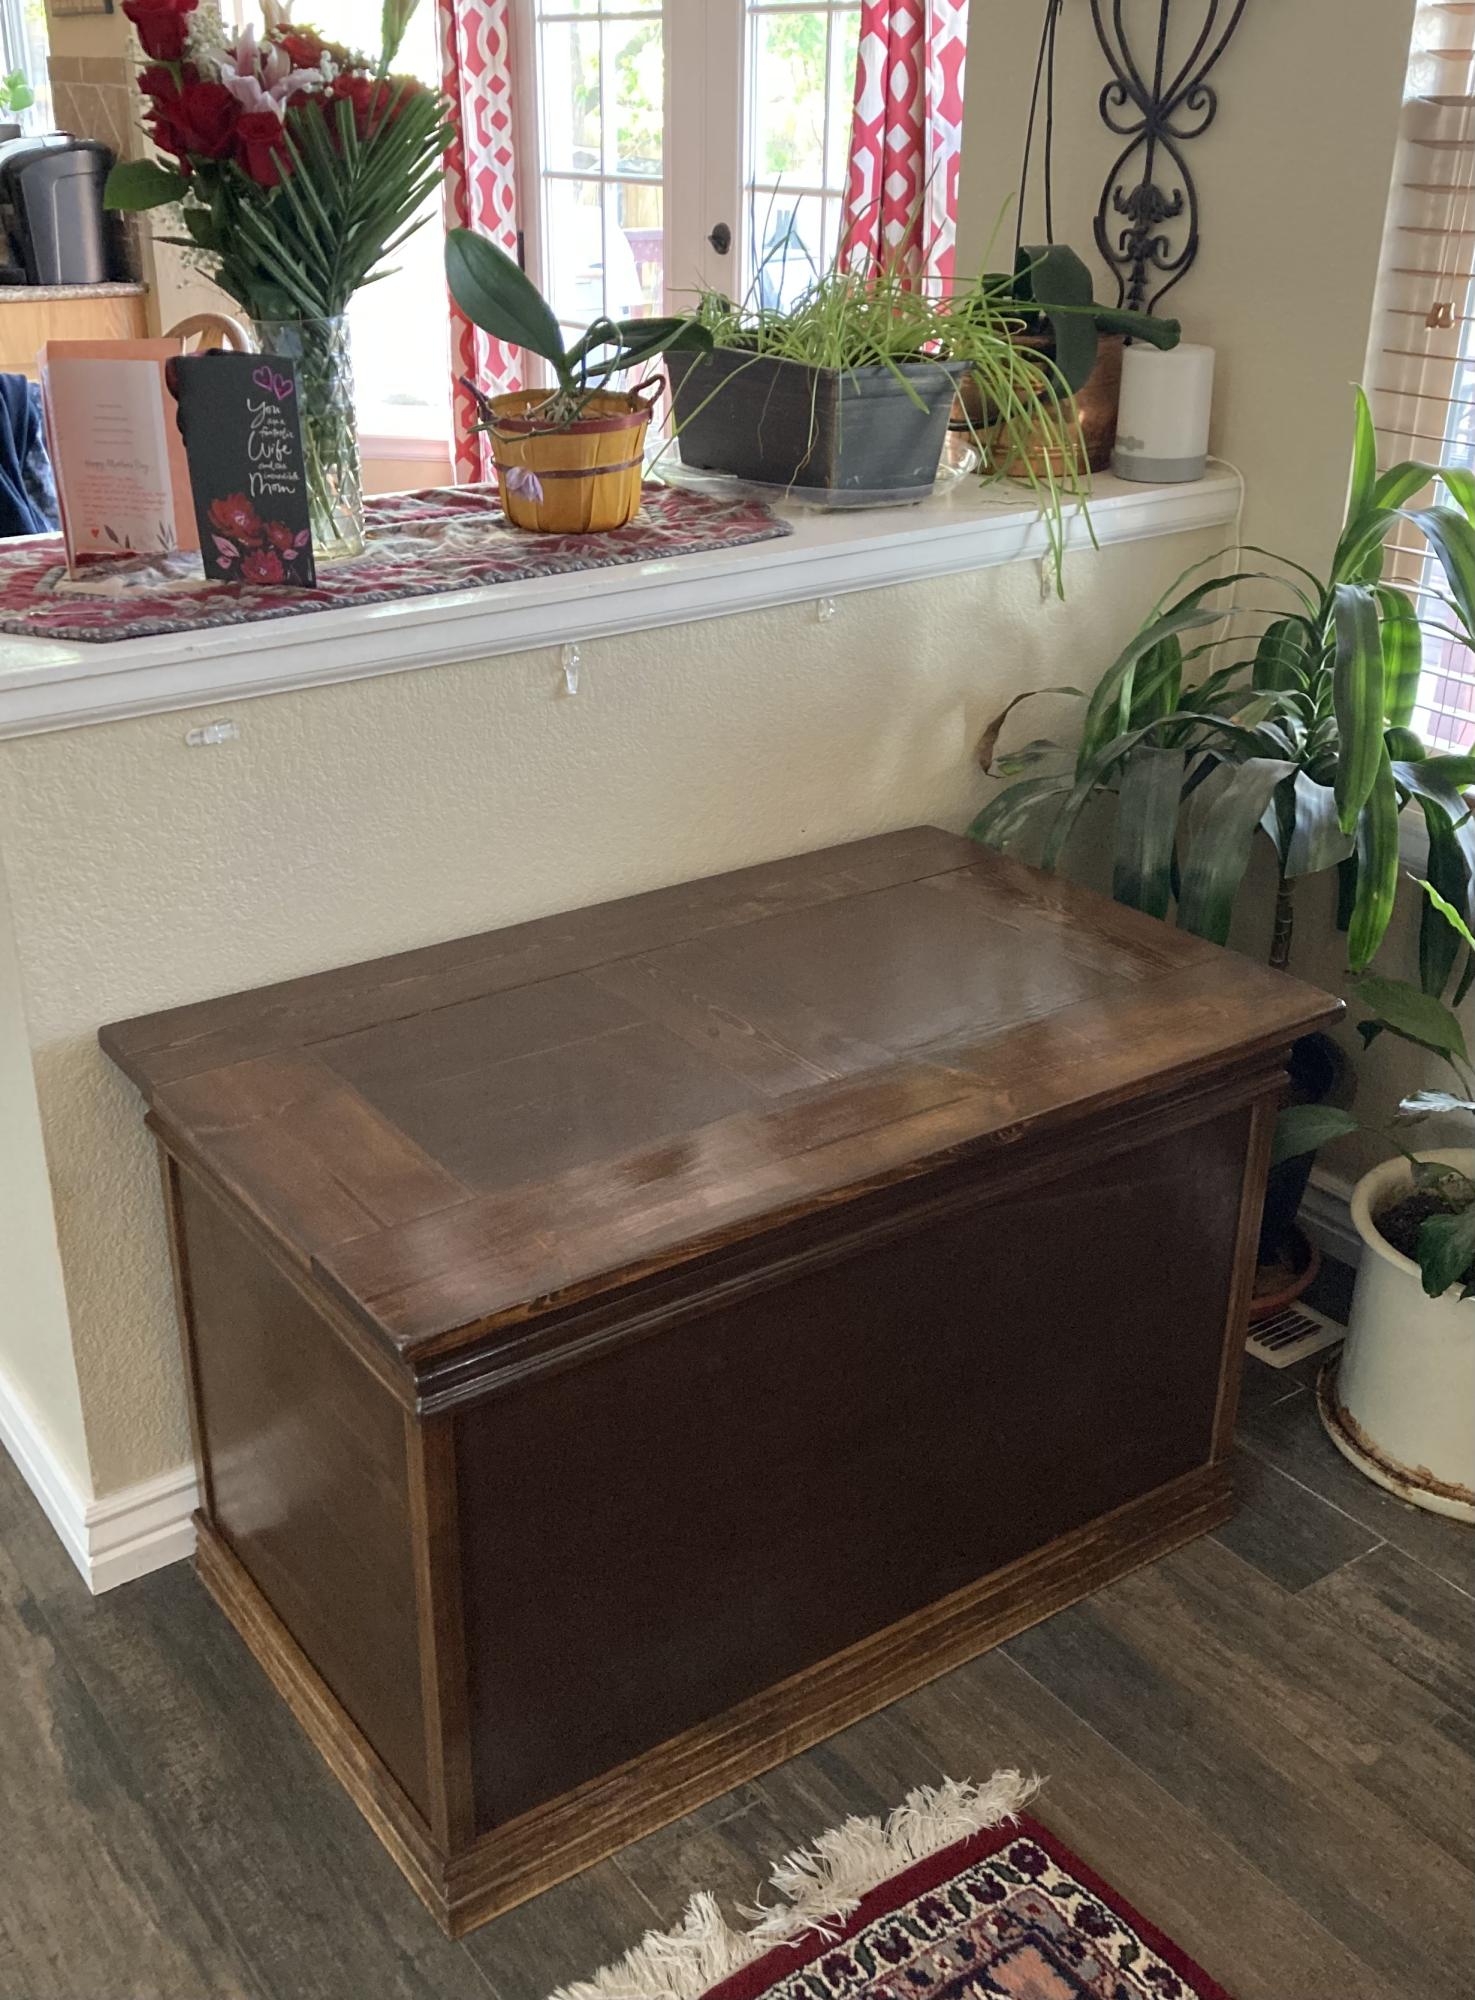
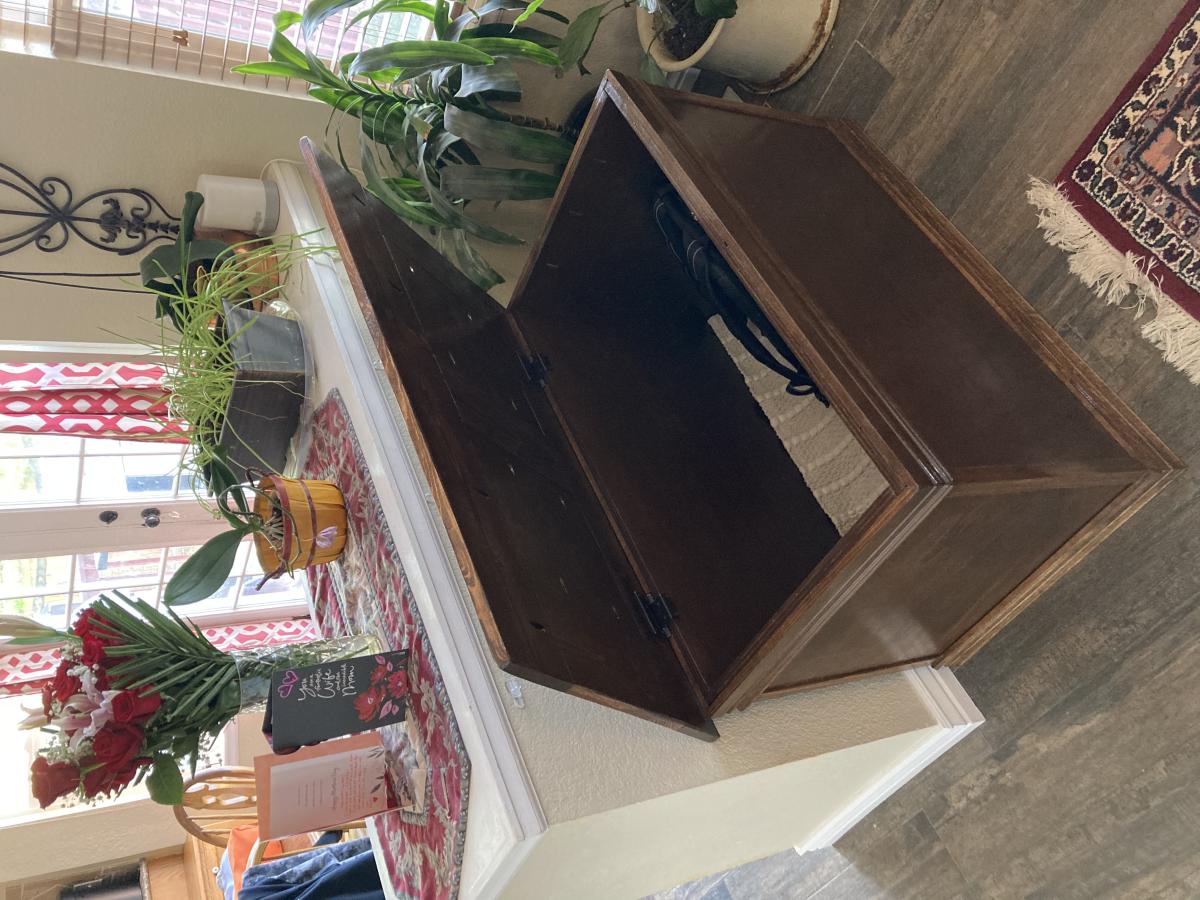
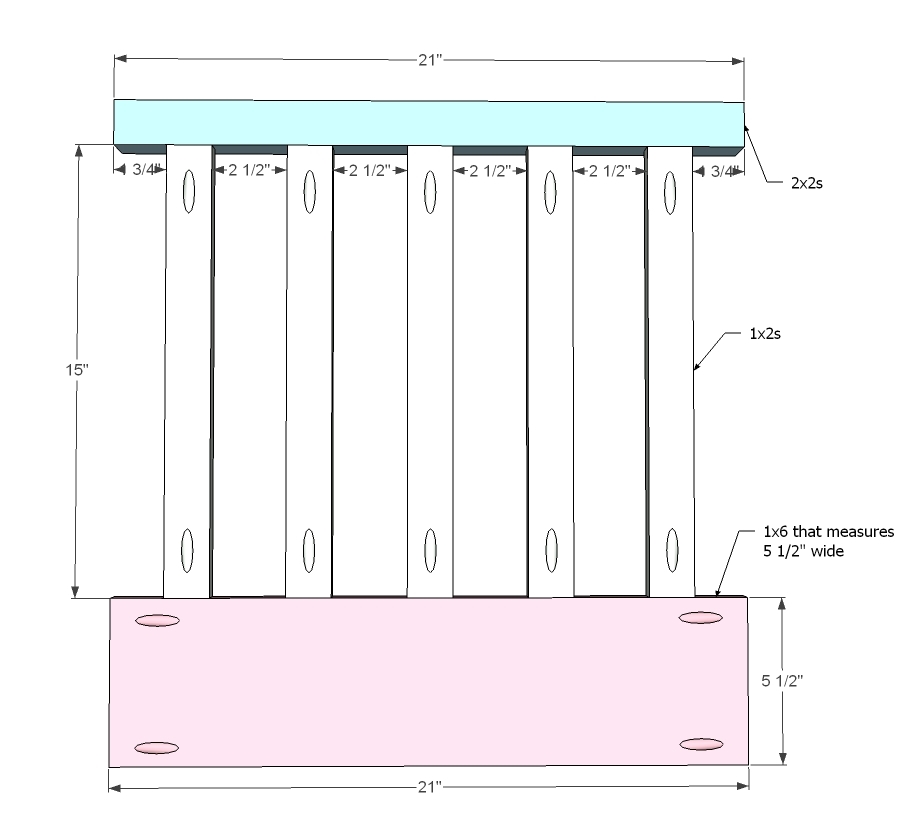
Blanket Ladder
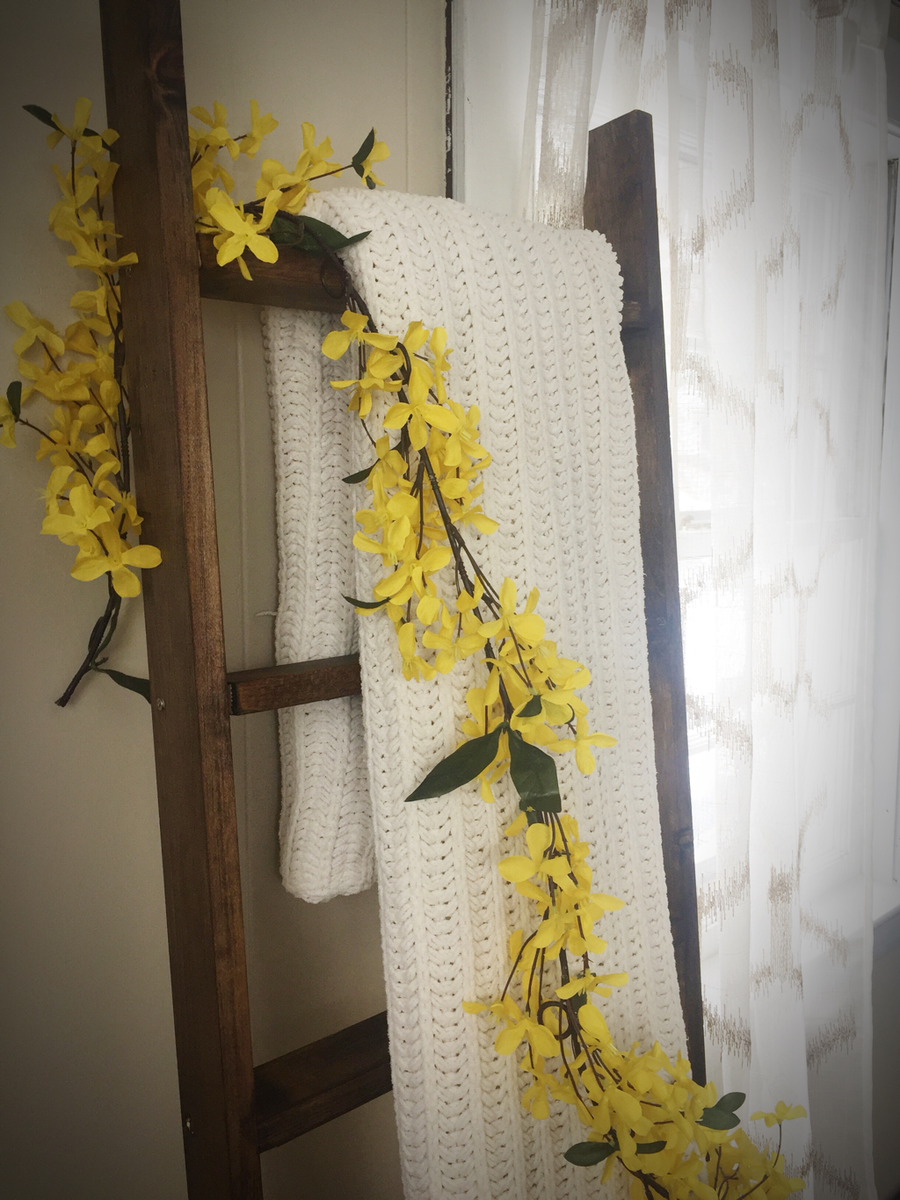
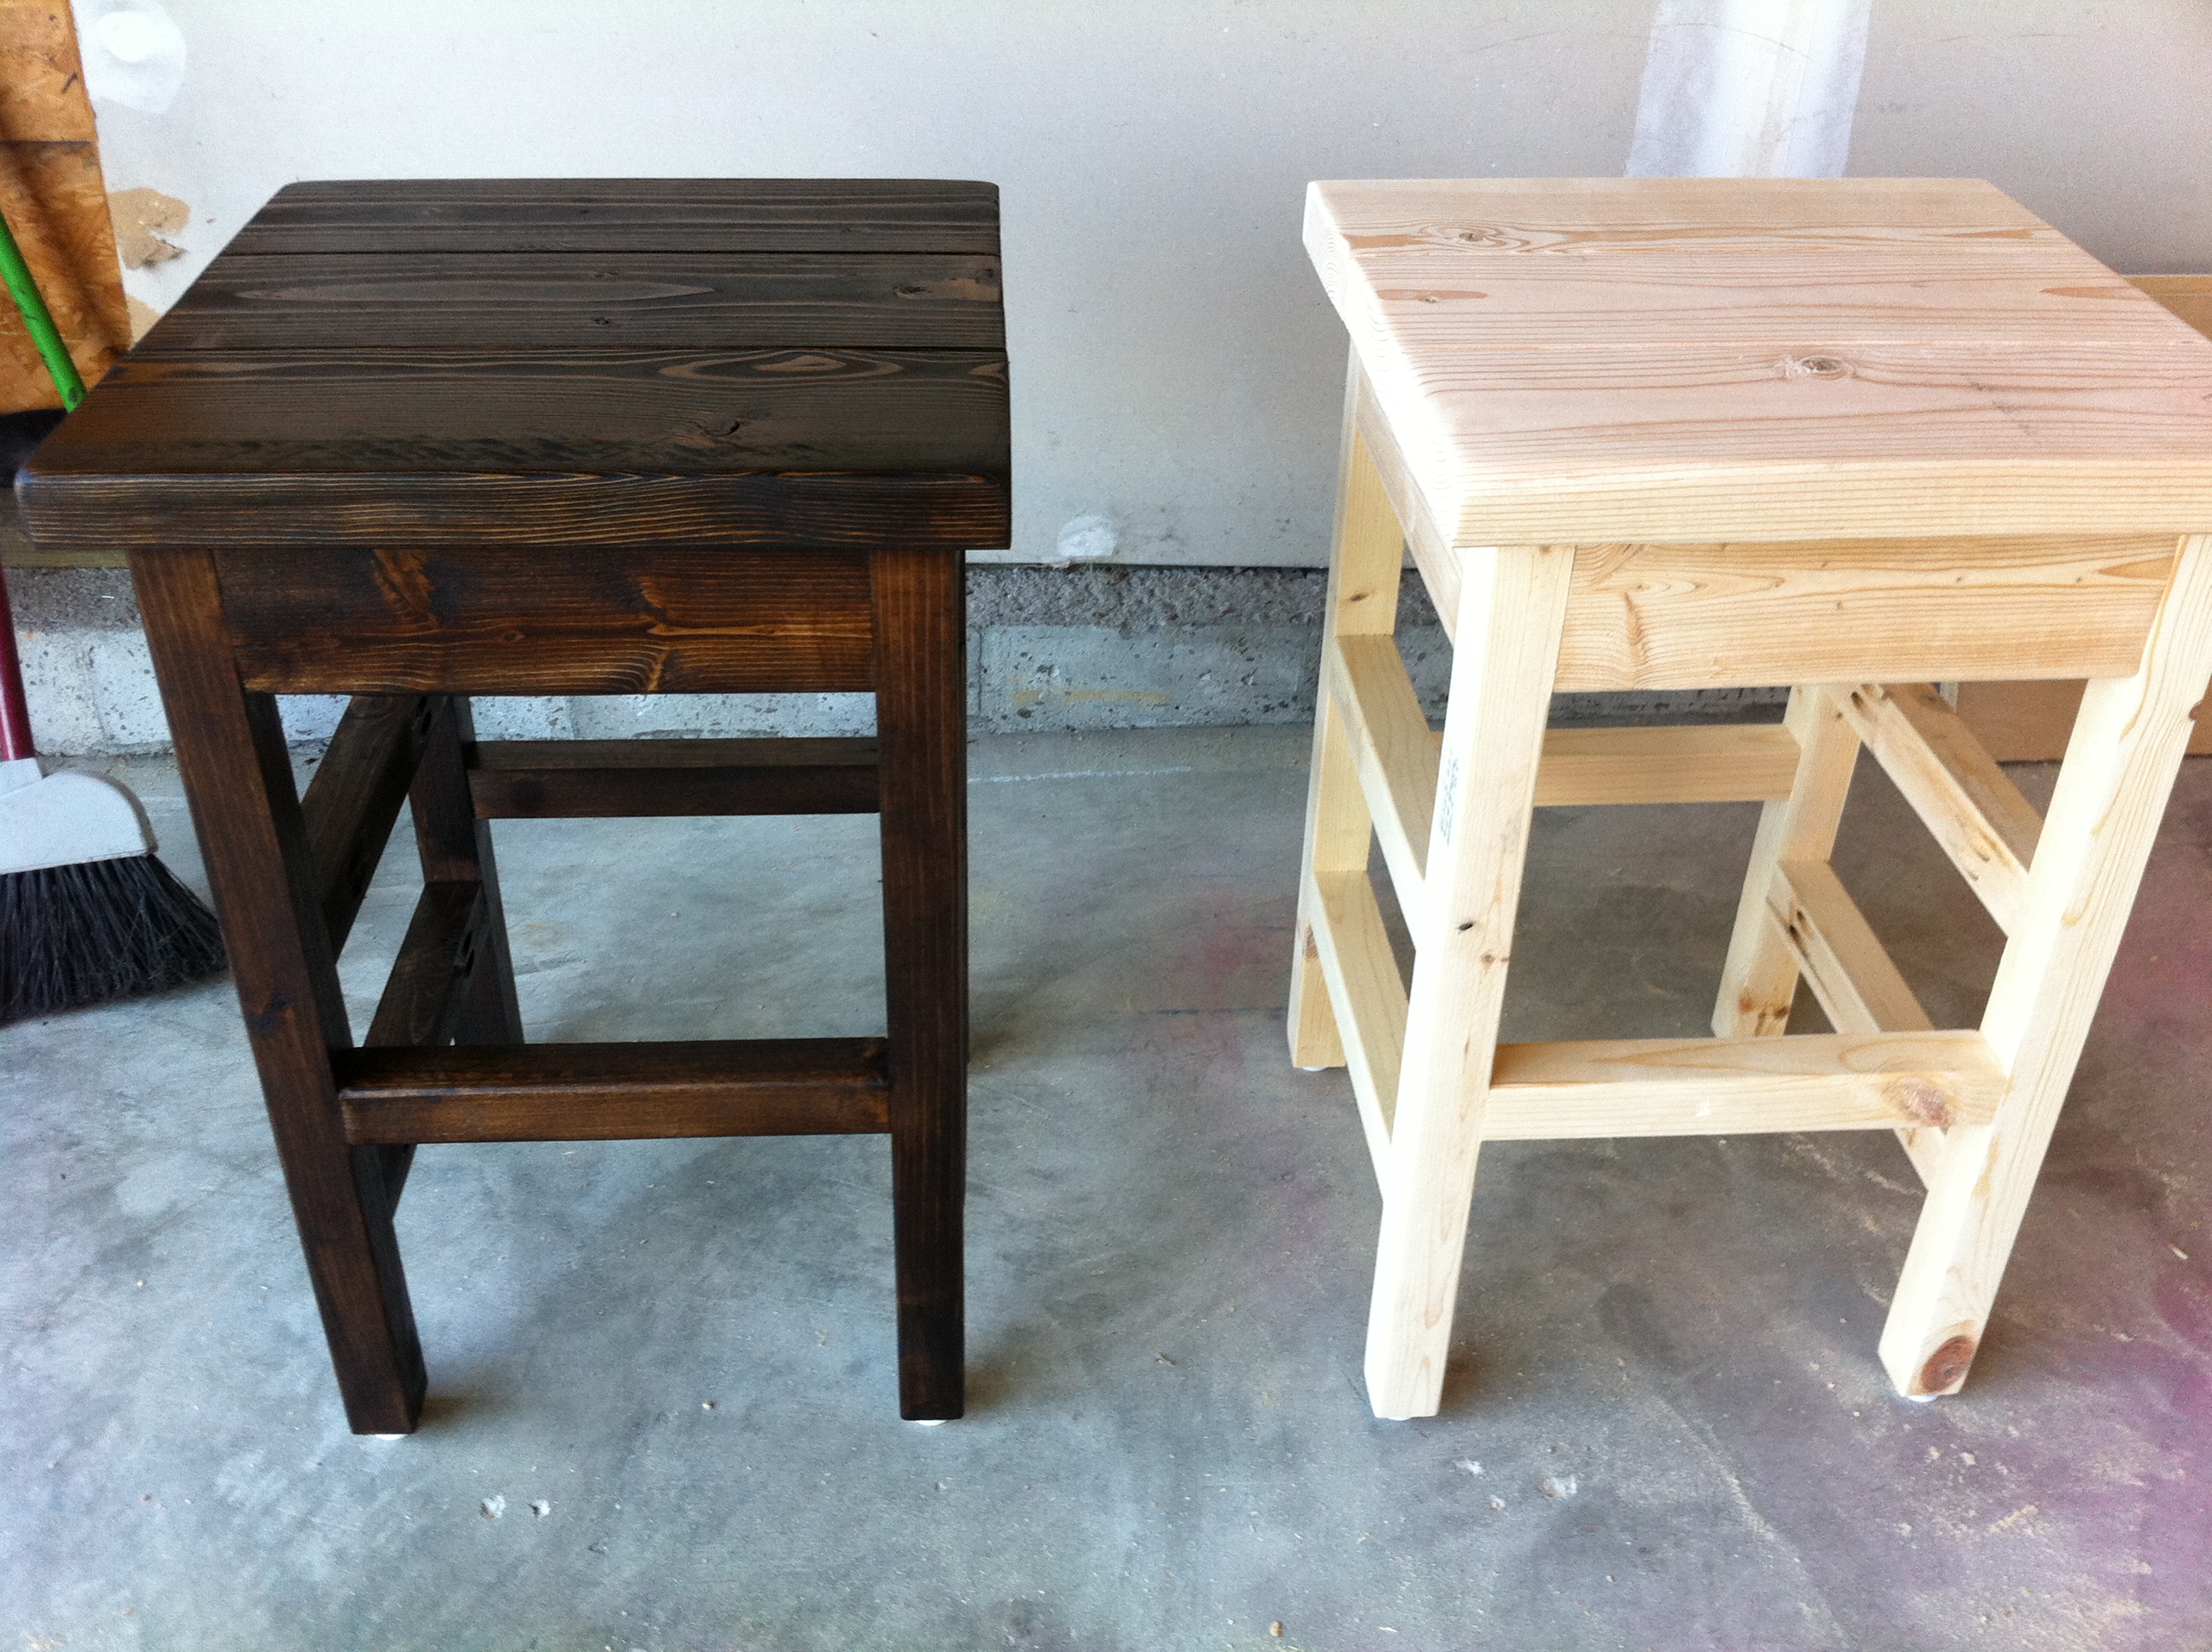
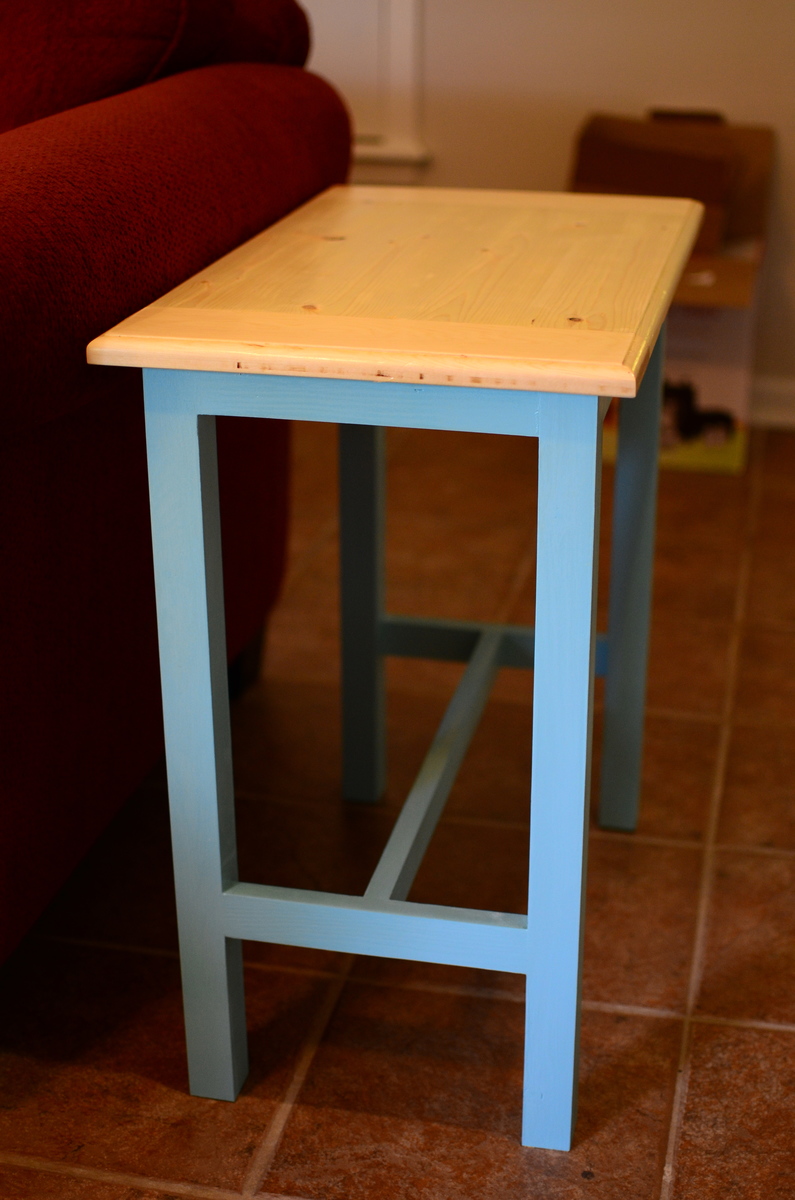
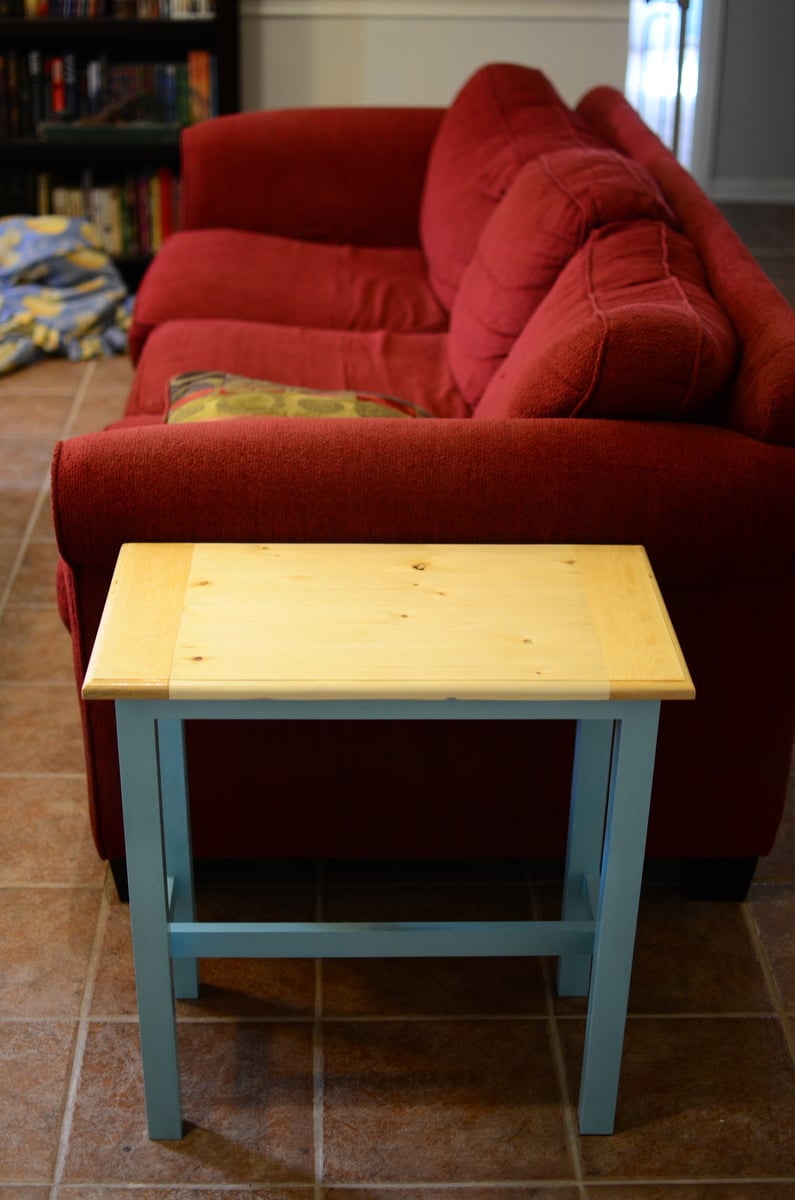
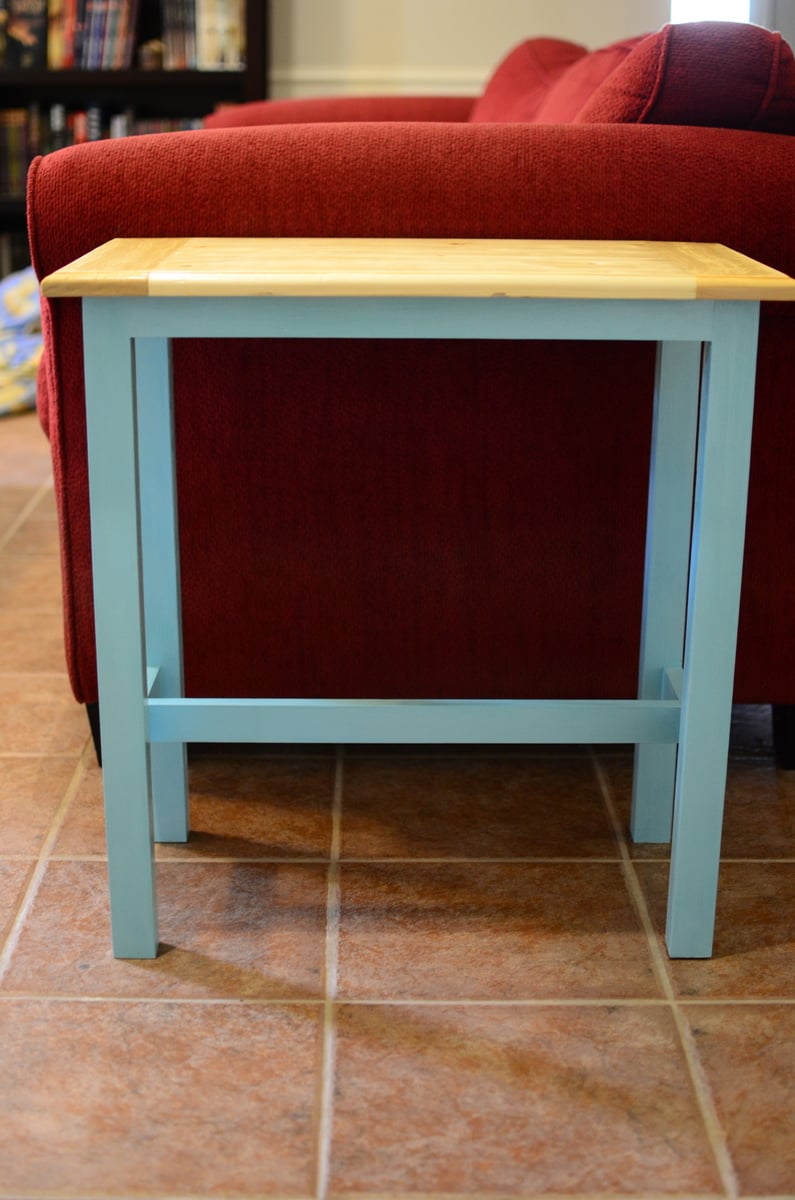
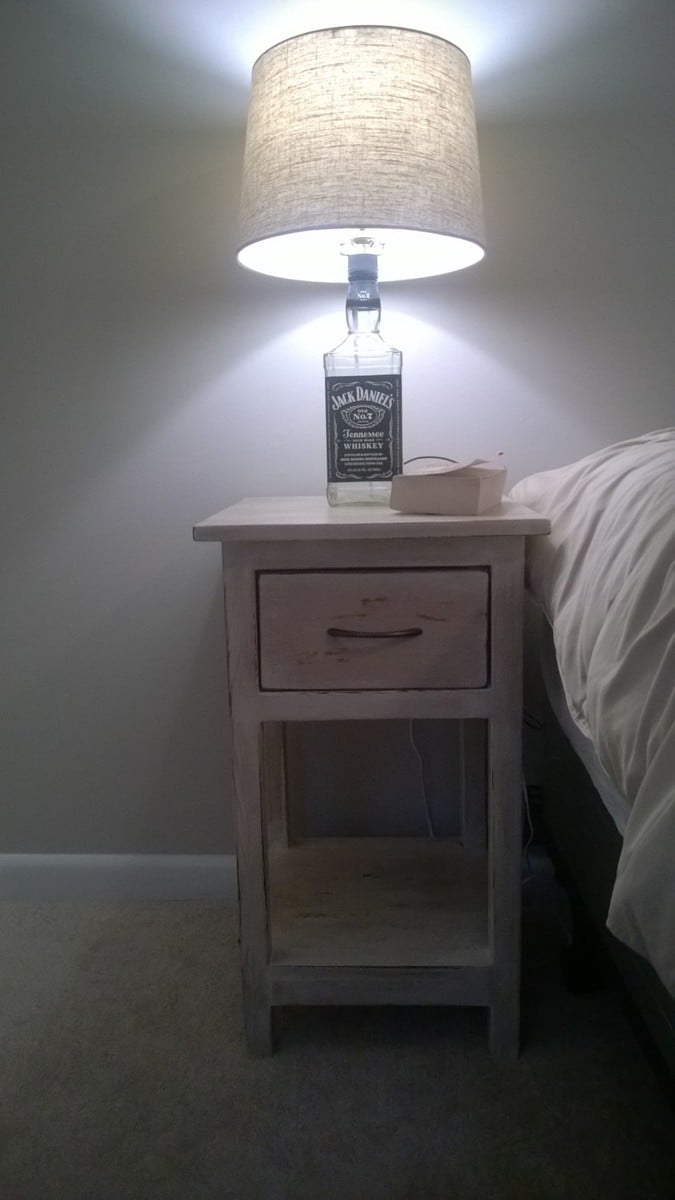
I've been eyeing blanket ladders in Pottery Barn and other stores for a while. No way was I paying over $200 for one, so I turned to Ana! I had some supplies on hand so this project only took me 20 minutes to make (minus staining) and cost $12! I set the rungs higher up because it's going behind my couch so I left the bottom open. I didn't bother with wood filler for the screws because I was going for rustic and the blankets would be covering it anyways. I used 1 x3's instead of 2 x 4's since I wanted it to be a little thinner. I stained it with Minewax Dark Walnut and used a little water on the wood before I stained to bring the woodgrain out. I'm going to make a few more as gifts now that I know how easy it is!
Built from Plan(s)
Estimated Cost
$12 (I already had stain and screws on hand)
Estimated Time Investment
An Hour or Two (0-2 Hours)
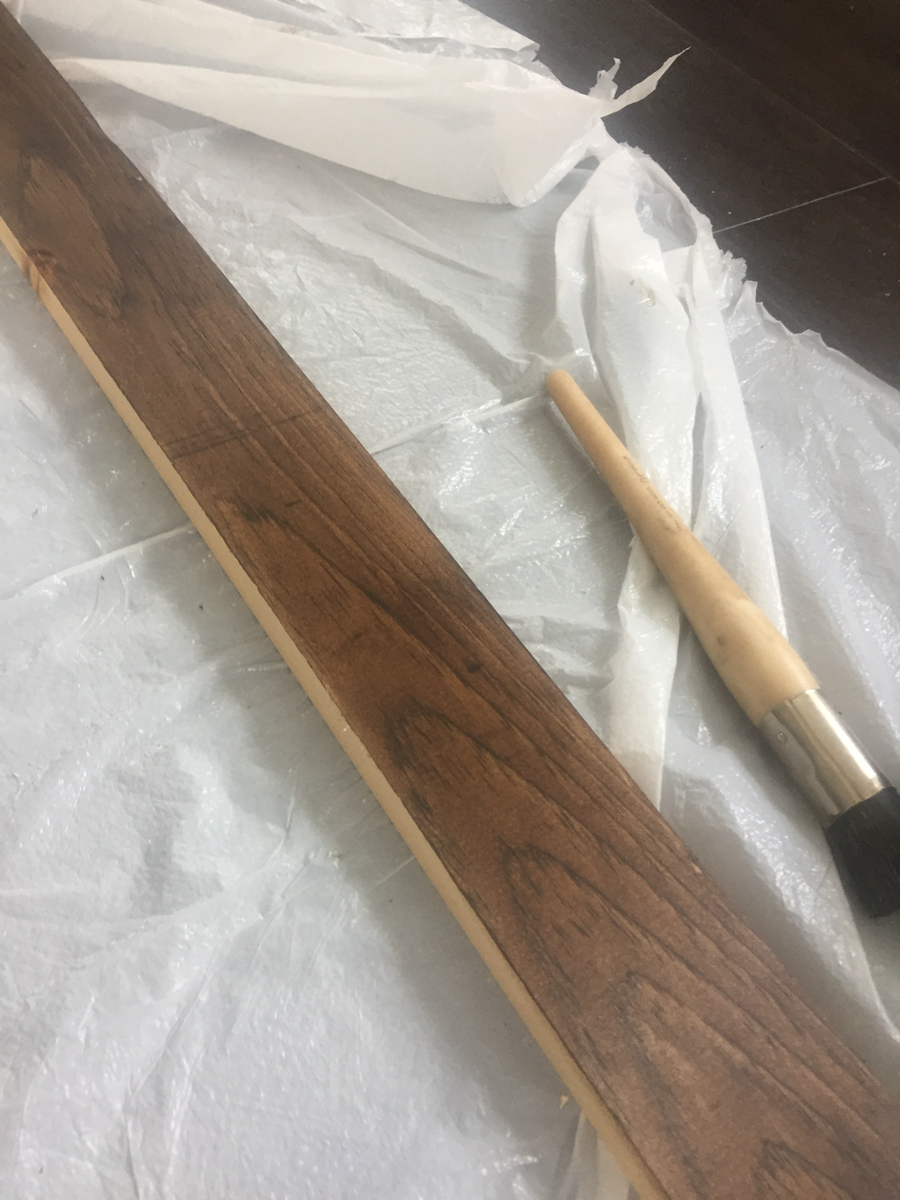
Finish Used
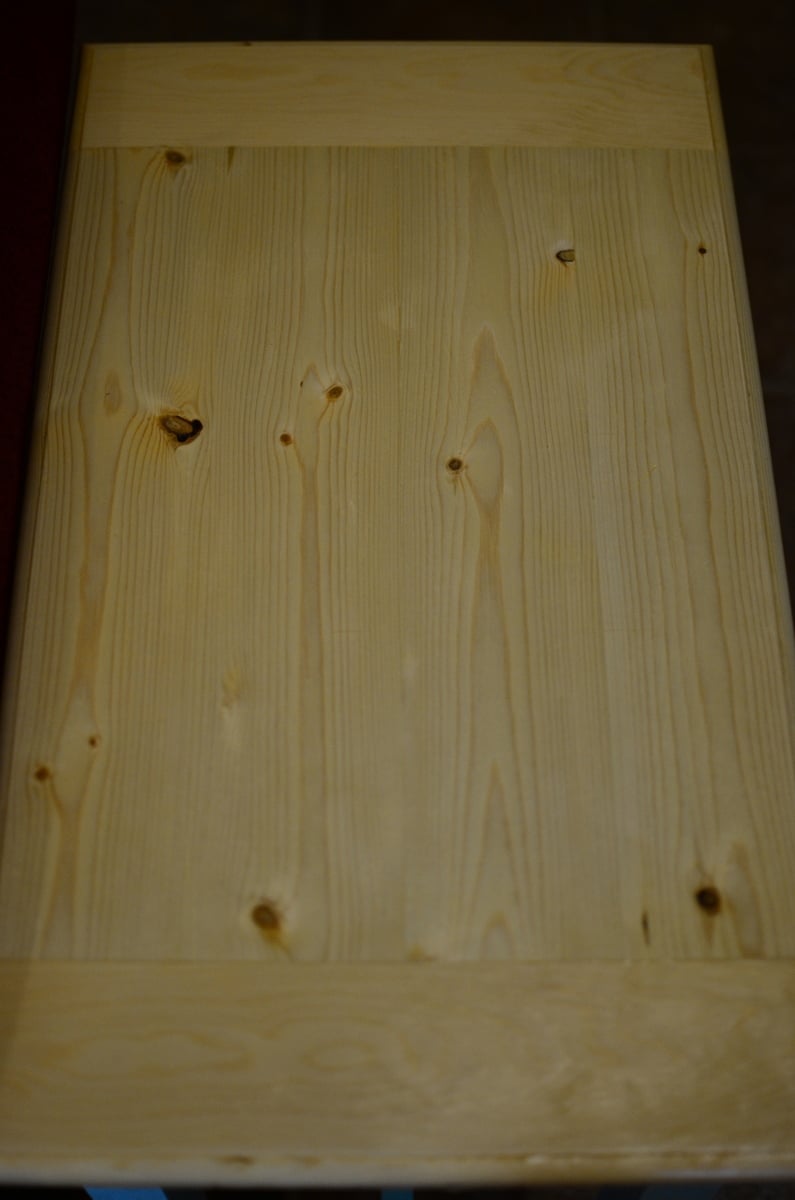
Minewax Dark Walnut. I did use a papertowel to brush some water on it first and let it dry (very very little water) to bring out the wood grain. I also sanded it before staining.
Recommended Skill Level
Starter Project


Comments
latrischler
Wed, 10/18/2023 - 04:28
Looks great!
Looks great!