Community Brag Posts

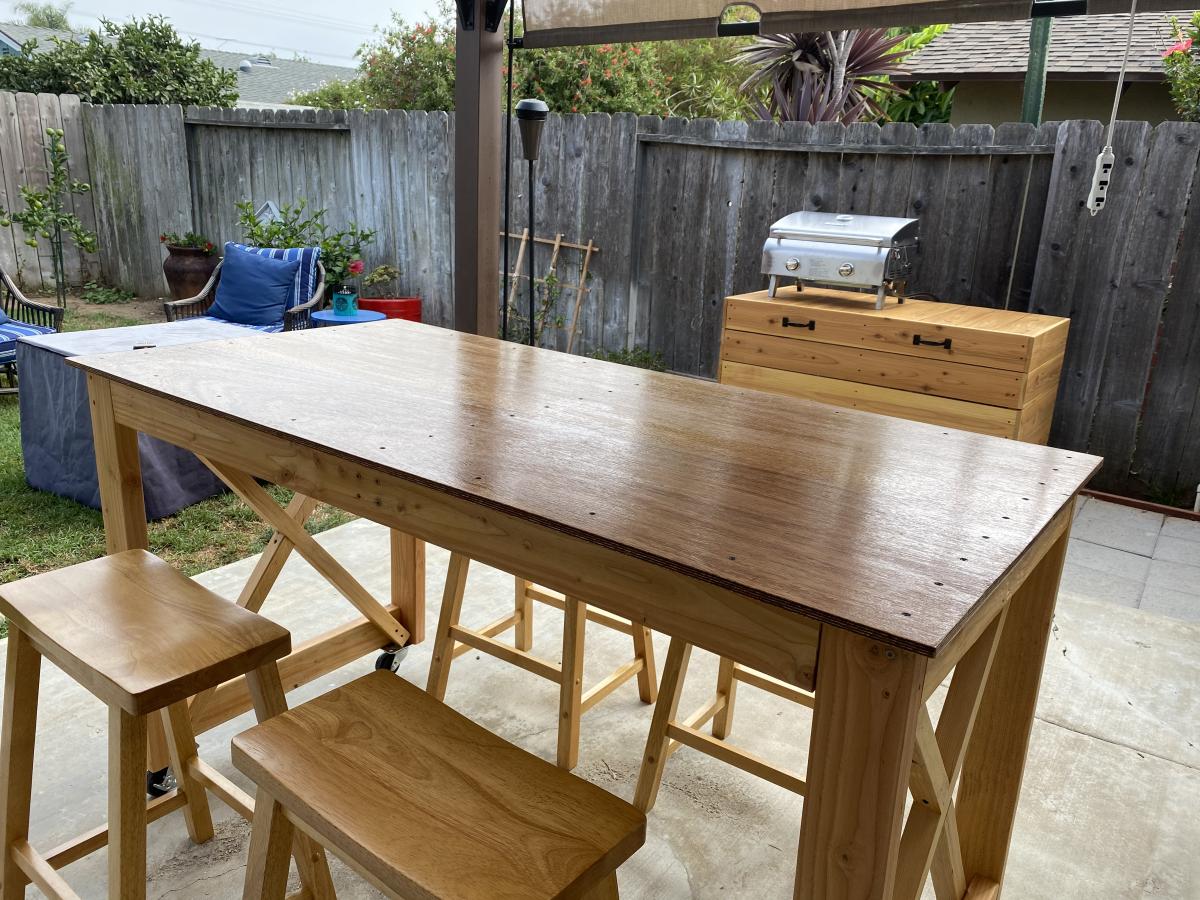
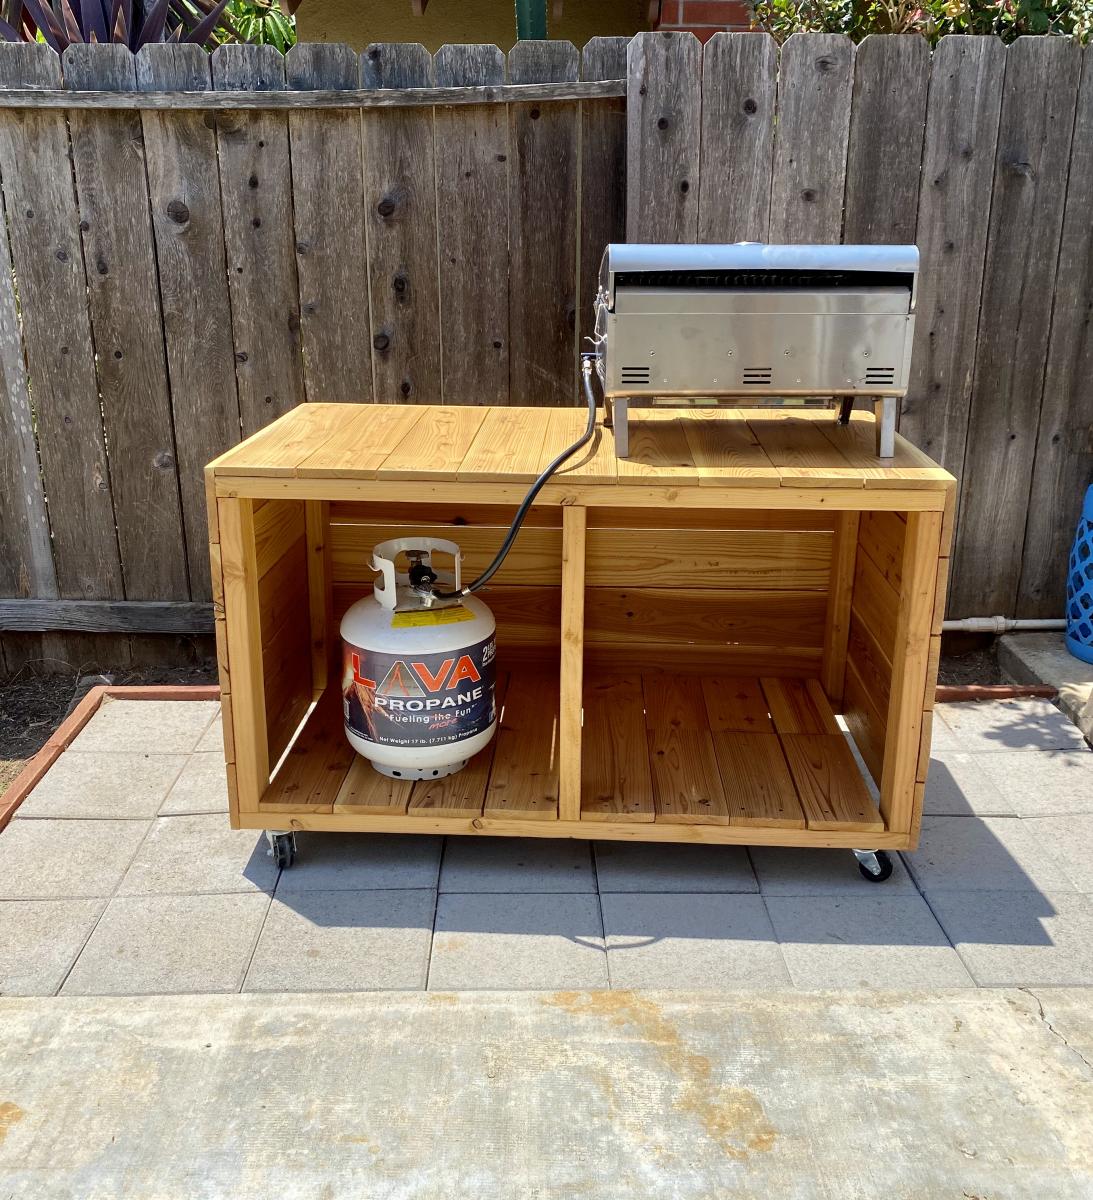
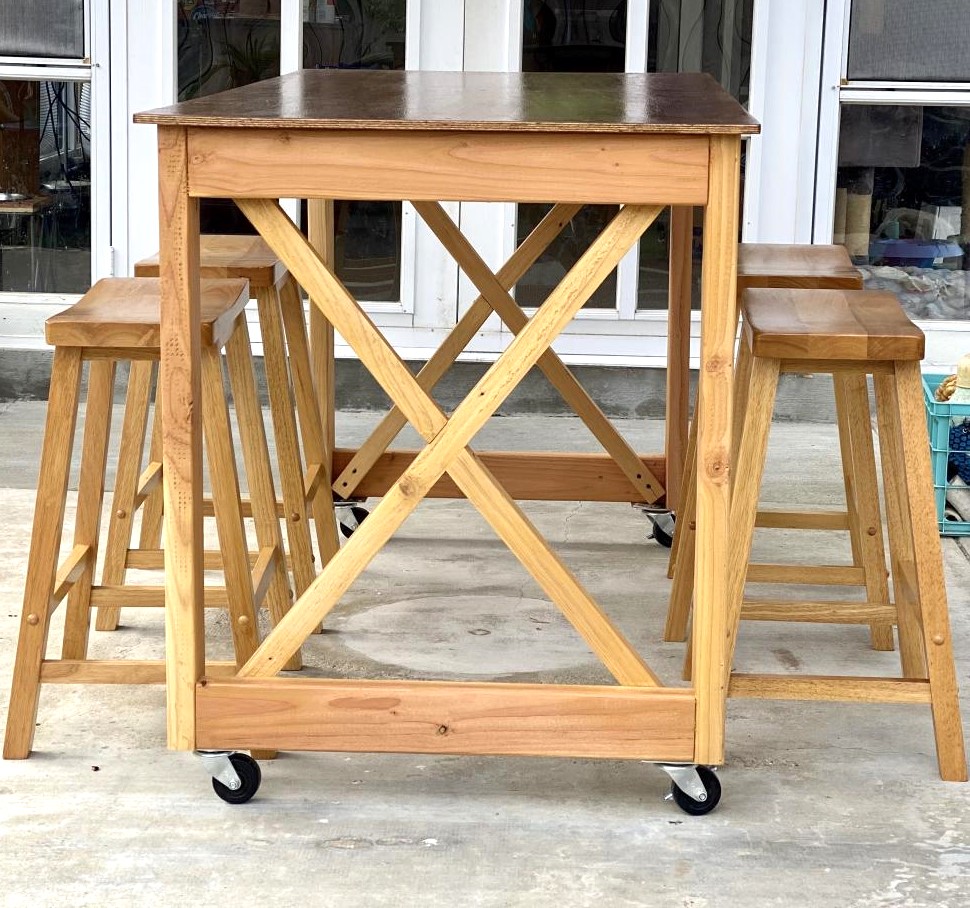
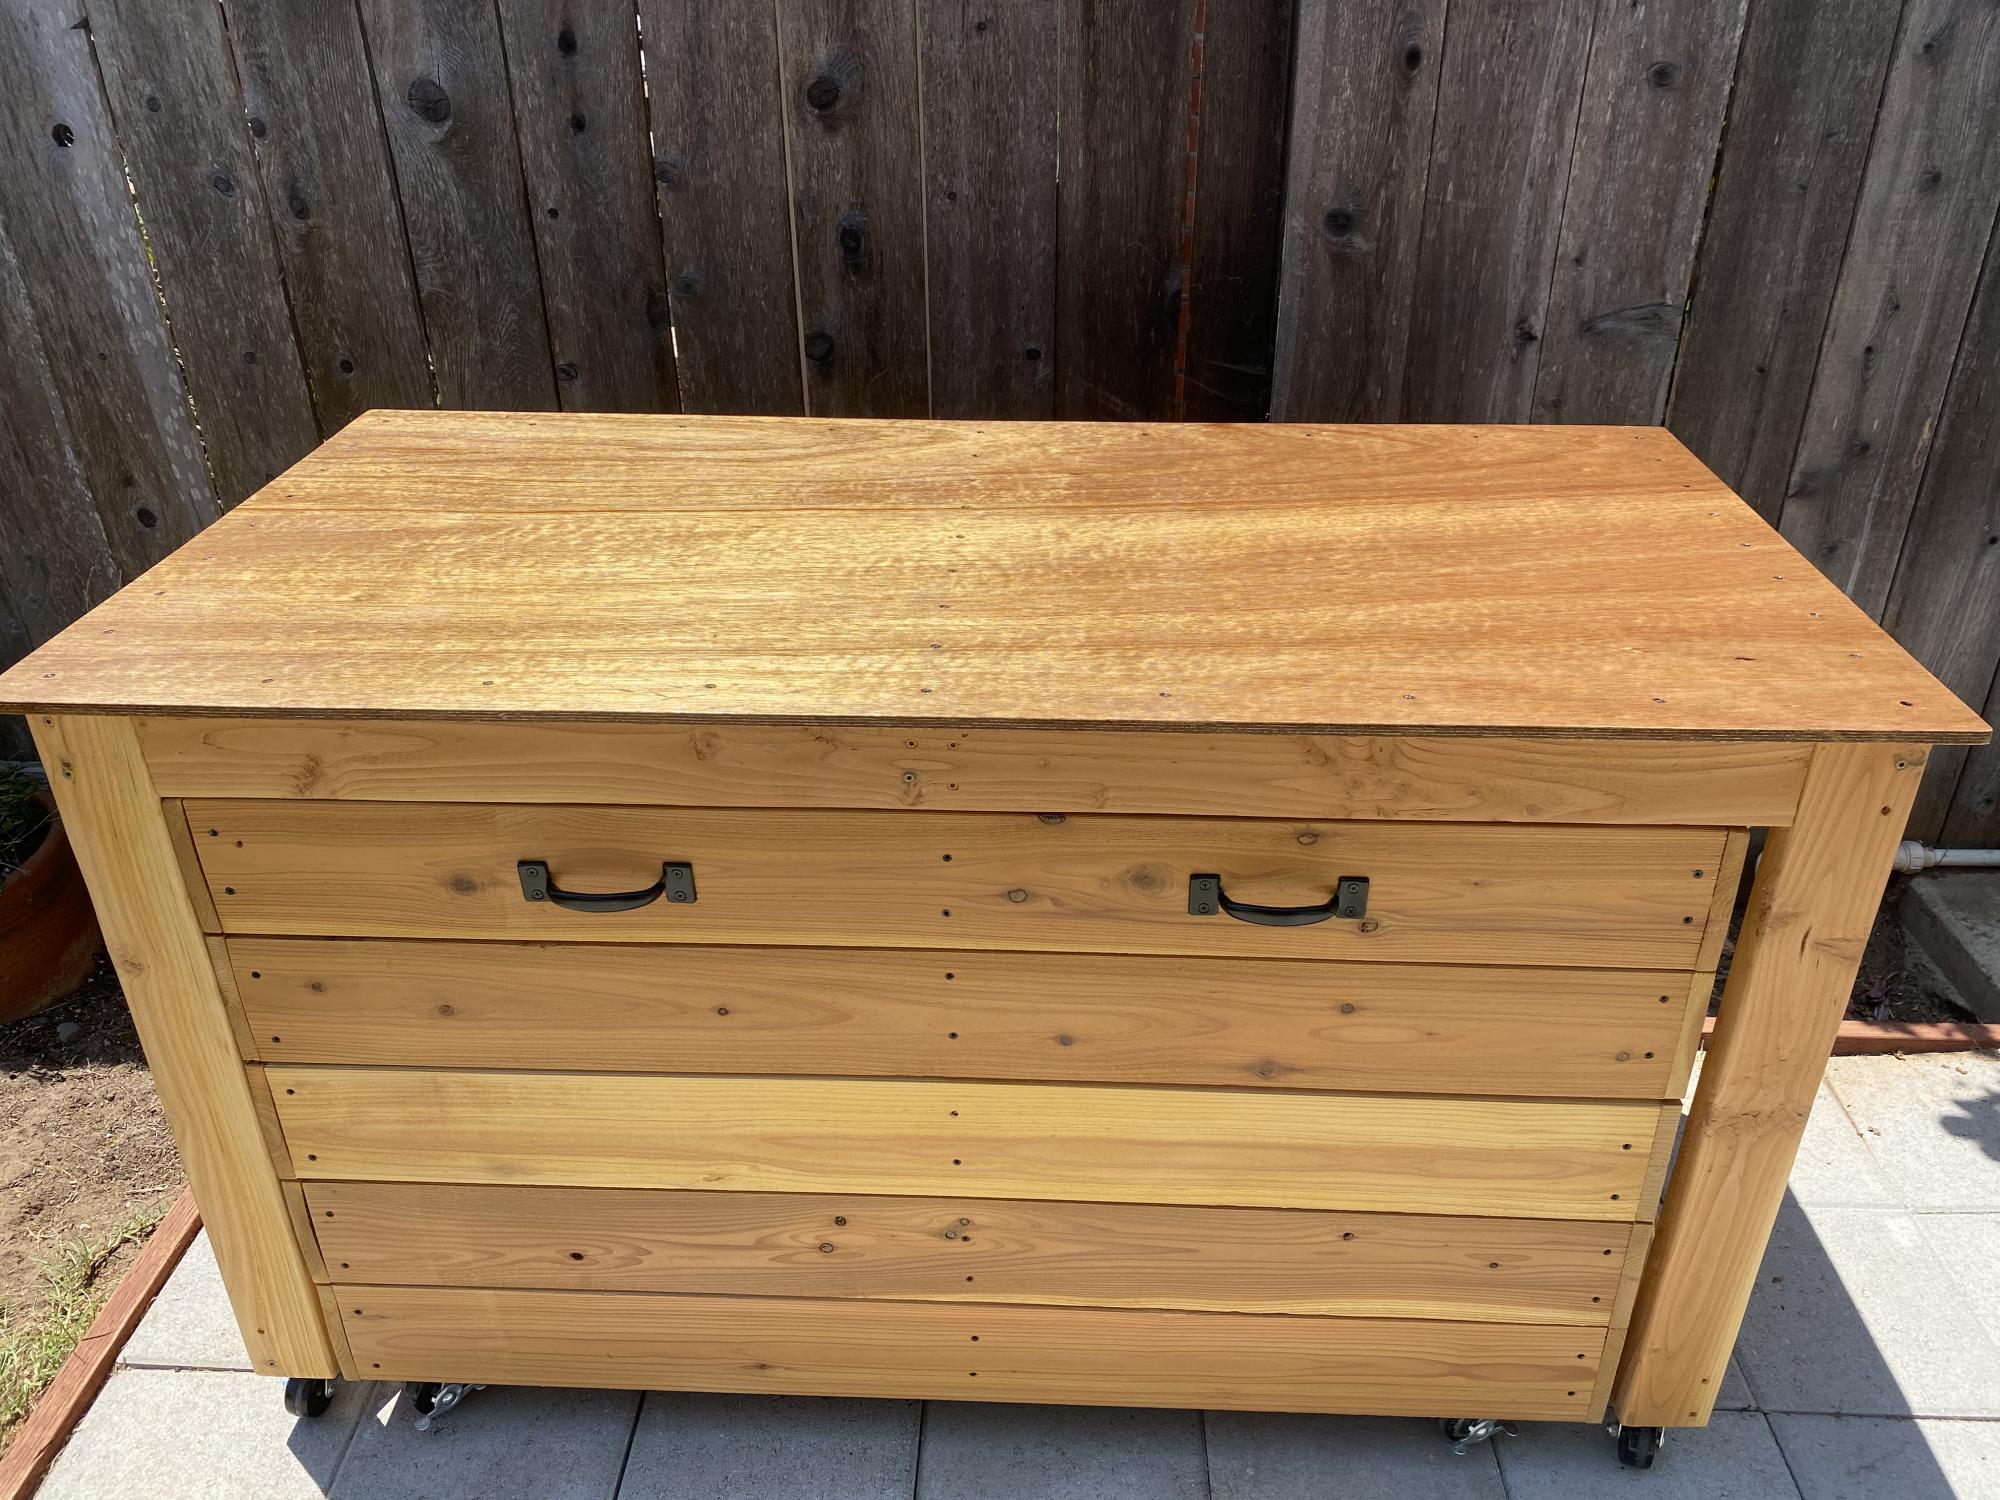
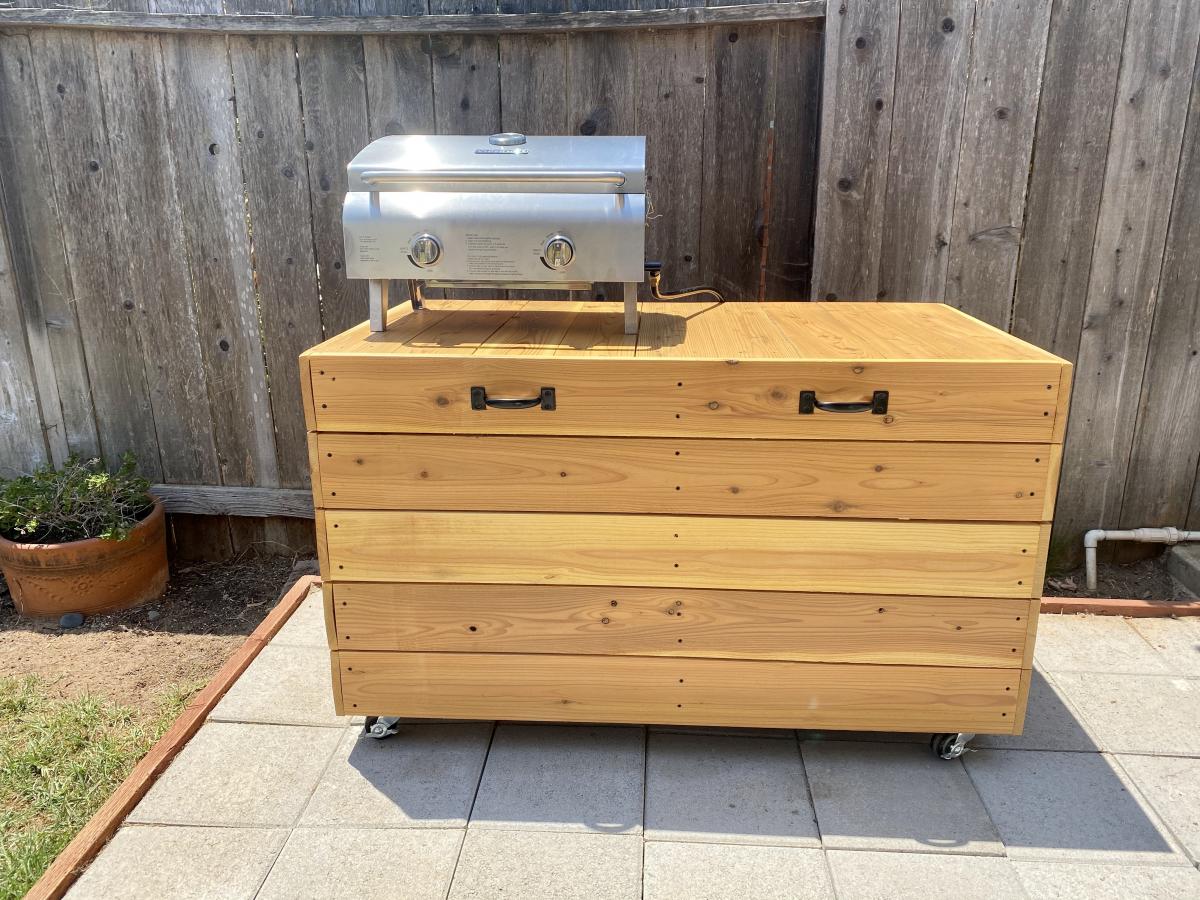
Nesting Grill Station

Submitted by Anonymous (not verified) on Sun, 08/16/2020 - 18:26

My husband and I built this Grill Station. We made the table top wider and out of 1 solid piece of mahogany. I wanted a wider table so we made it 30 inches wide. We sealed the table top with marine grade sealer and the rest with exterior clear sealer.

Estimated Cost
$150
Estimated Time Investment
Day Project (6-9 Hours)
Finish Used
Marine grade varnish on table top and valspar exterior clear sealer.
Recommended Skill Level
Intermediate

Comments

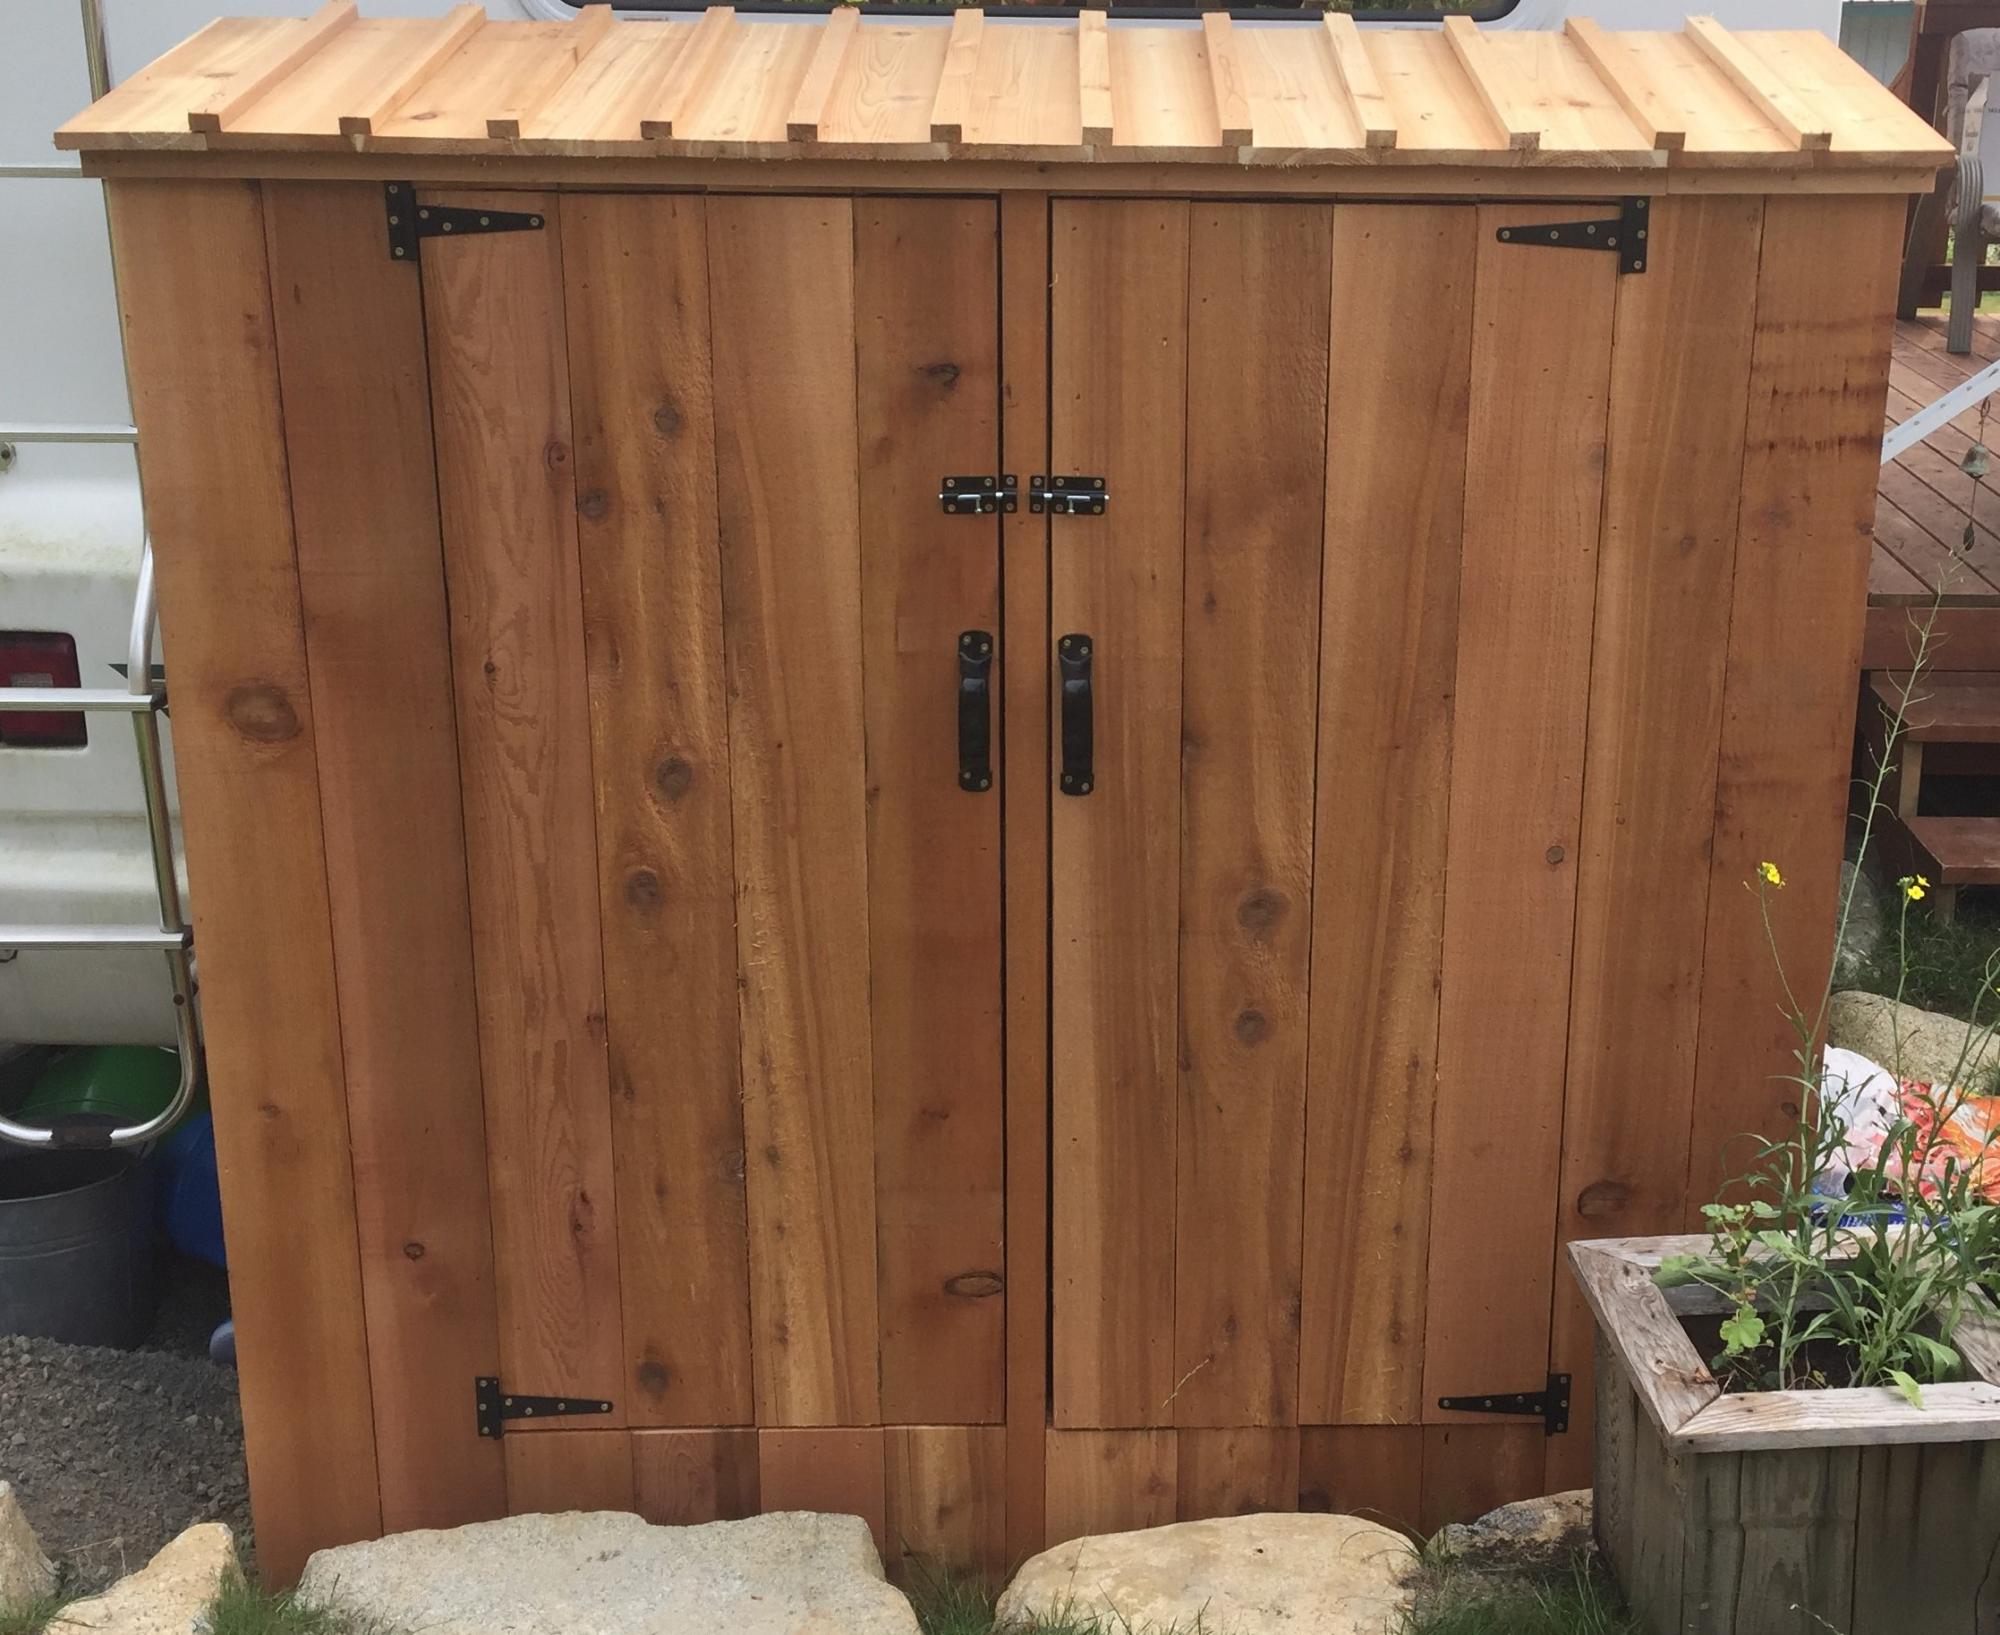
Small Cedar Shed

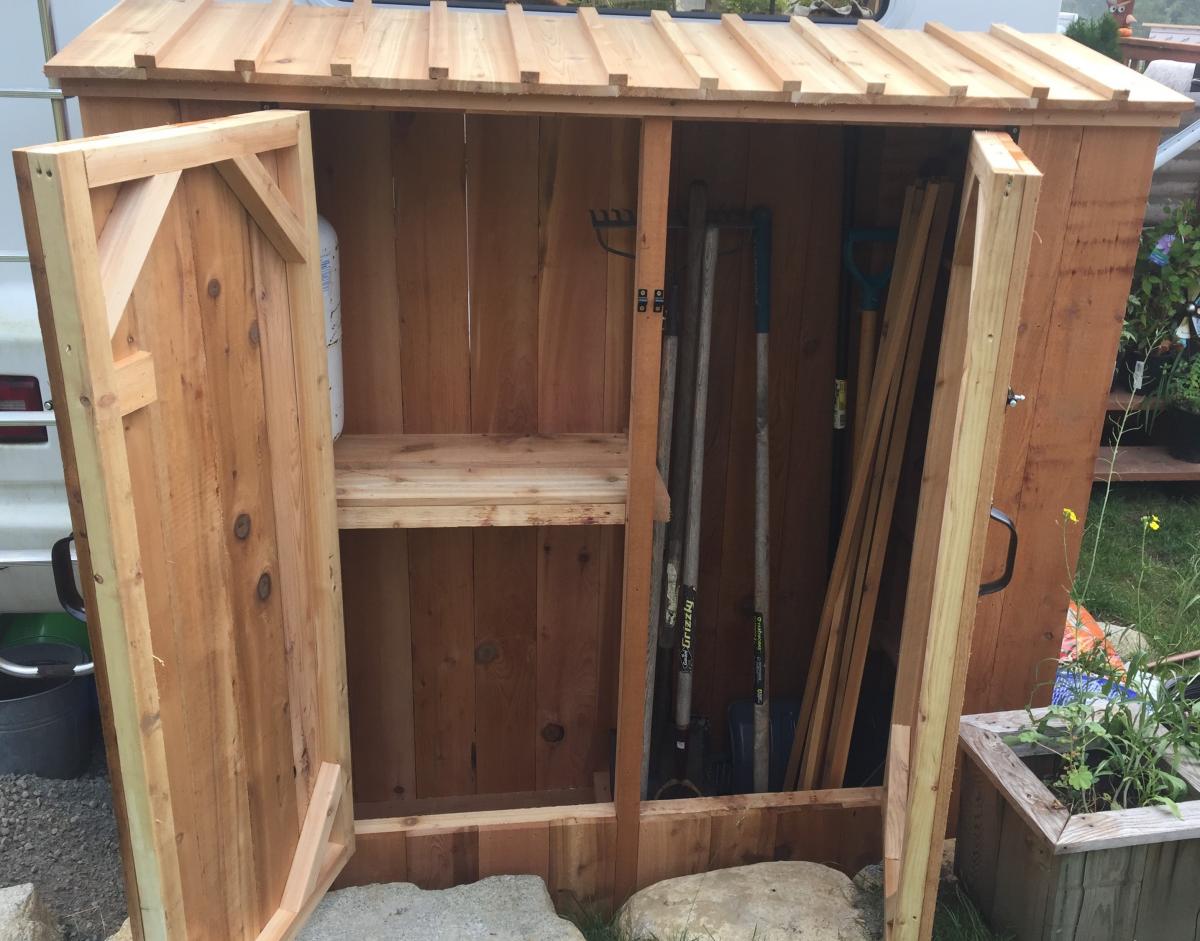
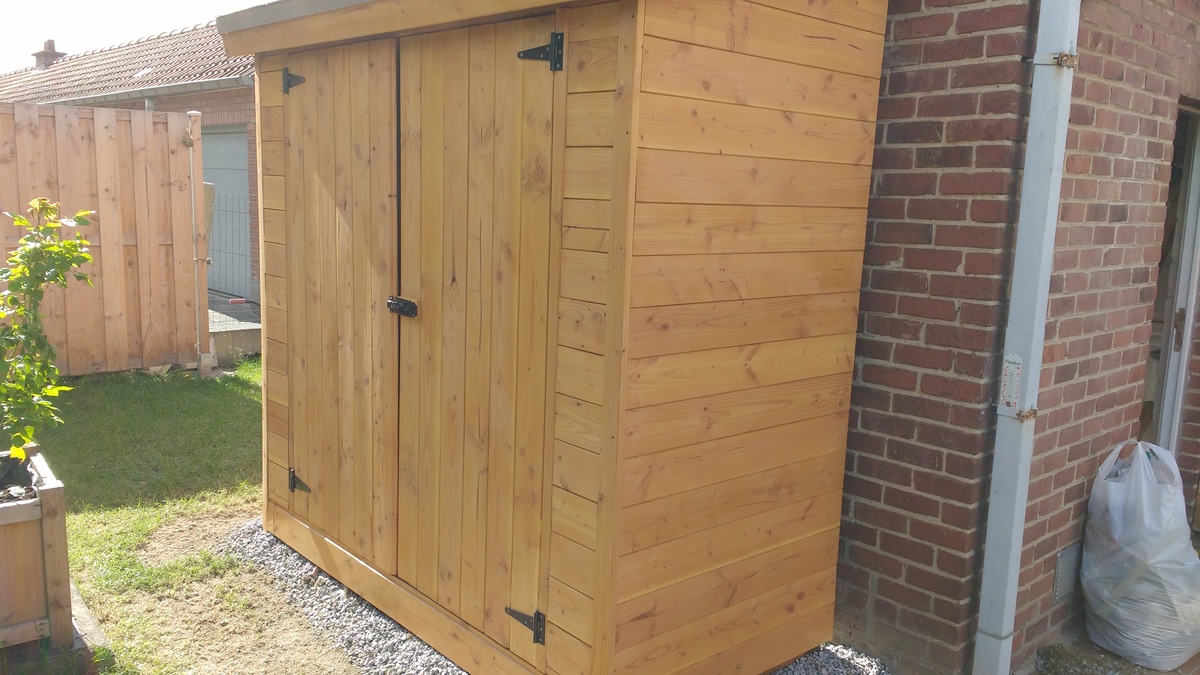
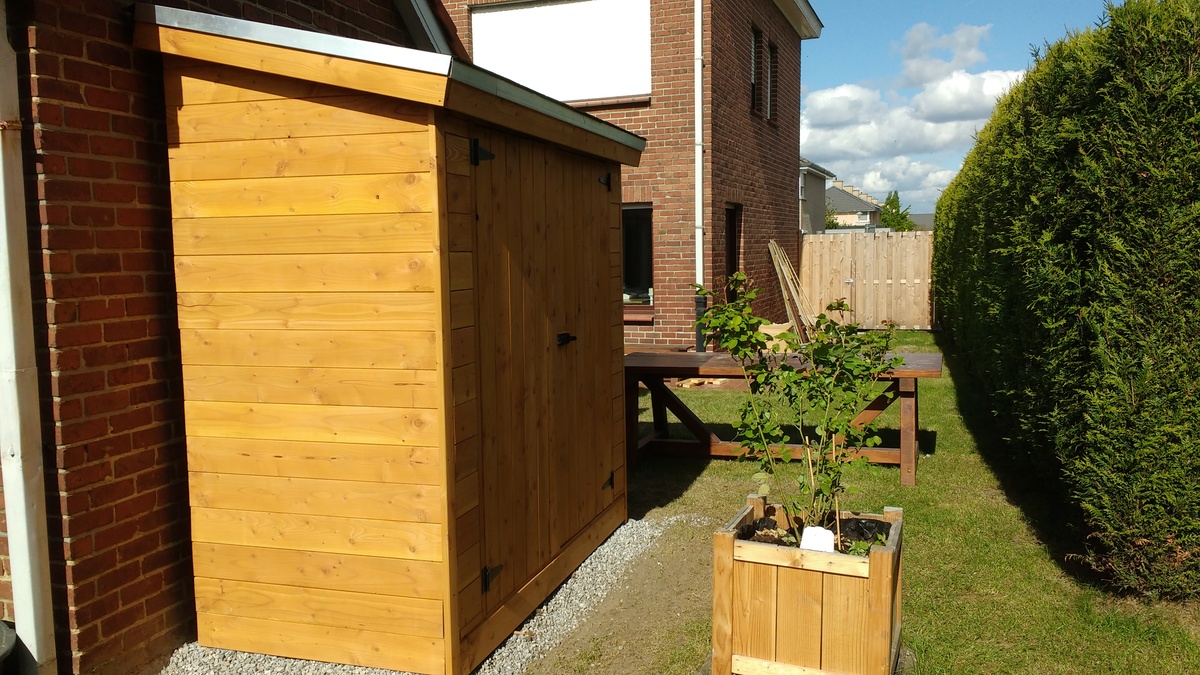
Here is our version of the small cedar shed. Had to raise the door up a bit to clear the rocks. All built from cedar fence boards and a few 2x4's

Built from Plan(s)
Estimated Time Investment
Afternoon Project (3-6 Hours)
Finish Used
None - age naturally
Recommended Skill Level
Intermediate

Comments

Ana White Admin

Fri, 11/06/2020 - 08:18

Love that you used all cedar fence boards, do you have an estimated cost for this project? Thanks for sharing!

Modern King Farmhouse Bed with Canopy

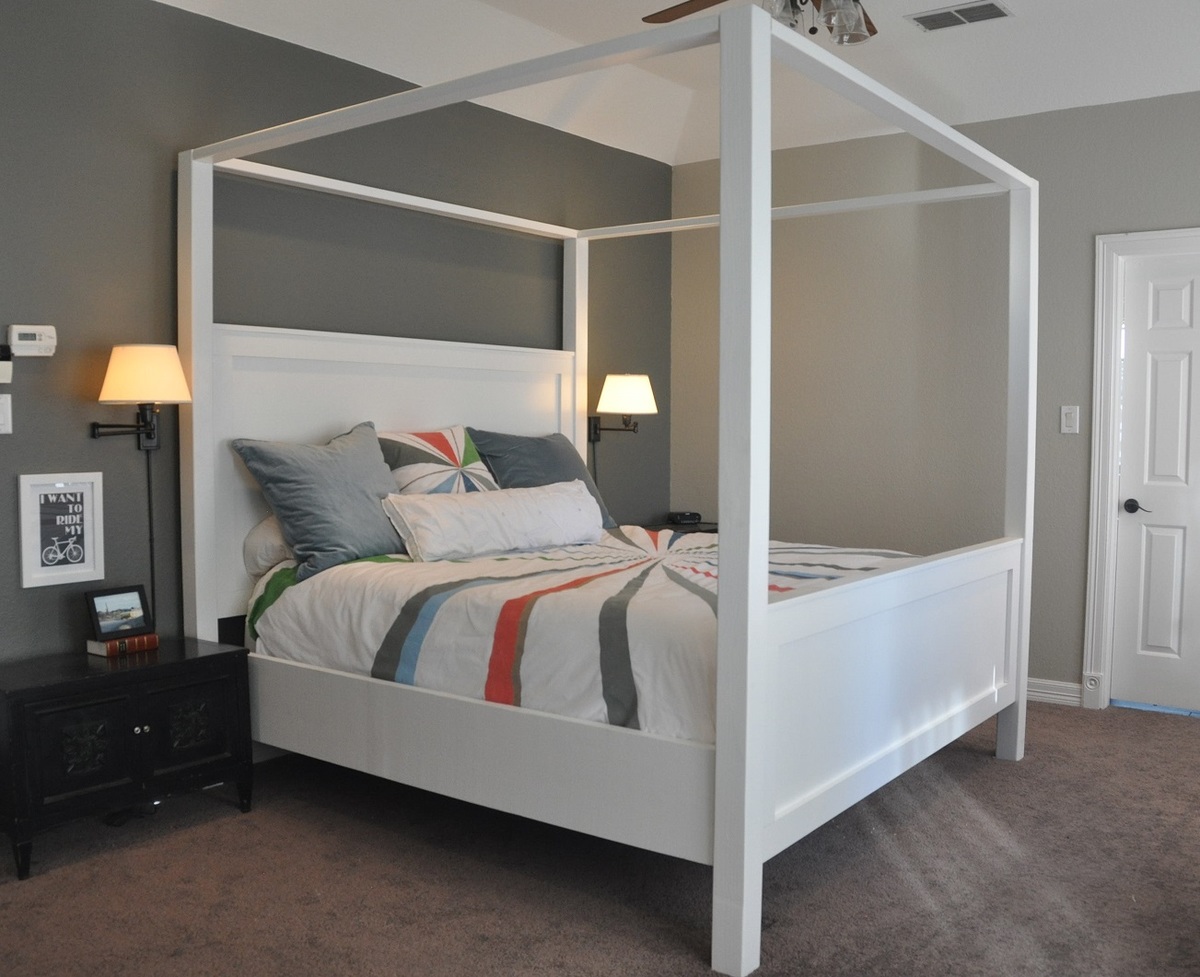
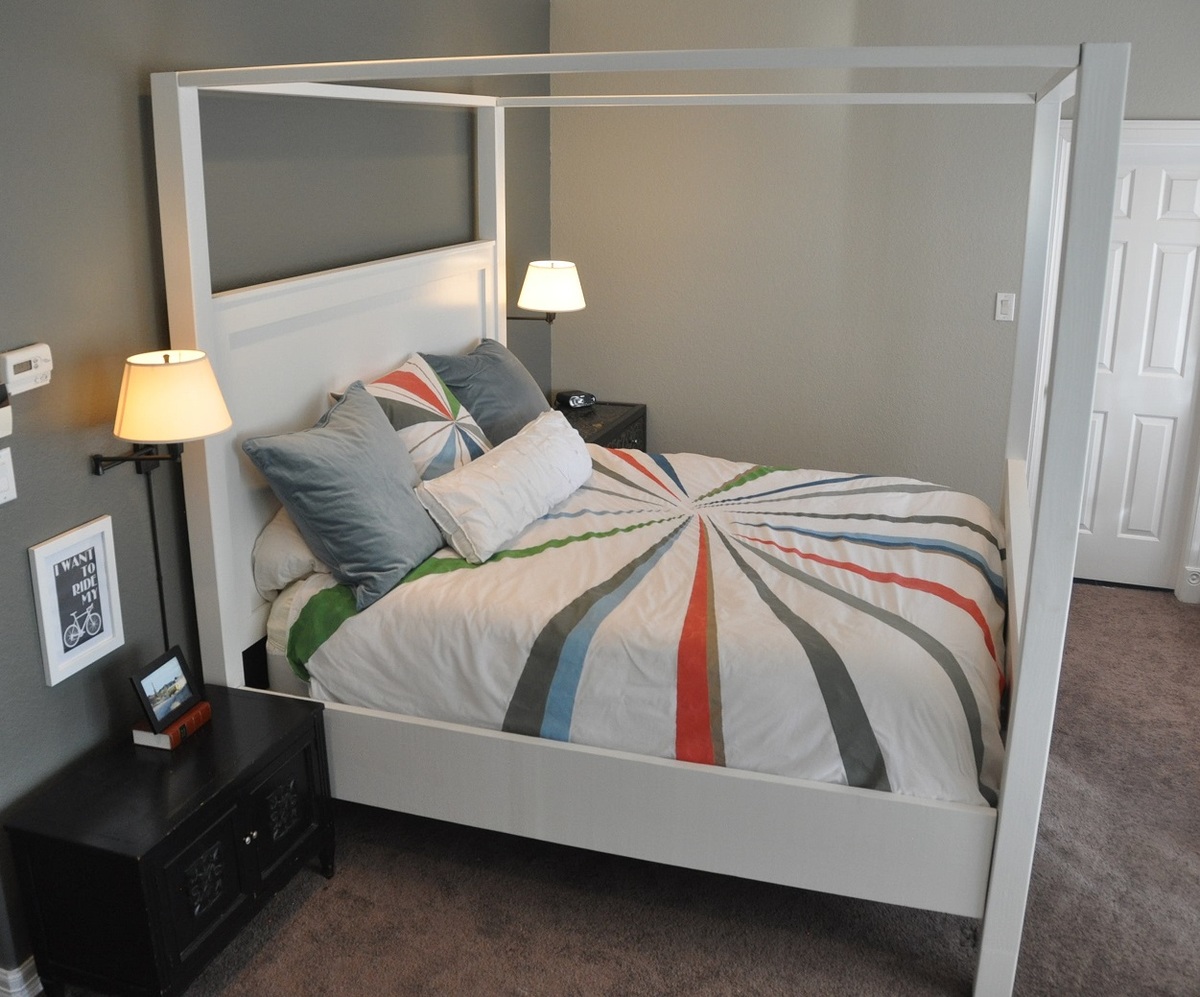
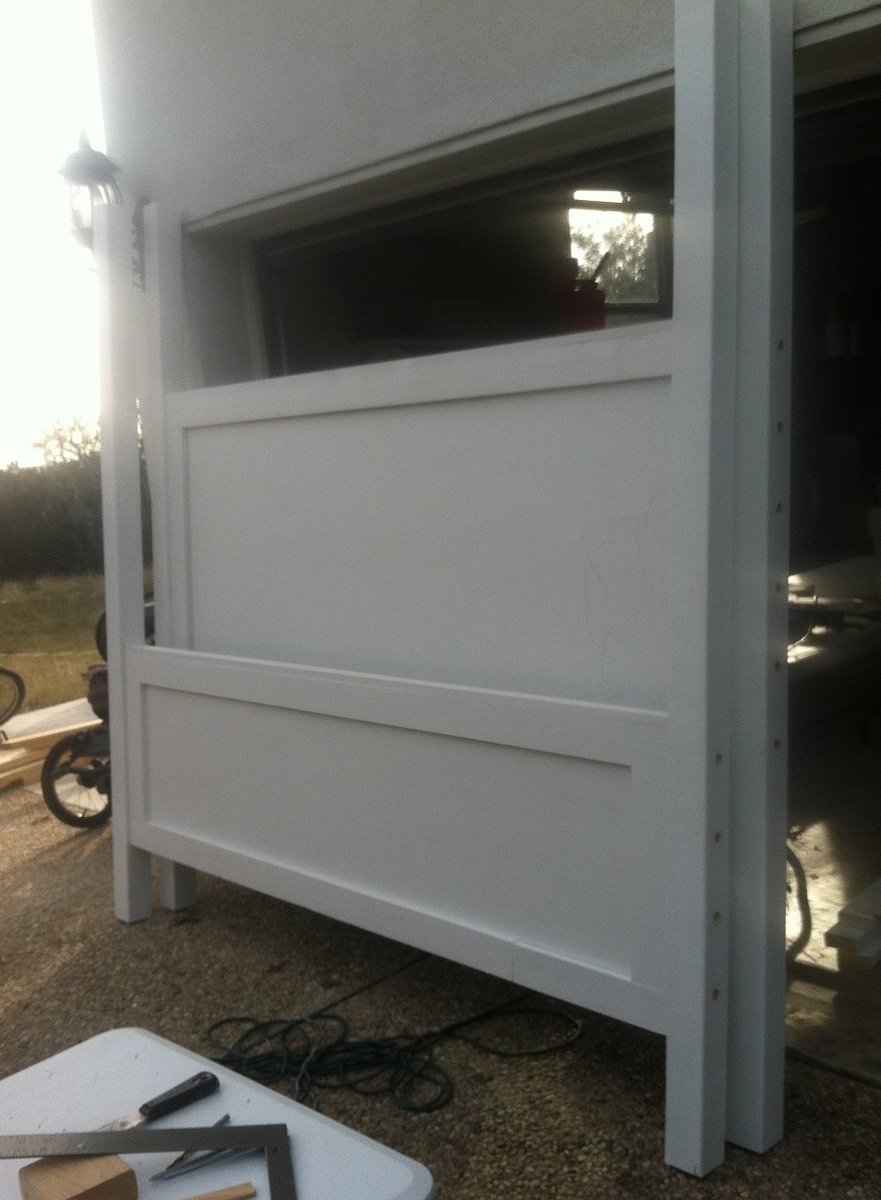
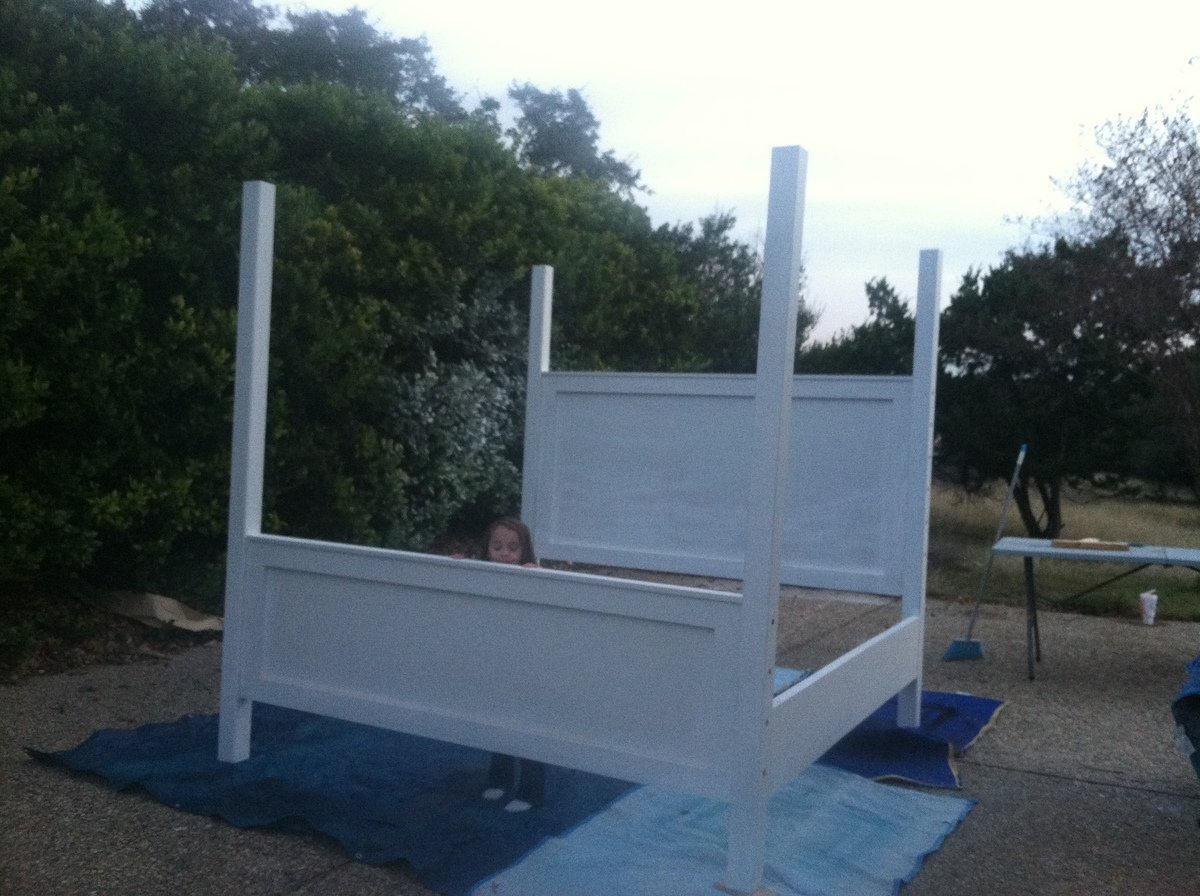
Although I have experience building projects and using tools, this was my first Ana White project. I am a huge fan! I wanted a little bit more modern take on the Farmhouse bed with canopy, so I attached the headboards and foot boards directly to the 88" tall 4 x 4 posts. This was done instead of creating the king farmhouse bed first and adding the canopy on top of it like the plans show. I used solid 3/4" birch plywood instead of the planks for the headboard/footboard for a more streamlined look. I also used 1 x 4's around the entire perimiter of the headboard/foot board instead of just the top and bottom. I am thrilled with how it turned out, it looks exactly the way I wanted it to! Step-by-step information on how I built the bed are on my blog at decorsanity.com. Thank you Ana, you rock!!

Estimated Cost
$350
Estimated Time Investment
Week Long Project (20 Hours or More)
Finish Used
1 sprayed coat primer, 1 sprayed coat Behr flat paint in Polar Bear White, 1 coat sprayed Minwax Polycrylic
Recommended Skill Level
Intermediate

Comments

BeaxBuilt

Fri, 01/24/2014 - 23:28

It looks very sturdy. I like your idea of the 1x4 around the entire perimeters and making the canopy the actual bed frame. Thats what I would have done too. I am always trying to think of ways to use 2 x's or 4 x's instead of 1 x's I like the chunkier look. Great job

Rustic American Flag

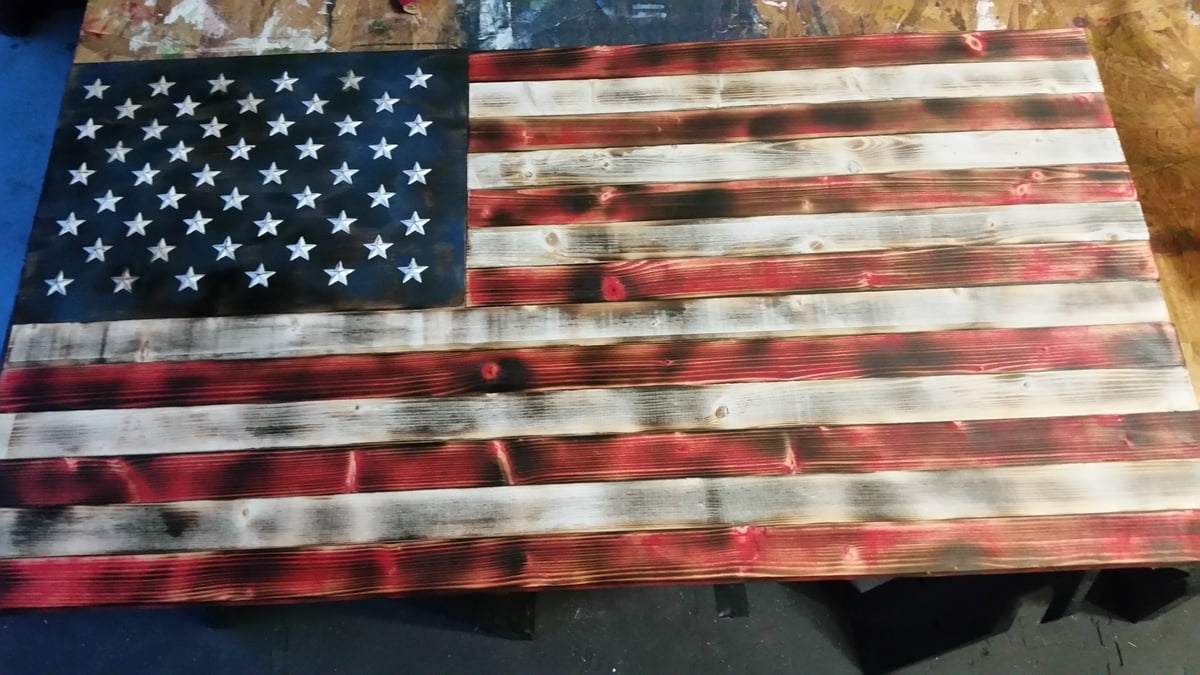
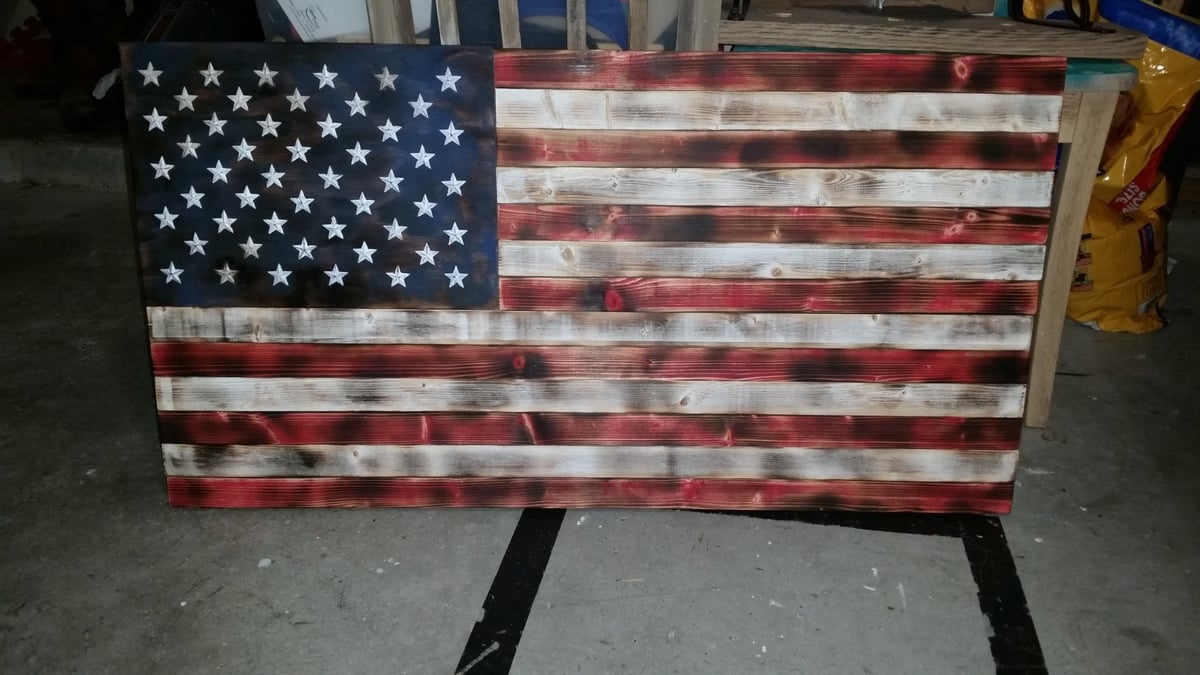
This was a fun build.  I used common board for the the stripes and a left over piece of cabnet grade plywood for the union.  Whole thing is 37 x 19.5.  The stripes are 1.5 wide.  I painted all the pieces then sanded then down to expose the grain and give it a worn look.  Then I took a handheld propane torch to it.  I used small 1 in tin stars which were the most challenging and expensive part of it. I painted them then distressed them with sandpaper.  I attached the stars with super glue.  All in all a fun project.

Estimated Cost
Wood and paint 30
Tin stars 30
Glue 10
Estimated Time Investment
Afternoon Project (3-6 Hours)
Recommended Skill Level
Beginner

Comments

In reply to by trojan24man

Tony Garcia

Fri, 05/20/2016 - 05:49

Thank you. This was a gift for my Fath in Law, I think he is going to put it on his patio.  I added a lip a the top on the back so it can rest on some anchored screws. Depending on where he puts it though I might add a wire across the back so it will hold a little tighter outside with the wind.

Tony Garcia

Fri, 05/20/2016 - 05:46

It was a gift for my Father in Law.  I think he is going to hang it on his patio.  When I built it I added a lip rail along the top so you can rest it on an anchor. If it does go outside I might add a wire across the back so it can catch and won't blow off in high wind.

Kendra Side Table

Thanks for the GREAT plans. Slightly modified to allow more space on the top shelf.

Estimated Cost
40.00
Estimated Time Investment
Day Project (6-9 Hours)
Recommended Skill Level
Beginner

Comments

Linda7

Sun, 03/09/2014 - 15:23

Lauren,
They are found on this site called the "Kendra Storage Console". Click on "plans" in the tool bar above, type in that title, then hit "apply." The original plans will pull right up.

JoJo Lynn

Thu, 01/29/2015 - 20:01

I too was looking for the plans on this and i clicked on plans but when i entered Kendra Side Table it came up as no results found. Is this not the name listed above? Am i doing it wrong?

Jodi

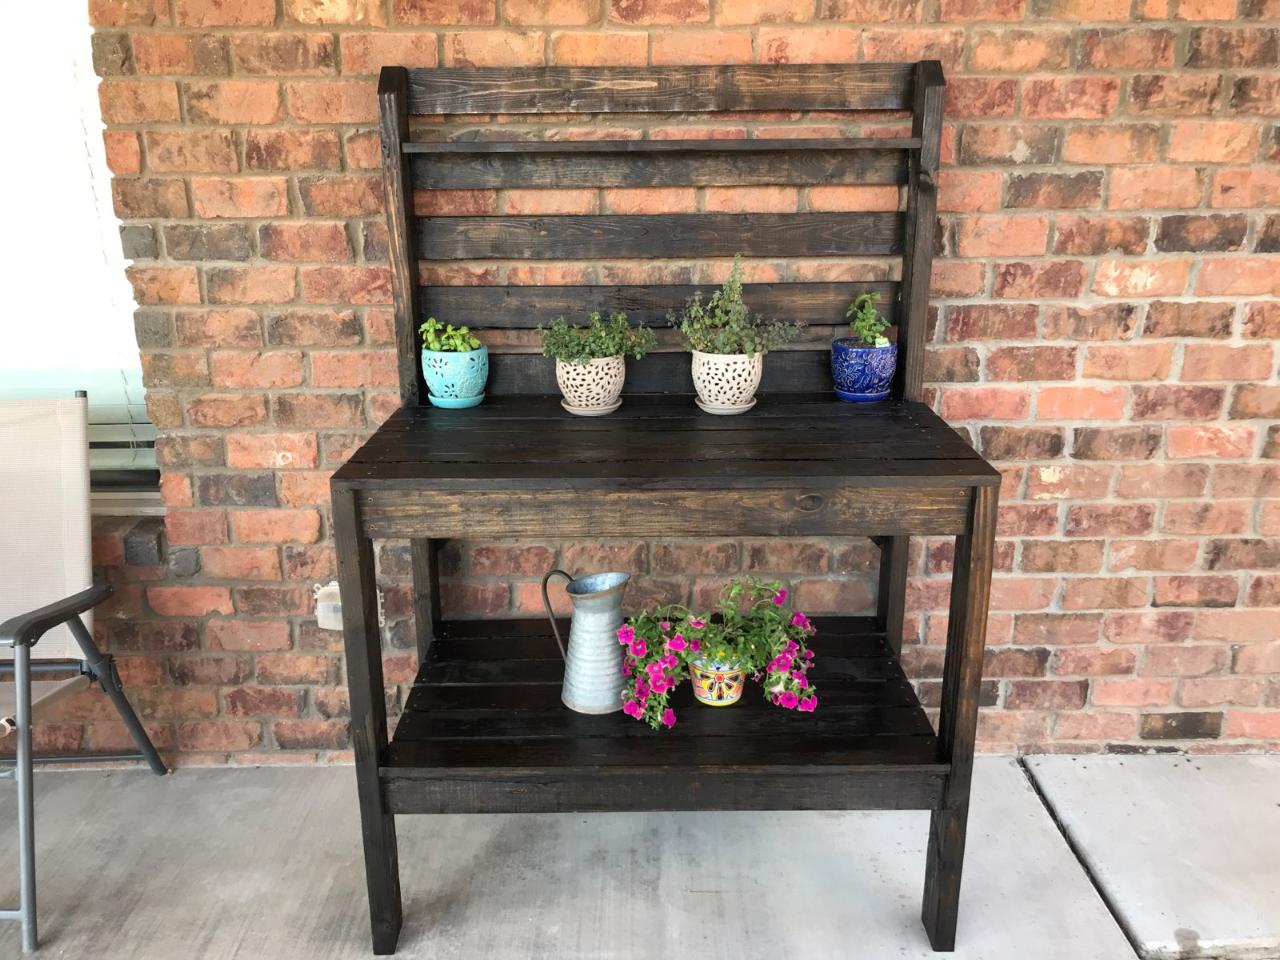
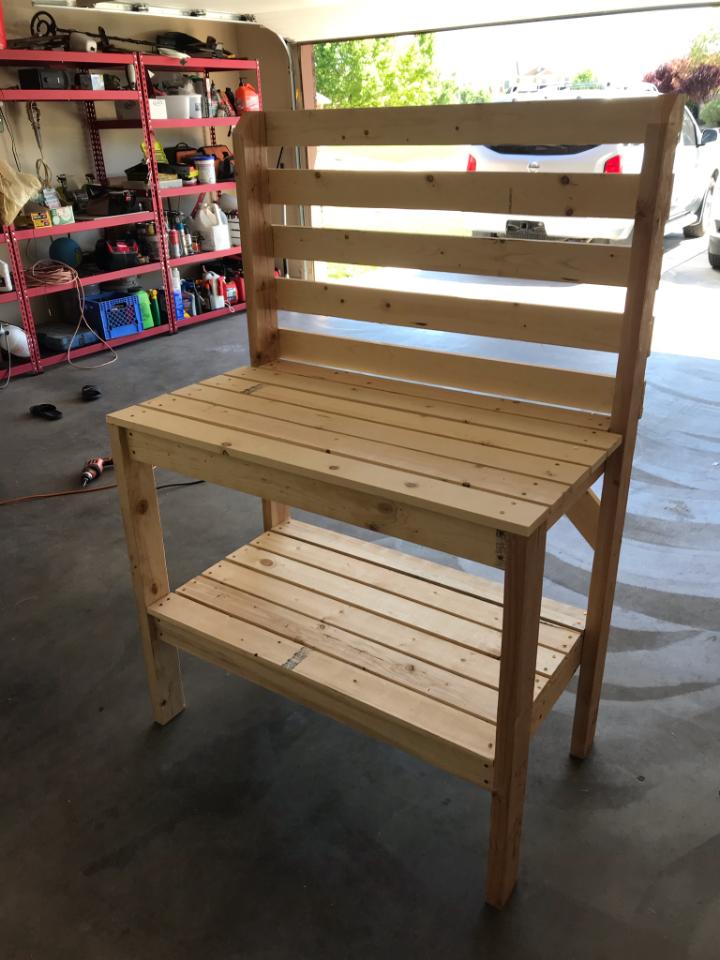
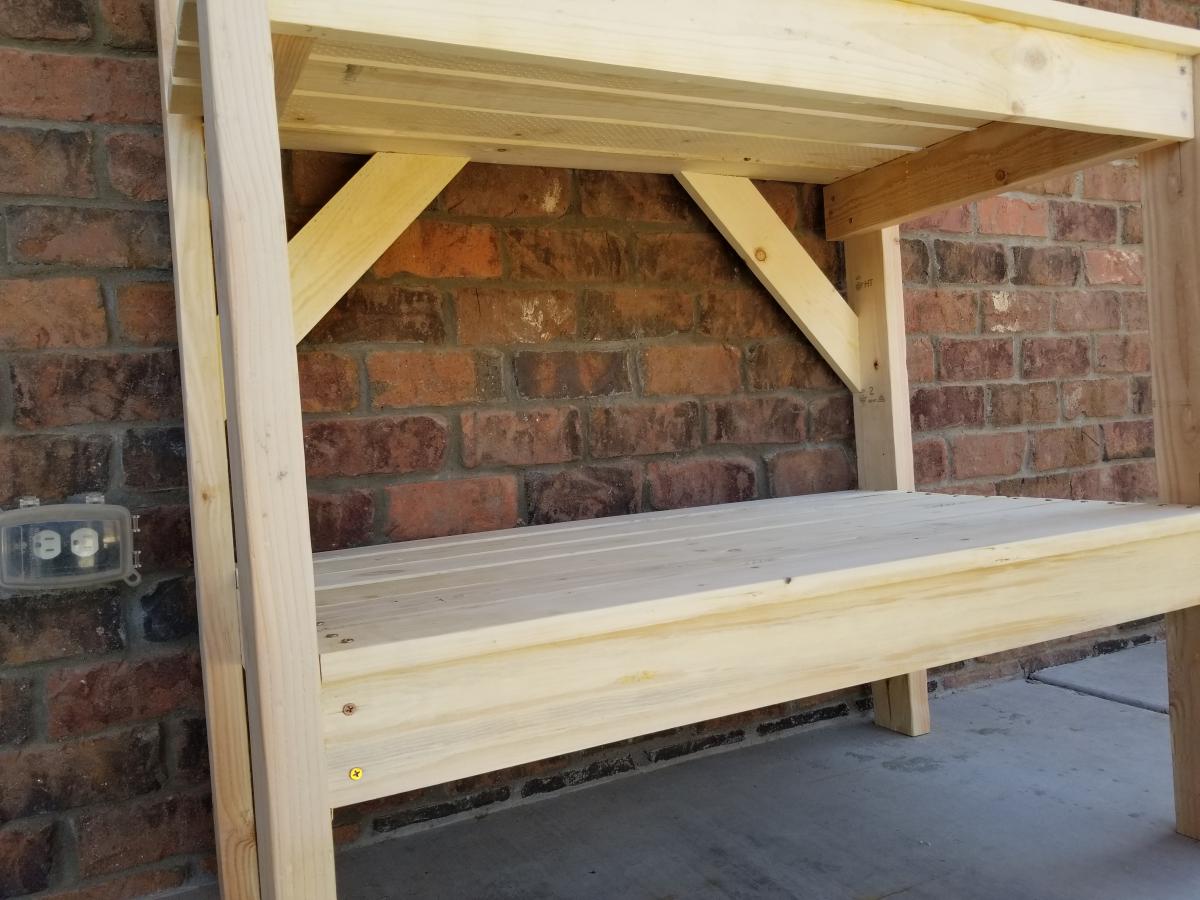
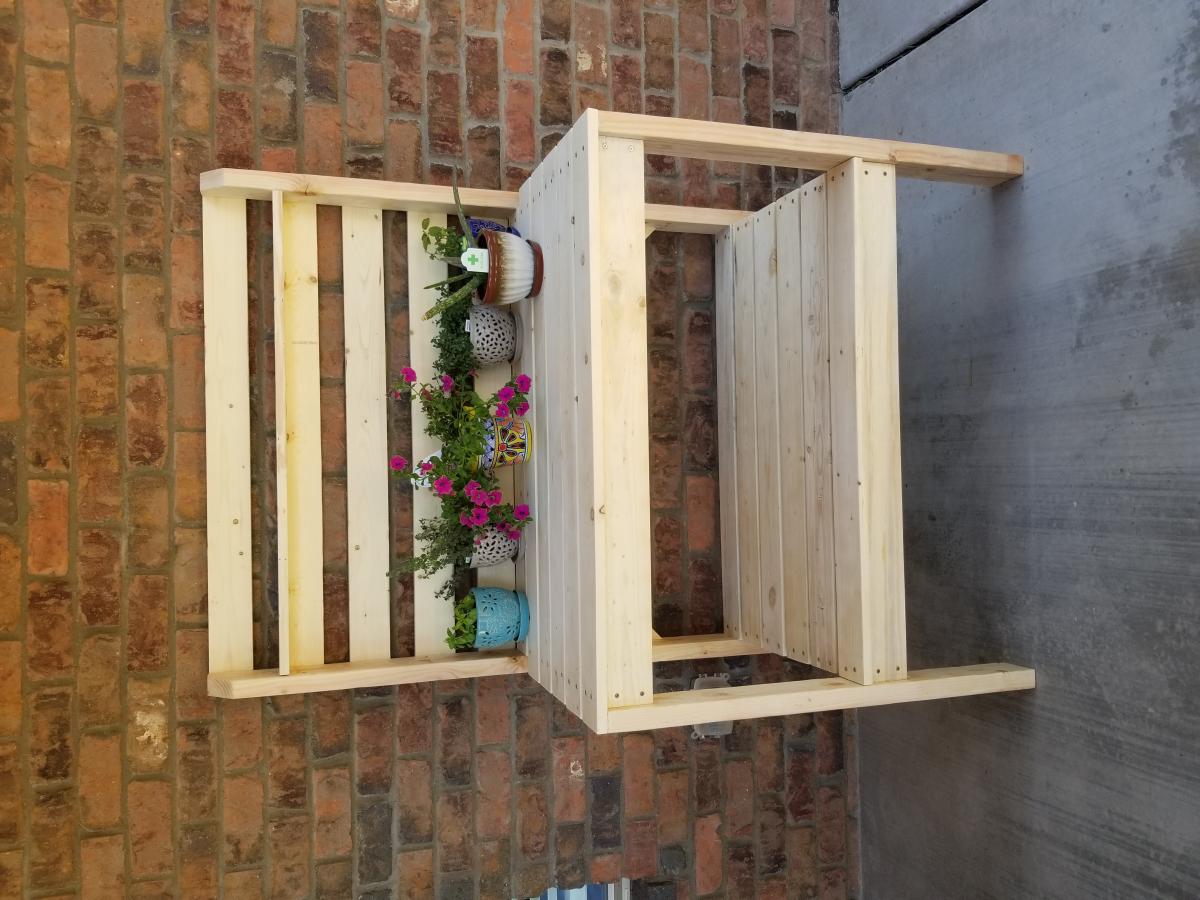
Simple 2x4 Potting Bench

Submitted by Anonymous (not verified) on Sun, 05/17/2020 - 21:31

Simple 2x4 Potting Bench. Easy build and looks great!

Estimated Cost
60.00
Estimated Time Investment
Day Project (6-9 Hours)
Finish Used
Minwax-JAYCOBEAN -2750
Recommended Skill Level
Beginner

Comments

aimes91225

Sat, 07/04/2020 - 20:22

This plan was so easy to follow and do! My dad and I made this bench for my mom as a surprise! Thank you so much!!!! It literally only took us 2.5 house from start to finish of putting it together.

2x10 Step Stools

Submitted by msyoung22 on Tue, 08/16/2016 - 07:26

My kids needed a step stool and I had some scrap wood (2x10) left over from a previous project

Estimated Cost
20 dollars
Estimated Time Investment
Weekend Project (10-20 Hours)
Finish Used
Minwax (weathered oak stain)
Minwax polycrylic protective finish
Recommended Skill Level
Starter Project

Comments

kristyzed

Wed, 08/17/2016 - 20:40

These are great.  Can you share dimensions and if there are any angle cuts on the legs?

msyoung22

Thu, 08/18/2016 - 20:12

Thank you! The dimensions are the same as the Ana White "Simple 1x10 Single Step Stool" except I used 2x10's instead of 1x10's like the plans called for. I also used some scrap pallet wood to make a design on the top of the stool. 

- Stool height: 7 1/2" for legs, 1 1/2" for top, and 1/2" for scrap pallet wood; which gives a total height of 9"

- Stool width: 9 1/4" x 16"

- 5 degree angle cuts were made on the legs

Pergola and Outdoor Furniture

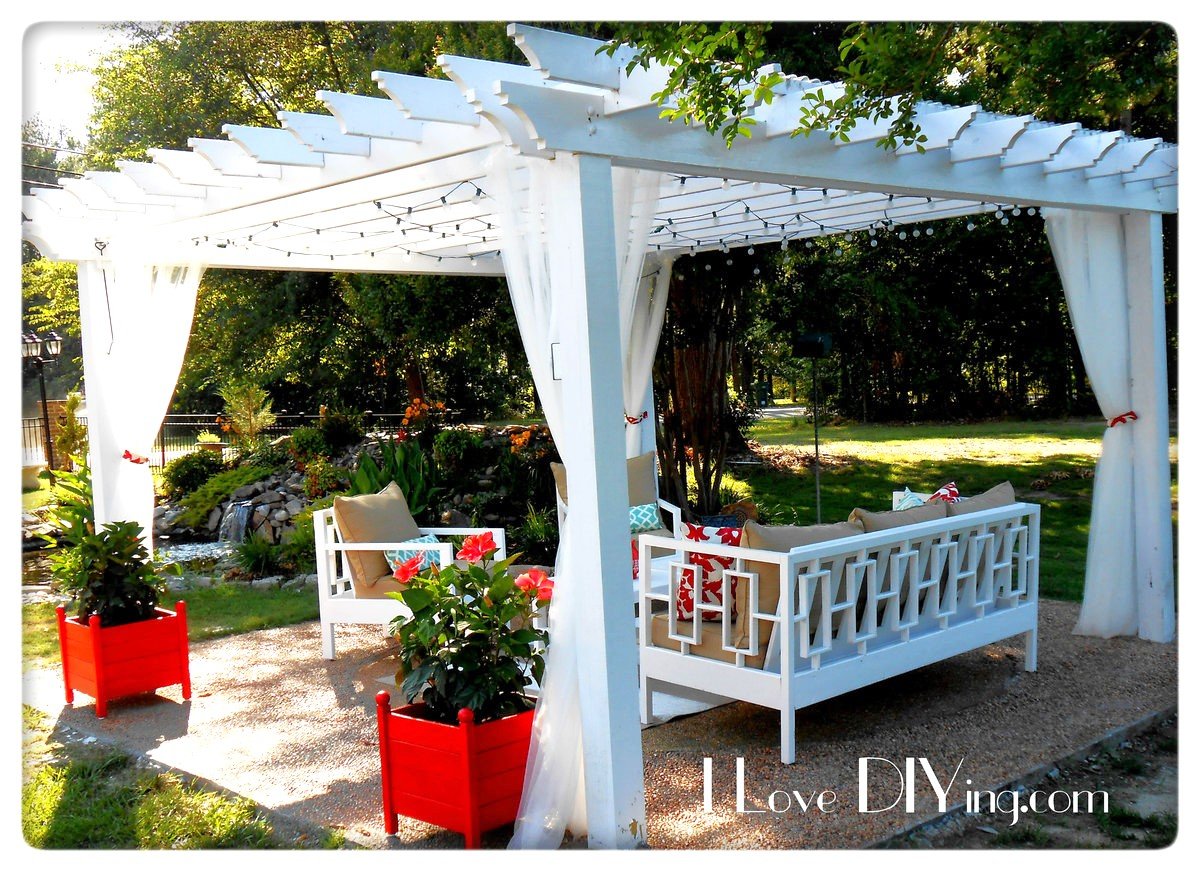
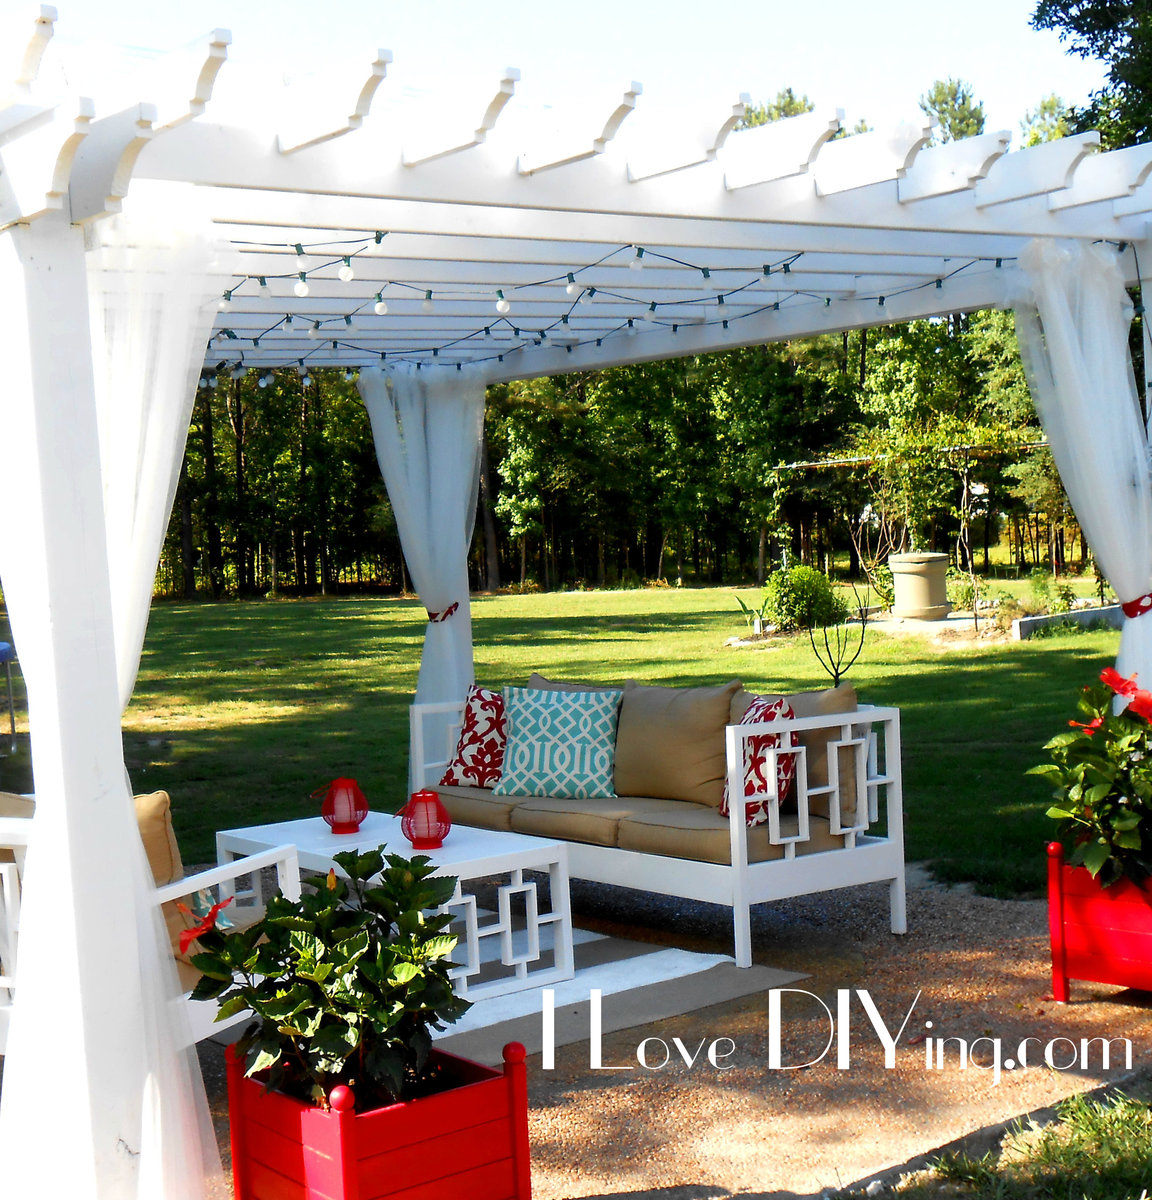
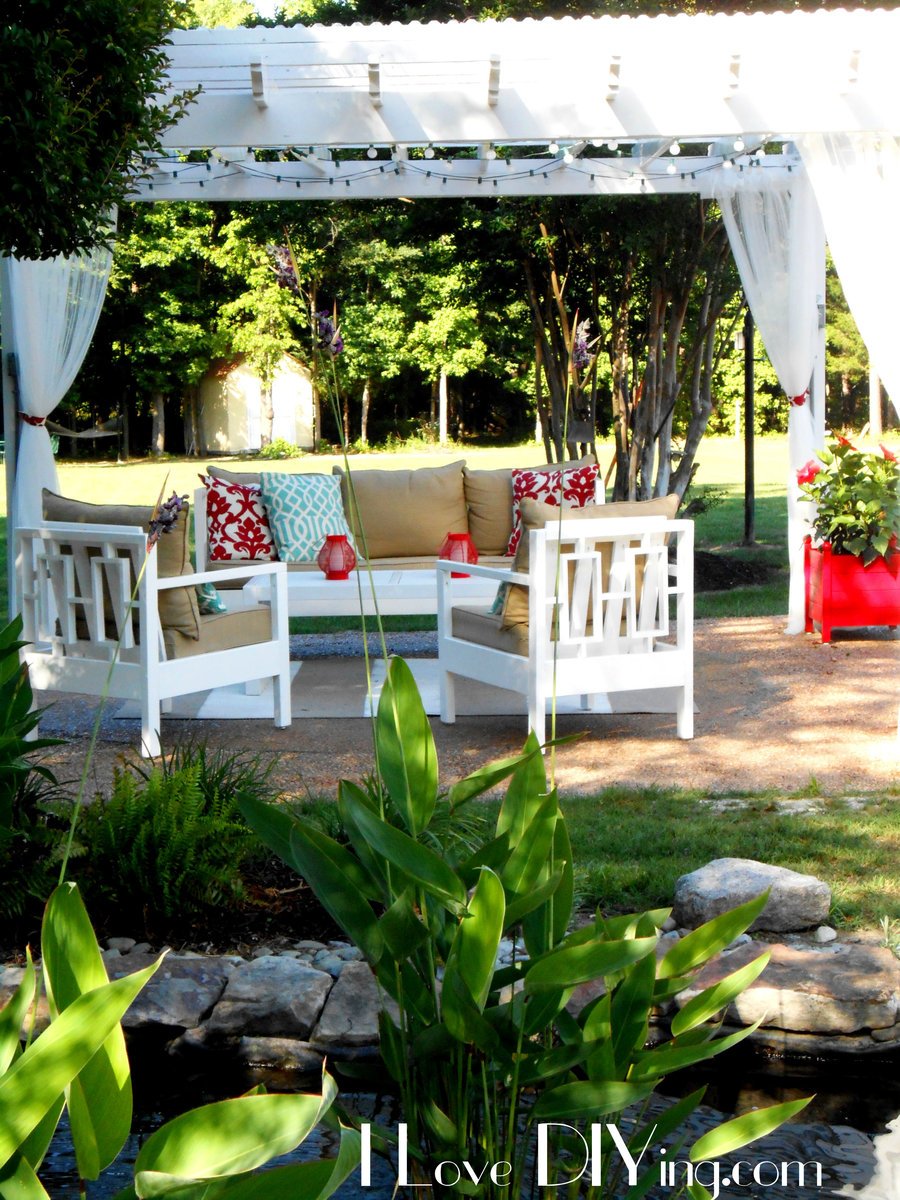
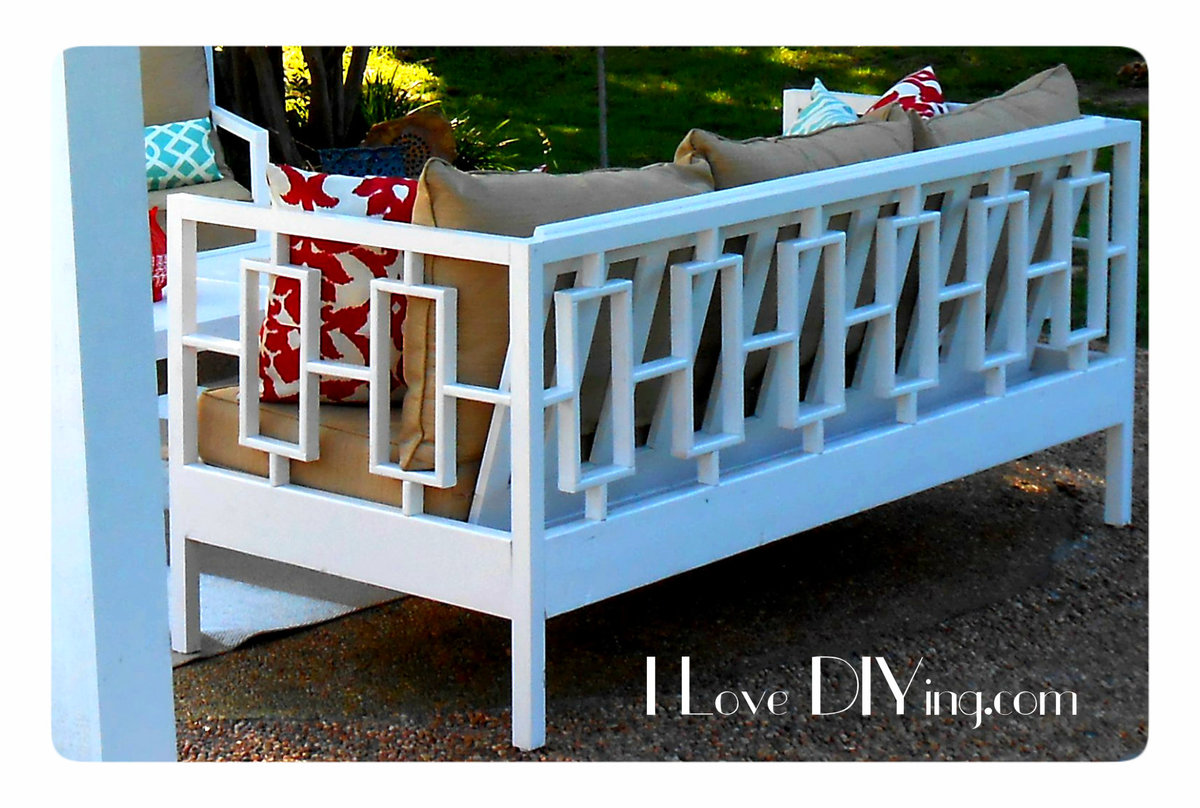
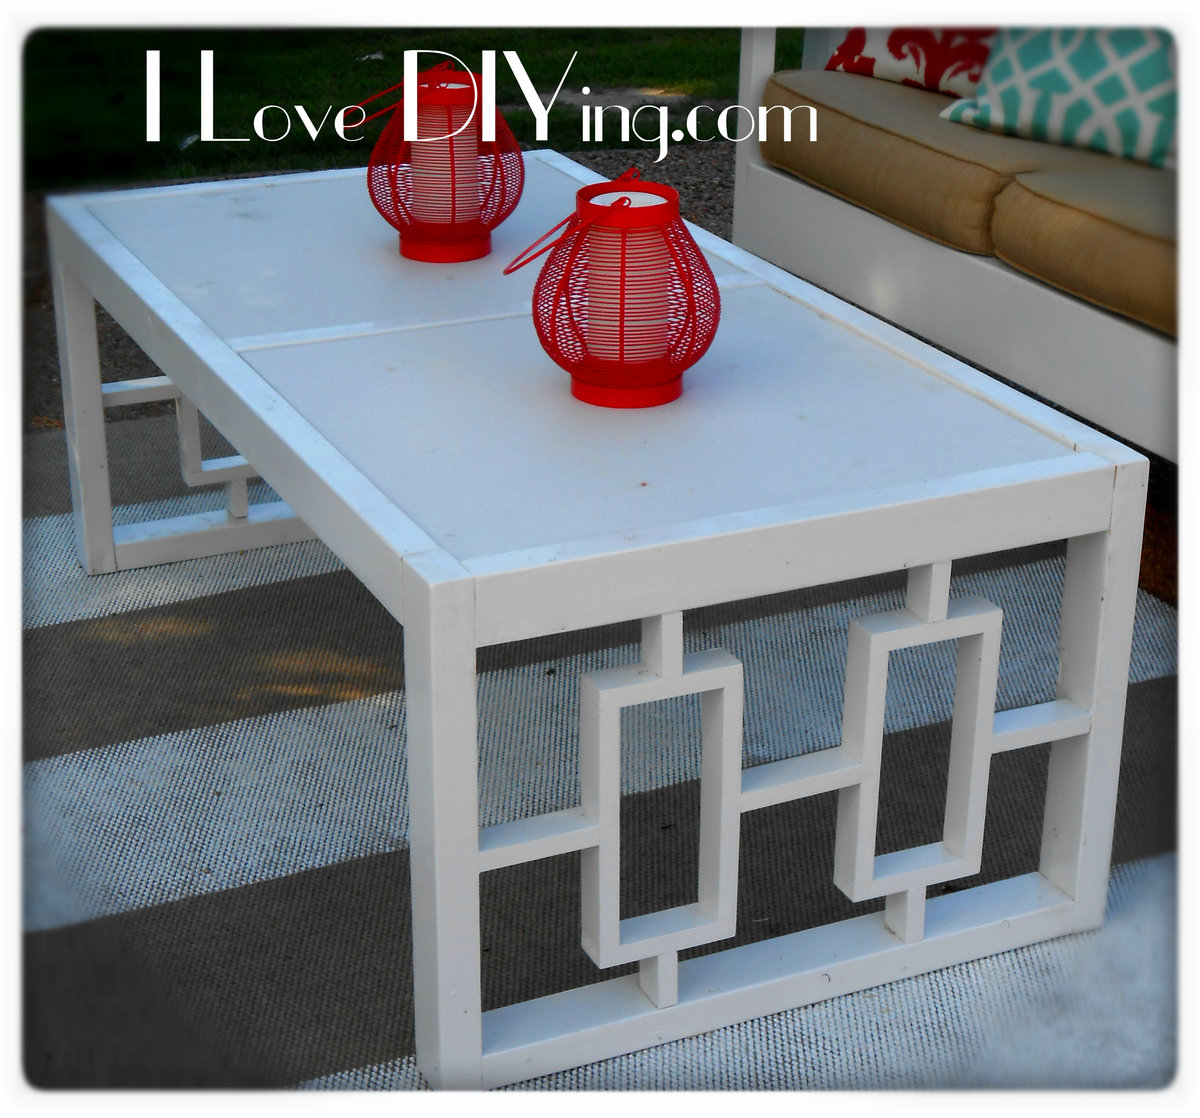
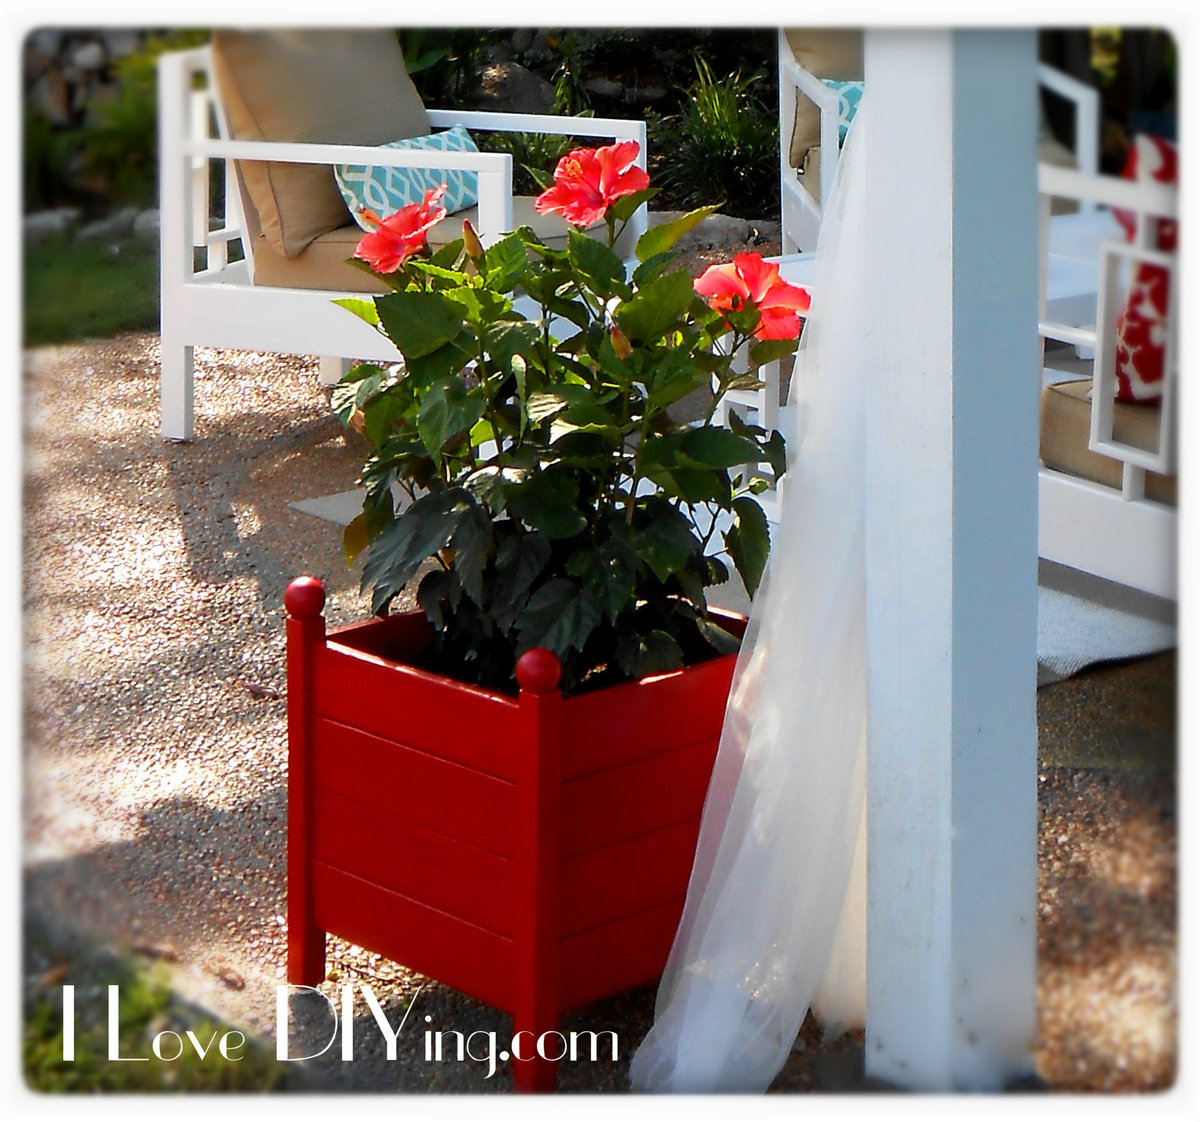
The pergola is finally complete! I'm sure I'll be adding some more things, but for now....I'm happy. I can not take credit for the Pergola, my husband built that, but there are lots of projects inside to tell you about. I built the sofa, coffee table, 2 chairs and 2 planters. It's a great spot for entertaining or just sitting with glass of wine. I really loved the Rectangles Daybed , but I really had no use for a Daybed, so with a few modifications, I came up with the sofa version. To make it more comfortable I used the slanted back idea from the simple outdoor sofa plan.I love how it turned out and it was fairly inexpensive too. Lumber cost was around $50. I used 2x 6′s, 2×2 furring strips, 1×2 furring strips and 1×4 furring strips. You really have to pick through the furring strips, with some patience I was able to find pieces that would work well for my project. Using the more expensive would would make things much easier, because there would be much less sanding and filling involved…but I love a bargain!! When I first built the sofa for this collection, it was for our covered porch. I was not intending to build any matching pieces. When we moved it to the pergola, I decided to build these 2 chairs. I used plan from the simple outdoor chair and modified the back to match the sofa. The lumber for the chairs cost about $25 per chair. I bought some 2X2 quartz tiles from the Habitat ReStore for $3 each! I thought they would work perfectly for the tabletop. I sketched up a quick design to match the other pieces and came up with this. I used 2×3′s and 1×2′s. The lumber cost was about $15. I also used the Square Planters with Finials plan. I love these planters do much and they were so simple! Thanks for all the fantastic plans and inspiration!!
Finish Used
white paint
Recommended Skill Level
Intermediate

Comments

teresad2297

Thu, 05/12/2016 - 21:30

What a lovely space! Including the water feature behind the pergola. I'd love to pull it straight from your photos and drop it into my yard! (I'd better get to work!!)  Thanks for sharing.


Seasonal And Holiday

Outdoor bar table

Submitted by hueybp on Tue, 07/21/2020 - 20:06

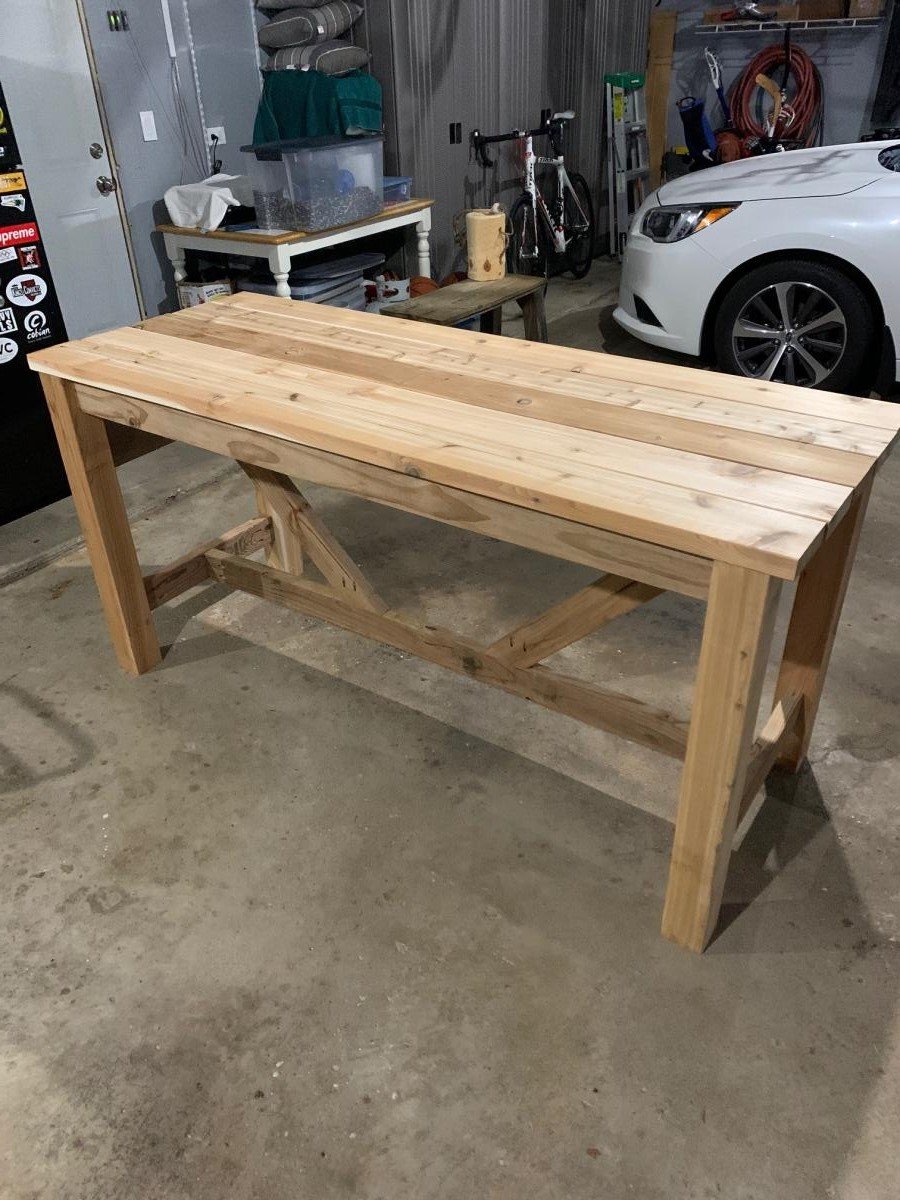
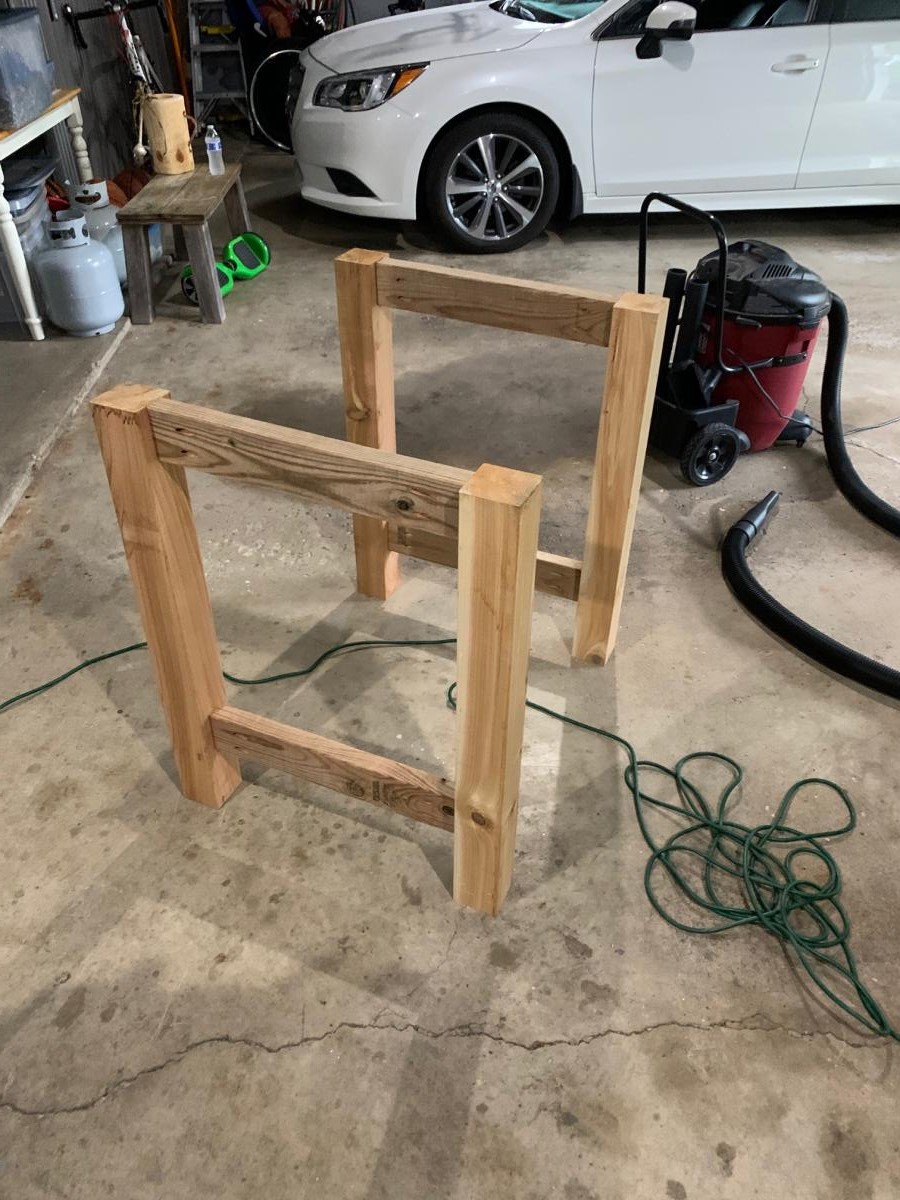
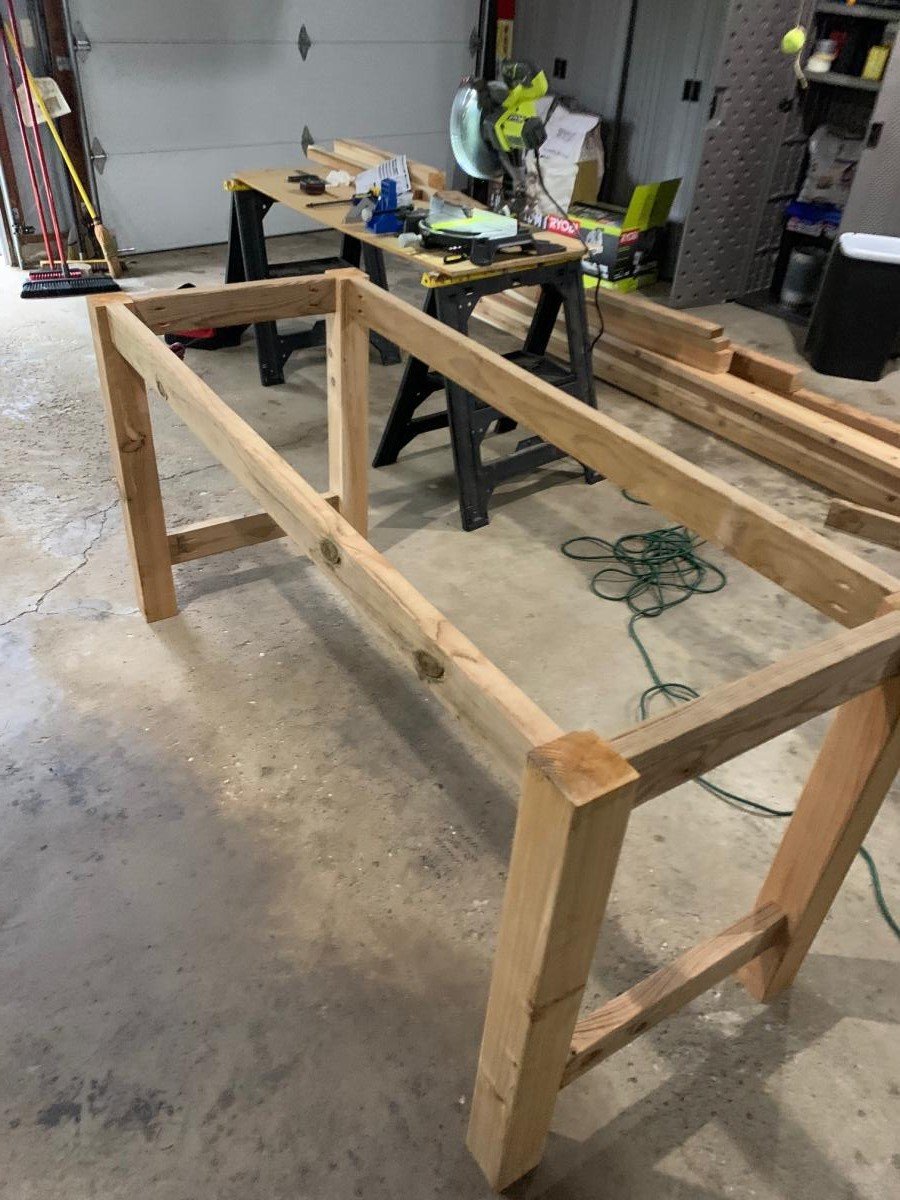
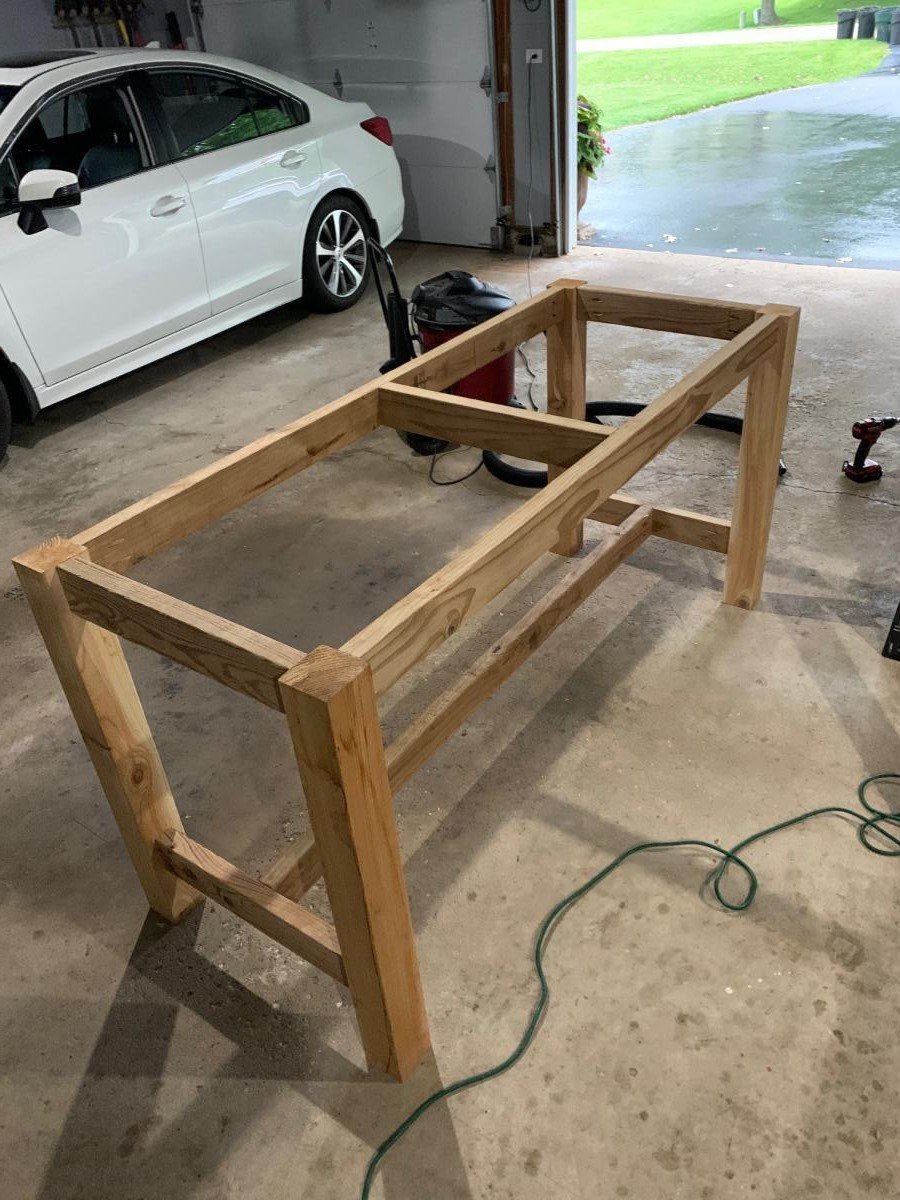
Not quite finished but love the table already. Trying to decide how to stain/paint it. The Kreg jig was a must for this project. It was my first of hopefully many! I used cedar for the 4x4s and 2x6 top pieces. The 2x4s are treated lumber (only because there were no more cedar ones....apparently lumber is getting hard to get lately!!!). Anyway....thanks for the great plans and motivation for this project.

Built from Plan(s)
Estimated Cost
Lumber was about $150 bucks (I bought mitre saw and kreg jig, too)
Estimated Time Investment
Afternoon Project (3-6 Hours)
Finish Used
Will probably use semi transparent stain
Recommended Skill Level
Beginner

Washer & Dryer Pedestal

Submitted by T.R. on Fri, 11/18/2016 - 07:51

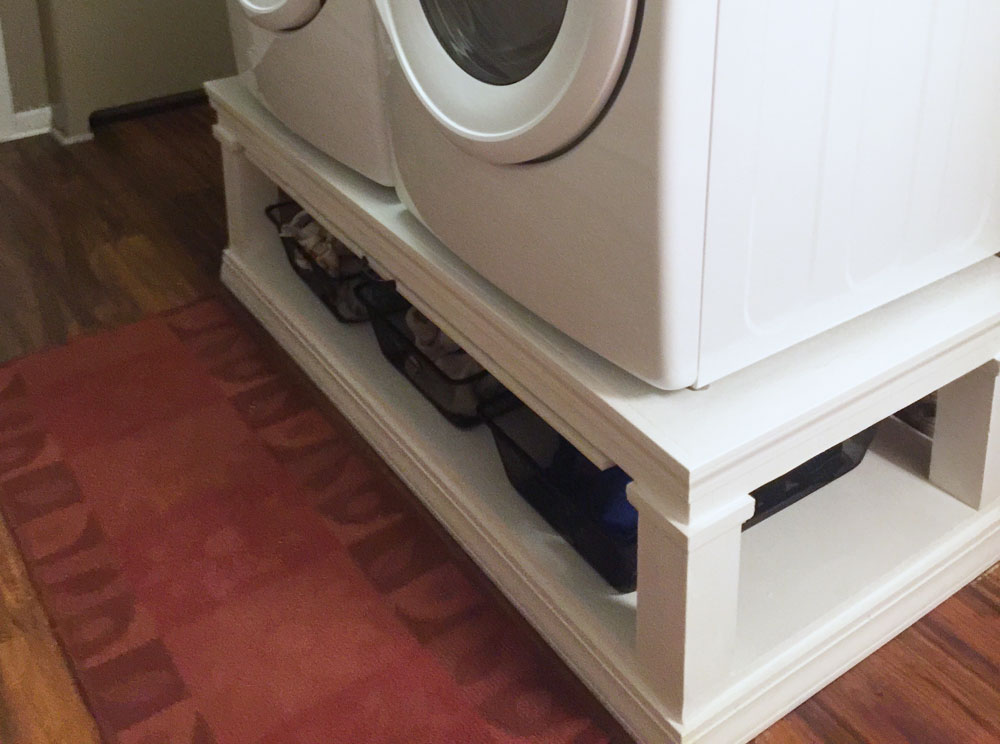
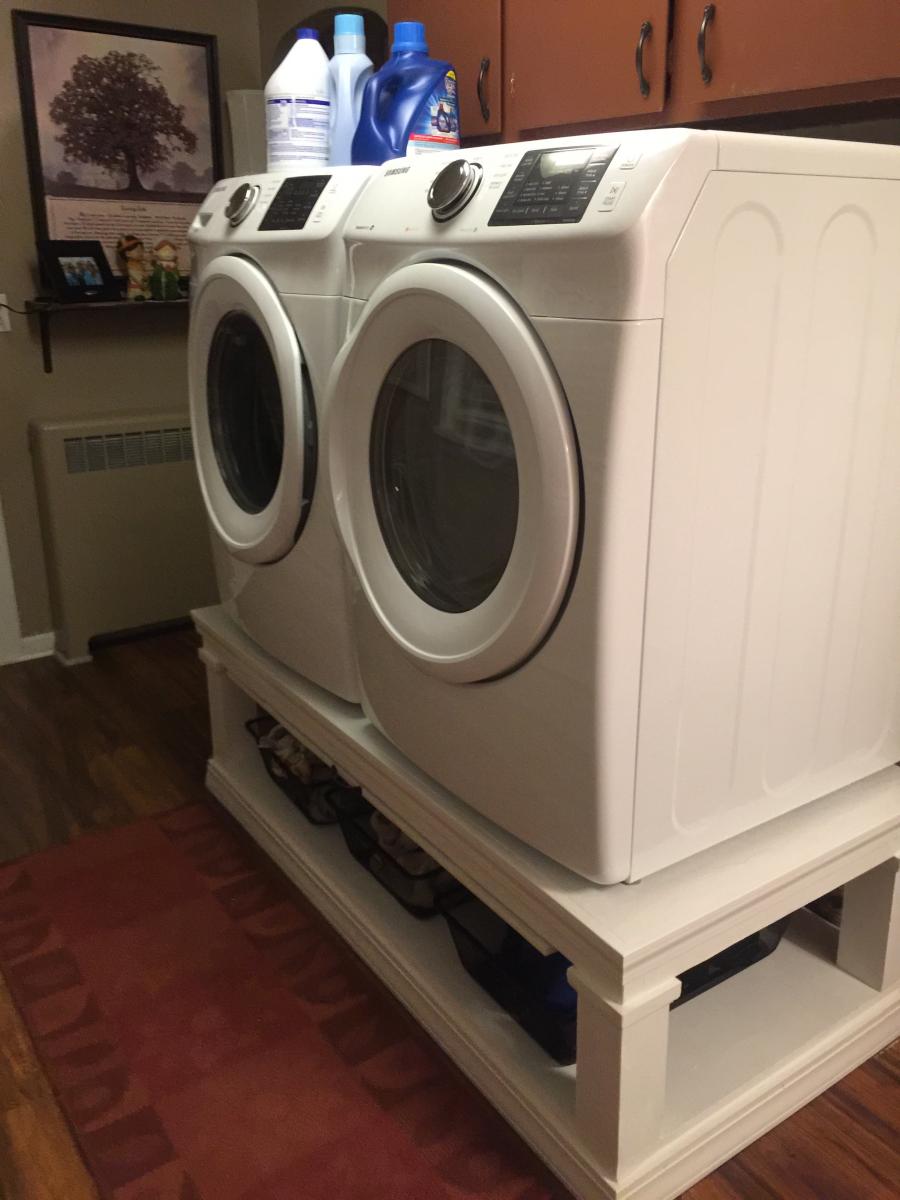
Good, sturdy pedestal is a nice addition to the laundry room.

I used the plans from Sausha’s Washer/Dryer Pedestals and added a pull out to place the laundry basket on.

Estimated Cost
About $100
Estimated Time Investment
Afternoon Project (3-6 Hours)
Finish Used
White paint
Recommended Skill Level
Beginner

Outdoor Privacy Wall

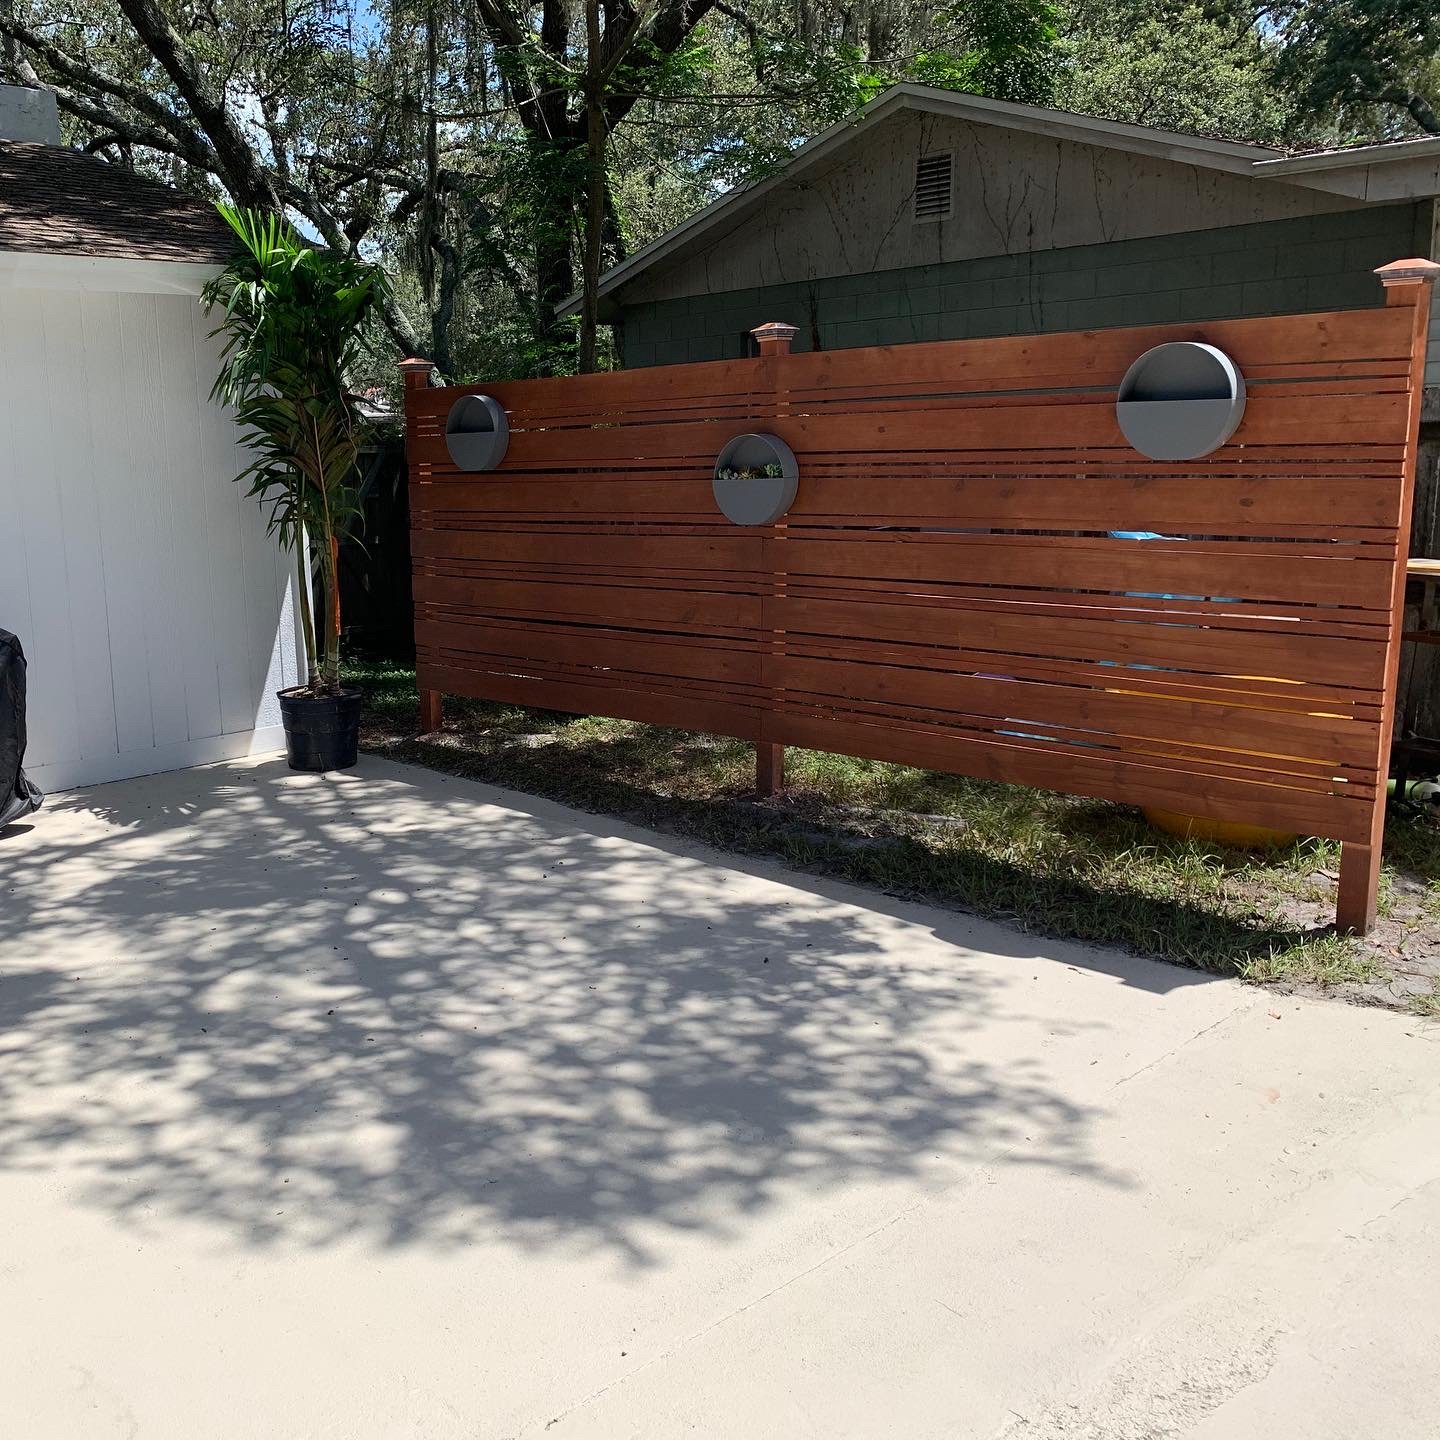
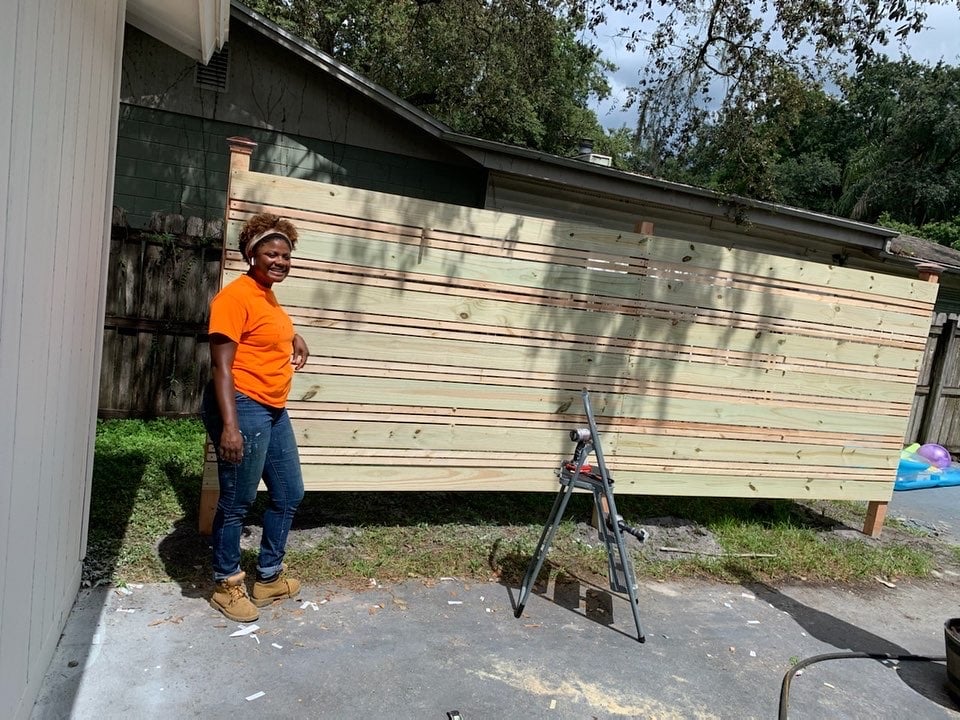
I built this wall to give us a little privacy when our family wants to lay out and go swimming. Also, to hide our neighbor’s ugly fence! The length for all pieces are 8’ long for no cutting and the widths are 1x2, 1x6, 4x4 with 3/4” spacing and about 100 or so deck screws. I modified the pattern from a photo of a fence I seen on HomeDepots YouTube.

Estimated Cost
140
Estimated Time Investment
Afternoon Project (3-6 Hours)
Finish Used
Thompson Waterseal - Semi Transparent - Autumn Brown
Recommended Skill Level
Beginner

Garden Shed Douglas

Submitted by sambelg on Sat, 04/22/2017 - 07:45

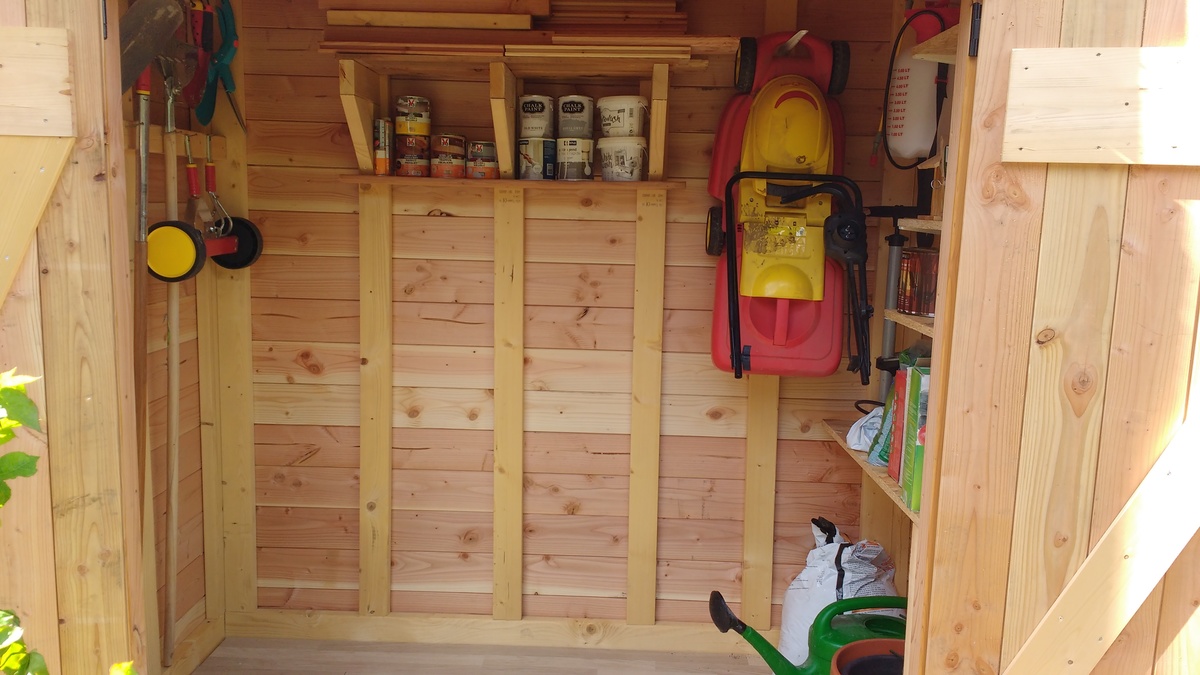
Garden Shed out of douglas wood

i added wooden floor .

Built from Plan(s)
Estimated Cost
700 euro , wood is very expensive where i live
cedar would have made it very pricey
Estimated Time Investment
Week Long Project (20 Hours or More)
Finish Used
Pine stain Xyladecor
Recommended Skill Level
Intermediate

Comments

whitedog9

Thu, 06/15/2017 - 12:48

Greetings, I like your workmanship - It looks great! I have a couple questions if you would be so kind as to answer them. I like how you turned the studs sideways. How did you attach the studs to the 2x4 plate that you have turned on its 1 1/2" edge both top and bottom. I am thinking of toenailing or driving 3 1/4" GRK screws through the 1 1/2" sides of the 2x4's and into the 1 1/2" edge of the top and bottom plate. I know that Kreg has a jig out that uses oversize screws-it is specifically designed for 1 1/2" and larger (up to 3 1/2").


How did you secure the bottom plate to the wooden floor. I am thinking that you may have used 1/4" or 5/16" lag bolts down through the 2x4 and on into the frame of your wooden floor.


Thanks for your reply,

Cliveous (Reggie) Ogg

Square Picnic Table

Submitted by Bmorey67 on Mon, 05/10/2021 - 18:57

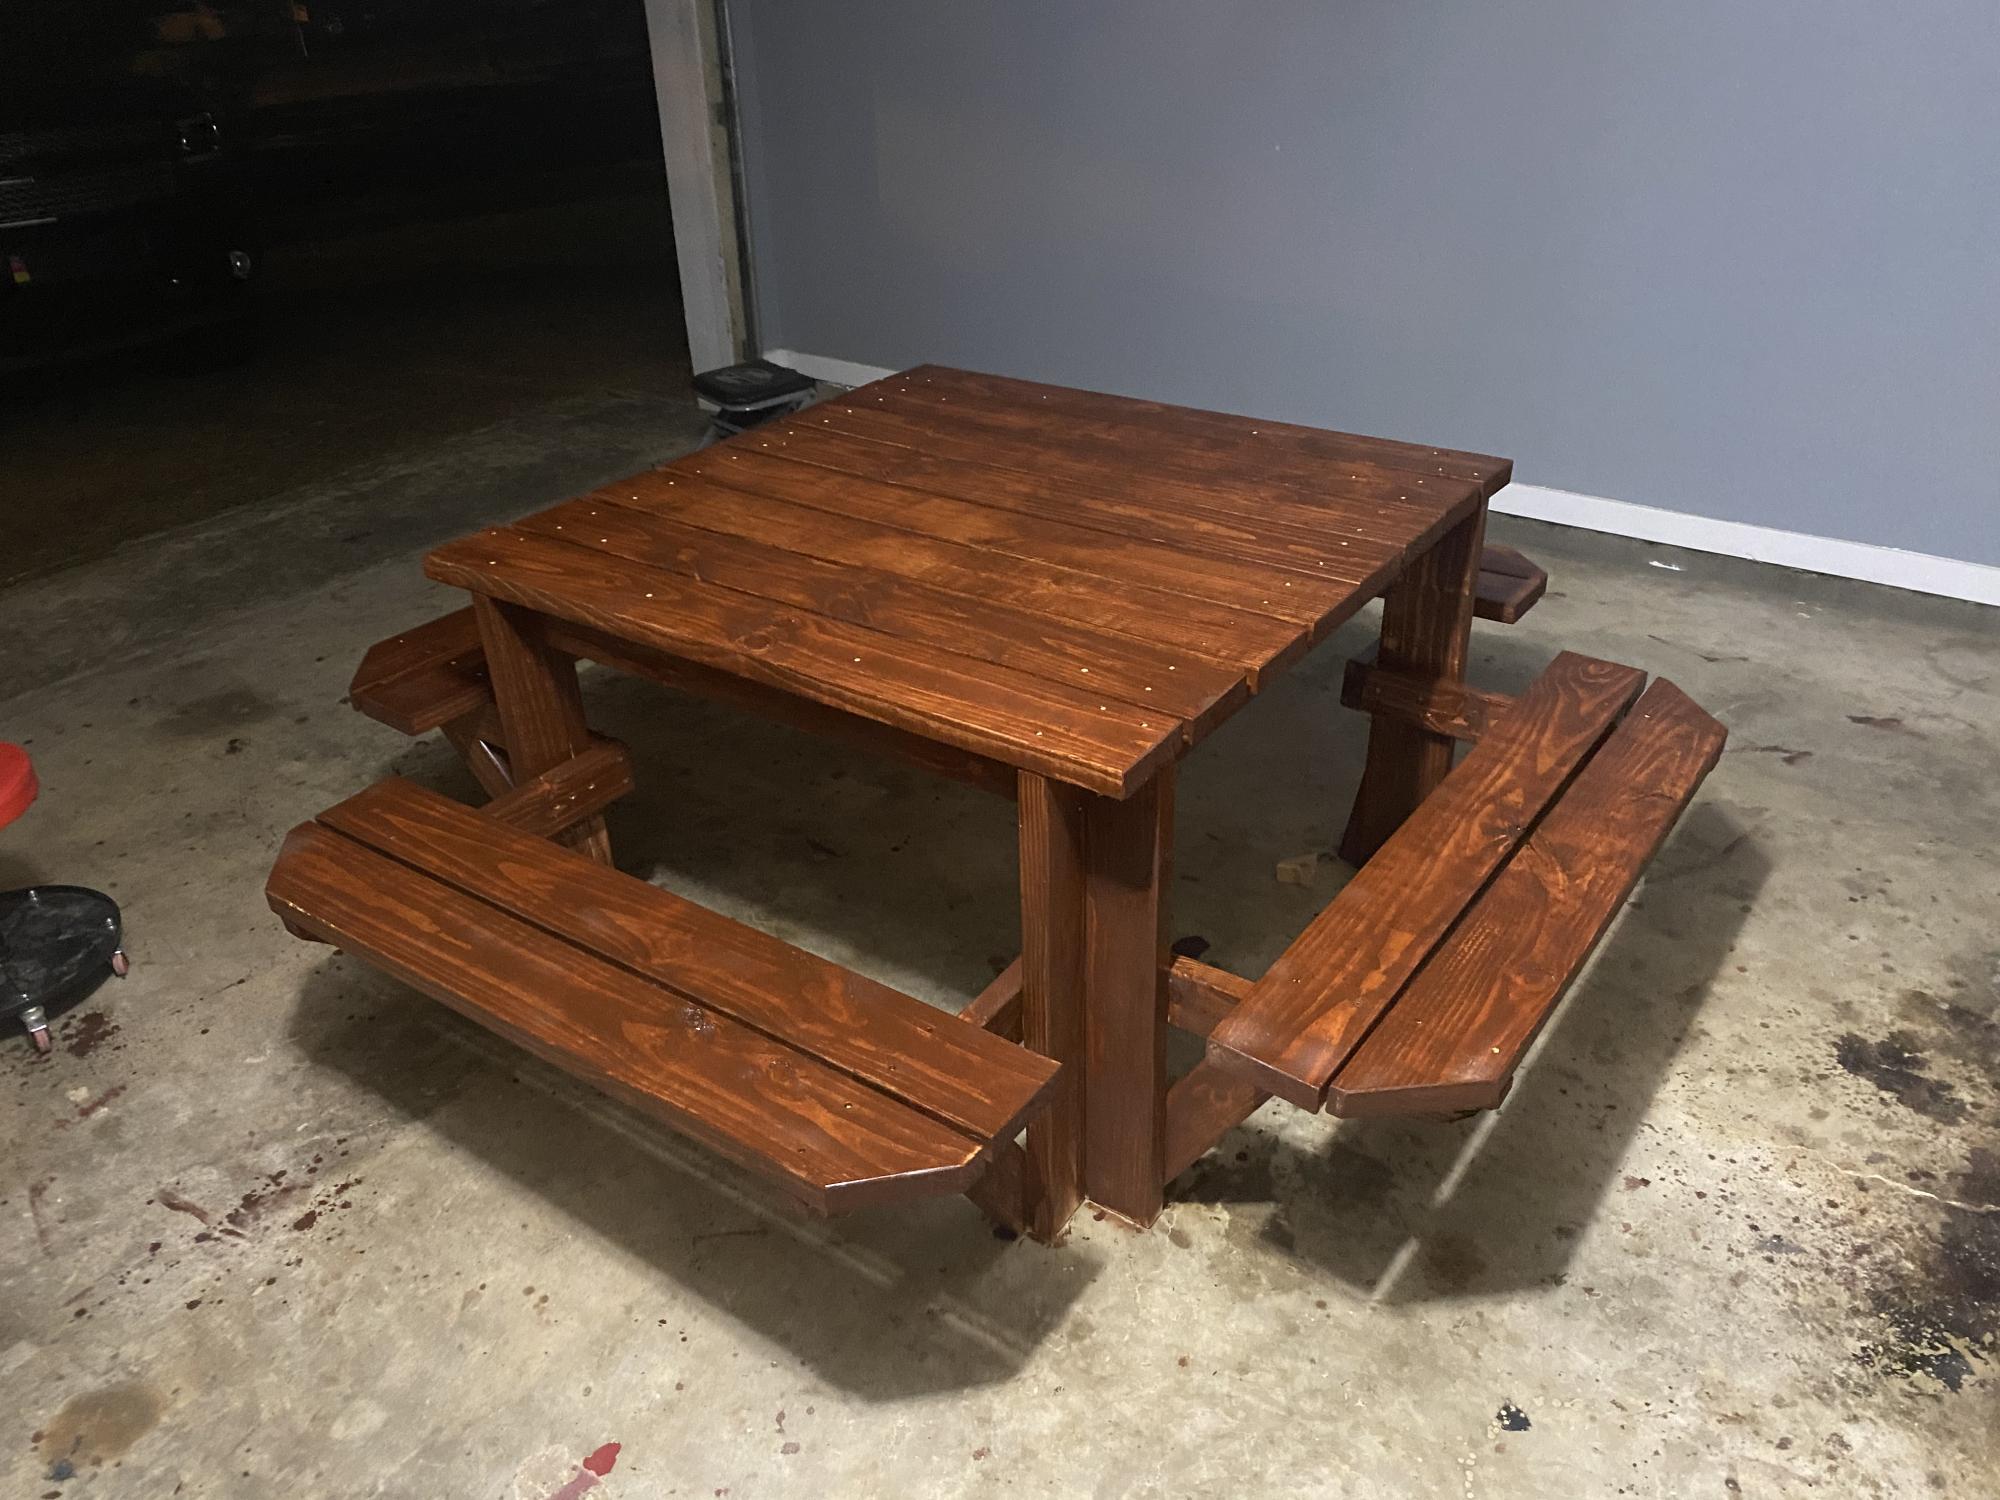
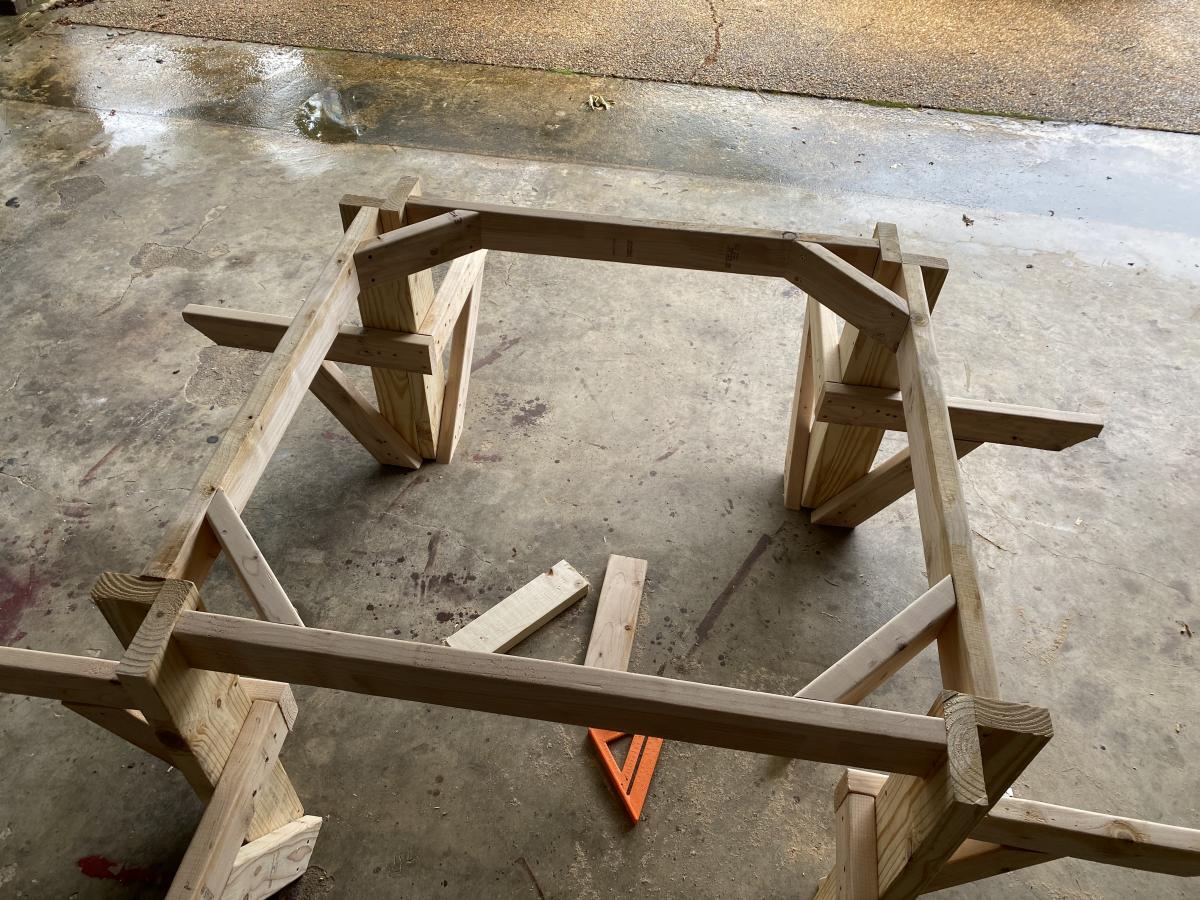
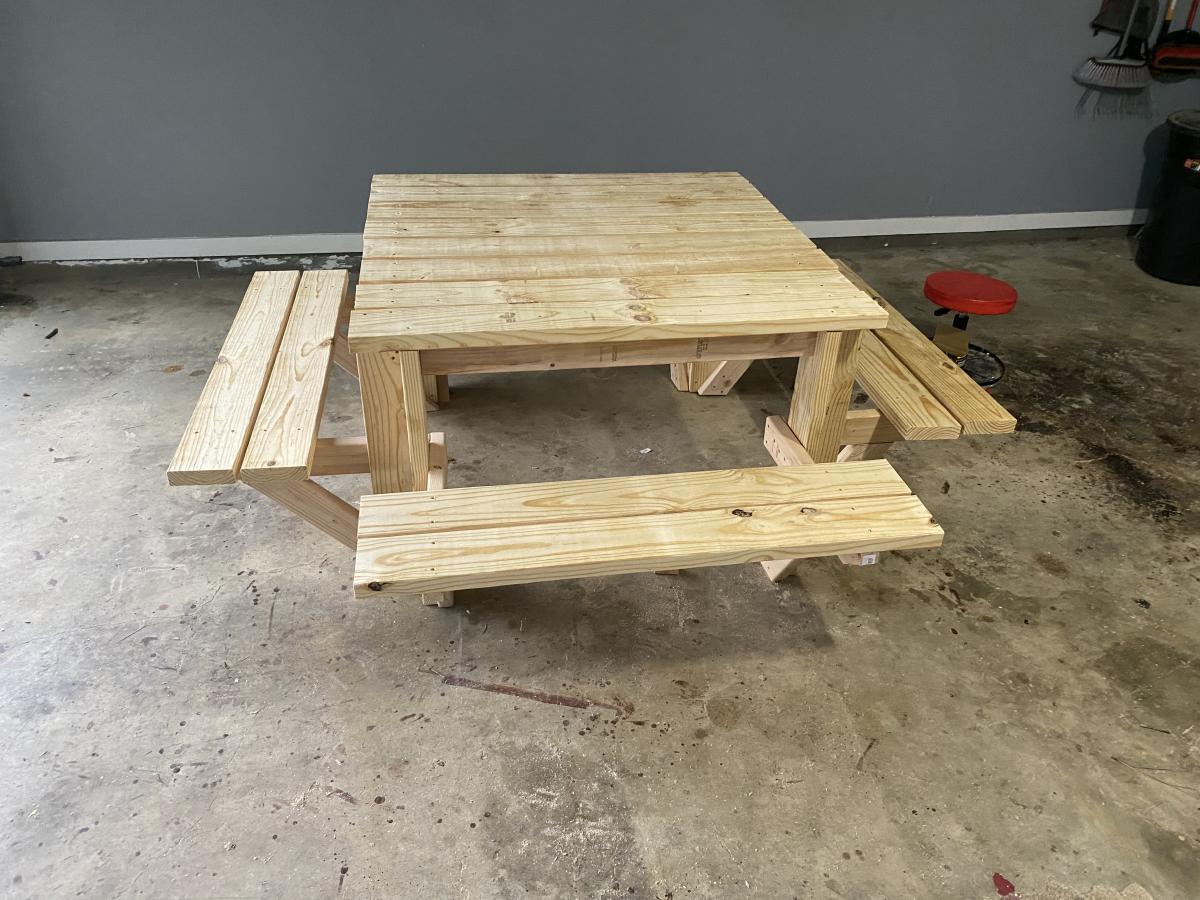
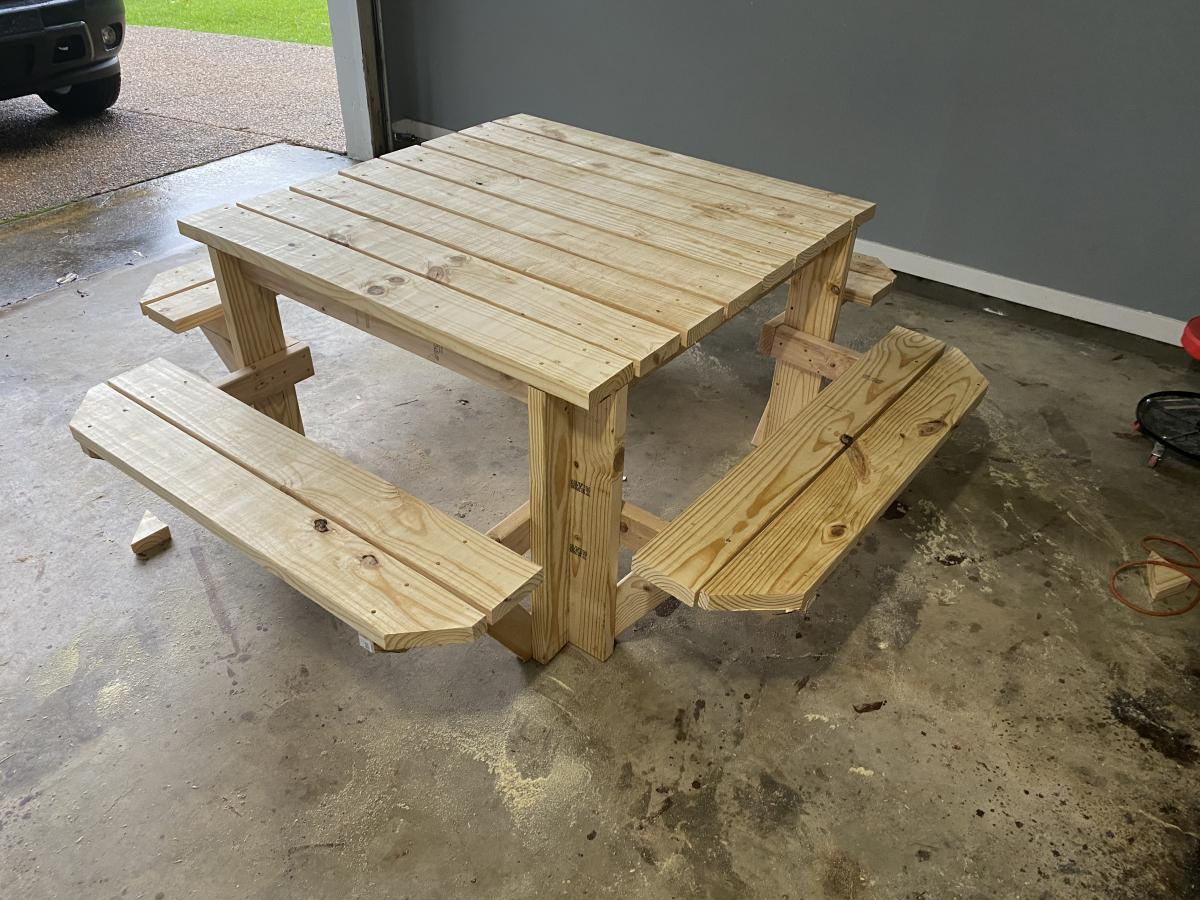
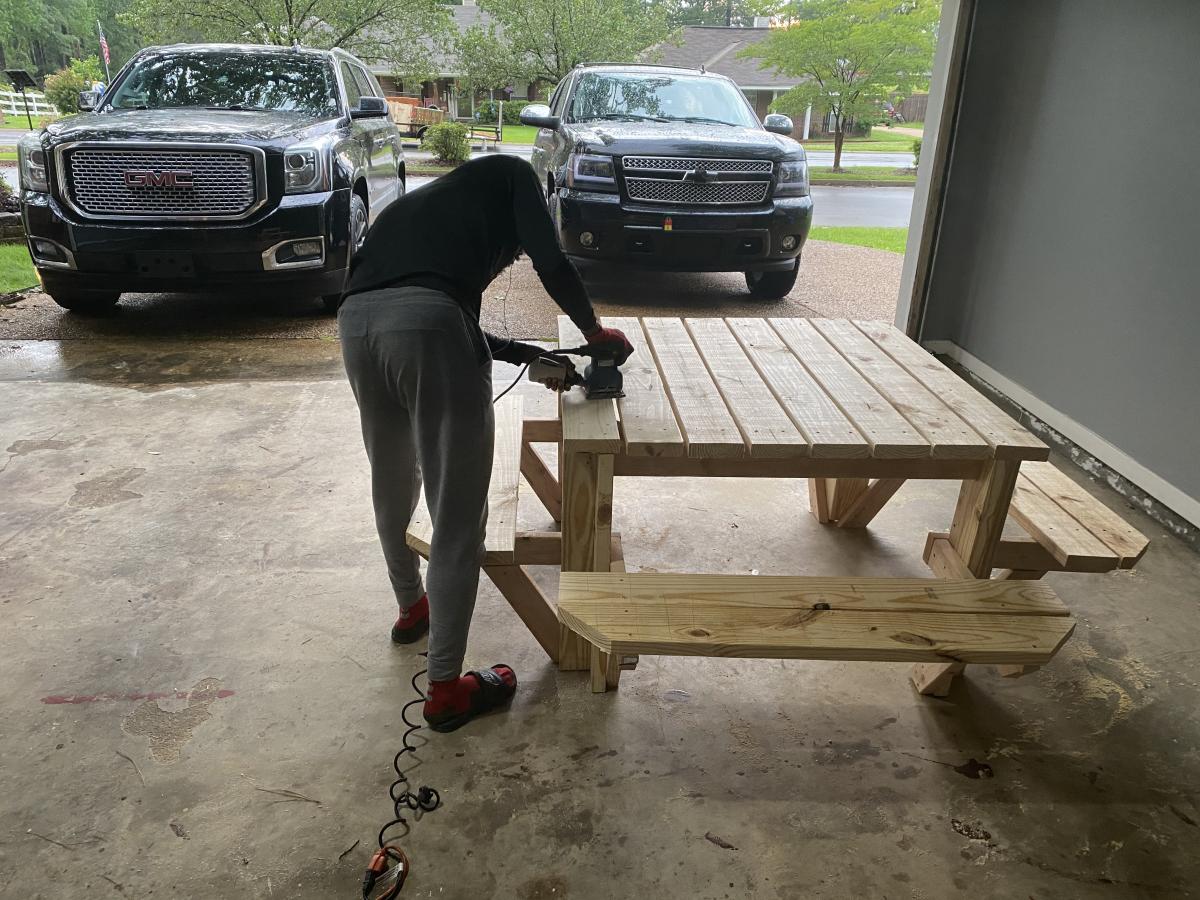
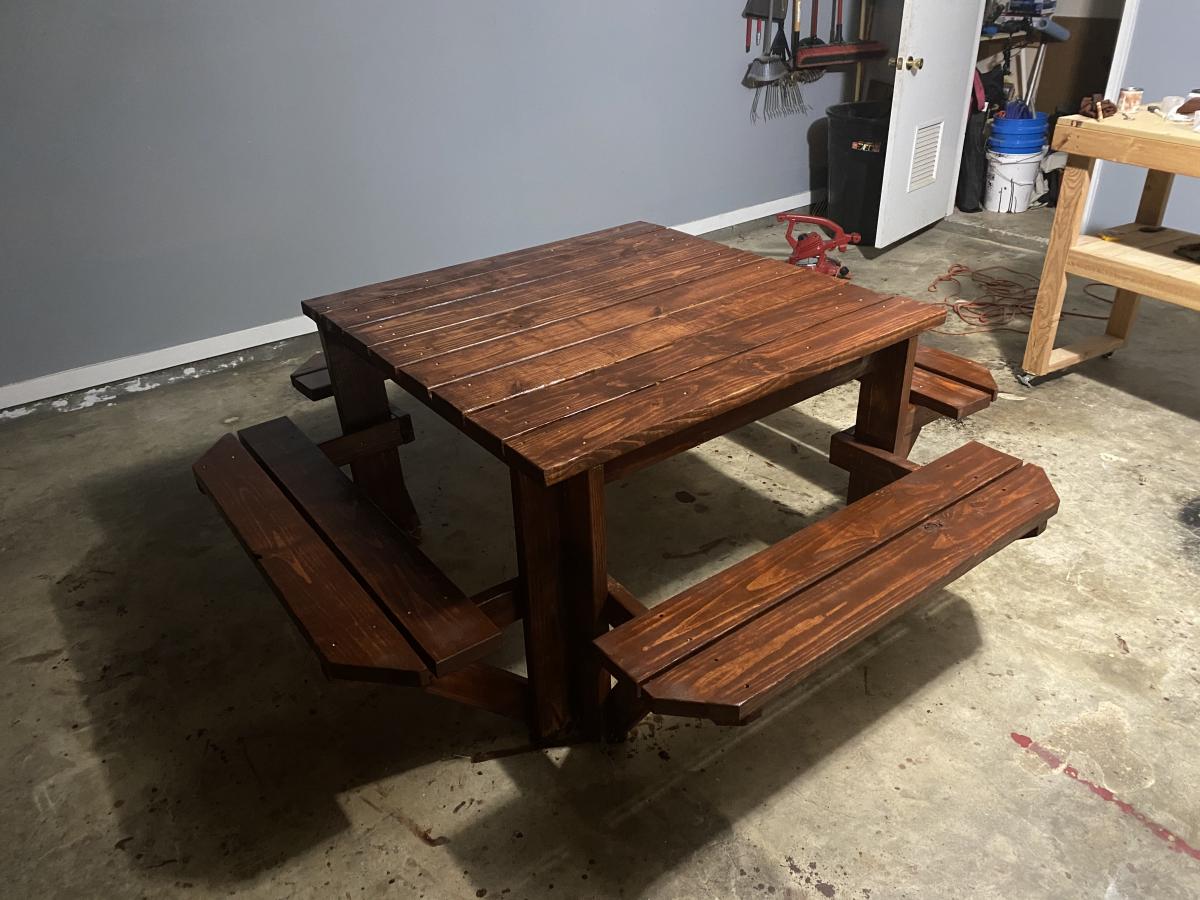
I built this picnic table for my mom’s Mother’s Day/Birthday gift. With the price of lumber being as high as it is I figured this table would be her gift this year. Fairly simple design. Ana was right about pre-sanding and staining. Would’ve made it a lot easier. I applied to coats of external poly for durability. Keep plans coming Ana!

Built from Plan(s)
Estimated Cost
$200
Estimated Time Investment
Weekend Project (10-20 Hours)
Finish Used
Cognac stain
Recommended Skill Level
Intermediate

Little Bear's Loft Bed

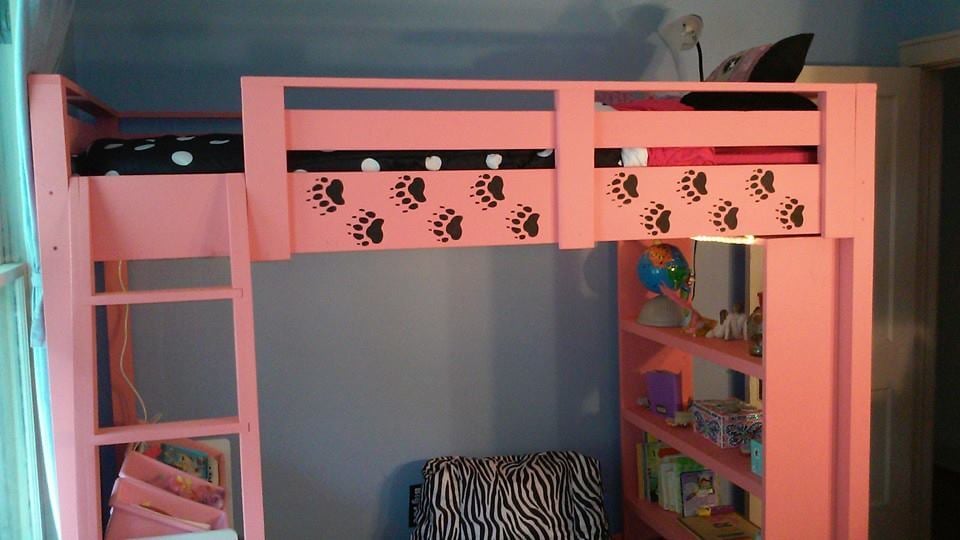
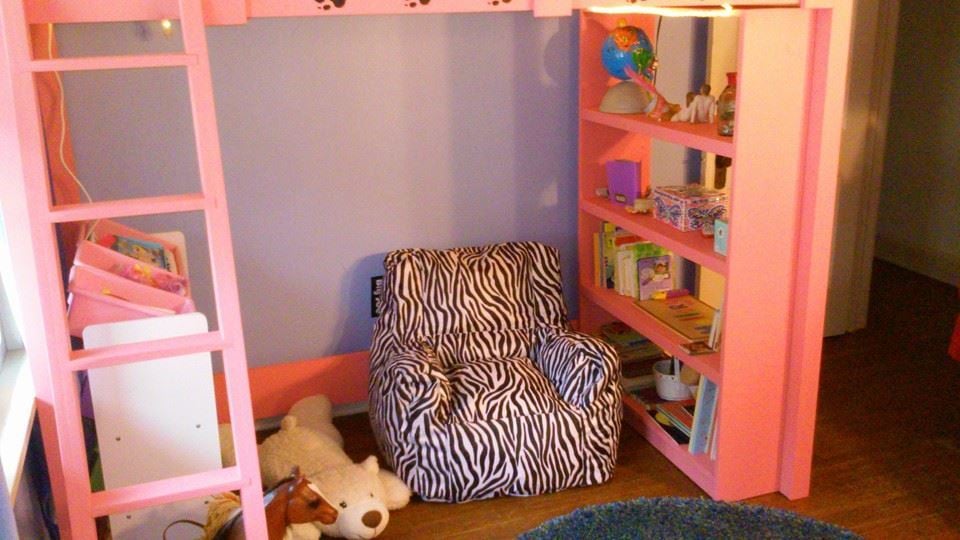
My daughter had talked about wanting a loft bed for a long time so after of plenty of research, we went for it. The shelves of the bookcase, except the top and bottom, are made from 3/4 plywood I had laying around. I did my best to utilize as much lumber that I already had in the basement to reduce costs.

Underneath the bed is LED Rope Lighting and the gaps under the rails were stenciled with the bear paws since my daughters nickname is Little Bear.

People have loved it enough I think there's a couple people that are going to buy the supplies so I can build it for them. The one thing I wish I had during the construction was an oscillating multi-tool to trim off the Kreg plugs. I now have one and plan on using it a fair amount.

On to the next project!!
Ben

Estimated Cost
Around $200 since I used higher quality lumber and Ohio is expensive
Estimated Time Investment
Week Long Project (20 Hours or More)
Finish Used
Semigloss paint and bear paw stencil
Recommended Skill Level
Intermediate

Comments

Adirondack End Table

Submitted by Bradski on Sun, 06/16/2013 - 07:10

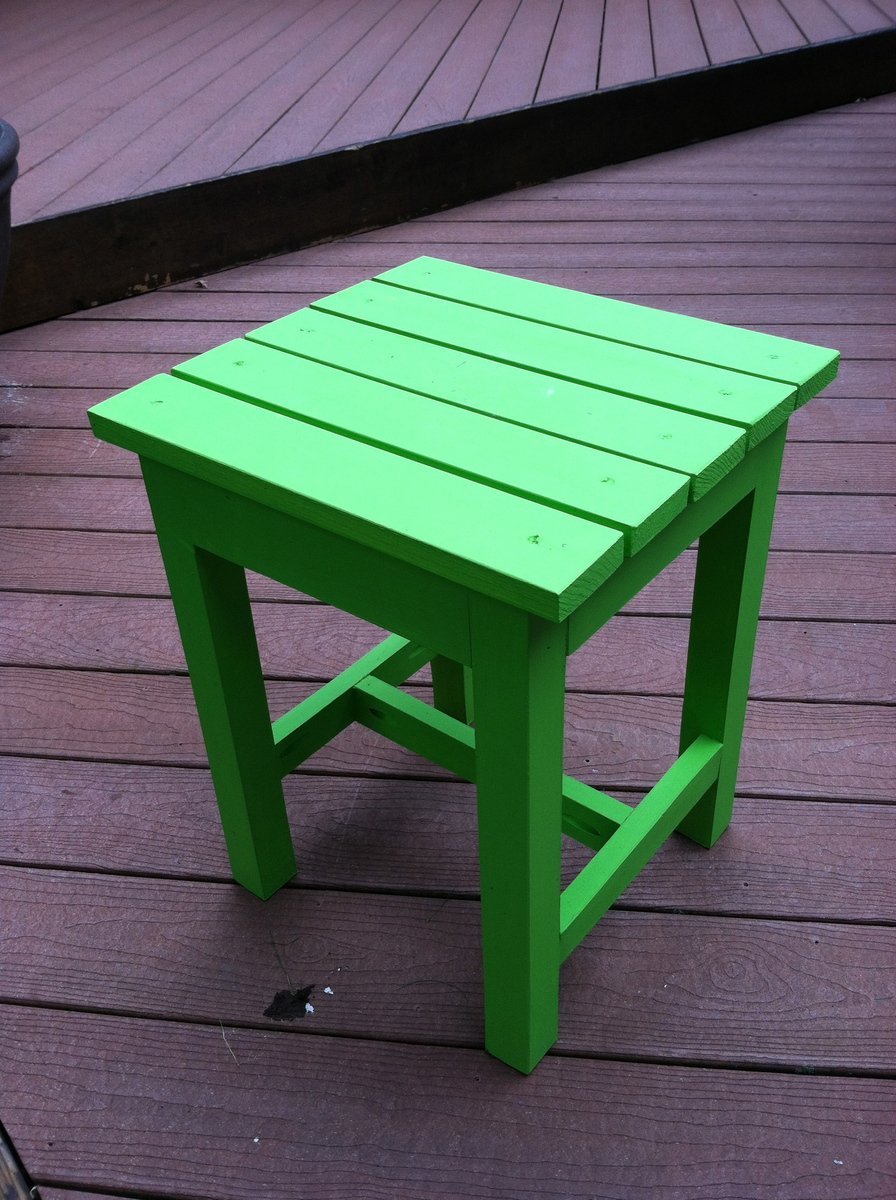
My First Project

Estimated Cost
$40
Estimated Time Investment
Afternoon Project (3-6 Hours)
Finish Used
Paint
Recommended Skill Level
Beginner

Comments

Slightly modified coffee table

Submitted by Anonymous (not verified) on Mon, 07/11/2022 - 07:59

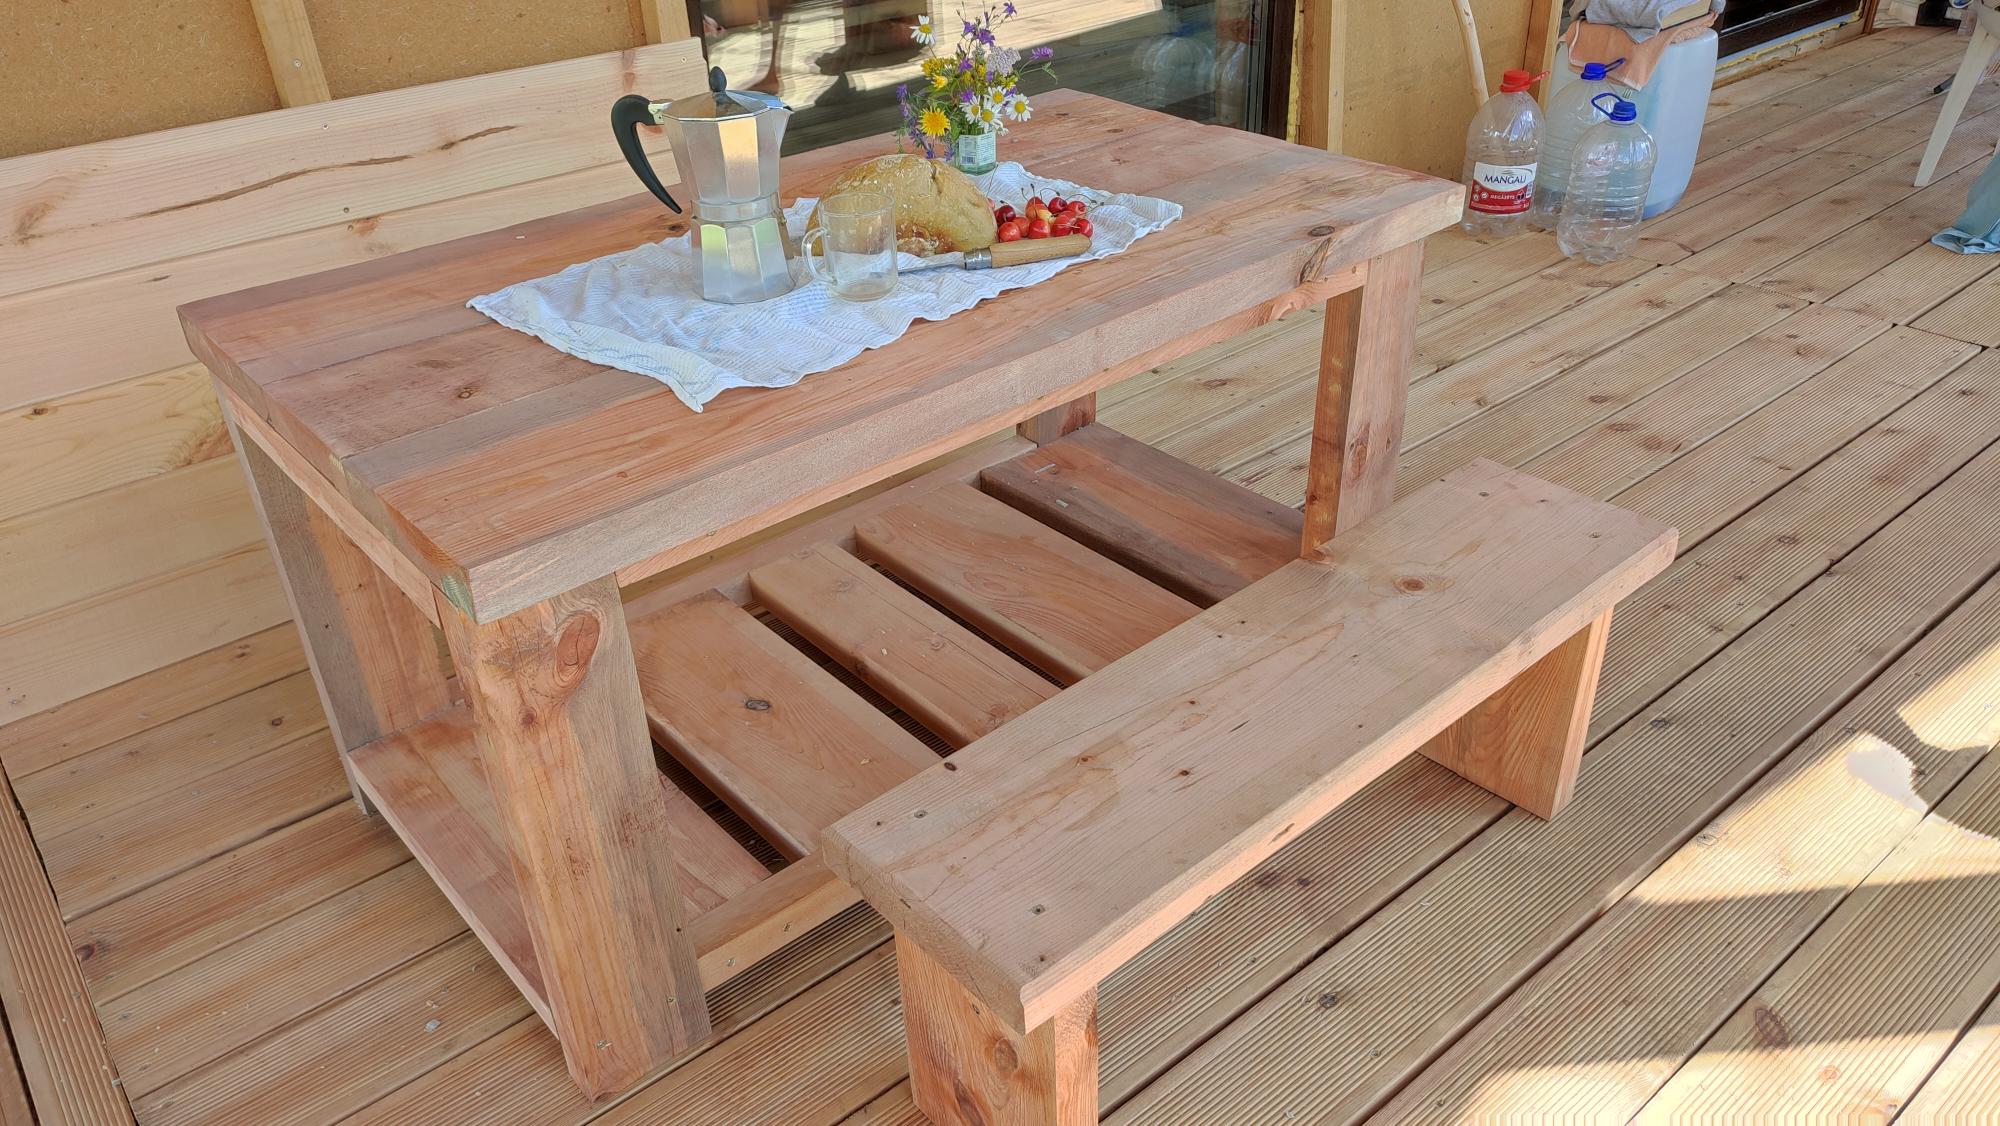
Table, based on Farmhouse coffee table project. Resized to roughly picnic table dimensions (1200*700 mm, 650 mm high), mostly as a means to recycle board cuttings, left over from building farmhouse itself. Didn't install X shaped sides, because there were no more suitable timbers remaining, which, it appears, my toddler greatly appreciated - bottom shelf makes a lovely crawl space. Shape of the shelf planks was a happy accident: what remained was sized 250 - 200 - 150 - 200 - 250 mm. Looks kinda nice doesn't it?

Comments

Loft bed

Submitted by Kyjo5 on Sat, 11/14/2015 - 13:19

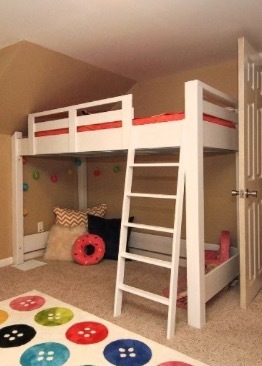
Built this bed from the look of the project done by Ana. Used 4x4s for the legs and used a router to make slots for the 1x8s to fit in. Everything was built as I went because our house was built in 1907 and nothing is square and it also has vaulted ceilings. 

Built from Plan(s)
Estimated Cost
$100
Estimated Time Investment
Weekend Project (10-20 Hours)
Finish Used
High gloss white latex paint
Recommended Skill Level
Intermediate

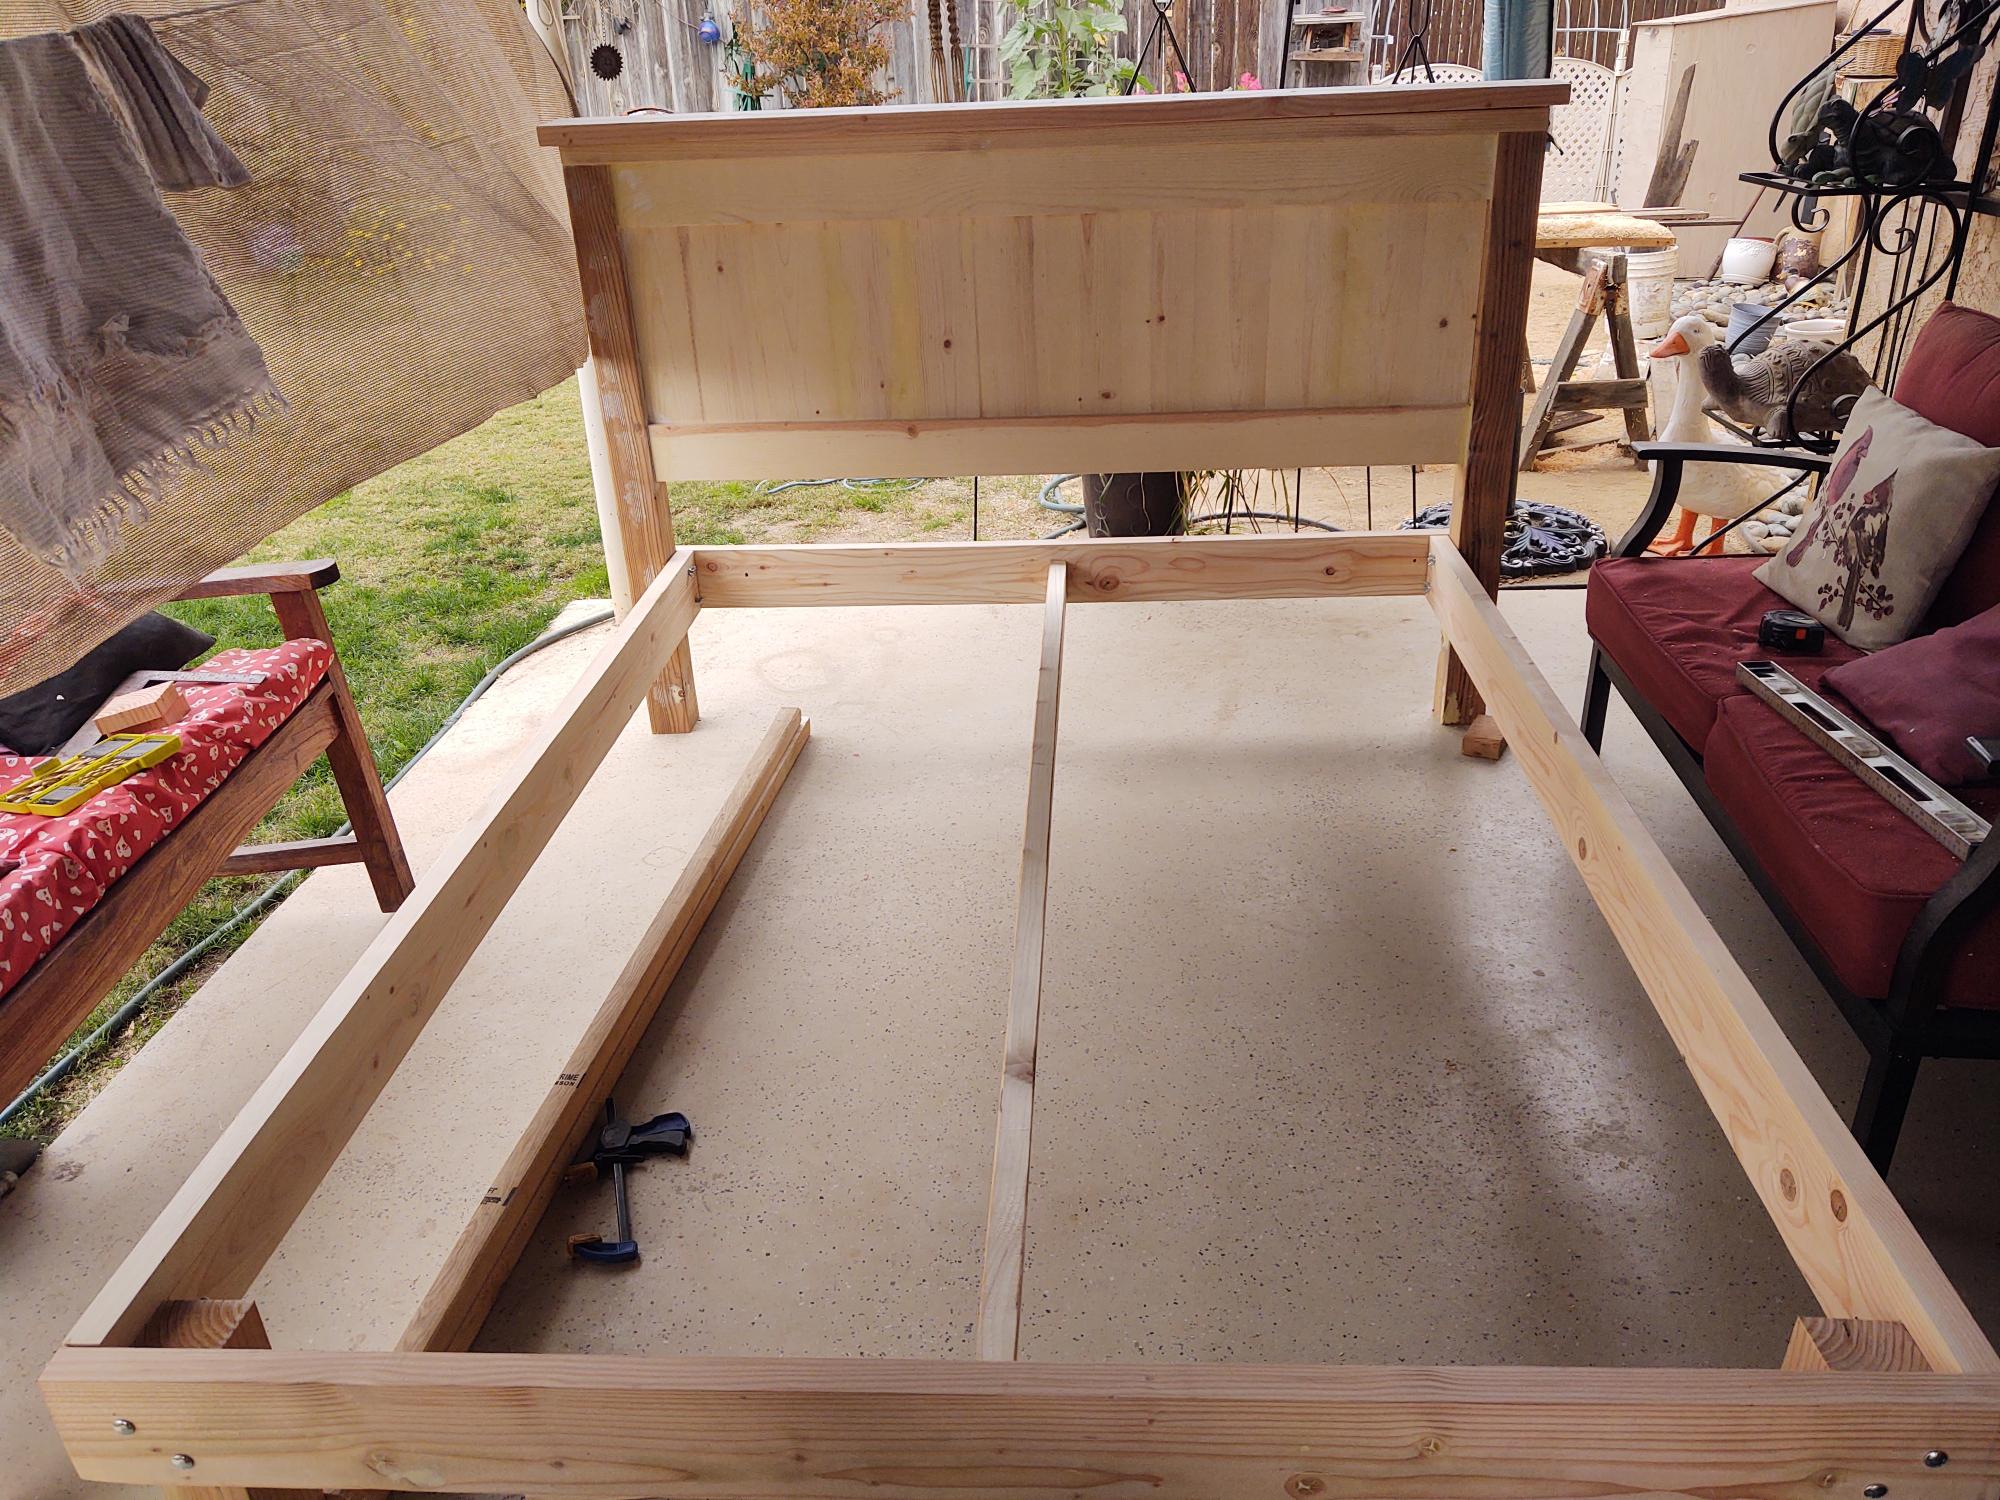
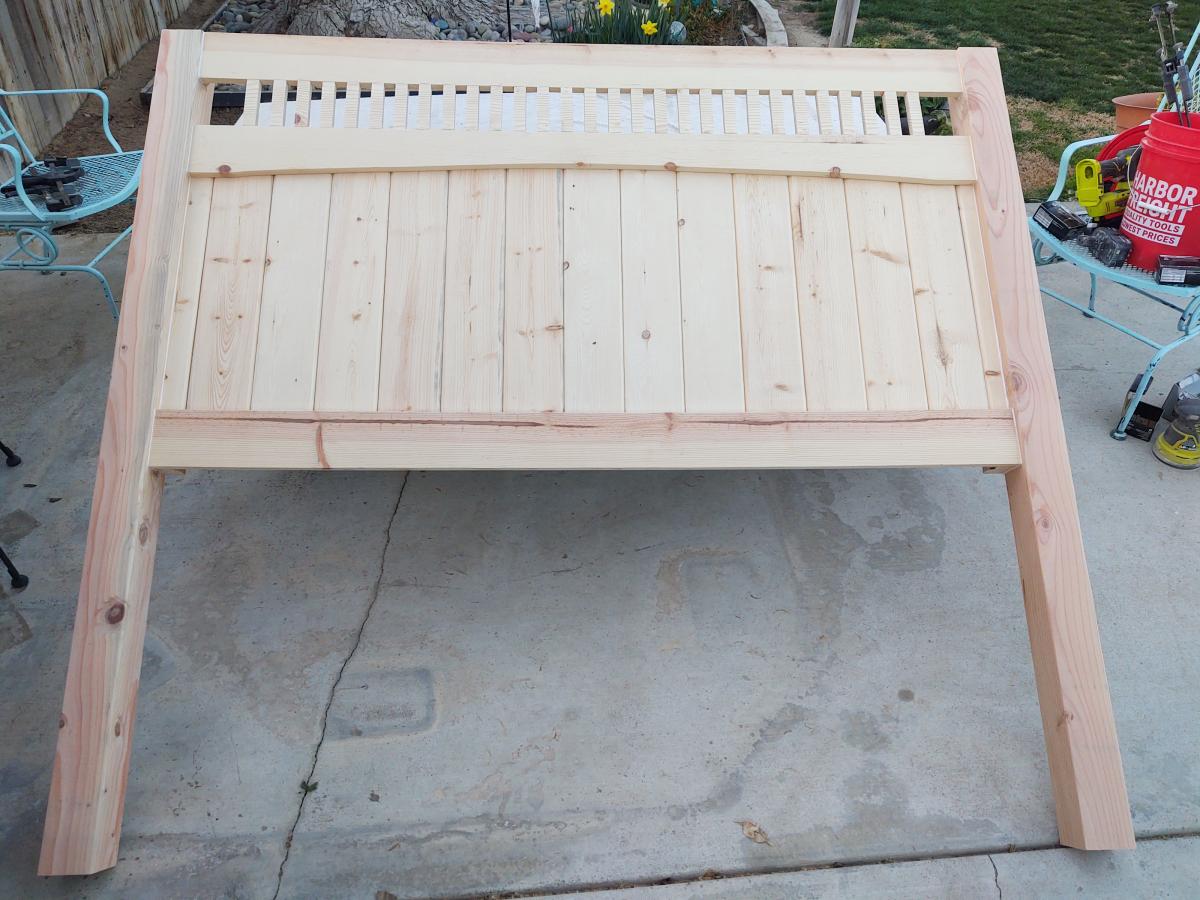
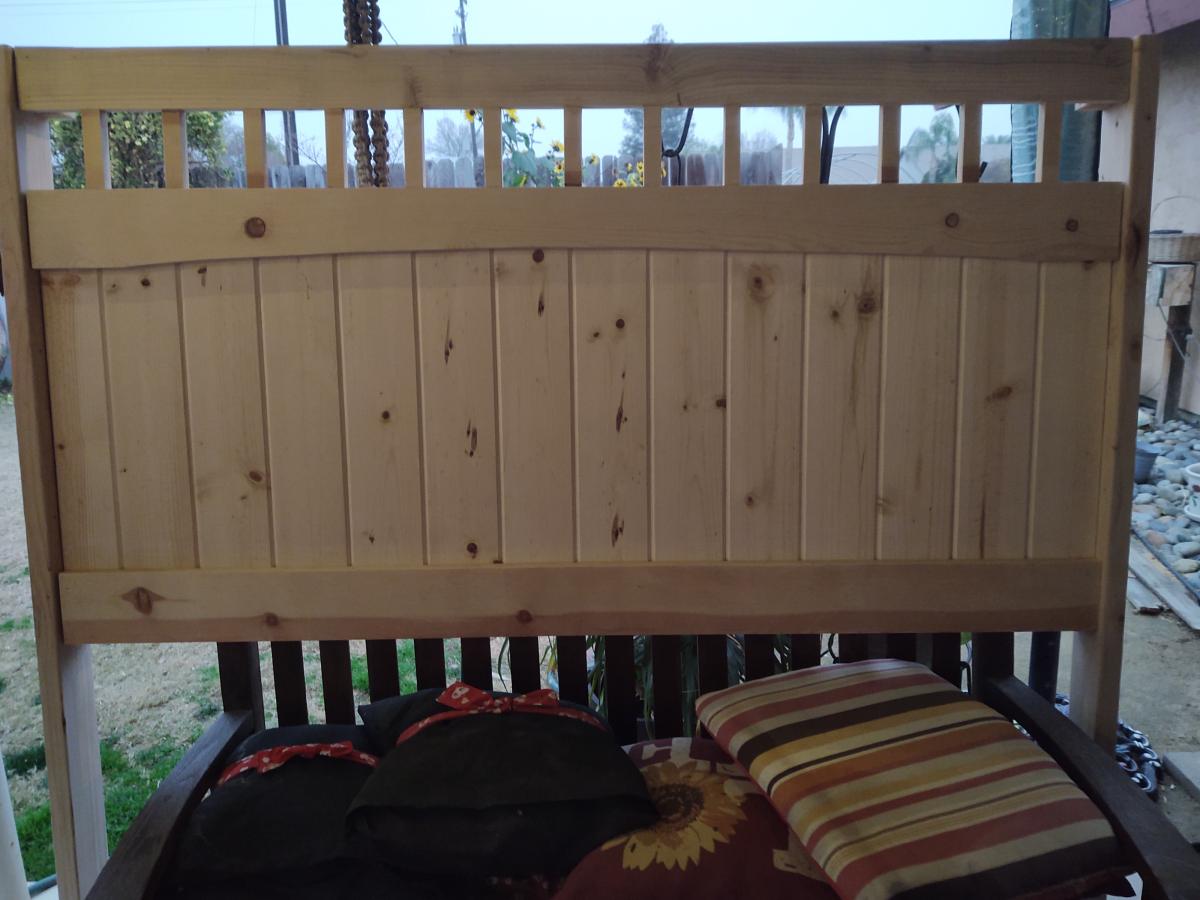
Headboard

Submitted by Anonymous (not verified) on Fri, 02/24/2023 - 09:17

I followed your basic farmhouse bed plans and modified them. I have made three headboards now. Each time someone sees them, they want me to build one for them!
Built from Plan(s)

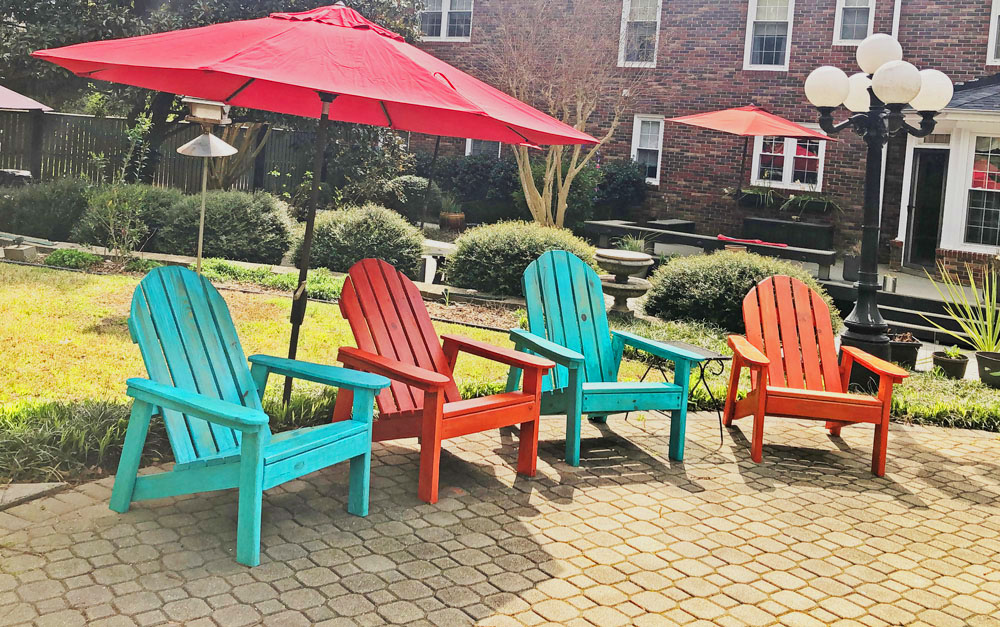
Adirondack chairs

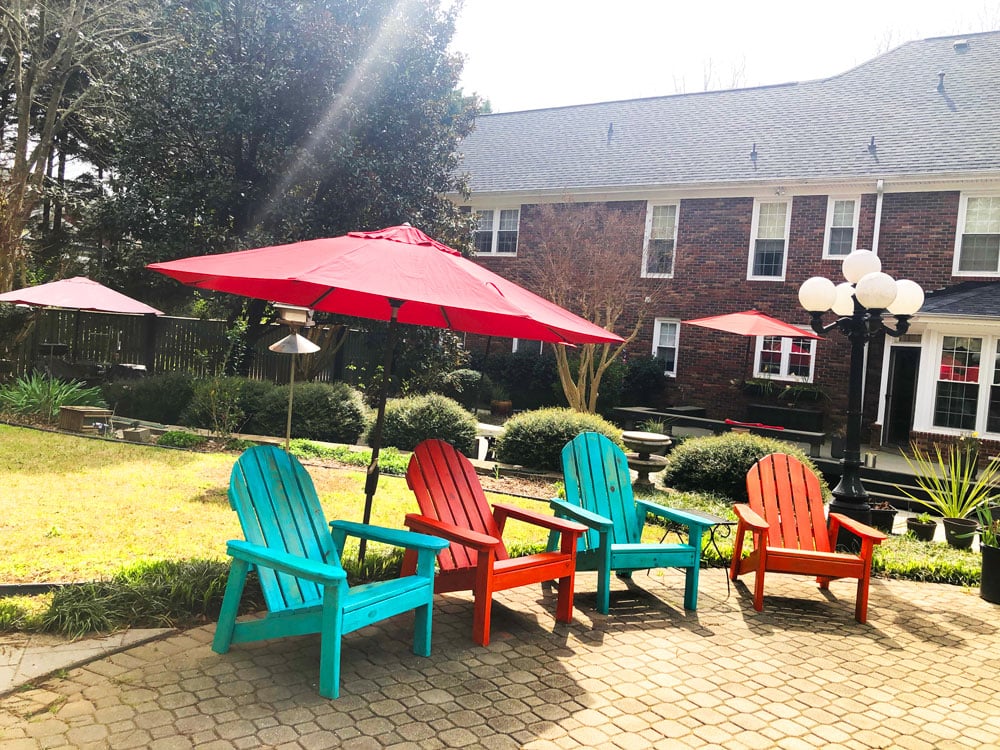
Submitted by elfi on Sun, 05/05/2019 - 08:04

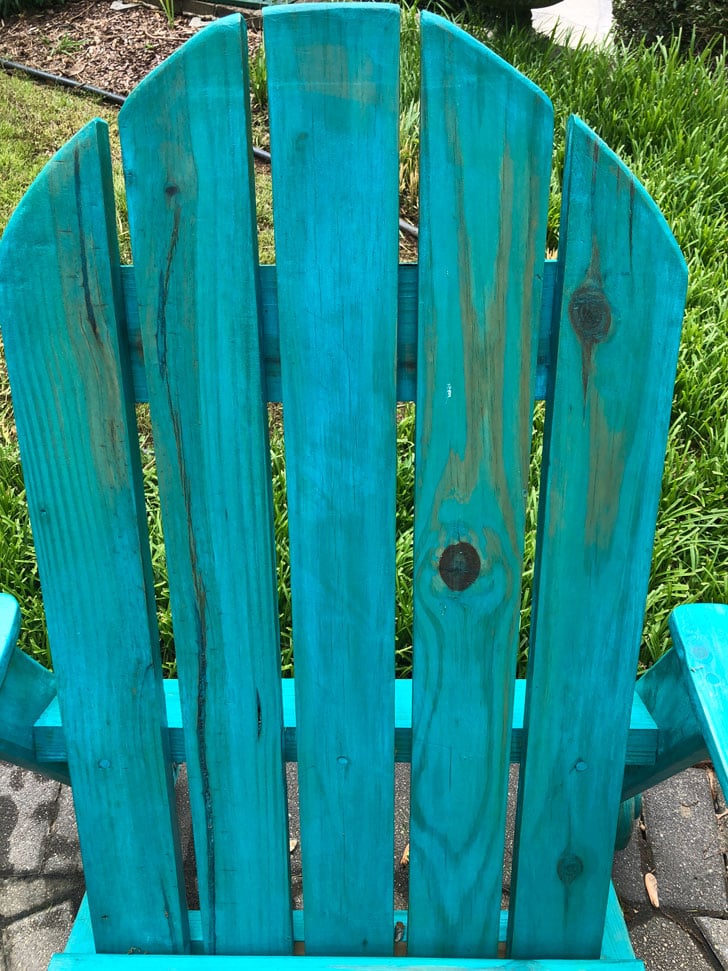
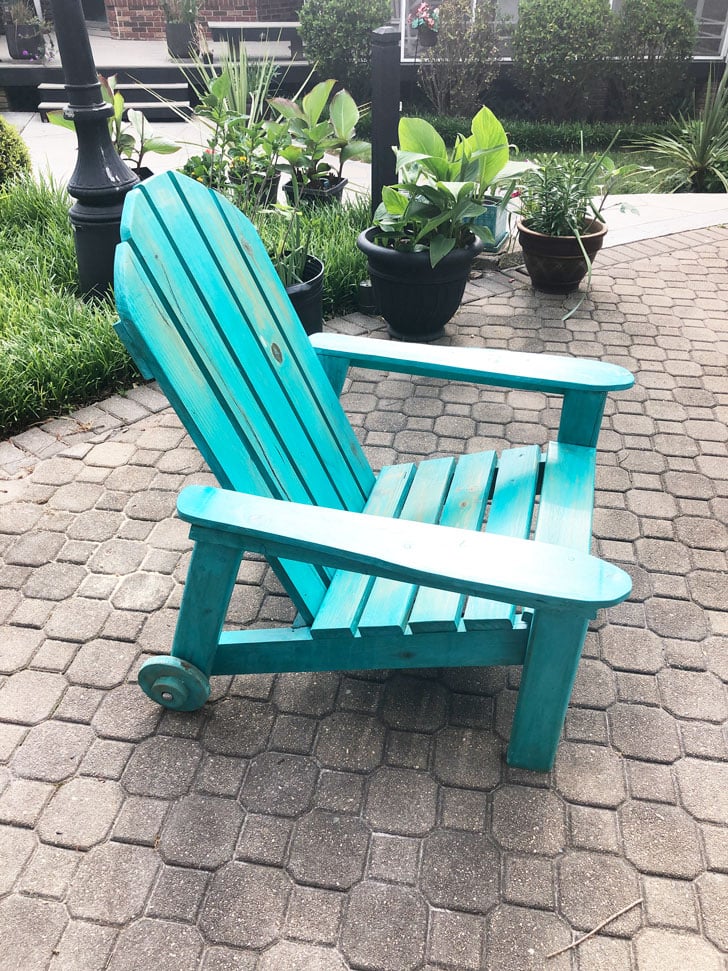
Adirondack chairs from your plans. My husband added some rounding on the arms and back. We wanted them to look like well weathered beach chairs. To get that effect we used milk paint which lets the grain show through.

The best addition are the two wooden wheels on the back leg of the chairs, I can now easily move them around my patio.

Estimated Cost
$ 30 per chair
Estimated Time Investment
Weekend Project (10-20 Hours)
Finish Used
Milk paint
Recommended Skill Level
Intermediate

Comments

Seasonal And Holiday

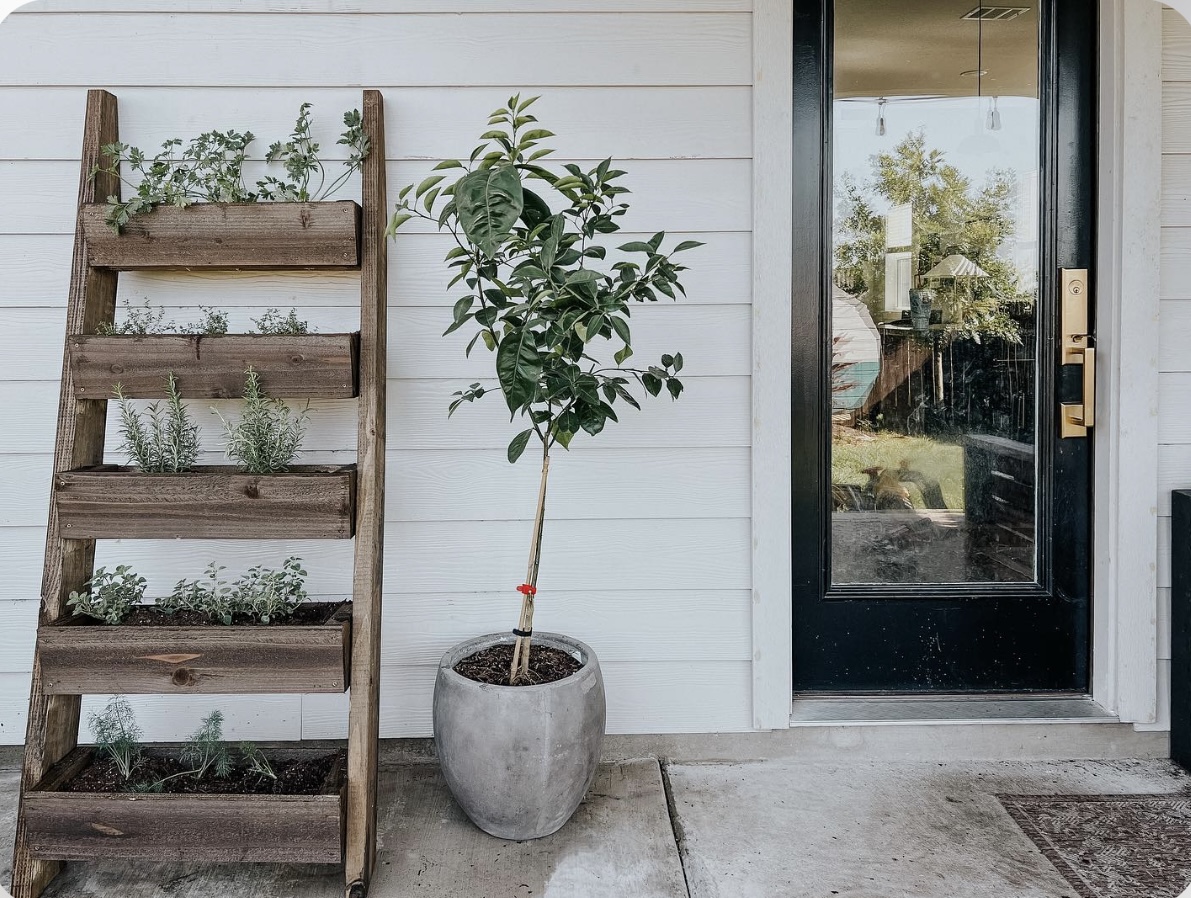
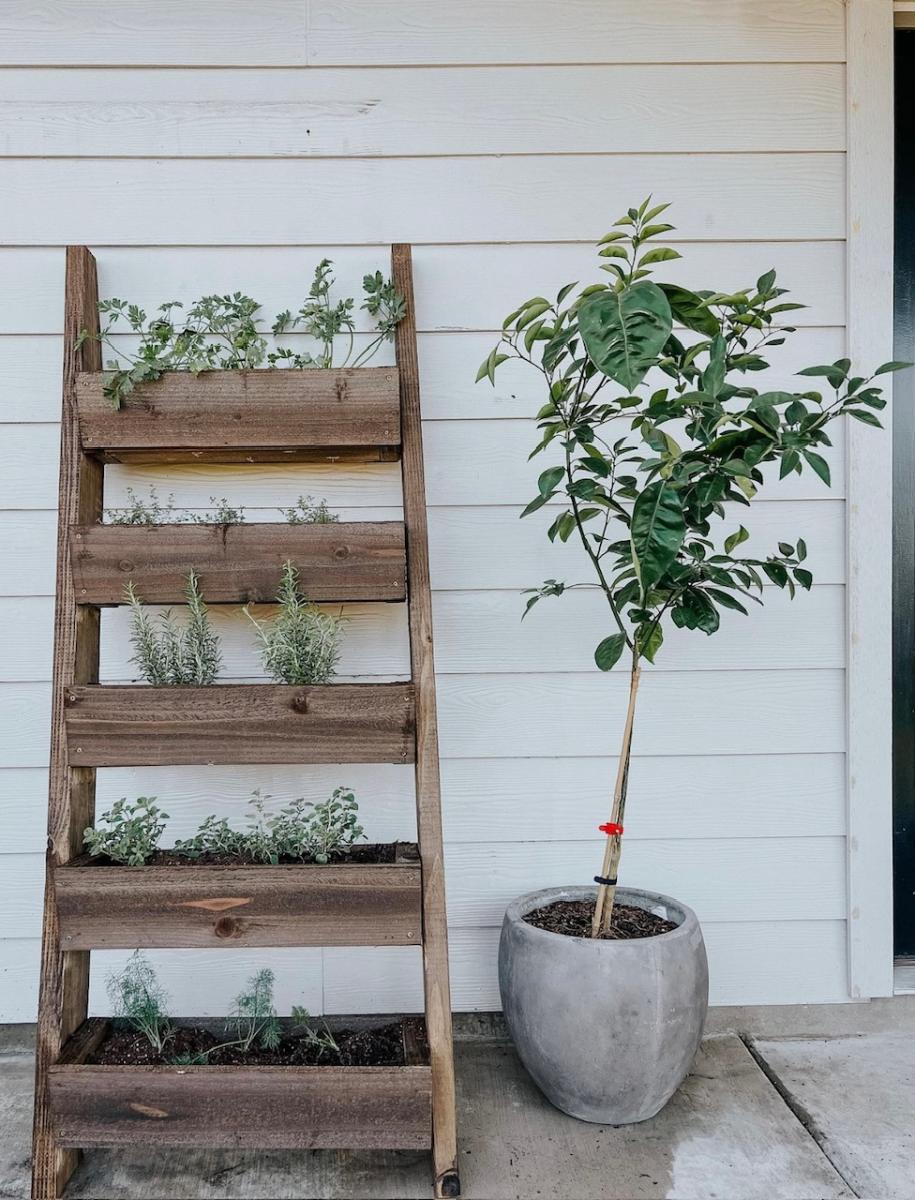
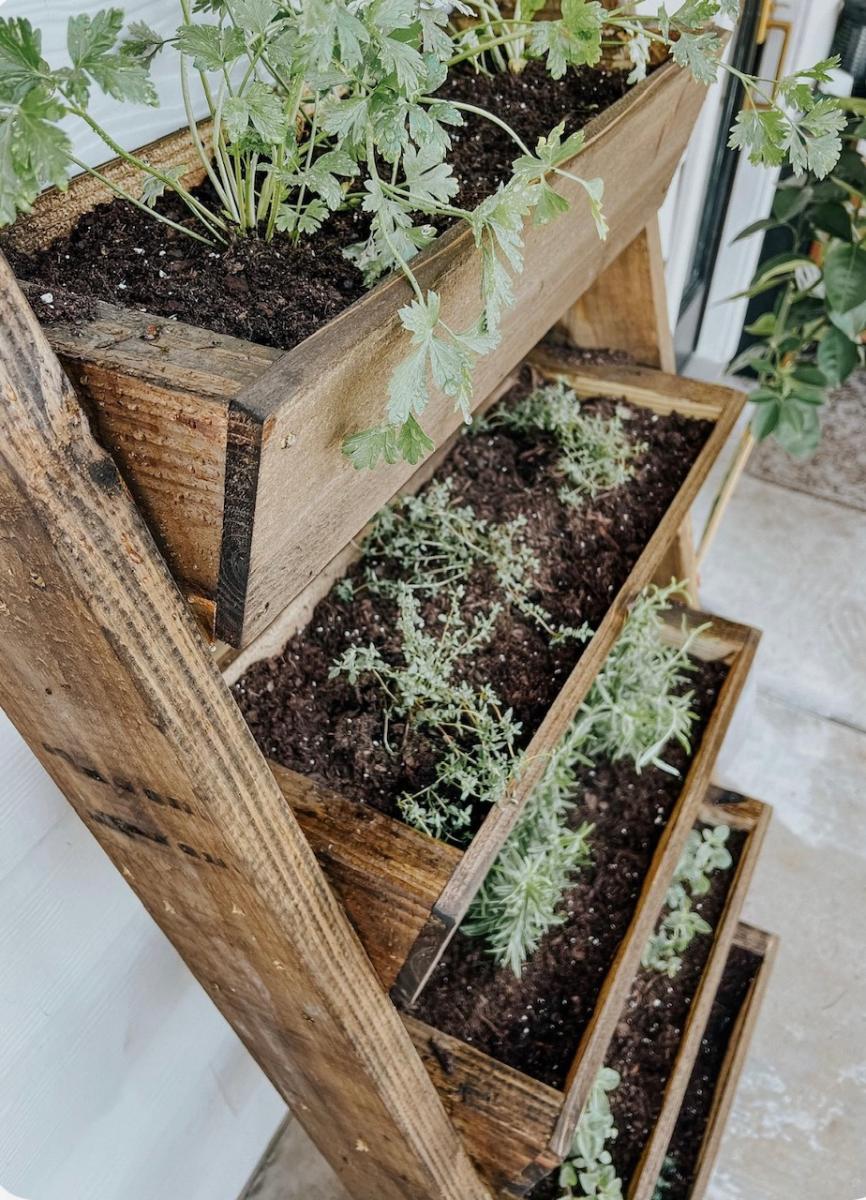
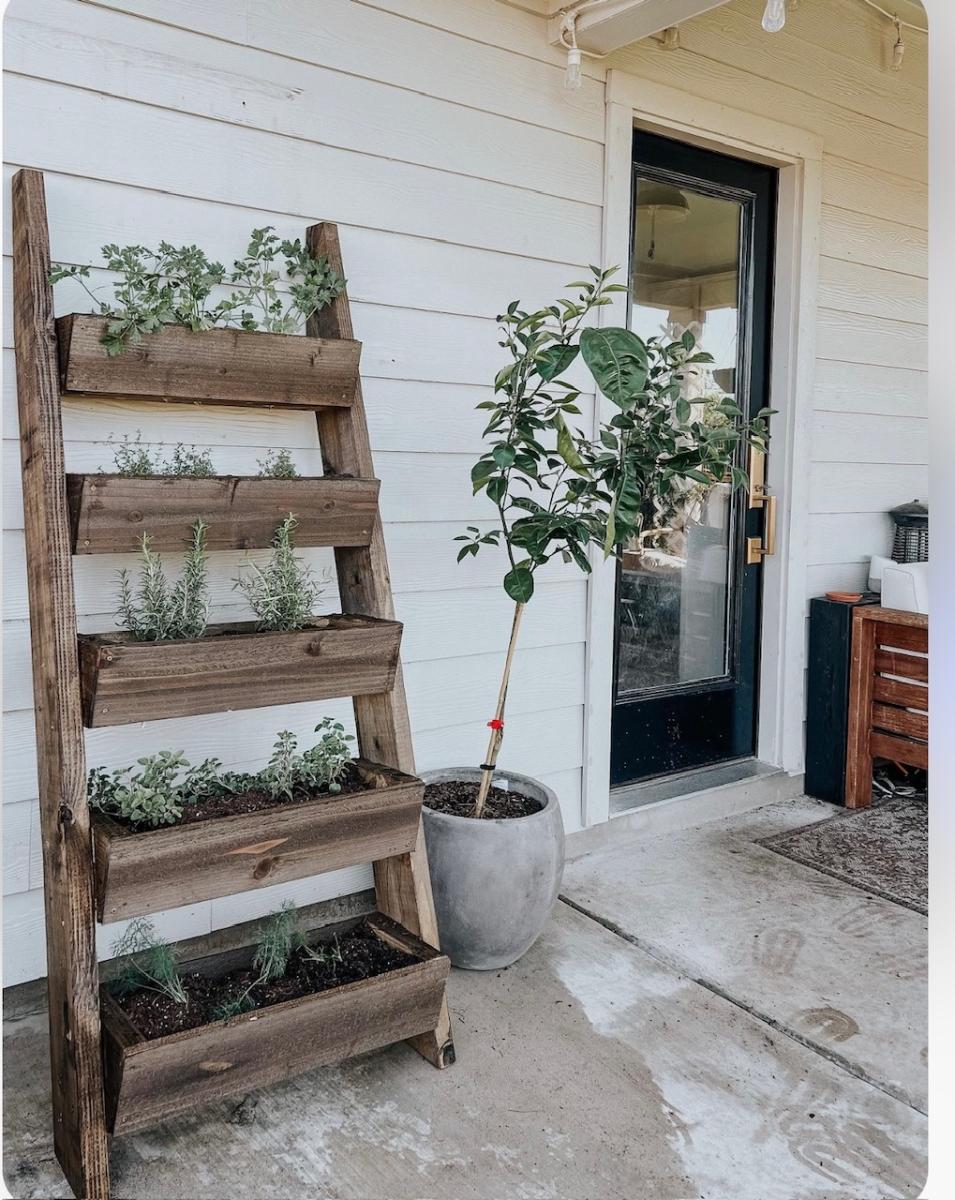
Leaning Herb Garden by Love & Renovations

"For this project, I decided to lean on the expertise and creativity of someone else, and I followed a tutorial from Ana White It was incredibly easy to follow, really well written, and a super simple build. It took me just a few hours to build the leaning planter, and cost about $45 in wood." - Amanda


Seasonal And Holiday