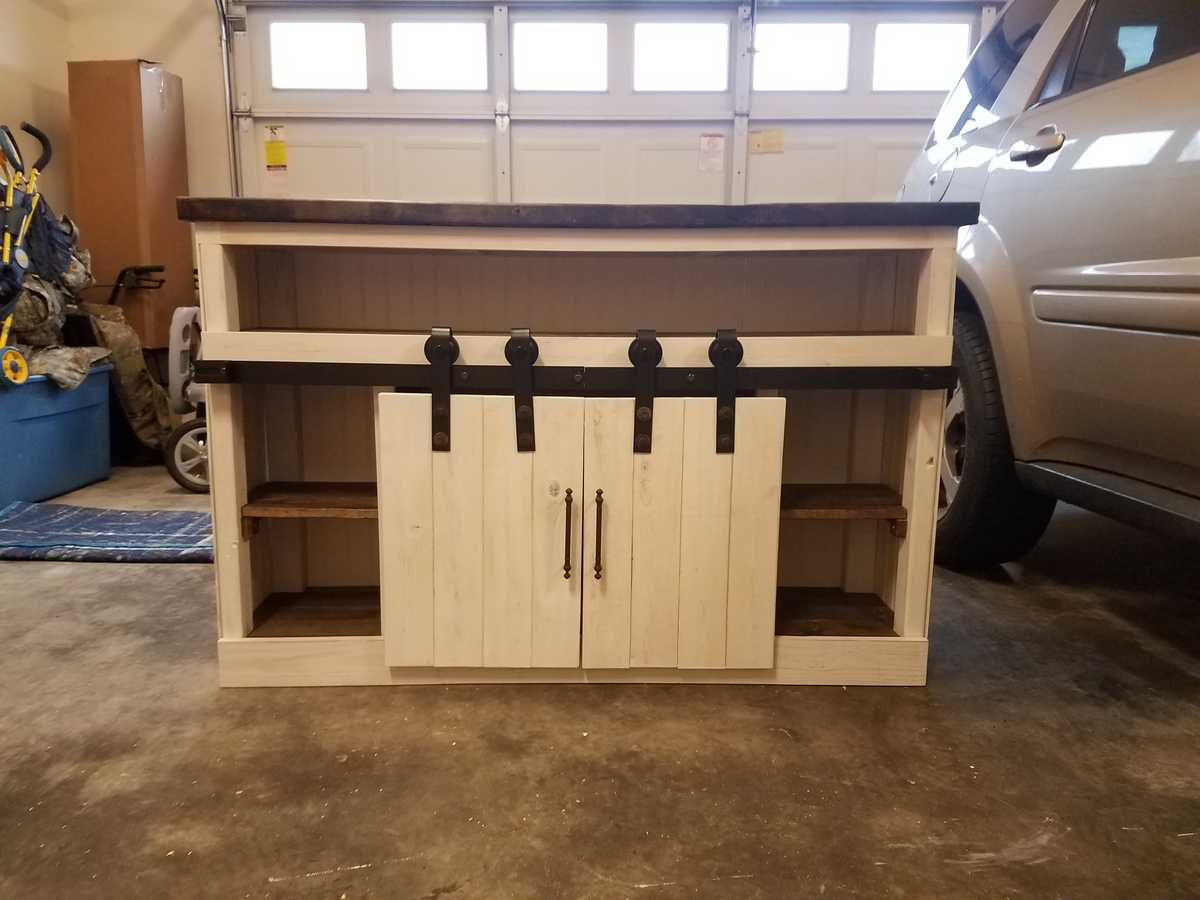
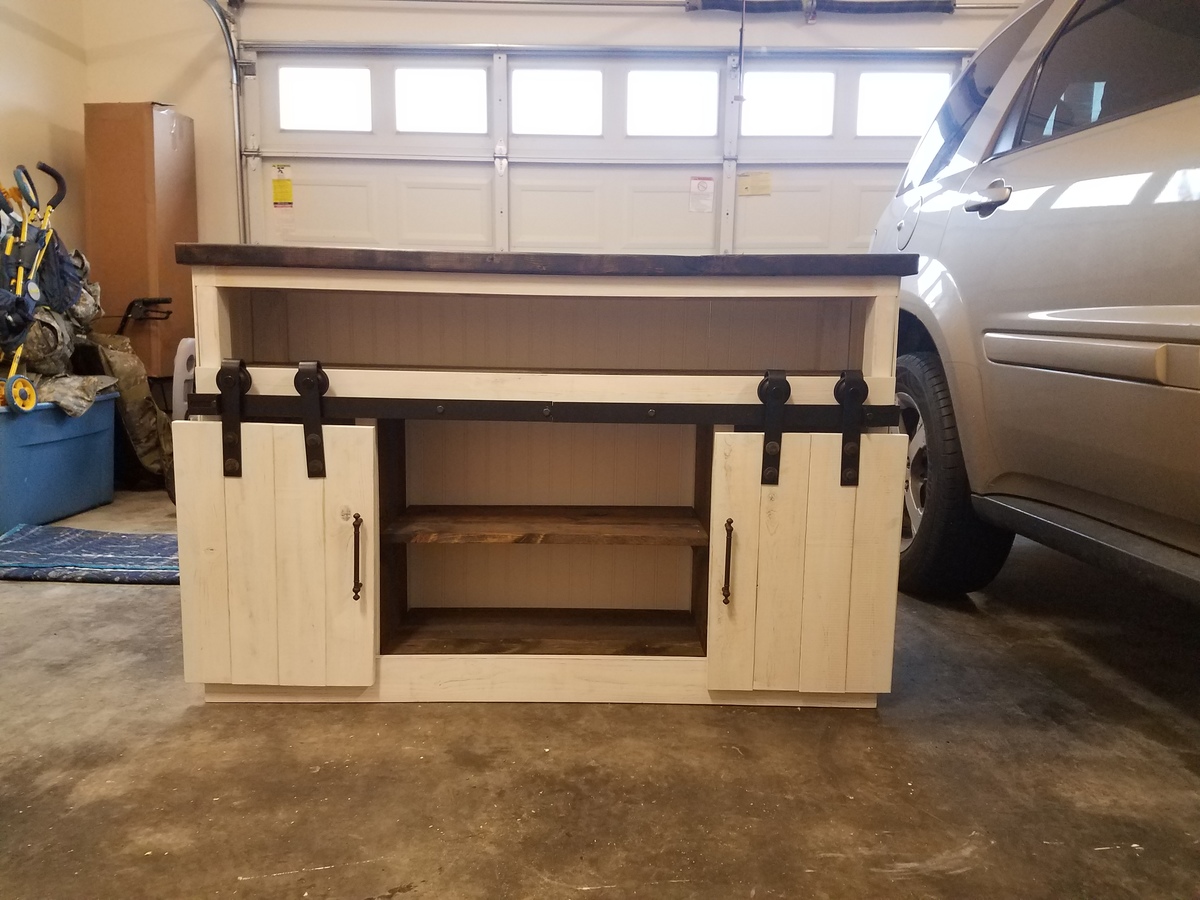
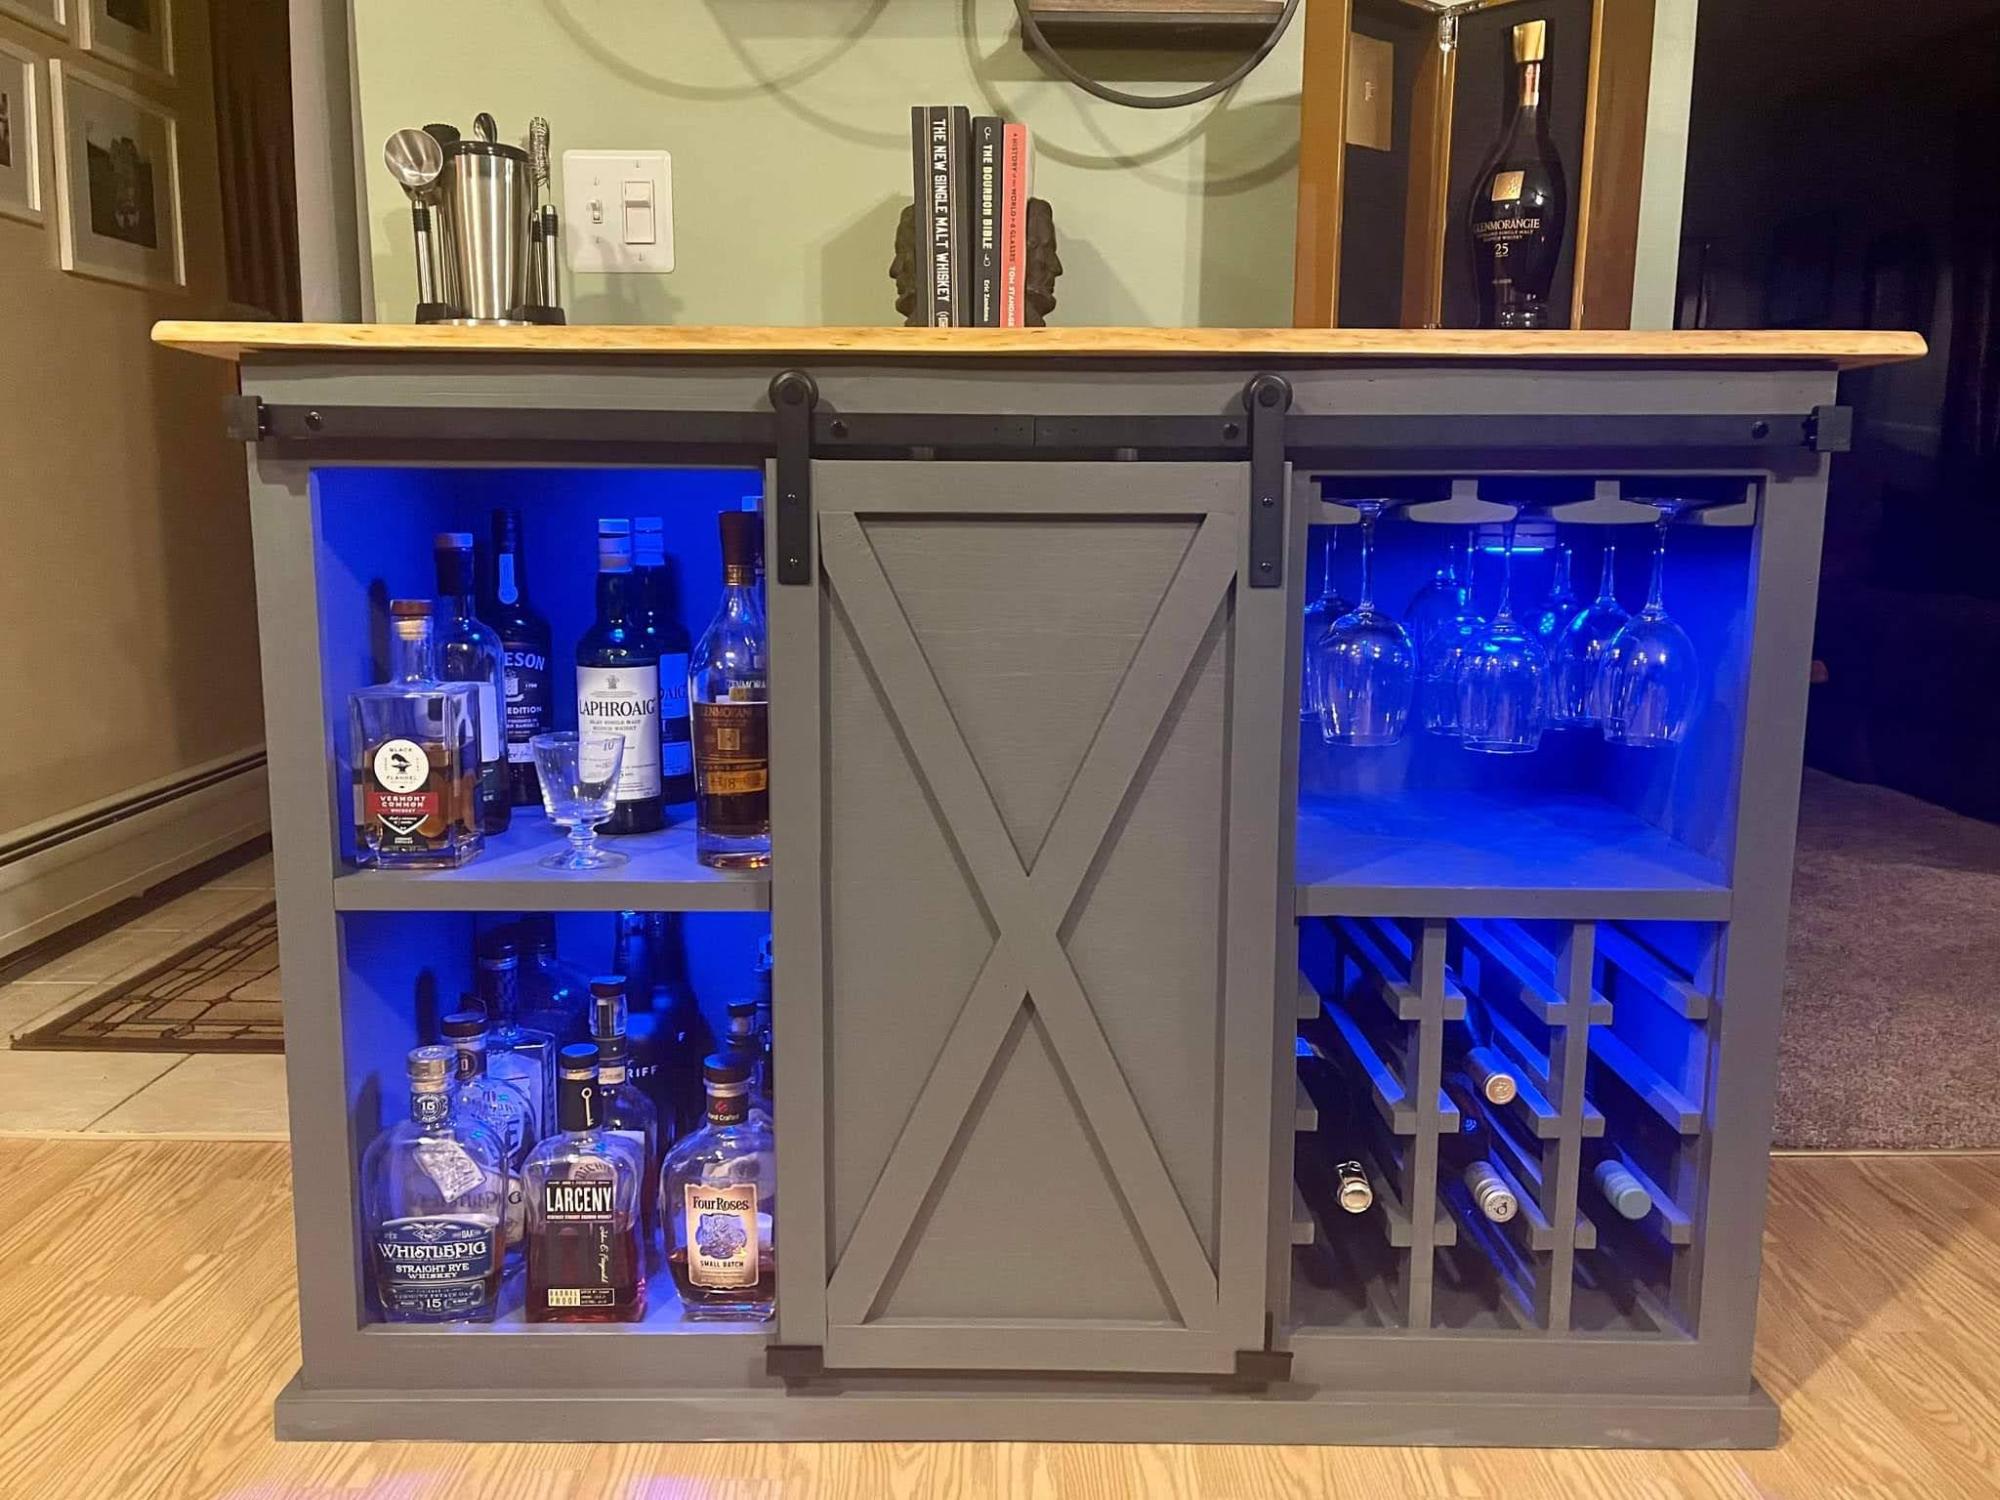
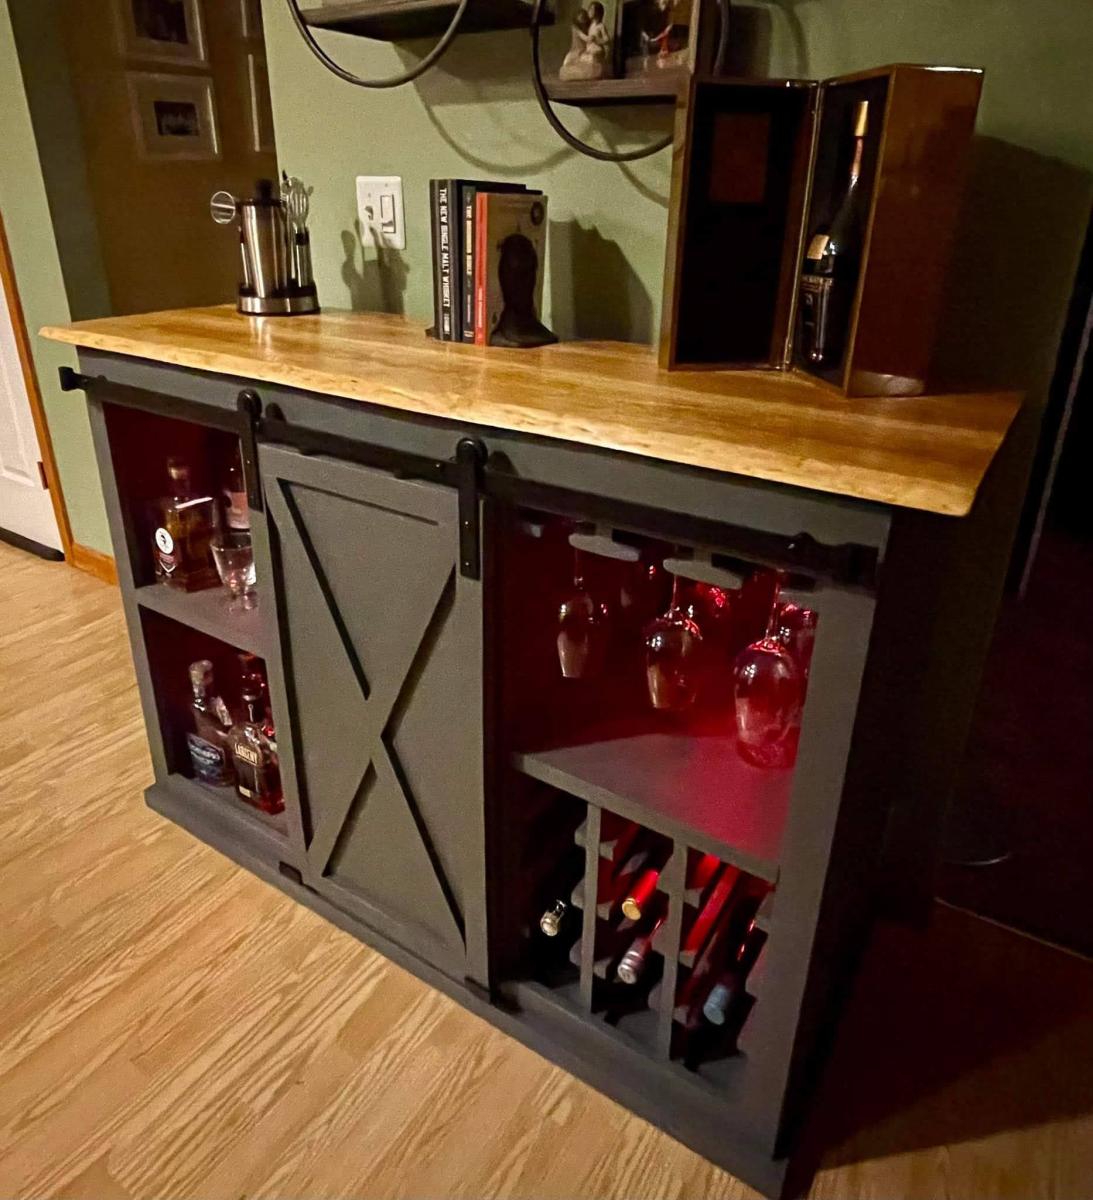
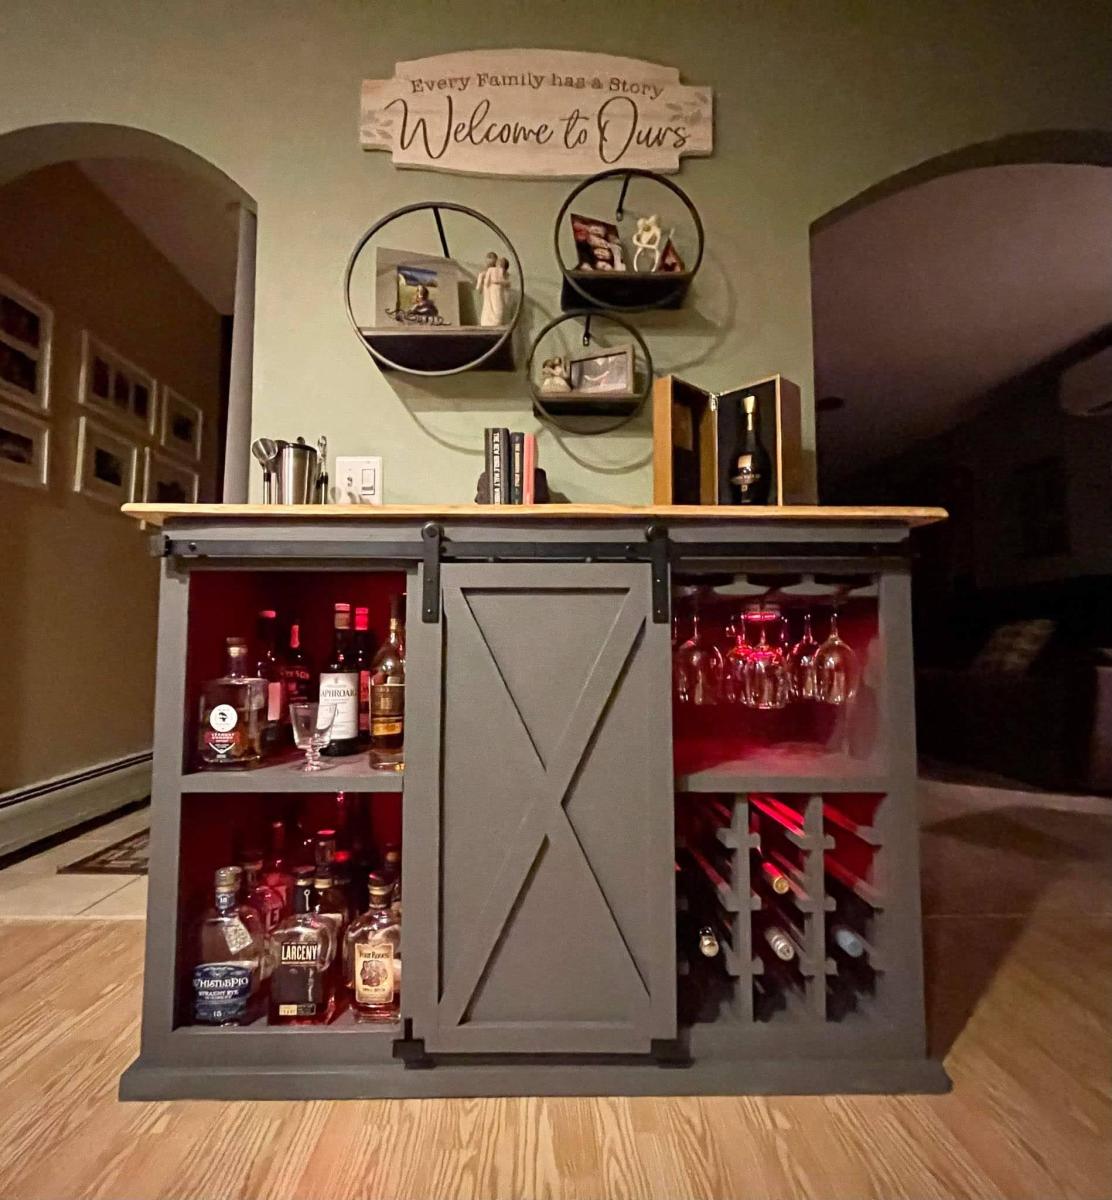
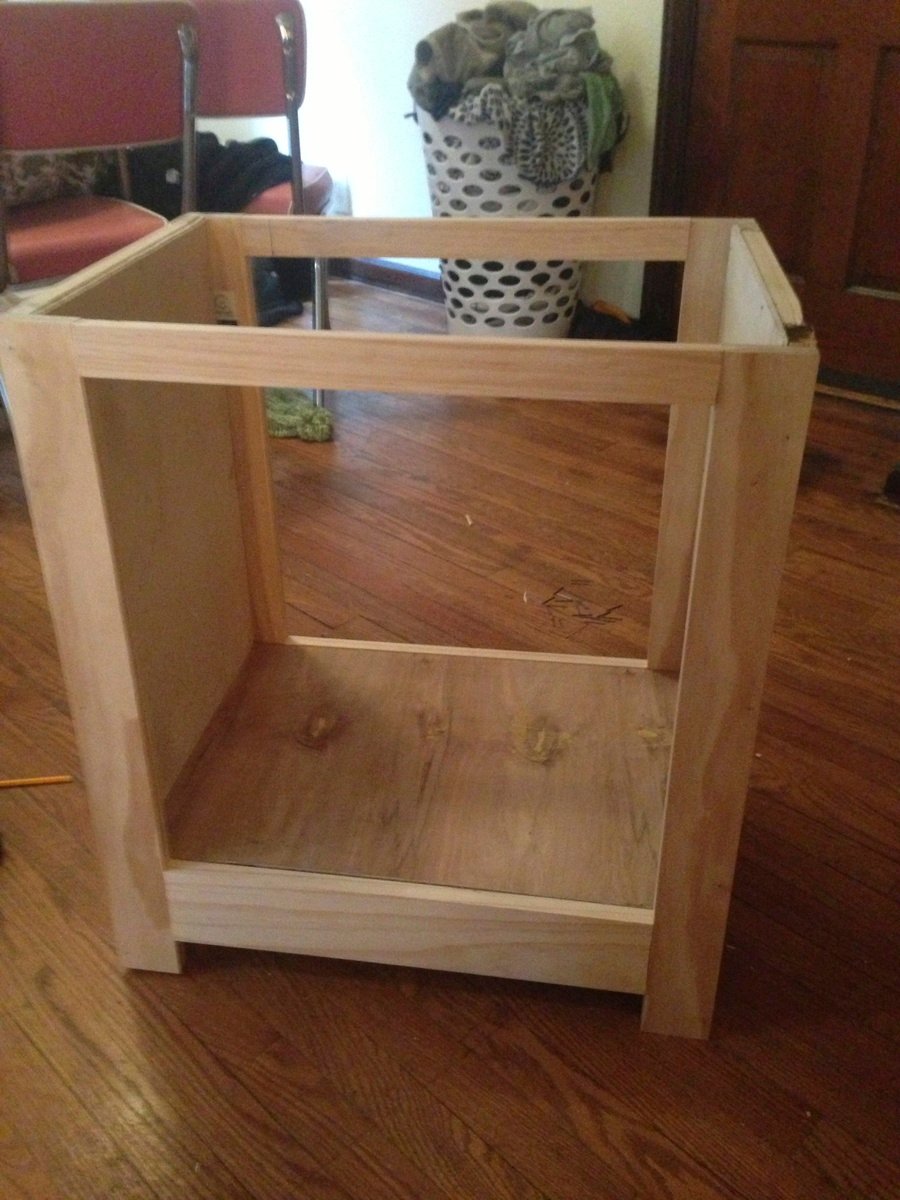
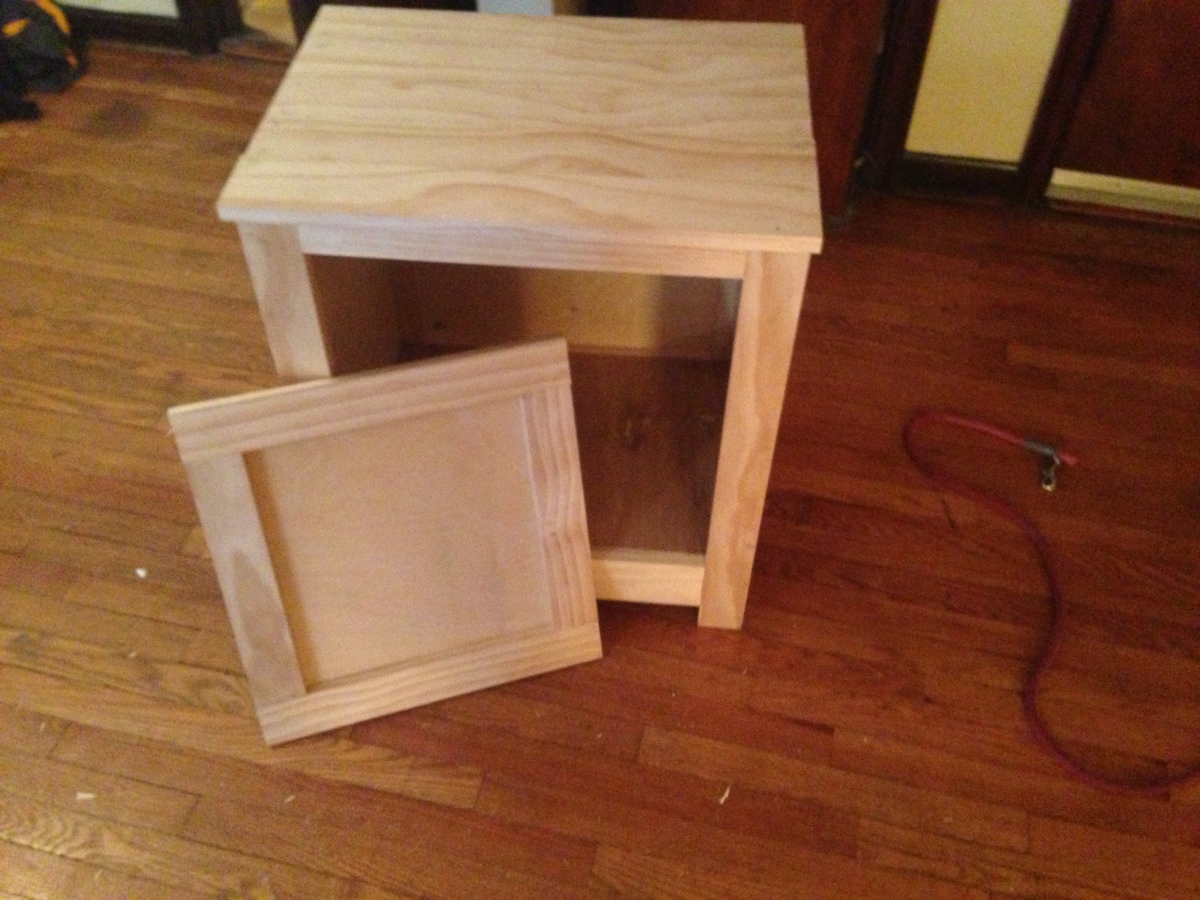
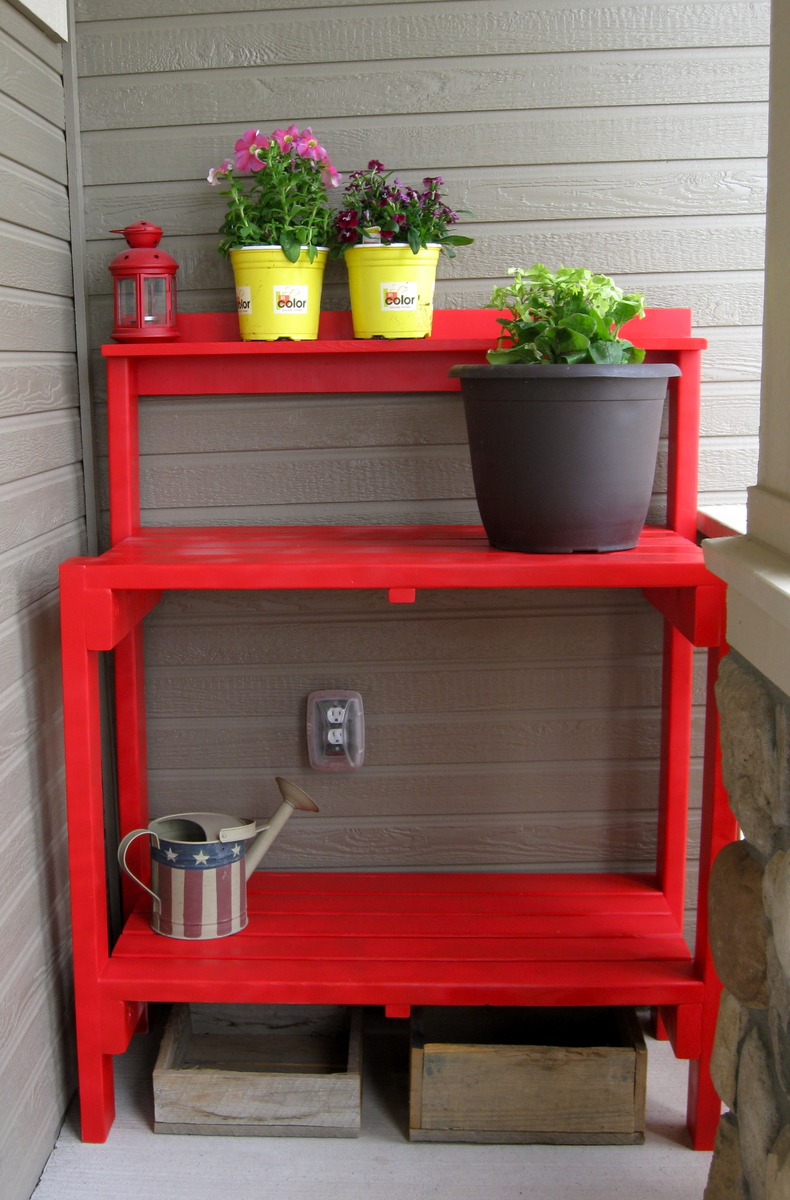
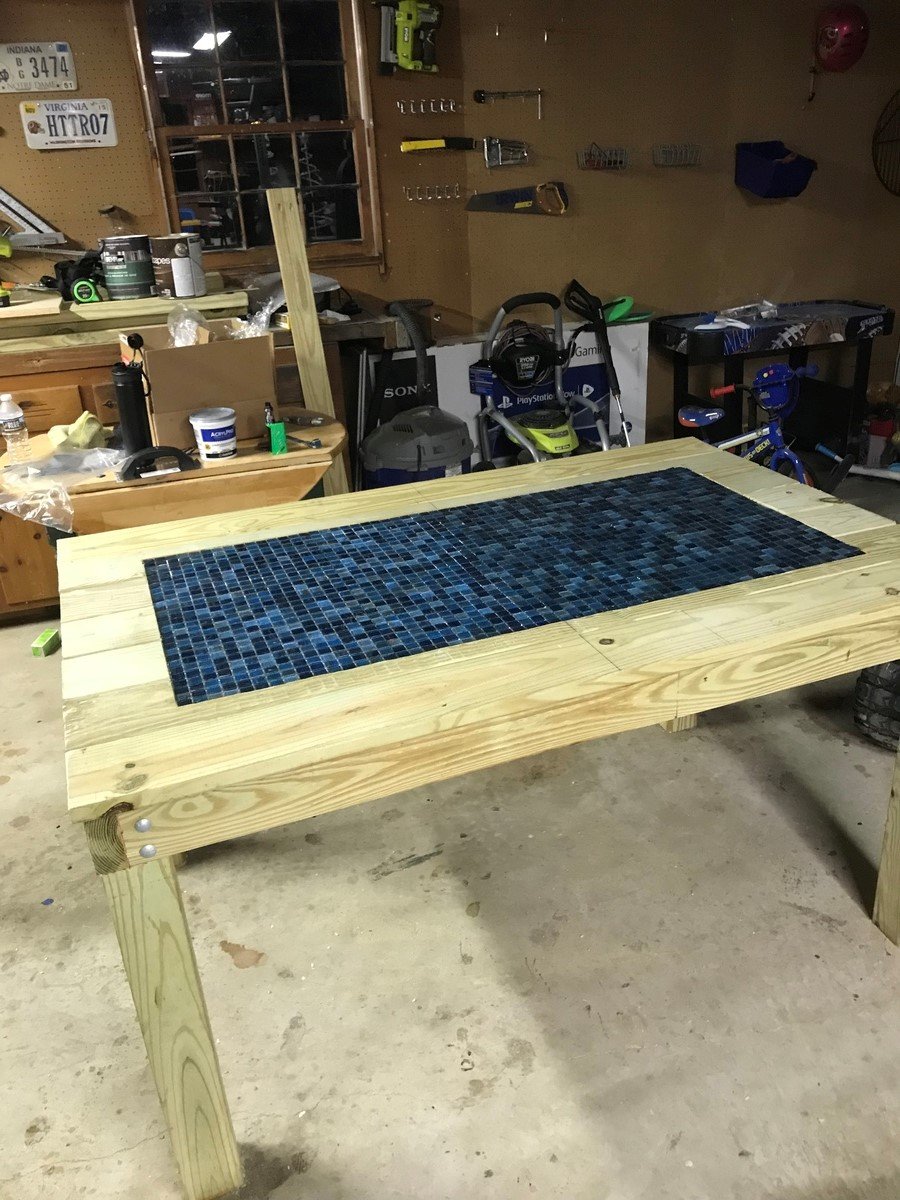
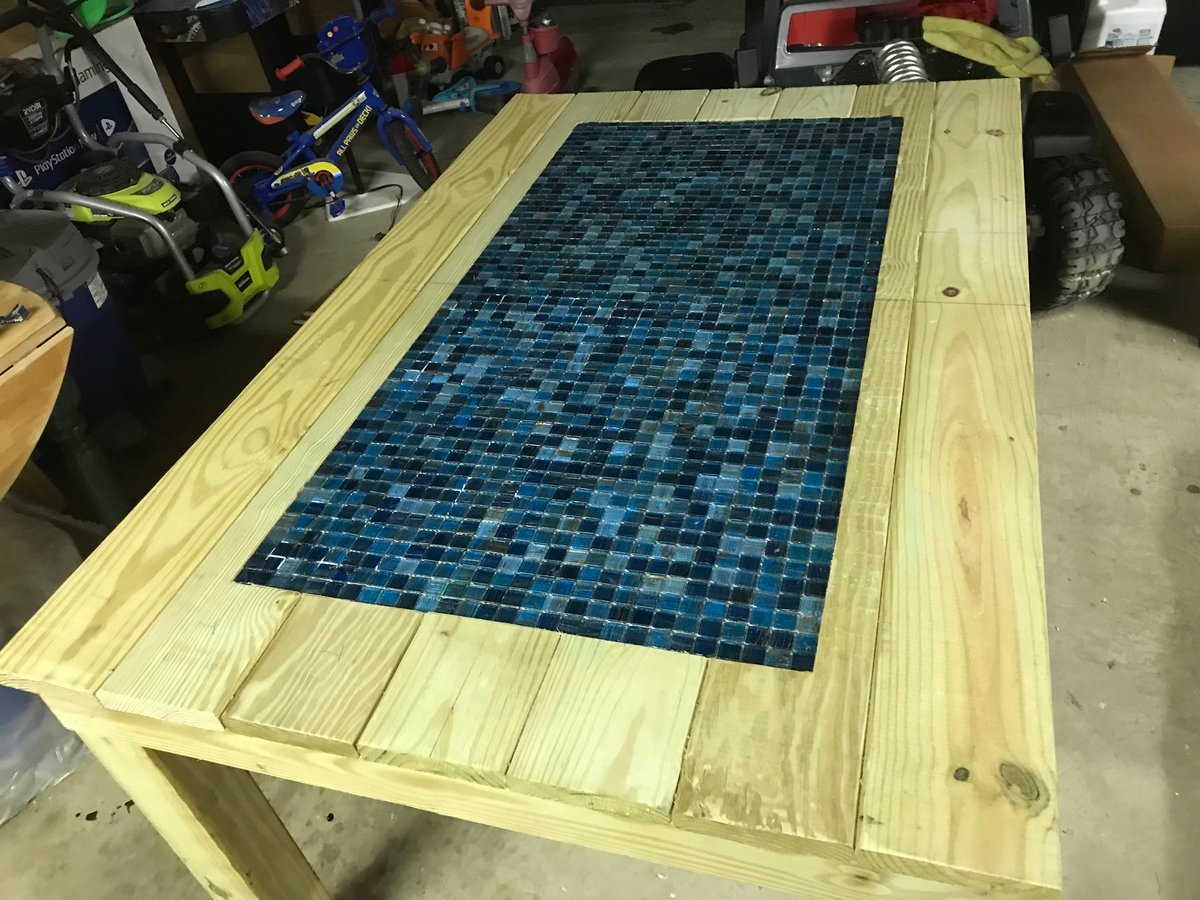
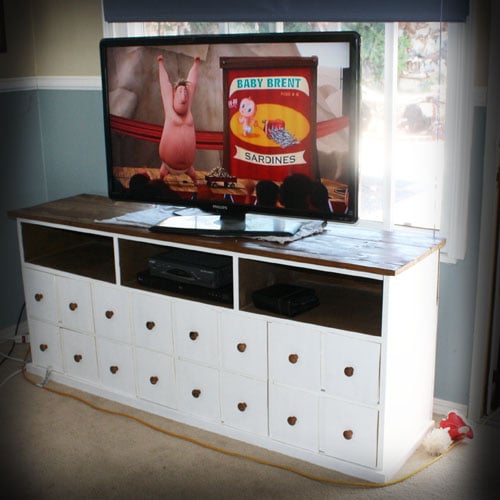
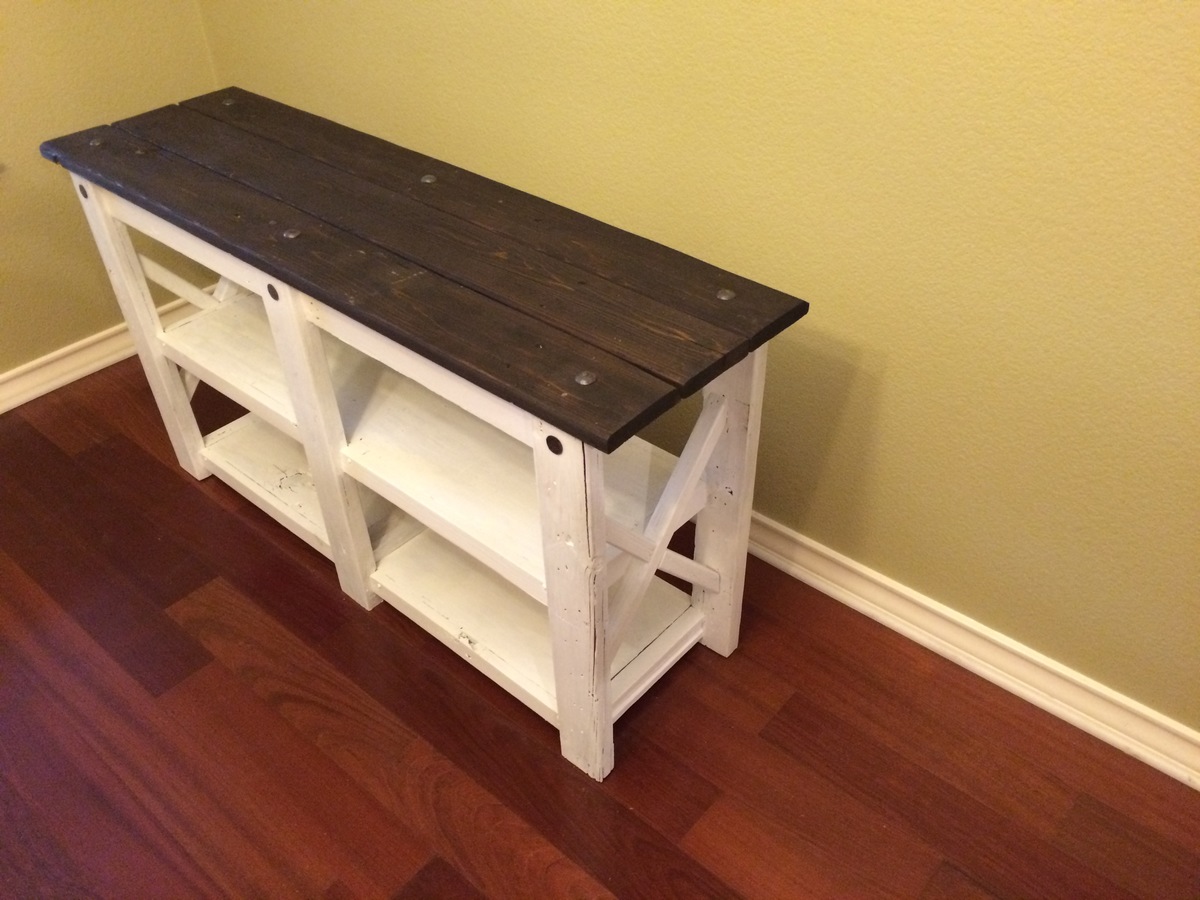
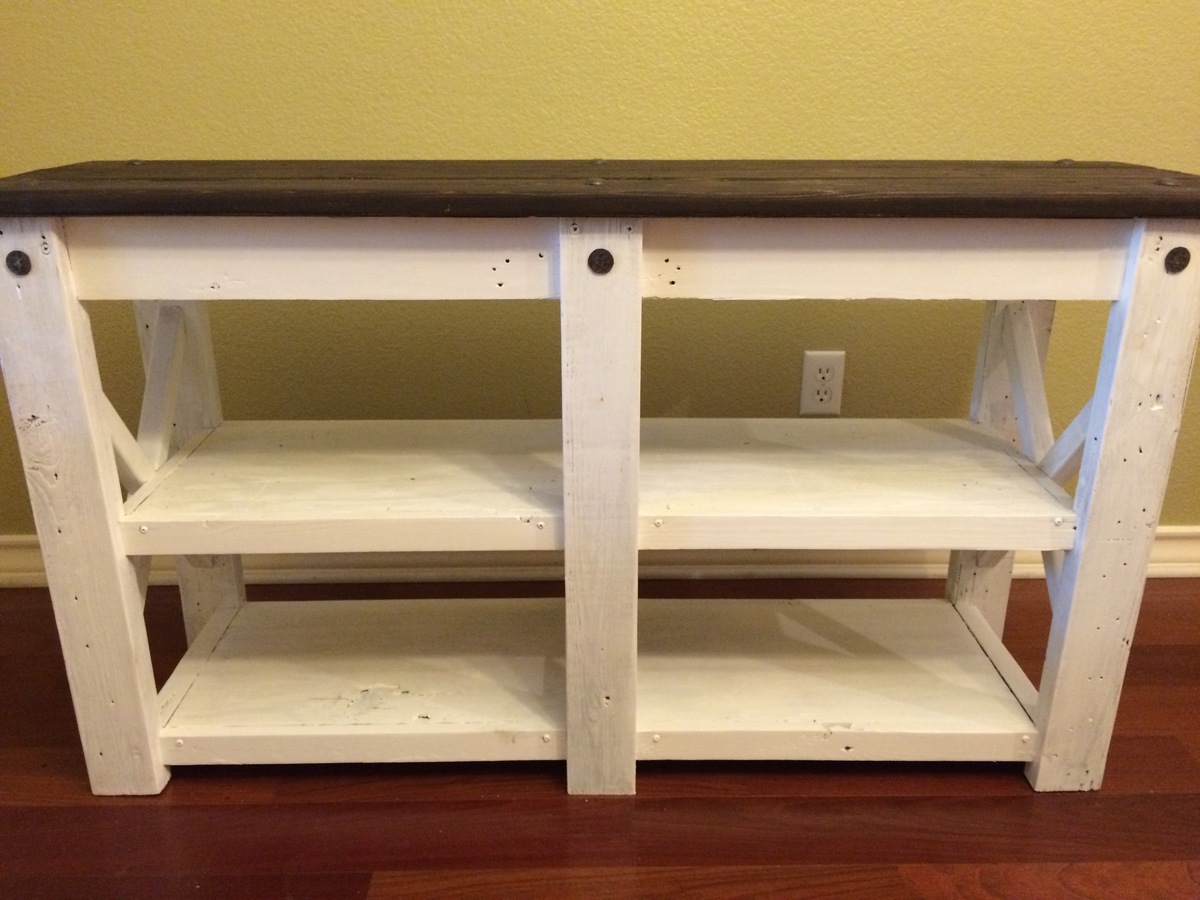
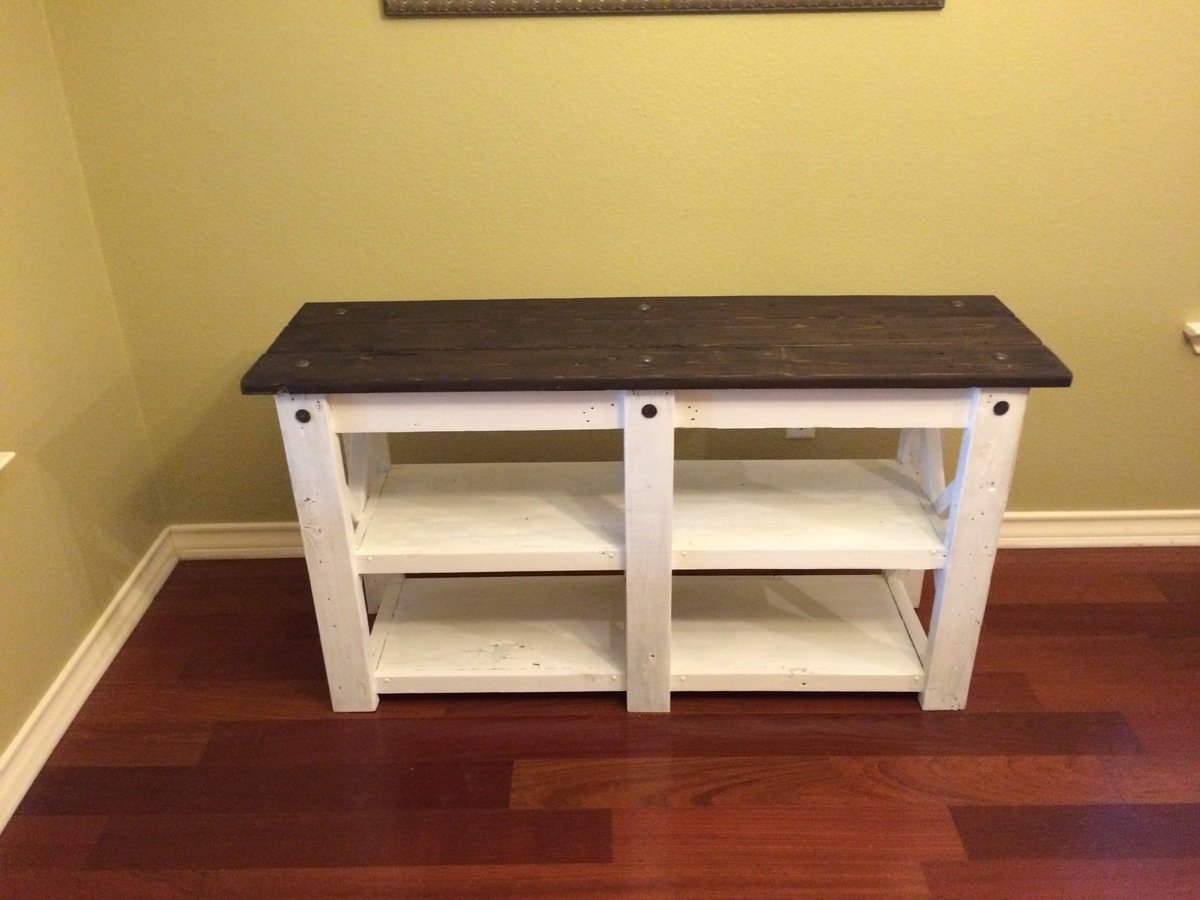
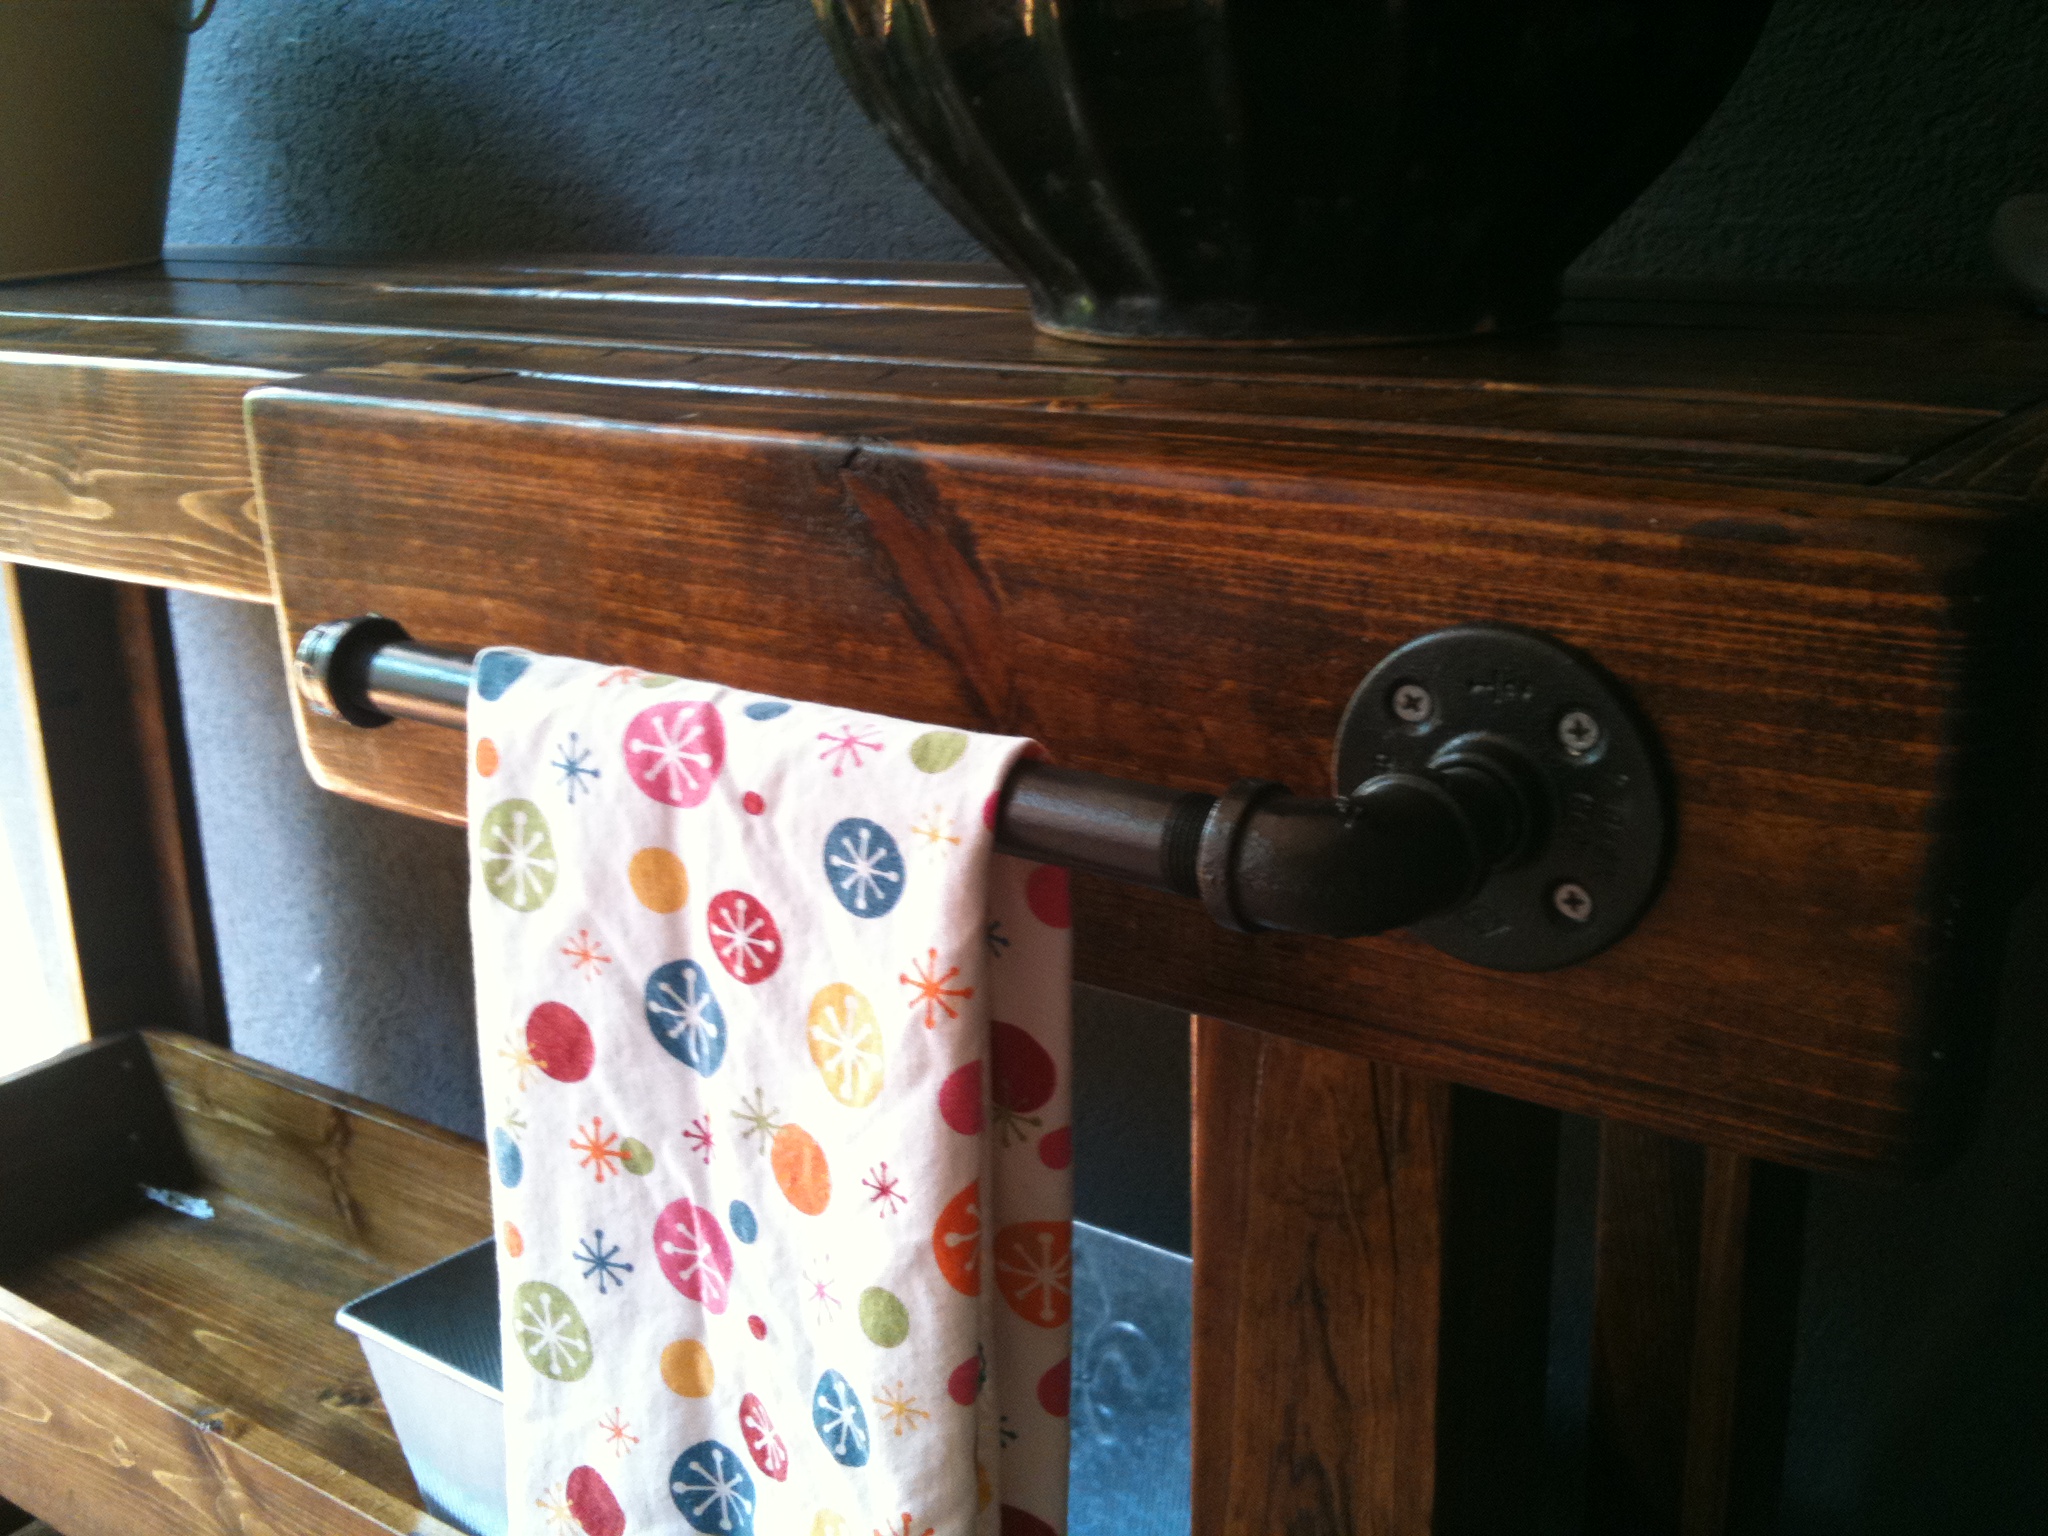
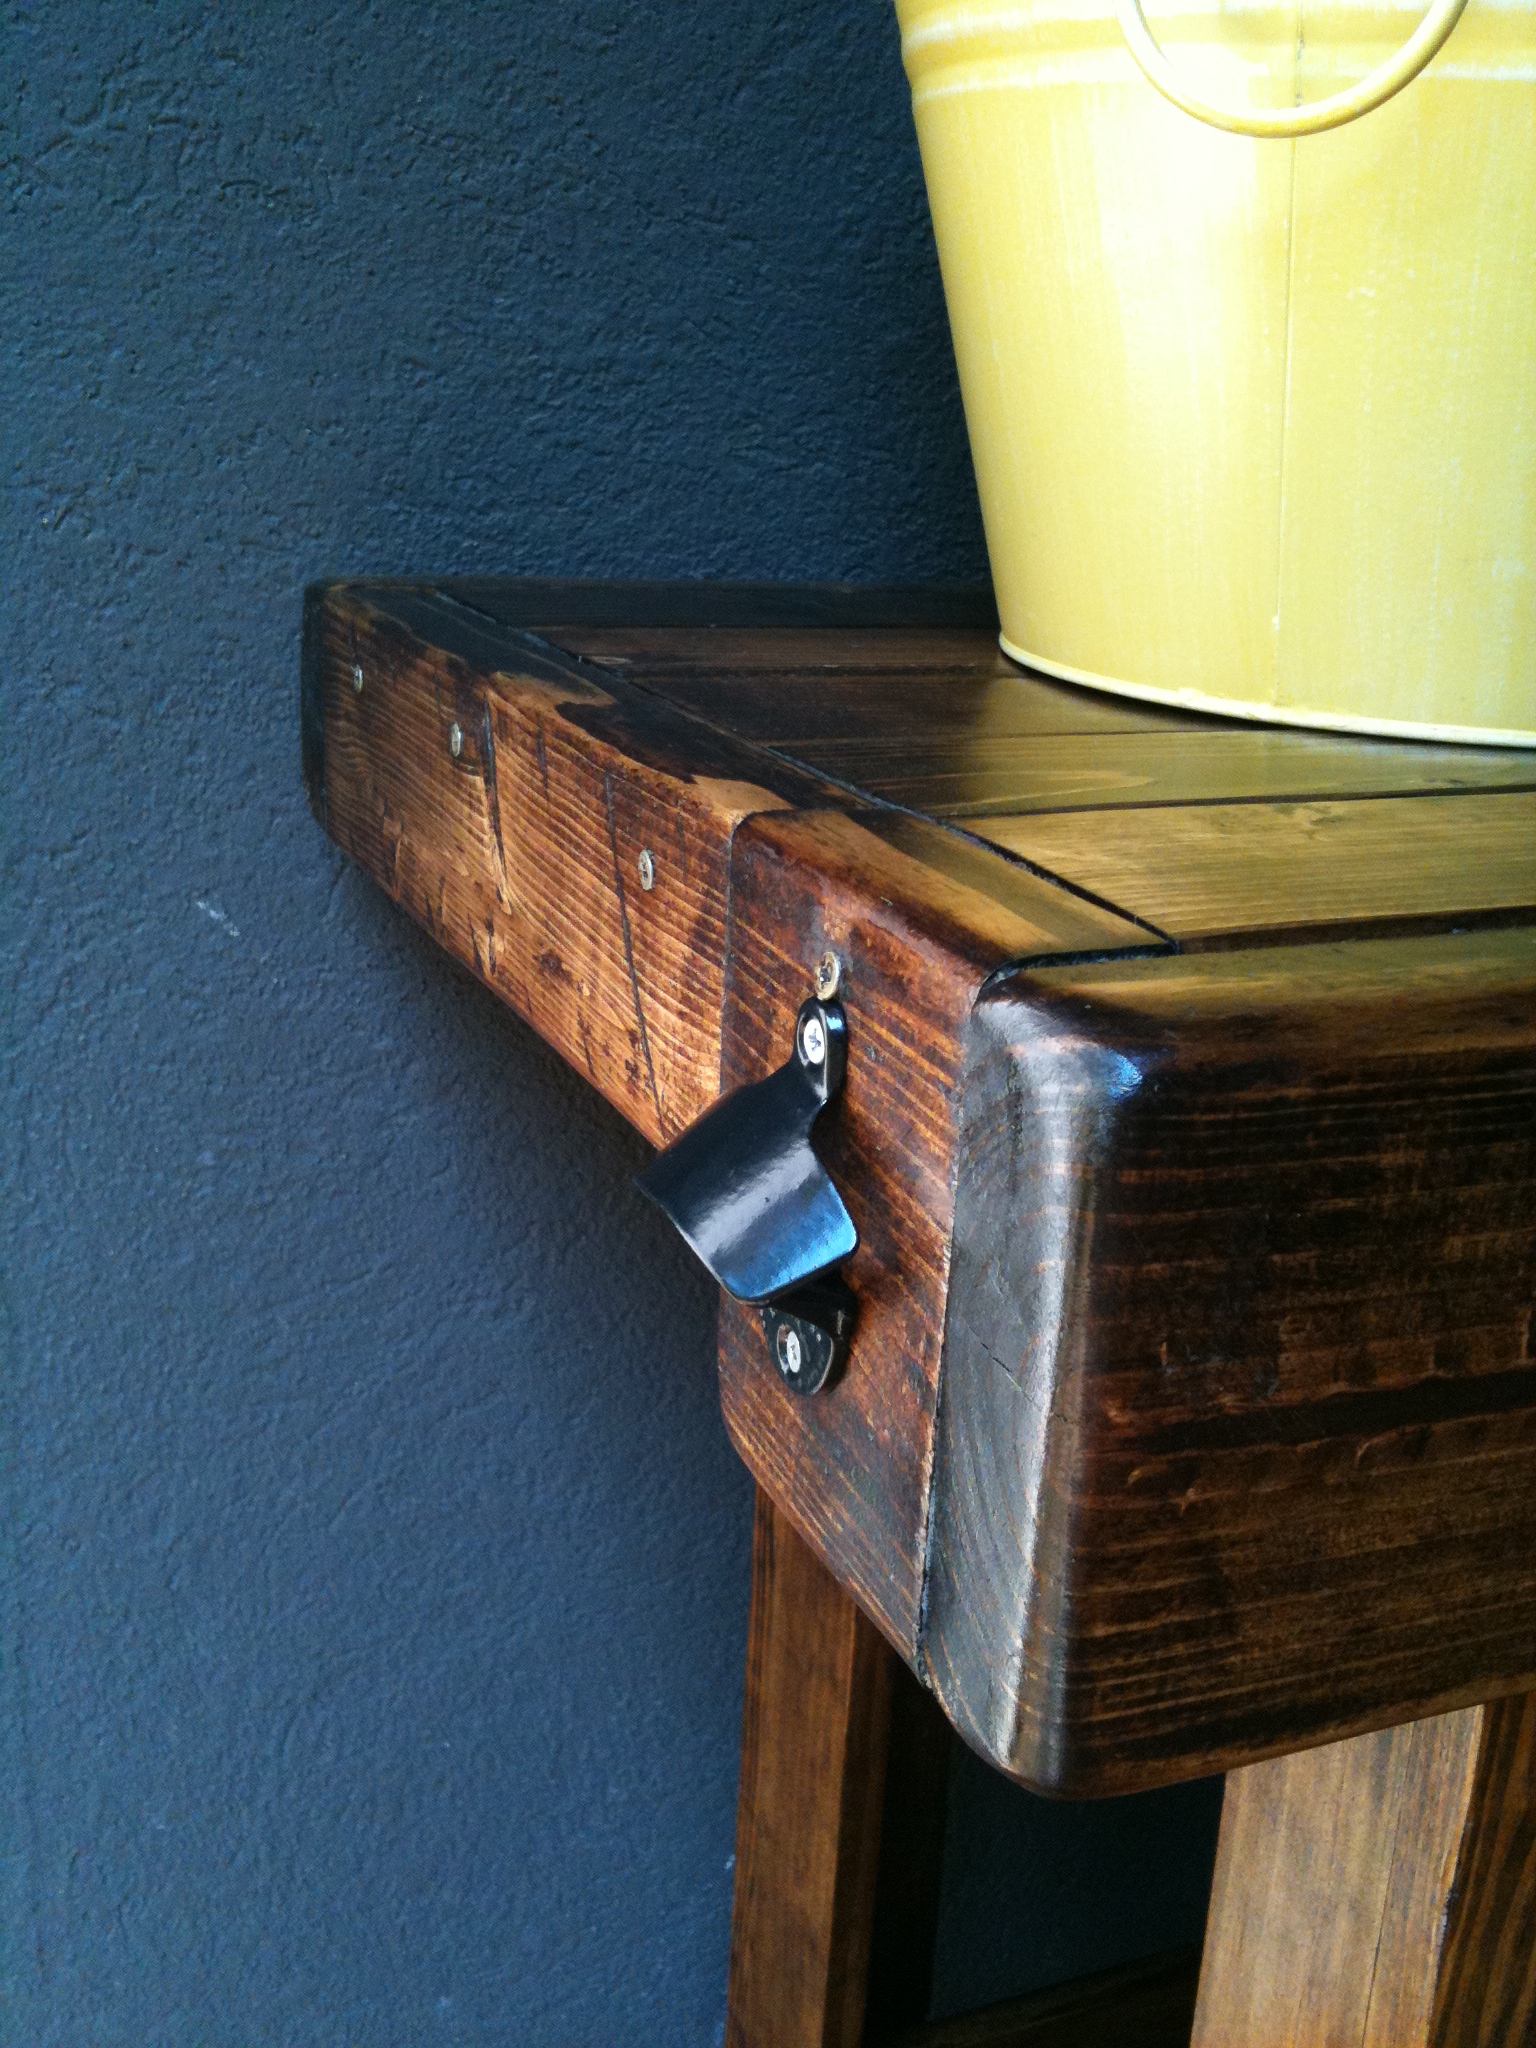
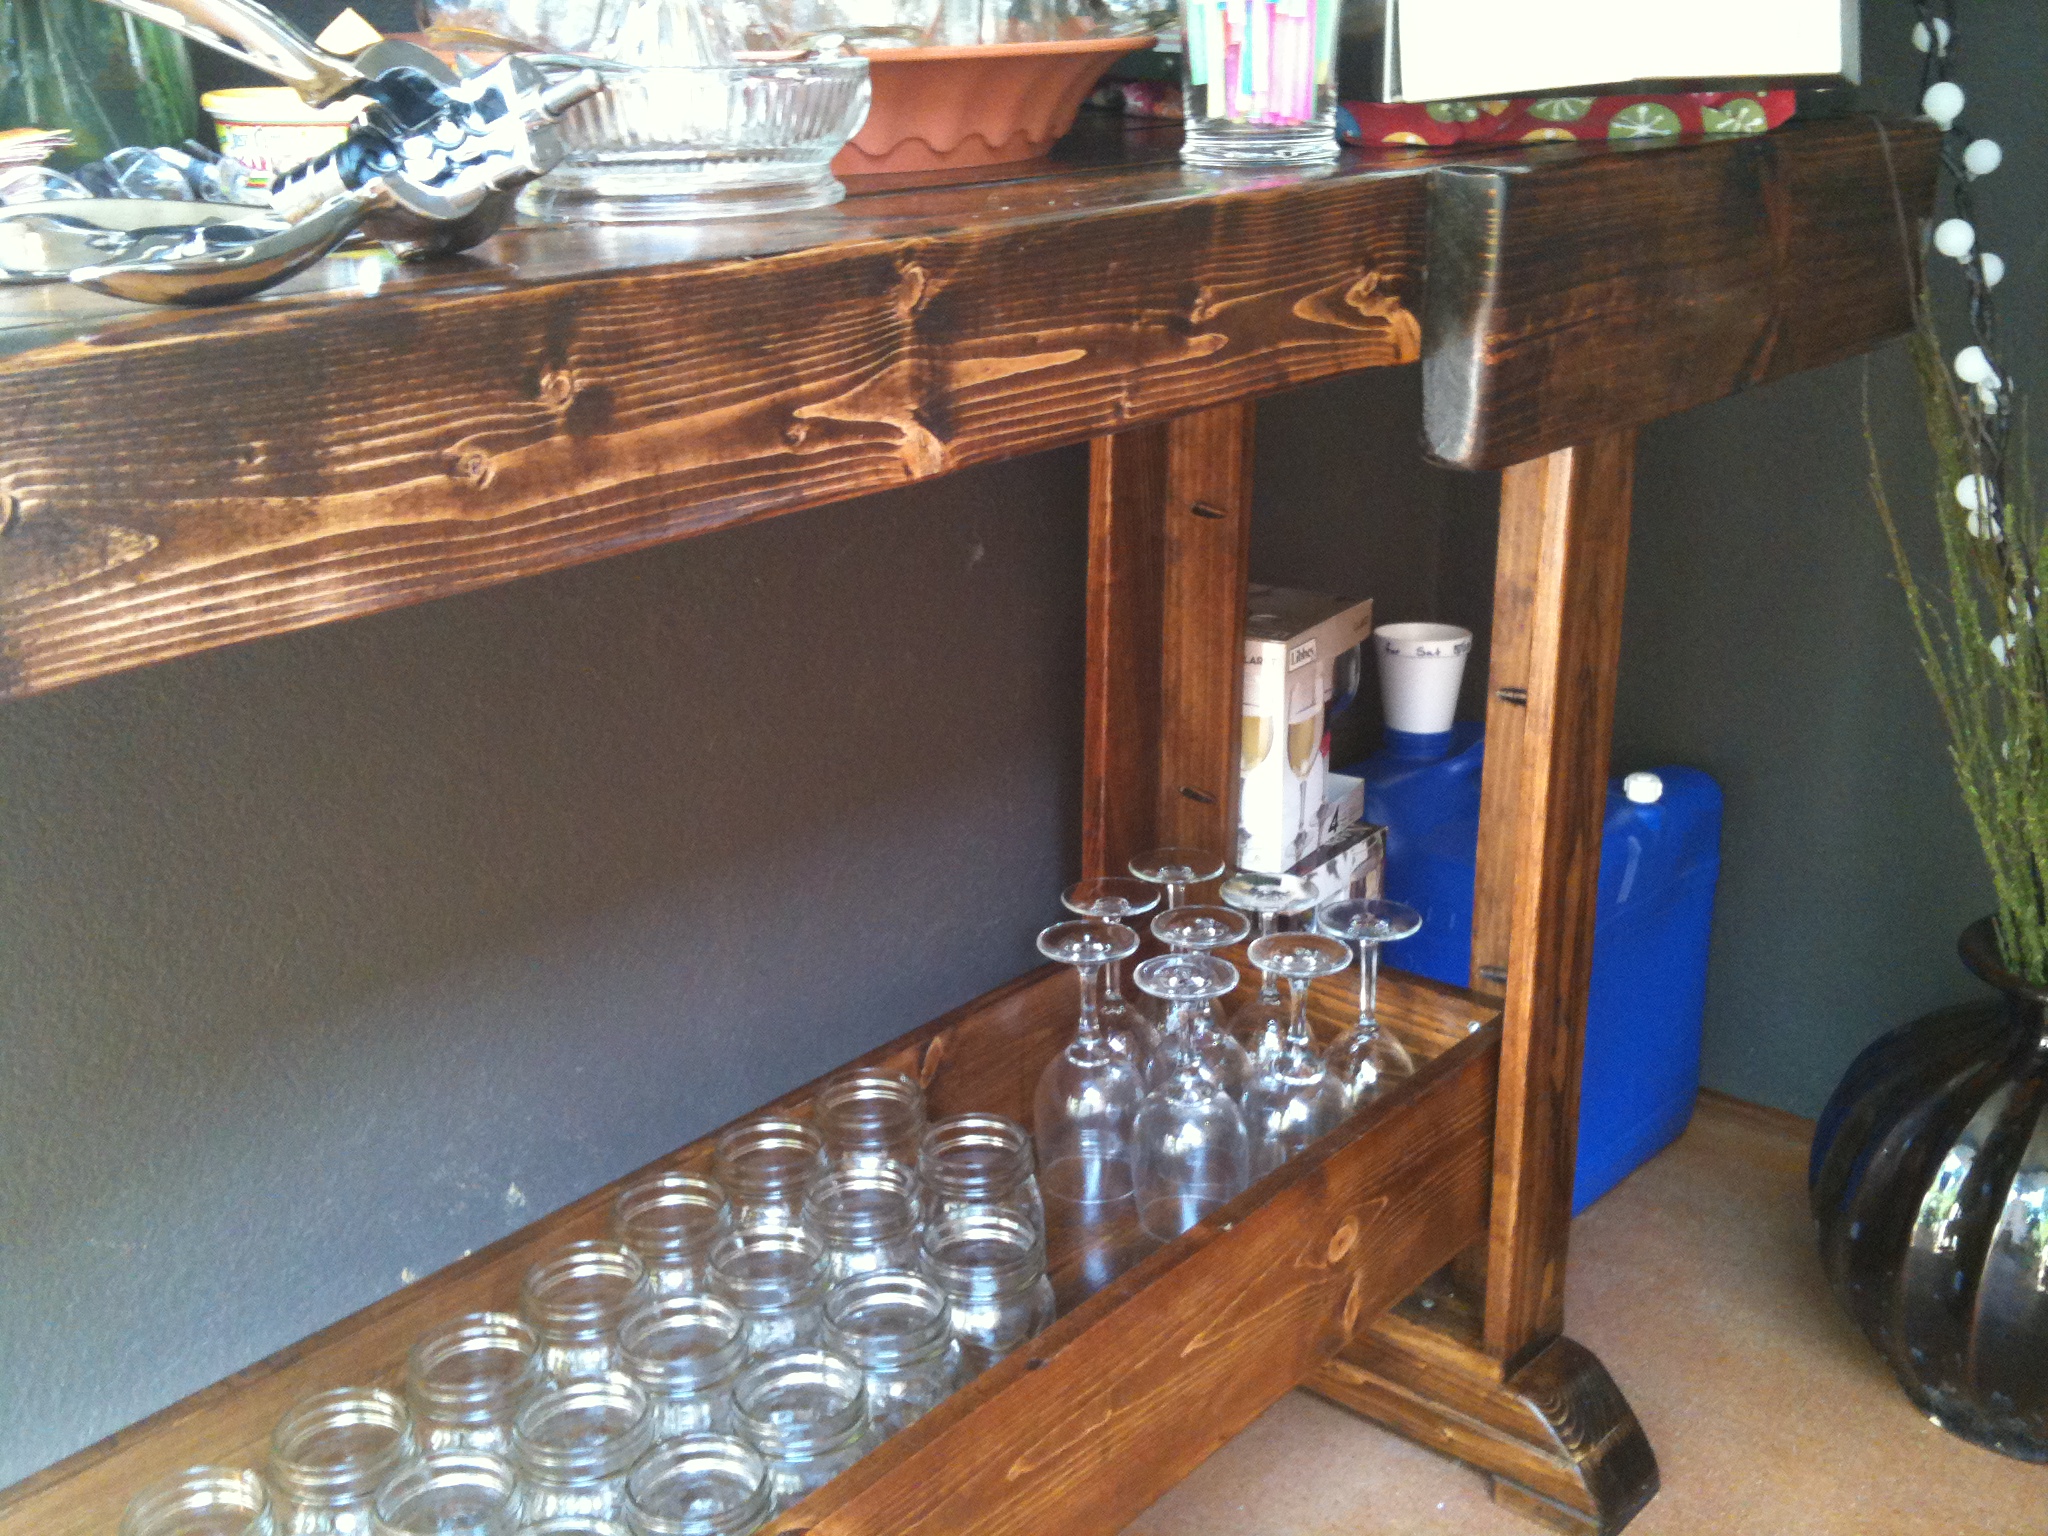
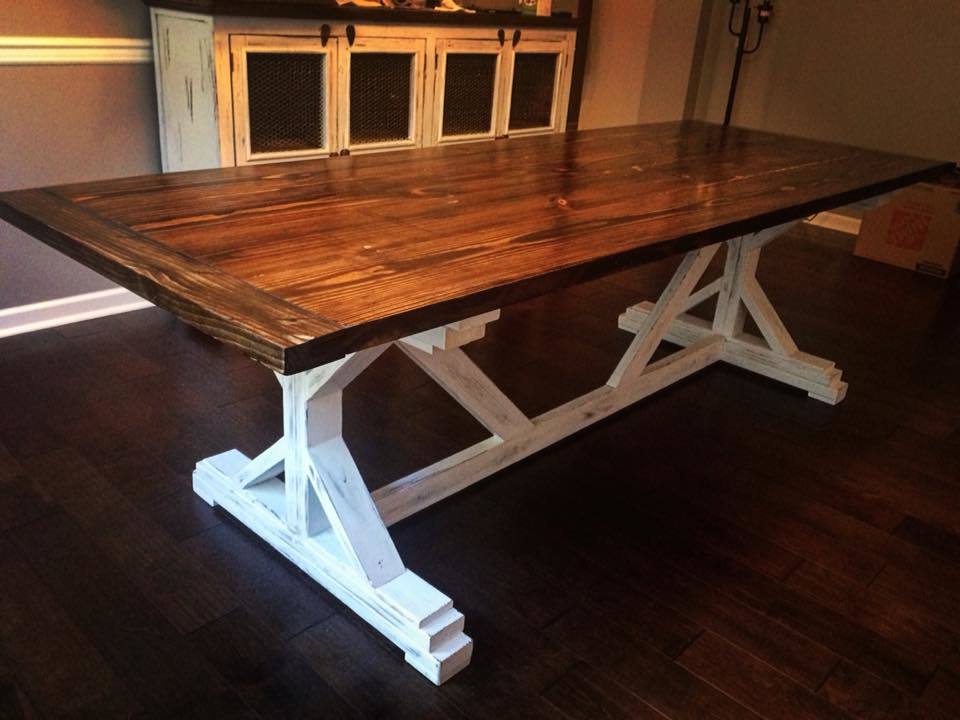
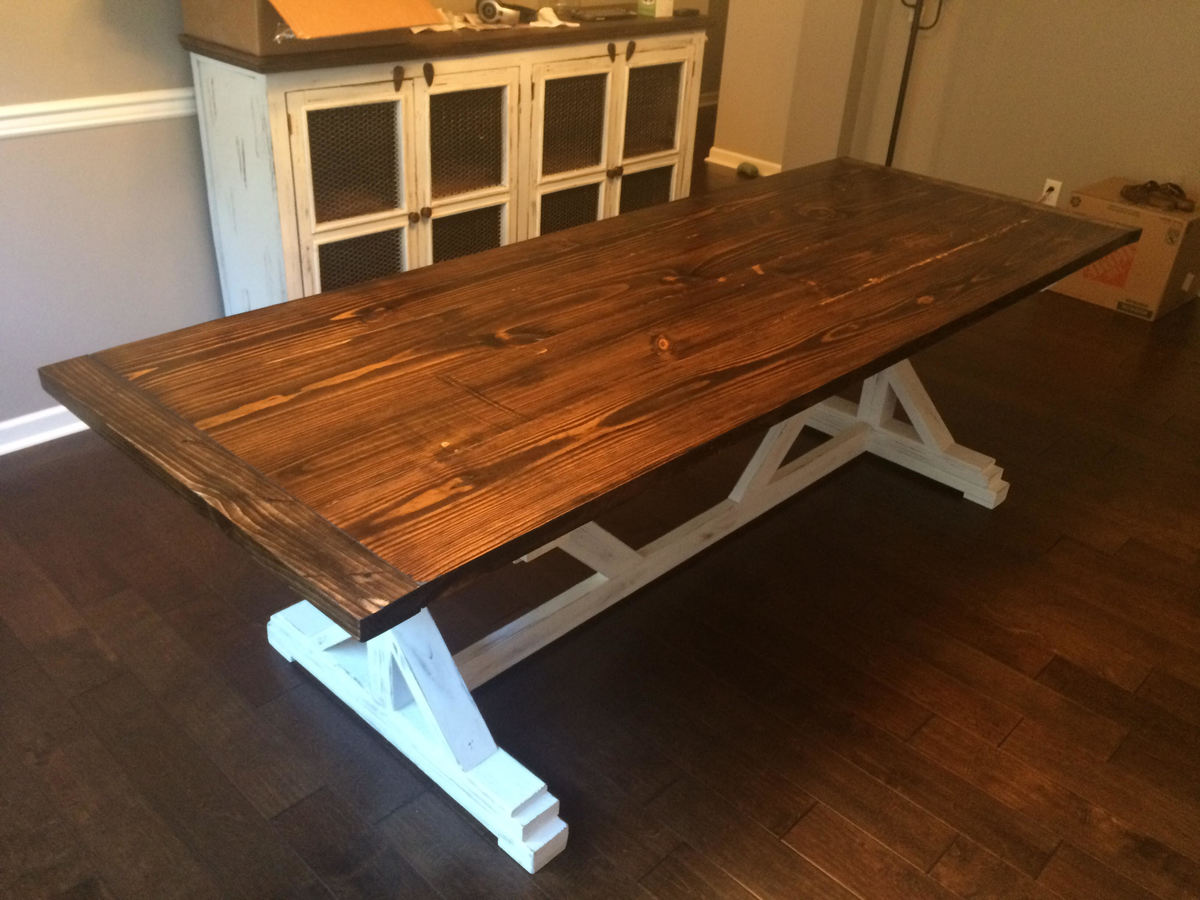
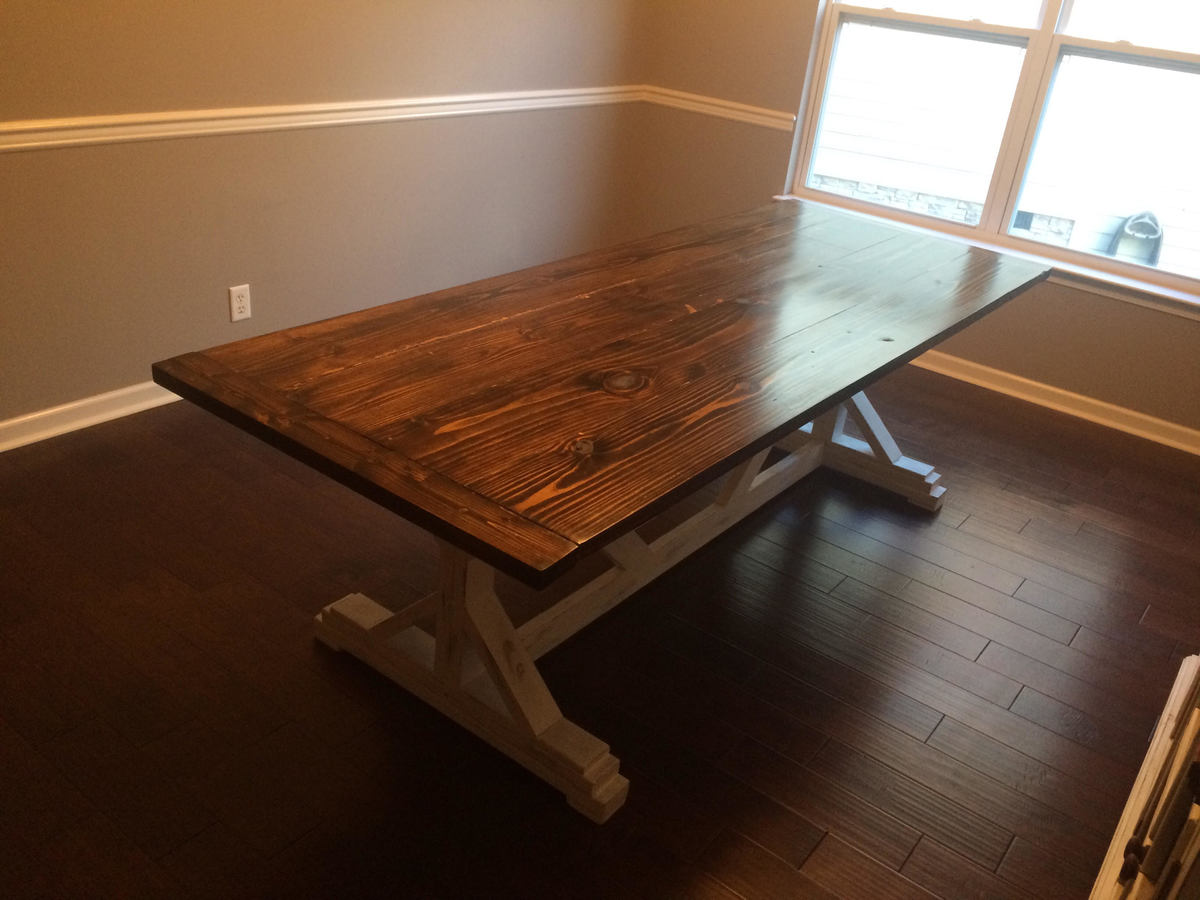
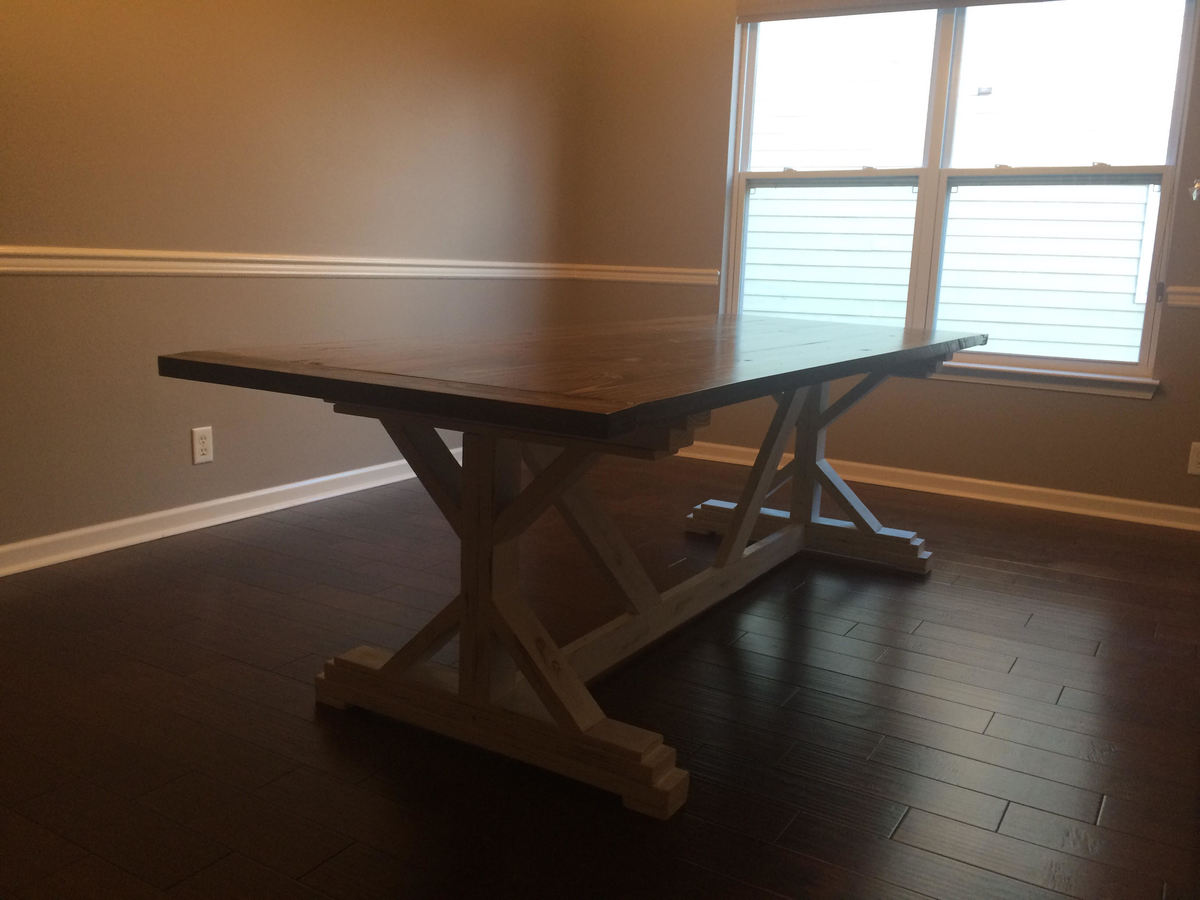
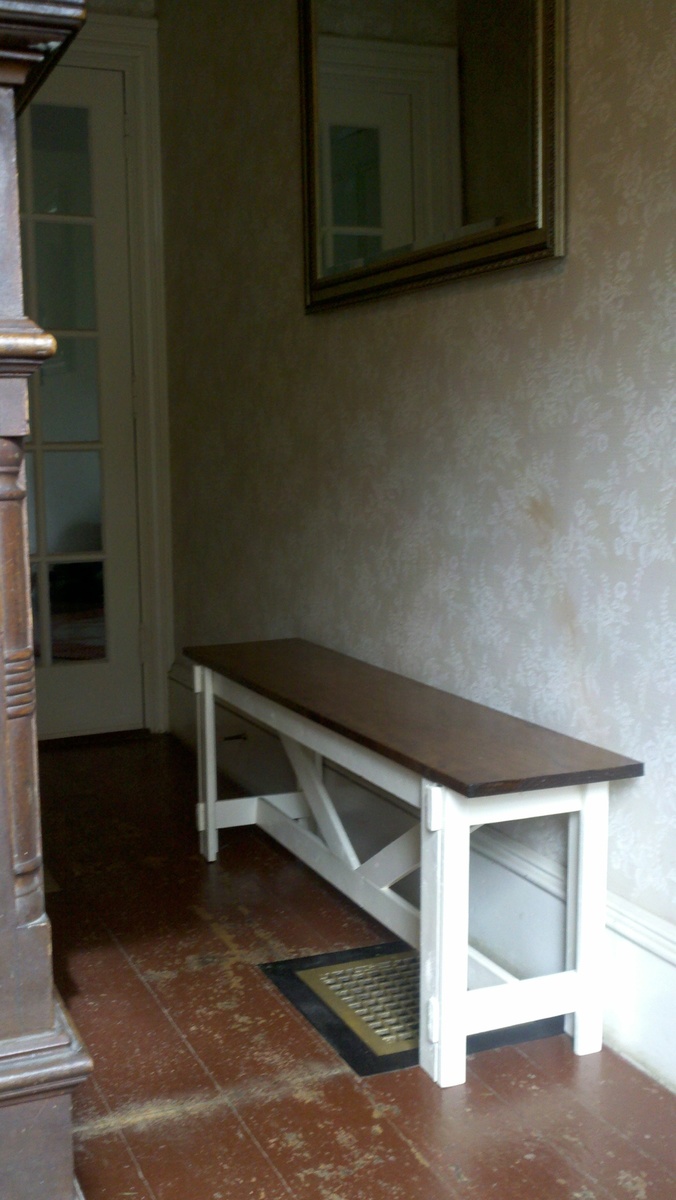
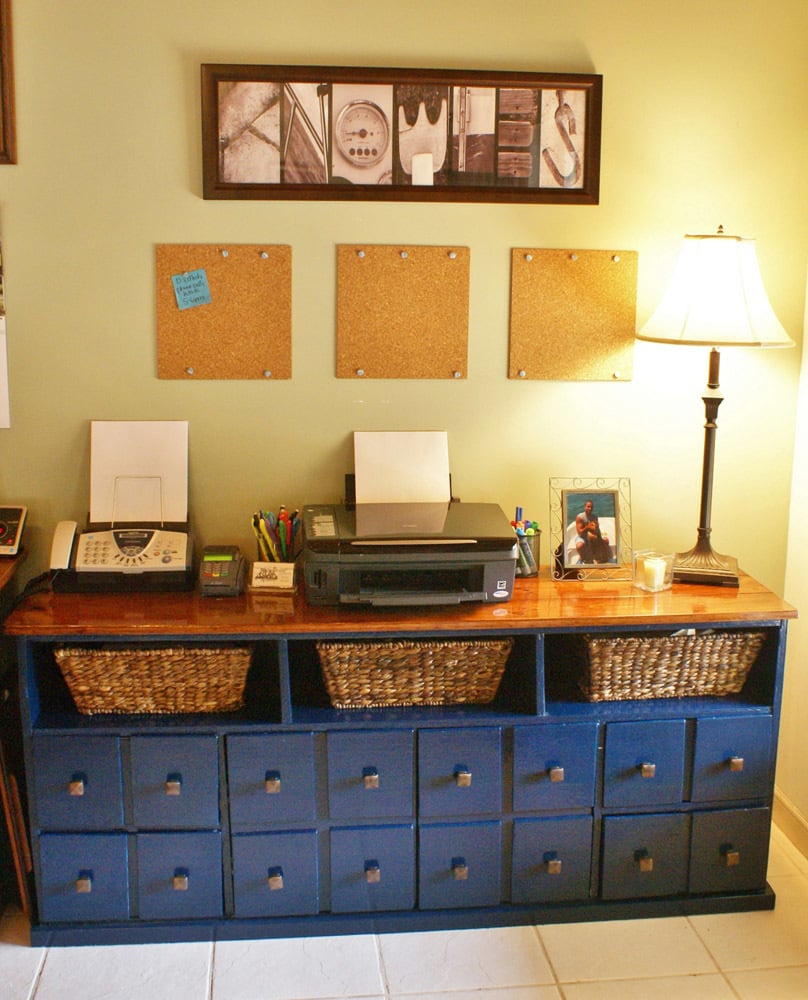
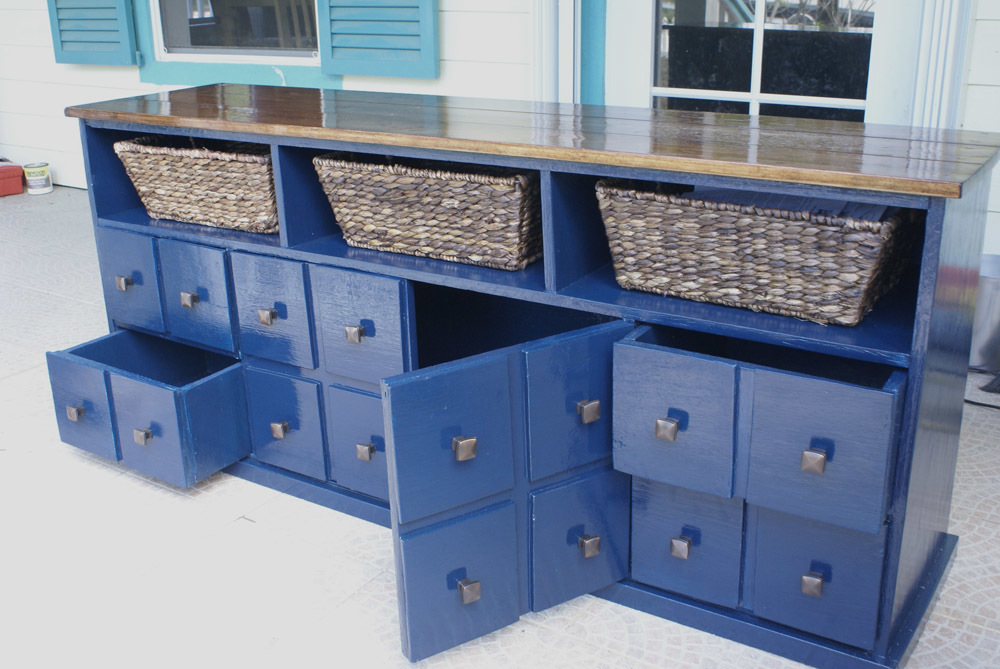
My very own Apothecary Console!
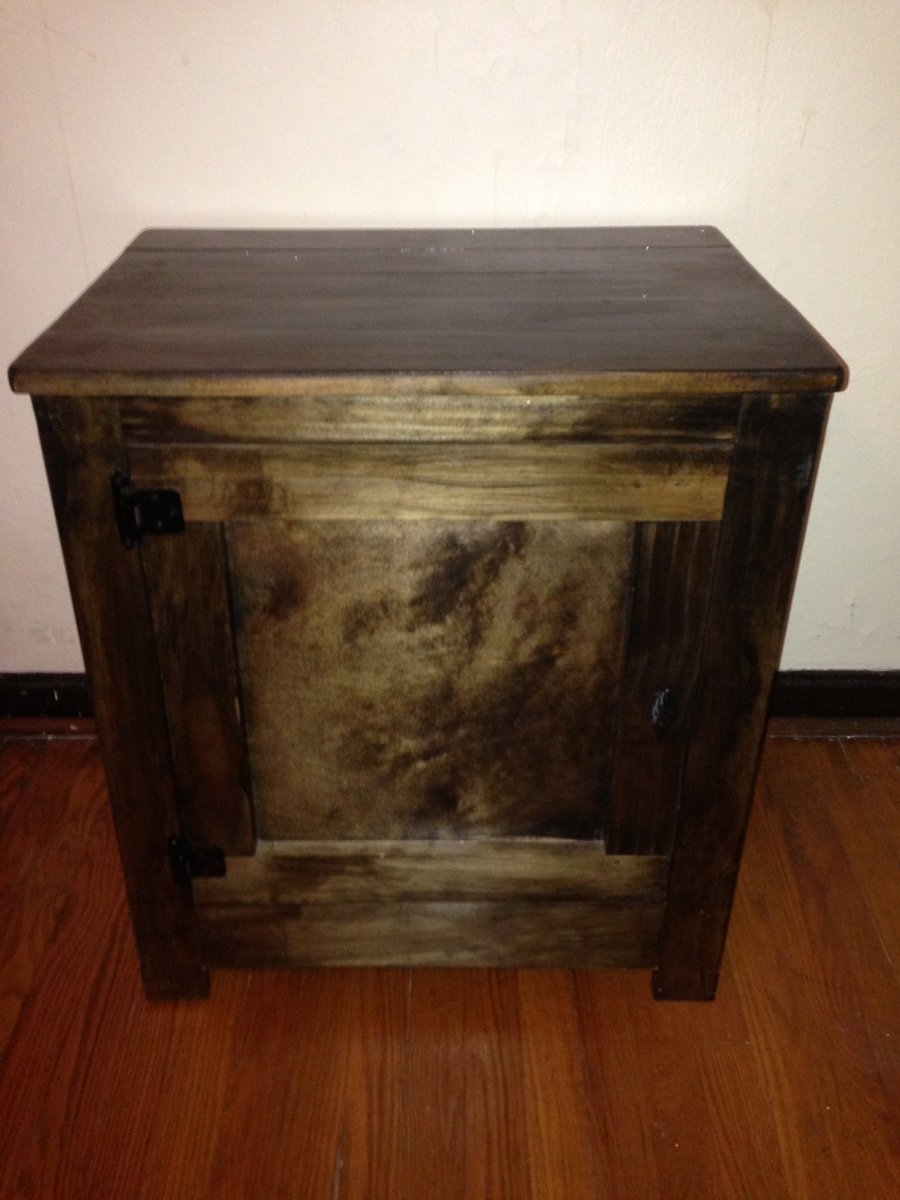
When I first found Ana's site, I fell in love with this project. I knew it was one I had to 'work up to'. I got a few projects under my belt and then I tackled this one. I am so pleased with how it turned out. No, it isn't perfect...but I made it :) Thanks for the great plans and inspiration Ana!!!
Built from Plan(s)
Estimated Cost
About $300 total (higher costs of everything living on an island)
Estimated Time Investment
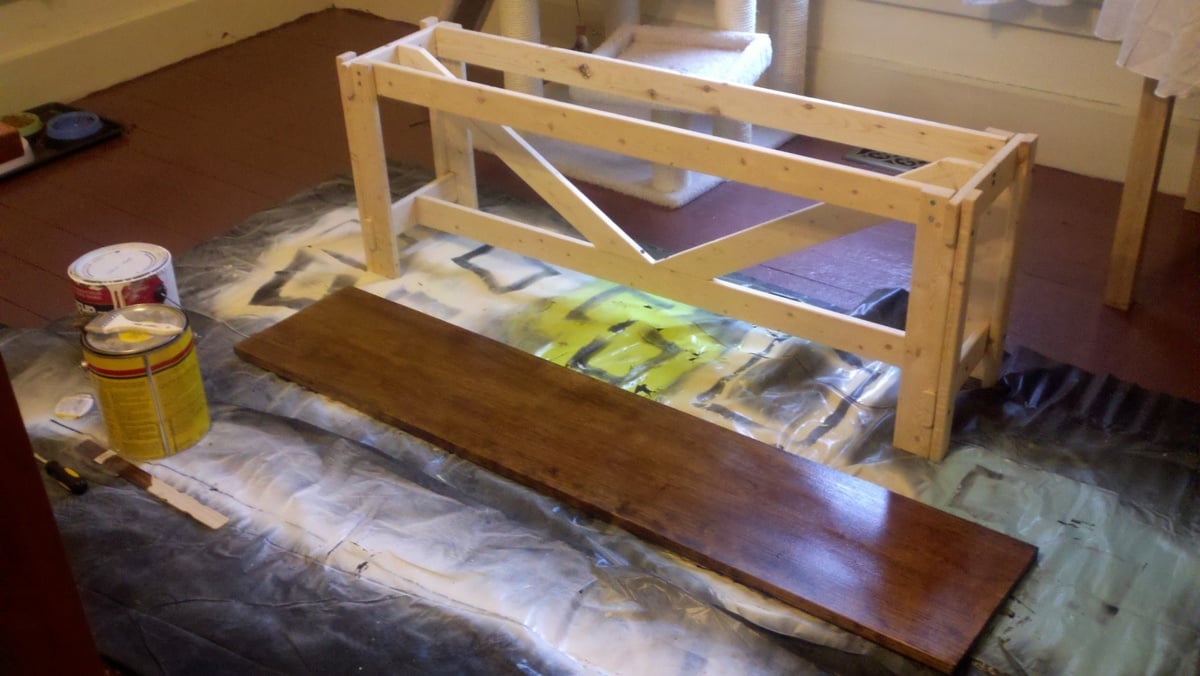
Week Long Project (20 Hours or More)
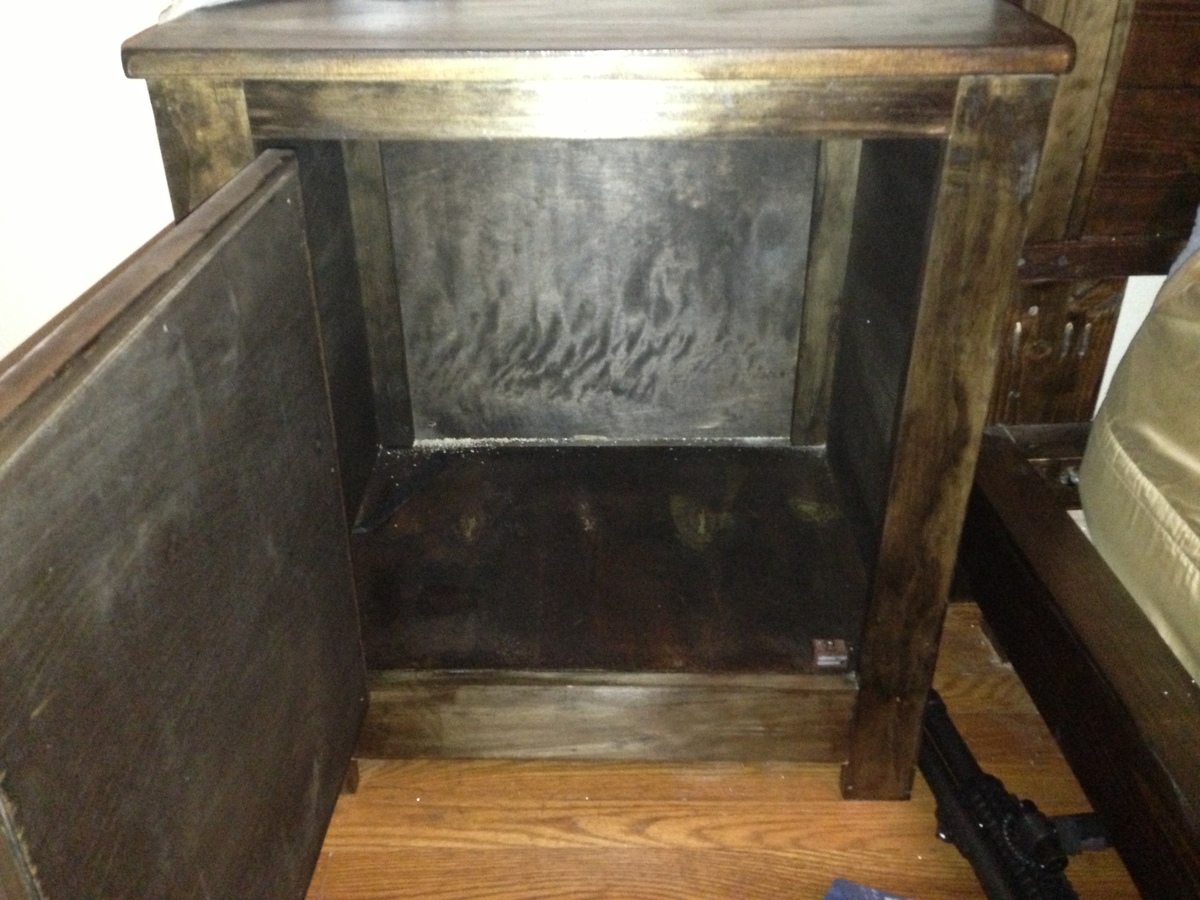
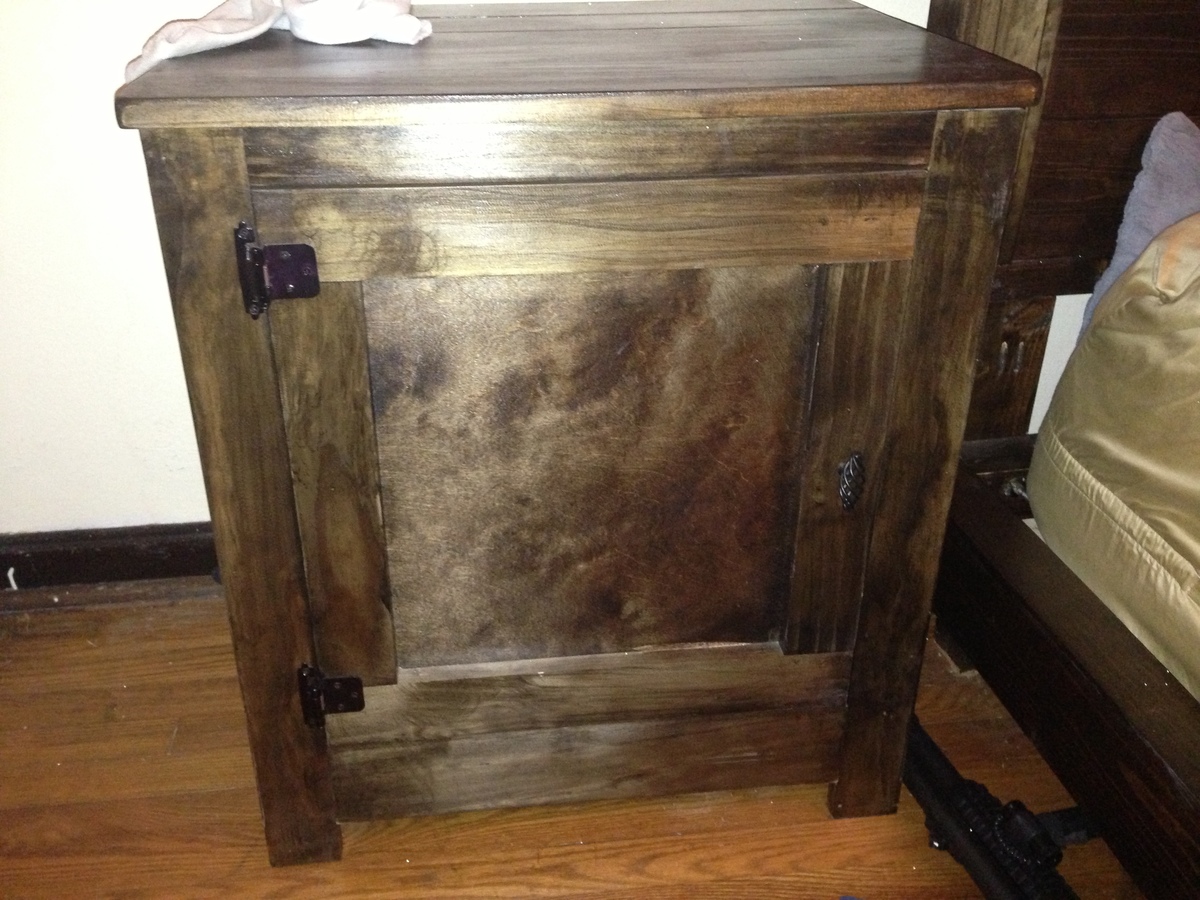
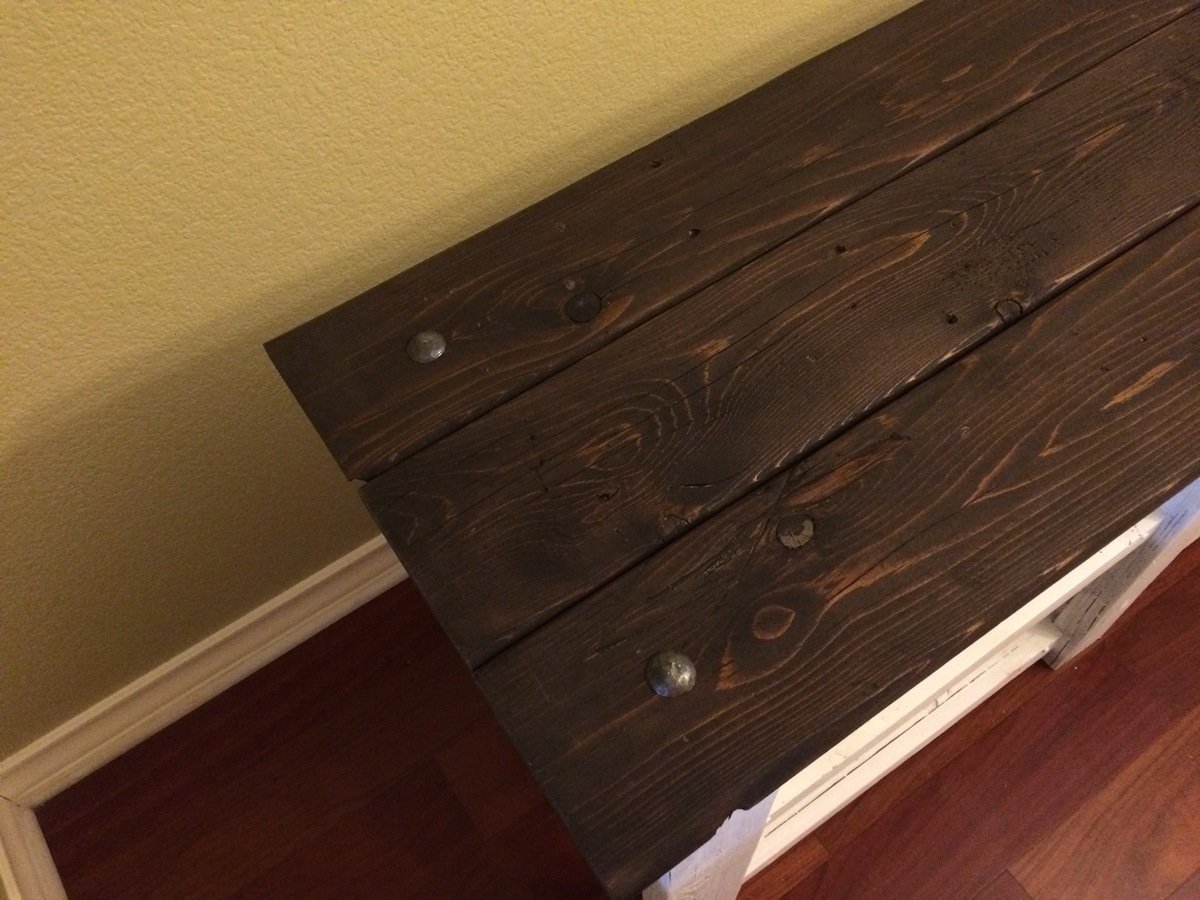
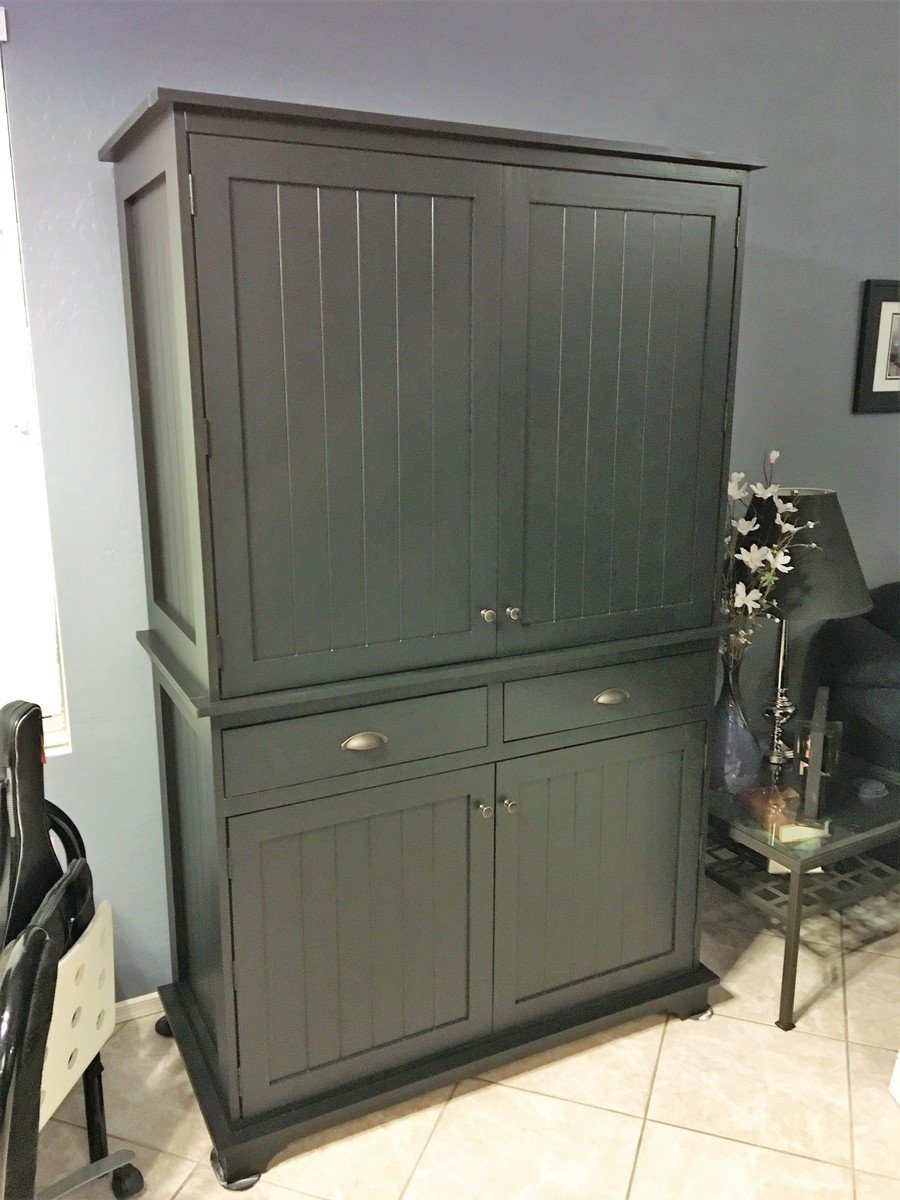
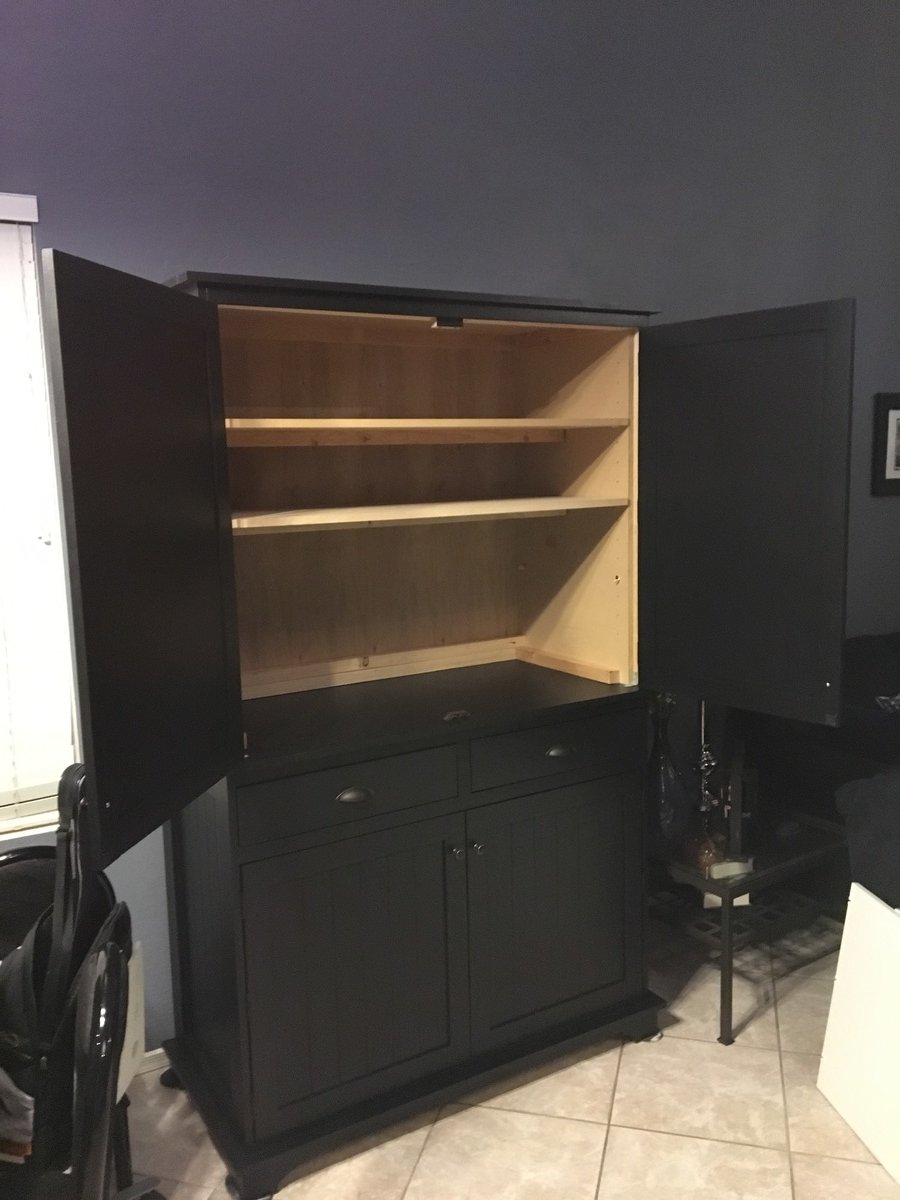
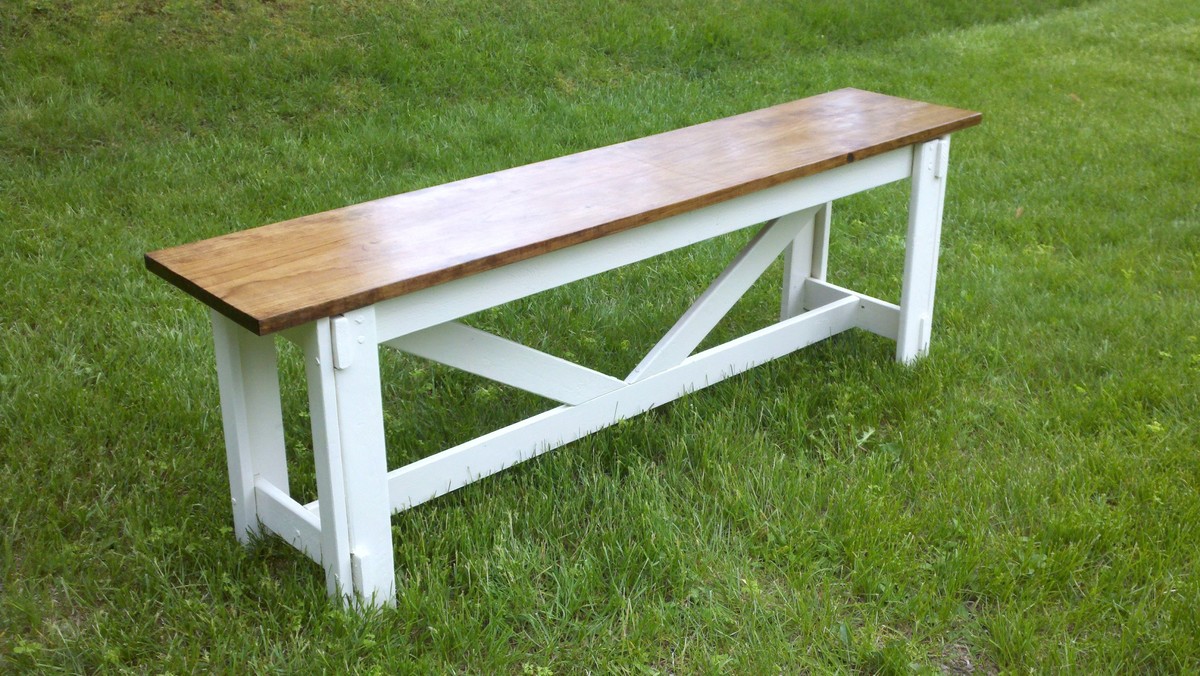
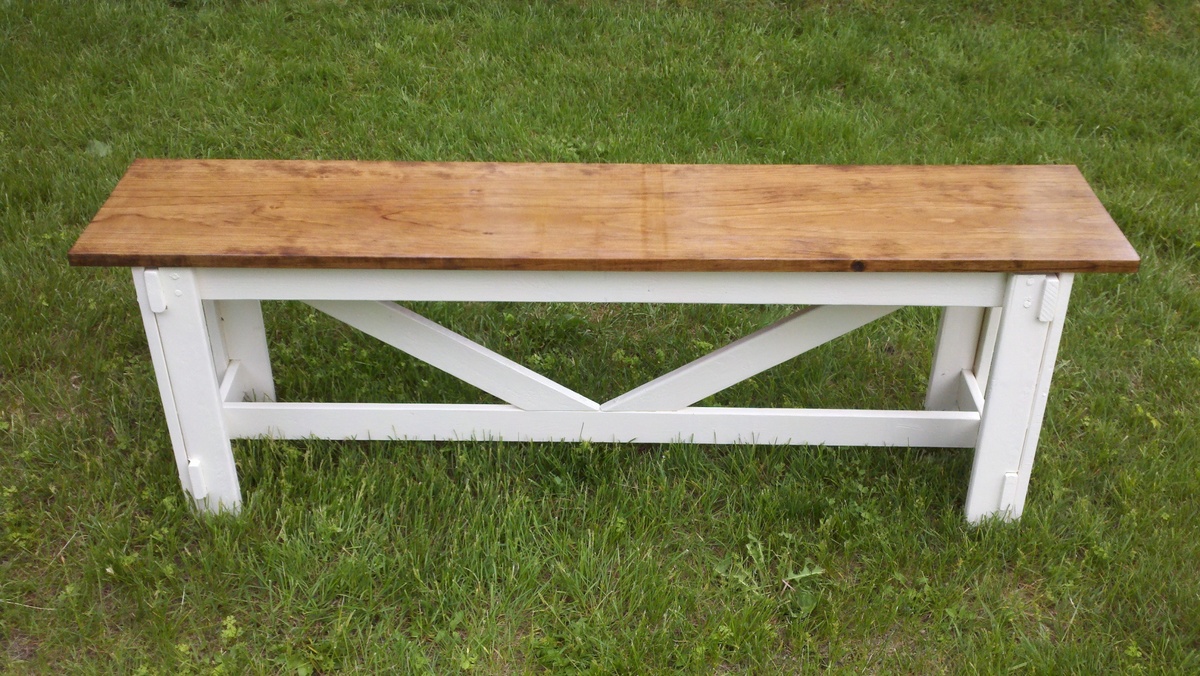
Finish Used
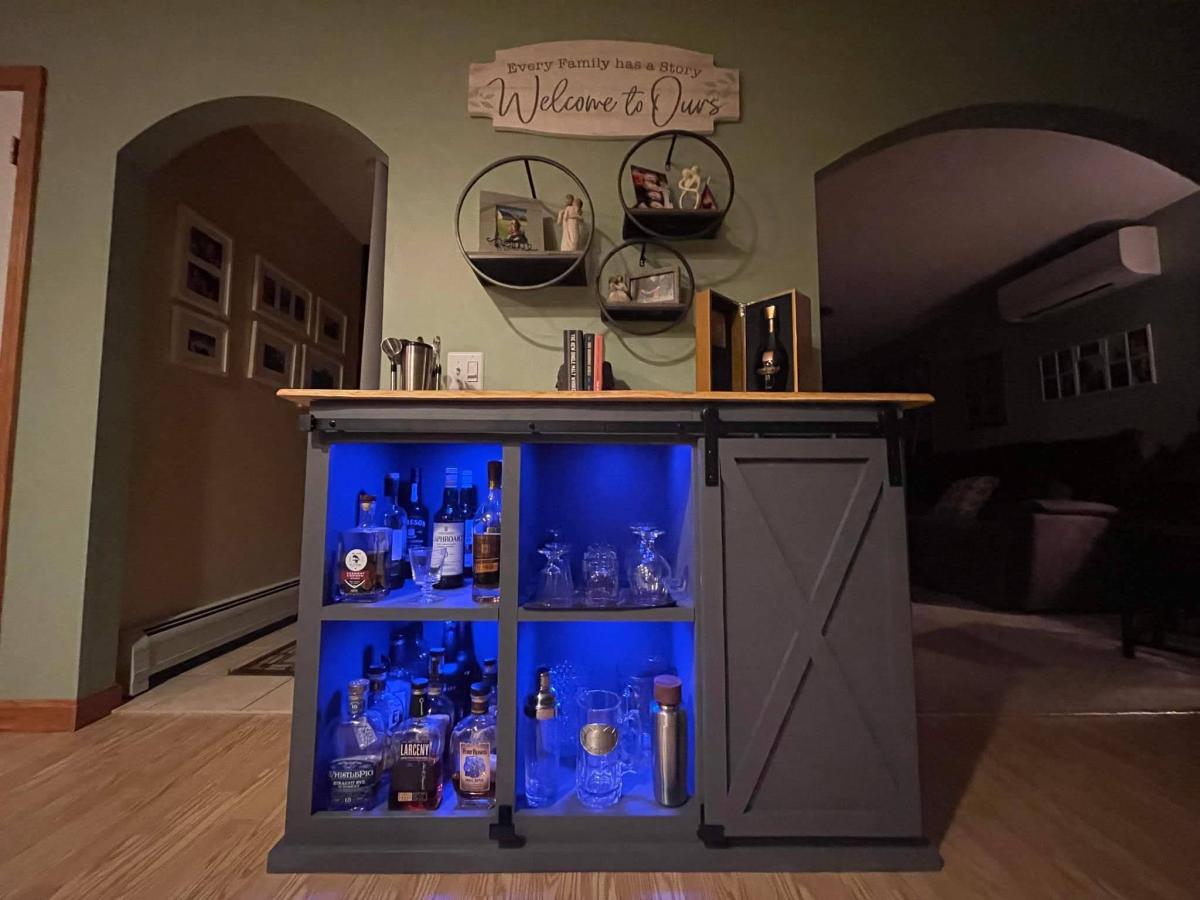
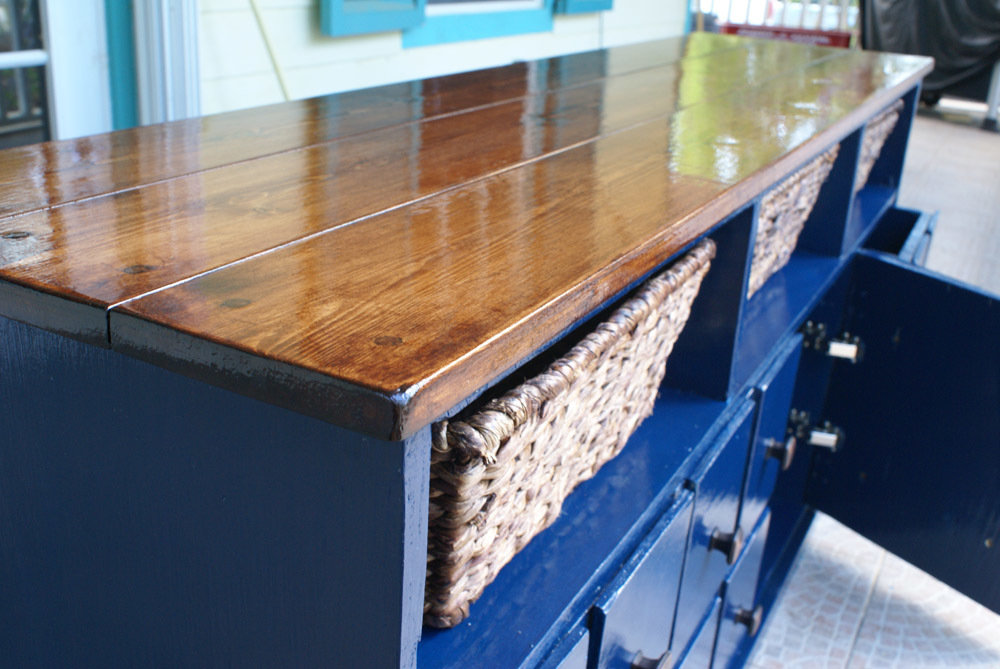
Nuwood walnut stain with 3 coats of glossy poly finish for the top, and 'night on the town' (flat interior base) paint for the bottom with one coat of glossy poly. I wasn't crazy about the poly on the blue part, but I didn't want to sand it down and try again... just wanted to get it in so I could use it :) Maybe later on down the road when I'm ready for a new look.
Recommended Skill Level
Intermediate