Community Brag Posts

Michael Collection Bookcase Unit

Submitted by DTeague on Fri, 05/20/2011 - 08:43

Couldn't wait to show it off, I'll post another picture when I have it in the room! This goes with the Michael Collection twin platform bed. The open area you see will be covered by the bed. Its a bit dusty still and the top isn't completely finished but I'm so excited how it has turned out!

Estimated Cost
$75.00
Estimated Time Investment
Week Long Project (20 Hours or More)
Finish Used
Minwax Red Mahogony and Minwax Clear Satin Wipe on Poly
Recommended Skill Level
Intermediate

Sturdy Workbench Modified

Submitted by Seth on Sat, 07/13/2013 - 21:55

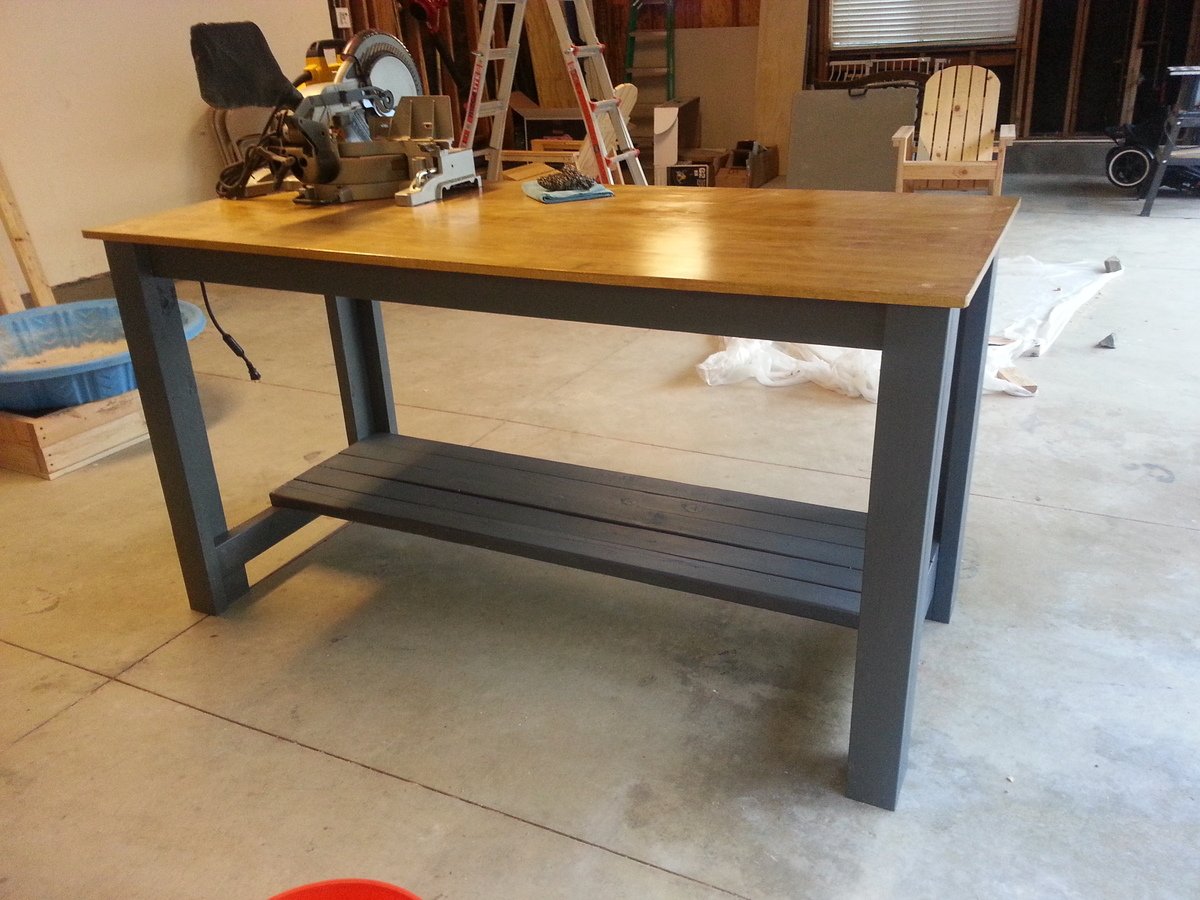
This is a modified version of the sturdy workbench. I made it six feet long, about three feet wide (I can't remember exactly), and 36'' high. Since I'm 6'2'', I needed a bench that didn't keep me constantly bending over.

I used Douglas Fir framing lumber and 3/4'' plywood for the surface. The plywood was a cheap replaceable option since hardwood is extremely expensive in my area. The wood warped a bit after I built it, so its clearly not perfect. But who cares, its a workbench after all...

I used left over paint / stain I had laying around in the garage. The gray is a custom mix interior paint, and the stain is Minwax Golden Oak. I used 1 coat of stain, and three coats of Poly.

Built from Plan(s)
Estimated Cost
$100
Estimated Time Investment
Afternoon Project (3-6 Hours)
Finish Used
Minwax golden oak 1x, conditioner 1x, and poly 3x.
Recommended Skill Level
Starter Project

Comments

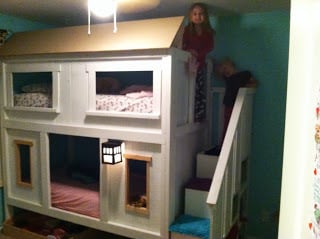
Craftsman Style Sweet Pea Bunk Beds

Submitted by Perkelator on Wed, 07/24/2013 - 21:56

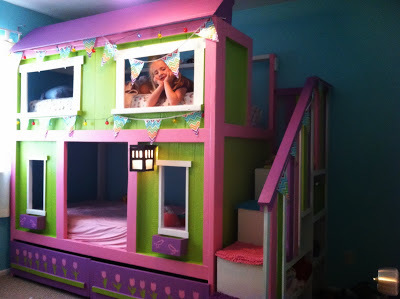
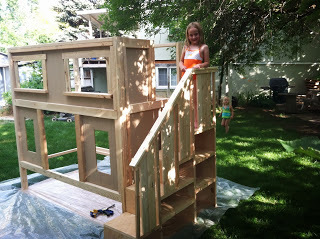
I'm so thankful for these plans! I love how these beds turned out, my daughters love them too! Whenever they have friends come over, this is the first place all of them want to go (not necessarily a good thing, I know).

I wrote about the project on my blog: sharethepants.blogspot.com

This is my third project that I've attempted since finding this amazing website and it's certainly my favorite!

I ended up leaving off the pergola due to an overactive climbing two year old. We are planning on adding some additional decorations as we have ideas. Mailbox and house numbers on on their way.

Estimated Cost
350-400
Estimated Time Investment
Week Long Project (20 Hours or More)
Finish Used
Satin finish paint
Recommended Skill Level
Beginner

Comments

birdsandsoap

Fri, 07/26/2013 - 22:24

I love the color combo! It looks great without the pergola too. And I love the way you built/painted the flower boxes under the bed. nice job!

Perkelator

Fri, 07/26/2013 - 23:37

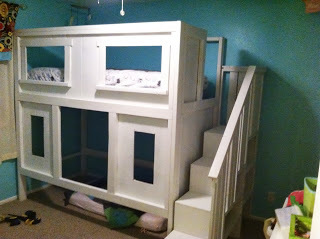
I can't tell you how great your plans are! I am so impressed by all the details you put into it. I changed some things (like paneling instead of the charming 1X3's and 1X4's, and leaving the back open) but I was so impressed by how everything came together--especially the stairs. You did a fantastic job.

Easy and Fast DIY Garage Workshop

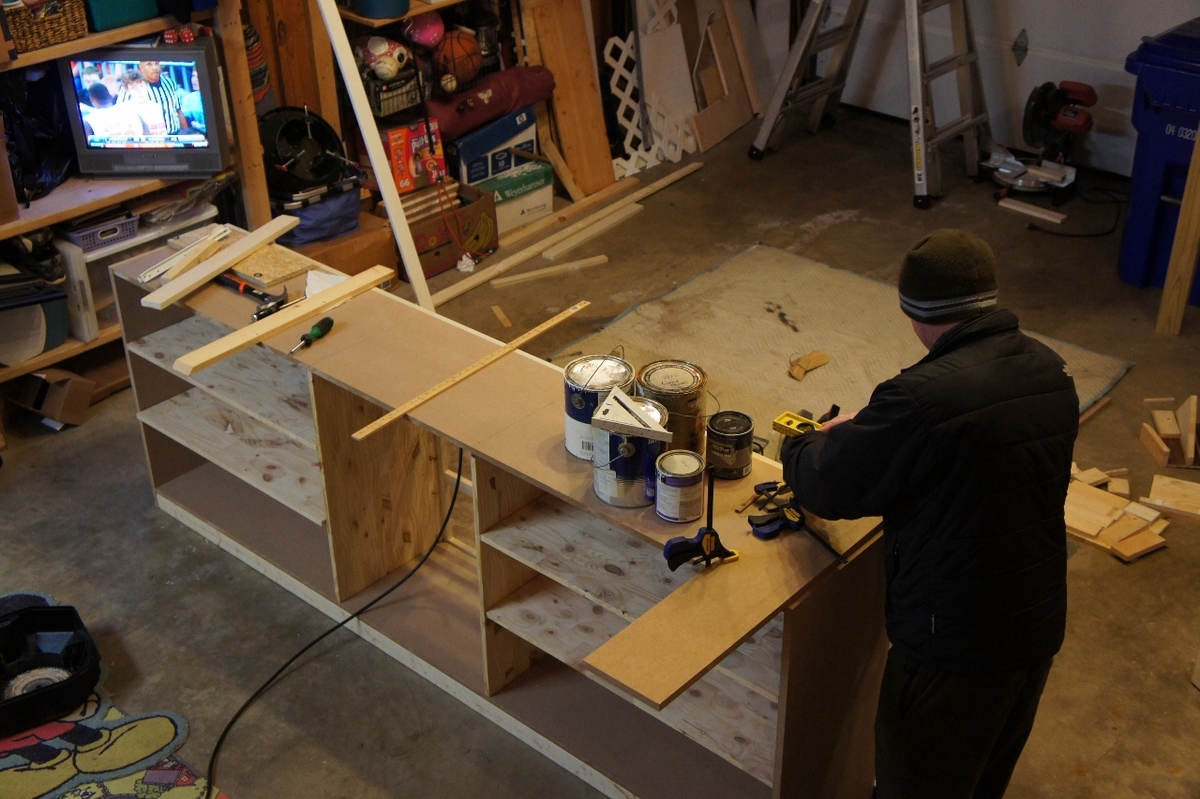
I used these plans and modified the height to create functional countertop and shelving in my garage. I added a little face framing too. Thank you for the inspiration Ana!

Estimated Time Investment
Weekend Project (10-20 Hours)
Finish Used
Mineral Oil
Recommended Skill Level
Beginner

Comments

tarah

Thu, 03/26/2020 - 15:58

How do I access the plans used for this project? Thanks!

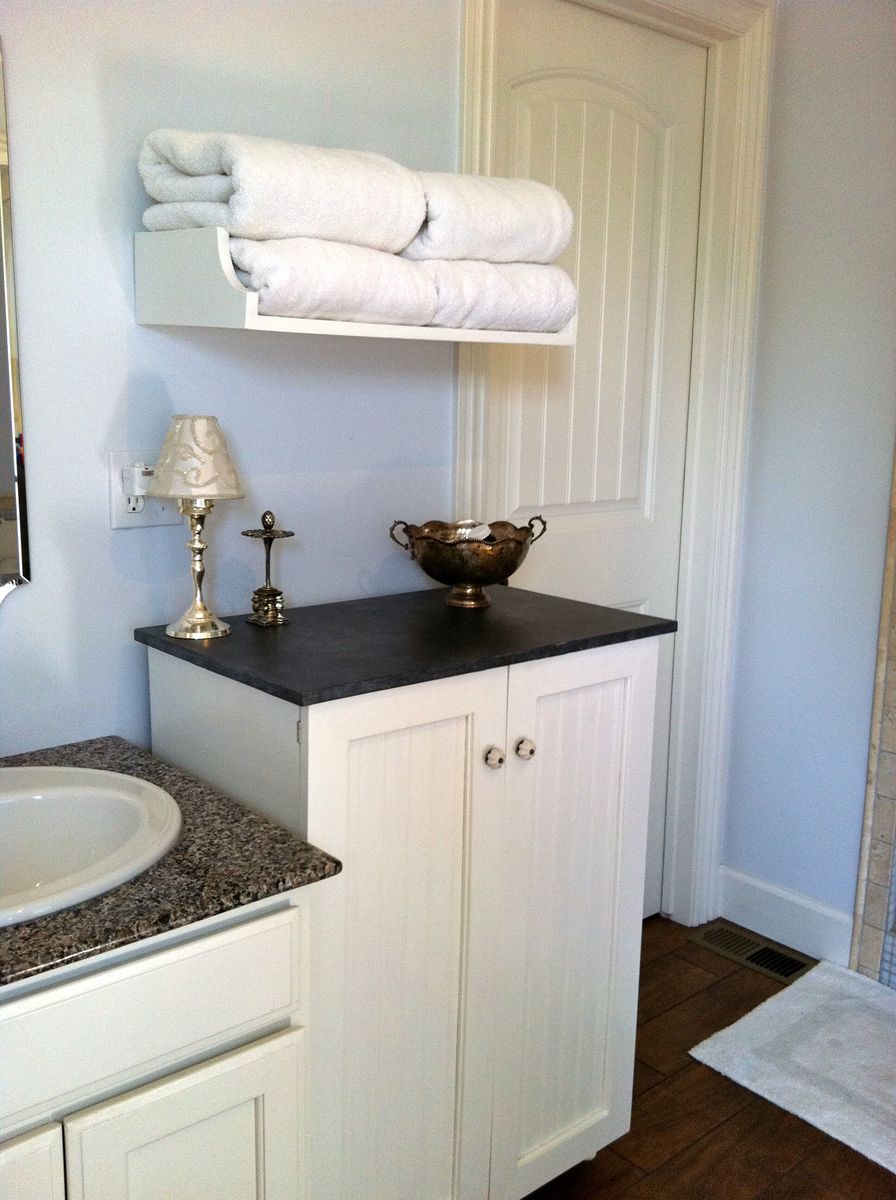
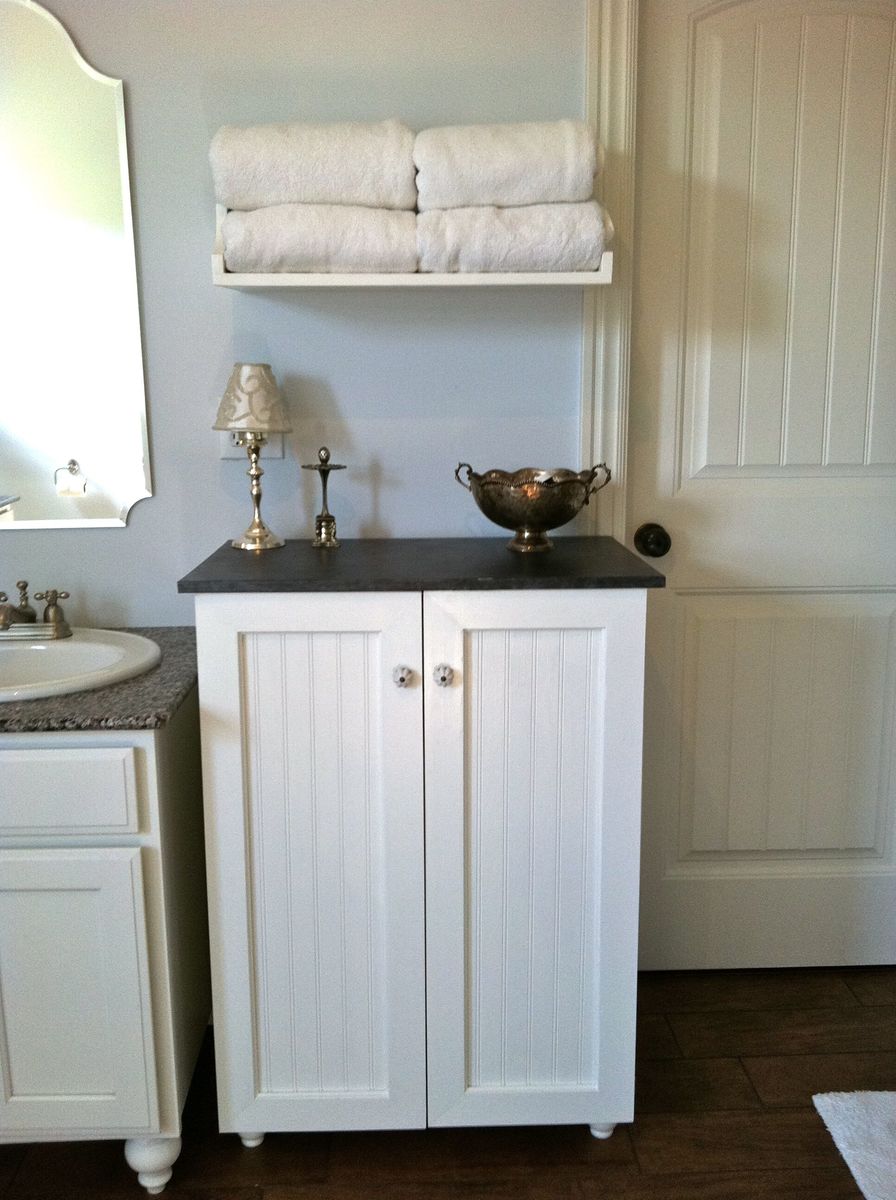
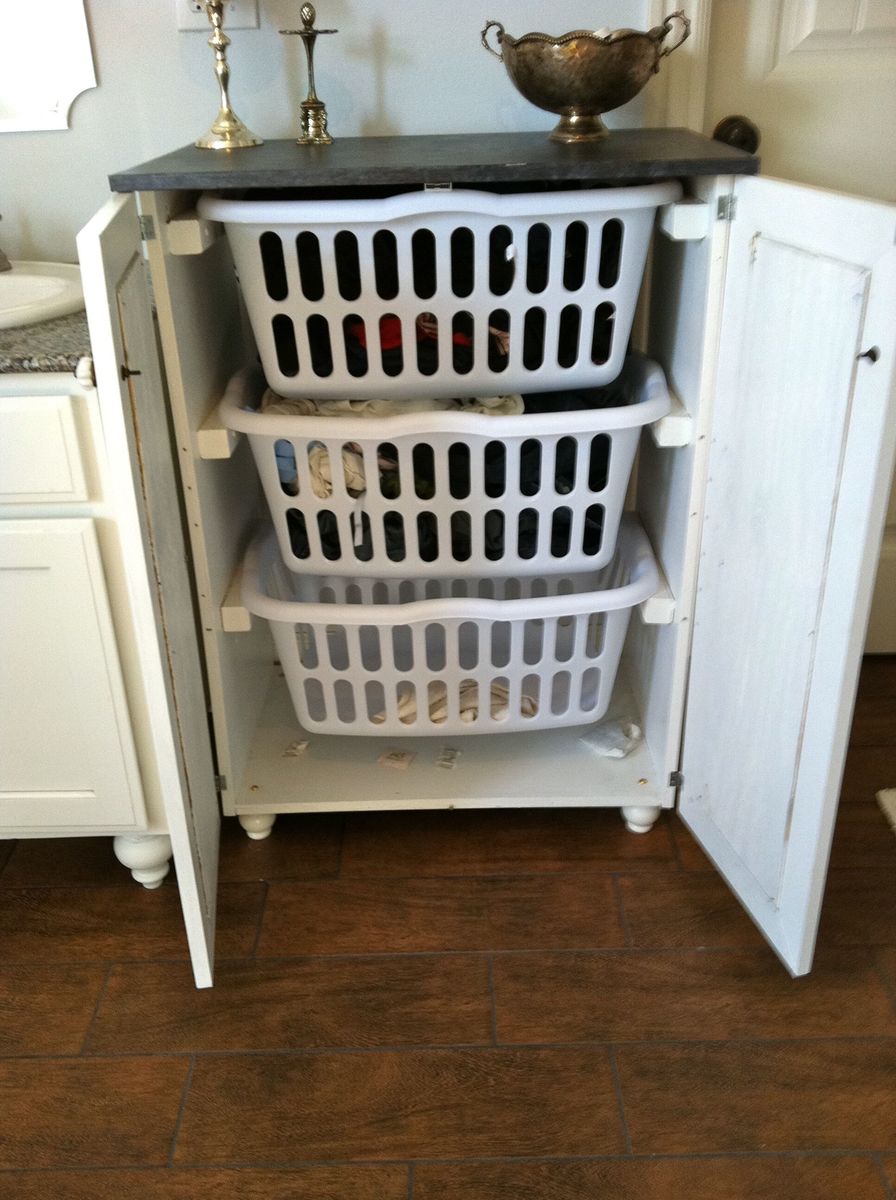
My laundry basket dresser with doors

Submitted by jensimmons on Sun, 07/03/2011 - 20:19

I wanted to use our laundry basket dresser as a collector for dirty laundry in our bathroom, and wanted it to have doors so it would blend in better. I also made the shelf above for our towels. It is painted white with a faux-zinc finish on the top. I made the top slightly larger so it would overhang and added cute little bun feet. My talented friend Carli helped me build the doors (and by helped I mean I handed her things while she impressed me with all her tools and skills!) and frame.

Built from Plan(s)
Estimated Cost
$75-100 (can't remember exactly)
Estimated Time Investment
Weekend Project (10-20 Hours)
Finish Used
white semi-gloss paint, zinc faux finish: layer 1 dark charcoal paint, layer 2 dark pewter metallic glaze, layer 3 white paint thinned with water & rubbed on/off.
Recommended Skill Level
Intermediate

Comments

Guest (not verified)

Fri, 07/29/2011 - 23:37

this is perfect! i totally need a bunch just like this! I love the added doors!

Pam in Colorado (not verified)

Sat, 09/17/2011 - 12:48

This is the look I'd like, fit the baskets and hide them behind doors until you are ready to do the laundry. These could be made for bedrooms, bathrooms, toy rooms (okay, toys instead of dirty laundry)...

Guest (not verified)

Fri, 11/11/2011 - 08:05

I absolutely love this! Could you please add instructions on how to make/paint and install the doors? I am a newbie to making my own furniture. Thanks!

Guest (not verified)

Wed, 01/11/2012 - 08:29

I love this idea! I will have a new bathroom soon and I think this will get used! What are the dimensions, or what style cabinet would you suggest to look for? TIA!

Jennifer Simmons (not verified)

Fri, 02/17/2012 - 05:57

The dimensions are the same as Ana's plan: http://ana-white.com/2010/11/laundry-basket-dresser except that the top is slightly bigger (3/4" overhang on front/sides) to look more like a countertop. On the doors we just made a frame w/ angled pieces, routed a notched line on the back & glued/nailed some beadboard in from the back. Sorry I can't be much more detailed on that, a friend did most of the doors for me!

Guest (not verified)

Sun, 02/19/2012 - 07:42

I actually got the plywood to do this project and I was going to add doors. I looked at the baskets suggested but it seems they would stick out the front. I was just curious, did you use different baskets that would fit inside the cabinet or did you make the cabinet slightly deeper?

Jennifer Simmons (not verified)

Sat, 02/25/2012 - 05:36

Actually I discovered the same problem after it was built. I just didn't put a back on and they stick out a tiny bit in the back. I actually kind of like it that way because it lets some air in (being in the bathroom and putting towels in I could see it getting mildewy without much circulation). But if I had gotten the baskets first I probably would have made it about 2" deeper, then leave some open space, but not all, on the back.

Kitchen Ledge Shelves

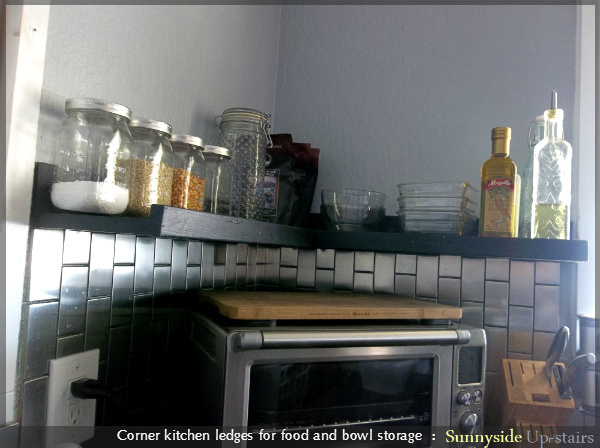
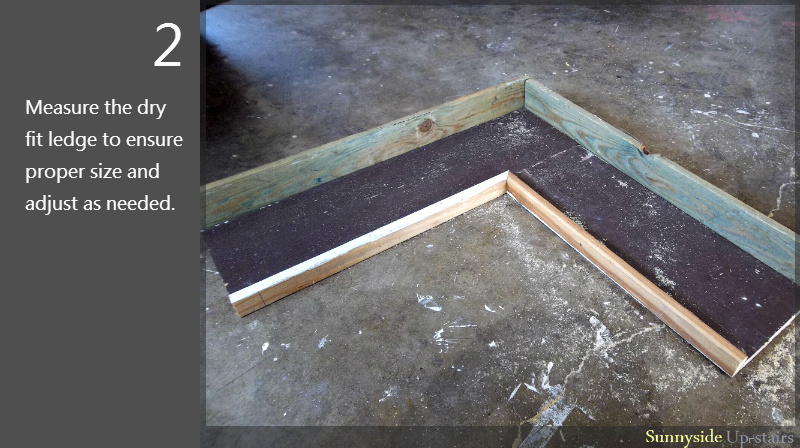
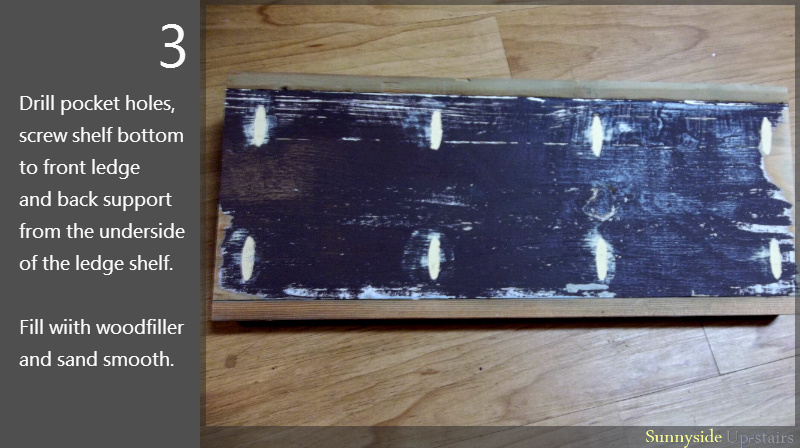
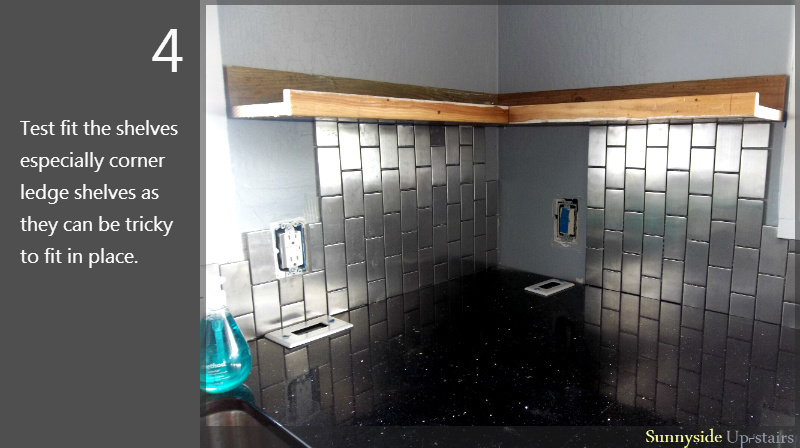
I built ledge shelves for our kitchen using reclaimed wood I painted teal, then silver, then flat black (Napoleon).

Love having them. :)

Built from Plan(s)
Estimated Cost
$5.40
Estimated Time Investment
Afternoon Project (3-6 Hours)
Finish Used
Teal semi-gloss latex undercoat, silver spray paint, matte black (Napoleon) latex paint top coat.

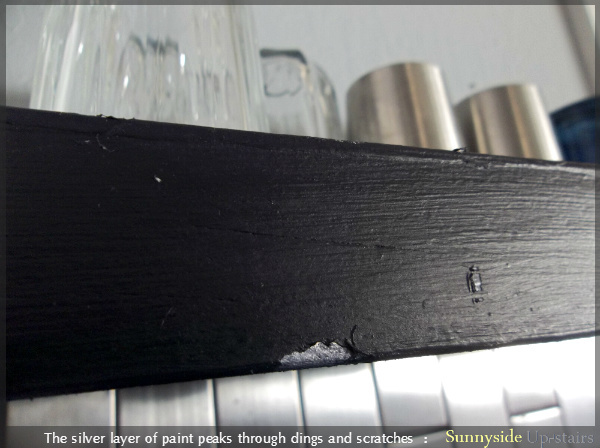
I wasn't sure what color I wanted. I didn't seal the shelves, just in case I changed my mind again, but I love how knicking it brings out the teal or the silver under the black!
Recommended Skill Level
Starter Project

Comments

JoanneS

Sat, 08/10/2013 - 19:19

Great looking shelves, and it's neat how you got these in the corner shape. It adds so much storage! The color looks perfect with the tile and counter. Love the little flecks of the other colors peeking through too! Great job!

In reply to by JoanneS

yurra-bazain

Sun, 08/11/2013 - 10:15

These ledge shelves really are my favorite shelves right now. I plan to add a few more to my daughter's room, but I'll wait to make those until after I build her dresser. :)

babysteps

Tue, 01/14/2014 - 11:42

I love your adaptation of the original design. I have been looking for an example of someone who made this plan into a wider shelf. Has it held up well? I was worried about the stress on the joints when you make it deeper. Has yours handled the weight? How wide is the bottom piece?

In reply to by babysteps

yurra-bazain

Mon, 04/21/2014 - 11:14

I've had the shelves up for about a year now and it's still in the same spot. The corner shelves are the most sturdy, most likely because it is supported by screws in two perpendicular walls. Its filled with mason jars (re-used, cleaned pickle jars) of pantry items, and there is no visible stress on the joints that I can see.

The smaller shelf is not as sturdy because I could not locate a stud (that didn't have electrical wiring close to it). I used wall anchors and it sags ever so slightly forward (about a millimeter). We only keep our drinkware on it, however.

The base of the shelf is made from a 1x8 (7-1/4" wide). The full width of the shelf with the 1x4 back and 1x2 front lip is about 8-3/4" wide.

I hope this comment reaches you and that it helpful!

Grid mirror

Submitted by Jtlarson12 on Tue, 09/11/2018 - 10:20

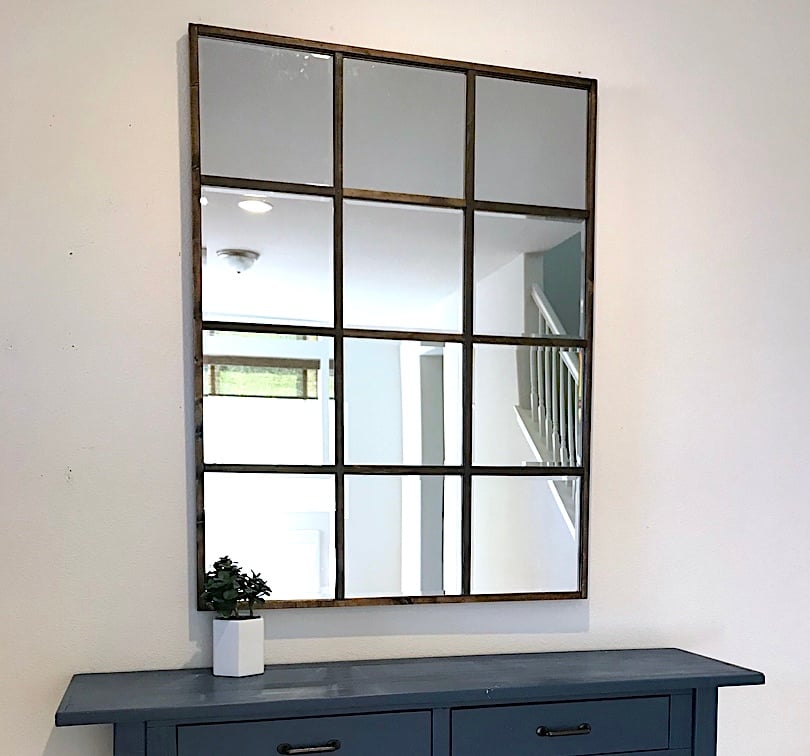
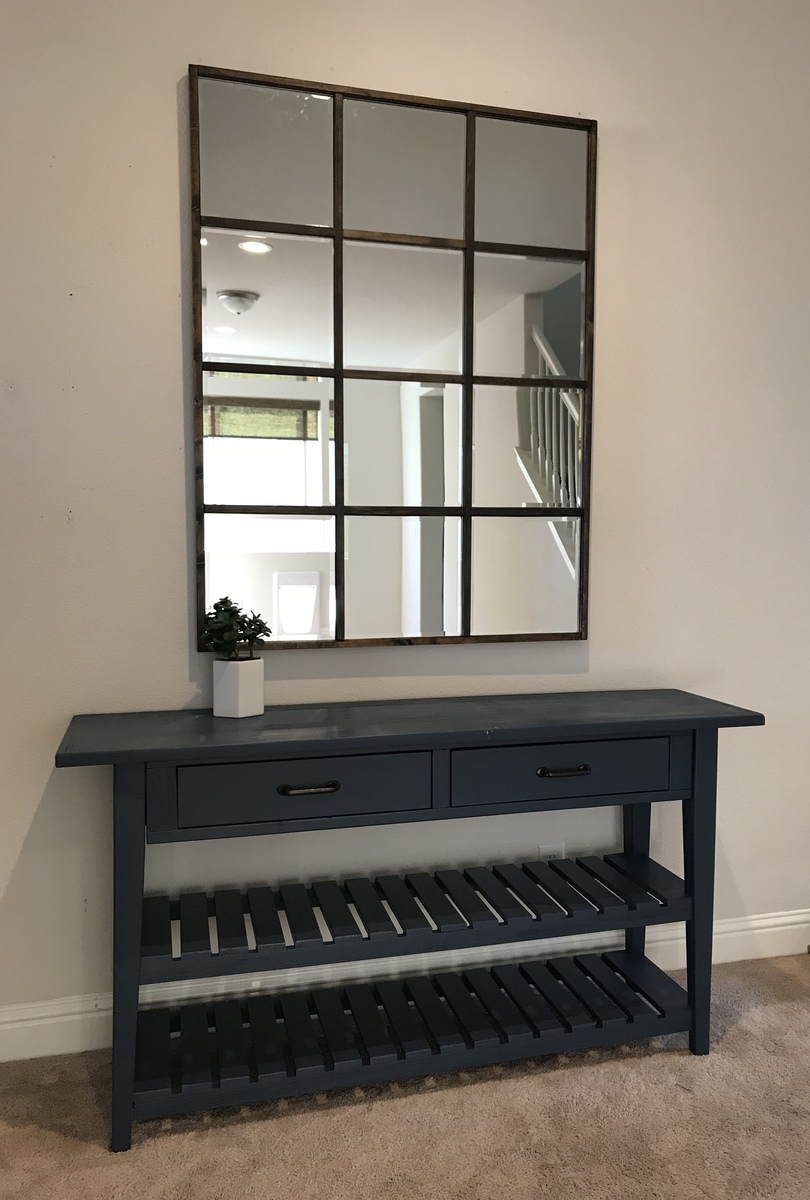
DIY grid mirror. Used exact plan. 

Estimated Cost
$60
Estimated Time Investment
Afternoon Project (3-6 Hours)
Finish Used
Minwax Dark Walnut 2716
Recommended Skill Level
Beginner

Comments

Bathroom Storage Cabinet

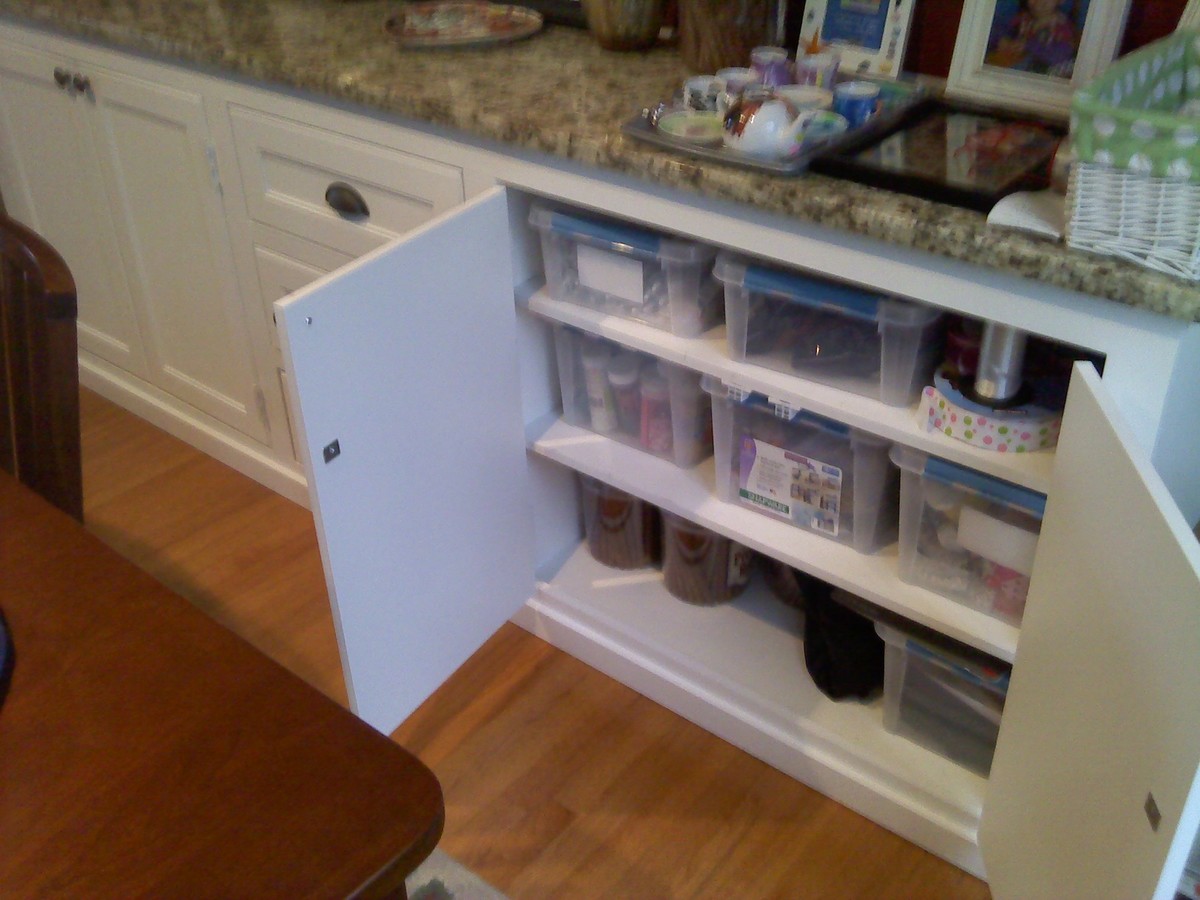
I built this cabinet to store magazines and diapers (towels when the time comes) in the small 1/2 bath.

The top was made with left over oak pieces from when I ripped out the carpet and 2x12 stairs and replaced with oak treads.

Estimated Cost
$20 (already had the treads)
Estimated Time Investment
An Hour or Two (0-2 Hours)
Finish Used
jacobean stain on top, pale sandy beige paint with jacobean stain used as glaze on body.
Recommended Skill Level
Beginner

Comments

Debi G

Wed, 07/27/2011 - 11:15

I just created something similar. The way the top and body coordinate, and how the top cubbies are sized make this a stand-out.
Something similar would work for my classroom, too.

Rustic X-Console Table

Submitted by LN2014 on Wed, 10/14/2015 - 14:19

Rustic X-Console Table made from just 2x6s striped in half to make the legs instead of using 2x4s and cutting down a 2x6 to 1 1/2in cuts to make 1x1 stripes.  I used 3/4in sanded plywood for the shelves. Everything was put together with Kreg jig screws and wood glue. Stain was applied using an air compressor and spray gun to spray a even coat of stain in sections at a time, while the stain is still wet, I wipe off the excess stain with a clean rag leaving an even wood stain finish results. This cuts the staining from what would normally take hours of painful hand staining to just minutes with a spray gun. After the stain drys, I go over the table with either fine wool pad or 1000 grit sand paper to remove any rough spots. I then apply the polyurethane with the spray gun as well. Once that dries, I go over the table again with 2000 grit wet/dry sand paper leaving a ultra smooth even finish. I use a total of 6 (2x6 white pine boards) striped to needed sizes and half of (4x8 sanded 3/4in plywood) for this project. I had to modify the demensions for the different sizes of cuts, but overall saving money instead of buying the individual 2x4s,1x1s, and solid pine boards. It takes a bit longer but well worth it.

Built from Plan(s)
Estimated Cost
$60
Estimated Time Investment
Day Project (6-9 Hours)
Finish Used
Varathane Ash Stain
Varathane Satin polyurethane water based
Recommended Skill Level
Beginner

Dining Room Buffet Cabinet

Submitted by kdins31 on Sat, 08/13/2011 - 11:26

I scoured the web unsuccessfully for months trying to find a cabinet big enough to store everything we needed to store. I wanted something huge and bright and simple, and so I decided to just build away. It's 8'4" long, 18" deep and 36" tall. Topped with a slab of Giallo Napoleon granite and painted a nice plain white. Took me only a few nights to build and paint, thanks to my power nailer and power paint sprayer. Thanks to a great deal on a remnant granite slab, this was just about $400 total start to finish. I winged the entire plan and didn't really use any plans in particular, though I have gathered many great ideas and tips from this site.

Built from Plan(s)
Estimated Cost
$450-500
Estimated Time Investment
Weekend Project (10-20 Hours)
Finish Used
Satin white, nothing special!
Recommended Skill Level
Intermediate

Comments

shanestric

Sat, 08/13/2011 - 14:51

Wow - looks great! You would think it was done by a pro! You should be very proud of your finished product.

Toy garage

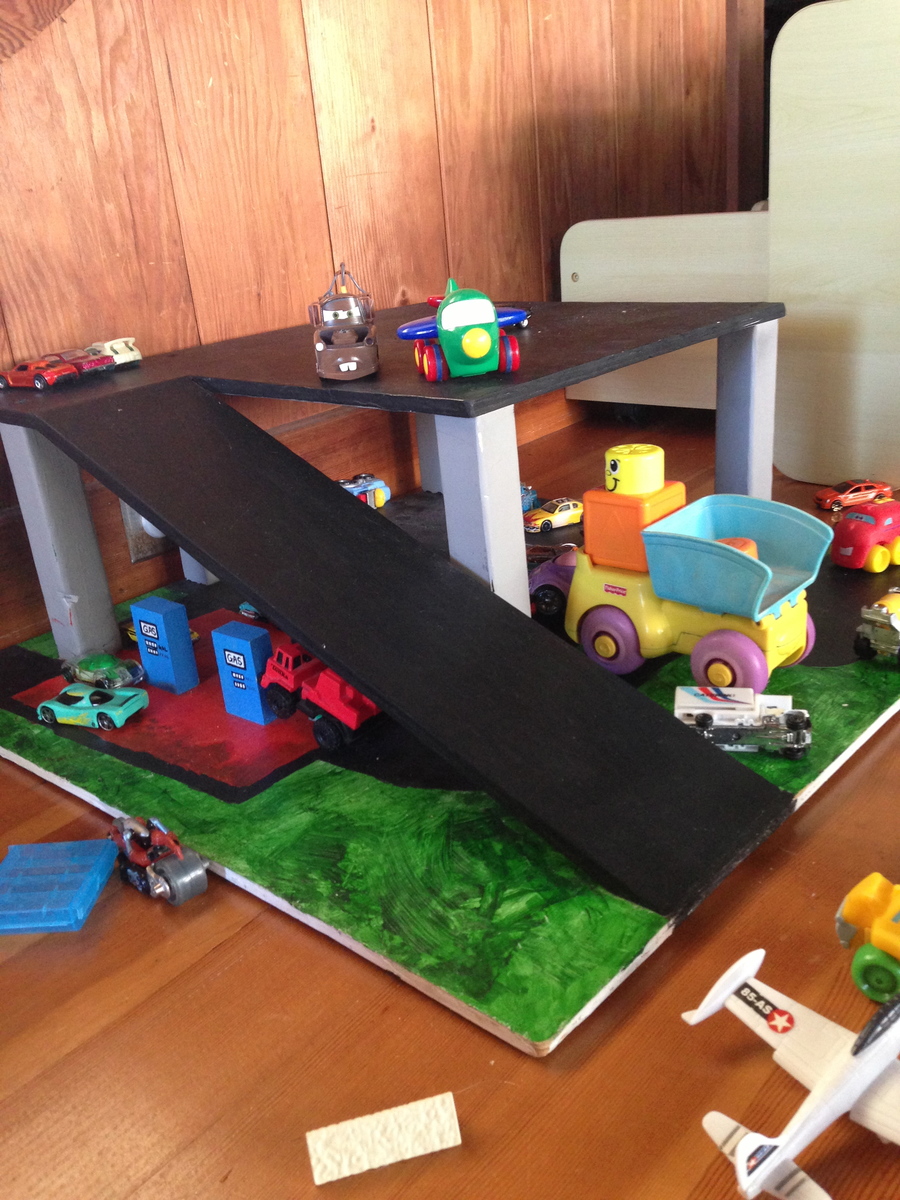
I got inspired by Ana to design my own toy garage - so that there would be somewhere to store all the hot wheels that kept piling up! I have no idea what the angle is for the driveway ramp - it was trial and error with help from my husband, but it's pretty sturdy. Between the mitered cut and the copious amounts of glue, it holds the weight of a 25 lb toddler walking up it (though I try to discourage it!).
I used chalkboard paint and acrylics - so that we can draw parking stalls, lanes, or arrows as desired - my son helped with the painting. So far, the favorite activities are sending the cars down the ramp, one after another...

Estimated Time Investment
Weekend Project (10-20 Hours)
Recommended Skill Level
Beginner

Rustic X Base Farmhouse table

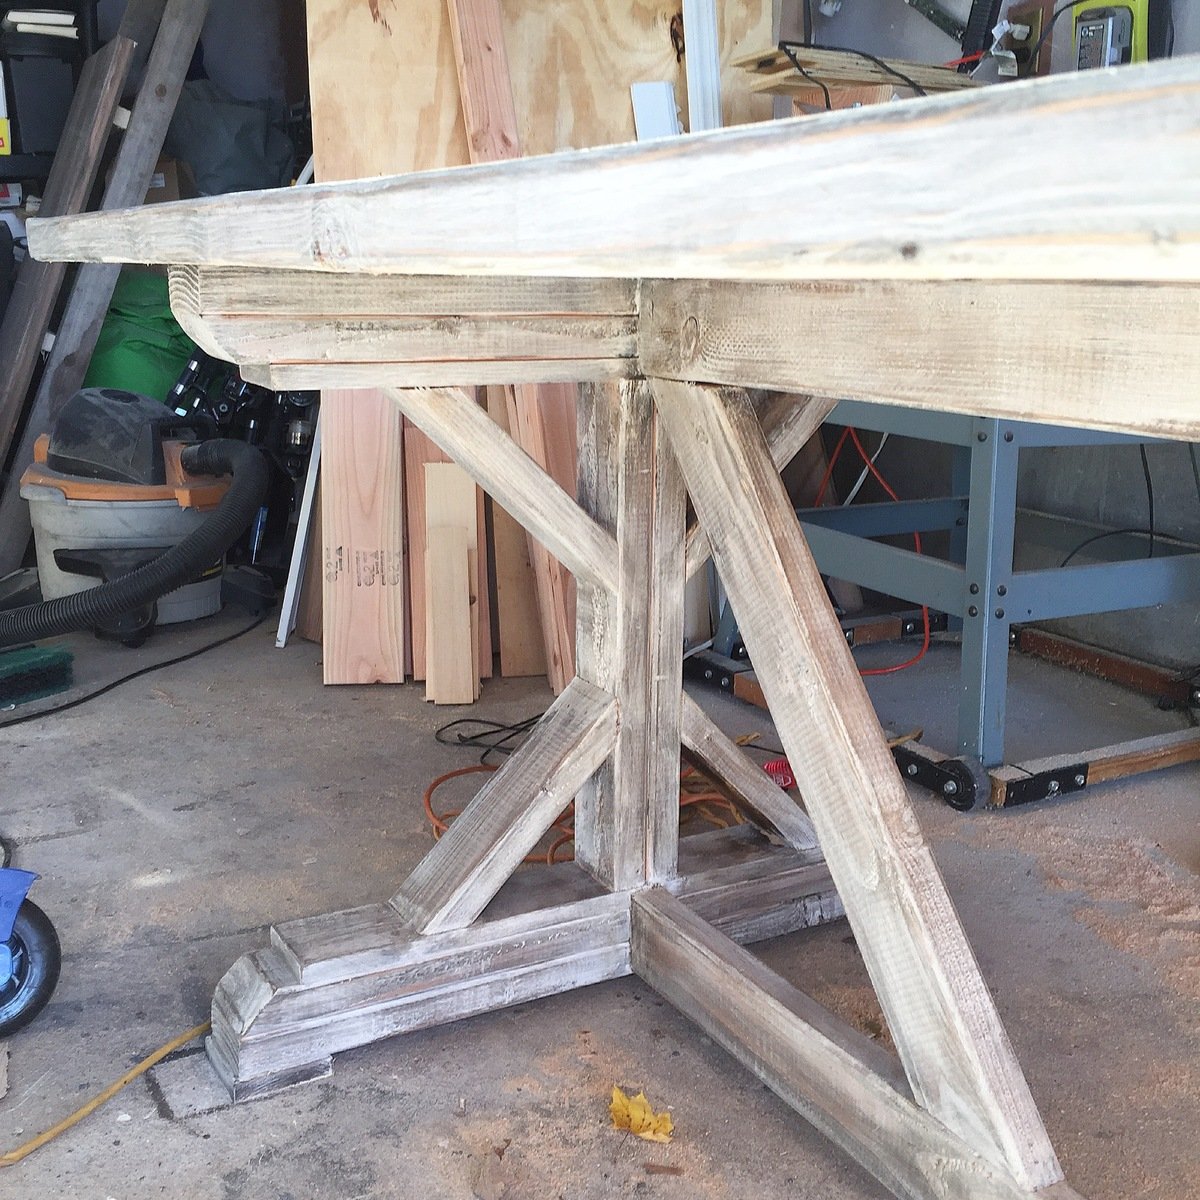
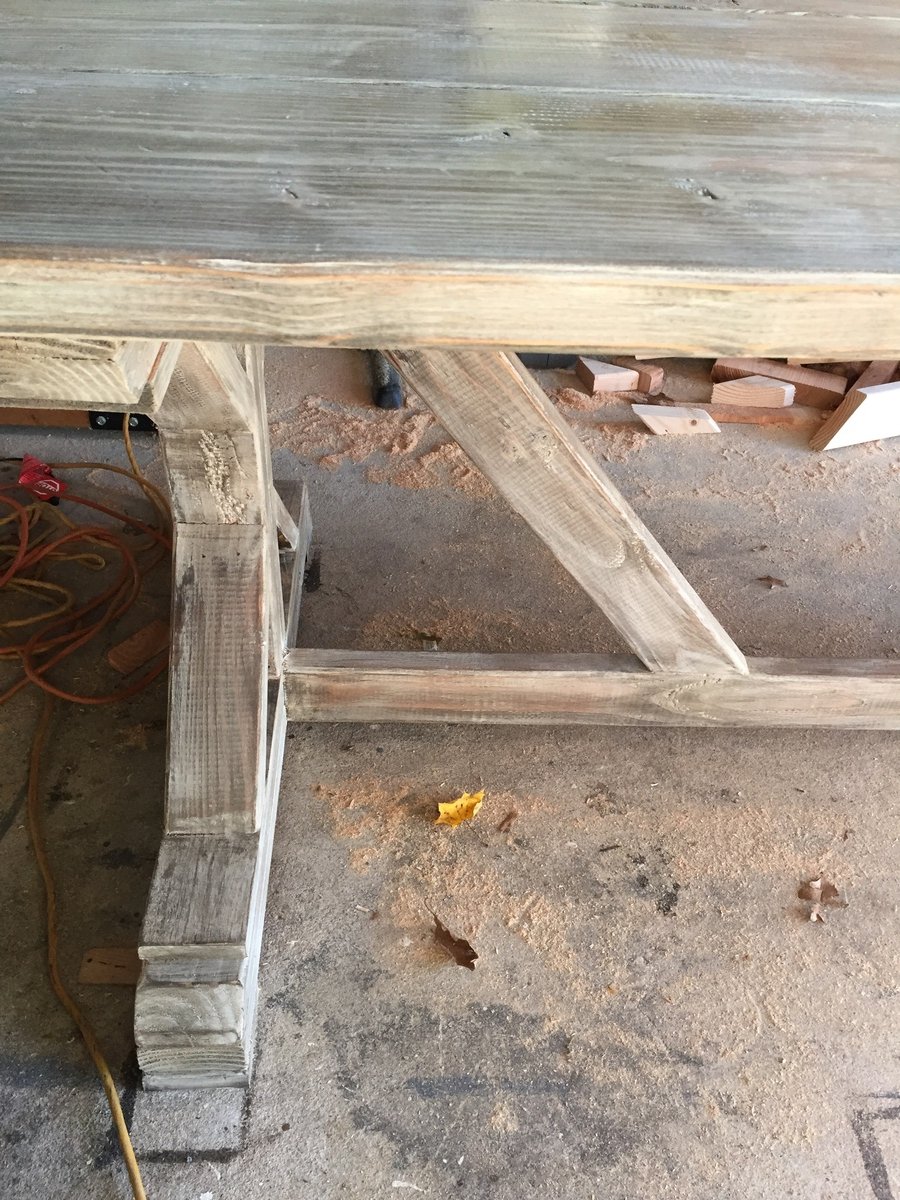
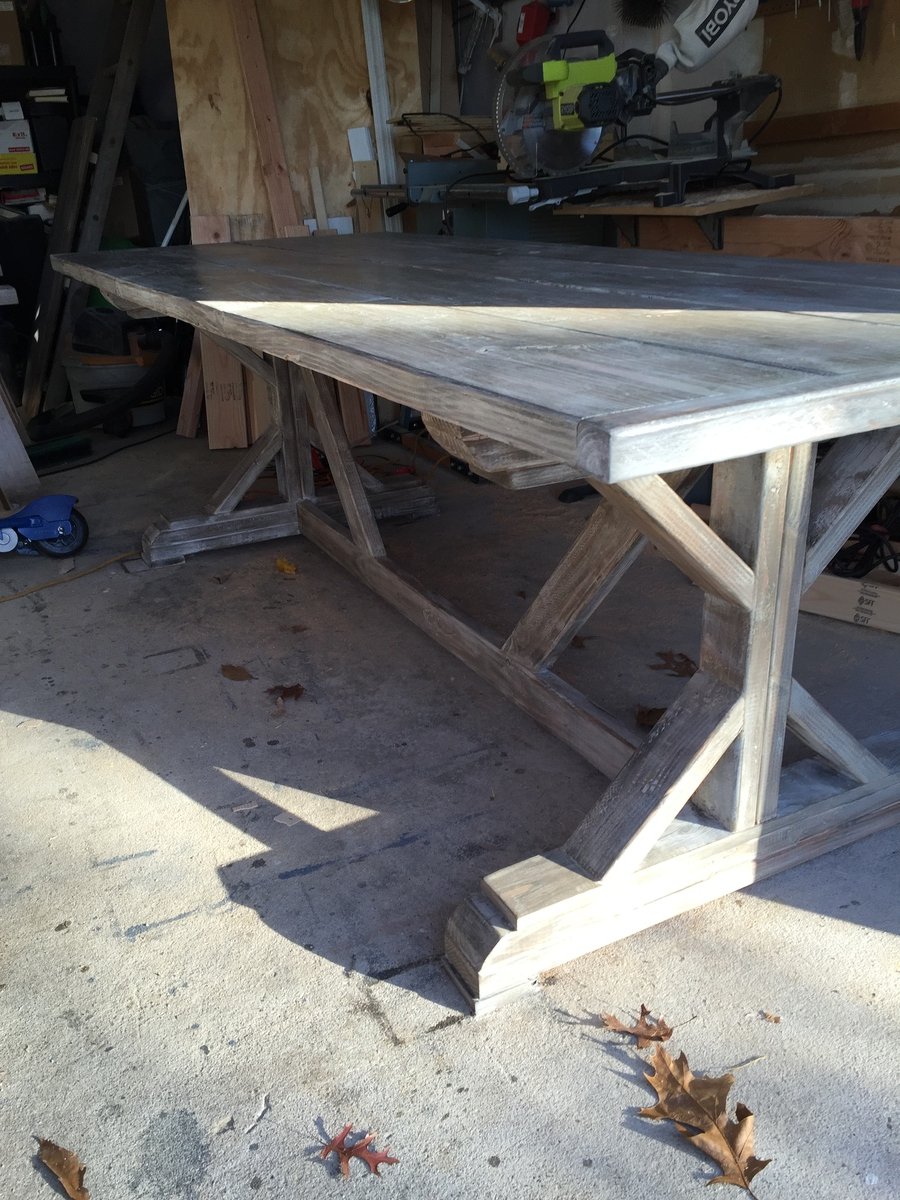
This table was made following the Ana White plan for the 8' table. I stained the whole thing Dark Walnut. I the rubbed Vaseline on the edges and anywhere else that I wanted distressed. I painted the table with a light coat of white chalk paint and sanded it to distress it after it dried. After getting the look that I wanted I applied a clear wax.

Built from Plan(s)
Estimated Time Investment
Afternoon Project (3-6 Hours)
Finish Used
Minwax Daek Walnut stain
Rustoleum chalked linen white paint
Minwax finishing wax natural color
Recommended Skill Level
Intermediate

Adirondack Chairs

Submitted by Anonymous (not verified) on Sat, 10/15/2022 - 17:52

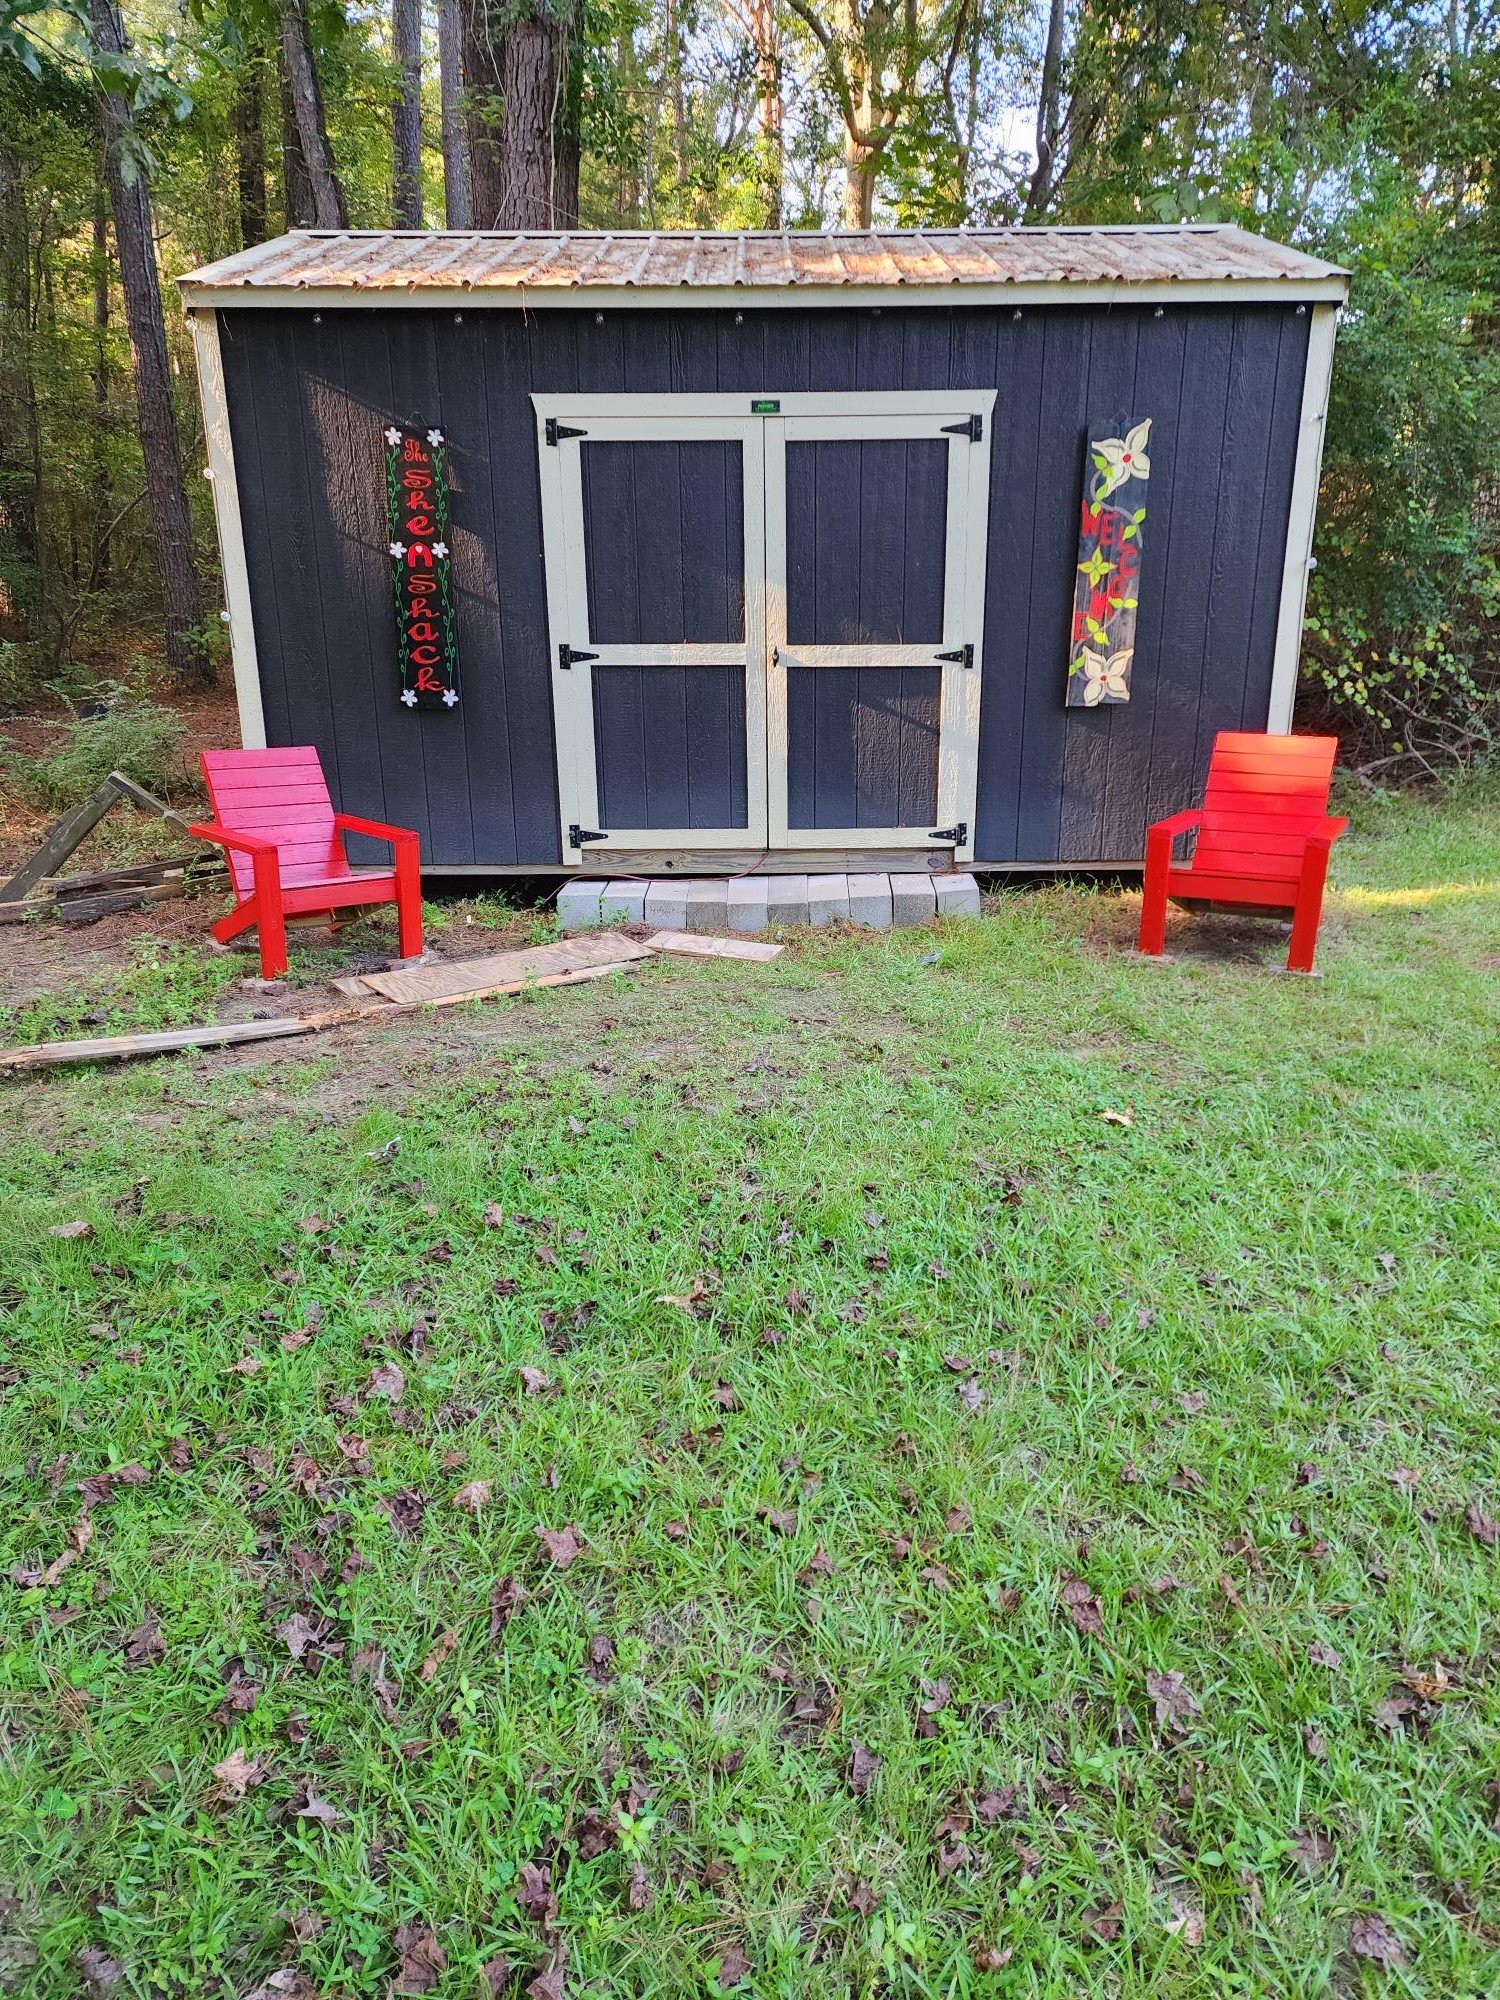
I made these adirondack chairs out of scrap 1 x4's I had left from another project. Along with the 2 x 4's. They came out beautiful. I plan to put them on my patio but they look so good by my shed. Thanks Ana for the easy plans to go by.

Built from Plan(s)

Comments

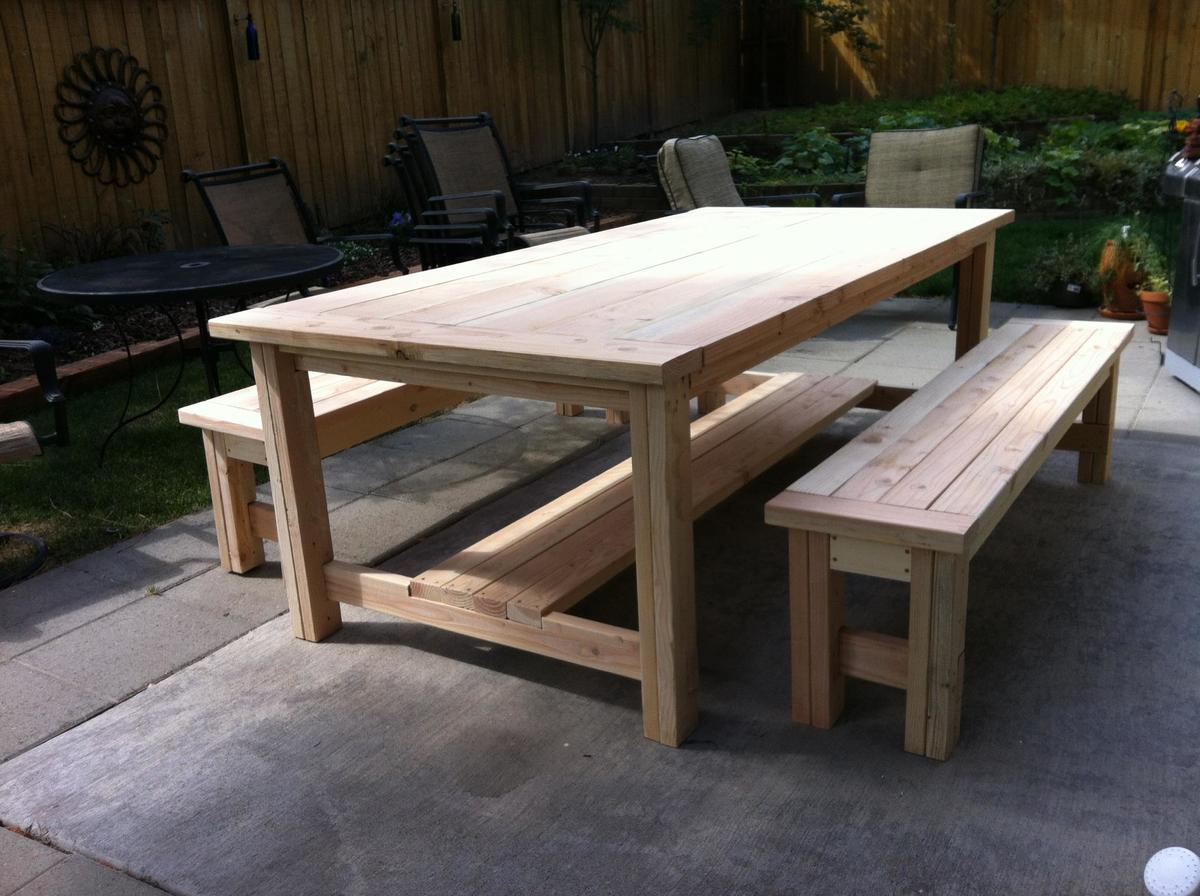
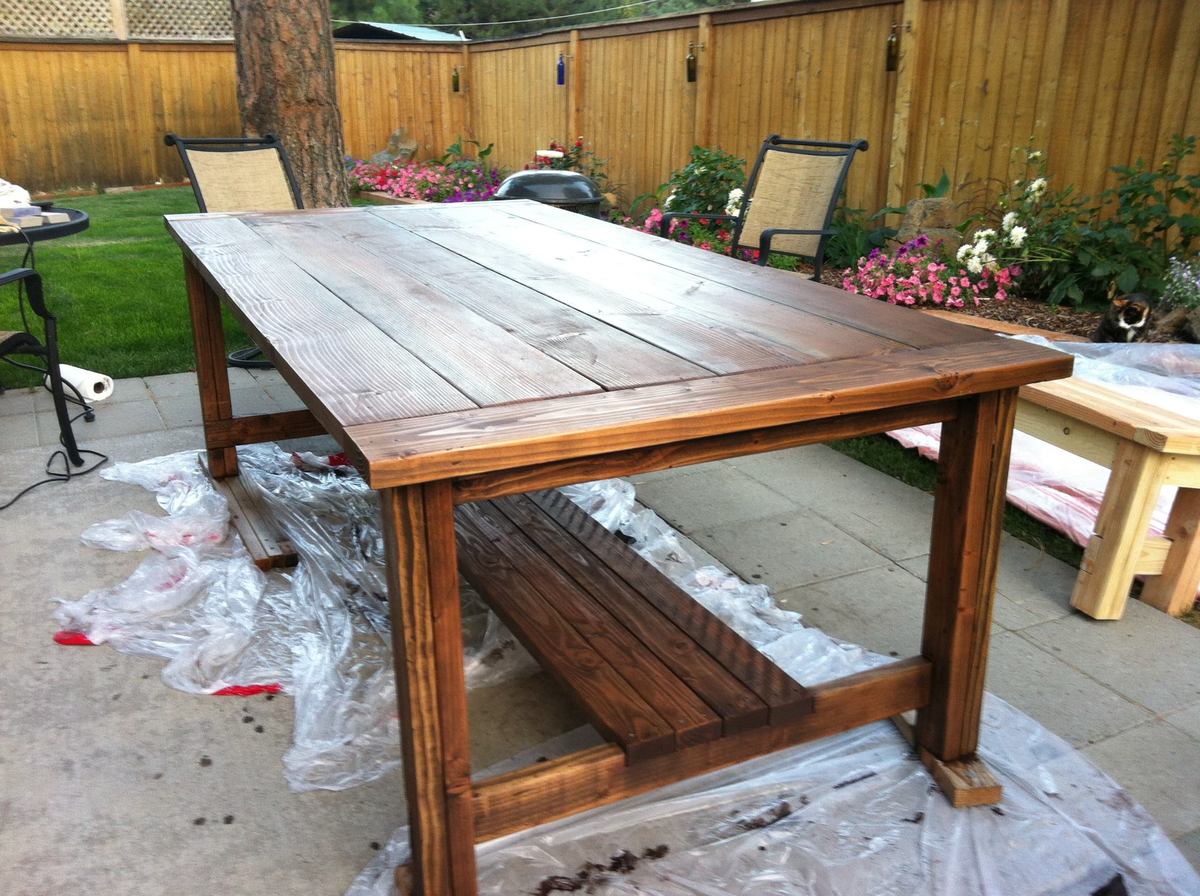
First-timer Farmhouse Table

Submitted by engarde on Mon, 09/30/2013 - 15:28

Ah behold the allure of a really good set of plans. :) Famous last words, "it looked a lot easier on paper!"

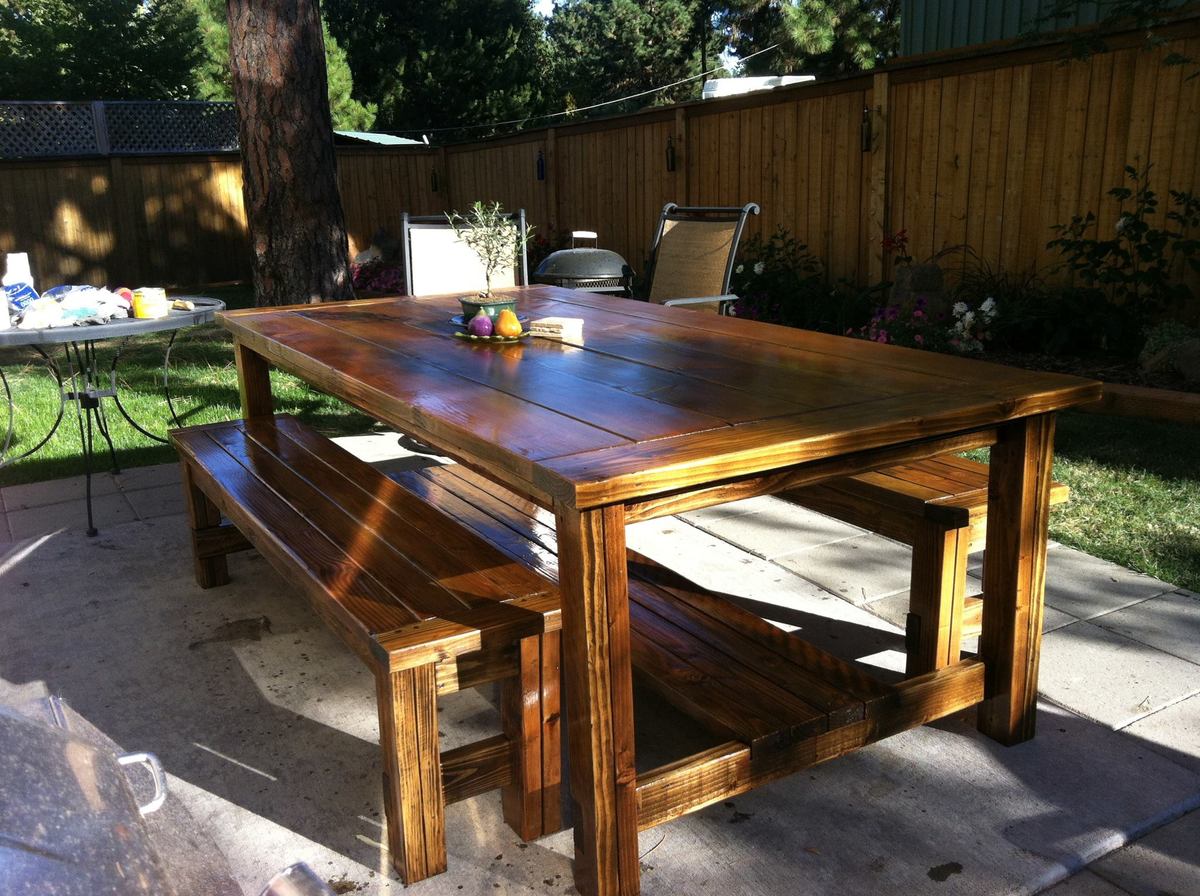
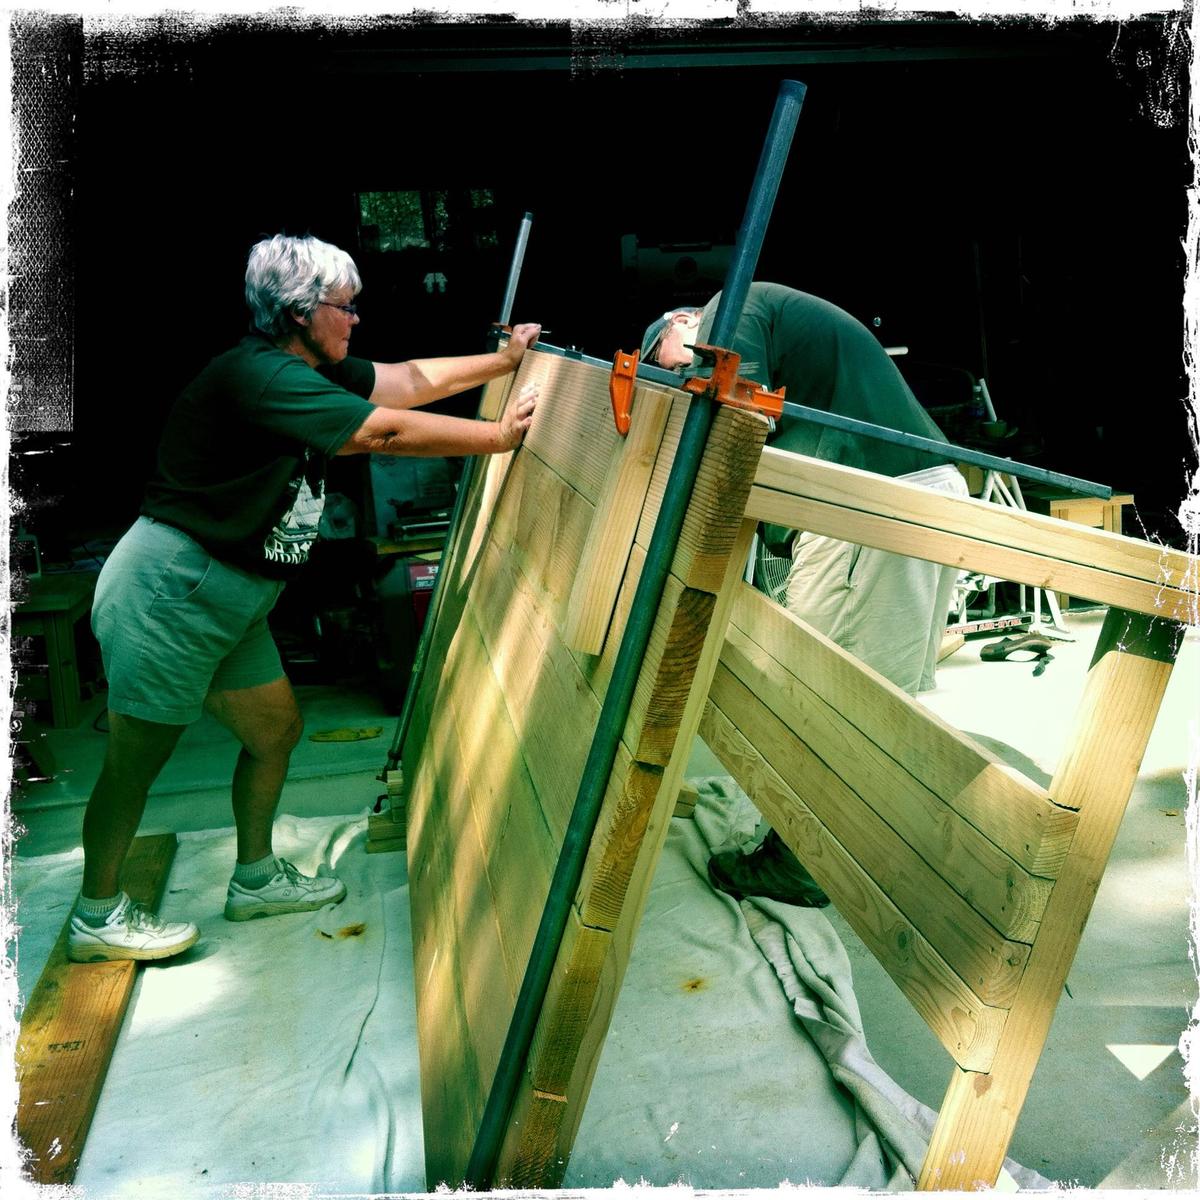
I happened across the wonderful plans for the Farmhouse Table on this site. Then I saw how it only took Handy Andy a mere 2-3 hours to make his out of reclaimed wood and thinking I would enlist my retired carpenter father to help me, easy peasy, right? Well, that was the plan anyway. :)

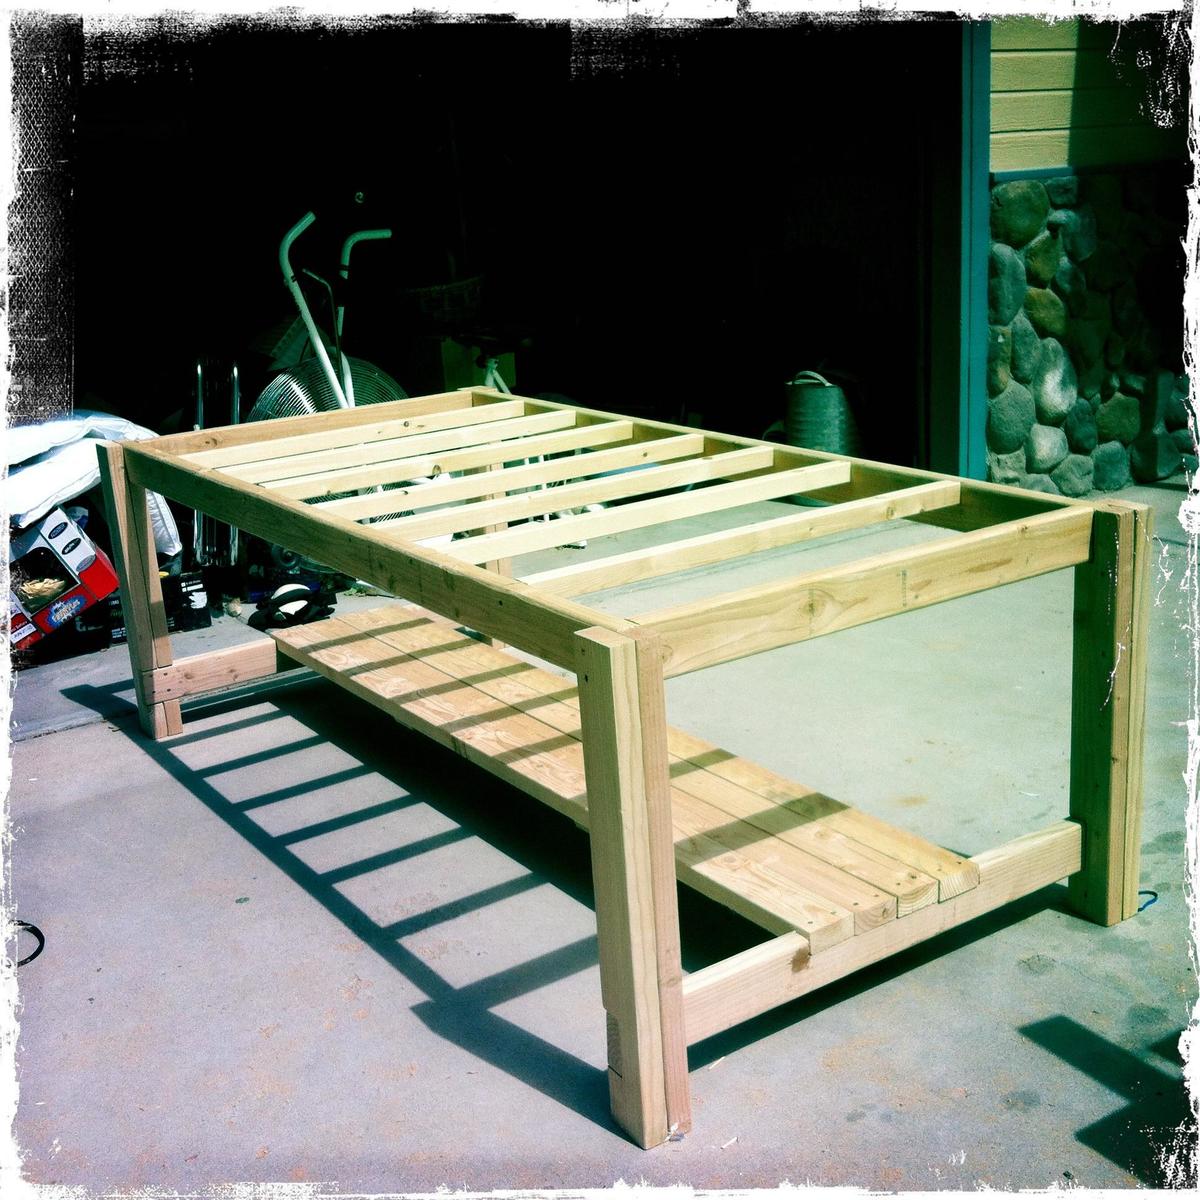
A couple of things to note, I purchased new fir wood as it was the most cost effective and frankly the least problematic in regards to finding the straightest boards. I did vary the design in that I added the shelf under the table for both storage as well as a footrest for diners. The design I ended up with was a little more complicated and I tried sanding as much of the boards from the beginning as possible in order to try and cut down on the amount of time spent on my knees later. Yeah, that was a nice thought.

Dad and I followed the plan provided, allowing my modifications for the footrest/shelf and I also made my top 45" wide. (I have another dining table that I had hopes of butting them together for large dinner parties if needed and wanted them relatively the same size). I will say that what I ended up with was an extremely heavy table which I transported home to stain and varathane on my own.

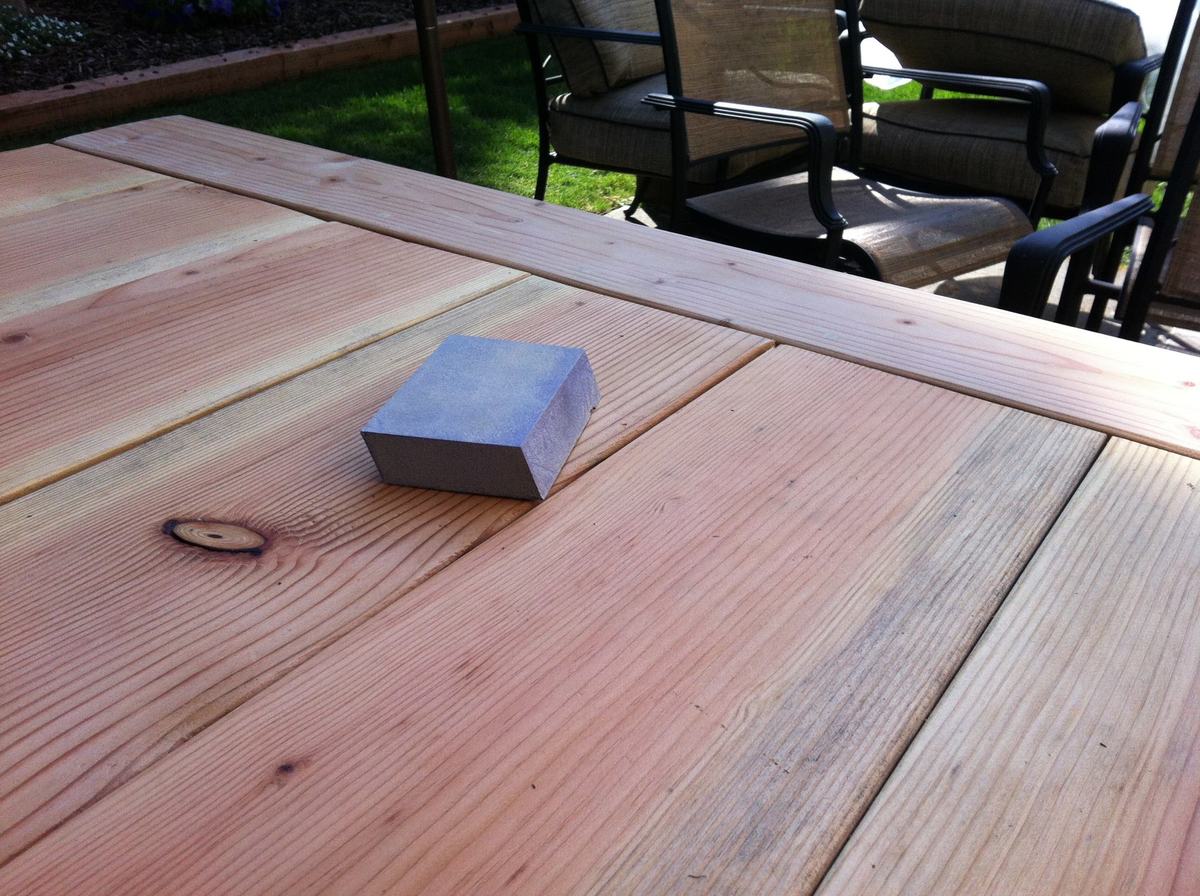
A couple of weeks later, well, the project took more than 2-3 hours (heh) but I am really happy with the results. If I were to do it again, I would probably have stained it a tad darker as this was my first staining/sanding/varathaning project and I took a little too much of the stain off sanding. It's okay, maybe someday I will strip off the varathane and restain it. Then again, it took so much time to do the first time maybe I won't!

A couple questions:
I would like to keep my table outdoors, but would like to add low profile metal feet to protect the wood. Does anyone have a suggestion where to look for heavy duty feet?

Second, any suggestions on how to get the spar varathane off my concrete patio? Yikes!

Thank you Ana for the wonderful plans!
Estimated Cost
$400
Estimated Time Investment
Week Long Project (20 Hours or More)
Finish Used
Daly's wood stain,
Minwax Helmsman Spar Urethane Satin
Recommended Skill Level
Intermediate

Comments

engarde

Thu, 10/10/2013 - 15:13

We had a couple of lovely dinner parties this summer on it. I was surprised as to how many we were able to seat around it. A really good set of plans. :)

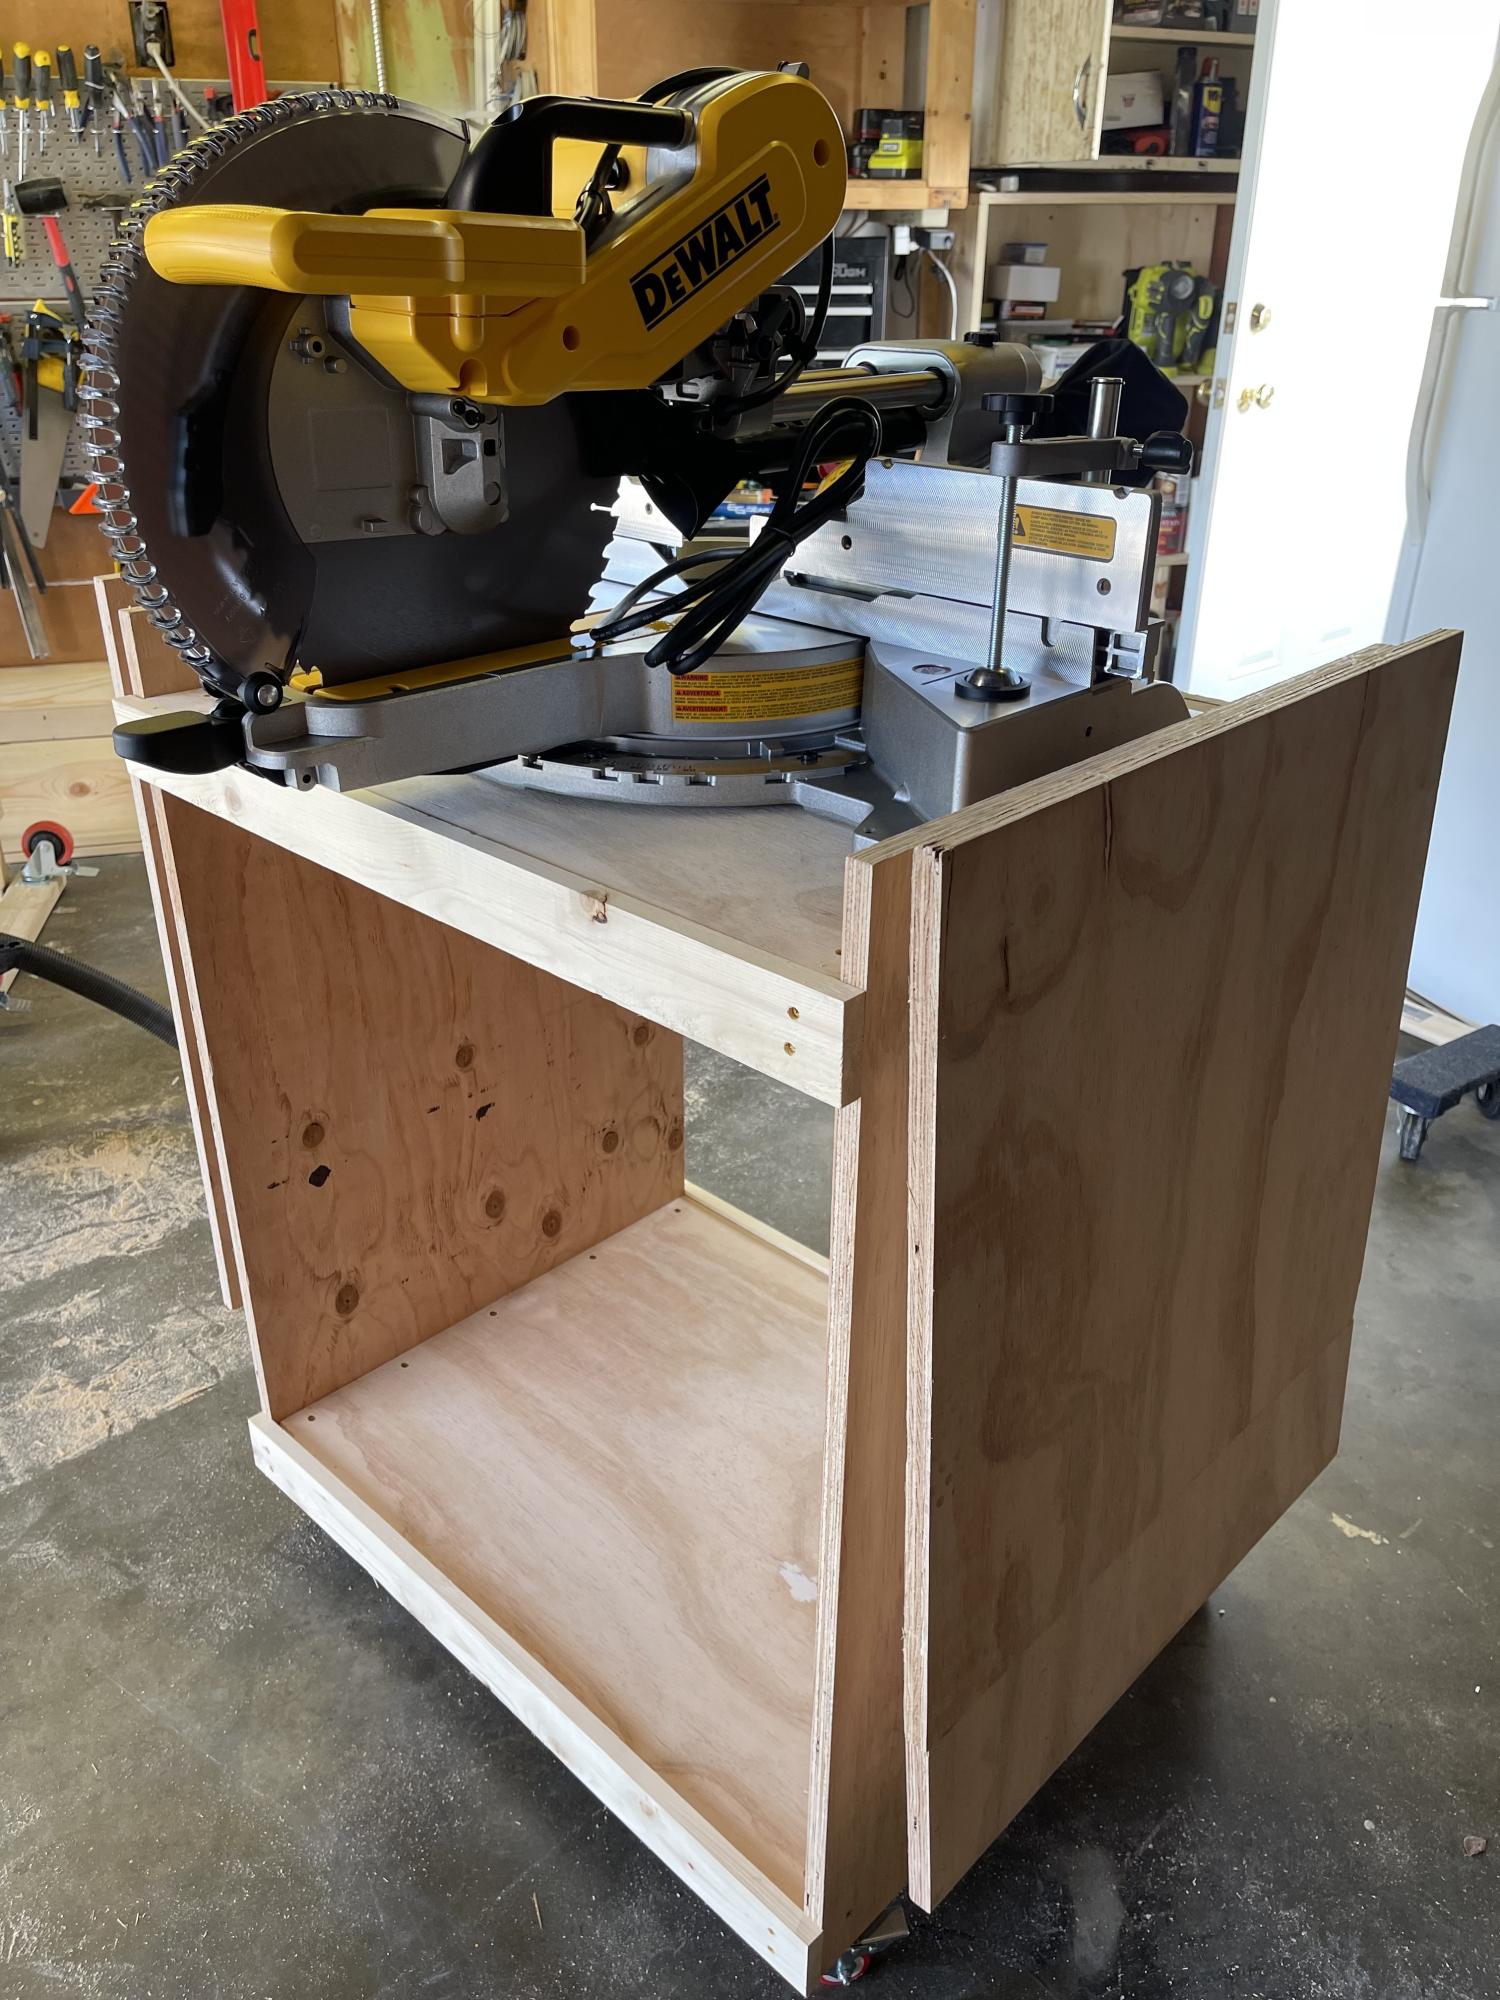
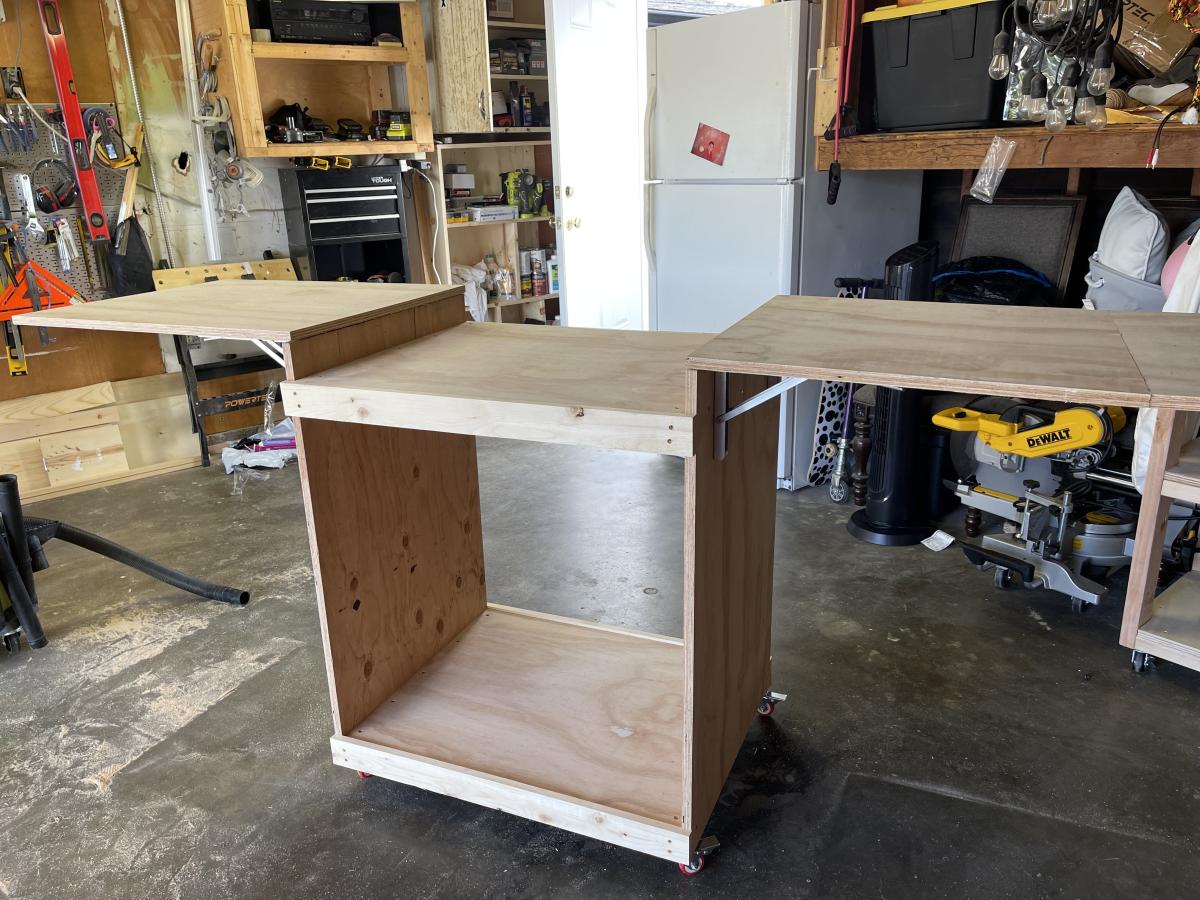
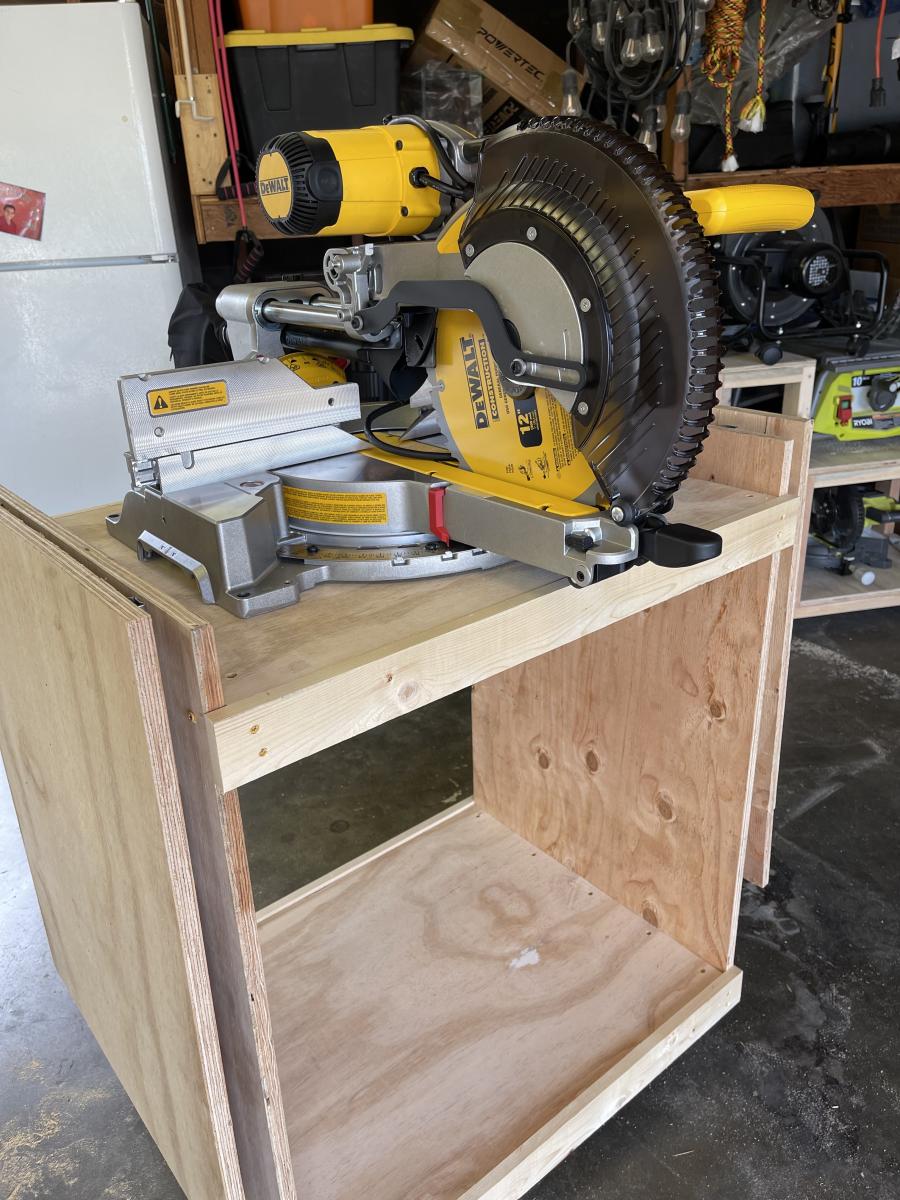
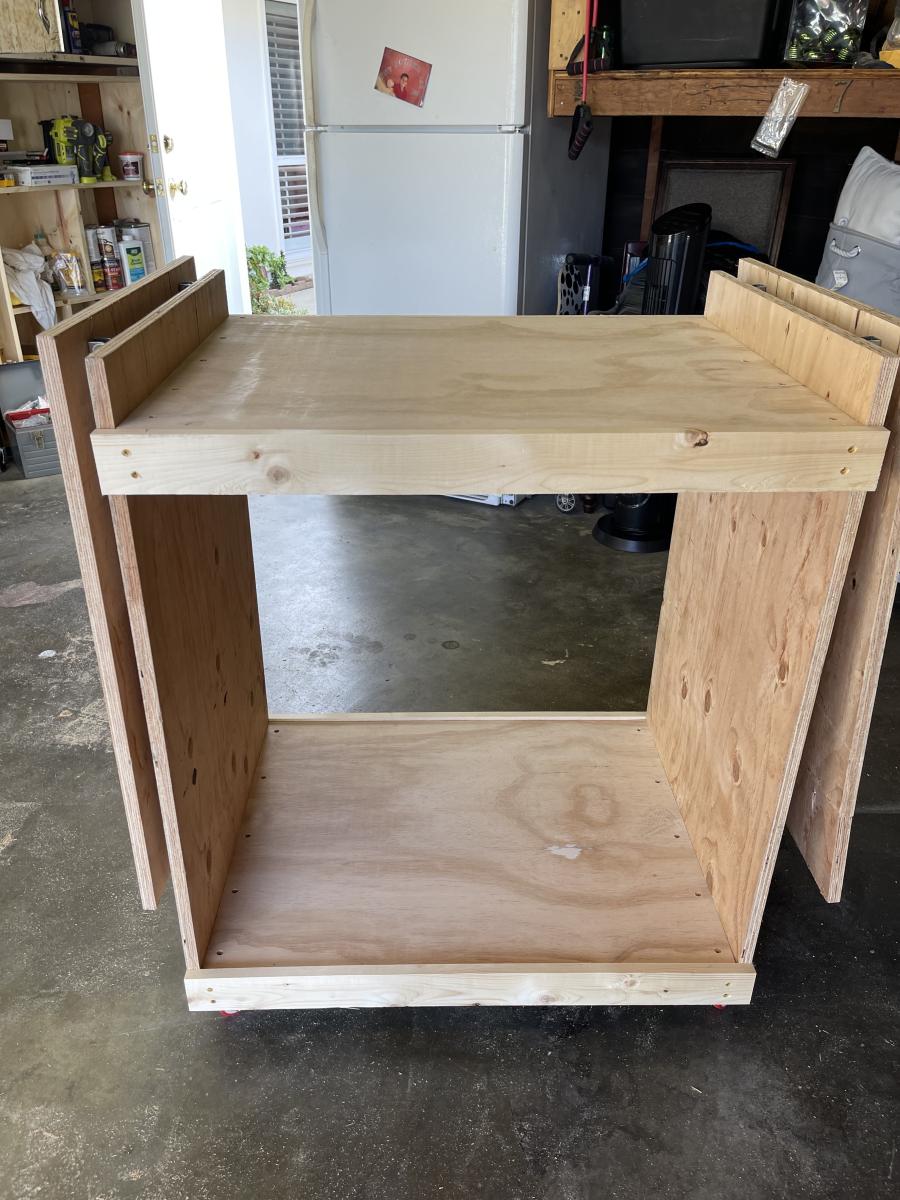
Miter saw cart

I looked at several solutions for a potable miter saw cart given that I had just purchased a new miter saw and it is quite heavy. Opted for the miter saw cart in Ana's website because it provided the most flexibility given my limited working space.

Built from Plan(s)

King storage bed

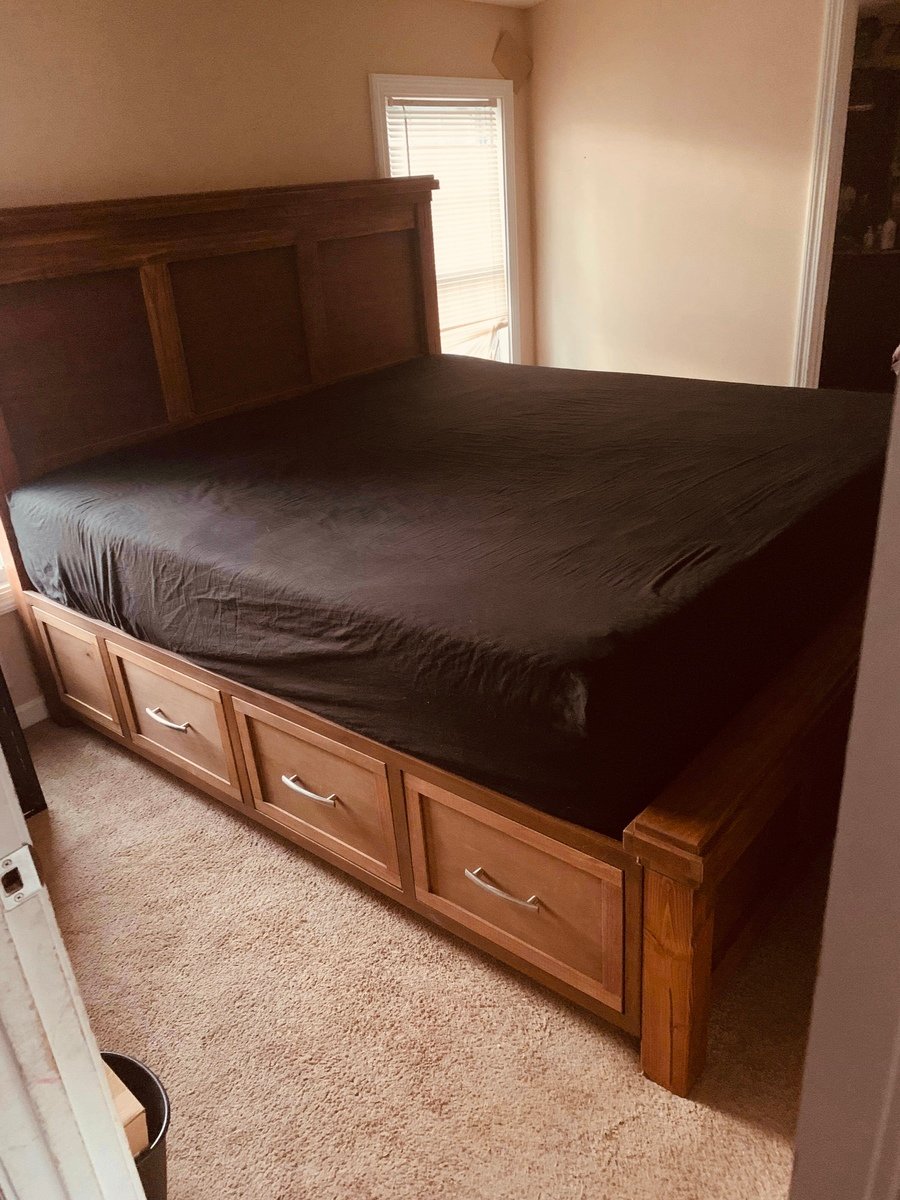
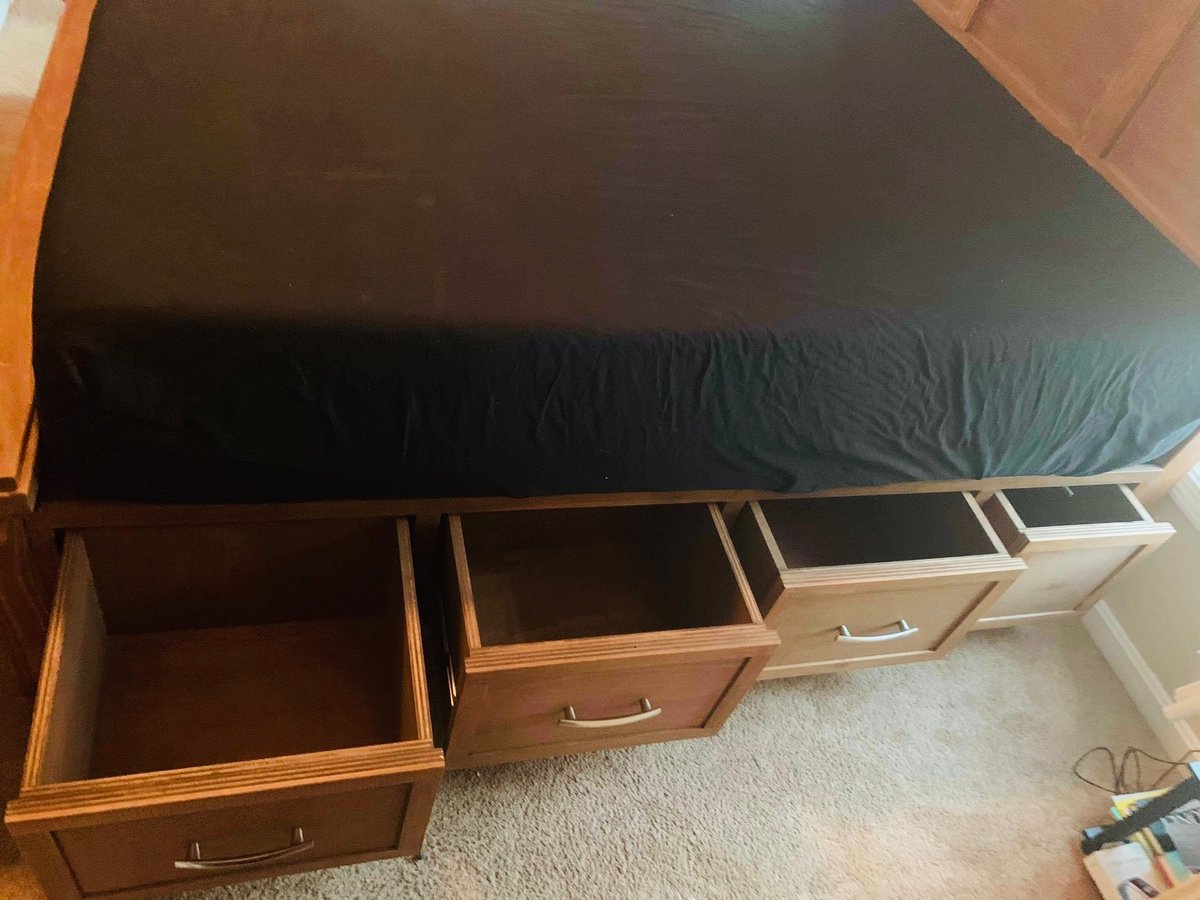
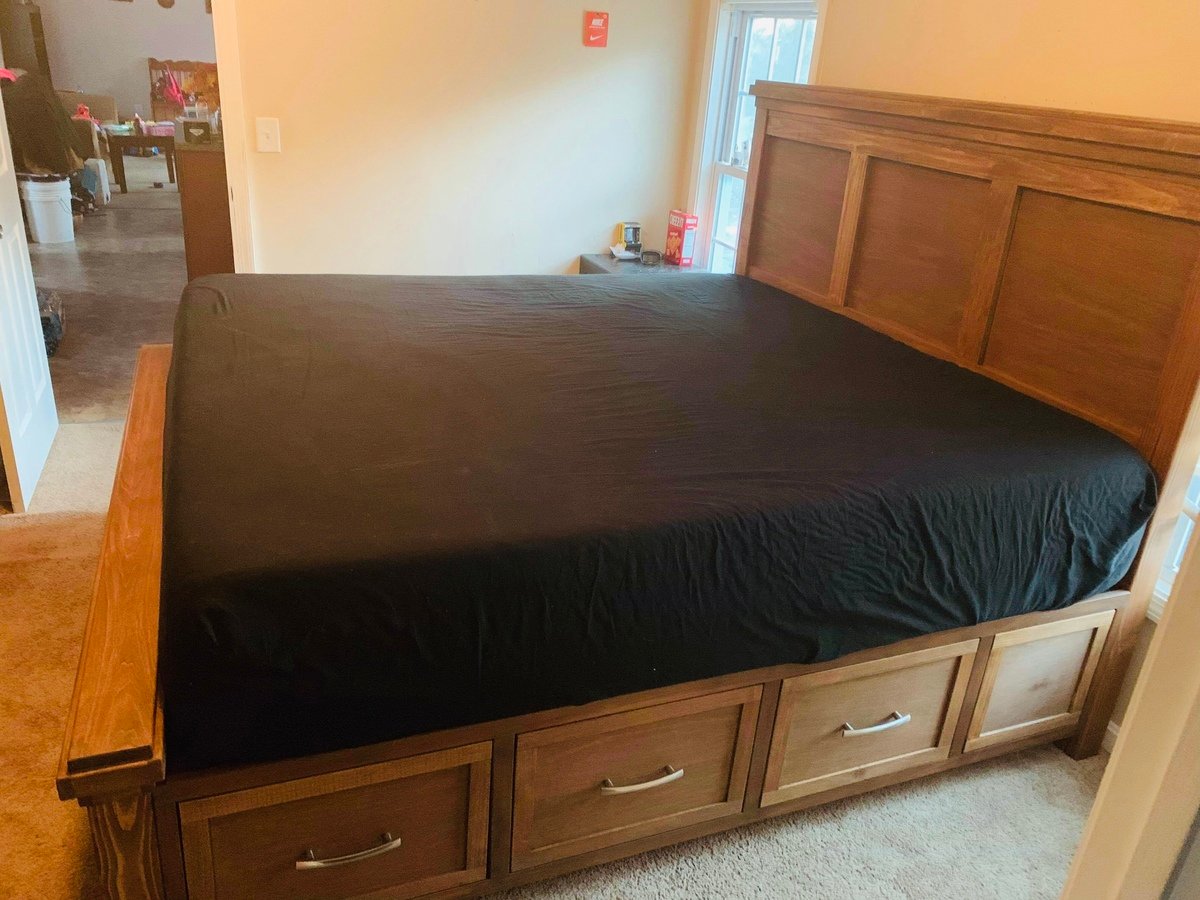
This bed was built using poplar, and pine wood. I used poplar for most of the stained pieces that are visible, and the stain is varathanes Early American. This is the fourth bed I’ve built with Ana’s Farmhouse Storage Bed plans, because it breaks down to four pieces, headboard, footboard and two side boxes, along with the drawers. This makes it easy to assemble on site.

Estimated Cost
$550
Estimated Time Investment
Weekend Project (10-20 Hours)
Finish Used
Varathane, Early American stain
Varathane satin polyurethane
Recommended Skill Level
Intermediate

Comments

Bengals97

Tue, 07/28/2020 - 14:33

I really like how you built this...I noticed you used the queen plans but made a king. Would you be able to share the changes you made to make this a king. I am still relatively new in my woodworking passion compared to your 25 years of experience. Thanks for sharing your end result...I would be open to pay for the updated plans if need be as I know your time and experience is valuable.

DIY Red Storage Sofa

Submitted by TracAttack on Mon, 11/07/2011 - 23:11

Thanks Ana White for the blue print to an awesome storage sofa. I used the similar dimensions except mine is a bit shorter in width (60 inches wide). Now I just need to find awesome pillows to go with it.

Built from Plan(s)
Estimated Time Investment
Weekend Project (10-20 Hours)
Recommended Skill Level
Intermediate

Comments

Erika (not verified)

Sat, 12/24/2011 - 18:57

How much did it cost you to build this?

Cynthia l. (not verified)

Sat, 12/08/2012 - 05:41

How has the sofa held up? I want to make one, and also would like to know how much it cost to make.

Mothersday Planter

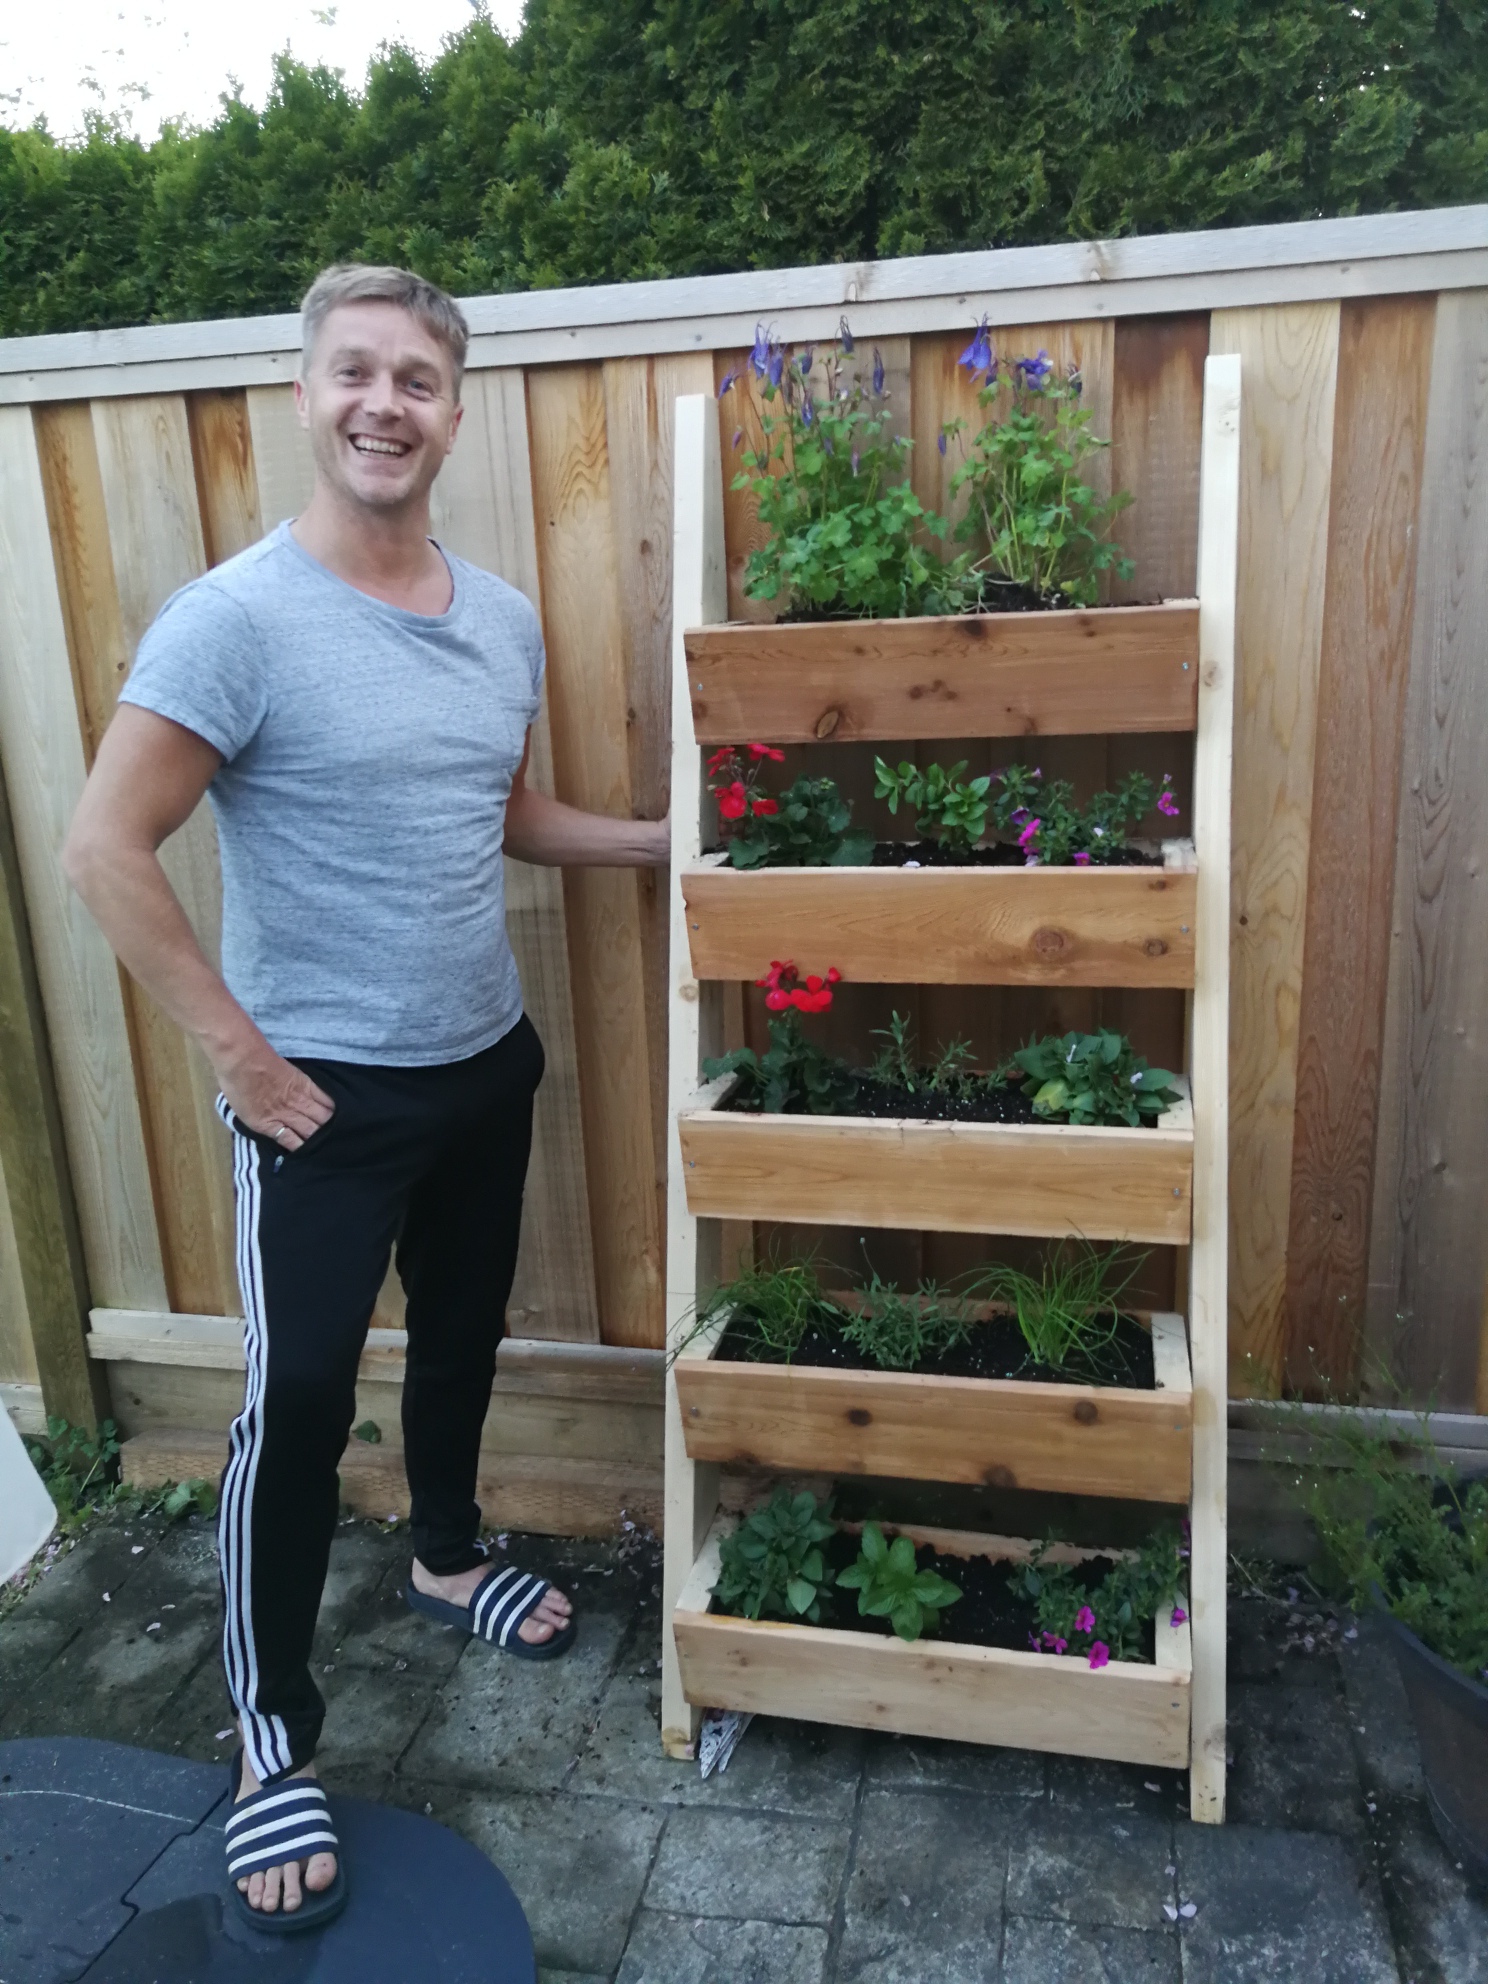
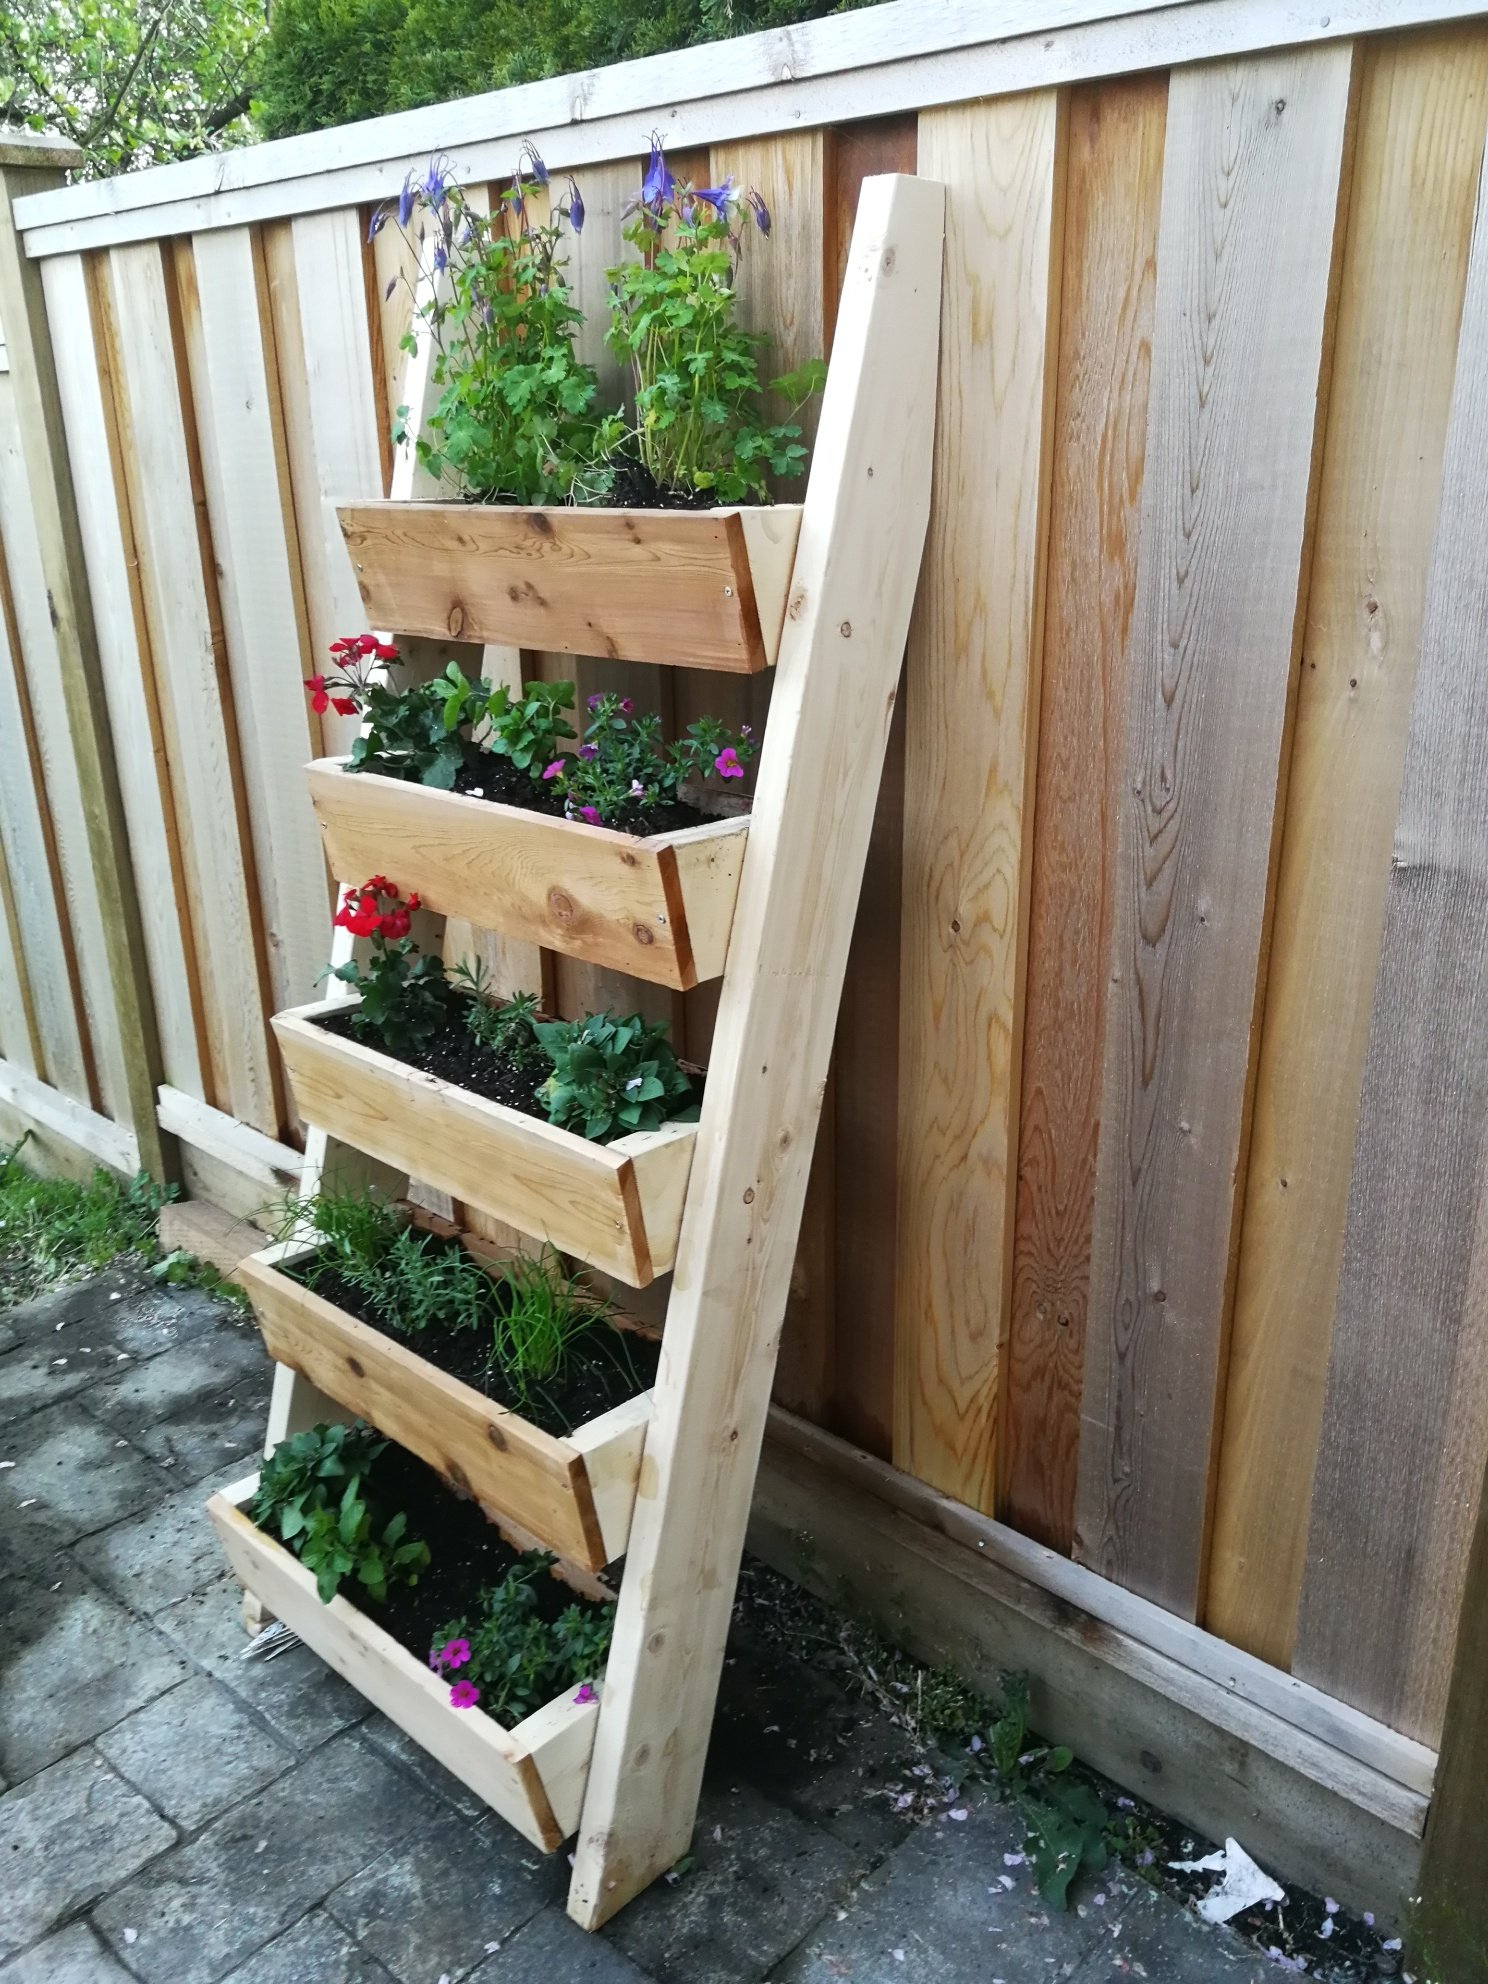
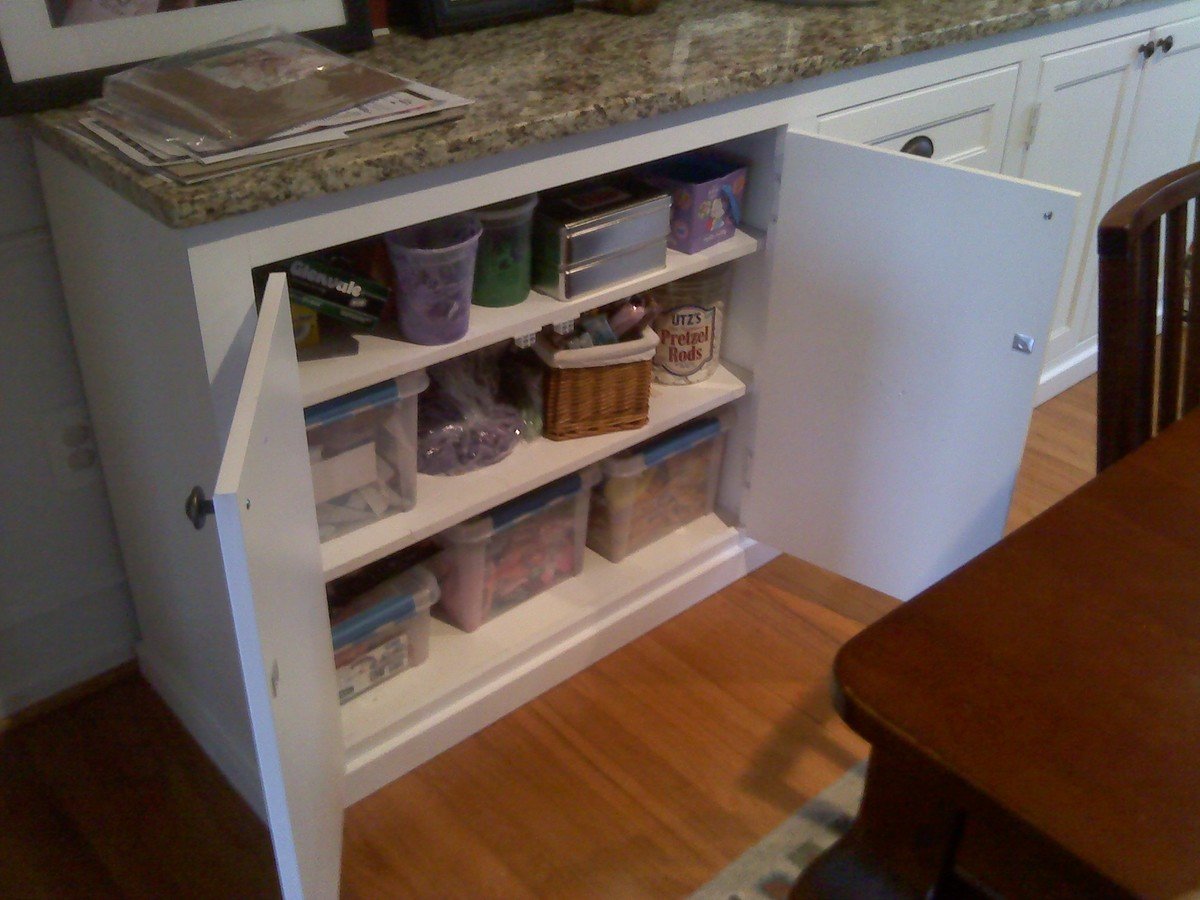
Thanks for these plans! I was able to complete this planter in one afternoon.
Estimated Cost
$50
Estimated Time Investment
Afternoon Project (3-6 Hours)
Recommended Skill Level
Beginner

Comments

Sliding Door console with Cedar pickets

Submitted by KathrynK13 on Tue, 01/12/2016 - 18:46

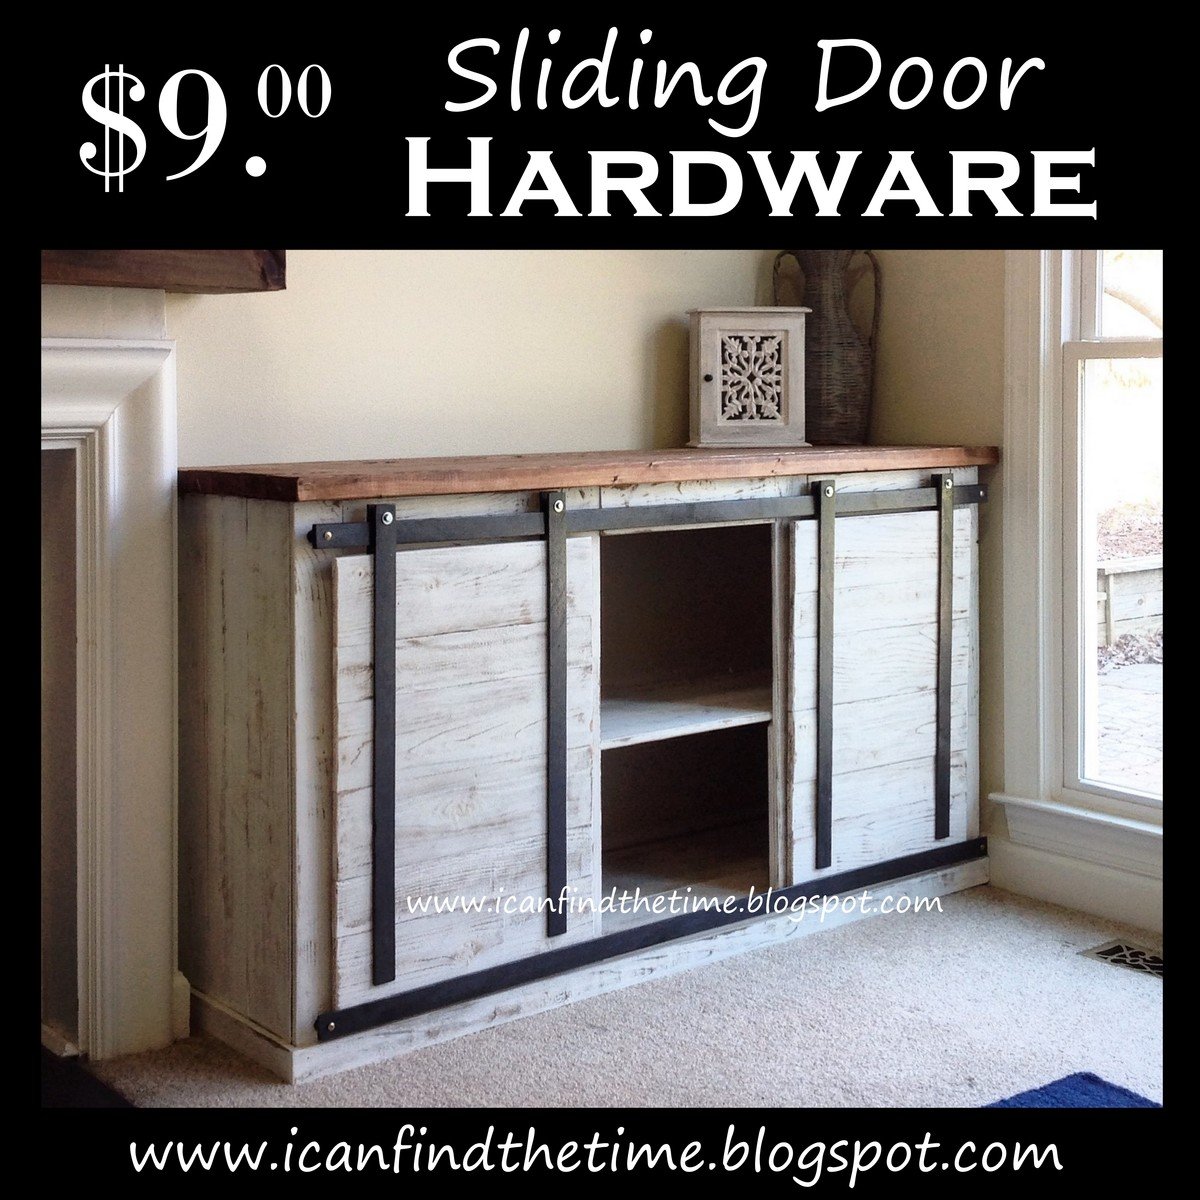
My first big build and I love it! I followed the plans in concept but changed the materials. My frame is still 2x3, but all the trim and siding is cedar fence pickets. I love these! They need a lot of finish work (sanding for days!), but the look is so rustic and real.
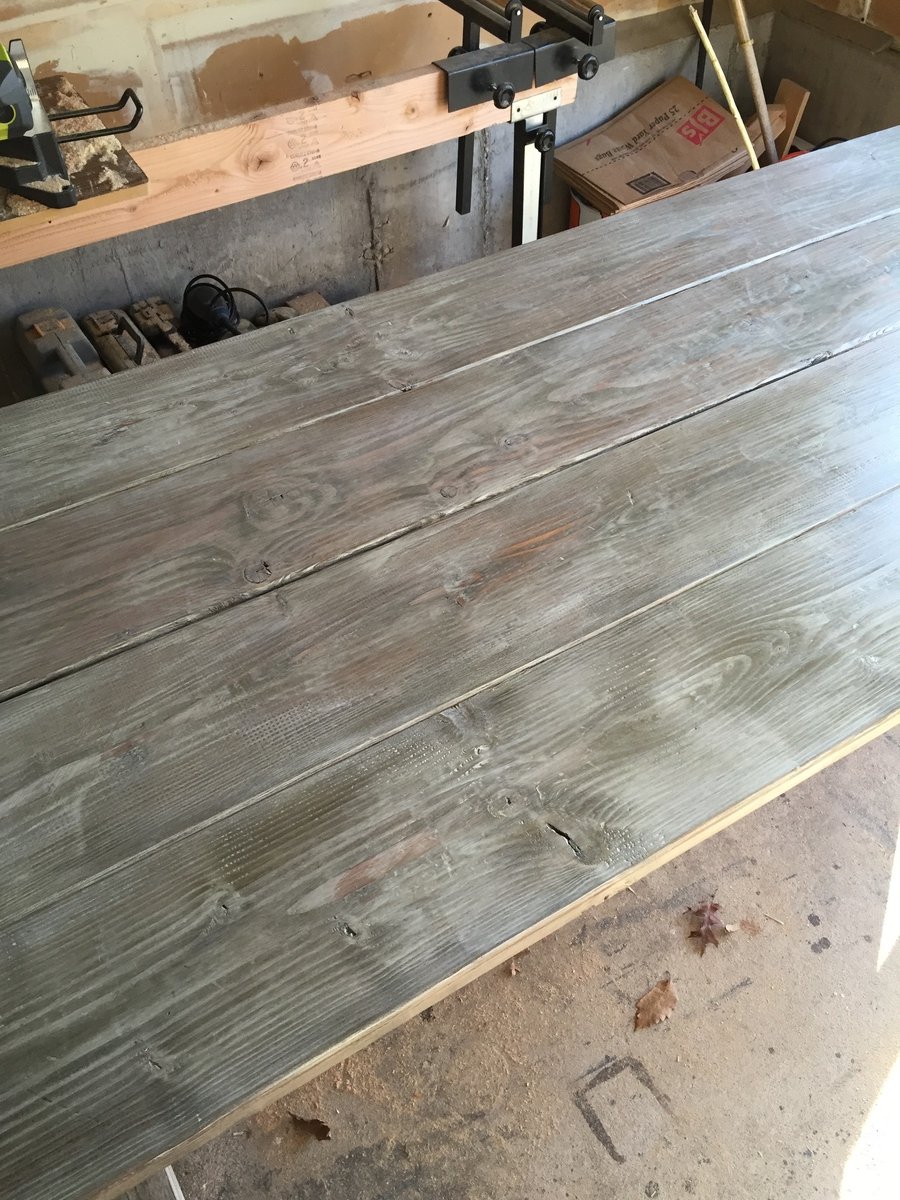
I also came up with a great way to get the sliding door look for only $9 in materials. The other tutorials I found online would have been $60+ and I just didn't want to spend that much. Make sure to check out my tutorial for the sliding door hardware.

Built from Plan(s)
Estimated Cost
Under $100 with some scraps that will be used on the second matching piece
Estimated Time Investment
Day Project (6-9 Hours)
Finish Used
DIY distressed finish. Stained cedar pickets with Early American then did a quick painting with basic white I had on hand. Lightly sanded to reveal a bit of wood grain and distress.
Recommended Skill Level
Beginner