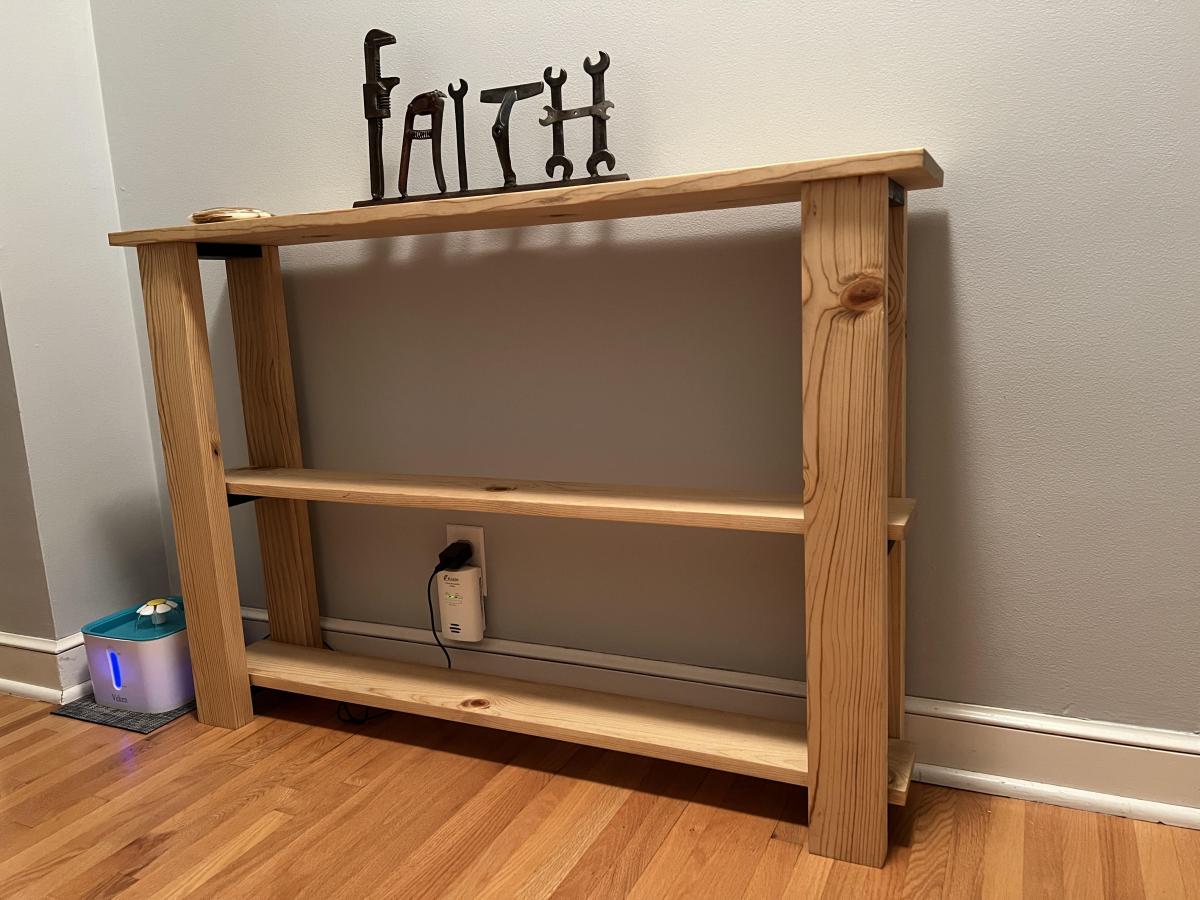
Rustic DIY kitchen island 24 x 42
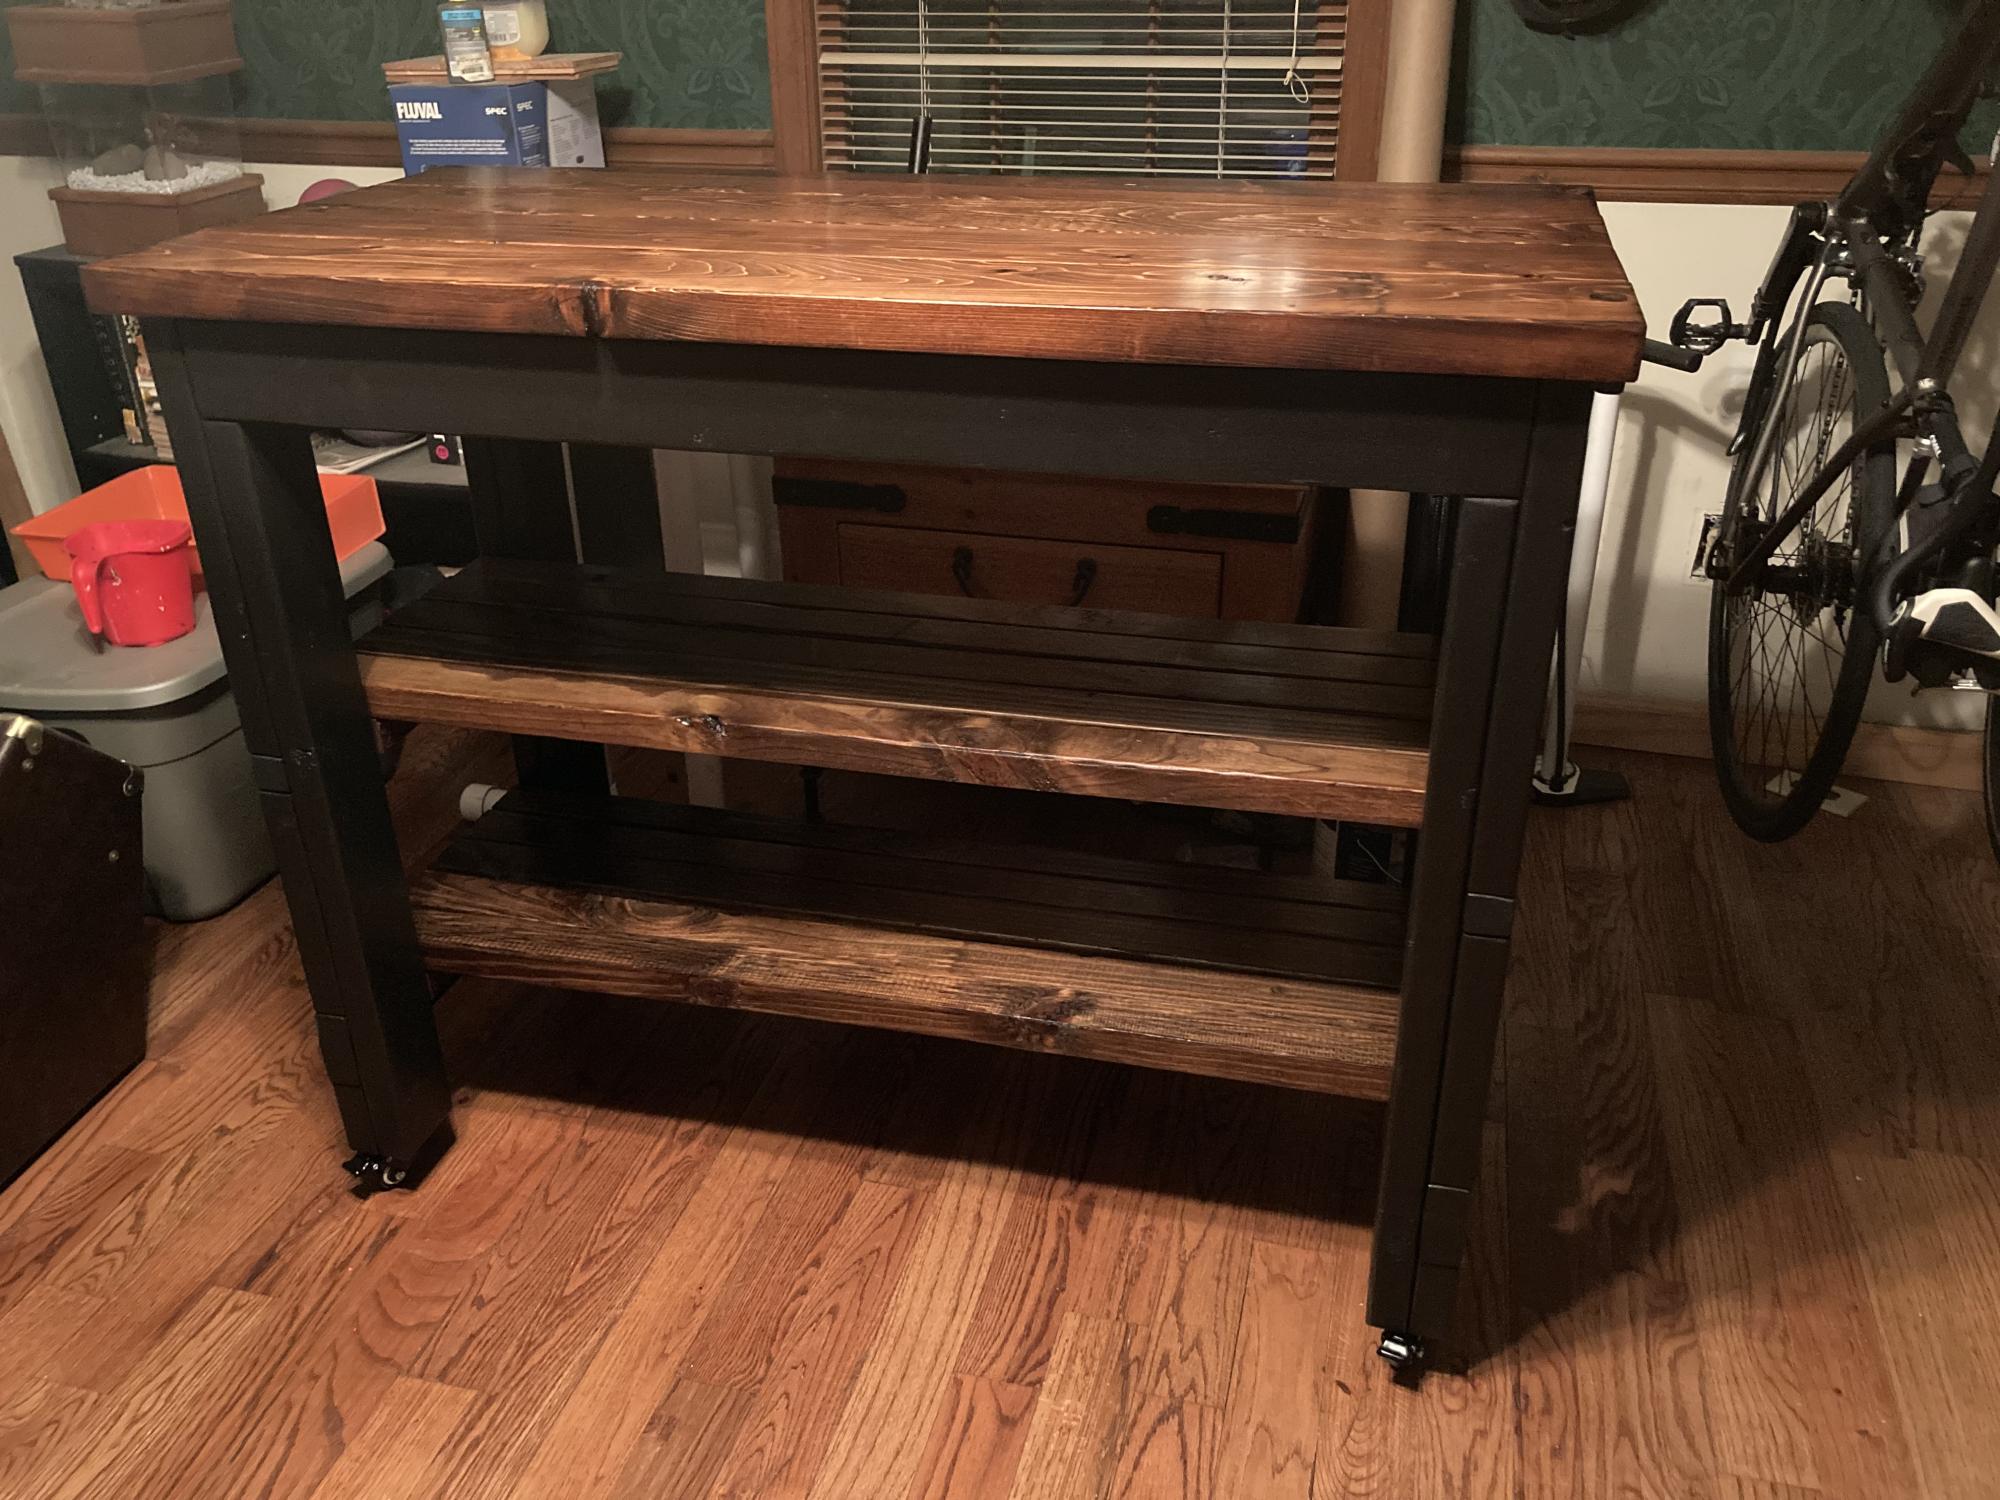
I built this for a friend so it will work for his kitchen….and he just loves it!
Built from Plan(s)
I built this for a friend so it will work for his kitchen….and he just loves it!

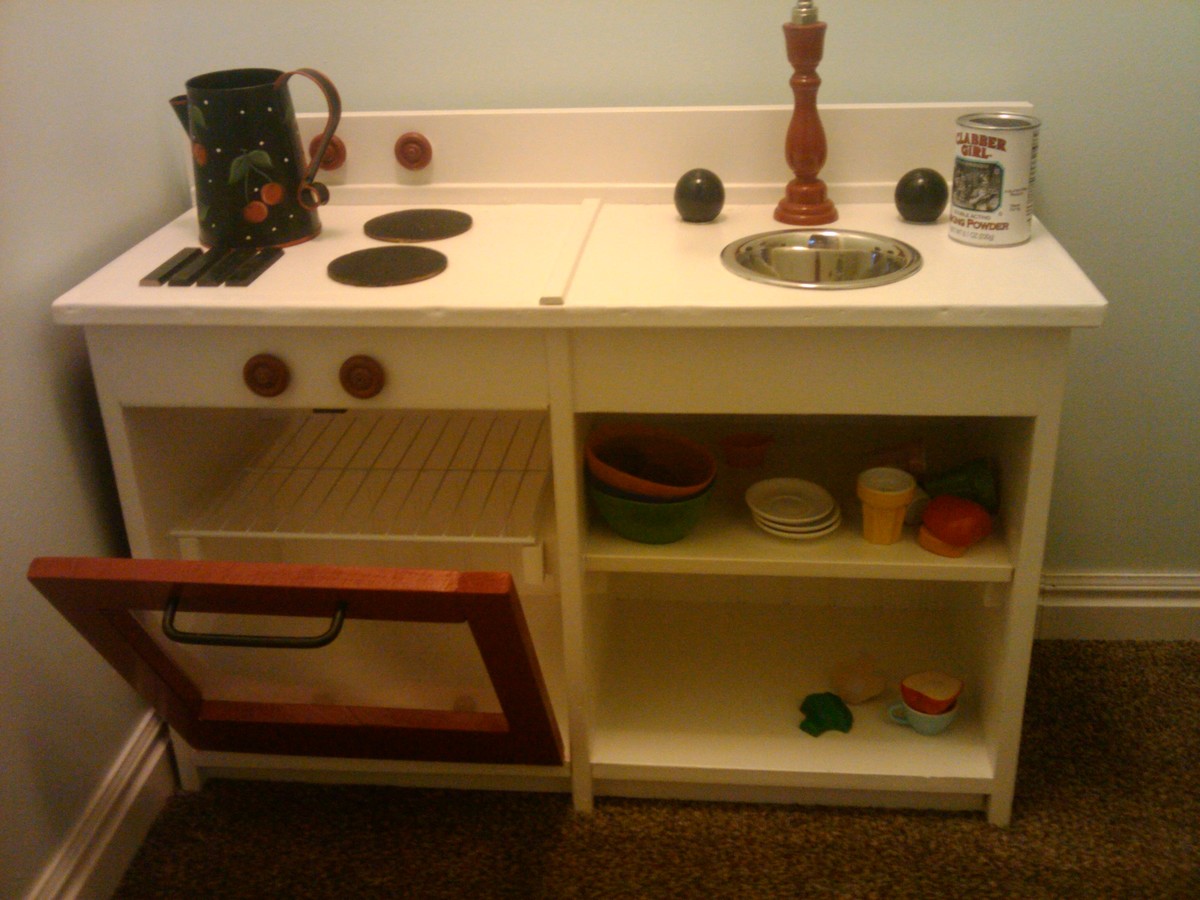
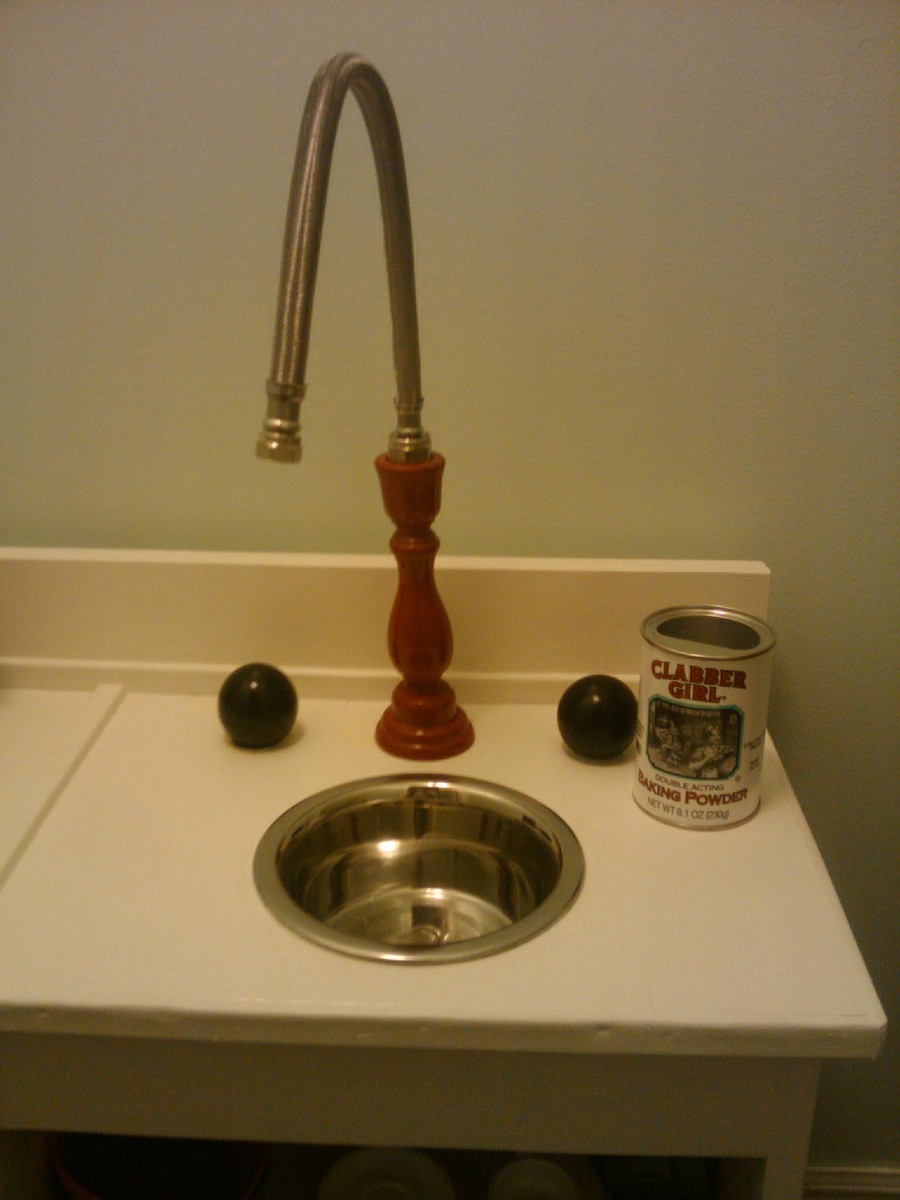
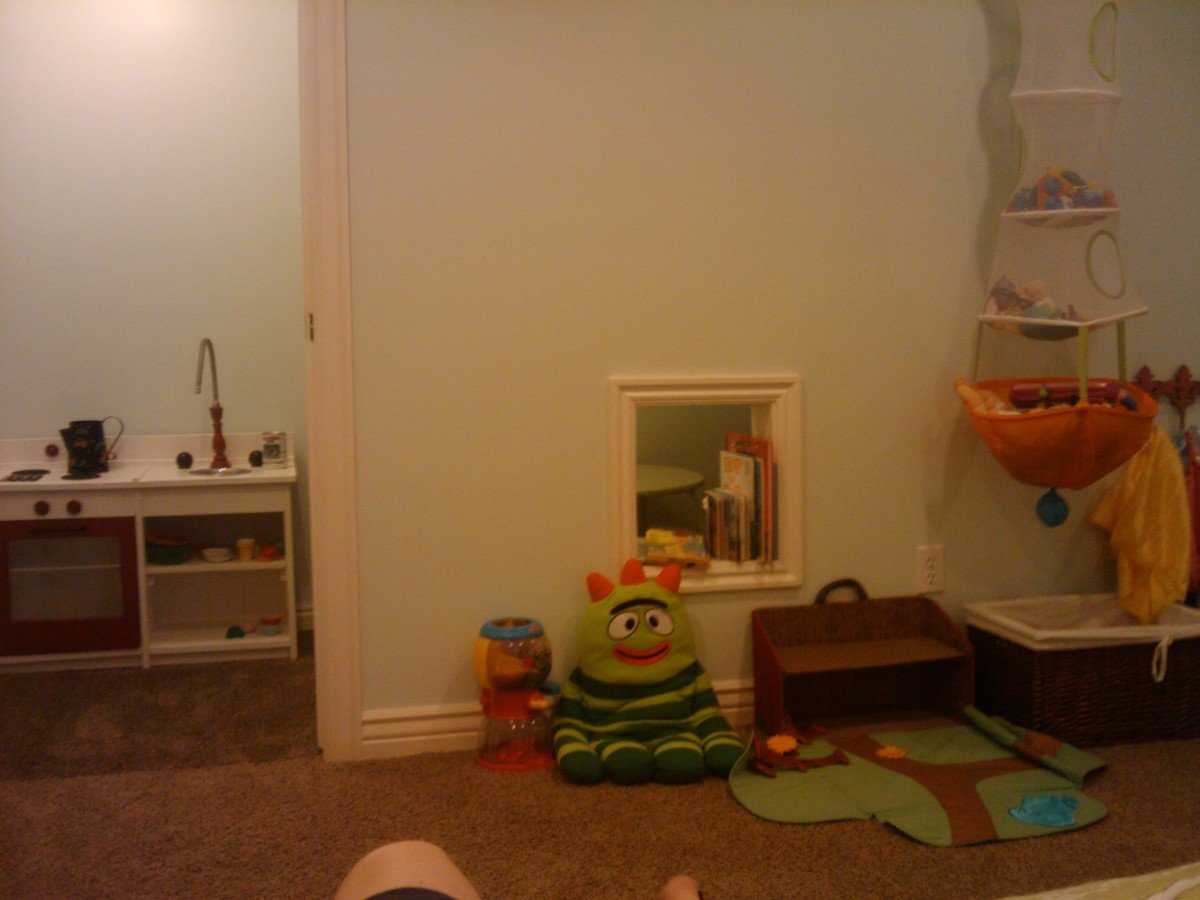
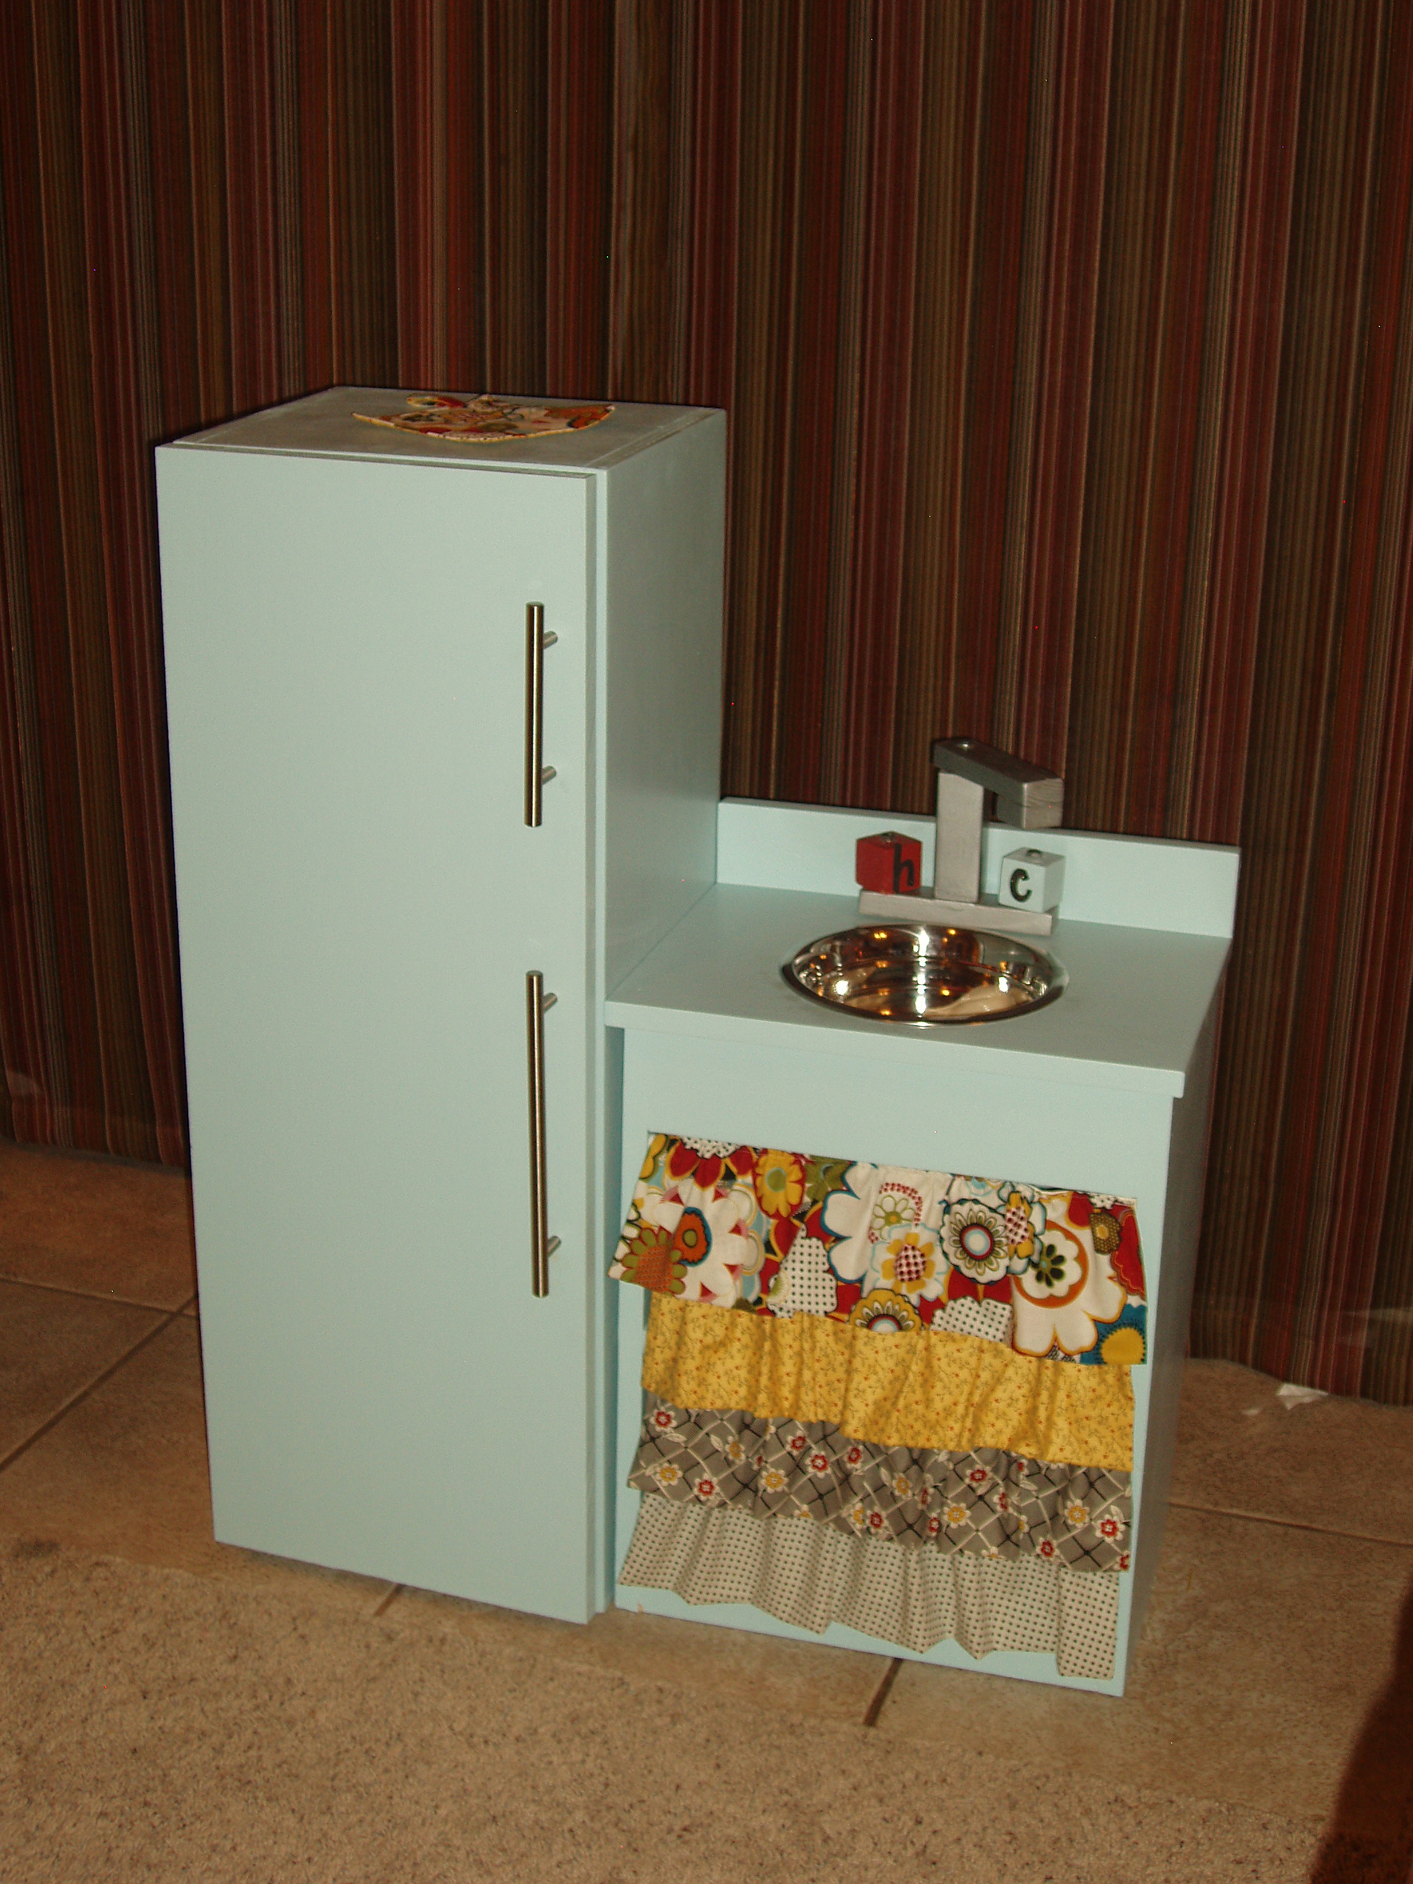
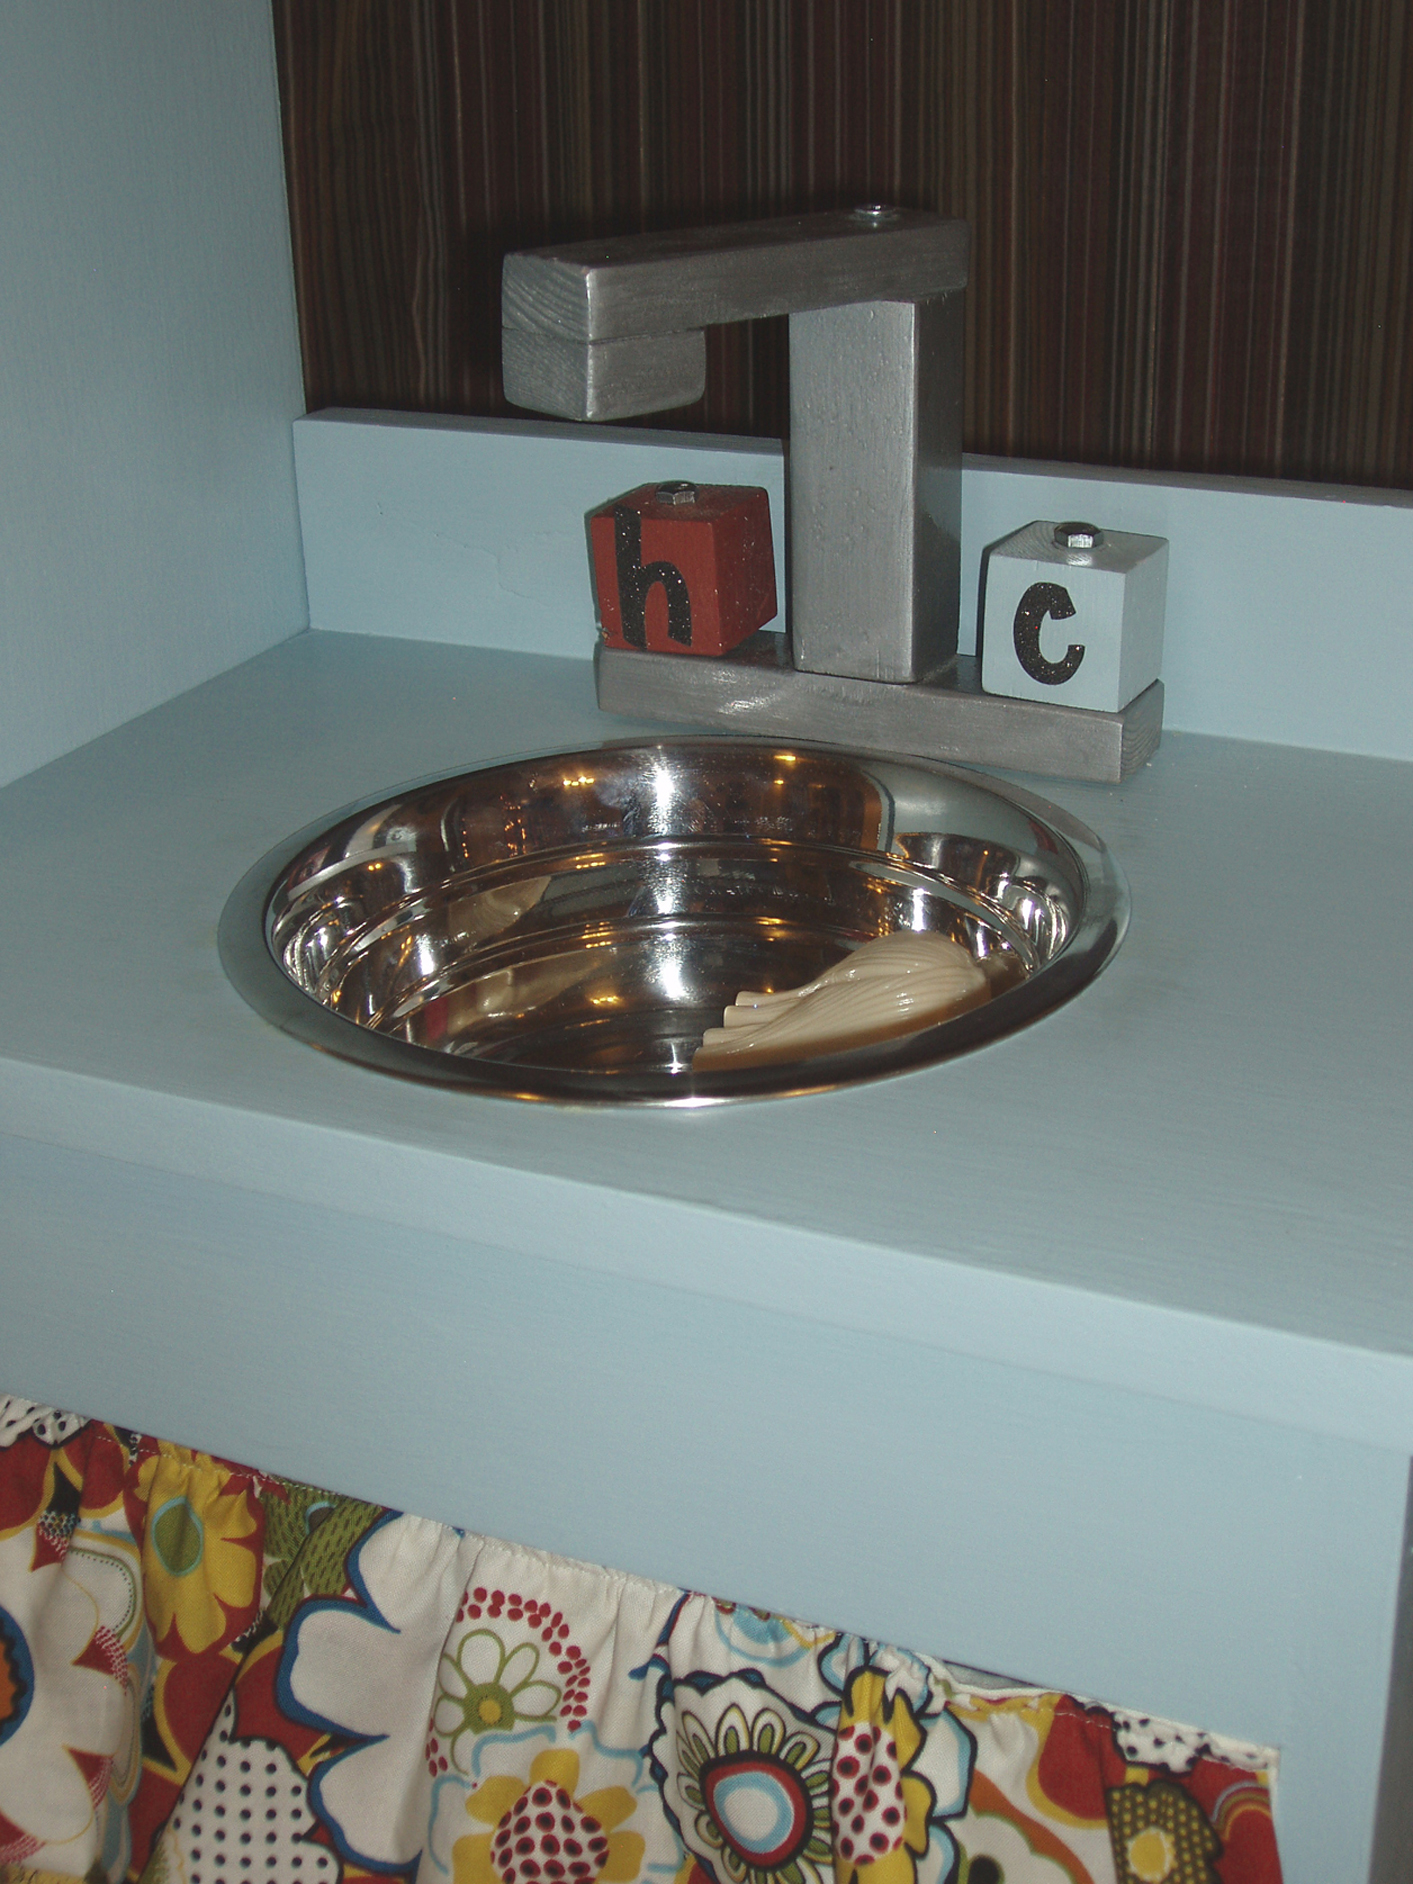
Love this site! My grandaughters were coming to stay and I was in the process of making a playroom/bedroom for them. I stumbled across this site just in time. I made the kitchen using the stove and sink plans from grace's kitchen except I combined them into one. So instead of having two seperate units, I just combined them together using one side panel for both, (making 3 20" long panels instead of 4) and placed one long countertop and backsplash. I used a candlestick holder (painted red) for the faucet, glued in a 1/2" in. threaded plastic nipple I had from the outdoor sprinkler system, and screwed on a hose for an icemaker for the refrigerator, (found at lowes in the plumbing department (cost 3.99)(I'm a widget girl!!) I love to look for things that could be used for something else. Then walaa, a faucet!!
Fri, 07/08/2011 - 12:43
My color inspiration for this project came from the clabborgirl baking powder tin, (pictured). Just to let you know inspiration can come from just about anywhere!!
Wed, 08/01/2012 - 05:08
I was thinking of doing a combination sink and oven just like this! Yours looks great.
This was my first project and I loved every second of it. I did the whole thing by myself (with the "help" of my two-year-old) and I'm 5 months pregnant! THAT is how easy it is.

Sun, 08/11/2013 - 20:41
How awesome is that? =D It looks gorgeous, and I applaud you for tackling it with your 2 year old and baby on the way. =D When I was pregnant, the only thing I considered doing was putting furniture together. Now that I've built furniture, I now realize how much harder it was to follow the assembly directions than it is to make your own assembly directions. Keep it up!
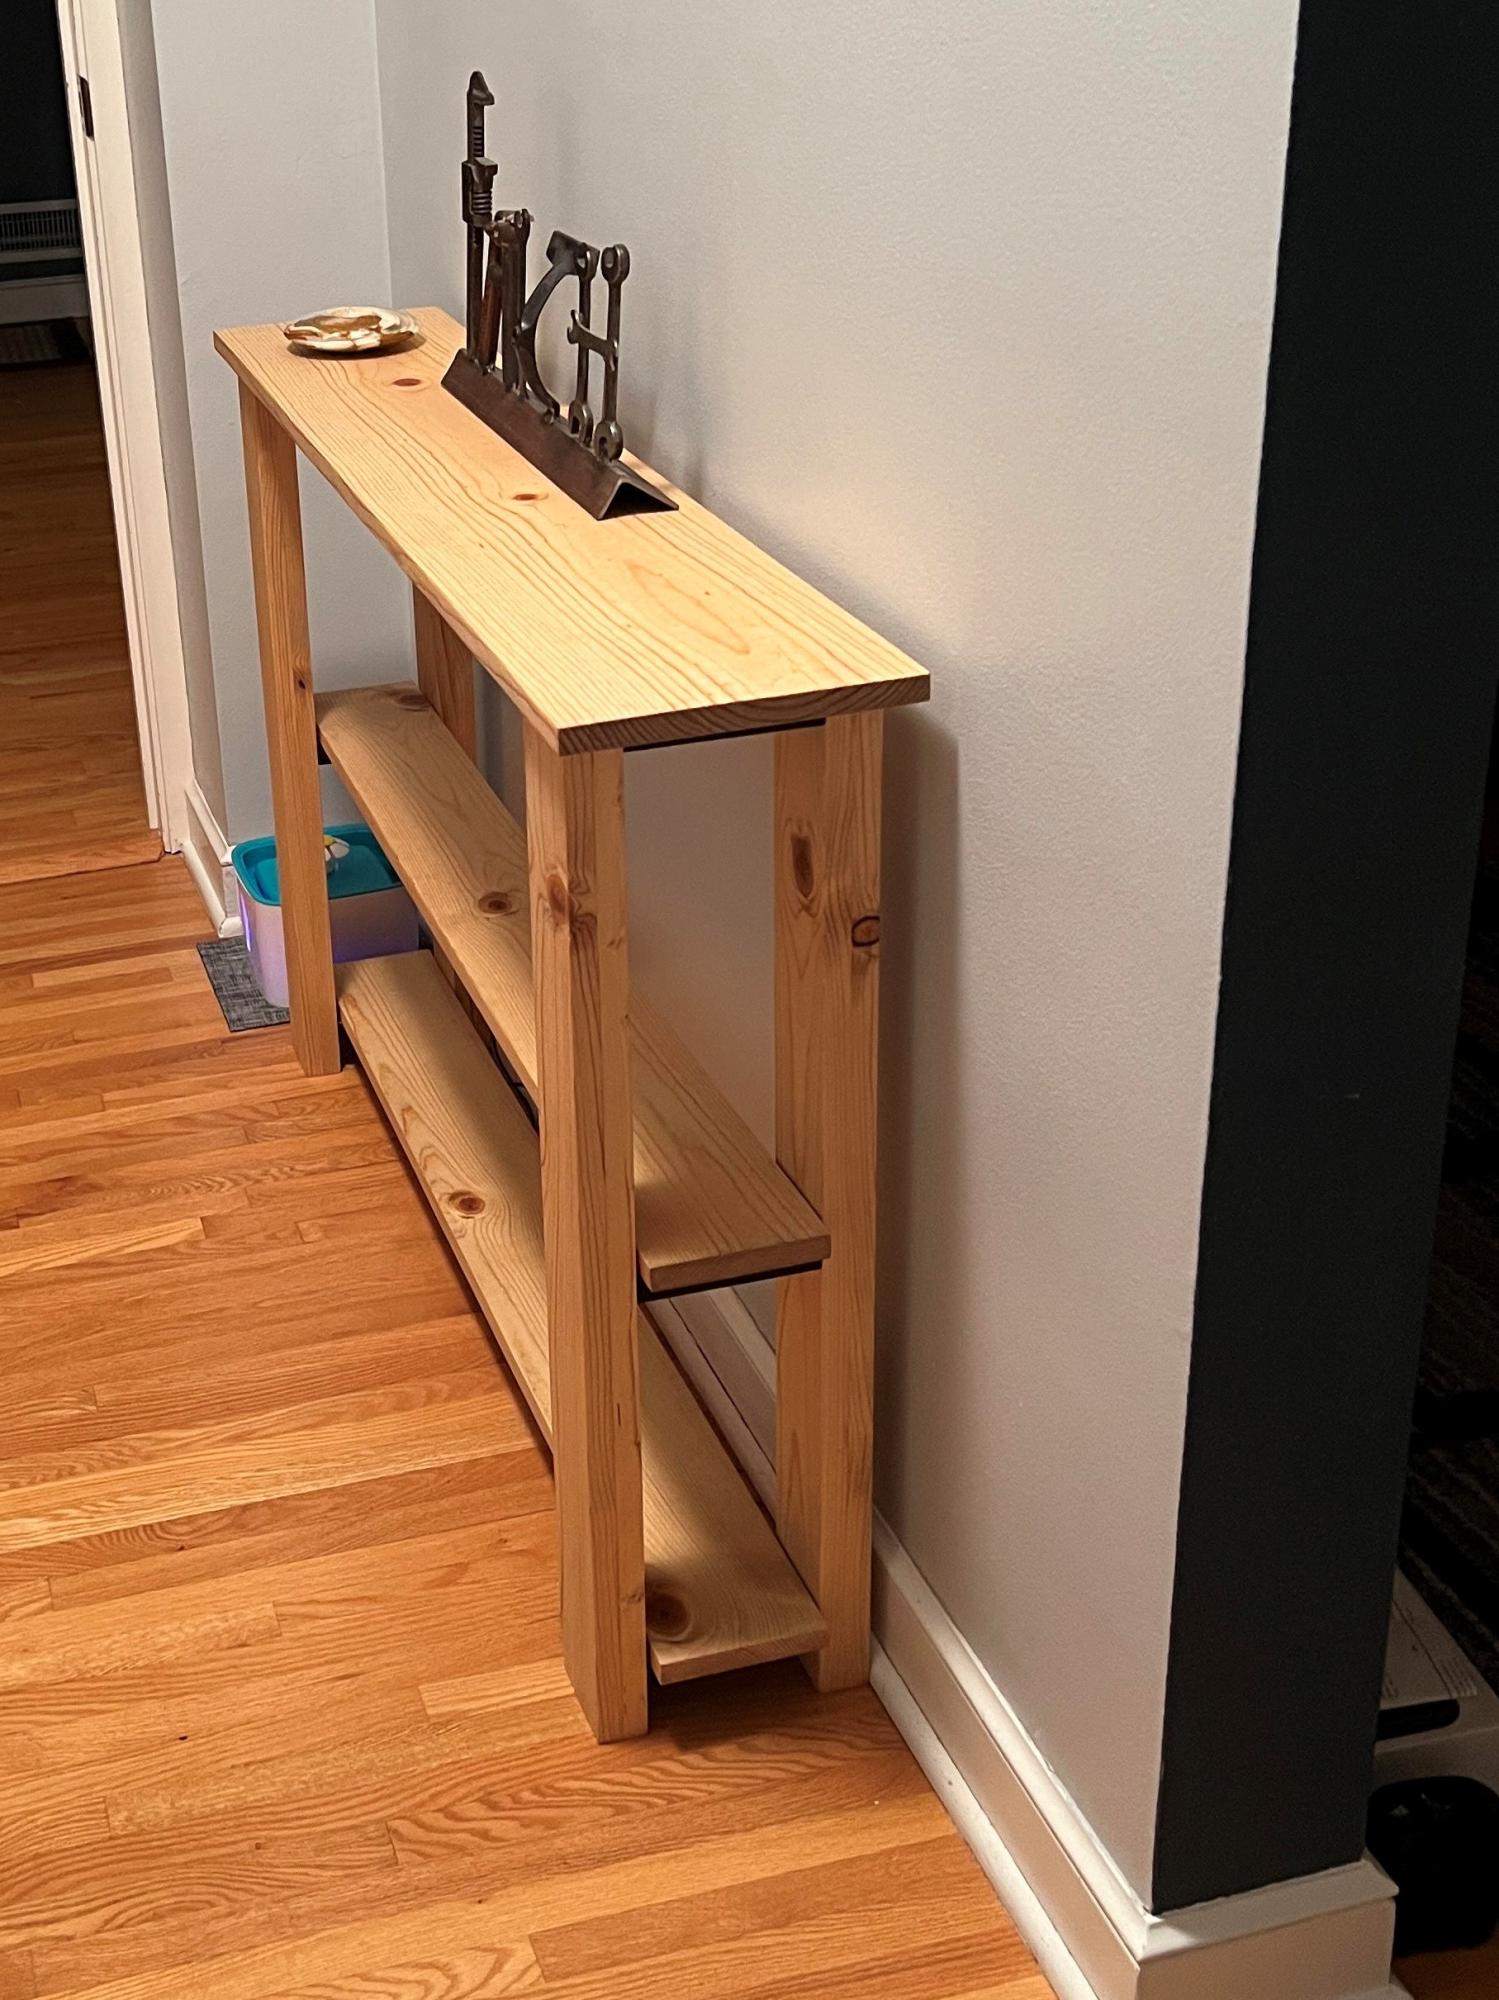
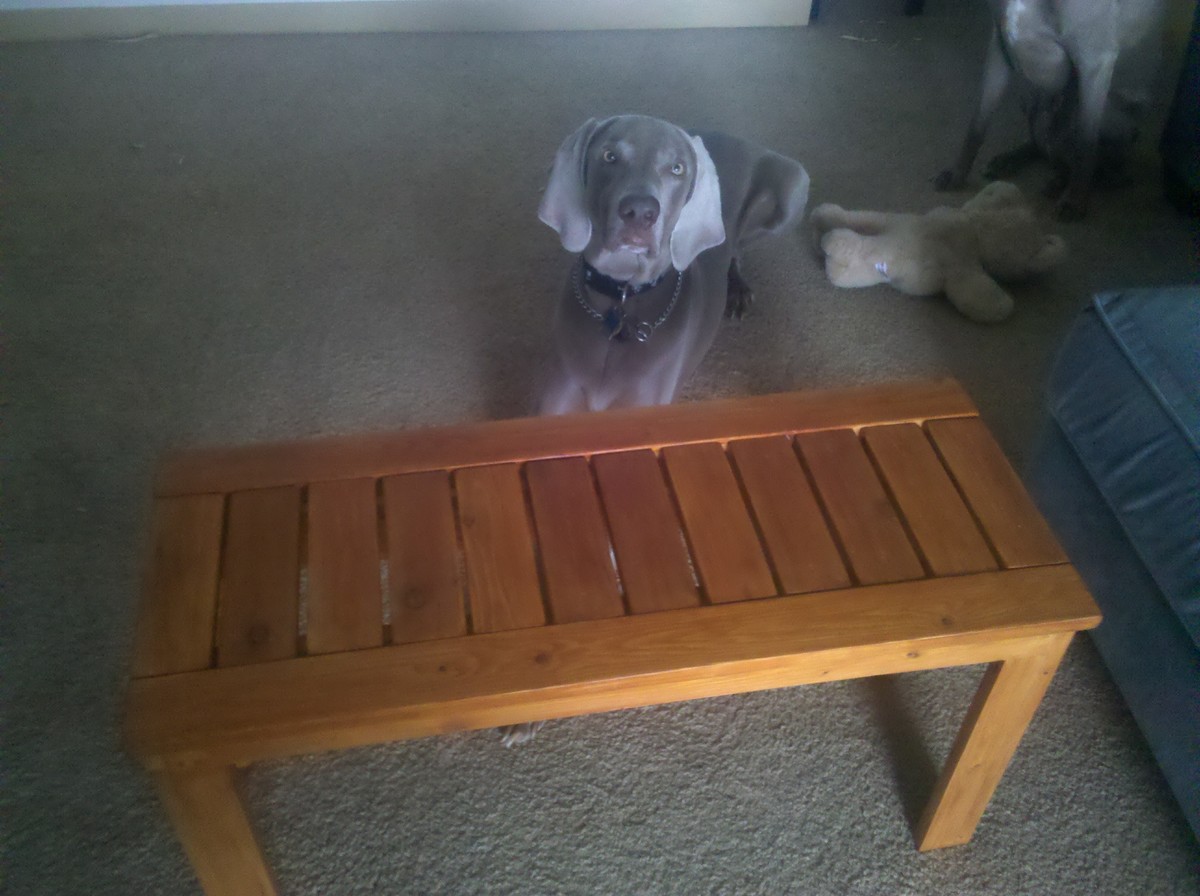
I used dimensional lumber for a little nicer look and laminated two boards for the legs. I used light walnut danish oil to finish. I adjusted the width and got It the perfect width for my hallway.
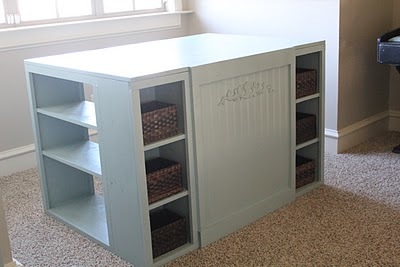
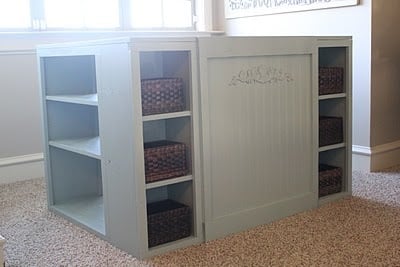
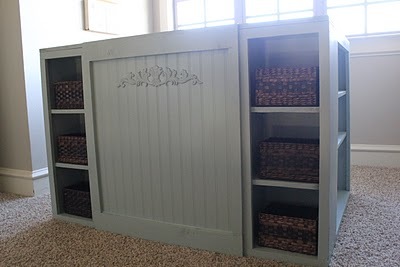
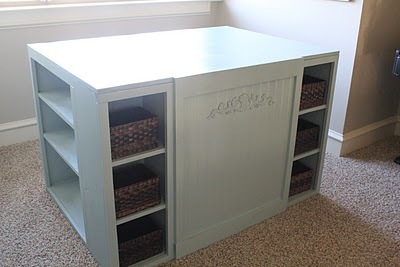
I used Ana's plan for the modern project table to create my craft table. I modified it just a bit by removing the "floating top" and covering the front to provide more hidden storage (a must for me). I used my brad nailer and gorilla glue to construct. I used all whitewood boards for the base and 3/4" mdf for the top. I love it! You can read more details at http://www.shanty-2-chic.com/2011/01/all-finished-yeah.html !


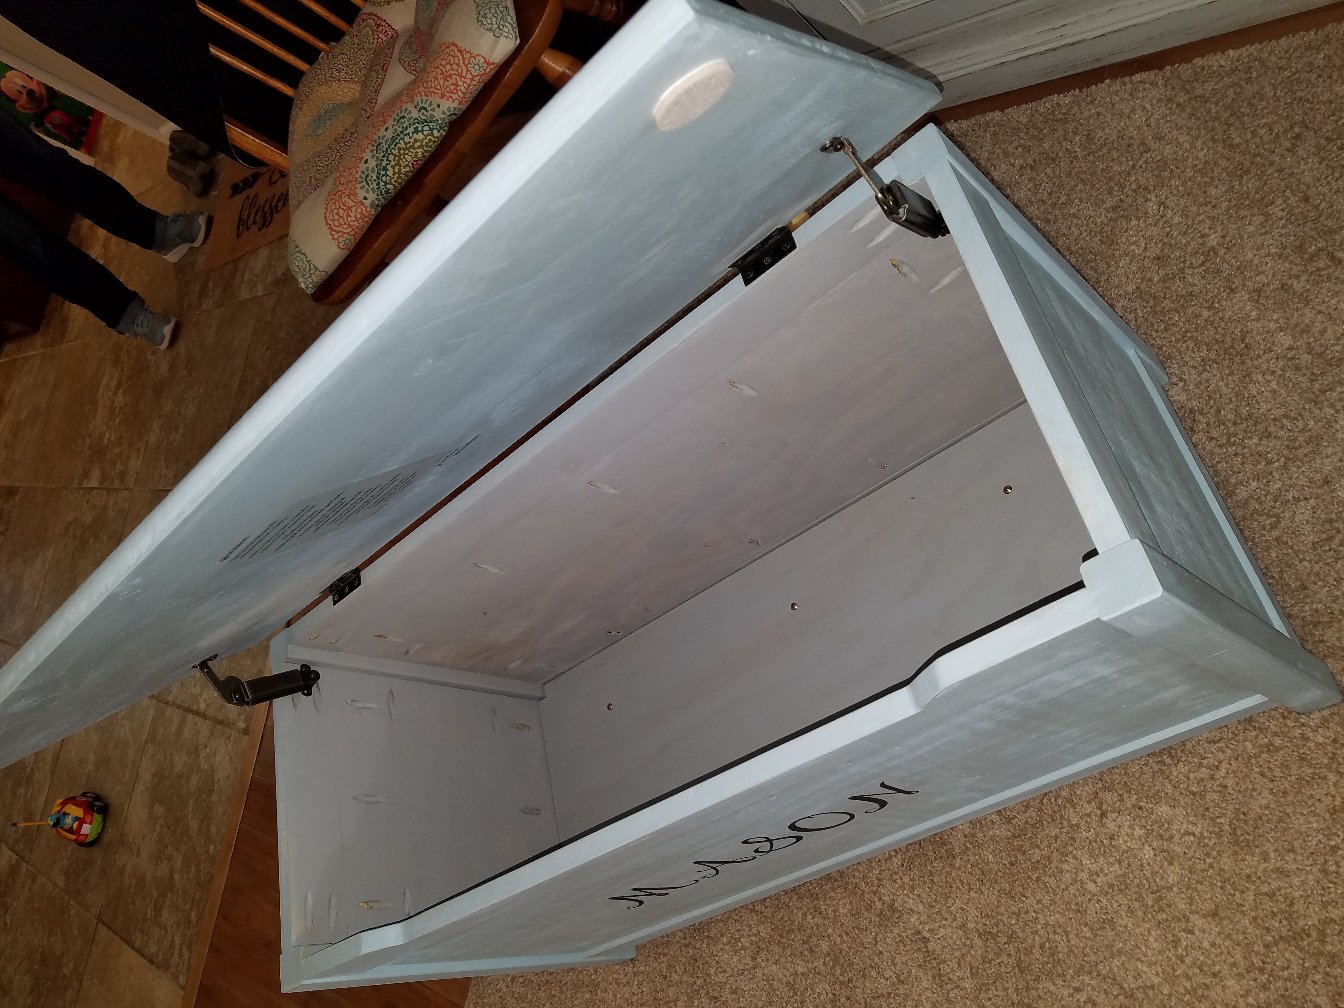
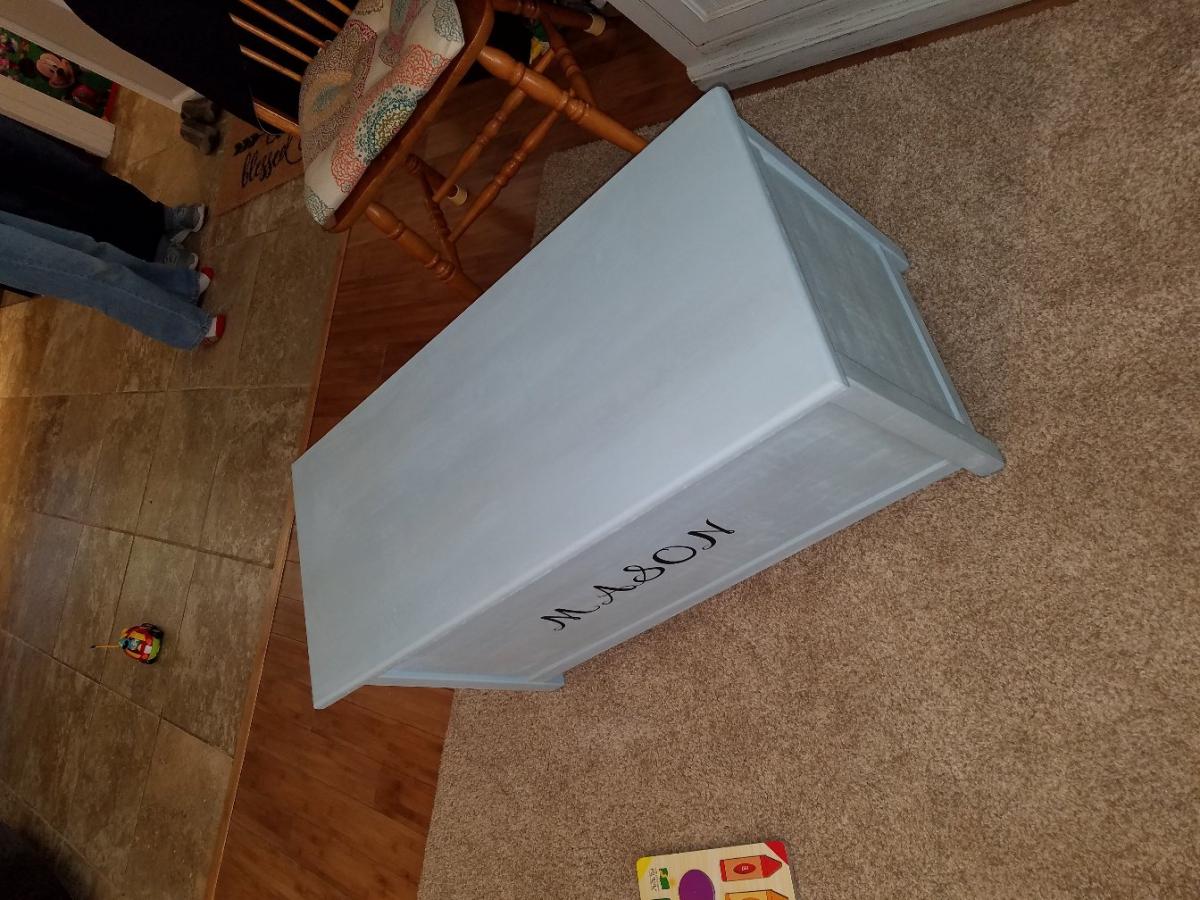
I had a leftover sheet of 1/2" plywood, so I built this toy box. The pocket holes didn't work very well on the 1/2" plywood, so I added some angle brackets for security, but it's a great toy box, bigger than I had imagined! I had to add a sheet of plywood in the open side because the bottom was too low for my 2 year old--toys kept falling in and he couldn't reach them, but kept trying to climb in after them!
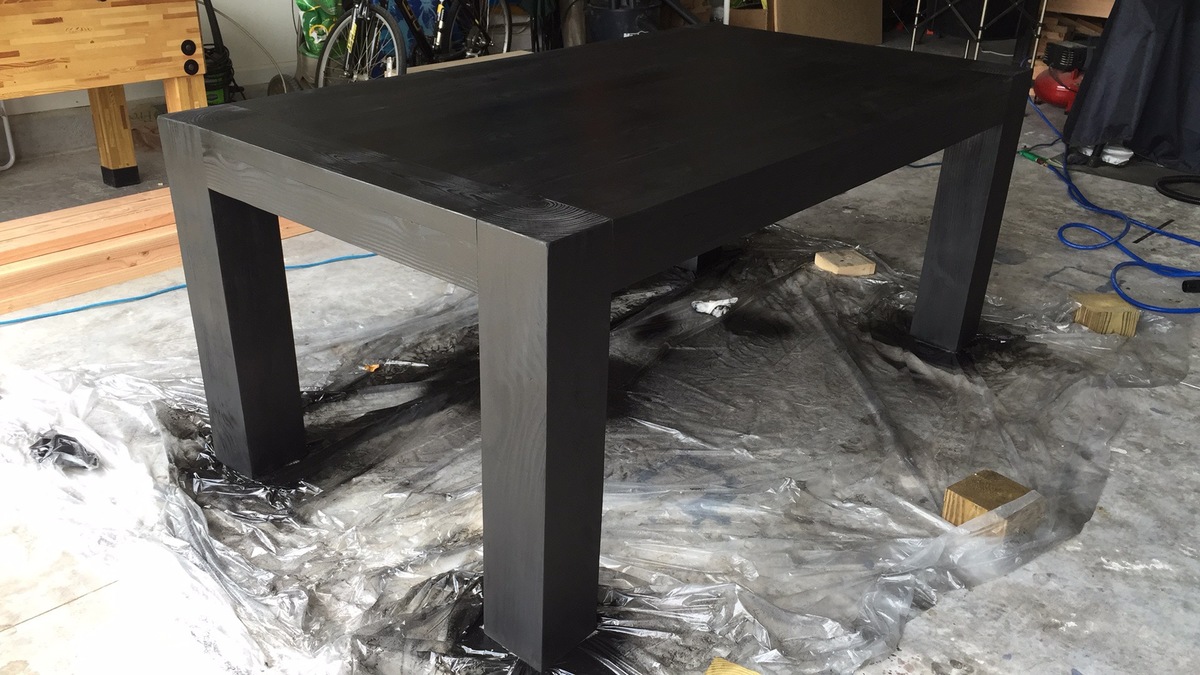
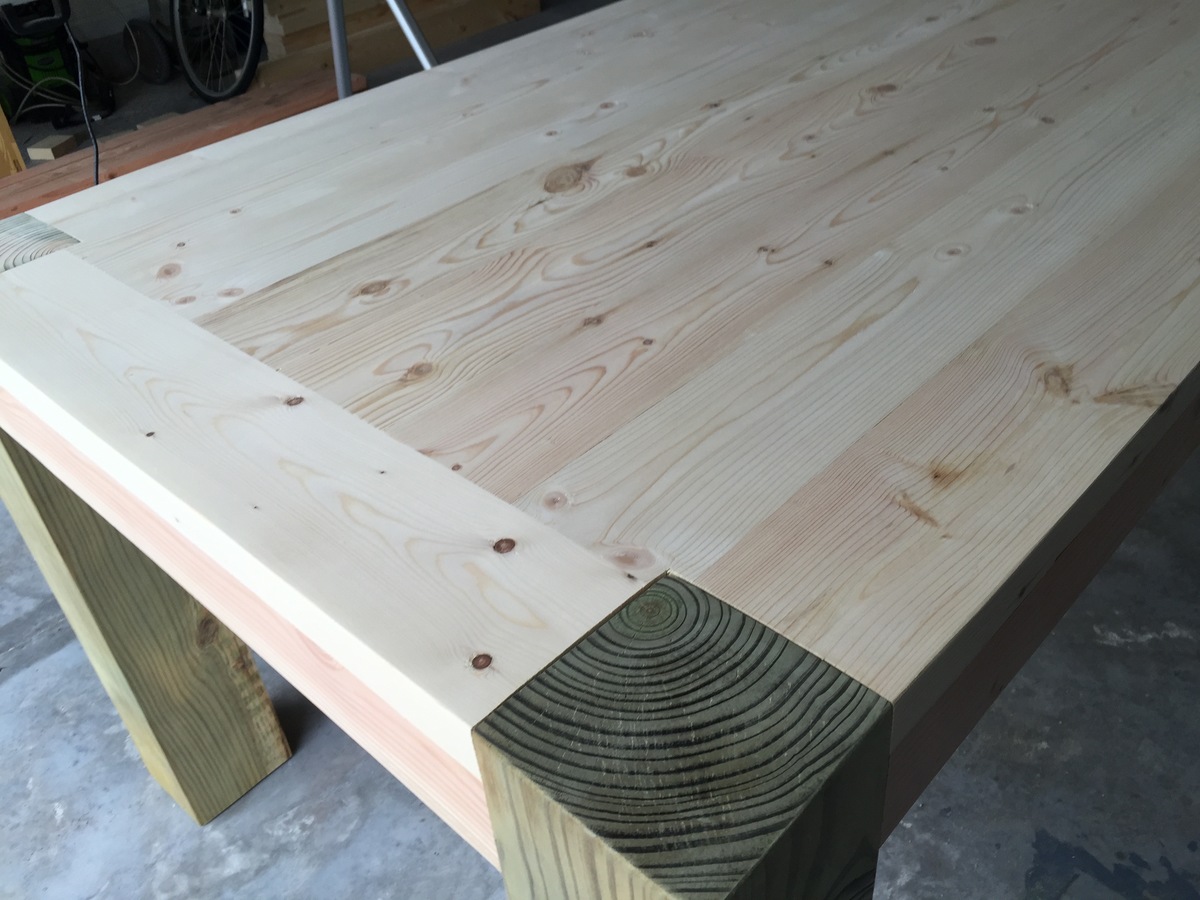
I have decided to build the iTable as a dining table last weekend and I am very happy, this is becoming our new dining table! I used 6x6 for the legs and stained with ebony stain, and protected with 3 coats of polyurethane.
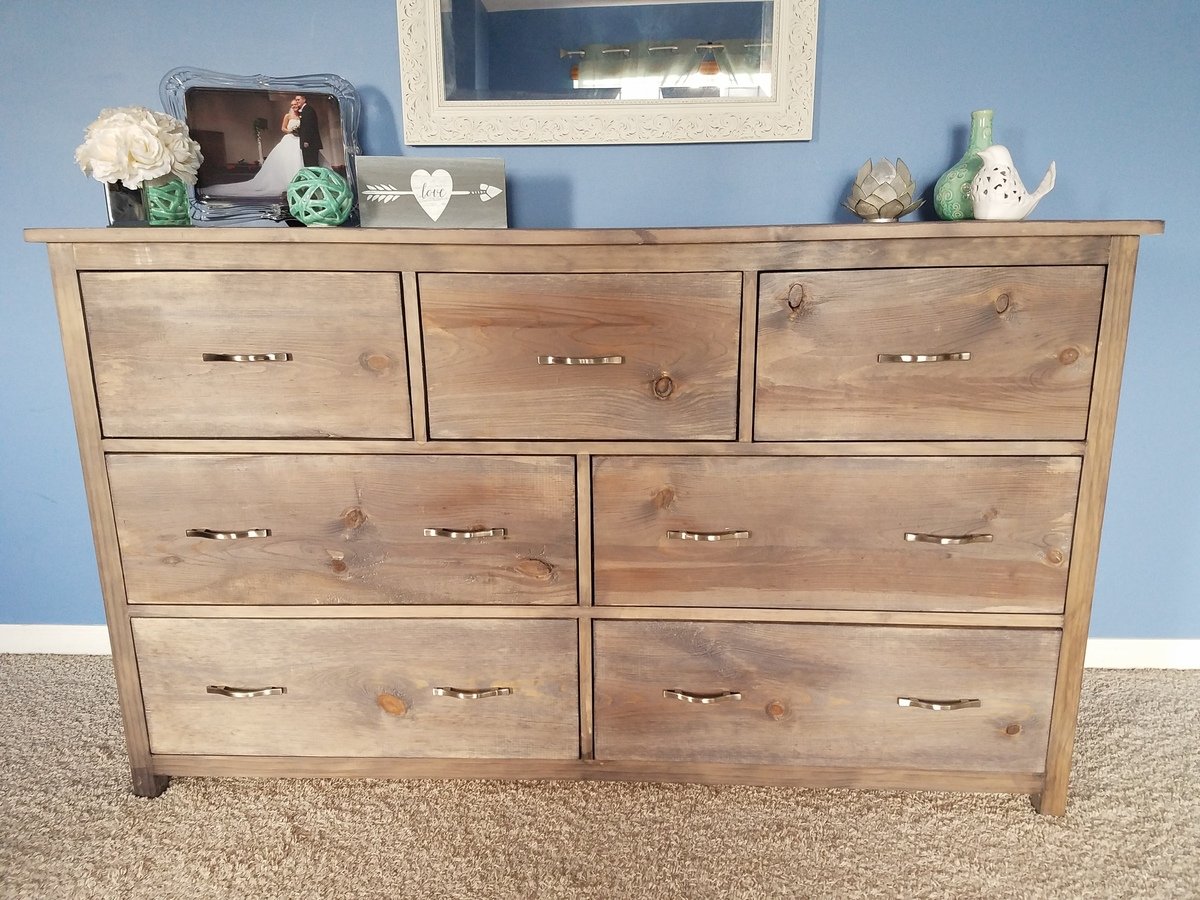
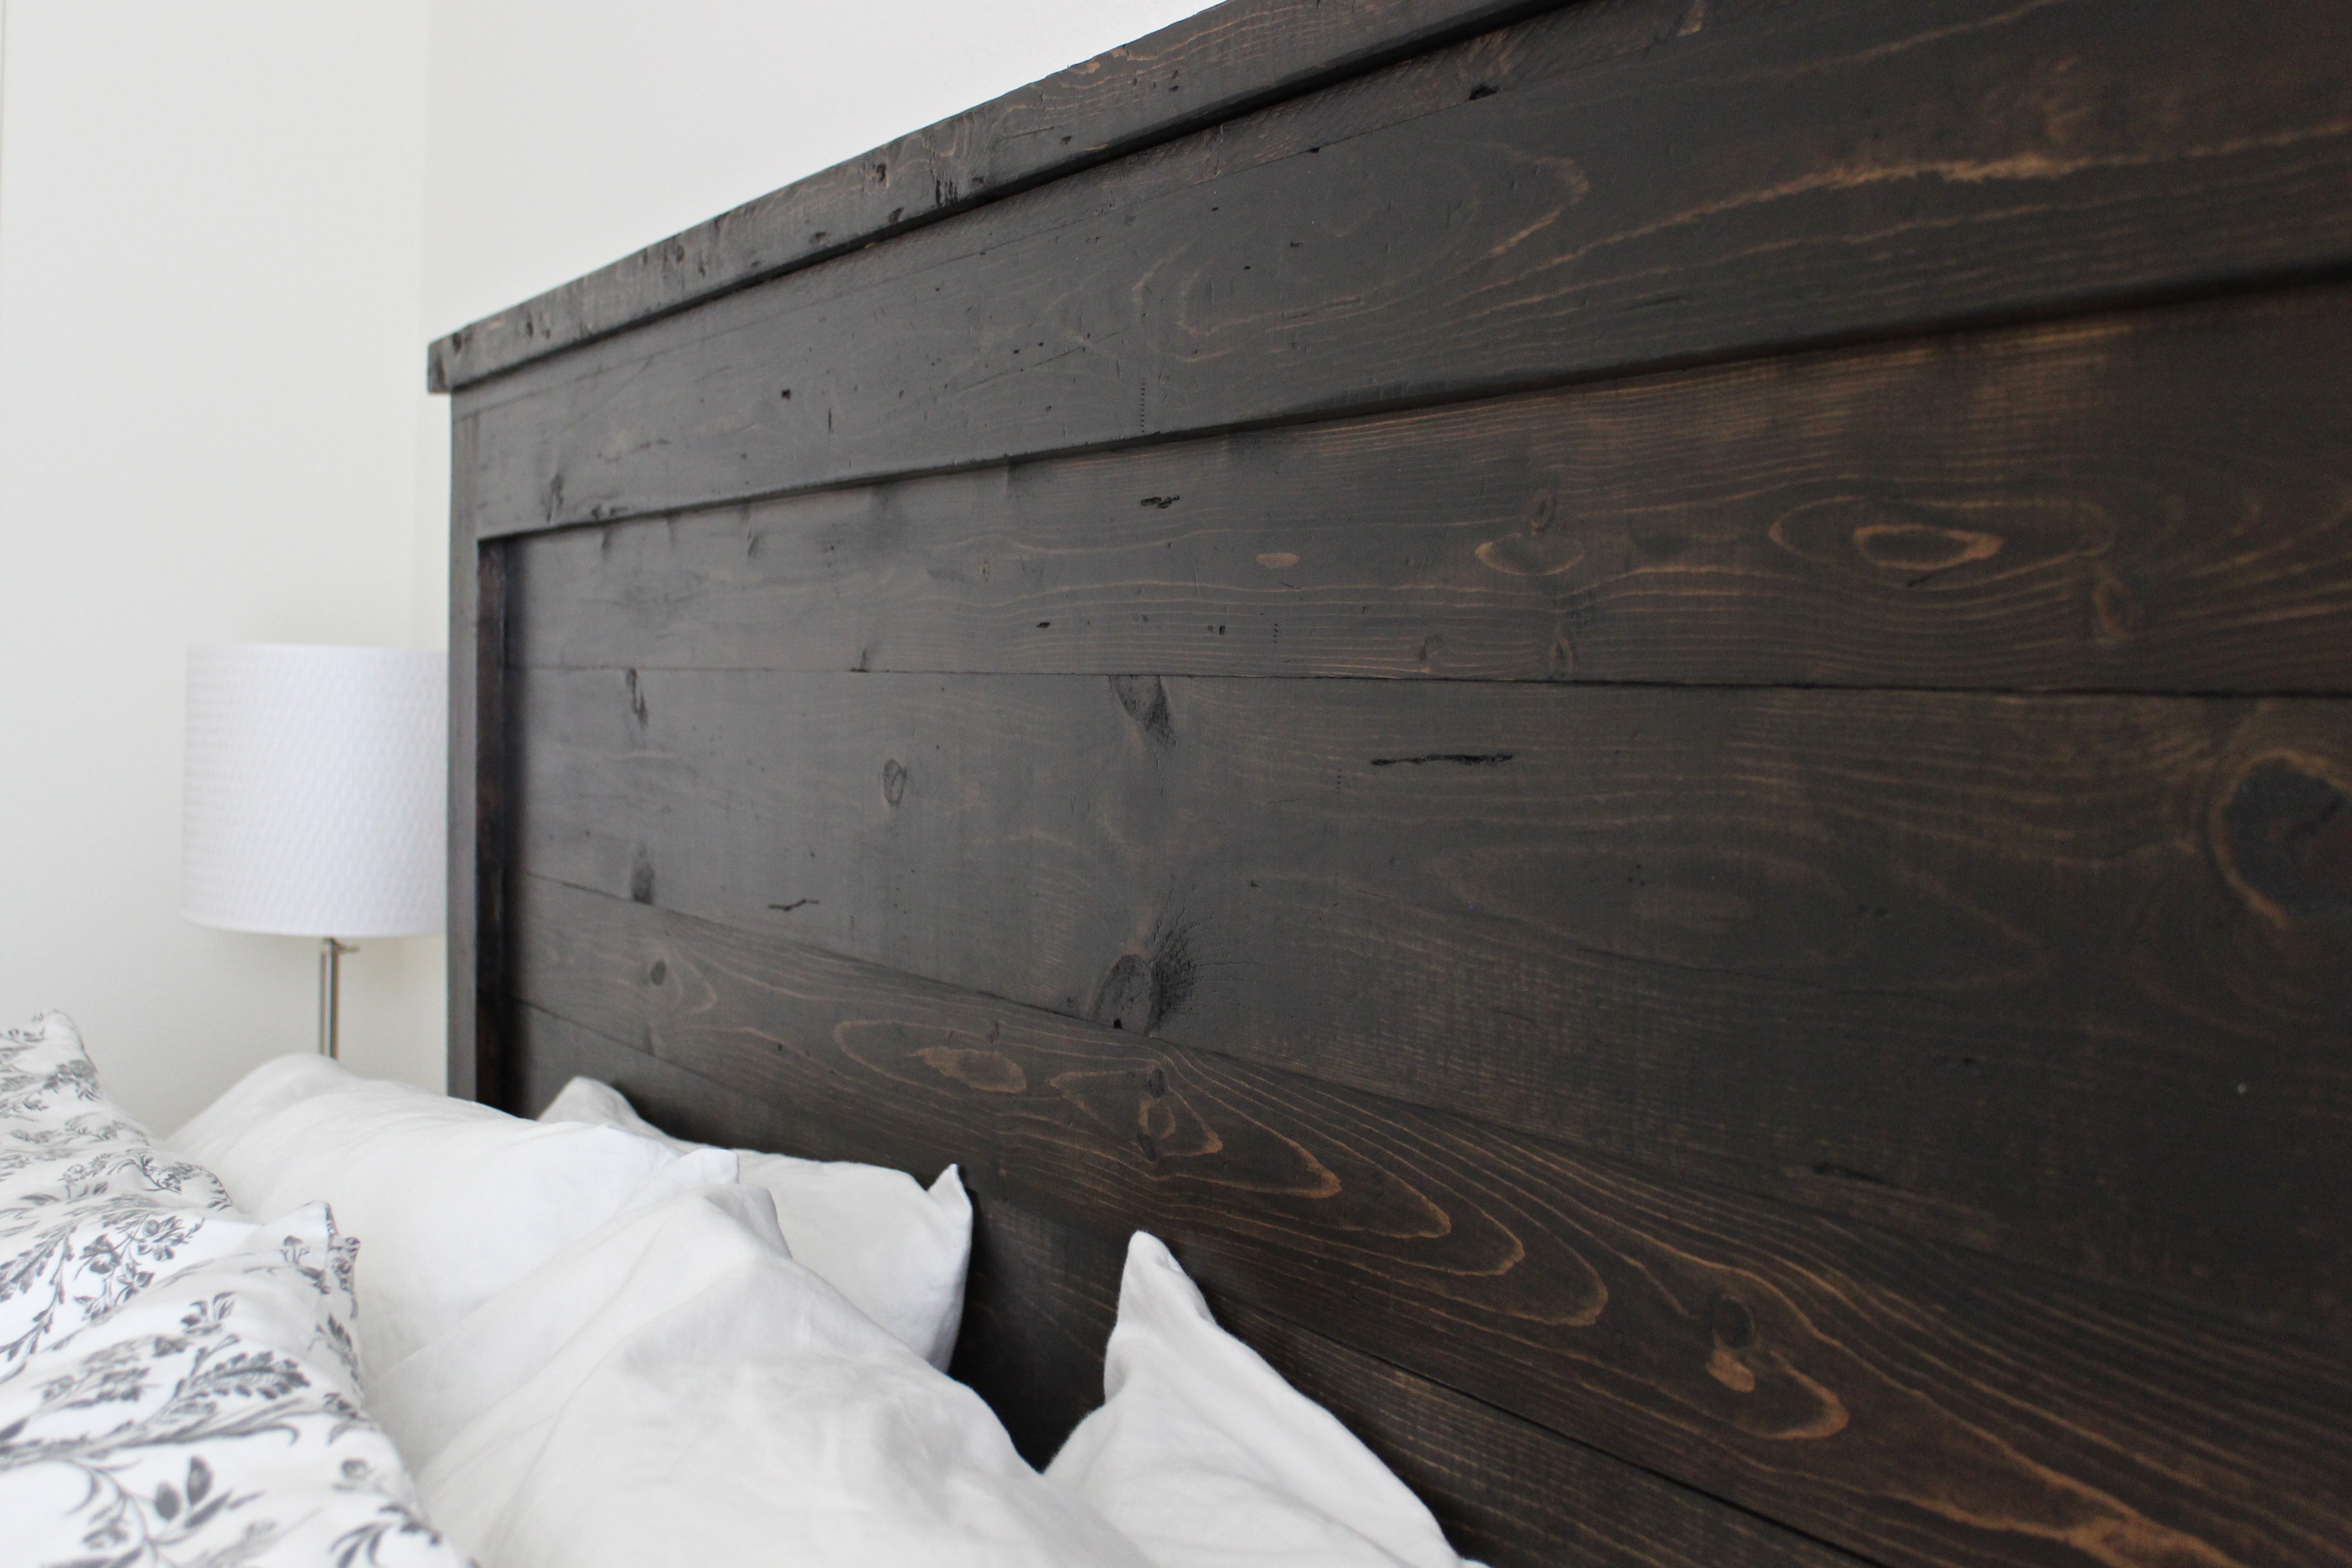
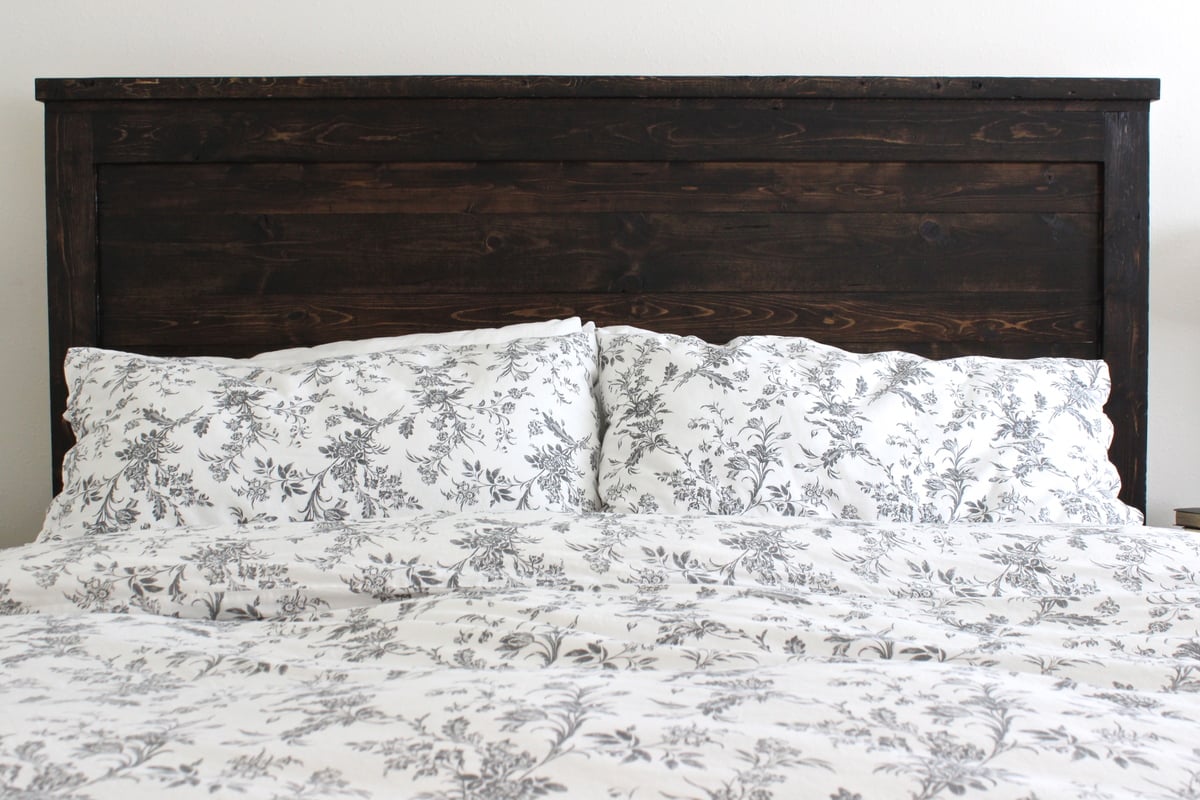
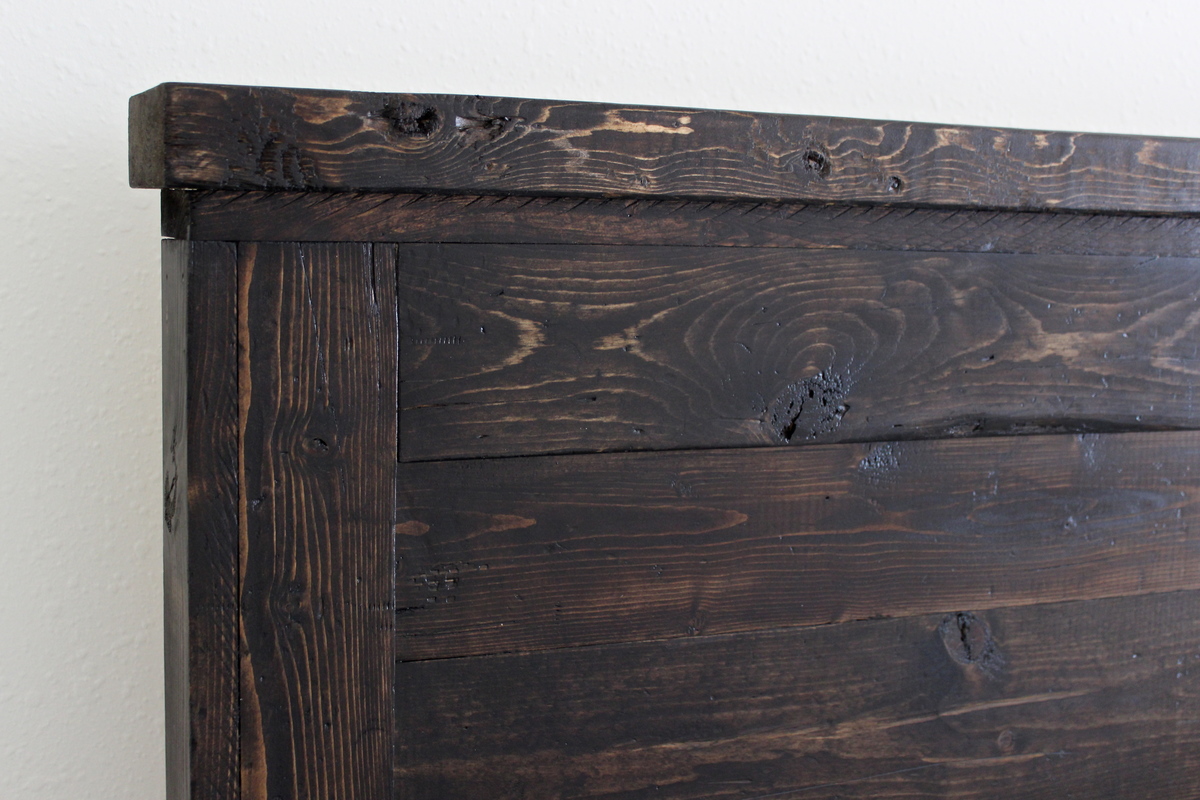
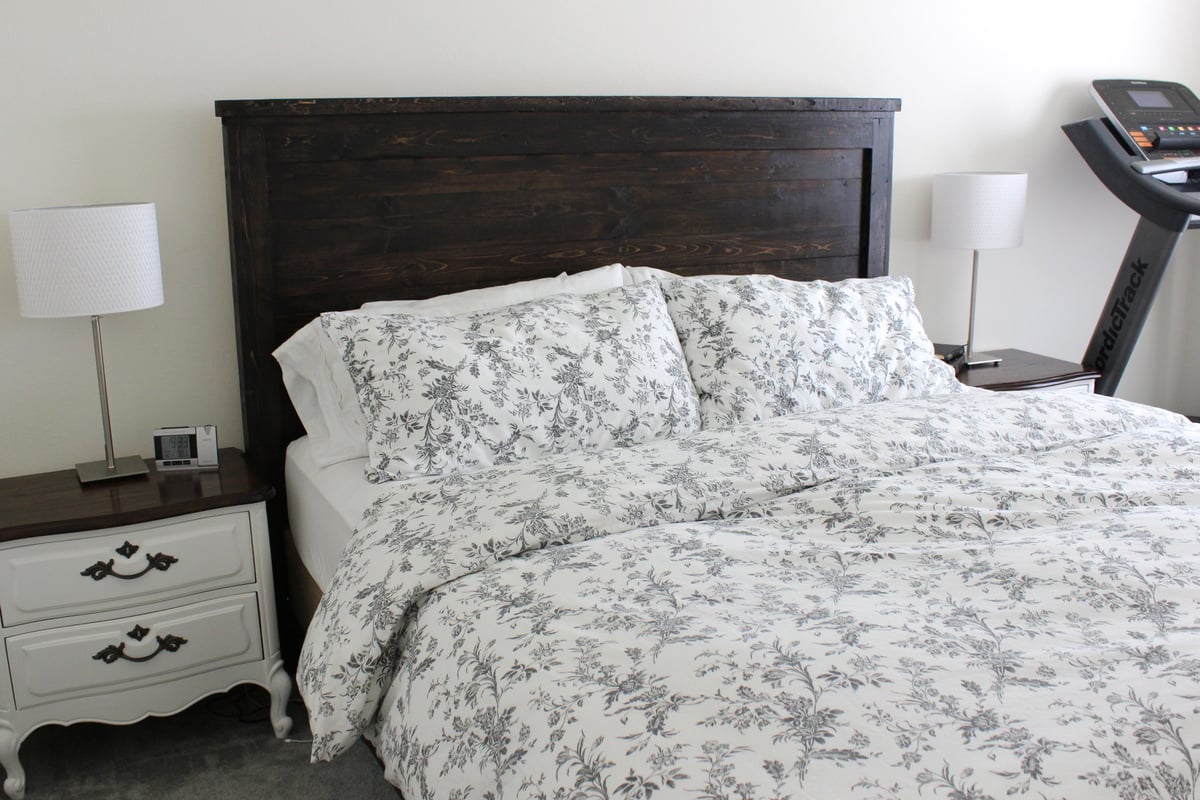
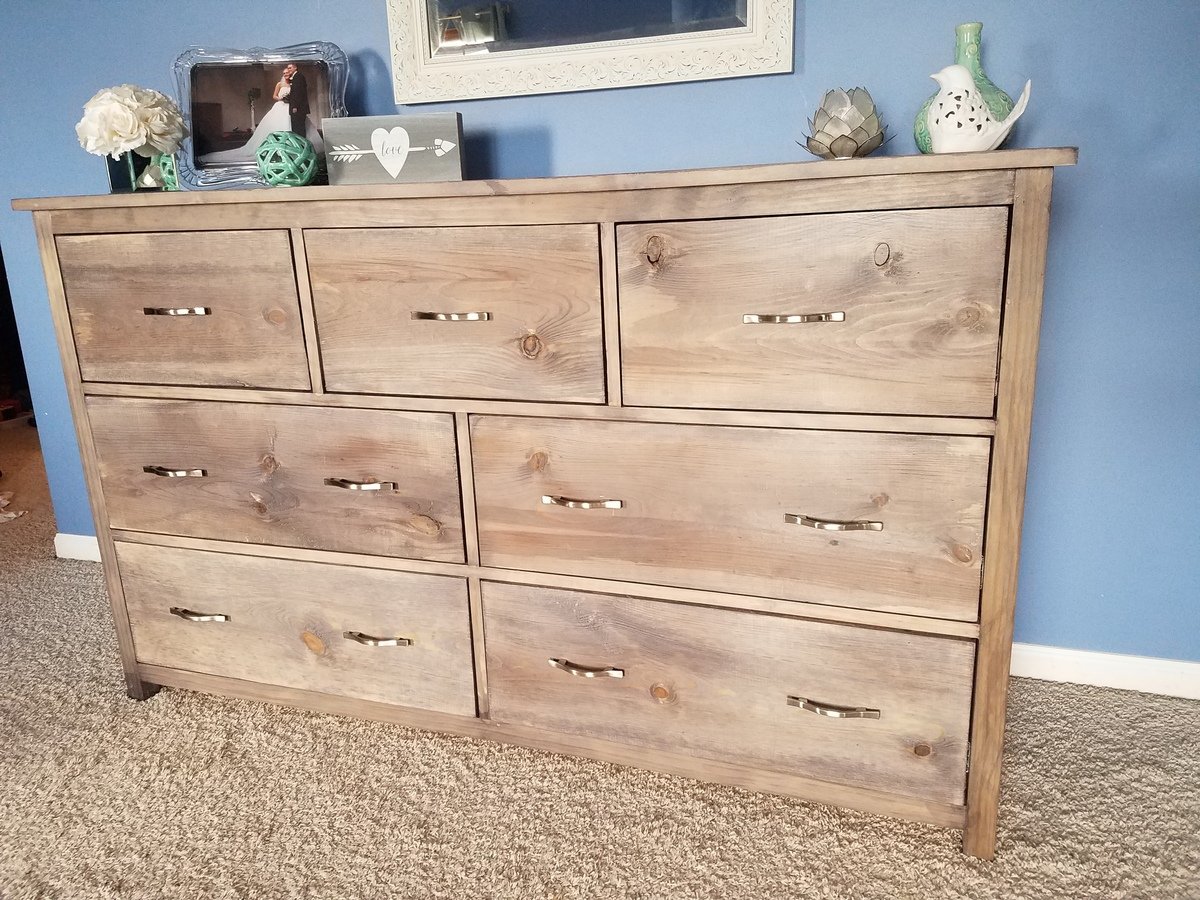
First time using drawer slides, and what a learning curve it was! The color is Varathane Weathered Wood Accelerator. This piece is huge and heavy! Absolutely love it and rebuilding other bedroom pieces to match this color. I also built a matching dresser which is taller and much more narrow. It can be found here: http://www.ana-white.com/2018/08/DIY_furniture/tall-bedroom-dresser
Mon, 03/01/2021 - 12:41
Are there plans for this dress, or the tall matching one?
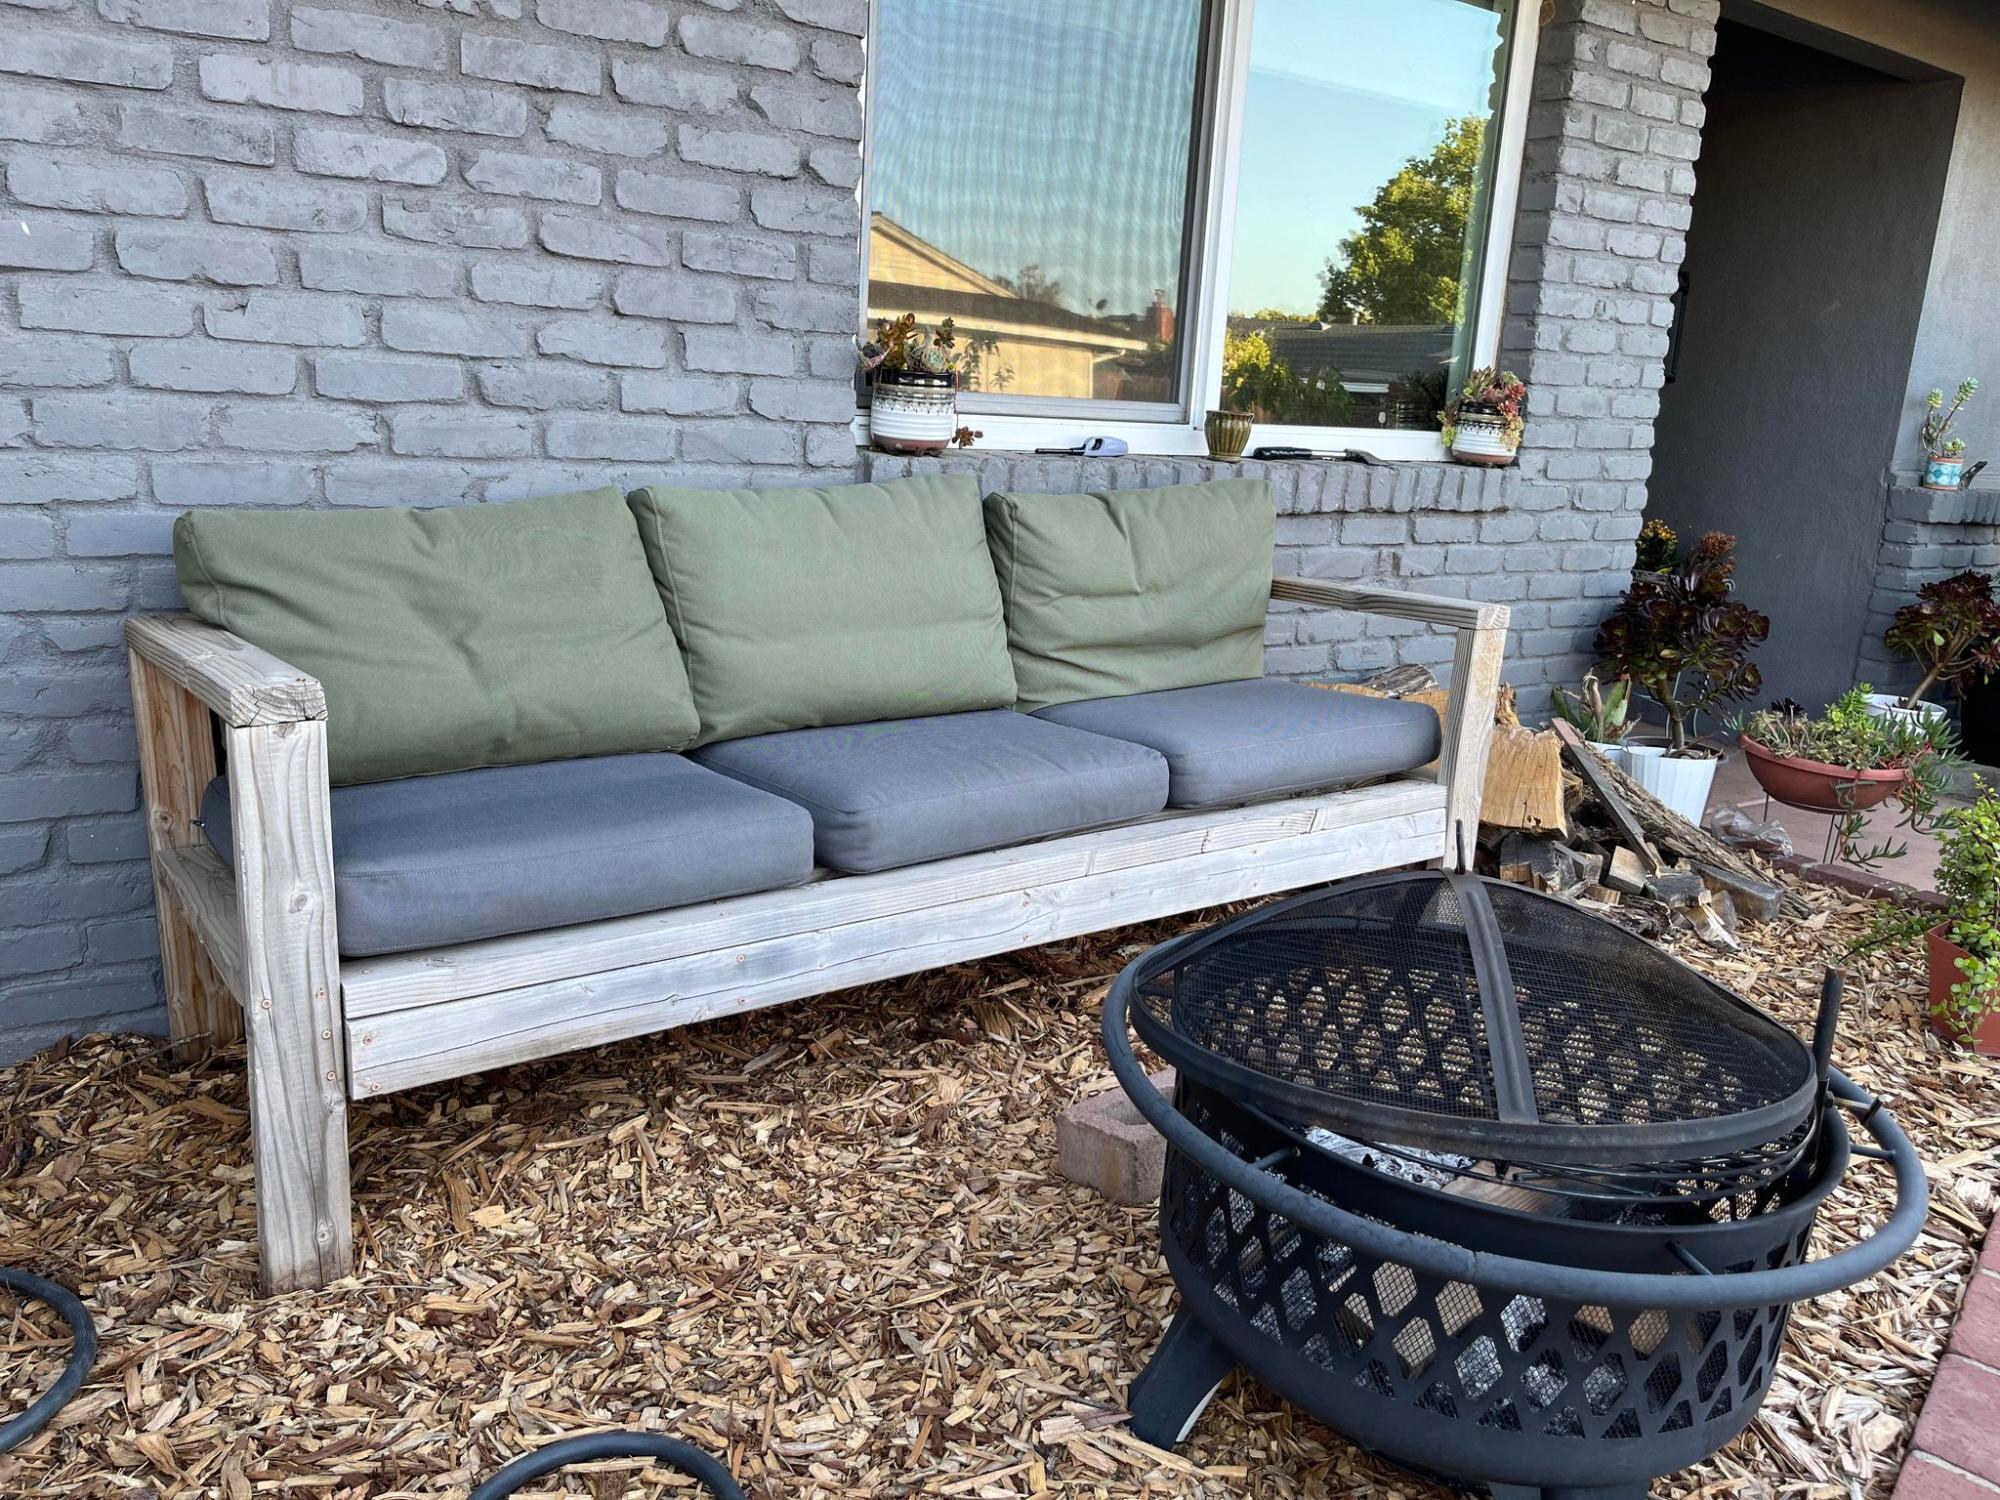
My husband loves seating on this sofa while reading his scriptures or sometimes to take a nap. I got the cushions and pillows from Ikea. I can't wait to build another one or two, possibly with my sister-in-law. Thank you for the tutorial :-)
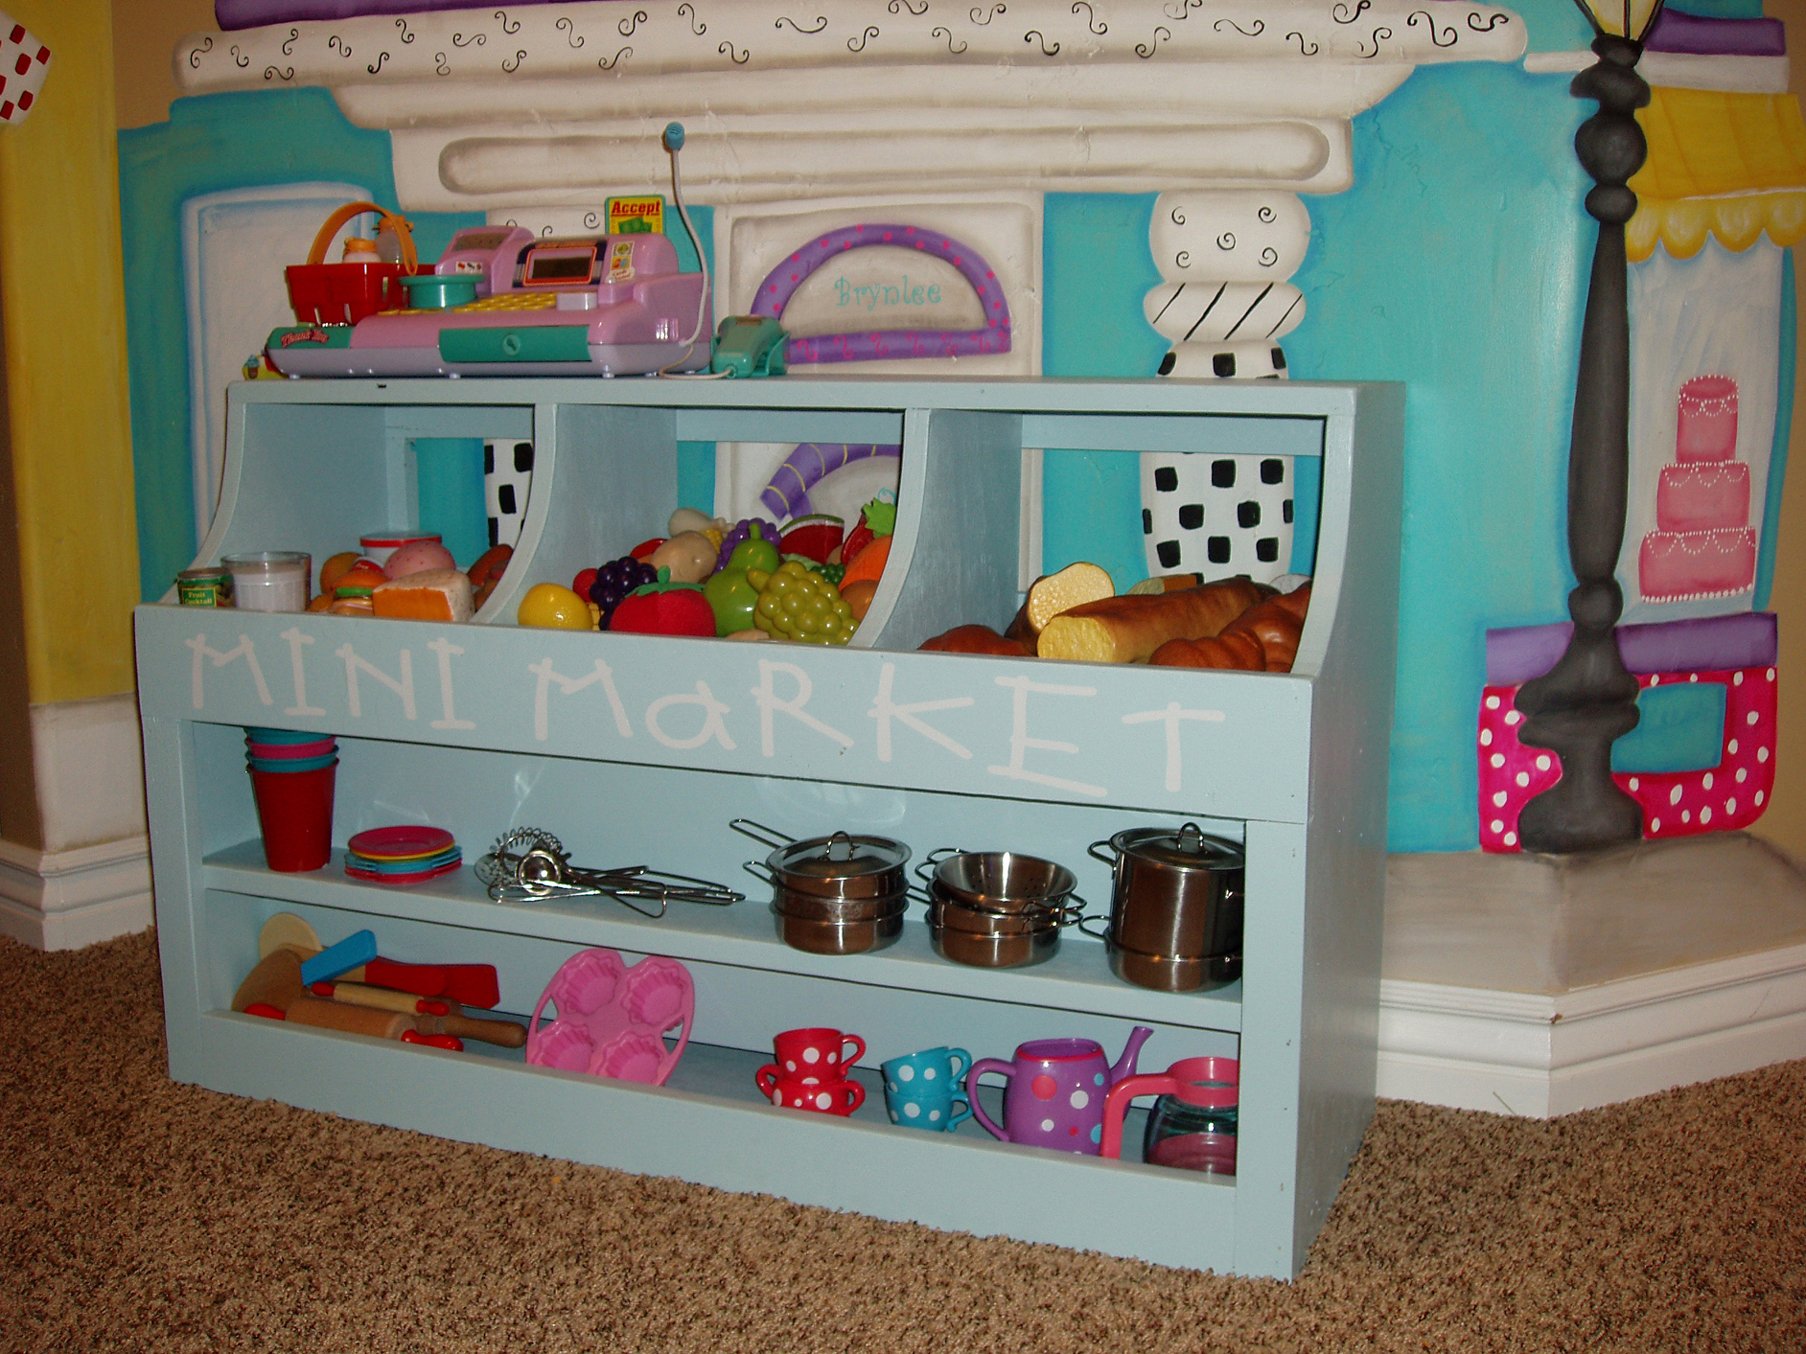
The play kitchen is the favorite play area at our house! The girls and their friends play here for hours and that includes our 11 year old and her friends too! If you haven't built this set yet, it is a must! Give yourself plenty of time to finish it if you're going to give it as a gift because for me, the building was the easy part! It's the finish work that takes FOREVER!
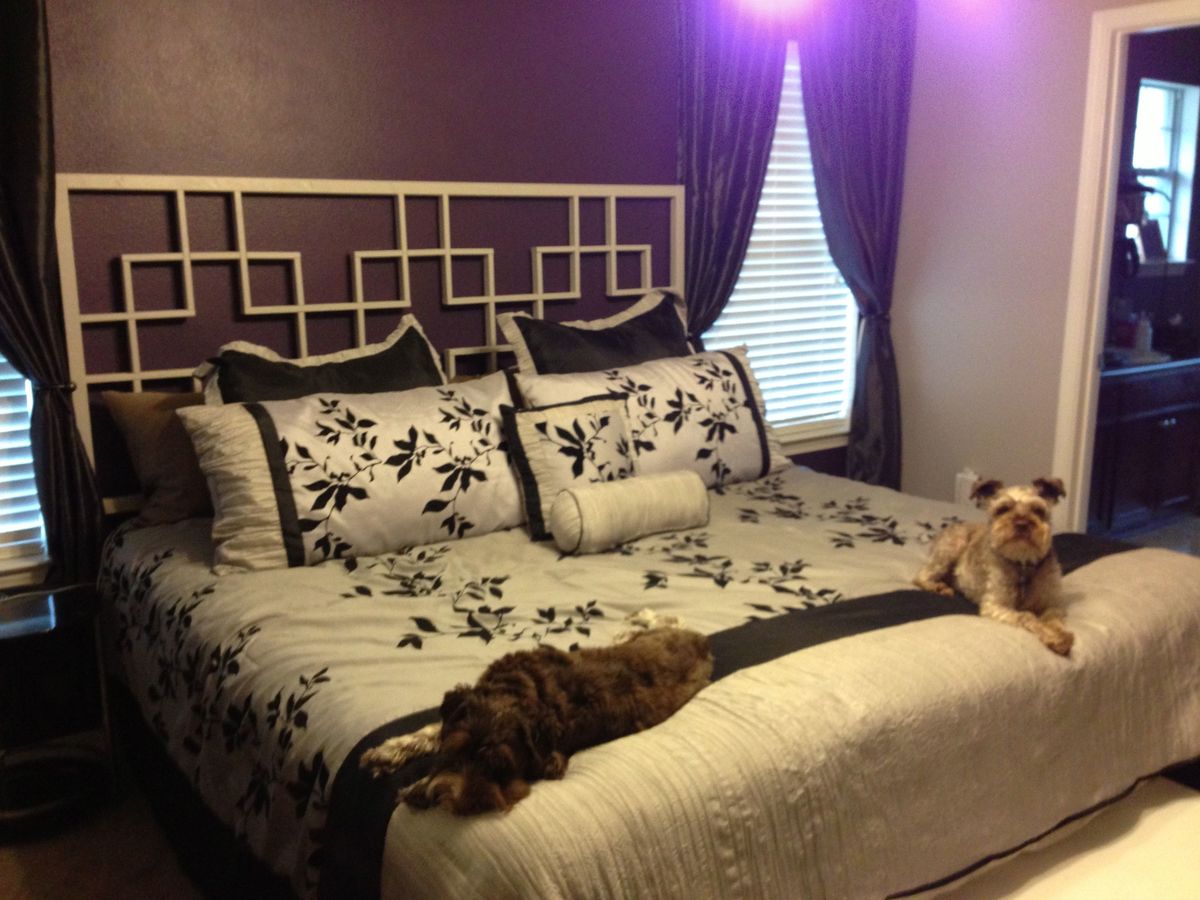
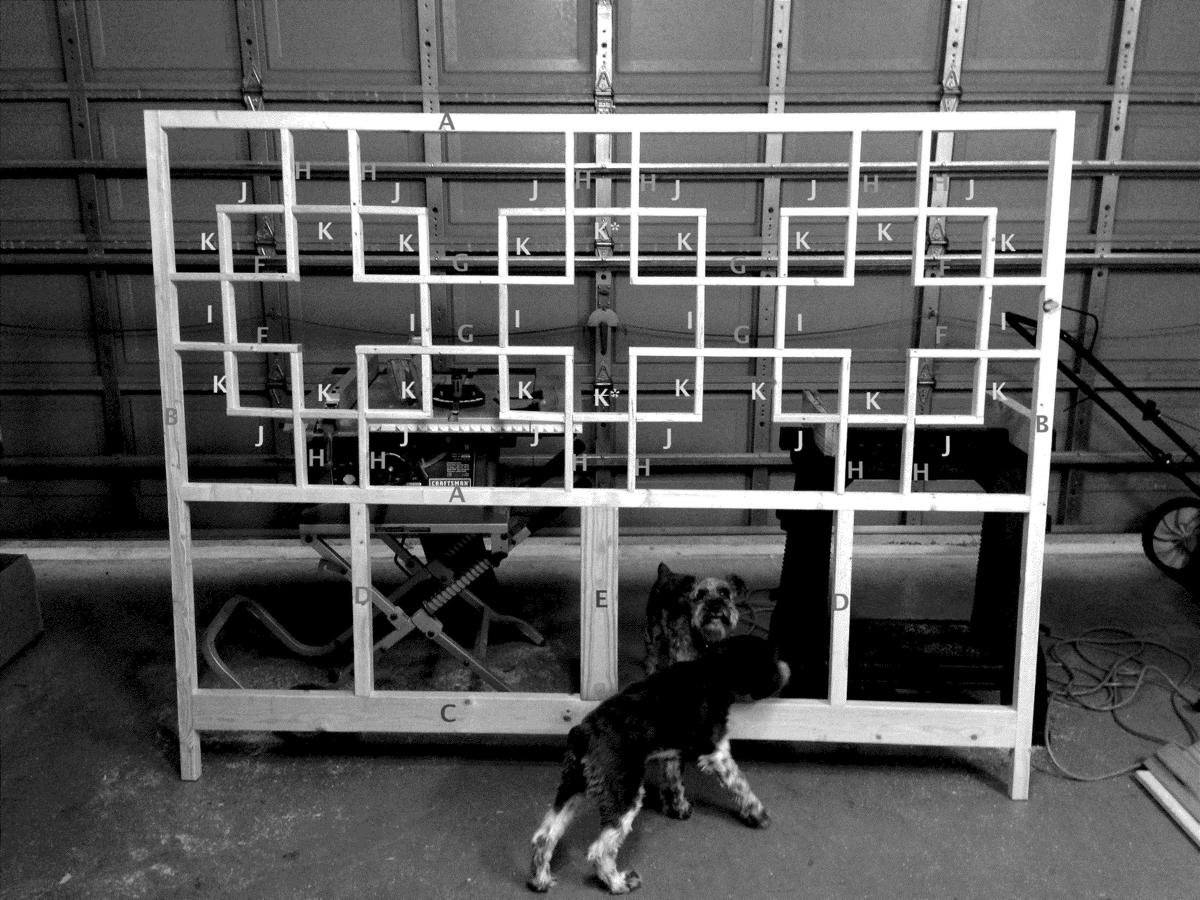
Adapted the original Queen plans to a King with a bed height of 27". Thanks for the original plans. Here are the adapted cuts to match the labeled photo:
Squared2 Headboard – King Size Cutlist for bed height of 27”
A - 2” x 2” x 76 ½” x2
B - 2” x 2” x 61 ½” x2
C - 2” x 4” x 76 ½” x1
D - 2” x 2” x 18 ½” x2
E - 2” x 4” x 18 ½” x1
F - 1” x 2” x 11 1/16” x4
G - 1” x 2” x 19 ½” x4
H - 1” x 2” x 12 ¼” x12
I - 1” x 2” x 5 ½” x6
J - 1” x 2” x 5 7/8” x12
K - 1” x 2” x 5 1/8” x18 K* - (May need to be trimmed to 5”)
Lumber needed
2” x 2” x 8’ x4
2” x 4” x 8’ x1
1” x 2” x 8’ x5
1” x 2” board cuts
|
19 ½” 19 ½” 19 ½” 19 ½” 5 1/8” 5 ½” 5 ½” |
11 1/16” 11 1/16” 11 1/16” 11 1/16” 12 ¼” 12 ¼” 12 ¼” 12 ¼” |
12 ¼” 12 ¼” 12 ¼” 12 ¼” 5 1/8” 5 1/8” 5 7/8” 5 7/8” 5 7/8” 5 7/8” 5 7/8” 5 7/8” |
12 ¼” 12 ¼” 12 ¼” 12 ¼” 5 1/8” 5 1/8” 5 7/8” 5 7/8” 5 7/8” 5 7/8” 5 7/8” 5 7/8” |
5 1/8” 5 1/8” 5 1/8” 5 1/8” 5 1/8” 5 1/8” 5 1/8” 5 1/8” 5 1/8” 5 1/8” 5 1/8” 5 1/8” 5 1/8” 5 ½” 5 ½” 5 ½” 5 ½” |

Sat, 08/17/2013 - 16:19
Phew, this pattern requires a lot of math, doesn't it? You did an excellent job of customizing the headboard to the size you need!
I'm working (today) on getting measurements right for a Squared2 Dining Table, so seeing your finished product is helpful. =D Thank you!

Build Instructions and additional pictures:
http://www.instructables.com/id/Rustic-Pumpkin-Lantern/
This triangular pumpkin lantern could be a nice addition to your Halloween décor. To give the lantern an aged timeworn look, the rustic finish uses multiple layers of paint, rough sanding and then an outer layer of oak stain. Since the pumpkin is made from wood, I would suggest using LED Tea lights for illumination

Loved these plans. I made this with your plans for our grandson.
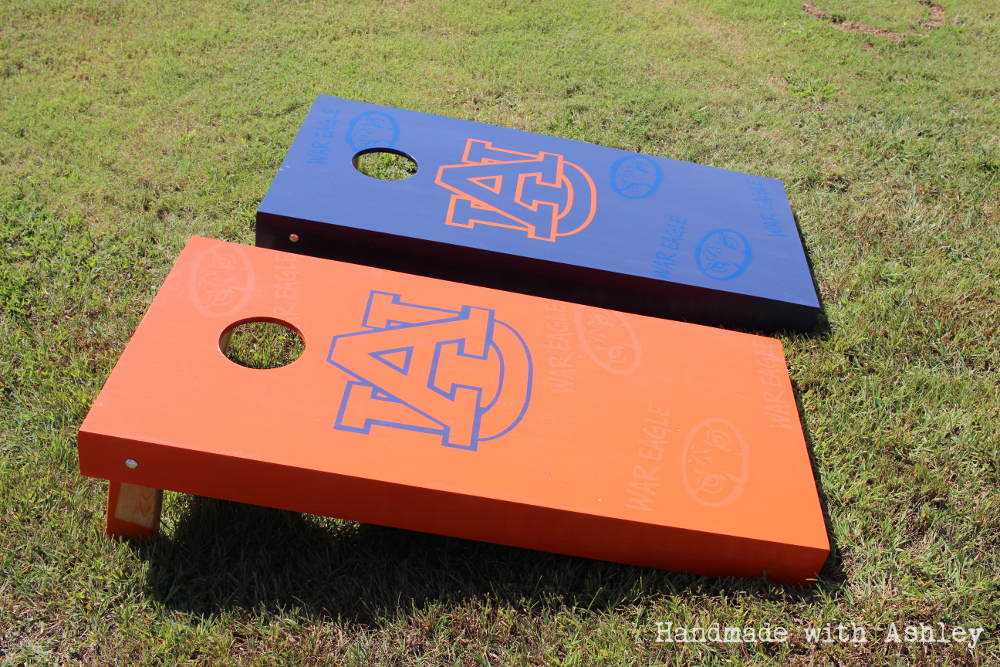
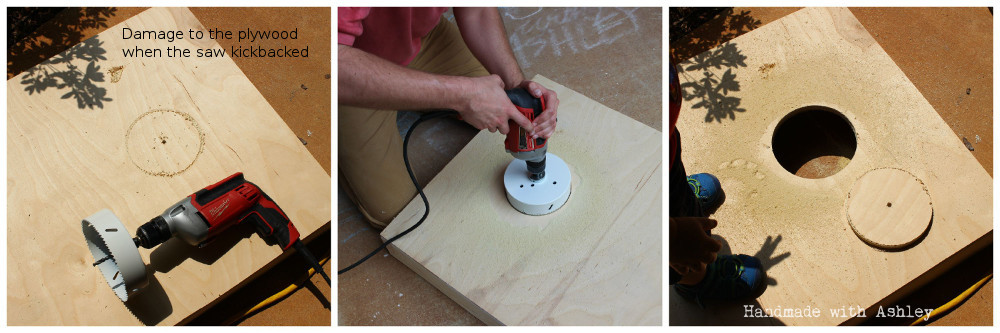
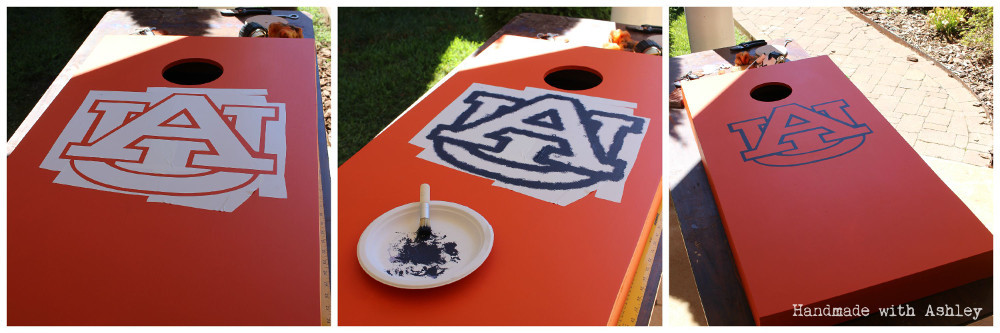
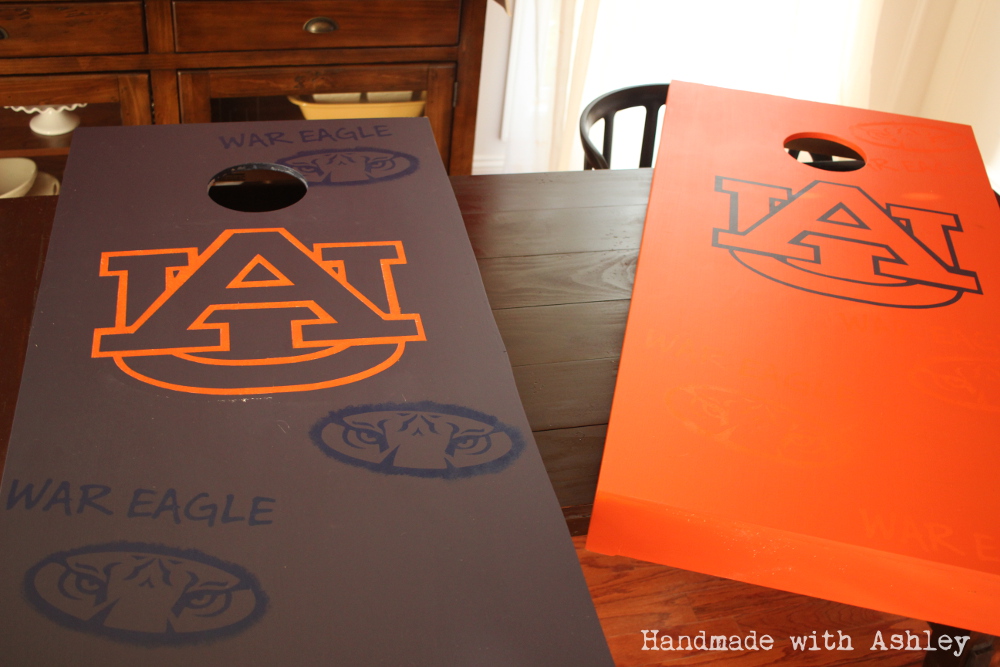
I built a pair of cornhole boards following a tutorial on This Old House. I used the Glidden Paint Team Colors line to get the a quart of blue and orange paint in the official Auburn colors. I used my Silhouette Portrait machine to create stencils for the AU logo, Auburn tiger logo and "War Eagle" text.

Love , love, love building this hutch. Started off with plans from the Shanty Hutch and out my own twist on it. Finished with valspar chalk paint and aging wax. Total build took around 2 weeks (part time).

I’ve been working on building up to this playhouse for a while. Just got the doors on and am pretty pleased with what’s my first project of any size. Built on top of a modified version of the playhouse deck with a to be added (hopefully) swing in front. Color selection by the end customer (who’s 8). Modified to add 12 inches for a 5’ doorway. Thankfully I caught that at the last minute for the kiddo. Still a menace if I forget to duck. But super roomy once inside.
Sun, 06/12/2022 - 09:04
Love the shades of blue, thank you for sharing your awesome creation!
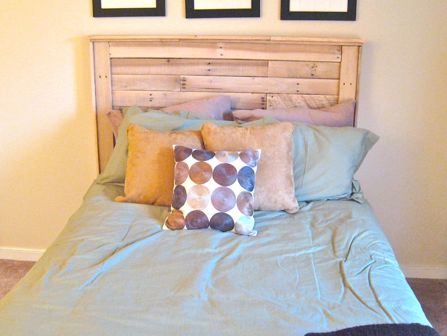
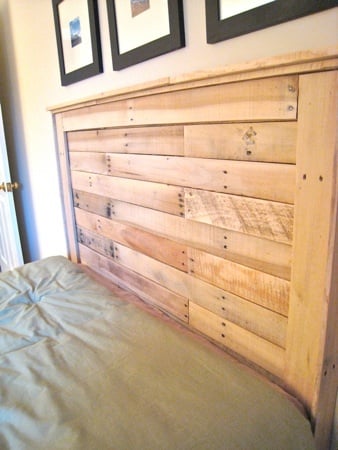
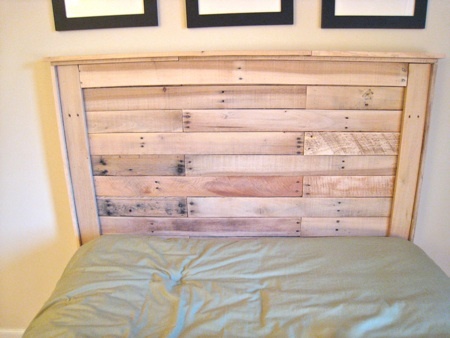
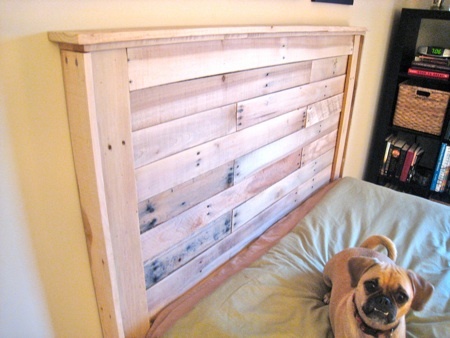
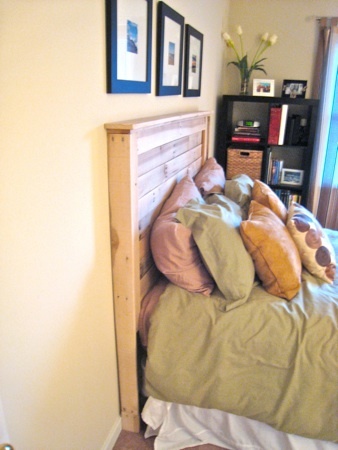
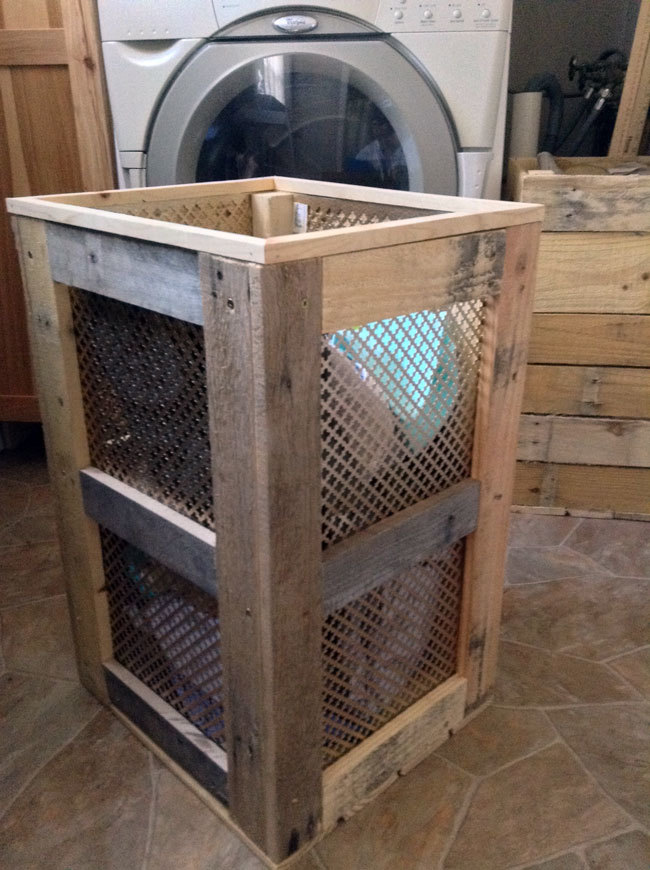
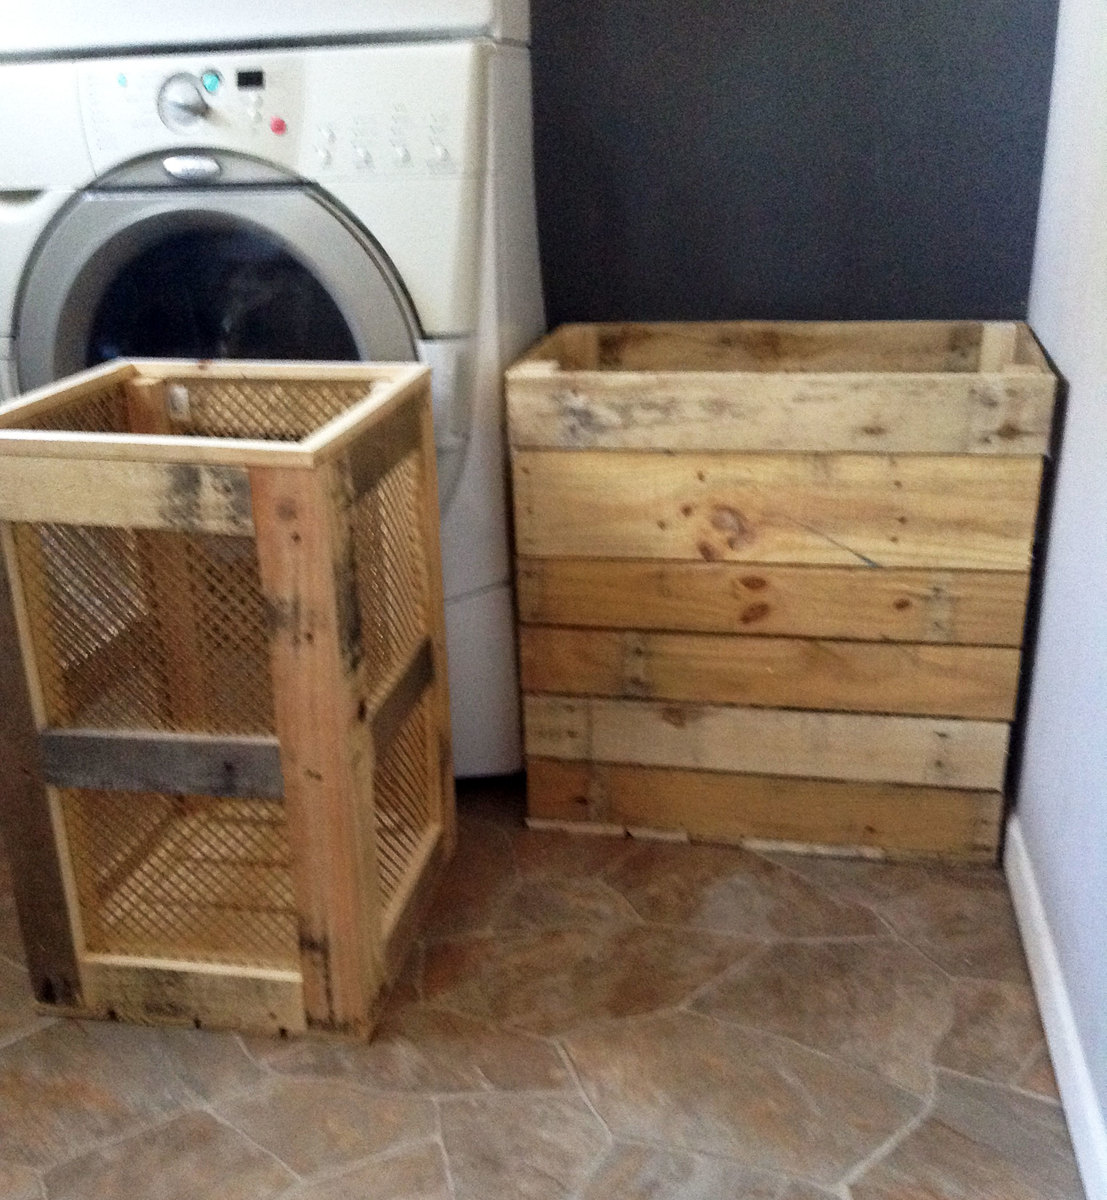
I've been using a bunch of FREE pallets on some projects here lately and decided to make the Reclaimed Wood Headboard with the pallet wood that I had. Every piece of wood came from pallets and it turned out pretty great. We're still undecided about if/how we want to stain it....but for now it's all natural'. I made mine a couple inches shorter then the plans called for and an inche or two narrower based on the measurements of our Full Size Bed. I documented this project as best as I could at: http://www.tommyandellie.com/Site/Home/Entries/2011/7/20_Entry_1.html

Wed, 07/20/2011 - 05:37
Looks beautiful. I wouldn't stain it. Just put a clear finish on it and call it good.
Sun, 07/24/2011 - 10:08
One of my favorite things is to use pallets for lumber! I have finished pallet wood before successfully using Minwax Poly-shades. Love Golden Oak as it doesn't do much but enhance the grain...grab a few samples and try them out on some scrap boards, that's the only way you will know how it will look in the end! Best of luck!
Thu, 01/26/2012 - 19:21
we tried the link for this project and it said error. Would love to make this for our bedroom. could you please let me know the directions?
Thanks!
In reply to reclaimed wood headboard from pallets link by Guest (not verified)
Fri, 01/27/2012 - 09:00
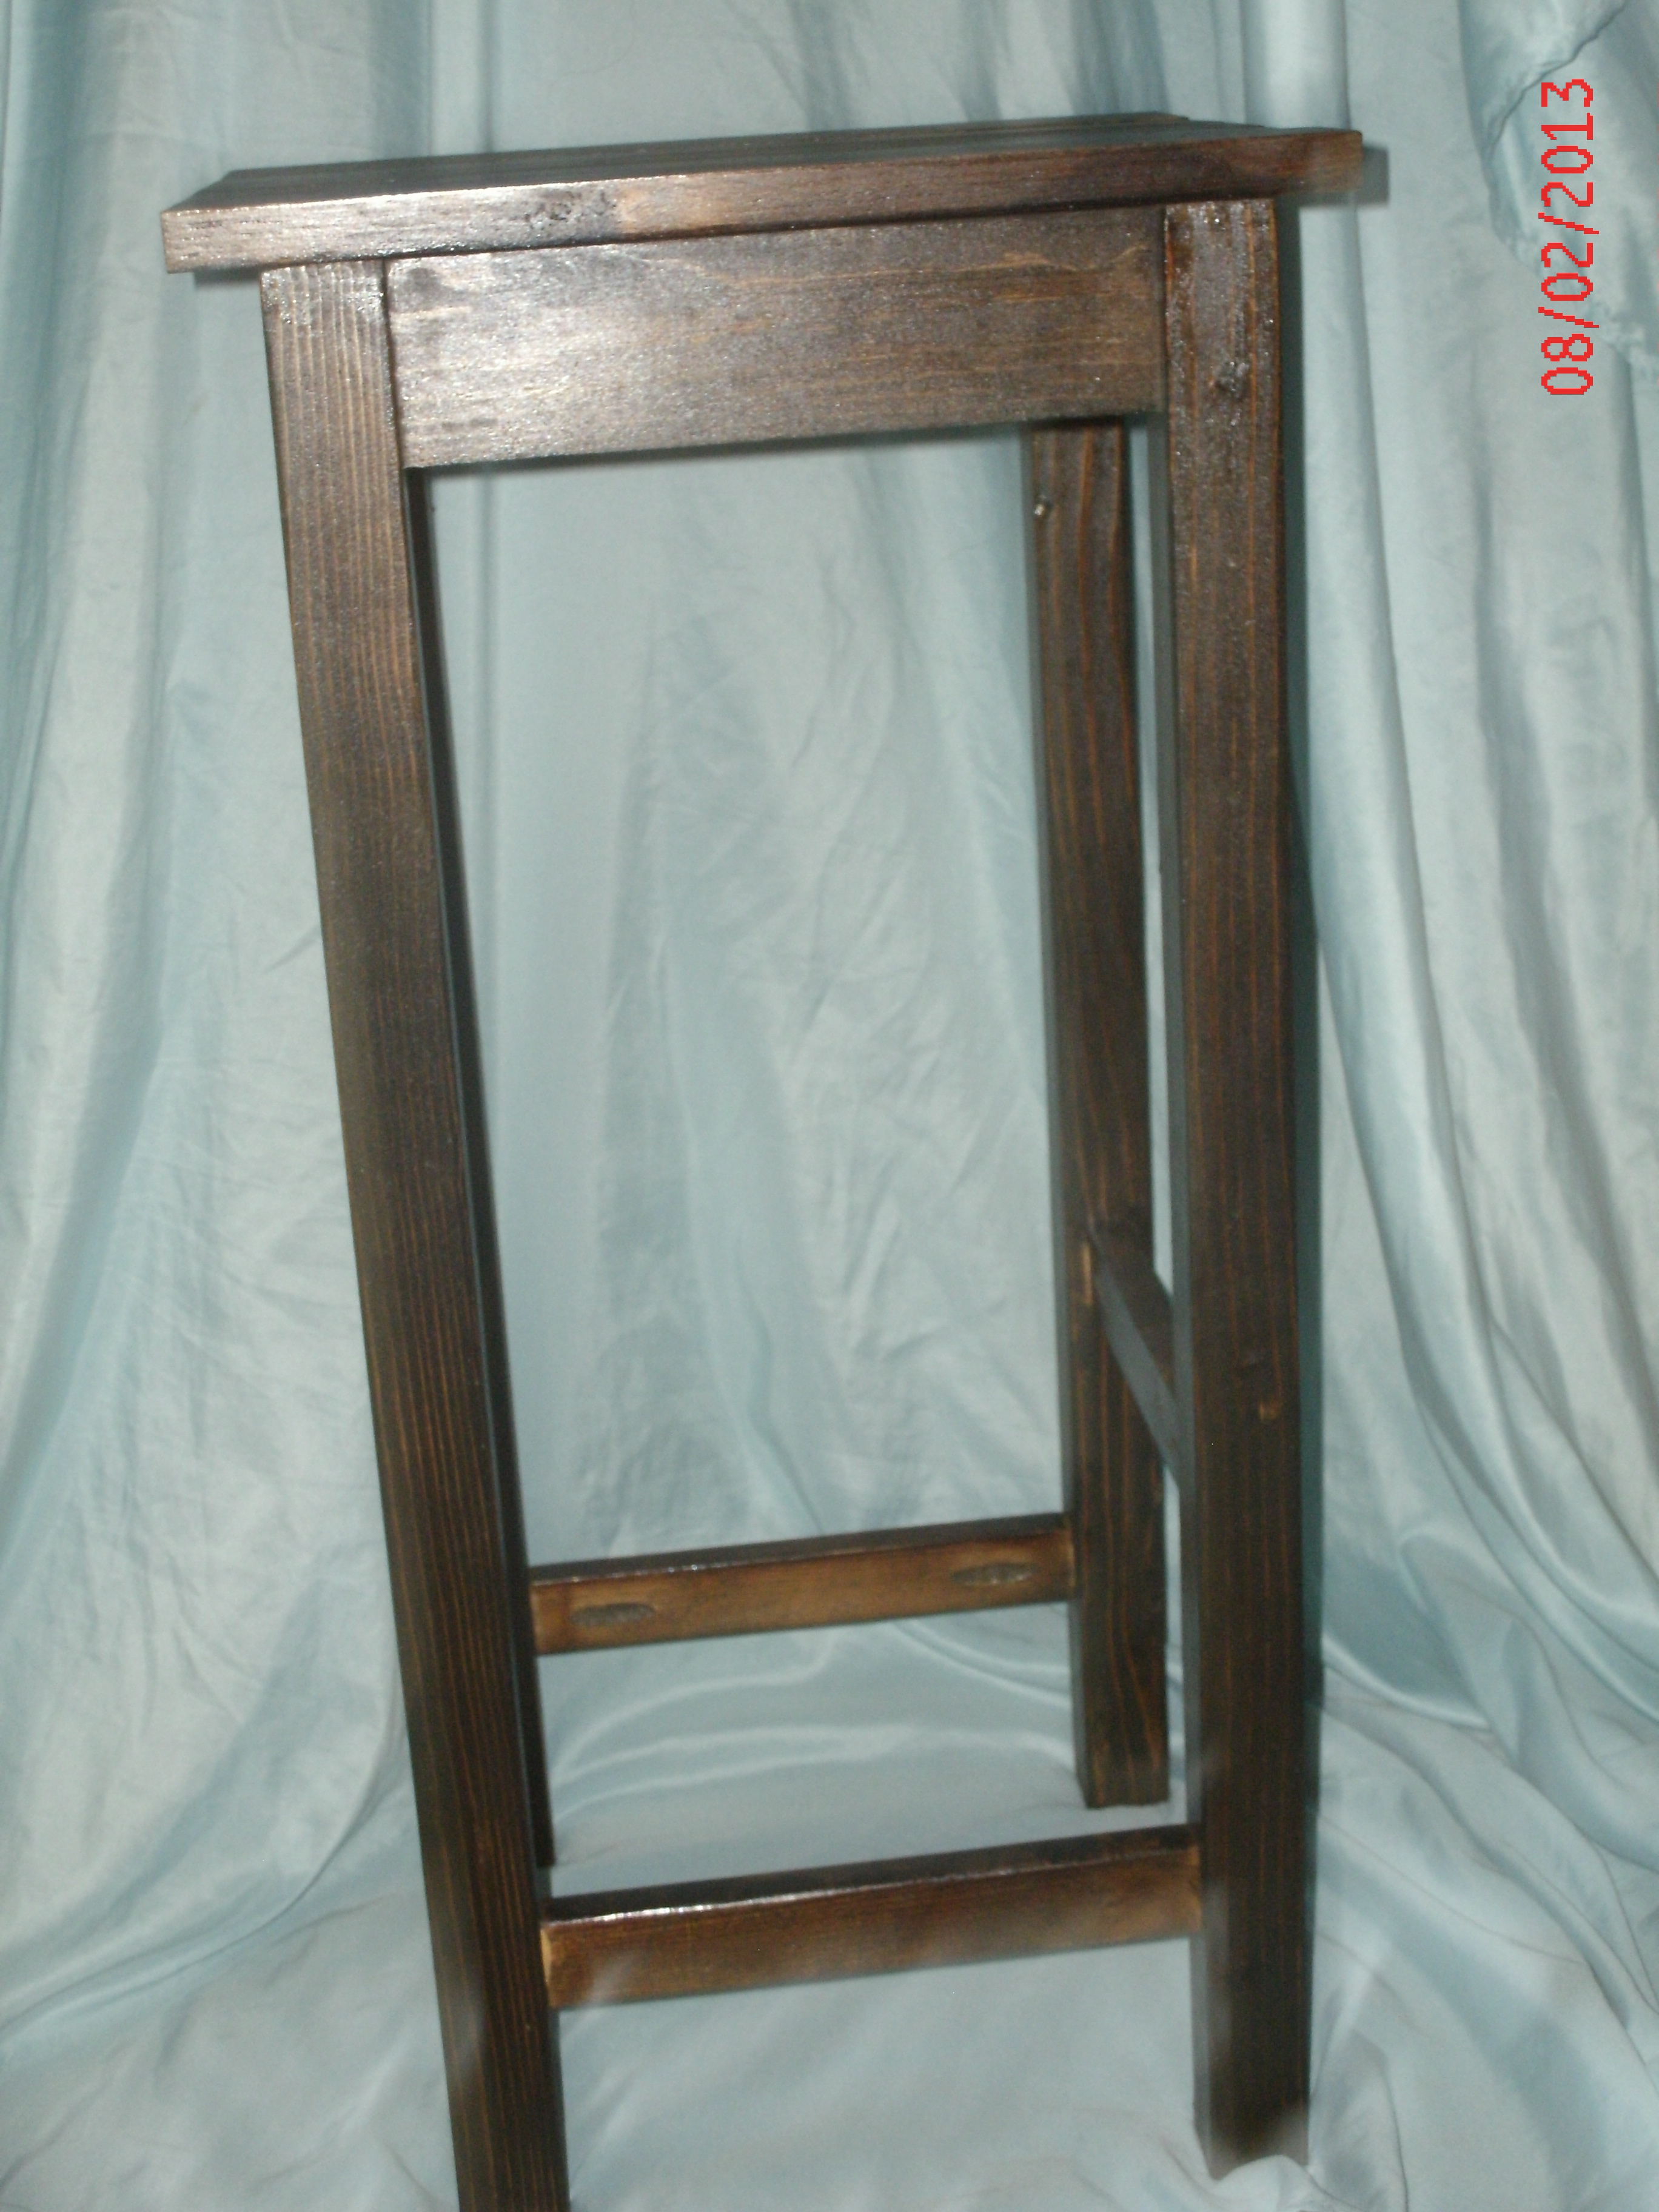
We pretty much followed the plan with the exception of making the legs 28" tall and then removing the middle bar and then adding two additional supports 4" higher than the lower ones and put them on the opposite sides as the lower one. It formed a ladder like thing which we wanted since this was for kids starting at age 3. I hope that makes sense it doesn't really sound right to me but anyways moving one. It was really fun to make these I made three for my older sister since the walmart specials that she bought were horrible and falling apart after a short amount of time. They were easy two do probably about a day of cutting and assembling and then a day of staining and polying however if you were only doing one then it would be a day project at most. My other tip is that after cutting all the pieces I sanded them which made it nice after putting the top on and not having to worry about if the parts in between the two pieces touching was sanded enough not to give the kids splinters. And the best part was that I got a new tool which I love, the Kreg pocket hole jig. It was fun. I did have some splitting on the test wood pieces (scraps from cutting pieces for the stool) so instead of having the aprons flush I used an old cd case under the apron and attached them that way it was close to center but no worries about splitting and was super easy to do.


Comments
Ana White Admin
Tue, 05/03/2022 - 10:36
Fantastic Island!
Beautiful job, thank you so much for sharing!