DIY Bar Cabinet
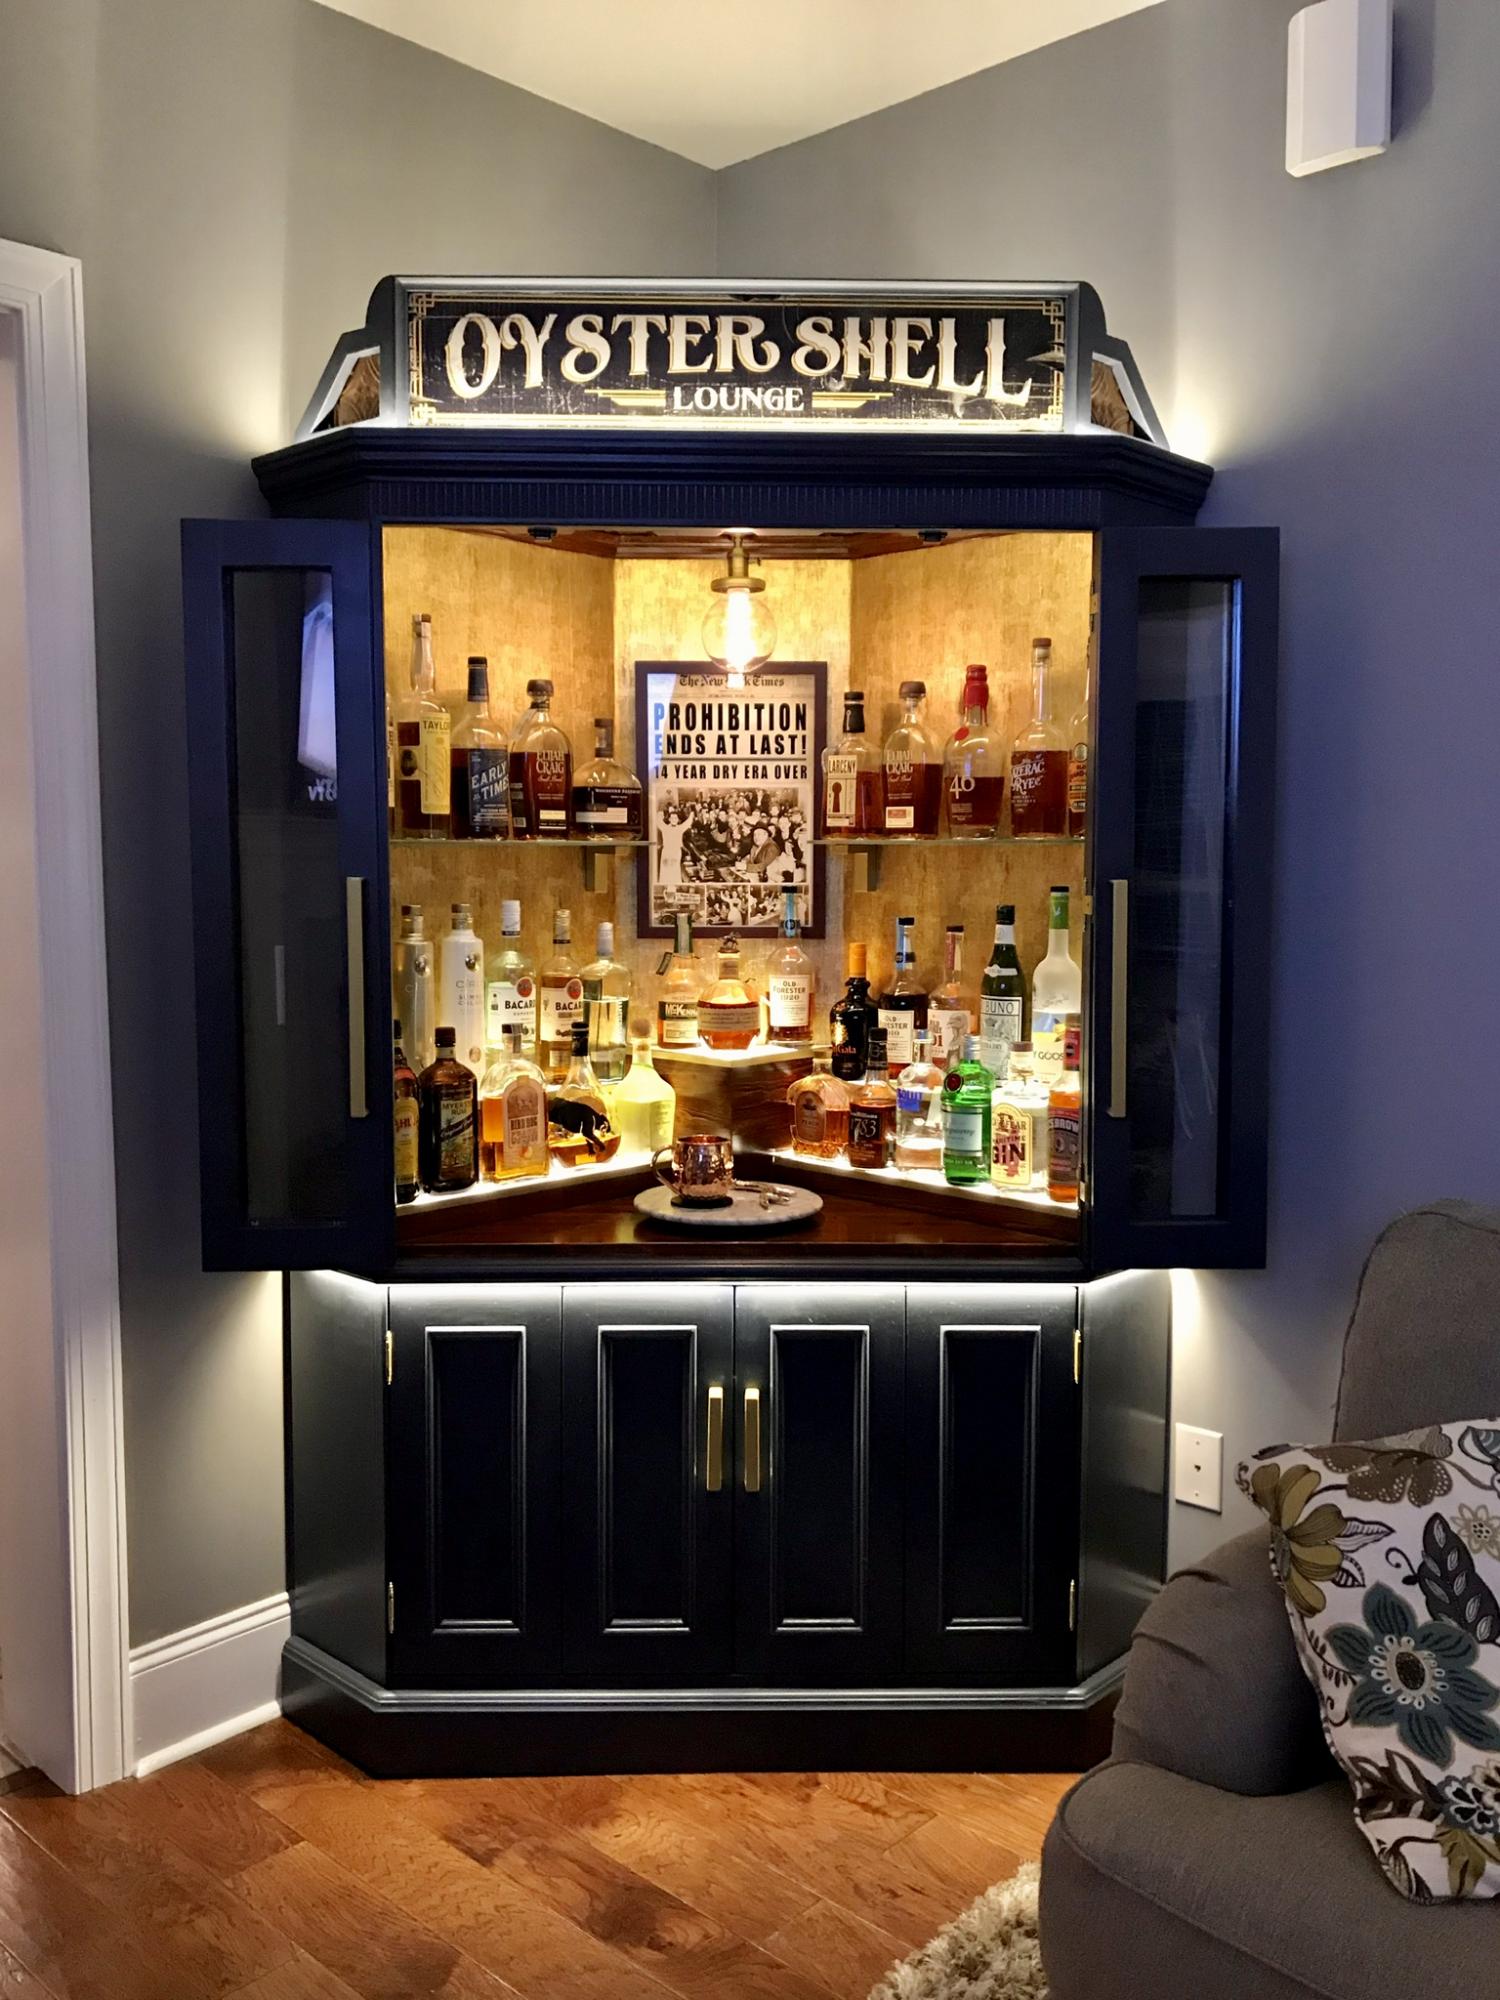
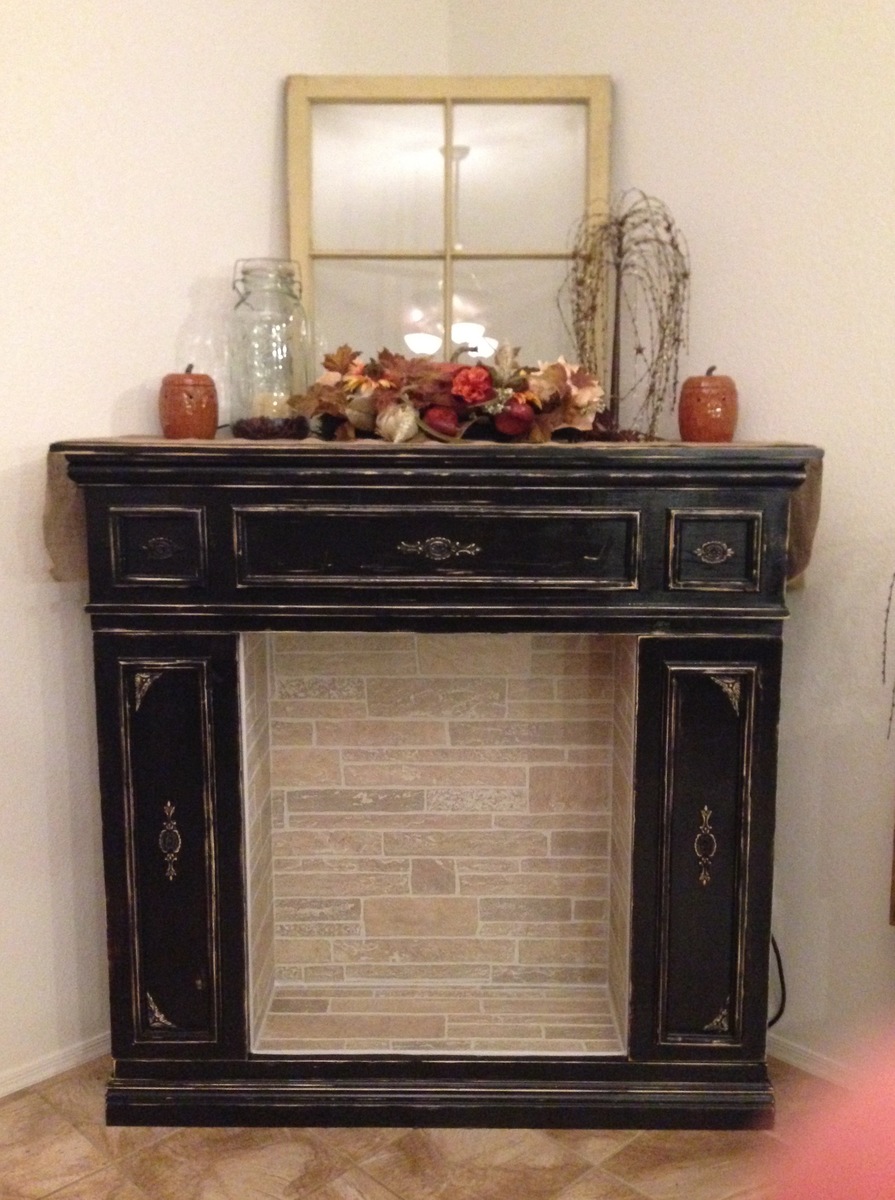
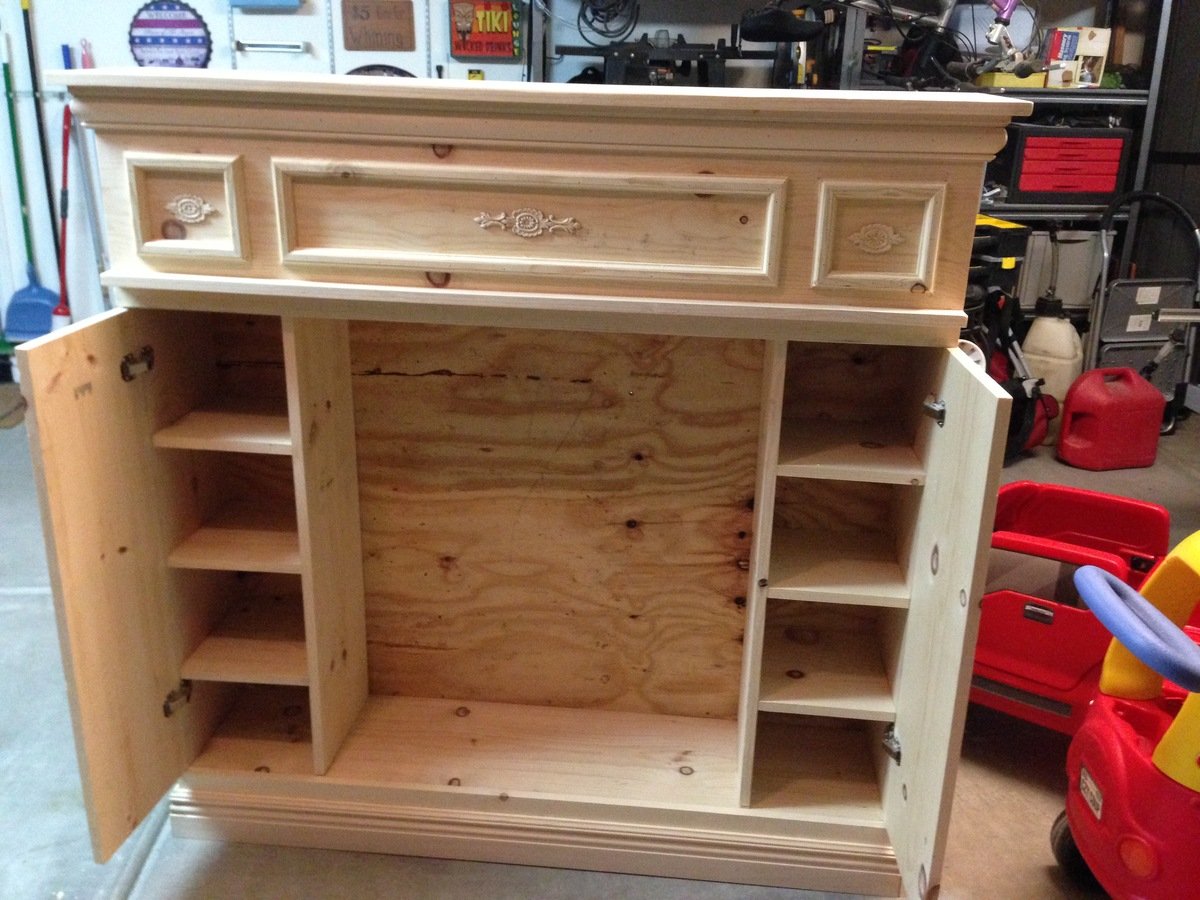
I bought this tv corner cabinet for $40. I spent many hours turning into my perfect bar cabinet. I built a custom lighted liquor display. I have posted photos of the transformation.

I bought this tv corner cabinet for $40. I spent many hours turning into my perfect bar cabinet. I built a custom lighted liquor display. I have posted photos of the transformation.
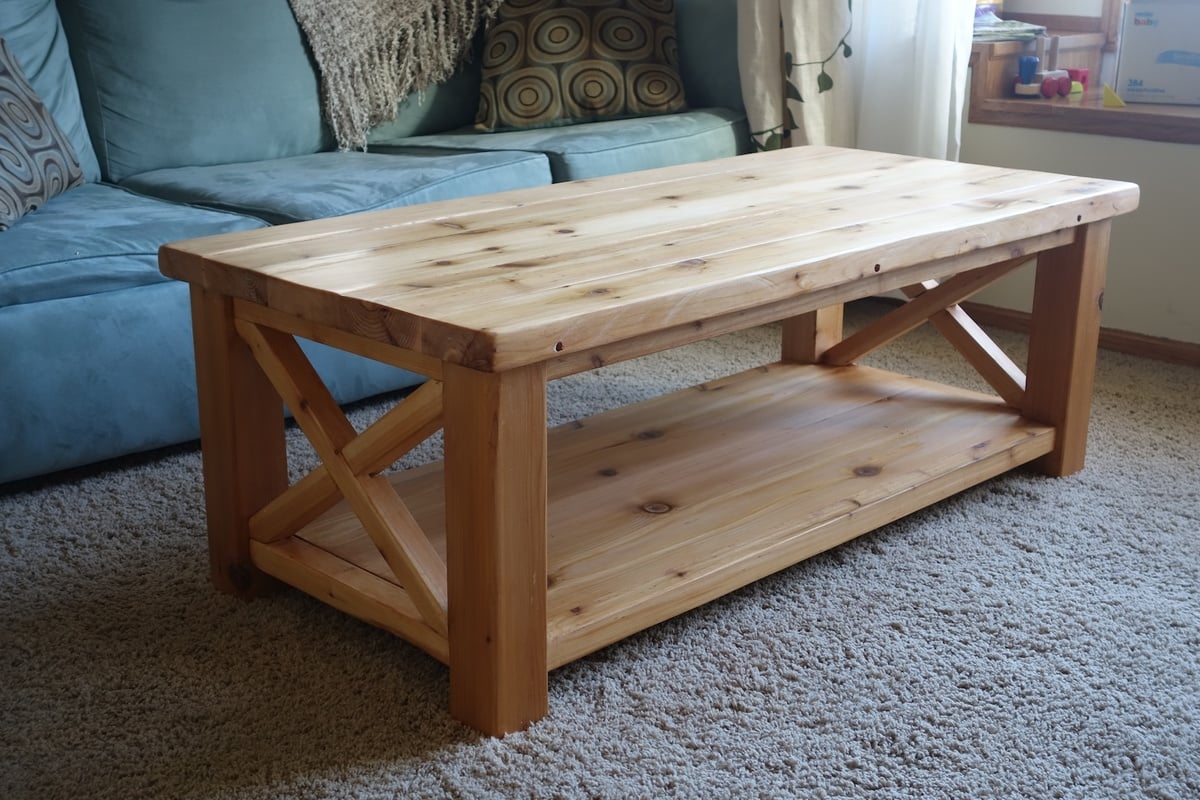
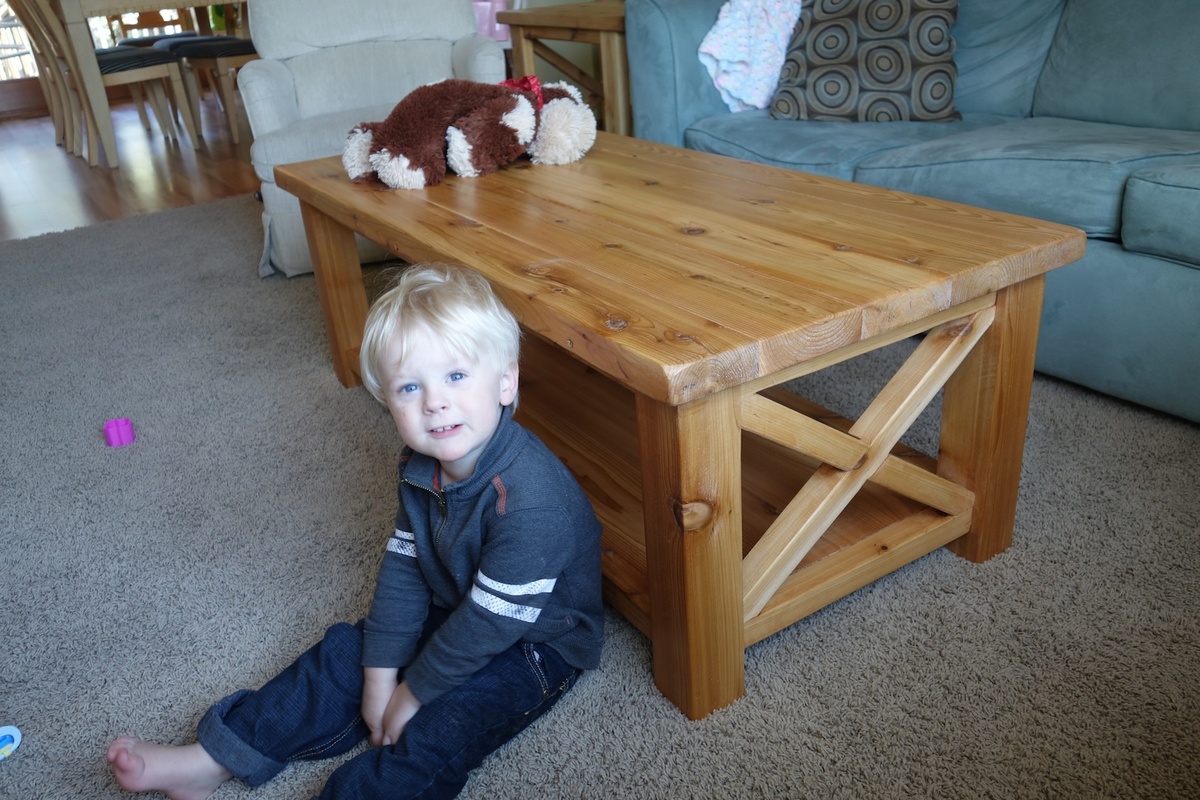
This is my first real piece of furniture I've built. We decided to build it in Western Red Cedar because our local home improvement store had a good selection of it. It was pricier than pine, but it holds stain really well and is really beautiful.
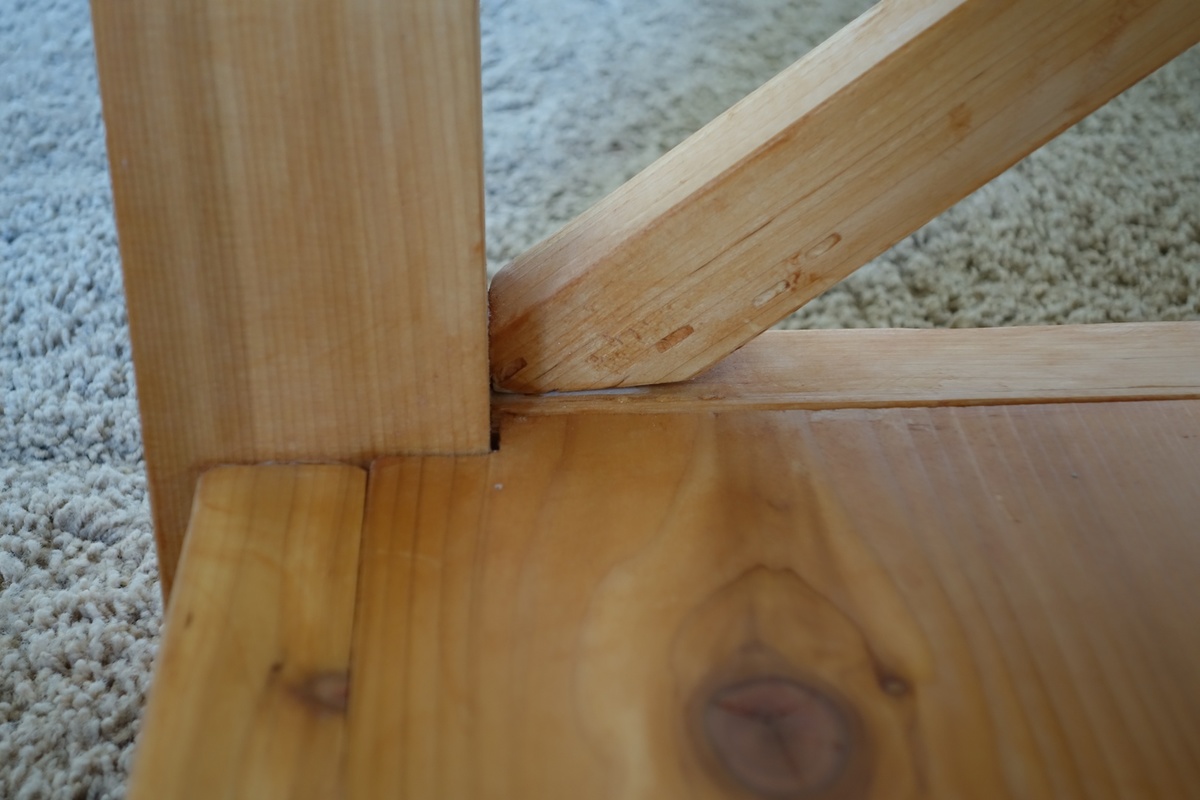
I modified the plan and bought a 4x4 for the legs, then I cut that down to 3" x 3" exactly with my table saw. That way it doesn't look like a standard cut of wood, but something more custom. As a result I had to put corner notches in my bottom piece so that it would fit in with the legs. That was tricky to do, but would have been easier if I had a jigsaw
I made a few measuring errors and had to correct it by trimming down the table top so there was only an inch overhang on the edges. So this is actually a few inches less deep than the plan called for, but it worked out ok I think.
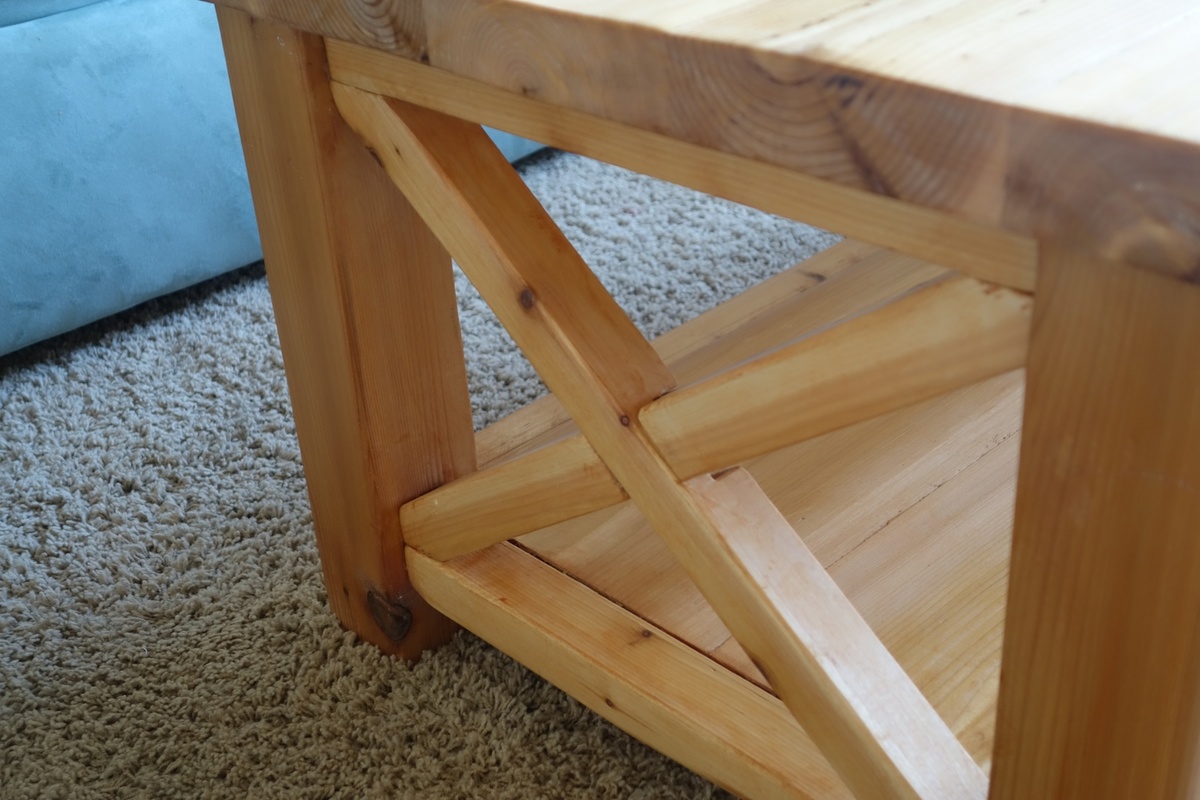
With the X's I laid them on top of the legs and traced a line to cut rather than trying to cut an exact miter. I also traced it so that I'd cut a bit off of the top and side of the corner so that it fits in nice and snug on both edges.
I also traced the intersection lines. Then I set my table saw (don't have a circular saw) to 1/2 an inch and just cut out several notches in between the intersection lines so the to X pieces could overlap each other. A "halved joint" I believe it's called.
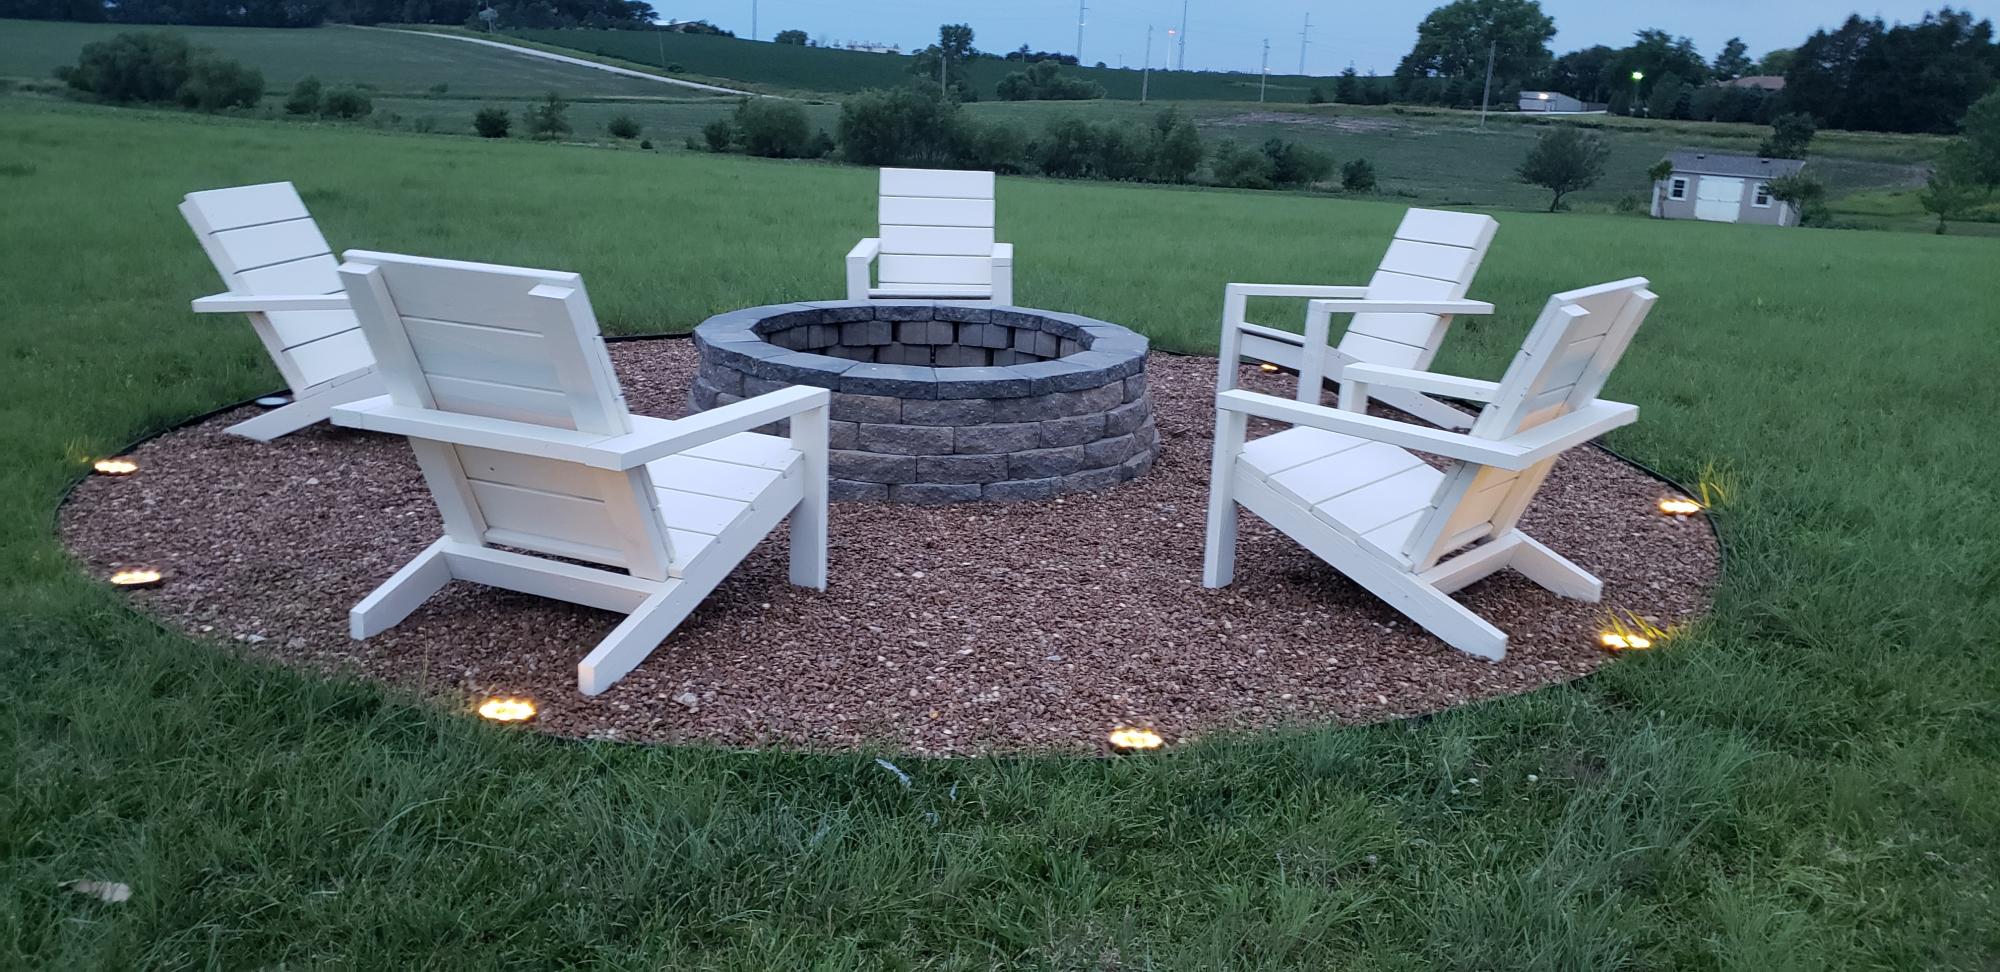
We really enjoyed this project. The simple design of these chairs made it fun to do in one weekend. And you don't have to worry about then blowing away. Simple sturdy design and inexpensive. Thank you!
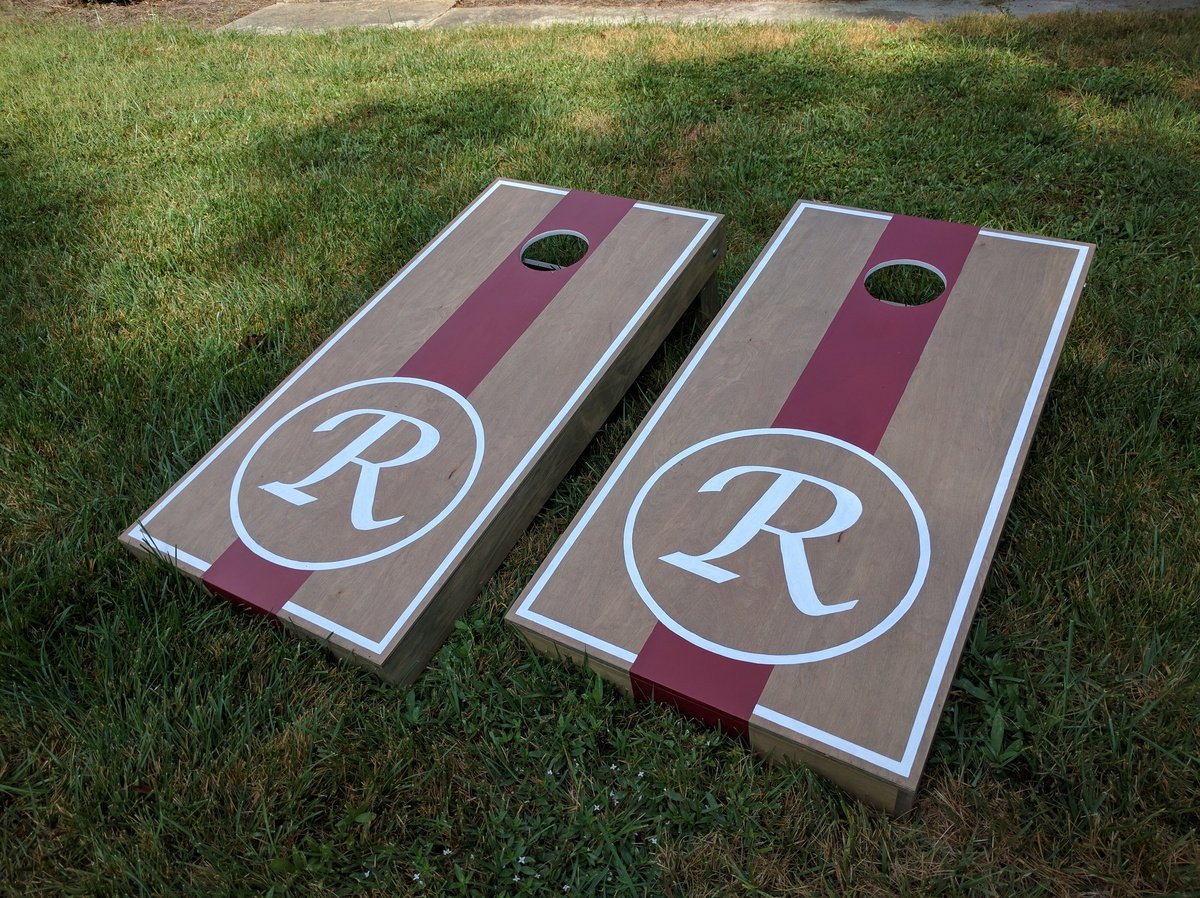
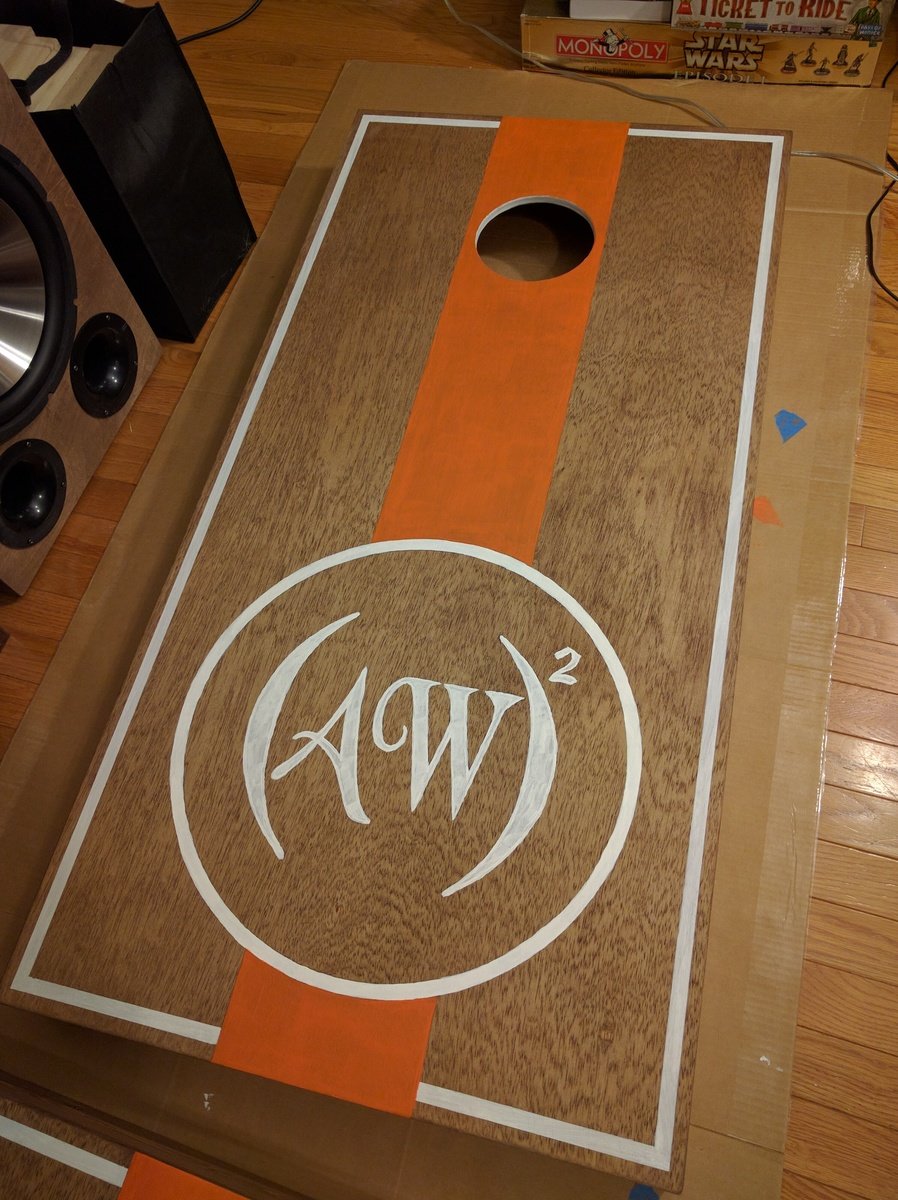
Cornhole boards for friends and family :) Used 1x4s for framing and legs, 1/2" ply for top.
"R" set: Birch plywood tops w/ (2) coats of Miniwax Weathered Oak oil stain. Red stripe is Behr 'Cherry Cola.' (3) coats of Polycrylic finish.
"AW" set: Regular plywood tops w/ (1) coat of Miniwax Special Walnut oil stain & Glidden 'Clemson Orange' stripe. (3) coats of Polycrylic finish.
Sat, 09/24/2016 - 10:16
Gorgeous! These would make such a fabulous wedding or house warming gift!
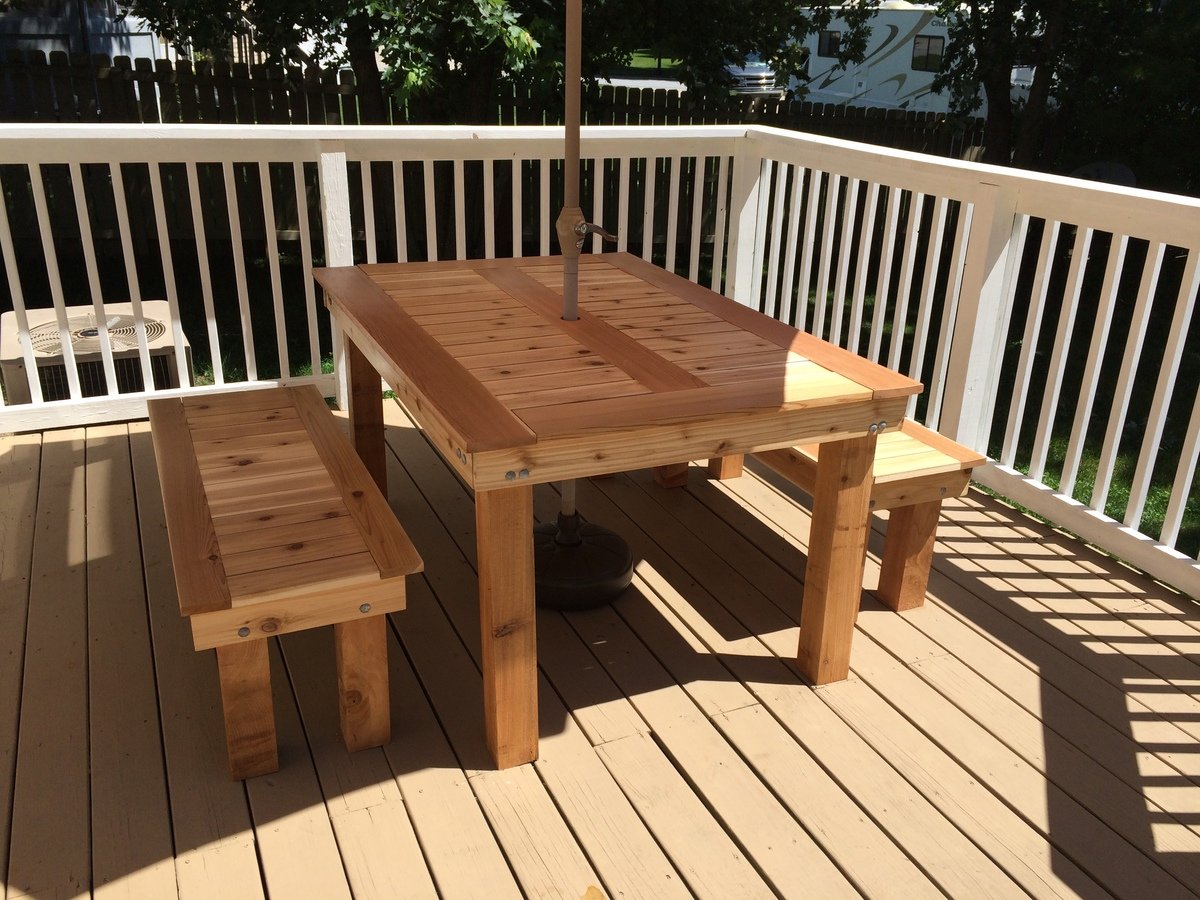
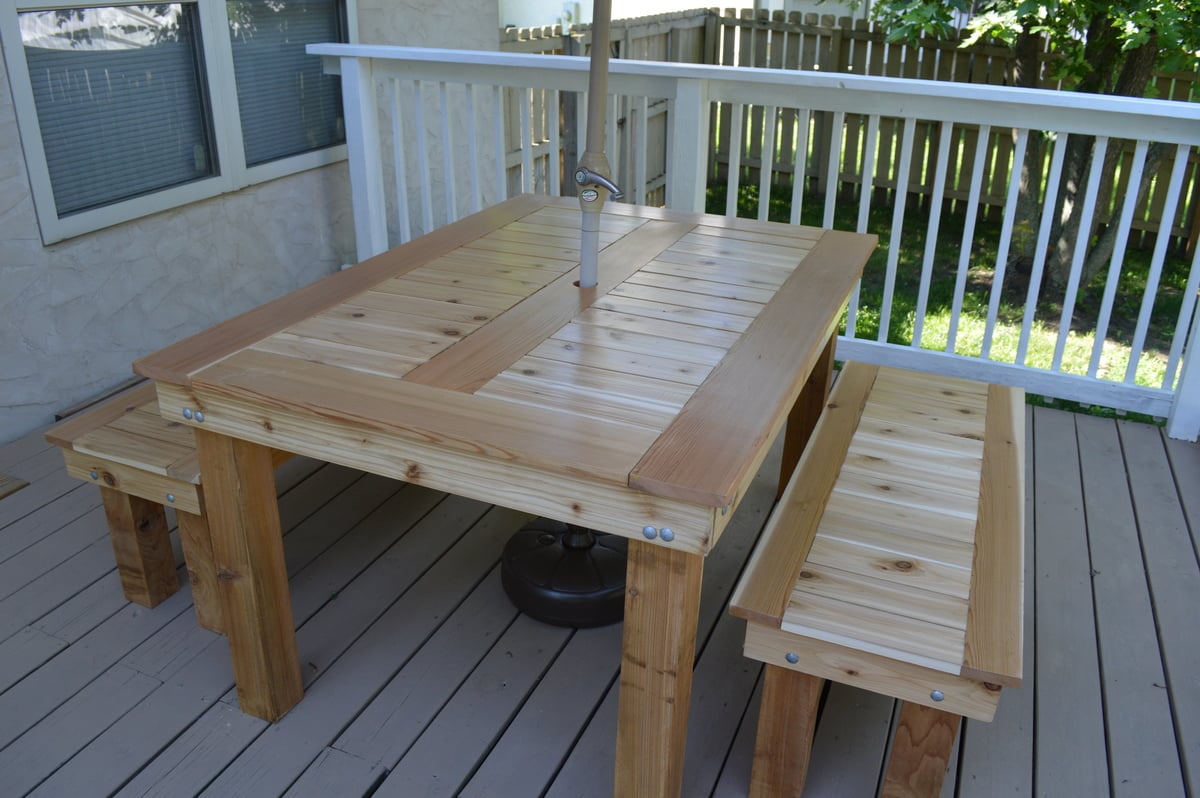
My wife and I loved the version that Finns-Dad made but we wanted it to be rectangular. The top is 1x6s around the edges with 1x4s in between. The frame is 1x4s. The bench tops are all 1x4s with 4x4 legs. There are 3/8 inch lag bolts in the legs. We did 4 coats of the urethane.
This was my first major project, and while there are many things that I would do differently if given the opportunity, we're still very pleased with it.
Thu, 01/01/2015 - 09:04
I really like the changes you made to this table, it looks really nice.

Our old screen door wasn't cutting it anymore, so I built a new one, and to kill two birds with one stone, I included a built-in dog door. Now I just need to find the motivation to close off the old dog door.
I have the plans to build this screen door with a built-in dog door posted via the blog link below for anyone interested.
We wanted a round table that would seat a full Monopoly game. To do this we needed about a 5' diameter tabletop. The base was made consistent with the plans.
A few tips on the base:
If you want to make a round tabletop, here is what I did (there may be better methods). Keep in mind this was for a ~60" diameter table, I was assuming that the perimeter arc pieces would be about 4.5" wide and that I would cut the inner circle at a 50" diameter.
Fri, 12/19/2014 - 07:13
Simply beautiful. Very impressed with this table top.
Tue, 01/13/2015 - 10:05
Can we get some better details on the instructions for this?
In reply to Better instructions? by odeeodum
Sat, 02/07/2015 - 16:52
I updated the instructions. Let me know if you have any more questions.
Sun, 03/08/2015 - 10:23
Hi, your table is beautiful! I was wondering if you had to increase the size of your base since your table top is 60". I'm going to be building a round one the same size and wanted to make sure it would be stable at the current size.
In reply to did you increase the base size by ILoveDIYing
Fri, 03/13/2015 - 20:36
The only modification I made to the base was the to the lengths of the 2x4 pieces that make up the "X" that sits between the base and the tabletop. In the plans, this "X" is made of (1) 32" piece and (2) 14.5" pieces. I believe I increased these to 36" and 16.5", respectively. Truthfully, I don't think this modification added much value.
I did some calculations and at a 60" diameter, it would've taken over 100 lbs placed at the edge of the table. This was also a function of the weight of the table. The heavier the table, the more stable it will be.
Tue, 03/31/2015 - 07:30
On your boarder pieces what angle did you cut the ends to and how did you lay the pieces out to route the diameters?
Sun, 04/05/2015 - 19:21
I want to put a concrete top on this base and increase the diameter to 72". Would I need to increase the size of the base to accommodate the larger and heavier top? Thank you
In reply to Increased base size? by Momma Gladden
Tue, 04/14/2015 - 20:20
It all depends on how much your tabletop weighs. I'm going to take a wild guess that your tabletop will weigh around 500 lbs (~28 sq. ft. at ~18 lbs/sq. ft.). For reference, I think my wood top weighed about 80 lbs. I will also assume the wood base weighs 50 lbs. Using these assumptions, the result is a worst-case scenario (weight placed at edge of table, tipping between two table legs) of tipping at 300 lbs. The lighter the tabletop, the less stable it will be. Since your concrete table is likely to weigh a lot more than my wood top, it will be a lot more stable.
That addresses the design and assumes none of the wood or connections (screws) fail under the increased load (weight of concrete). I can't speak very confident to this aspect. Though I can venture a guess. I will guess that it will be stable under no load, but there will increased loads when under uneven stress (i.e. somebody leaning on one side of the table). Honestly, I don't know how valuable any further speculation would be.
Tue, 09/06/2016 - 08:14
Can the pedestal hold a 66"- 72" top? I've been searching for a table that seats 6 comfortably with an occasional squeeze for 8. I think a 60" would work but my husband thinks 72". We are struggling to find exactly what we want and are now investigating DIYs . This is a beautiful table!!
In reply to 72" version by X3cougsp
Wed, 10/05/2016 - 17:16
This is a conversation that we had in our house as well. My personal opinion is that 60" is big enough for 6 people and good enough for 8 people. What we did to "dry run" it was I cut a board to 72" and set it up at table height and we sat at oppposite ends of the board. I asked my wife if it was too big and we both agreed that not only would really shrink the room, but it also was too big for regular use. We currently have 6 chairs around this on a regular basis. As for the stability of the table itself, you may want to increase the width of the base. I say this because 74 lbs at the edge of the table (in between legs) will cause the table to tip, which is probably a force that will be exceeded by someone leaning on it.
In reply to curved piece how to cut them by jcatanz740
Sun, 12/25/2016 - 07:11
I've put a new pic up that shows my setup while cutting the perimeter pieces. What's not clear is that I screwed the pieces to my workbench from the bottom.
Thu, 12/22/2016 - 20:58
I used the jig that I made the large circle but made a couple new radii. The inner edge was the round piece radius minus half of the bit diameter. The other radius is as wide as you want to make it.
I fixed this jig to my work bench and set it up so that I would be cutting each piece identically. I have a picture that I'll add that shows it better than I can explain it.
Mon, 01/09/2017 - 07:36
On your boarder pieces what angle did you cut the ends to make them fit?
In reply to Boarder pieces by Omally83
Sat, 01/21/2017 - 07:46
I believe my approach was that I cut the 2x8s to the length that would produce the arc length I was looking for. So basically the outer edge was going to (if my jig did its job) be exactly as long as I needed it to be. With that in mind, I used a piece of yarn tied to the pivot point on the jig that I was using and used that to tell me where I needed to make the cut.
Otherwise, I could've used trig to figure it out but I was all angled out by that point. With 8 border pieces they should each cover 45 degrees (360/8) and the other two angles should be equal ((180 - 45))/2=67.5) resulting in a 67.5 degree angle. The trouble in using that method is it doesn't account for all the little screw-ups that may have thrown off certain measurements. Plus, the yarn-thing was pretty easy.
In reply to I love this is this by Mdenton728
Sat, 02/17/2018 - 08:34
Do you mean extend like adding a leaf?
Sat, 01/23/2021 - 14:17
We made the table base for a 60" solid walnut top (used the wider measurements). When people get up from the table, my husband thinks the base twists when they push off. Has anyone else noticed this or have a suggestion on how to make the table not twist? Thanks, Sue
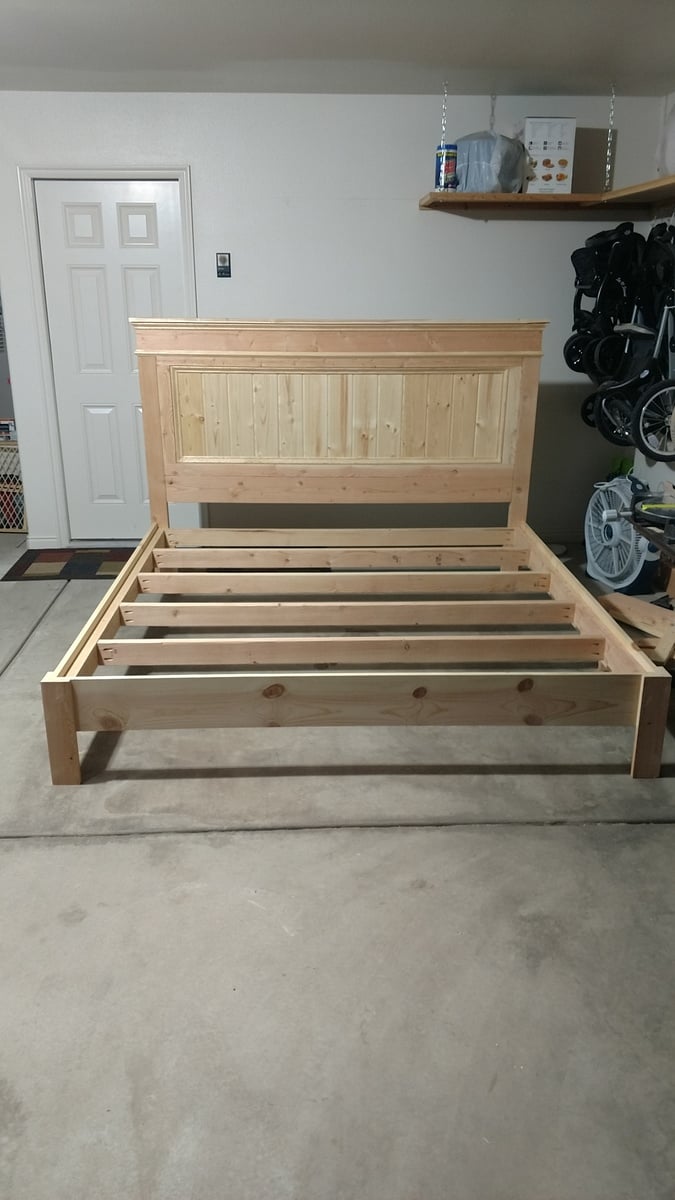
This was a fun project. Easy instructions great piece of furniture. It is very sturdy. I'm a beginner at DIY wood projects so this was a rewarding project.
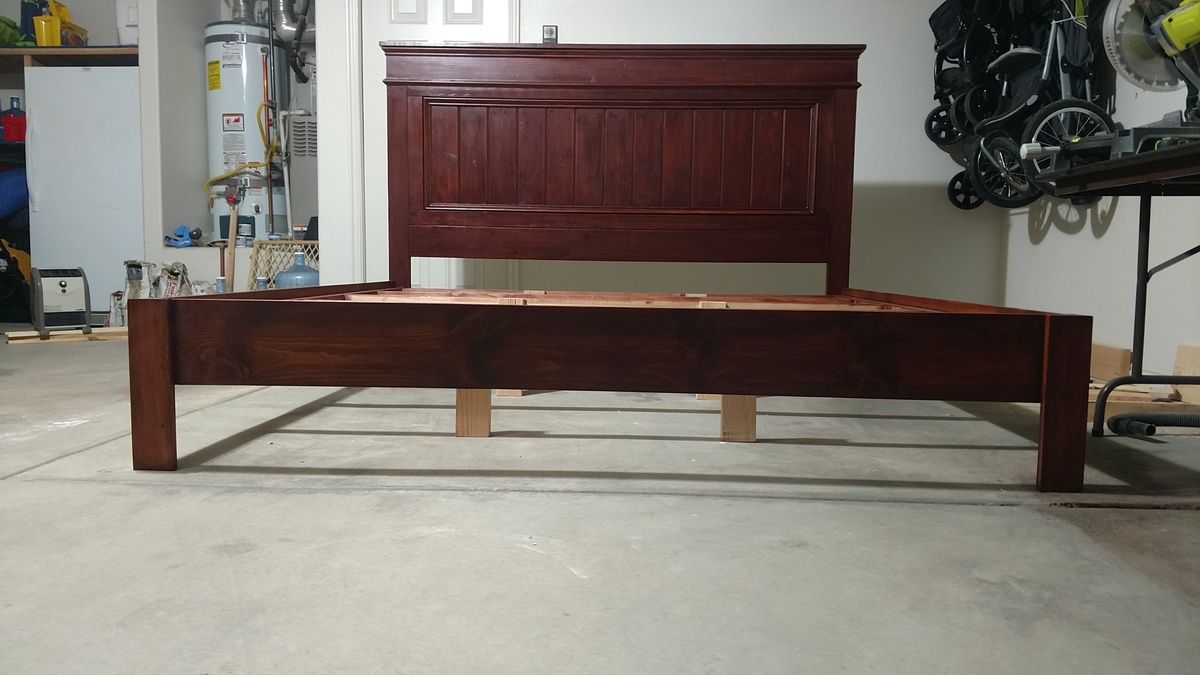

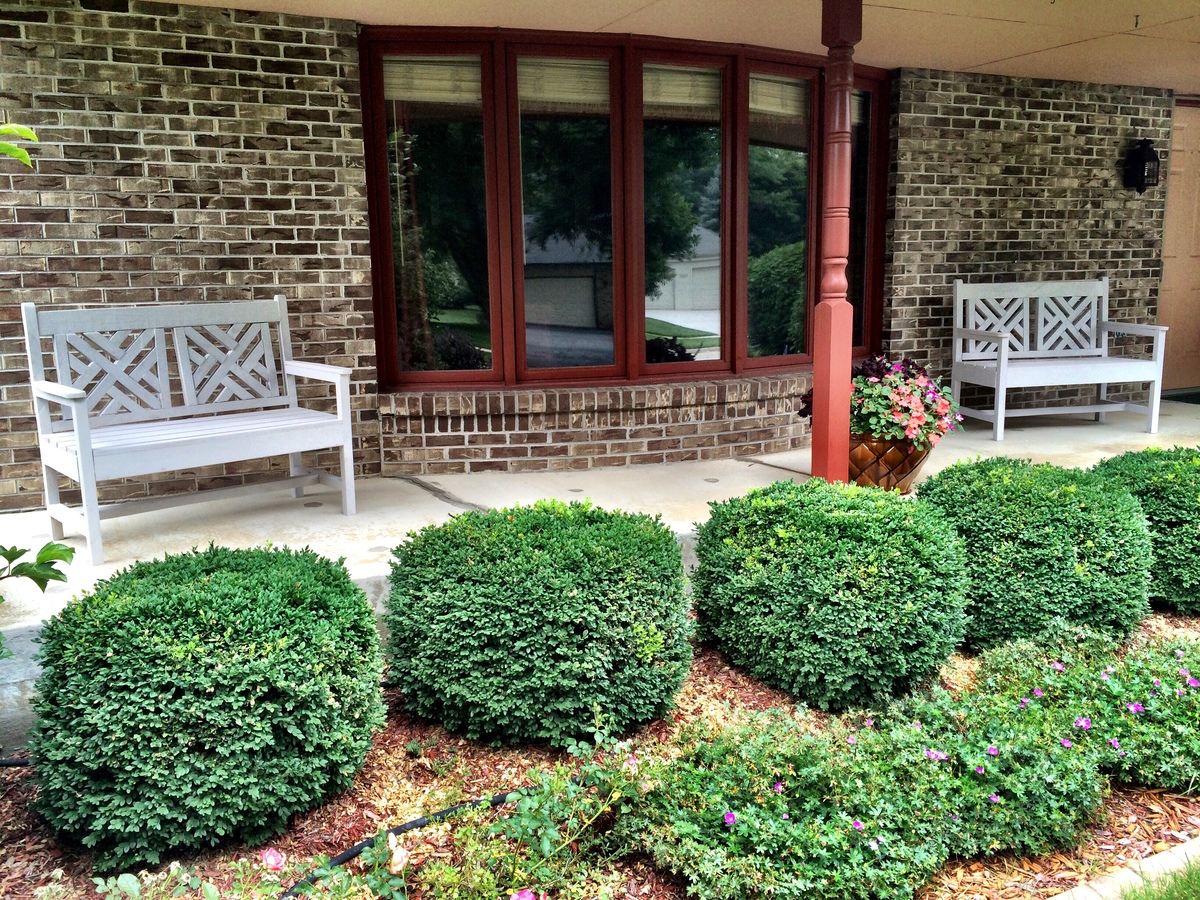
The plans were perfect for the front porch overhang space to fill the facade of our new house.
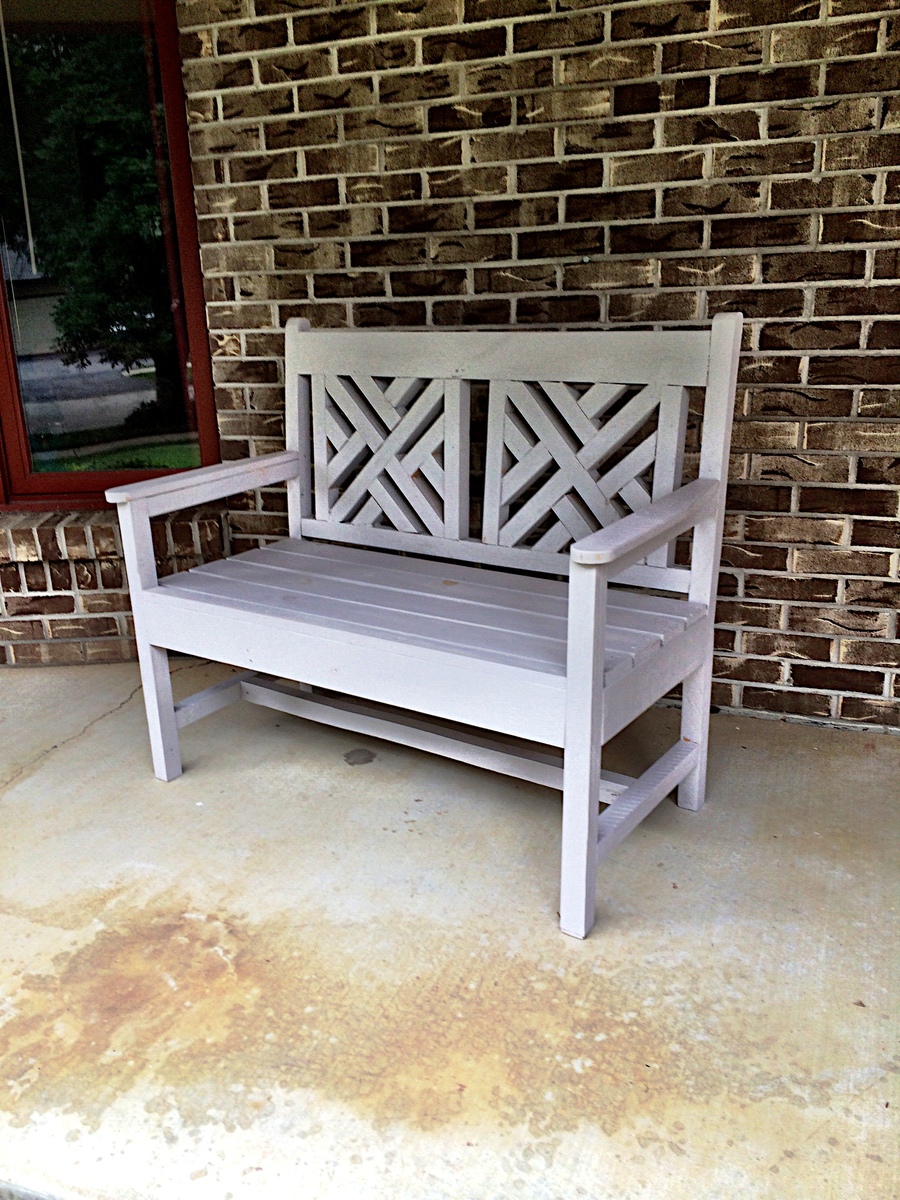
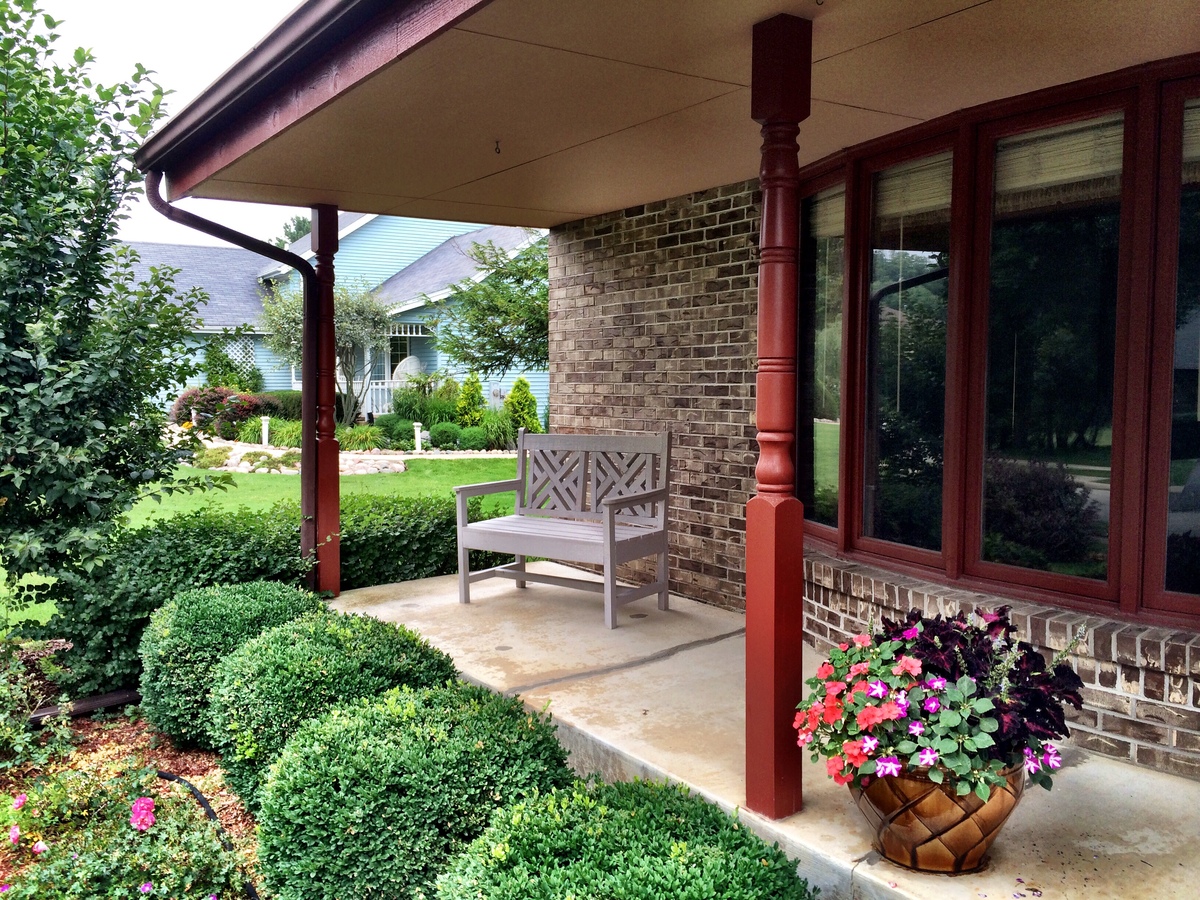
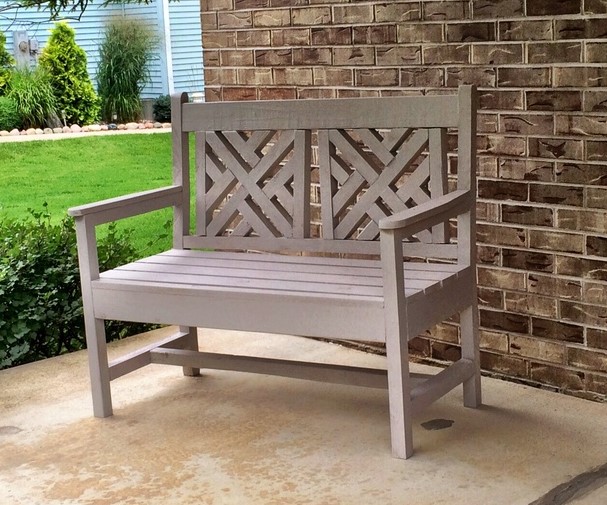
Although I didn't build this from a plan I wanted to be sure and share it as it is because of my experience building from Ana's plans that I felt comfortable giving this a shot.
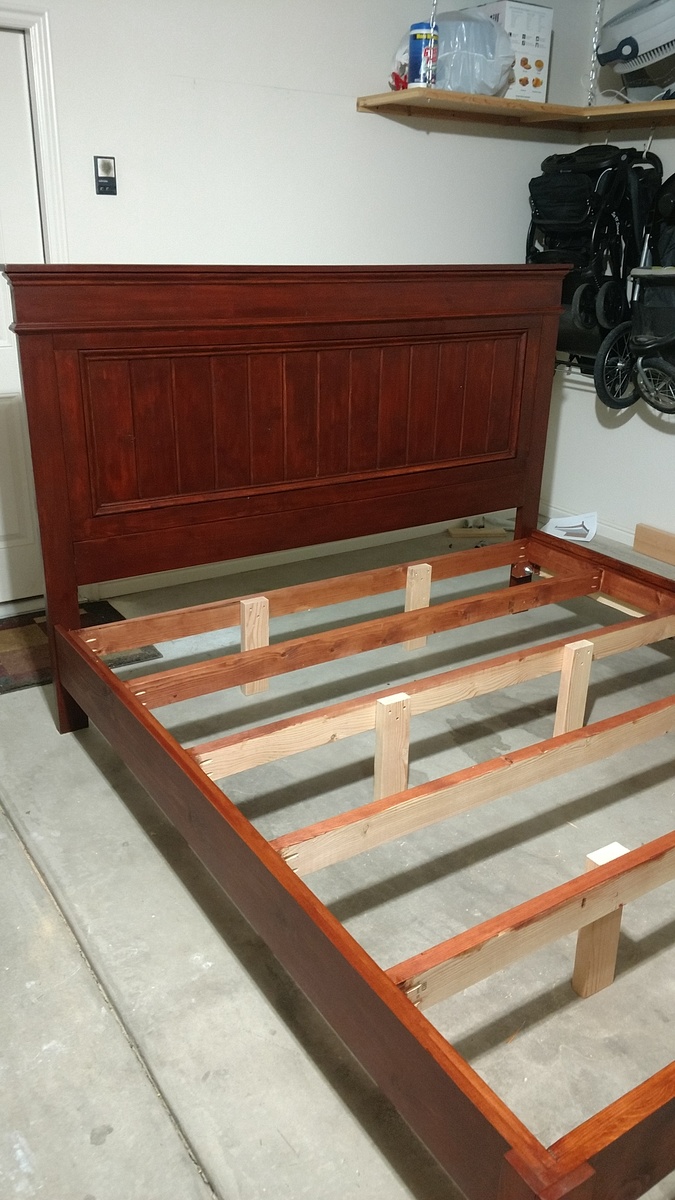
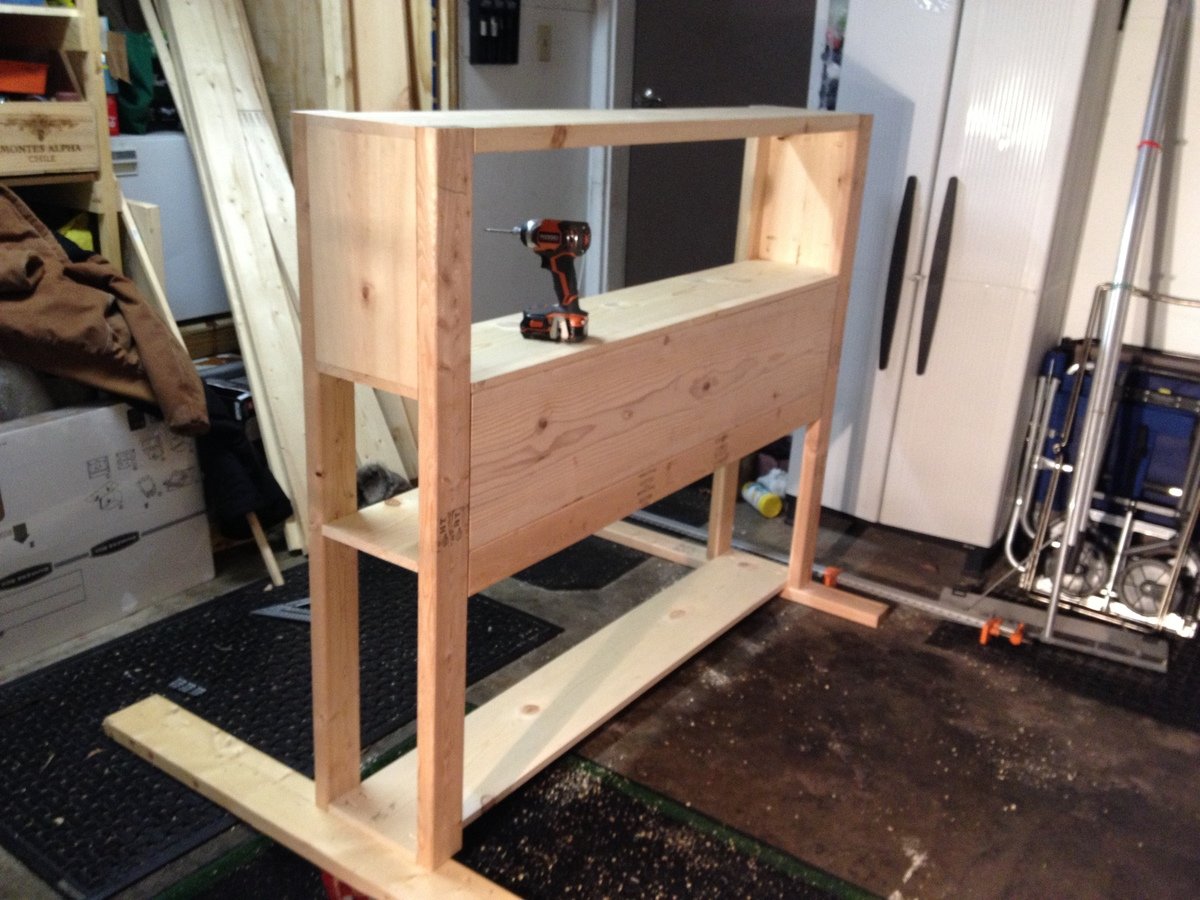
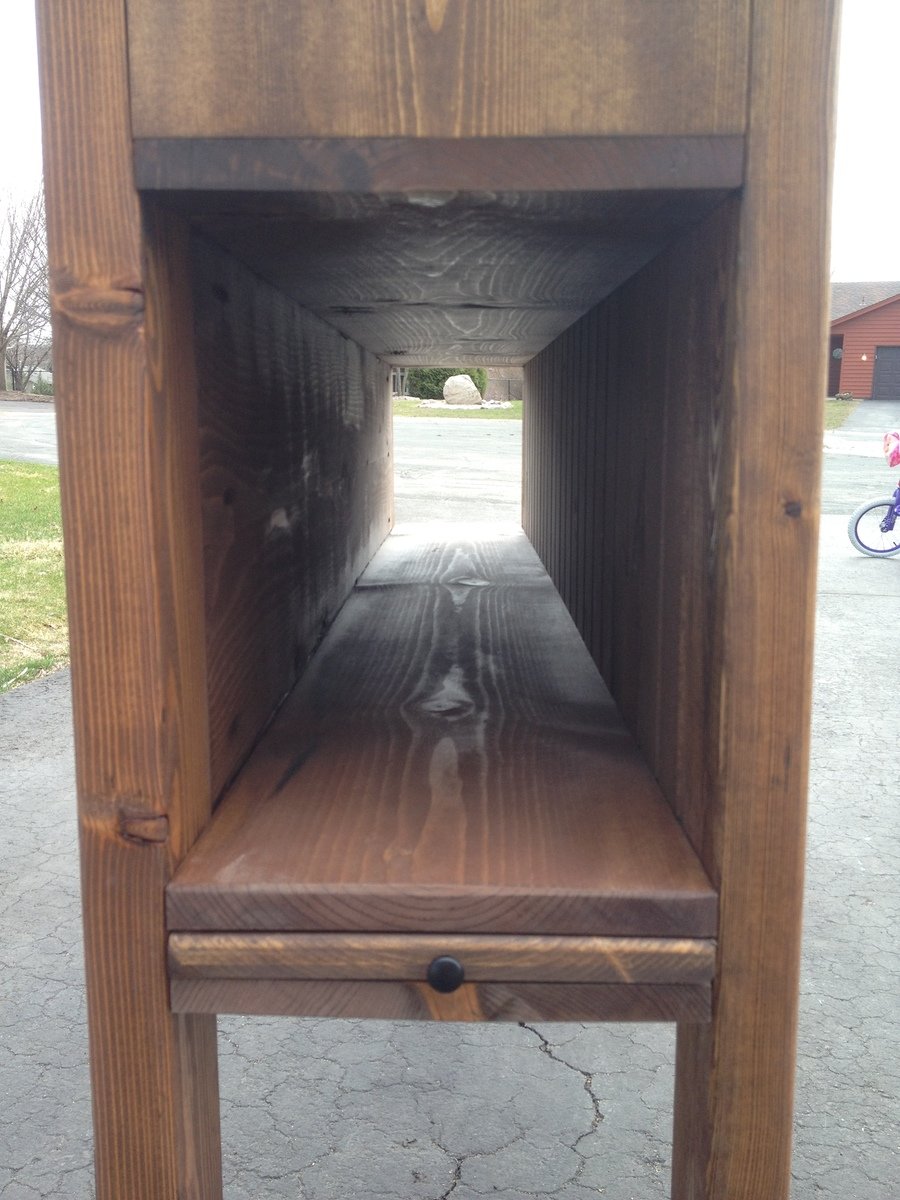
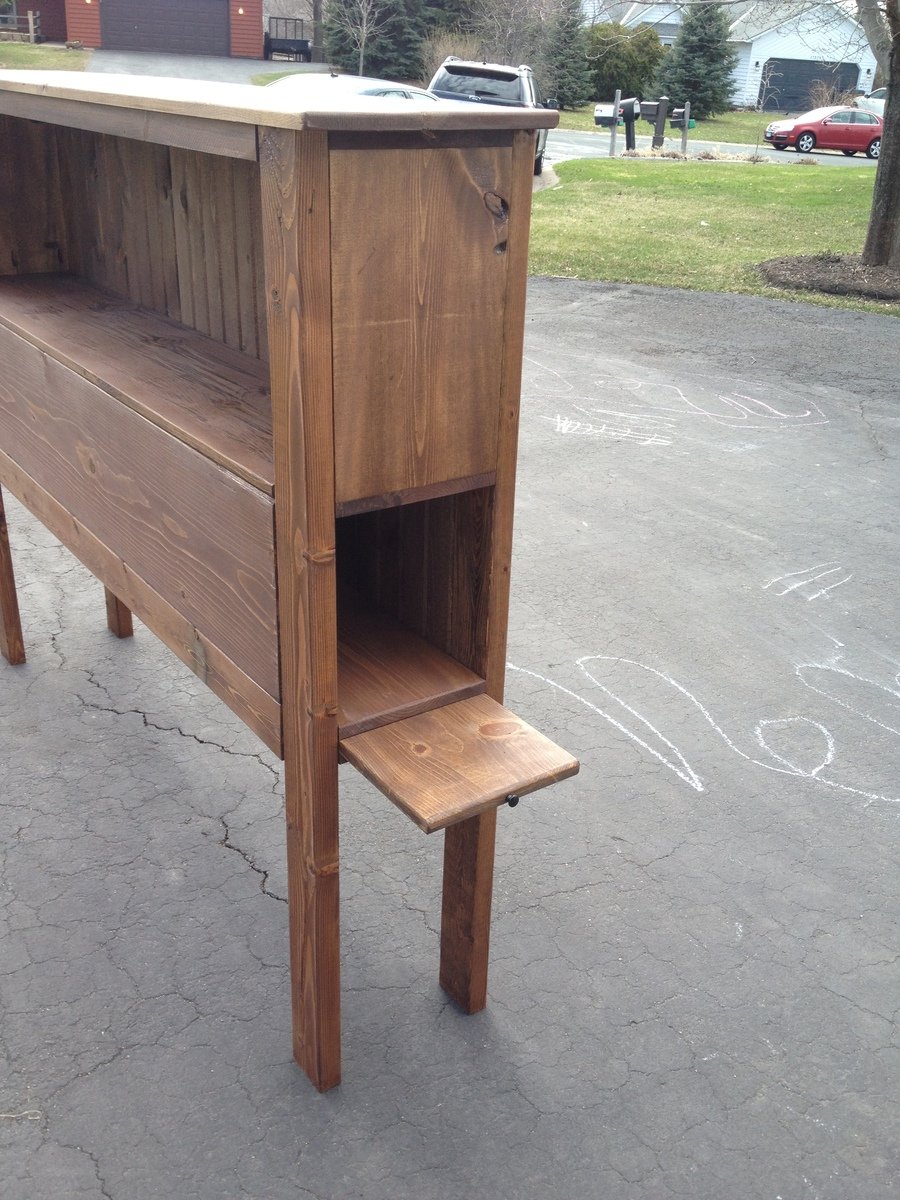
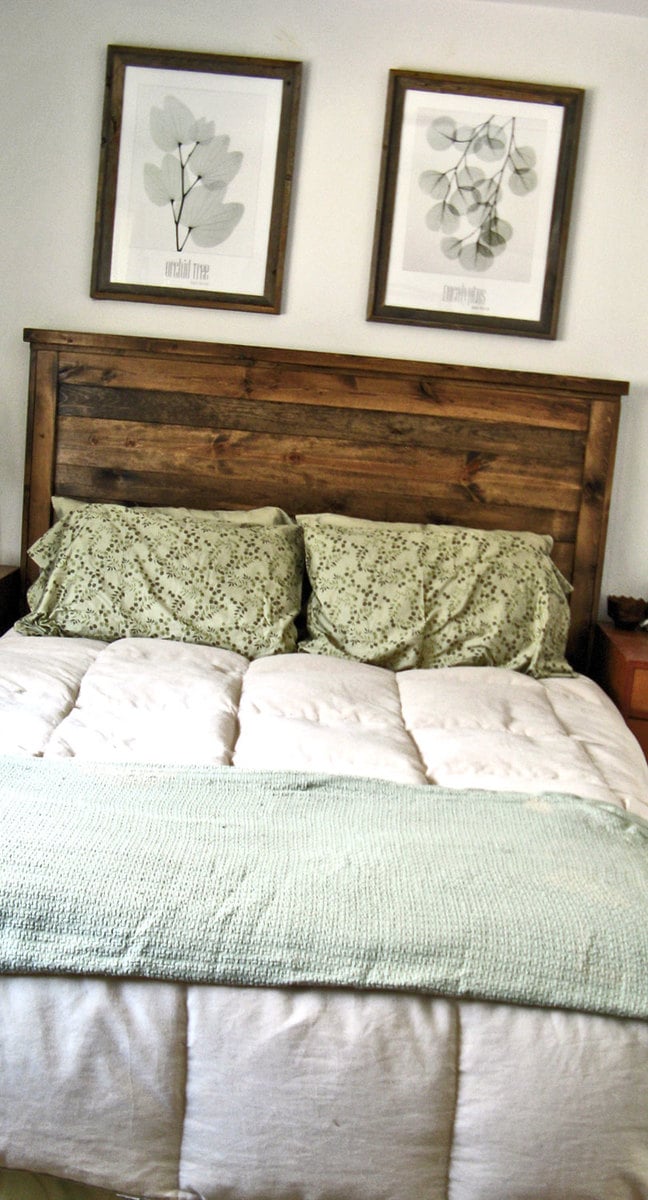
My in-laws were just updated their lake cabin and wanted a storage headboard as space is a premium and it will be the only furniture in the guest rooms. It is unique as it has shelves on either side which can pull out to function as a small night stand, perfect for cell phones, books etc. The back of the piece is tongue and groove knotty pine which for the more rustic look they wanted.
I will probably do things a little different when I build the next headboard but overall I am satisfied with the end result. I chose not to do a lower storage area, mainly to keep the cost down. It could be done very easily but this piece is already very heavy and that there is plenty of storage.
Sun, 01/17/2021 - 15:15
Is it possible to get the plans for this headboard. My teenage son really wants a head board with storage.
I completed this table with my 5 year old daughter as my assistant. My husband requested a table to put next to our new hot tub to set his drinks on and this is perfect. We only put one board on the top because I felt since it would be outside, I wanted a smooth top. I just screwed it in diagonally from the bottom. I also used spar varnish since it would be outside.


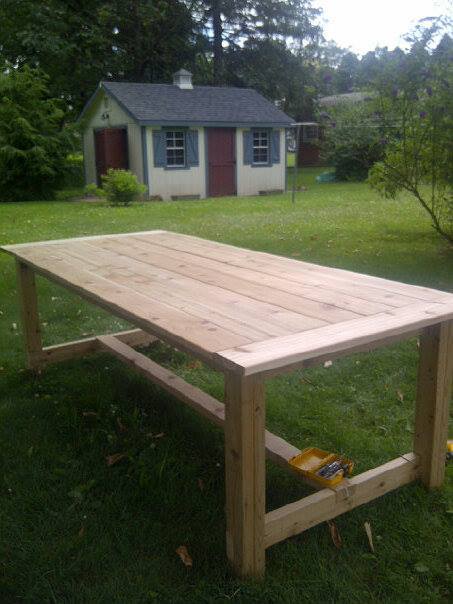
We used the plans for the Farmhouse Table Knockoff similar to the one from RH, to build this table. We made some changes, and some hints:
1. The table is made of Cedar, as it will be used outside. Pine is just not an outdoor-friendly material, but Cedar is rather insect-proof. This will be used at a beach house.
2. We used 1x, not 2x on the top. The top just seemed to clunky with the 2x size. Plus, it's near impossible to find 2x in cedar.
3. We couldn't find 8x1 or 8x2 for the breadboard, so we used 6x1 (same as the table top).
4. We measured the length of the breadboard before we cut. I"m glad my husband made that suggestion because I found the seven (7) 1x6's totaled 38 3/4, not 38 1/2 as the plans call for. So it really does depend on the wood and humidity and such. So I think it's a wise decision to measure the width of all of the boards before you cut that piece.
5. We did not screw into the table top as recommended by the plans.
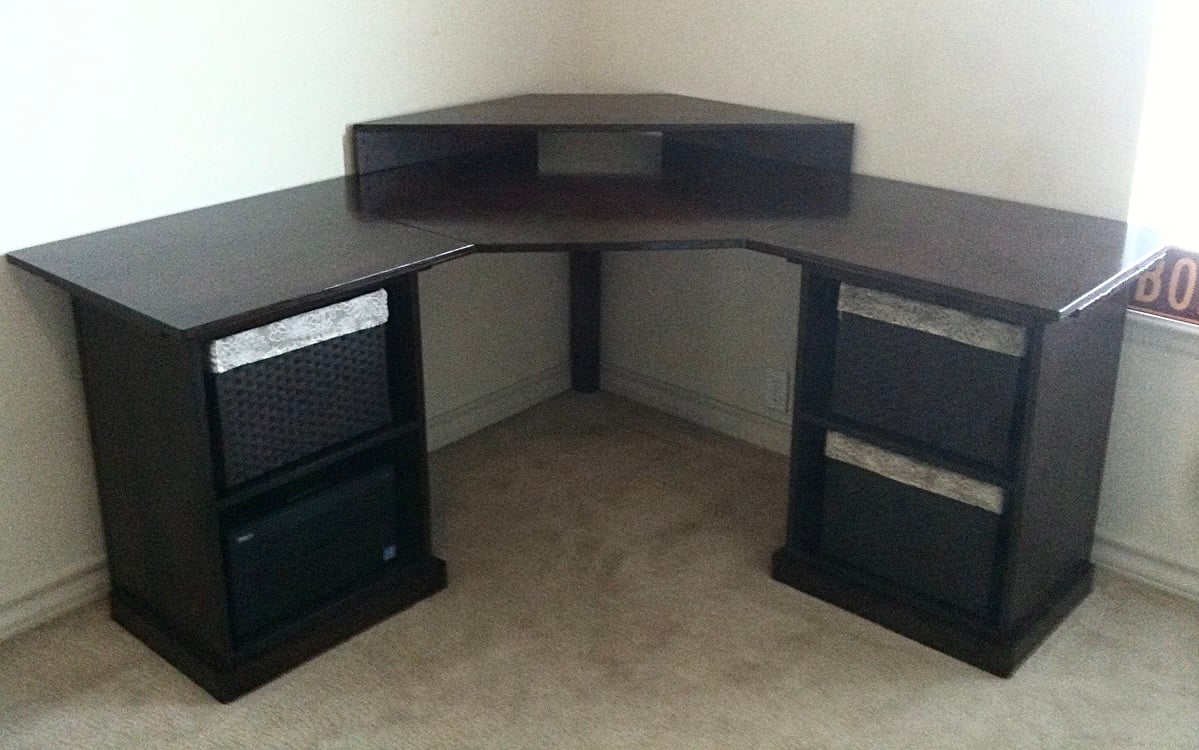
a variation of the corner desk plans. for more pictures visit: http://www.facebook.com/media/set/?set=a.10100136762454037.2548324.2960…
Fri, 02/24/2012 - 22:02
Hey i love the elevated platform, can I get you to post dimensions & Cuts?
Wed, 08/11/2021 - 04:20
Immersing yourself in your own area significantly improves productivity and motivates you when you decide and select best design of corner table admin should allow everyone to share their best comments for help to find best experenice
This is great topic
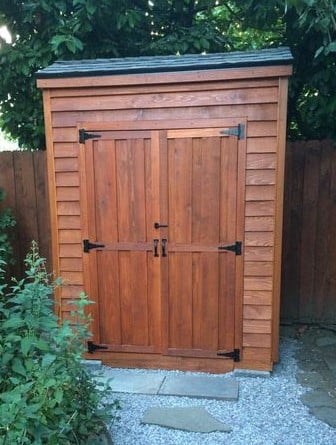
Very nice project built in a day.
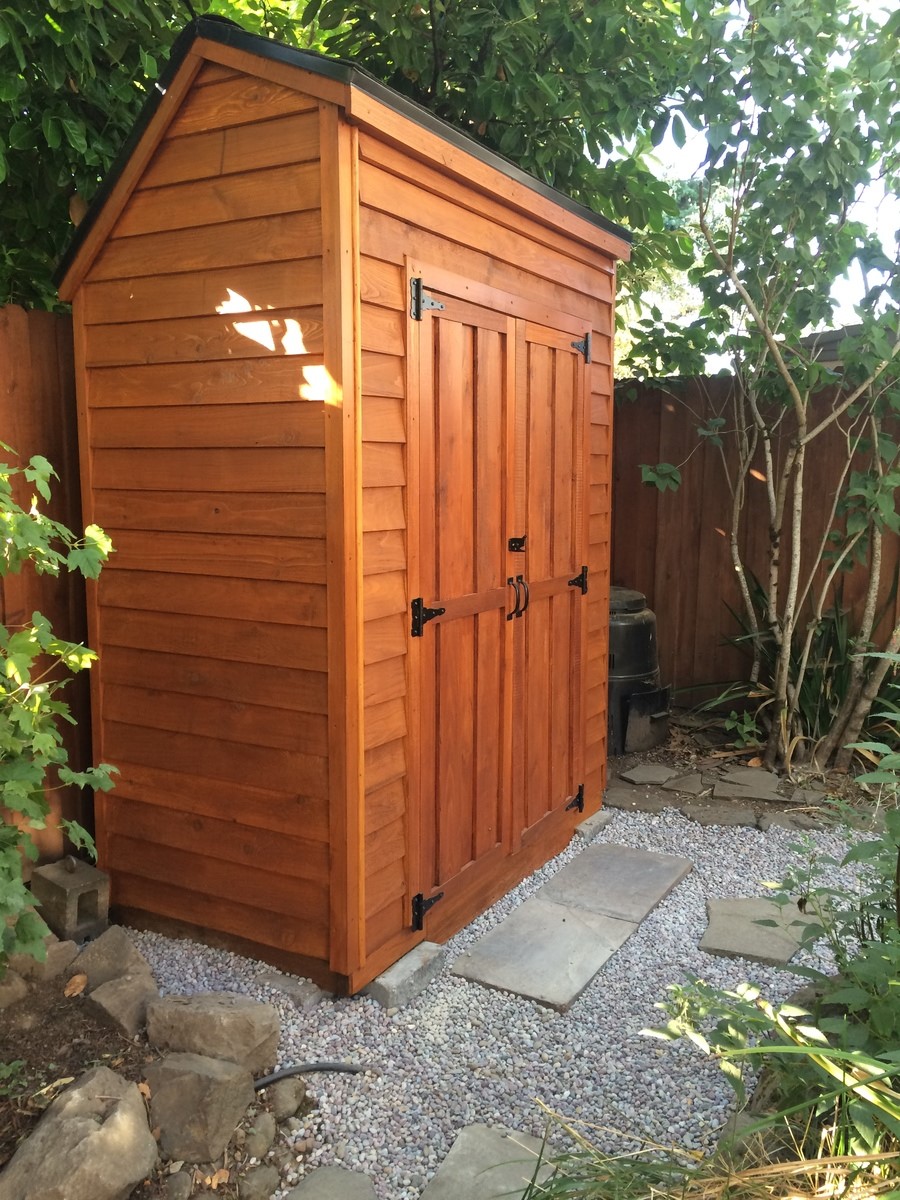
I changed the plans just slightly. I used 2x4's for framing and enlaged the shed somewhat and added a floor. I also used a different type of roof to handle the amount of rain in my area.
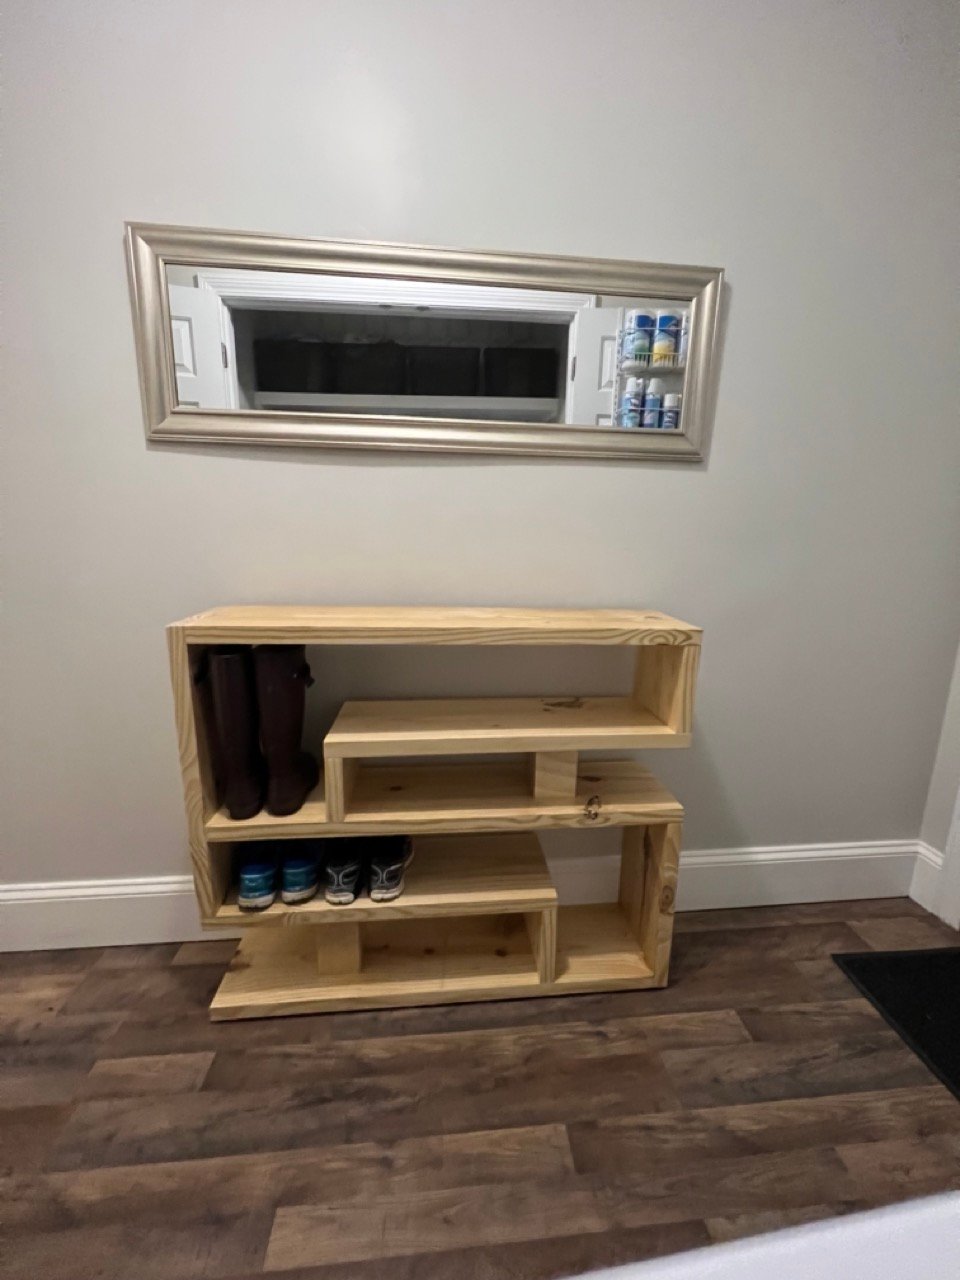
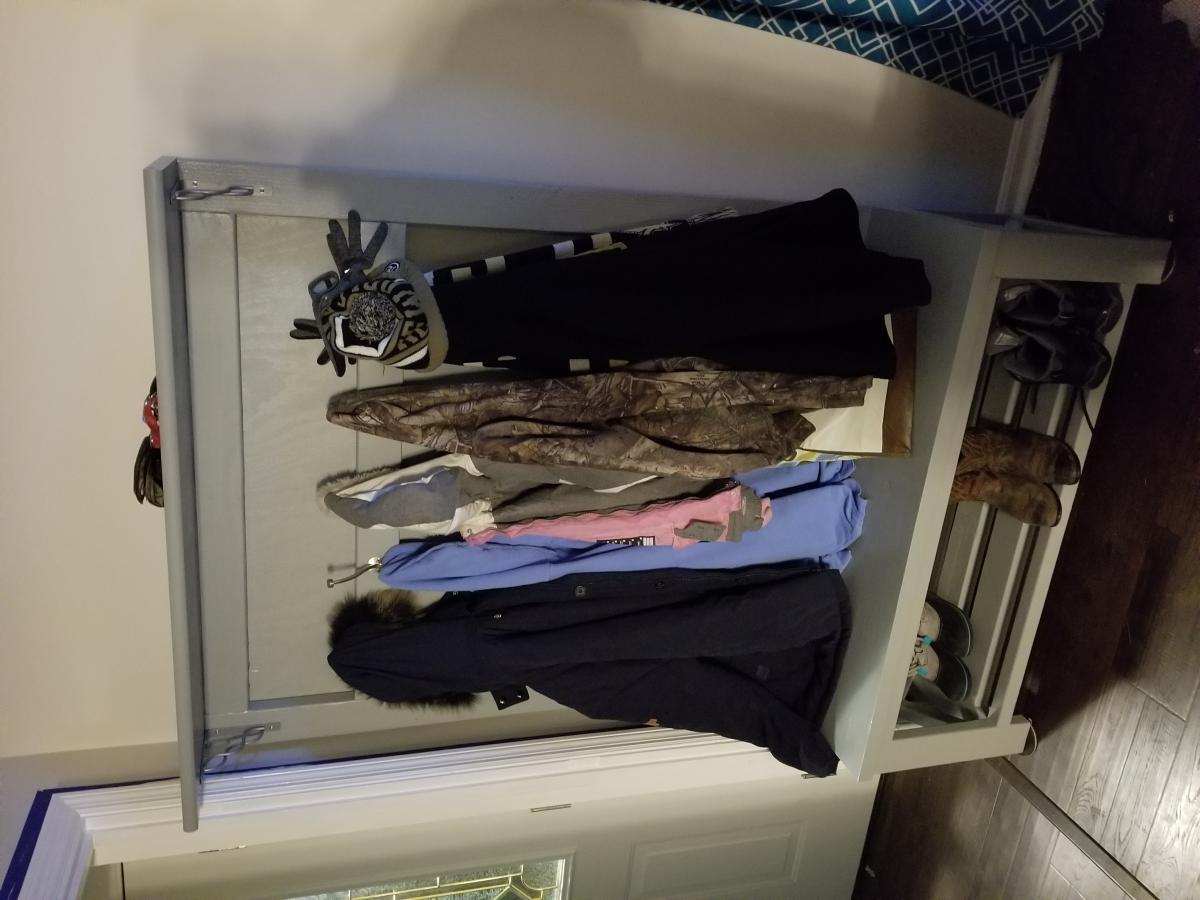
I adapted the plan for the Shoe Rack Bench to give it multiple levels and allow it to serve as an entryway table in addition to a shoe rack. I used 2 x 10's for the project.
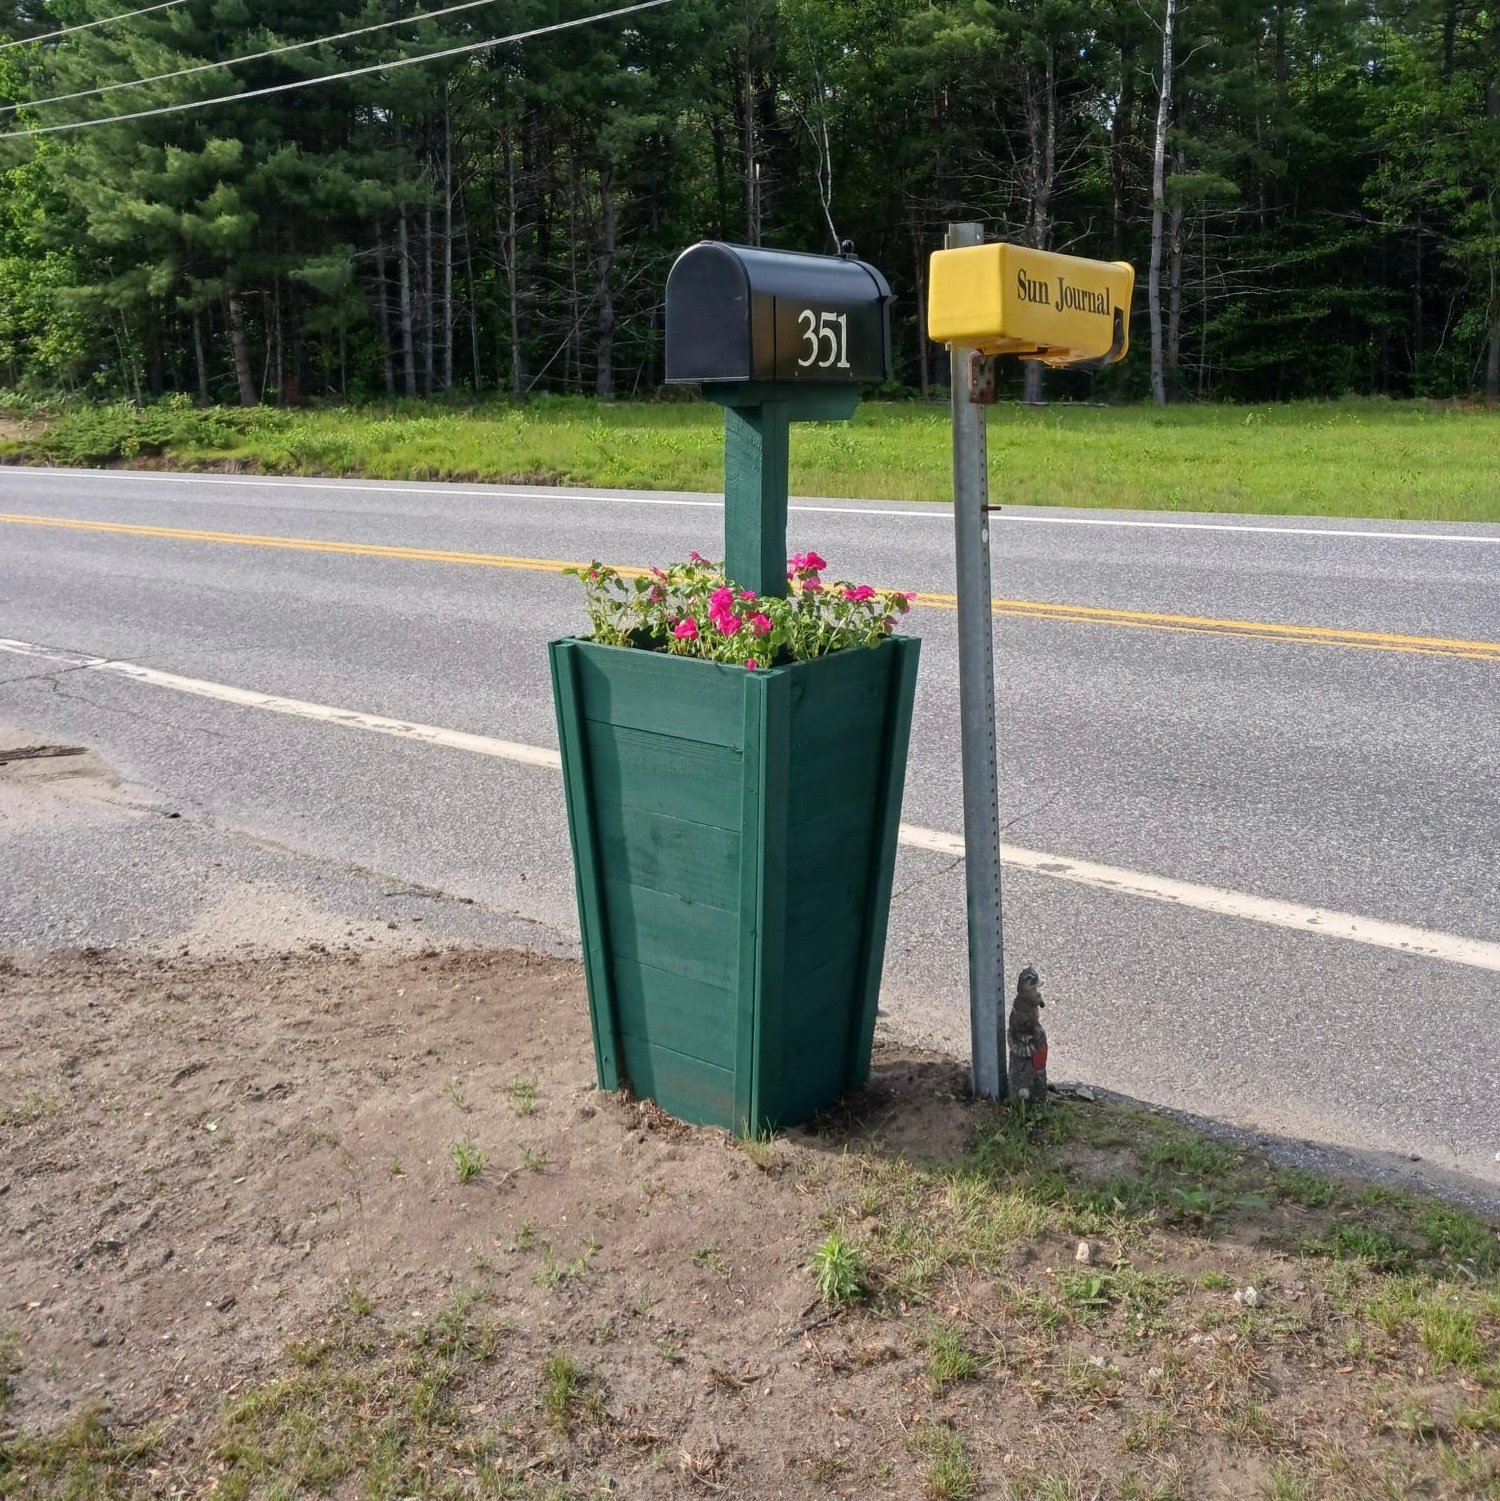
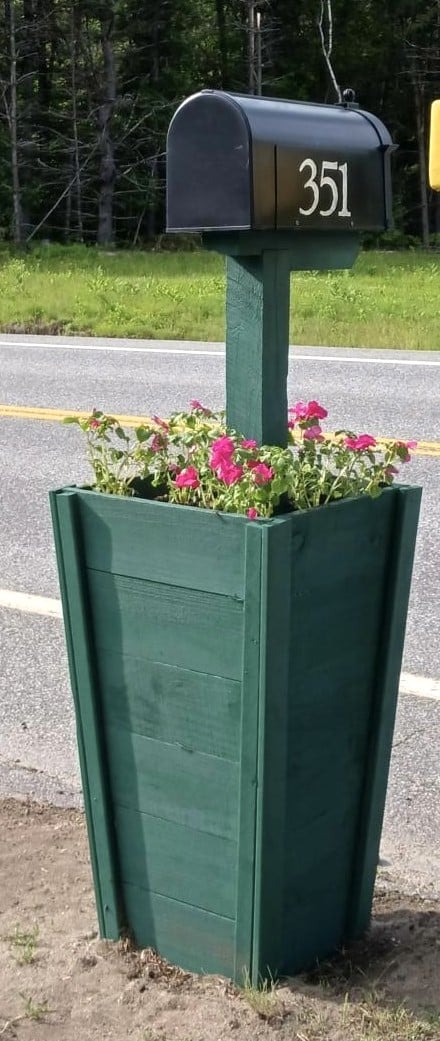
Thank you, Ana, for providing such great plans and video so I could accomplish the mailbox planter. It took me a lot longer than it did you, but I got it done! Had a hard time finding cedar pickets in my area, but ended up using the dog-eared ones as that's all I could get. Keep up the phenomenal content on your site...it is very much appreciated!
Thu, 06/15/2023 - 14:29
Love the idea of using this plan for a mailbox planter, well done! Thank you for sharing.

OK, I think this build may be my biggest project yet! It is definitely the heaviest. With the strong winds we can get here in Florida we needed substantial outdoor furniture.
I did make some modifications along the way measurement-wise so the sofa would fit my front porch better. All in all, this took 2 full days. I built the sofa first, stained it the next day and then decided (due to trying to get stain in all the nooks and crannies) to stain the chair pieces first before putting it together.
I am so happy with the results and so far, almost a year later, this furniture looks great and hasn't moved an inch in any of the thunderstorms we've had! Thank you Ana!!


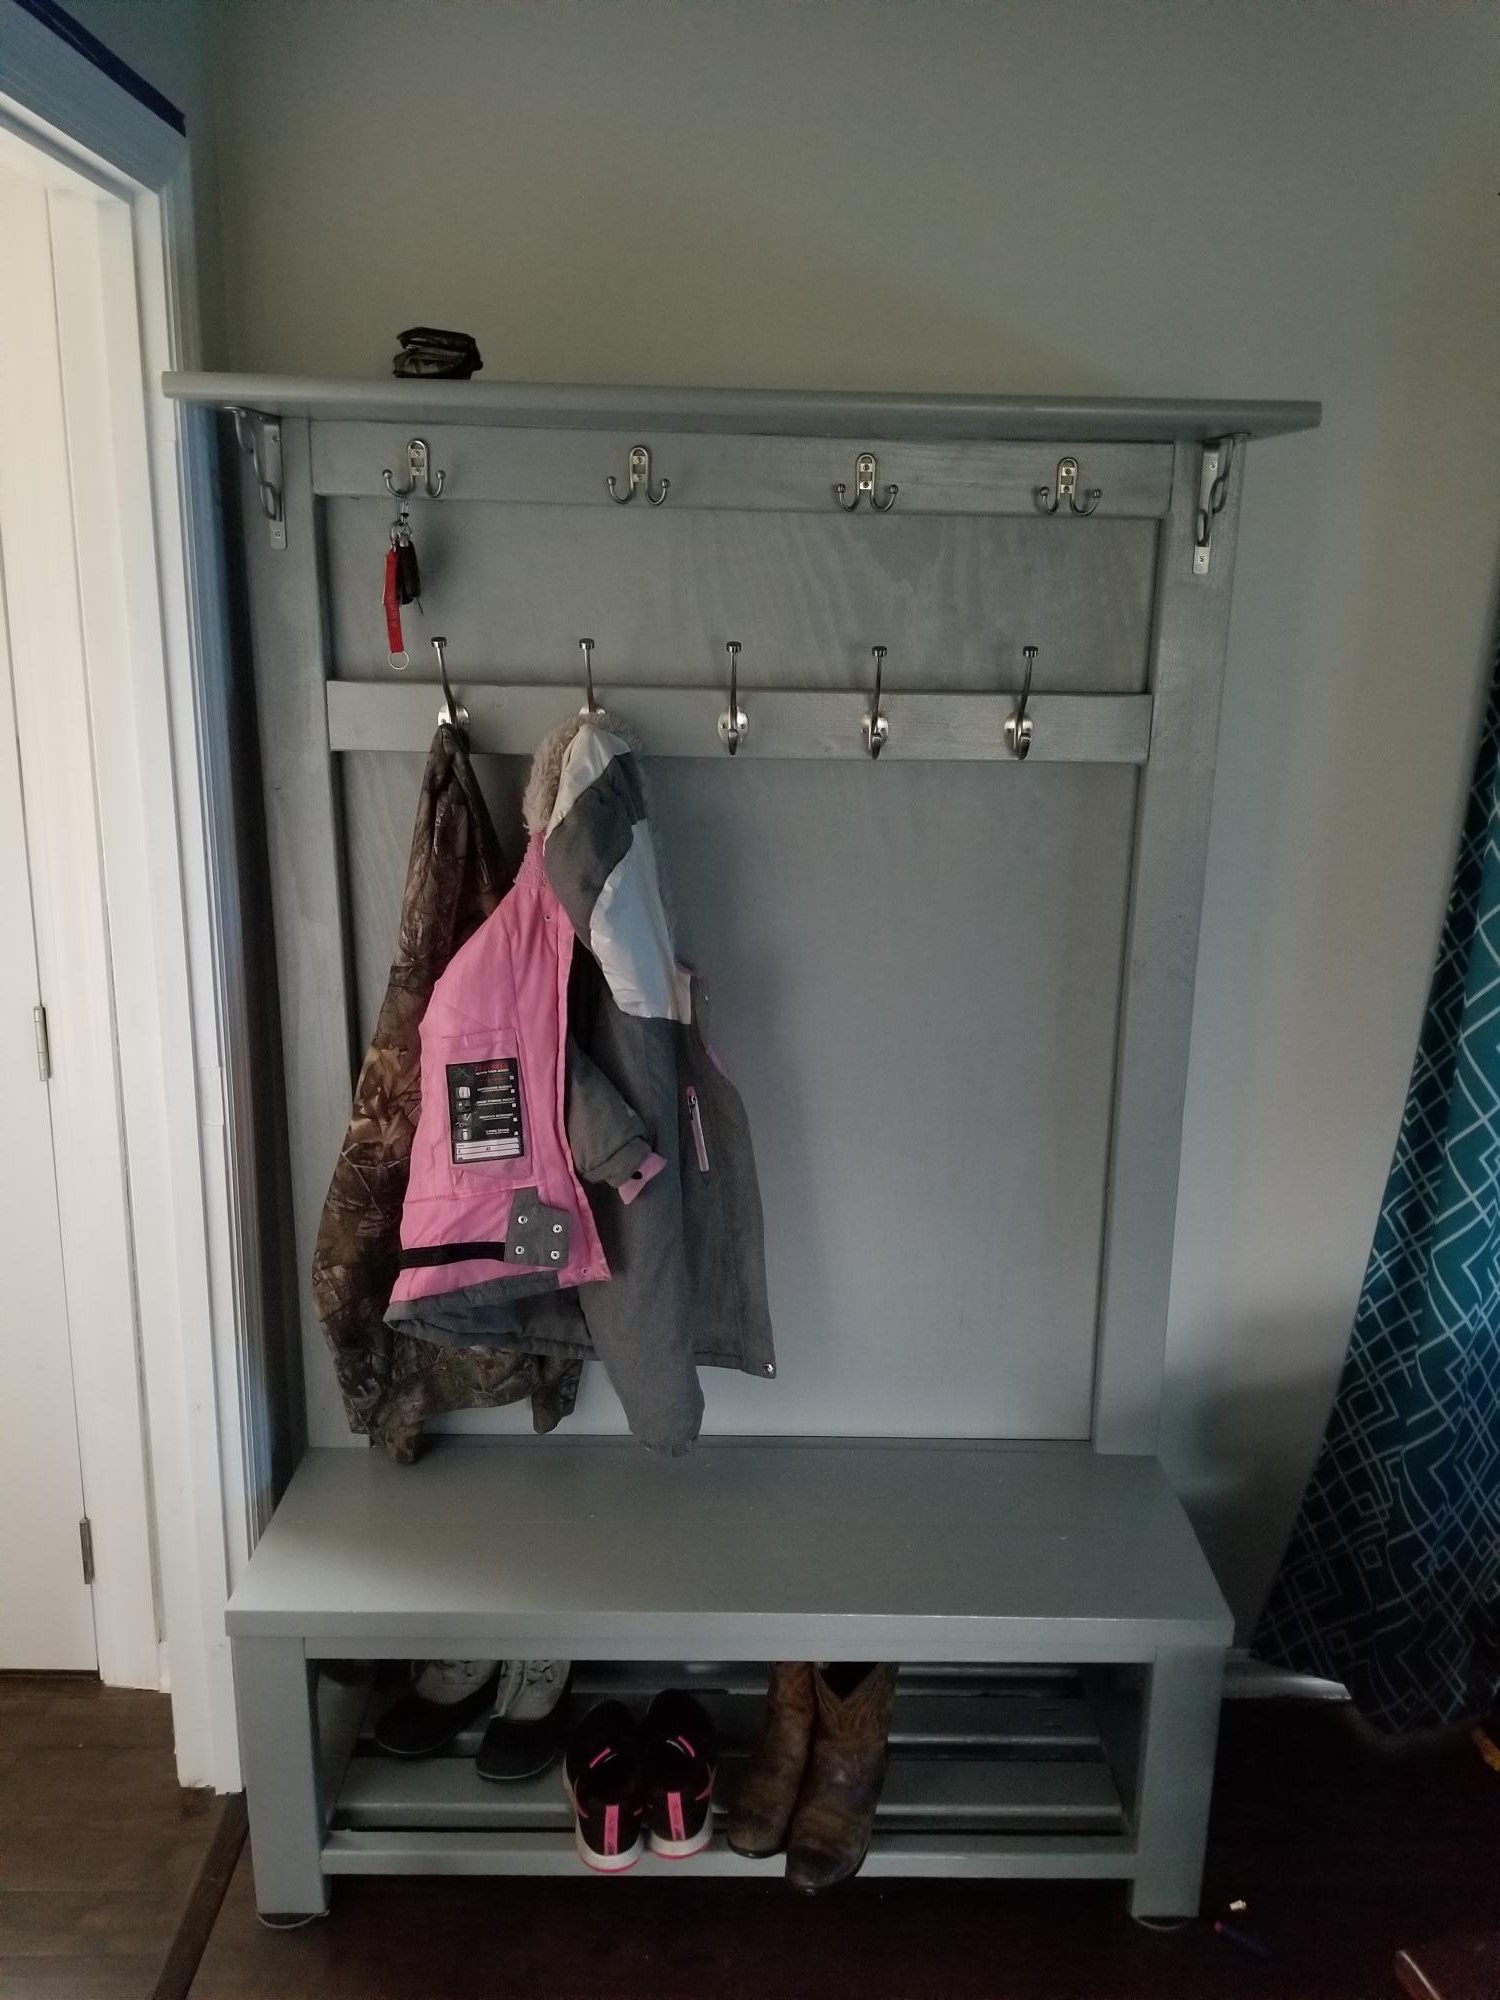
These plans were awesome! Thank you so much for sharing!! I added a few hooks on top for my keys and found this top board at Lowe's for $10, no I have a place to lay my wallet and phone. I tweaked mine to fit my needs but again, this plan was amazing, that KS for sharing! I look forward to making more of your projects.
Note: I chose this project as a weekend long project because I applied paint and it did take much longer for the paint to dry in this cold weather. The build was approximately 1 day.
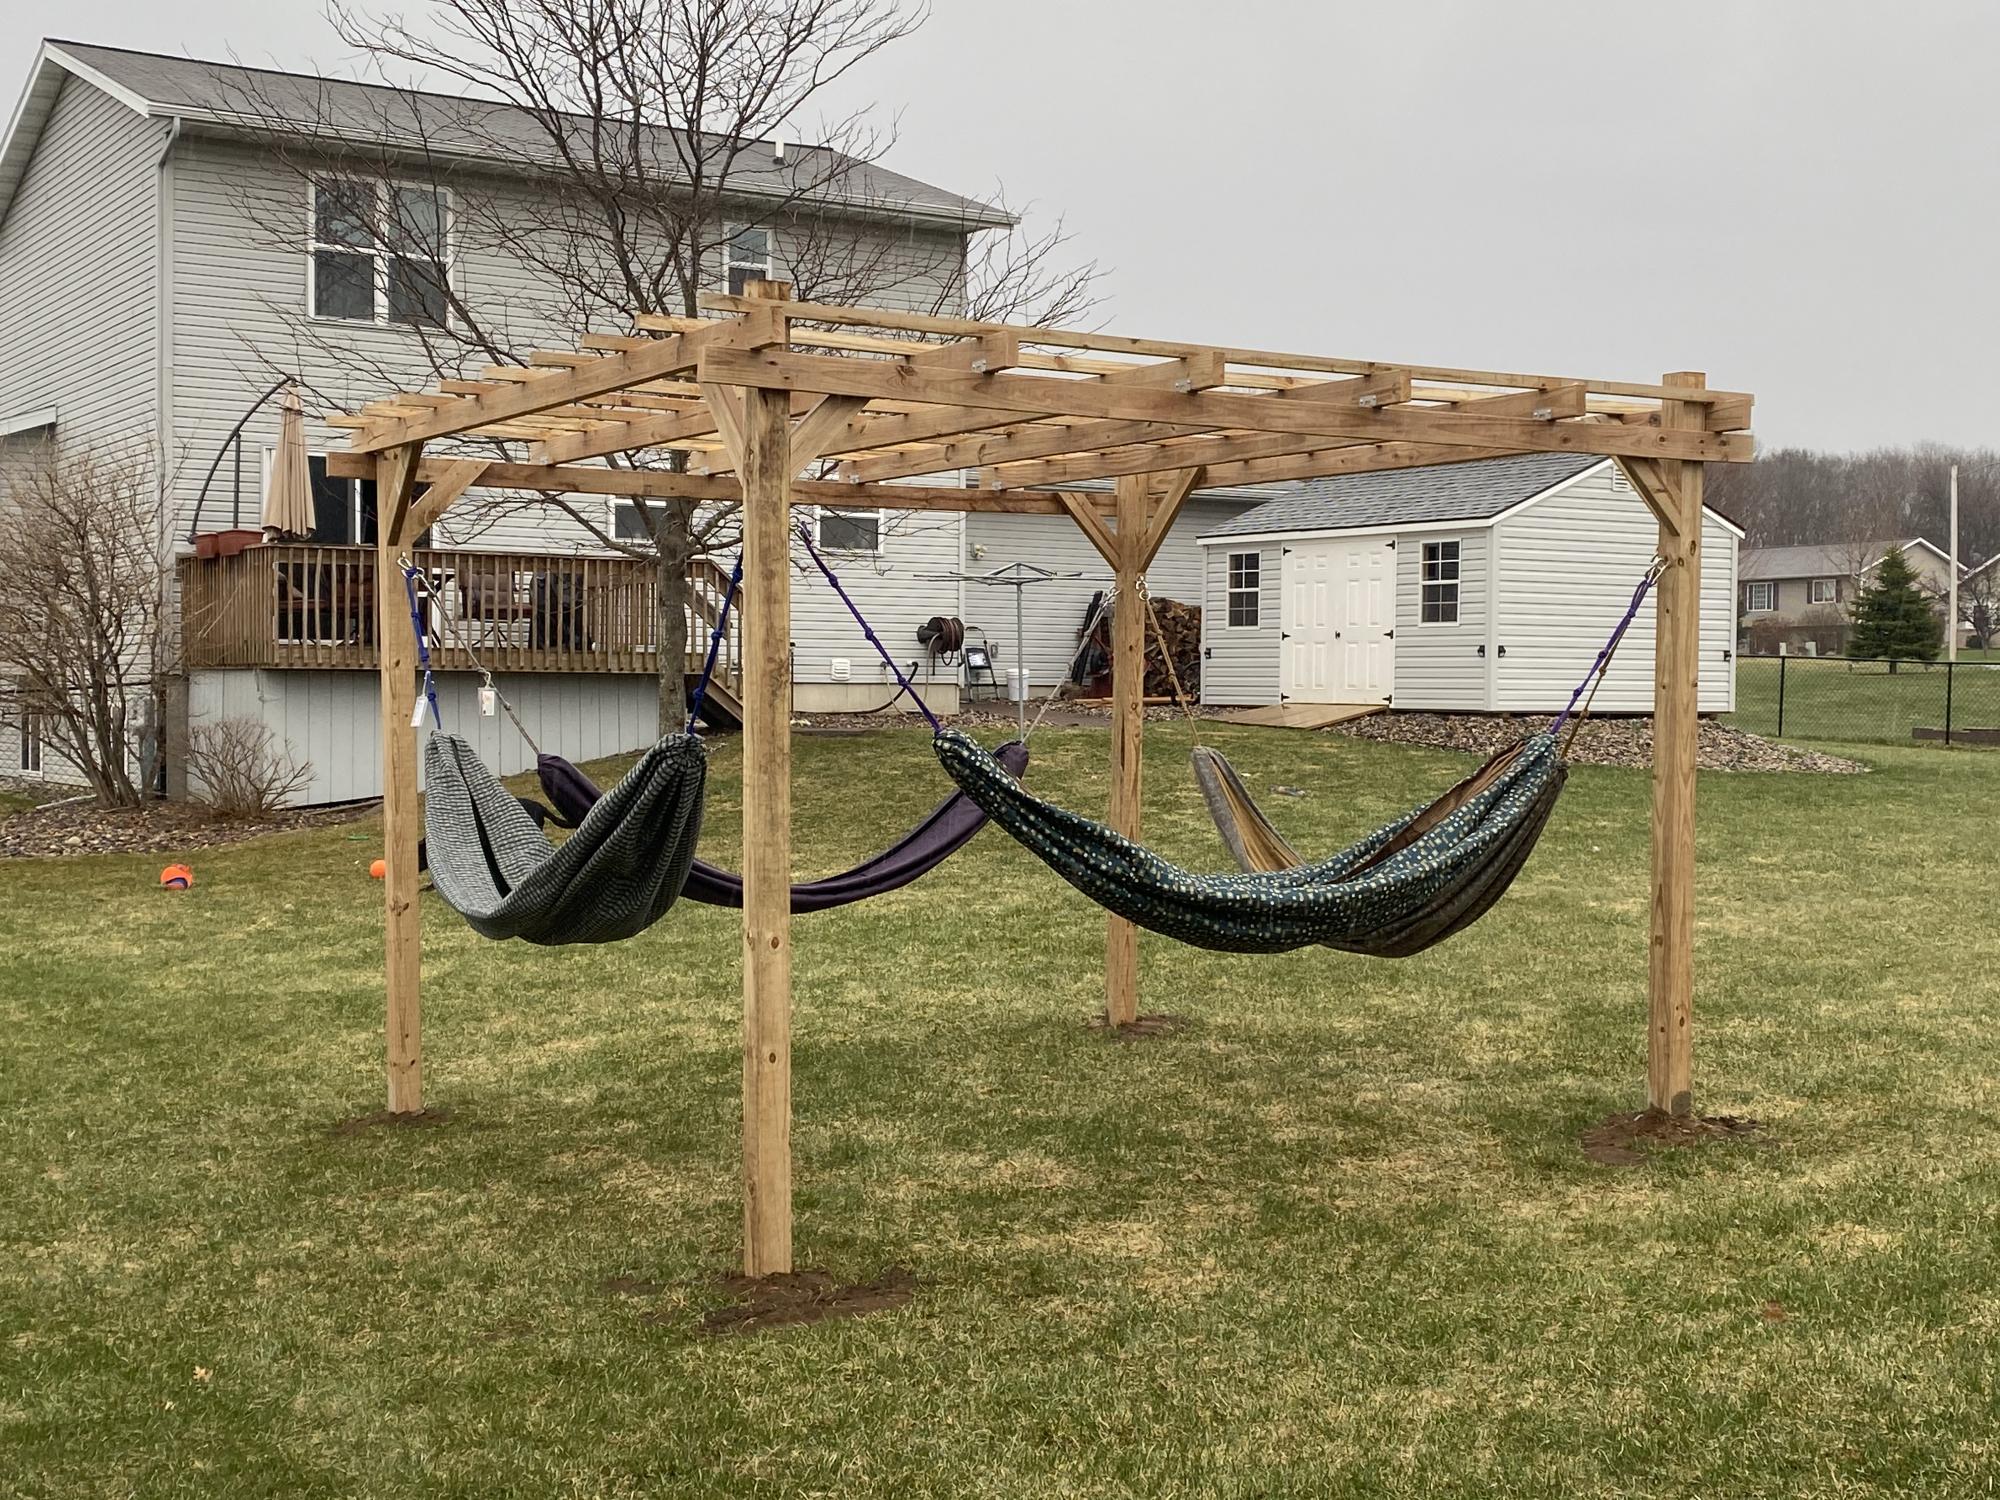
I've wanted a place to hang our hammocks for a few years now. We have some really nice hammocks from a local artisan. This past weekend, we built the framing with intentions of making it a pergola at a later time. With encouragement of my son & boyfriend, we decided to add the pergola on Sunday. I liked this plan because it wasn't as complicated or expensive as a lot of other plans out there that use 2x6s instead of 2x4s. Adding the angle brackets really solidified the whole structure. I'm so thrilled with this project! Unfortunately, today (Monday), it's raining, so I can't go hang out there.
Comments
racegurl10
Thu, 03/18/2021 - 00:07
Wow that beautiful do you…
Wow that beautiful do you have directions on what you did?
frendlygrl
Tue, 07/06/2021 - 19:04
Is this your project?
So this is not your project? Because there isn't much information or a before and after picture. This gave me an idea for our home.
coldduck22
Sun, 08/15/2021 - 18:34
Yes, this is my project…
Yes, this is my project. What would you like to know?
Jeremywilson
Wed, 12/29/2021 - 06:41
This looks beautiful and…
This looks beautiful and authentic at the same time. Love how it gives me a theatre vibe! cabinet makers mornington