My photo gallery wall!
I did 4 shelves spaced 18 inches and made with 12ft long pieces cut in half. The total for my project was $26. I already had the stain and tools on hand.
I did 4 shelves spaced 18 inches and made with 12ft long pieces cut in half. The total for my project was $26. I already had the stain and tools on hand.

I had so much fun with this! I followed the plans exactly and made up the nightstand as I went along.


Sun, 10/19/2014 - 15:25
Oh, this is super cute! Love the stained trim and that little nightstand is darling!

I have used 1/2 inch thick plywood, 2x3 instead of 2x2, and 1x3. I don't have any miter saw or table saw. I used hand saw (comes with miter box) and circular saw to cut all the materials. It isn't perfect but I like it.

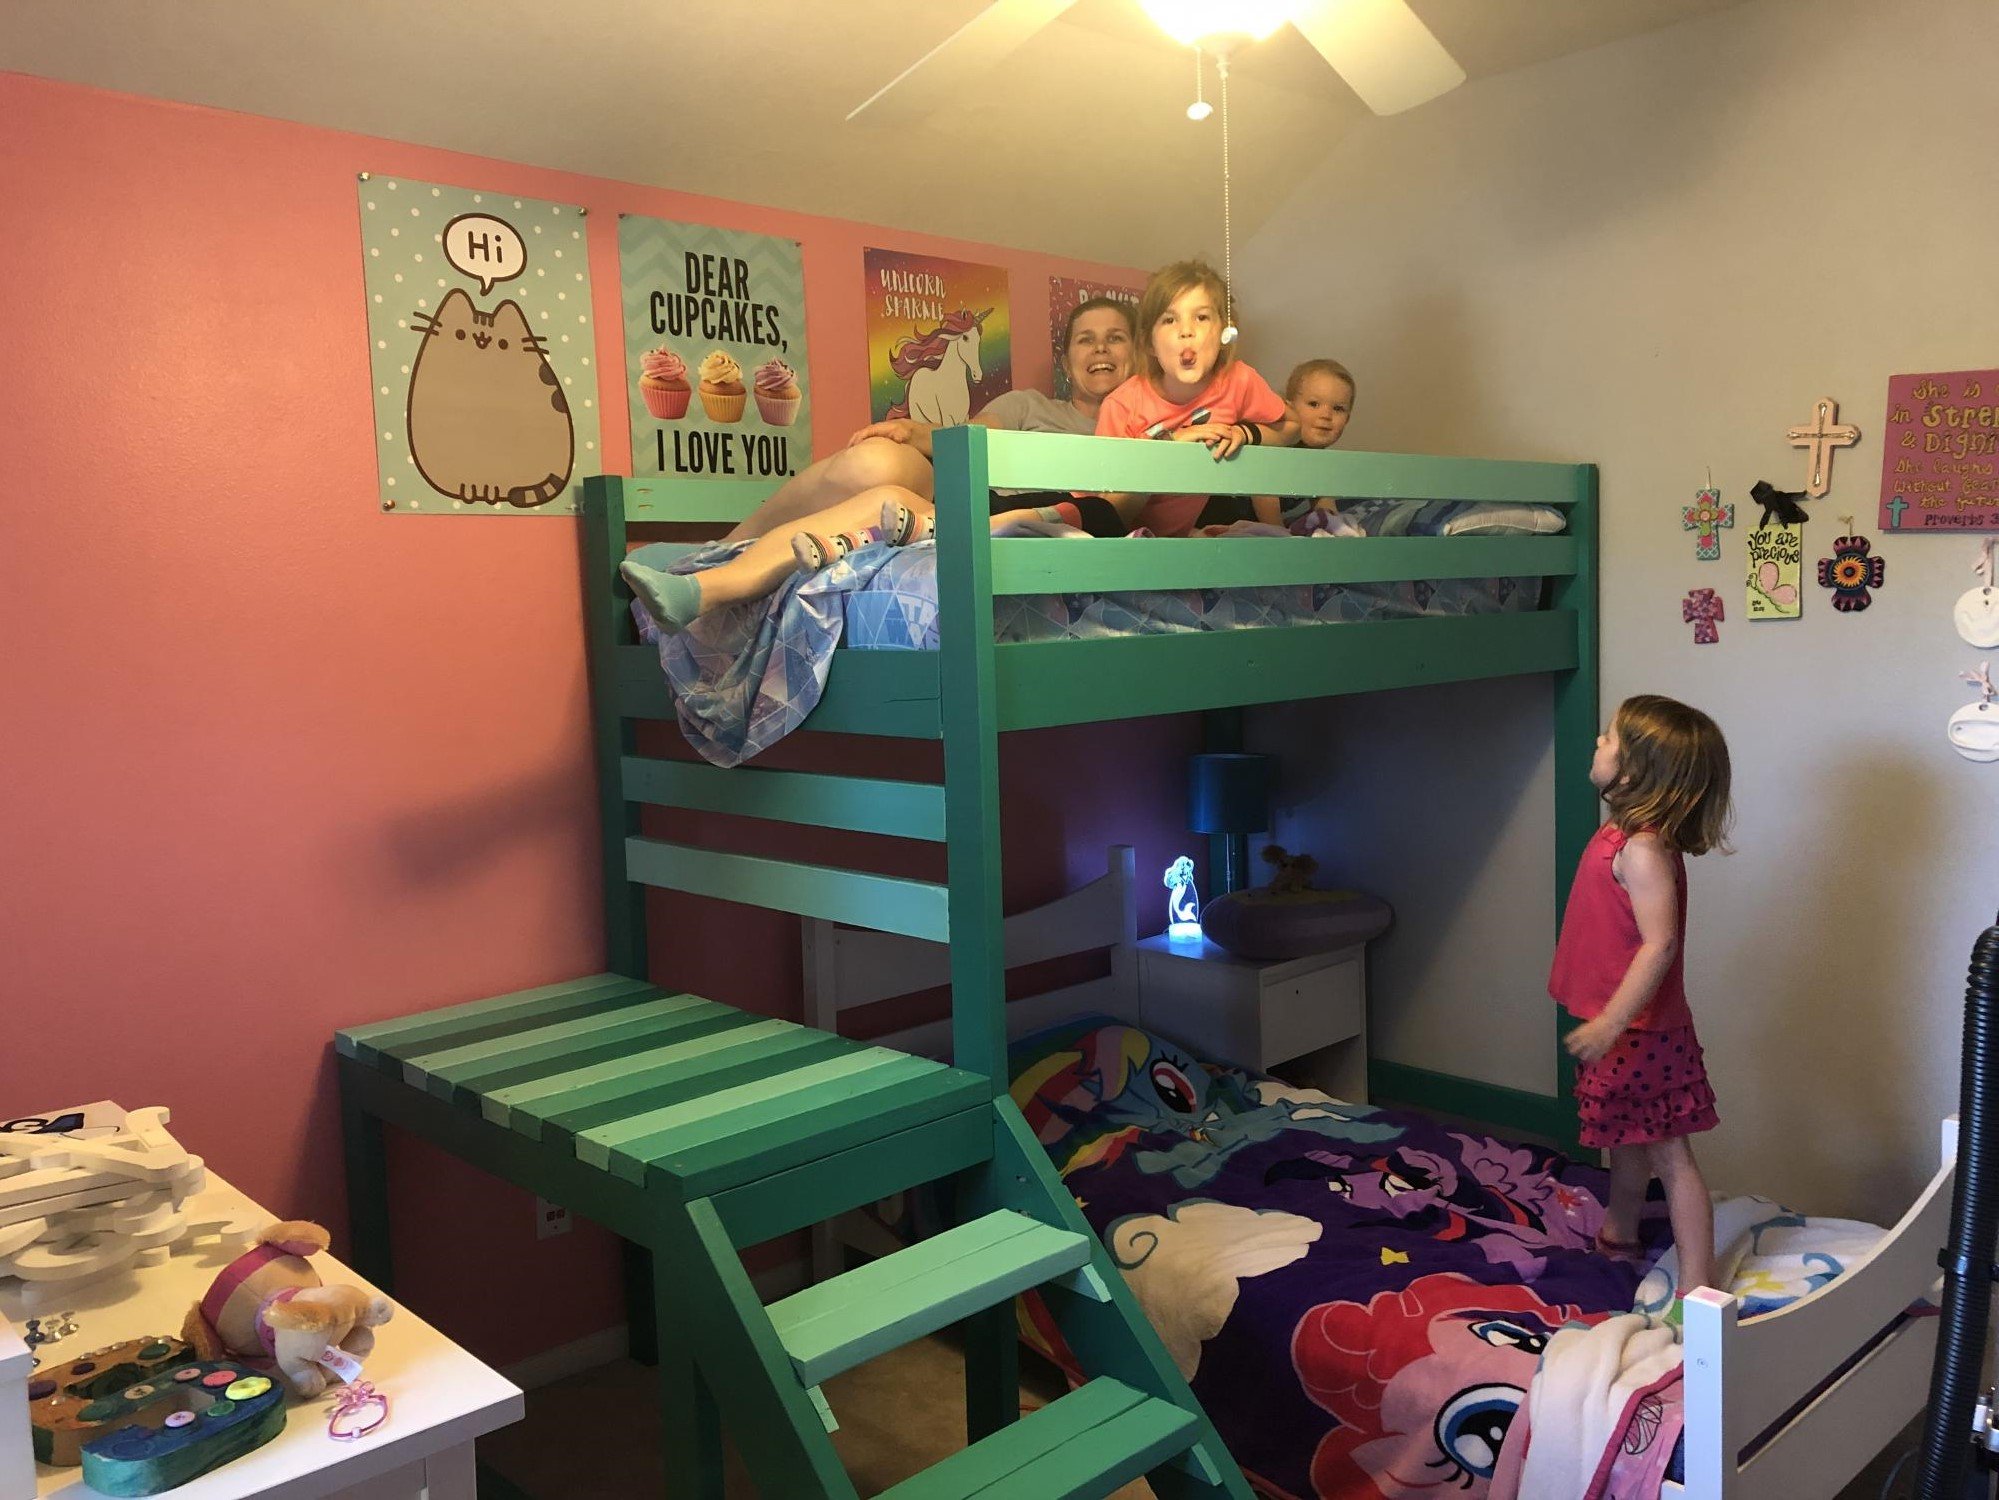
Used the Camp Loft Bed with Stairs plans but put the extra heights on the legs. The girls love it
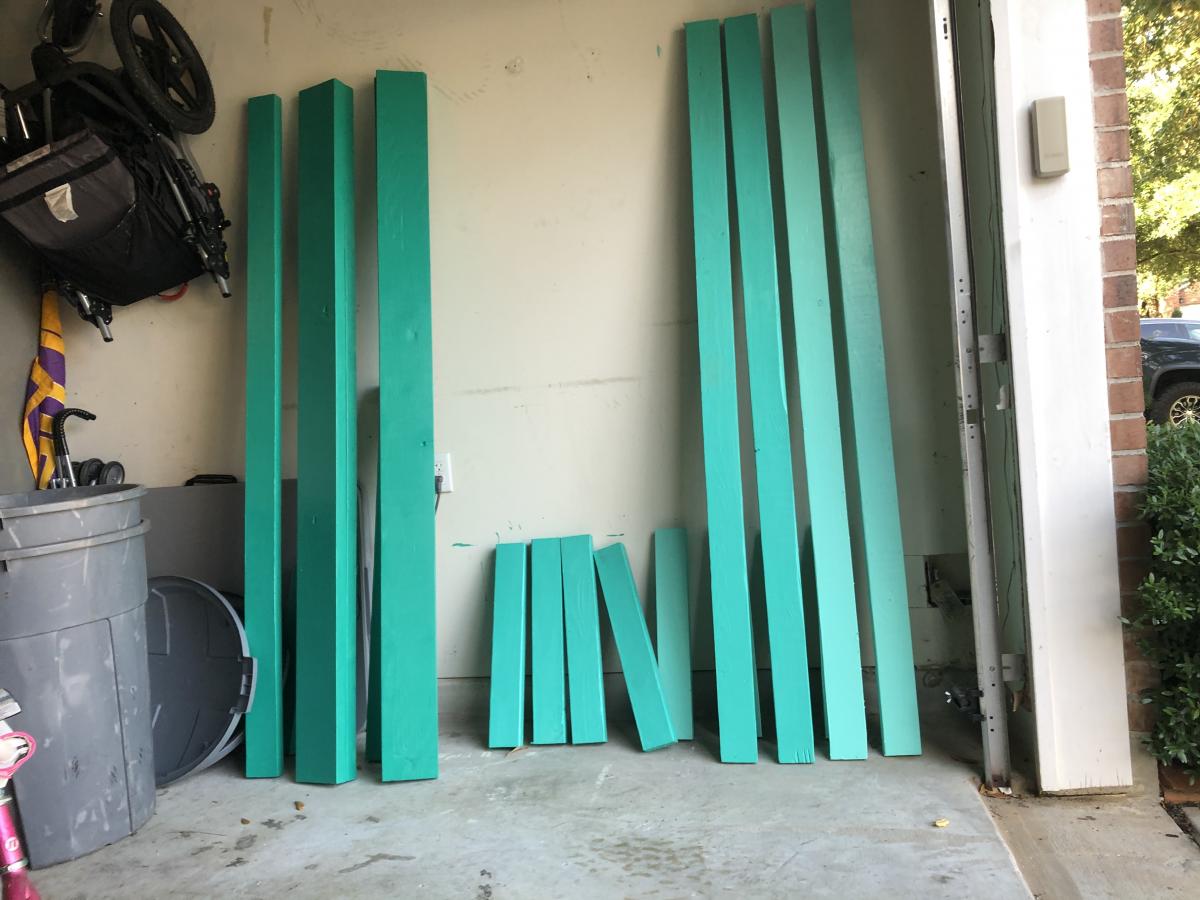
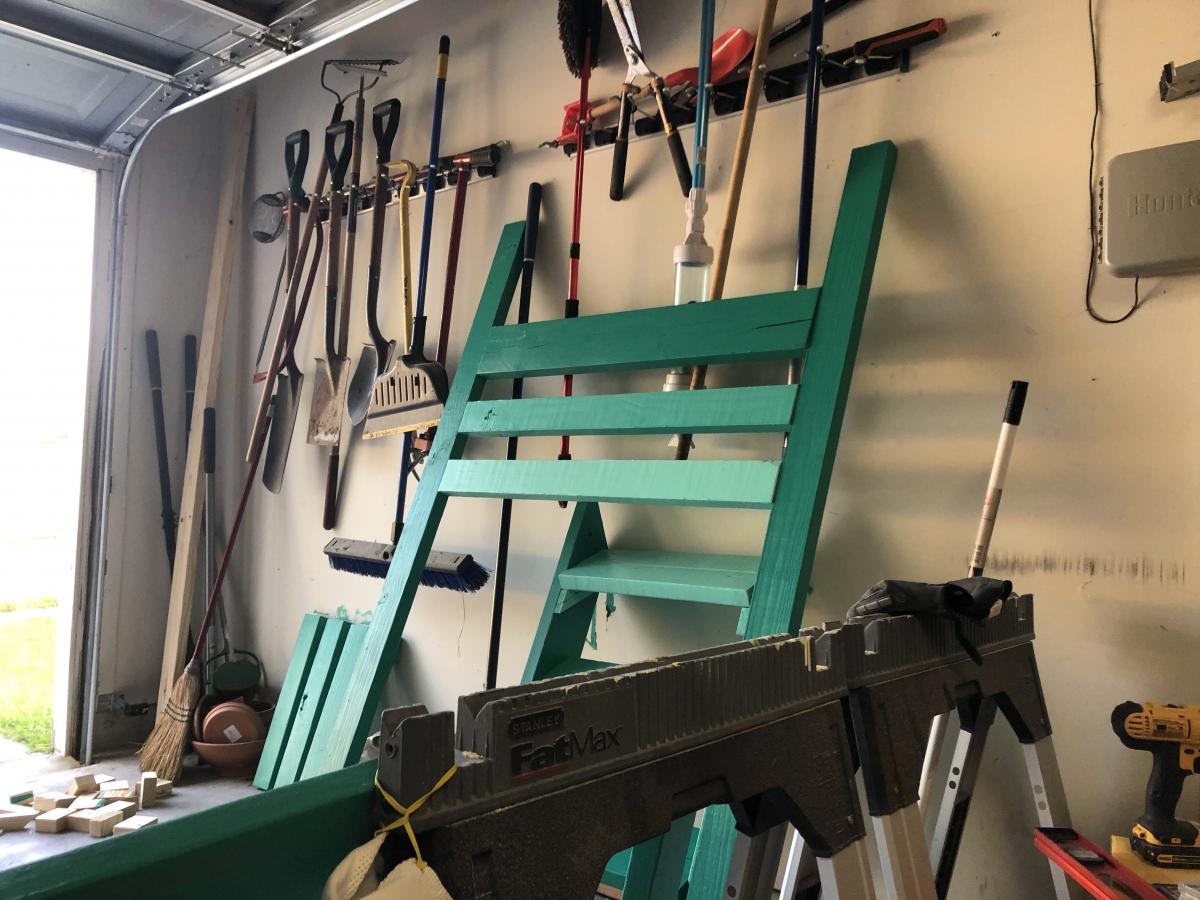
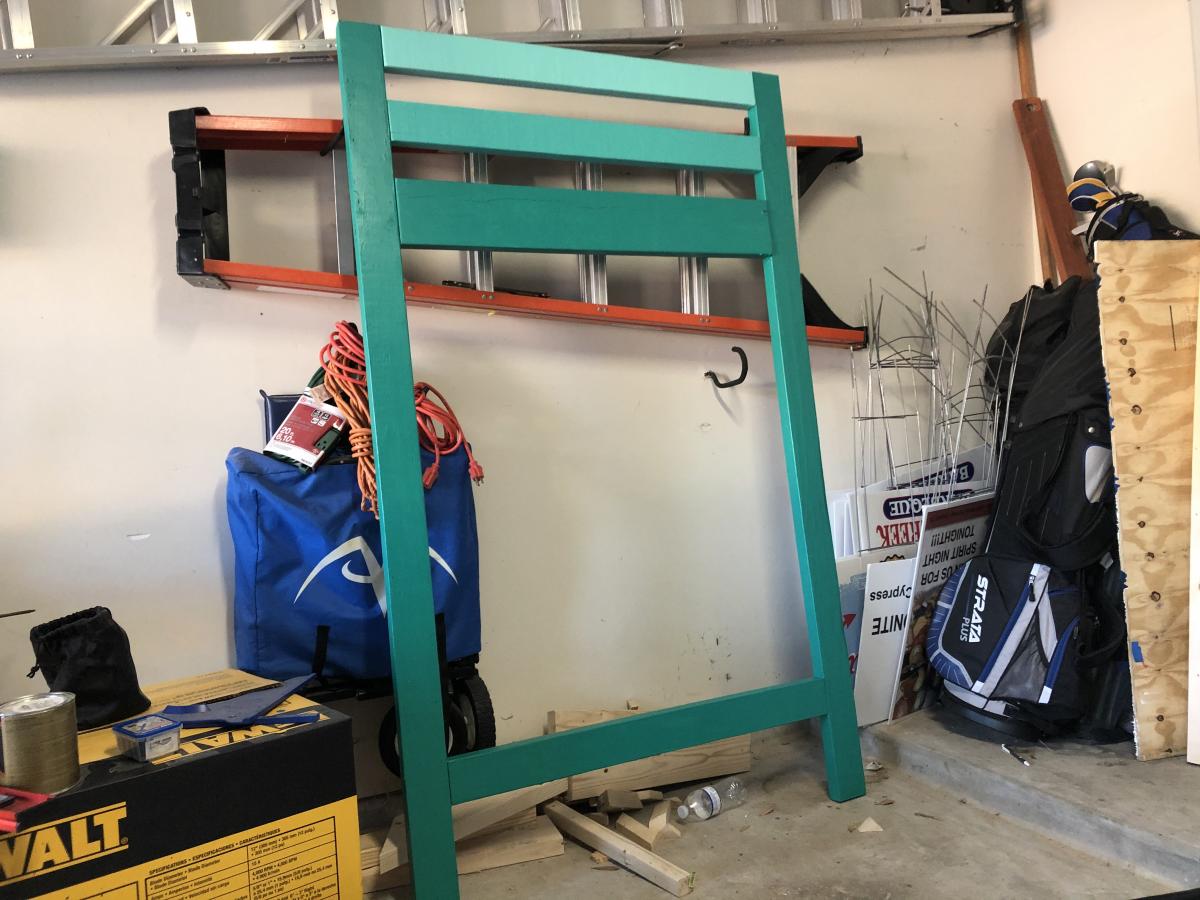
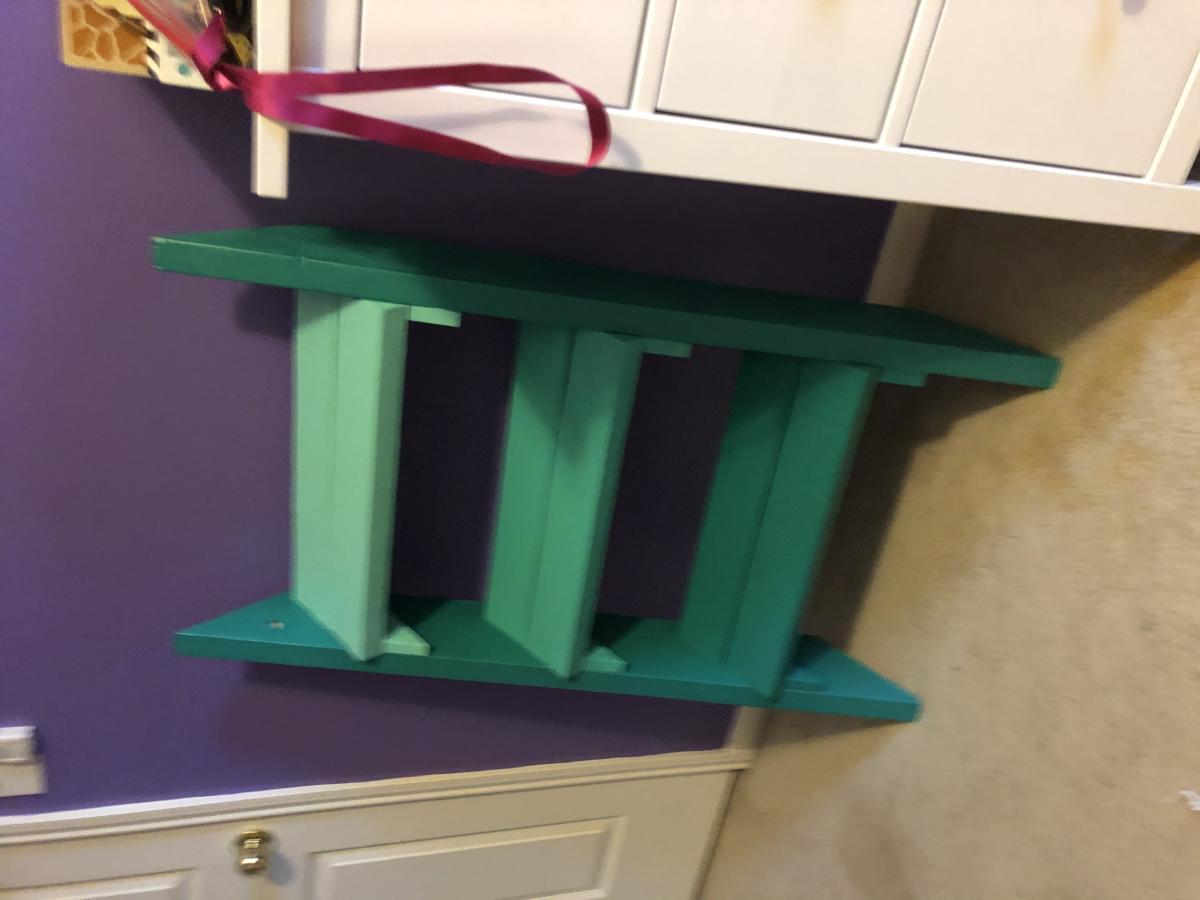
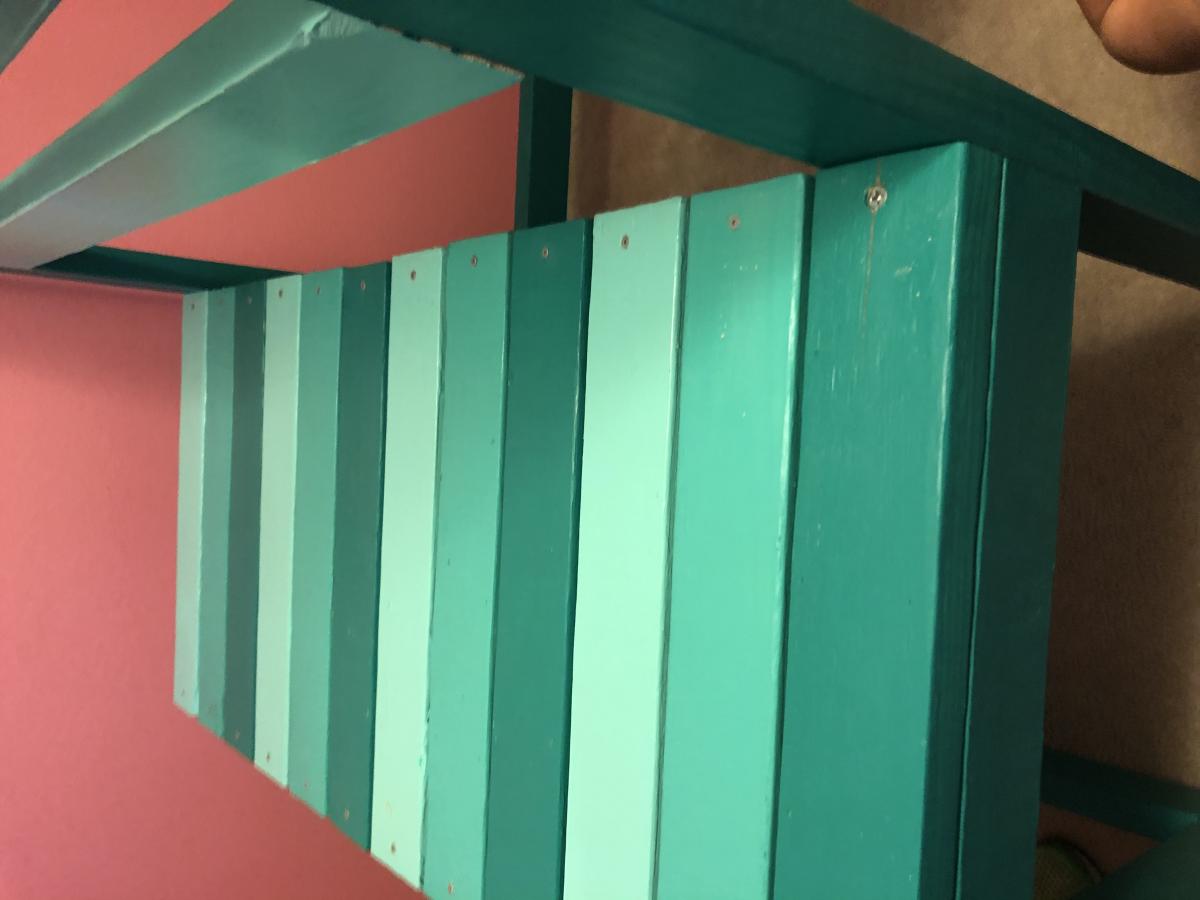
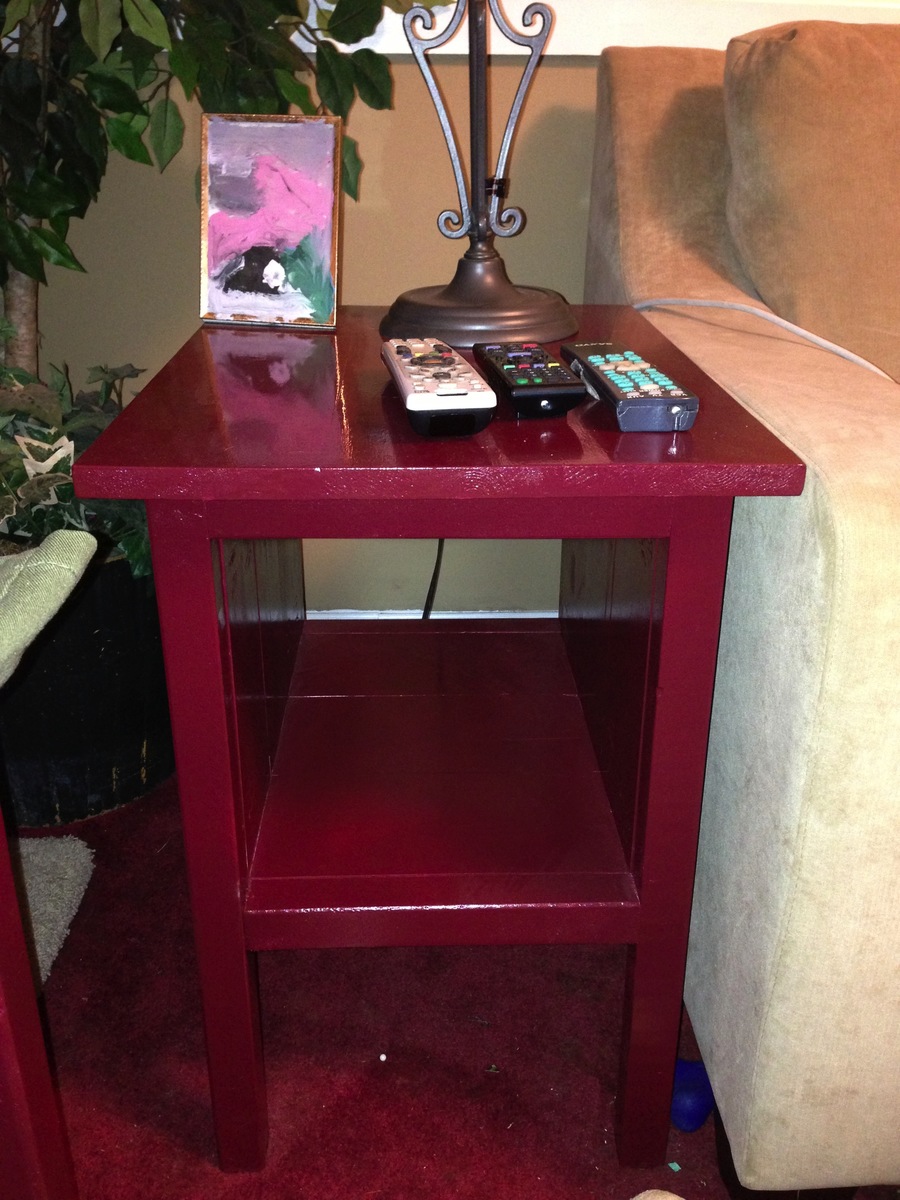
This was my first ever building project and I love it! I made 2 for my living room and have since made a few more things. Thanks Ana for an amazing website!
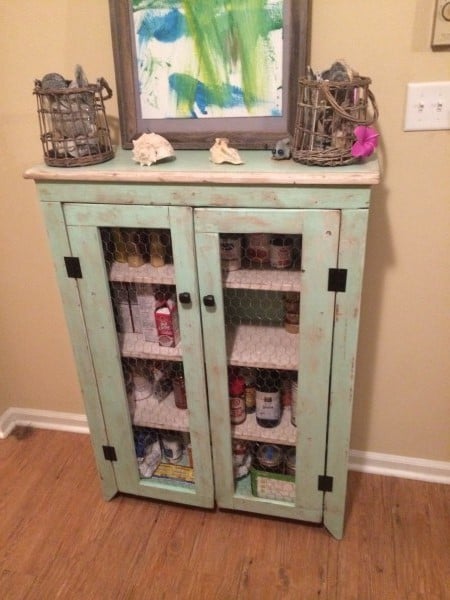
This is my second project. I sanded, primed, painted, sanded to distress the paint, then stained the whole thing just long enough for the stain to soak in to the sanded spots (5 minutes or less), then wiped it off.
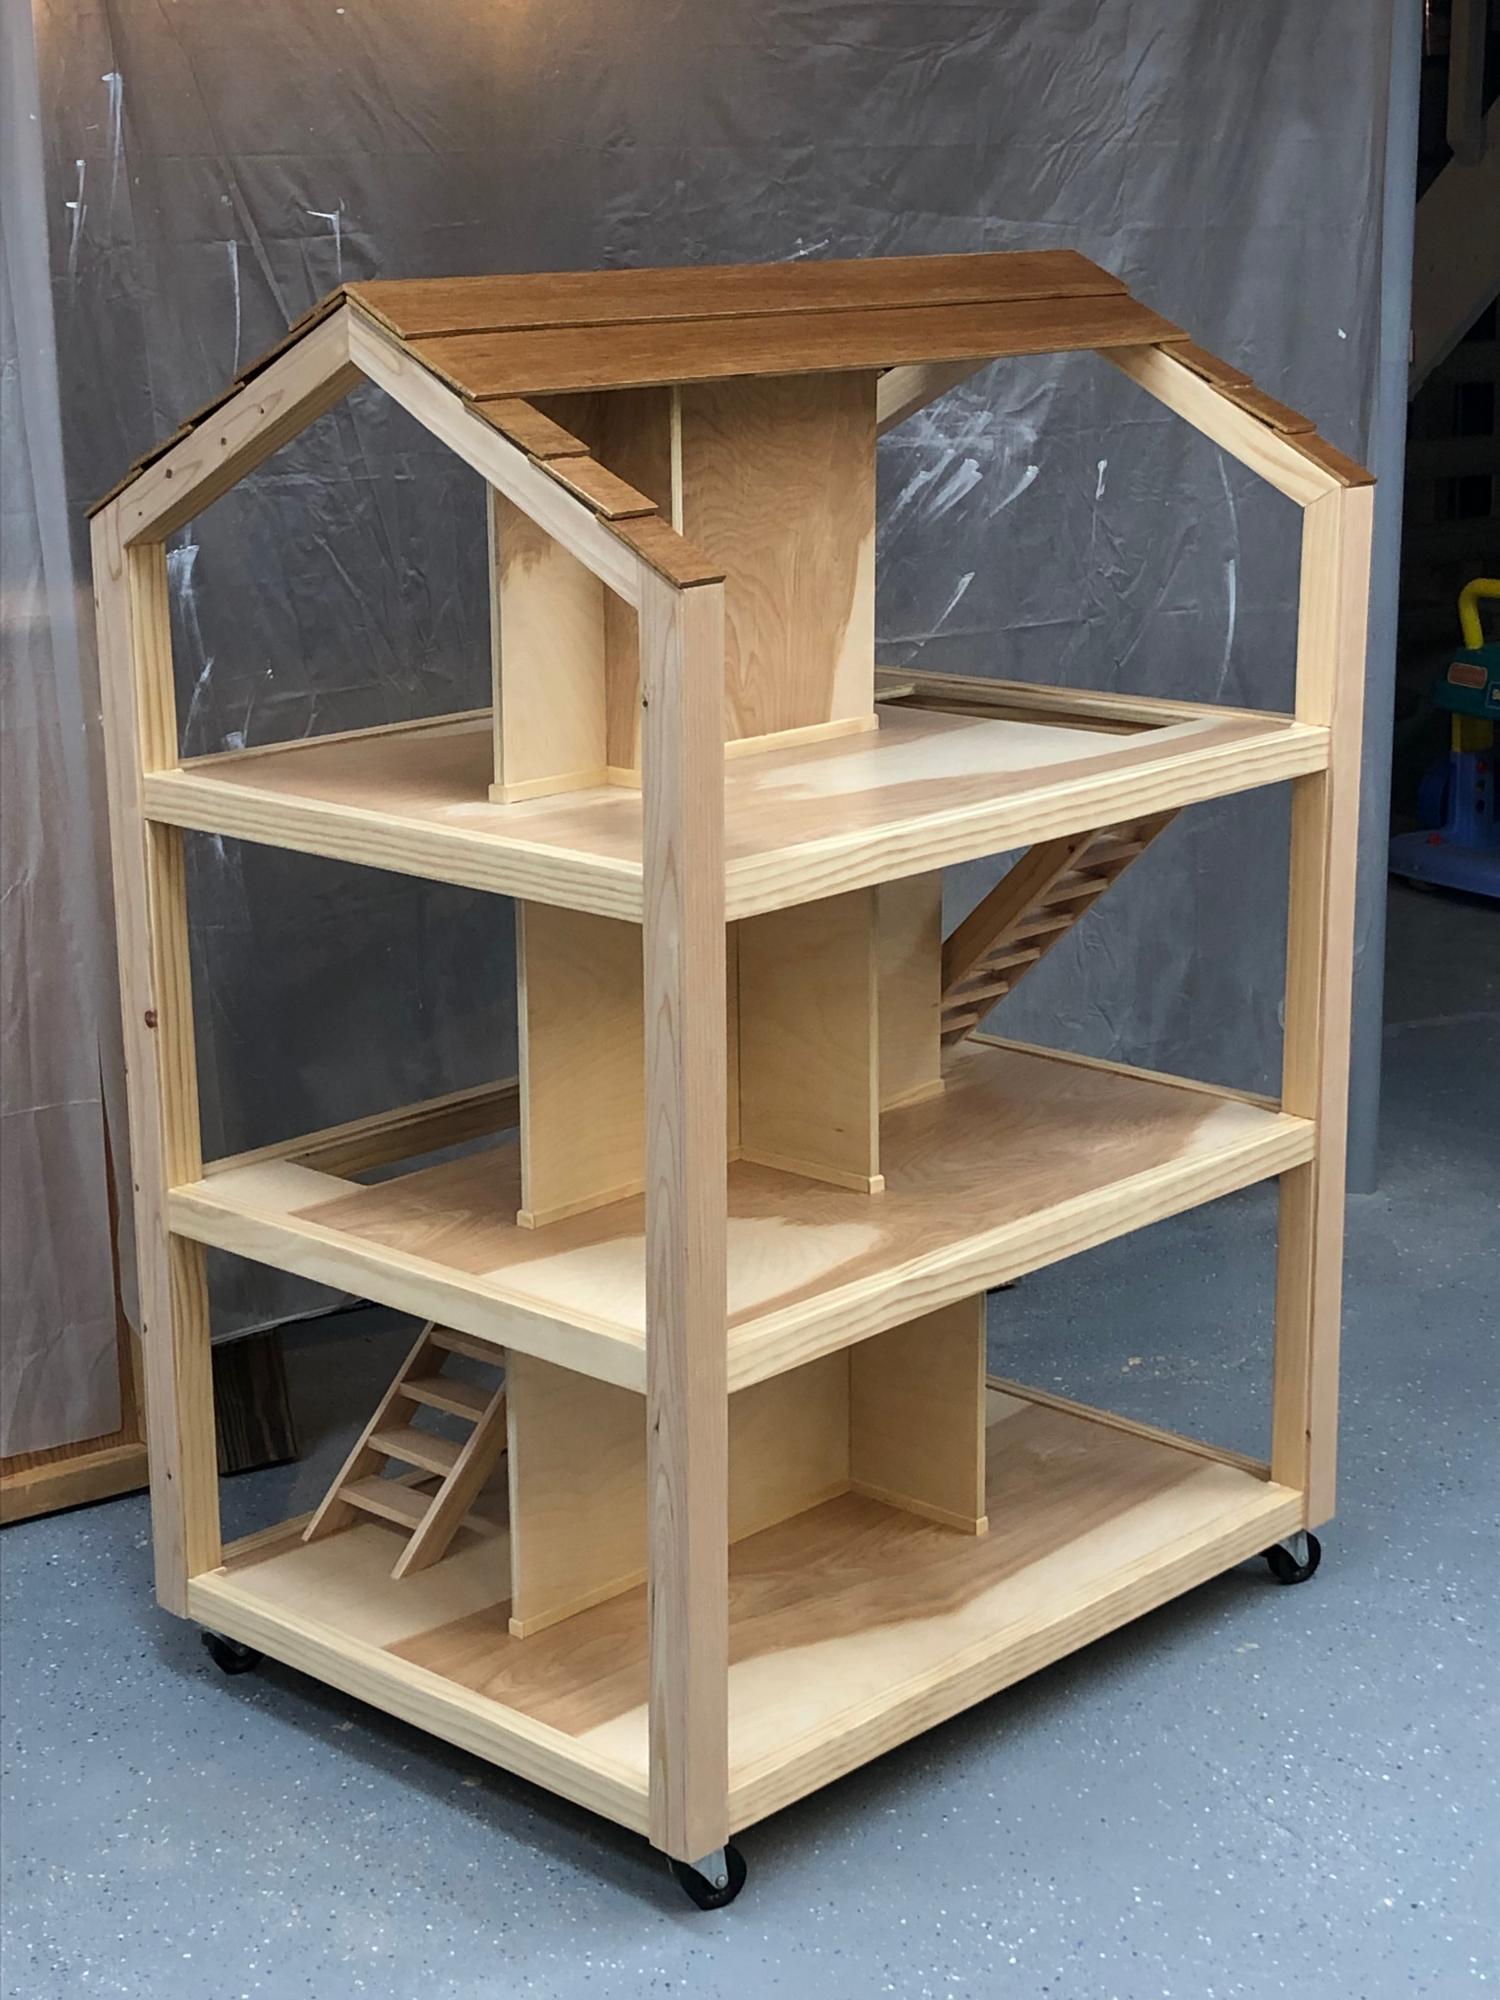
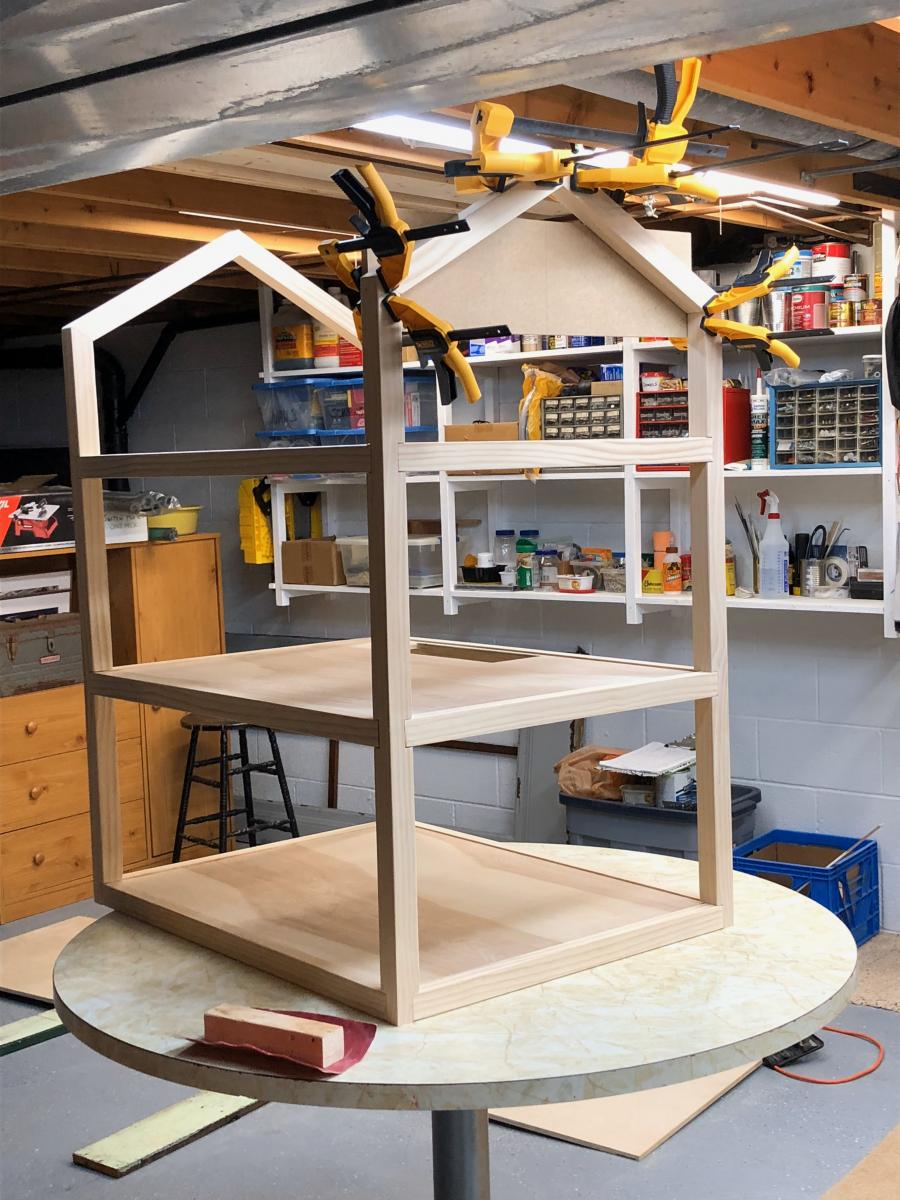
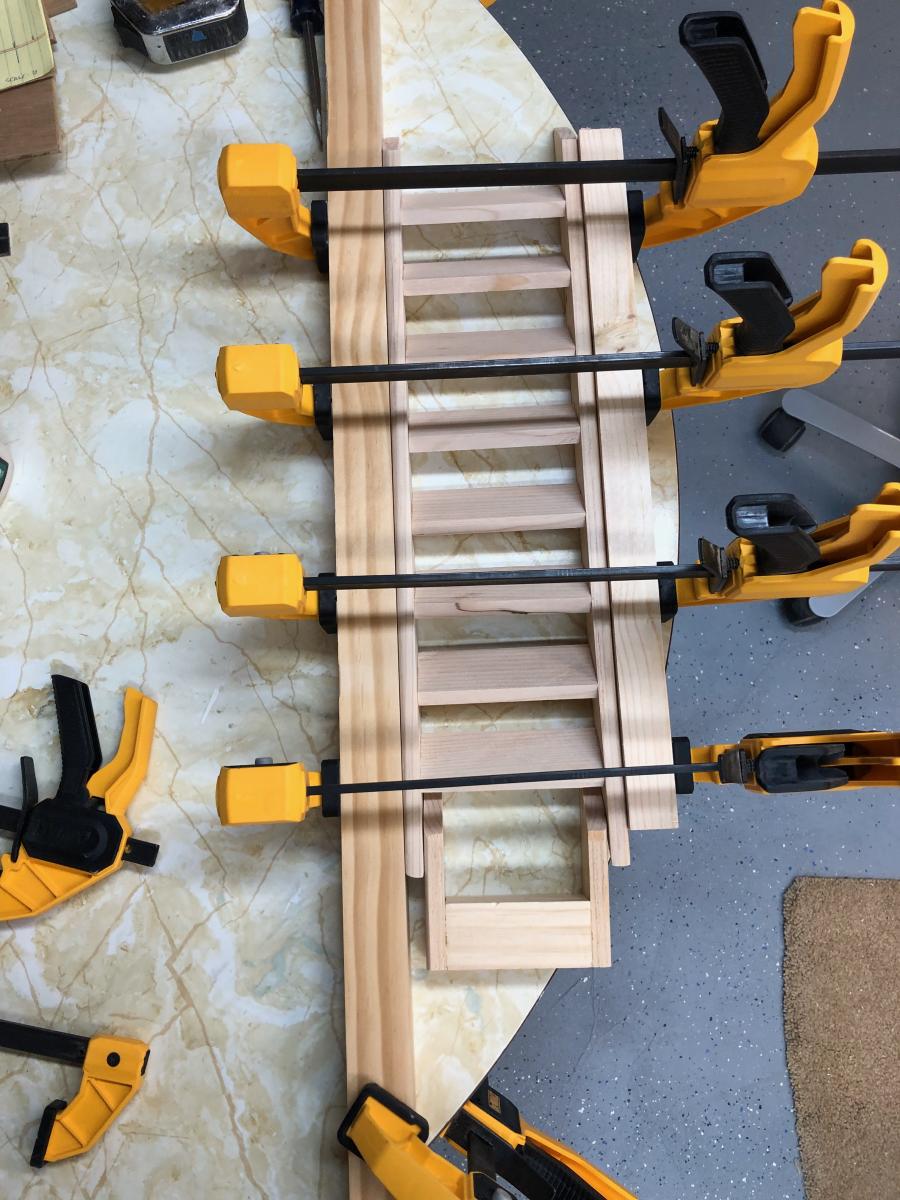
Here's my version of the Dream Doll House. Three stories, made with birch plywood and pine, featuring realistic stairs, baseboards, crown molding, exterior corner battens, and left in the natural state with just a few coats of water-based poly. Put the whole thing on casters for ease of rolling around the playroom. Fun project and the hugs were all the reward I needed!
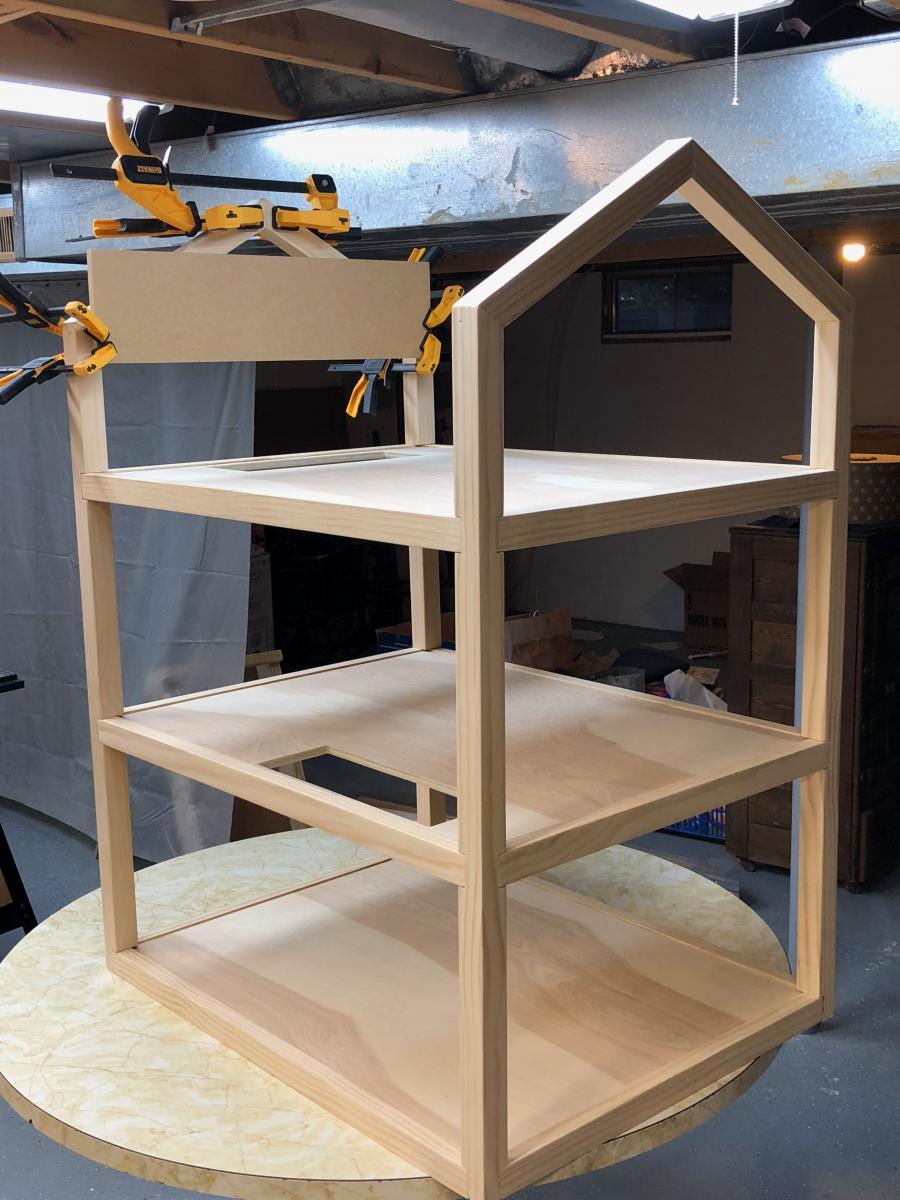
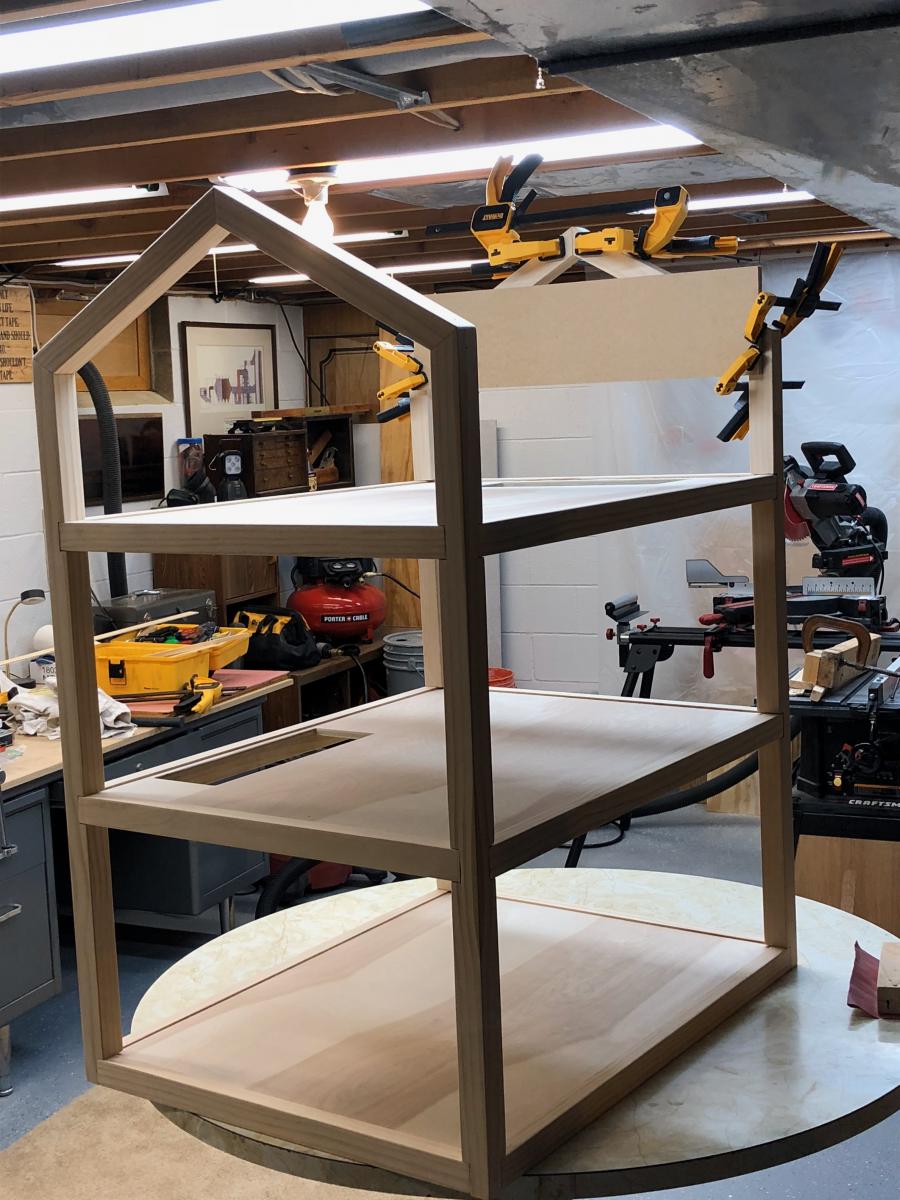
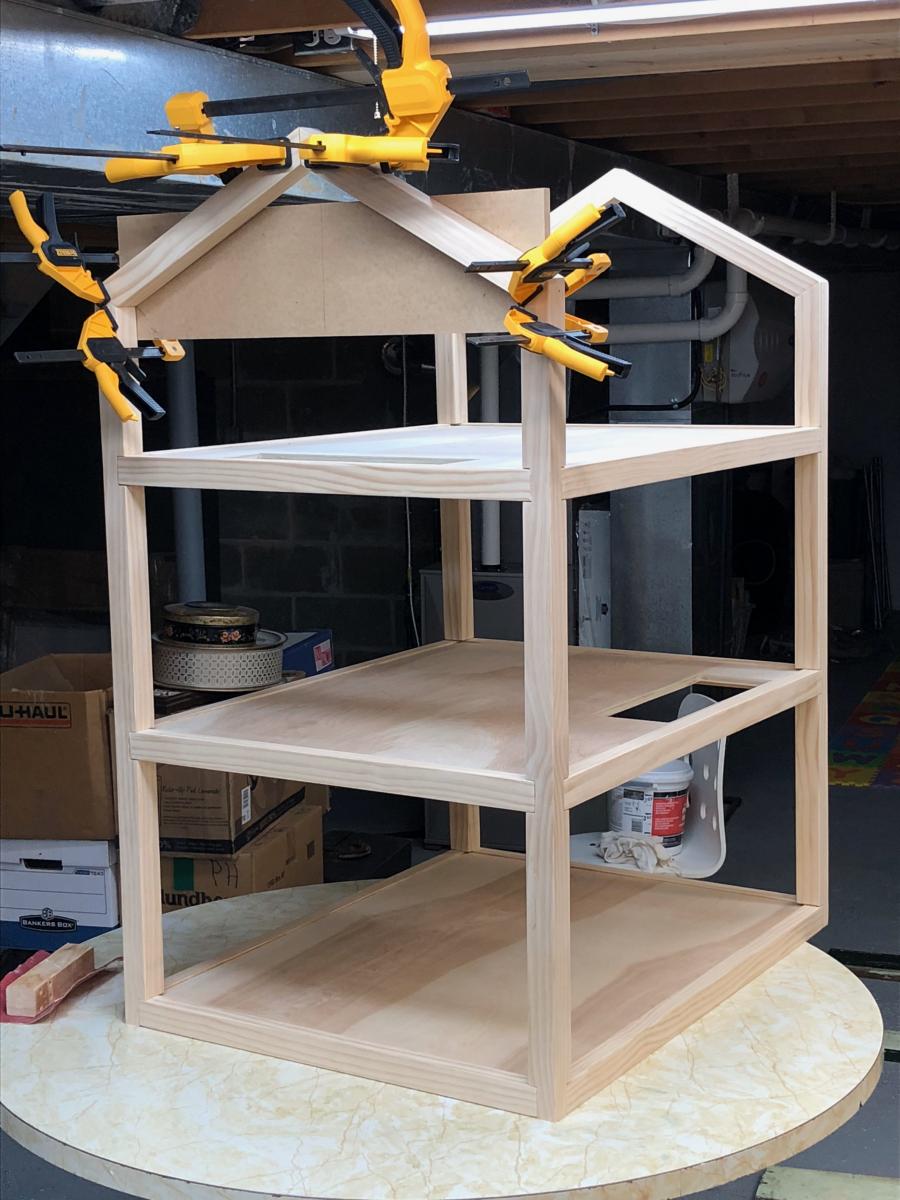
Fri, 10/23/2020 - 13:32
I am sure your granddaughter will cherish this for her lifetime!
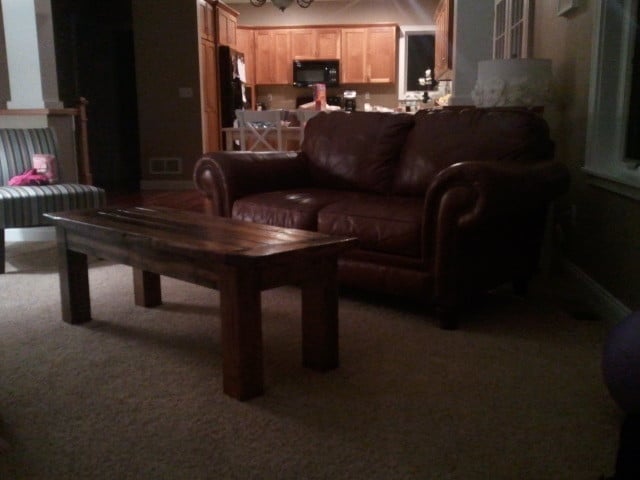
I built this without the current plans with the pocket holes in the bottom. I also made the width a little smaller, by 2 boards. This is very sturdy, my daughter uses it as a platform to perform all the time. I have even stood on it many times. Plus, it can be used as a bench if needed.
I used a darker stain on it and roughed up some of the edges a bit.
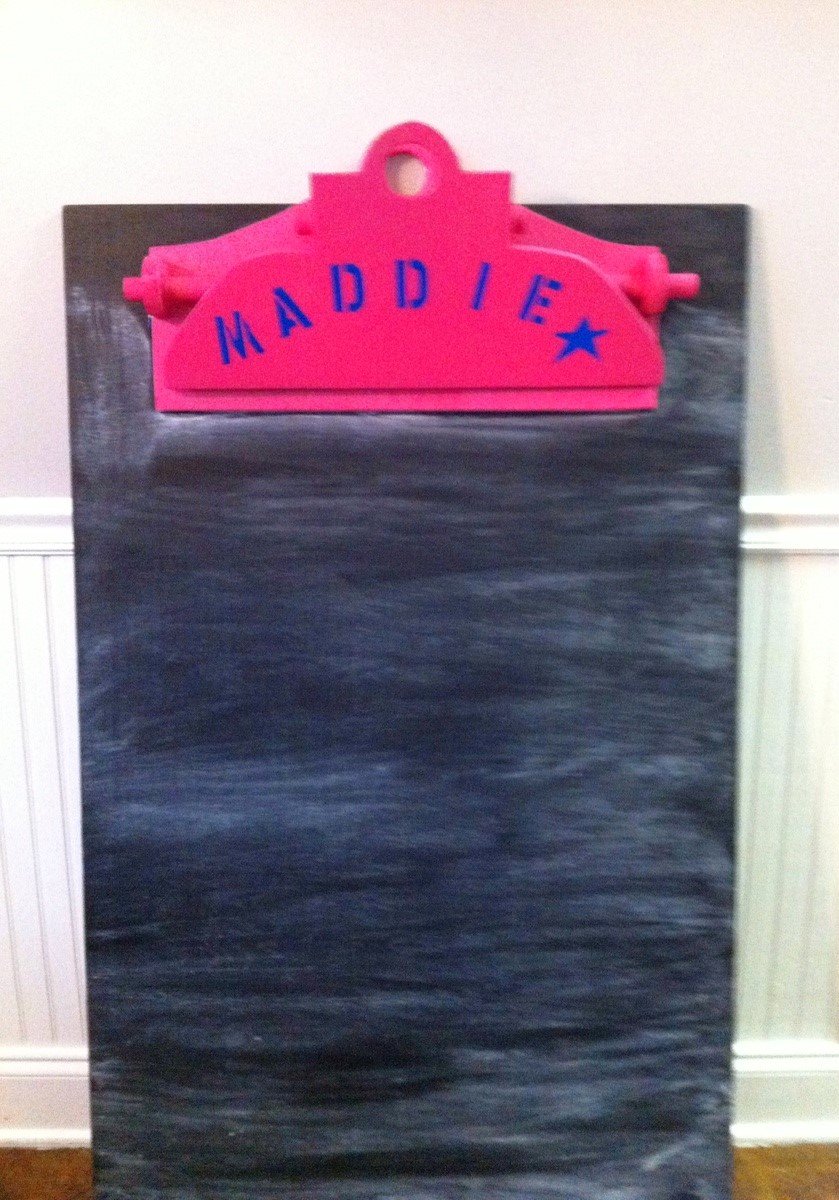
B-day present for my niece
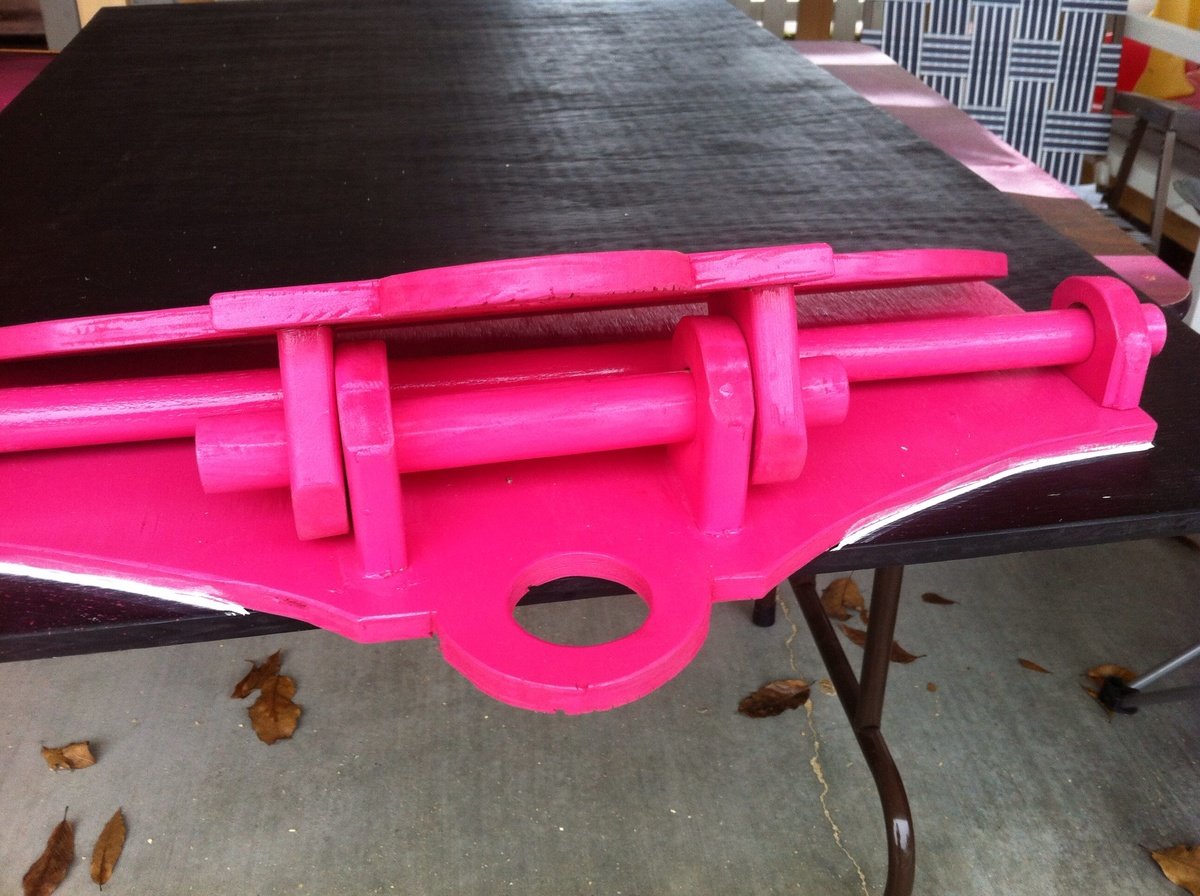
Full instructions on how I put this together on my blog.

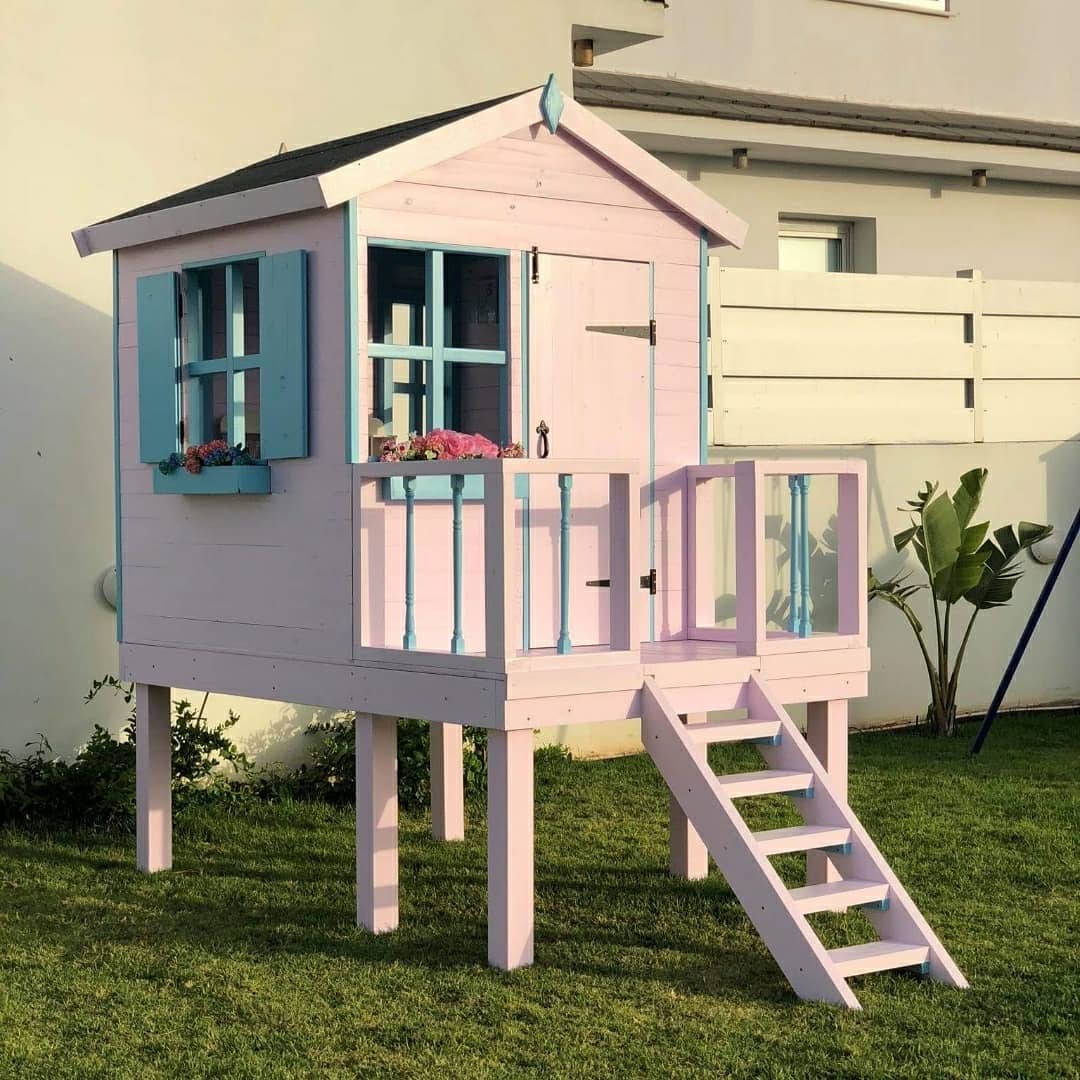
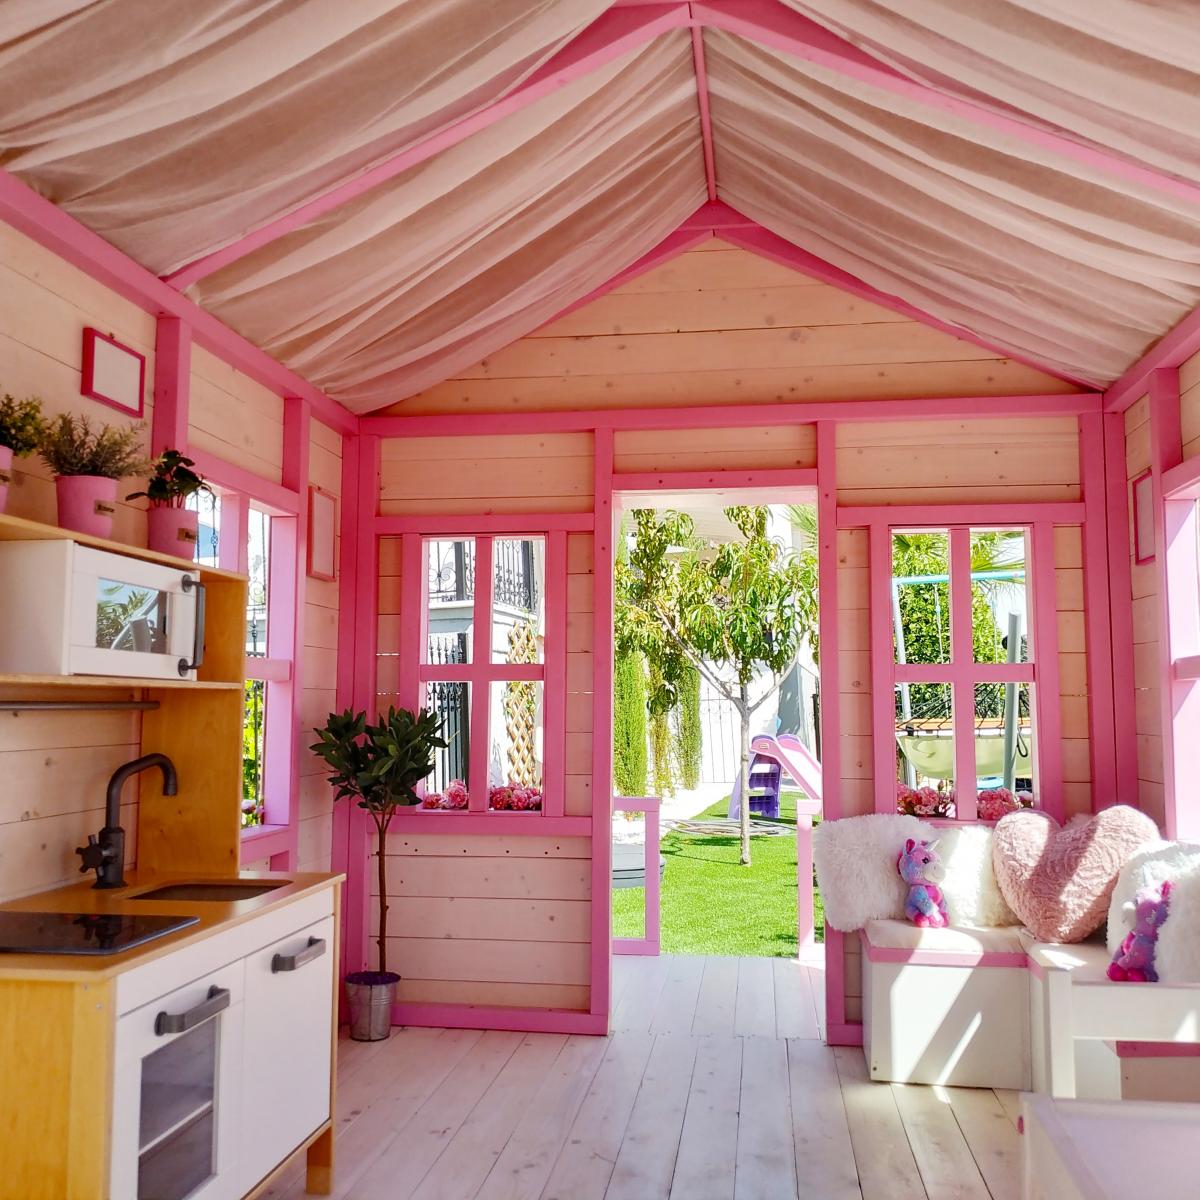
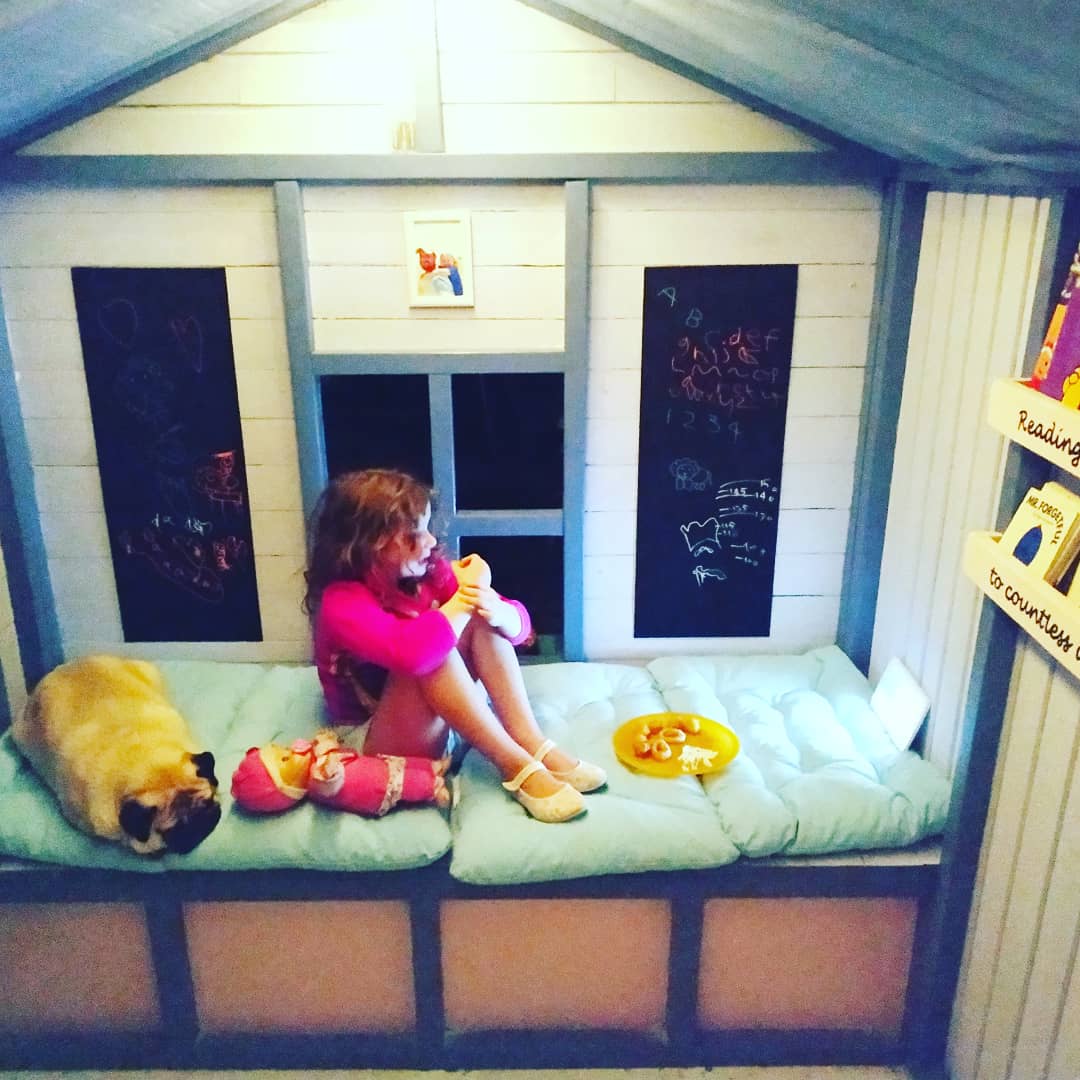
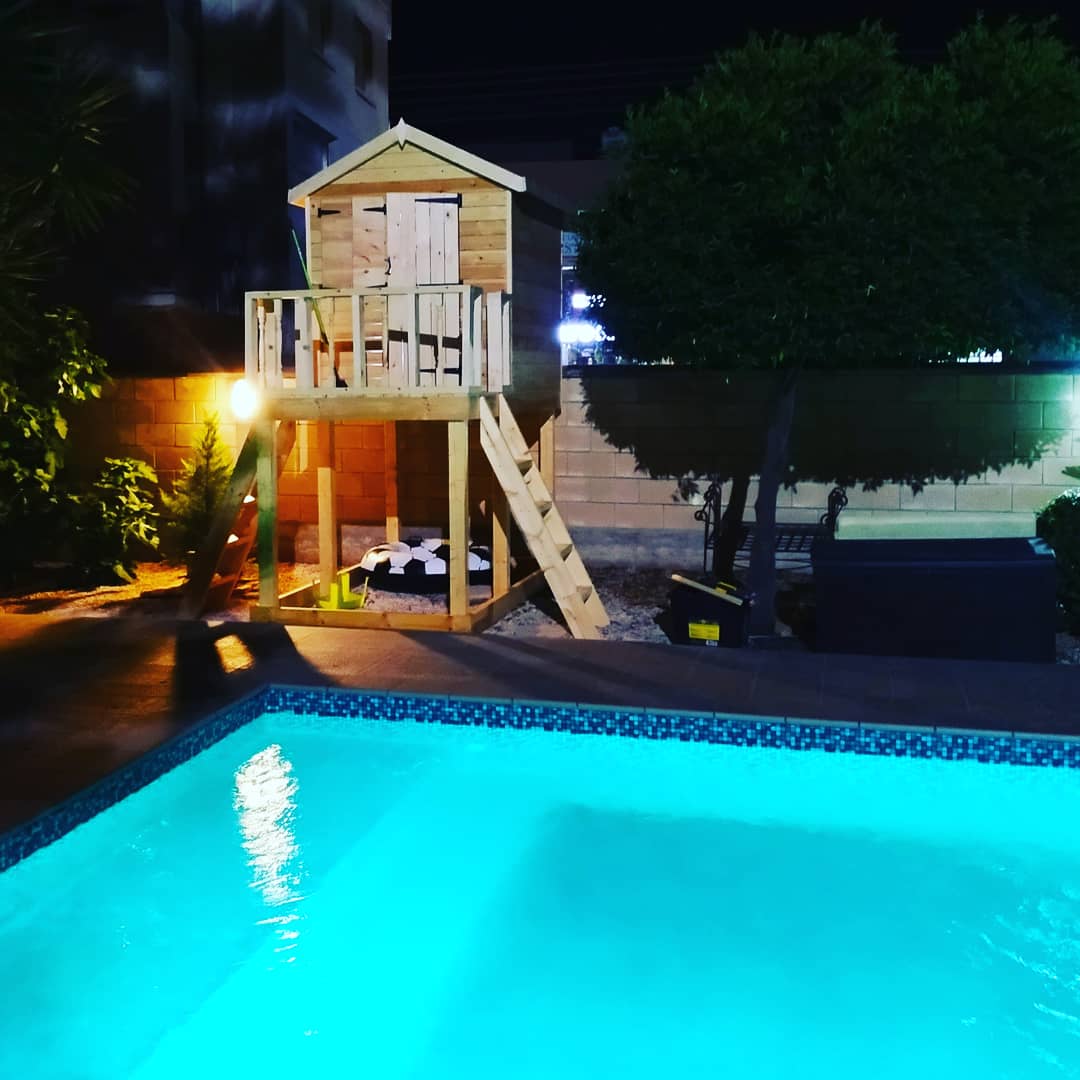
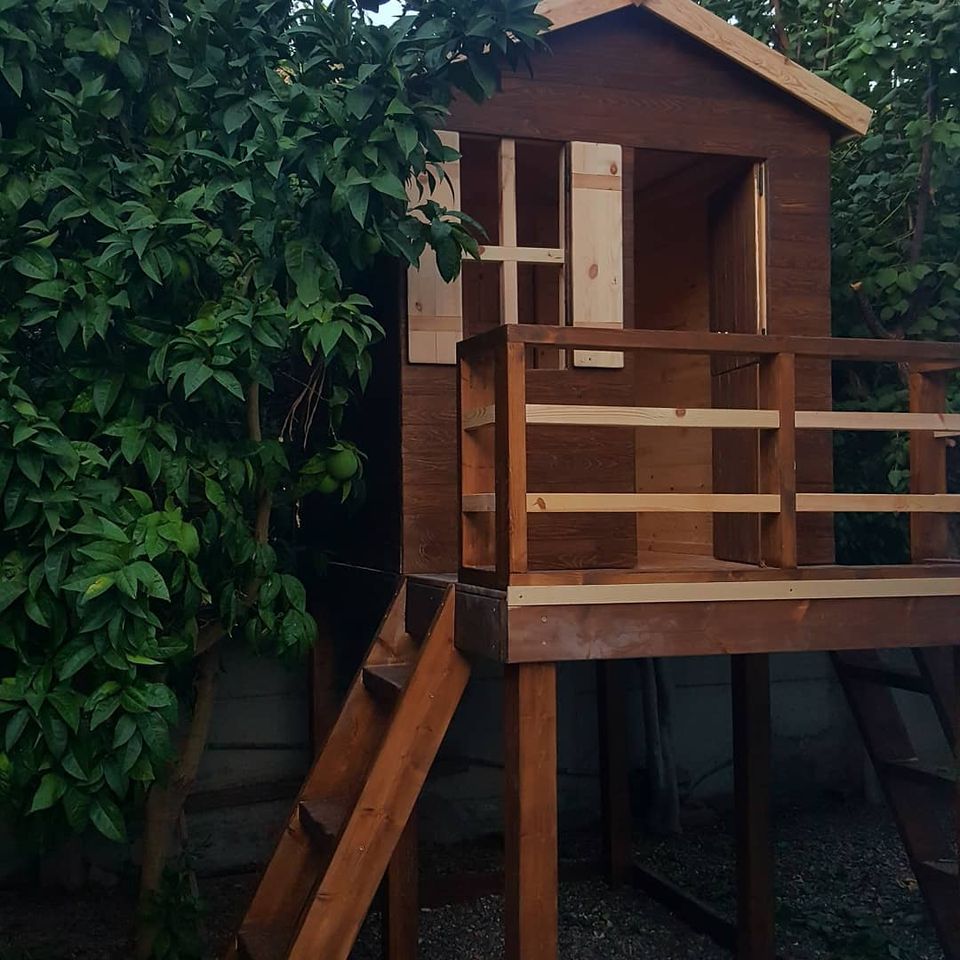
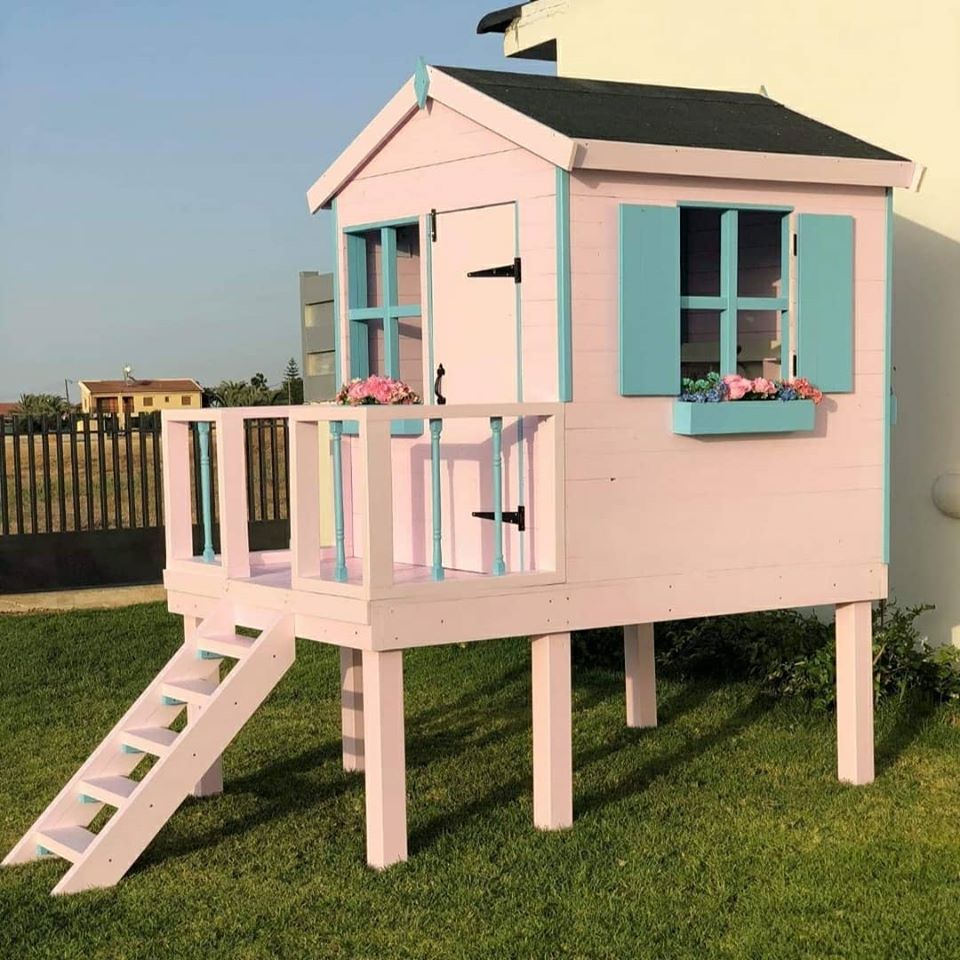
A few years back I decided to build a playhouse for my daughters birthday, the ones available locally were plastic garbage. Since then people started coming forward asking me to build ones for their kids, which is great as it's kept me busy and sane after being forced into early retirement. I've stuck mainly to the more traditional looking on ground house but, soon requests came in for treehouse-style ones; taking Ana's playhouse deck plans and adapting them slightly I now starting my fifth order for a platform house. Being in Cyprus all our timber is imported and very limited, I've more chance of seeing a Unicorn than a piece of Cedar which has meant a little more work involved to make sure they withstand up to the elements, we only get around 20 days of rain a year but, the summer heat is like the surface of the sun. Fortunately, with this not being a new problem there are plenty of options available for preservation/protection, the 'colours of Greece' range by Kraft paints perfect, its sprays beautifully and the colours spot-on for kids.
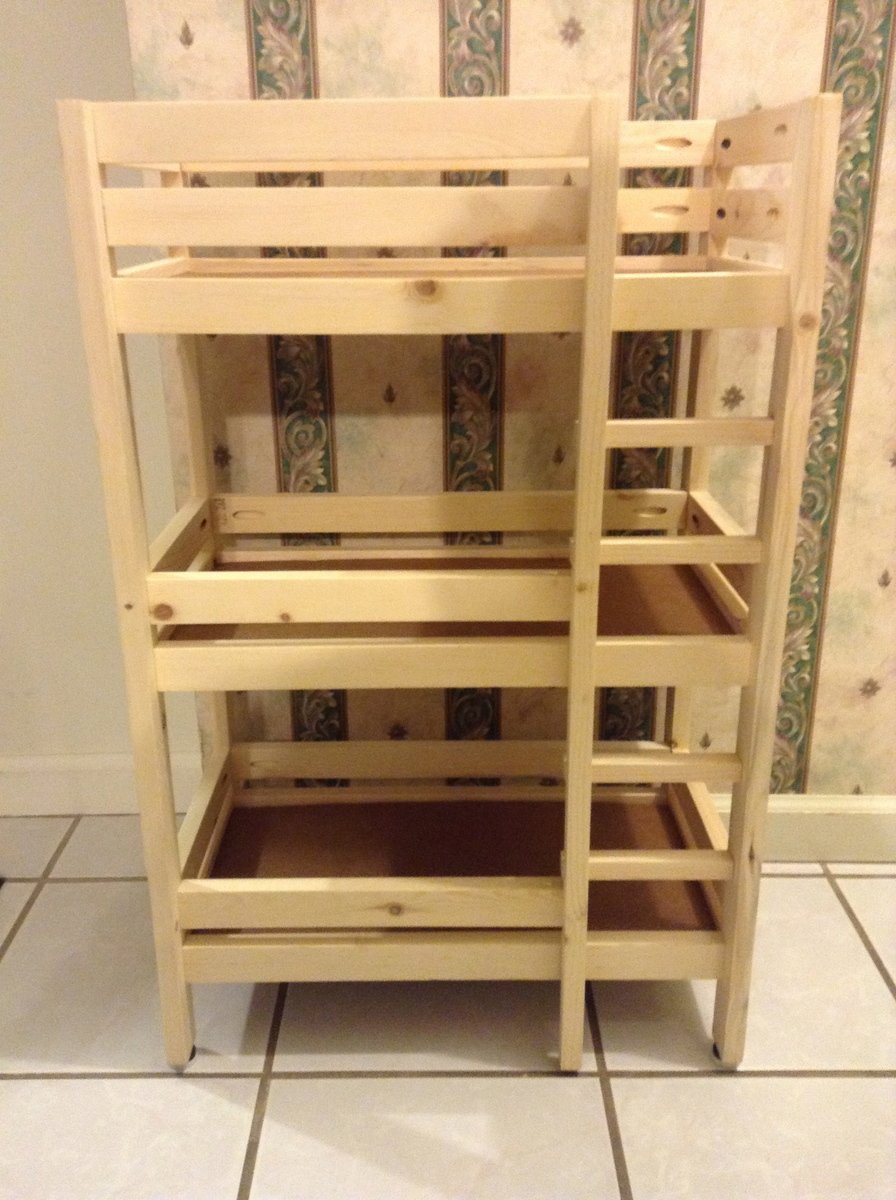
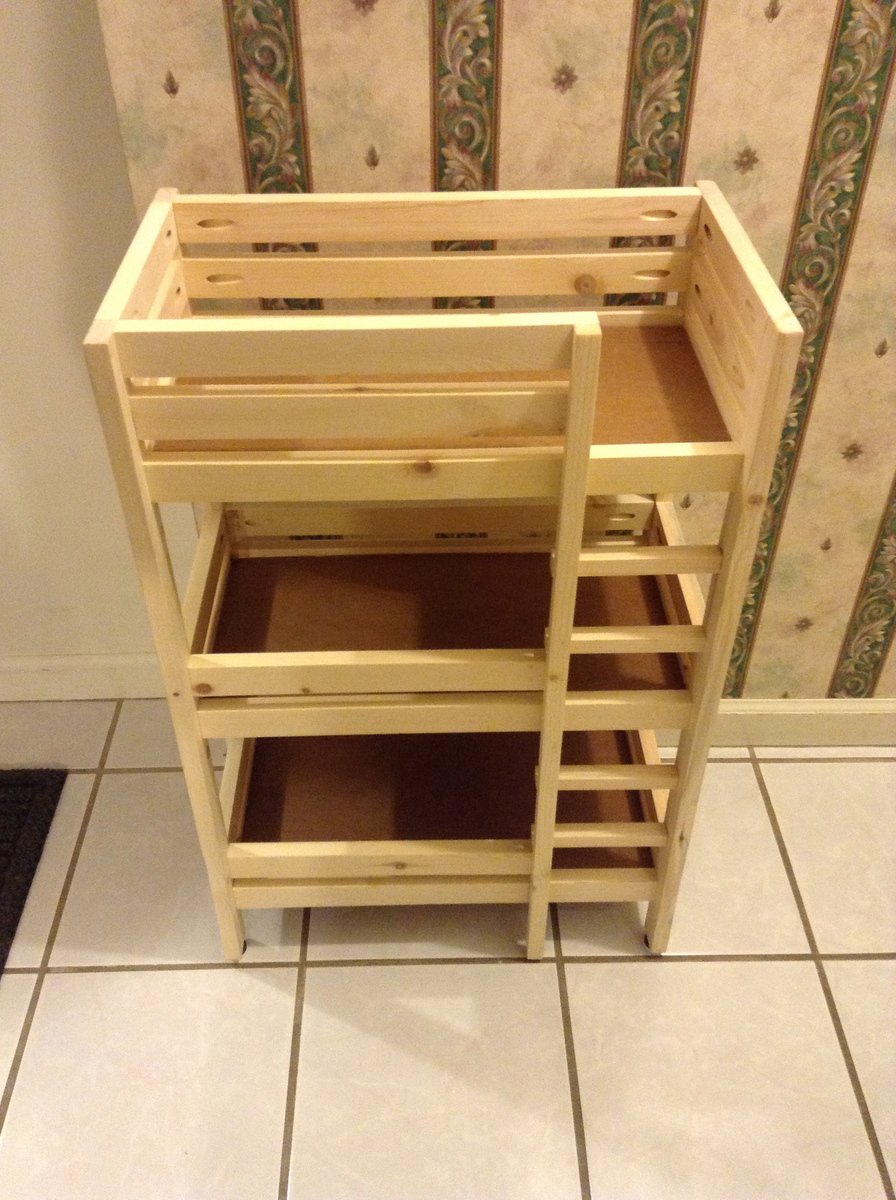
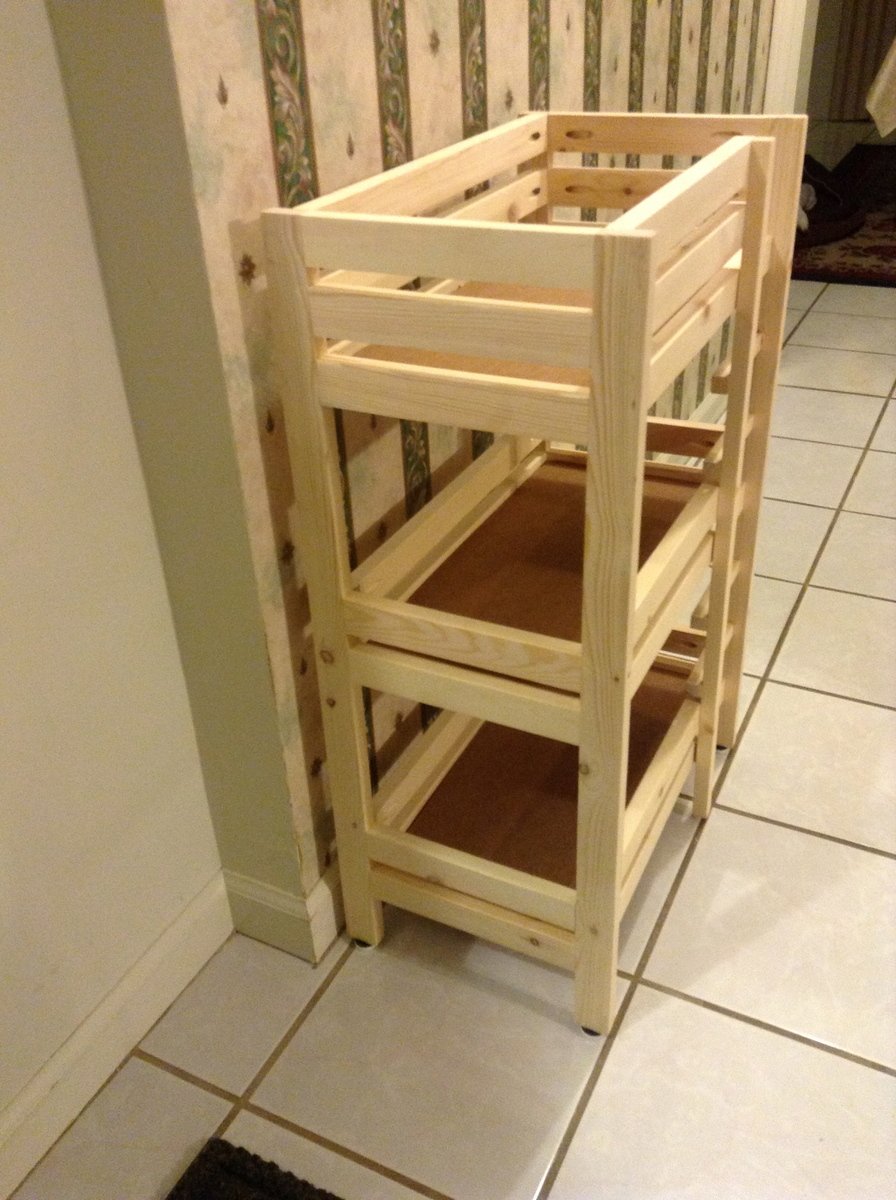
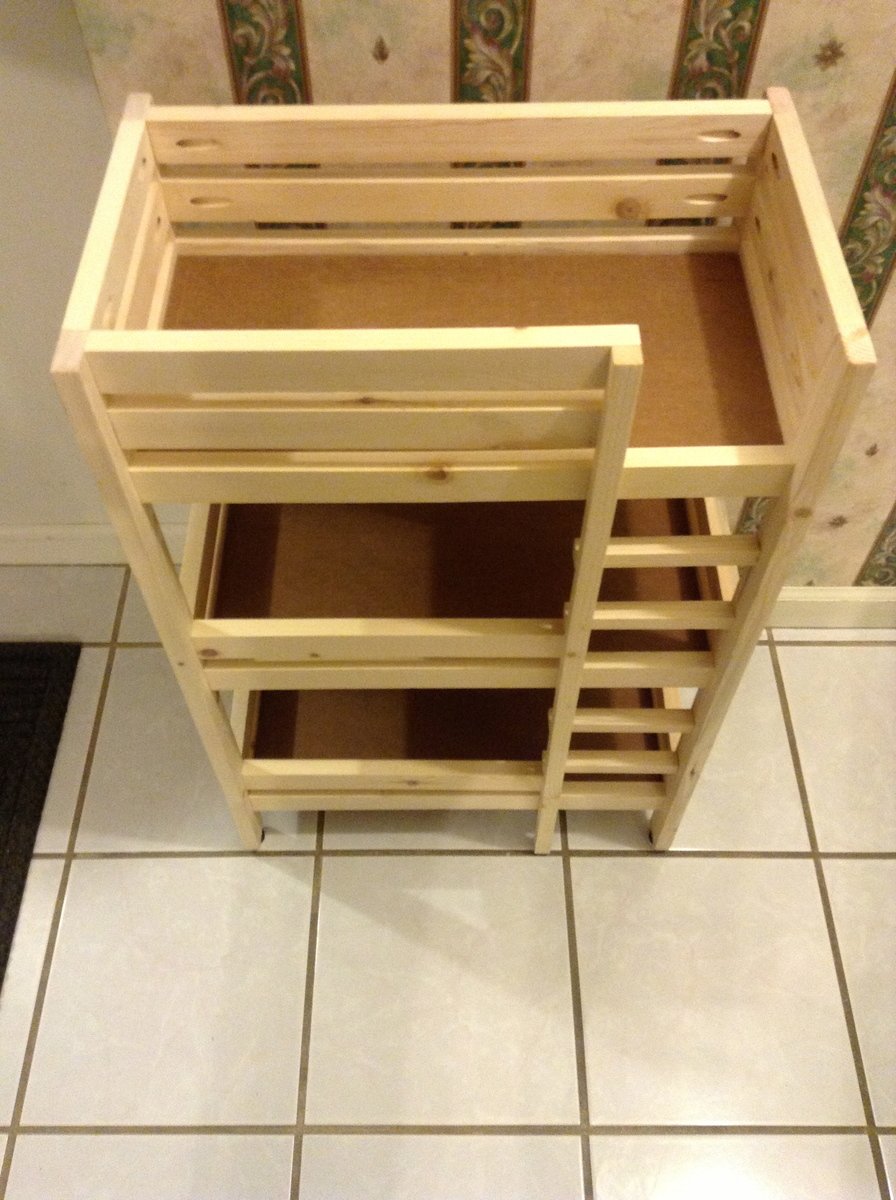
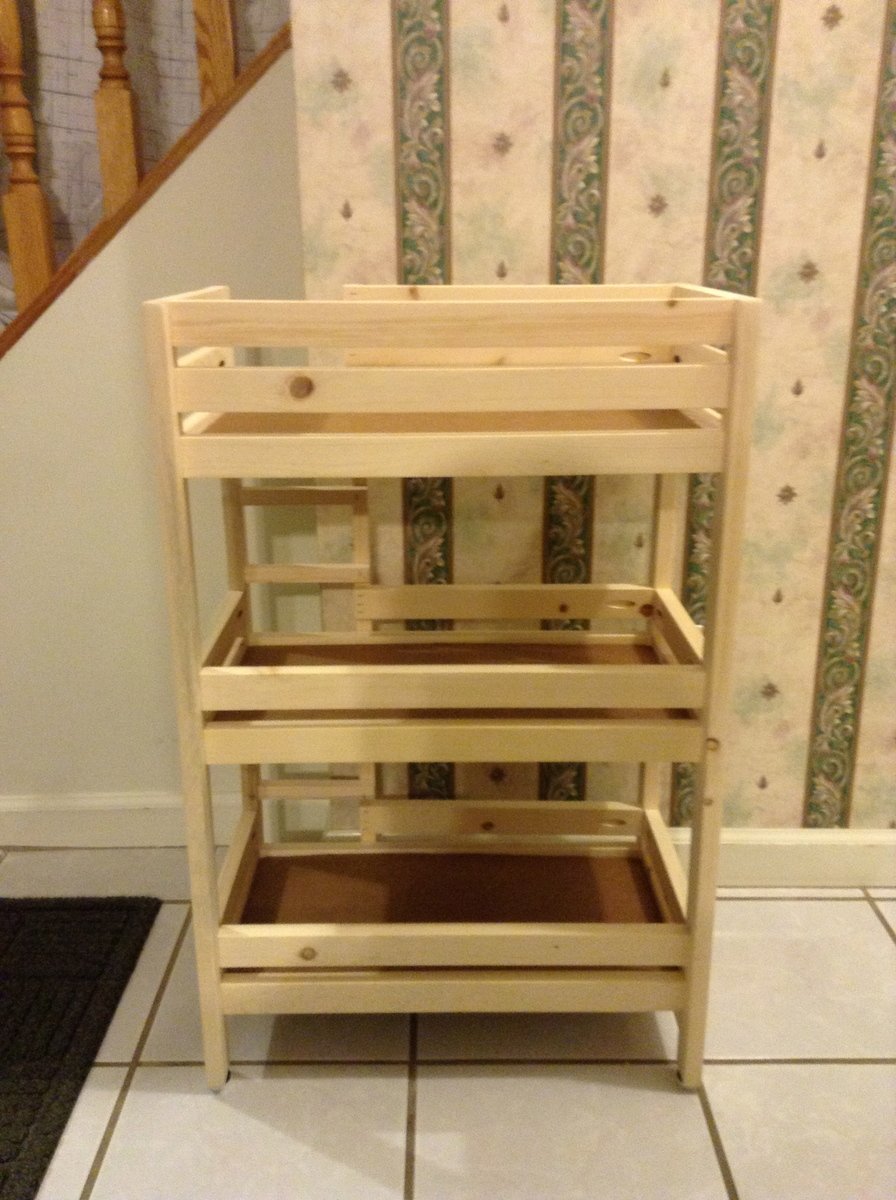
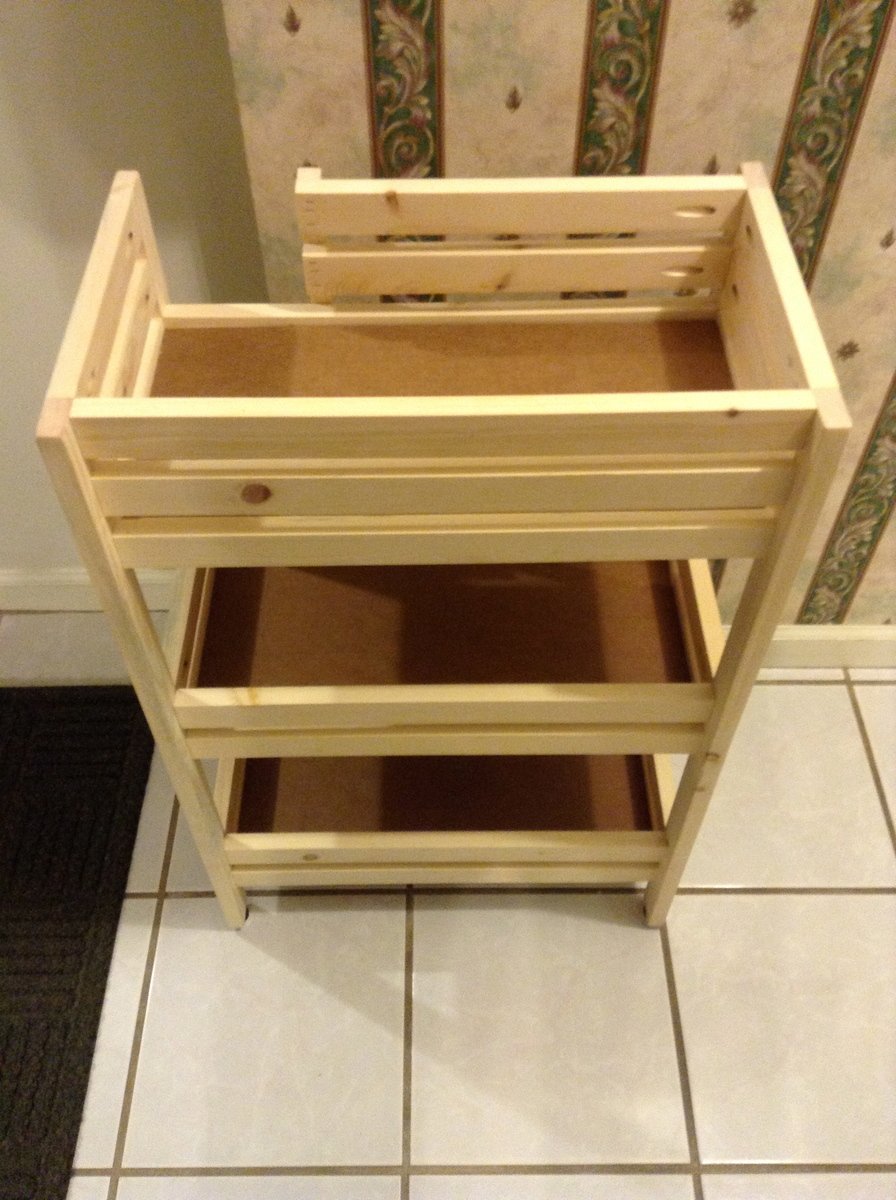
My eldest daughter contact me to show me the standard doll bunk bed on this site. I decided then that I was going to build one for Christmas for my 6 year old, since she loves to play with her American GIrl dolls. Before I got to it, she ended up drawing a name for Secret Santa gifts with her gymnastics team. I got the idea to build my first bed for the girl who's name she drew, therefore, I'd learn what to and not to do first, since I'll be building my daughters in Oak and not the pine that I would build this one out of. I talked with her mother to see if she played with dolls and she confirmed that she had 3 American Girl dolls that she adores.
You'll also notice that we added another level, since she has three dolls, and you can't leave on without a place to sleep. It was quite easy to add the extra level by measuring the distance between the first and second and then adding that onto to second. In the pictures you can see that I added metal feet to each leg, and that made the bottom of the ladder sit a little above the floor by that same distance. I think that I'll start the ladder on my next one at the bottom rung of the lower bed, and not leave that piece at the bottom.
Needless to say, the little girl was beside herself when she opened the wrapping paper. My daughter learned a lesson on how much more fun it is to give, especially after all of the work, than to receive. Before the party, all she could do was say, "I can't wait to see her face when she opens this." I asked her about it when she came home today, and she said that she must have thanked her a hundred times throughout the night, as it was a sleepover at the gym.
I wish that I had taken pictures along the way, but I didn't. I will however, when I build the next one for my daughter.
It cost me just over $20 to build. I needed 7 - 8' 1x2's. I used a nice piece of cardboard for the floor of each bed. I found it at Sam's club while shopping. They had it between something that was stacked on a pallet, and whatever it was was gone. I asked the manager if I could have it and he was happy to be rid of it. It's not your standard cardboard, but has a double wall. At a width of just over 9", it's very sturdy and especially cheap. The feet were bought at Walmart for $1.57. I glued each connection, even though they were held together by pocket hole screws. With one pocket hole screw per piece, it had the ability to swivel on that screw. I learned that Kreg, the maker of the pocket hole jig has come up with a mini jig, which allows double pocket holes to be drilled into a piece of wood just 1" wide. I asked and received one for Christmas. My daughters will feature the new holes and therefore, I won't be glueing it.
Hope you have as much fun building it as I did with my daughter.
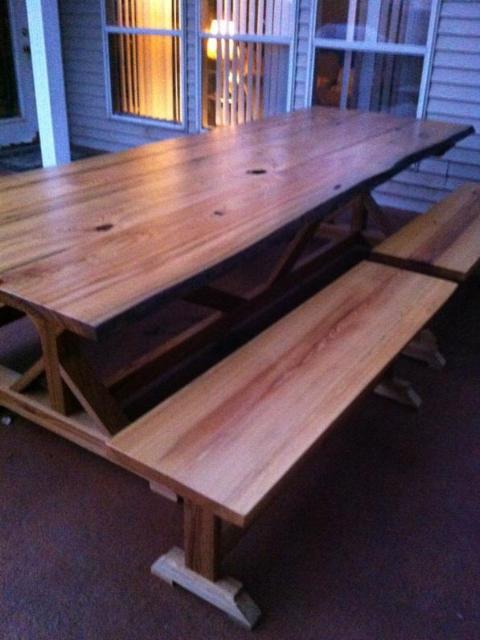
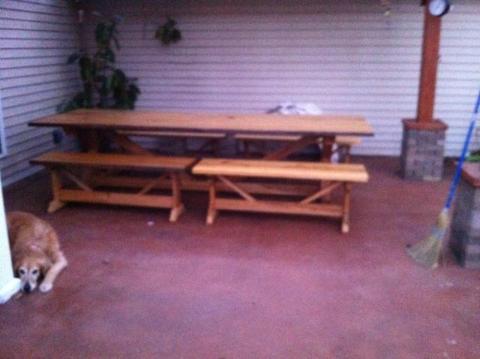
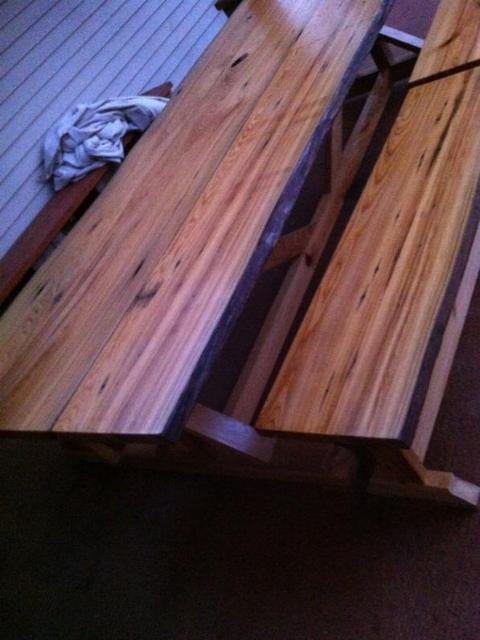
Built this table 11 feet long with live edge sinker cypress. Hand rubbed 12 coats of tung oil, then finished with Waterlox satin.
Wed, 10/29/2014 - 08:26
Thanks! Took me two months to get the finish right. I love the look of sinker cypress. I'm building an indoor dining table from sinker pecky cypress, should be pretty nice
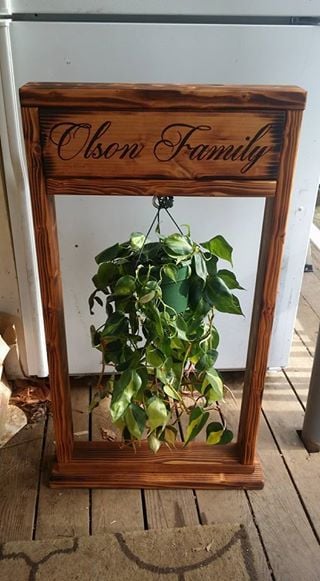
Found the old Home Depot plans, and decided to add my hand burned touch to it.
Have seen some that were using vinal or painted letters, but i like the burned effect, and its easier to seal right over the top with the outdoor stain/seal treatment..
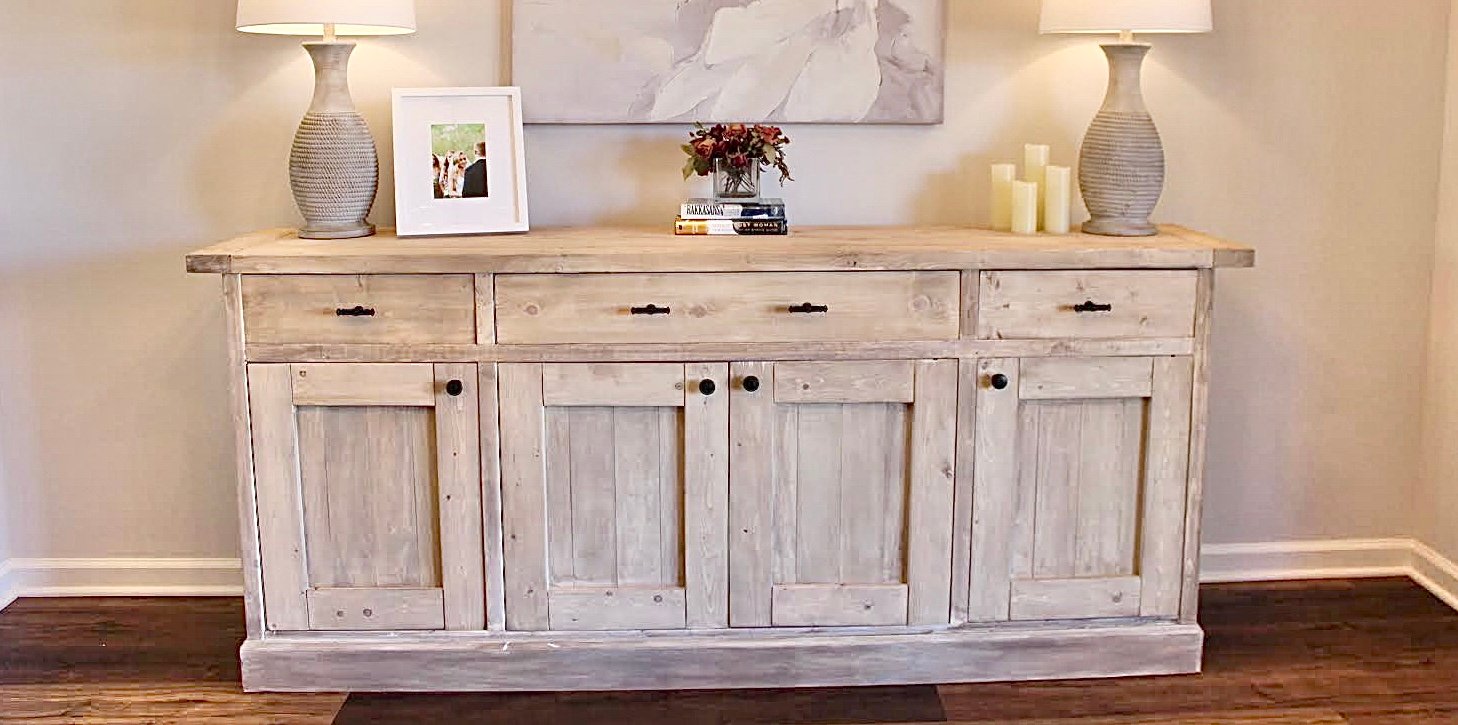
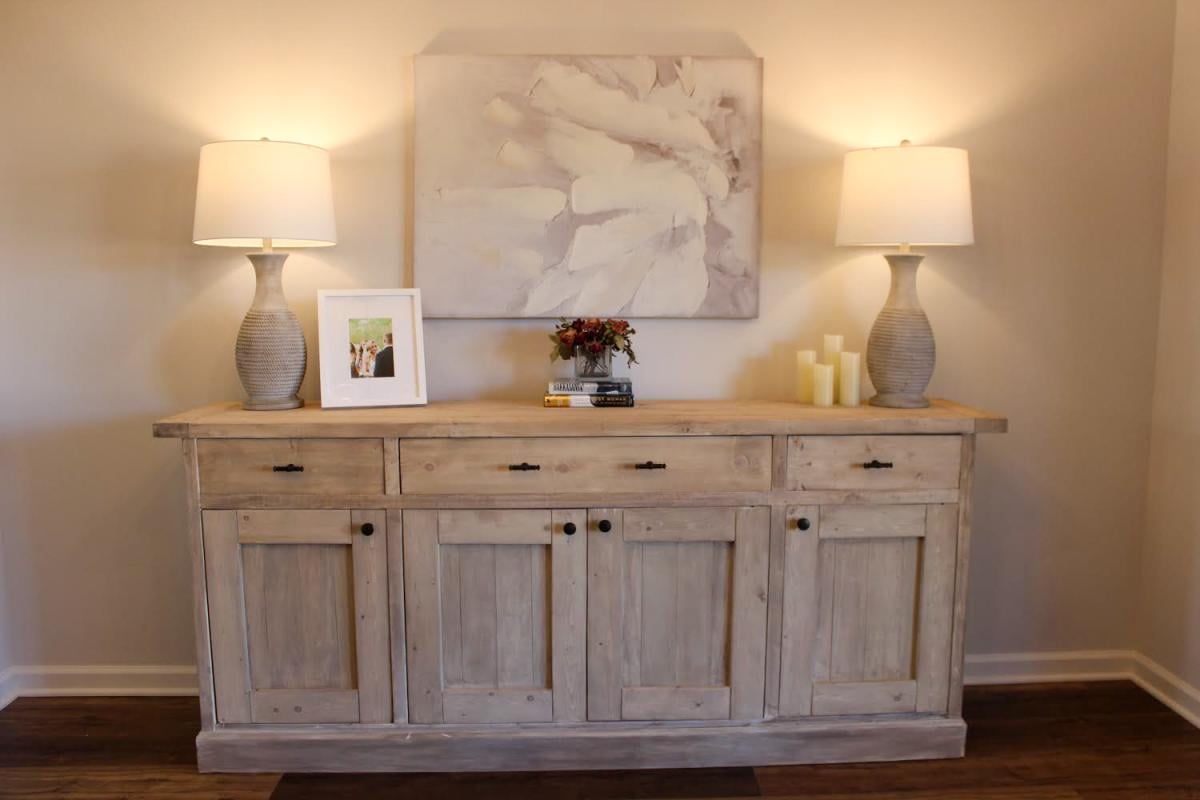
Inspired by the RH Salvaged Wood Panel Sideboard. No measurement adjustments to deviate from the Planked Wood Sideboard plan.
Sun, 11/01/2020 - 12:42
Great choice of finish! Thanks for sharing your beautiful build:)
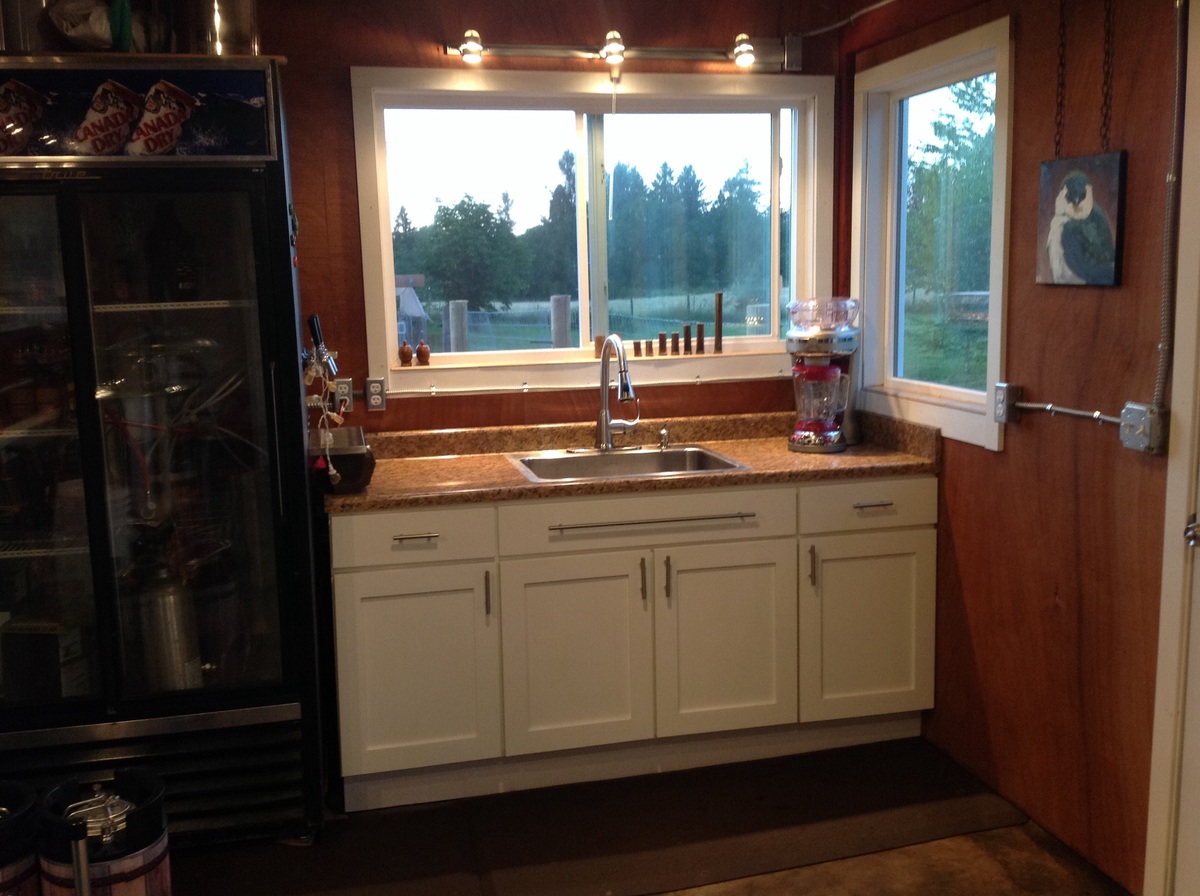
A 36" sink base is the center, flanked by two 18" cabinets made by modifying the 21" base cabinet plan.

Here are some of the more structual photos to help people along the way.
I did the head board and foot board using the directions. I used 2 4.5 inch screws on each 4x4 post to secure the 4x4s to the head board.
I used 2 4.5 inch screws to secure the head board to the frame.
I used some brackets I had lying around to secure the footboard to the frame.
I used 0.5 inch partical board to put on top of the frame I put the joists down 0.5 below the side rails so the partical board would sit down and inside.
I used 2x6 boards for the frame with deck brackets to secure it.
I used left over wood from the 4x4 to be cut 10inch each and 2x6 study 3 of those 4x4 to lift the frame up.
for the fourth raiser I used left over wood from the 2x10.
I primed the wood and painted white.
Hopefully these pictures help.
All said and done it was close to 500-600 to build. I did this in Canada where materials can be a little pricier.


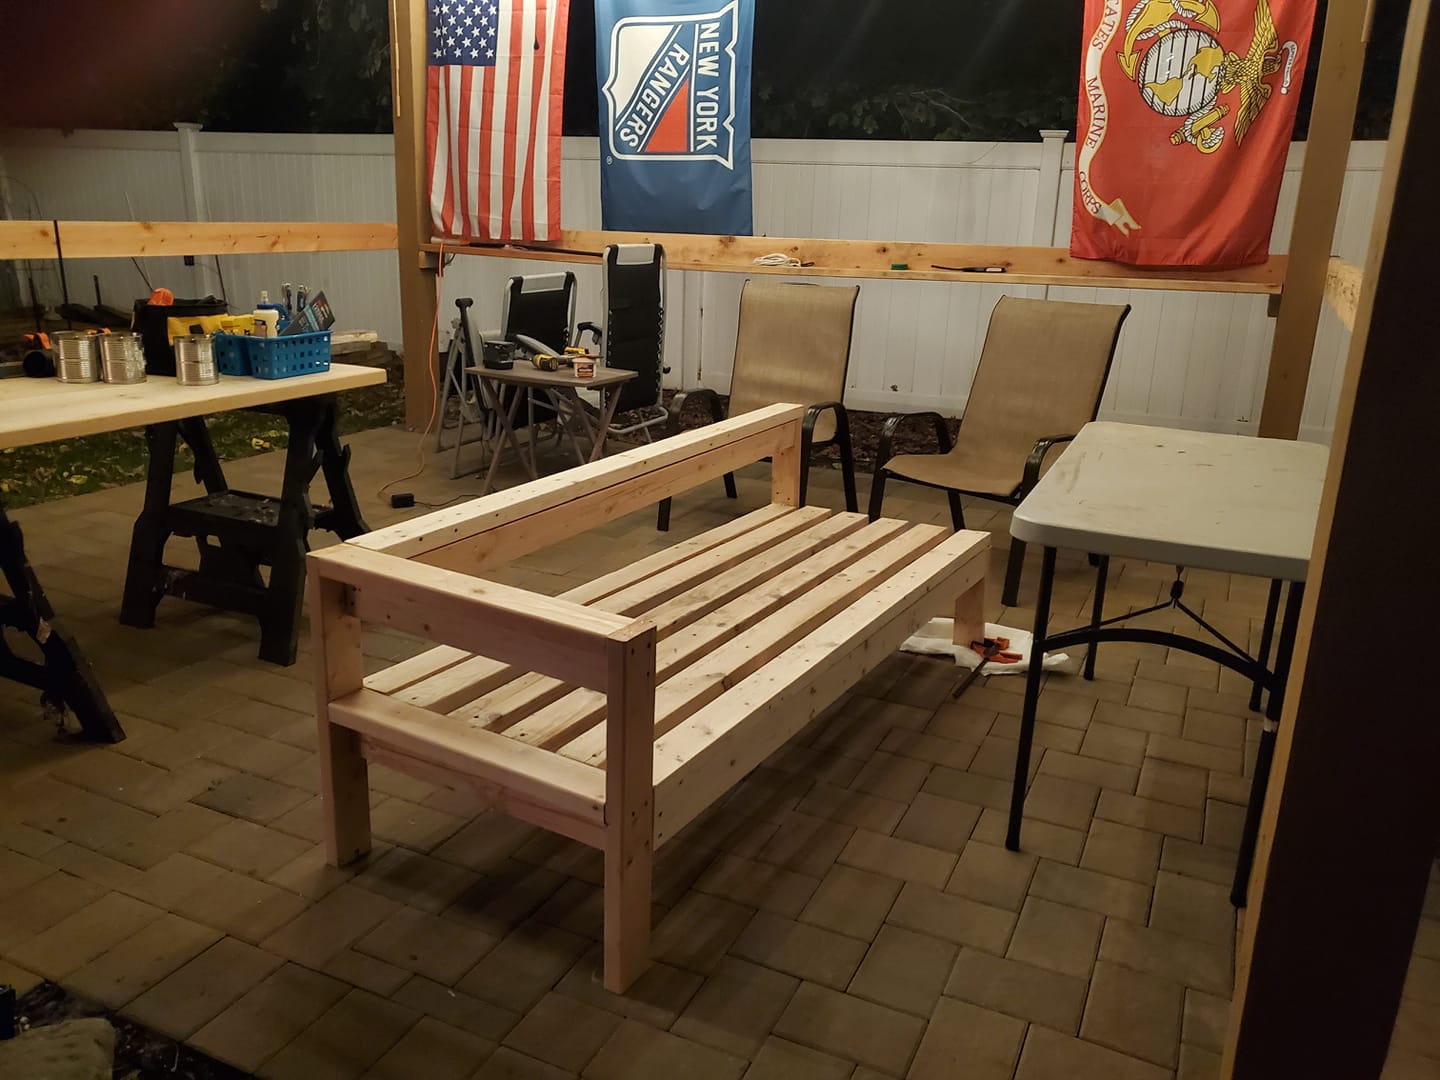
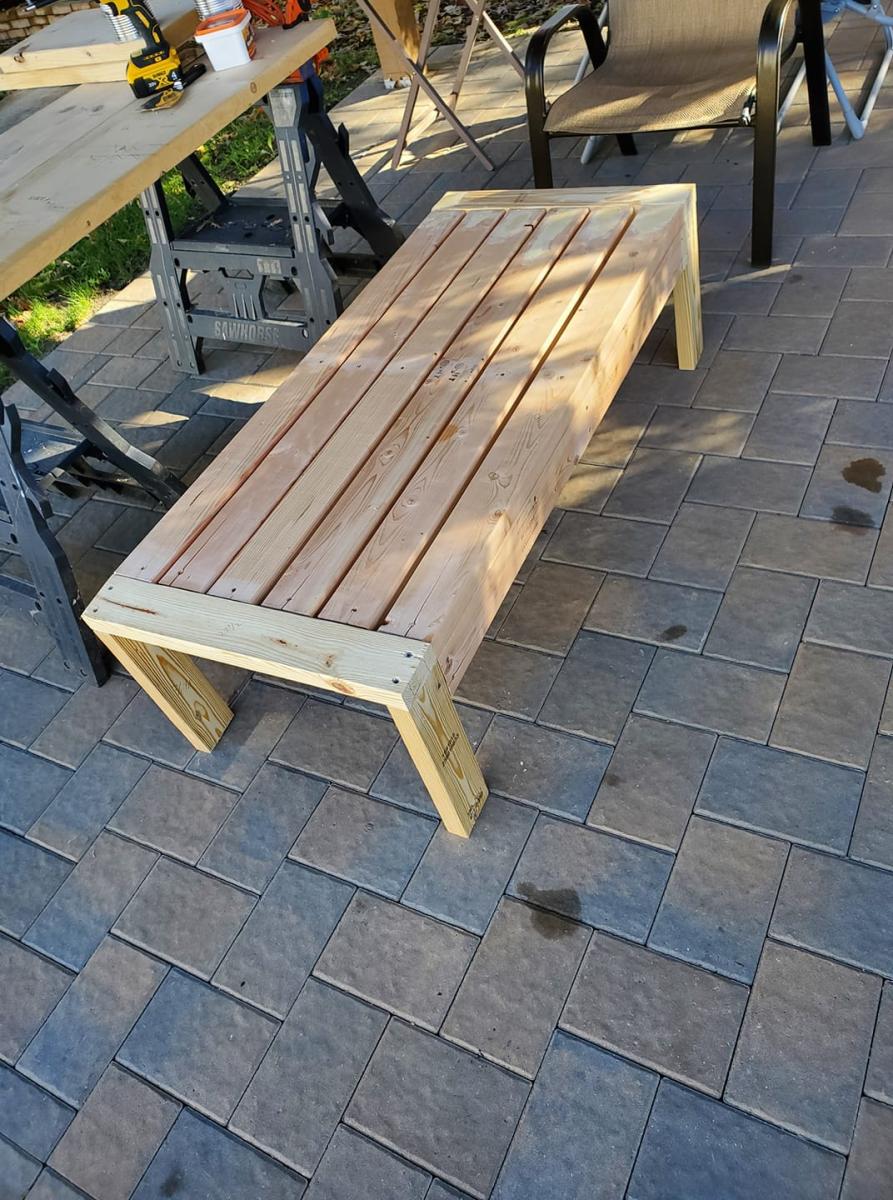
Couldn't find anything that would fit my area and this seemed to work out perfect. Almost done with the other side. I will post pic of finished products.
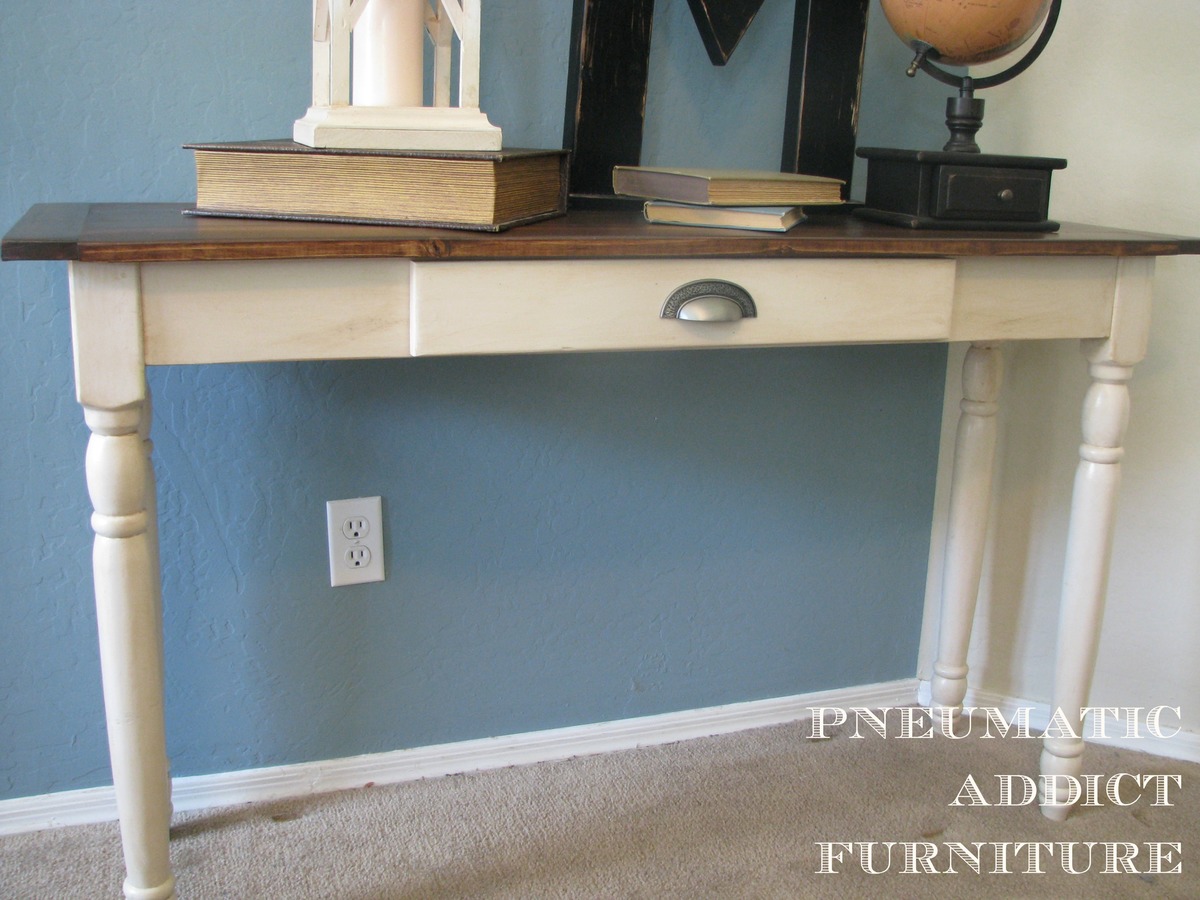
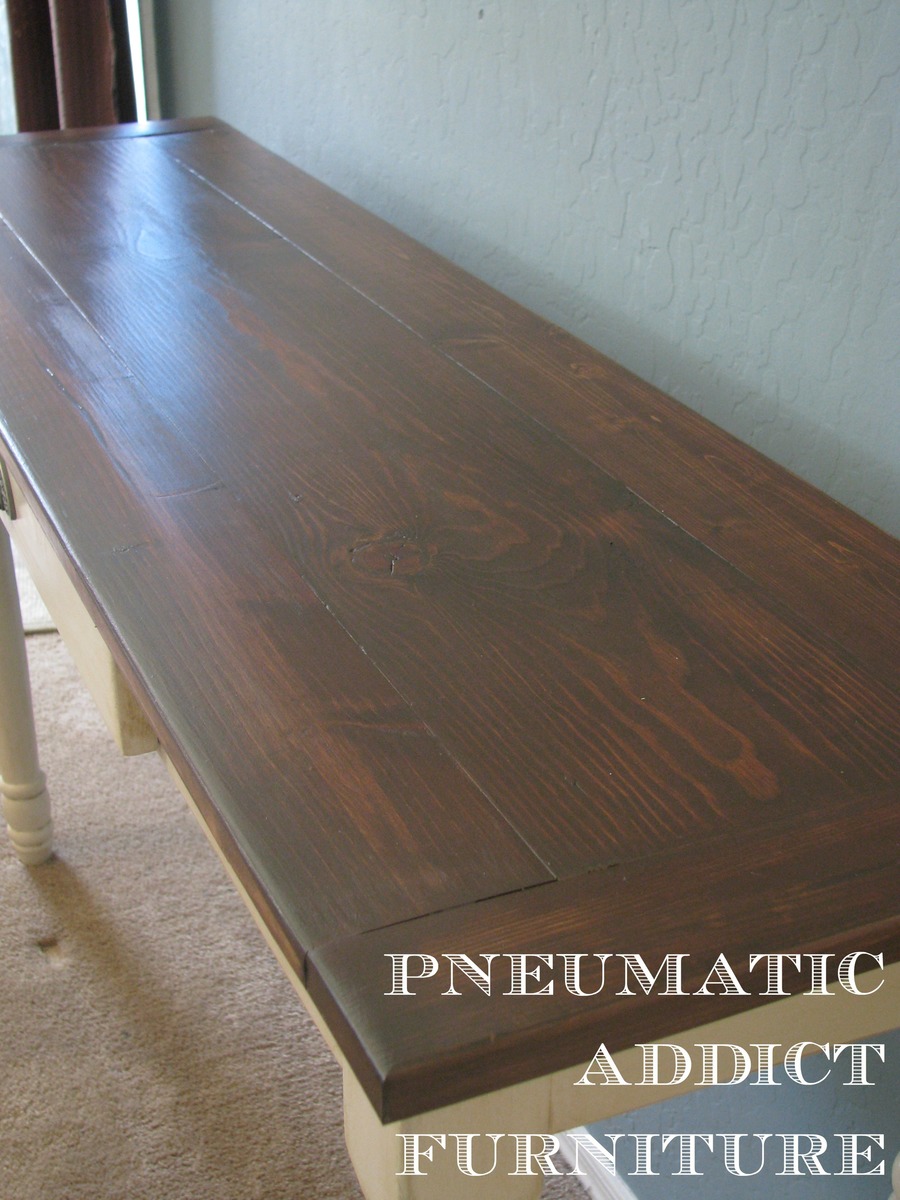
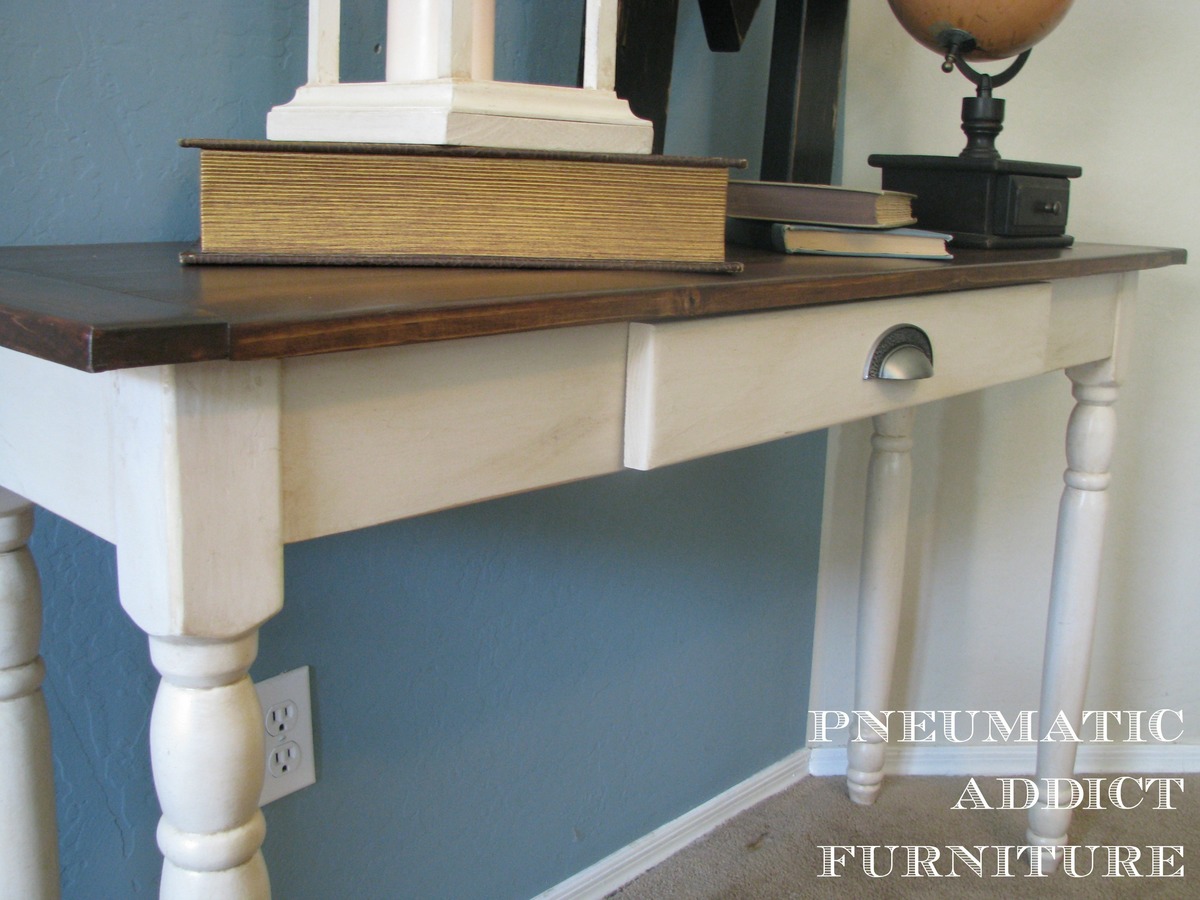
This is a basic console table, aside from the drawer. This was my first time attempting drawer, and it wasn't too bad. The top I put together from a piece of 1x8 and 1x4's using my Kreg jig. It ended up being a bit long, so I trimmed the breadboard ends down a couple inches. For the base I used reclaimed table legs and 1x6's for the aprons. To make the drawer opening, I simply cut out a rectangular hole slightly larger than my drawer box out of the front apron. The drawer box I built out of 1x3's and 1/4in plywood and then attached a piece of 1x4 for the face. Since it was a small drawer, I didn't want to purchase drawer slides for it. I pocket holed some 1x4 stretchers, going from the front to back of the table on either side of the drawer opening. I then screwed a strip of 1x1 to the drawer box horizontally, lined it up to the stretchers and screwed another 1x1 to the stretcher. So basically, I made my own sides using 1x1. I added a bin pull and was done. I feature a few other projects like this on my blog http://pneumaticaddict.blogspot.com .
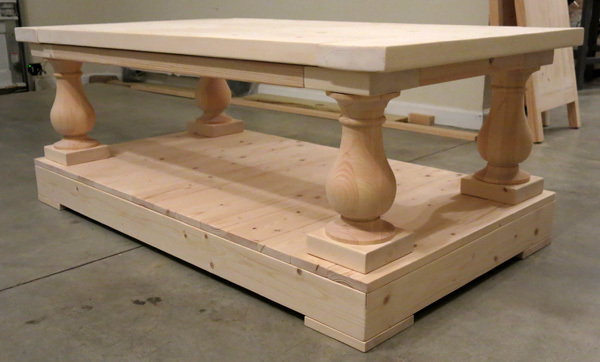
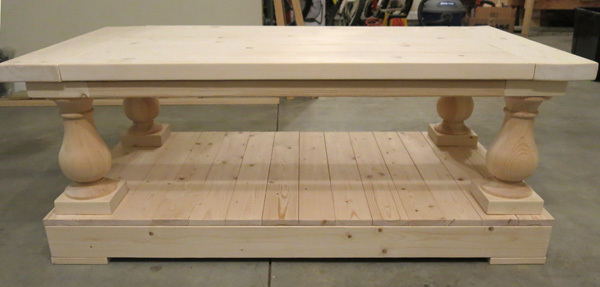
Restoration hardware style coffee table. We saw a coffee table we liked but didn't want to spend $2000 on. Designed my own and managed to build for $200. Main expense was the $130 for the legs from Osbornewood.com.

Tue, 11/04/2014 - 13:29
I love this, I have been wanting to make a really nice coffee table. I this this is gorgeous!
In reply to beautiful!! by rachelbebop
Tue, 11/04/2014 - 13:35
Thanks for the comment. It is actually pretty easy to make too which is the good part :-)
Fri, 05/13/2016 - 06:18
I went to Osbournewood.com for the legs. All I got was a listing of other companies selling them. The cheapest was $69. How did you get four for $130 or where did you go for that price?
Fri, 05/13/2016 - 06:18
I went to Osbournewood.com for the legs. All I got was a listing of other companies selling them. The cheapest was $69. How did you get four for $130 or where did you go for that price?
Fri, 05/13/2016 - 06:18
I went to Osbournewood.com for the legs. All I got was a listing of other companies selling them. The cheapest was $69. How did you get four for $130 or where did you go for that price?
Fri, 05/13/2016 - 06:18
I went to Osbournewood.com for the legs. All I got was a listing of other companies selling them. The cheapest was $69. How did you get four for $130 or where did you go for that price?
Fri, 05/13/2016 - 06:19
I went to Osbournewood.com for the legs. All I got was a listing of other companies selling them. The cheapest was $69. How did you get four for $130 or where did you go for that price?
Comments
moosmani
Fri, 01/04/2013 - 07:17
This is a beautiful display!
This is a beautiful display!