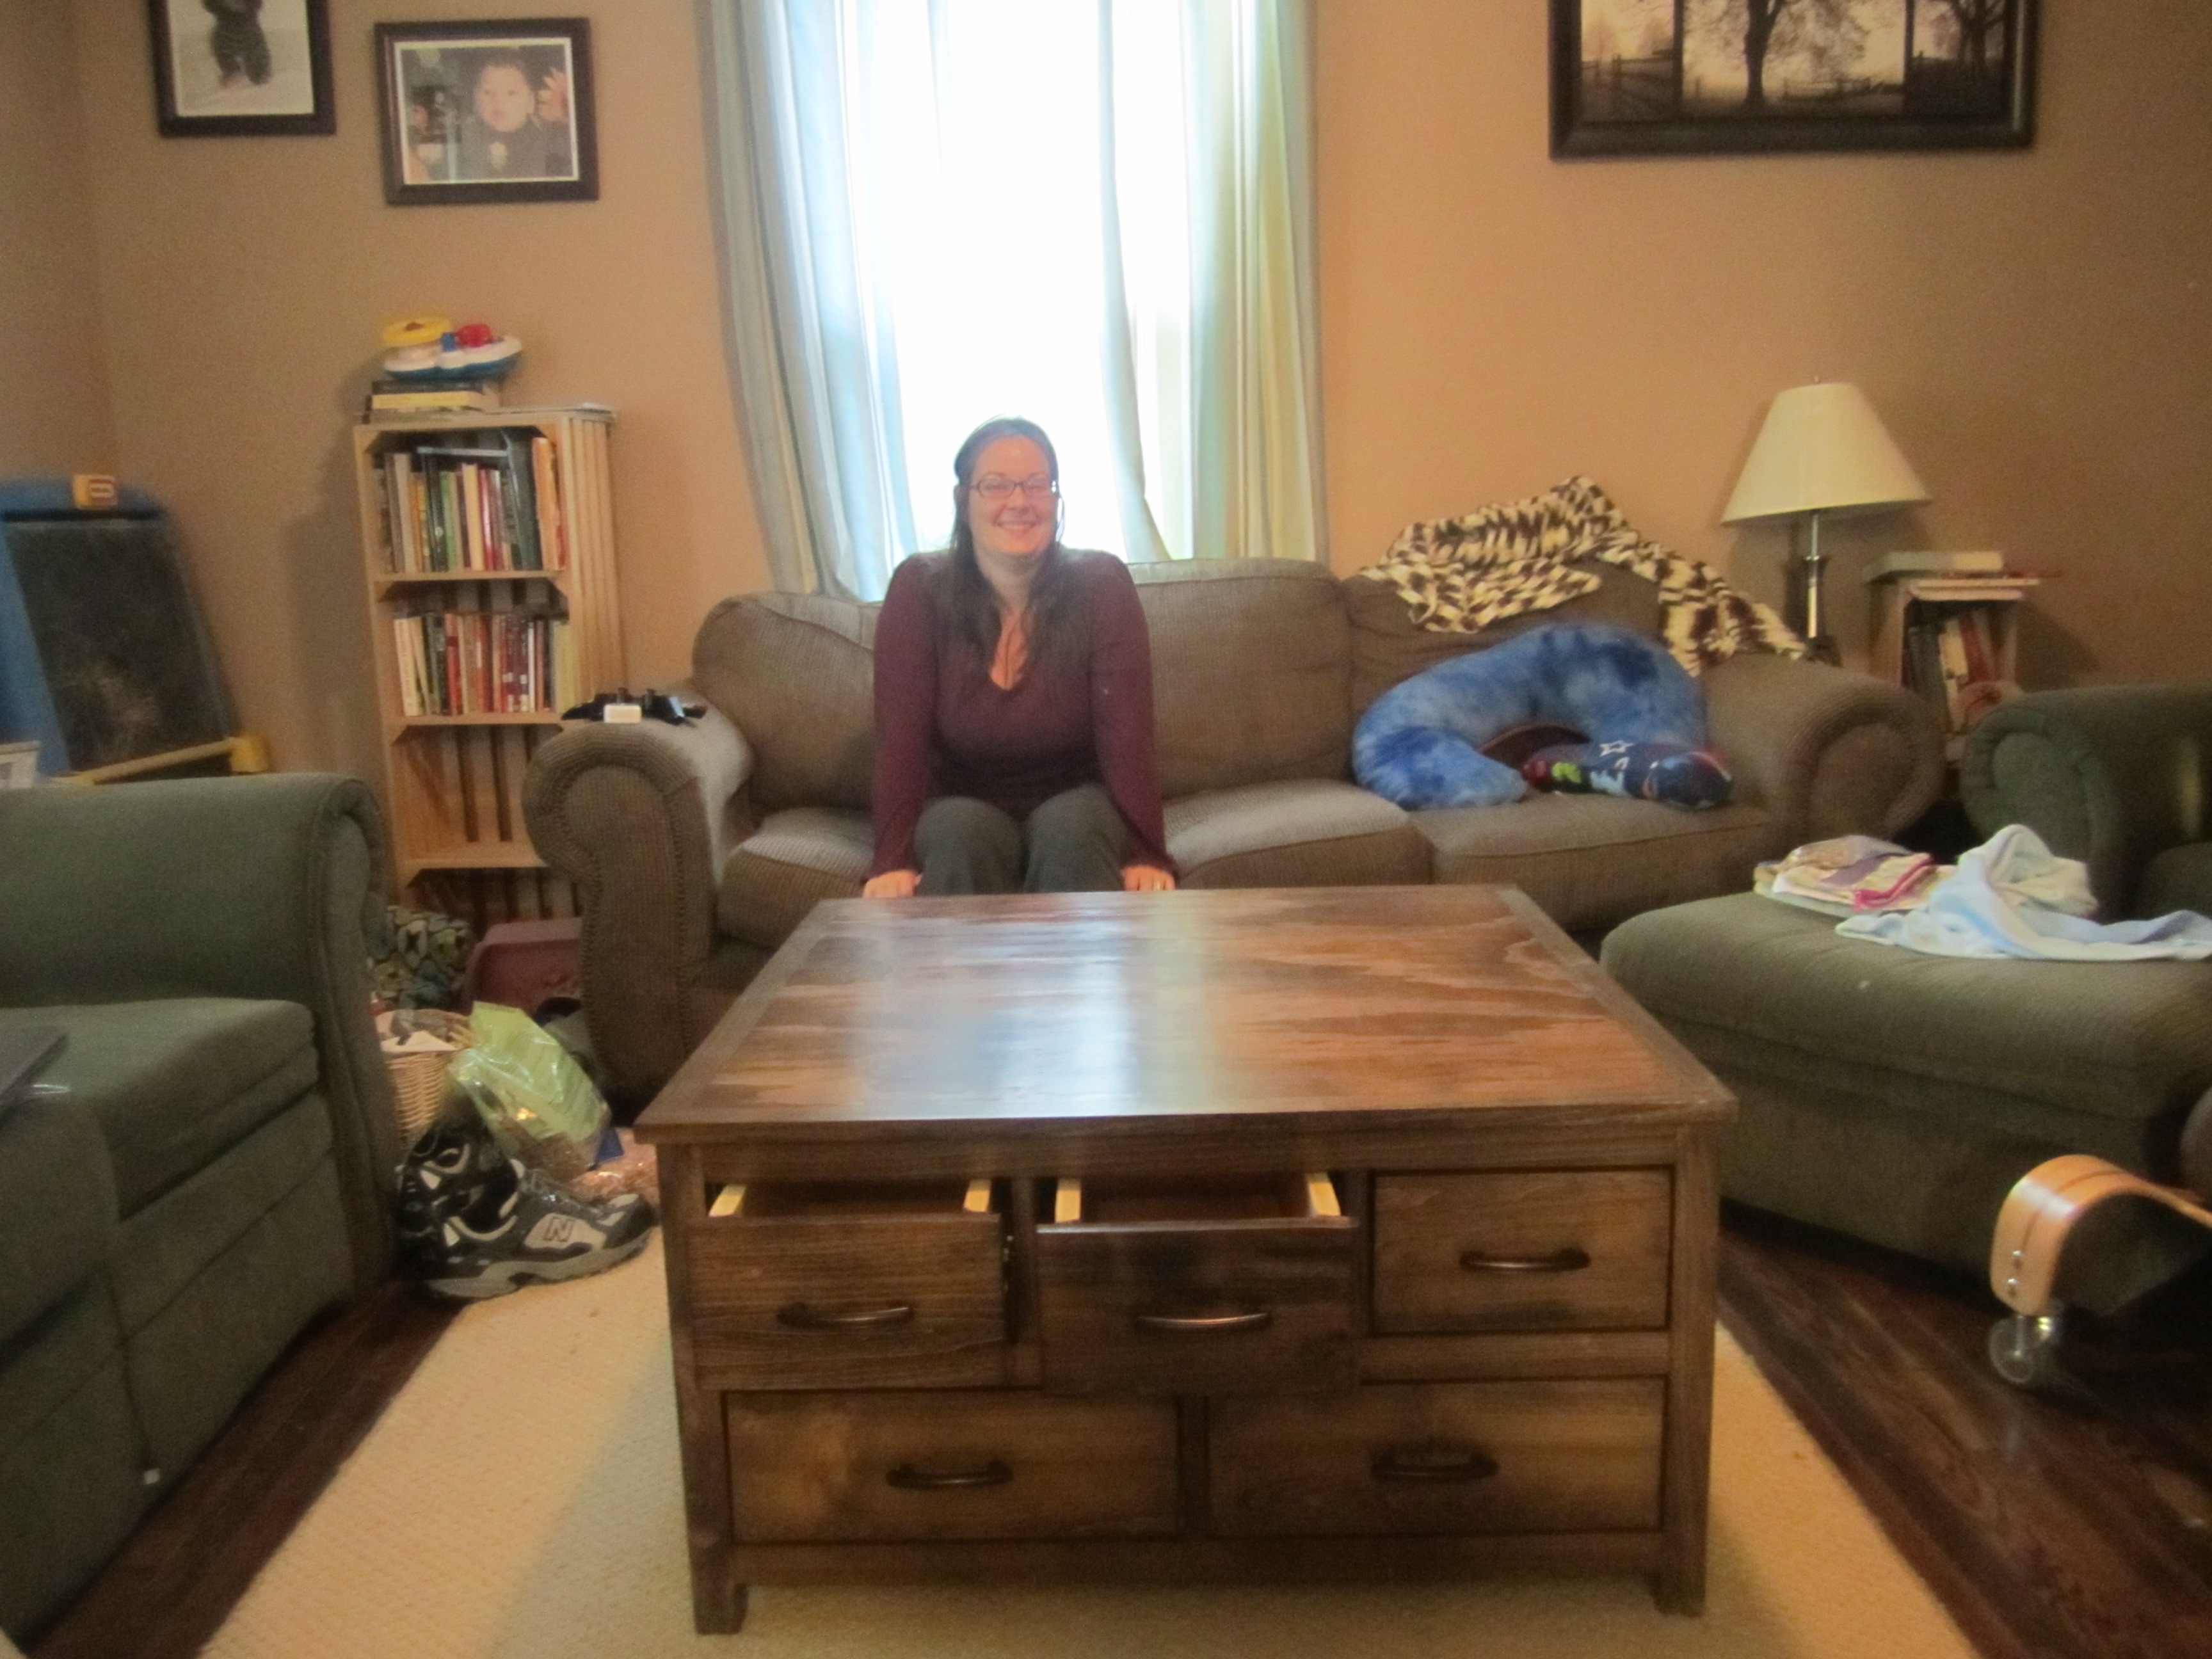
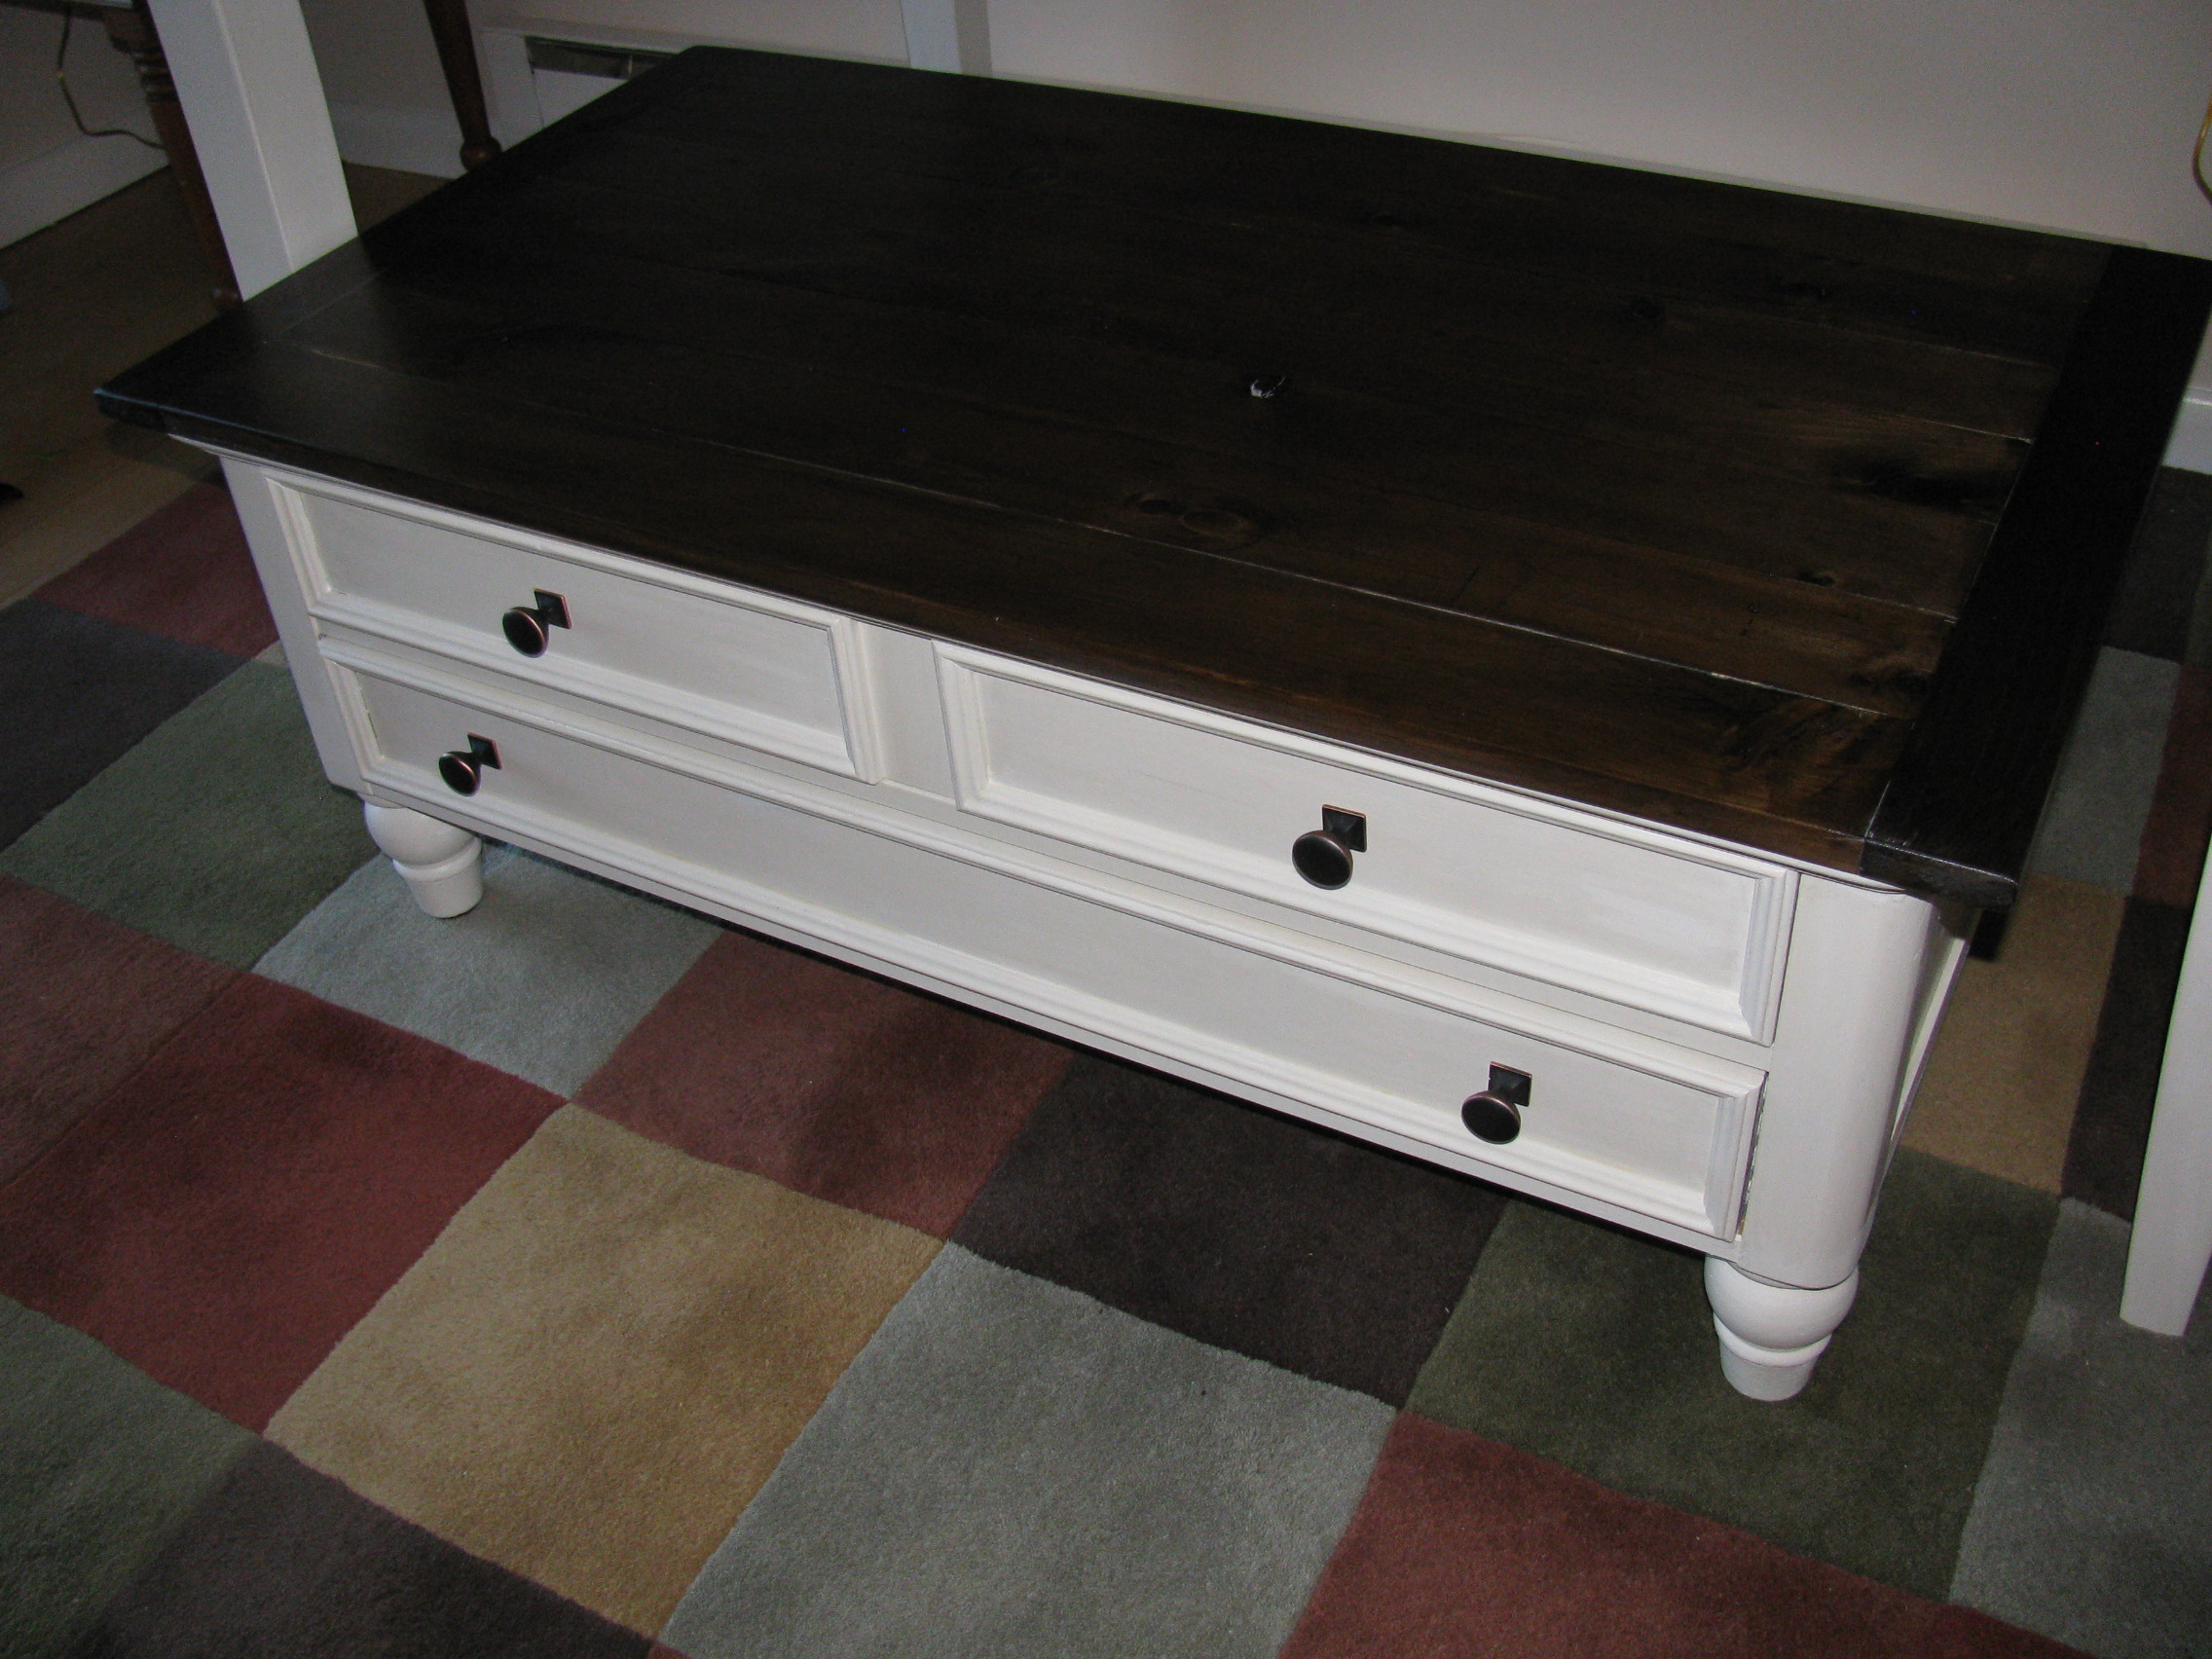
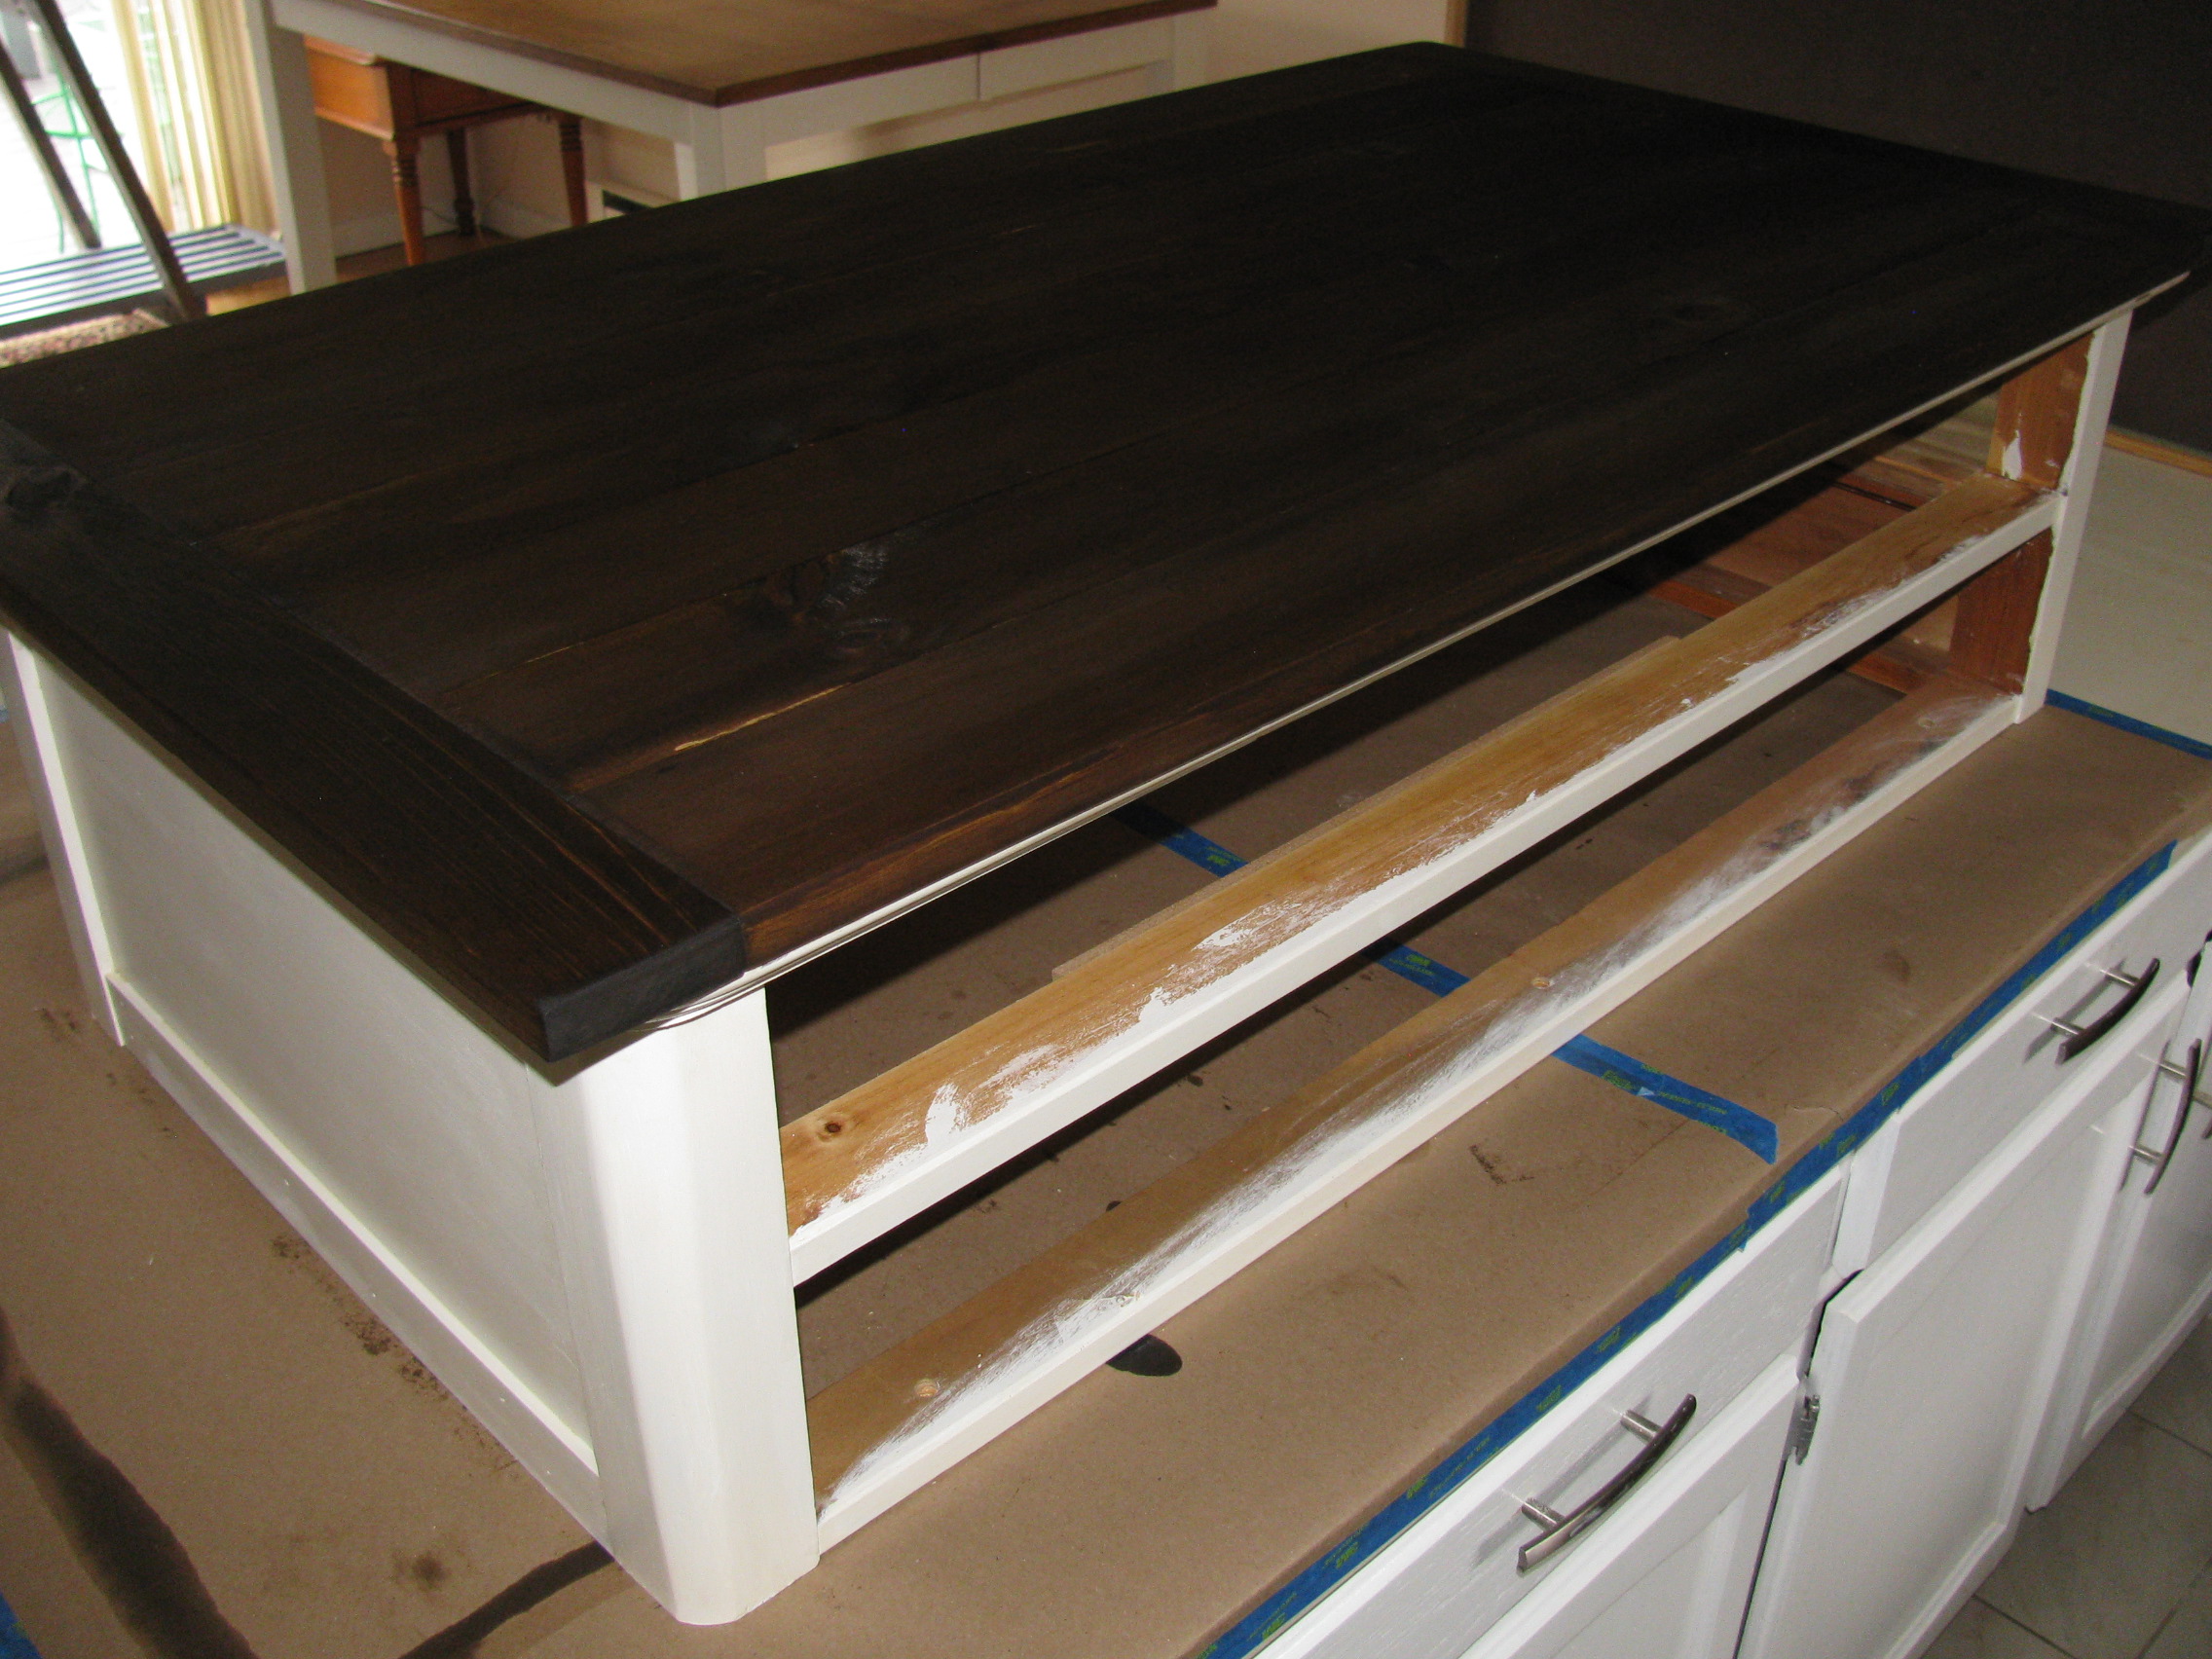
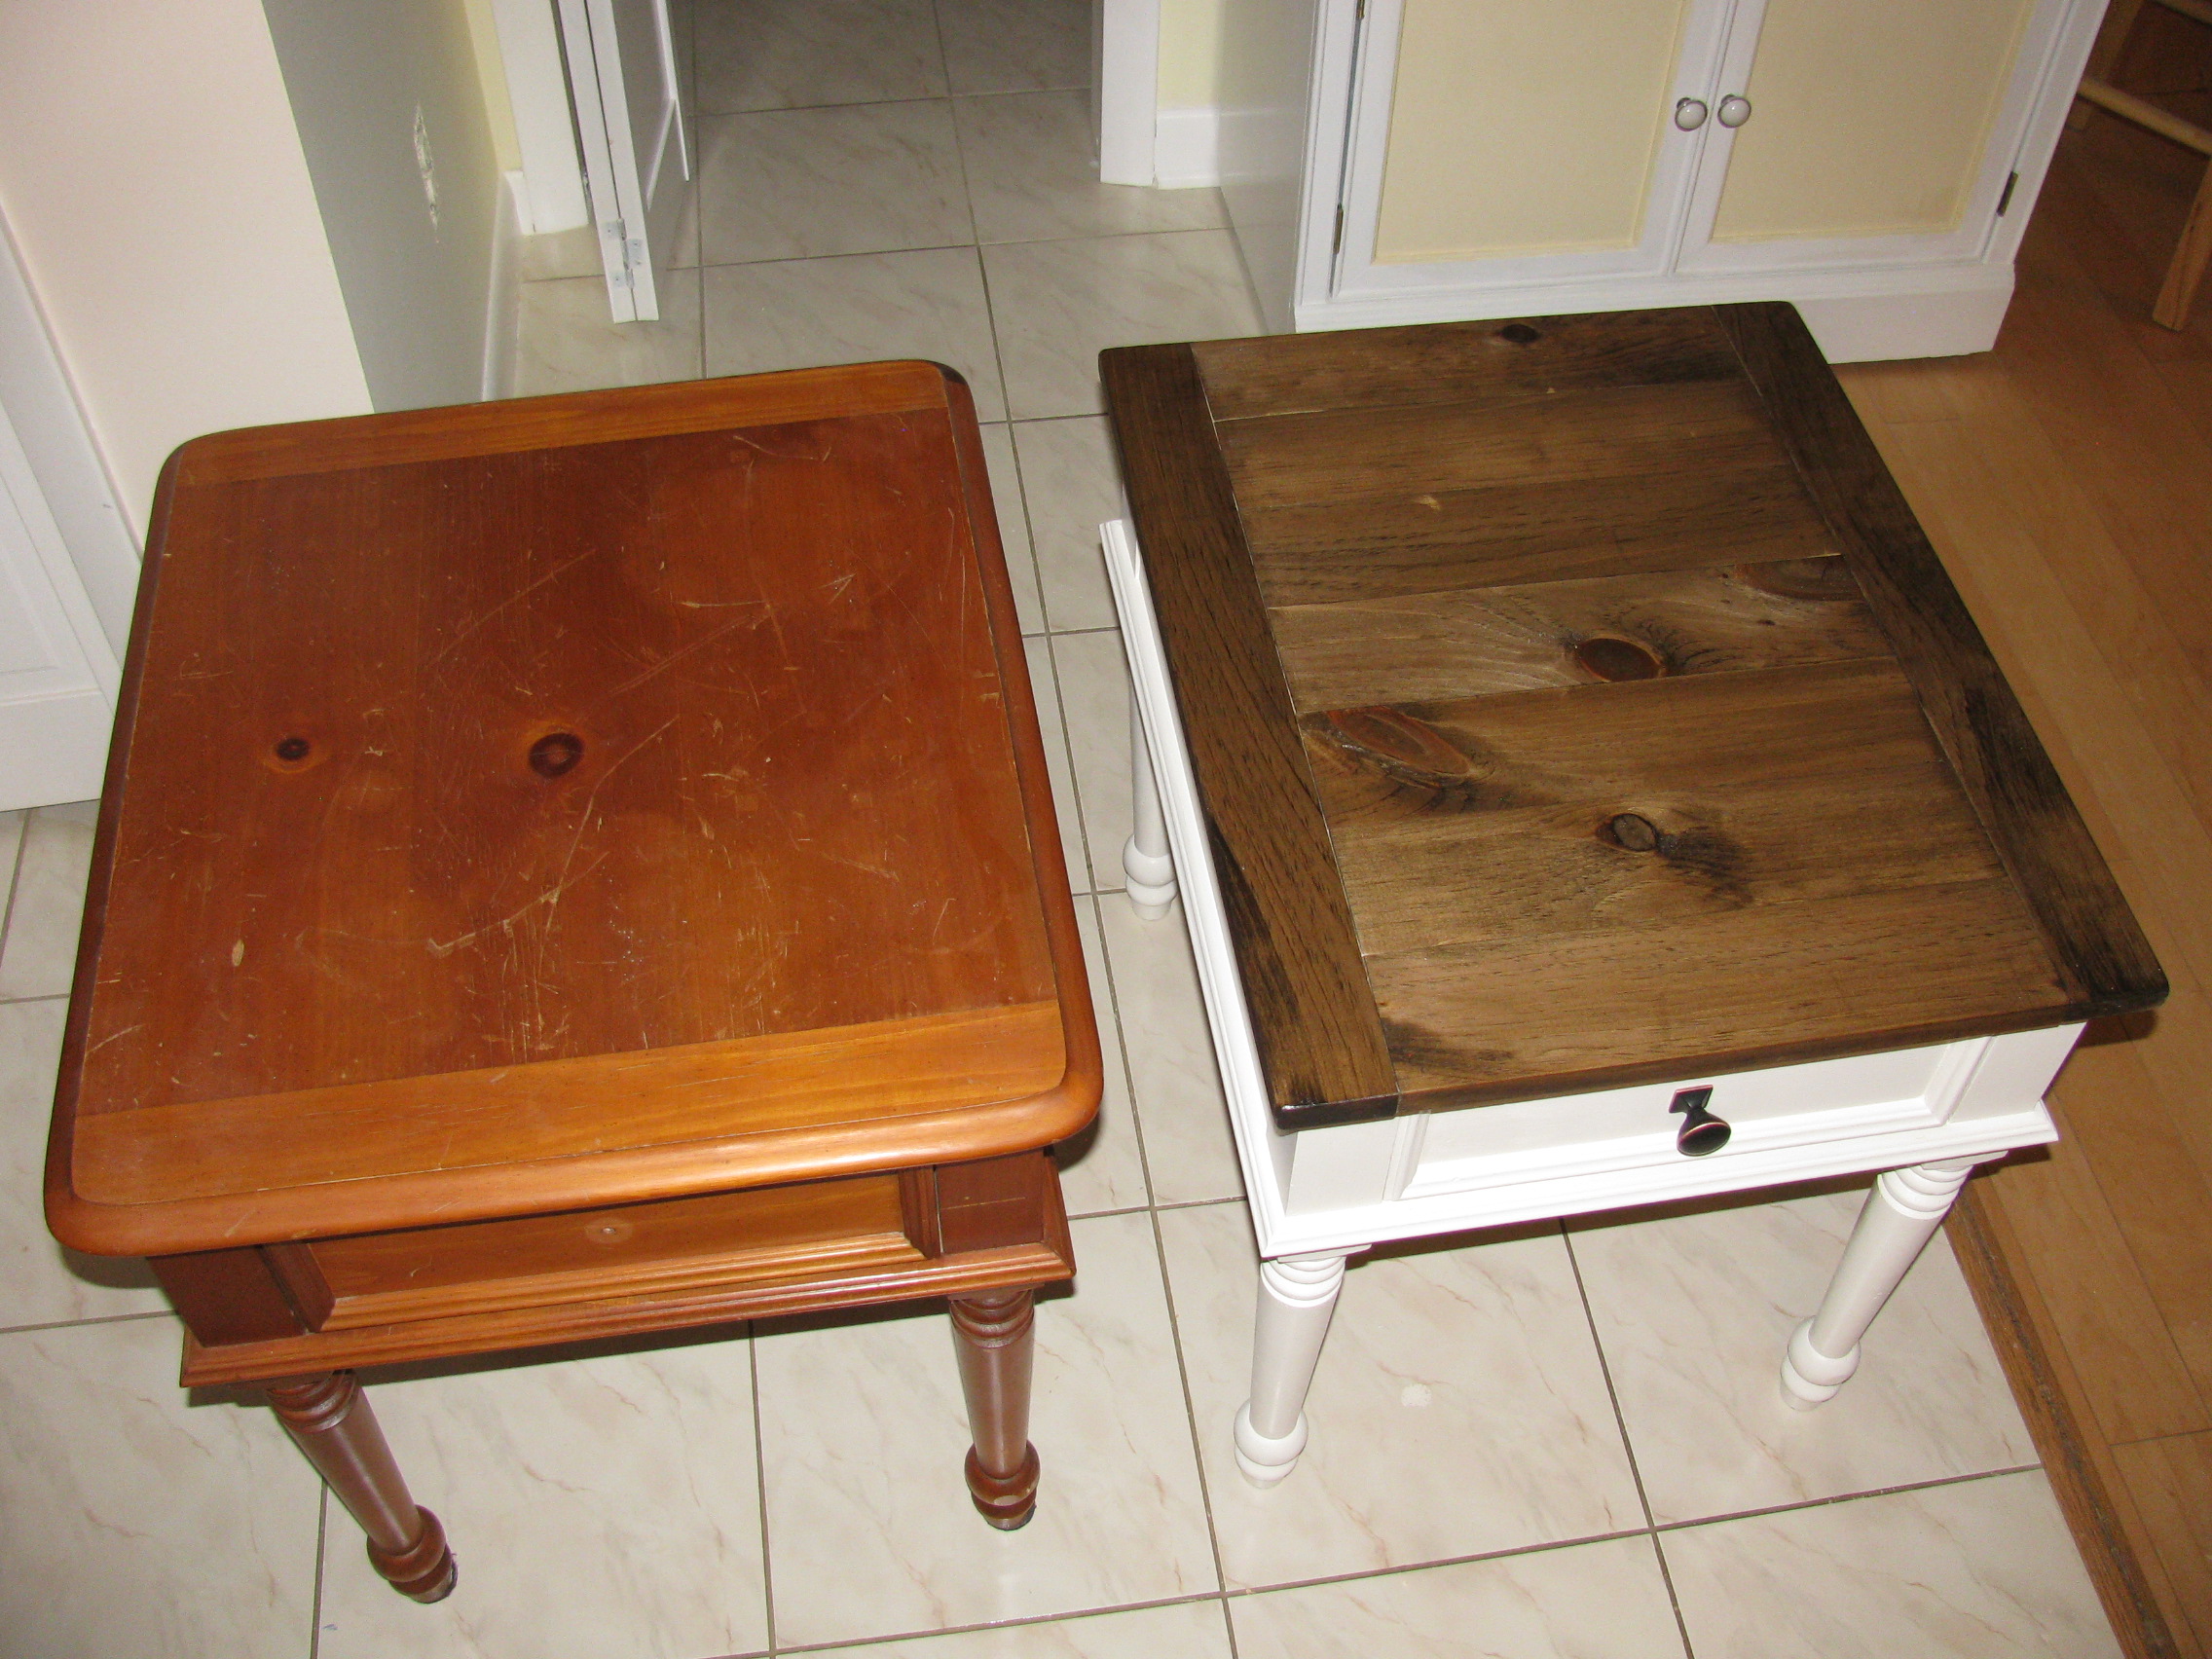
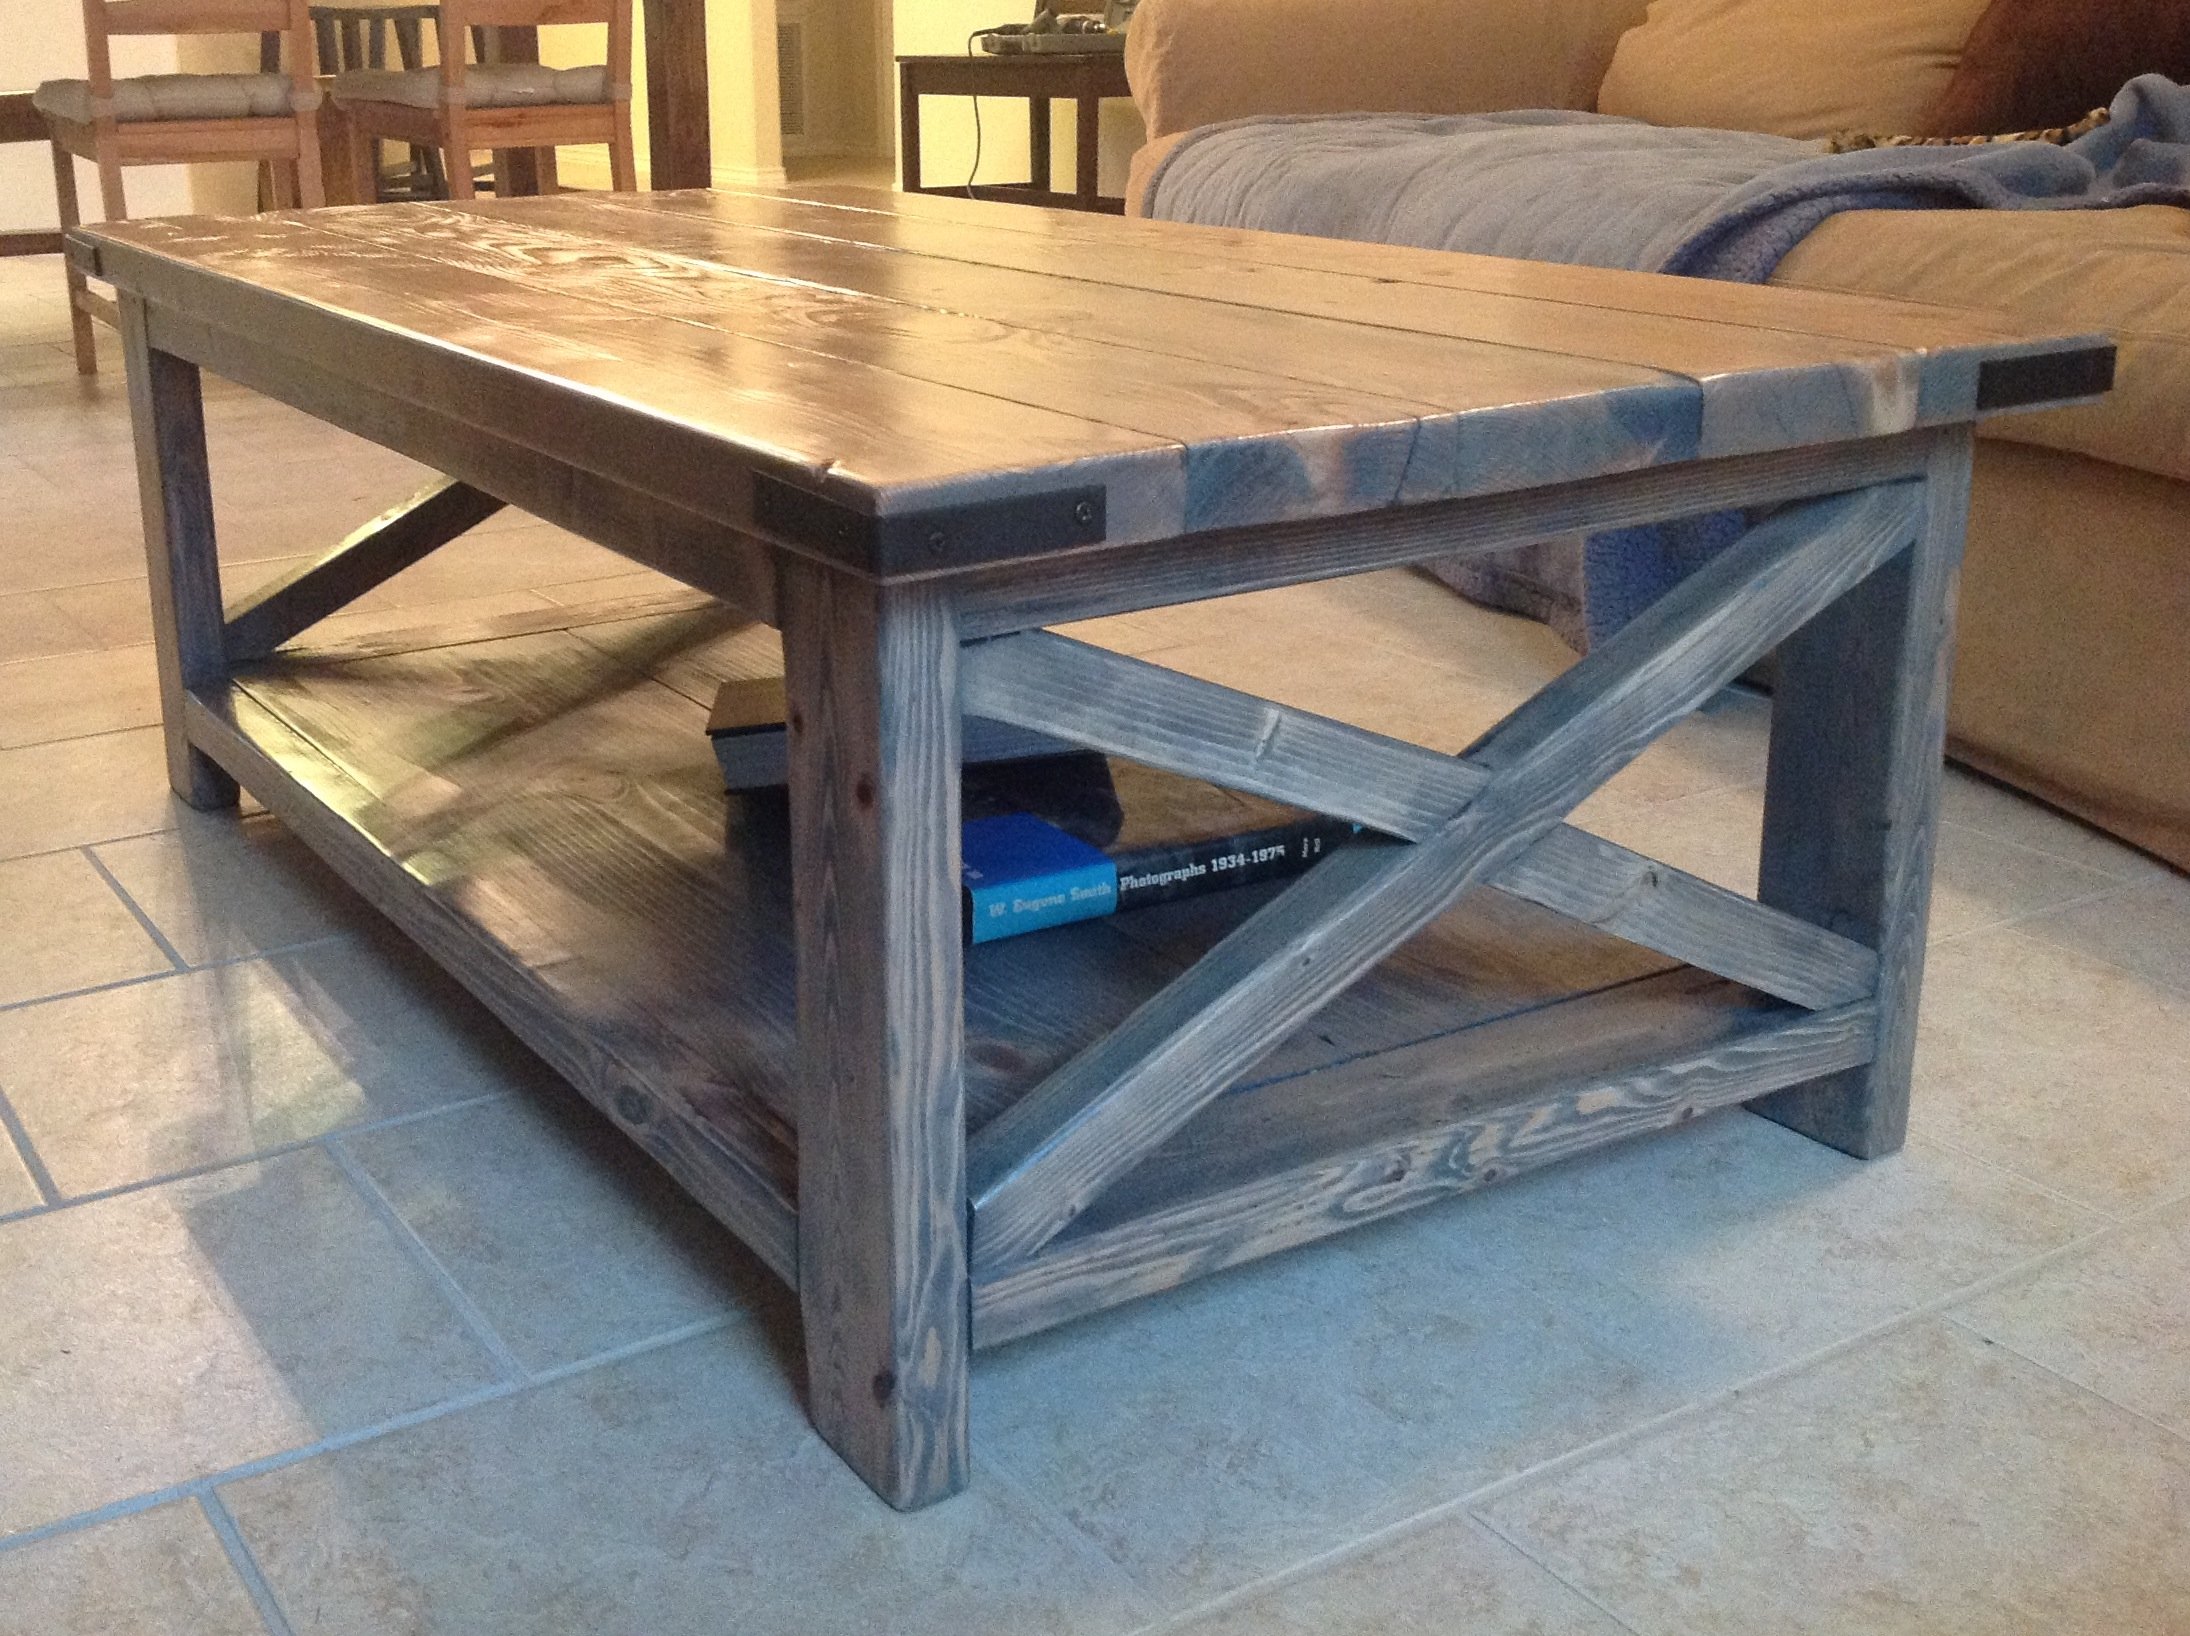
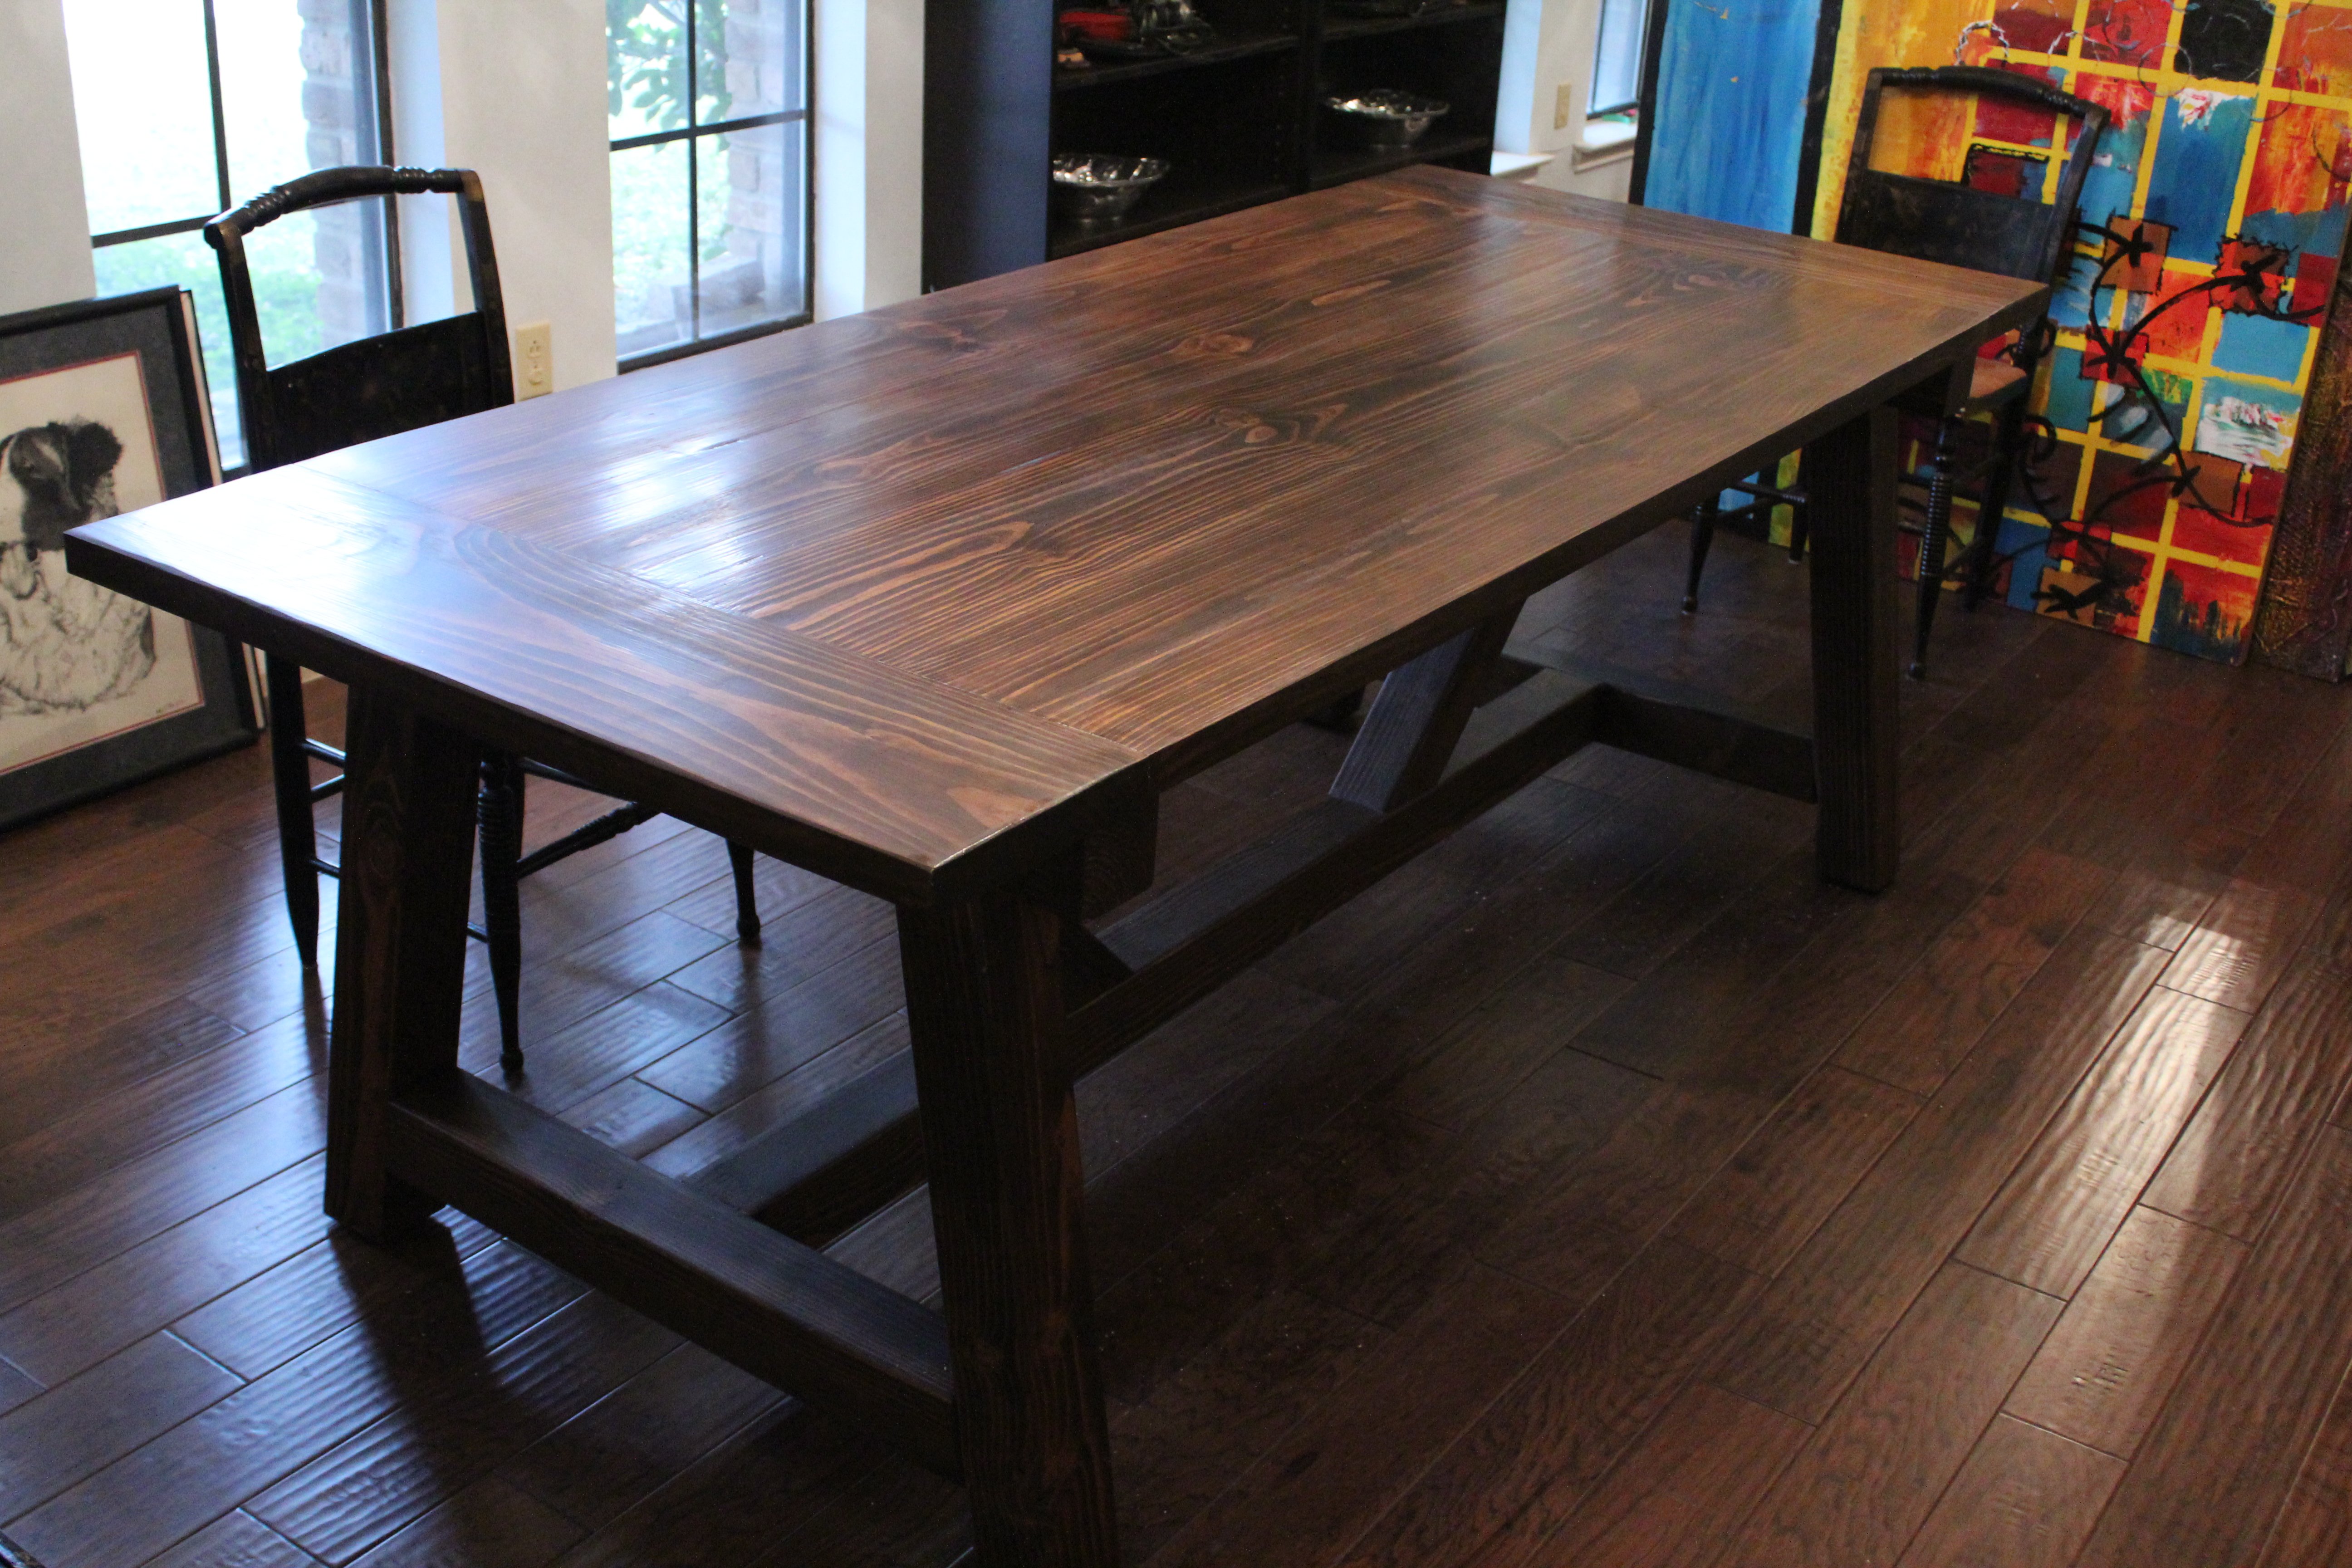
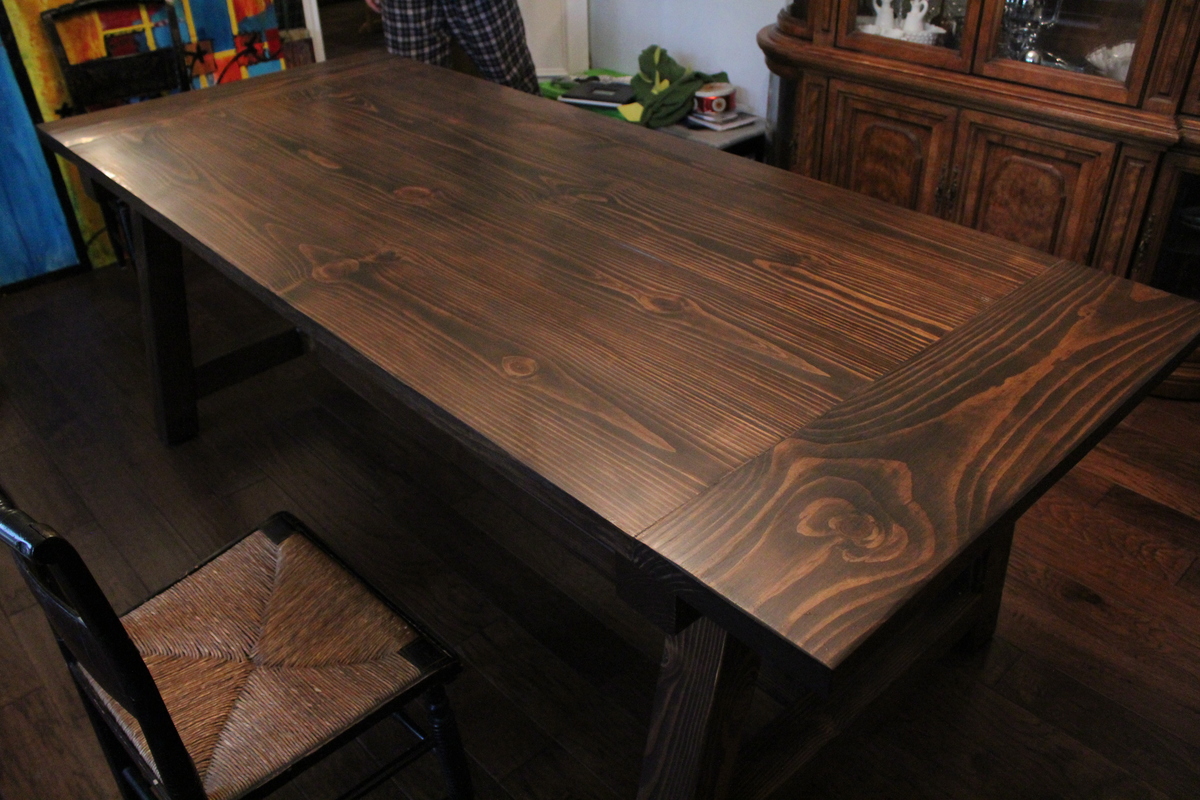
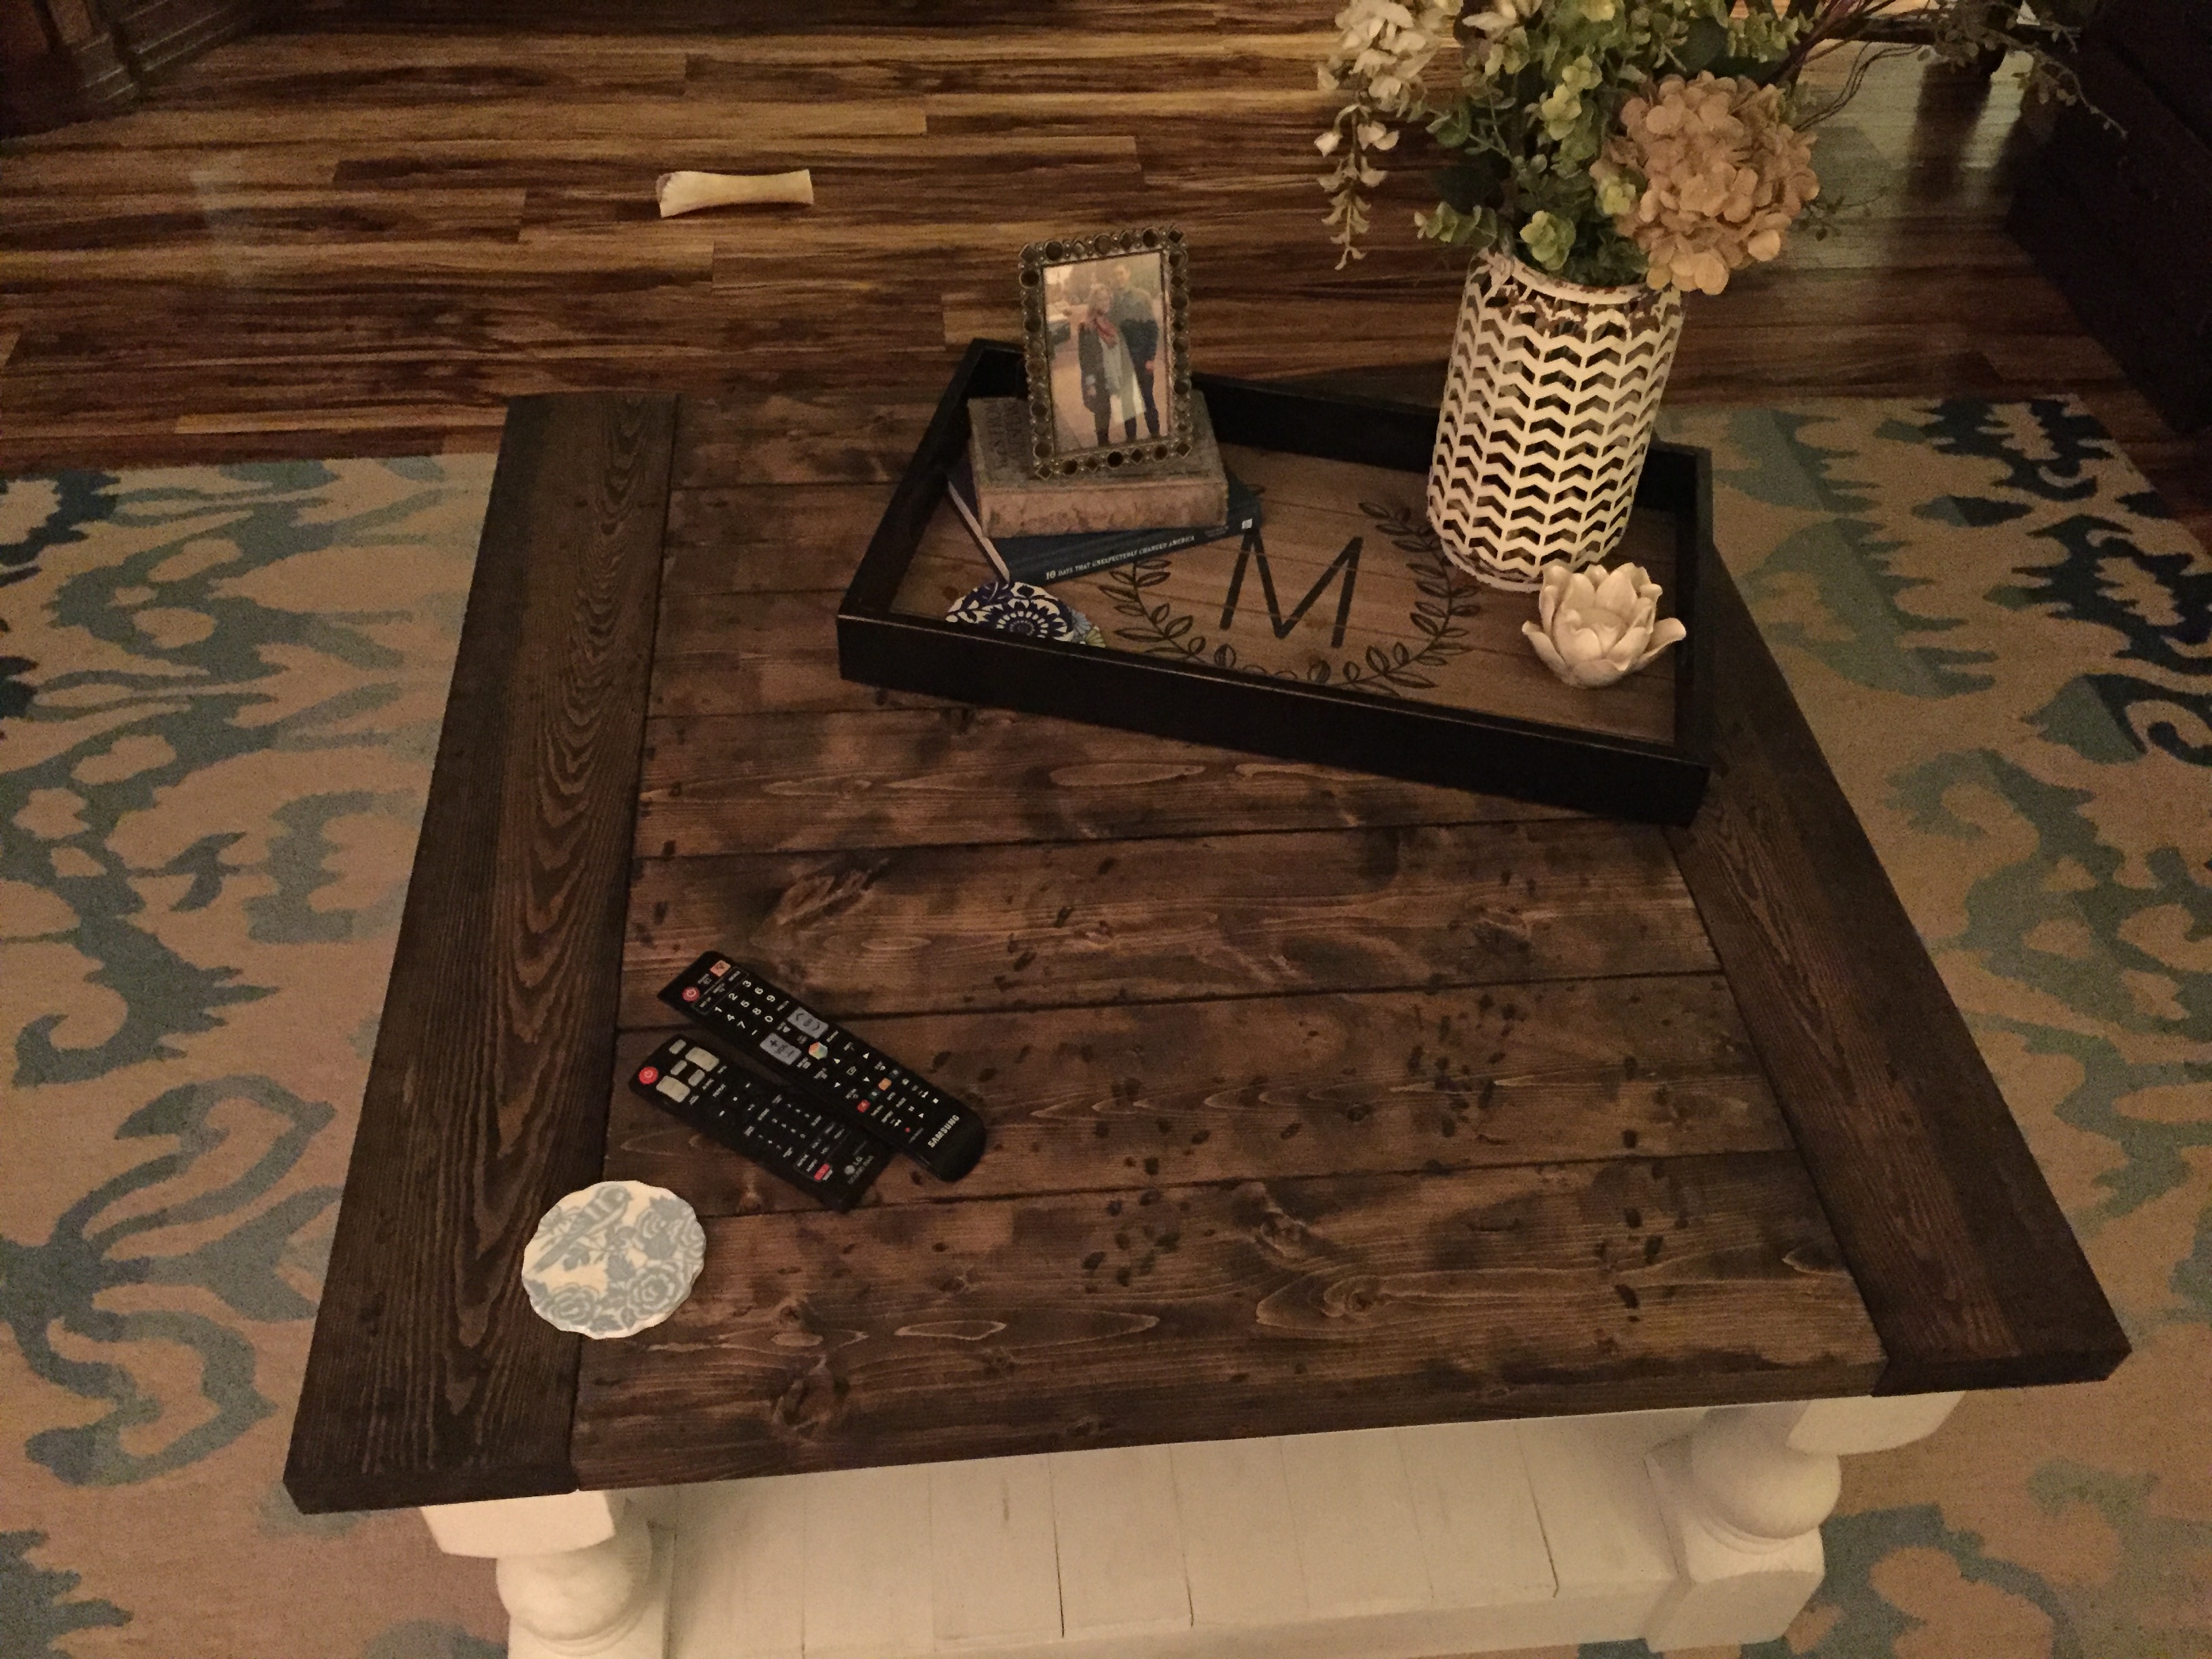
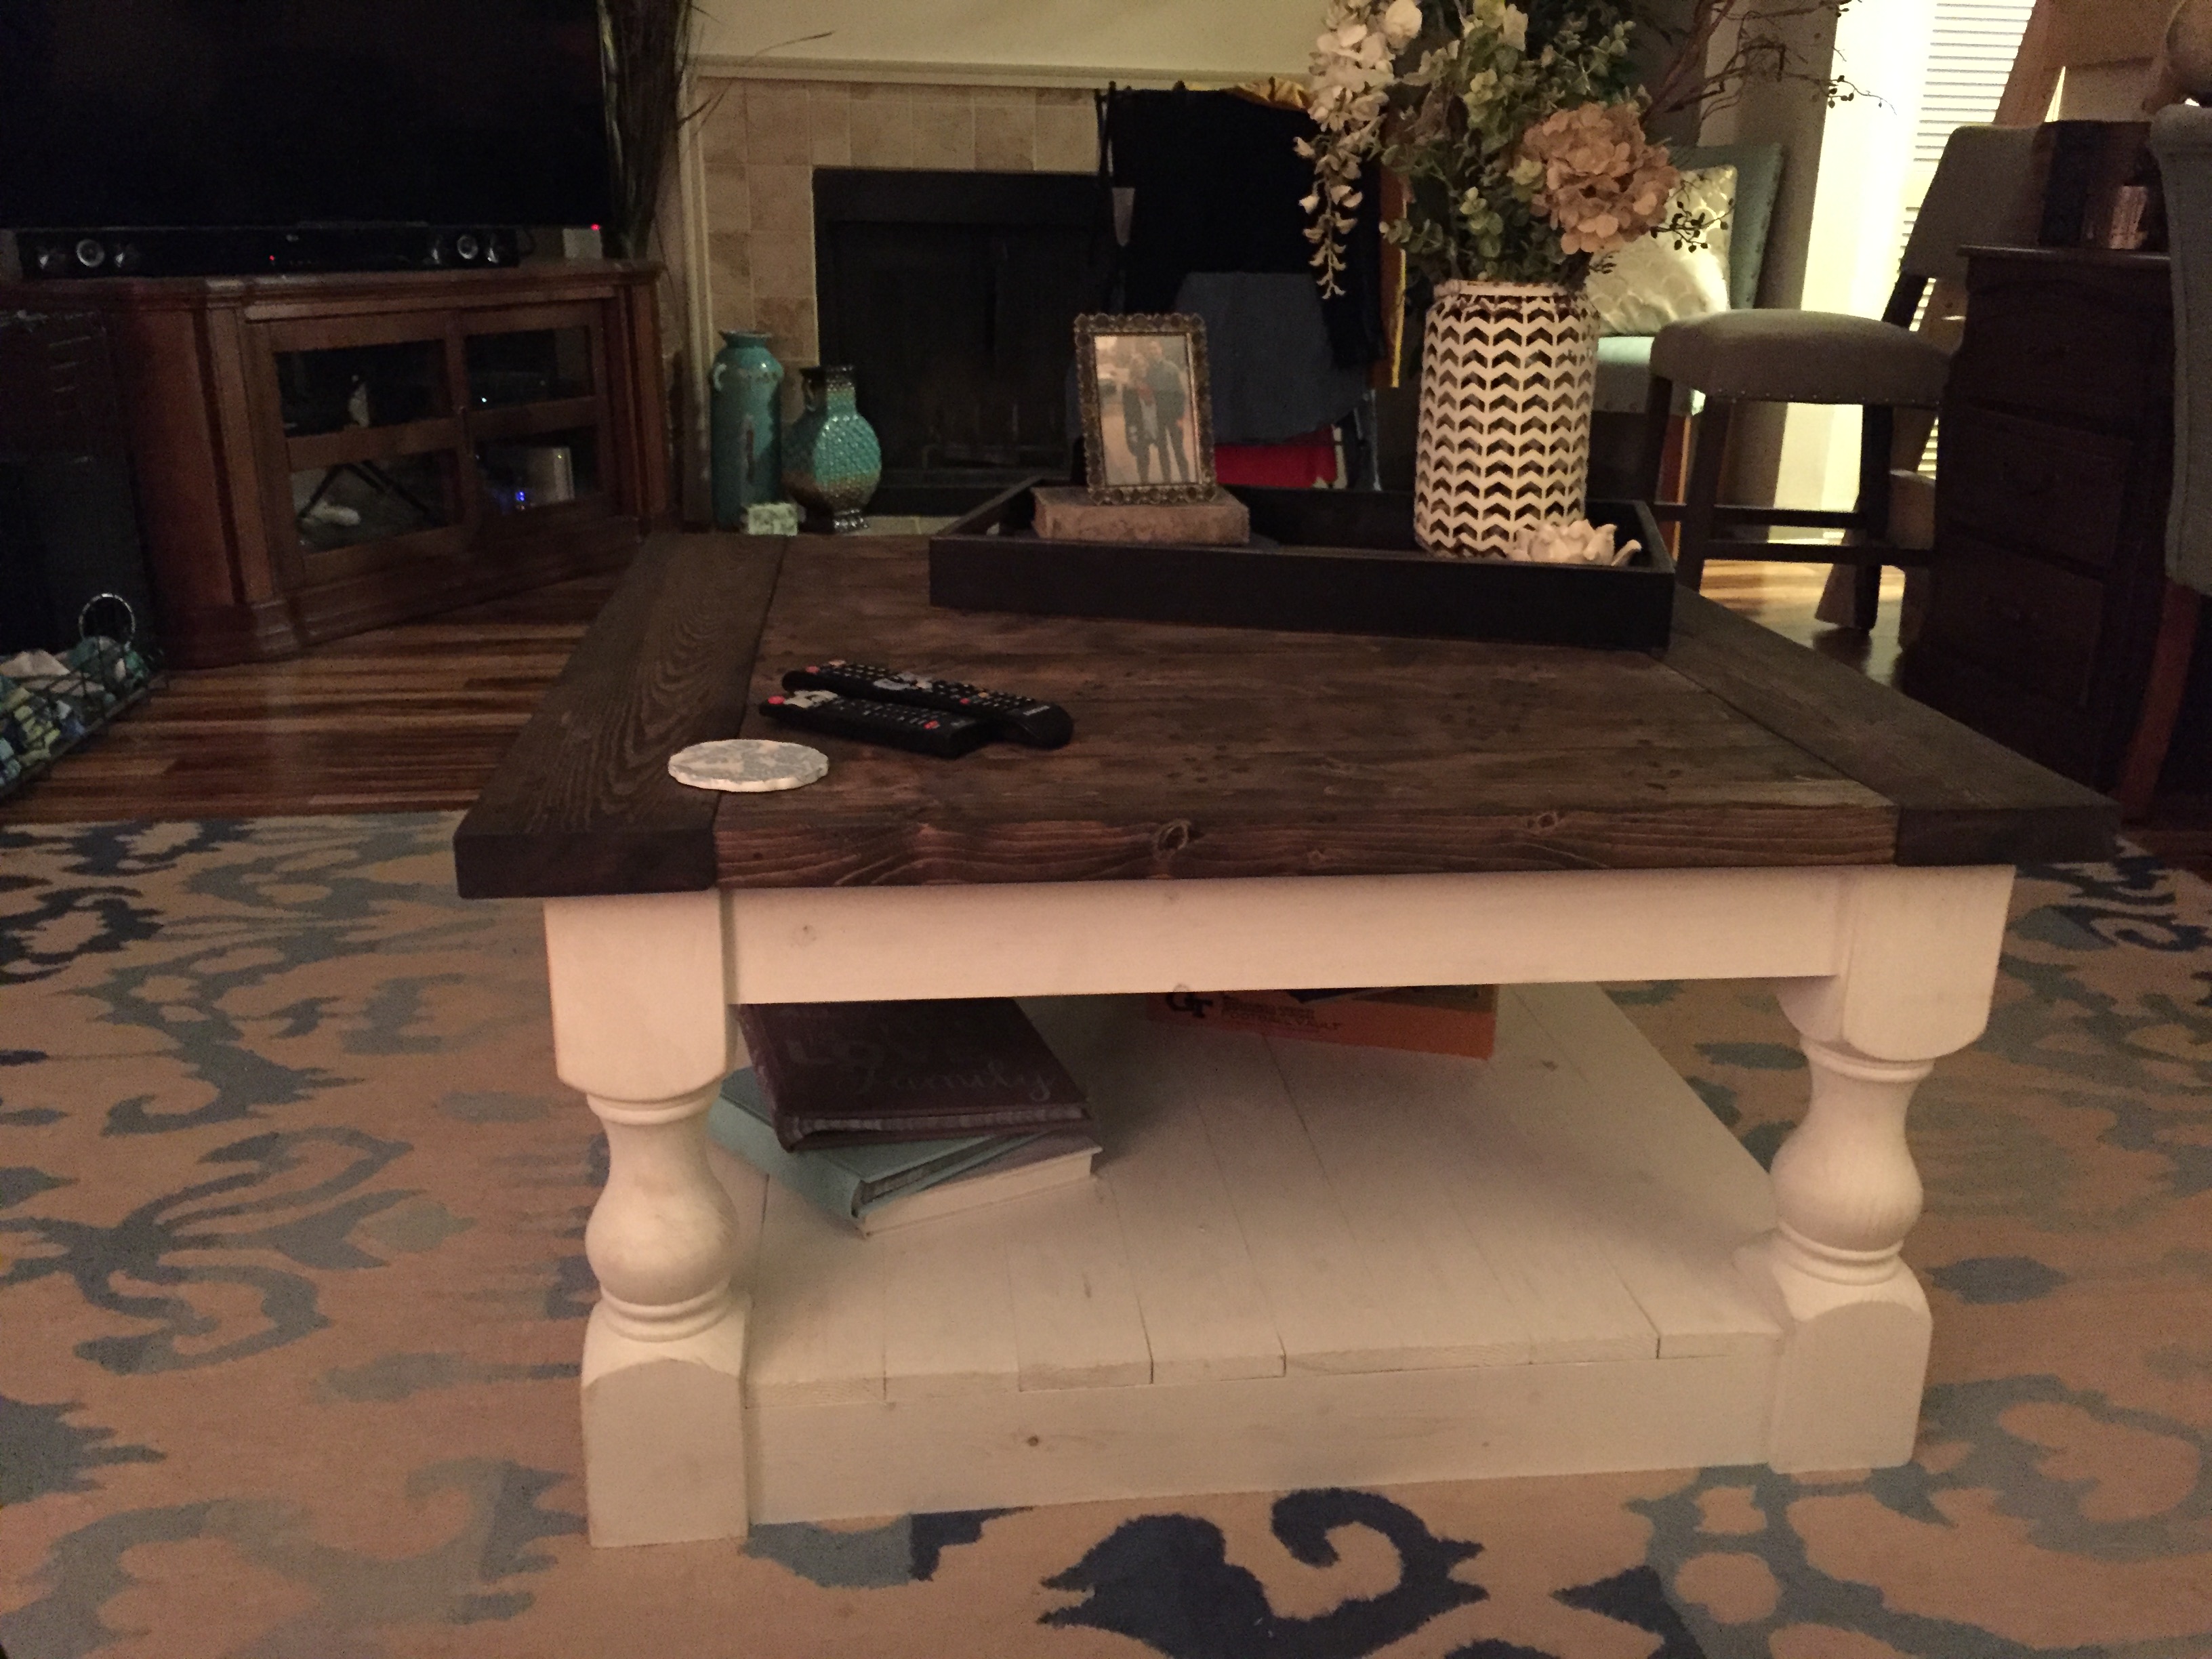
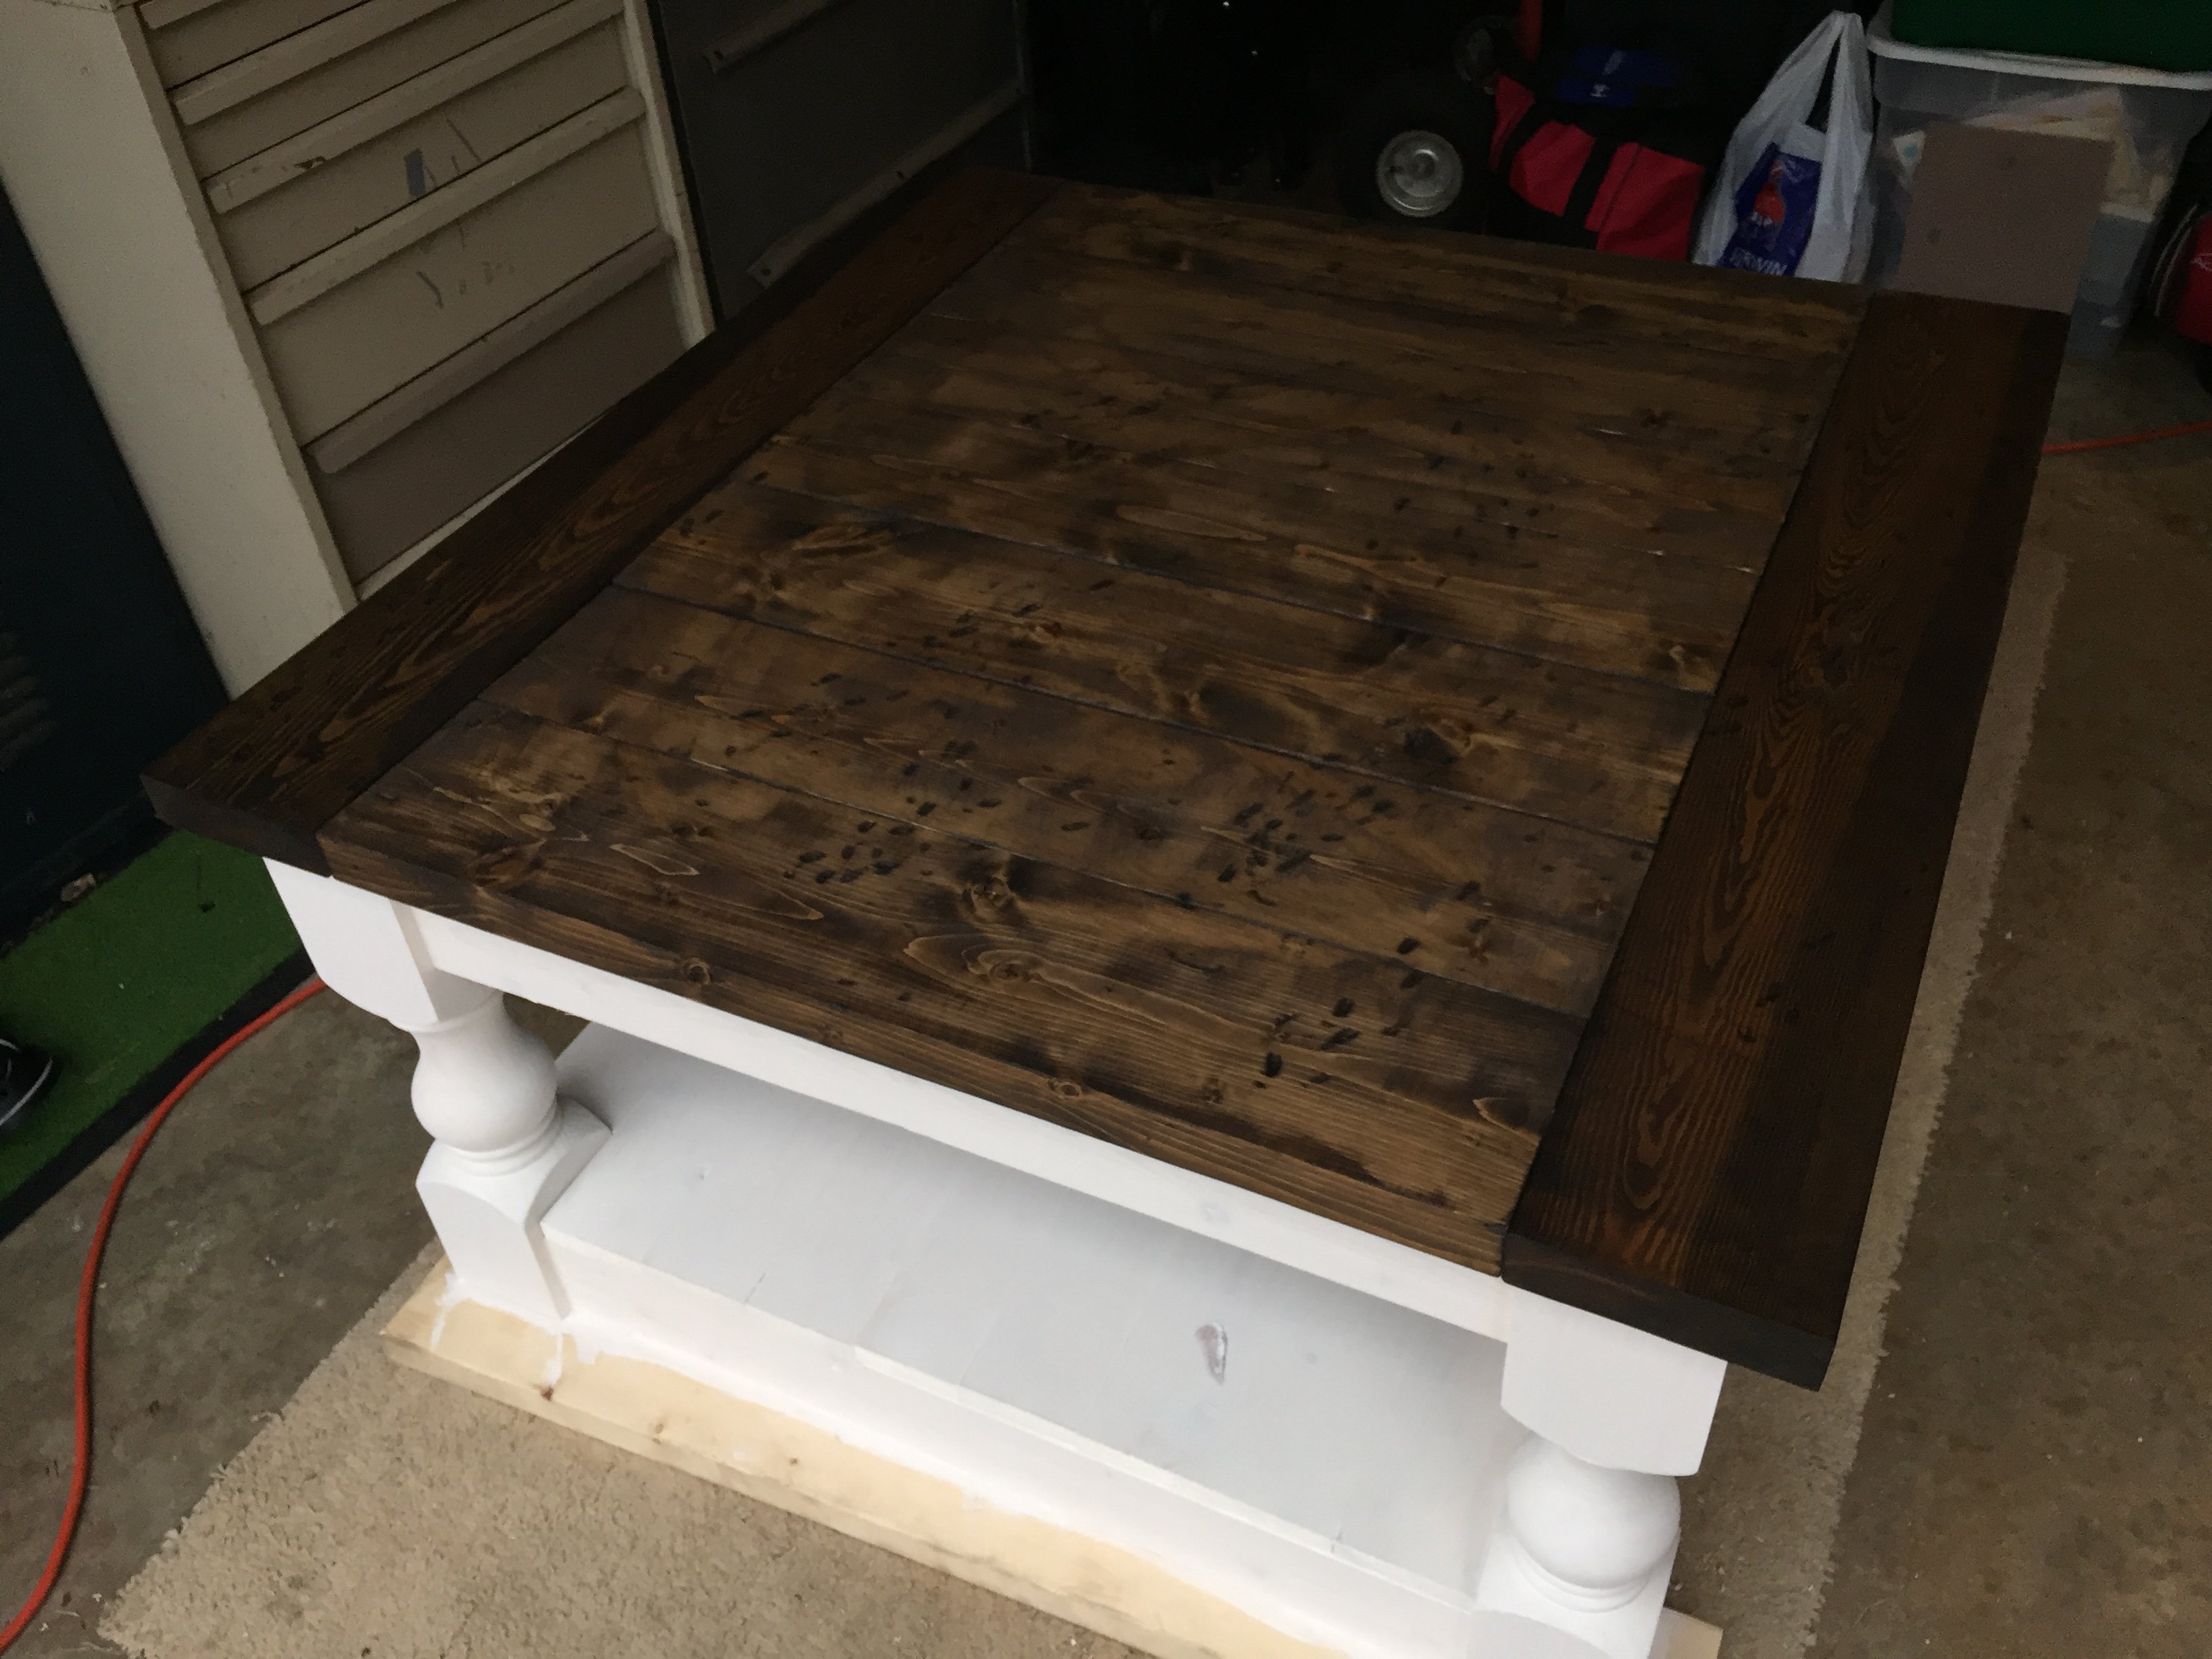
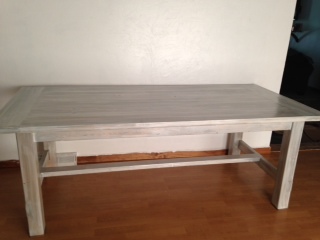
Storage Coffee table
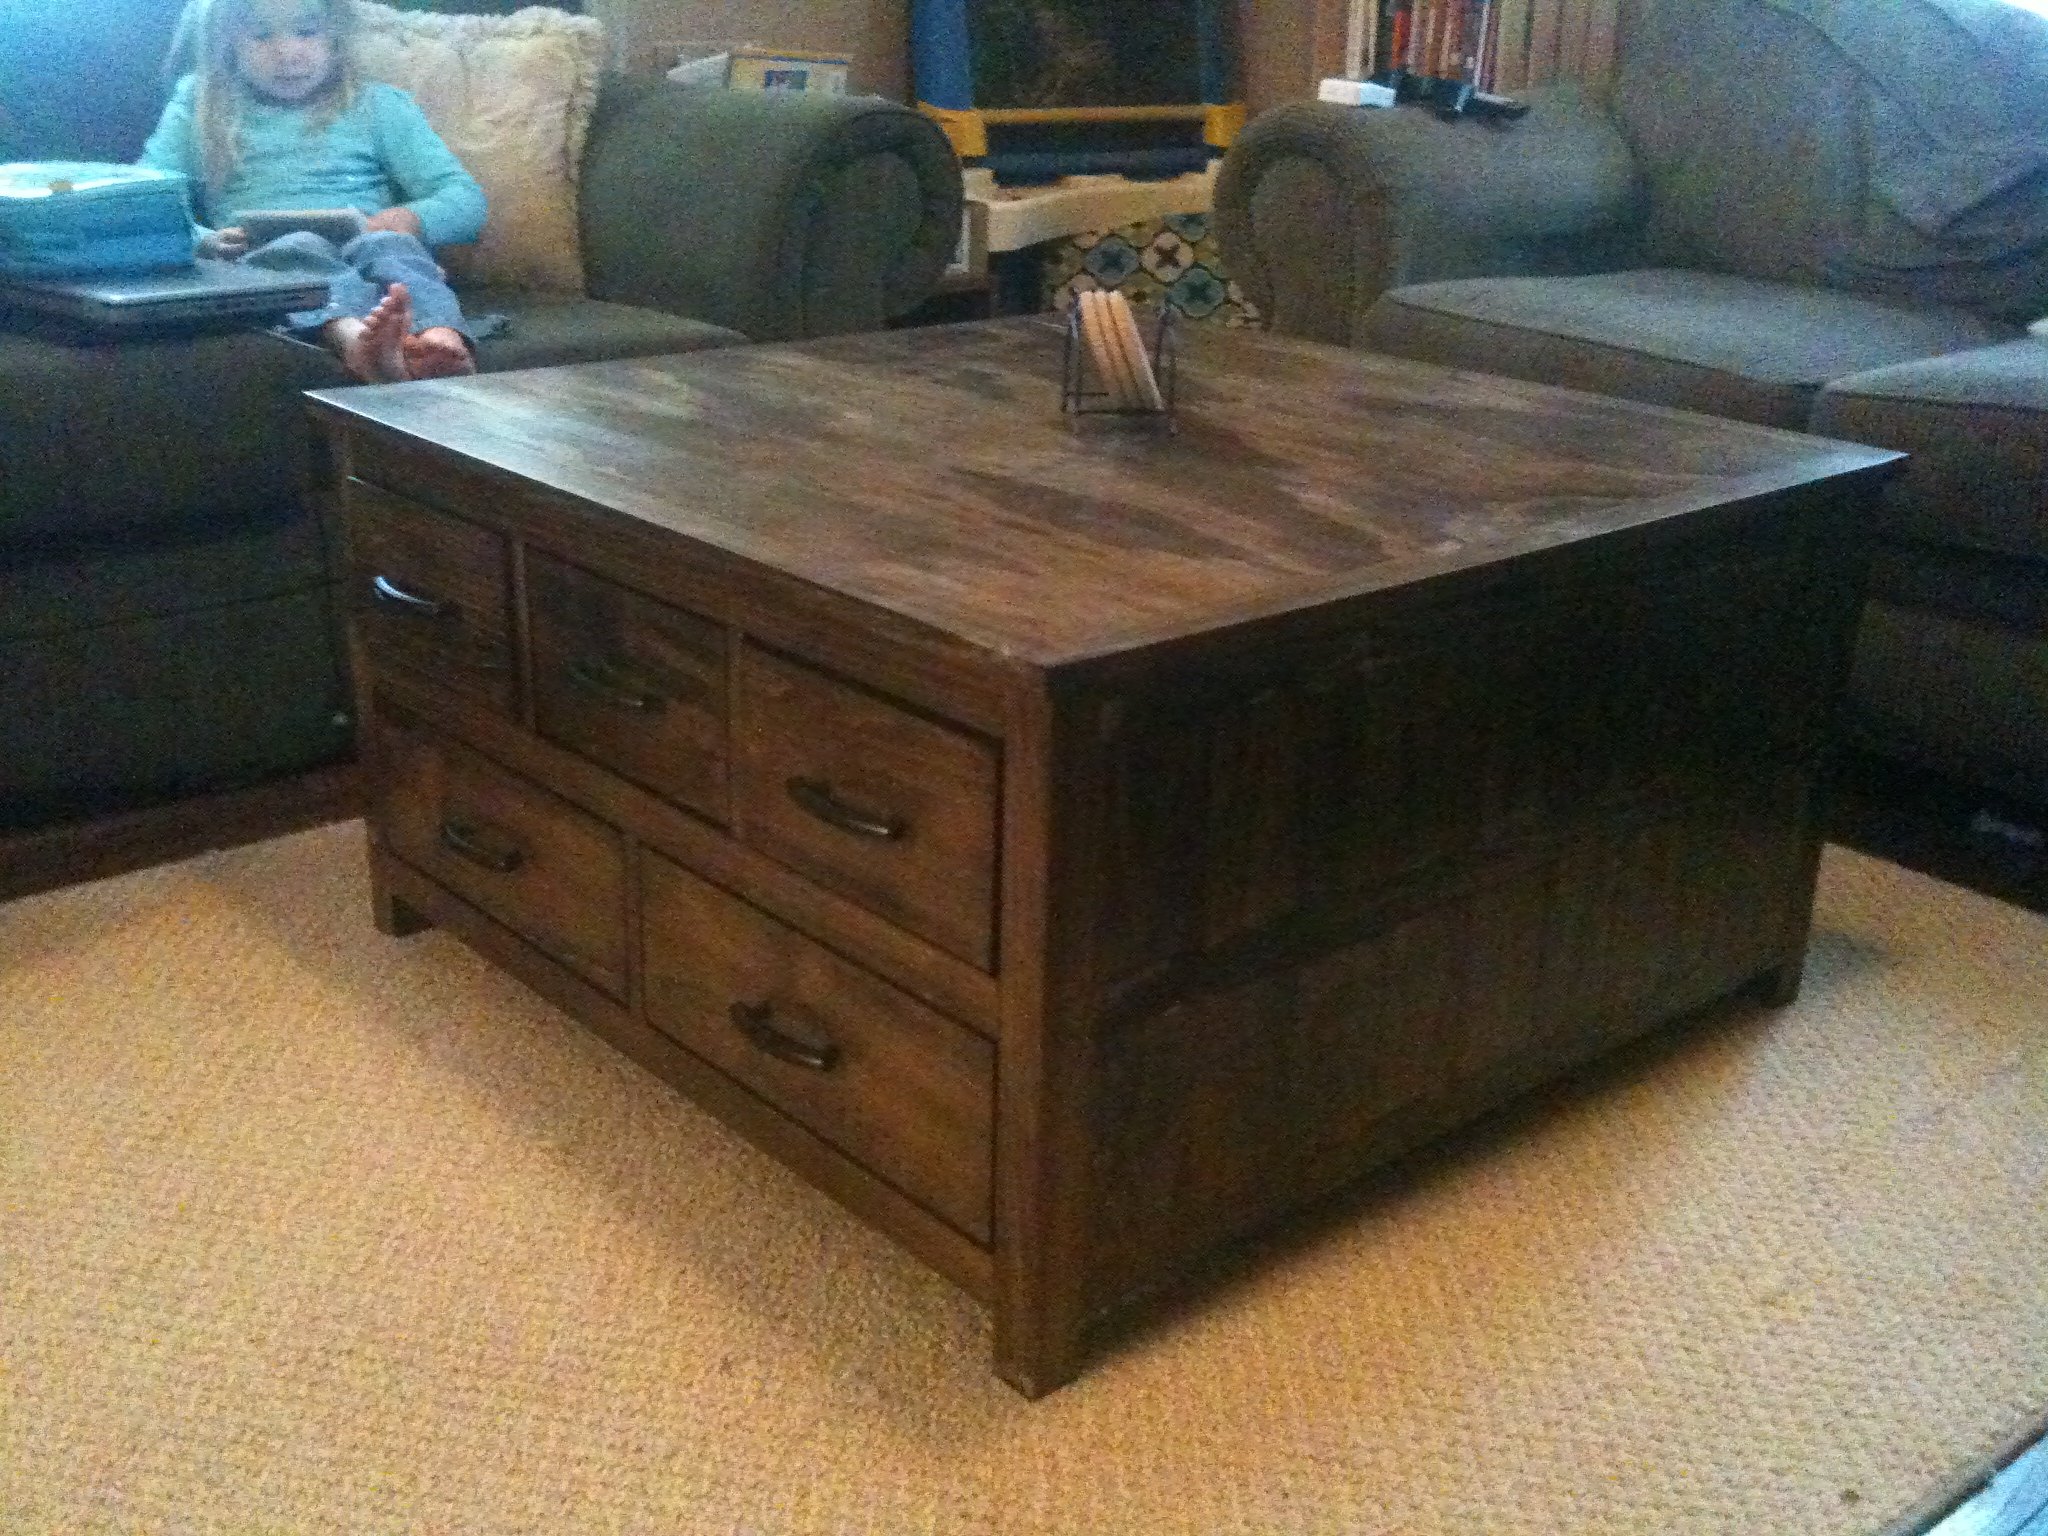
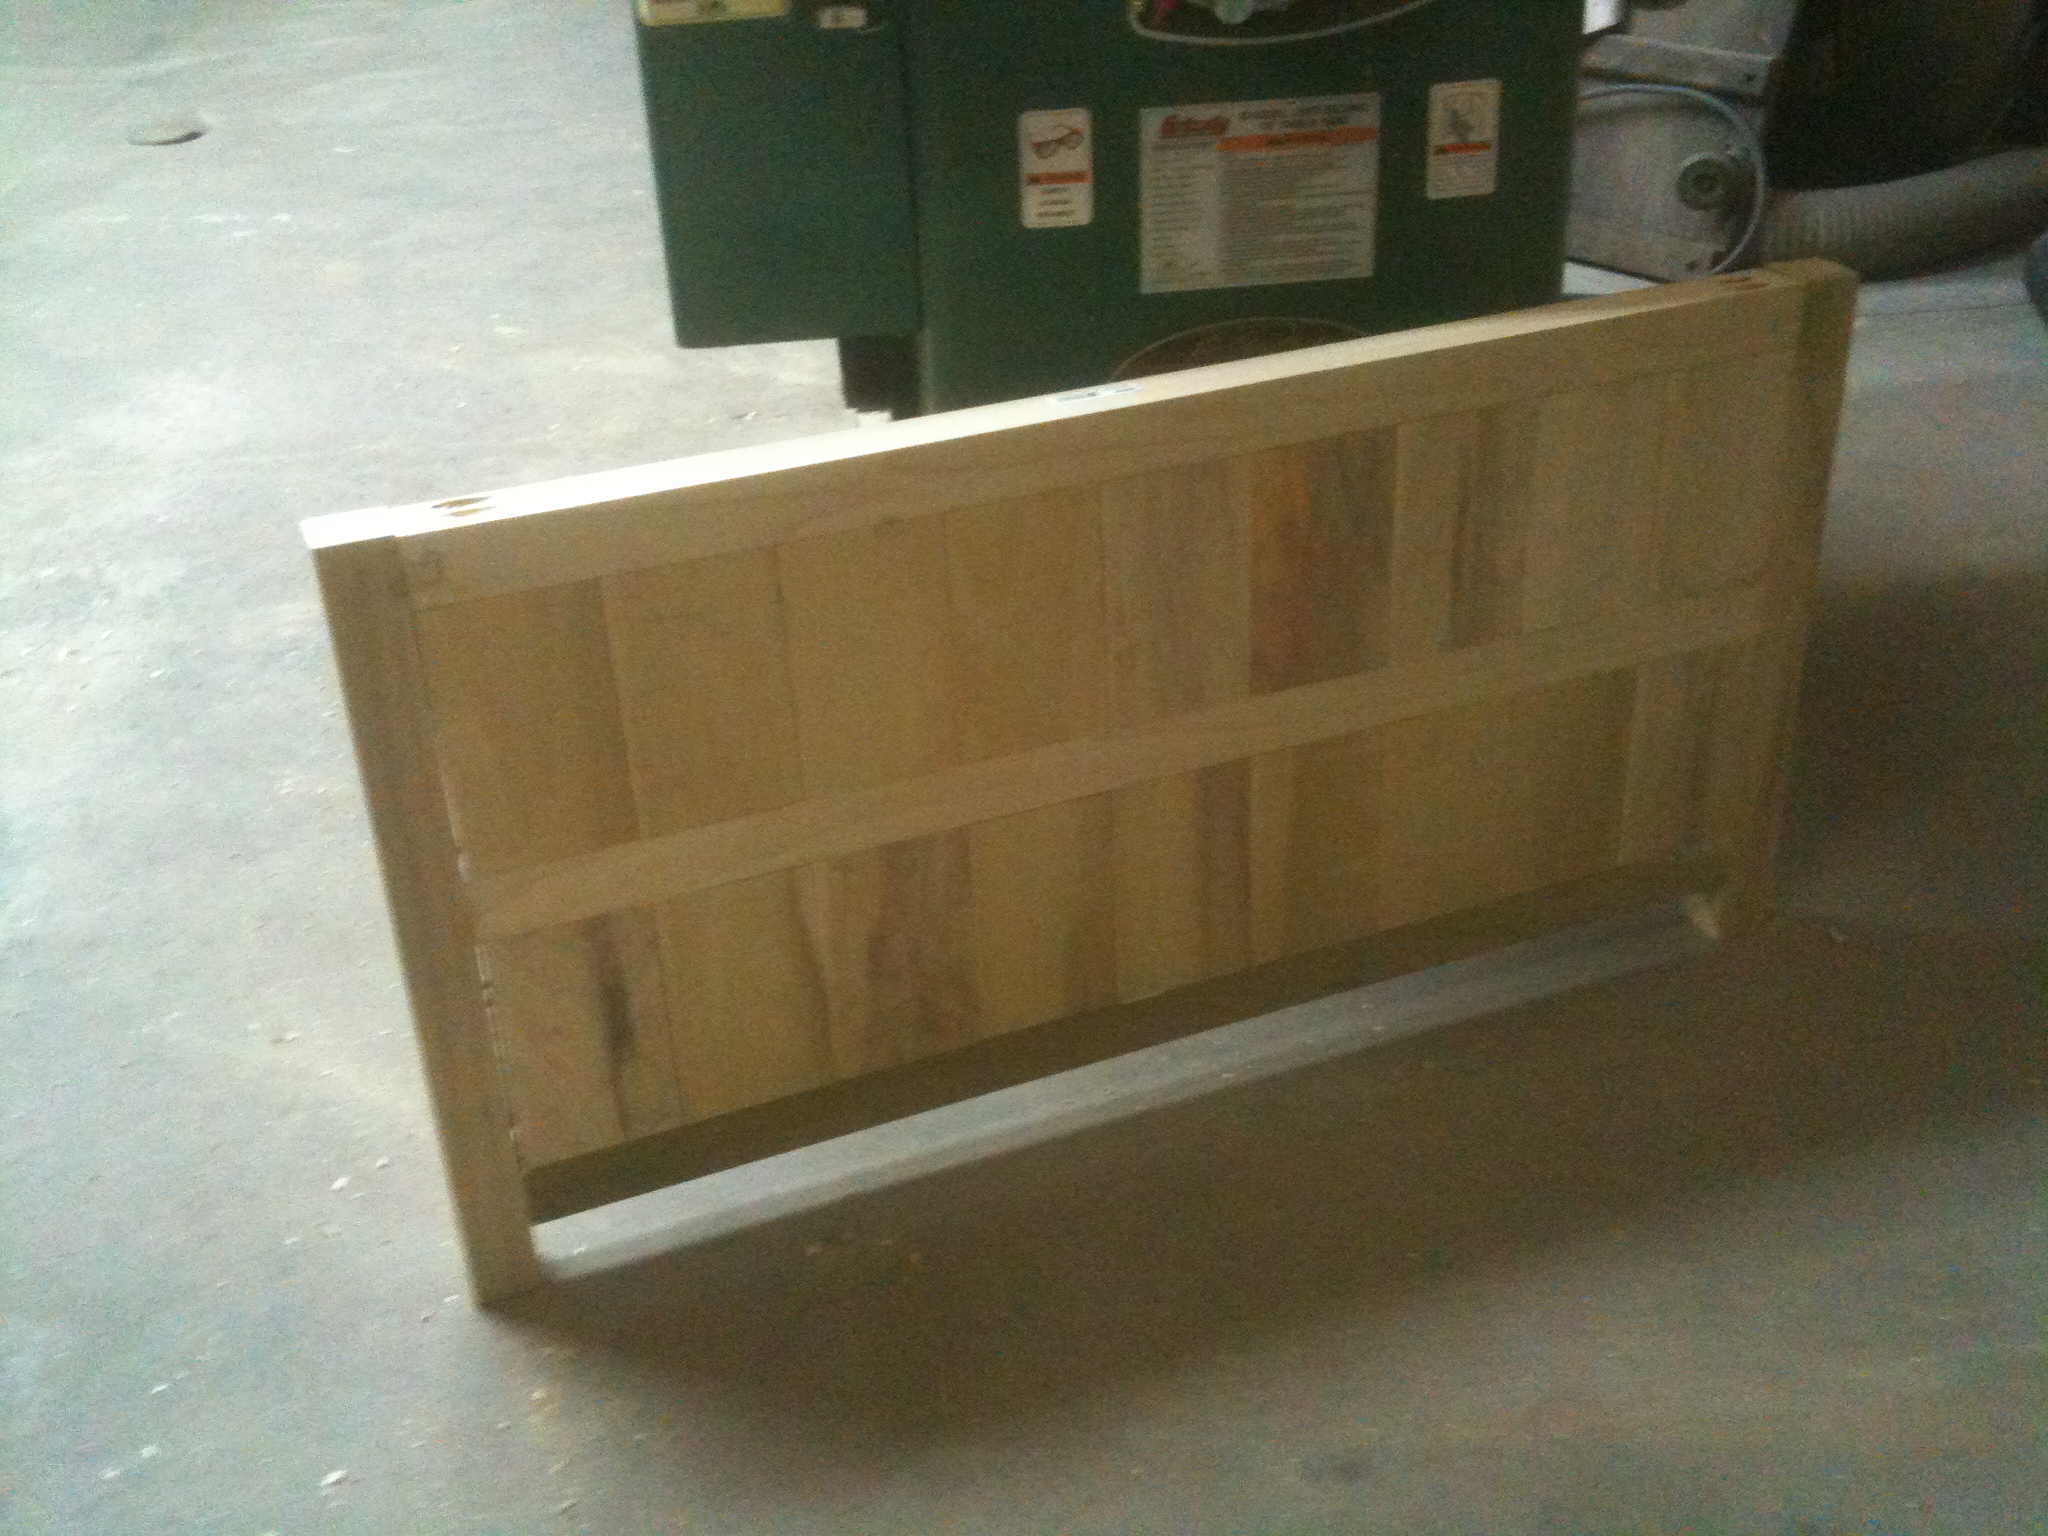
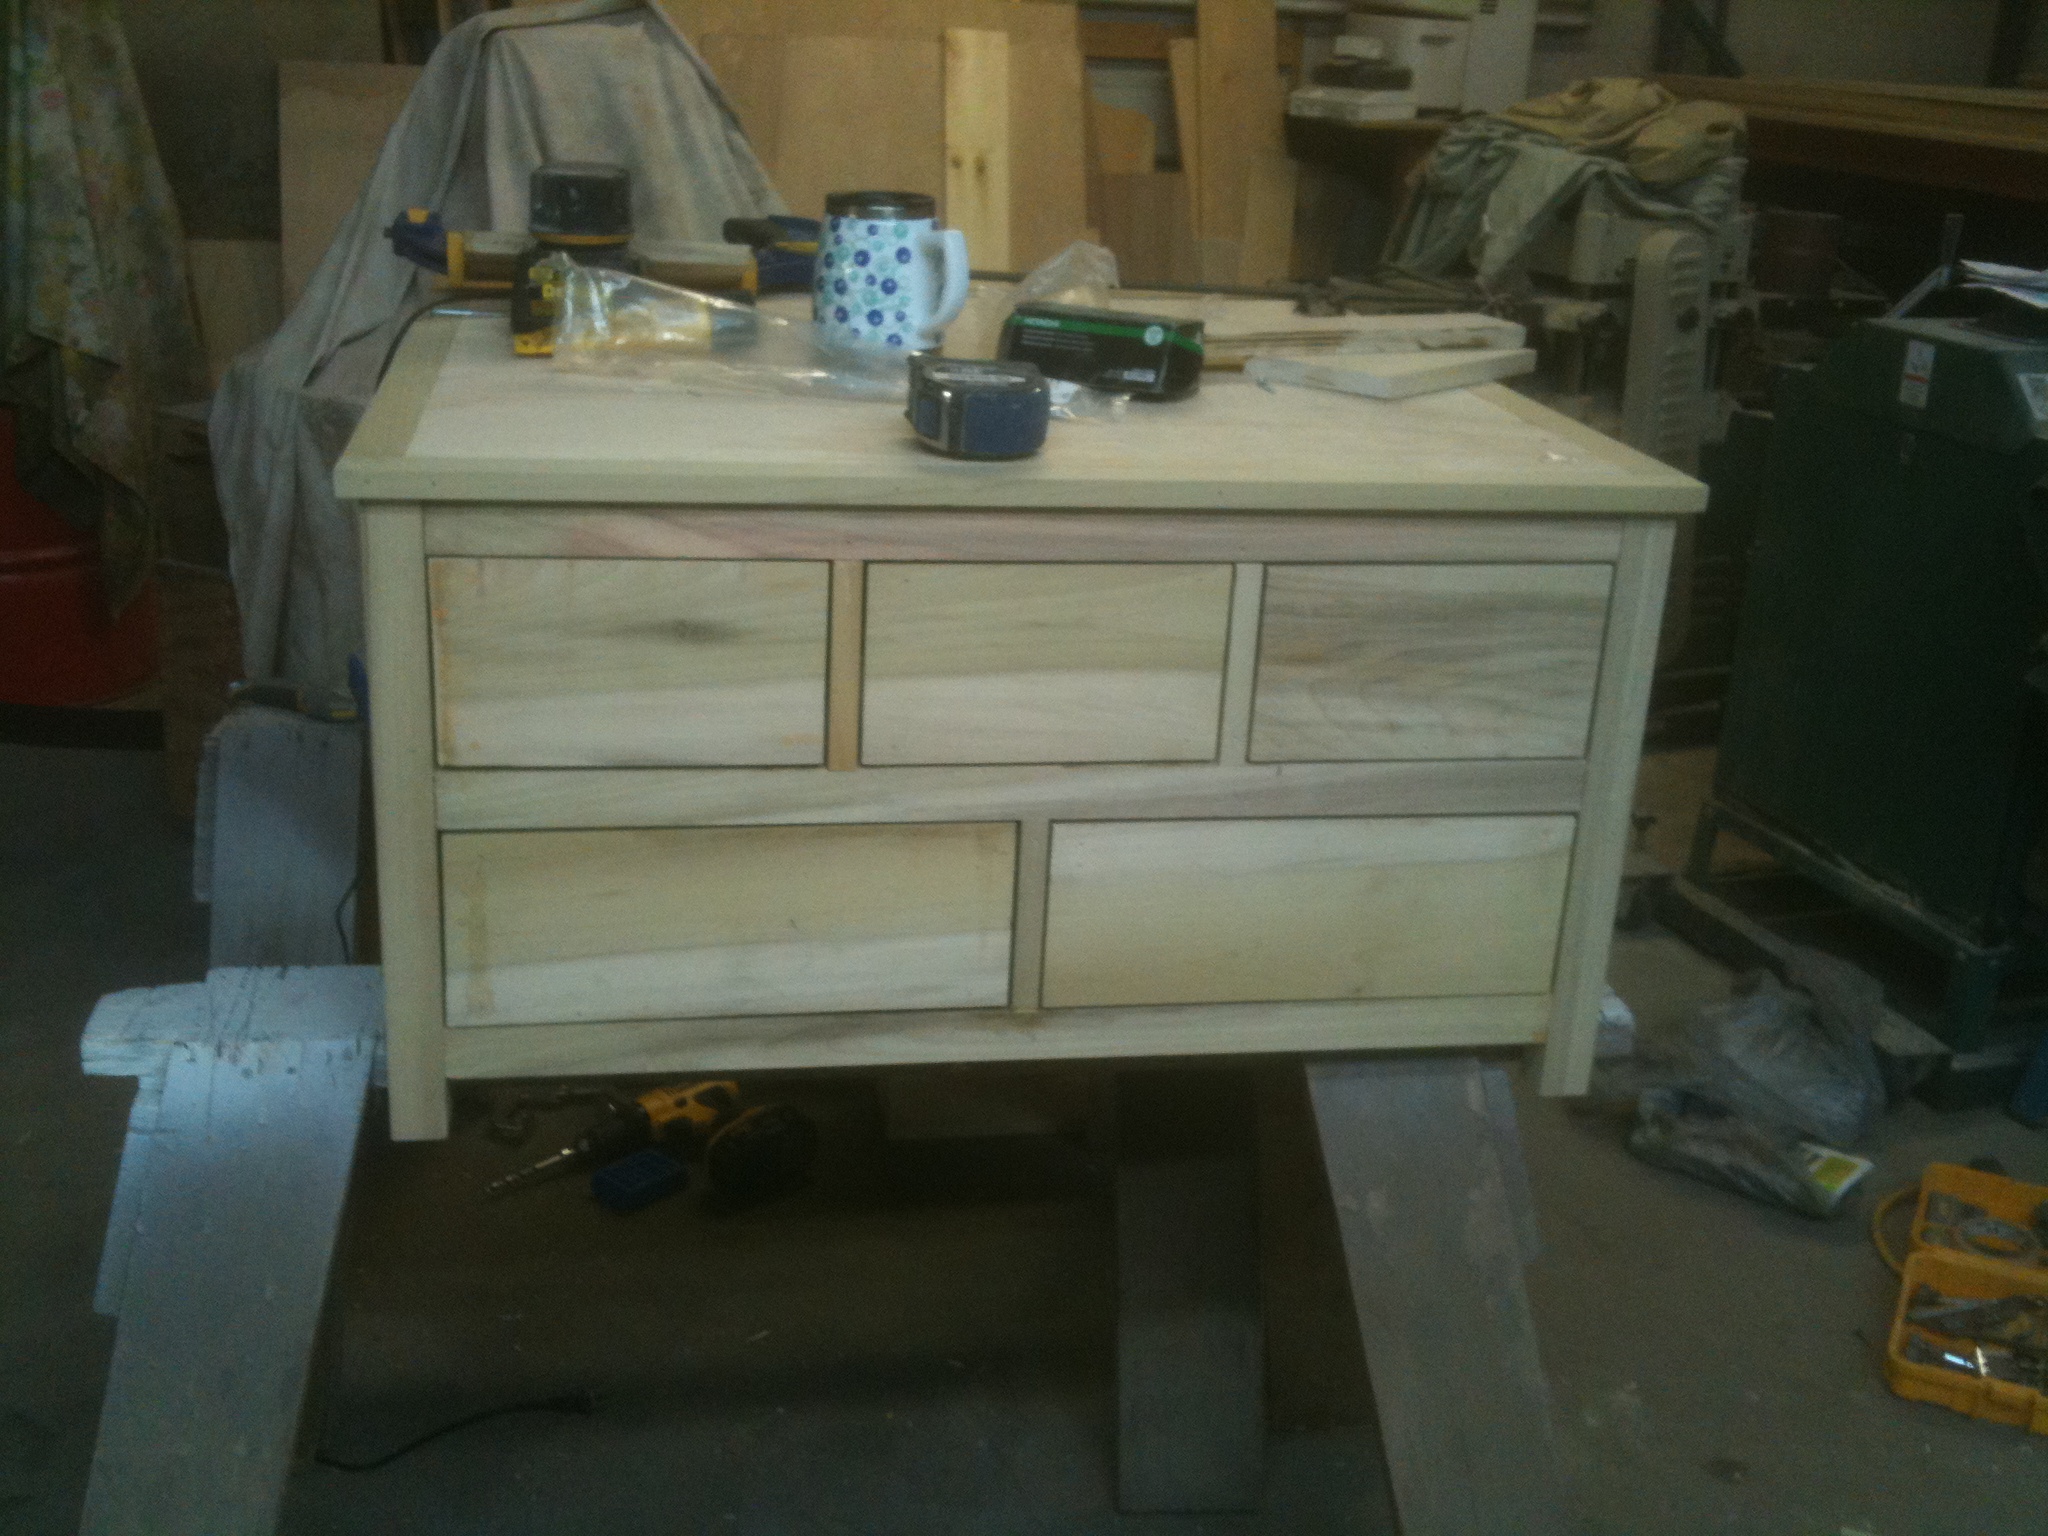
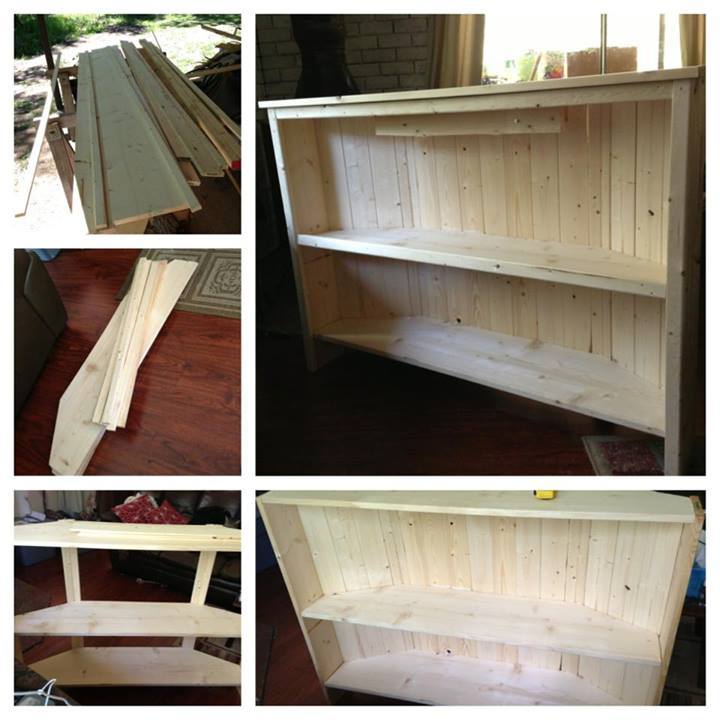
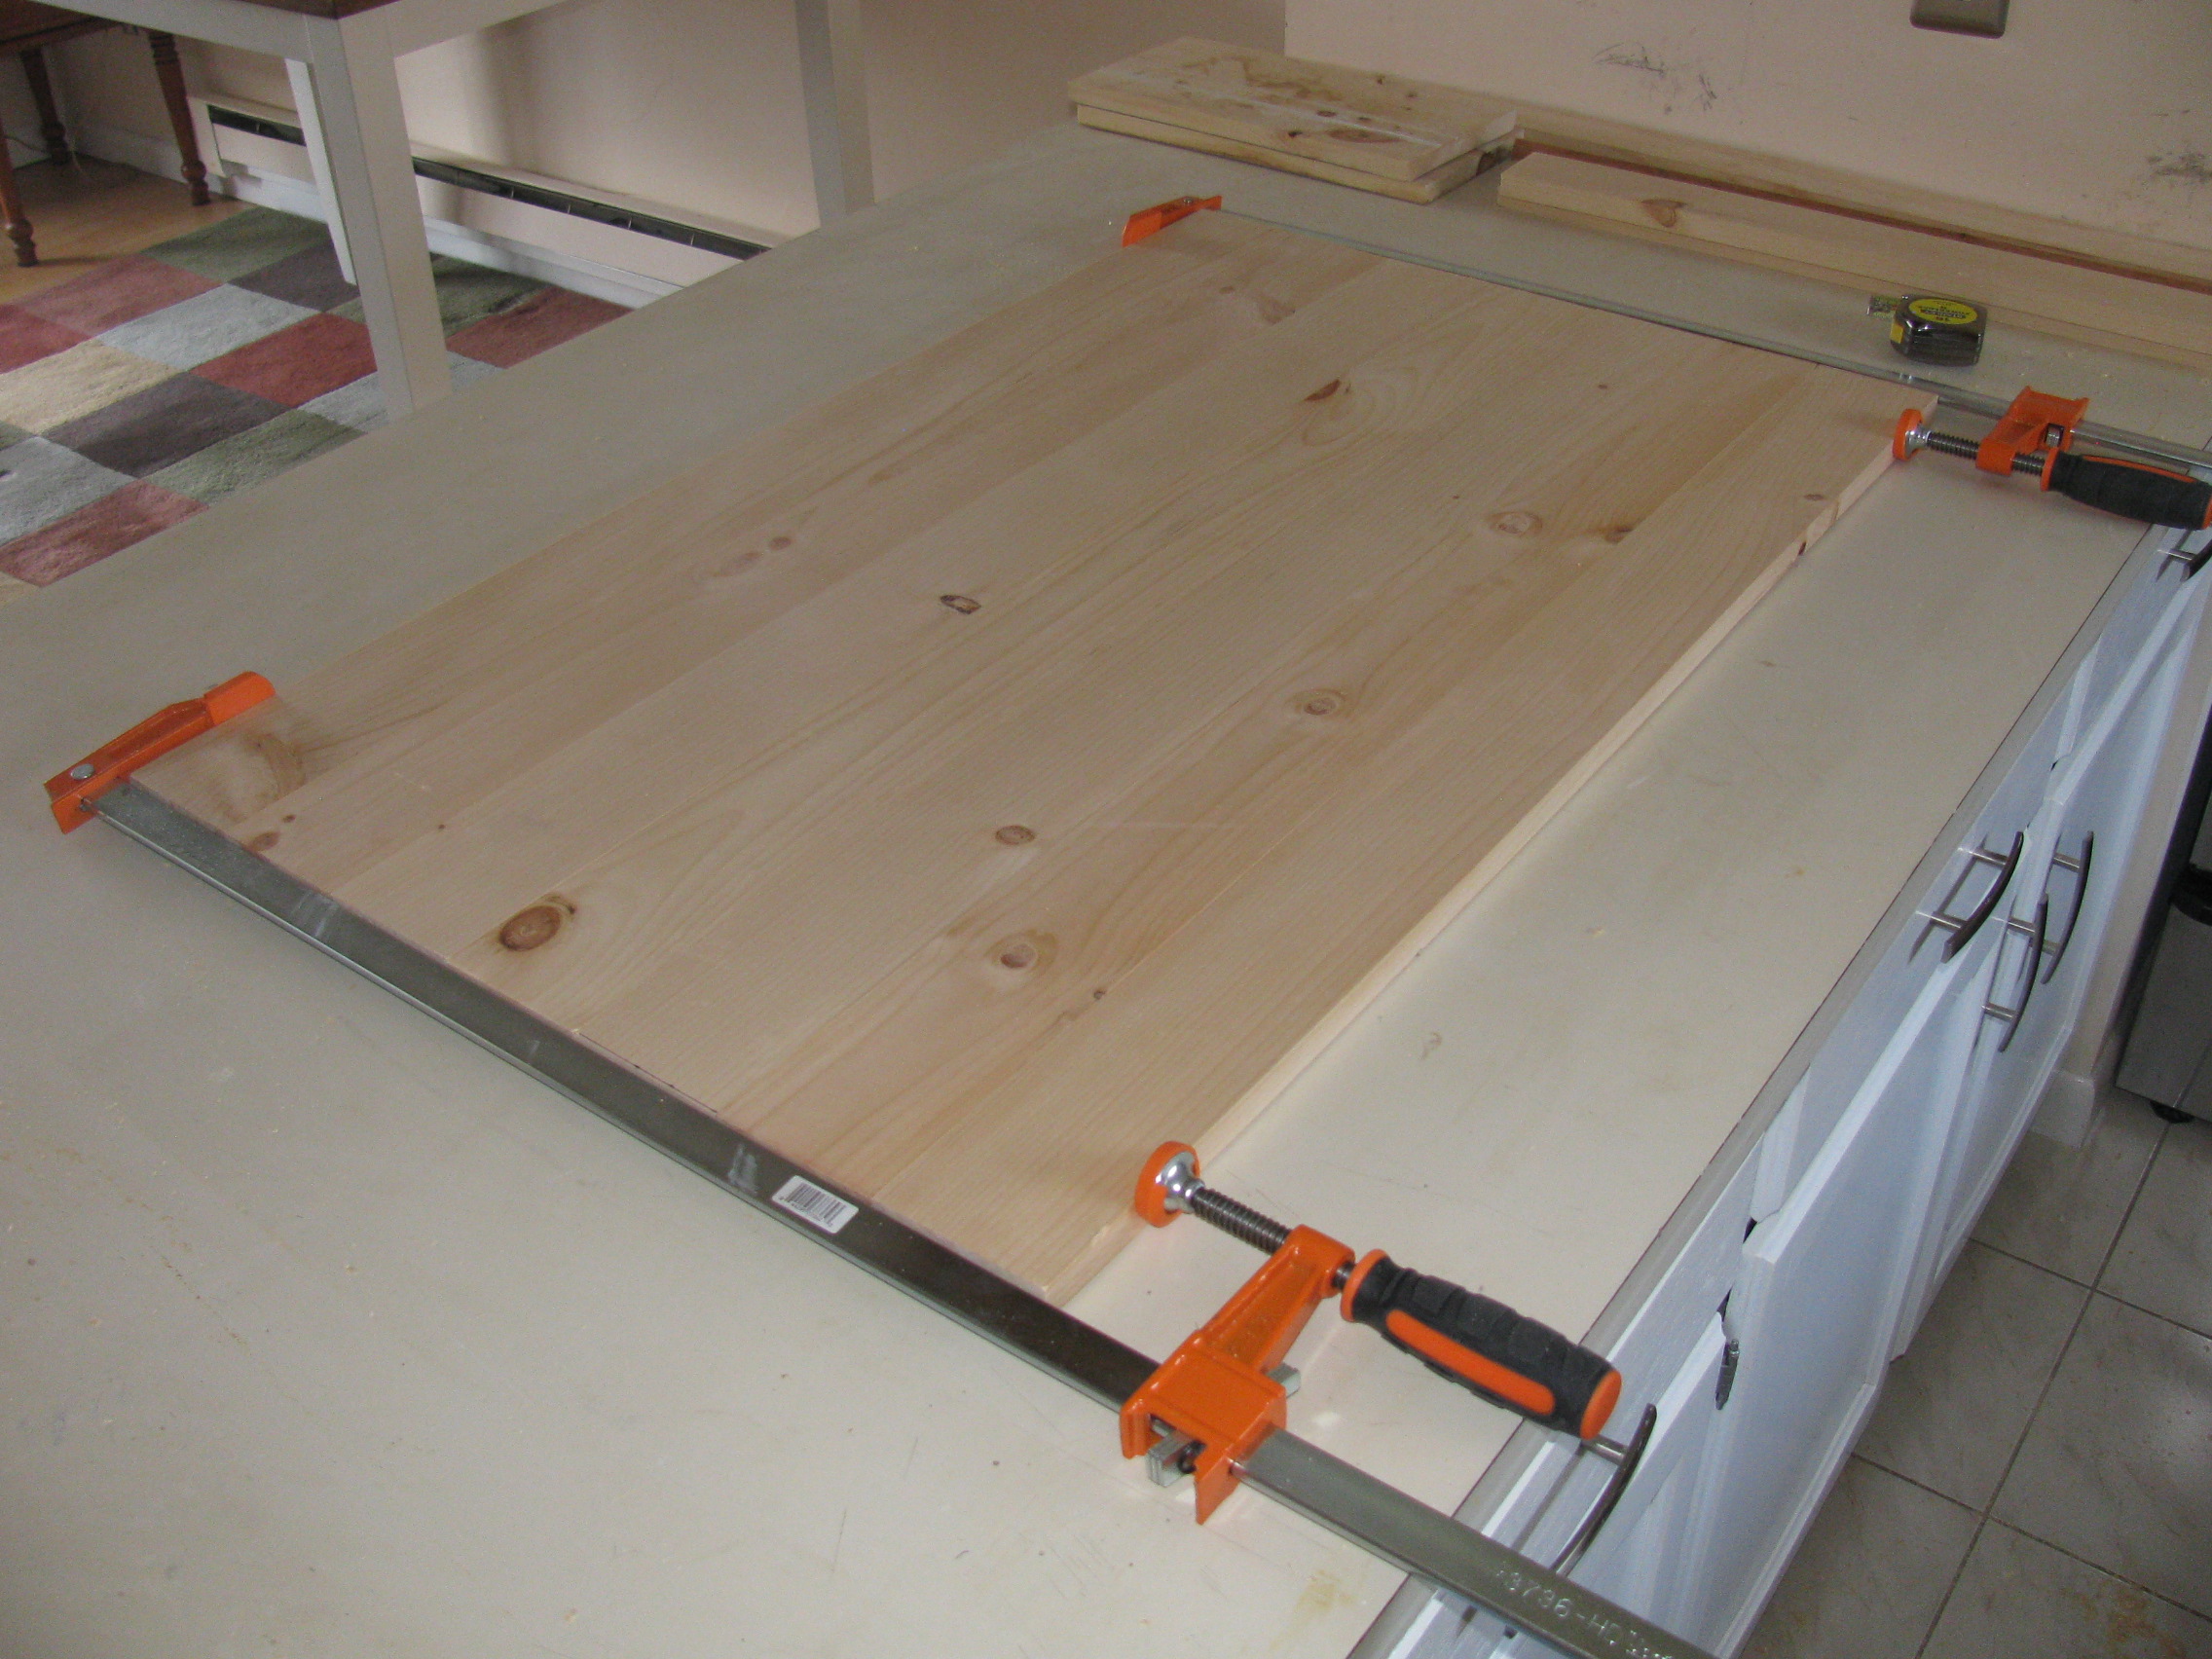
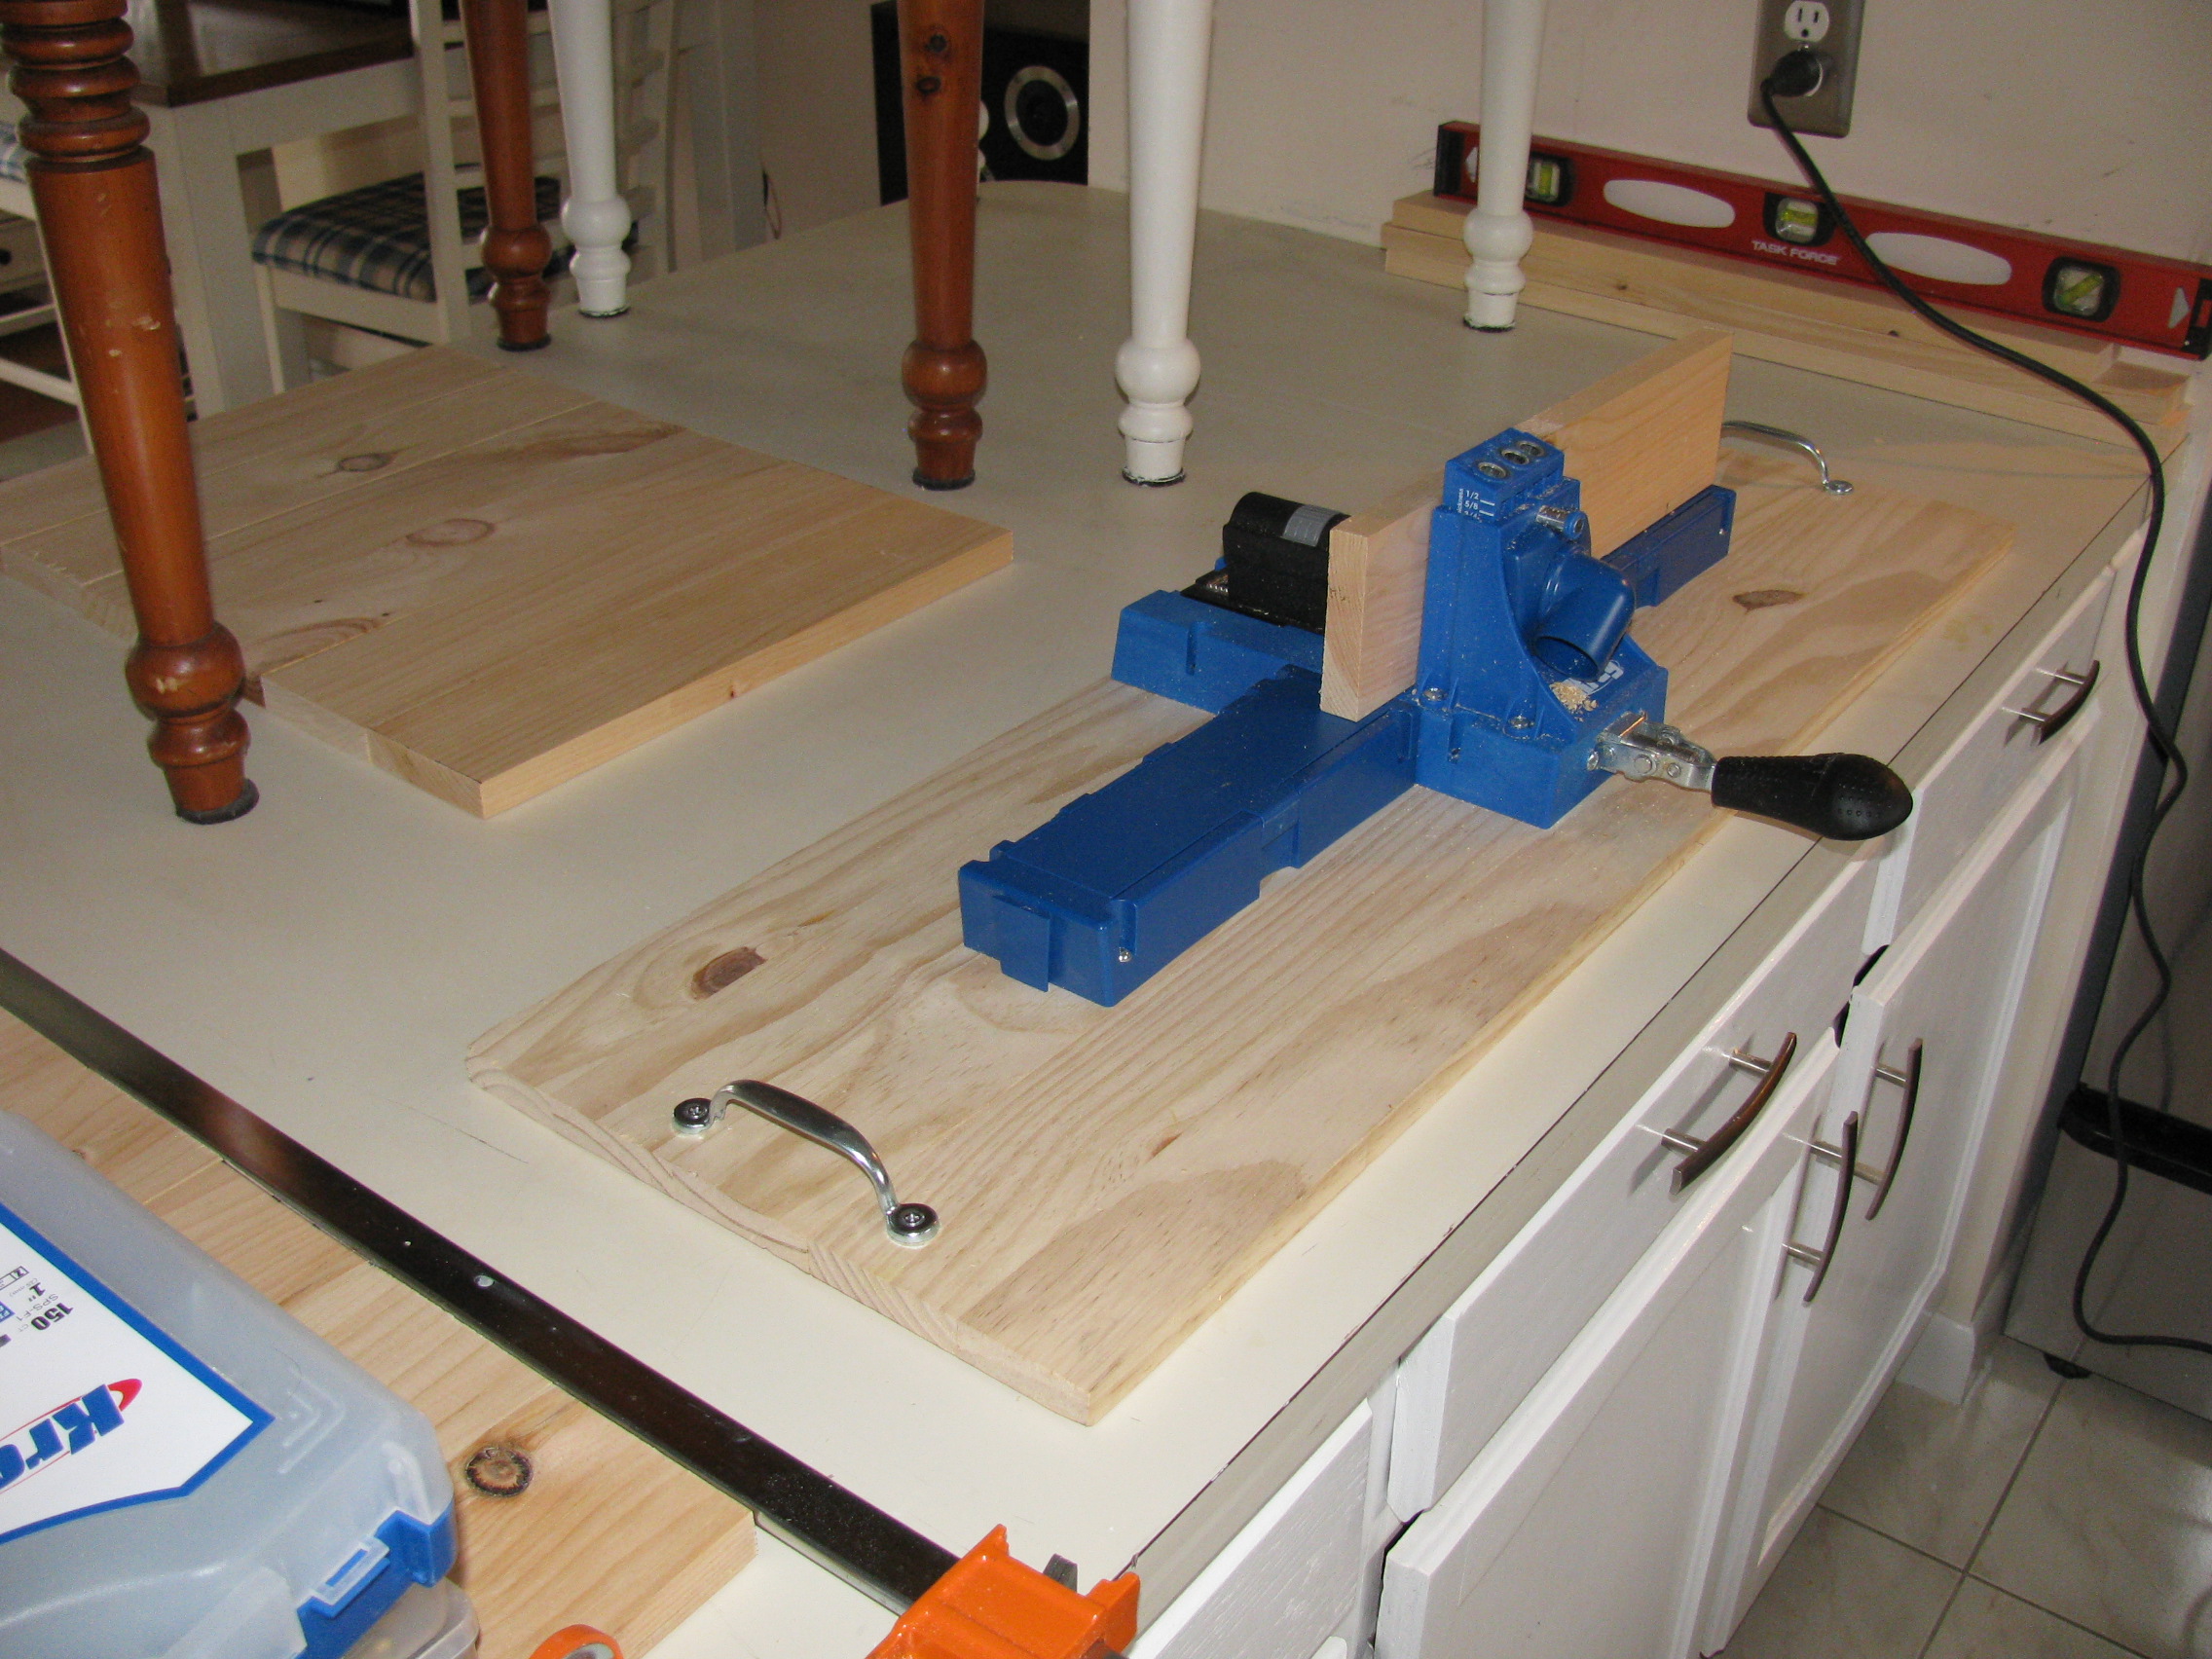
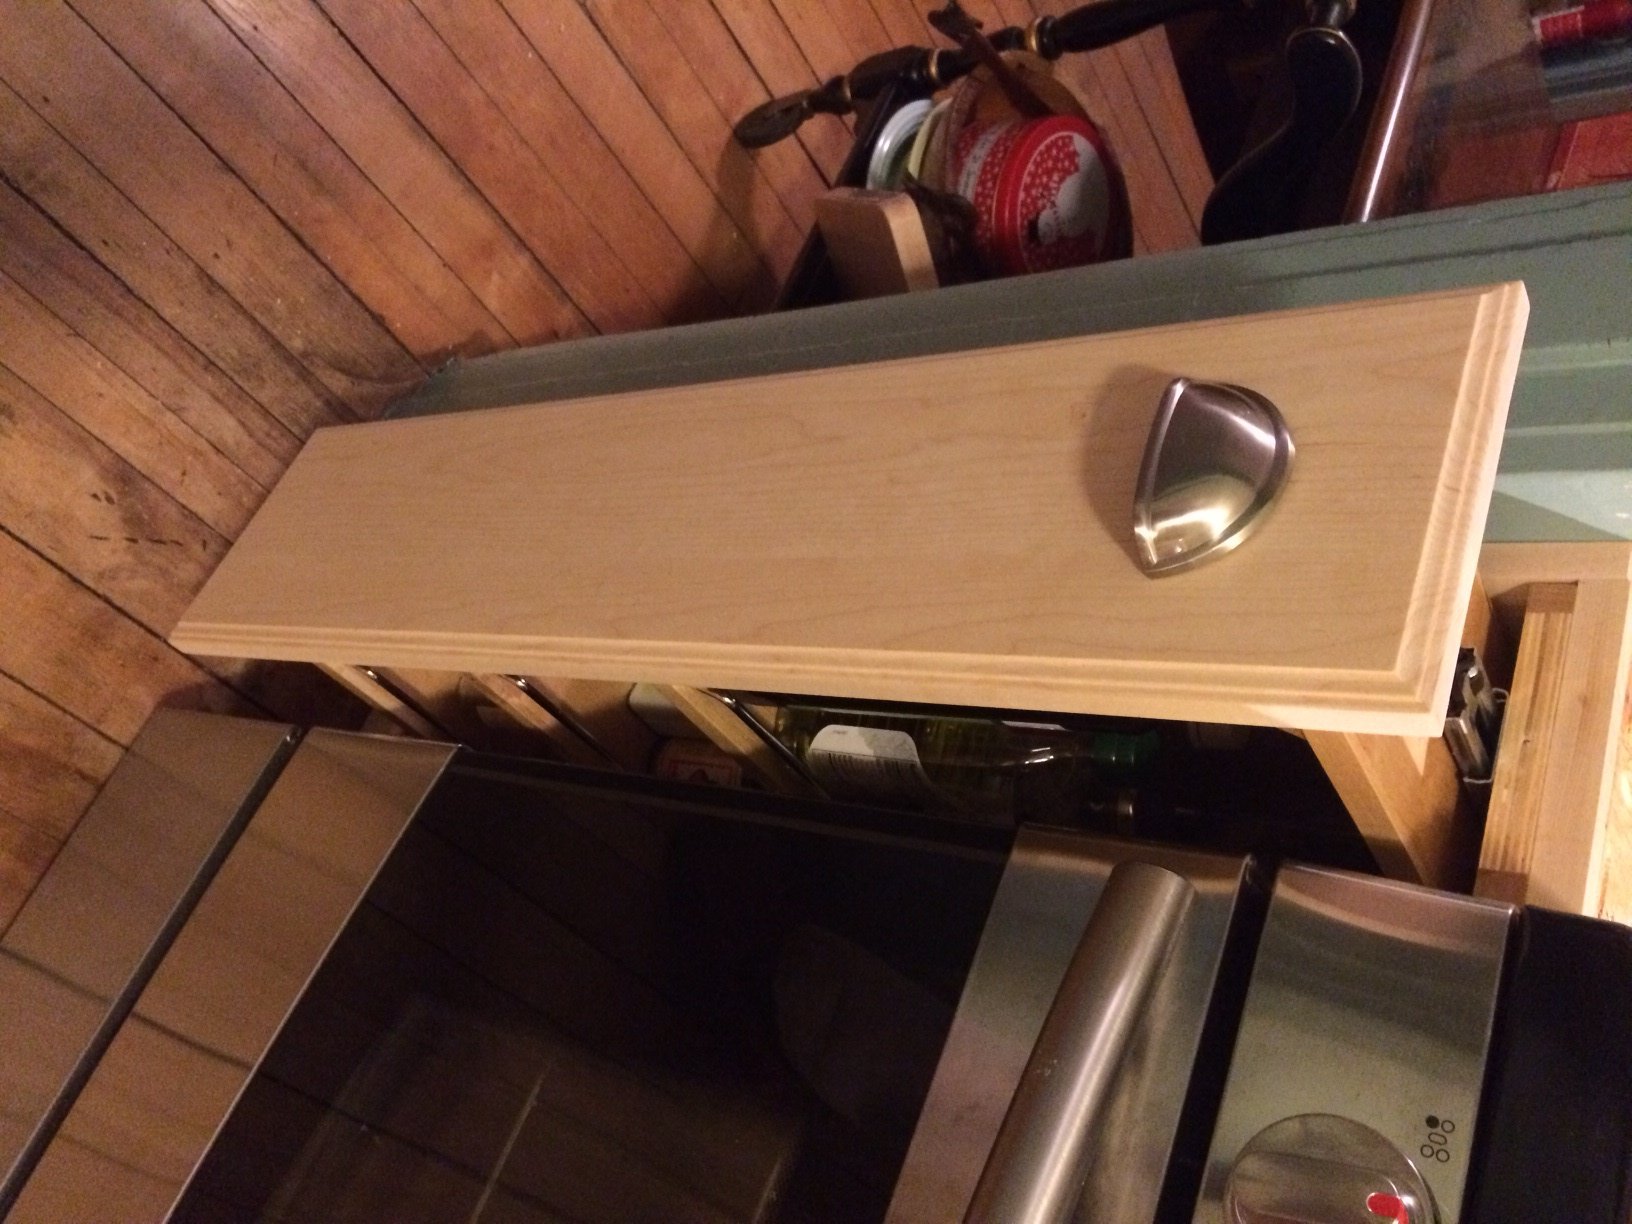
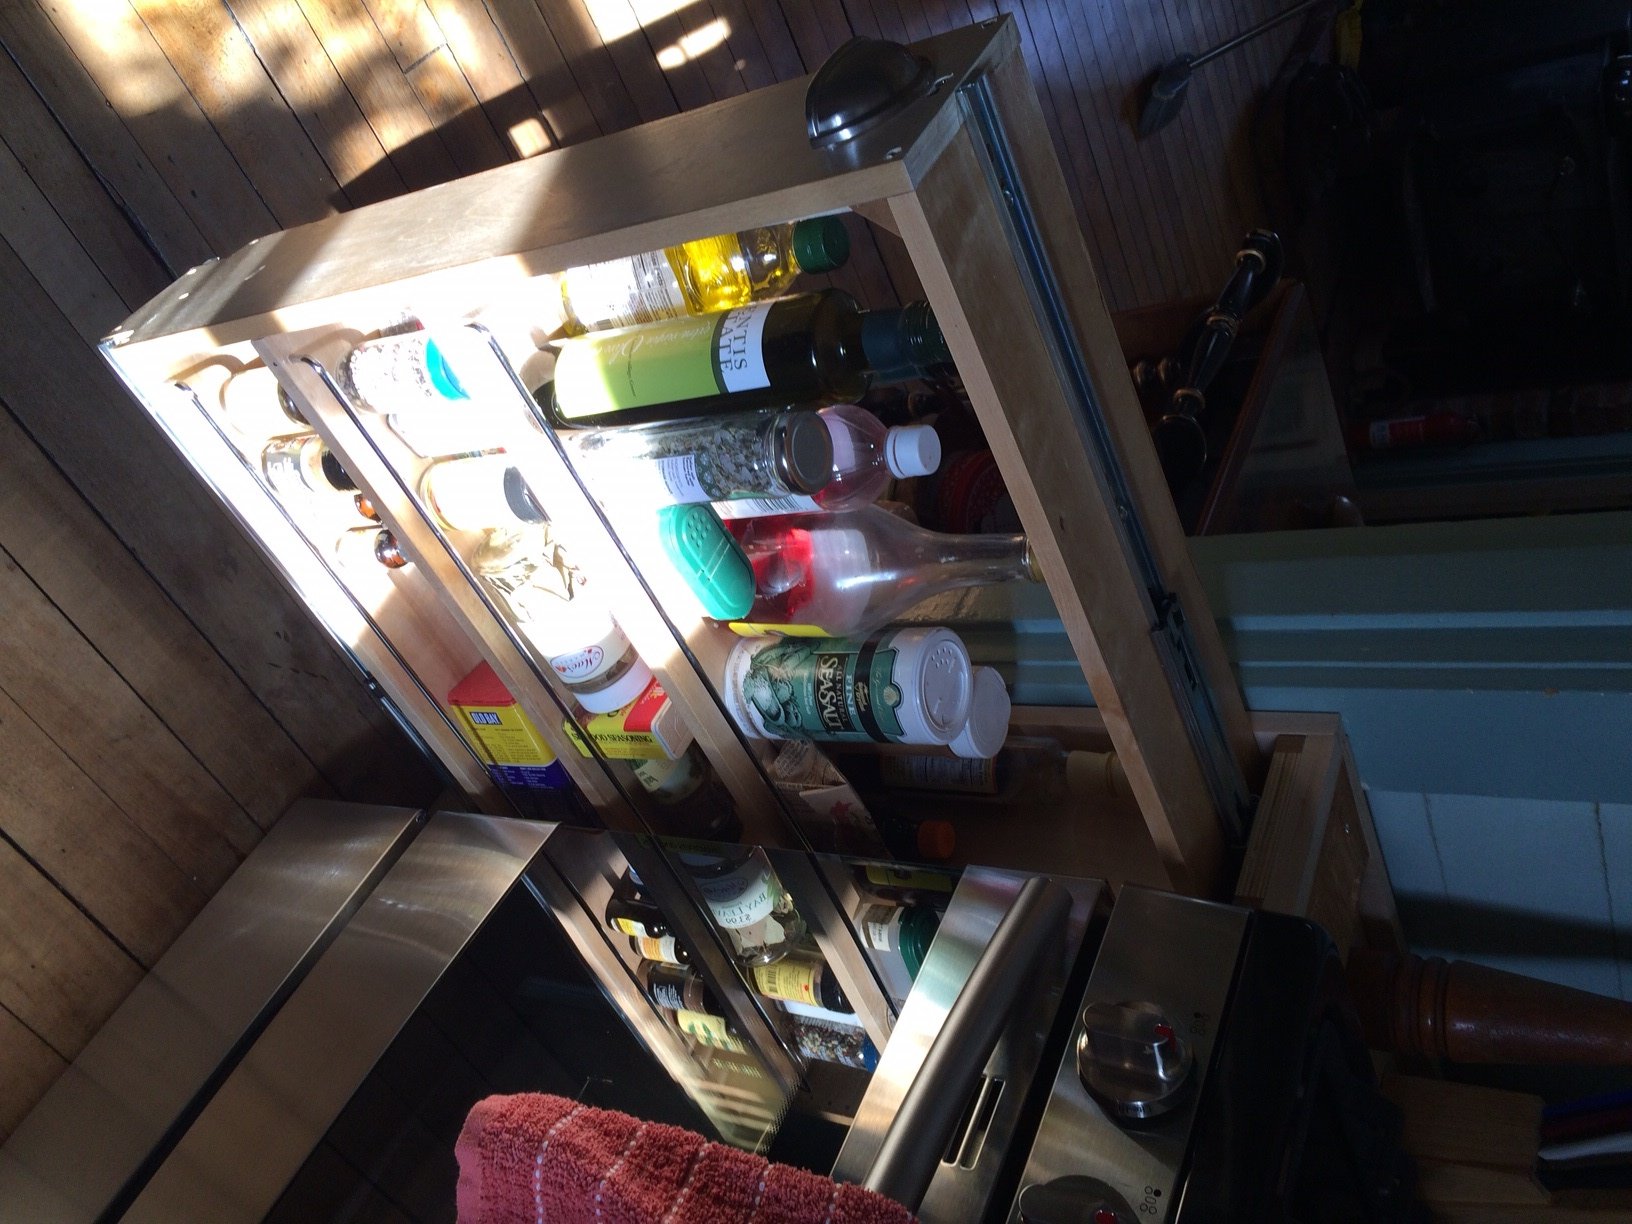
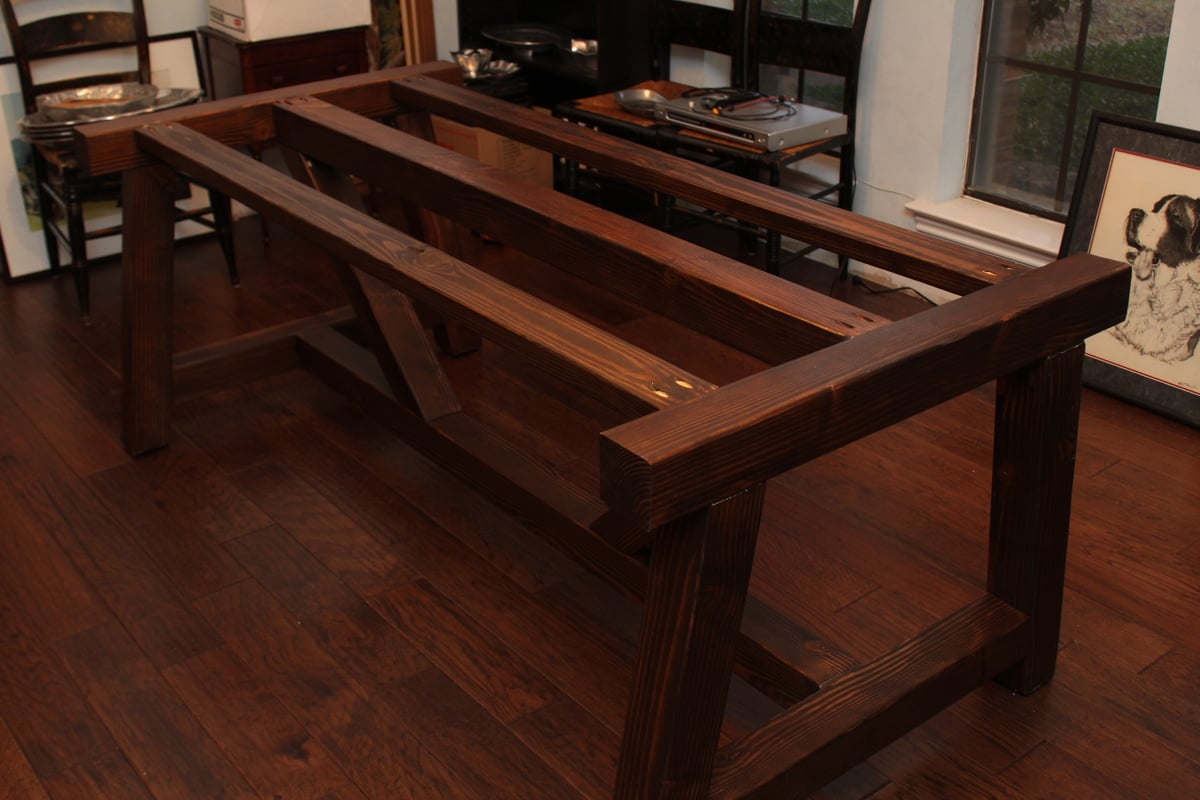
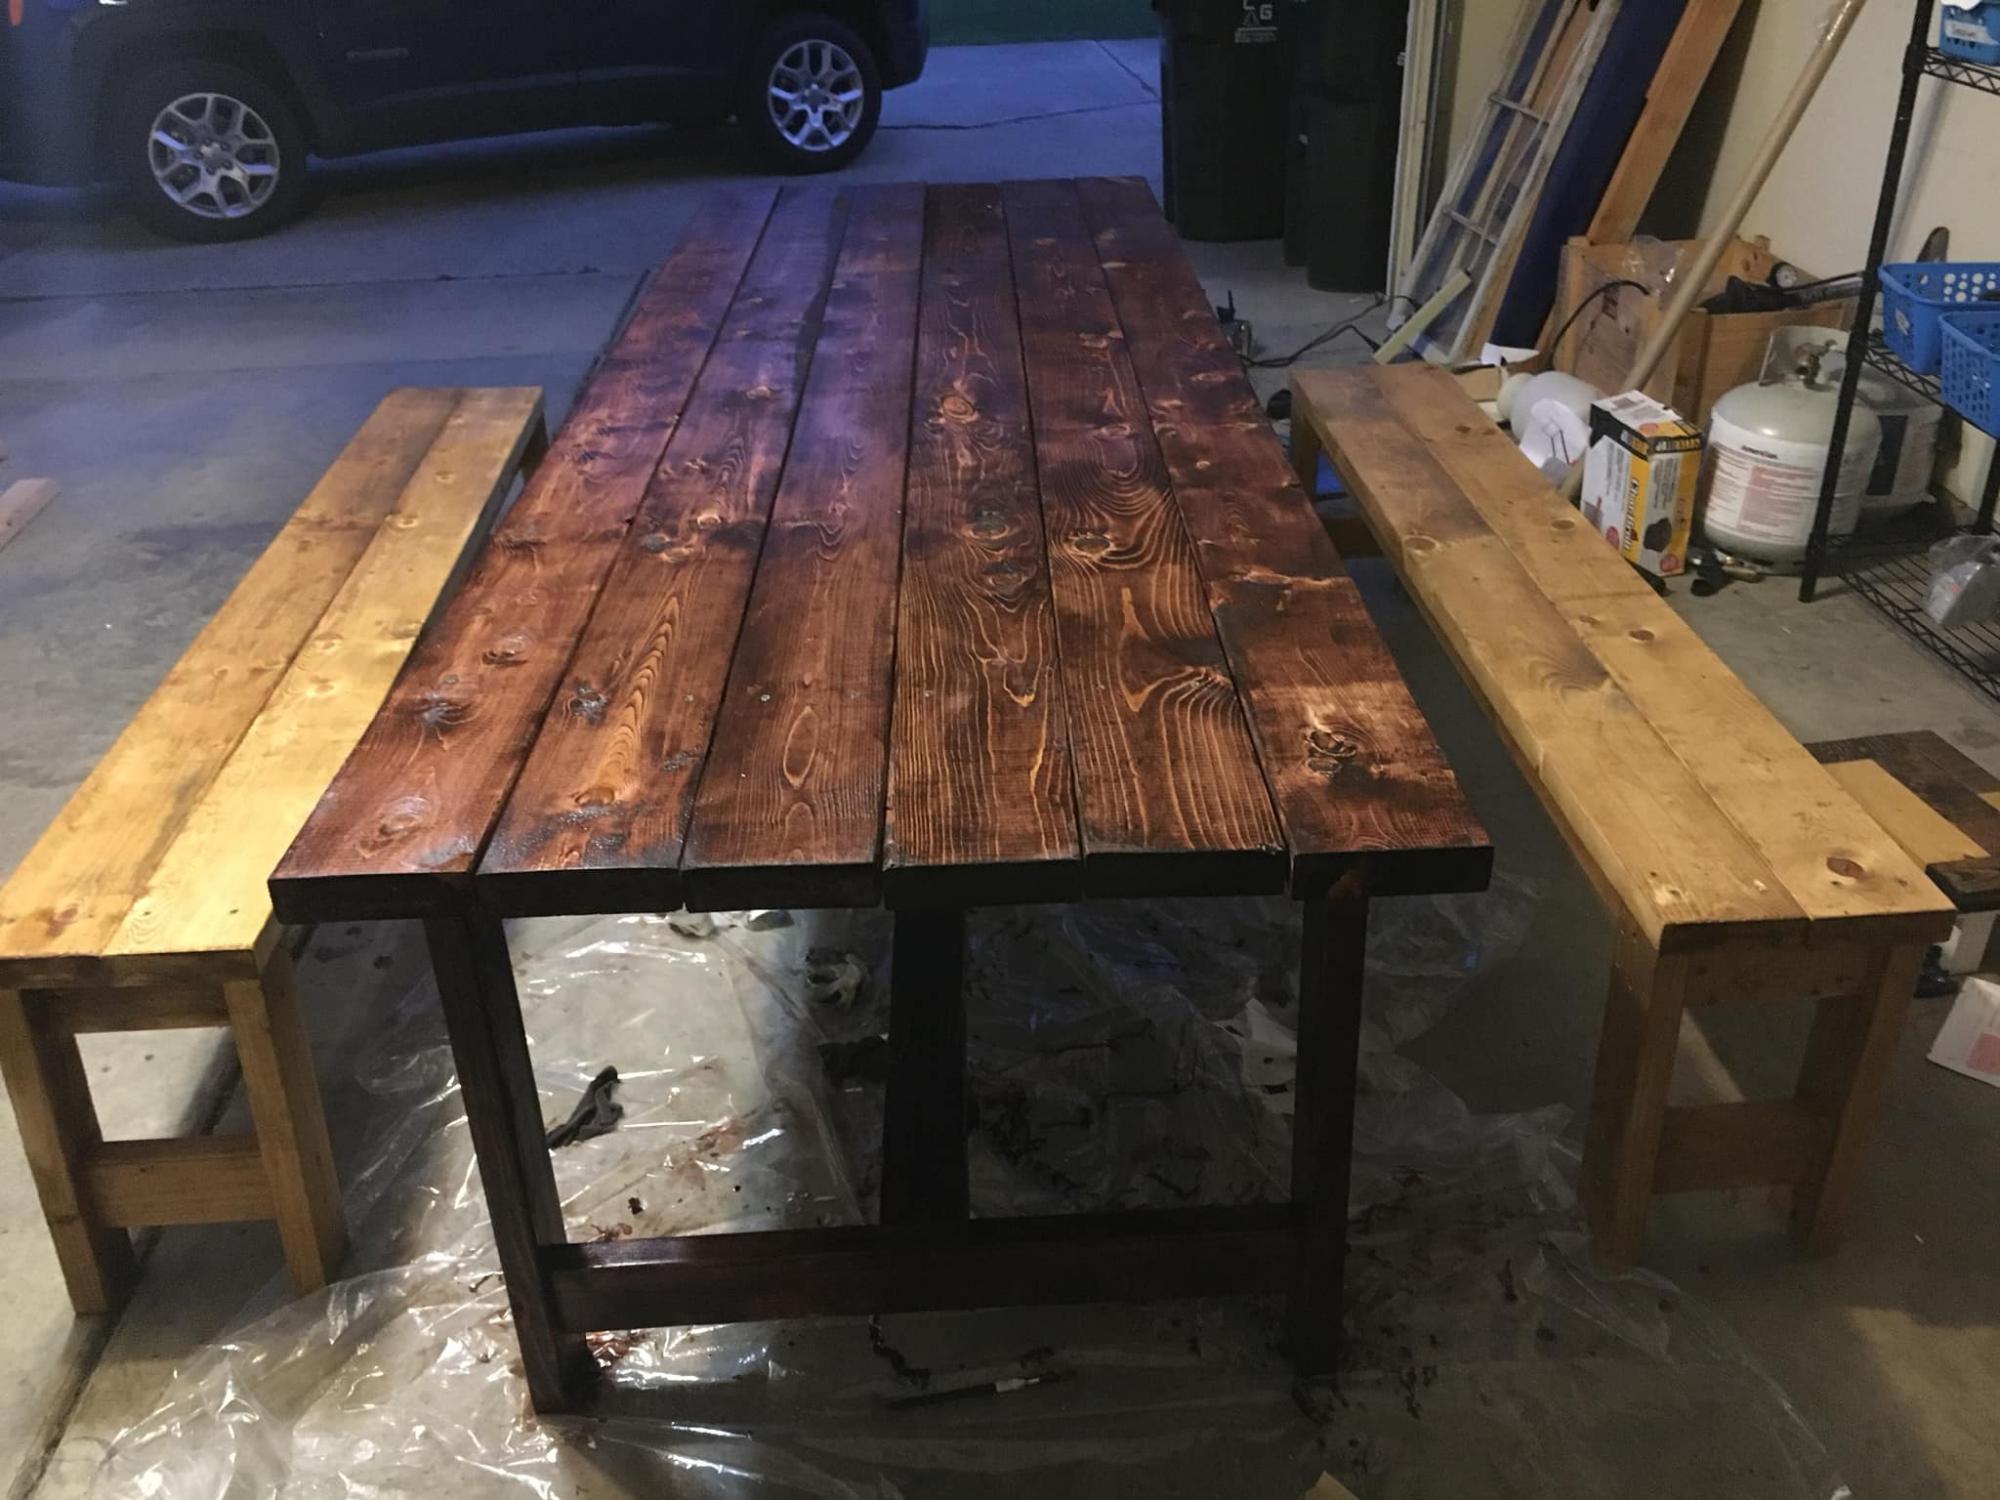
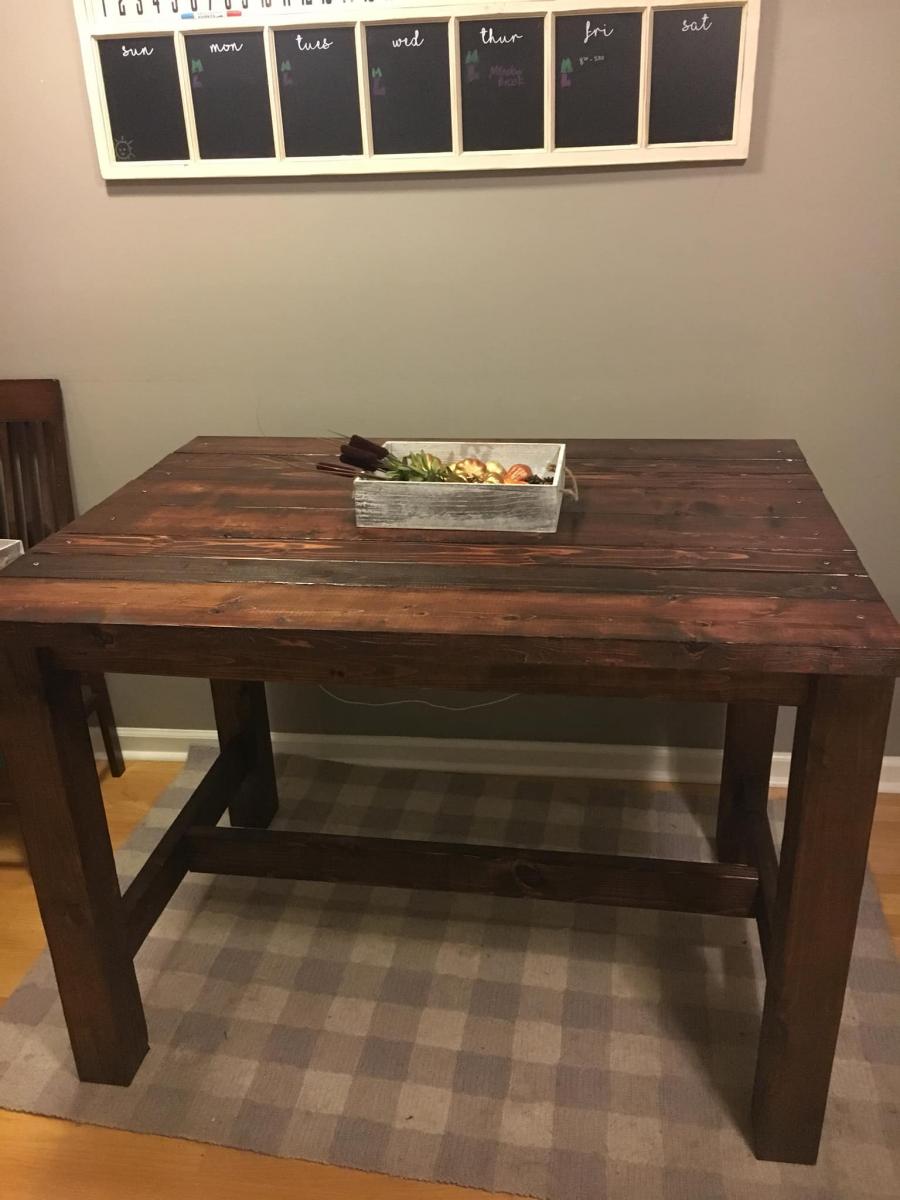
After a not so subtle hint, my husband embarked on his first furniture build to give me my dream coffee table! (He is in construction by trade- this is not a beginner project!). It came out beautifully and we LOVE all the drawers and storage! He found a few errors on the plan, first of all in the price- ours cost us a bit over $200 with some of the wood given to us by my dad- slides alone cost about $40. He also had to add shims so that the drawers fit with the slides. You may be able to change the dimensions of the drawers slightly so they fit without the shims. We are happy with it, and excited to move on to the next project in our home!

Built from Plan(s)
Estimated Cost
$20-300
Estimated Time Investment
Weekend Project (10-20 Hours)
Finish Used
Walnut stain with poly topcoats; my husband used a conditioner first and then did 2 coats of walnut stain, leaving the second sit for at least 10 minutes before wiping off to get the dark stain.
Recommended Skill Level
Intermediate


Comments
chelseylcary (not verified)
Tue, 02/28/2012 - 17:48
i love this, i intend this to
i love this, i intend this to be my next project after i am done with this job... i think i will only do the 2 bottom drawers tho.
jkf1983
Thu, 03/01/2012 - 08:59
Nice job! It looks great!
Nice job! It looks great! I'm actually going to be build this for my wife and was wondering what kind of plywood you used for the top to go along with the poplar? Did you use 3/4 Birch plywood? I think I'm going to use the General finishes Java Gel stain for the finish too. Thanks!
monkeyshiners (not verified)
Fri, 10/05/2012 - 17:59
plywood
ACK! sorry, thought I would get notified if someone posted... IDK if you already finished yours or not, but my husband thinks it is maple plywood, but we aren't sure. after seeing some other projects with the gel stain you mentioned I will definitely have to get some of it for future projects, cause i love the look of it! Good luck, i hope you post photos of yours! If you have any other questions, post them on my blog post here http://monkeyshiners.blogspot.com/2012/01/my-christmas-gift-storage-cof… and i will get an email about it to respond asap. :)