Community Brag Posts

Porch Bench

Submitted by Anonymous (not verified) on Sat, 01/05/2019 - 06:23

Love the easy to follow plans!!! Make sure you have room when building....this a Big bench.

Rob V.  

Estimated Time Investment
Weekend Project (10-20 Hours)
Finish Used
Stained with Early American, then Chalk paint over. Sanded lightly to have stain show through. I also did the wood transfer for the lettering.
Recommended Skill Level
Intermediate

Comments

King Farmhouse Bed

Submitted by Martinec97 on Tue, 10/04/2022 - 06:46

This is a King size farmhouse bed that I made based off of Ana's plans. I love it! I painted it a light gray and then glazed over it with a darker gray. Thanks for looking! - Wendy

Comments

The Wife's Request

Submitted by tugnut1 on Mon, 08/22/2011 - 16:39

My wife wanted me to build her a coffee table that looked like an industrial cart for about the last year. I saw this plan on the Ana White web site, and it was just what she wanted. The hardest part of this was finding the wheels for the cart.

Built from Plan(s)
Estimated Cost
$70 for the wheels and about $25 for the rest.
Estimated Time Investment
Afternoon Project (3-6 Hours)
Finish Used
Var Premium Wood Stain (Can't remember the color) and MinWax Polycrylic.
Recommended Skill Level
Beginner

My first project - Little Helper Tower!

Submitted by amandapdx on Sun, 09/15/2013 - 14:38

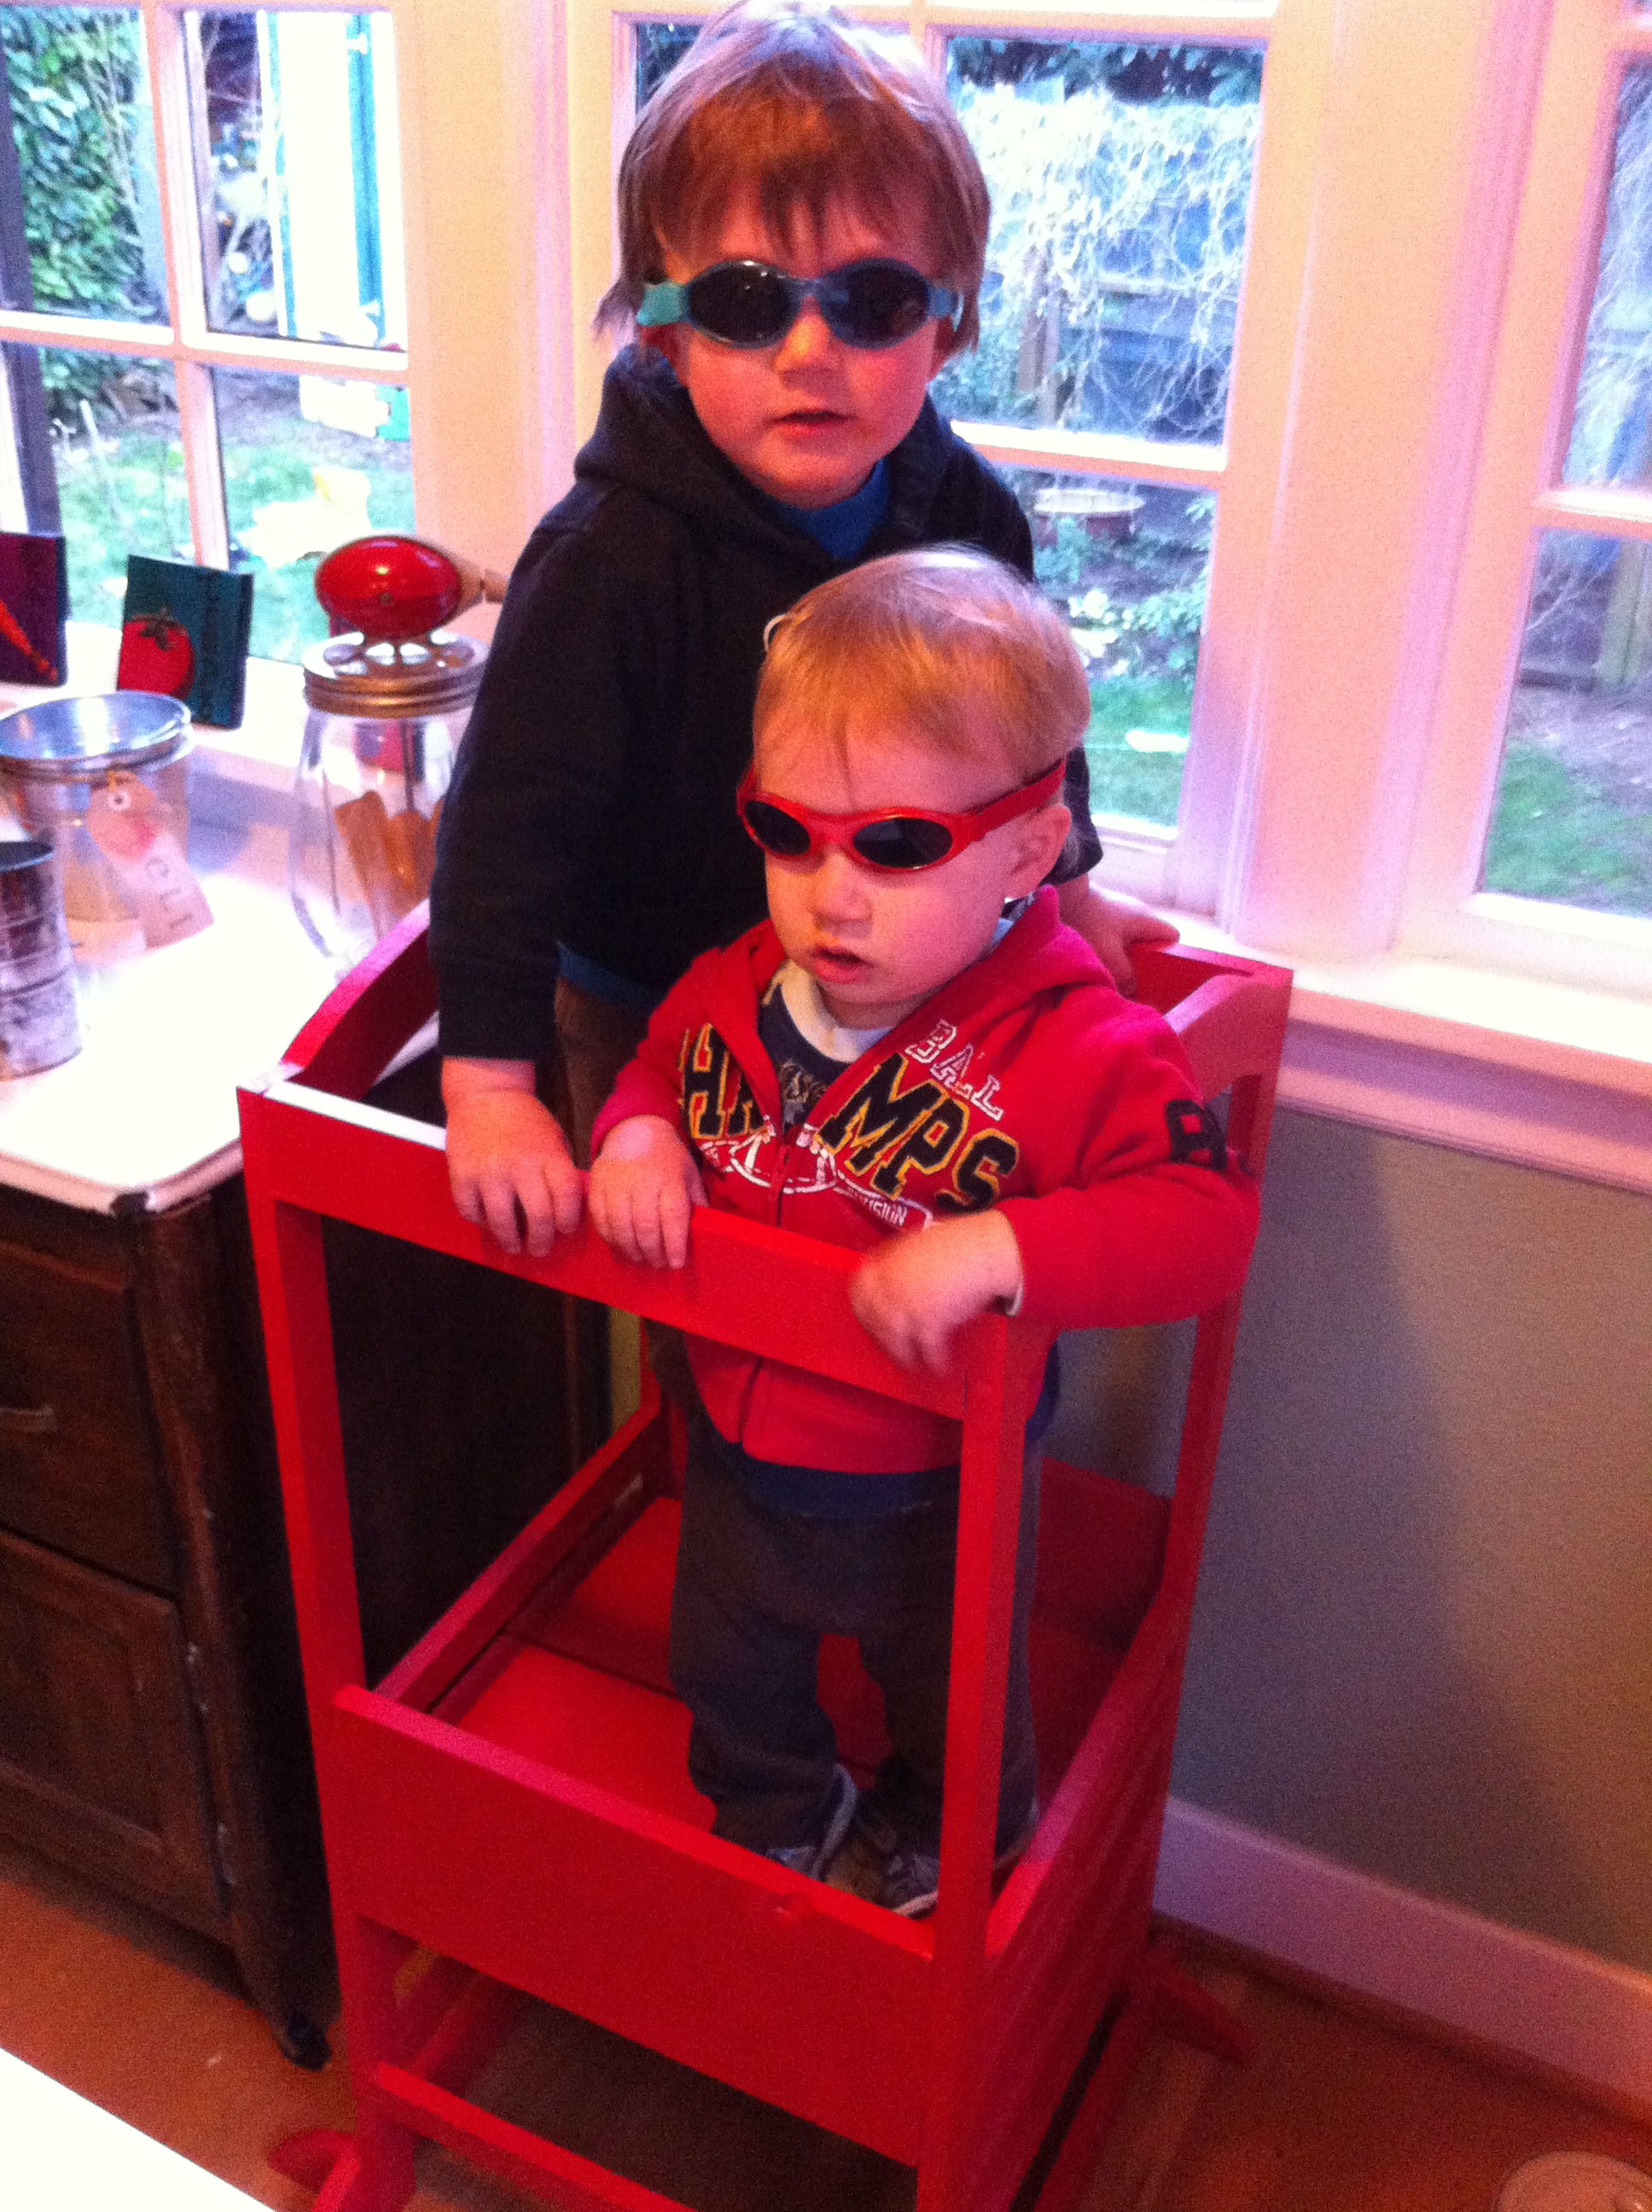
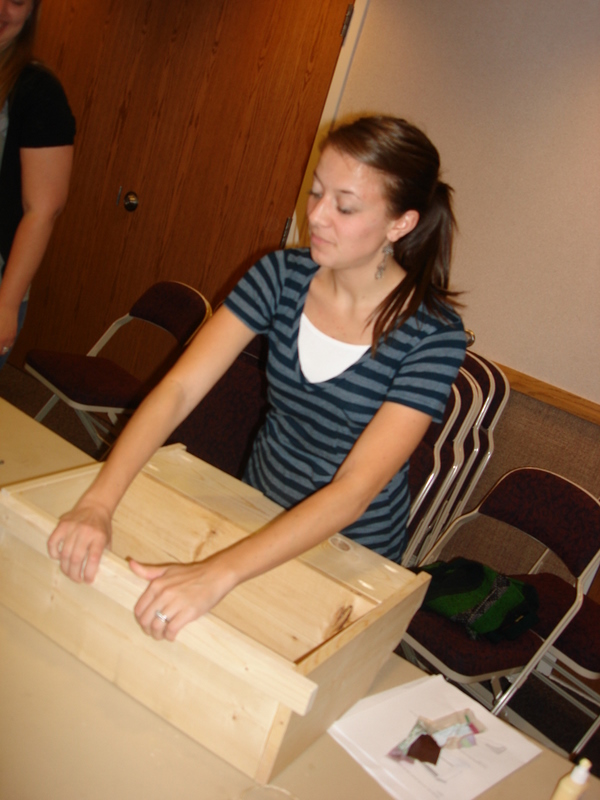
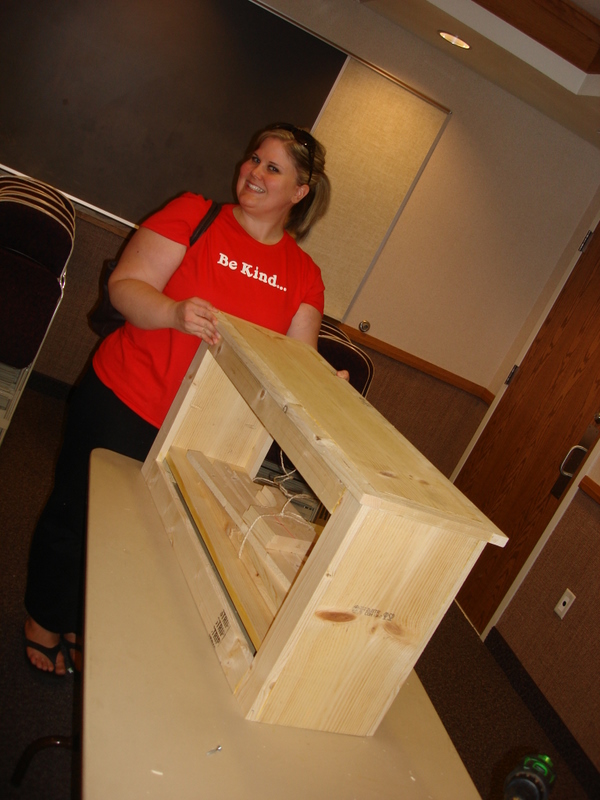
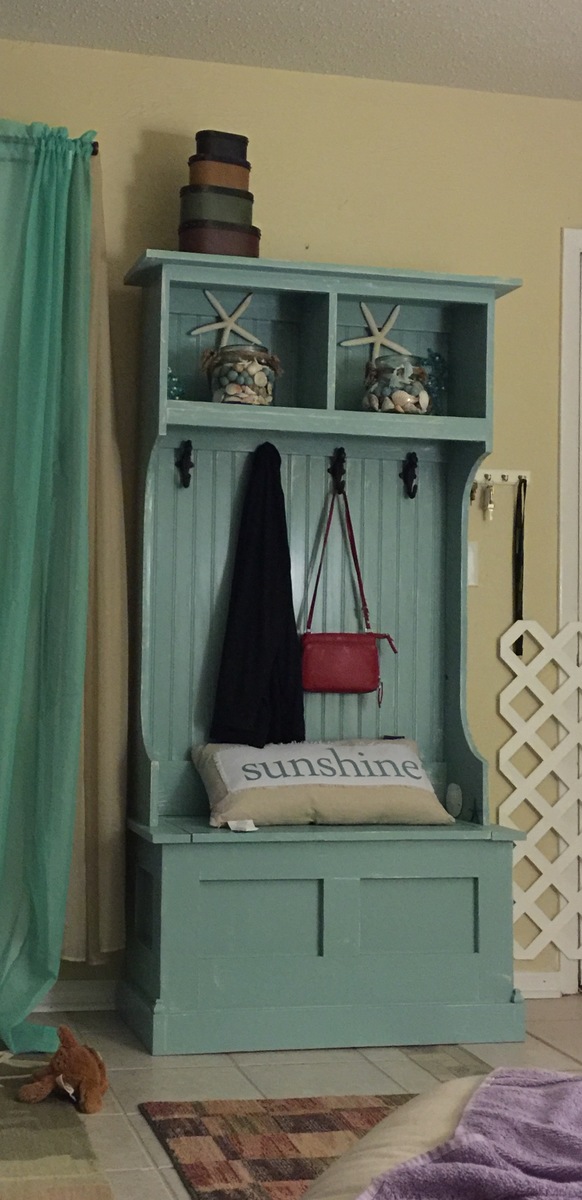
Well, as my first project off of ana-white.com, I decided to make my two little guys the Little Helper Tower. I had seen store versions that cost $200 or more, so was excited to be able to have something that we wouldn't normally be able to buy.

It was supposed to be a Christmas present. It was finally painted and ready to go by mid-March. Which is to say, I couldn't find time to work on it too much, though it also took me much longer to do than what Ana said, which is not unusual for me.

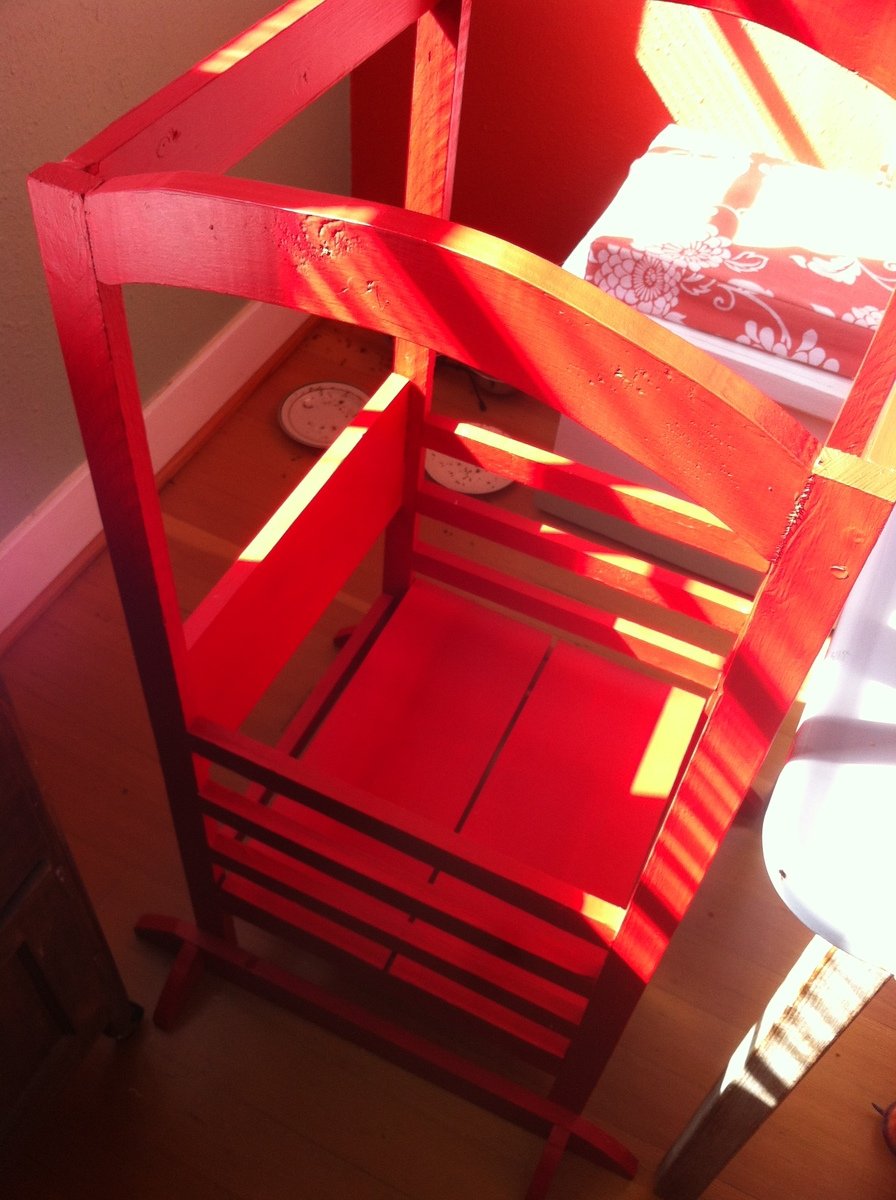
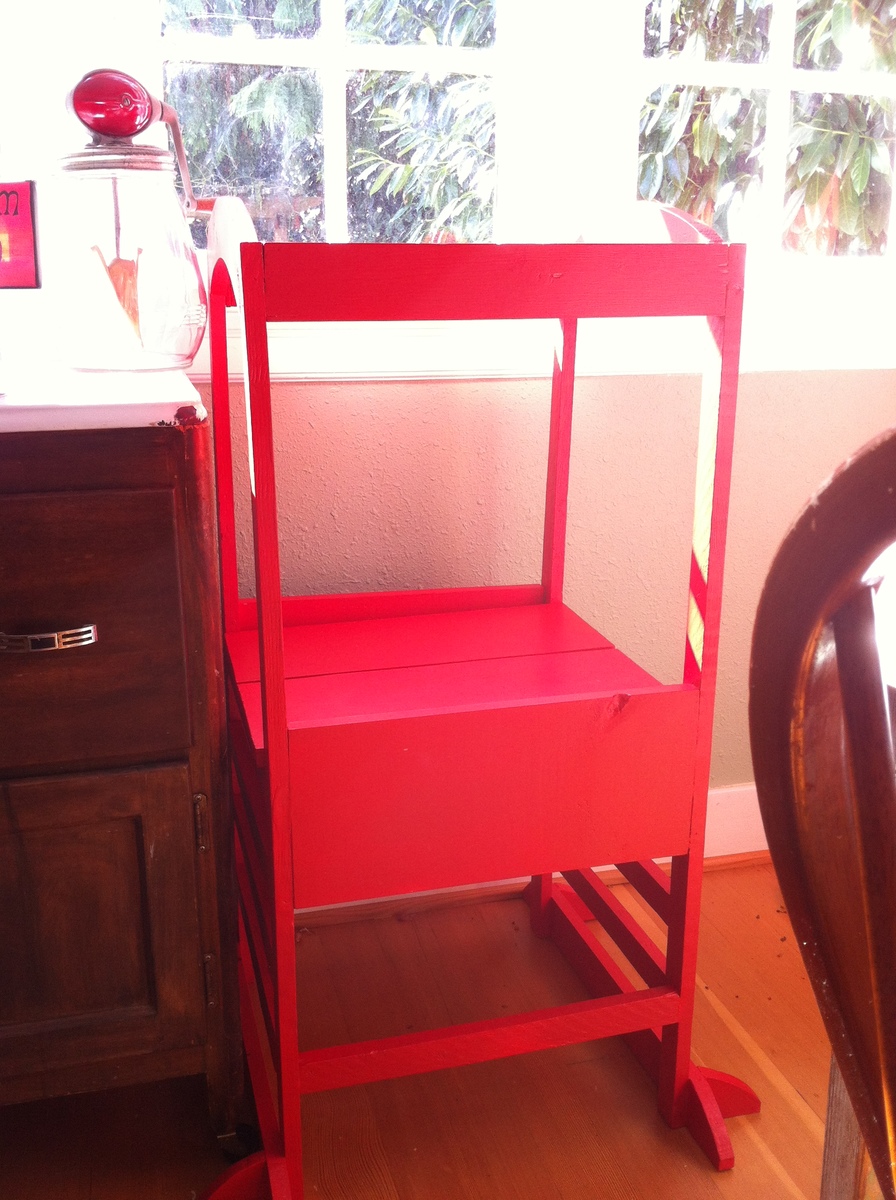
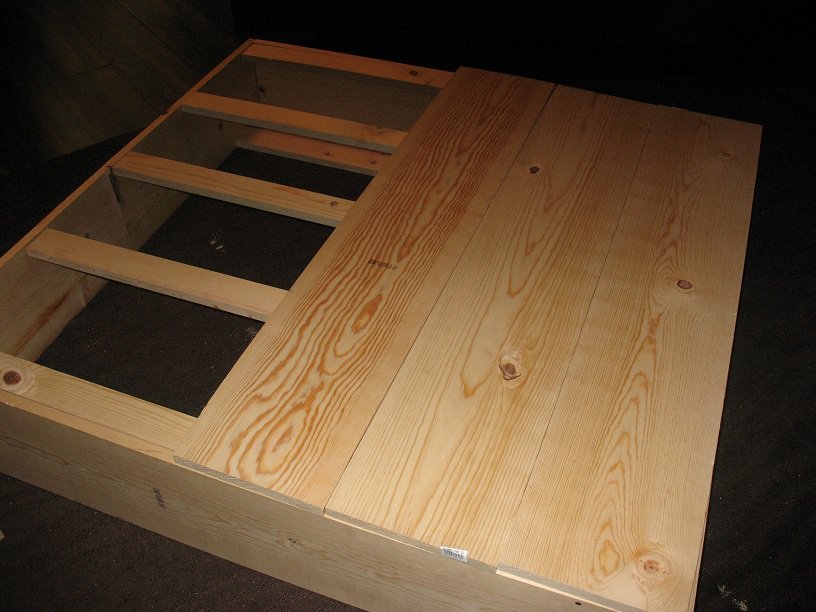
The main problems I faced were 1x2s that I bought wet and that warped by the time I got around to using them; not having an honestly flat surface to work on, not having lots of experience with my jigsaw, so my top arches and bottom curves are not that attractive, and using some leftover red paint that took about 3 layers, plus the primer, to cover well.

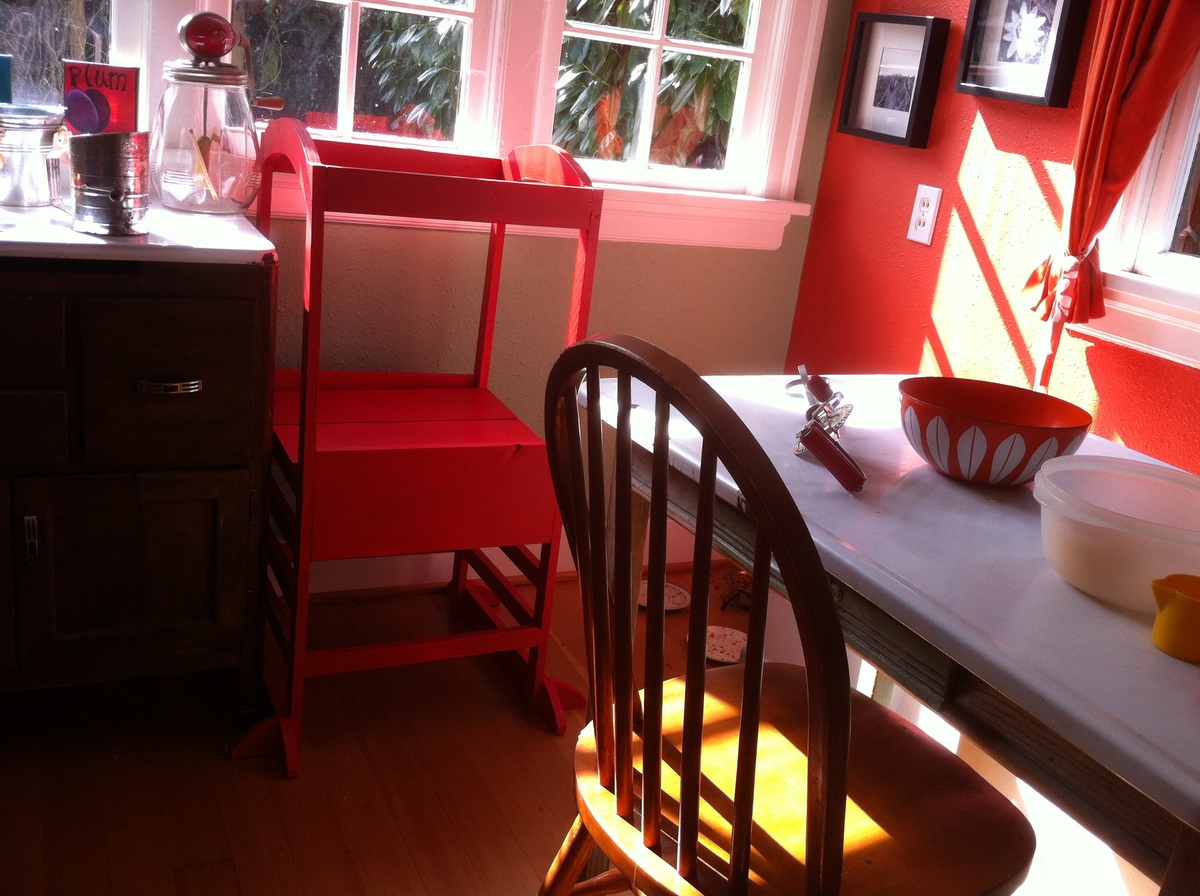
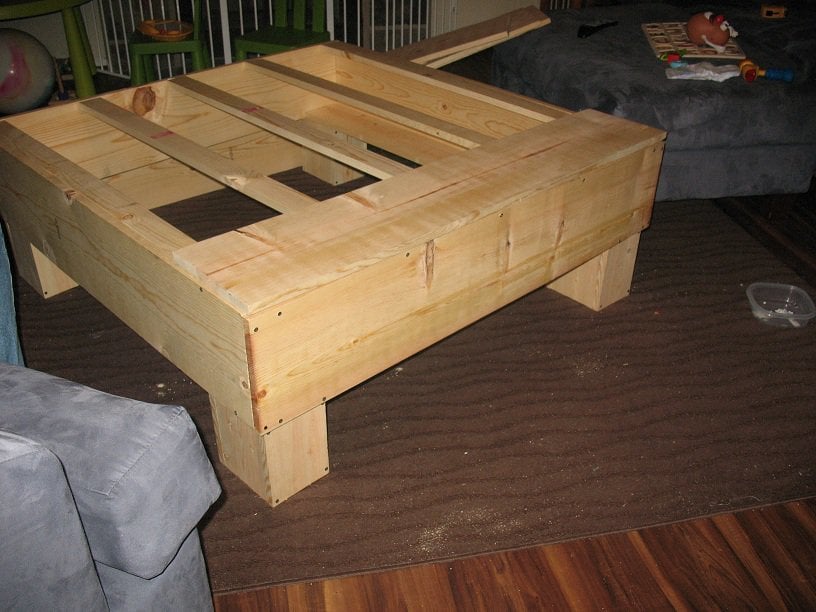
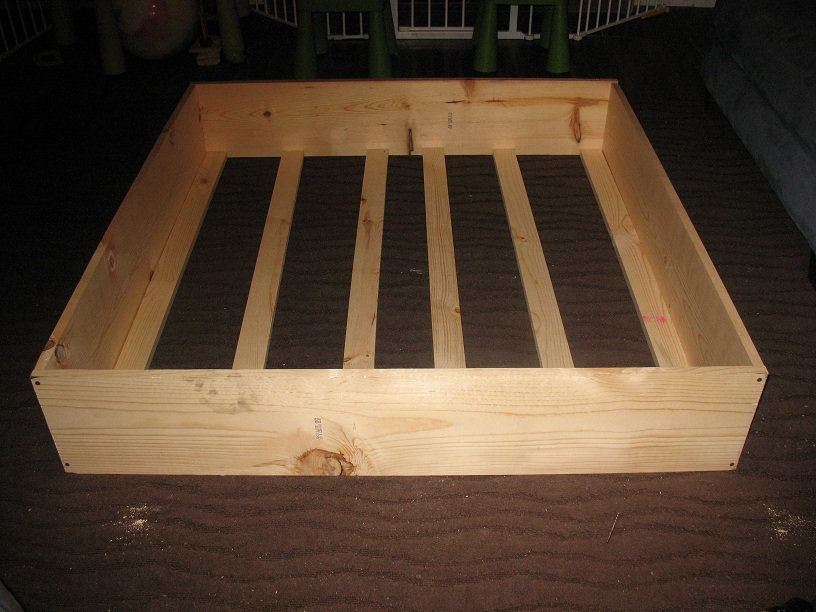
In the end, I have a working helping tower with a movable floor that both my kids, now 2 and 4, can use in the kitchen (mainly - we didn't make the folding kind because the hinges were way too expensive!, so it doesn't move around too much) and it has helped my little guys help me on endless baking projects. My 2-year-old still can't get out of it himself, but my 4-year-old swings on it like a monkey. Thanks, Ana, for all your inspiration! I have a list a mile long of projects I want to tackle. Hopefully I'll get to one soon!

Built from Plan(s)
Estimated Cost
$35 and leftover paint
Estimated Time Investment
Weekend Project (10-20 Hours)
Finish Used
Primer and paint left over from other projects.
Recommended Skill Level
Starter Project

DIY Record Display Shelf

I recently started collecting vinyl records and wanted to show some of them off but also have them readily available to play.  I saw some options online but decided to make some shelves myself.  No judging my music!  :)


More details and instructions on my blog:

http://www.woodworkingfourdummies.com/blog/diy-record-display-shelf

Estimated Cost
$20
Estimated Time Investment
Afternoon Project (3-6 Hours)
Finish Used
I used the MinWax Ebony stain and finished it with polyurethane
Recommended Skill Level
Starter Project

Corner Cupboard

Submitted by Anonymous (not verified) on Tue, 01/08/2019 - 15:11

Made this corner cupboard in an afternoon. It was easier than expected especially with the sliding compound miter saw, and the kreg jig haha!

Built from Plan(s)
Estimated Cost
$130
Estimated Time Investment
Day Project (6-9 Hours)
Finish Used
Varathane vintage aqua wood stain for the shelves, Behr "power grey" for the colors. I used weathered grey plank MDF paneling from Home Depot for the backing and doors.
Recommended Skill Level
Beginner

BEST DIY Garage Shelves (Attached to Walls)

Submitted by Anonymous (not verified) on Mon, 10/17/2022 - 13:28

Total cost $87. This project was very easy and did not take much time.

Comments

WHAT ANA INSPIRES!!!

Submitted by redhead_61 on Fri, 08/26/2011 - 09:36

I had a friend doing a class for a church activity on refinishing furniture. I think she mentioned to our leaders that I build furniture so two weeks ago she emailed me to see if I would be willing to participate and take a little time to talk. I said of course, and then in my true fashion of loving a good get-together and having a tendency to overdo things, I said, "we could even do a little project too".

I went onto this site printed off 5 projects under $30 and let anyone that wanted sign up. I figured the easiest way to let people build a project in an hour and a half was to pre-cut and pre-drill everything (Thank you to my new Kreg jig that let me rock that part out no problem)

I ended up cutting and drilling for 26 orders!!! EEK! I was a little like a mad hatter running around helping people that had never even held a drill before (so please excuse the LACK of pictures, including none of me doing anything at all :( ) But I think it turned out awesome and everyone was so excited.

I just wanted to post this as a little tribute to Ana for all the amazingness that you are. Thank you for helping those scared to even start.

Estimated Cost
under $30
Estimated Time Investment
An Hour or Two (0-2 Hours)
Recommended Skill Level
Starter Project

Comments

ferbit

Fri, 08/26/2011 - 10:03

What a fun idea!!! Looks like everyone was having a fantastic time!

Ana White

Fri, 08/26/2011 - 11:26

Thank you so much for sharing this! I can remember when my little sister took woodshop in high school, and we all looked at her like "what is woodshop" and "why on earth would you ever want to take woodshop - woodworking is for retired men!". Not too many years later, I was wishing I had taken wood shop!

This is so amazing to see because you are teaching these beautiful and courageous young laddies skills they will use throughout their lifetime. Not to mention the confidence to tackle other traditionally male trades. And I'm willing to bet, their daughters will be using drills too!

I'm so honored to know you!

And might I add, those projects look GOOD!

romanweel

Sun, 02/03/2013 - 12:17

MAN! I want to do something like this! What a wonderful thing to do to bring all those ladies together! (And tell Miss Red Shirt, I want a T just like hers! "Be Kind"!) Way to rock it out, all of you!

Chest of Drawers

my second Projects))))
Estimated Time Investment
Week Long Project (20 Hours or More)
Recommended Skill Level
Beginner

Comments

Classic bunk bed for our boys

Submitted by Anonymous (not verified) on Sat, 01/12/2019 - 21:22

My husband and I enjoyed building this for our boys. Our wood supply store didn't have enough 1x4's so we purchased 1x6's and ripped them down to an even 4" instead of 3.5 as with a 1x4. We also increased the height by 5.5 inches. That gives us a little extra room to do nightly reading at the bottom bunk. The slats (2 sets) in the bottom are just from IKEA and at the time we just threw them down there and I forgot to set them up in place for a true final photo. Oh well. They've enjoyed the bed for over a month already 

Estimated Cost
$140
Finish Used
Varathane ultimate one coat stain in Kona
Recommended Skill Level
Beginner

Shoe Rack & Floating Shelf plus a tablet wall mount

Submitted by Anonymous (not verified) on Sun, 10/23/2022 - 12:11

A shoe rack and floating shelf.
The shoe rack is made from 200mm x 50mm rough sawn pine and 16mm dowel.

The floating shelf was made partly from offcuts left over from the 4 x 4 pedestal dining table.200mm x 50mm rough sawn pine ripped into 3 pieces (75mm, 95mm, 75mm) and put together using glue and batten screws the 75mm pieces were offcuts from the table.

The reasons I made them from 3 pieces are
1/ I had offcuts left from a previous project
2/ The timber I use is only 200mm wide the shelf ended up being 245mm
3/ I am unable to dress timber that wide

The tablet wall mount was made from 2 offcuts glued together side by side and machined out with the router

rustic coffee table

Submitted by VelvetSky on Sun, 08/28/2011 - 19:55

my first build

Built from Plan(s)
Finish Used
cherry stain
Recommended Skill Level
Beginner

Comments

VelvetSky

Sun, 08/28/2011 - 19:59

I have not finished the staining since it needs another coat. But I love love love my new coffee table. Thanks so much to Ana for her blog. I always wanted to build furniture but everyone would just laugh at me for even suggesting it. When I saw your site you really motivated me and made me believe I could do this. I am so happy. Still afraid to use power saws though. I make my husband cut the wood....lol

Pirate Treasure Trunk

Happy International Talk Like a Pirate Day!

Thank you, Joanne, for designing this fun to build trunk. It enabled me to use pieces of odd scrap wood and a weathered old belt and make something fun and functional of them!

Built from Plan(s)
Estimated Time Investment
Day Project (6-9 Hours)
Finish Used
Gray paint wash (5 parts water : 1 part gray paint) + Golden Oak mixed with Red Oak stain layered on.
Recommended Skill Level
Starter Project

Comments

JoanneS

Thu, 09/19/2013 - 18:11

As the pirates would say: Ye did a fabulous ship on 'tis trunk, it looks full 'o awe!

You did a great job on this, looks awesome! Love the details and finishes you used! :)

Classic Bunk Beds for our boys!

Submitted by TheLufkins on Wed, 11/25/2015 - 13:13

We found the plans for the Classic Bunk Bed look and we loved it.  Since our boys share a room this bunk bed design was the perfect match for us.  We used Red Mahogany stain with a polyurethane clear coat to give it a good shine.  I made a little revision to the slats but adding a 1X6 crossbea, across the bottom and top bunk to give added support for the boys as they get older but other than that the beds are directly from the plans.  Now onto the same design for our girls!

Built from Plan(s)
Estimated Time Investment
Week Long Project (20 Hours or More)
Finish Used
Red Mahogany and Polyurethane Clear Coat
Recommended Skill Level
Beginner

Black and White Beam Table

Submitted by Landers15 on Tue, 01/15/2019 - 12:38

I have to shorten the design up a bit to fit my dinning room. I also did Epoxy Resin on top to give it the glass like appearance.


So ebony stain on white pedistole with an Epoxy Resin finish.


Built from Plan(s)
Estimated Cost
Lumber $80
Stain/paint/aprasives $30
1 gal Epoxy Resin $80
Estimated Time Investment
Week Long Project (20 Hours or More)
Finish Used
White paint, ebony stain,and an Epoxy Resin Finish, which took 5 days alone.
Recommended Skill Level
Intermediate

Chevron kids table

Chevron kids table

Estimated Time Investment
Afternoon Project (3-6 Hours)
Finish Used
Cabot red oak and golden
Recommended Skill Level
Beginner

Comments

spiceylg

Mon, 09/23/2013 - 08:25

This came out really nice: it's unique! However, you should put the picture in the beginning of the post instead of under additional pictures so it's nice and big.

Hall tree

We had a great time building this
We did the bottom half one weekday, and the top piece another day. Primer, painting, and sanding in all took us 6 days.
It look fantastic

Recommended Skill Level
Intermediate

Comments

Farm House Bed w/Drawers

Used the farm house bed plans from here with a few modifications.  Instead of plywood for the headboard and footboard, I used tongue and grove 1x6 planks.  I used edge glued spruce planks from Lowes for the drawer fronts and I invested a bit more on the drawer slides and opted for the full opening type.  Also, rather than 3 large drawers on either side, I opted to put 2 smaller drawers in the center.  I felt the shallower drawers would be more useful for smaller items (socks and underwear).  I also used a 3/4" molding to hid the ends of the plywood drawer boxes.  The weathered finish was created using a video I found on YouTube (https://www.youtube.com/watch?v=k7Via9Lz4Pw).  My upgrades increased the overall price, but it was still under $600 and should last a lifetime.

Estimated Cost
$600
Estimated Time Investment
Week Long Project (20 Hours or More)
Finish Used
Multiple products - follow YouTube tutorial. https://www.youtube.com/watch?v=k7Via9Lz4Pw
Recommended Skill Level
Intermediate

Christmas tree box

Submitted by Anonymous (not verified) on Sat, 11/26/2022 - 15:29

I made this plan at my wifes’s request. I added a platform on the inside for our artificial tree and stencils on the outside of each side. Plan was relatively easy. We love the look. Bonus, made the tree taller. George from Arizona.

Built from Plan(s)

Comments