Simple Farmhouse Bed Single
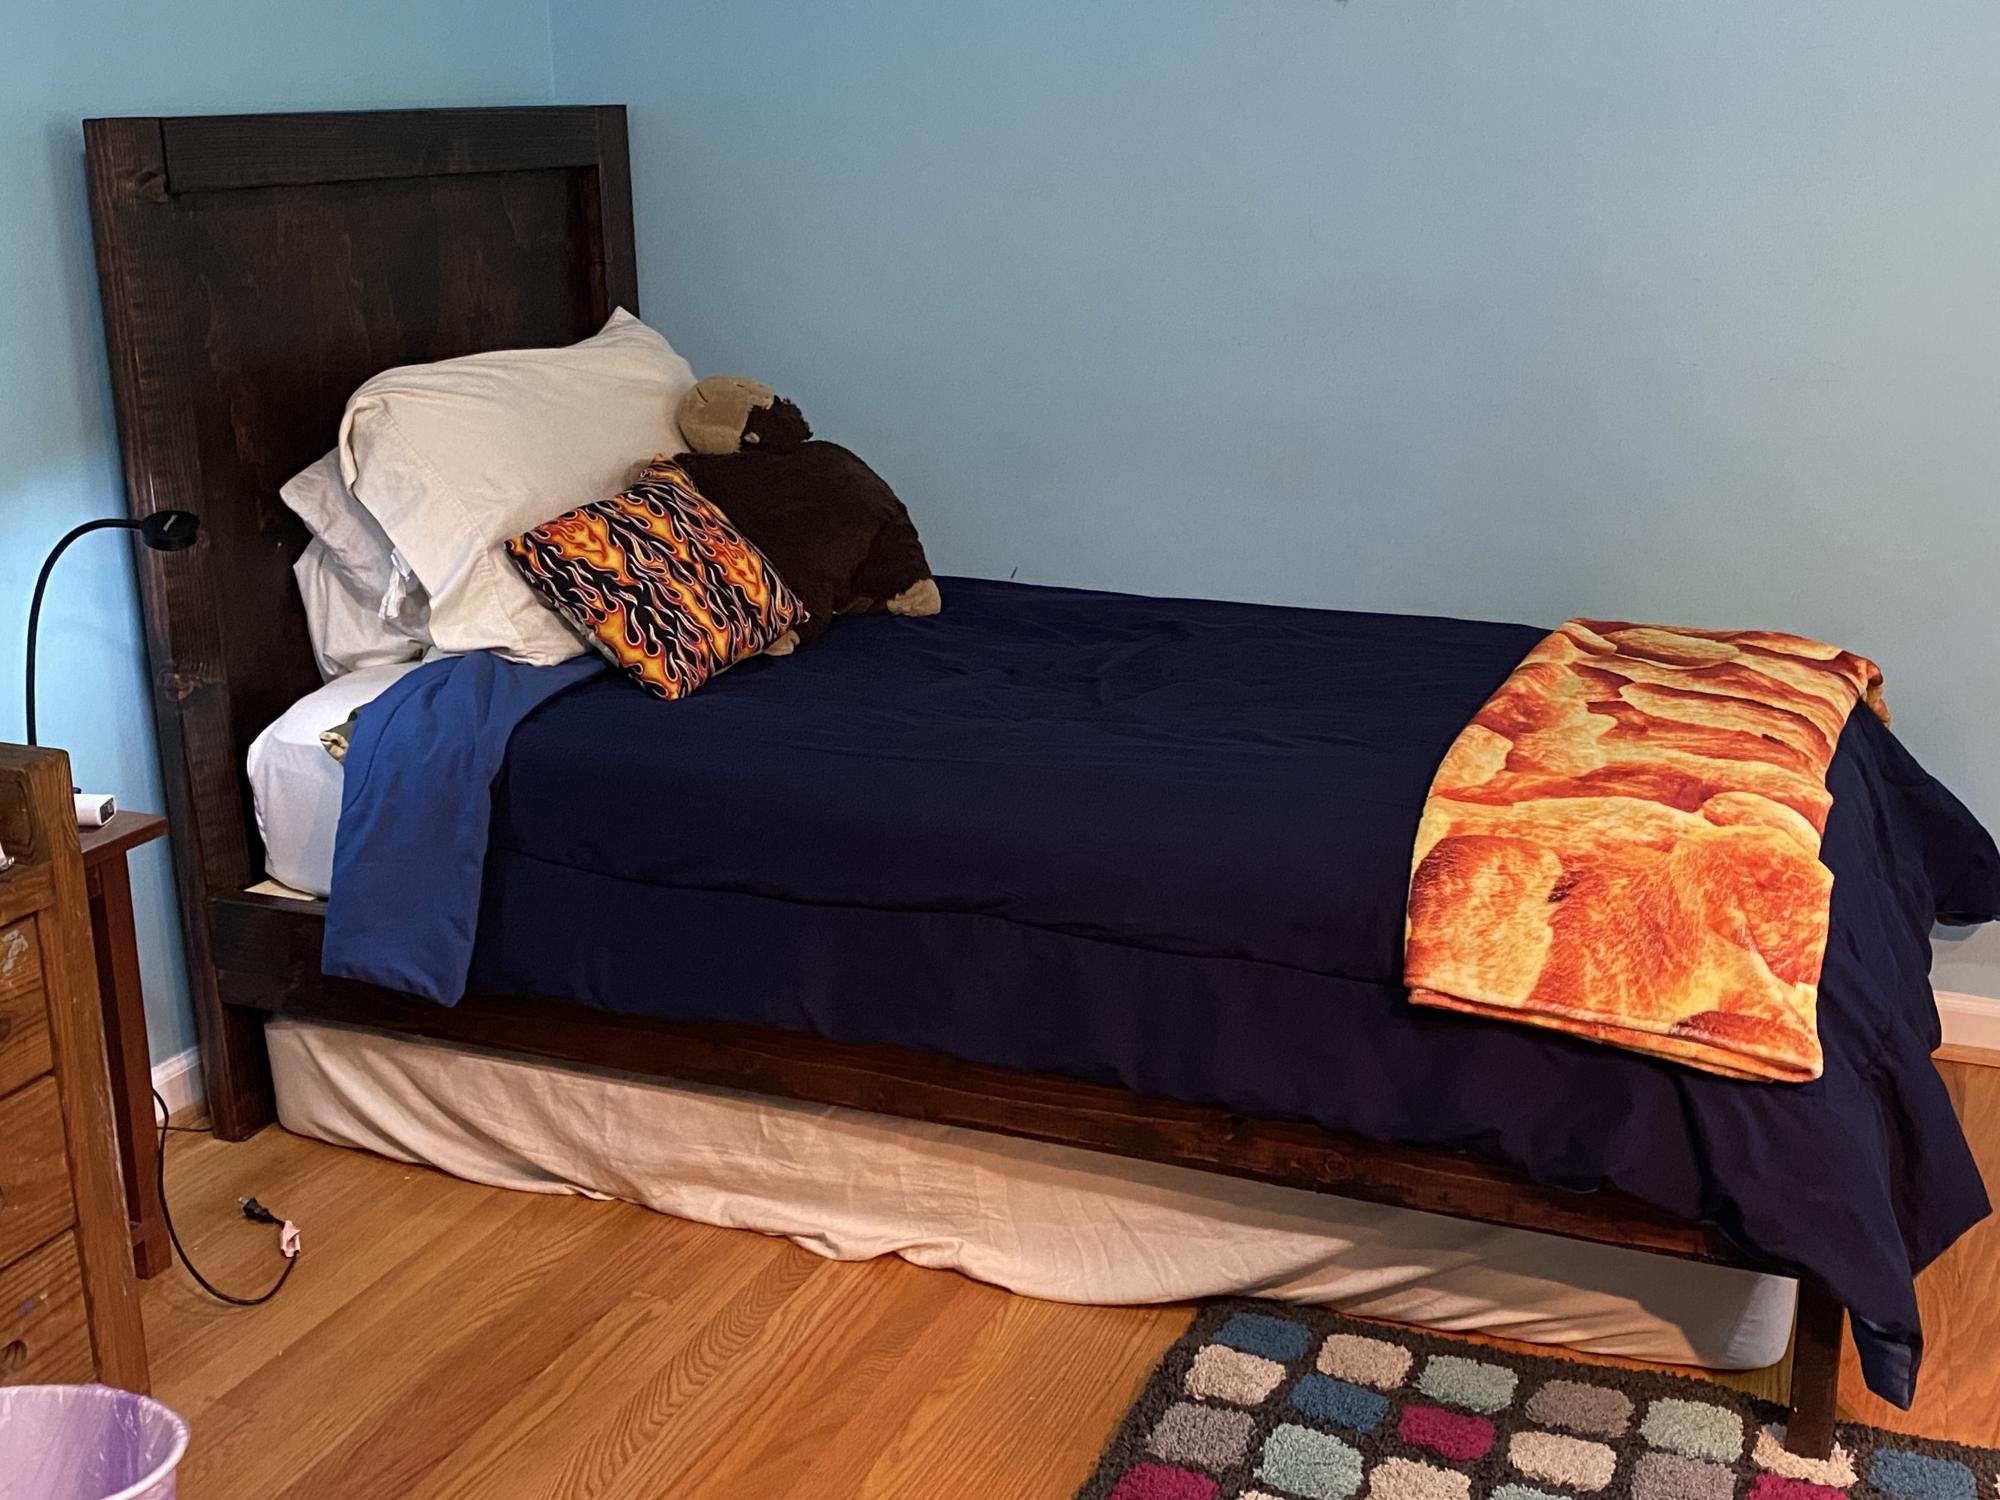
This was my first project and I’m beyond proud. Thank you for the instructions!!!
Built from Plan(s)
This was my first project and I’m beyond proud. Thank you for the instructions!!!
This was my first wood working project ever. I followed Ana's plan exactly except for the trim and partitions. I learned a lot from this project such as the correct pre-drilling hole size and the need for countersinks (I had quite a few split boards). I used Pine for the boards and MDF for the shelves but if I had to do it again I think I would go for plywood. All in all it was a rewarding project. The hardest part was the wood putty.
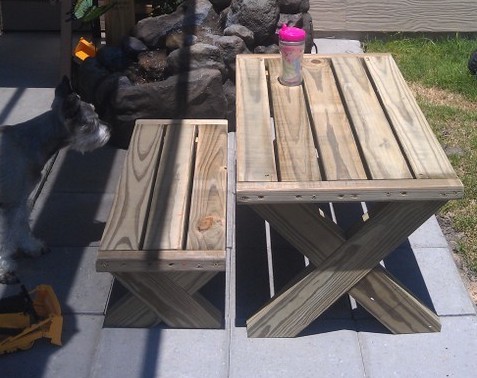
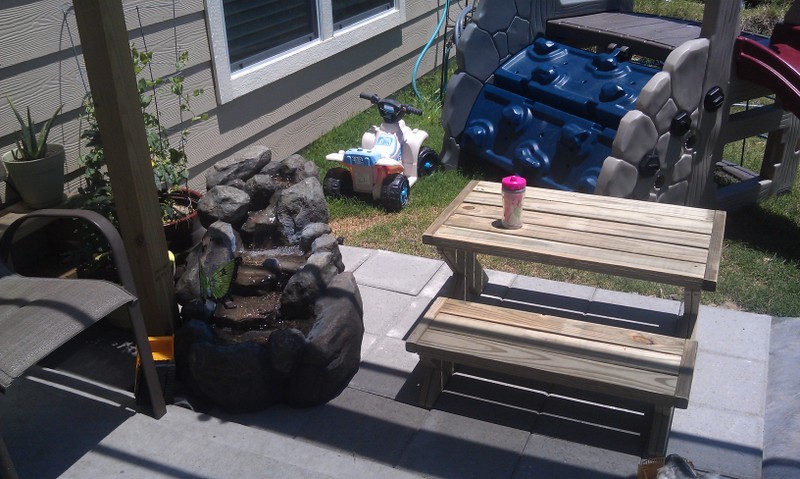
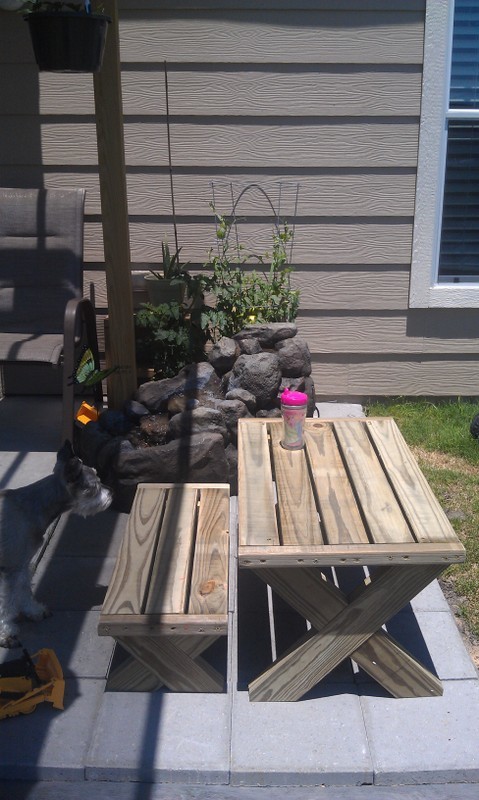
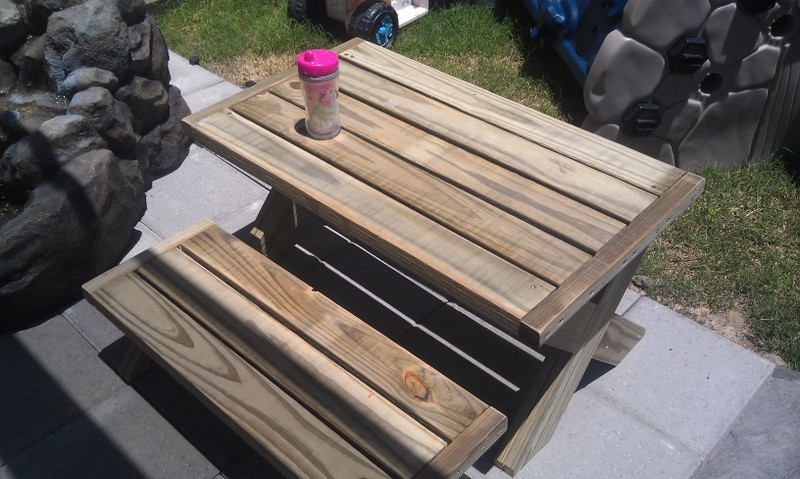
This was one of my first projects. I had some challenges with the cuts... I rushed through (since I had my 1 & 3 year old assisting) and didn't make exact cuts... as a result, there was a lot of trimming to do on the legs. Also, the pressure treated wood that we purchased was very weak and even with drilling pilot holes, I experienced quite a few splits when putting together the legs of the benches. (This is why I only have one bench, actually... I still need to buy more wood...) Otherwise, I love the table!!! I think I attached the legs of the table differently than instructed, though I can't recall what I did.. and we ended up cutting a 2x2 to tie in the legs (from mid-X to mid-X) for extra support. (My 3 year old son was leaping from the table and we wanted to make sure it could meet his demands.) We LOVE it overall!
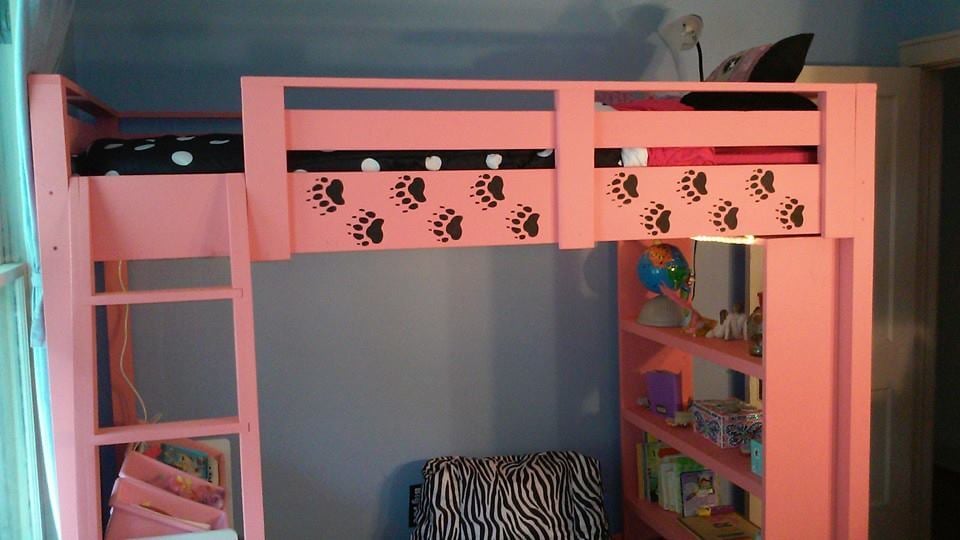
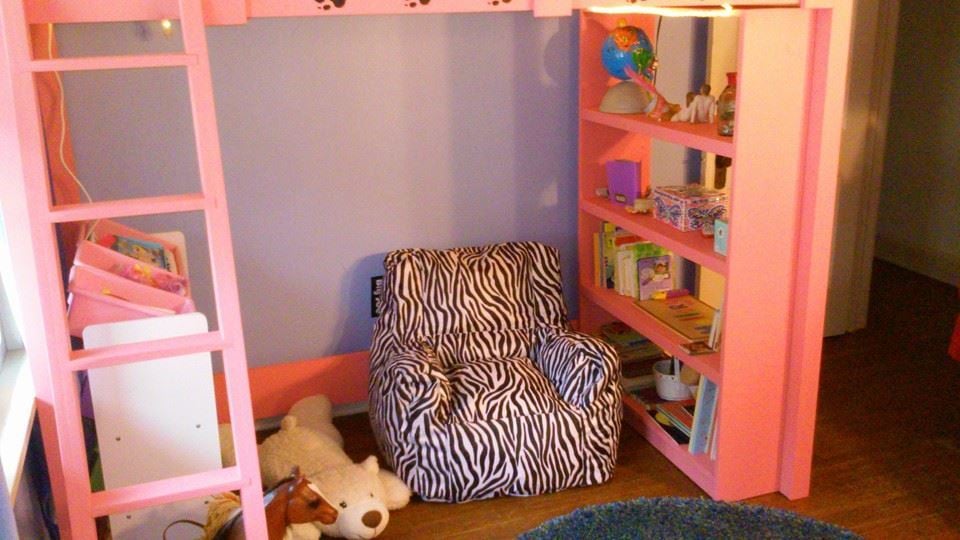
My daughter had talked about wanting a loft bed for a long time so after of plenty of research, we went for it. The shelves of the bookcase, except the top and bottom, are made from 3/4 plywood I had laying around. I did my best to utilize as much lumber that I already had in the basement to reduce costs.
Underneath the bed is LED Rope Lighting and the gaps under the rails were stenciled with the bear paws since my daughters nickname is Little Bear.
People have loved it enough I think there's a couple people that are going to buy the supplies so I can build it for them. The one thing I wish I had during the construction was an oscillating multi-tool to trim off the Kreg plugs. I now have one and plan on using it a fair amount.
On to the next project!!
Ben
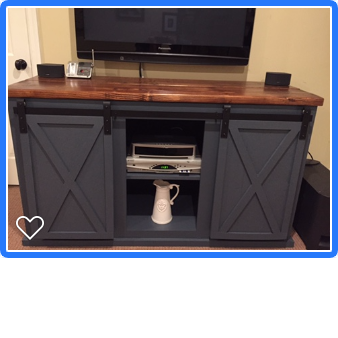
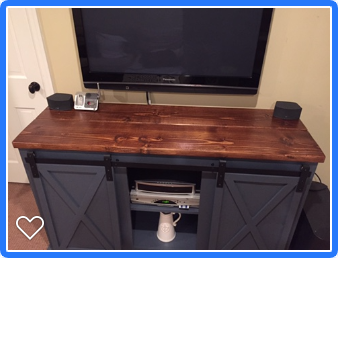
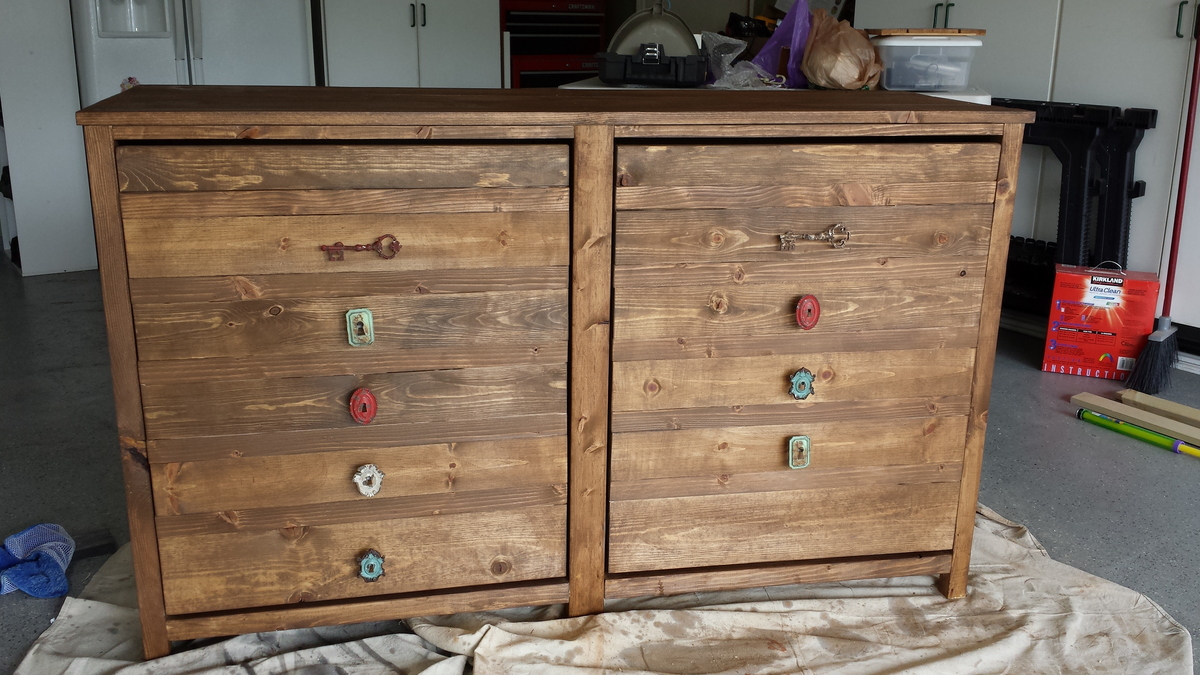
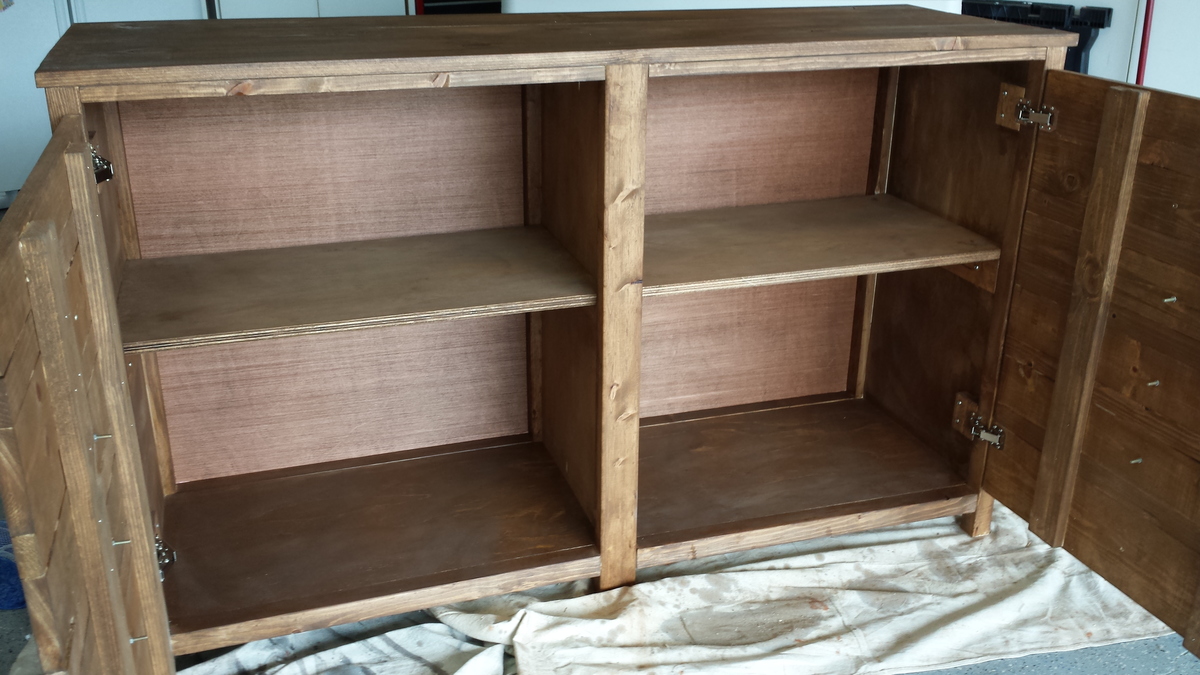
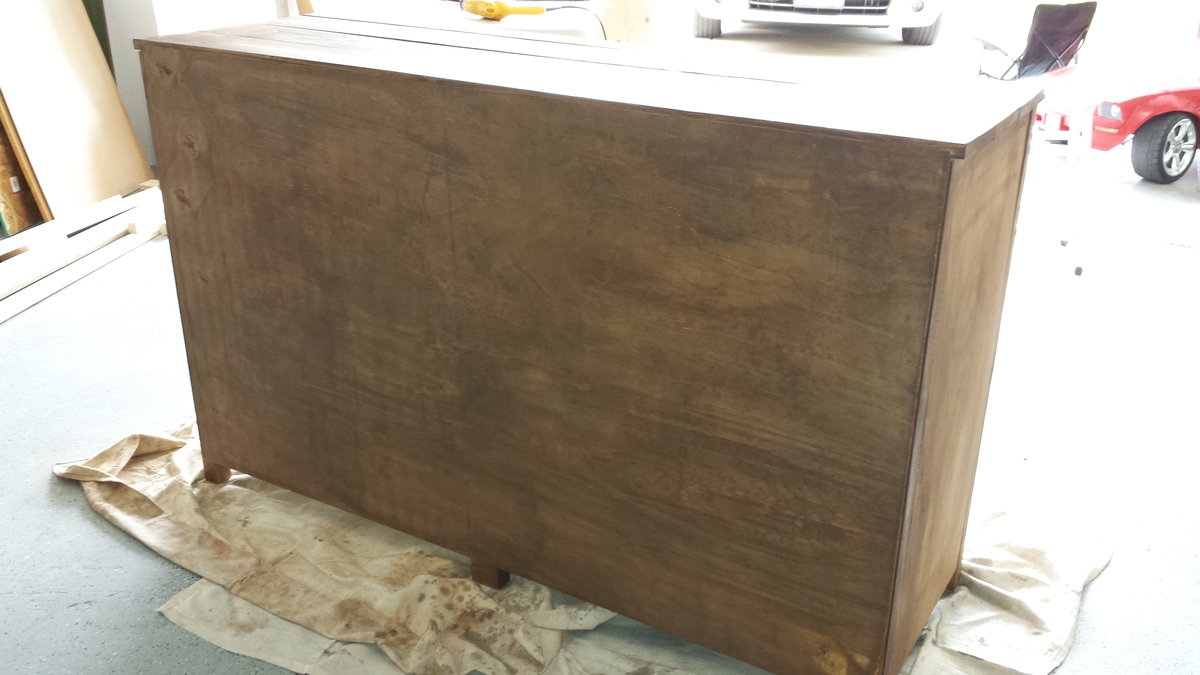
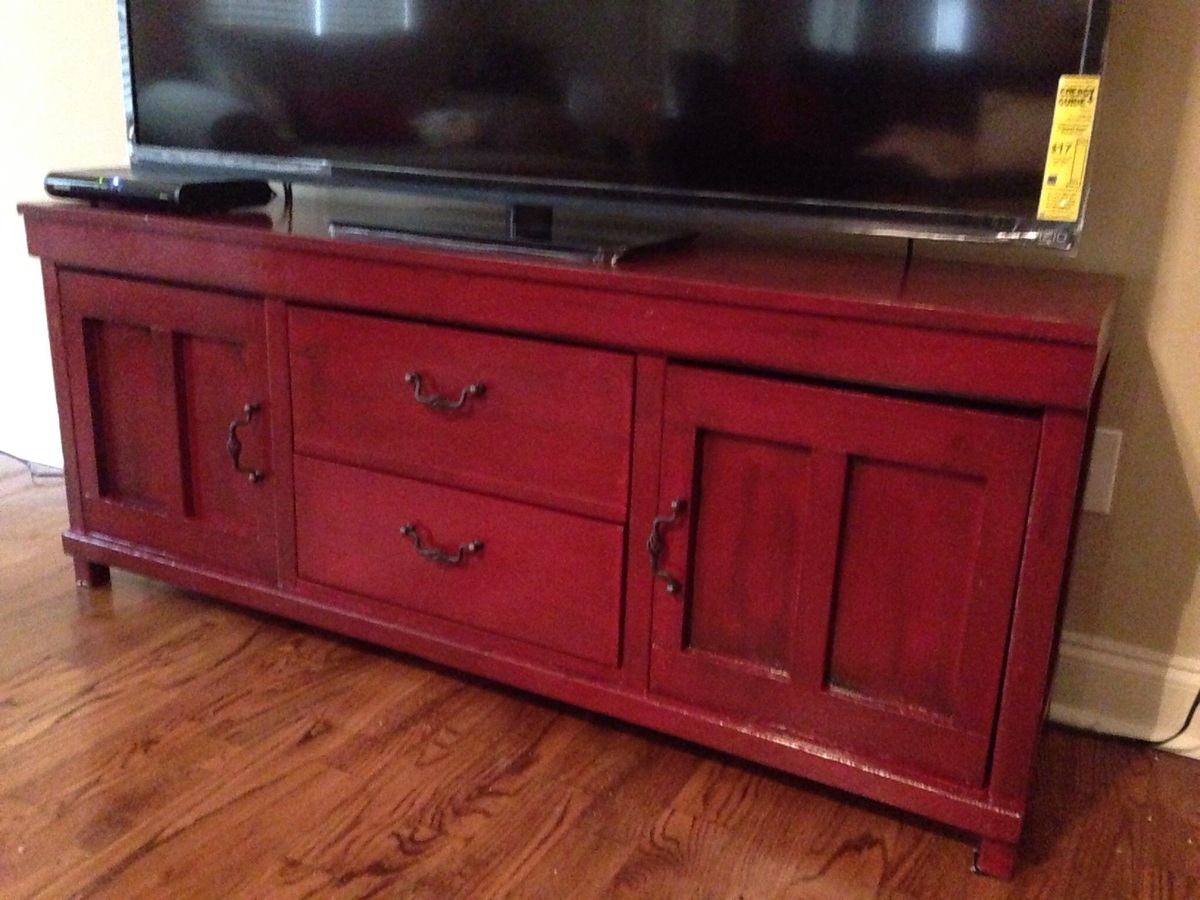
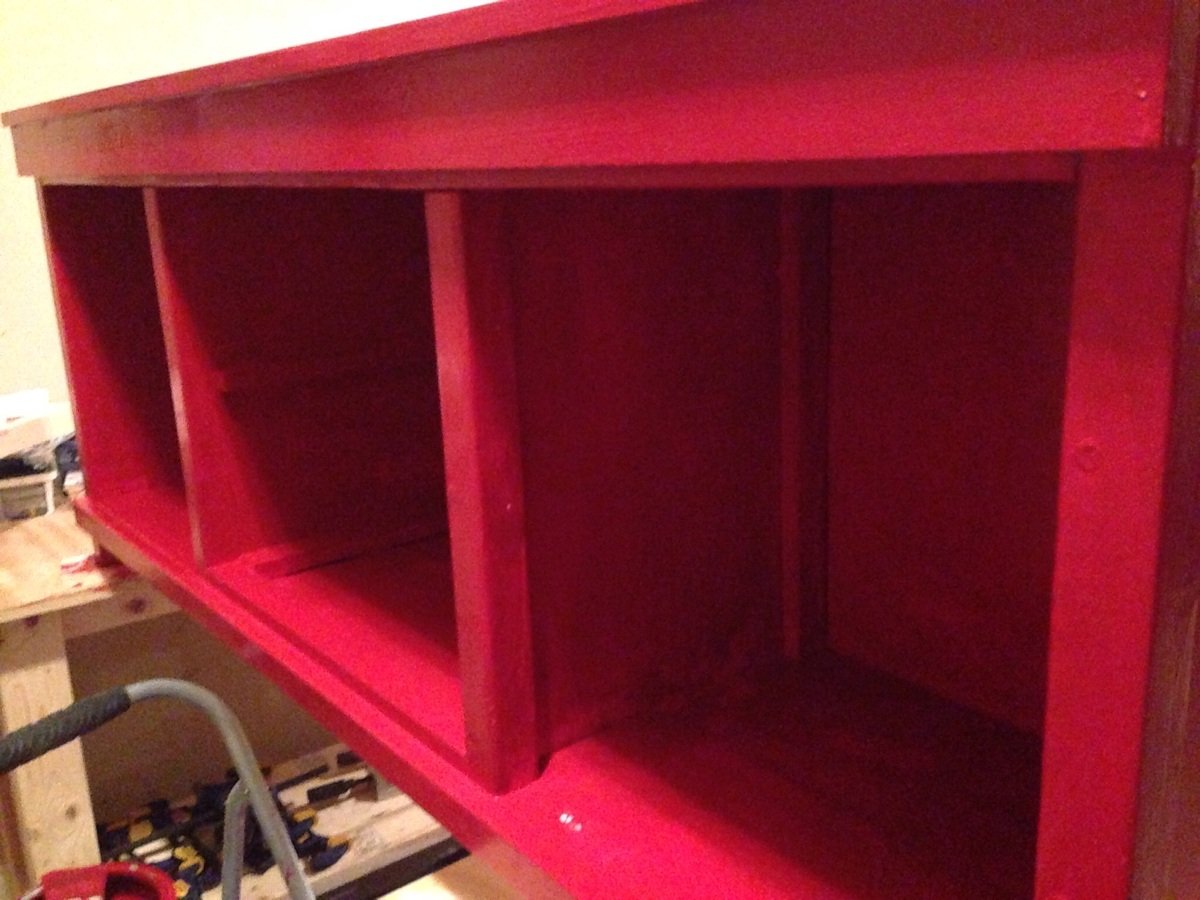
Built this to replace a shorter, store-bought media table that was just a dust collector. I really enjoyed building this, especially making the hardware by hand. Thanks to one of the other builders for the plans to build the iron door hangers.

When I wanted to unpack I found this amazing design by Ana White. I transformed my living room into my workshop. And voila my first build was accomplished
Thanks for all your amazing designs

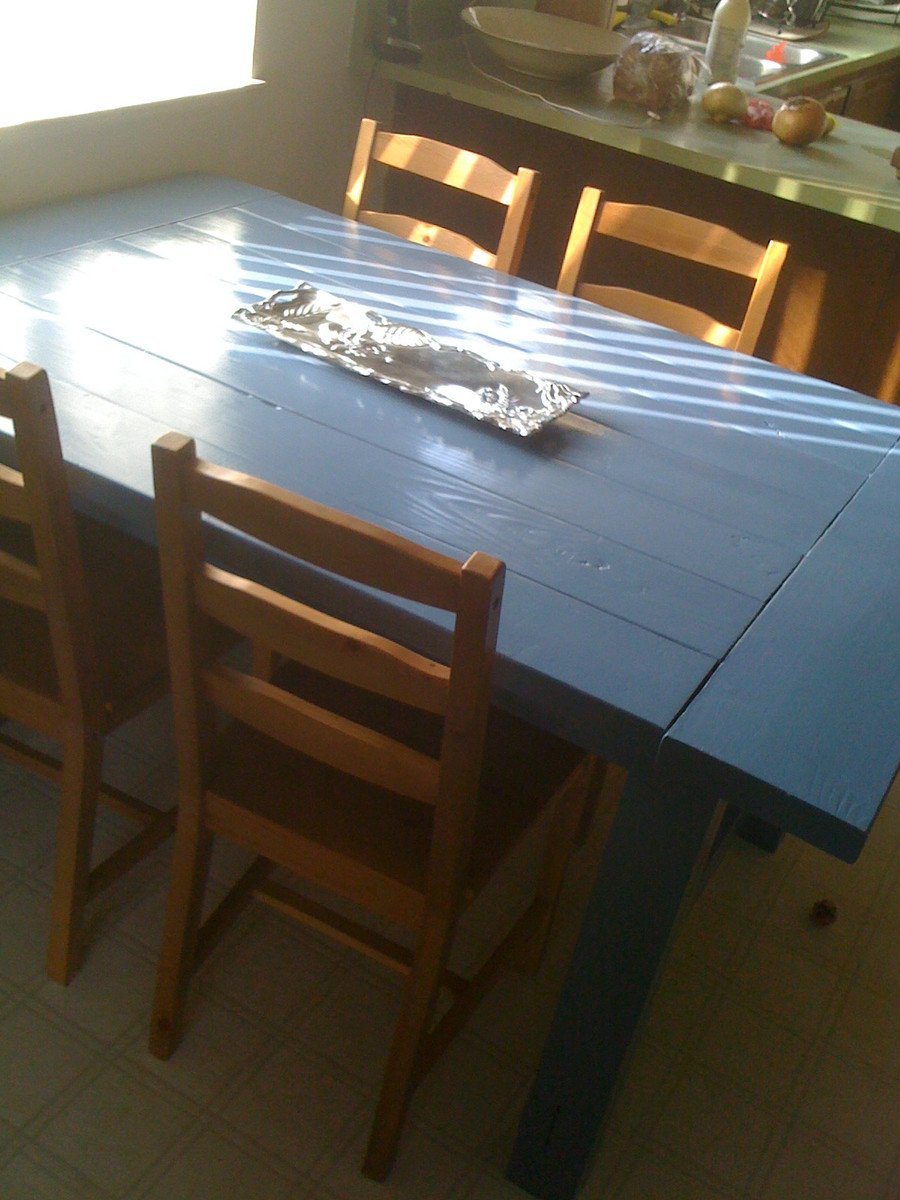
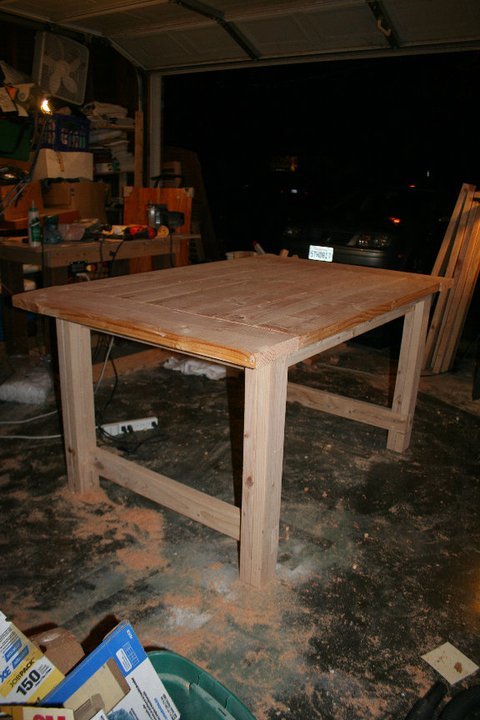
I wanted a kitchen table that was bigger than the one we had from Ikea, but the Farmhouse Table was too long. So we modified the length, left off the stretcher, and painted it a bright blue! The major lesson learned in this project was to be sure to store boards carefully. We bought the lumber, cut the boards, and then didn't work on the project for a couple of months. Even though the wood was in our garage, some of the boards warped a bit, leaving us with bends and curves to deal with once we started to build. Luckily, things came together, but there are many more imperfections in this table than would have been there if we'd built it sooner. But we still love it!
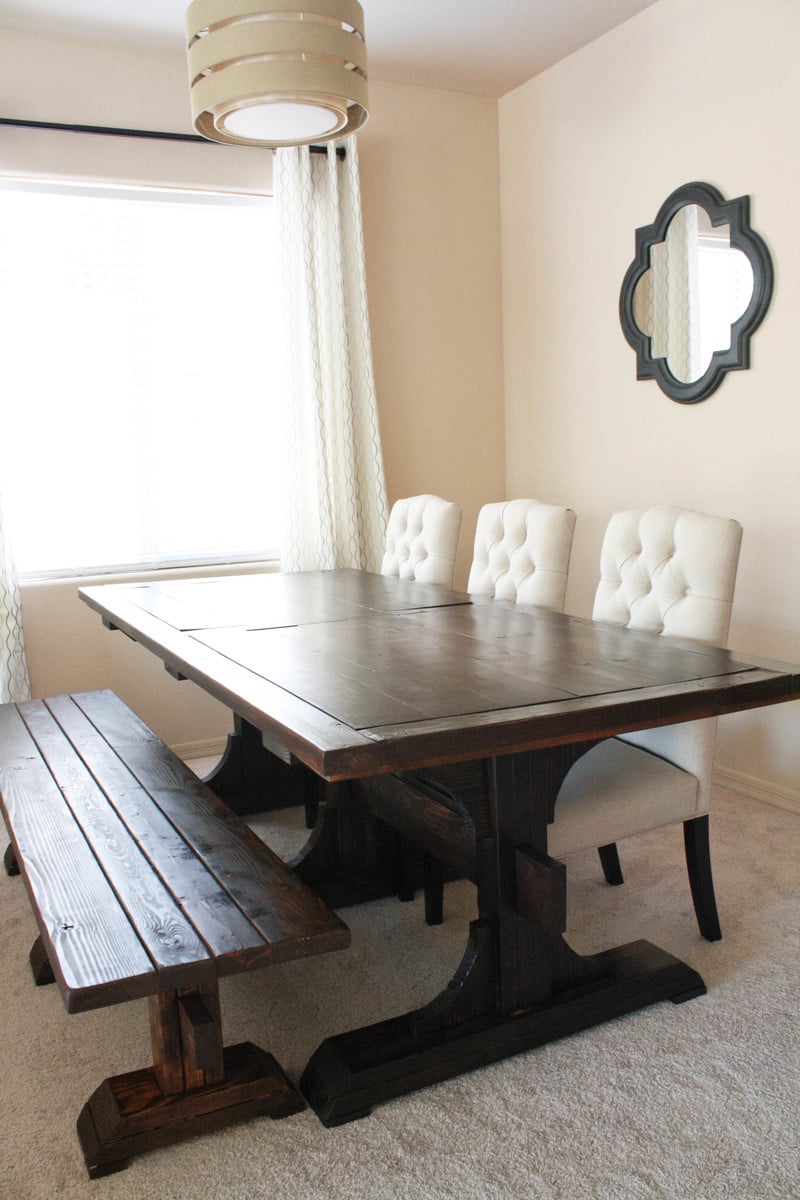
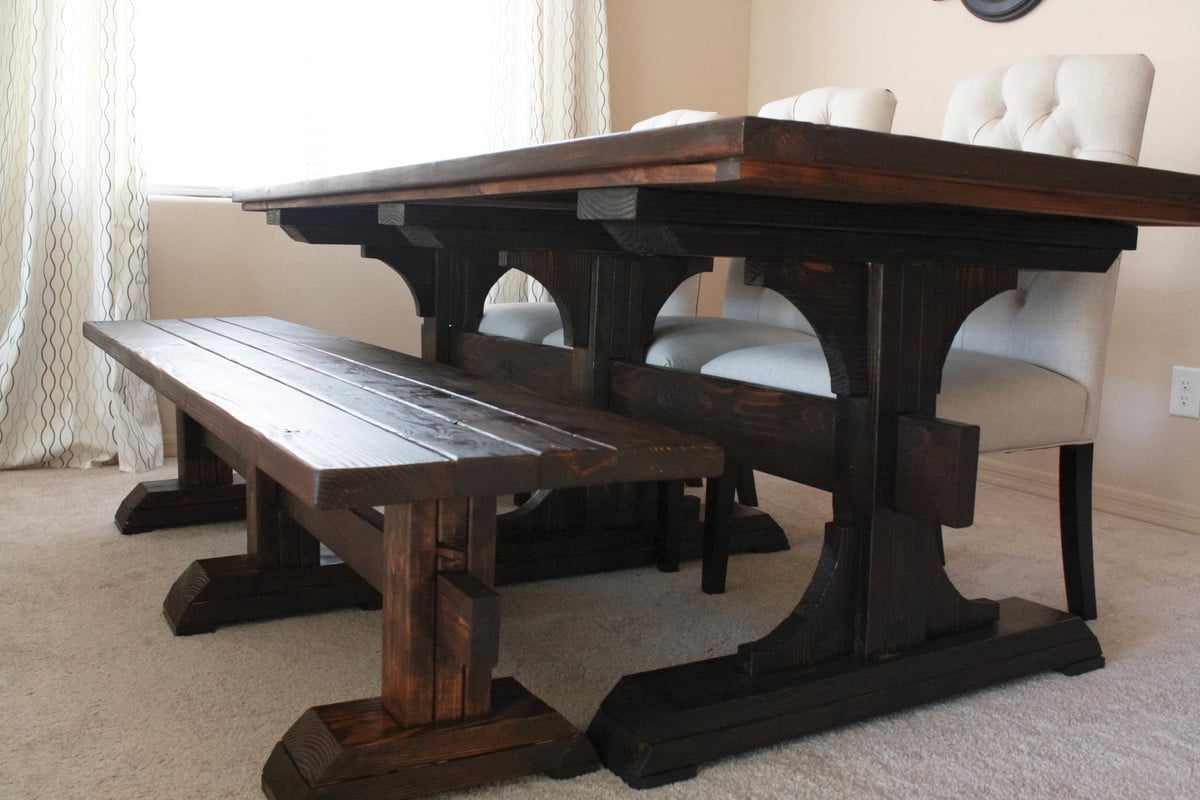
This table was actually our very first project! It took us longer because of that, but really, this table isn't very complicated at all! Cutting the arches were probably the most difficult part of the whole thing (hence why we left them off of the matching bench).
We modified this table down to 7.5 feet, but still kept the three arches because we loved the look of it. This table can still easily seat 8 people.
We modified the bench by not framing the top and leaving the arches off, but kept the same look of the legs so it would still match and keep the time/difficulty low.

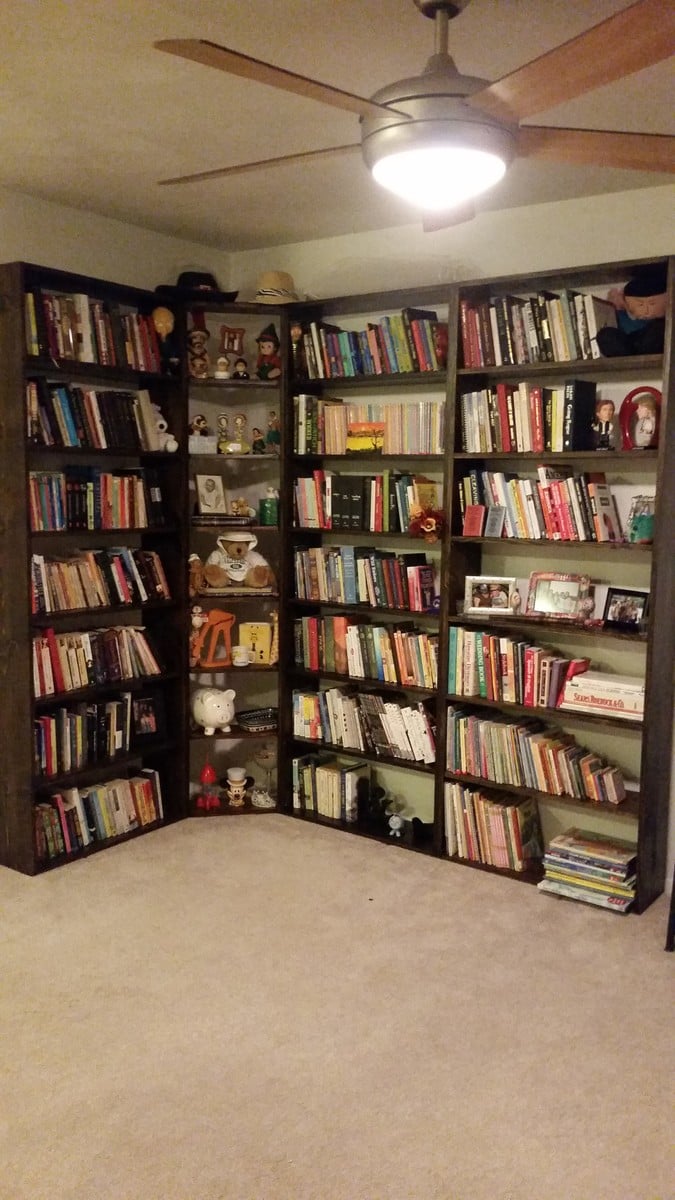
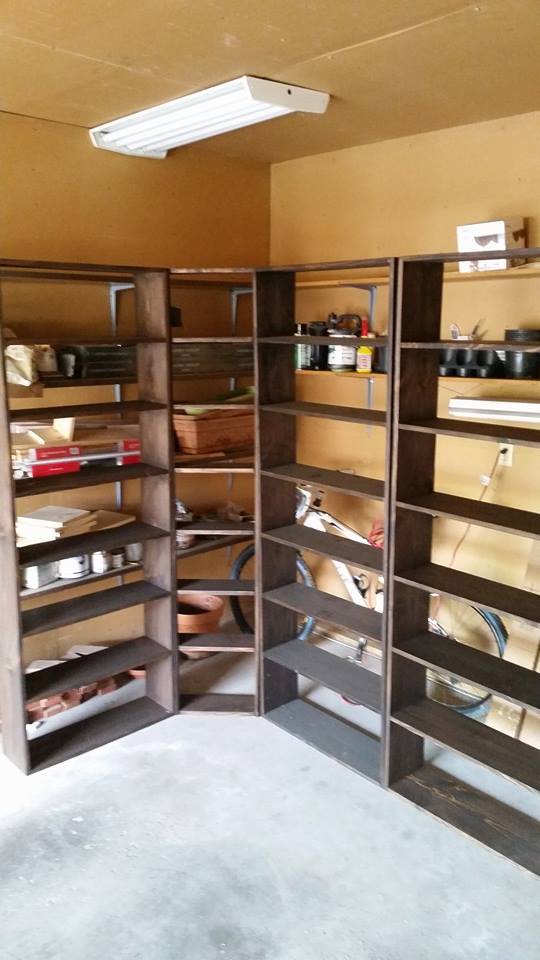
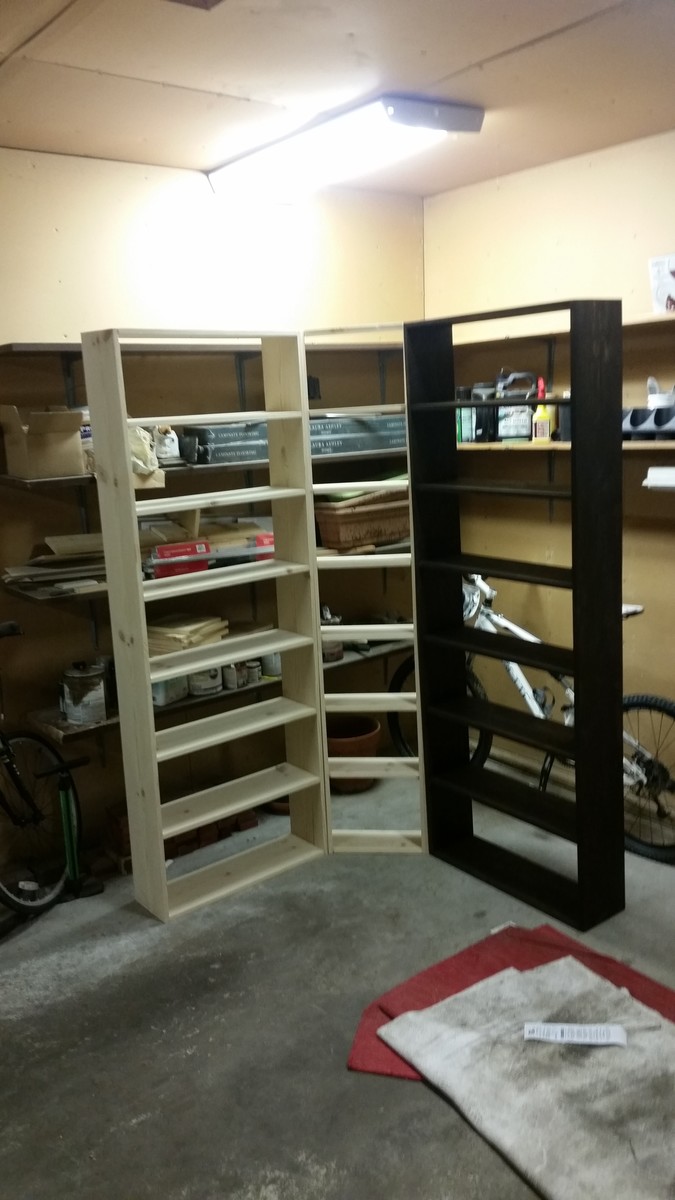
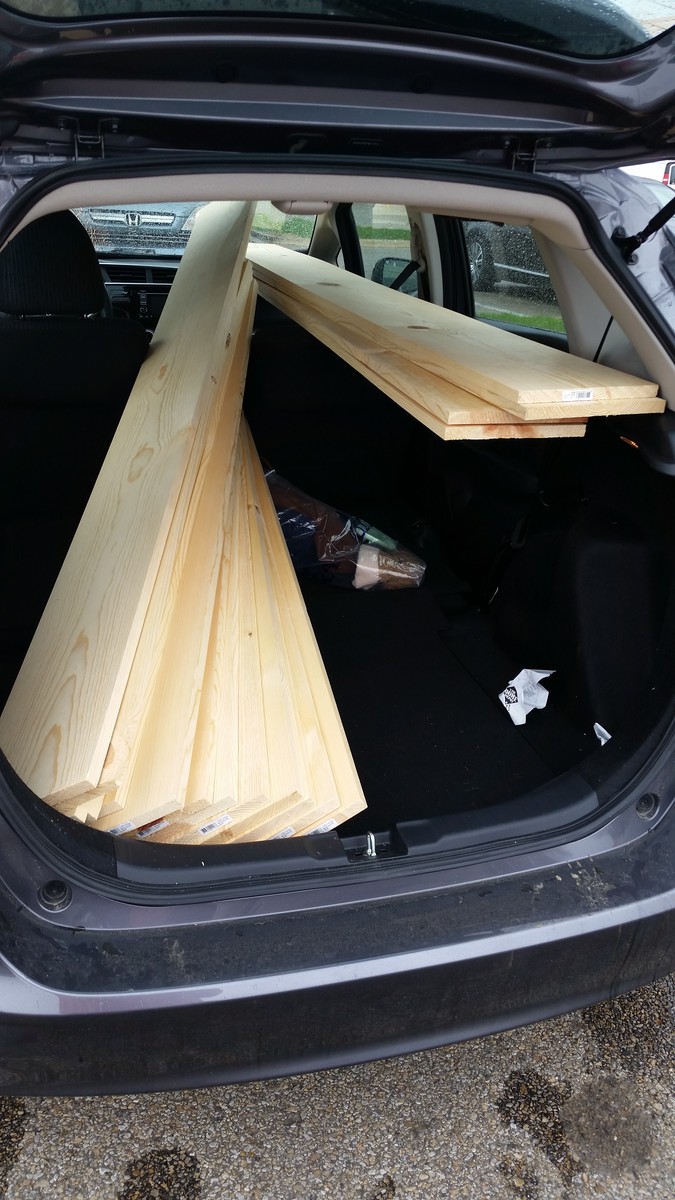
This is the project that inspired me to start woodworking. I'm a bookaholic and have always used cheap, particle board bookcases from Walmart for storage. They're fine for the price, but over time the shelves bow and they NEVER survive a move. When I outgrew the three units I had, I balked at buying a fourth, which I didn't really have room for anyway. Enter Ana White! This is actually based off a brag project under the IKEA Lack Inspired Bookcase. What I love best about building my own is that I can customize to suit my needs. I was able to put almost twice as much shelving into about the same area. And if I outgrow these, I can just build another!
Built by Chuck Hughes
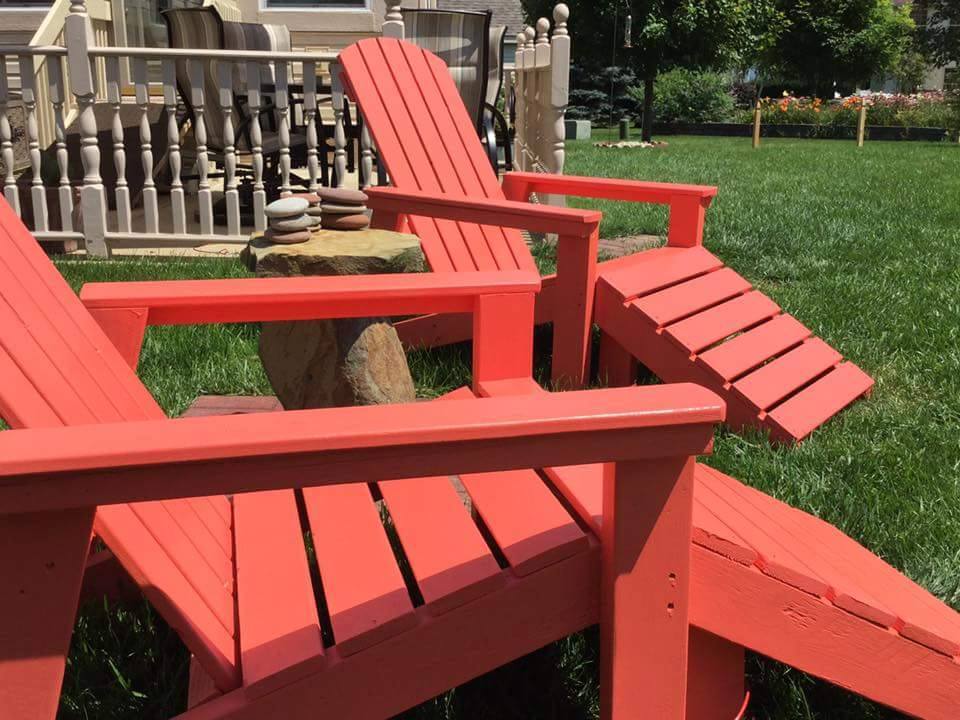
"I've made 10 of these chairs so far."
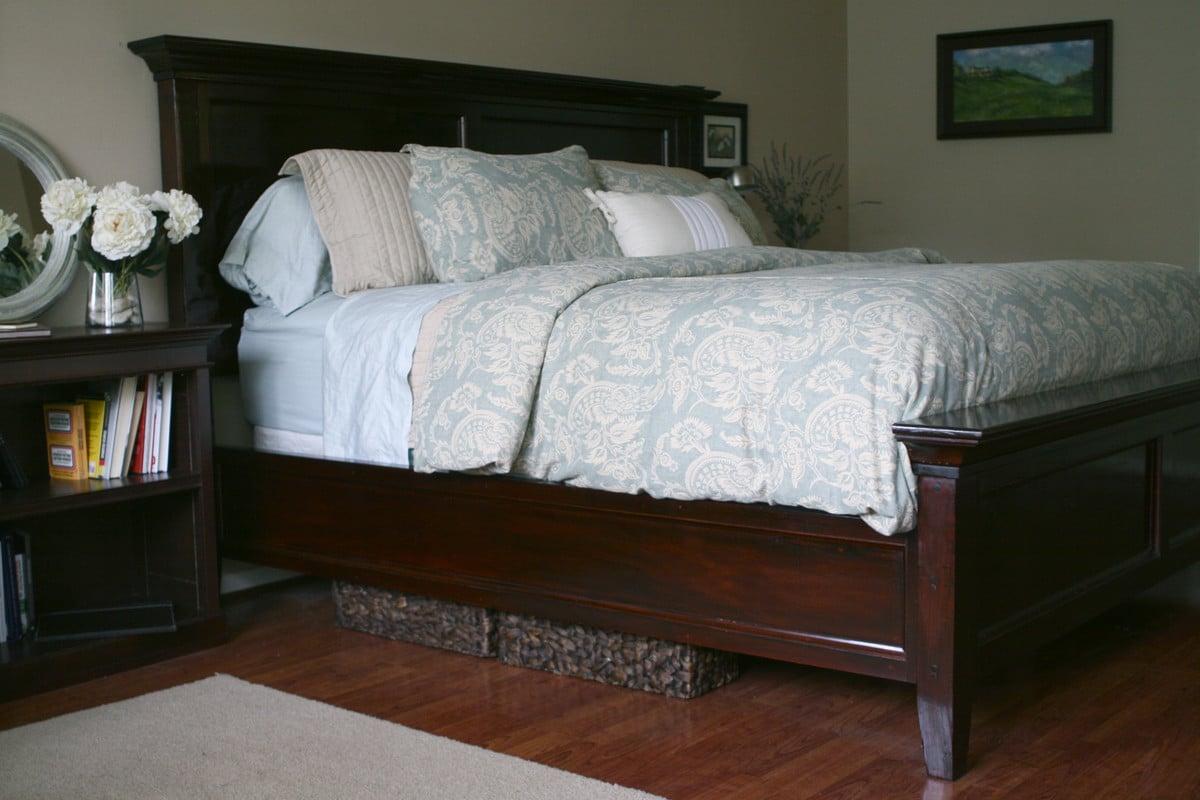
This was our first project. My husband and I took the Farmhouse bed plans and modified them to look more like the Hudson Bed from Pottery Barn. This is a King size bed with removable side rails and under bed supports so that it can easily be collapsed for moving.
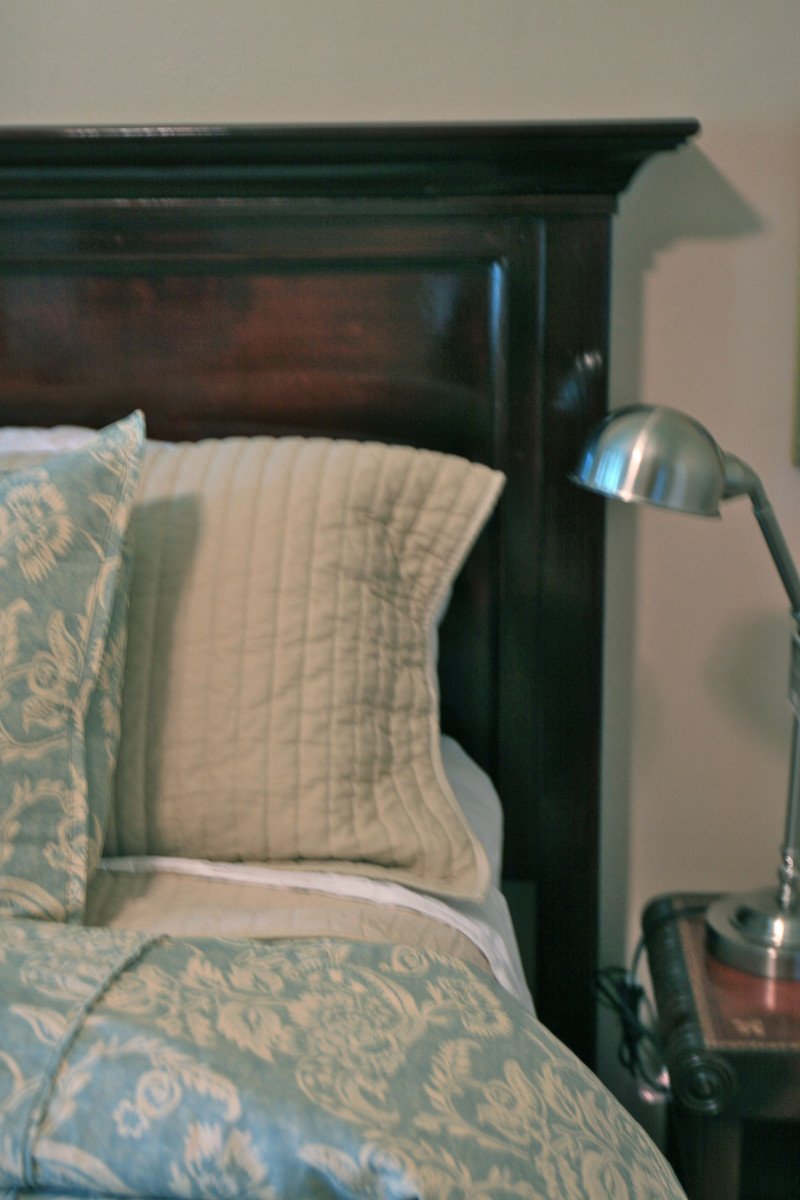
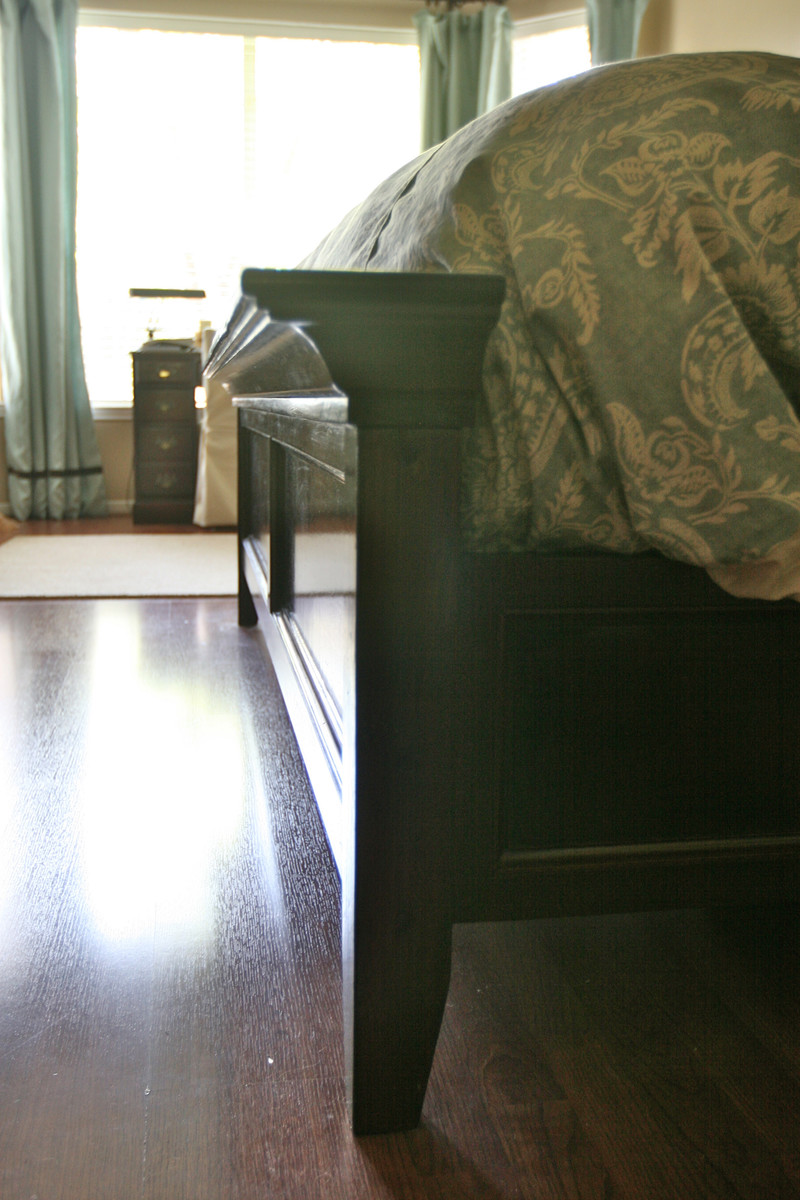
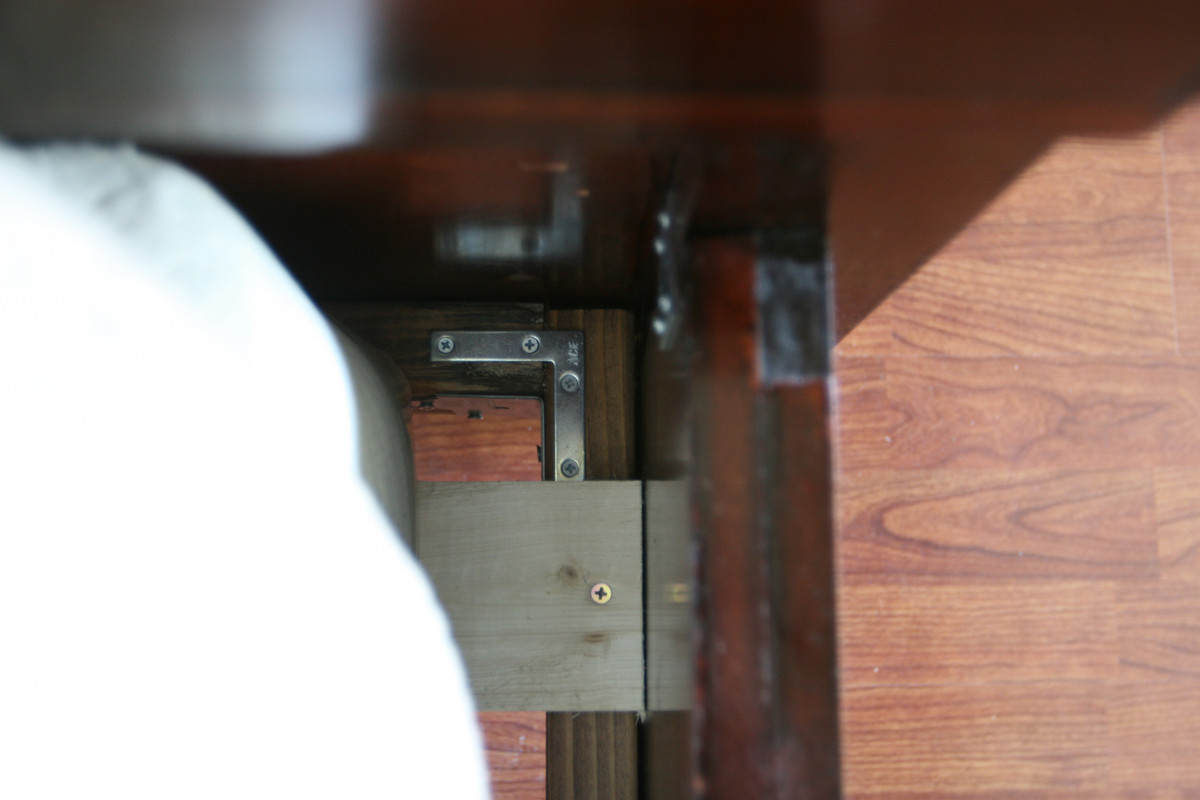
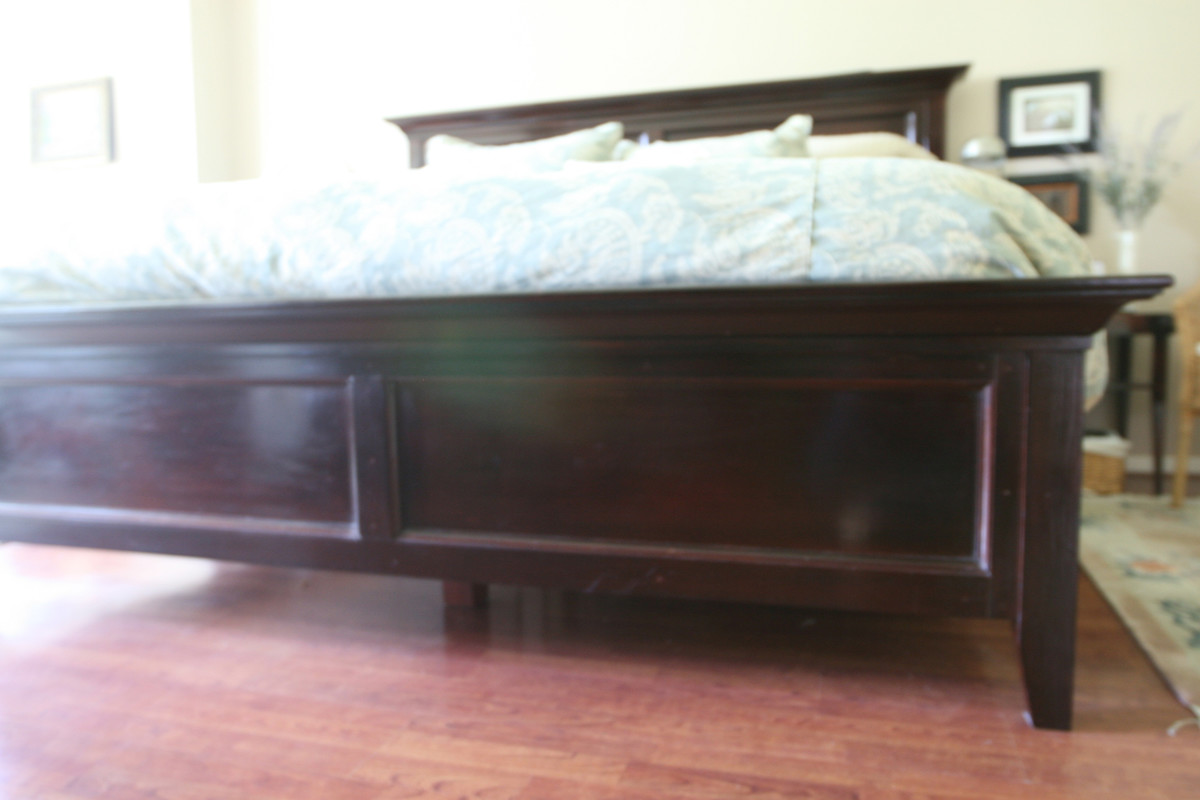
There were a few misprints in the supply/cut list but if you read through the comments section it helps. I ended up making a list of the supplies and adding a column next to it with the cuts, that helped. Oh, and the store I bought the knobs from didn't have enough but the last one is coming! Pretty happy with the end result. Thanks Ana!
Beautiful and functional. Nobody believes I built this :)

Wed, 05/13/2015 - 14:19
What a gorgeous build! Absolutely love the color too! I was just trying to picture a red like that today, and now I know it looks wonderful!
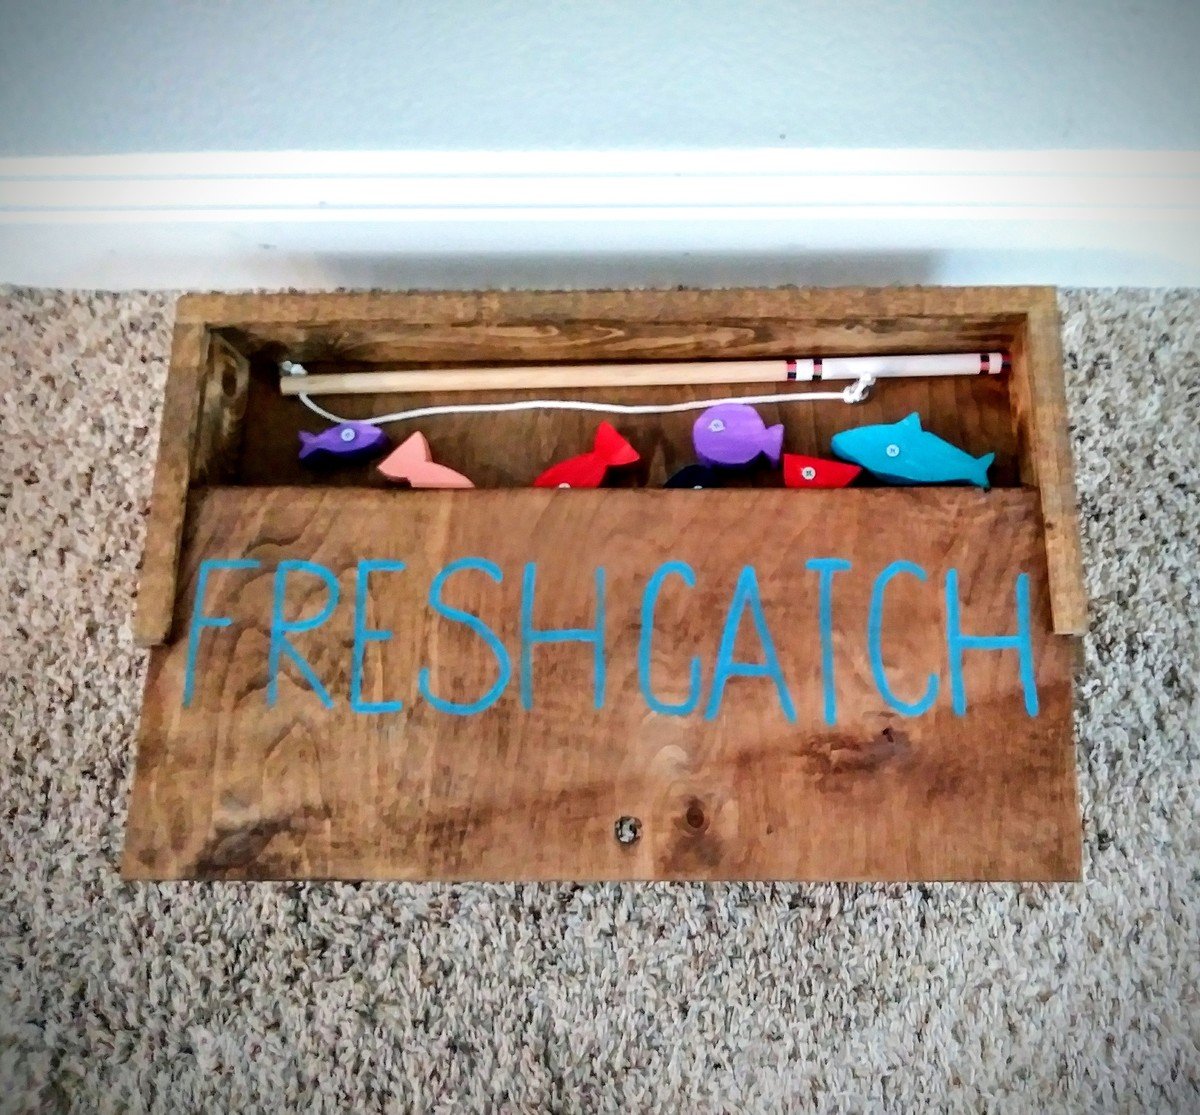
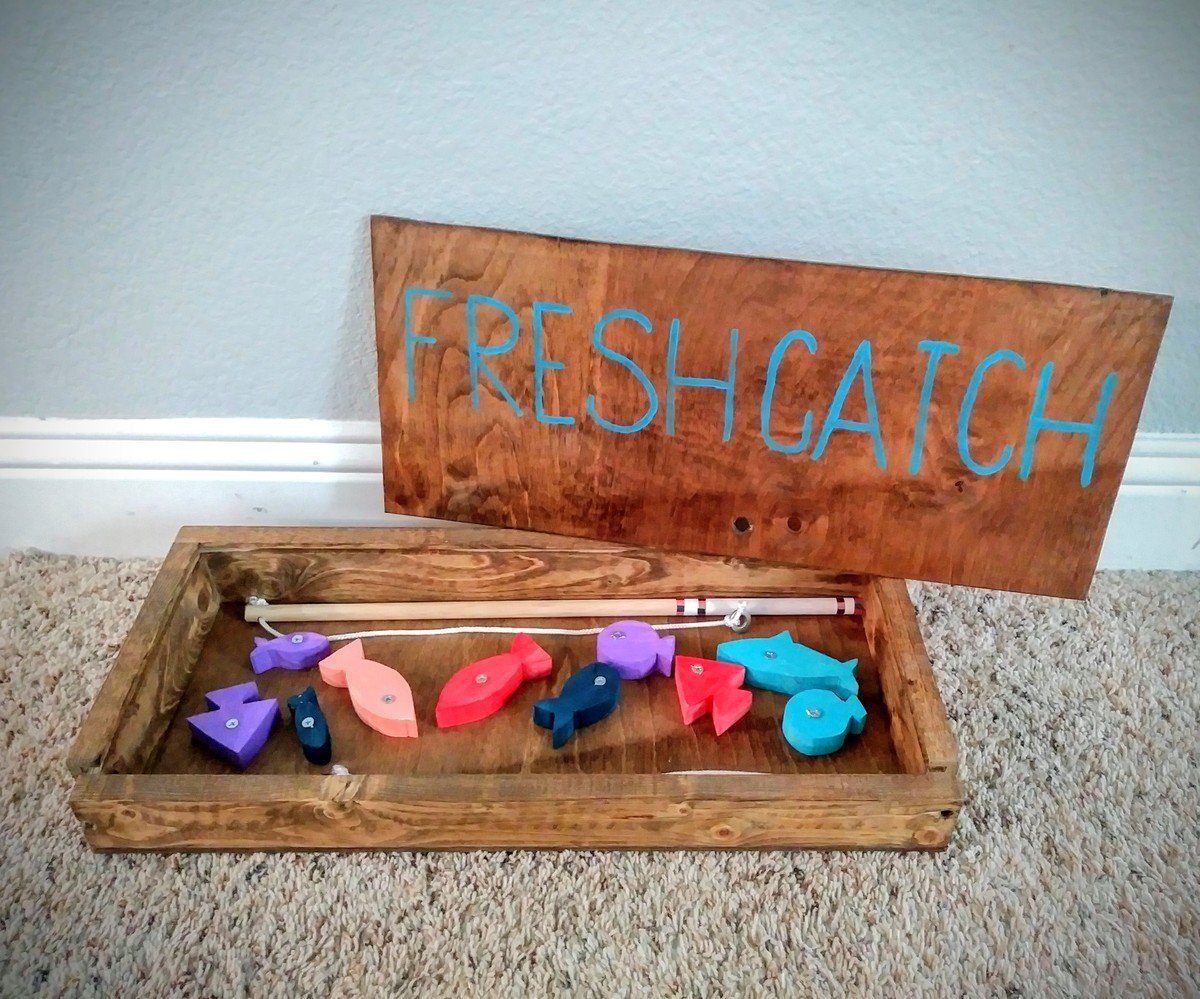
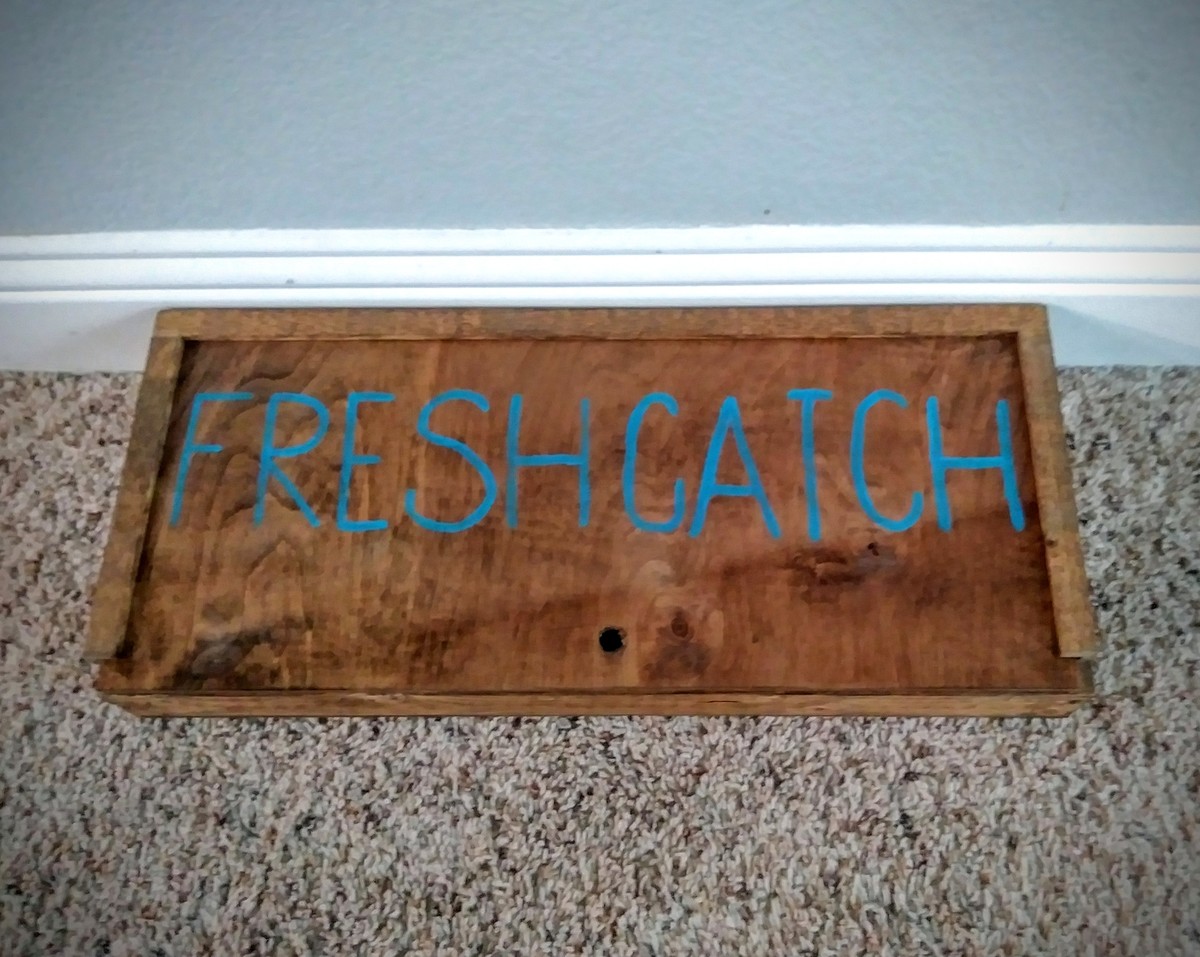
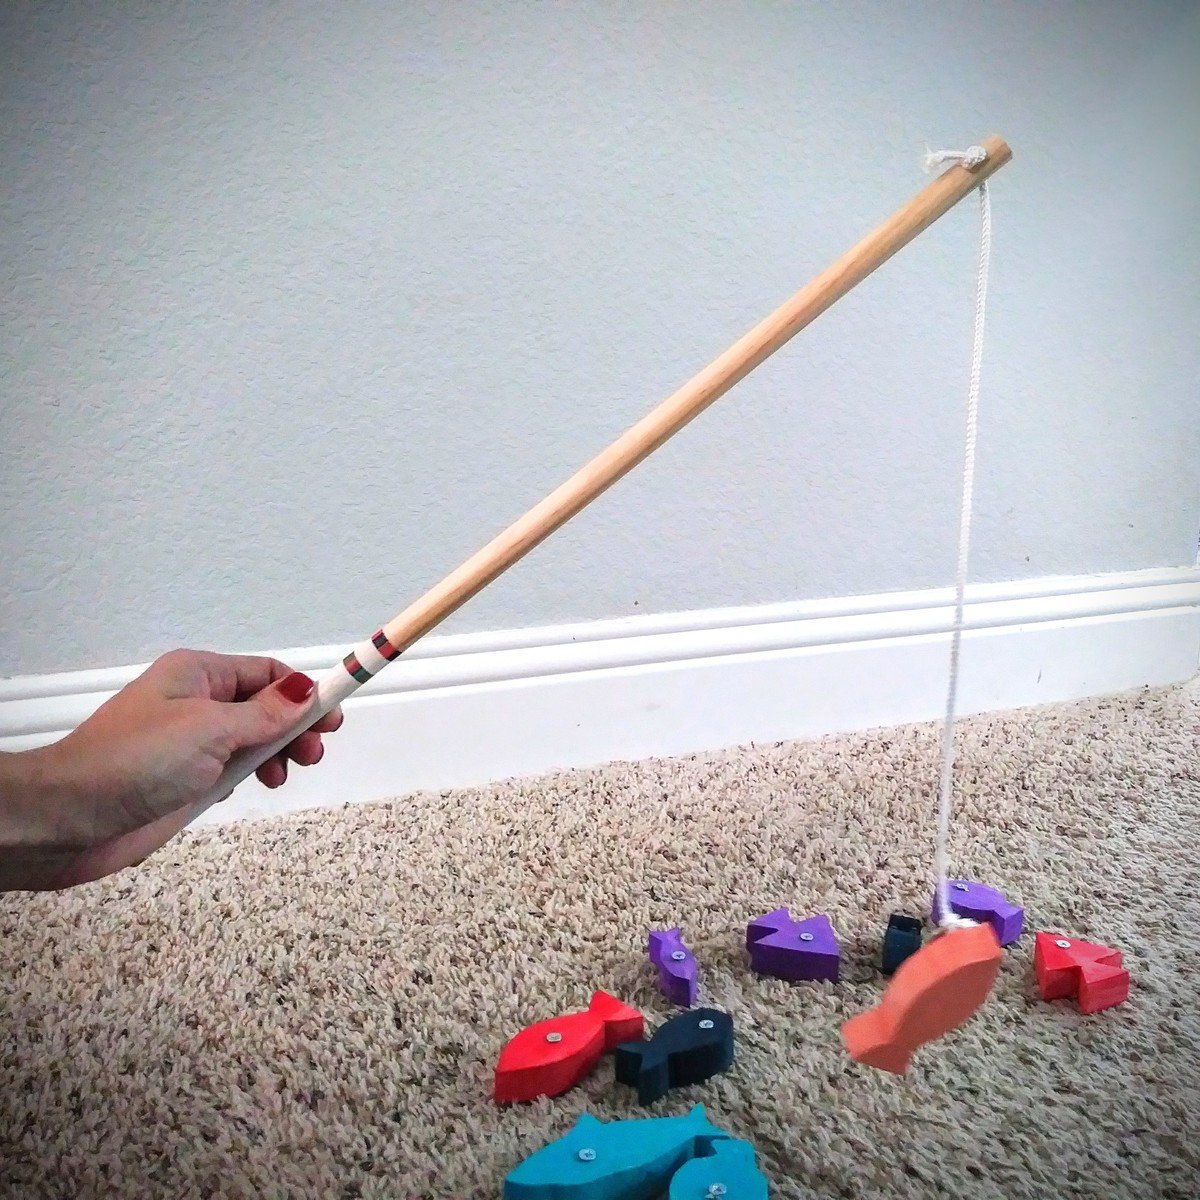
This was a very easy project from scrap wood I had leftover from previous projects. I modified the box a little. I cut slits in the box so the top slides on nicely. I also stained the box and sealed because I love the look of stained wood. I used early American wood stain.
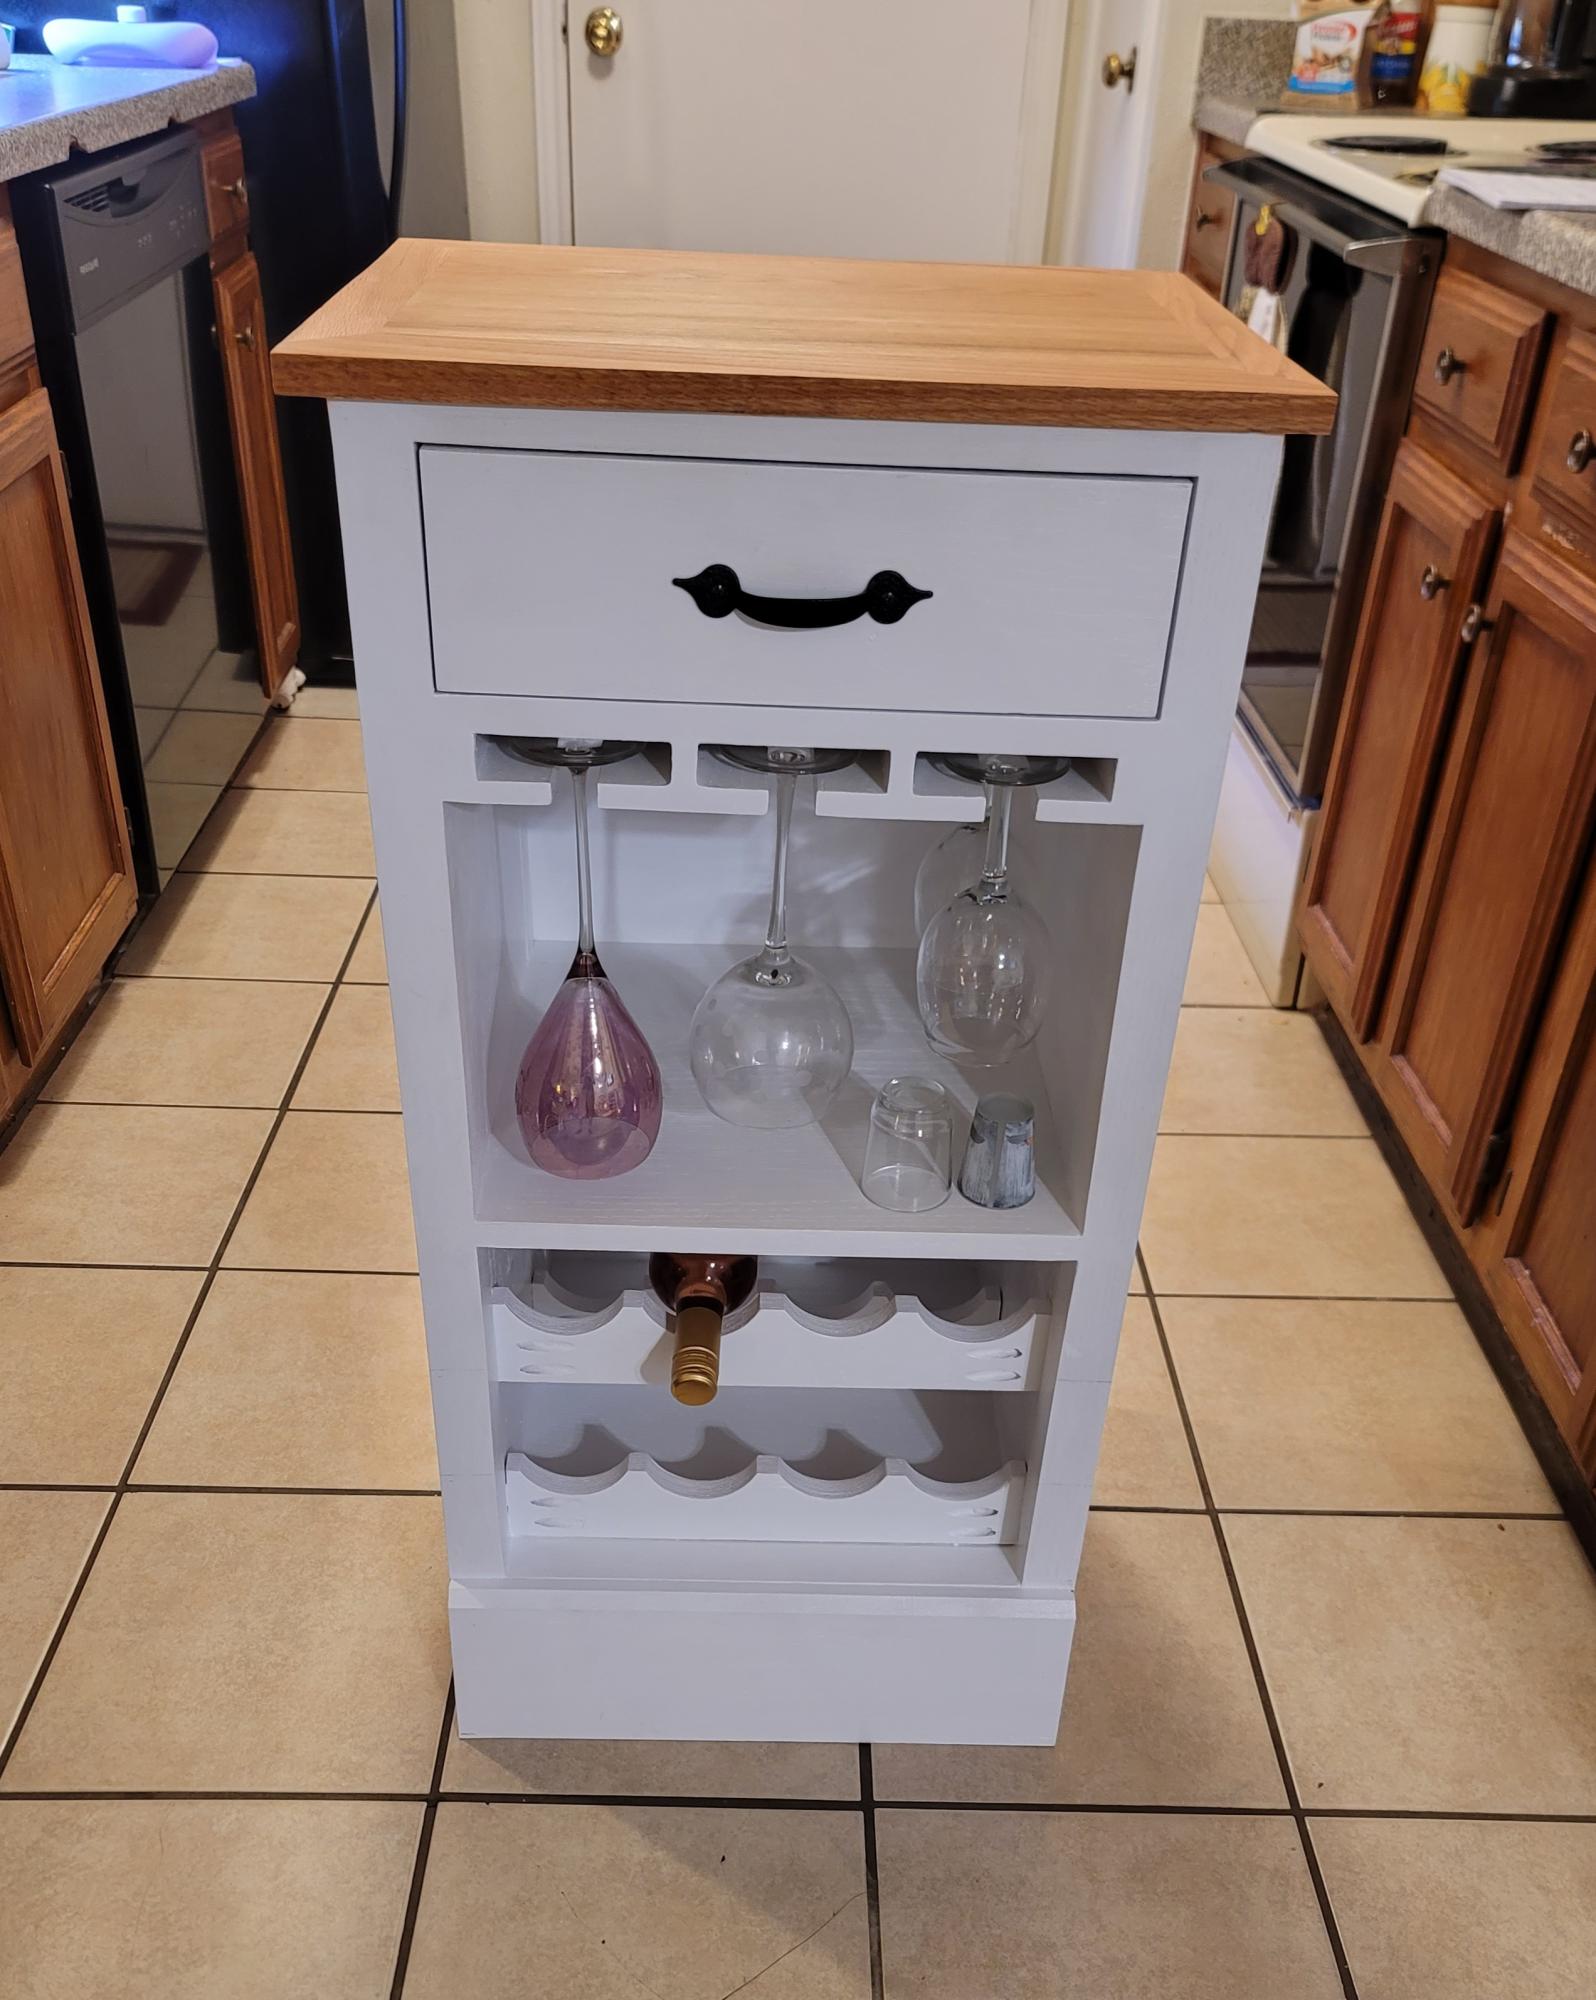
This was a really fun project. Thank you to Ana White for the awesome plans to make this wine cabinet possible. It's much loved, and is a beautiful new additions to a new home. I enjoyed making it, the plans were very easy to follow.

Sun, 11/07/2021 - 09:14
Super cute, love your finish and hardware choices!
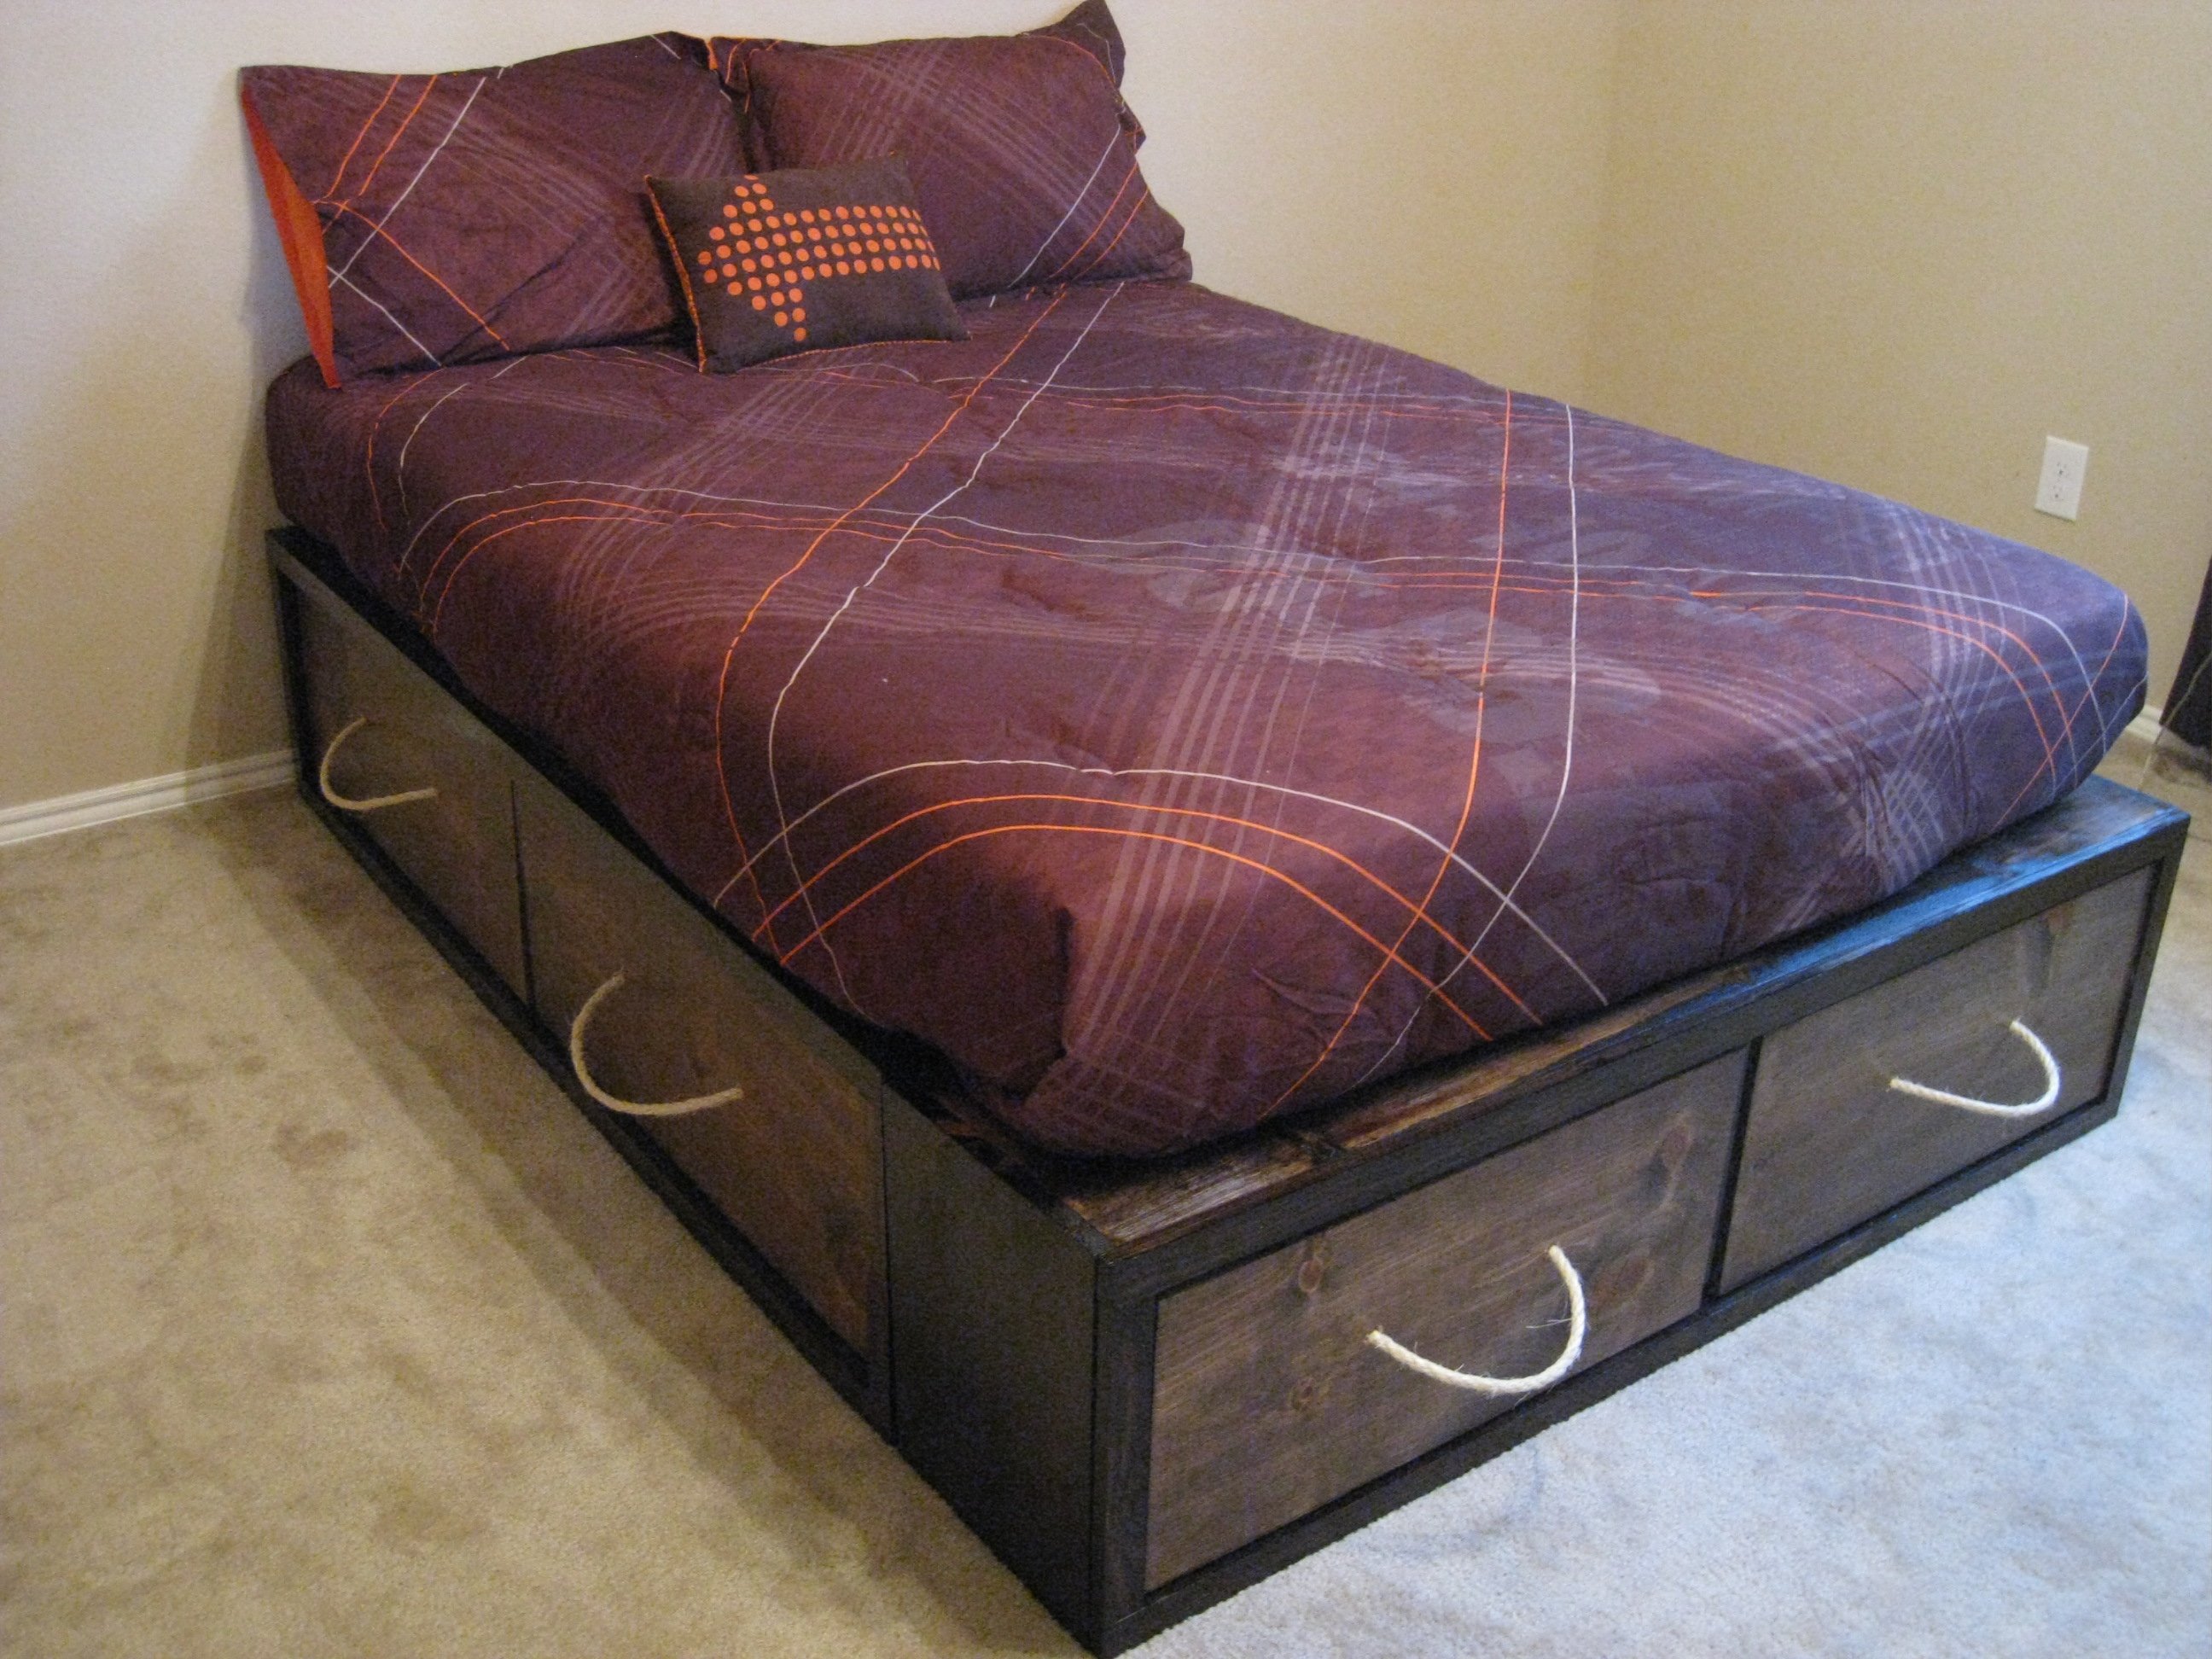
I built the Full Storage Bed using Ana's plans! It was very easy and I love the storage space! You can see it and my modifications at our blog http://www.shanty-2-chic.com/2011/03/crates-for-storage-bed.html
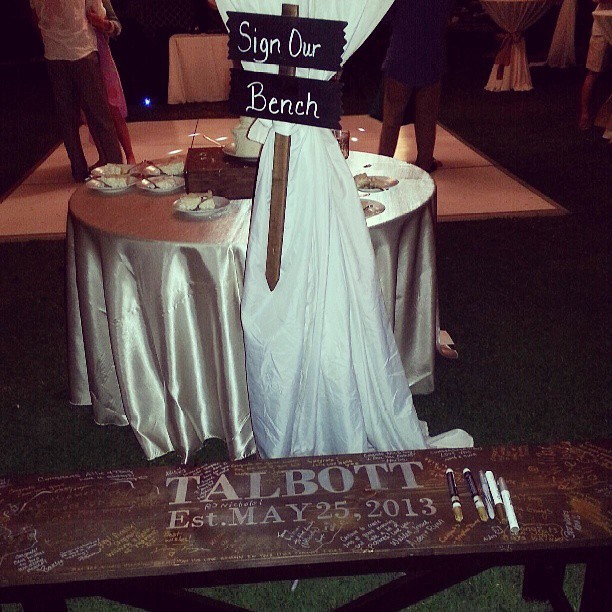
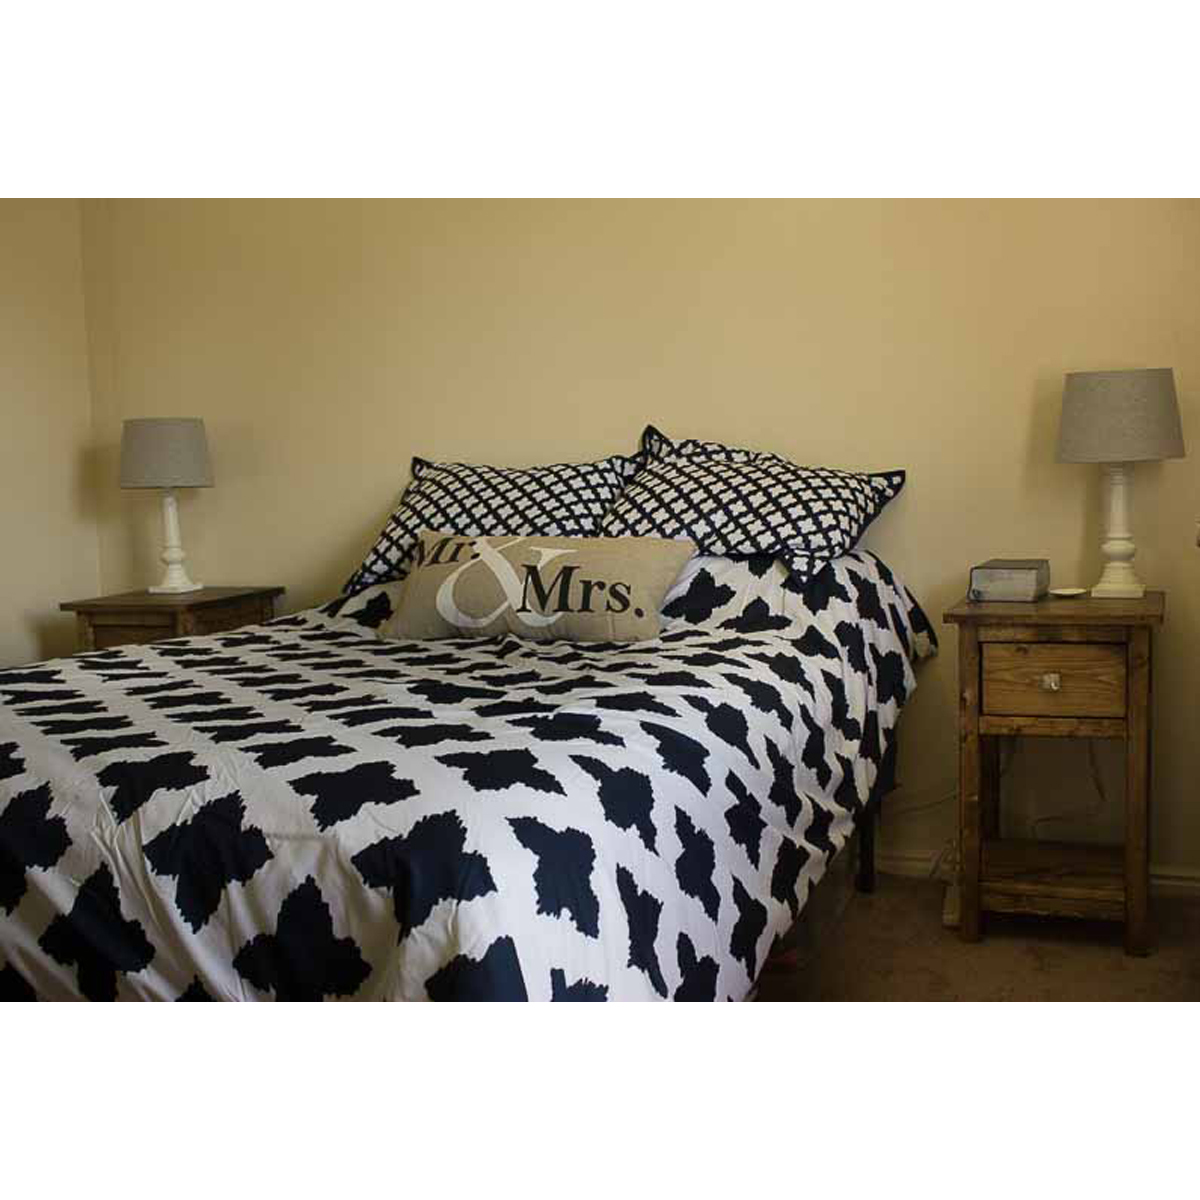
I stole this idea from another brag and had to have it at my wedding. The Bench was fairly cheap to make and took about 4 hours total. I hand made the stencils using cardstock, shipping tape, Xacto knife, and alot of tedious cutout work! I used a sharpie silver paint marker to fill in the stencil. Turned out great and now its at the foot of our bed and we get to look at all of our guest comments everyday!
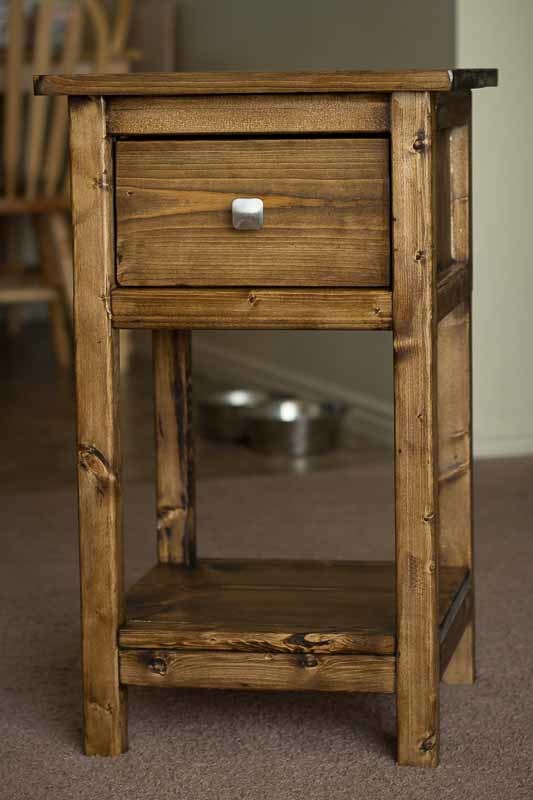
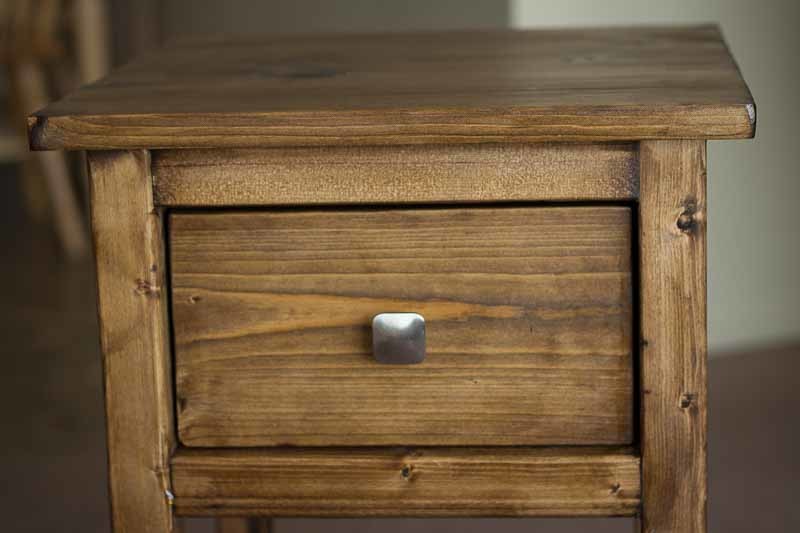
This was the first furniture DIY project for my wife and I. We loved the look of the original farmhouse bedside table plans but they were bigger than what we needed at the moment and didn't want to try to cram them into our room. The mini plans were exactly what we needed. For a first time build, I am pleased with the results and we ended up spending about $75 plus the cost of stain for the two tables. Similar, all-wood night stands run around $200 per table so it doesn't get much better than that. We opted for the Minwax Dark Walnut stain.

Sun, 05/17/2015 - 19:43
I built my mini farmhouse beside table last year as my second build. Did you use a brush or rag while staining? Every time I use dark walnut I get a much darker color, and yours came out perfect for a project I'm going to start soon.
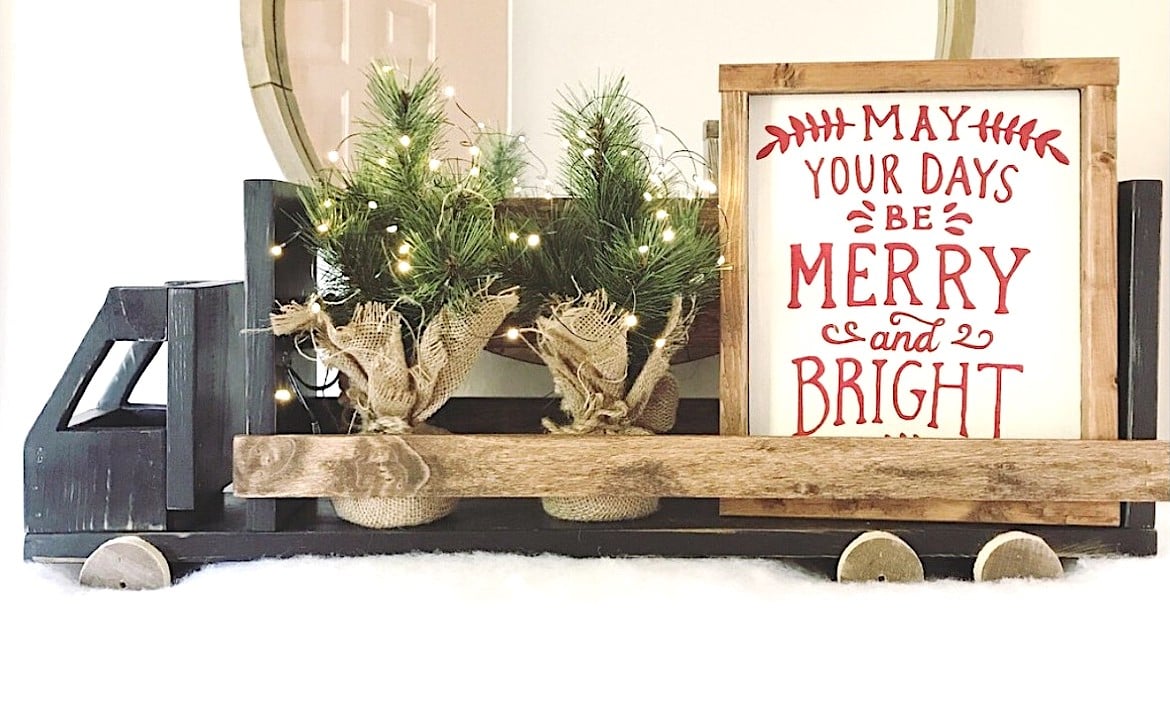
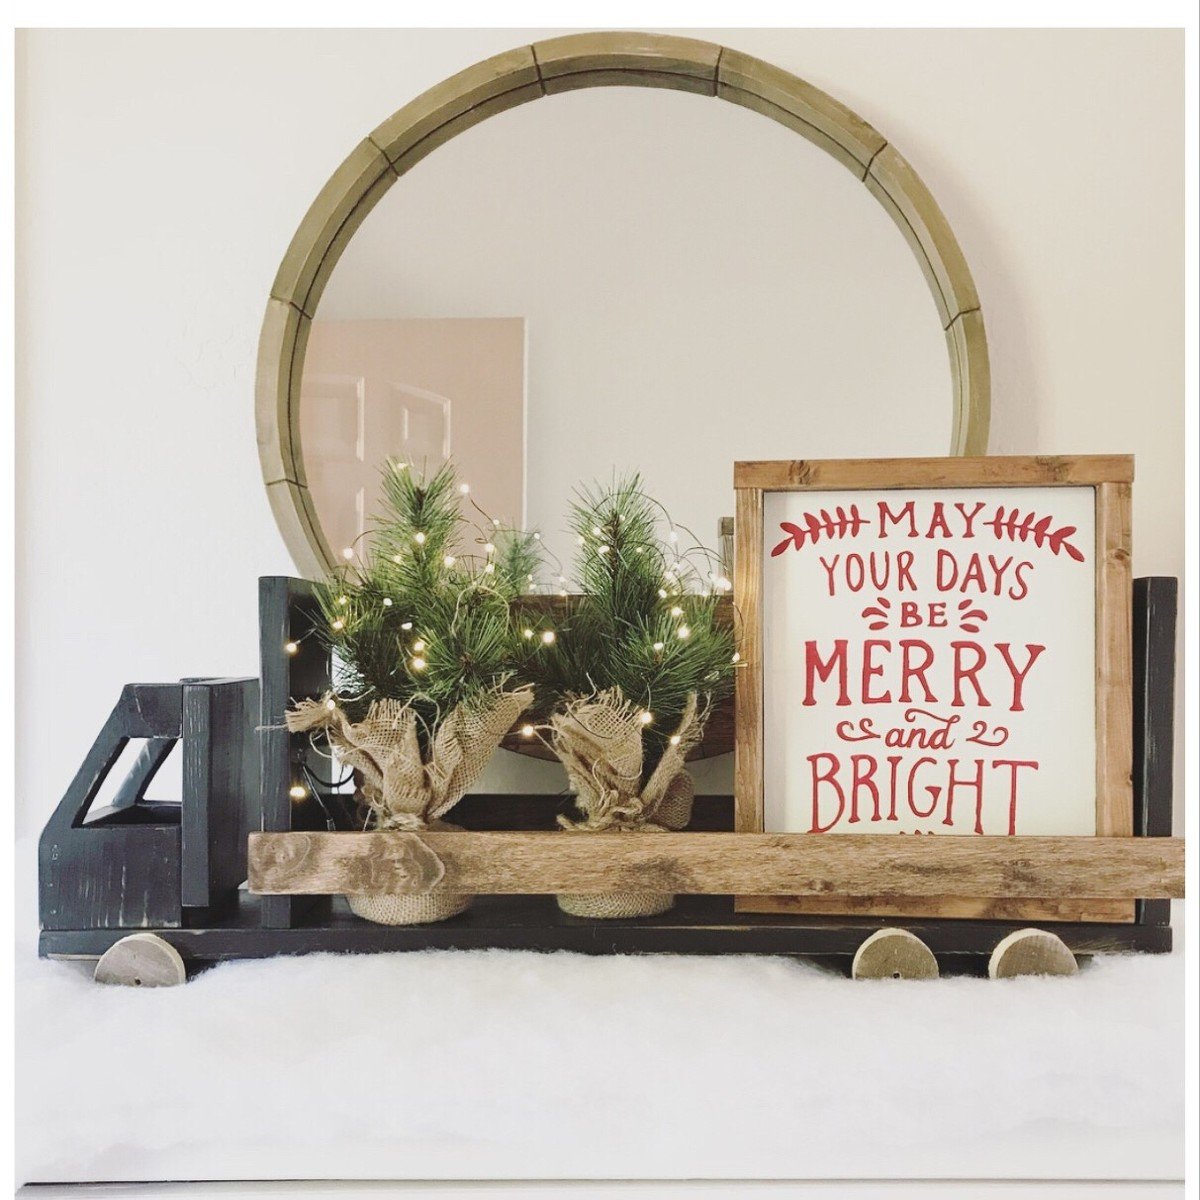
I built this truck to give to my son for a Christmas gift. It came together really fast. It took about 2 hours including sanding, painting, staining, waxing, and assembly. I really love the finished product! I have a lot of pictures of the process on my blog.

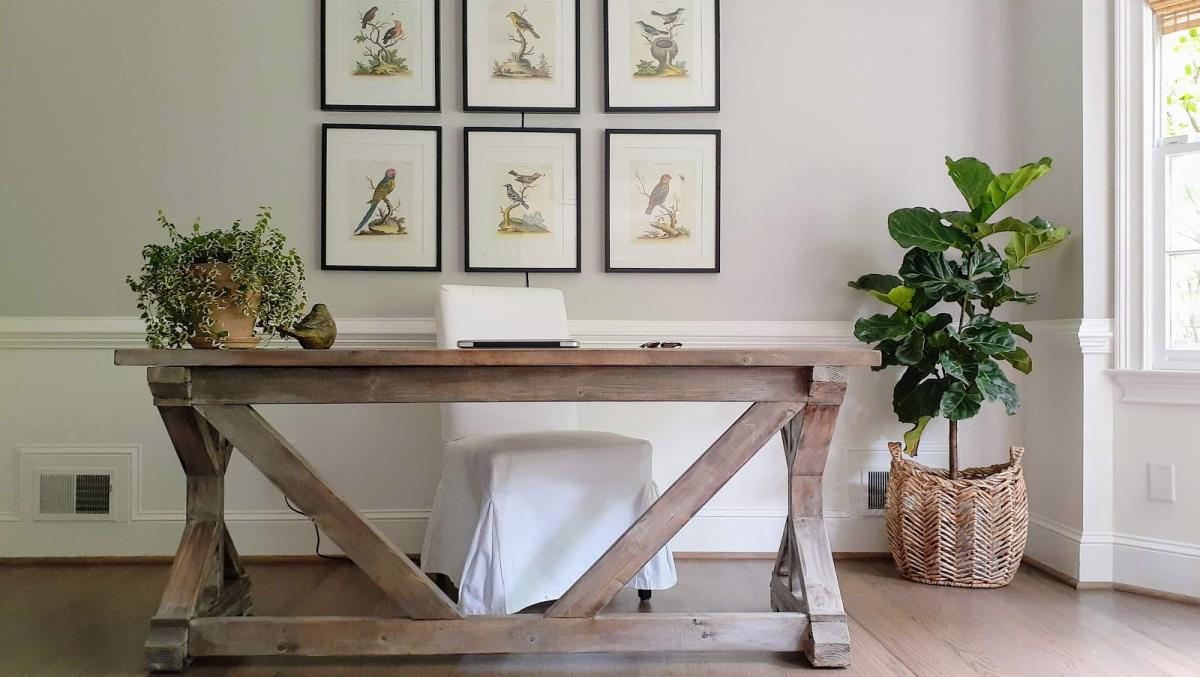
We love the style and finish on this fancy farmhouse desk, for more details visit Oak House Design Co.

Comments
Ana White Admin
Fri, 10/15/2021 - 12:53
Great first project!
Way to go! Thank you for sharing~