Community Brag Posts
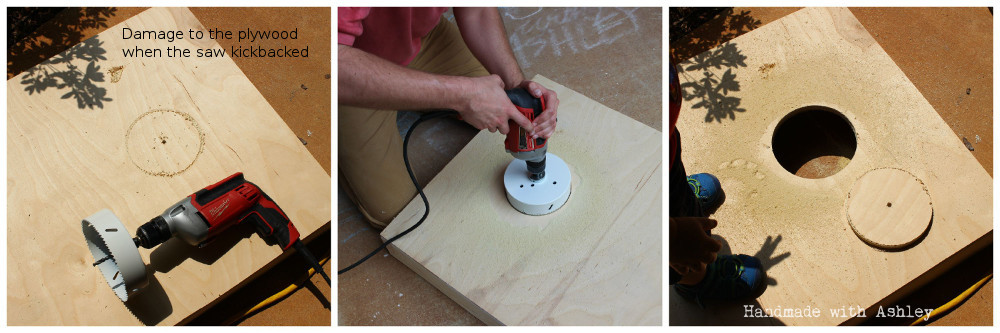
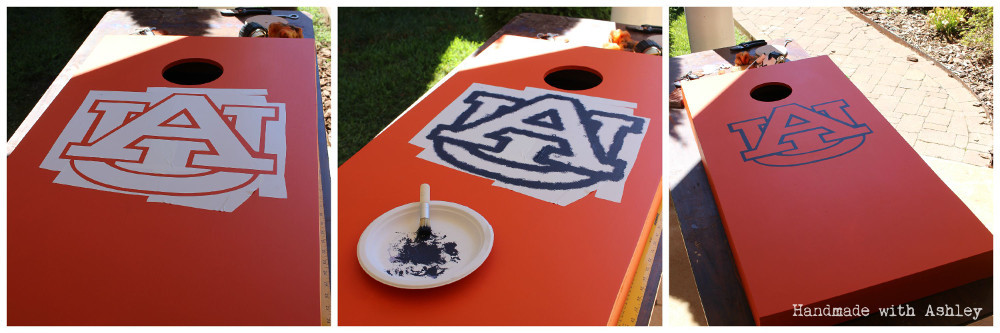
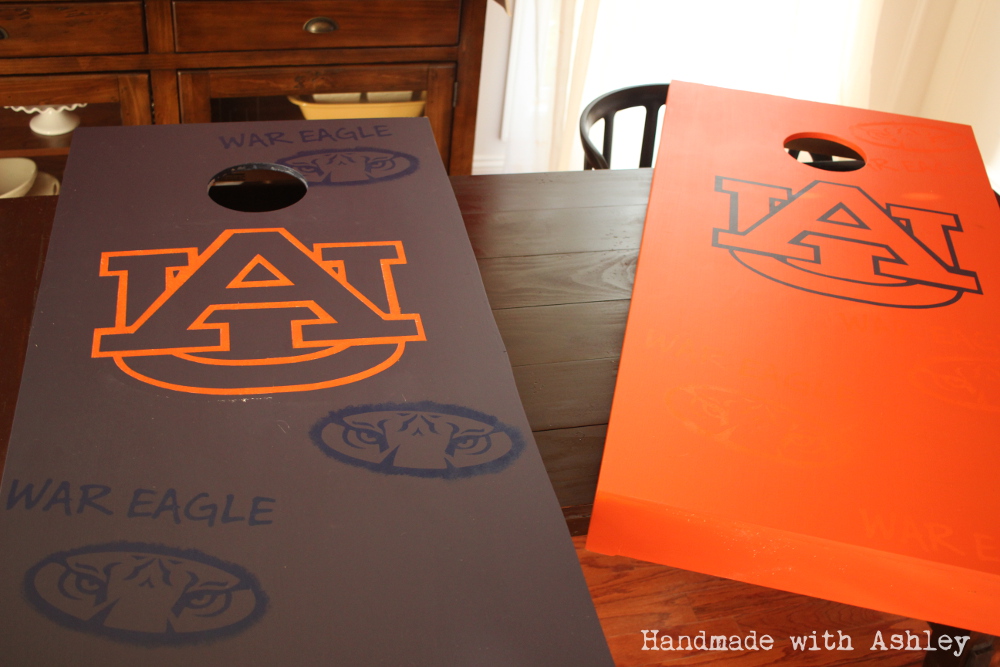
DIY Cornhole Board
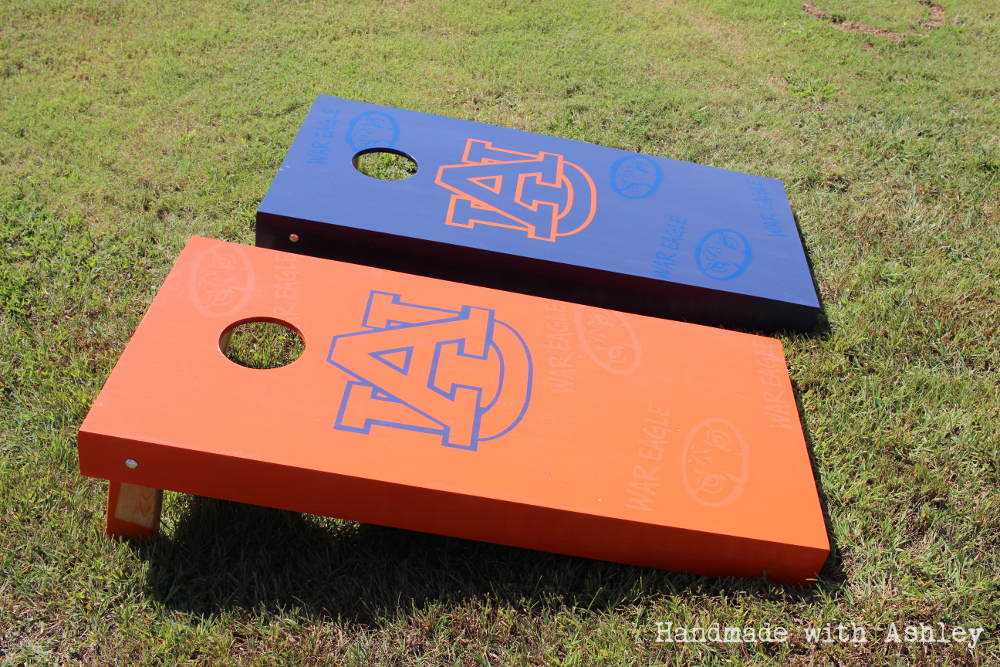
I built a pair of cornhole boards following a tutorial on This Old House. I used the Glidden Paint Team Colors line to get the a quart of blue and orange paint in the official Auburn colors. I used my Silhouette Portrait machine to create stencils for the AU logo, Auburn tiger logo and "War Eagle" text.
Estimated Cost
150
Estimated Time Investment
Weekend Project (10-20 Hours)
Finish Used
Glidden Paint from the Team Colors Collection
Recommended Skill Level
Beginner
Hutch

Love , love, love building this hutch. Started off with plans from the Shanty Hutch and out my own twist on it. Finished with valspar chalk paint and aging wax. Total build took around 2 weeks (part time).
Built from Plan(s)
Estimated Cost
600.00
Estimated Time Investment
Week Long Project (20 Hours or More)
Finish Used
Valspar Chalk Paint
Recommended Skill Level
Intermediate
Comments
Craftsman playhouse - in shades of blue

I’ve been working on building up to this playhouse for a while. Just got the doors on and am pretty pleased with what’s my first project of any size. Built on top of a modified version of the playhouse deck with a to be added (hopefully) swing in front. Color selection by the end customer (who’s 8). Modified to add 12 inches for a 5’ doorway. Thankfully I caught that at the last minute for the kiddo. Still a menace if I forget to duck. But super roomy once inside.
Built from Plan(s)
Comments
Sun, 06/12/2022 - 09:04
Bright and inviting!
Love the shades of blue, thank you for sharing your awesome creation!
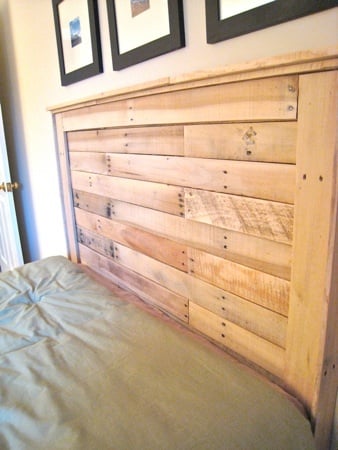
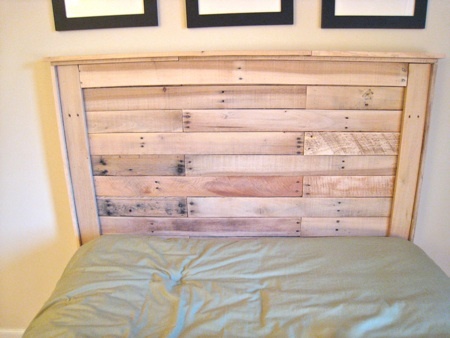
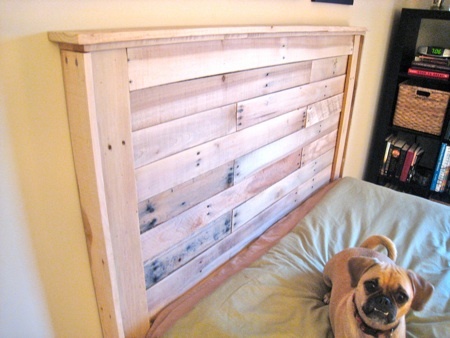
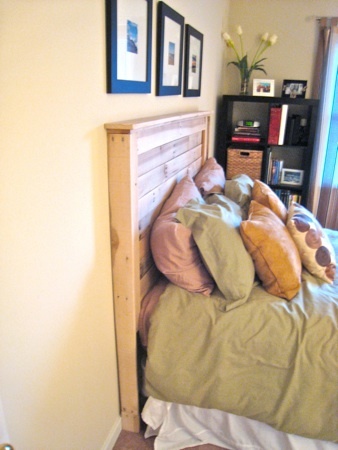
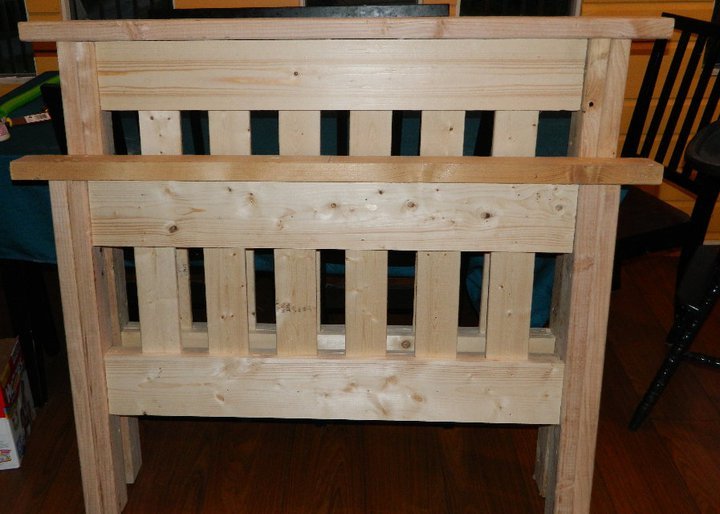
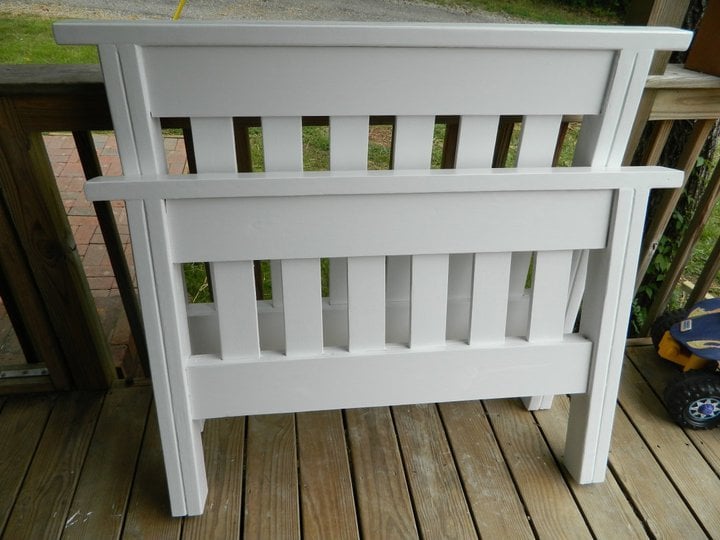
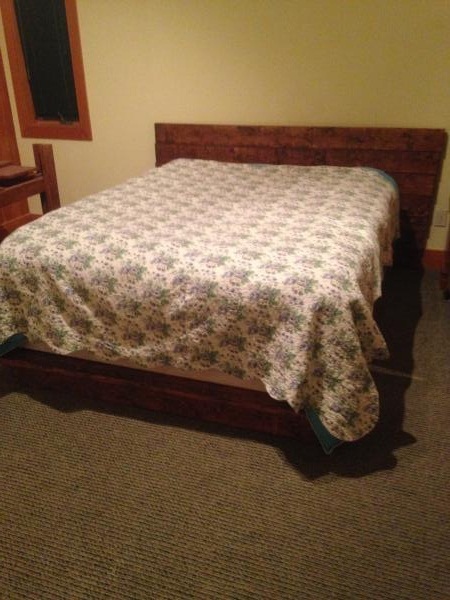
Easy Build Wood Headboard from Pallets
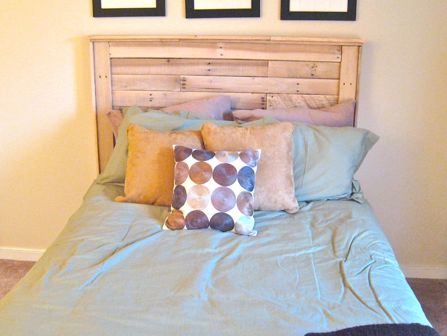
I've been using a bunch of FREE pallets on some projects here lately and decided to make the Reclaimed Wood Headboard with the pallet wood that I had. Every piece of wood came from pallets and it turned out pretty great. We're still undecided about if/how we want to stain it....but for now it's all natural'. I made mine a couple inches shorter then the plans called for and an inche or two narrower based on the measurements of our Full Size Bed. I documented this project as best as I could at: http://www.tommyandellie.com/Site/Home/Entries/2011/7/20_Entry_1.html
Built from Plan(s)
Estimated Cost
FREE!
Estimated Time Investment
An Hour or Two (0-2 Hours)
Finish Used
None yet.....Suggestions?
Recommended Skill Level
Starter Project
Comments

Wed, 07/20/2011 - 05:37
Looks beautiful. I wouldn't
Looks beautiful. I wouldn't stain it. Just put a clear finish on it and call it good.

Sun, 07/24/2011 - 10:08
Finish
One of my favorite things is to use pallets for lumber! I have finished pallet wood before successfully using Minwax Poly-shades. Love Golden Oak as it doesn't do much but enhance the grain...grab a few samples and try them out on some scrap boards, that's the only way you will know how it will look in the end! Best of luck!
Thu, 01/26/2012 - 19:21
reclaimed wood headboard from pallets link
we tried the link for this project and it said error. Would love to make this for our bedroom. could you please let me know the directions?
Thanks!
In reply to reclaimed wood headboard from pallets link by Guest (not verified)
Fri, 01/27/2012 - 09:00
try this link...
ADIRONDACK STOOL
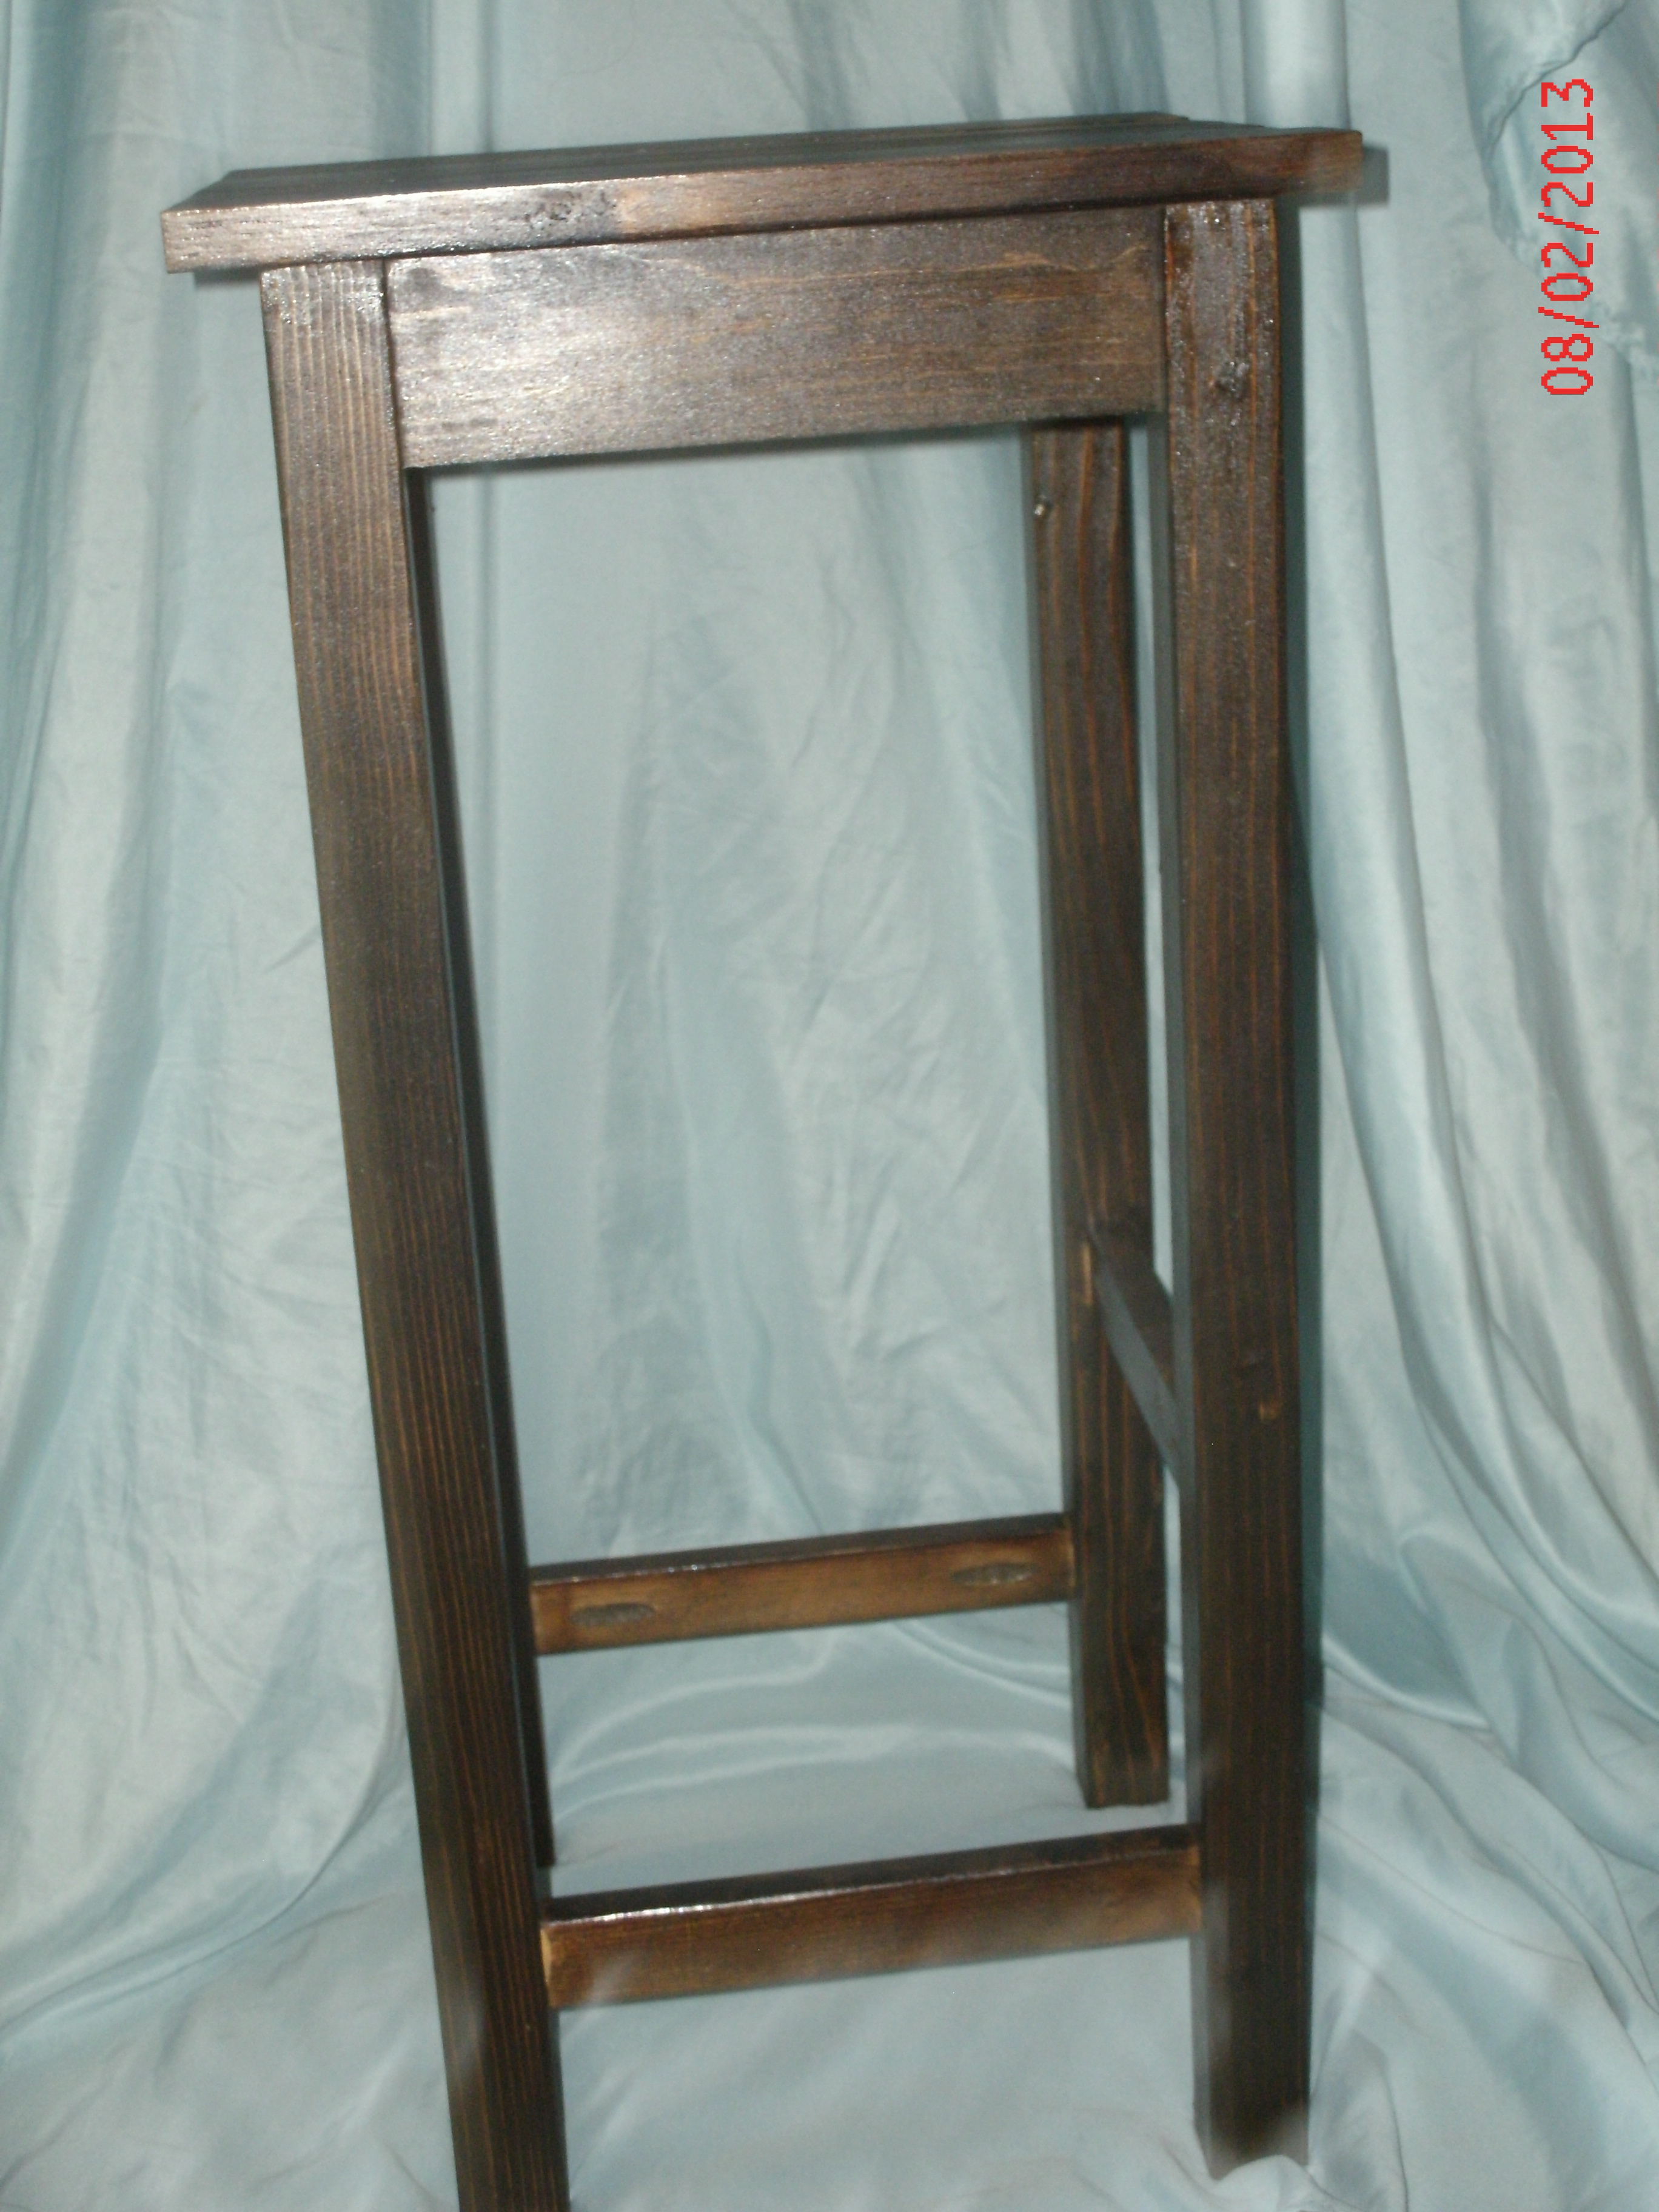
We pretty much followed the plan with the exception of making the legs 28" tall and then removing the middle bar and then adding two additional supports 4" higher than the lower ones and put them on the opposite sides as the lower one. It formed a ladder like thing which we wanted since this was for kids starting at age 3. I hope that makes sense it doesn't really sound right to me but anyways moving one. It was really fun to make these I made three for my older sister since the walmart specials that she bought were horrible and falling apart after a short amount of time. They were easy two do probably about a day of cutting and assembling and then a day of staining and polying however if you were only doing one then it would be a day project at most. My other tip is that after cutting all the pieces I sanded them which made it nice after putting the top on and not having to worry about if the parts in between the two pieces touching was sanded enough not to give the kids splinters. And the best part was that I got a new tool which I love, the Kreg pocket hole jig. It was fun. I did have some splitting on the test wood pieces (scraps from cutting pieces for the stool) so instead of having the aprons flush I used an old cd case under the apron and attached them that way it was close to center but no worries about splitting and was super easy to do.

Built from Plan(s)
Estimated Cost
10-15
Estimated Time Investment
Day Project (6-9 Hours)
Finish Used
Minwax Dark Walnut and clear gloss wipe on poly
Recommended Skill Level
Beginner
Dining room buffet
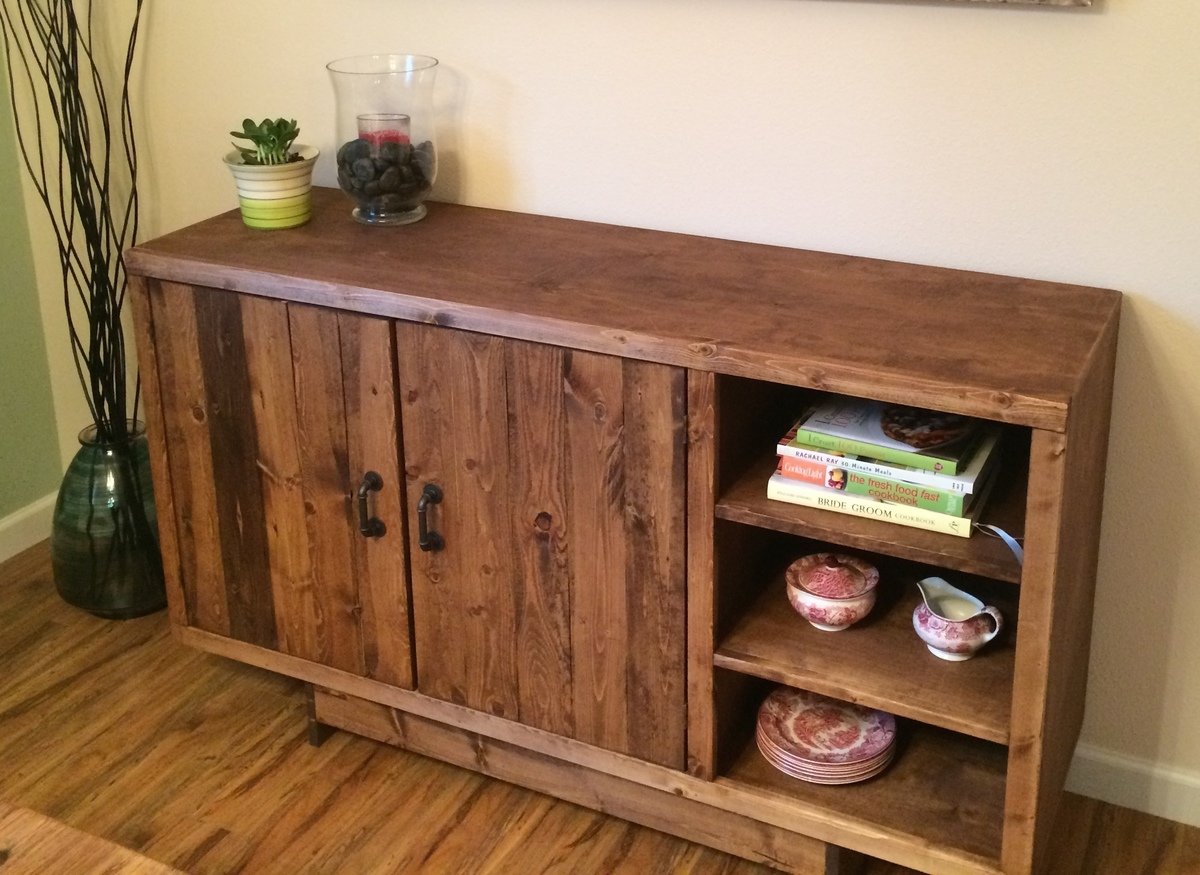
This was my husband's and my second furniture build, and the first with doors! We went ahead and followed the dimensions in the instructions, and even with wood that was 3.5, we still had doors that were a little short. I figure it adds character. Hinges were a little difficult for us, as we are new to woodworking DIY projects, but I'm very happy with the final project. Edge banding, magnetic clasps, and stain throughout really makes it look like a nice, finished piece. Thanks, Ana!
A side note on timing, for us this was a long weekend project that took us in to the next week. For others, I am sure it could go much quicker. That time also included finishing.
Built from Plan(s)
Estimated Cost
$200, not counting the new nail gun we purchased. :-)
Estimated Time Investment
Week Long Project (20 Hours or More)
Finish Used
Minwax English Chestnut--one coat.
Recommended Skill Level
Intermediate
Comments
Bathroom Storage
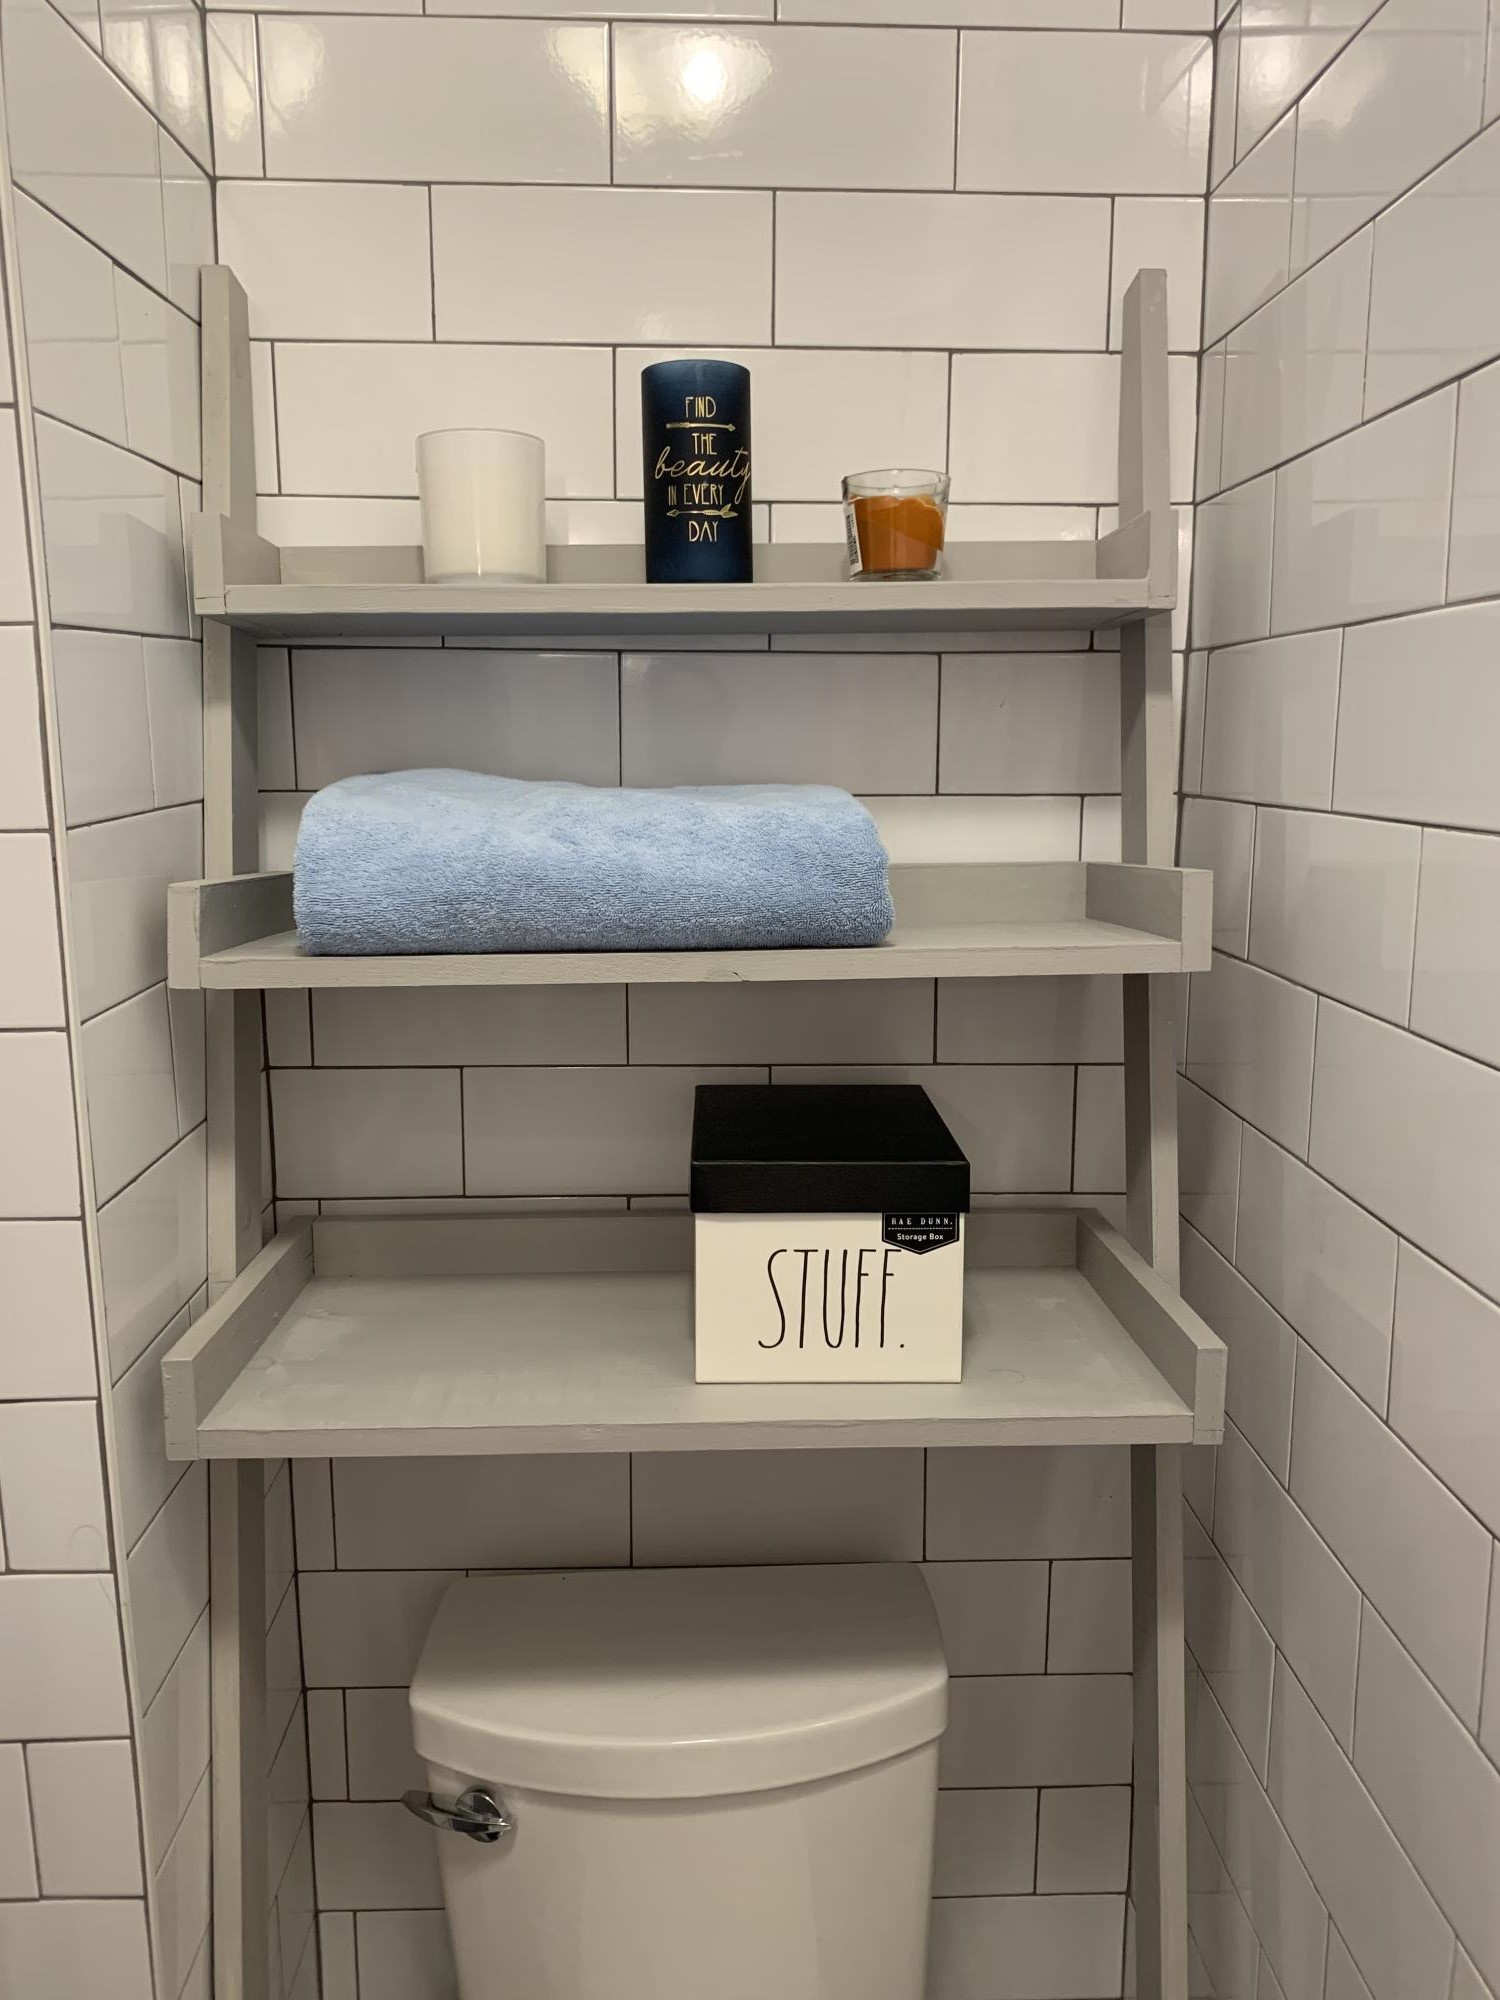
My daughter has a VERY SMALL bathroom and this was the perfect build to create storage! Thanks, Ana!
Built from Plan(s)
Comments
Sat, 06/25/2022 - 12:33
Perfect solution for a small bathroom!
This looks fabulous, thanks for sharing!


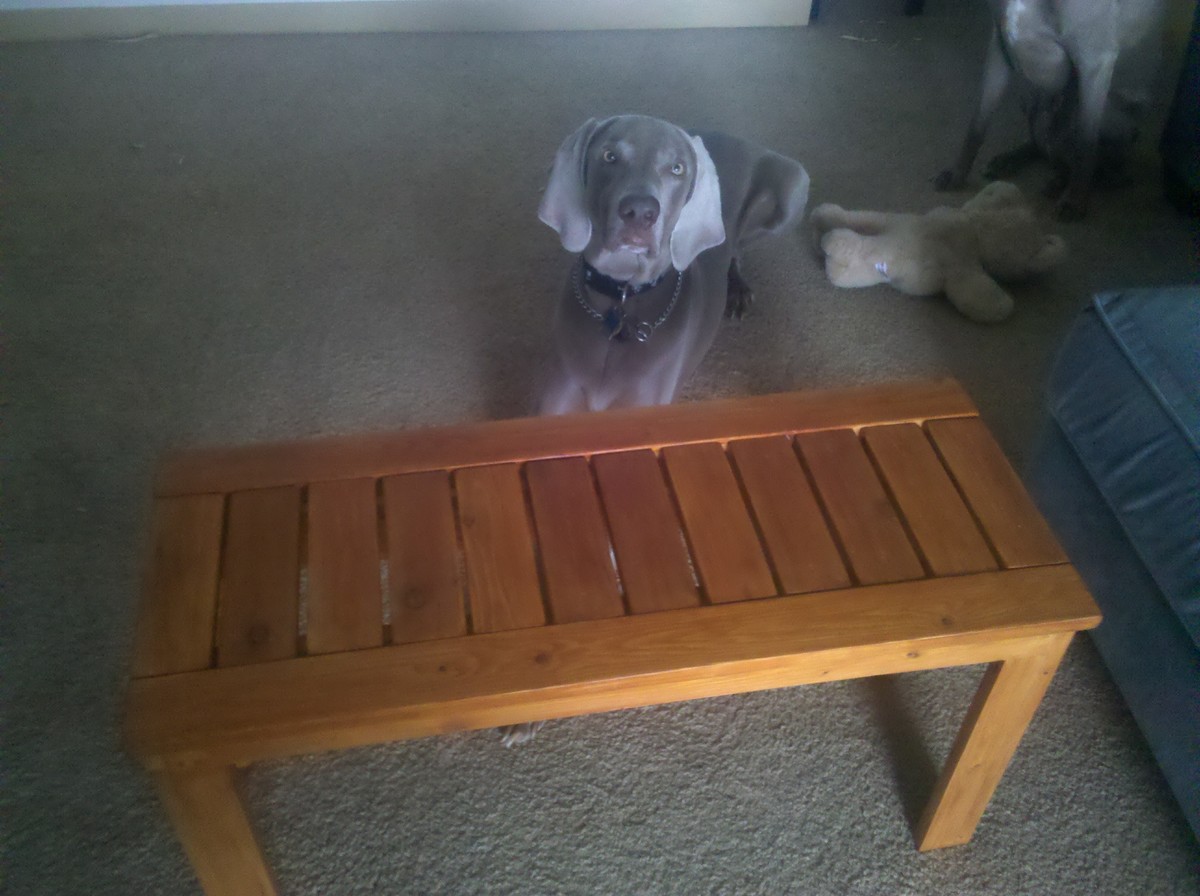
PROVIDENCE BENCH
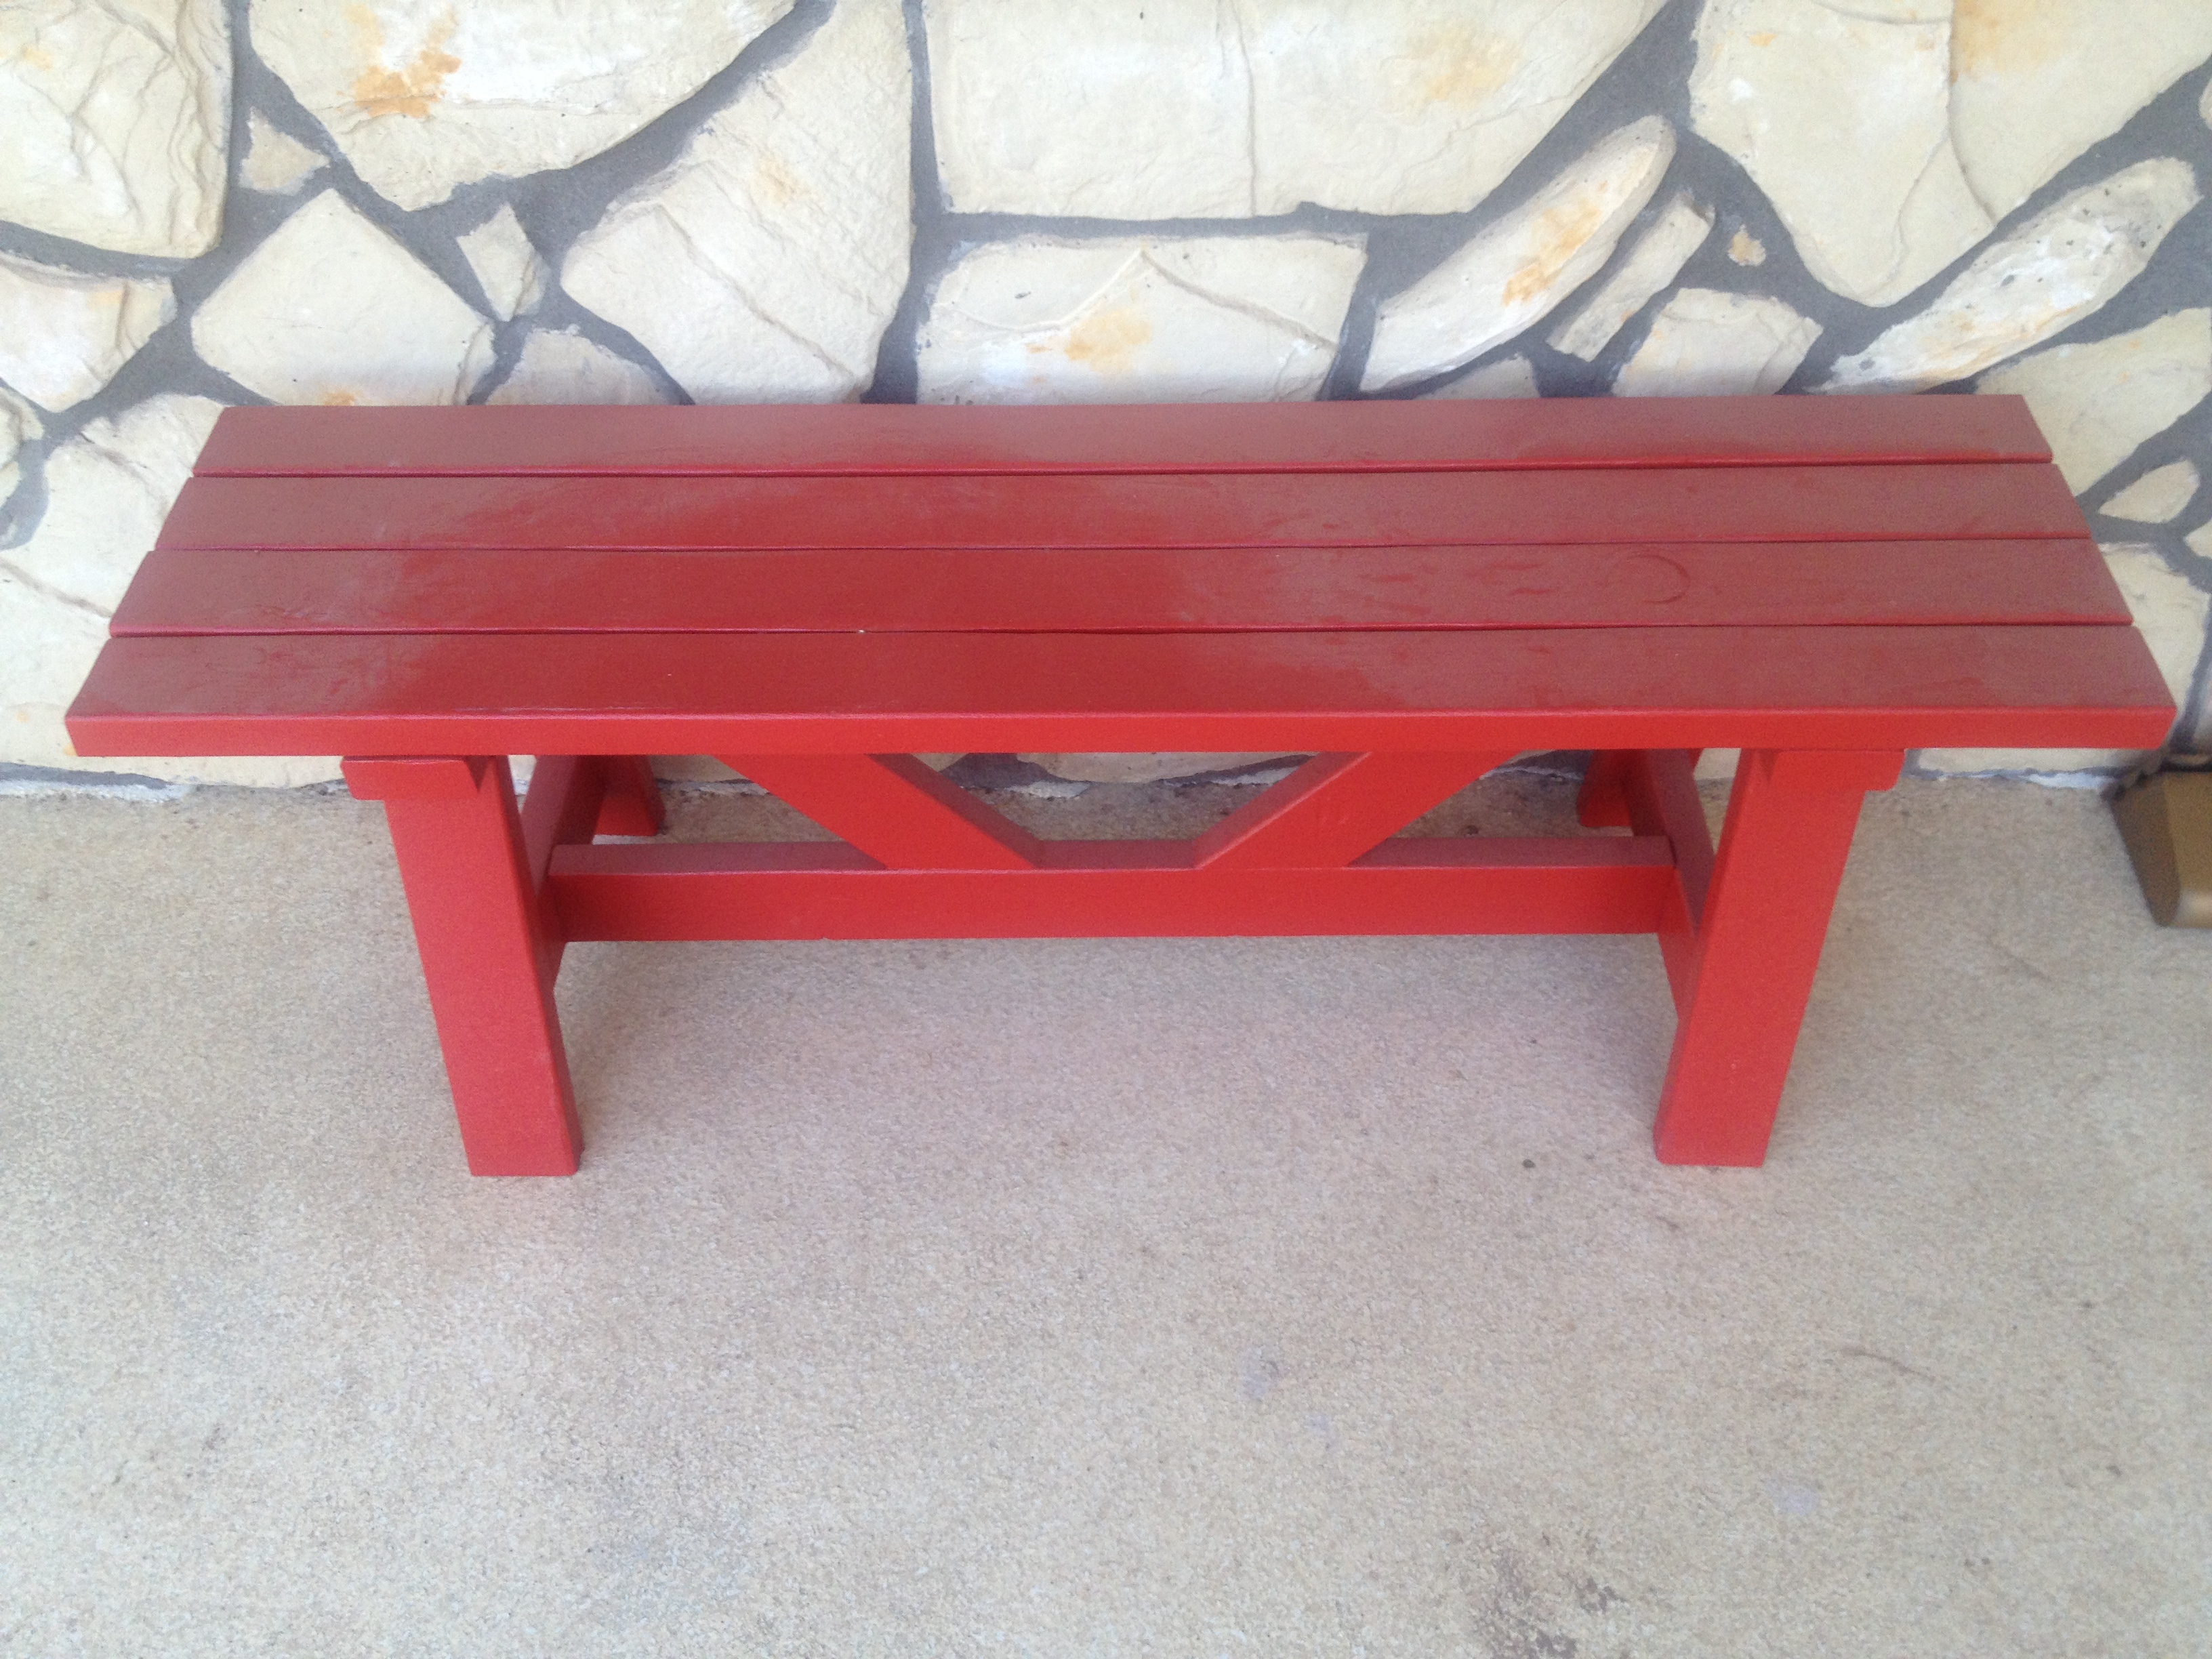
This is a slightly modified version of Ana's Providence bench.
http://ana-white.com/2012/04/plans/providence-bench
In Step 1, instead of having the bottom supports flush with the end, I decided to center them on the 2x4s.
This means the bottom rail needs to be shortened accordingly.
I sanded everything down with 120, and 220 grit sand paper.
I find it easier and quicker to sand larger pieces of lumber than smaller pieces.
Next everything was cut to size, and then primed. I let the primer dry for a few hours, and added the second coat of primer.
I primed all the surfaces, exposed and unexposed. Now some of you may think this was overkill. But since I live in Arizona, I didn't want the wood warping. This also protects if from all the elements.
Next day, it was all assembled, this took a few hours, we used a kreg jig to make most of the holes, I didn't have the right kreg screws, so I just used outdoor deck screws.
Finishing:
I filled all the holes with wood putty. This needed to be done several times, because putty shrinks, more so in the heat here.
Eventually, sanded it all down with 220 grit lightly, just so that there were no tell tale signs.
Next painted the bench red a few times. I needed about 2 coats to get it just right..
My contractor commented on how sturdy this bench was, coming from him, that's quite a compliment, it turned out to be A LOT sturdier than I thought it would be based on how flimsy those angled supports were...
It matches my red front door and is a great place to have my morning coffee and put my shoes on.
Built from Plan(s)
Estimated Time Investment
Weekend Project (10-20 Hours)
Finish Used
primer and paint.
Recommended Skill Level
Beginner
Monogramed Toy Chest
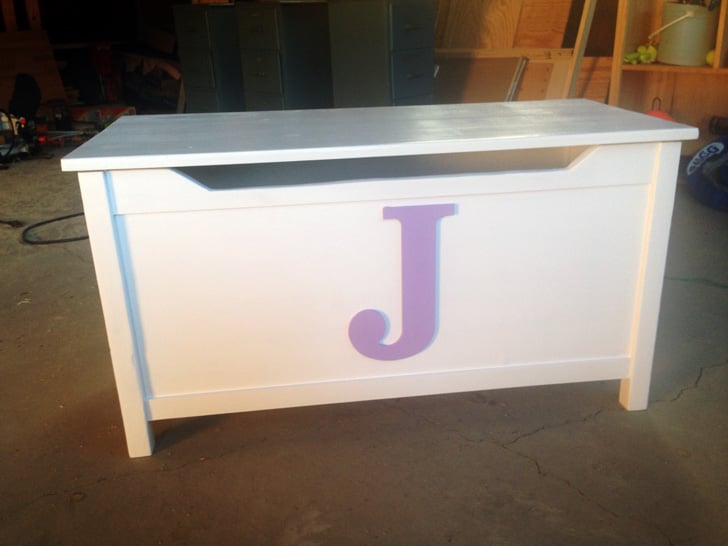
Took me a little while for the first one, but now going to make more and will be much quicker now that I made it through the first time!
Built from Plan(s)
Estimated Time Investment
Weekend Project (10-20 Hours)
Recommended Skill Level
Beginner
Comments
Thu, 03/19/2020 - 06:31
Installation of Hinges on toy chest with inset
Can you please let me know how you installed the hinges. The toy chest has an inlet on the back so the lid and hinges are not flush. How did you install them?
Any suggestions or sketches of installation of lid with hinges?
Thanks- Joanne K
Built for a friend for her grandkids
So took the plans and added a 1x4 floor on bottom and 2x4 runners on bottom for support and to keep off ground. The used landscaping fabric to help hold sand in.
Thanks for the plans was quick and simple and had done in about 4 hrs start to finish.

Built from Plan(s)
Estimated Time Investment
Afternoon Project (3-6 Hours)
Finish Used
not finished yet but will have outdoor stain applied in summer.
Recommended Skill Level
Beginner
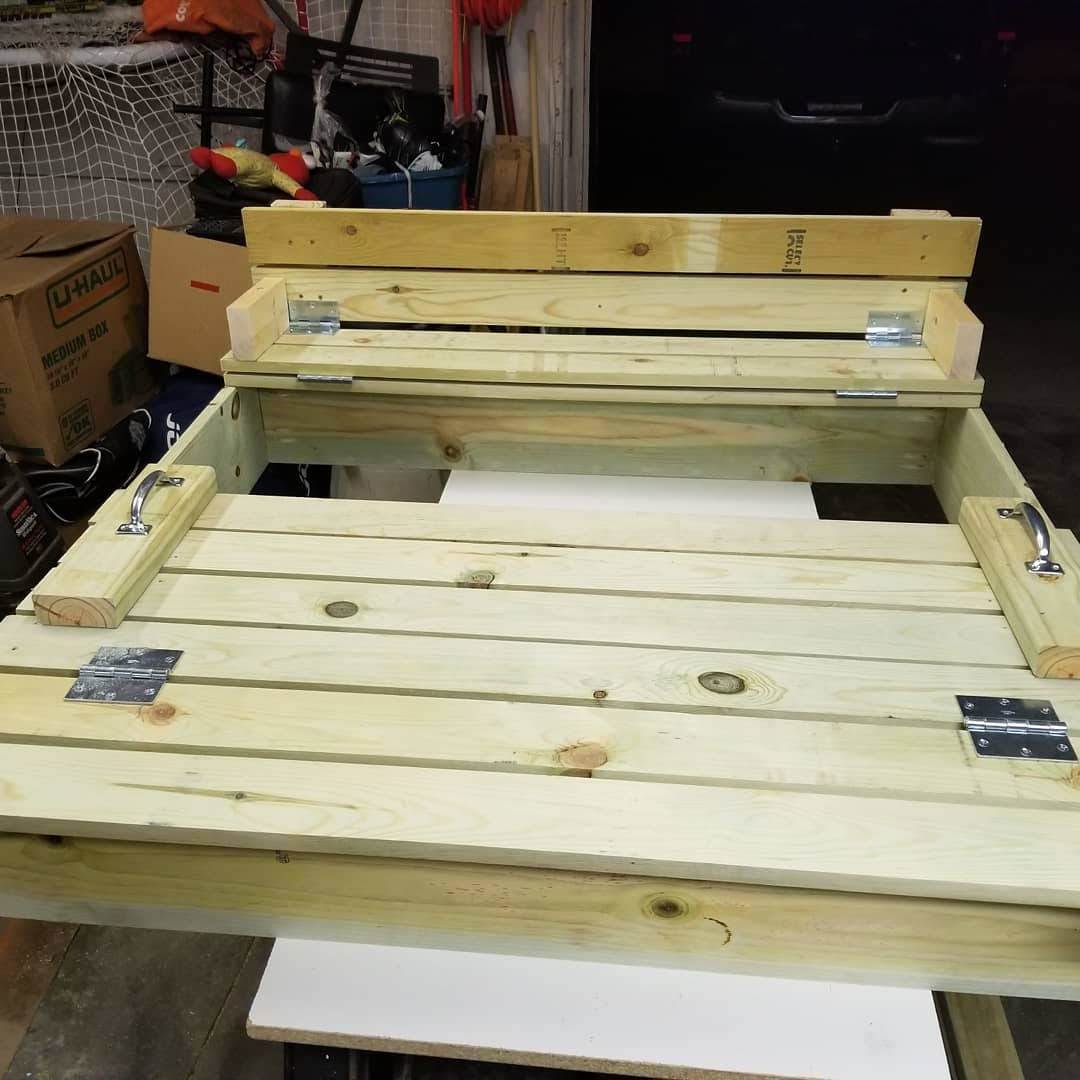
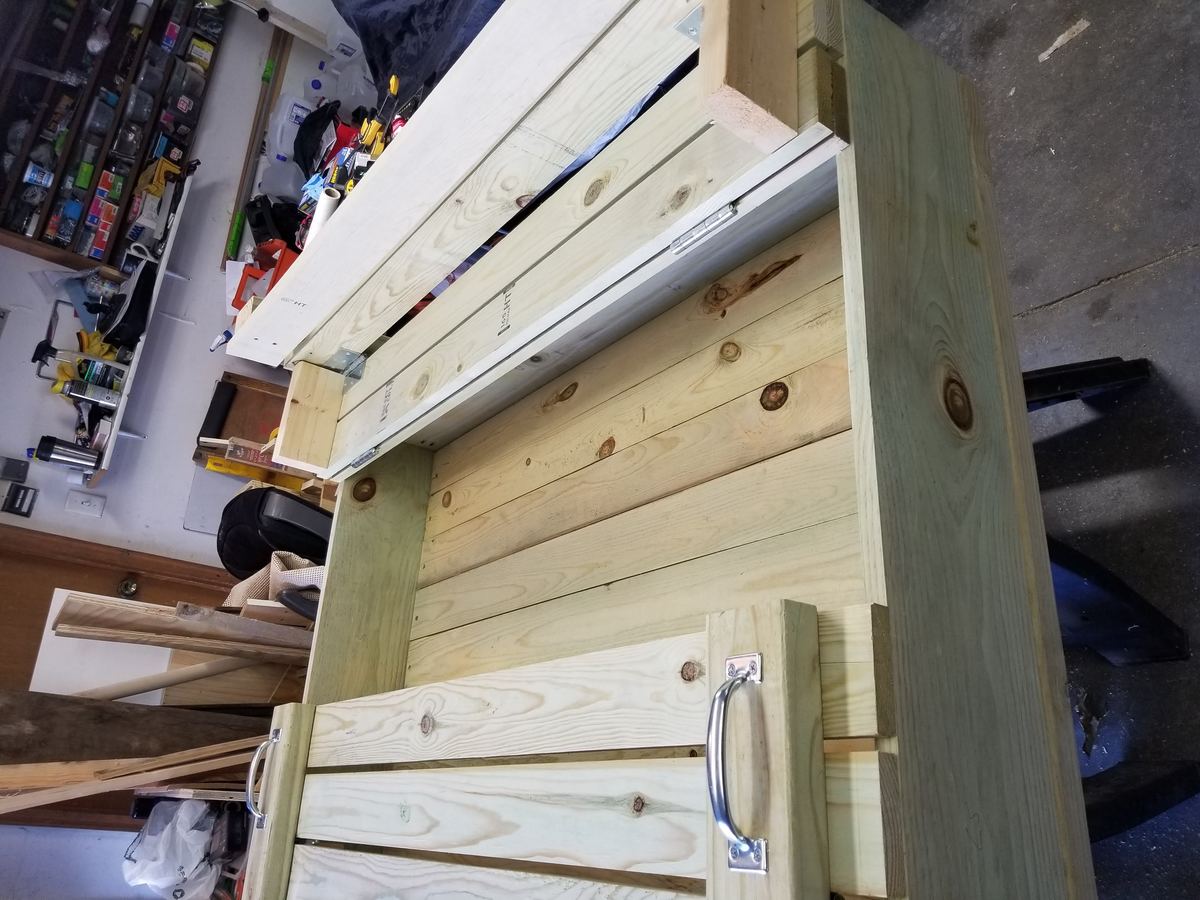
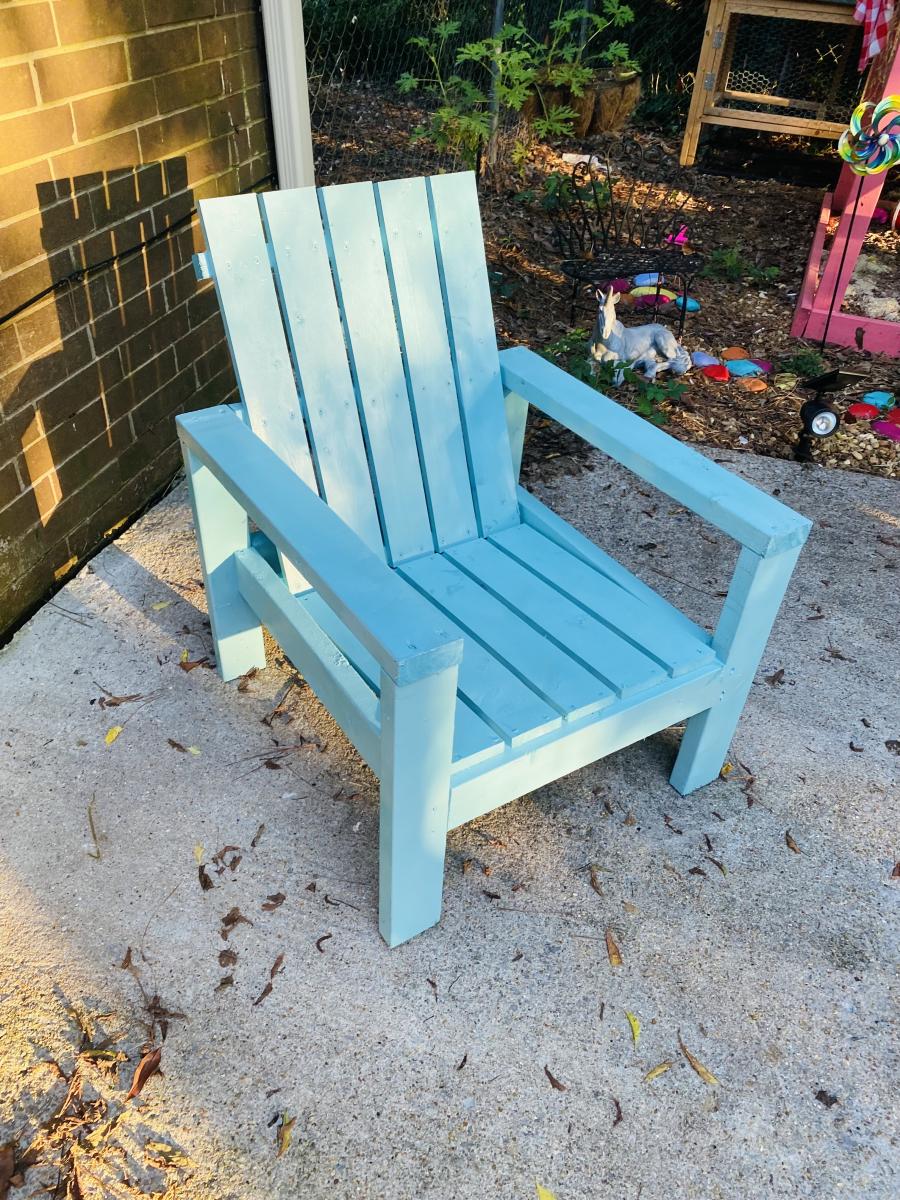
Lawn chairs for my daughter
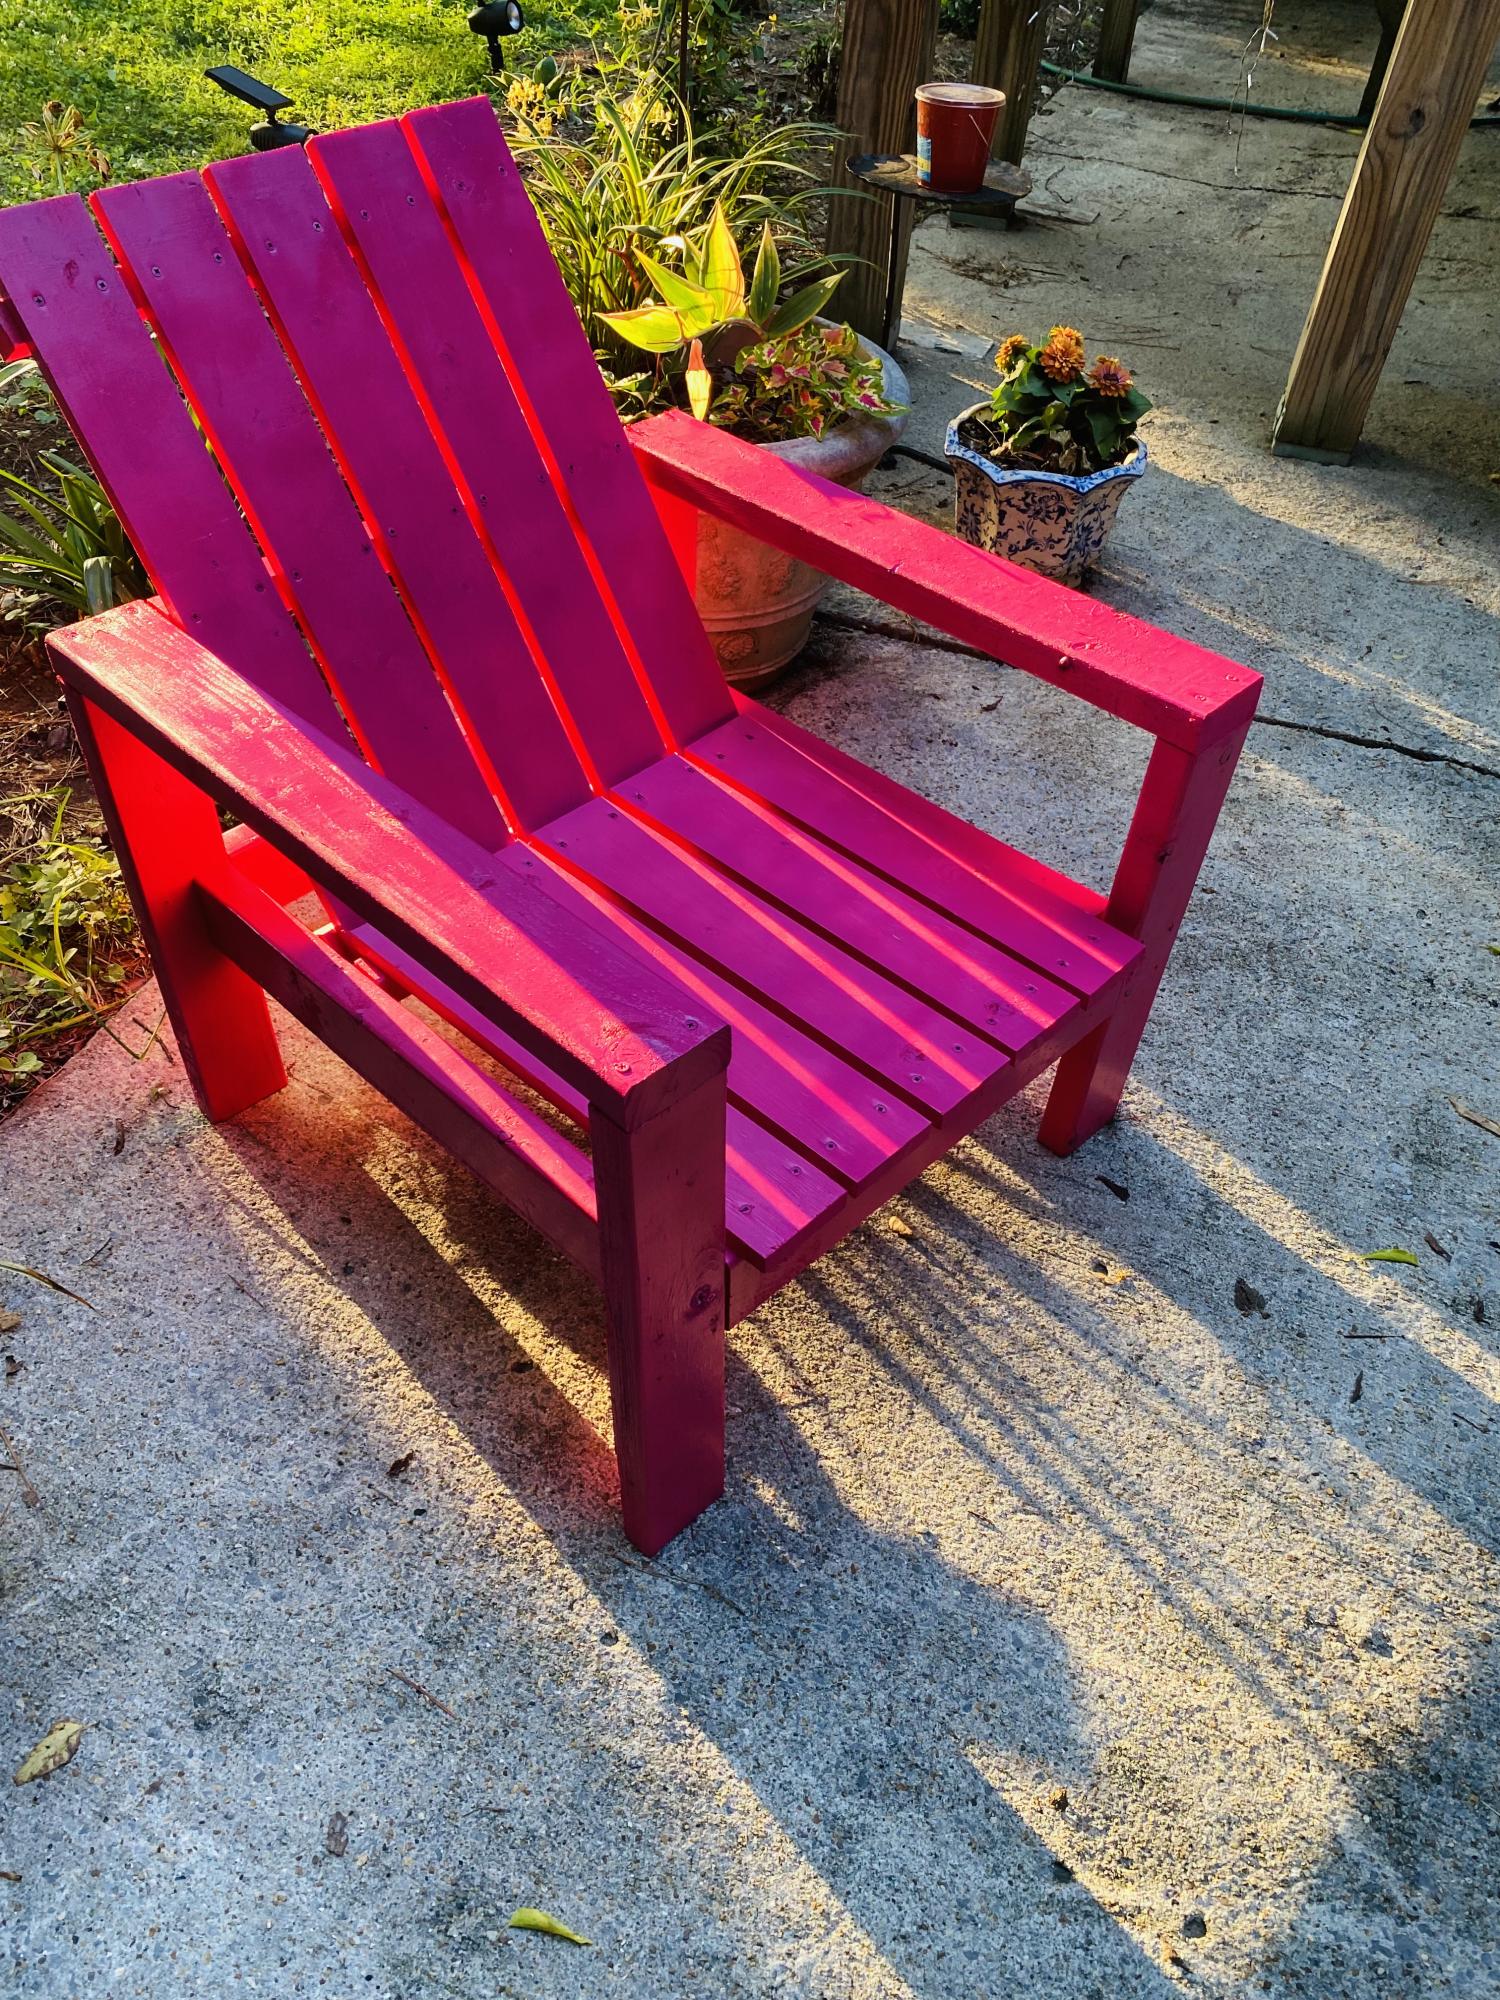
I built these lawn chairs for my daughter from your plans. Thanks

Built from Plan(s)
Comments
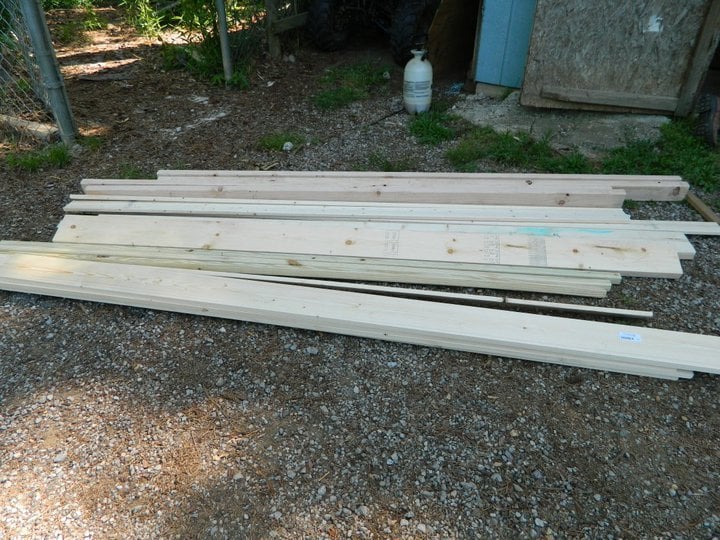
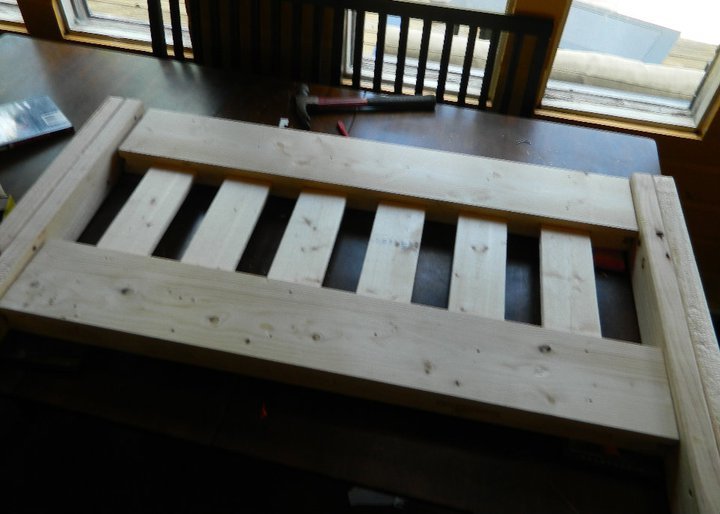
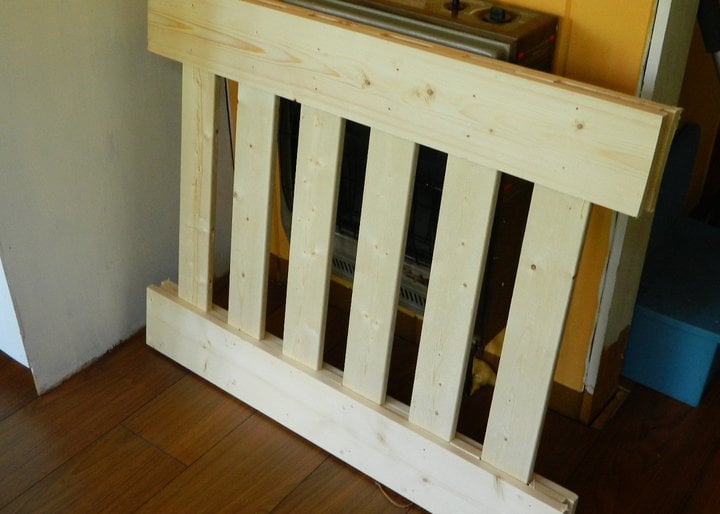
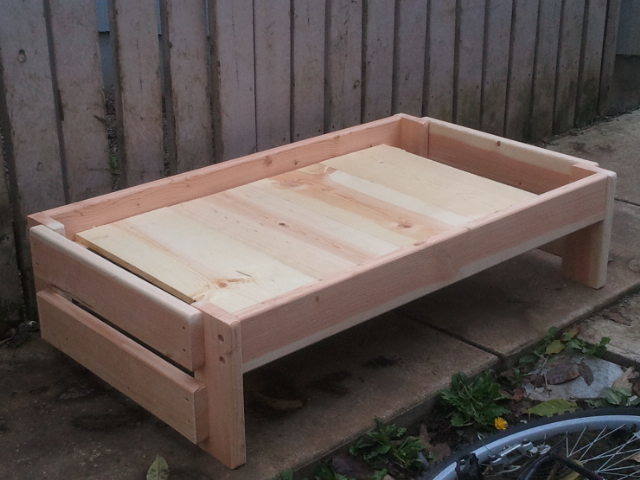
My first build, the simple twin bed
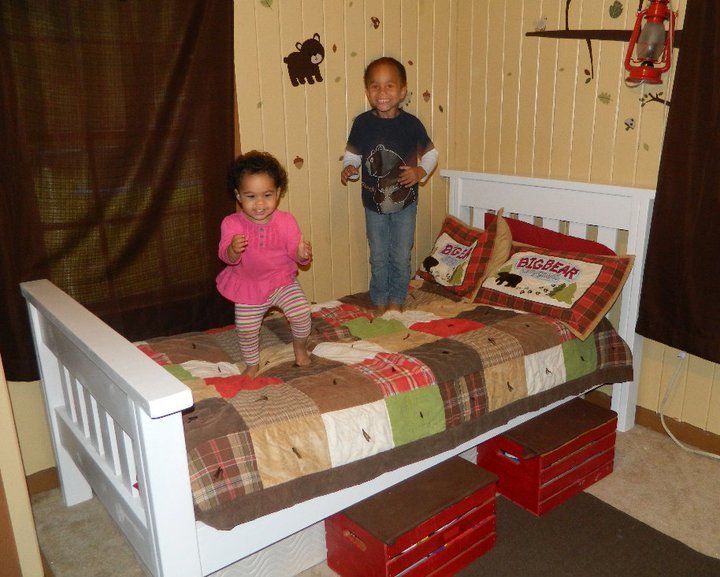
As my daughter got older she refused to sleep in her crib, so I decided I wanted matching beds for her and my son. We live in a small 2 bedroom house so they have to share. So while looking up ideas for nice beds at a cheap cost I followed links until I reached ana-white.com and I was amazed. I sat on my computer for hours yelling at my husband to "COME LOOK AT THIS" (which I still do today). So I picked a plan and started on in. With some help cutting from my dad I had the first bed done in a couple days. Sadly I have not finished the second due to a random mind and trying to find a way to make my boy and girl room a little more grown up and uni-sex friendly.
Built from Plan(s)
Estimated Cost
$80
Estimated Time Investment
Weekend Project (10-20 Hours)
Recommended Skill Level
Beginner
Comments

Sat, 07/30/2011 - 08:15
You did an Awesome Job!
Doesn't matter who helped - you did it! Can't wait to see the finished look when the room is all done - please keep us posted!

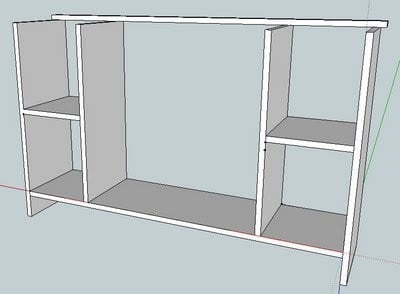
Parson desk
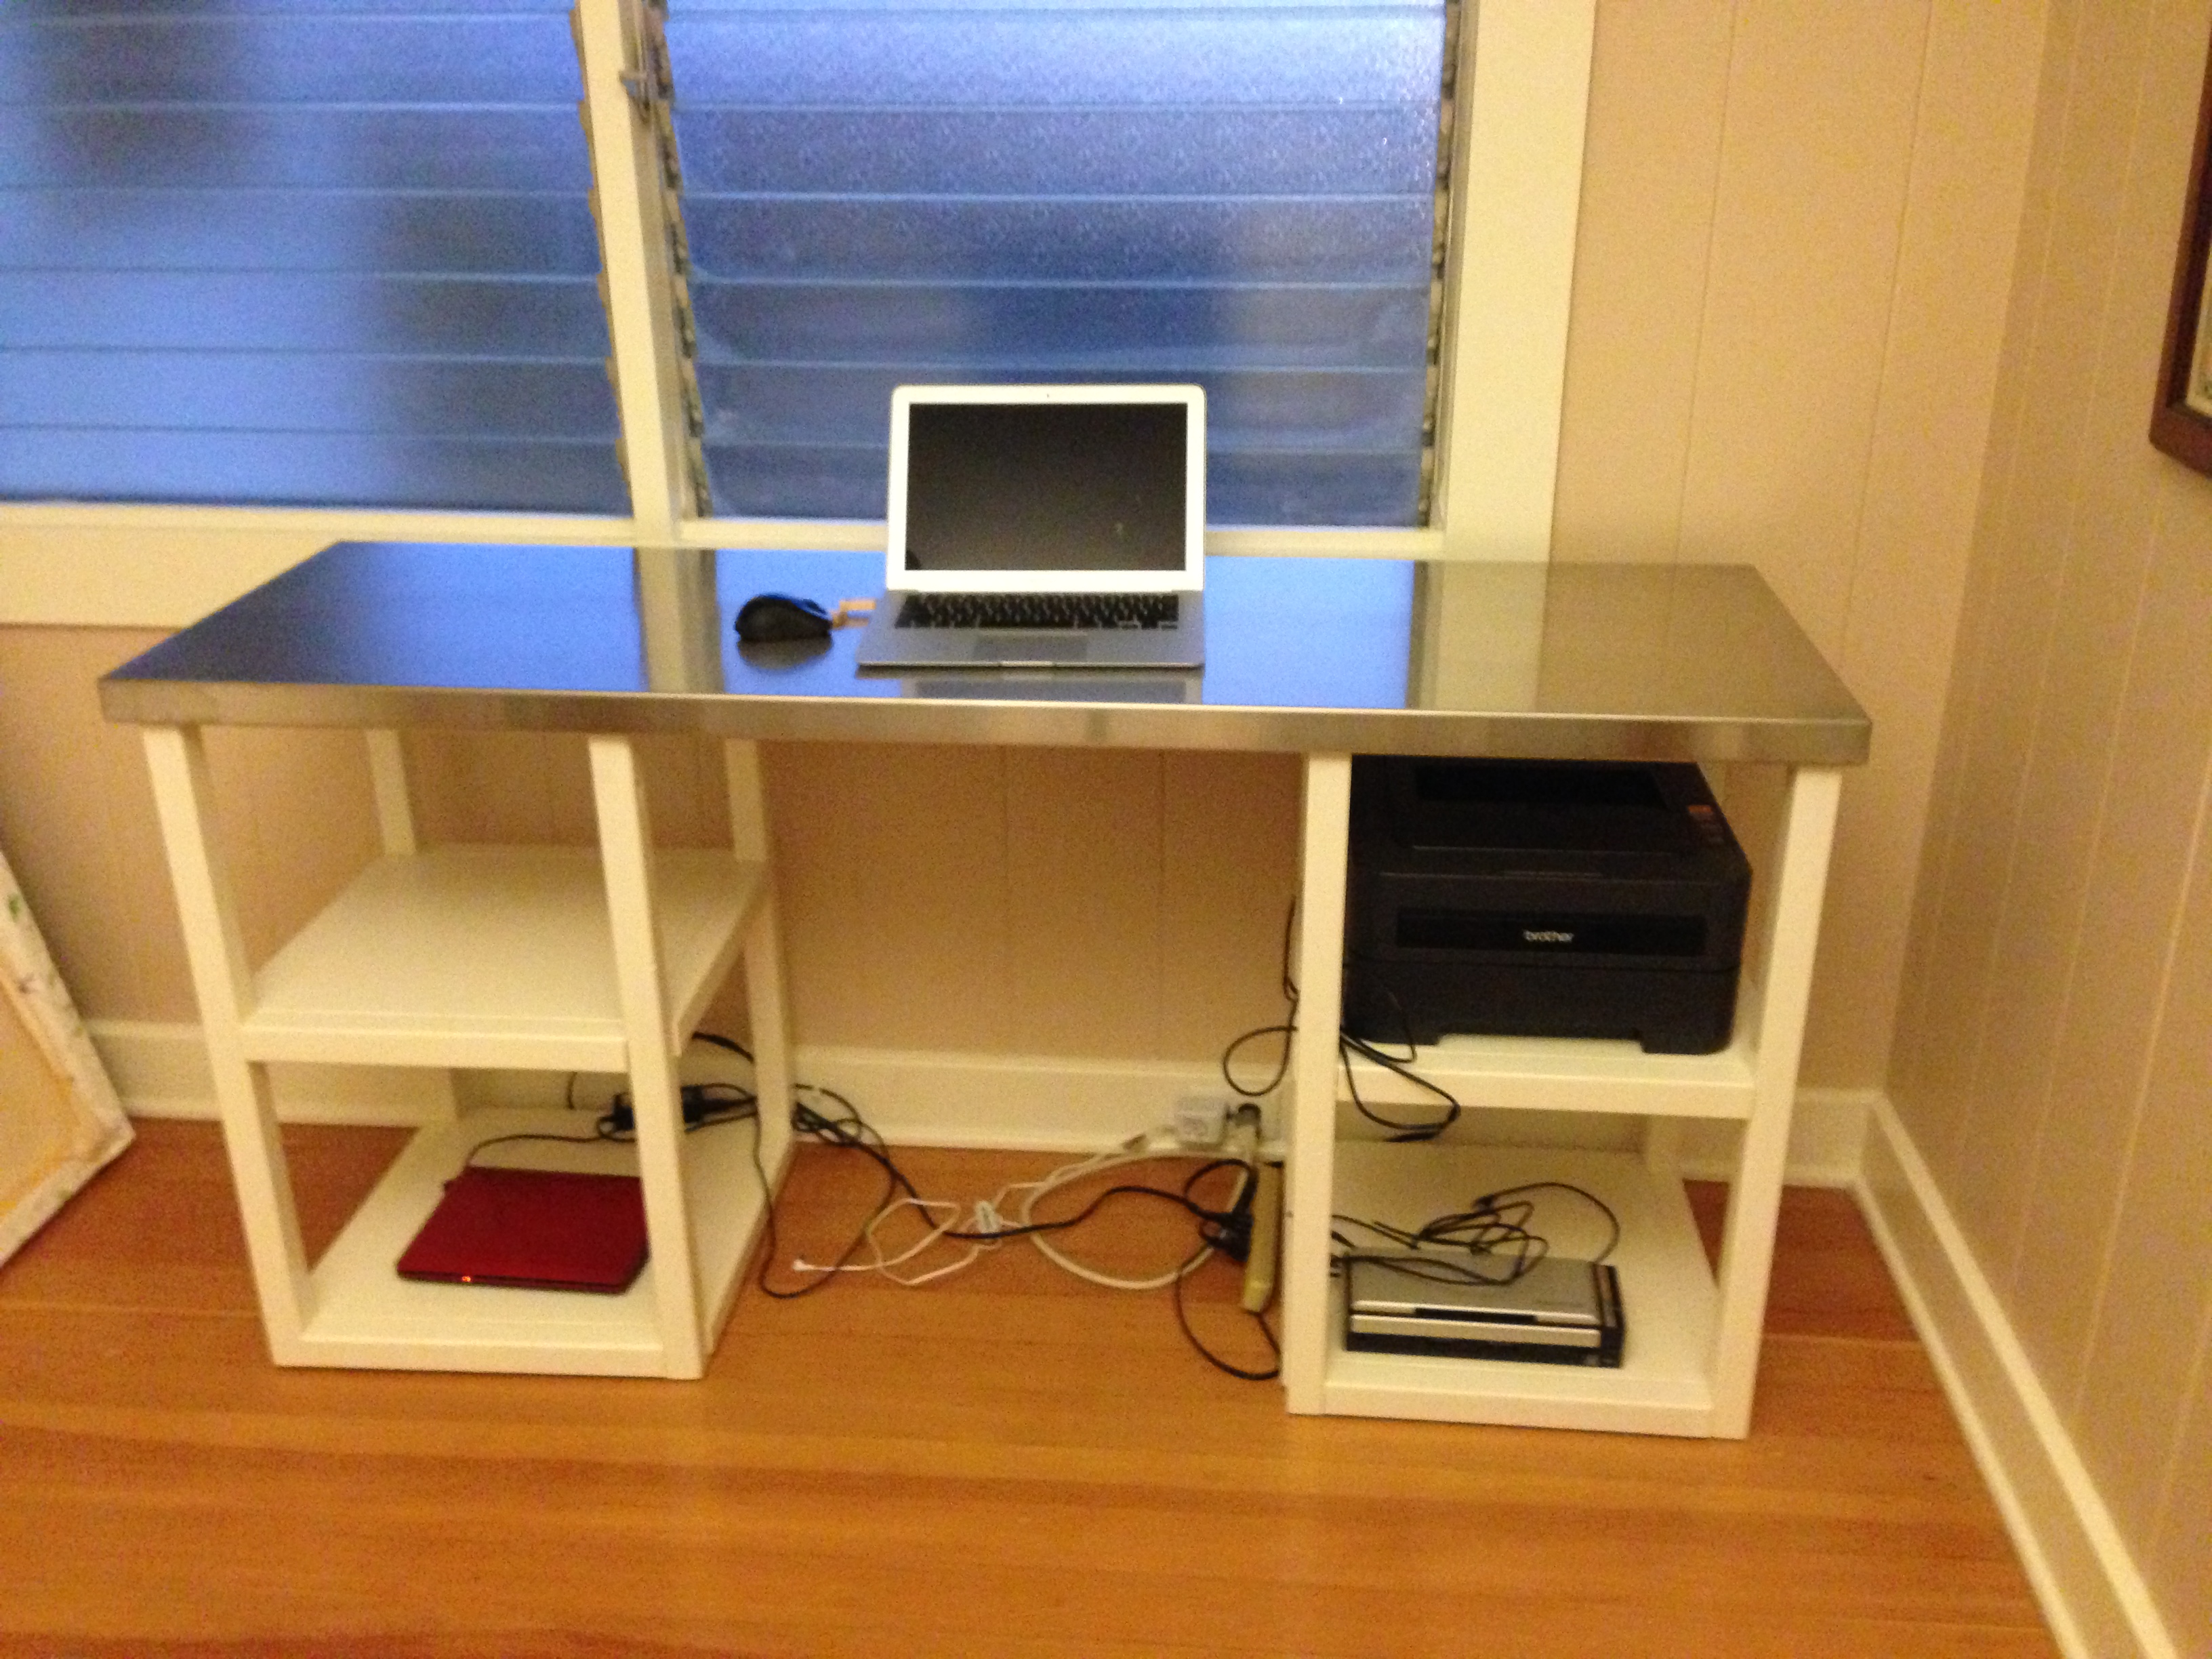
I adored this desk, but wanted a stainless steel top to match the vibe in the rest of the room. Thanks to another Anna white post about killer b designs (i think!) building her own dream kitchen, I realized I could get a local welder to fabricate a top, just like she got them to fabricate the top of her island. They built a sleeve that drops right on top of the wood top, and creating about a 3/4" overhang all the way around the desk; it cost about $275. Otherwise, I followed Ana's directions and painted it an off-white color that's the same as the trim in the room. Love it! Thanks Ana!
Built from Plan(s)
Estimated Cost
$300
Estimated Time Investment
Day Project (6-9 Hours)
Finish Used
Benjamin Moore off-white color
Recommended Skill Level
Beginner
Comments

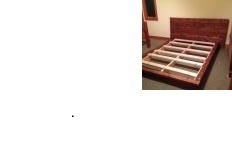
Platform bed
I followed the plan exactly. I did have to improvise attaching the footboard to sides.

Built from Plan(s)
Estimated Time Investment
Day Project (6-9 Hours)
Finish Used
Golden oak and red oak mixed. Then 2 coats of wax.
Recommended Skill Level
Intermediate
Laundry Room Cabinets

My wife and I decided to remodel our laundry room. I built these cabinetsand doors to store soap and cleaners. They are 39Hx30Wx12D. I used the Kreg Pocket Hole Jig and the Kreg Khi-Hinge Concealed Hinge Jig. I have to say, Kreg jigs are AWESOME!!.

Built from Plan(s)
Estimated Cost
$80 each including doors and hardware
Estimated Time Investment
Weekend Project (10-20 Hours)
Finish Used
paint
Recommended Skill Level
Intermediate
Comments
Mon, 05/29/2023 - 14:50
Laundry Wall Cabinets
Hi,
I am a big follower of your projects. Do you have laundry cabinets plans? haven't seen one as yet.
My laundry room is 71 1/2 inches Wide. Any suggestions that you might have?
Thanking you in advance I remain,
Benito Torres
863.521.2191
Garden outhouse with composting toilet

The cool thing about Ana White plans is they are straightforward to modify to use materials you have on hand. Everything but the frame is either leftovers or from the barn.
Built from Plan(s)
Comments
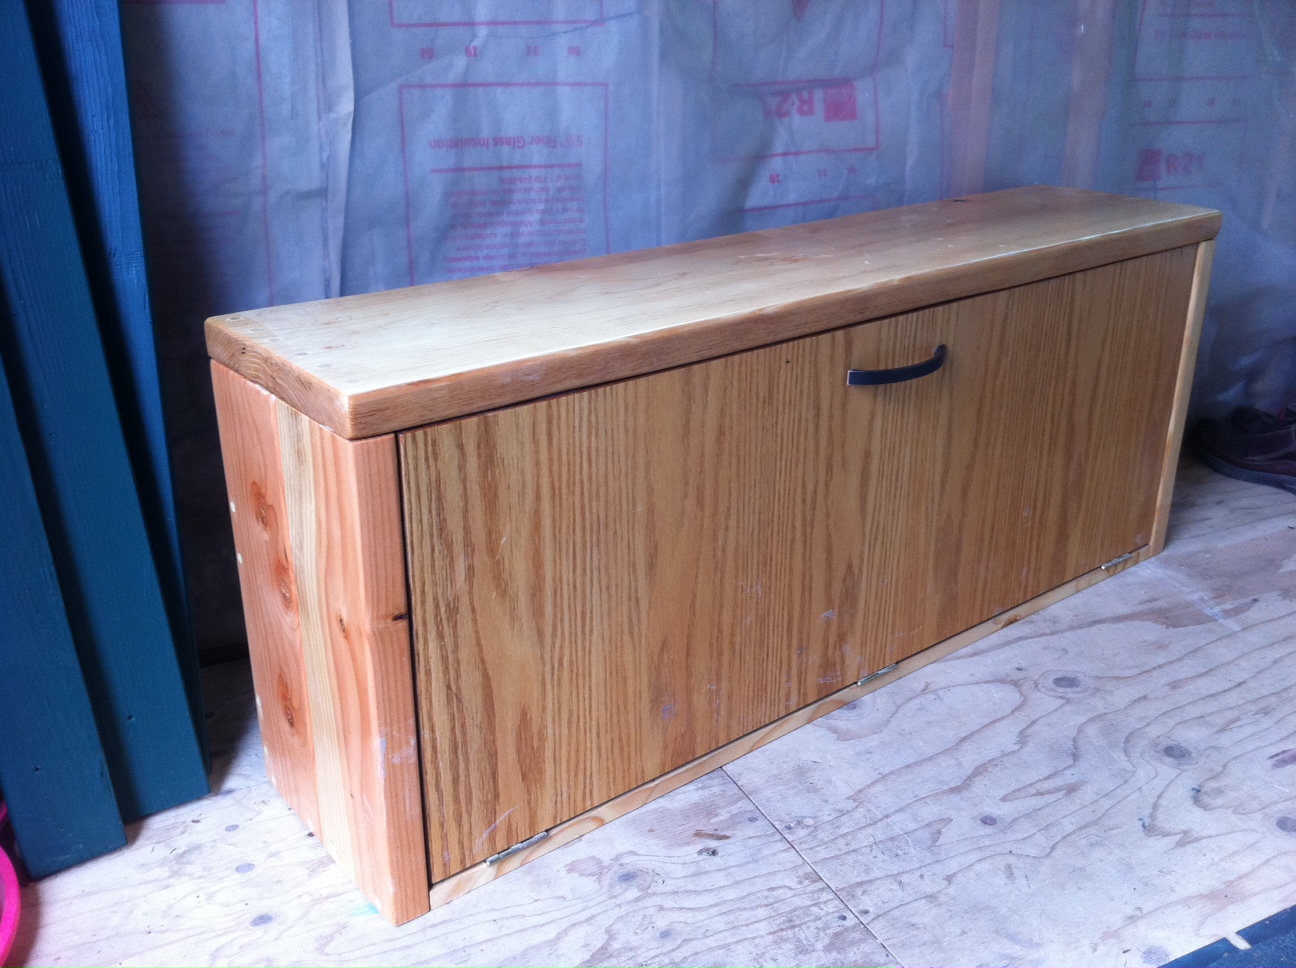
Shoe Bench
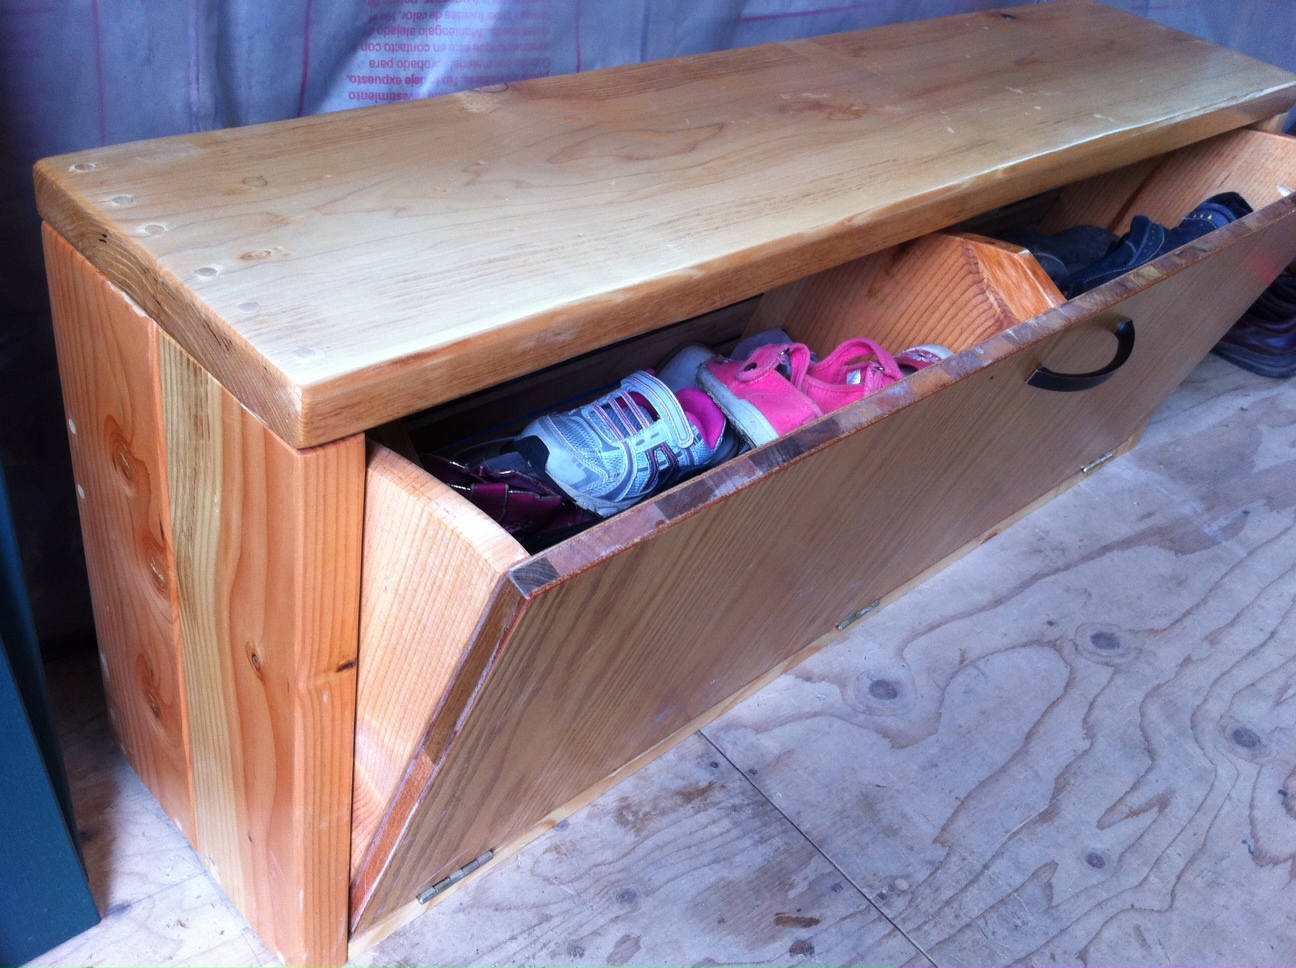
I saw the shoe dresser plans and liked the idea of getting the shoes out of sight! Then I decided to modify that plan and turn it into a bench that you could sit on while putting on your shoes! So this is what I came up with using a 2x12 for the top and 2x6's for the legs. The drawer part is pretty much the same as in the shoe dresser plans. It's 4 feet long and 19 inches high. It's already been in use and we love it! With 4 kids, the number of shoes can add up quickly! I have a second bench sanded and ready for assembly!

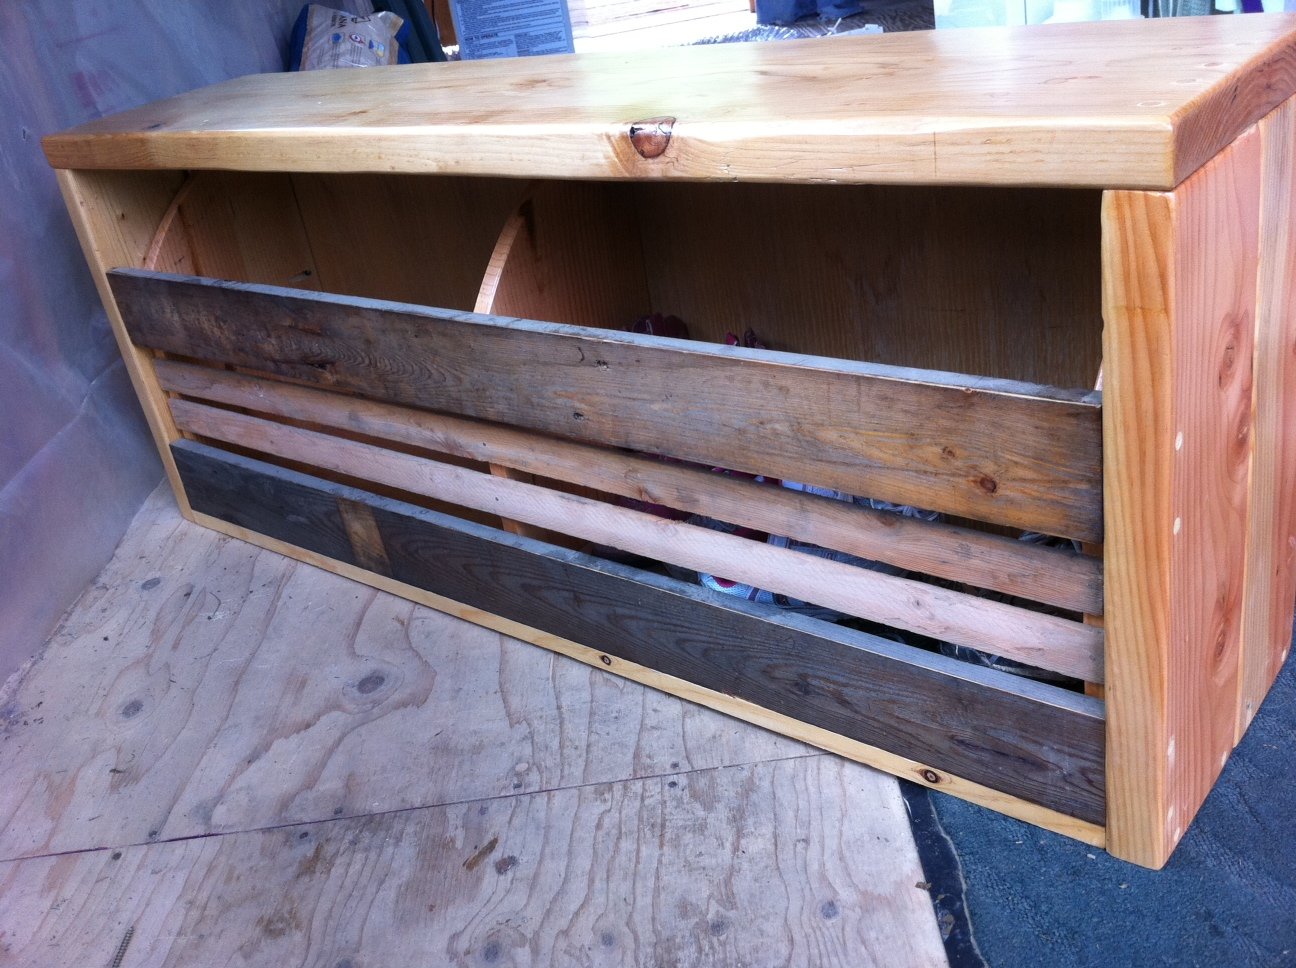
Built from Plan(s)
Estimated Time Investment
Day Project (6-9 Hours)
Finish Used
Polyurethane - 3 coats
Recommended Skill Level
Starter Project
Comments
Toddler beds,Toddler bunk beds,Toddler lofts
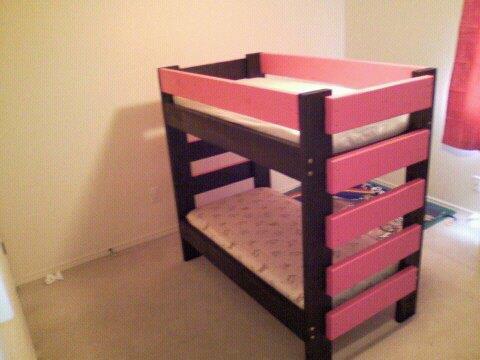
Building Bunk beds and custom beds is what i do. I router the corners so that they are rounded, plane the face's of the boards,and sand to perfection. then i glue and screw it all together. you can check out the site at http://www.dreamworksbunkbeds.com

Built from Plan(s)
Estimated Time Investment
Afternoon Project (3-6 Hours)
Finish Used
all my products come with no finish just natural.
Recommended Skill Level
Beginner
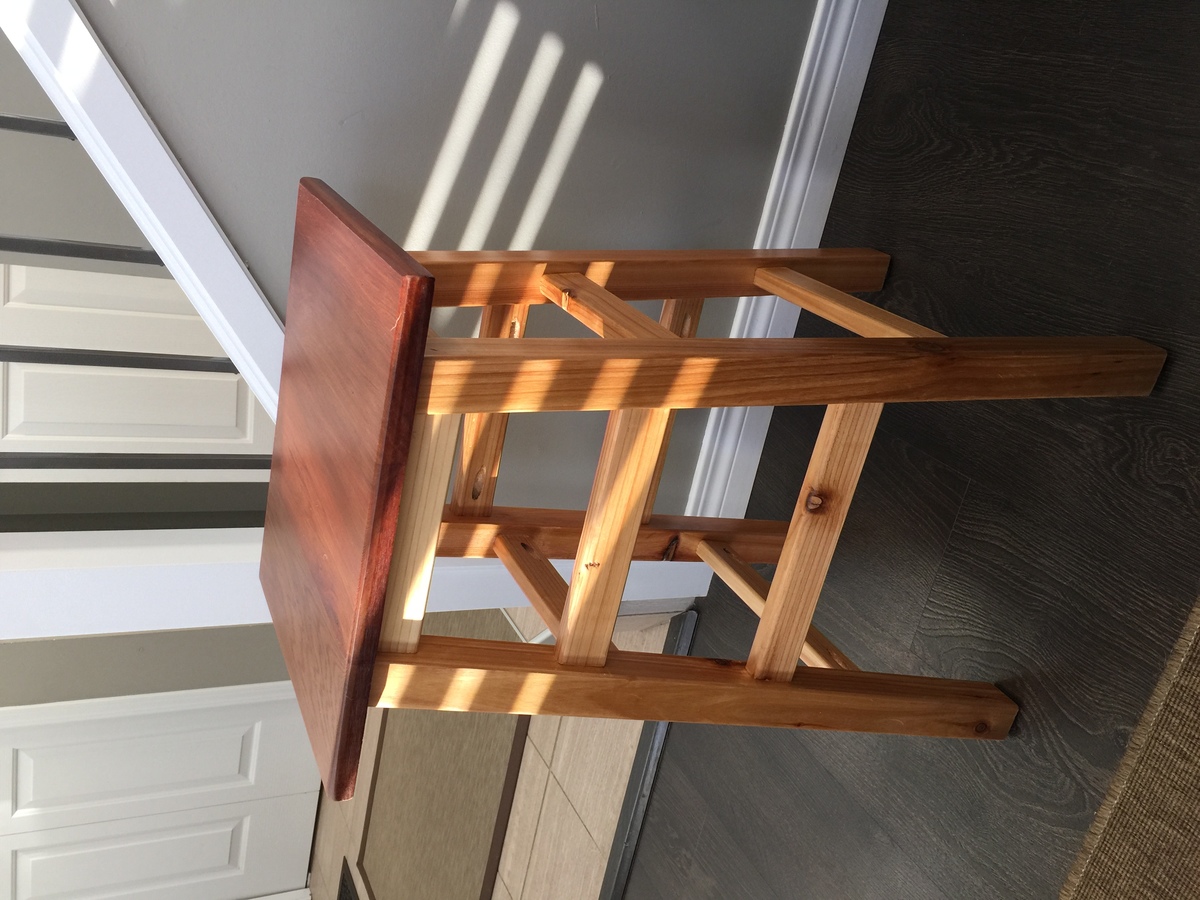
Simple Stool
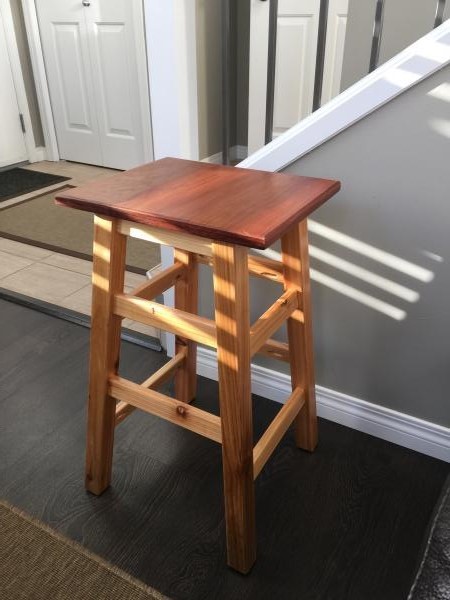
Made with Western Red Cedar 1x6 fence boards and 2x4. Finished with General Finishes Arm R Seal.
Thank you Anna.
Estimated Cost
Less than $15
Estimated Time Investment
Day Project (6-9 Hours)
Finish Used
Varathane Wood Conditioner
Varthane Natural Oil Finish -1 coat
General Finishes Arm R Seal 3 coats.
Varthane Natural Oil Finish -1 coat
General Finishes Arm R Seal 3 coats.
Recommended Skill Level
Beginner