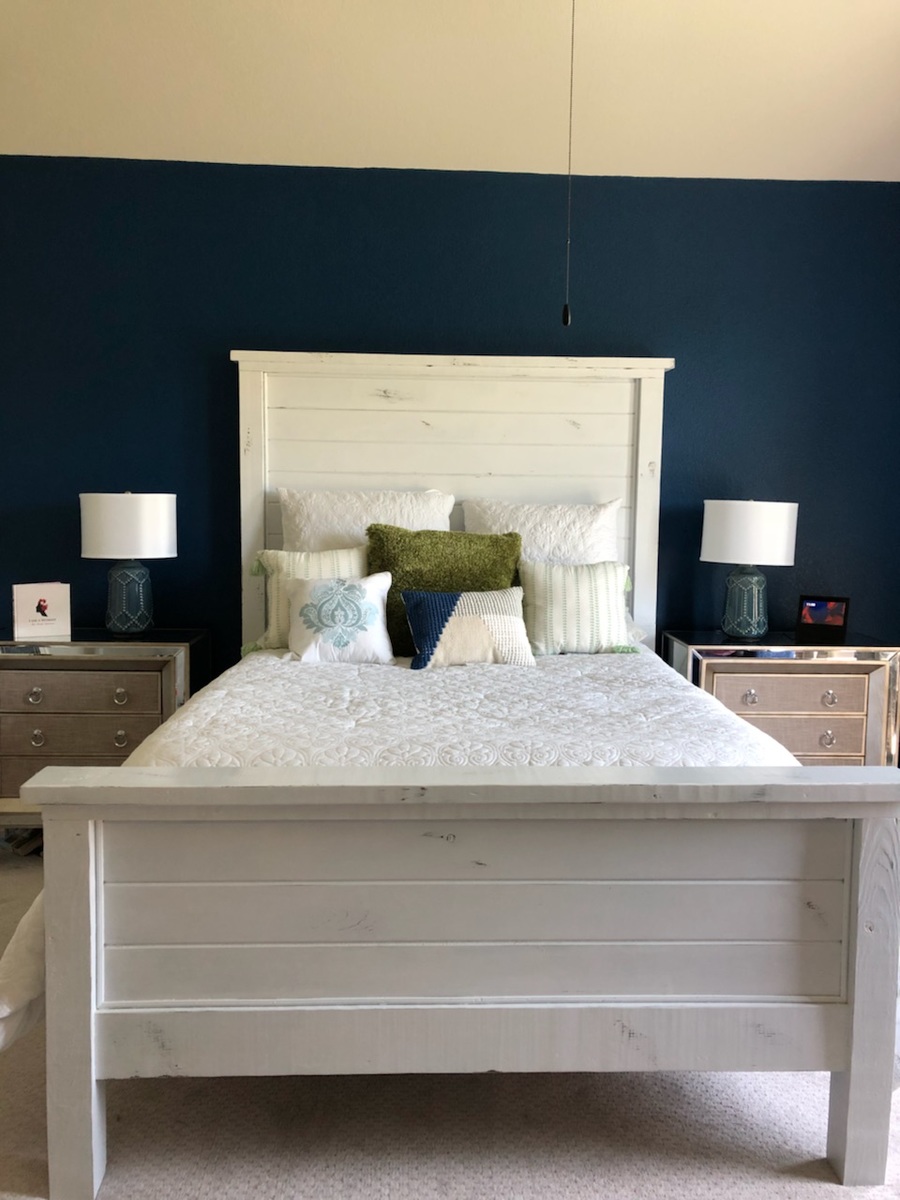
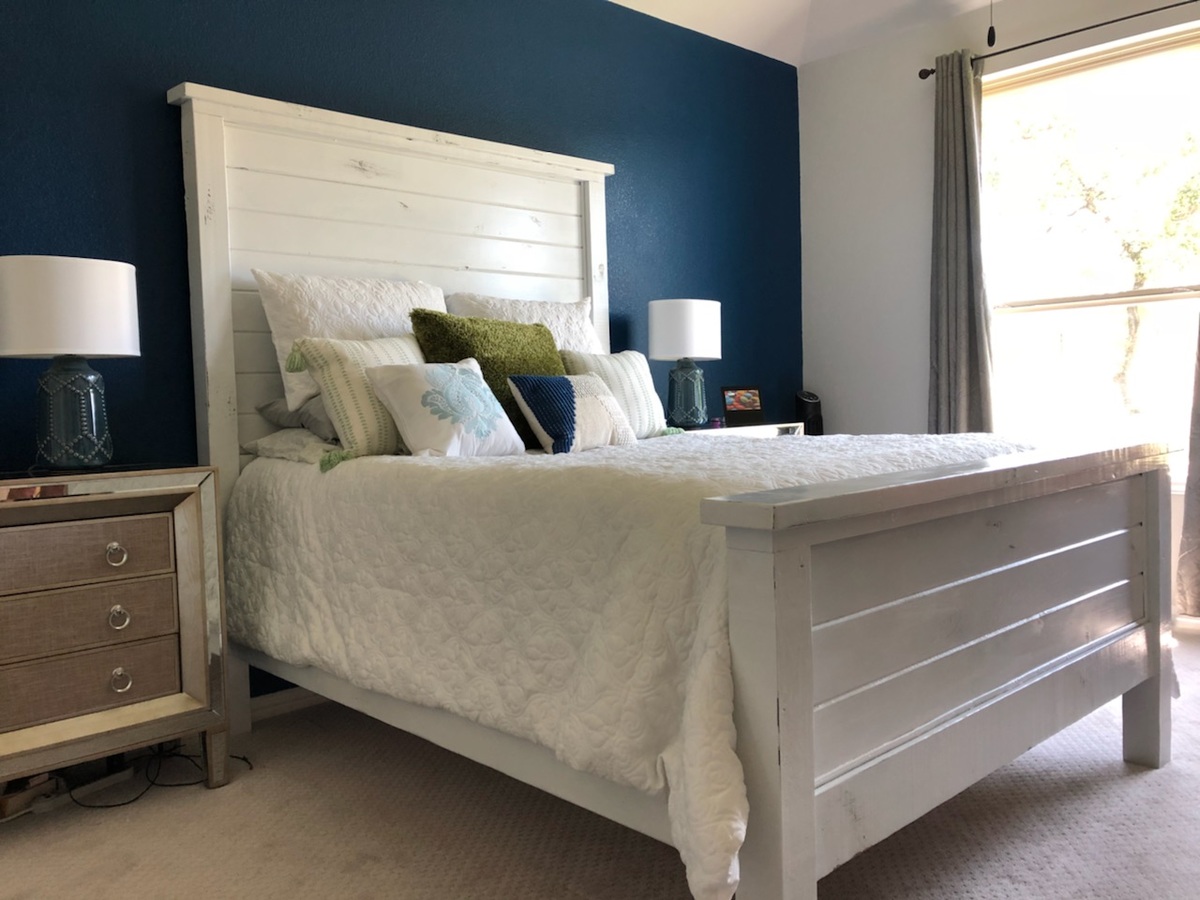
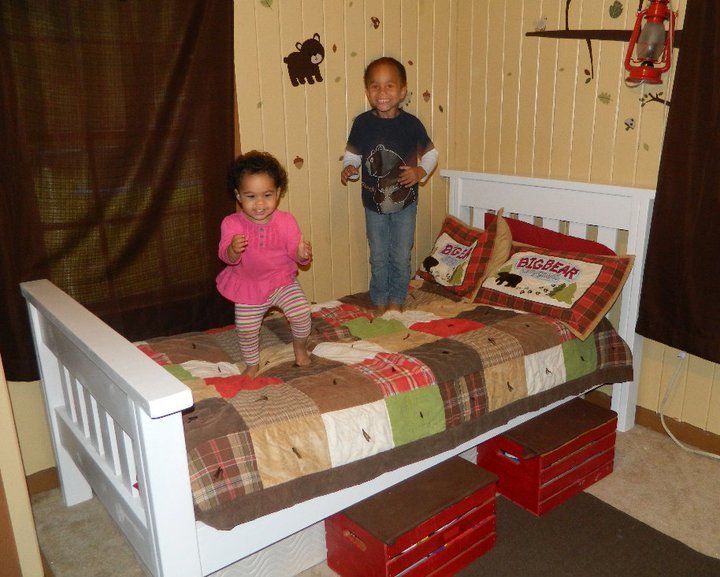
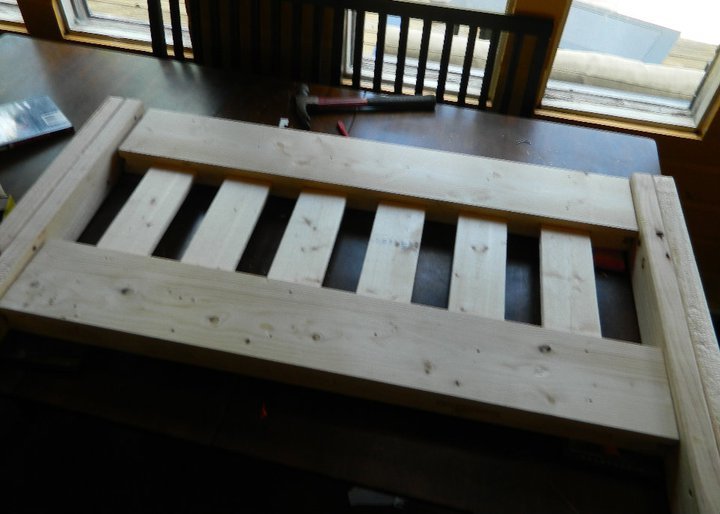
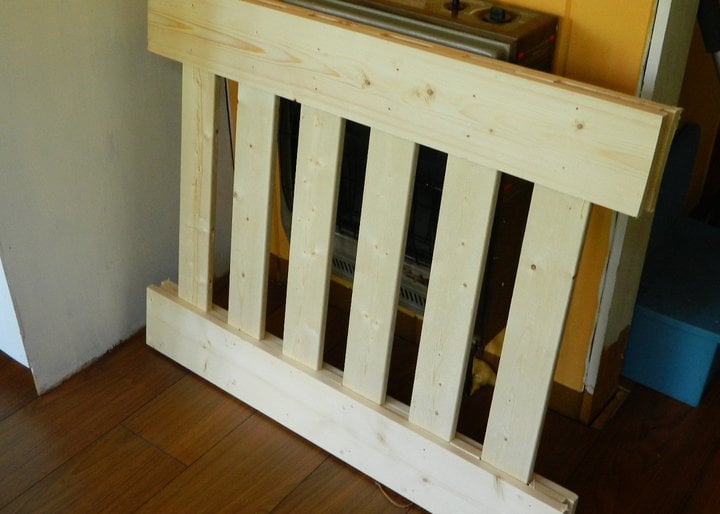
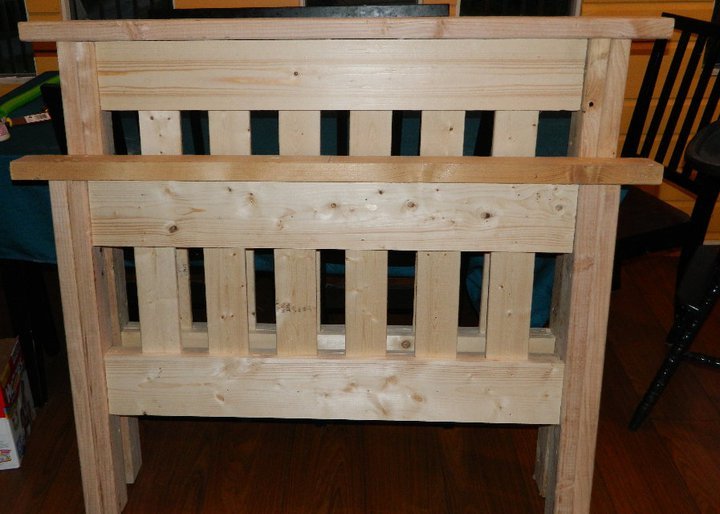
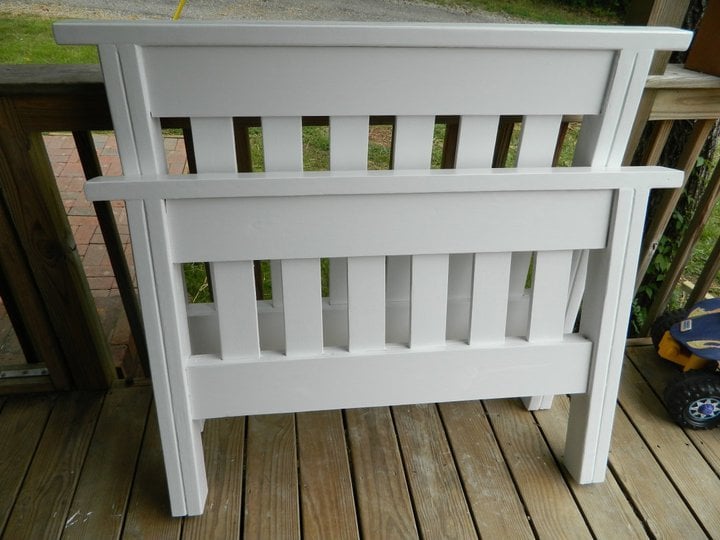
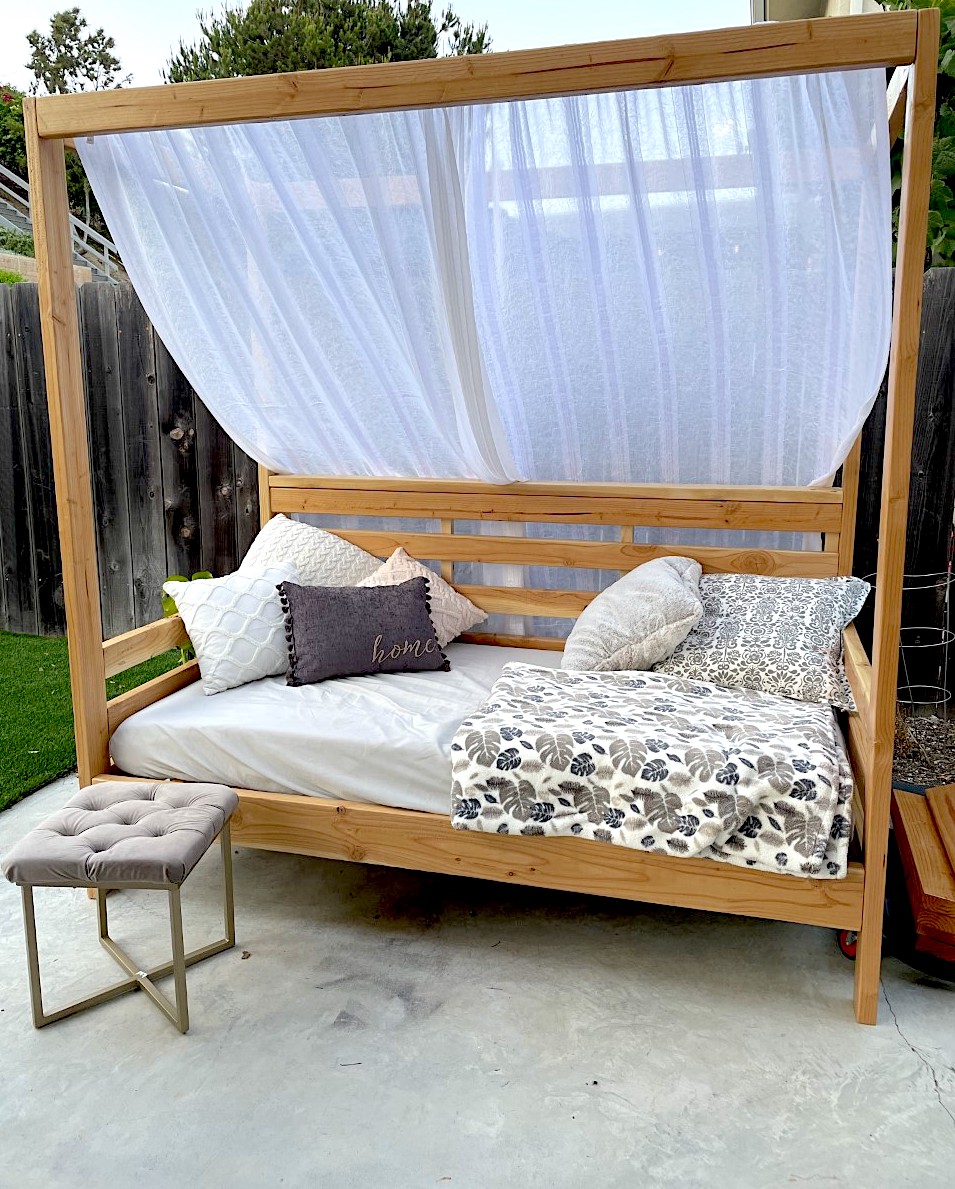
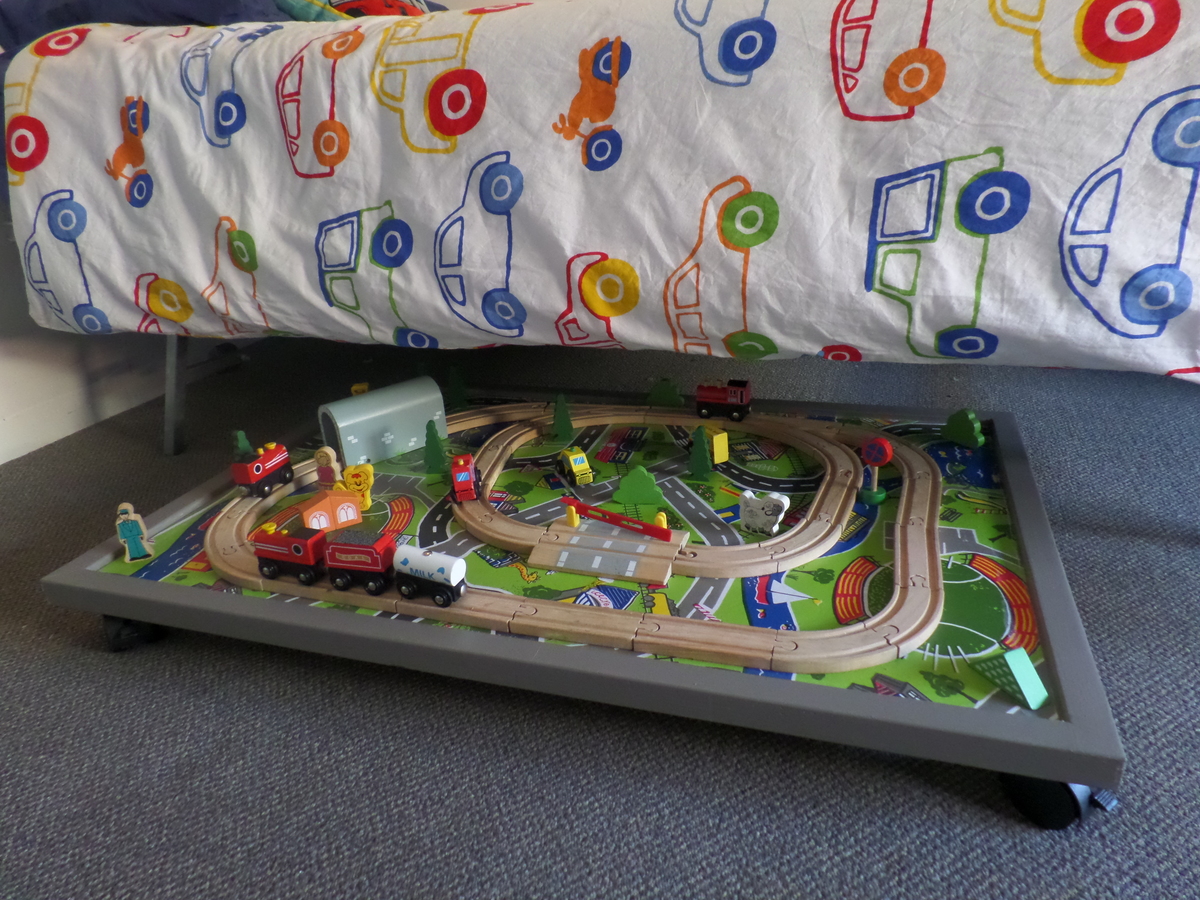
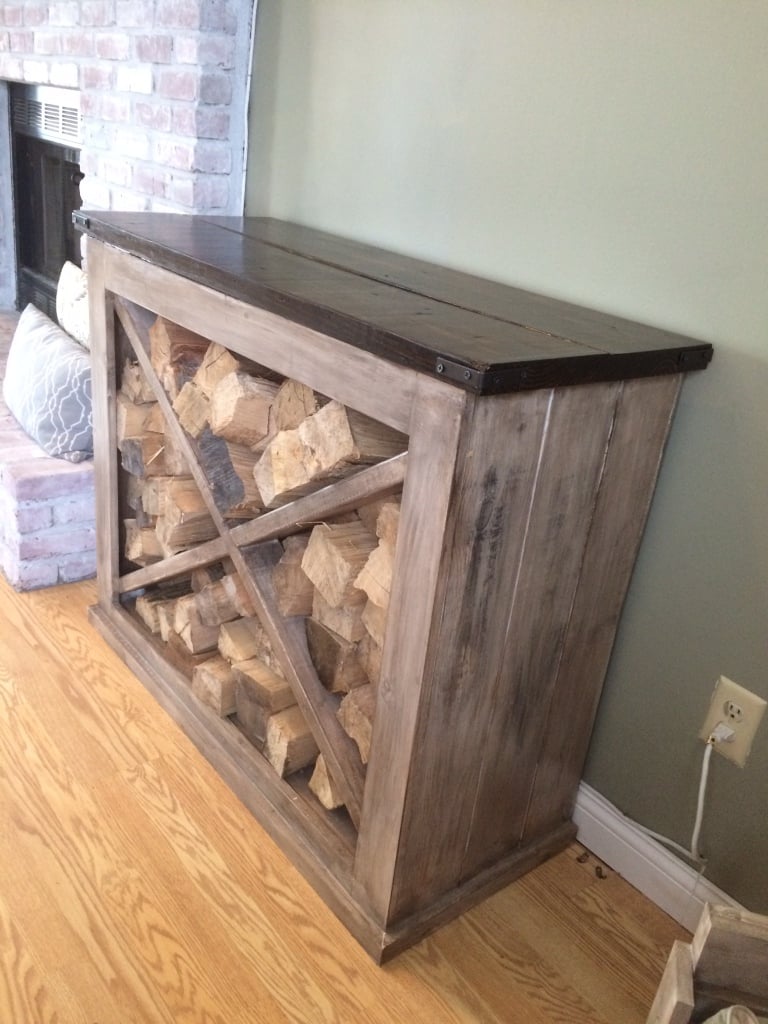
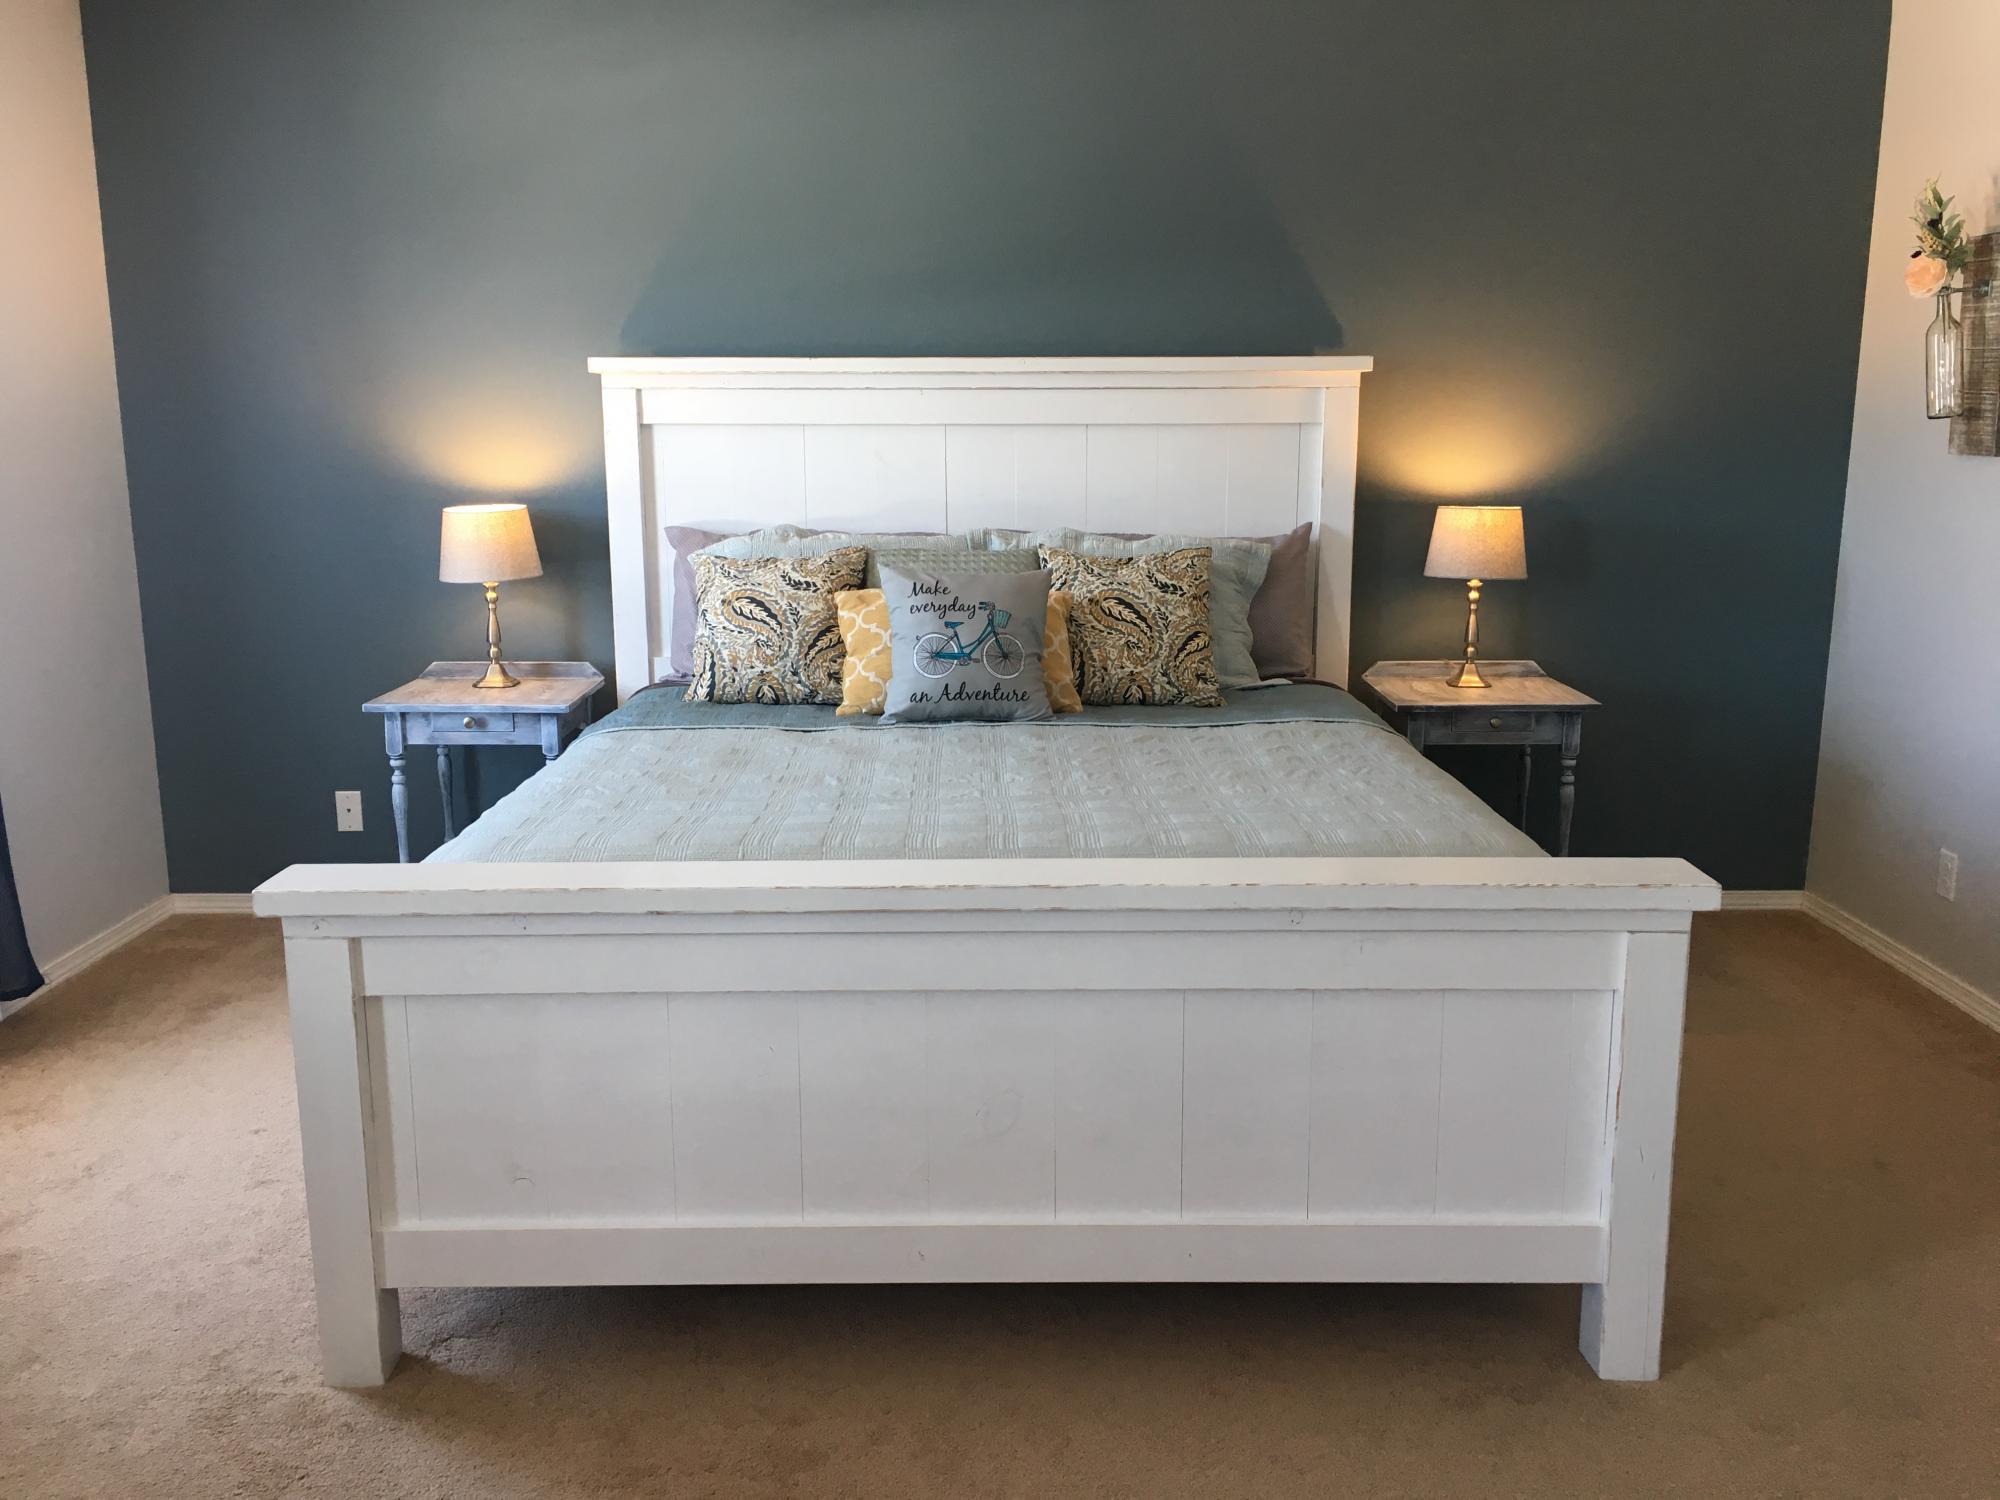
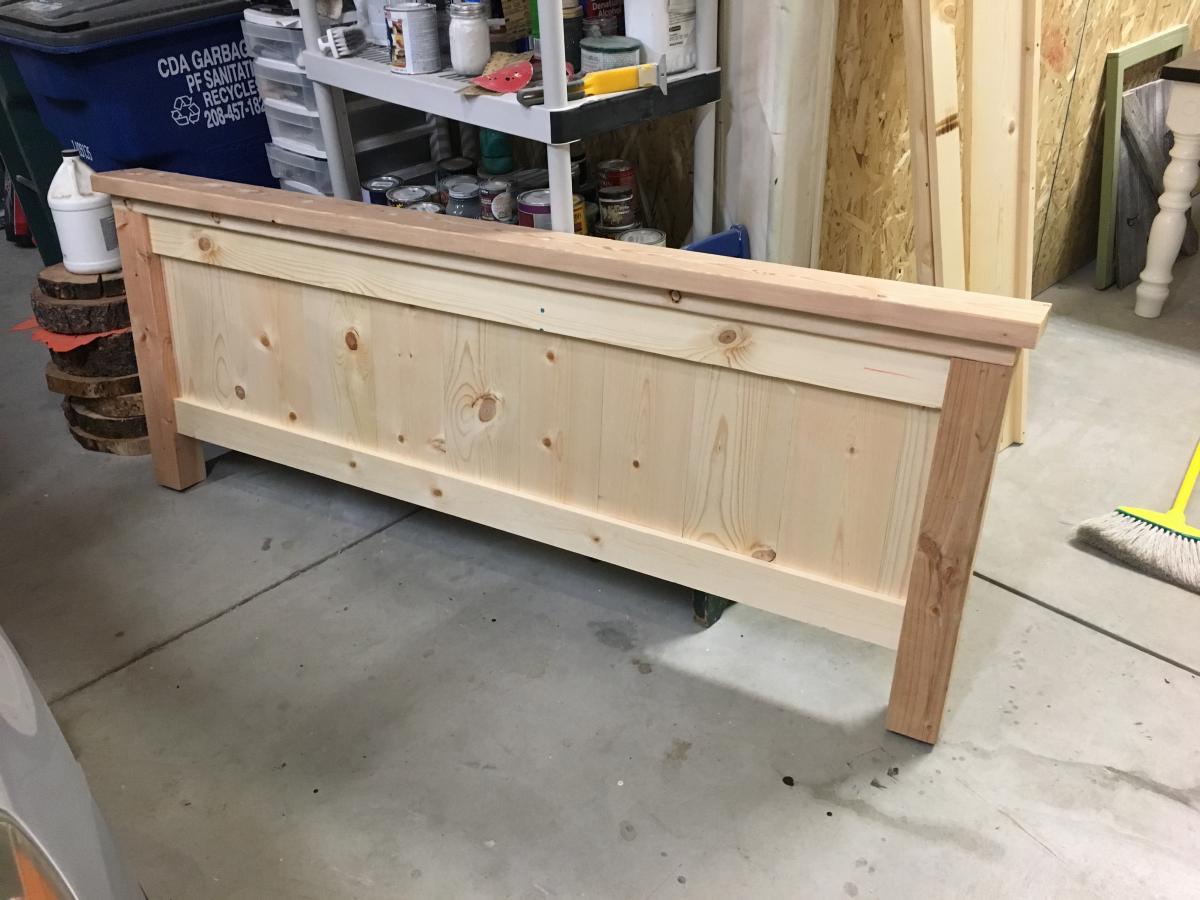
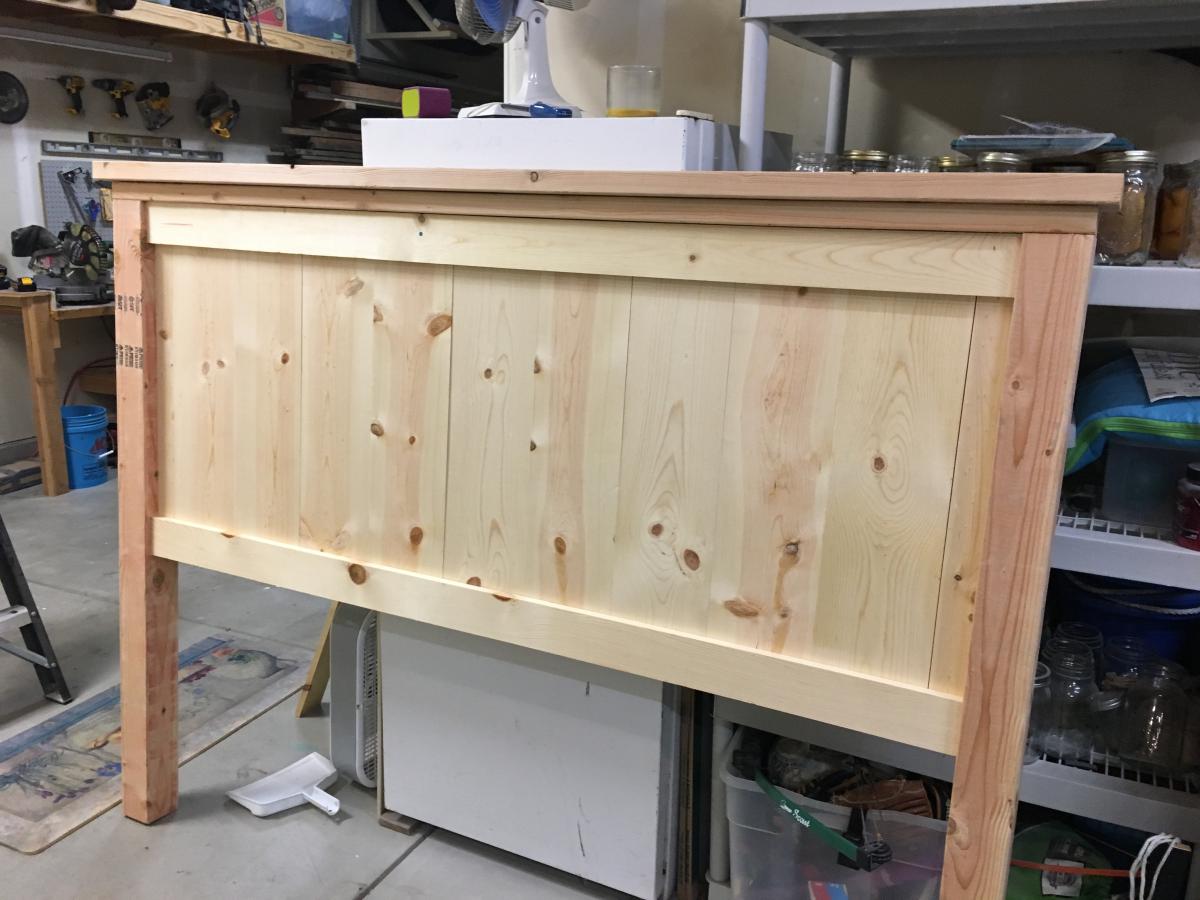
Morgan's Farmhouse Bed

Both of my children have moved into new homes within the past year. So it looks like I will be busy building things they need for them. Enjoy being able to do this for them! Thanks, Ana for the inspirations!
Built from Plan(s)
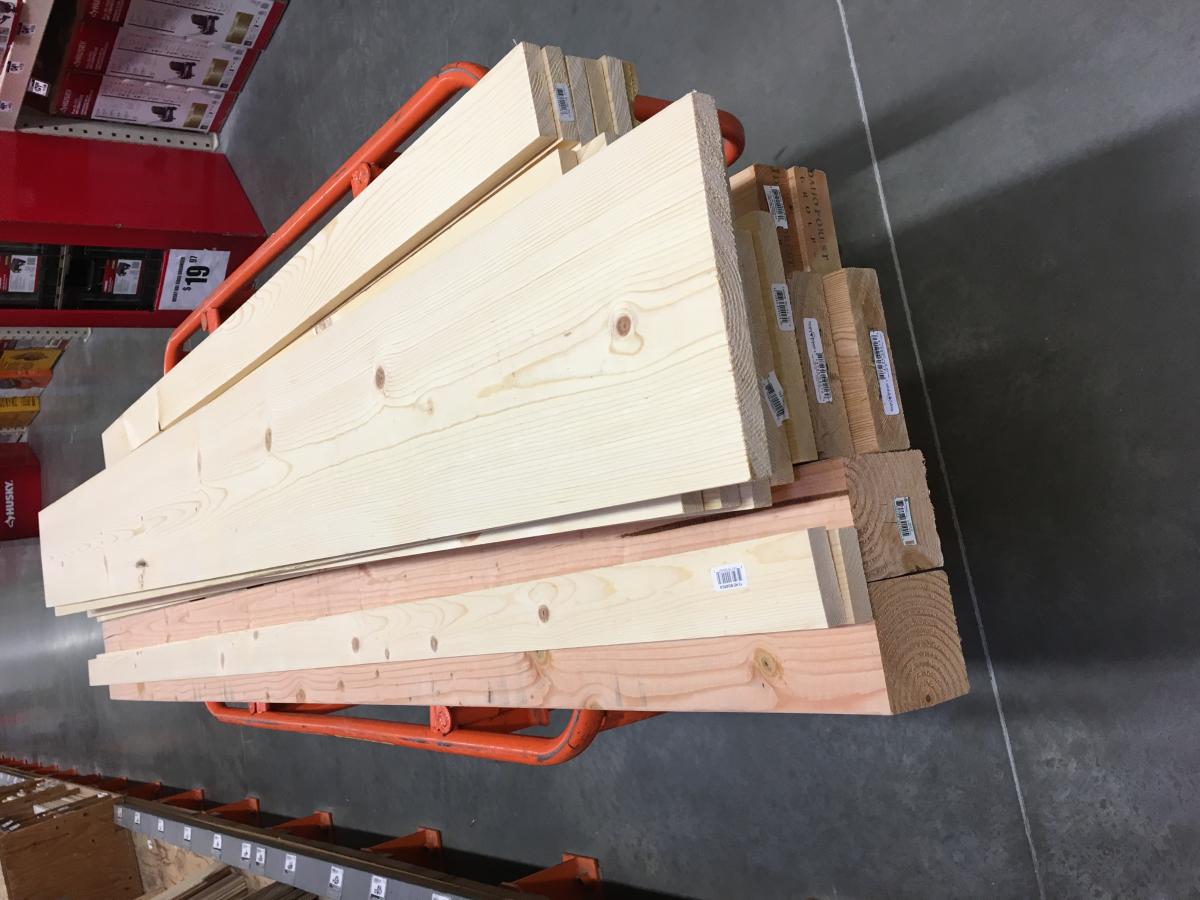
Estimated Cost
$160 to $200 which includes the bed rail brackets used for side rails and middle support.
Estimated Time Investment
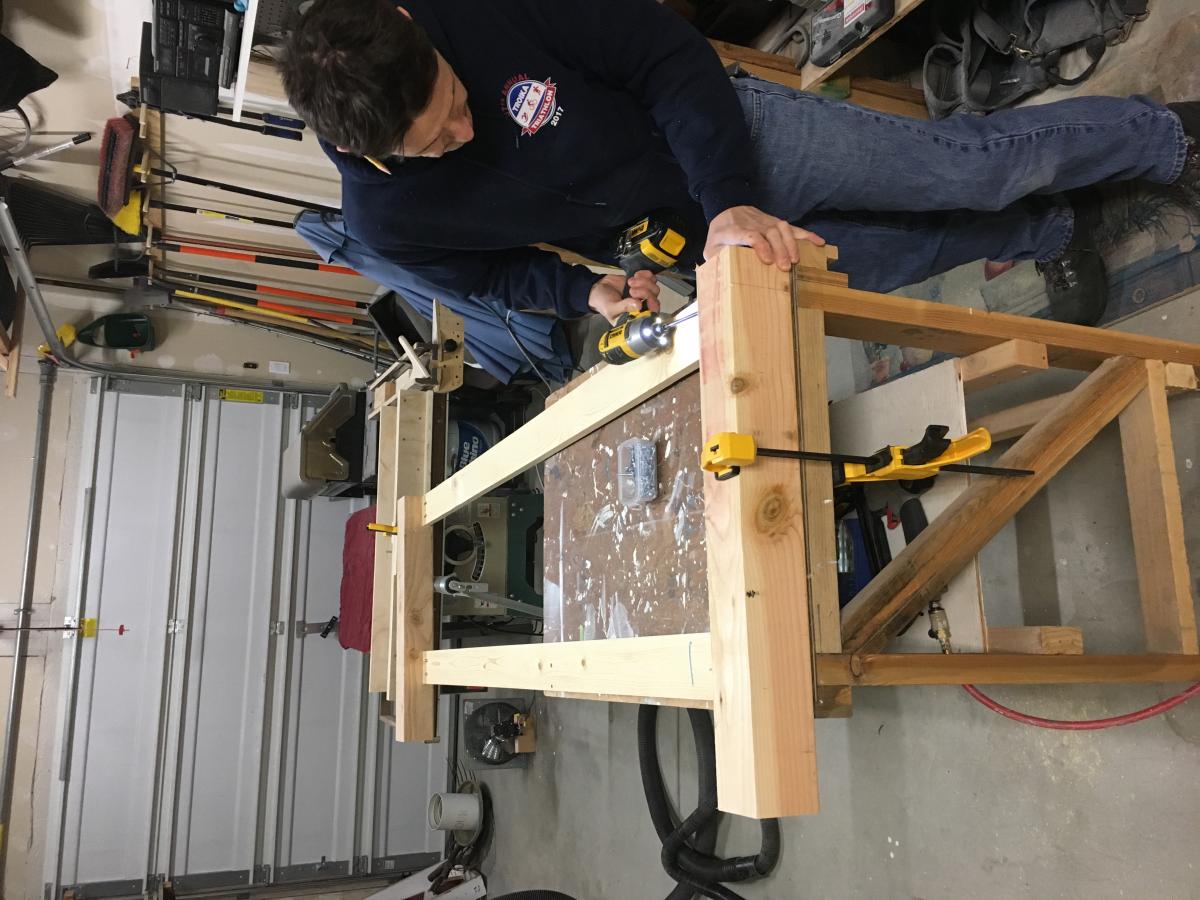
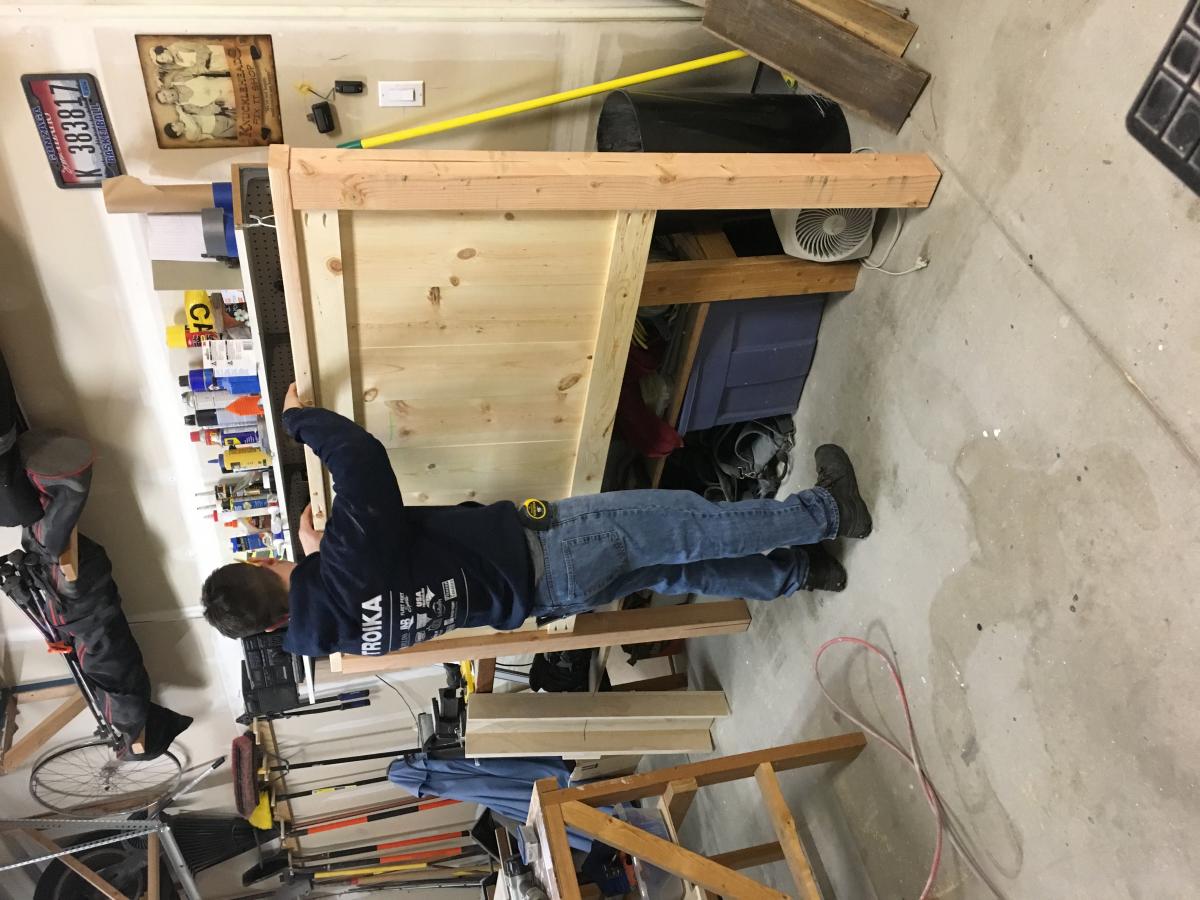
Weekend Project (10-20 Hours)
Finish Used
A gray stain then flat white paint distressed then Glossy clear Acrylic coat
Recommended Skill Level
Intermediate


Comments
Ana White
Wed, 07/04/2018 - 14:46
This is gorgeous! Love the
This is gorgeous! Love the taller headboard height and the wall paint! Thank you so much for uploading a photo, can't wait to see more!