Community Brag Posts

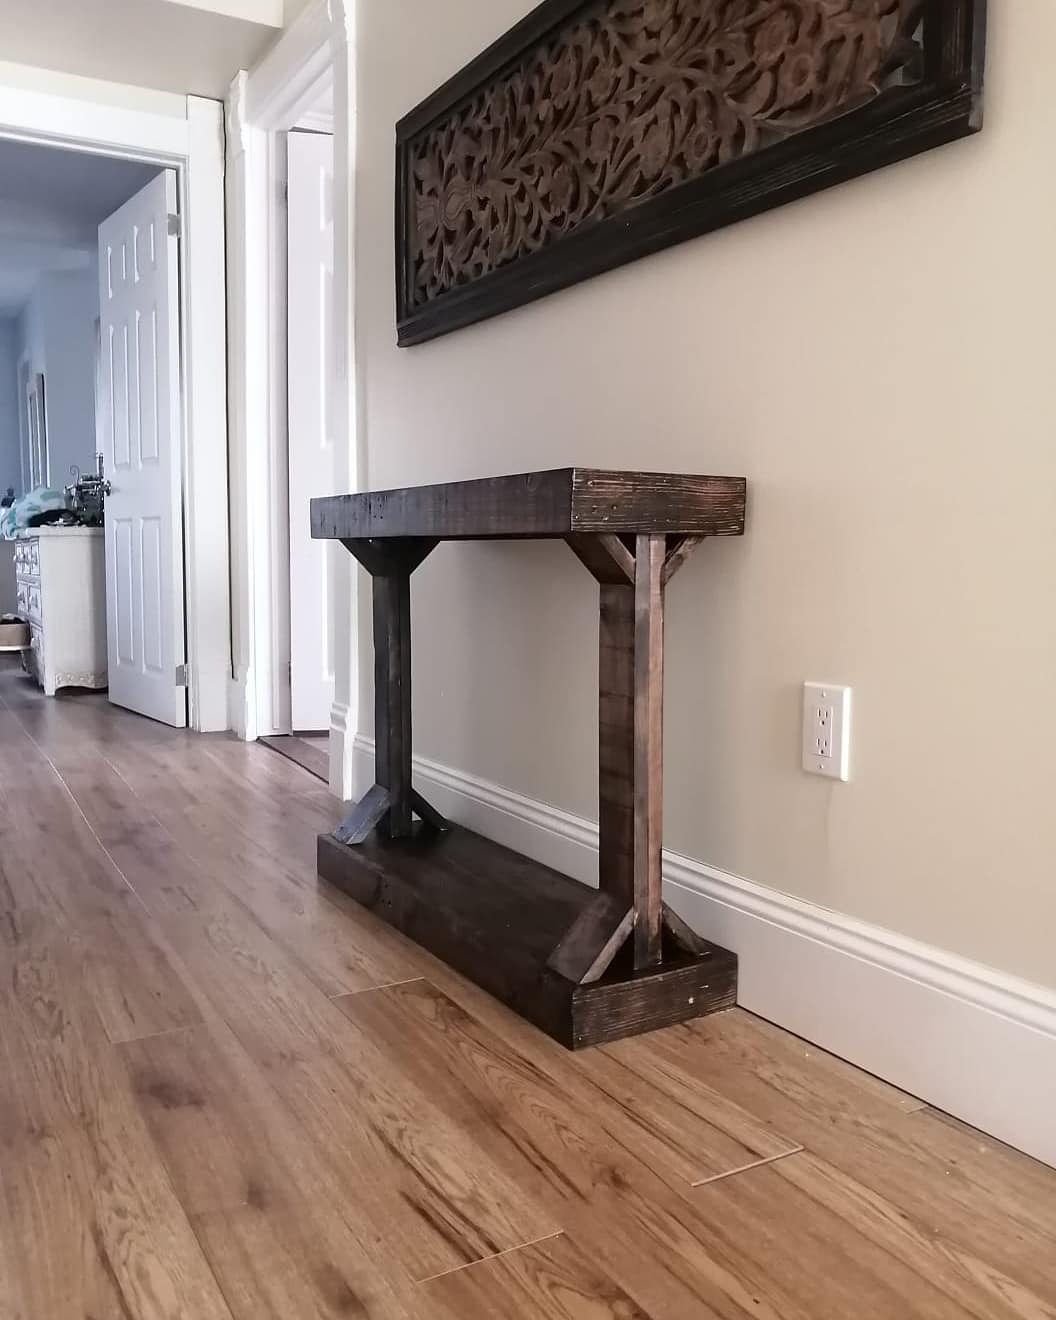
Small Console Table

I made this table completely out of pallet wood. We have true 1x4 pallet wood which is hardwood. for the legs, I doubled up 2 pieces of pallet wood for strength. Every piece of wood is a 1x4. It turned out perfectly as I needed a narrow table for our 2nd-floor hallway. This took us a little longer than with cut lumber as there was a lot of planing and sanding since it was pallet wood. If we had used lumber it would have taken a few hours less.

Estimated Cost
20.00
Estimated Time Investment
Weekend Project (10-20 Hours)
Finish Used
We used Jacobean Mini Wax stain and the one coat satin polyurethane. It was the first time I had used the 1 coat but it is a lot thicker than the average polyurethane.
Recommended Skill Level
Intermediate

Comments

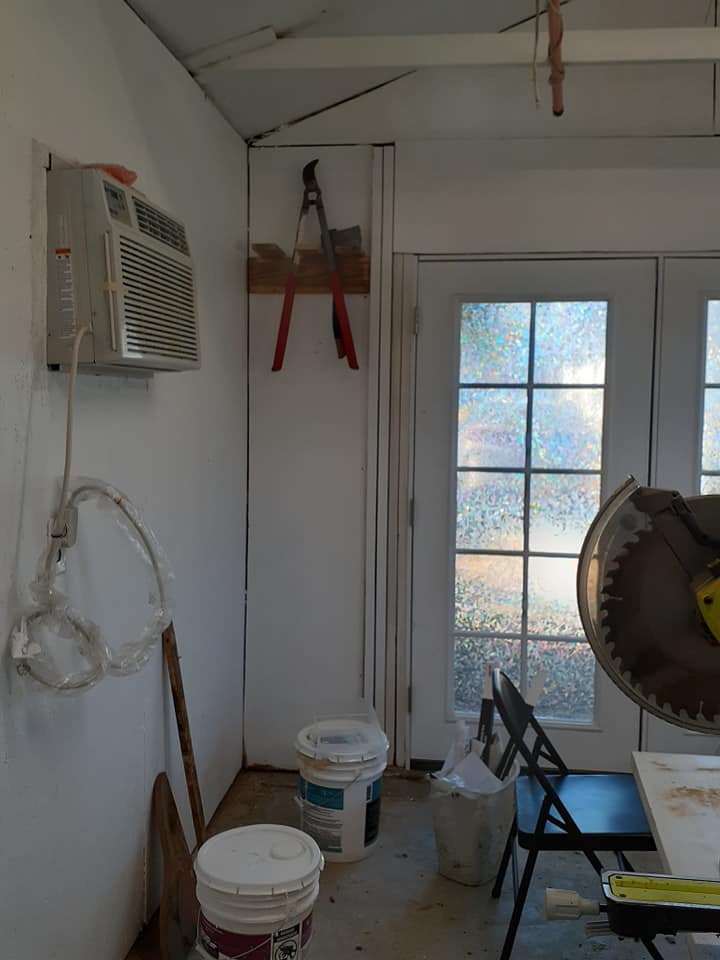
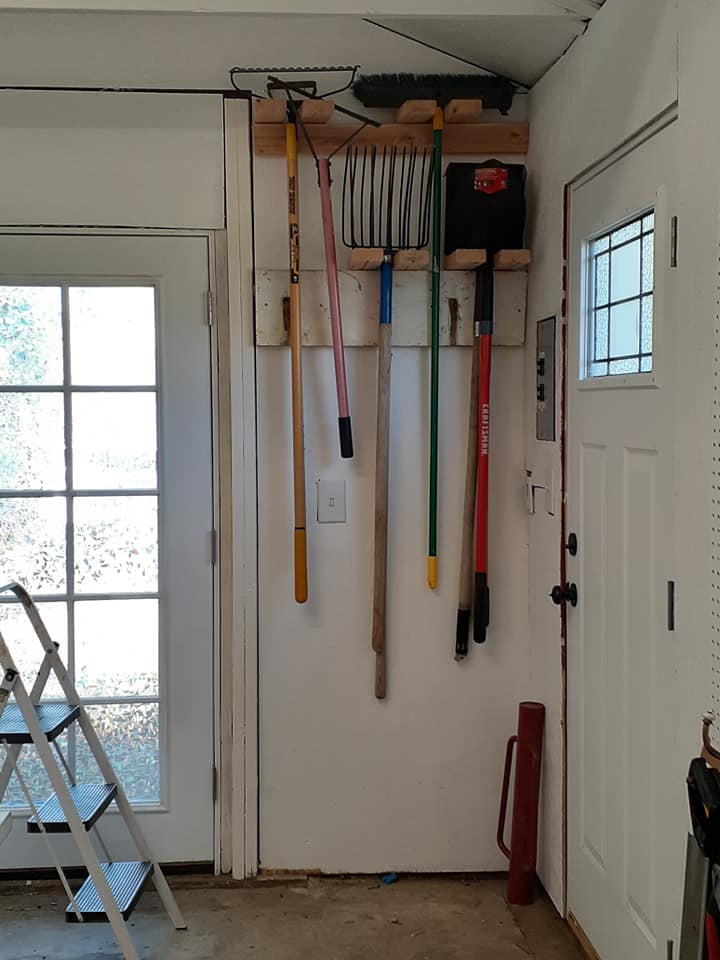
Workshop storage success!

I adapted the garden tool storage project to fit my small space. I used some reclaimed wood as well as 2 x 4s since lumber is so expensive right now. I placed the racks up high to open space close to the ground in our little 12' x 16' workshop.

Built from Plan(s)
Estimated Cost
$16
Estimated Time Investment
An Hour or Two (0-2 Hours)
Finish Used
planning to paint
Recommended Skill Level
Starter Project

Comments

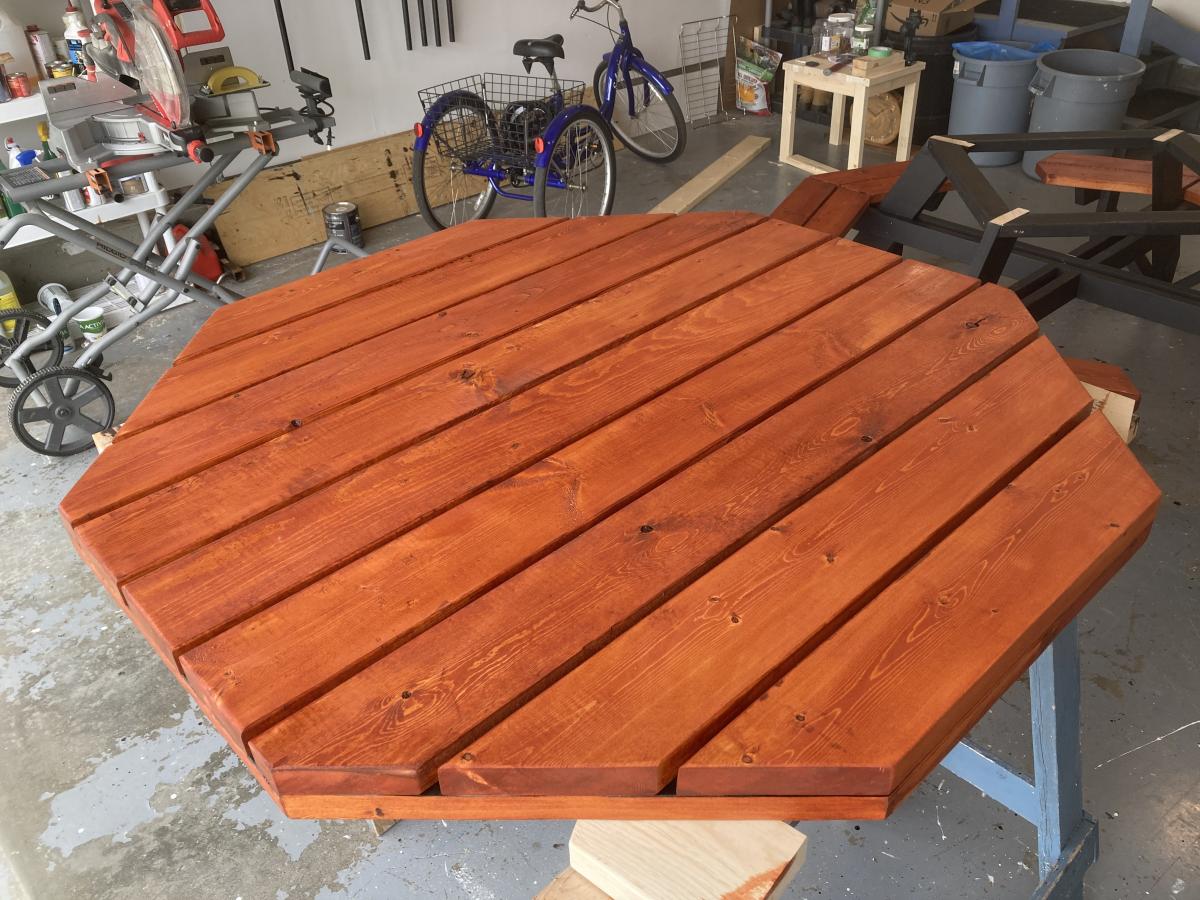
Octagonal Picnic Table

Submitted by frmoody on Fri, 05/28/2021 - 15:08

To say this was a complicated build is an understatement. Lots of pieces, lots of different angles and lots of screwing it together. It was really tough to keep everything perfectly square but in the end it turned out well. It is a very heavy table. I want to get it outside on a sunny day for some photos.

Estimated Cost
The price of lumber is ridiculous right now. Last summer this would have cost me about $200 in materials but I spent about $450 on wood, finish and screws. 2 x 4 x 8's right now are about $10.40 CAD$ and 2 x 4 x 6's are about $15.00
Estimated Time Investment
Weekend Project (10-20 Hours)
Finish Used
I first painted all black parts with Wood Shield Oil Deck & Siding solid stain. I used two coats. I painted most of the boards prior to cutting to save time. The top and seats were stained with MinWax Gunstock Stain. Once everything was together I put on two coats of Helmsman outdoor polyurethane.
Recommended Skill Level
Advanced

Comments

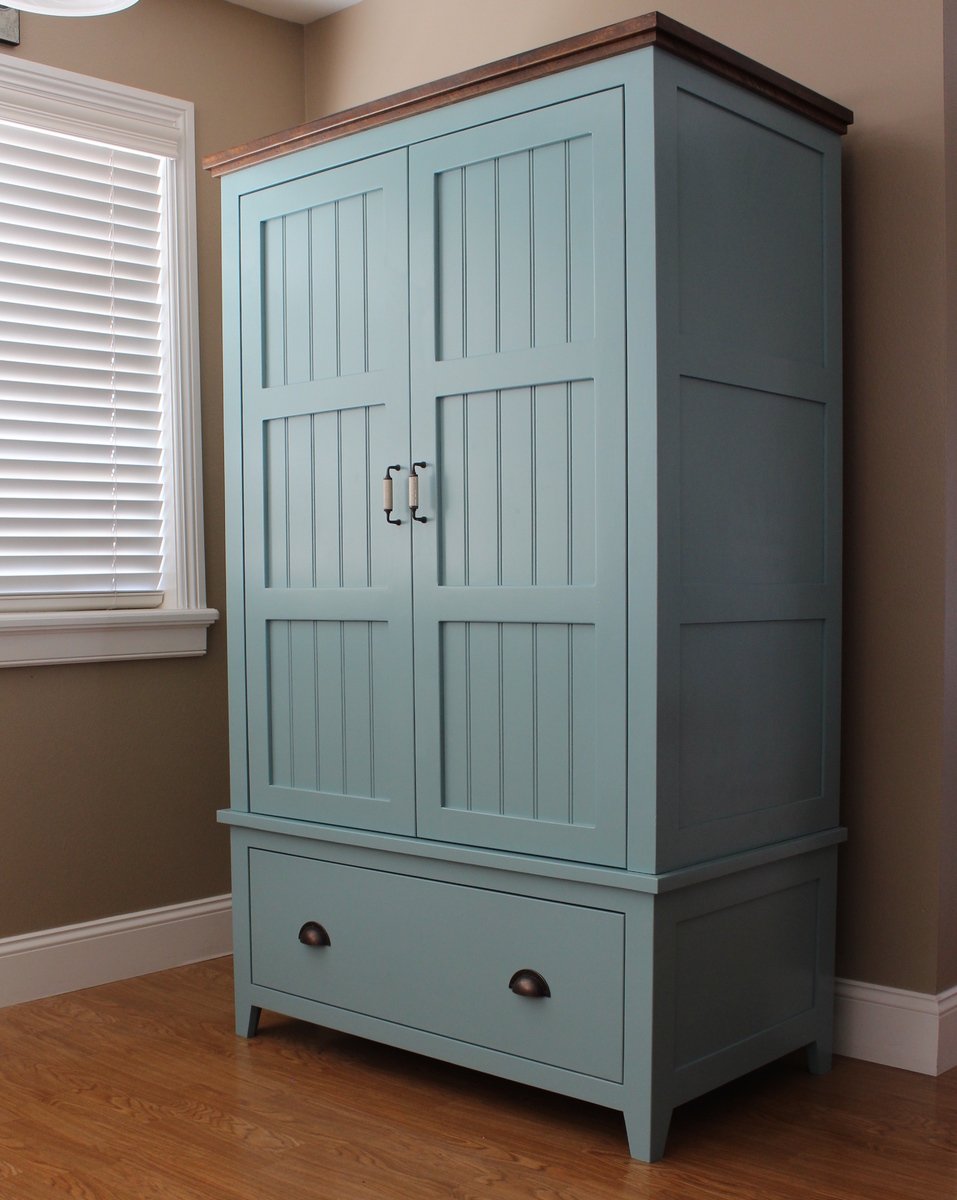
French County Wardrobe

This is probably one of my favorite pieces I have built.  Challenging but fun.  I built it as two separate sections, an upper and lower cabinet to make it easier to carry indoors.  I added a full-extension drawer below for storage. The two-toned paint combination did take a lot of extra time. Because I used an airless spraying to paint I had to tape and cover each section separately. 


Built from Plan(s)
Estimated Cost
$300.00
Estimated Time Investment
Week Long Project (20 Hours or More)
Finish Used
Venus teal and creme brulee by Behr. Dark walnut stain for the top.
Recommended Skill Level
Intermediate

Comments

Wood Chuck

Fri, 03/06/2015 - 10:43

WOW it looks awesome the extra time spent on the painting was more than worth it looks spectacular. I bet you also could make a great profit selling this Wardrobe either on line or in a consignment shop, if I had the need for one and the money I would defiantly buy one!!

MrCoffee

Fri, 03/06/2015 - 13:54

I love the way the paint job came out on this and I really dig the having the molding on the top stained.

Calmly

Sun, 03/08/2015 - 07:36

This looks awesome! I love the the paint finish and it your profession work

TwoCuteKids

Mon, 03/09/2015 - 17:30

I agree this is your best so far...which is hard to say b/c all your projects are amazing! I love the style, the paint colors, the stained top, and the hardware!

whopua

Tue, 11/10/2015 - 11:13

Are there any available plans? I'd love to make this for my wife!

Anela

Sat, 03/19/2016 - 15:06

It looks really great! 

I have fallen in love with it the second I saw it and somehow I am now convinced that I need a new wardrobe ;) 

I guess you don't have plans for the wardrobe laying around - but would you mind doing a fast sketch (just a simple one on paper) with all the measurements noted? I would be thrilled to try building it myself in the summer. 

Greetings from Germany!

Anela

Sat, 03/19/2016 - 15:07

It looks really great! 

I have fallen in love with it the second I saw it and somehow I am now convinced that I need a new wardrobe ;) 

I guess you don't have plans for the wardrobe laying around - but would you mind doing a fast sketch (just a simple one on paper) with all the measurements noted? I would be thrilled to try building it myself in the summer. 

Greetings from Germany!

petemoore

Mon, 08/22/2016 - 07:32

its very nice but there are no plans

can you put up the plans or email me them please

many thanks

leftysgirl

Tue, 07/18/2017 - 05:43

Are there plans used for this beautiful piece? I do not see any links. Help please!! I absolutely need to make this armoire :) :) 

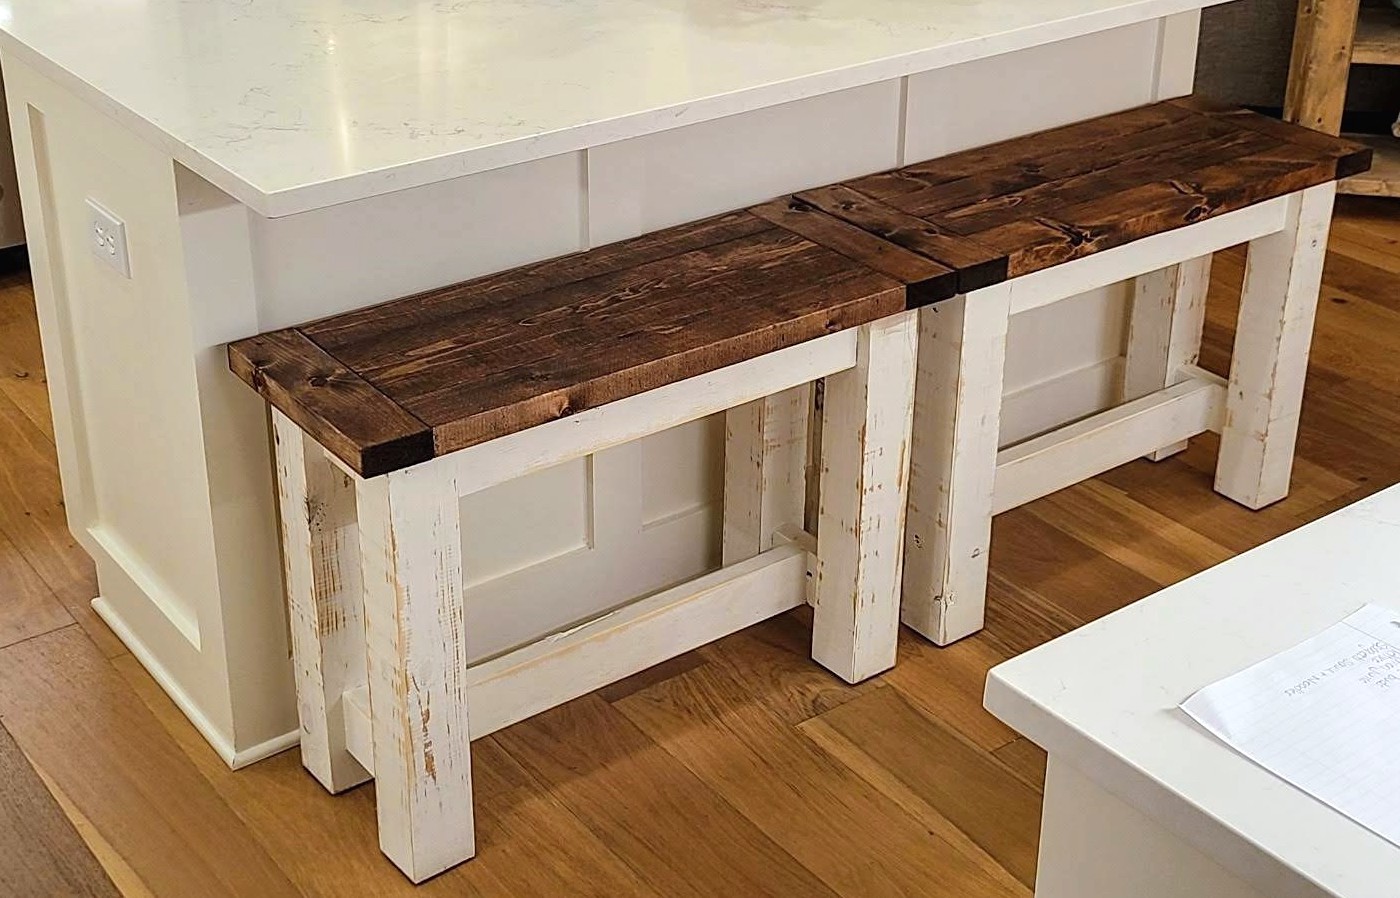
Kitchen Benches

My version of the kitchen benches.

Estimated Cost
100
Estimated Time Investment
Day Project (6-9 Hours)
Finish Used
-Minwax Wood Finish Oil-Based Provincial Semi-Transparent Interior Stain
-White paint
Recommended Skill Level
Beginner

Comments

Farmhouse Table

Submitted by deckroid on Fri, 04/26/2013 - 10:15

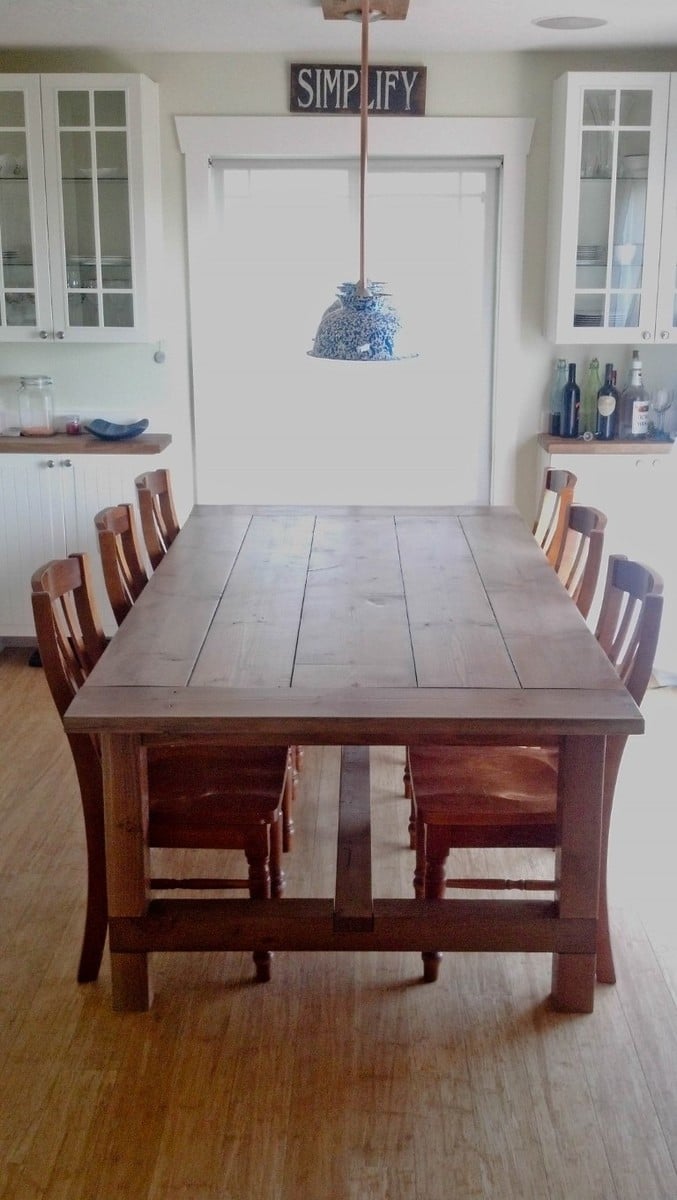
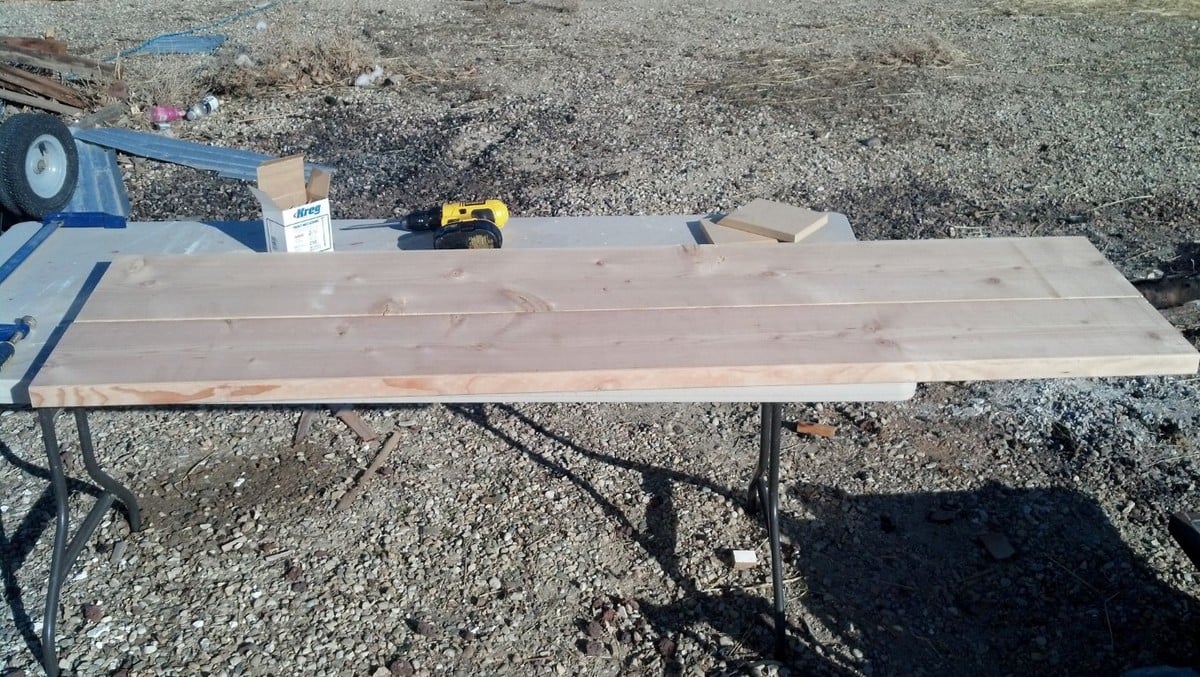
My wife and I really love the farmhouse look and feel. We saw one of these tables at a furniture store for $2000 with no chairs. I had already bought the Kreg Tool, something that I cannot believe I have done without for so long, when I went to build some $10 Shelves that Ana has on her site. My wife asked me how hard it would be to build the table and I told her I have never done anything like it. I also told her if she didn't like the end project, we could use it as a picnic table outside. It was fantastically easy with the plans and Kreg Jig. Thanks to Ana for all the helpful tips!

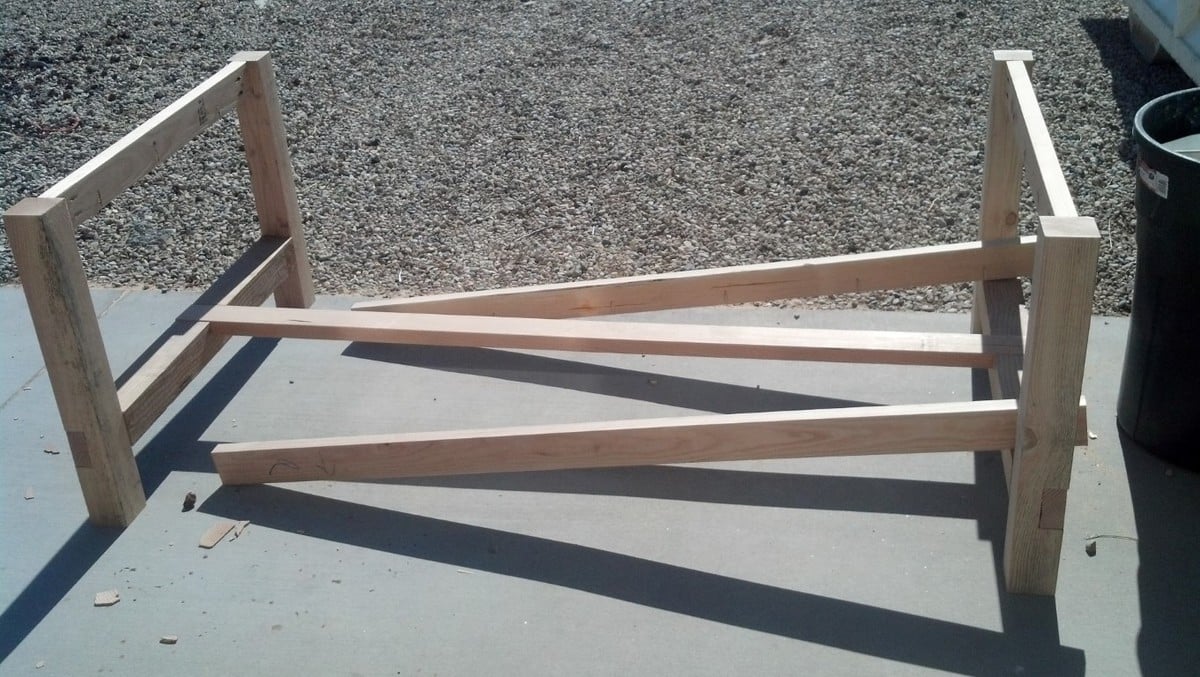
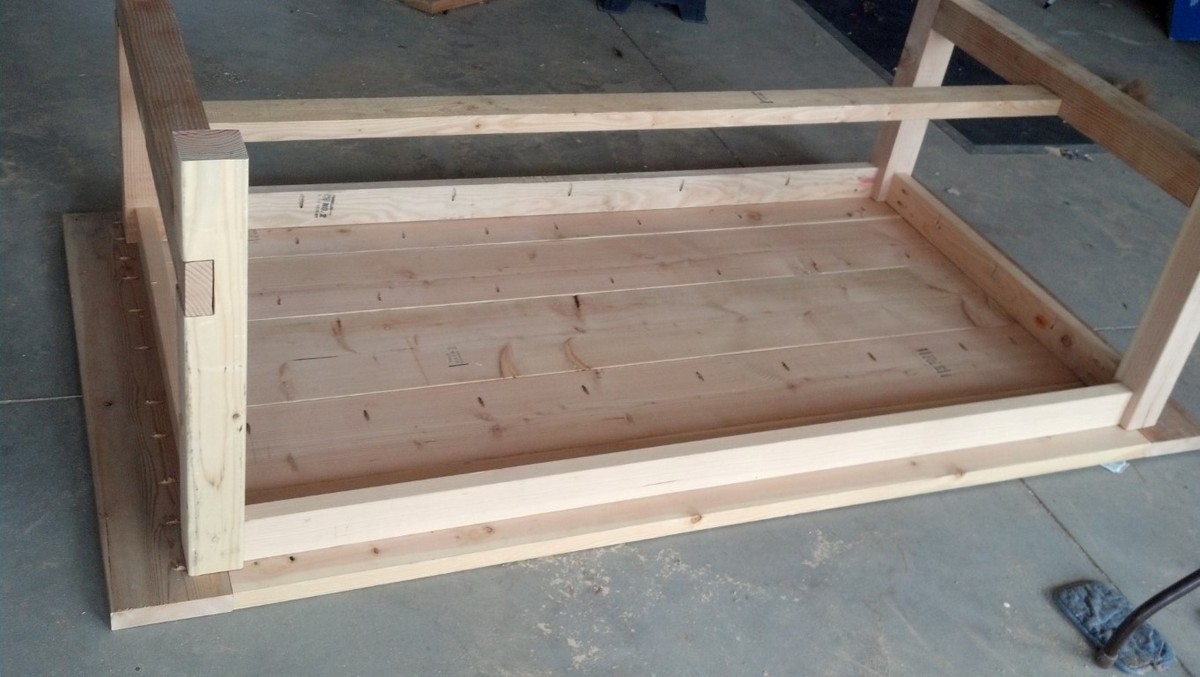
Now to the build. We decided that the table needed to be a bit wider and longer for our needs, so I adjusted the plans. It came out to 90"x48". The center board is a 2x12 with the other 4 being 2x10s. The end pieces are 2x8s that I had from building garden boxes. The benches that I also built were from scrap lumber, they are not pictured here as they need one more coat of stain and then three coats of polycrylic. They are 52" long and go on the ends where the kids can use the cross beam as a foot support.

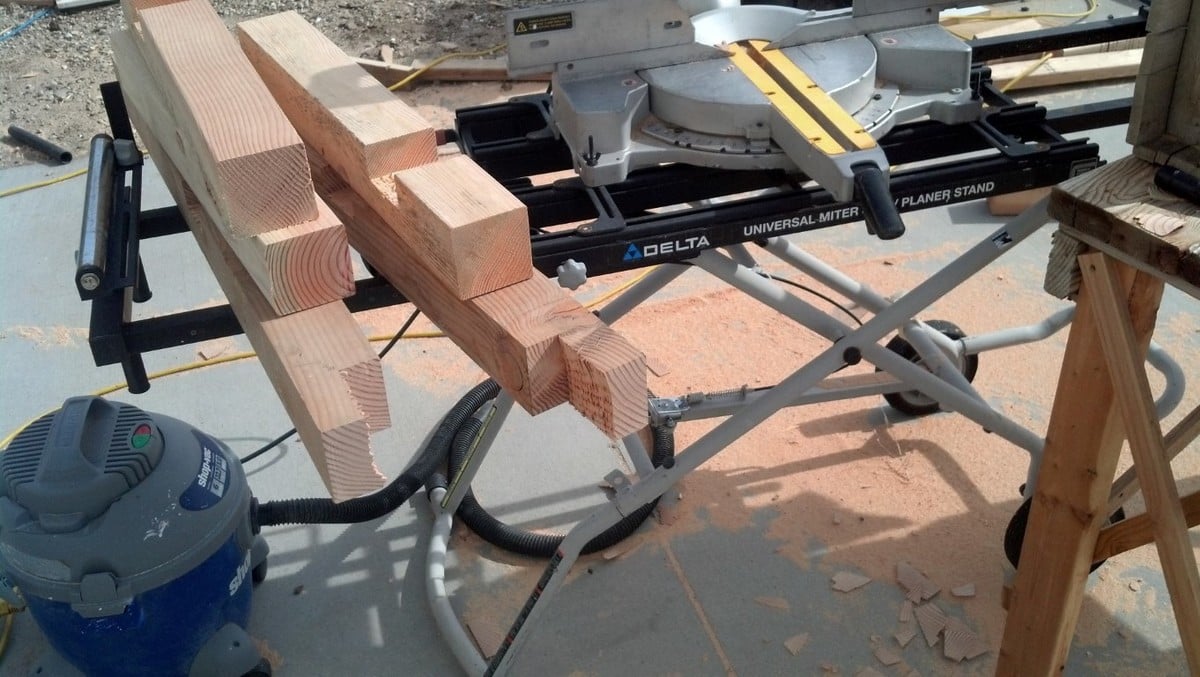
Building this project was rather quicker than I thought. Of course, borrowing a radial arm saw helped out a bunch with the legs. Once it was all together, I sanded the table three times. I used 80, 150 then 220 grit. The palm sander got a real workout over the space of about a week and a half.

Finishing the project, I decided to follow the plans and went with Minwax Weathered Oak and topped that with Minwax Polycrylic. The legs and underside of the table received 2 coats of each, but the top I gave 3 coats of stain and 2 coats of the Poly with a very light sanding in between each coat.

The table then sat completed in the garage for 3 weeks as I had to find enough help to get it into the house. This is one heavy bugger. If we ever sell the place, it stays! There are ~150 screws and all but 12 of those had pocket holes.

Fantastic build and now I am going to build the farmhouse king size bed. And a murphy bed. And more shelves. And a shoe cubby with coat rack. And a wine rack. And a greenhouse... the list goes on and on...
Estimated Cost
$80 for Lumber
Estimated Time Investment
Week Long Project (20 Hours or More)
Finish Used
Minwax Weathered Oak and Minwax Polycrylic
Recommended Skill Level
Beginner

Comments

Junker Dic

Fri, 04/26/2013 - 14:09

Could you have used heavy duty steel leg braces? These could slipped into saw kerfs on adjacent sides of the apron. Then used hanger bolts to fasten the legs. This would allow the legs to be removed if needed.

deckroid

Fri, 04/26/2013 - 15:09

I thought about making the legs removable, but really, it was much easier this way and very sturdy. I had a lot of fun building this.

Jake

Sat, 04/27/2013 - 18:55

You have just joined the league of addict builders. You really did a great job on this table. Did you get the lumber from big orange or blue and have it jointed? The boards look really good and the fit is tight. Anyway I am sure we will see more of you in the future.

deckroid

Wed, 05/01/2013 - 07:19

Hey everyone!

Thanks for your kind words. The chairs were from our previous table we bought some years ago. I was astounded to find that Ana's plans were the same height as our previous table. Great fit for the chairs.

As for the lumber, I got it from a local building supply company (one of the last, sad to say) and they were only a bit straighter. I got them tight by using clamps. Clamps and LOTS of pocket holes.

George

wjc129

Thu, 05/02/2013 - 18:45

Great Job! Thanks for the extra pictures. I am working up the courage to build the farmhouse queen bed myself. If it works out I might tackle this table, as I like your plans.

goalist

Thu, 08/08/2013 - 11:08

This table looks great and I've decided that its going to be my first project, I just have two questions.

1. What version of the Kreg Jig did you use for the pocket holes?
2. Did you use satin or semi-gloss for the Minwax Polycrylic?

Thanks

amytrz

Wed, 08/26/2015 - 10:53

Hi! You did a wonderful job on this table.  I would like to attempt it but am having trouble figuring out what type of wood to use.  The only wood I could find in the 2x8 and 2x10 dimensions was contruction lumber fir.  Is that right?

Thank you!

deckroid

Fri, 01/01/2016 - 11:03

Sorry about not answering... my wife told me this has been pinned over 17k times on pintrist and that there are still some questions... 
 

I used pine, but fir would be great too.  The lumber dimentions for the top were 2x10s and a single 2x12 for the center piece. 2x8s for the ends.  Really, though, any dimemtion works. Just keep going until you get the size you want.


George

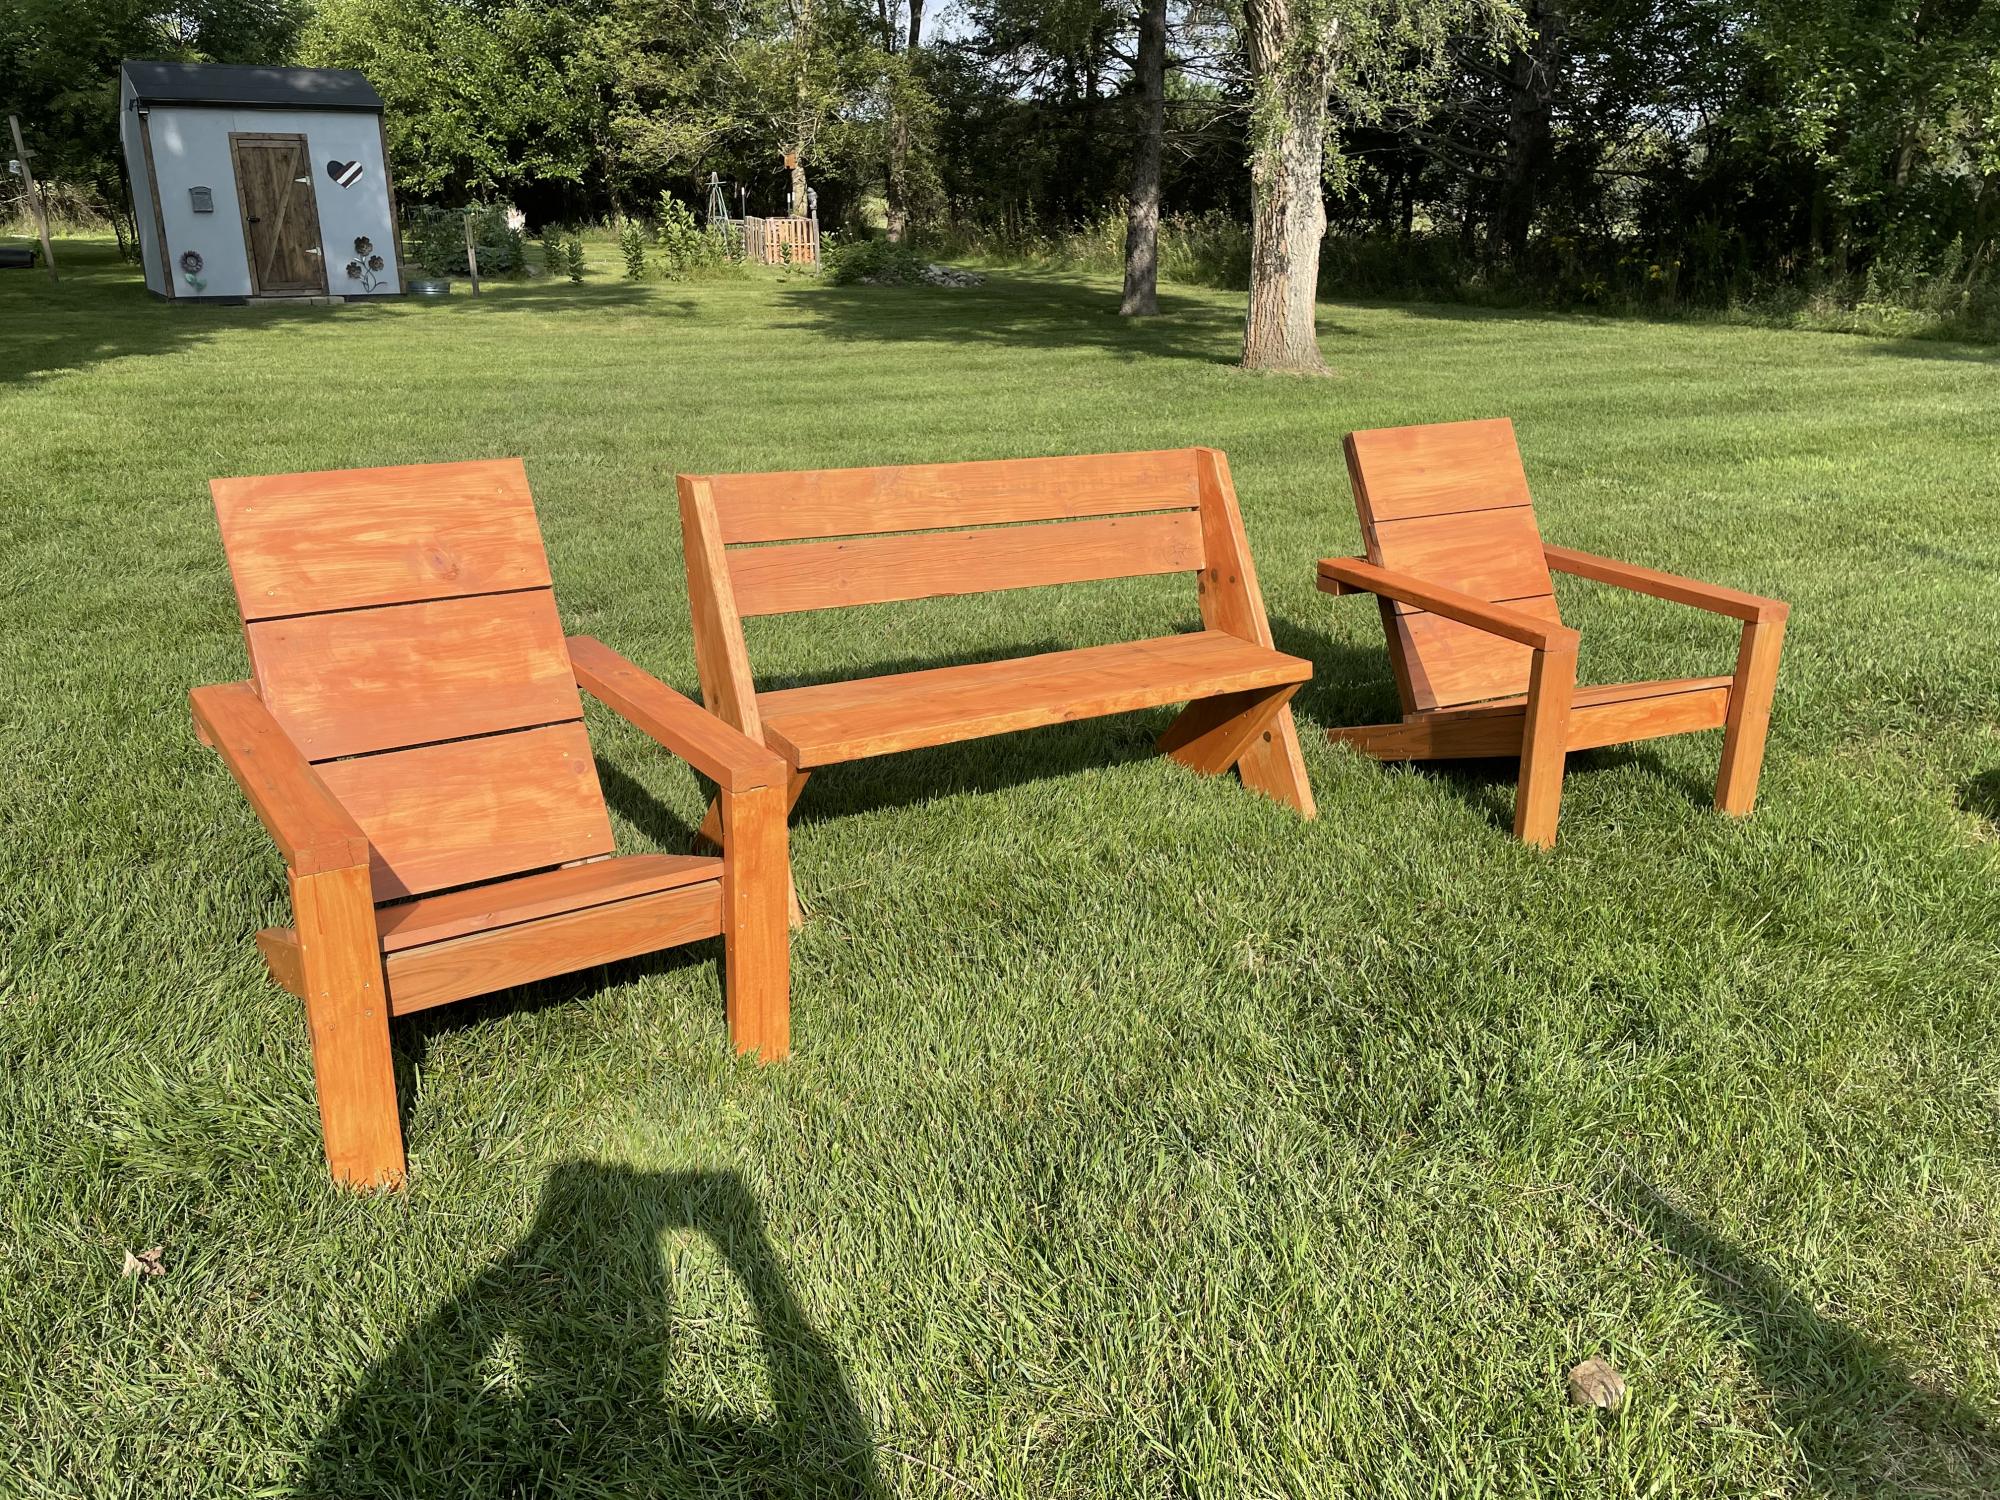
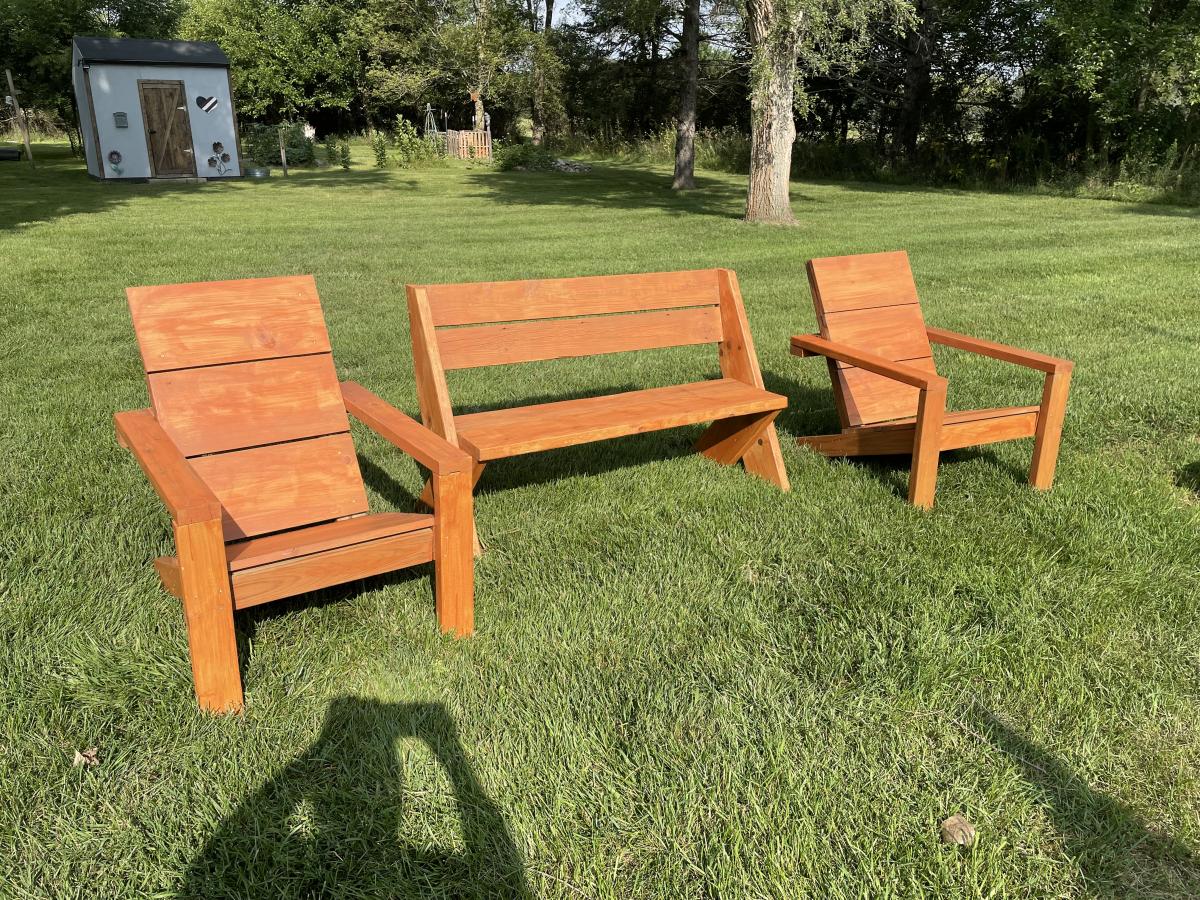
Modern adirondeck chairs

Submitted by Anonymous (not verified) on Fri, 09/10/2021 - 14:37

Here are my chairs i made. The bench is from rogue engineer. All are a nice addition to the backyard.

Comments

Seasonal And Holiday

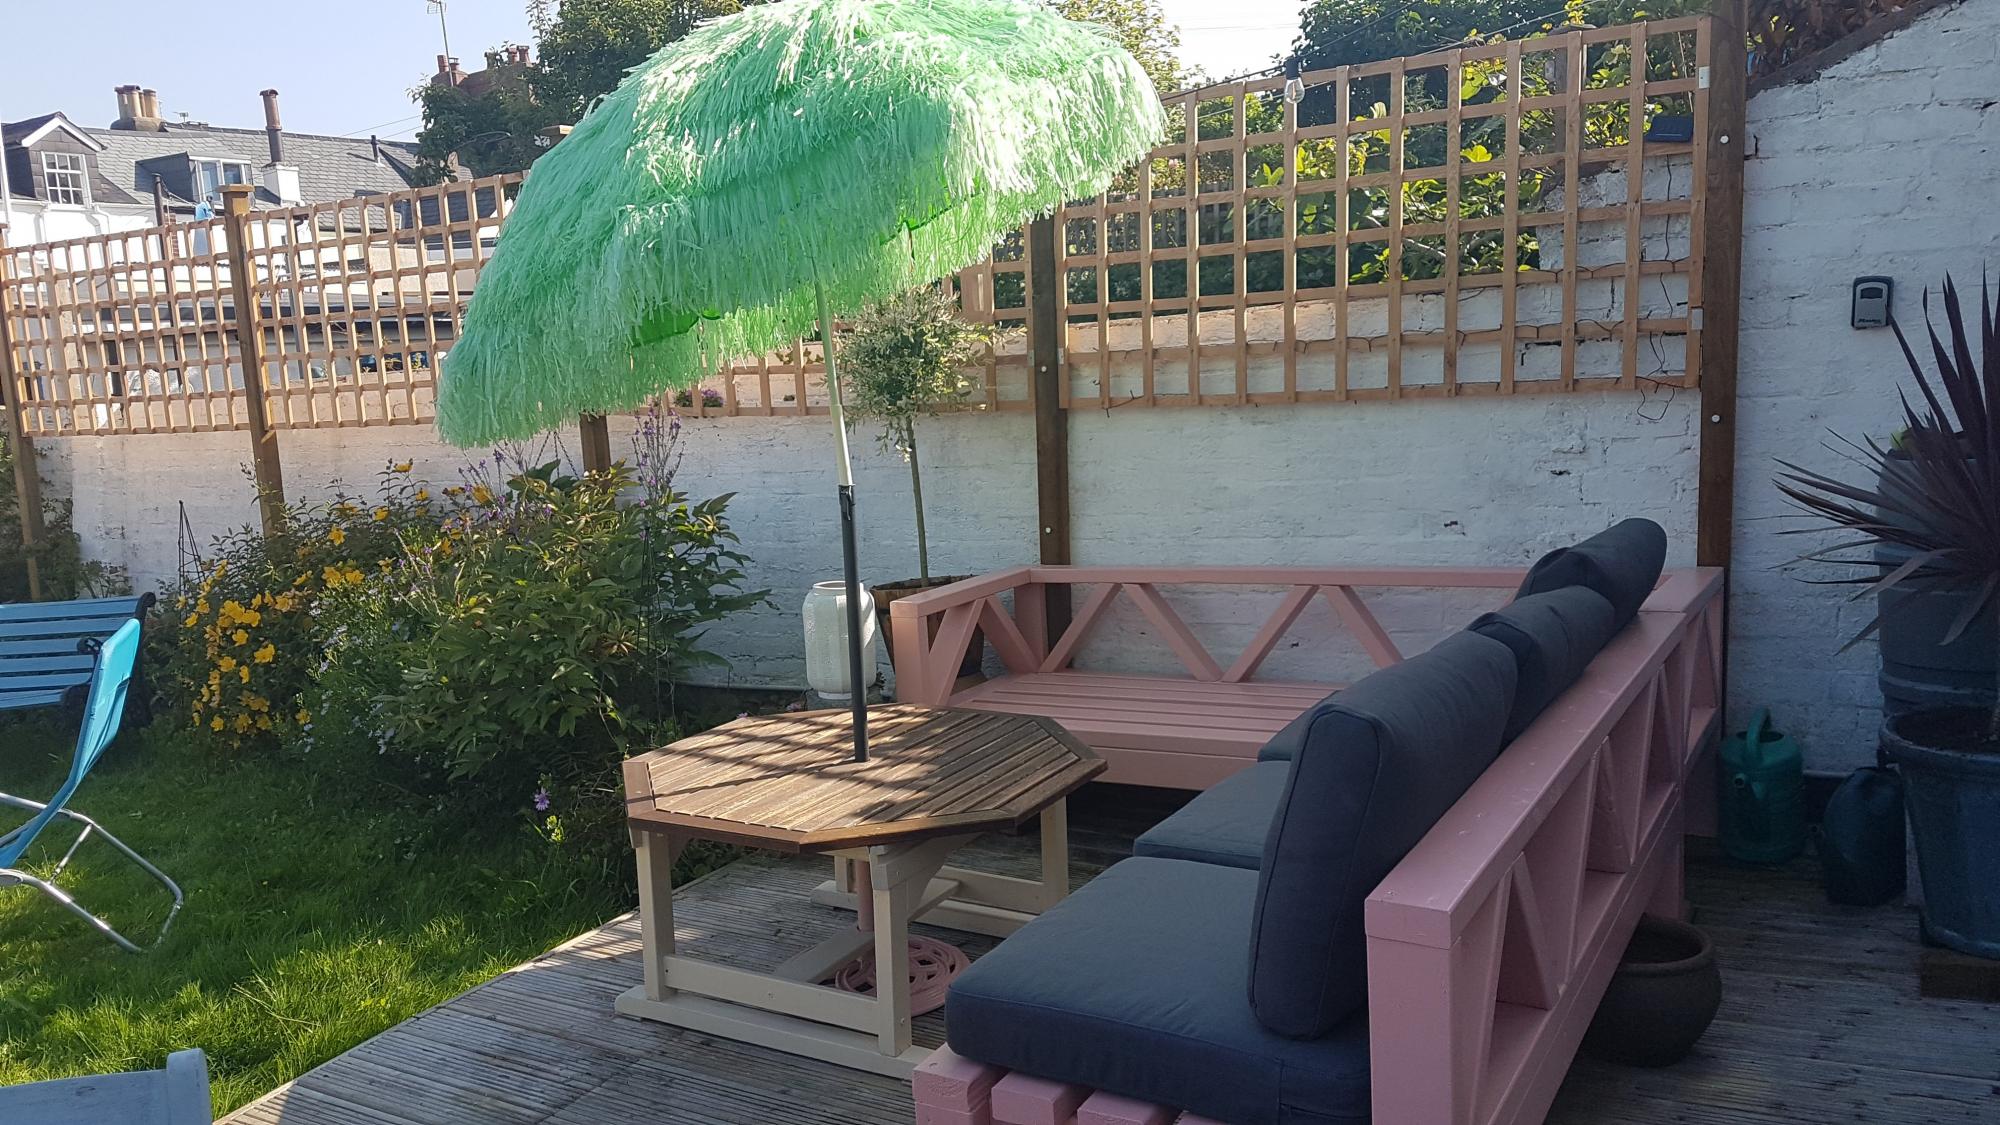
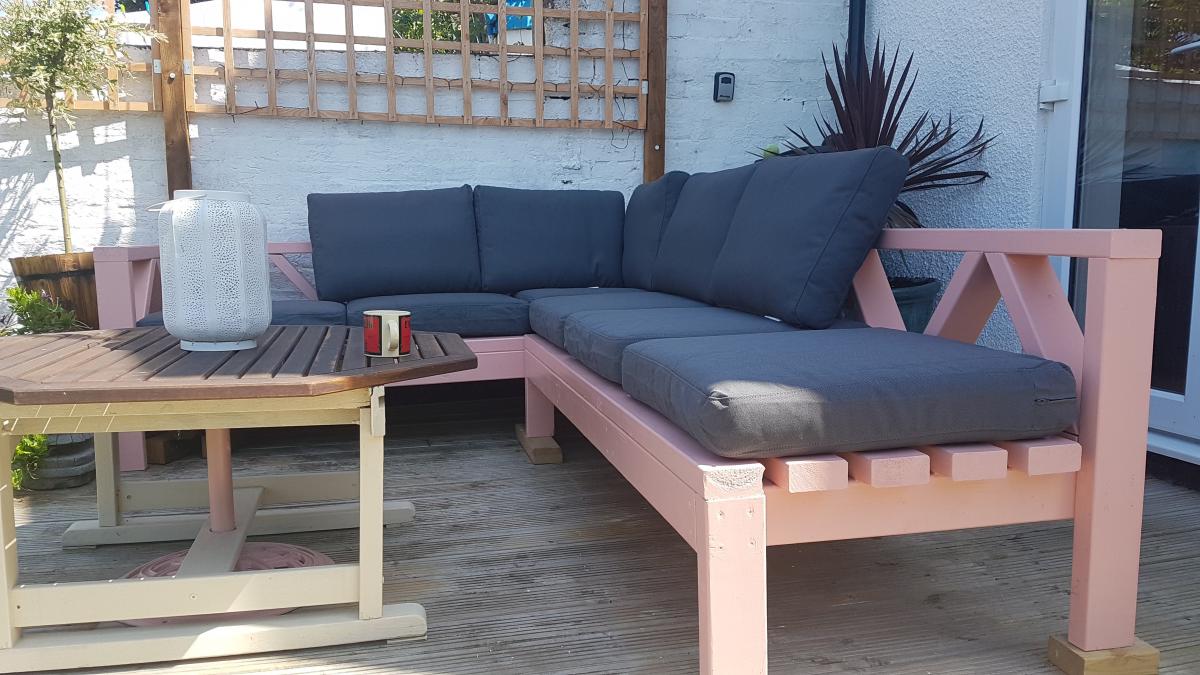
4x2 Patio Seating

Submitted by Anonymous (not verified) on Tue, 10/05/2021 - 02:12

Easy to make 4x2 Patio Seating with Ikea style cushions.
Added the diagonal designs on the back.

Comments

What Nesting Instincts Can Build

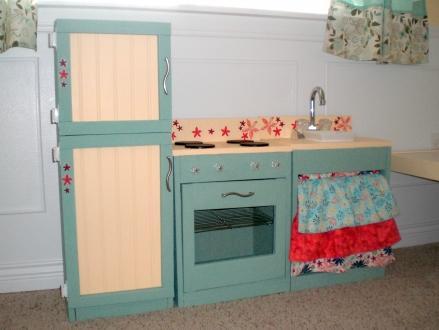
I had SO MUCH FUN building this play kitchen. I looked at all the different play kitchens on the site and took what I liked. I love bead board and I LOVED the oven light idea. I’m 7 months pregnant and was still able to put this together. My lower back was starting to complain by the end so it is good I finished it up when I did. I used a kreg jig jr. instead of a nailer. For this project I wish I had a nailer, I think it would have been easier. Maybe I’ll get one for Christmas! Up next – the cabin collection!

Estimated Time Investment
Week Long Project (20 Hours or More)
Finish Used
Just sanded, primer, and paint. I hand sanded the sink and the oven but then was able to borrow a sander for the fridge (so much nicer, I’m sure that goes without saying). I painted the pieces to the refrigerator doors before I put them together.
Recommended Skill Level
Beginner

Full Storage Bed

I built the Full Storage Bed using Ana's plans!  It was very easy and I love the storage space!  You can see it and my modifications at our blog http://www.shanty-2-chic.com/2011/03/crates-for-storage-bed.html

Built from Plan(s)
Estimated Cost
$120
Estimated Time Investment
Day Project (6-9 Hours)
Finish Used
Minwax Dark Walnut stain and Minwax Polycrylic Gloss
Recommended Skill Level
Intermediate

Folding Sewing Table

Submitted by cchalifour on Wed, 11/24/2021 - 19:36

Built this Folding Sewing Table for my daughter.
- 18 mm Baltic Birch
- Birch leds

Built from Plan(s)

Comments

Modish Adirondack Chair

Submitted by osuguy81 on Mon, 04/11/2011 - 10:49

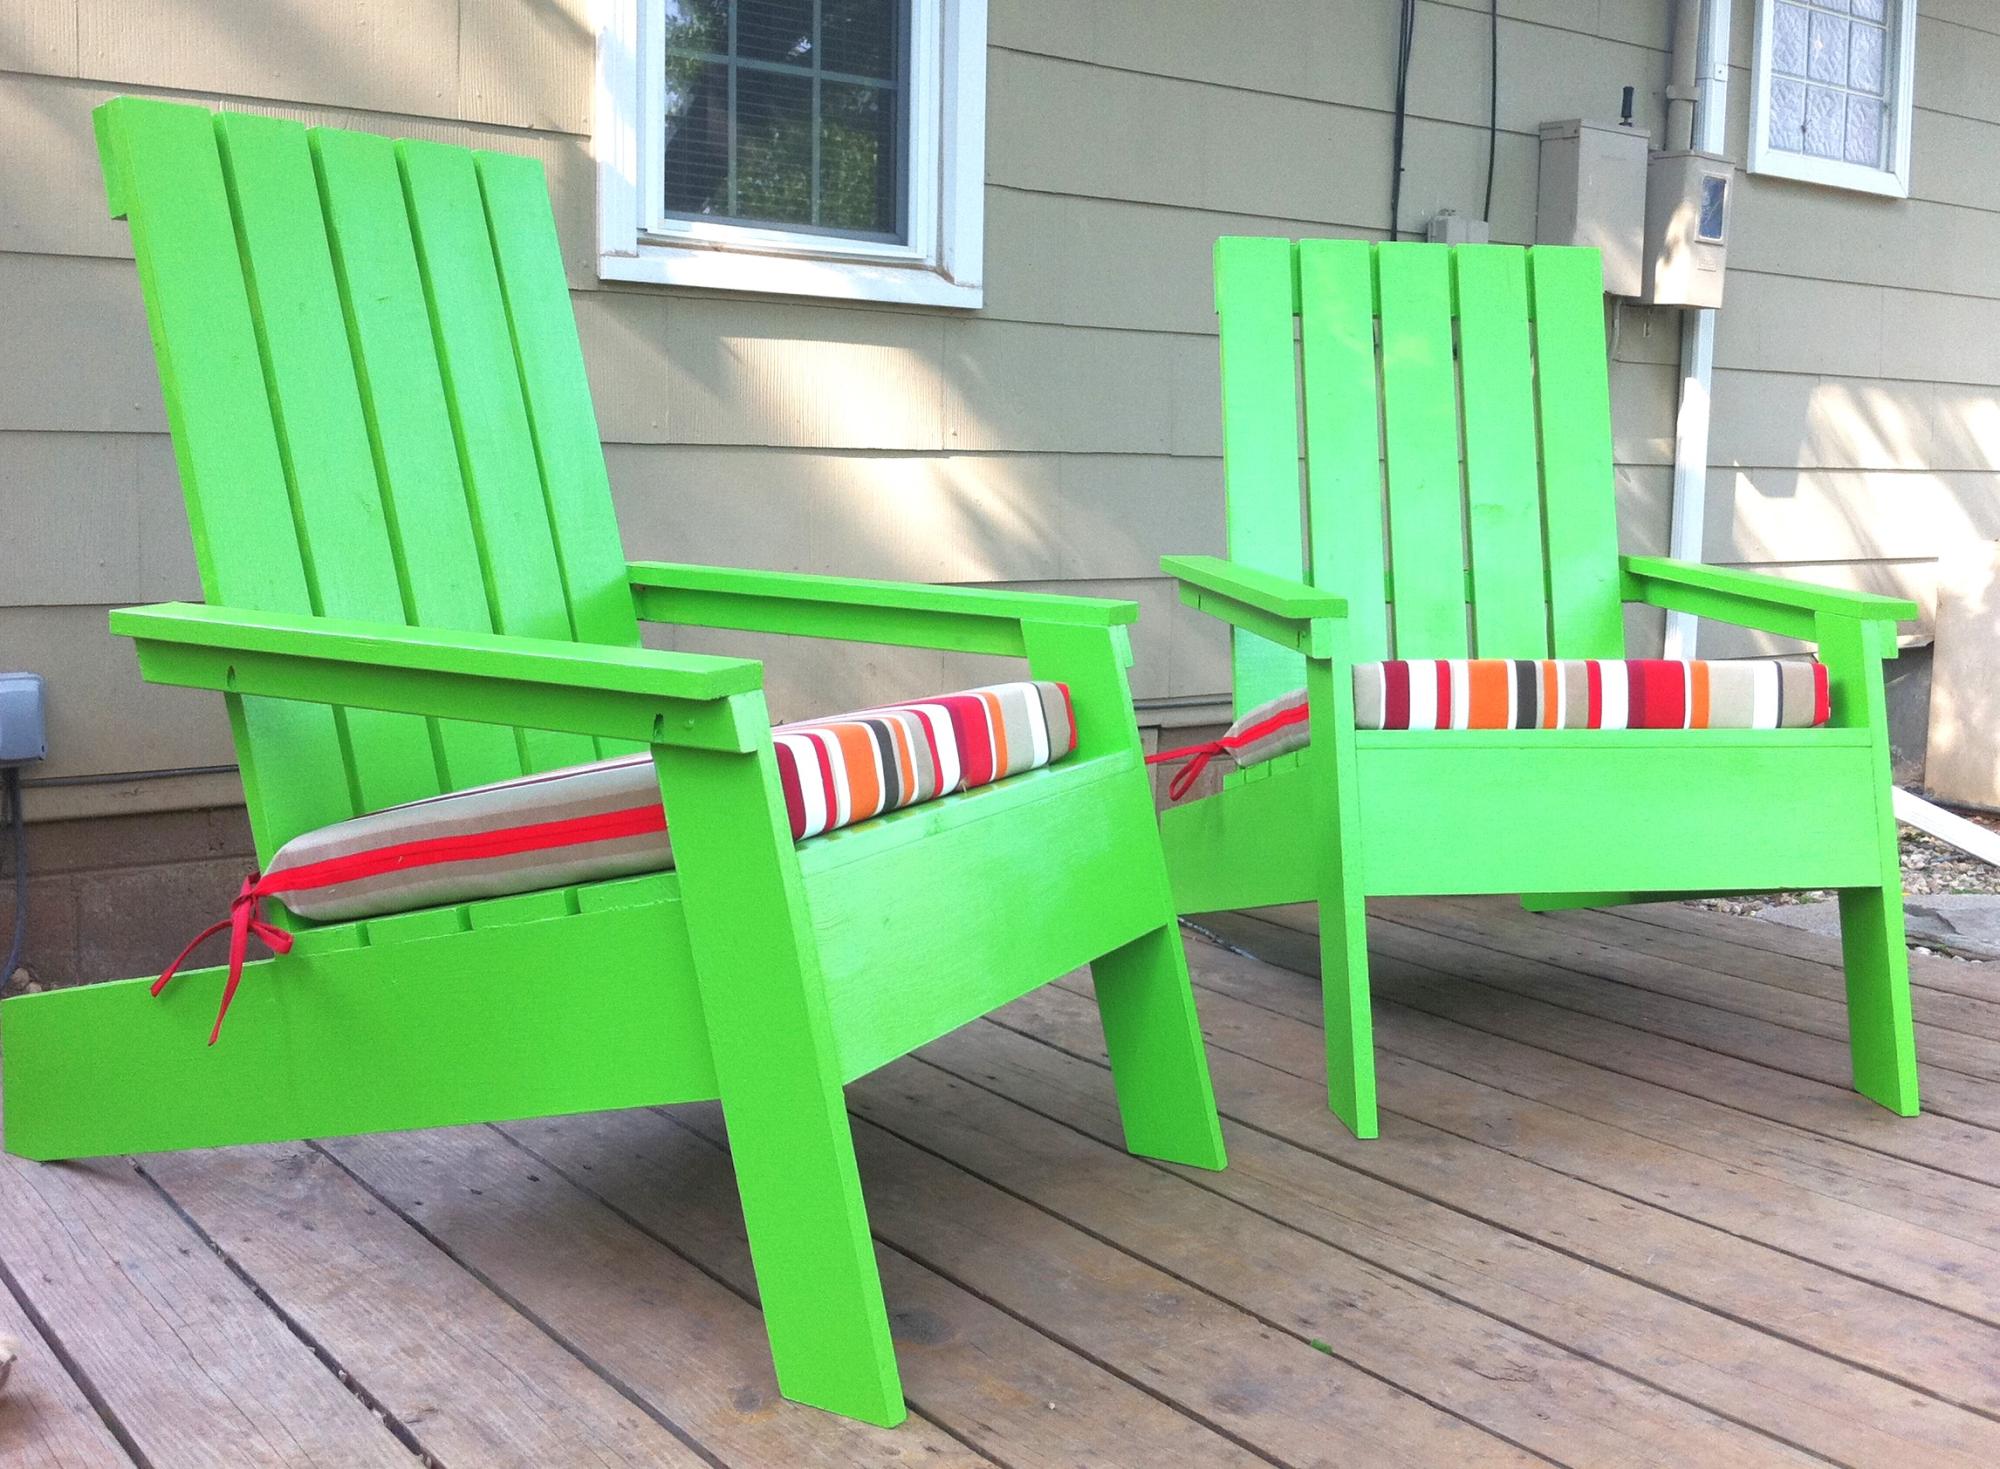
This is my first build from Ana-White, I built these Adirondack Chairs in an afternoon, for my wife as an early mothers day present. Painted with Sherwin Williams Resilience Gloss latex Festival Green paint. Added some cushins from Target that we got on sale. It was a fairly easy built and I really enjoyed using the Kreg Jig to create the hidden pocket holes.

Built from Plan(s)
Estimated Cost
$100
Estimated Time Investment
Day Project (6-9 Hours)
Finish Used
Painted with Sherwin Williams Resilience Gloss latex Festival Green paint.
Recommended Skill Level
Beginner
Seasonal And Holiday

Rustic X Console Table with Minwax Gel Stain in Red Elm

Submitted by pbookman on Sun, 07/21/2013 - 12:22

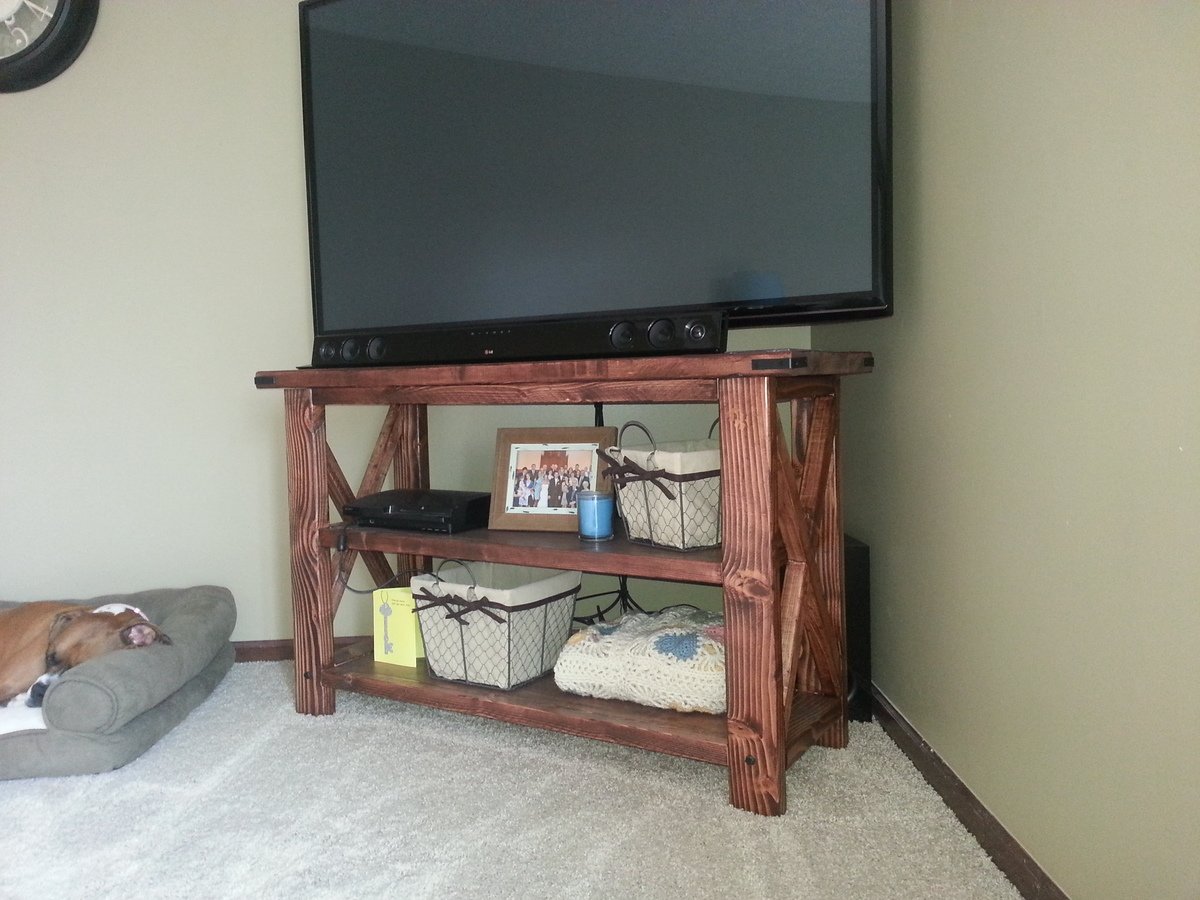
For this project we needed a piece quite a bit smaller than the original plan called for. We ended up keeping it simple by only altering the width. We kept the height and depth the same in order for the x's to keep their angles. So we shortened the width and only did one shelf section instead of two! Vwala...our first project-complete!

Built from Plan(s)
Estimated Time Investment
Weekend Project (10-20 Hours)
Finish Used
Minwax Gel Stain in Red Elm
Recommended Skill Level
Beginner

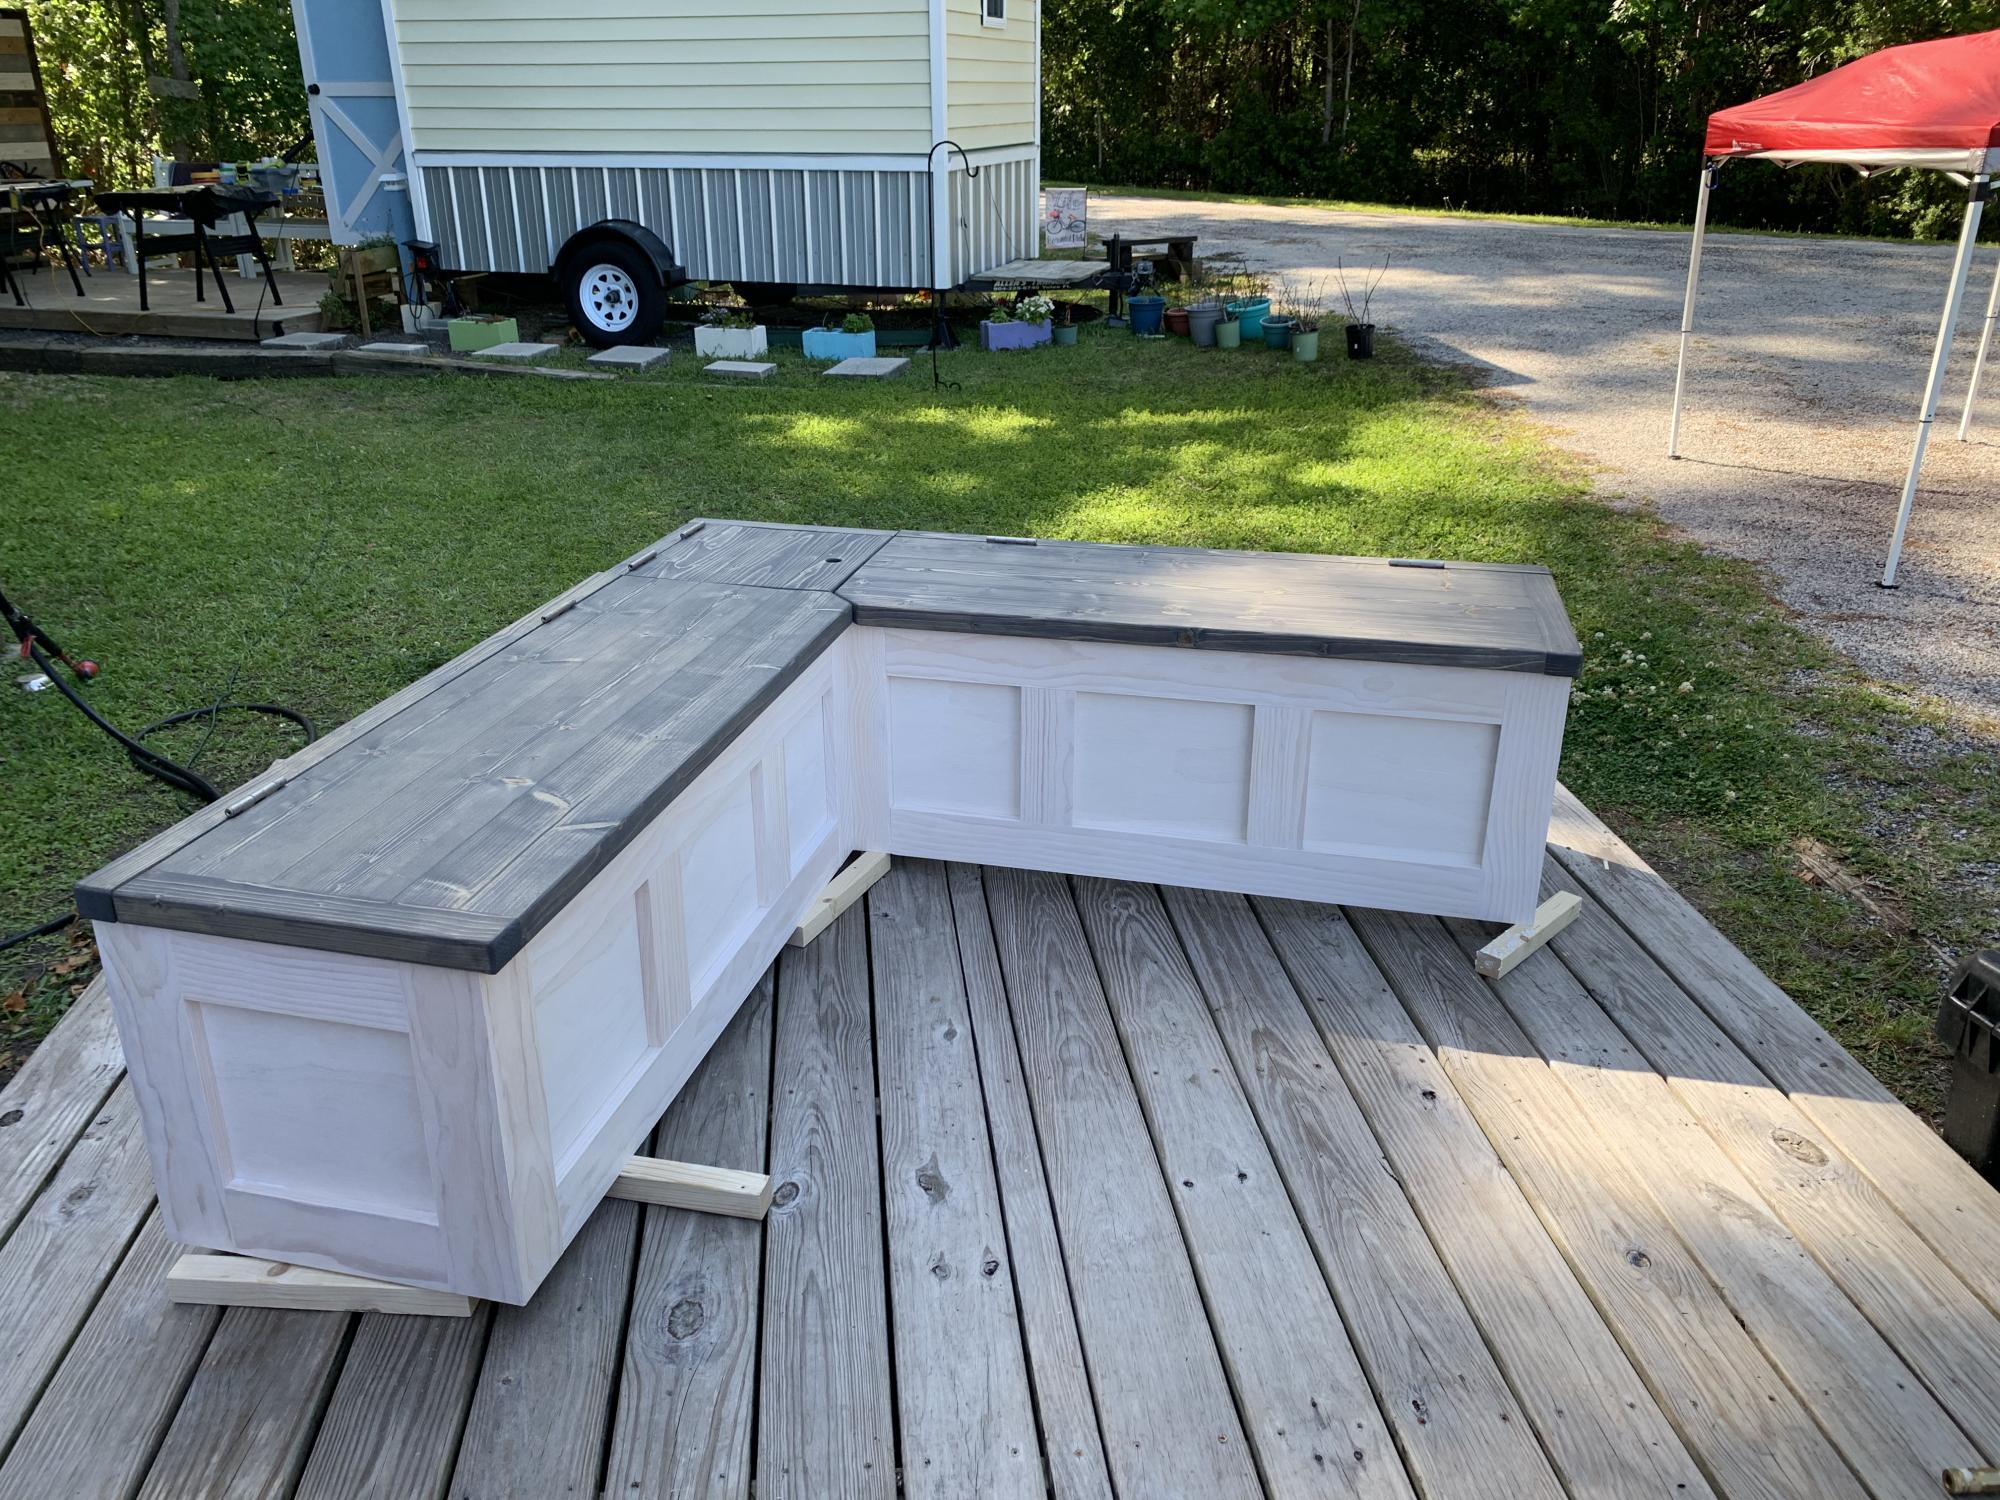
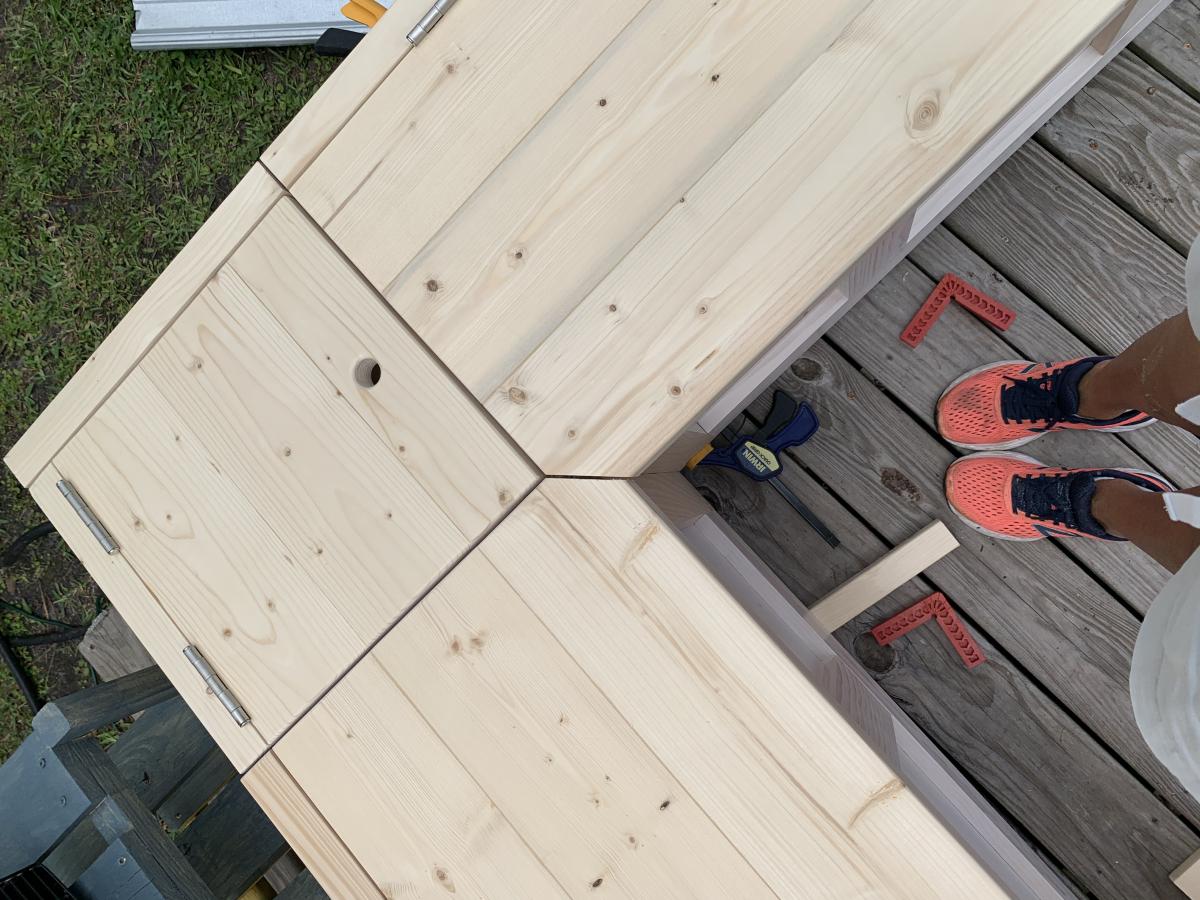
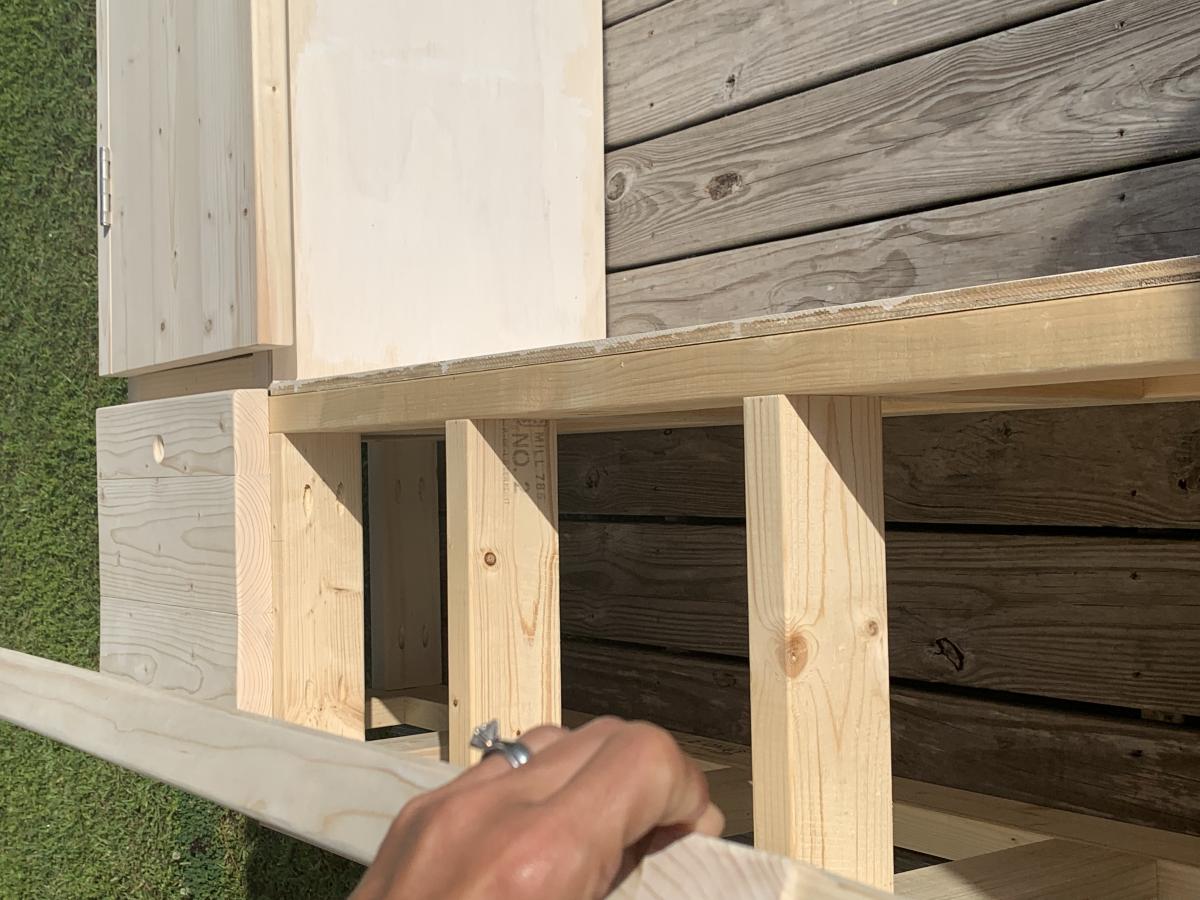
Banquette Seating with storage

Submitted by Anonymous (not verified) on Mon, 04/25/2022 - 13:58

You didn’t have plans, so I had to “wing it” without you; however, I couldn’t have done it without all the practice I’ve had from all your plans on this website these past several years!

Comments

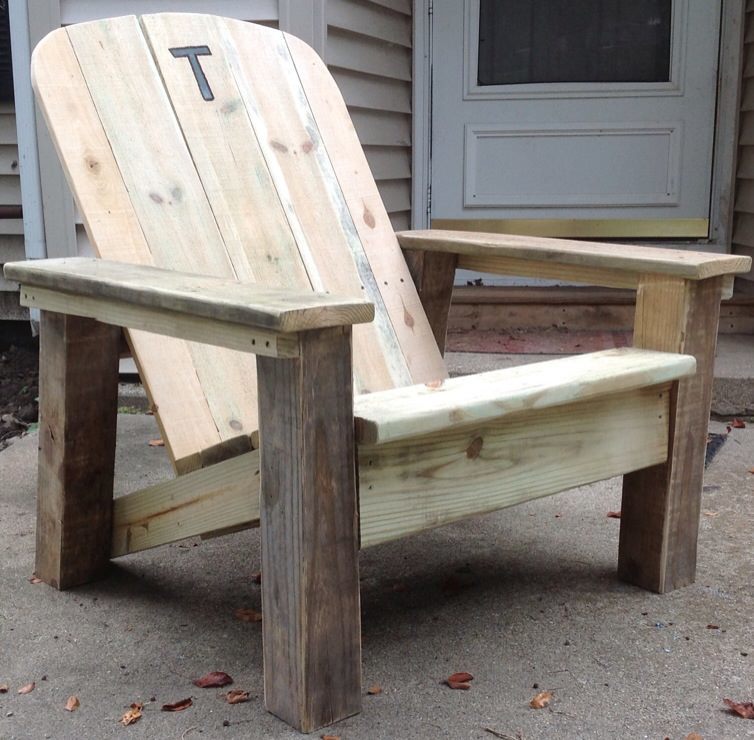
Reclaimed lumber Adirondack chair

Submitted by rkyount on Thu, 08/08/2013 - 13:23

For my brother's 35th birthday, I helped him build a fence and side deck on his house. Using the leftover lumber scraps and screws, I adapted the DIH Adirondack chair plans to build this for him. He wanted a big, sturdy chair with a wide arm rest that looks "rustic". I used 4x4 and 2x4 post scraps, deck boards, and fence pickets. I also widened the seat just a bit for comfort. This is definitely the perfect chair for him!

Estimated Time Investment
Afternoon Project (3-6 Hours)
Finish Used
Since it's all treated lumber, we'll just seal it whenever we do the deck with Thompson's Water Seal.
Recommended Skill Level
Beginner

Comments

rkyount

Fri, 08/09/2013 - 14:38

Thanks! I always enjoy building with your plans, and it was a bonus that I didn't have to buy anything to build this, since I used leftover materials.

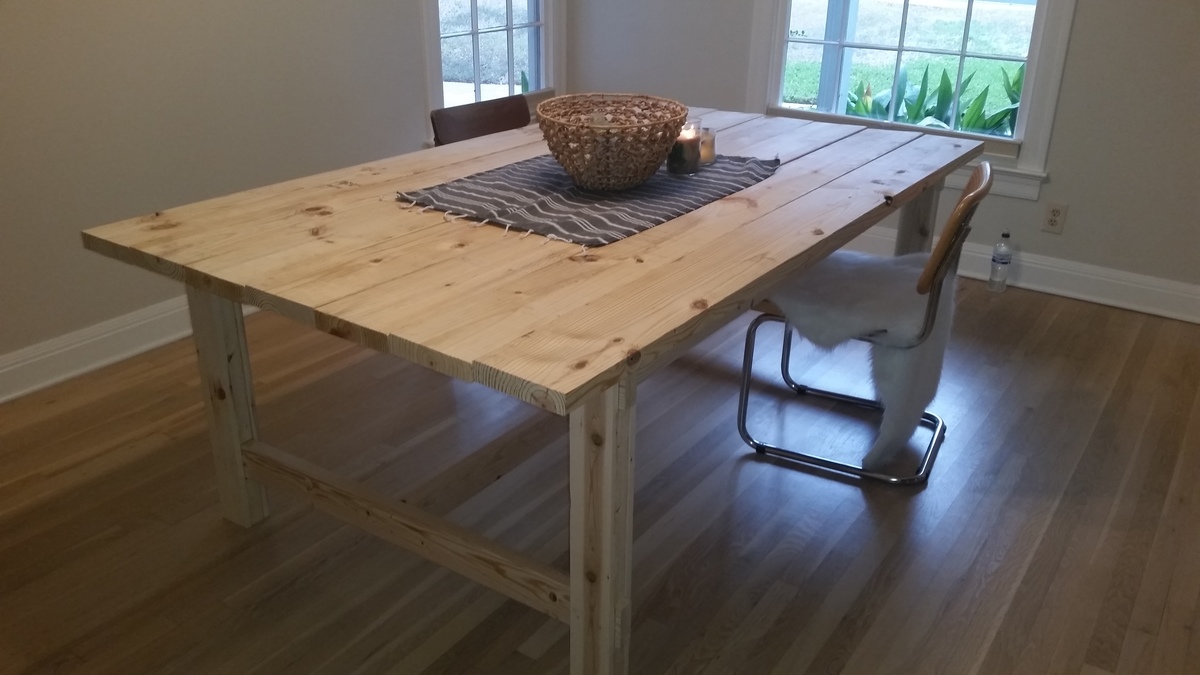
Farmhouse table

My daughter in law and I built this table,  together in Austin,  during my visit there!   We had such an awesome time,  together.   This was made from Ana's book, A Handmade Home. 

Estimated Cost
98.00
Estimated Time Investment
Afternoon Project (3-6 Hours)
Finish Used
Clear minwax
Recommended Skill Level
Beginner

First project ever...and preparing for more

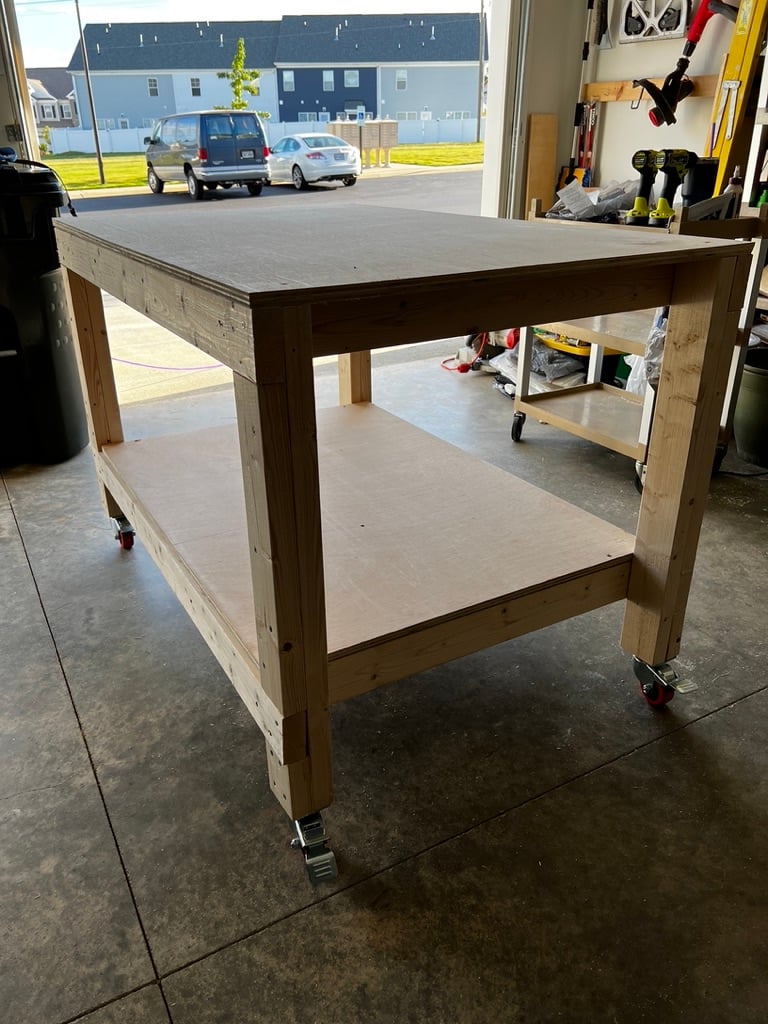
Submitted by Rentzm on Wed, 10/26/2022 - 18:45

For my first building project ever, I chose to tackle the Easy DIY Workbench. I am so thankful to Ana for putting together clear directions to walk users through every step of the process.

I added casters to the bottom of my cart. And since this photo, I've also mounted a power strip to the inside of one leg. This allows me to run an extension cord to the table and have multiple items plugged in.

I'm finding it's a great multi-use table. I use it for woodworking, grooming my dog, and stacking camping gear before heading out for a trip. I love this table!

Comments

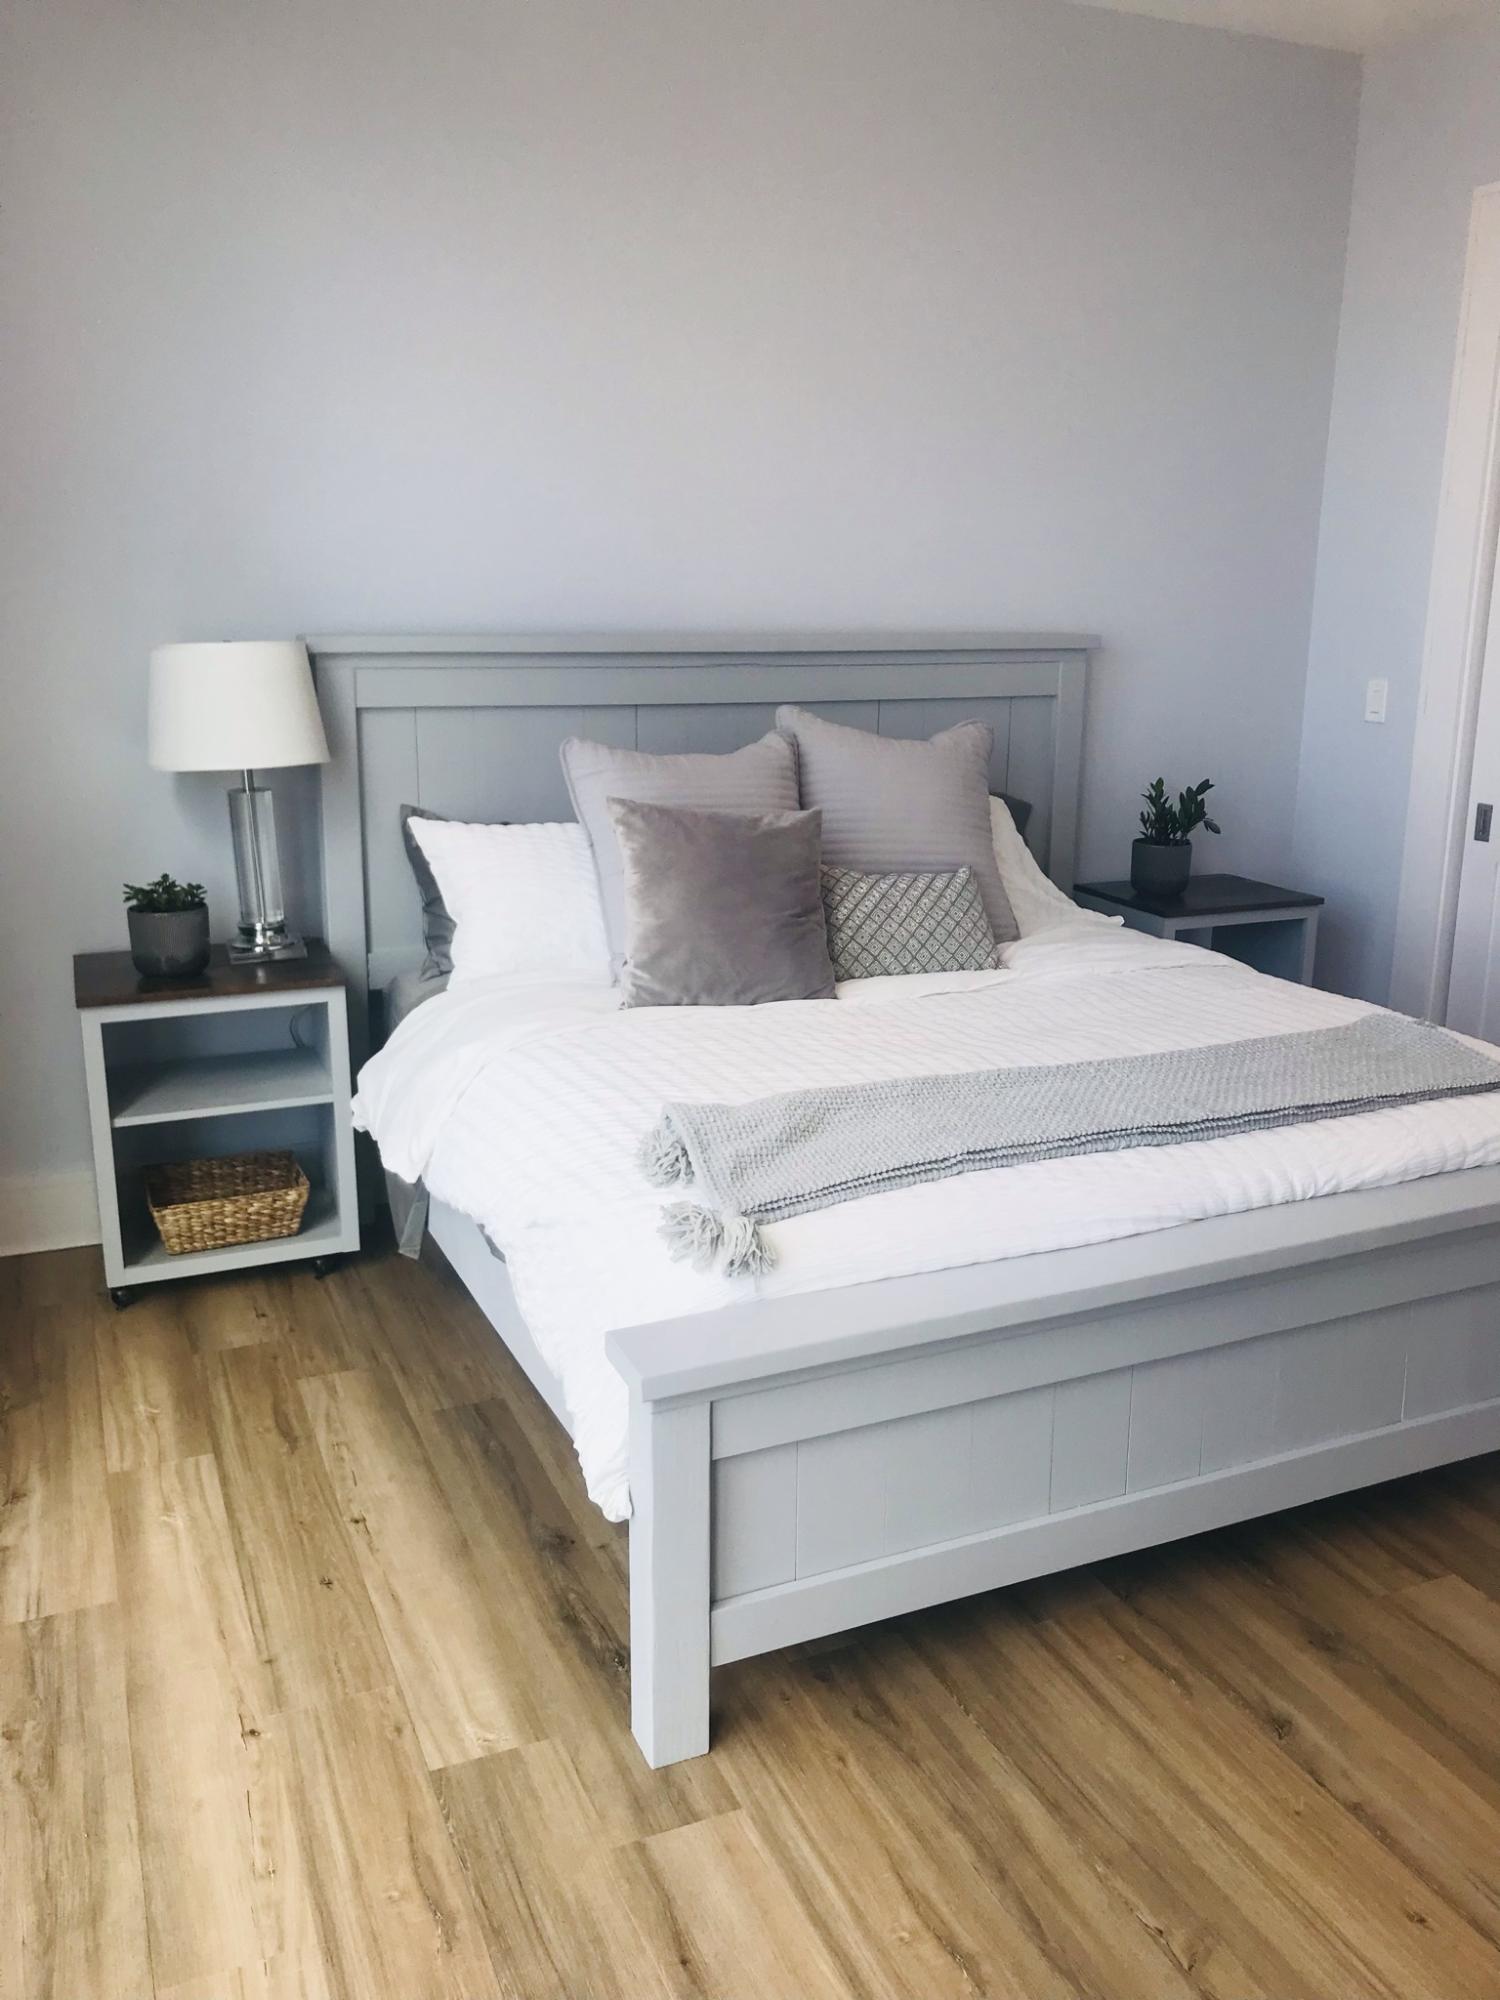
Farm house bed king

Submitted by Anonymous (not verified) on Tue, 11/15/2022 - 20:28

Easy to follow plans. This was only my second woodworking project so any beginner can do it. Thank you, Anna!

Comments

Chunky leg bedframe

Submitted by Anonymous (not verified) on Tue, 02/12/2019 - 17:43

I got tired of sleeping on the floor like college kids, but I didn’t want to buy a junky particle board bedframe. My husband and I are novice woodworkers. Even still, we bought the lumber around noon and managed to finish the whole project in about 5-6 hours! We used a Kreg jig for the first time and it was pretty simple. I am really pleased with how this turned out, and I can’t wait to try more of Ana’s plans in the future.

Estimated Cost
$100 including the cost of pockethole screws and finishing nails.
Estimated Time Investment
Day Project (6-9 Hours)
Recommended Skill Level
Beginner

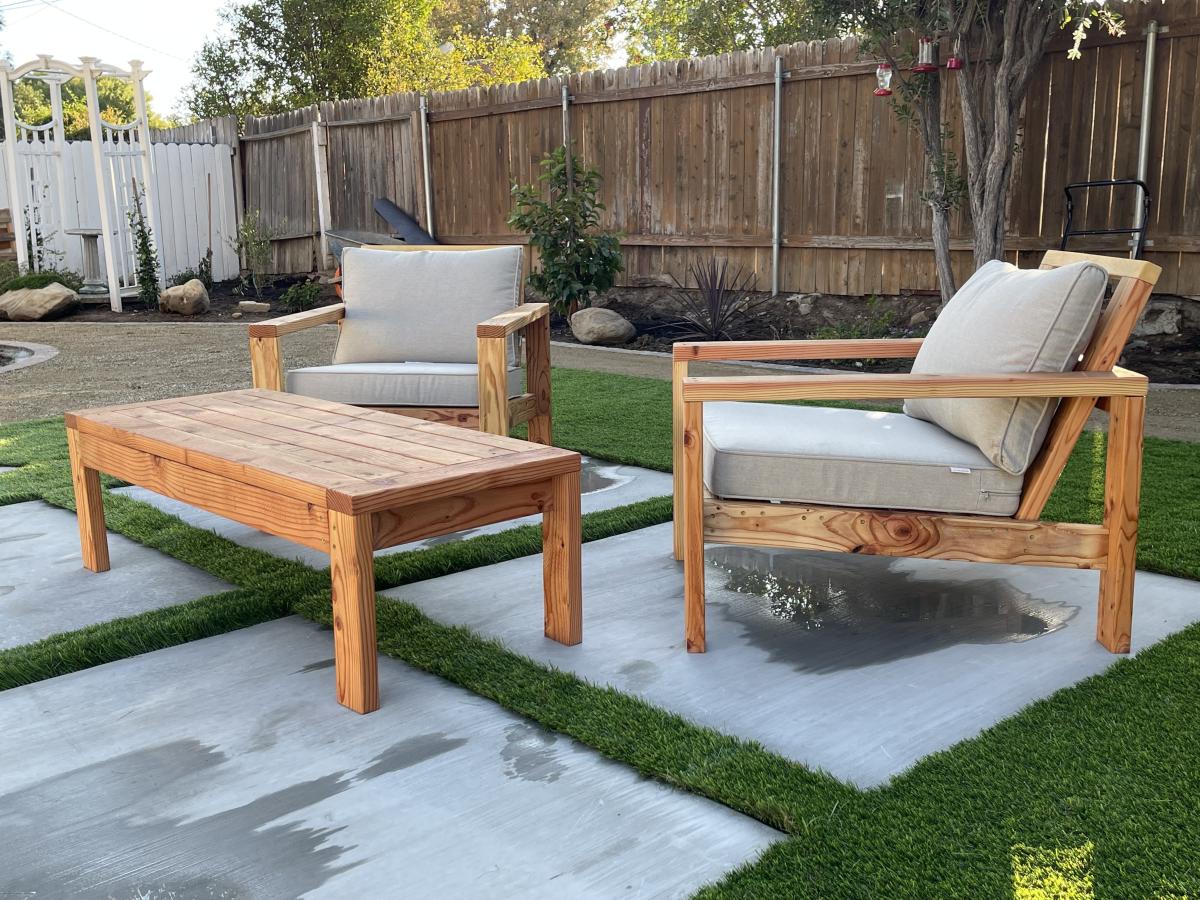
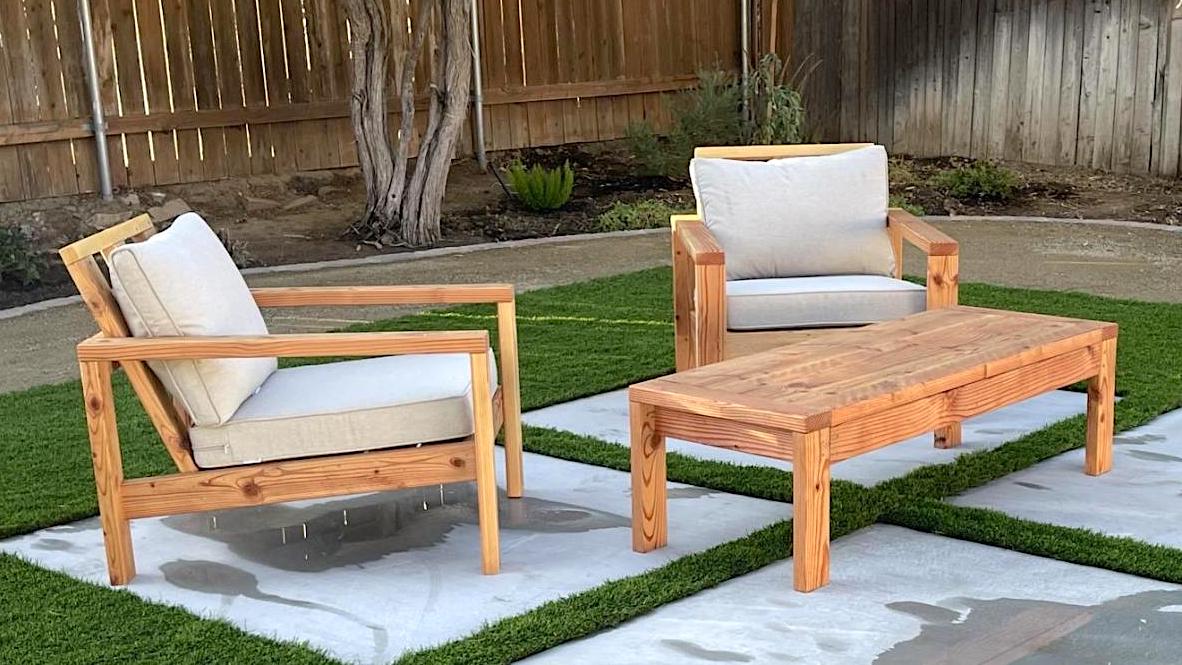
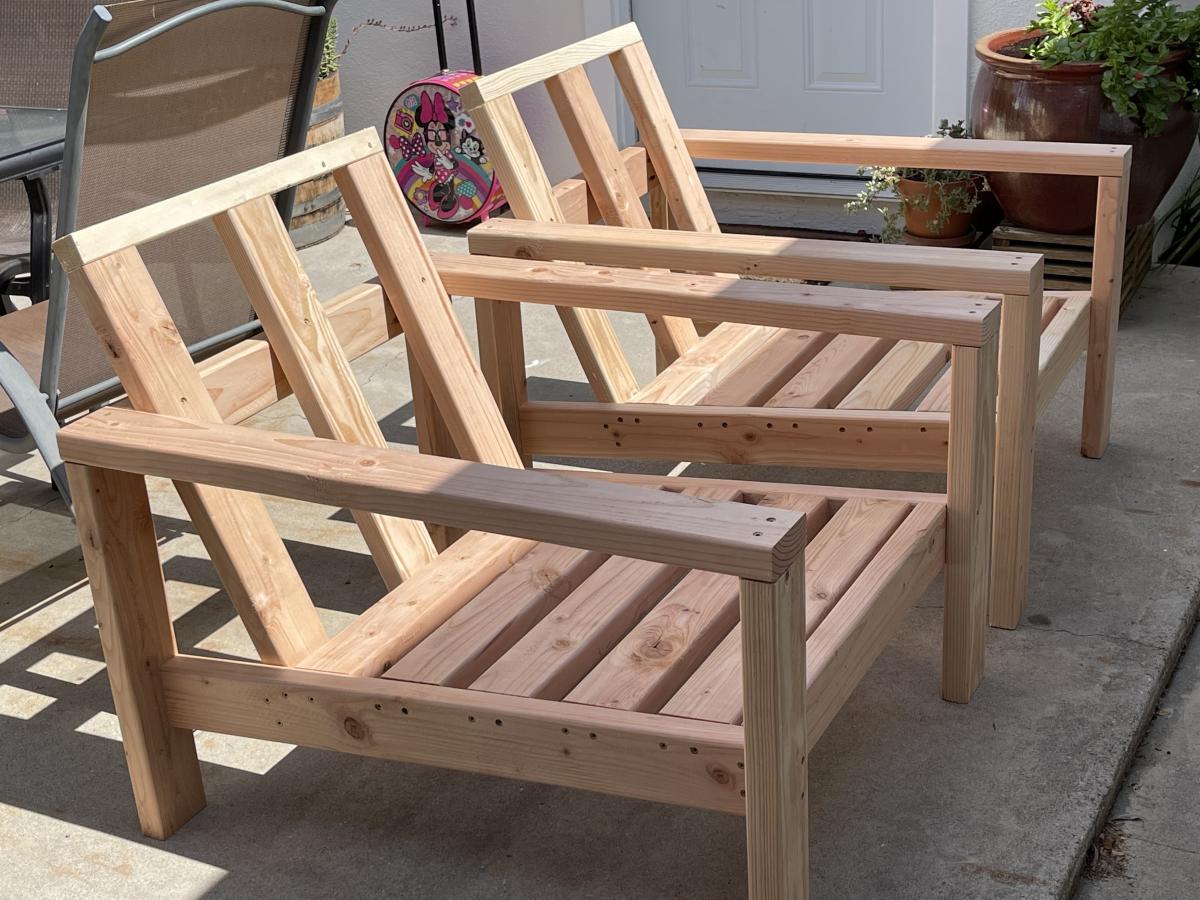
Outdoor chair frames and coffee table

I built a set of chairs and a coffee table for our newly designed outdoor area. These look amazing and people love sitting on them and hanging out outside our house.

Comments

Seasonal And Holiday