Dry Bar
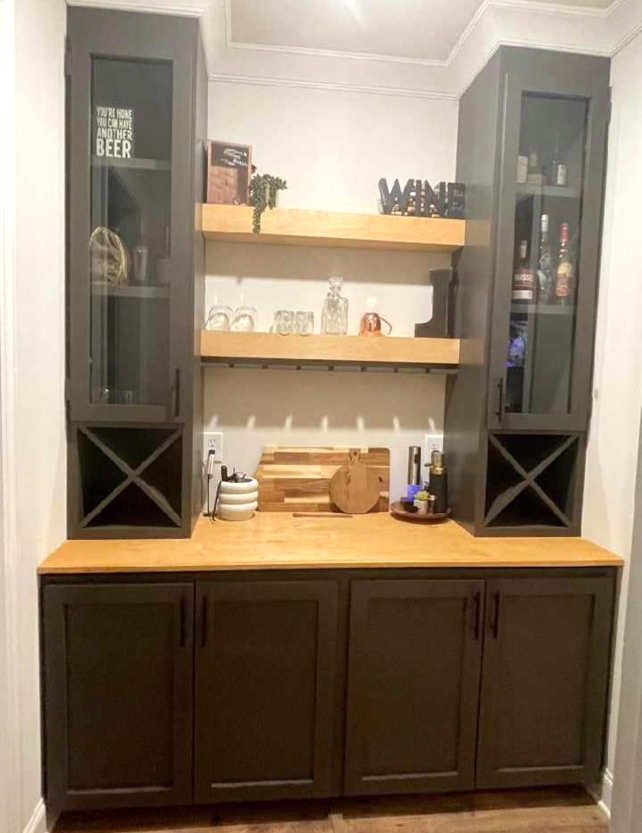
DIY Dry Bar by Brian Pettibone
Plans linked to help others achieve a similar build
DIY Dry Bar by Brian Pettibone
Plans linked to help others achieve a similar build
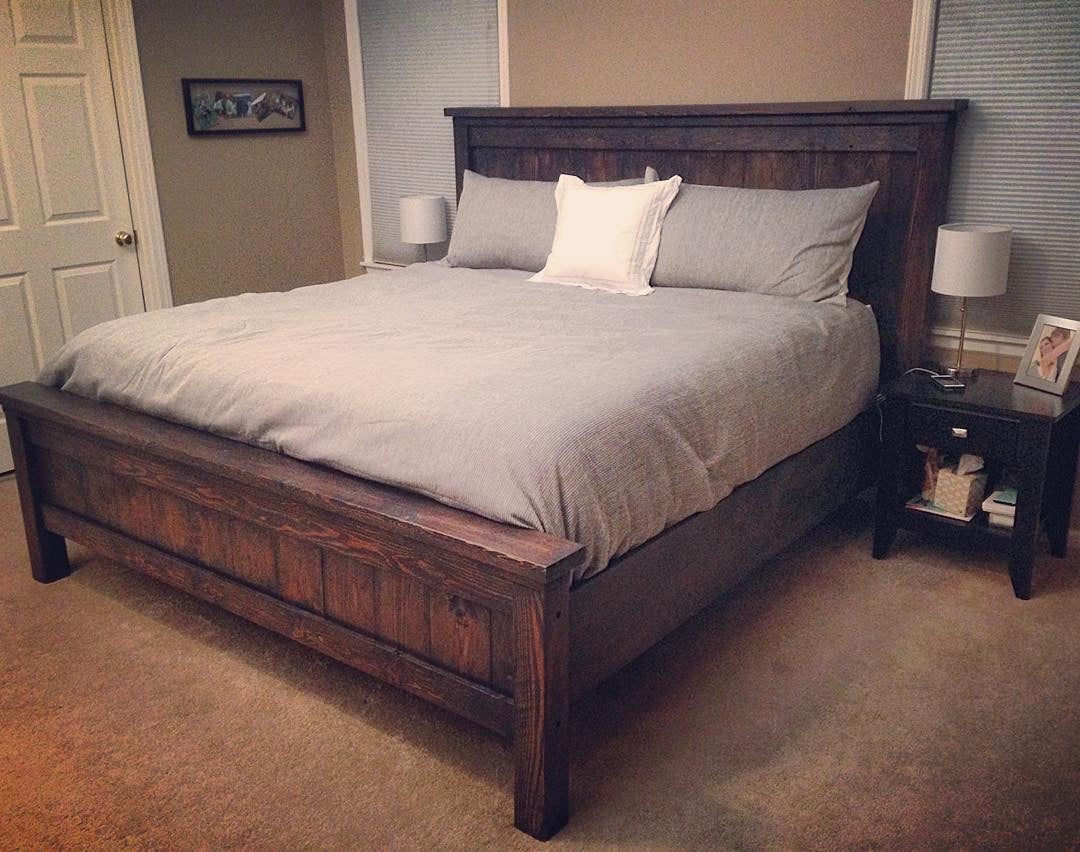
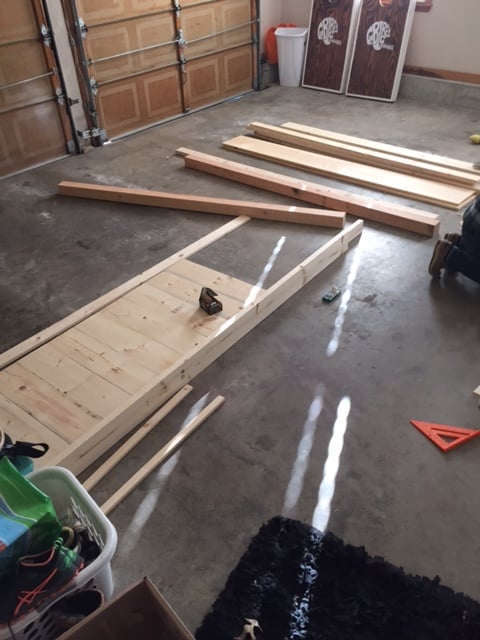
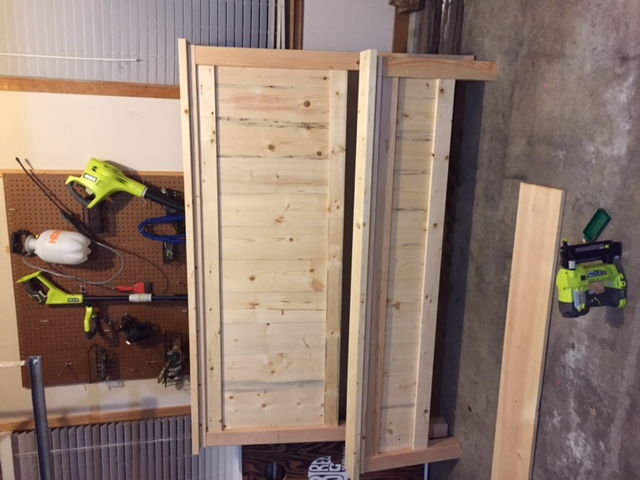
This was our first ana white build. Bed build took one Saturday - to finish up took another week or so working nights - most of our time spent on getting the color we wanted and sanding and finishing. Building the 2x4 frame took more time than anticipated as well. We are super happy with how it turned out.
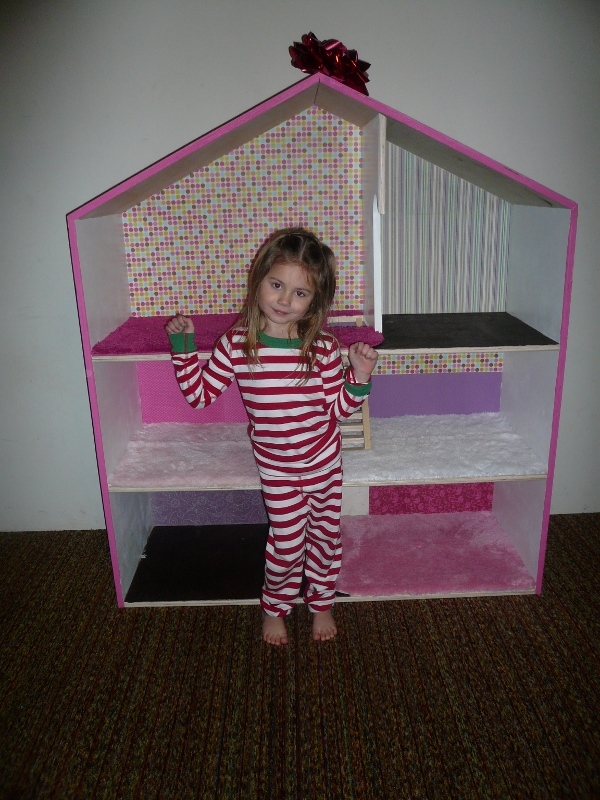
My husband and I modified the lovely Miss Ana White's dollhouse bookshelf plans to create this awesome Barbie Dollhouse for our 2 and 4 year old daughters to Christmas. They love it, and I love that it will last for years! Thank you Ana, for your amazing talents and your giving heart...your sharing your talents means the world to me and my family!!

Tue, 01/03/2012 - 20:50
I want one of those for my Barbie dolls, and I'm 52 years old!!! It's probably a good thing I don't have the room for this or I would make one just for me.
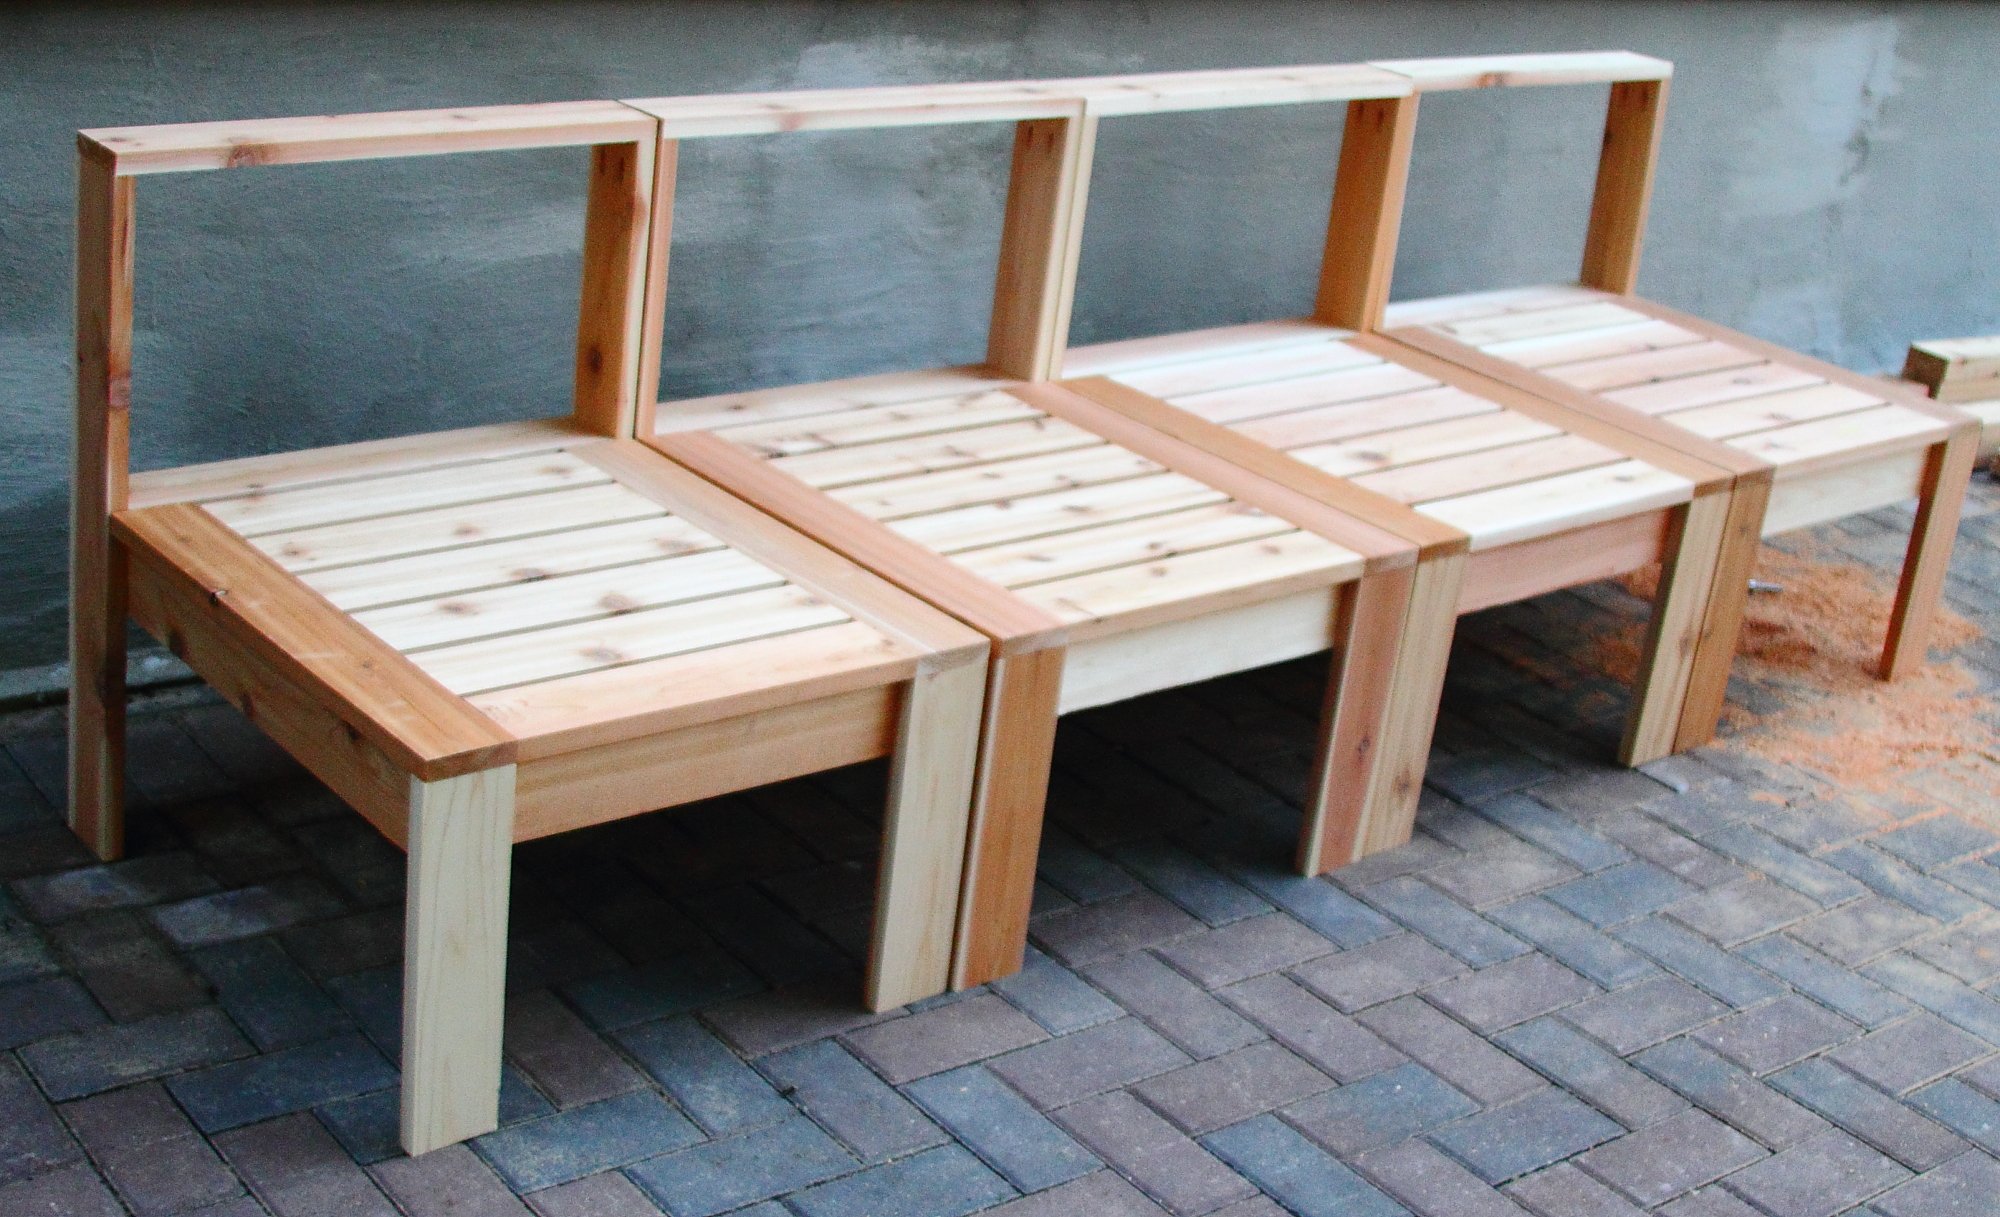
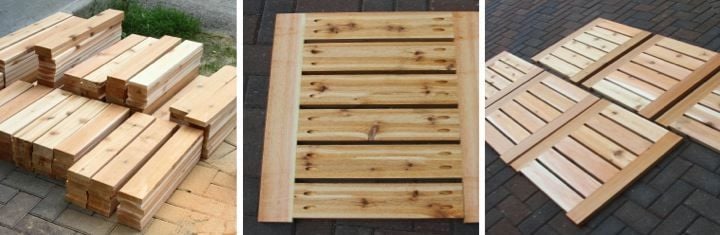
I built six armless and two corner sections of the outdoor sectional but now I need to paint it and make cushions. For more details: http://www.homeandawaywithlisa.com/blog/2012/1/5/patio-furniture-in-pro…
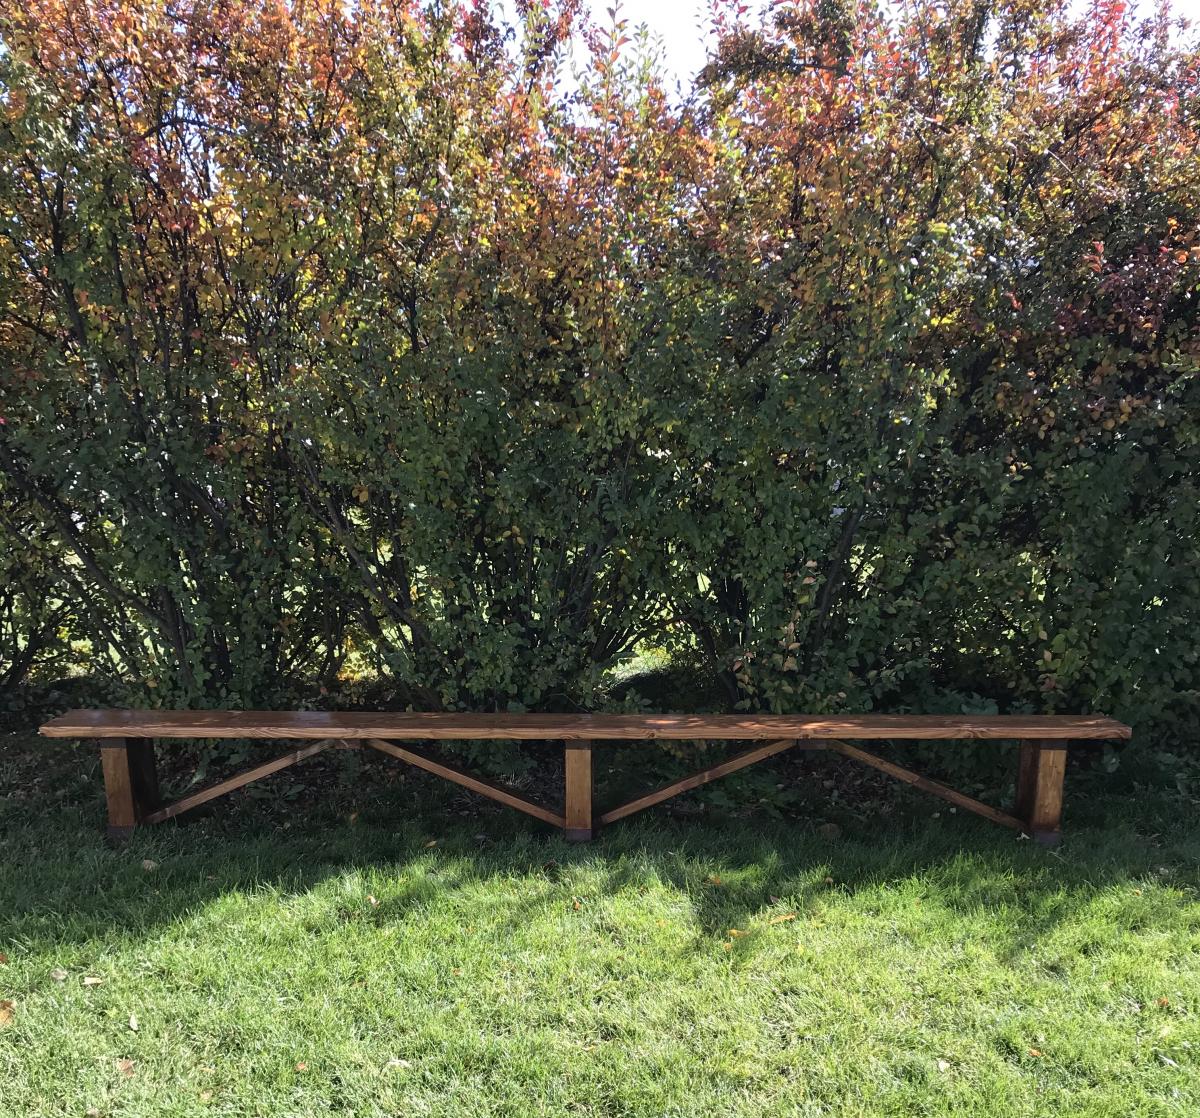
I was asked to surprise someone with a 12 ft. bench. After searching and searching I found a plan I really liked, but I felt it just wasn’t enough. I modified the plans to give it a little more of a farmhouse look. I also had to double the size of the original plans.
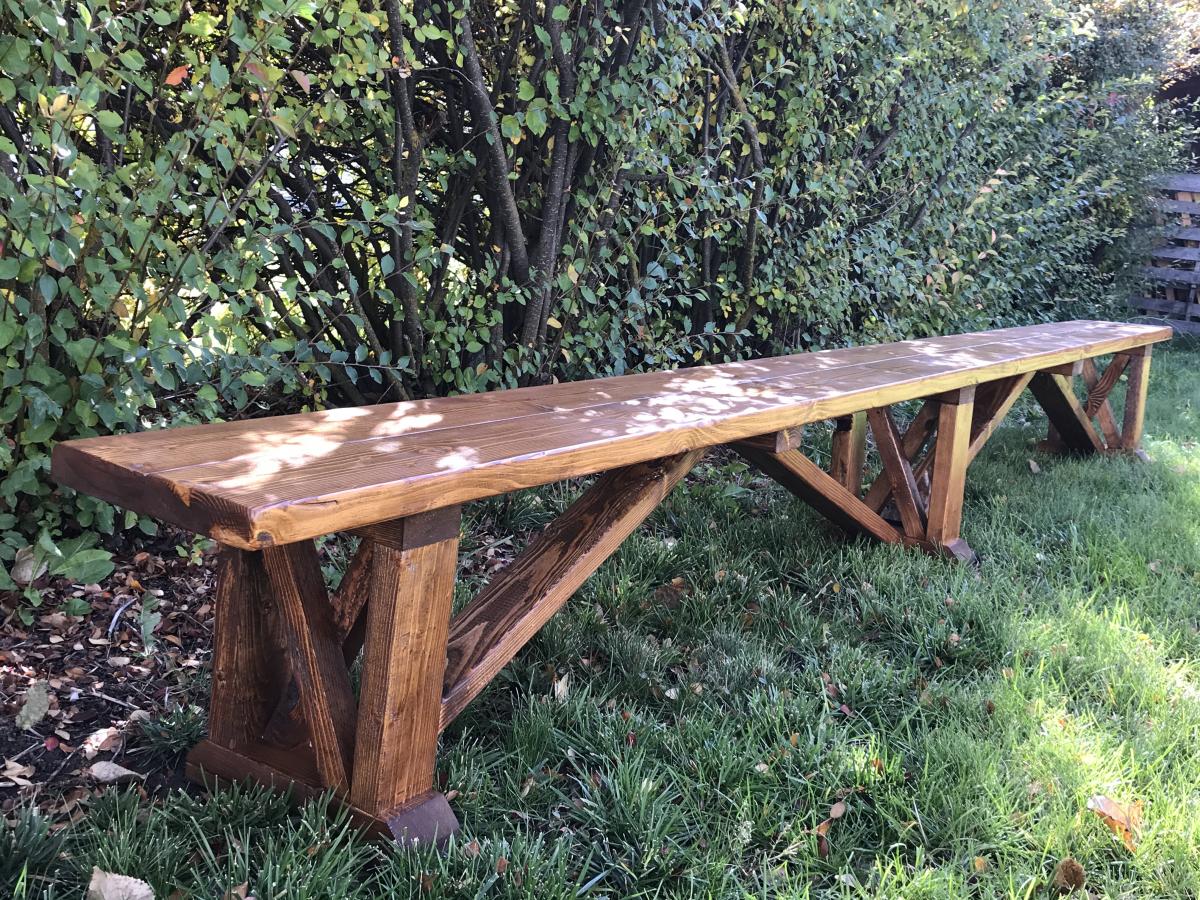
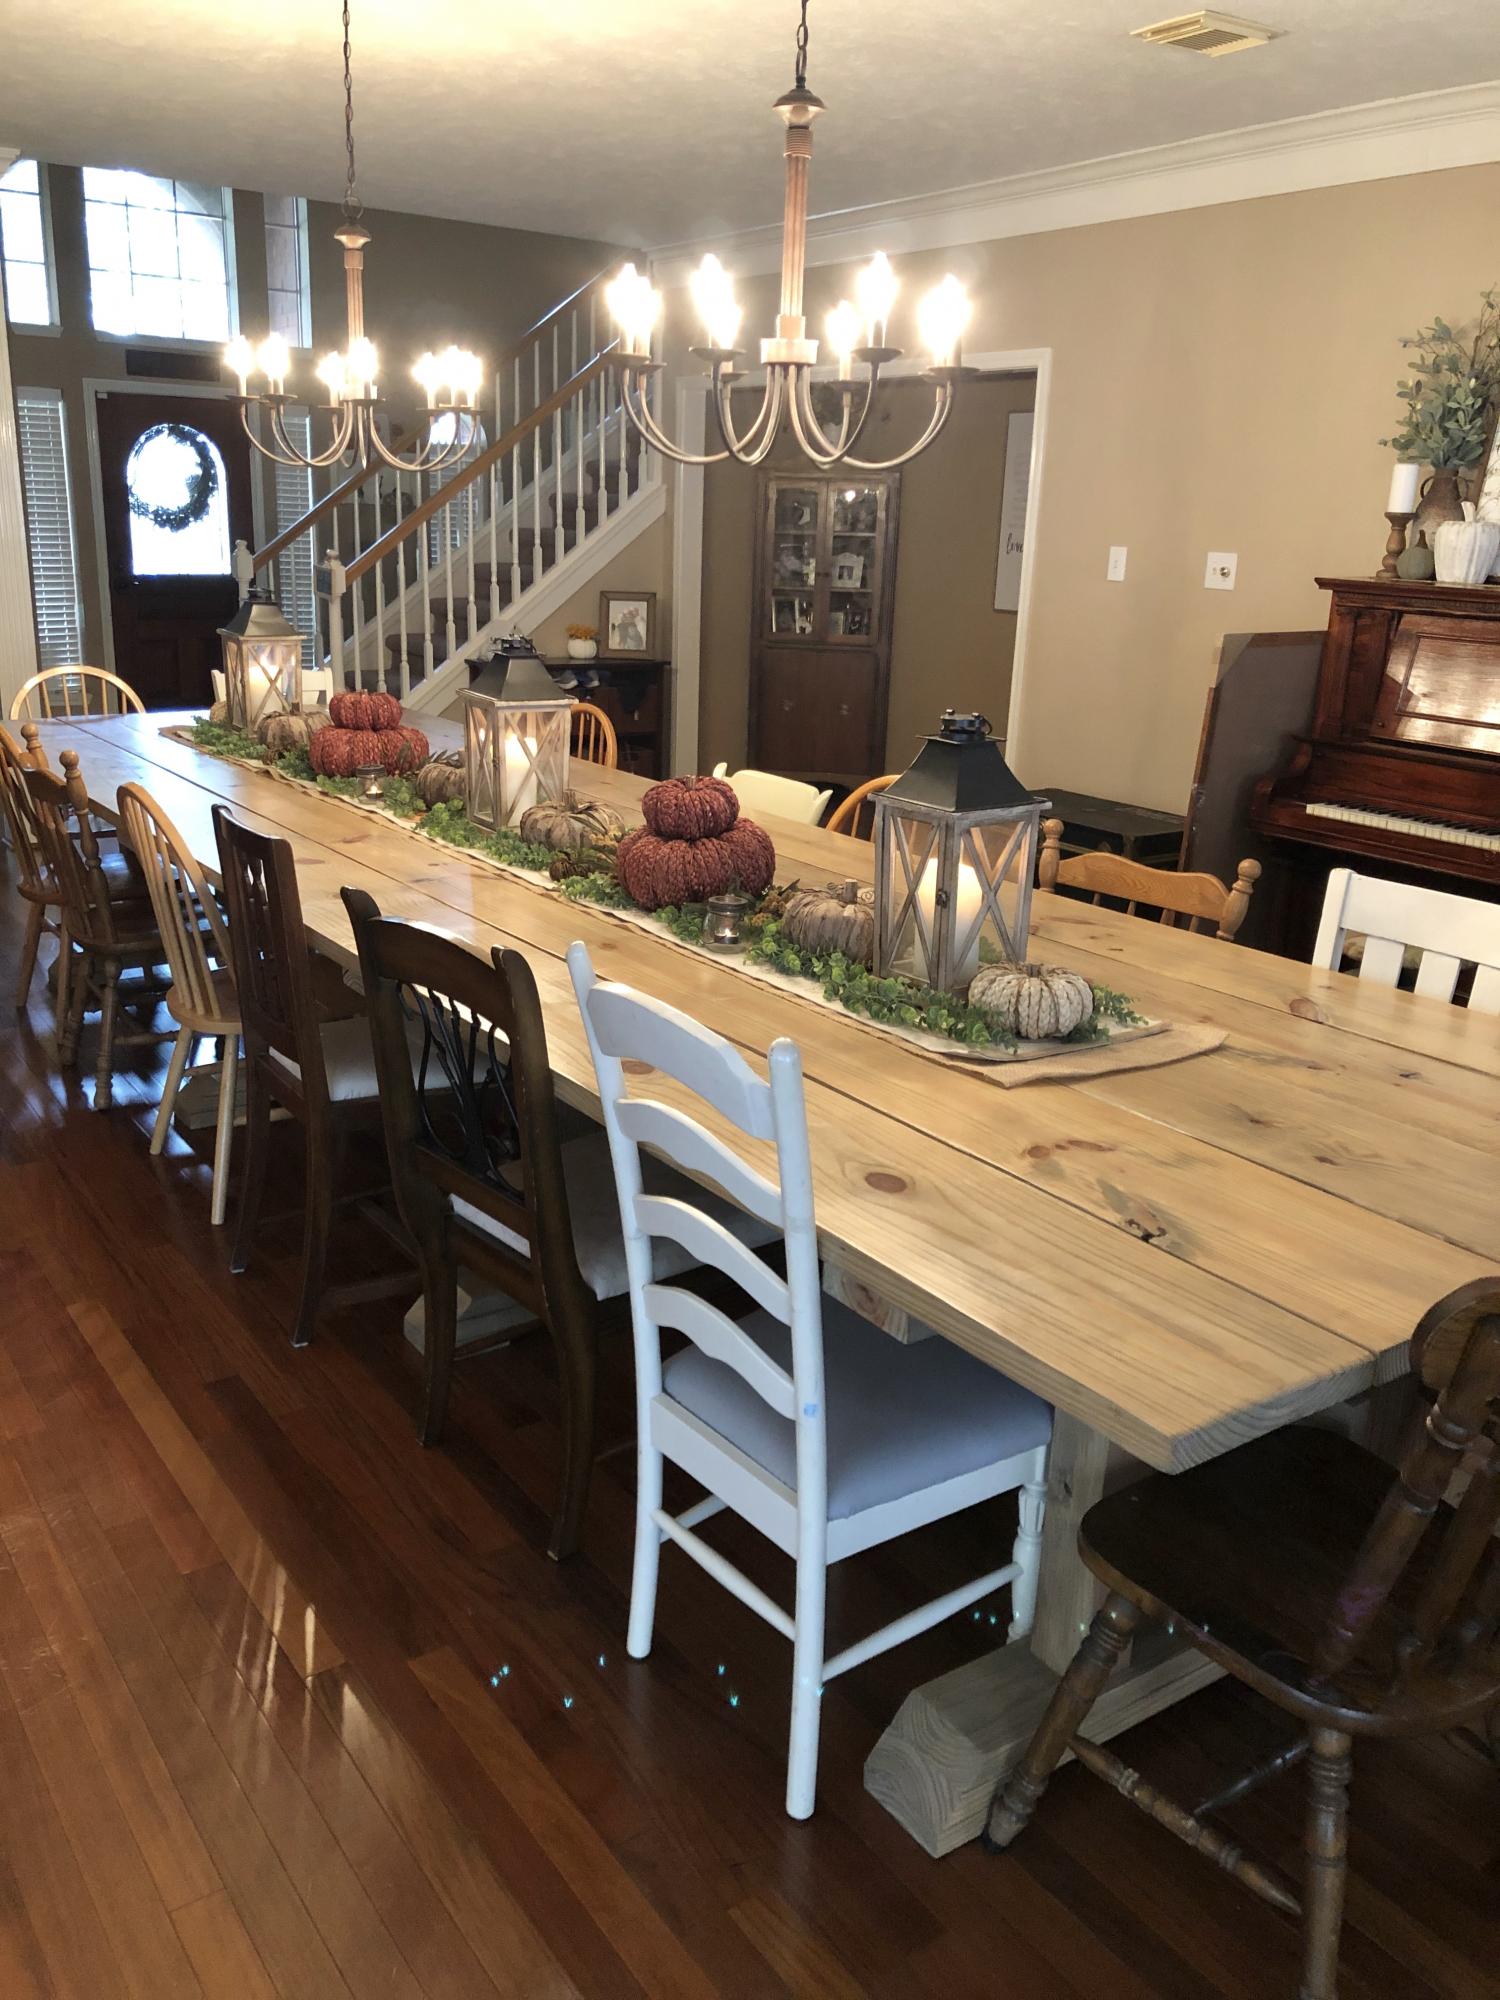
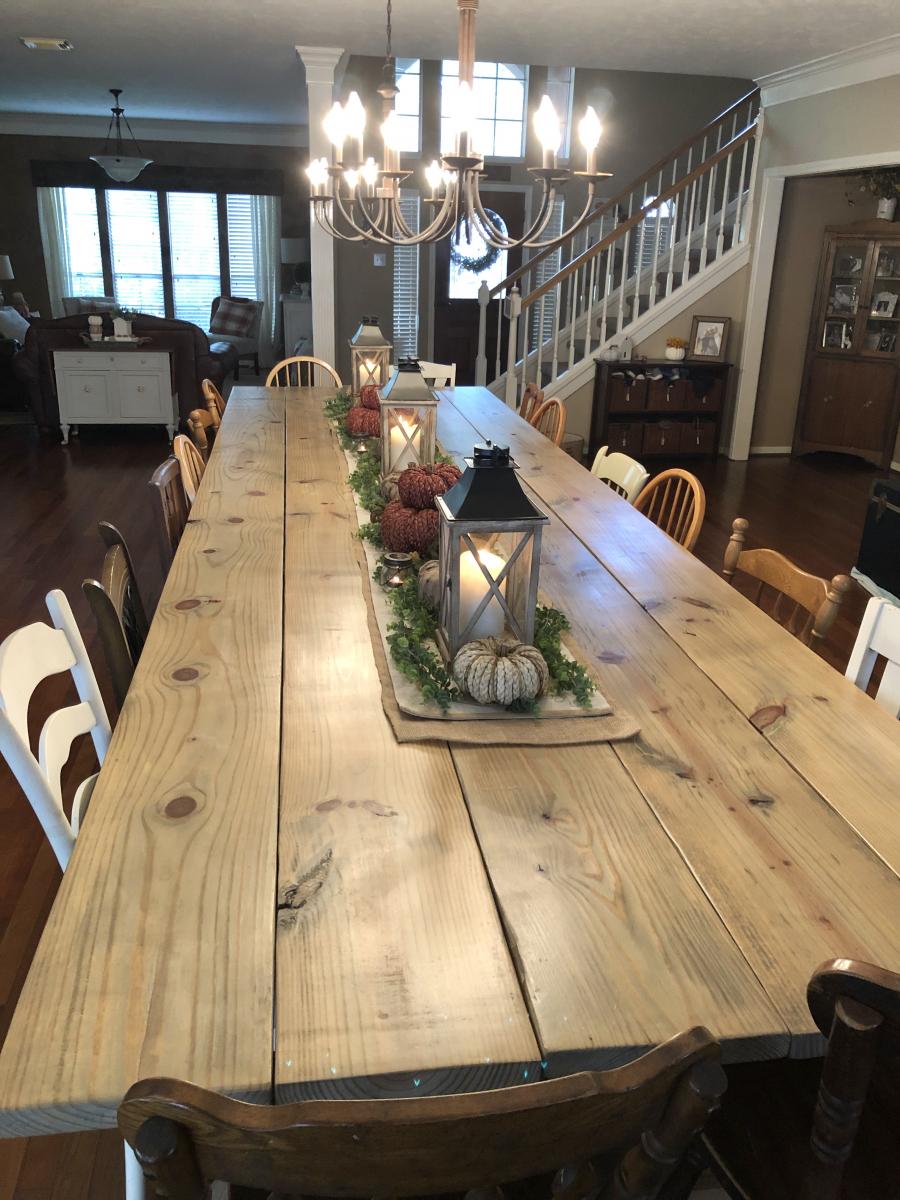
This table was created using a variety of plans. It can seat up to 20 people comfortably. The table top was built with 5 pieces of 2x12. The legs were a combination of 4x4 posts and 2x6s. 2 coats of Minwax Weathered Gray was the stain and then 3 coats of varathane semi-gloss finish. We sanded between each coat of poly.
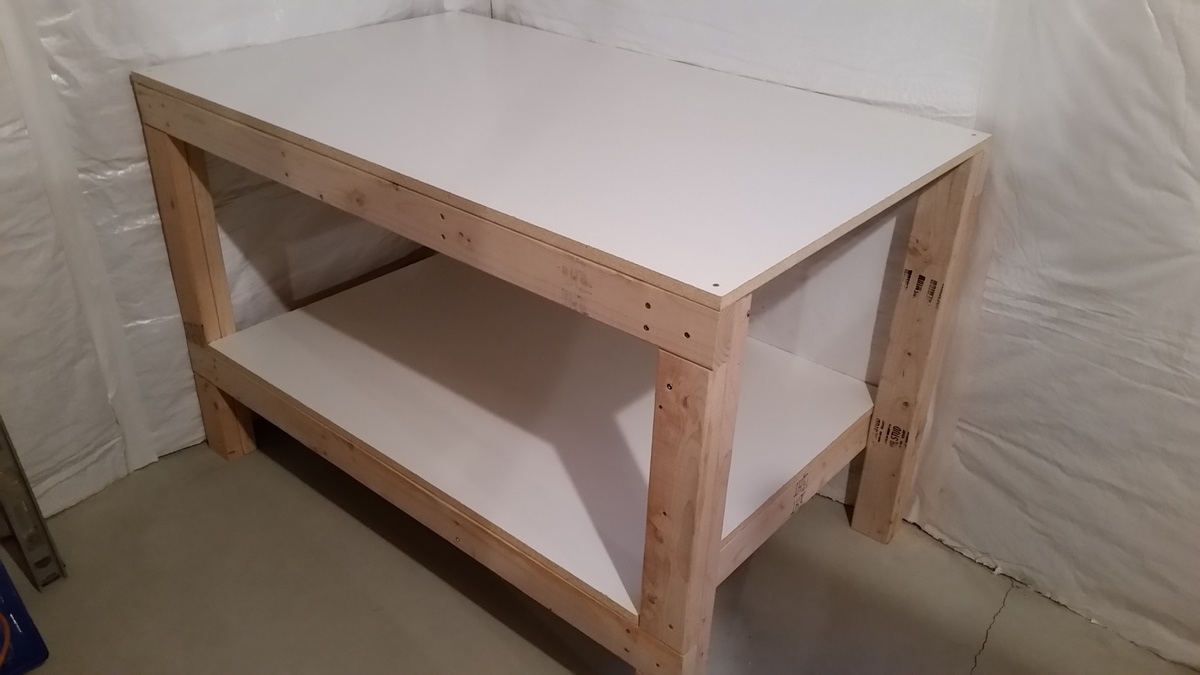
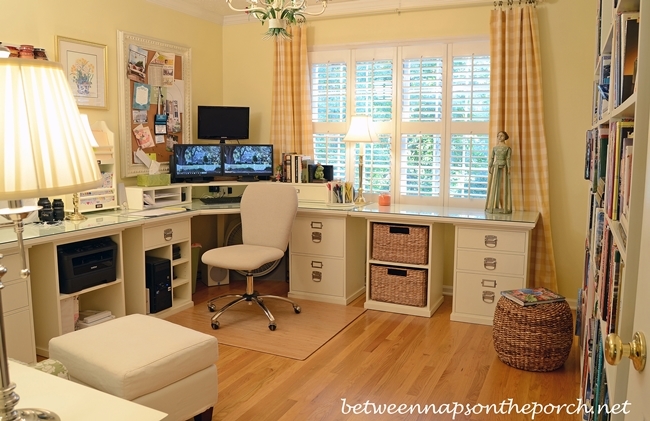
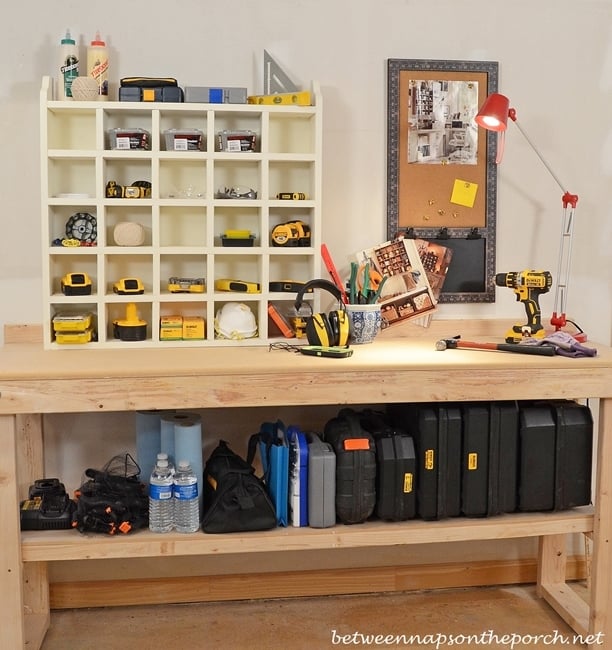
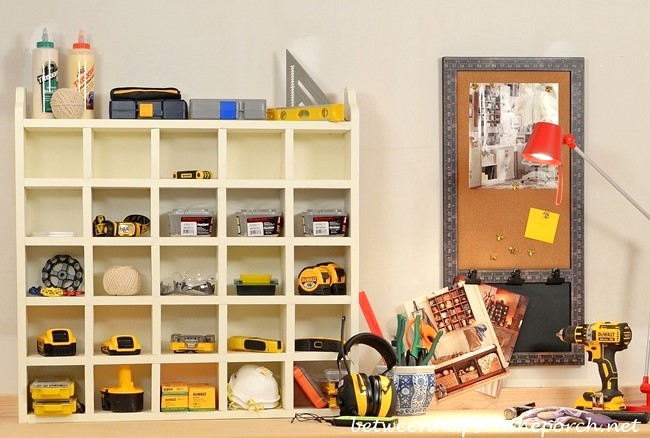
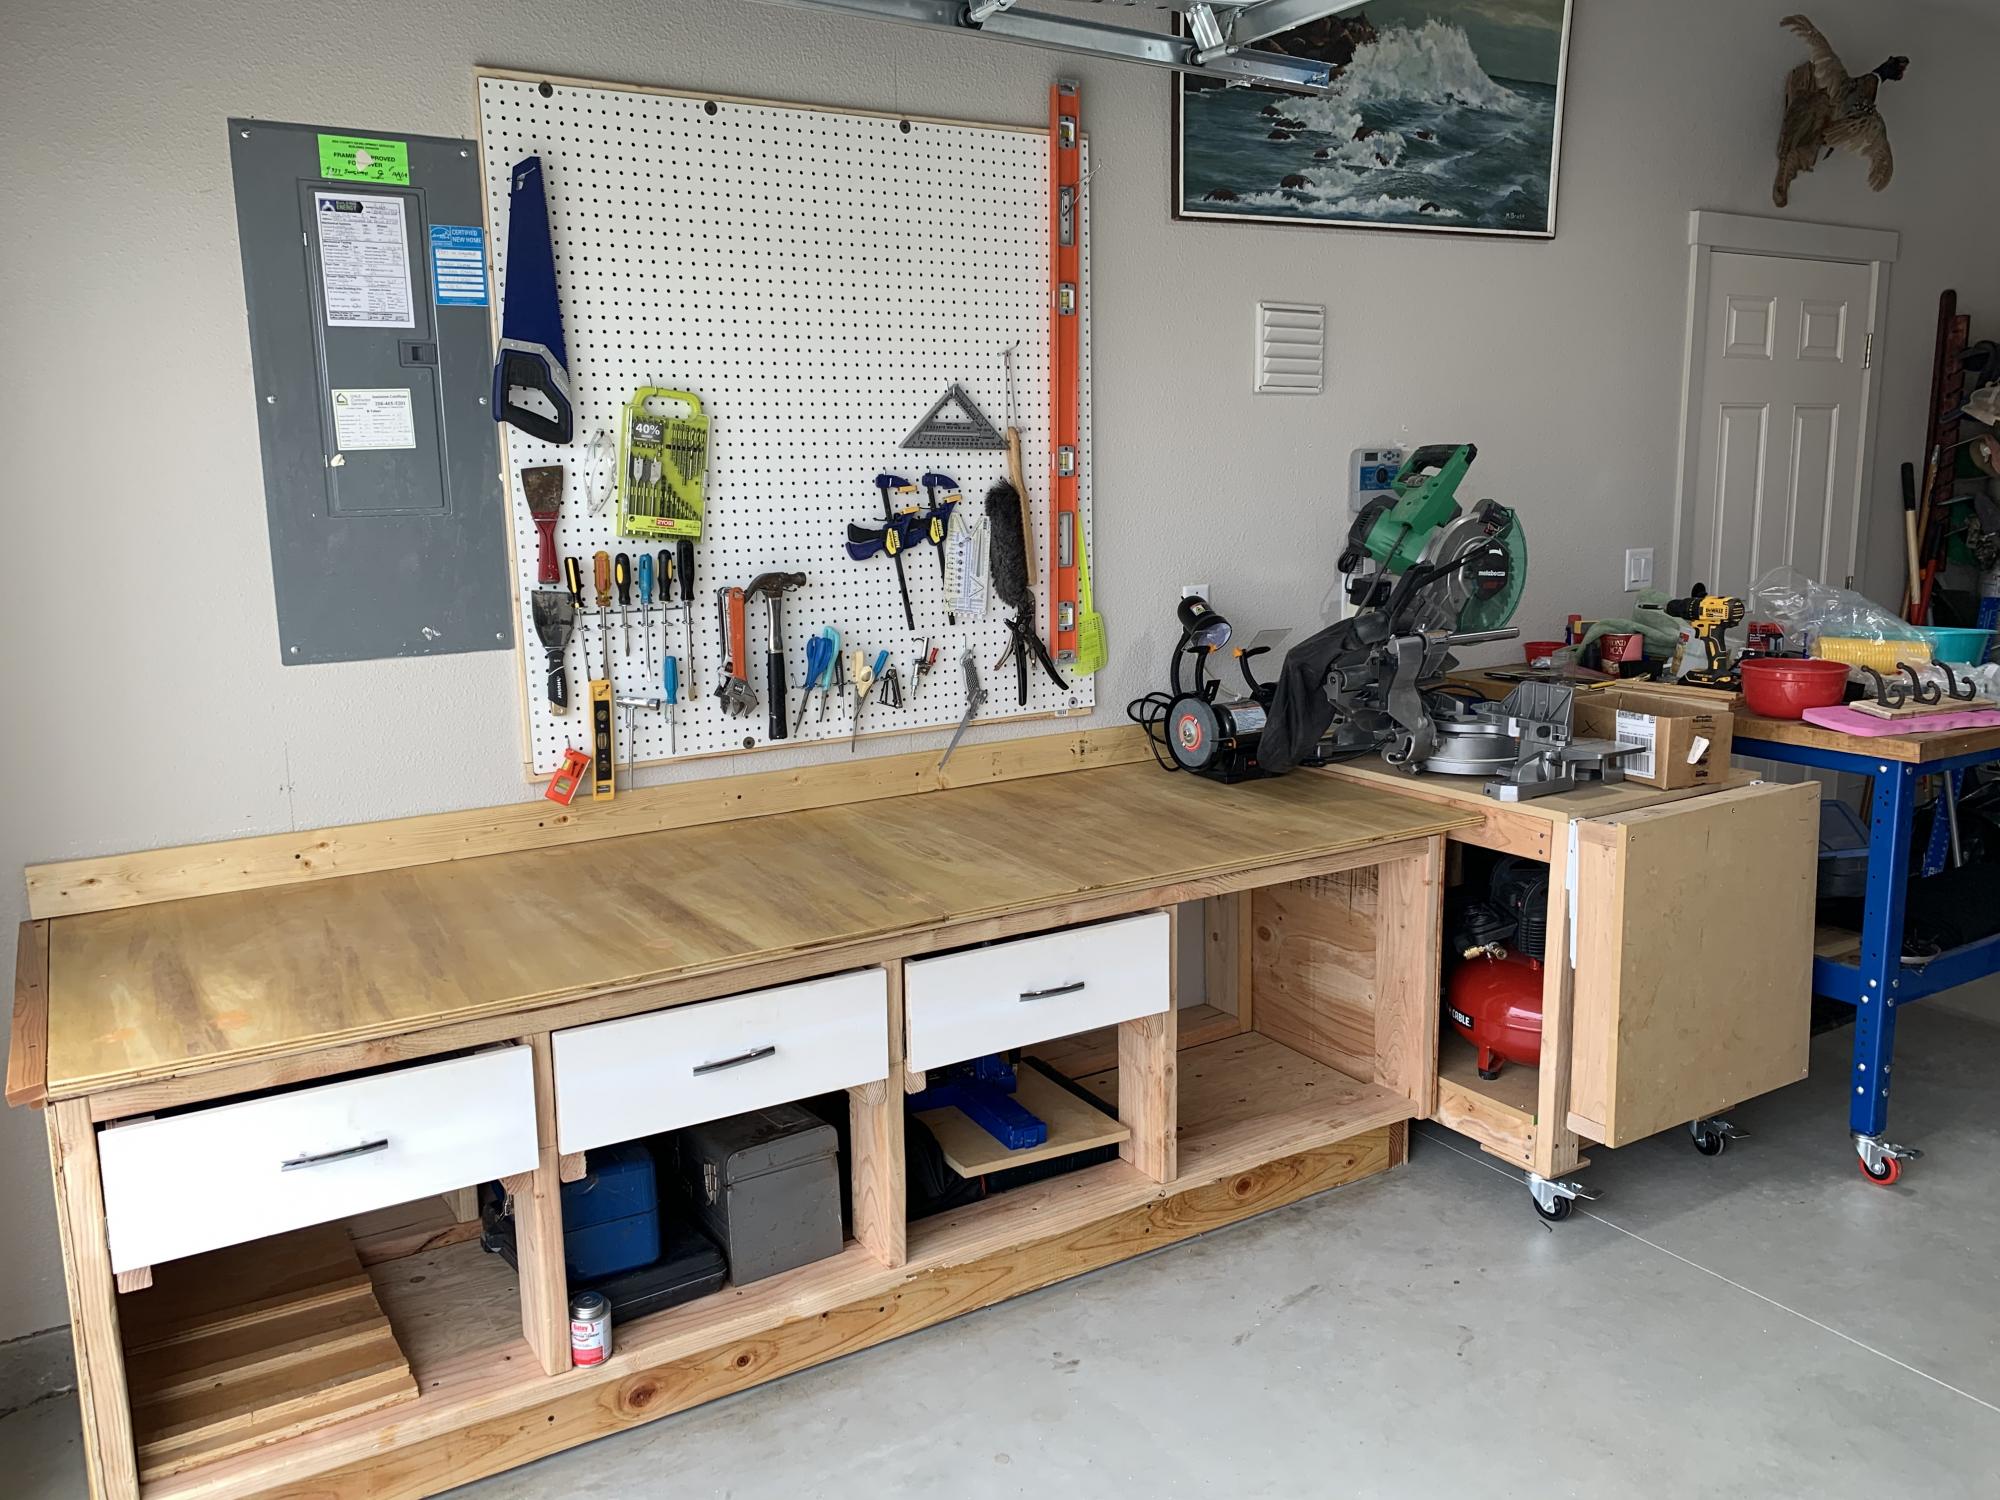
I used melamine for the top and shelf to get a nice surface for working on
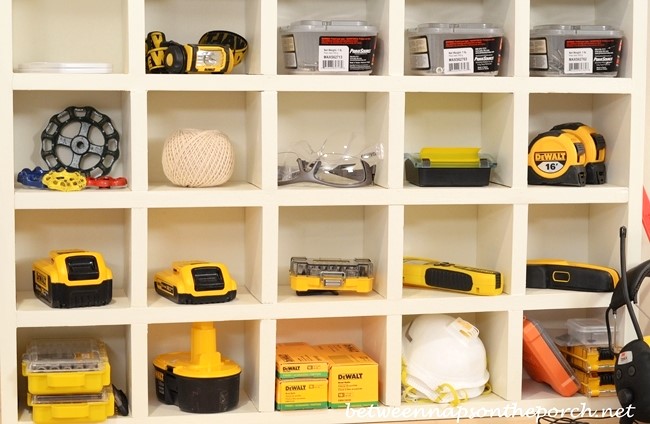
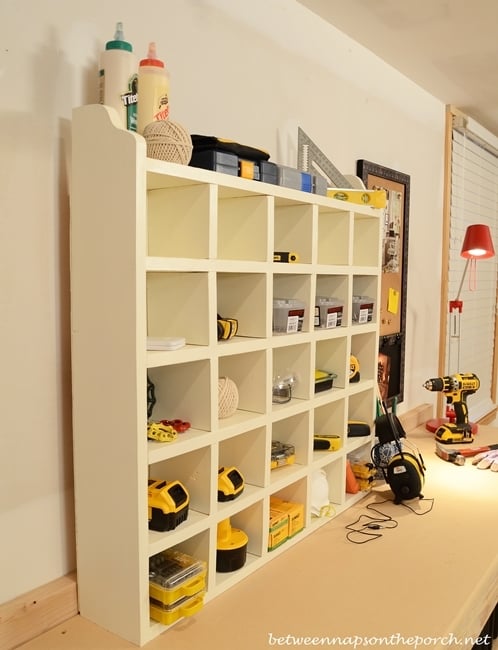
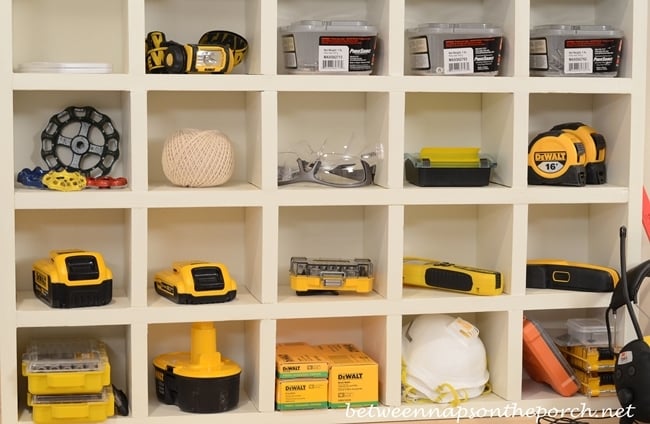
This cubby organizer is great for storage, displaying collectibles or as an advent calendar. I'm using mine in my mini-workshop for storing tools and supplies I use frequently when woodworking. Tutorial can be found at my blog here: http://betweennapsontheporch.net/build-a-cubby-organizer-pottery-barn-i… Thanks Ana for supplying the plans!
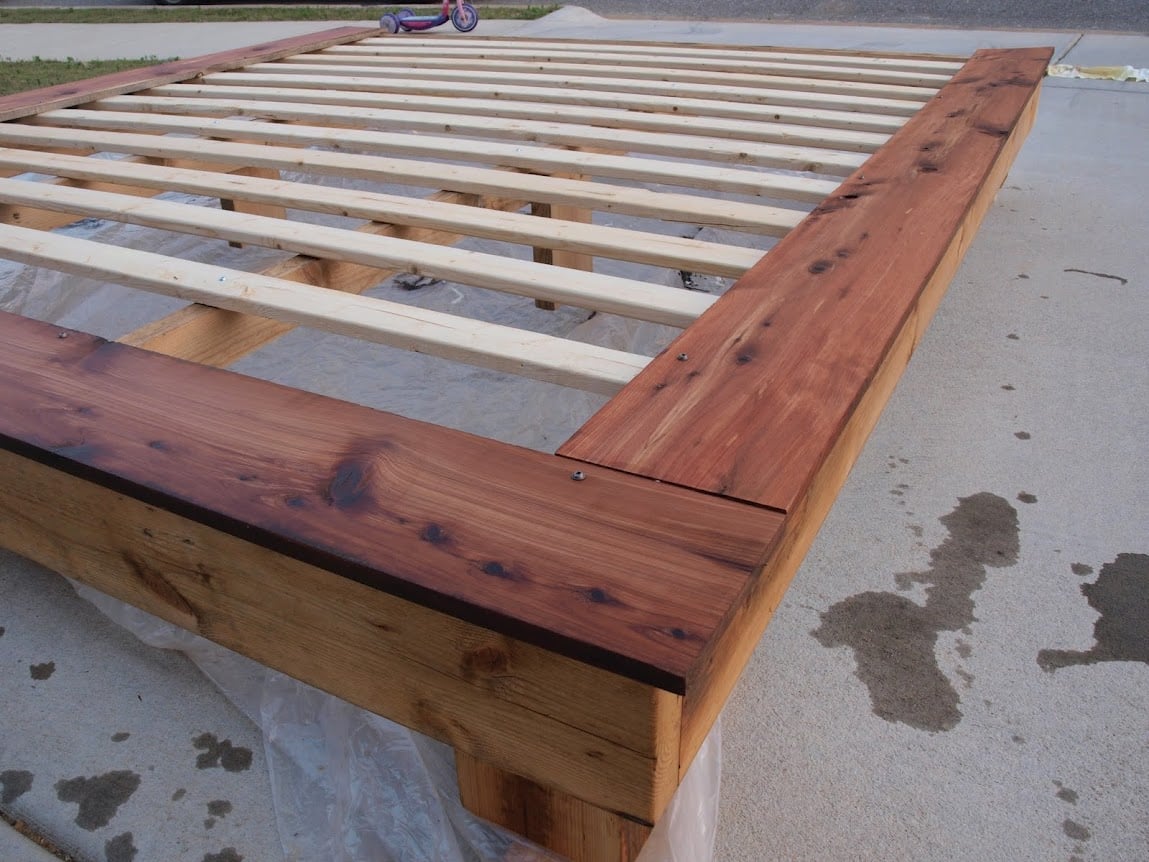
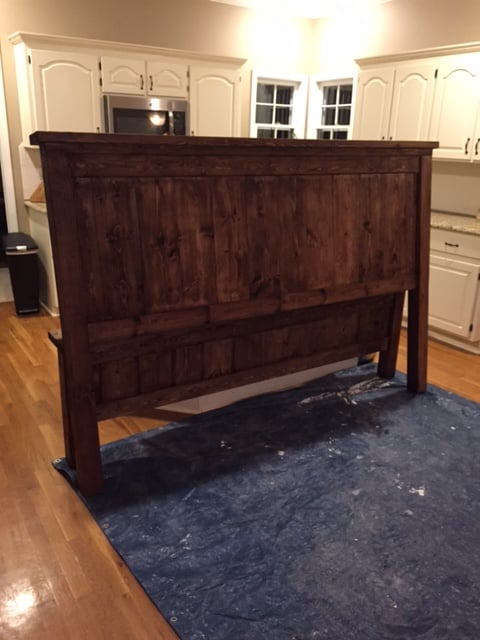
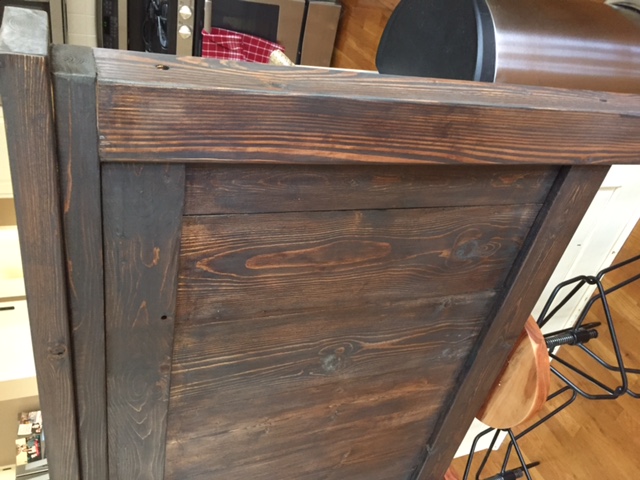
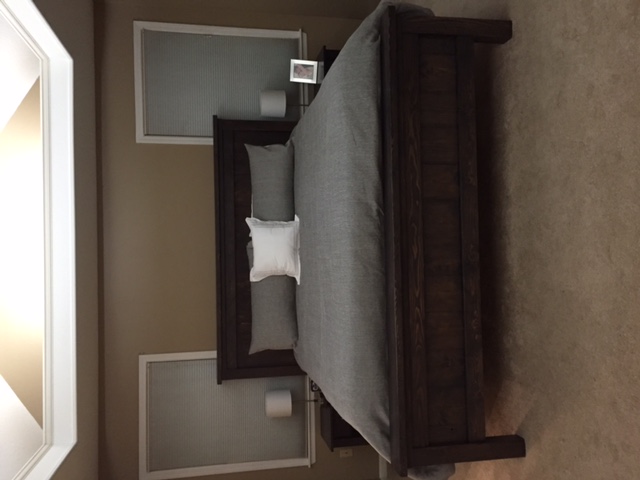
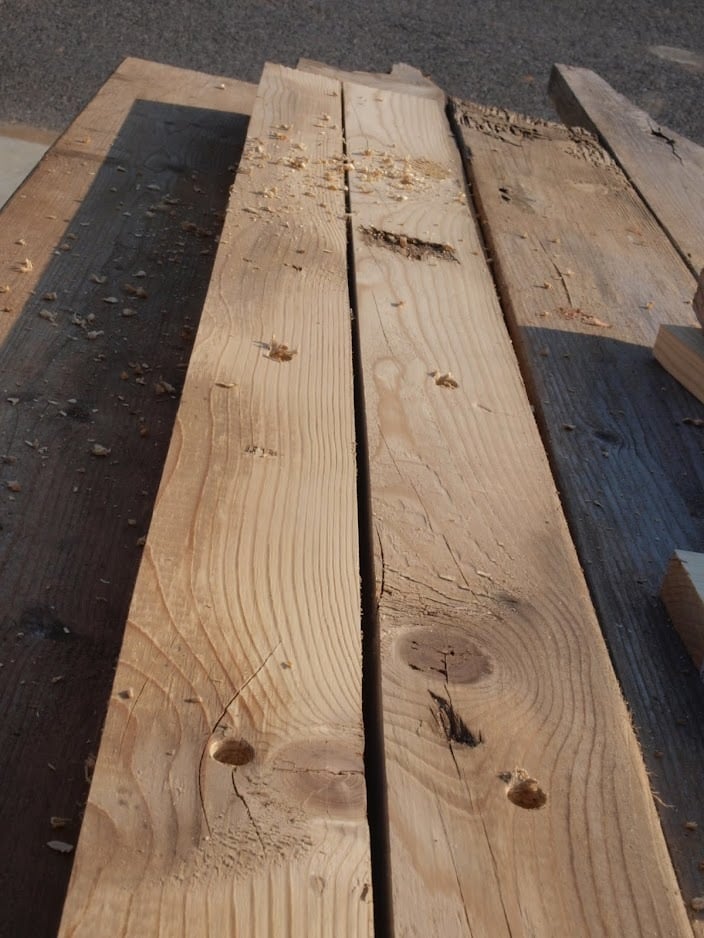
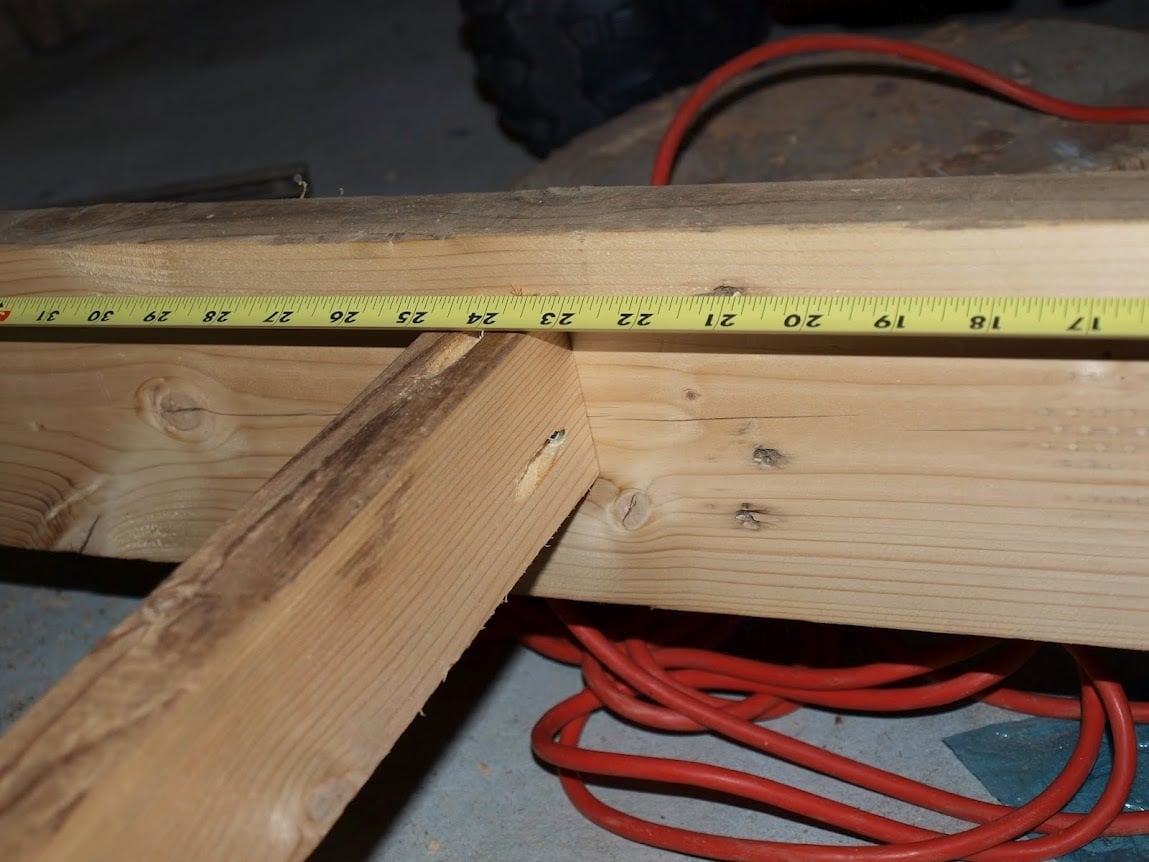
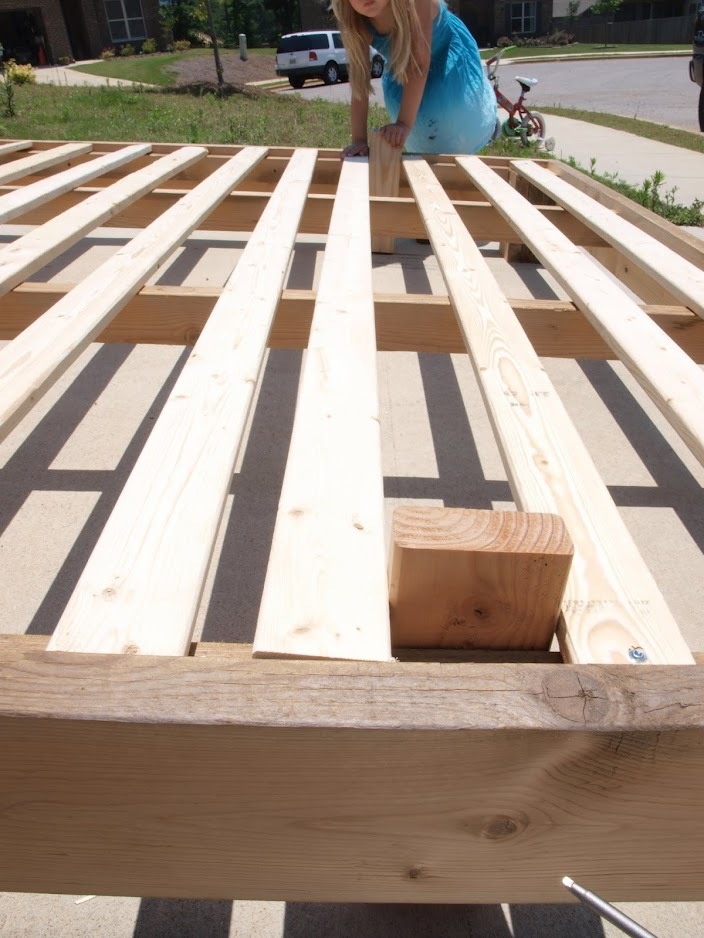
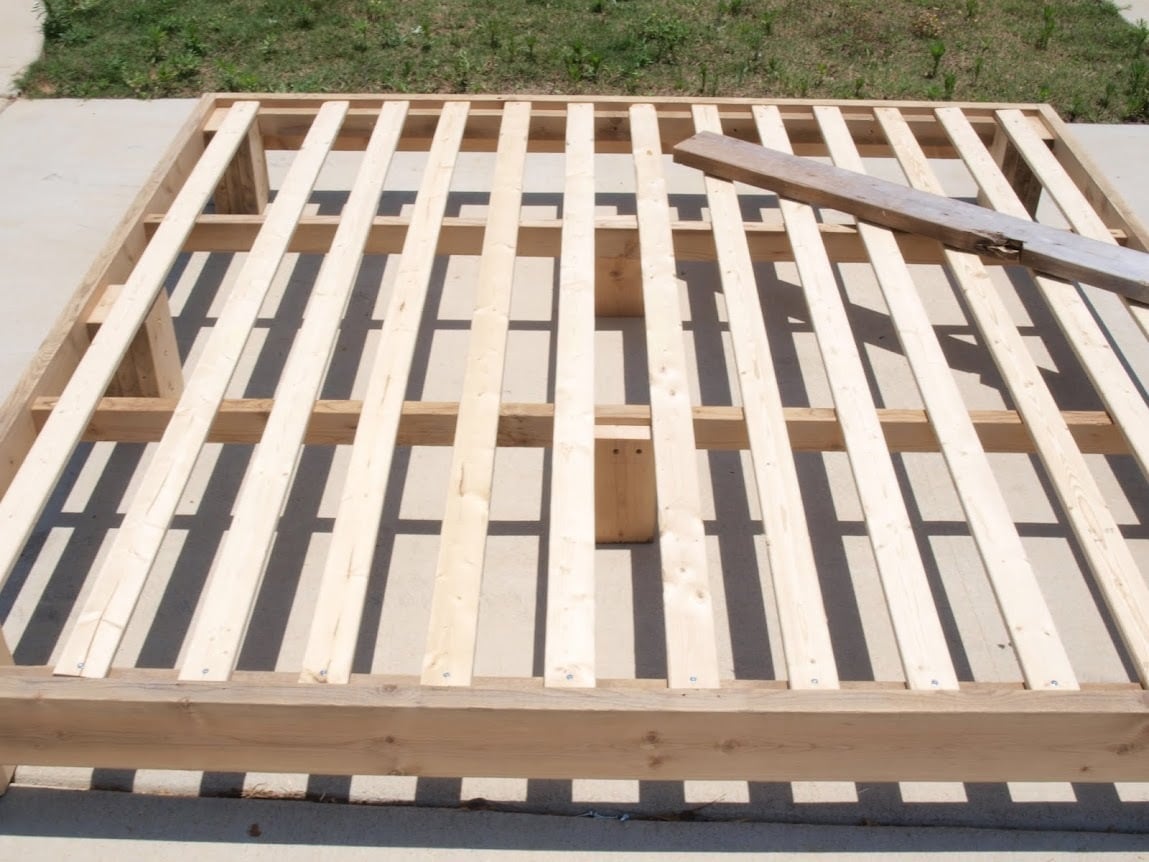
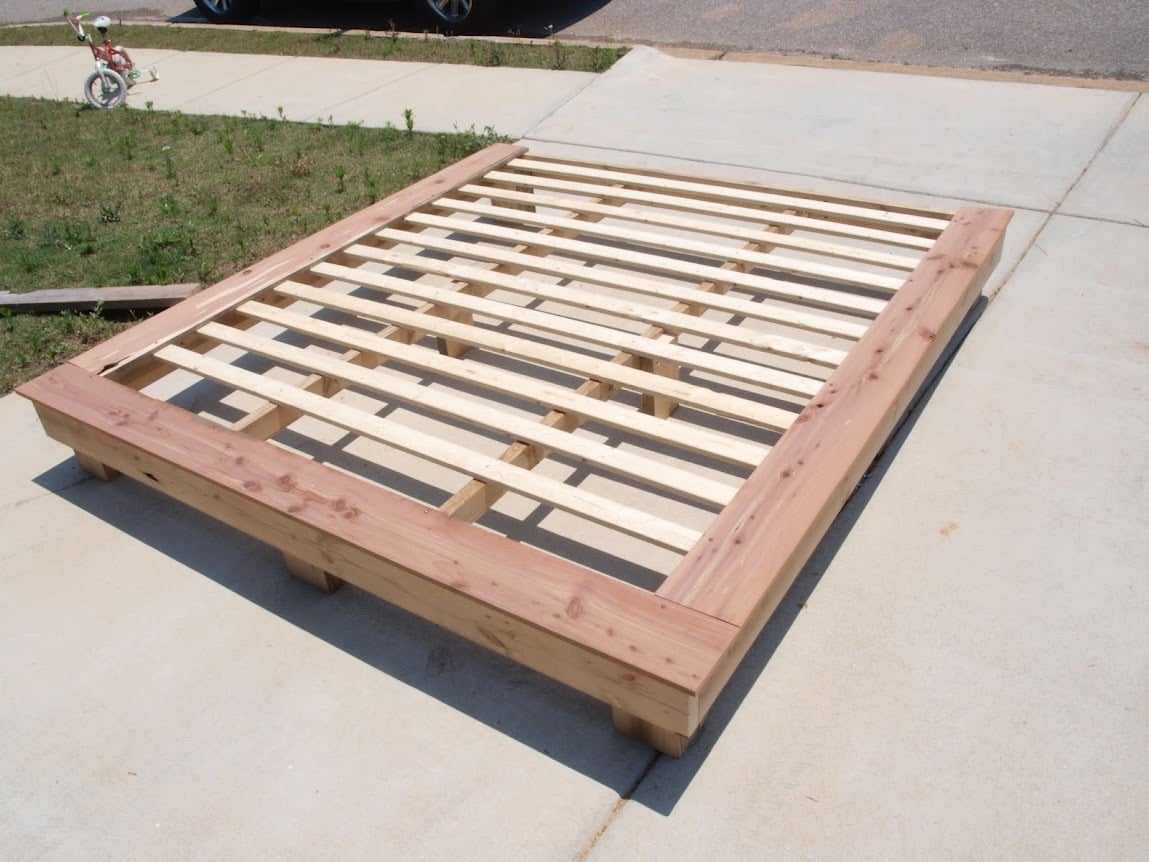
I based my bed off of the Fillman Platform Bed plans. Just bumped the dimensions up to fit my mattress and added the mid supports. The frame was built using 2x6 boards taken from a fallen barn. I ripped 2 2x6 boards down the center to make the the supports for the slats. My feet are 3 2x6's screwed together and then attached to the frame. Next time I will cut a notch out of the feet so that I can rest the bed on them and then try to find some old lag bolts to attach them to the bed. The frame was put together using a Kreg Jig. I put the Cedar boards on to dress the front and sides up some and to help keep the slats from showing when the sheets were tucked in. My finish is 1 coat of Linseed Oil and 2 coats of Teak Oil.
Let me know if you have any further questions on this build. As soon as I find some doors I will be building a head board for this bed.
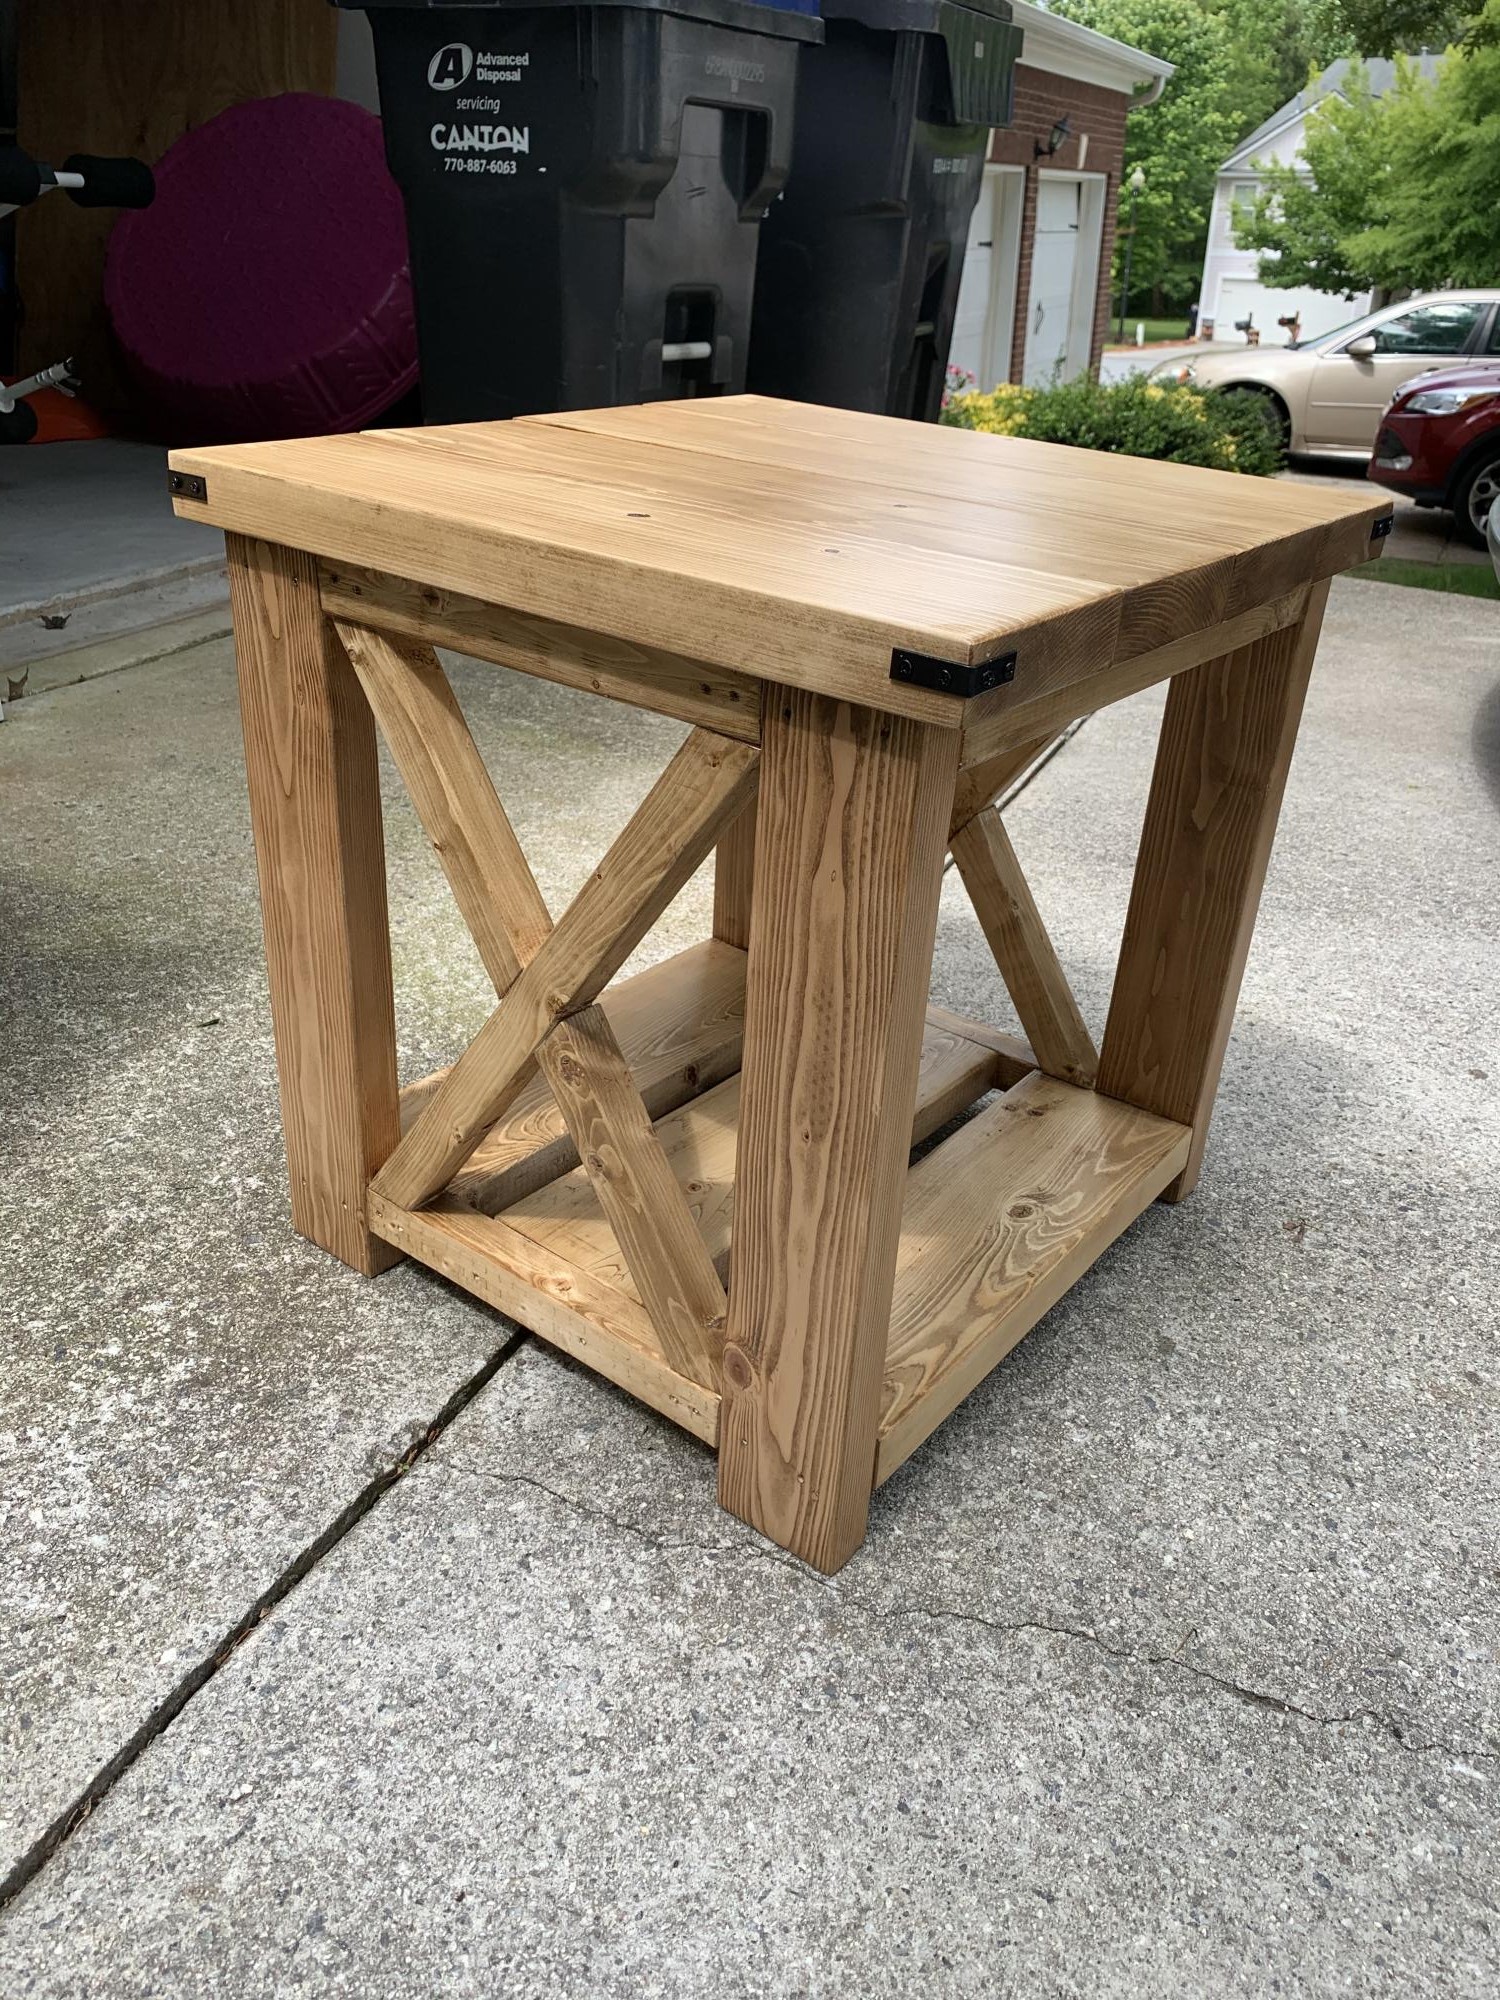
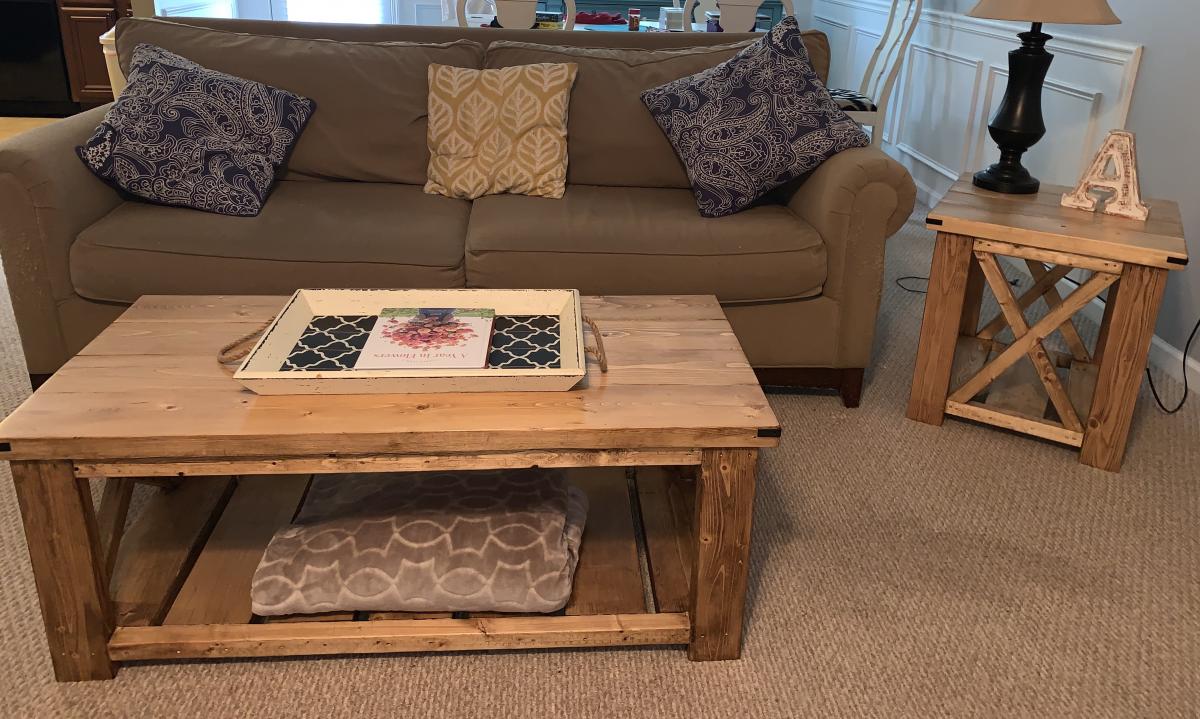
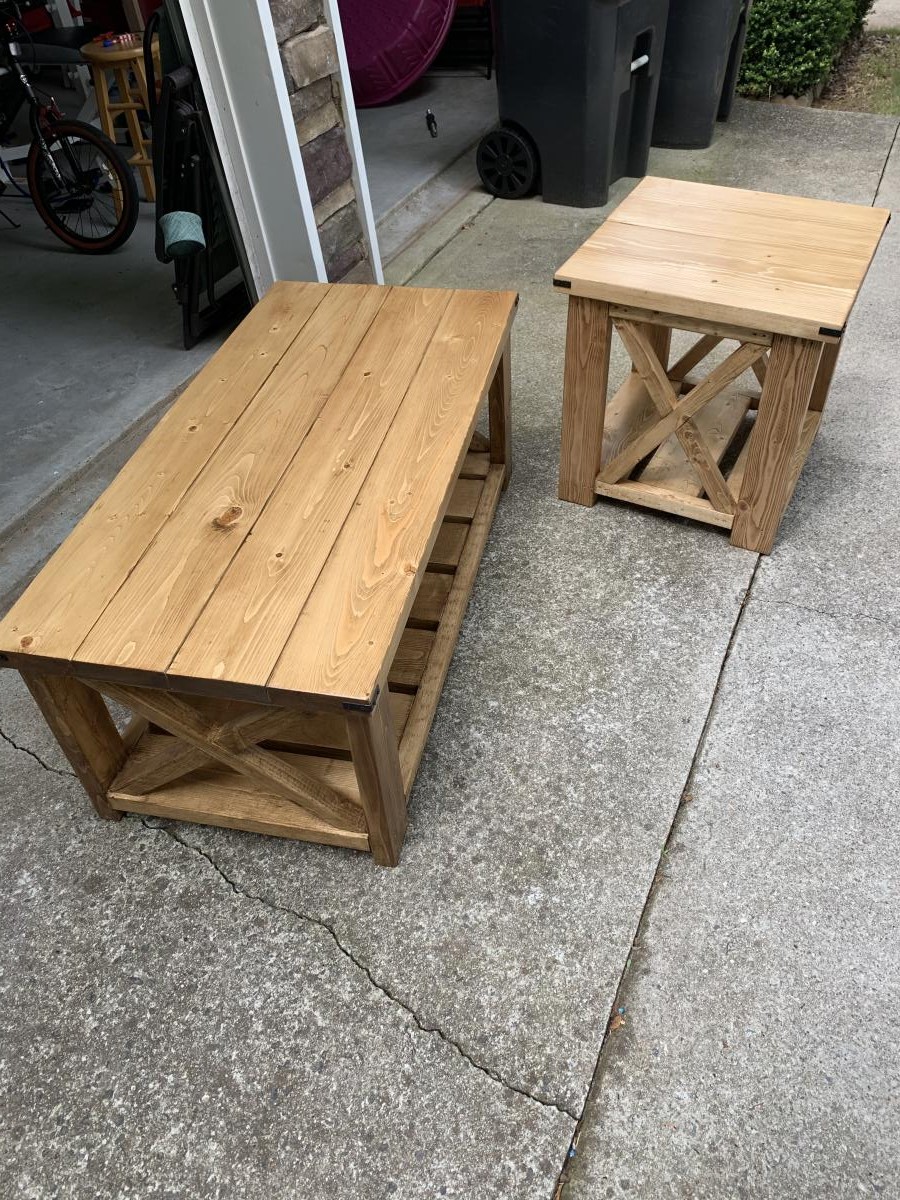
My 2nd ever build! Made to match farmhouse beginner coffee table. This is the smaller size posted. So Easy! Thank you for the plan and for the videos. I love them and am learning so much!
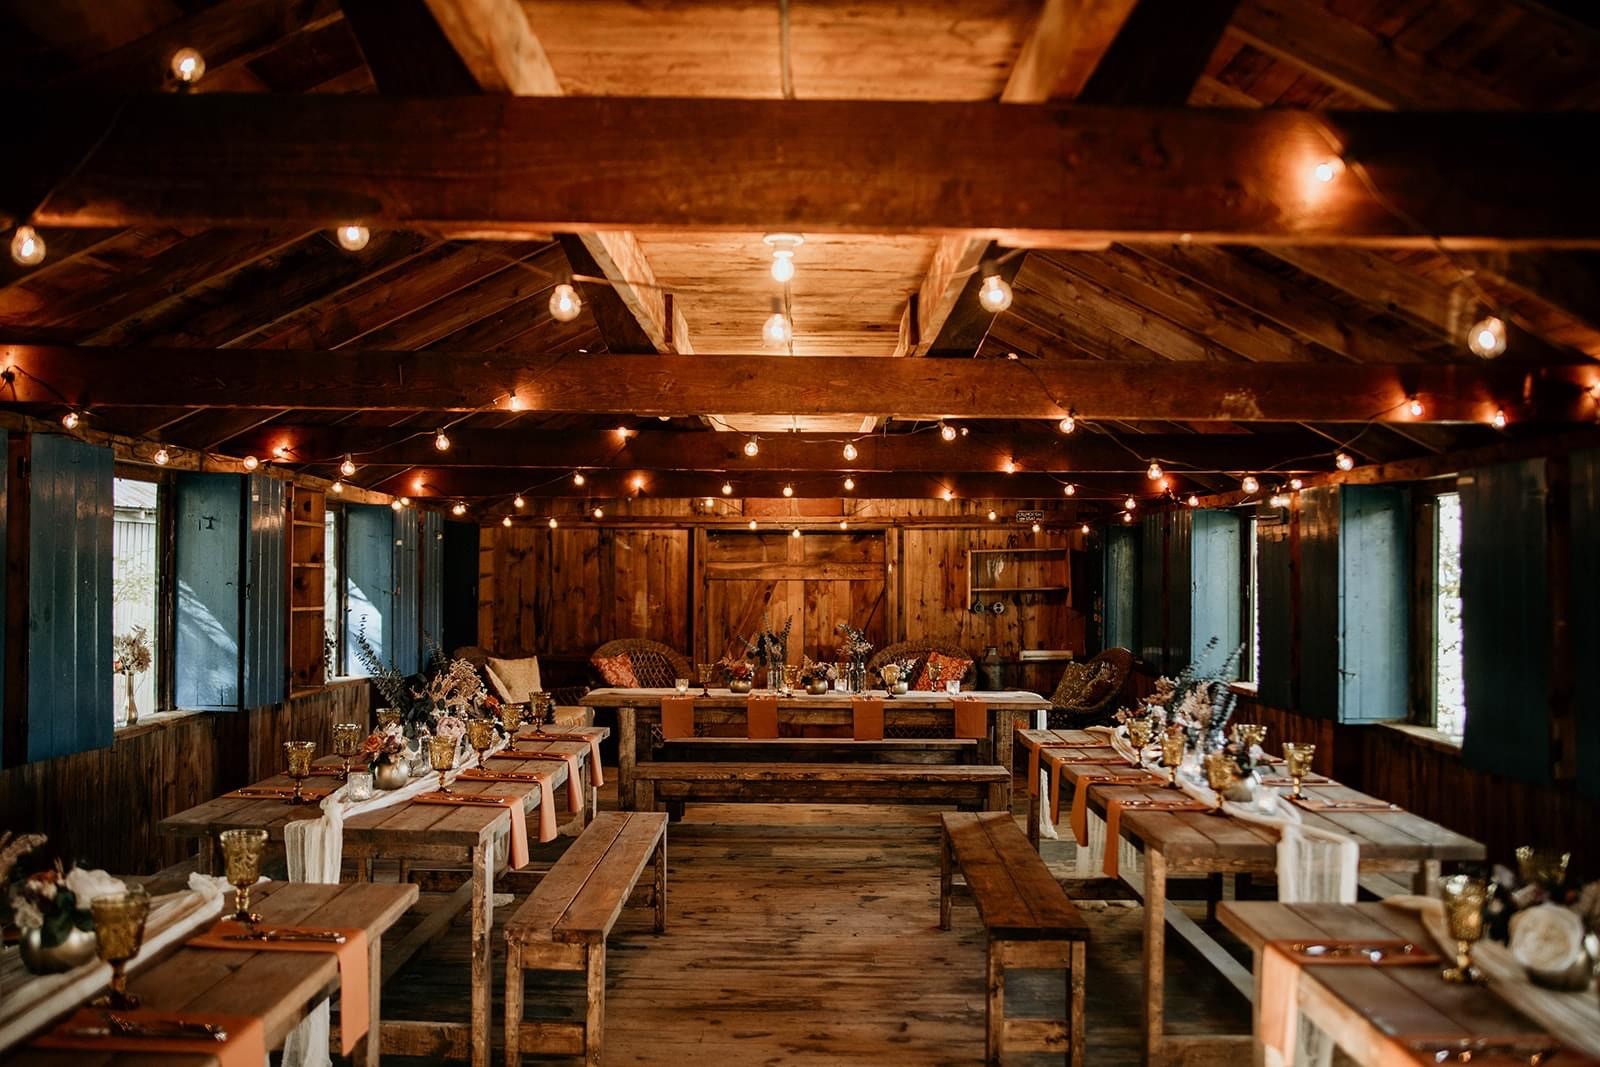
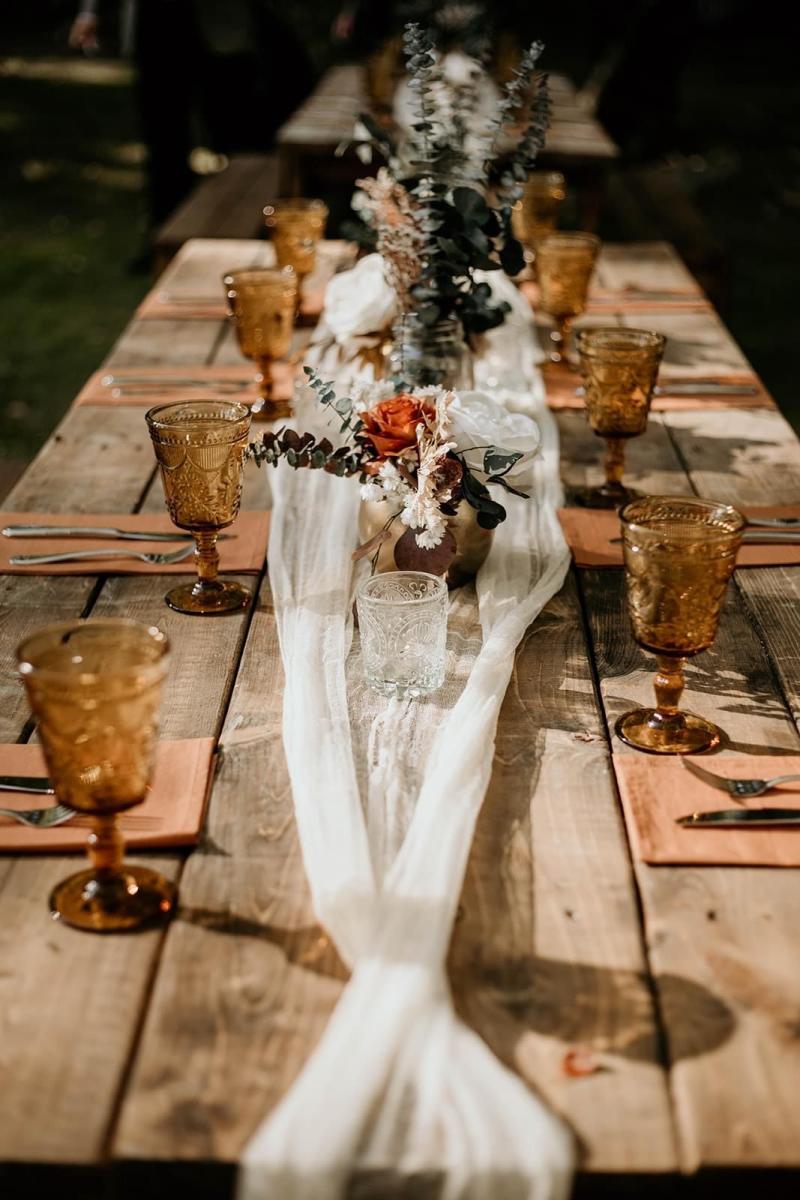
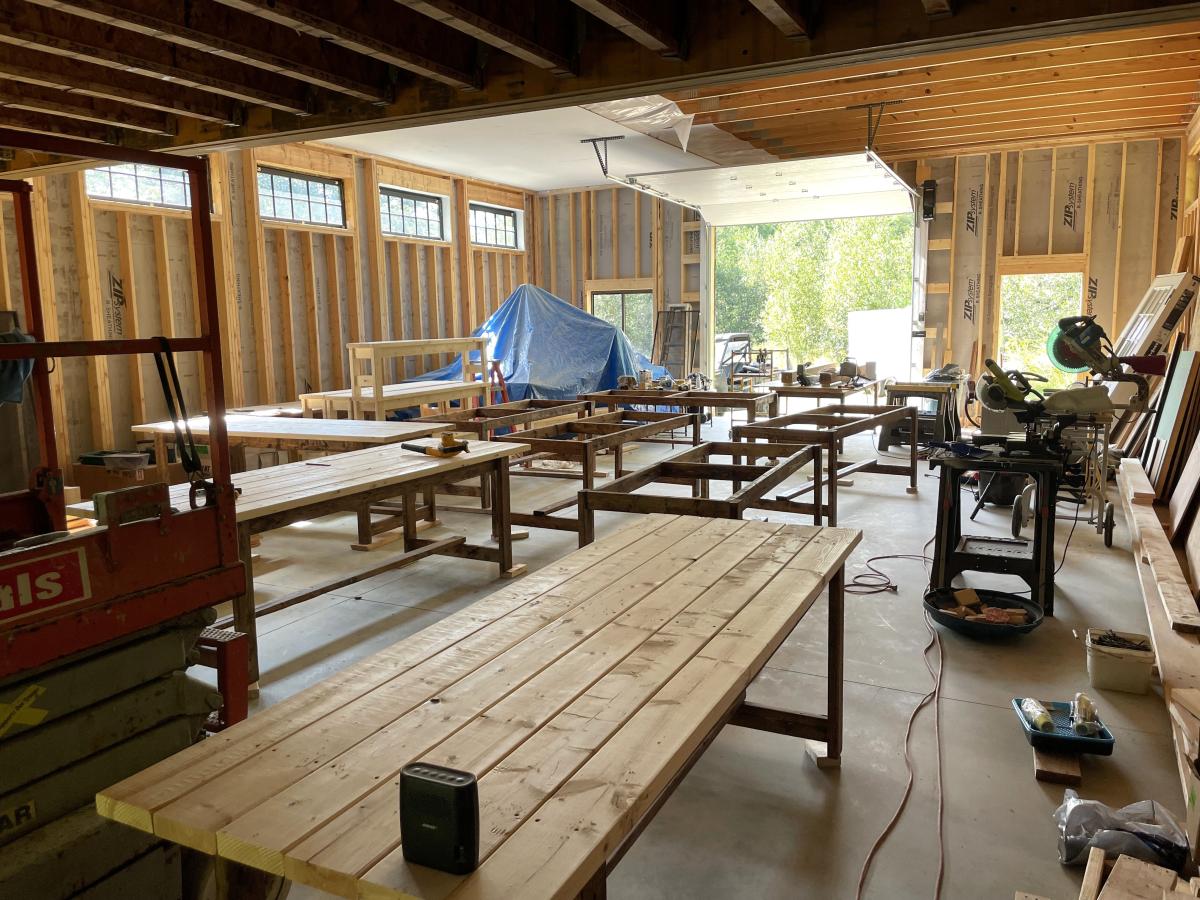
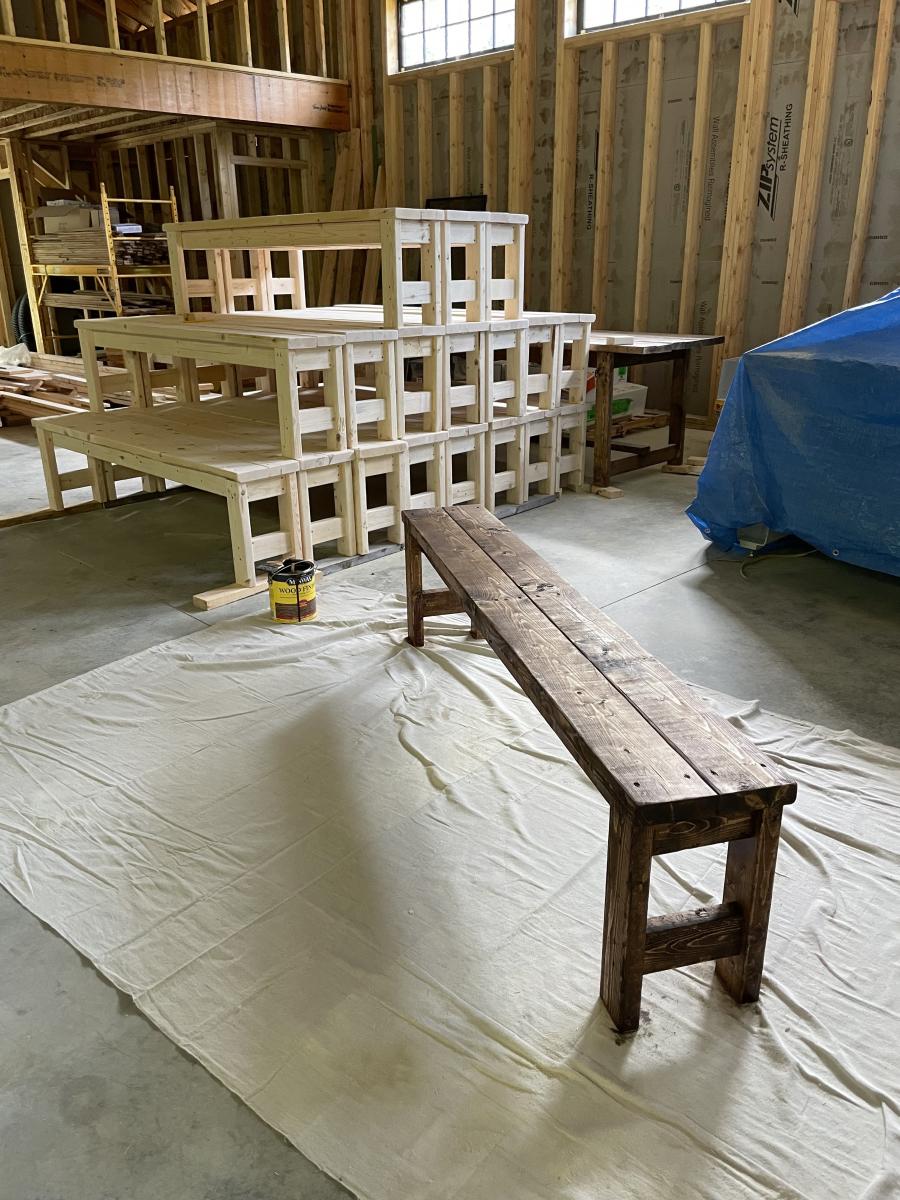
We made these tables and benches for my daughter’s wedding. They made setup for dinner just what she wanted!
Cindy Prescott
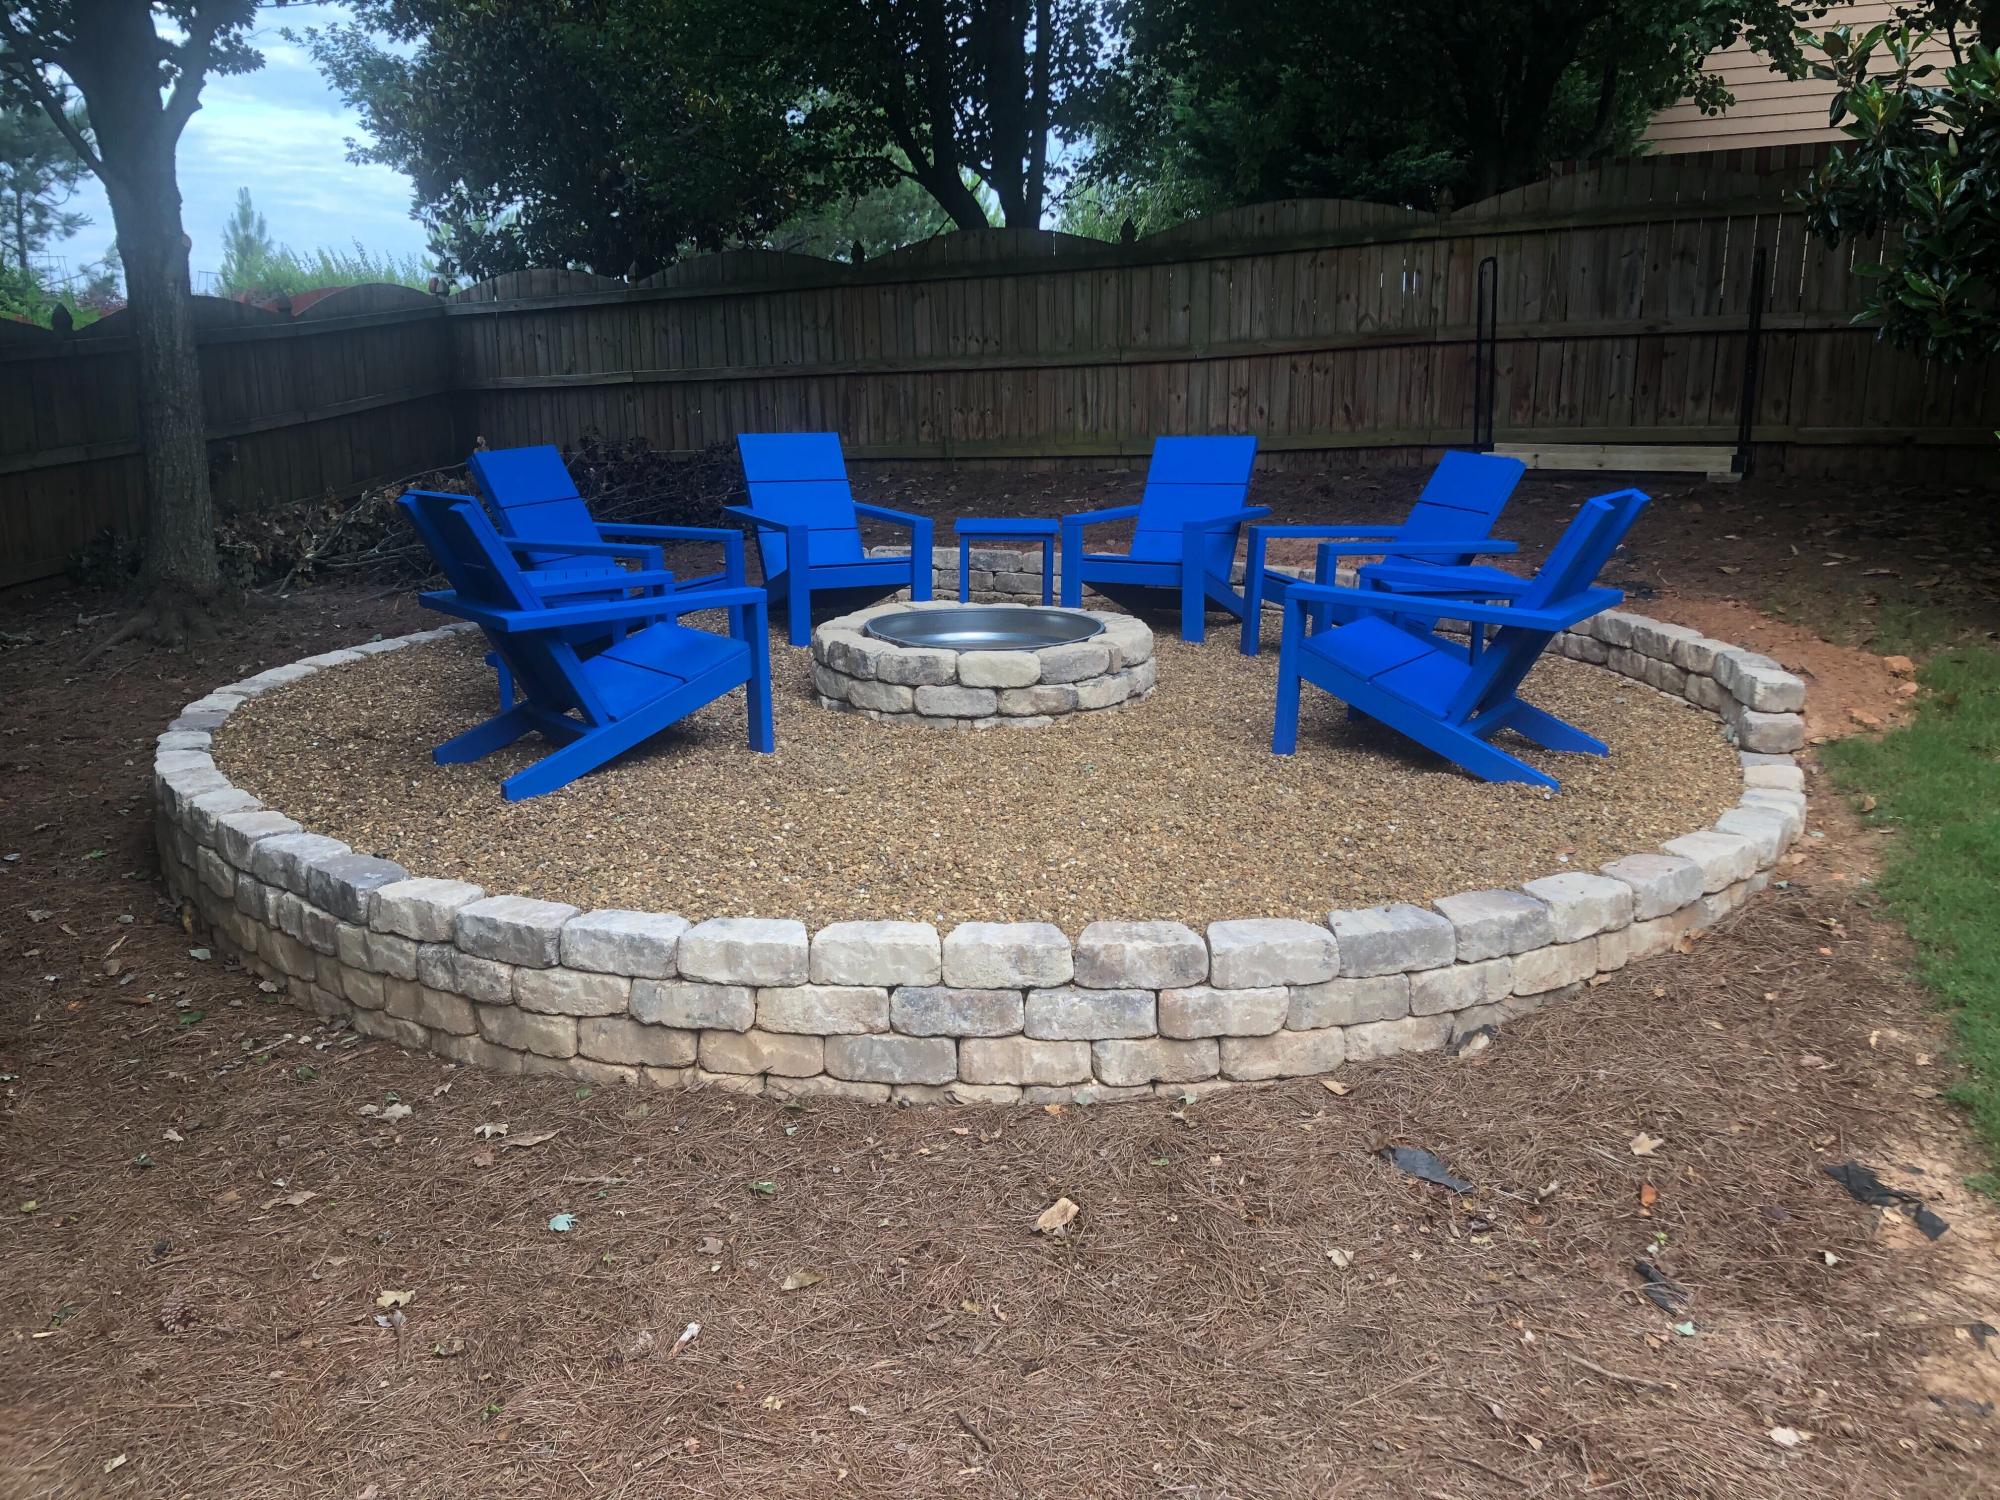
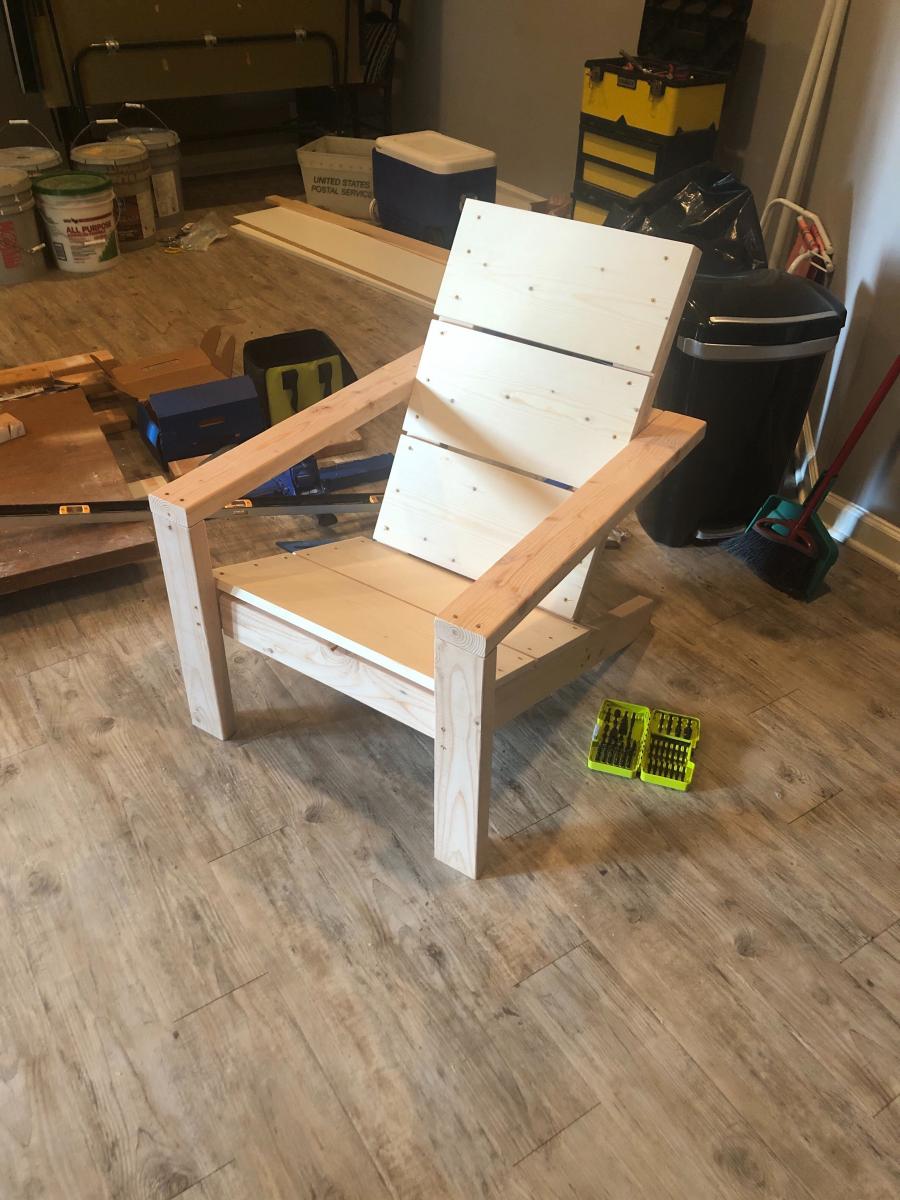
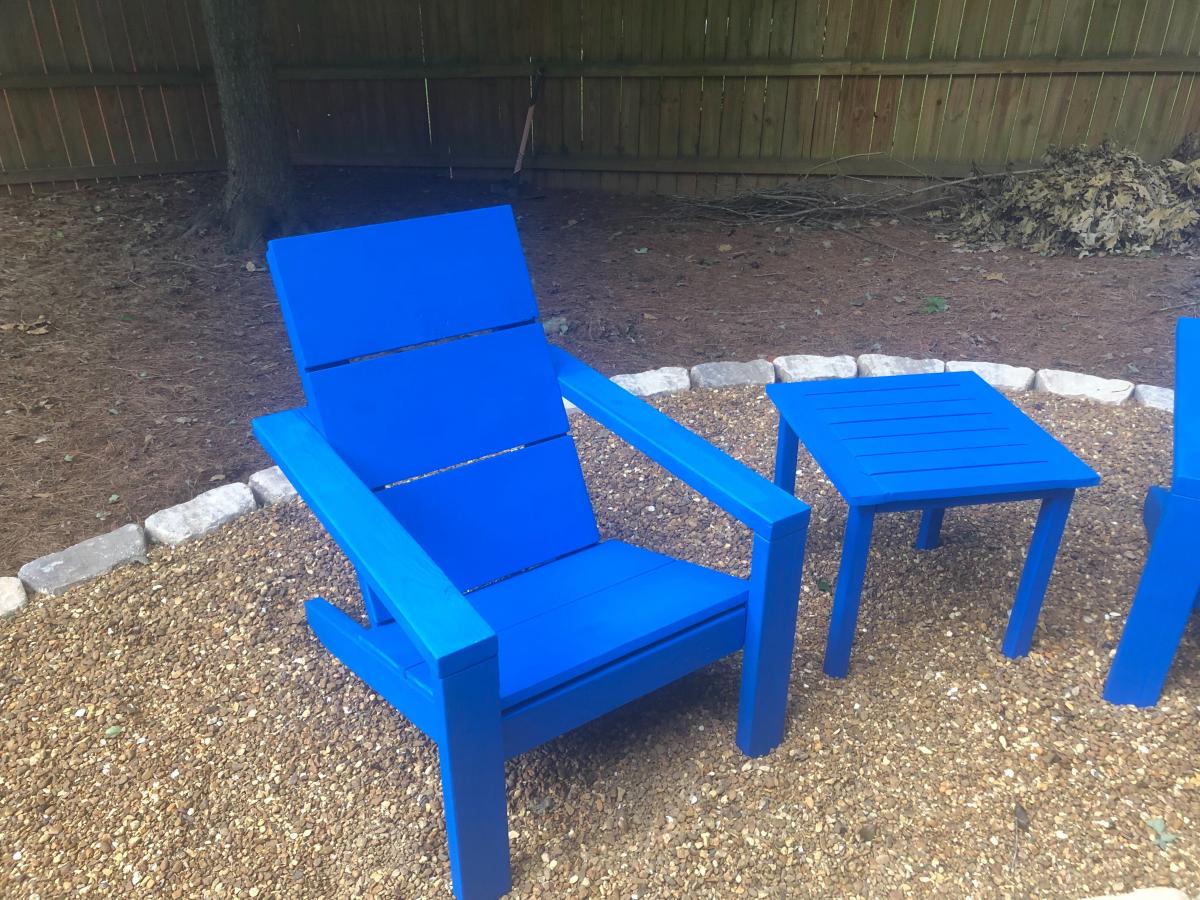
My little quarantine project all started with a three foot circle in the back corner of my yard and turned into this. After finishing the structure, we were looking at different furniture and considered either going on the cheap ($20 plastic chairs) or the expensive route ($1200) for this same setup. That was when I came across your site Ana. Your amazing plans and community's brag posts gave me the confidence to give it a go and we could not be happier with the result.
The chairs and tables went together super easy as everyone had mentioned. I sanded everything before cutting and then just sanded the cut ends. I did not have the stain on hand (not did we know the color) so we waited until after assembly to stain, which ended up not being too bad, just a lot of little nooks and crannies to get into. I used a small foam pad to get in between the boards.
Overall, I would say that the build, from start (rough lumber) to finish (sanded and assembled) took me about 2-3 hours per chair, and about the same to do two coats of stain on top and one on the underside, bringing the total time per chair to about 5 hours.
Now on to the landscaping... ;) I am also planning to build some planters to hold posts to hold some string lights around the perimeter. Boy how these little projects have a domino effect...but in the end, there is nothing better than sitting back and enjoying the fruits of your labor.

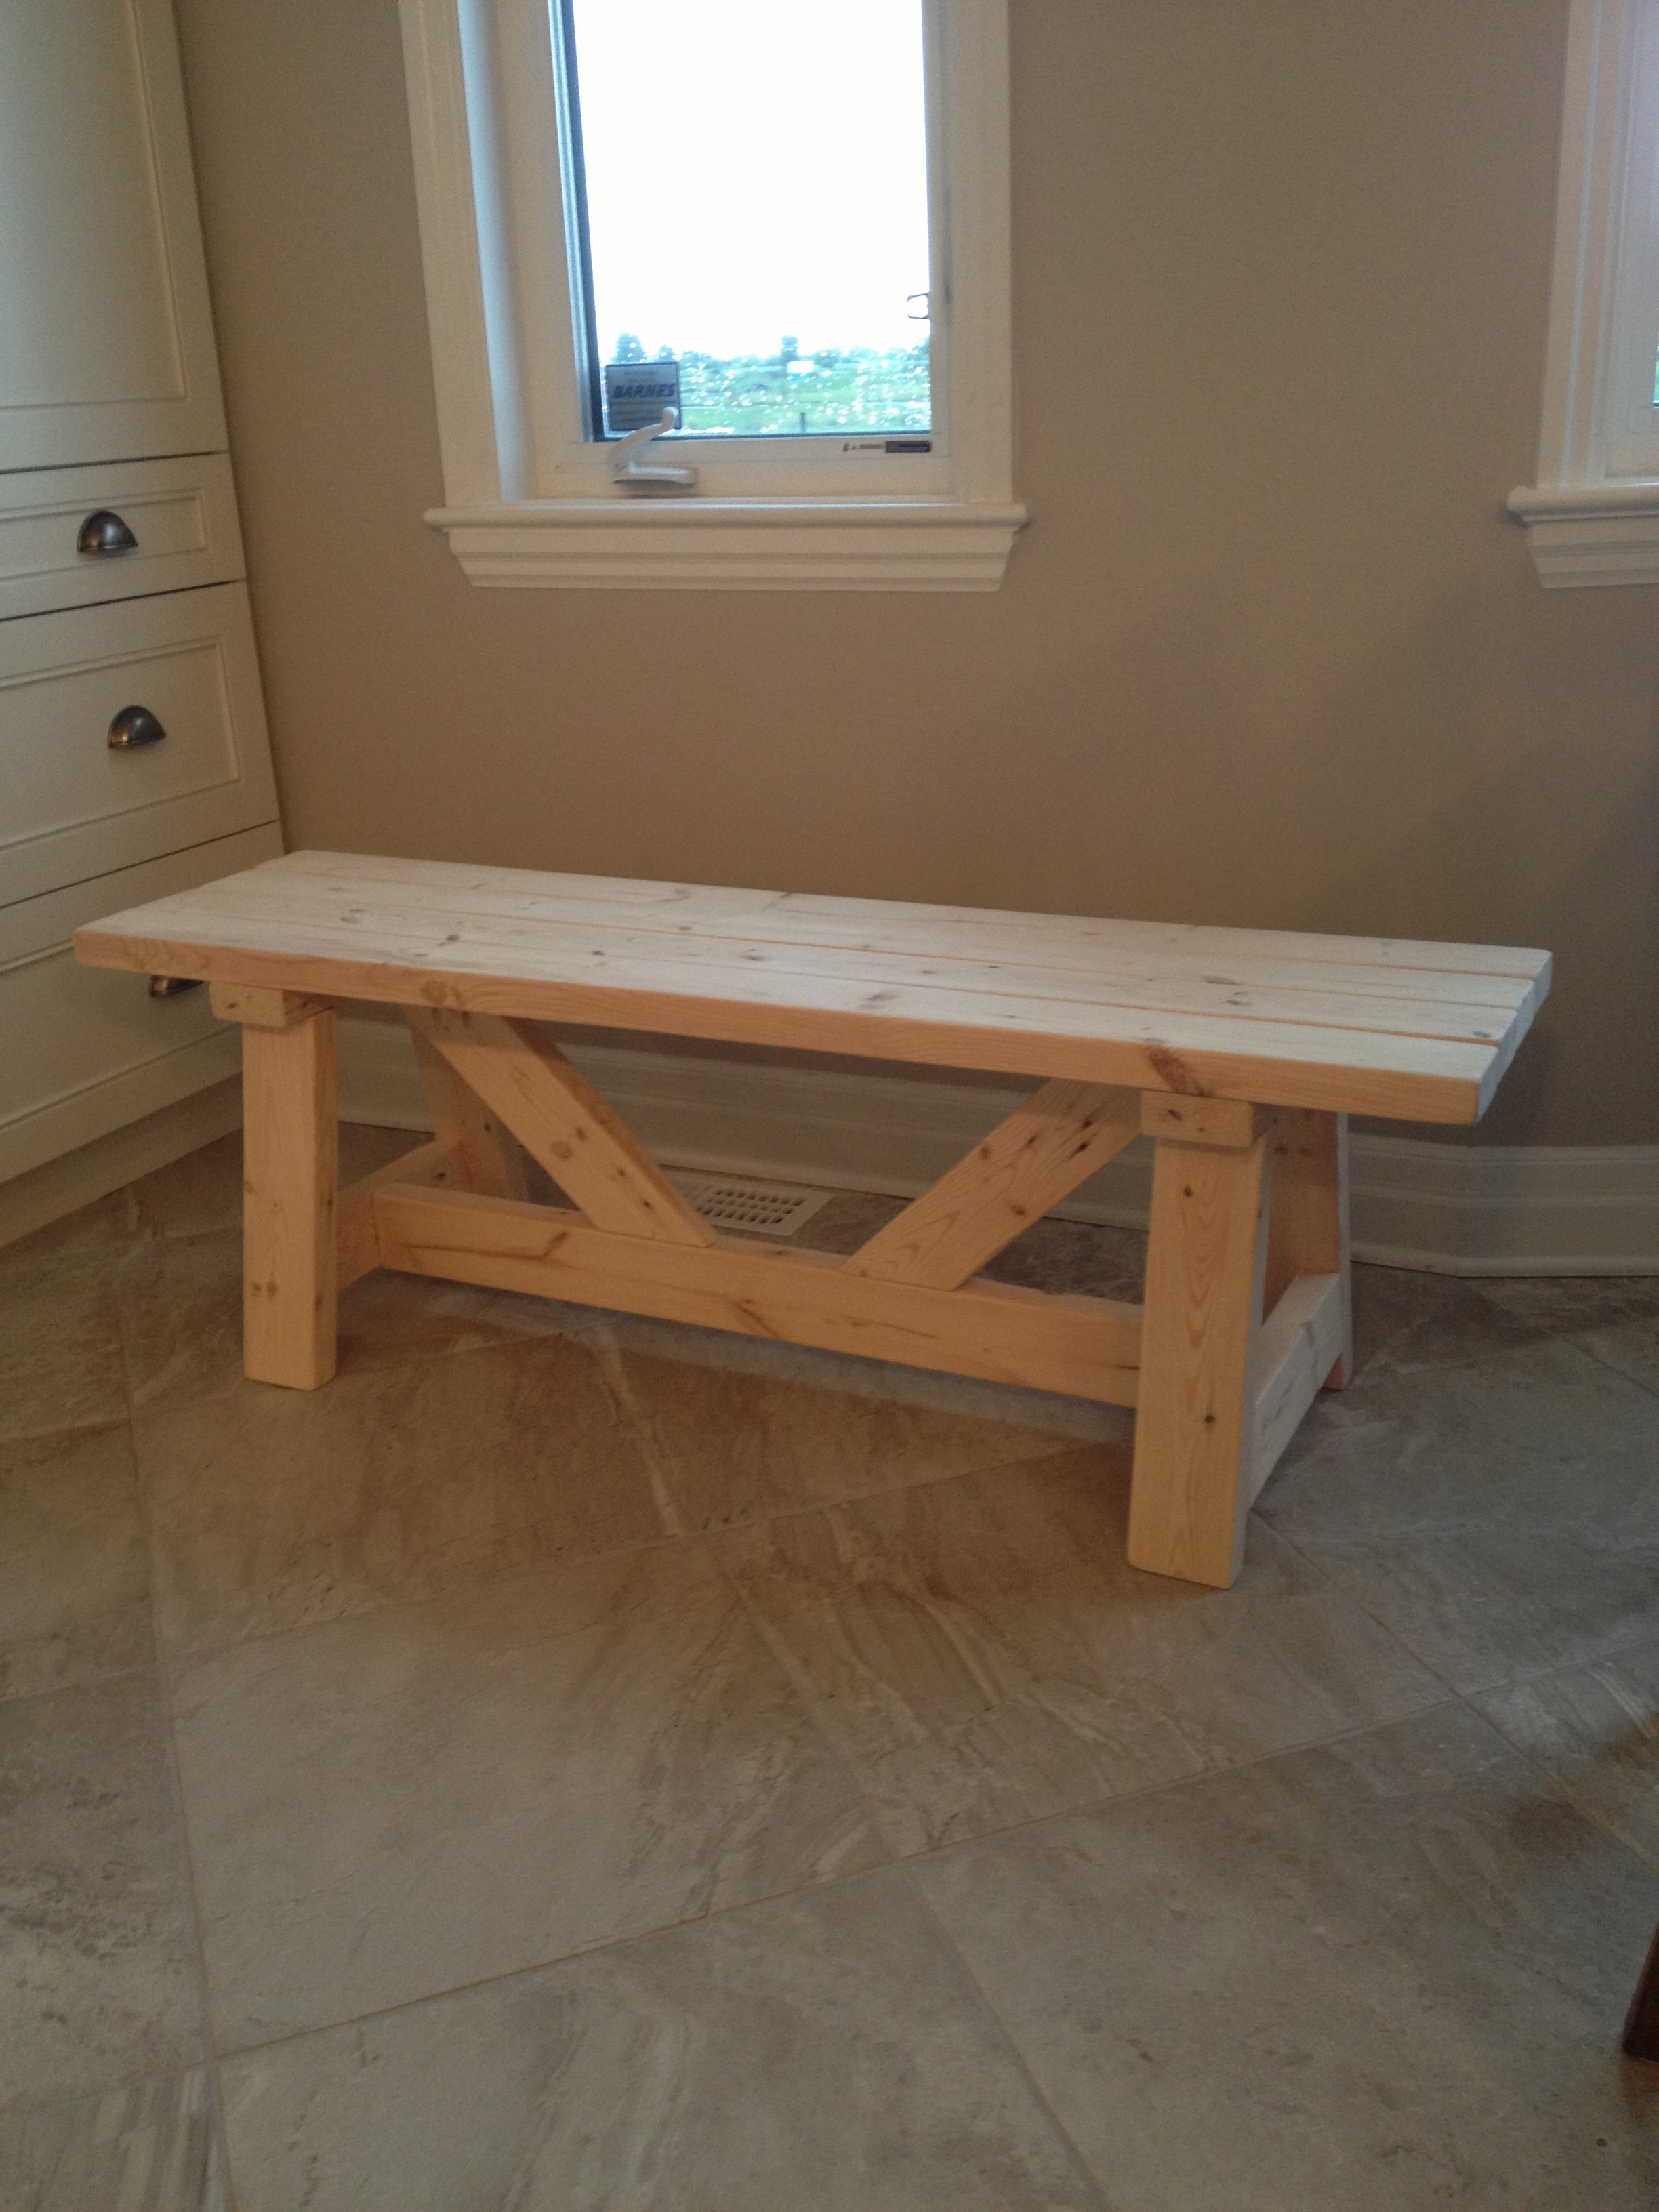
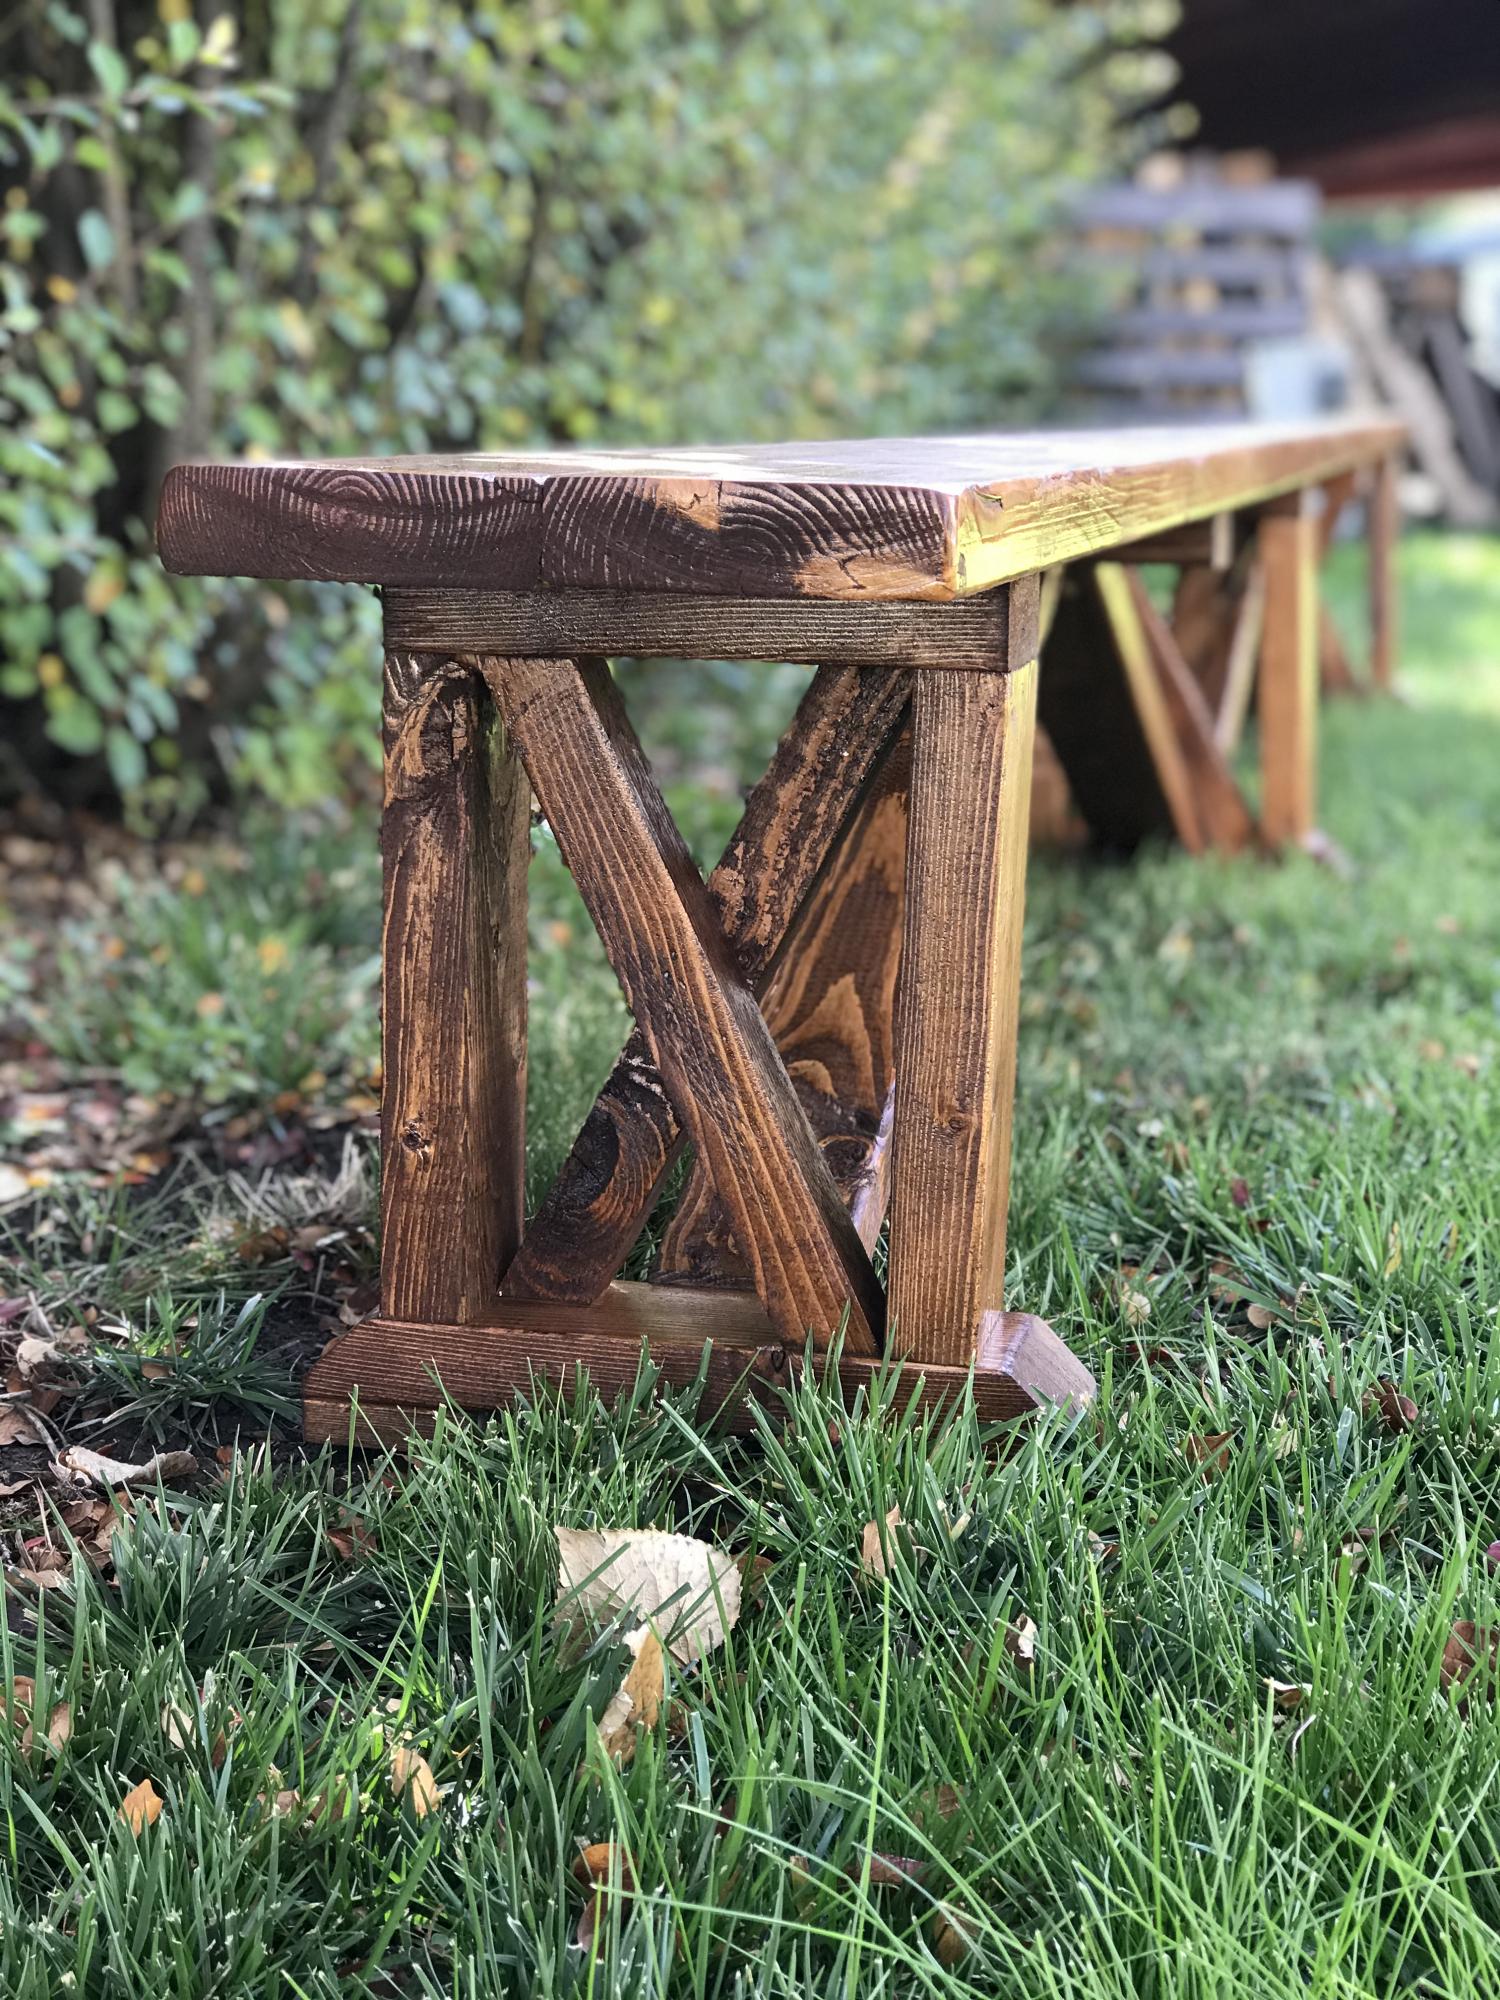
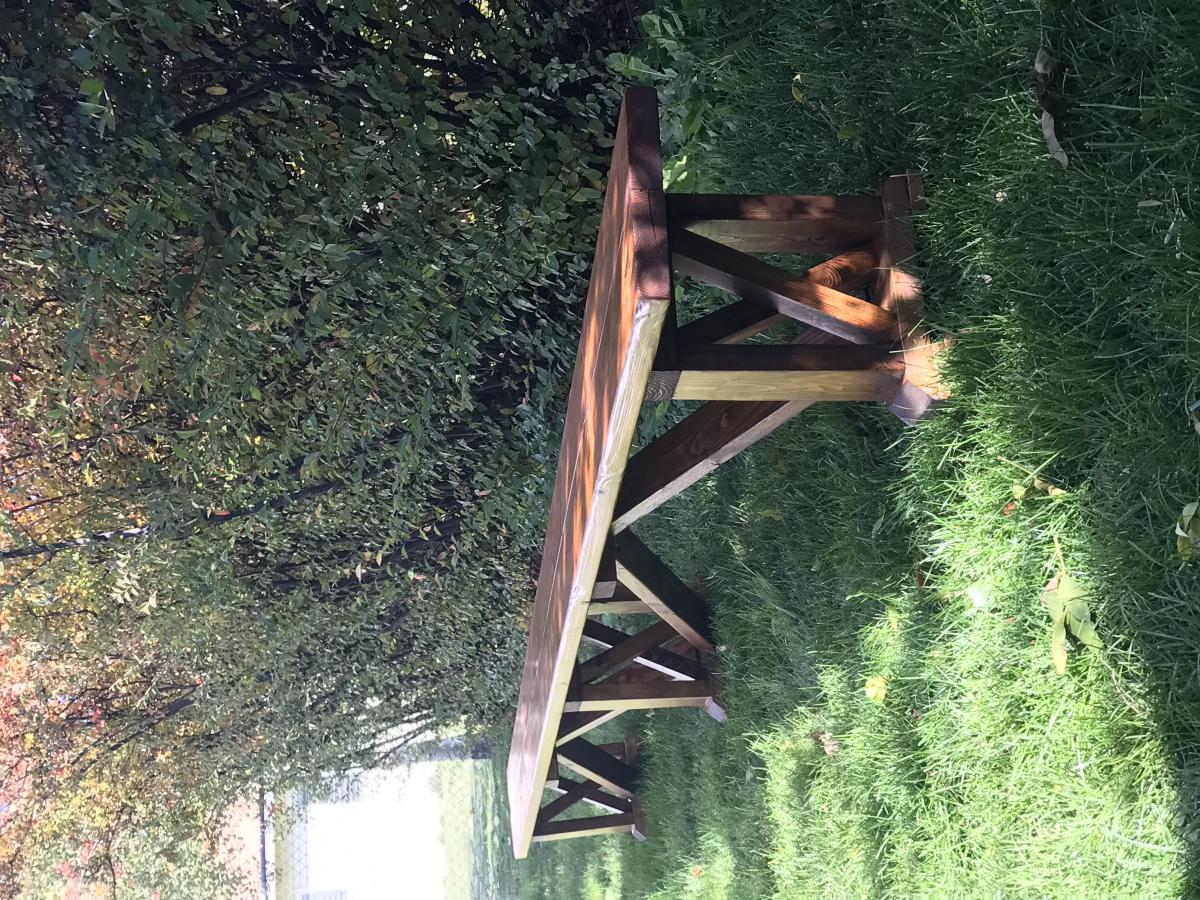
This was my first build from your site! Farmhouse bench.
I was a little confused with the miter saw instructions "bevel cut at a 10 degree angle off center". I had to google to figure out what you meant. In the end the bench looks awsome and I feel very empowered with my tools.
(still need to stain the finished project, bought all the wood and built in 1 day)
Thank you Ana for sharing your plans!! I love your site and I love my Kreg Jig!
Vicki
(Canada)
Wed, 04/15/2020 - 11:38
It looks great and rock solid. I can't find a plan for it. Could you please help me?
Love your site. The 8’ pony wall I recently made was a great plan. I’m also going to build the outdoor storage plan you have. Thanks for your creativity!

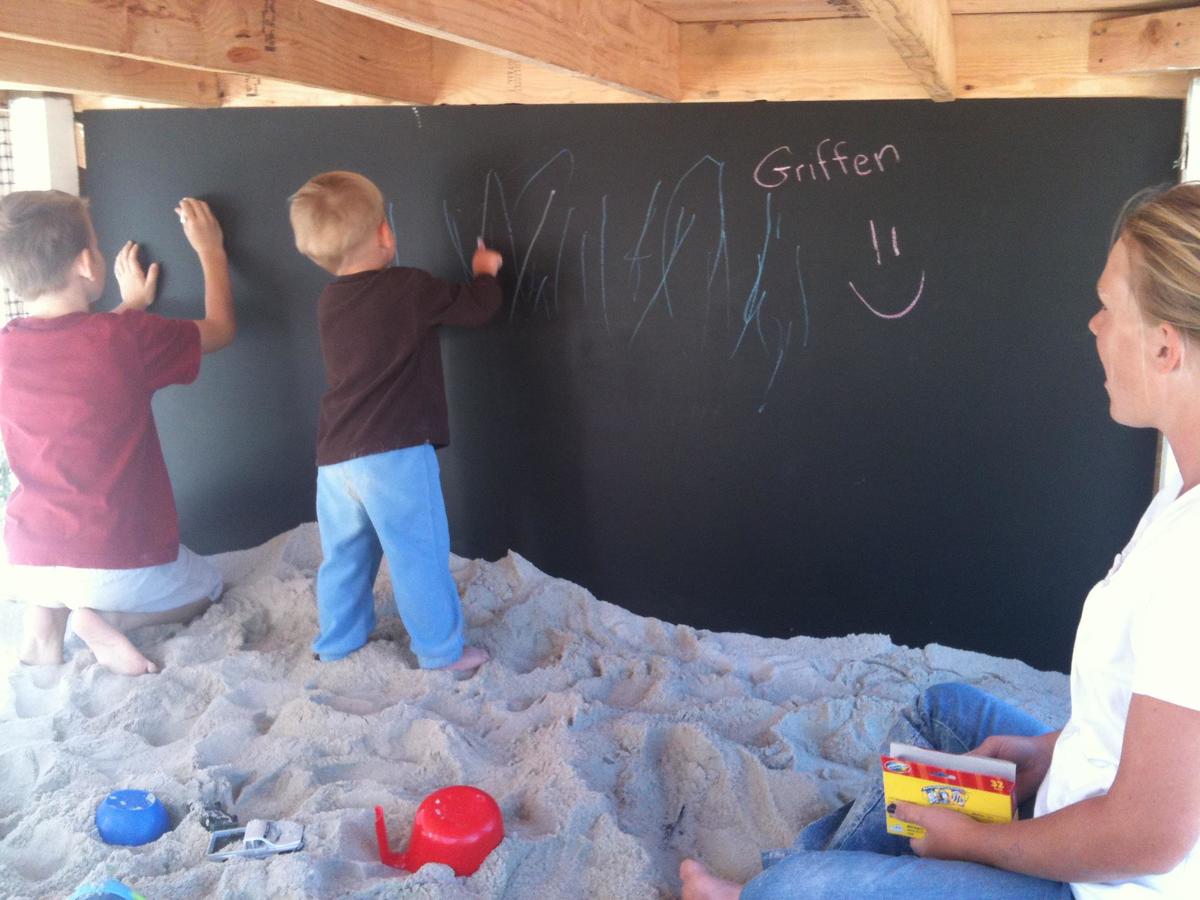
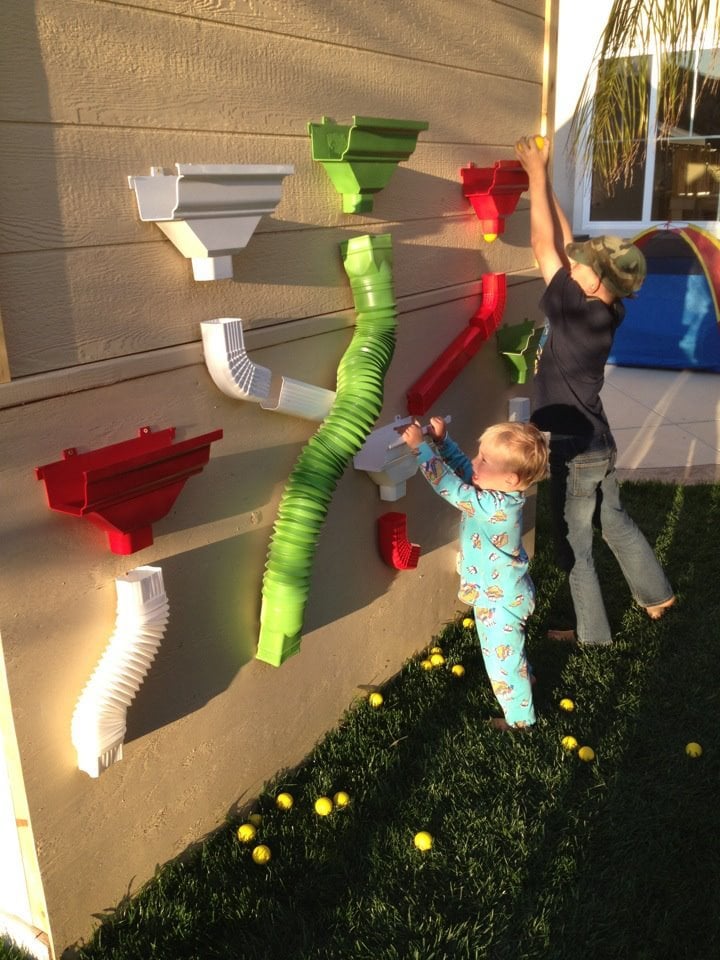
This was so much fun to do! Very easy and I added some personal touches. I made the lower level an enclosed sandbox area with a chalk board on the back wall. On the outside of the back wall, I added a "ball wall" that my kids love. I enclosed the bottom sandbox with plastic "chicken wire" to keep the cats out. :)
Thu, 11/22/2012 - 13:05
This is an awesome build. love the colours too, could you share them with us, including the roof colour. Thanku
Thu, 11/22/2012 - 15:34
Thanks! Glad you like it!
The paint was from Dunn Edwards: Roof was "Louisiana Mud", playhouse walls were "Drifting" and then the white was a snow white from Lowe's.
The slide and accessories were also from Lowe's.
Tue, 04/15/2014 - 09:35
I LOVE this! This is exactly what I'd like to build. Do you have plans you can share with us? I think I'd also like to add a couple of swings on one of the sides too. Thanks so much!
In reply to Love this! by m7hennen
Sun, 04/27/2014 - 08:39
I know I messed with the dimensions a bit but I don't remember exactly. I made the playhouse larger (deeper and taller than original plans) . I also cut the roof line on the deck side for more room. I put aluminum over the wood on the roof and then painted. The Ball Wall was made out of plastic gutter pieces that I painted and we used practice rubber golf balls to throw into them. I hope that helps! We sold that house, so I can't go out and measure it :)

In reply to Plans for Playhouse by Dawnybb
Thu, 05/28/2020 - 15:32
You may not get this as this is an old post. Did you dig post holes? I have older kids and I am thinking about building a plan like this but at a 6ft height. Wondered how much it moves around when there are a bunch of kids on there. The house I will build is also 6 ft heigh.
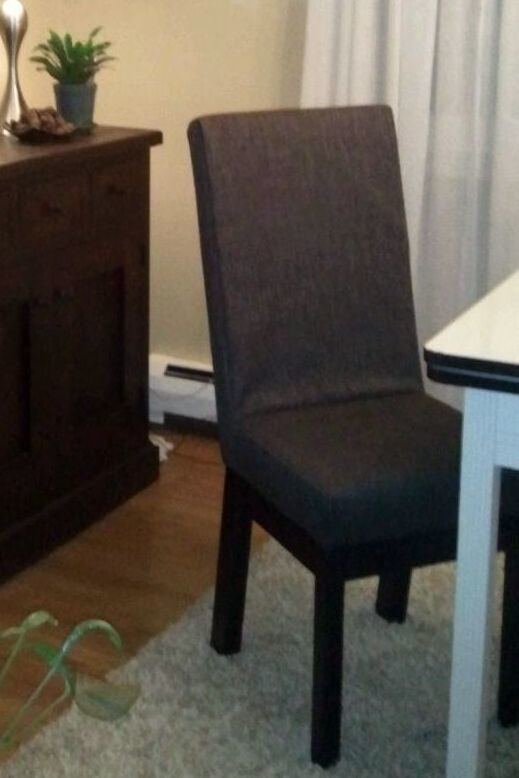
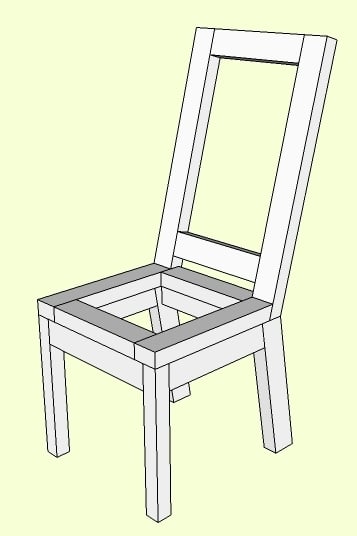
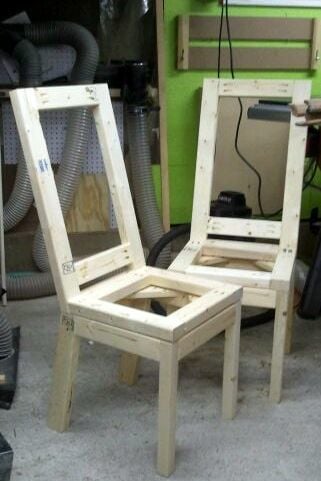
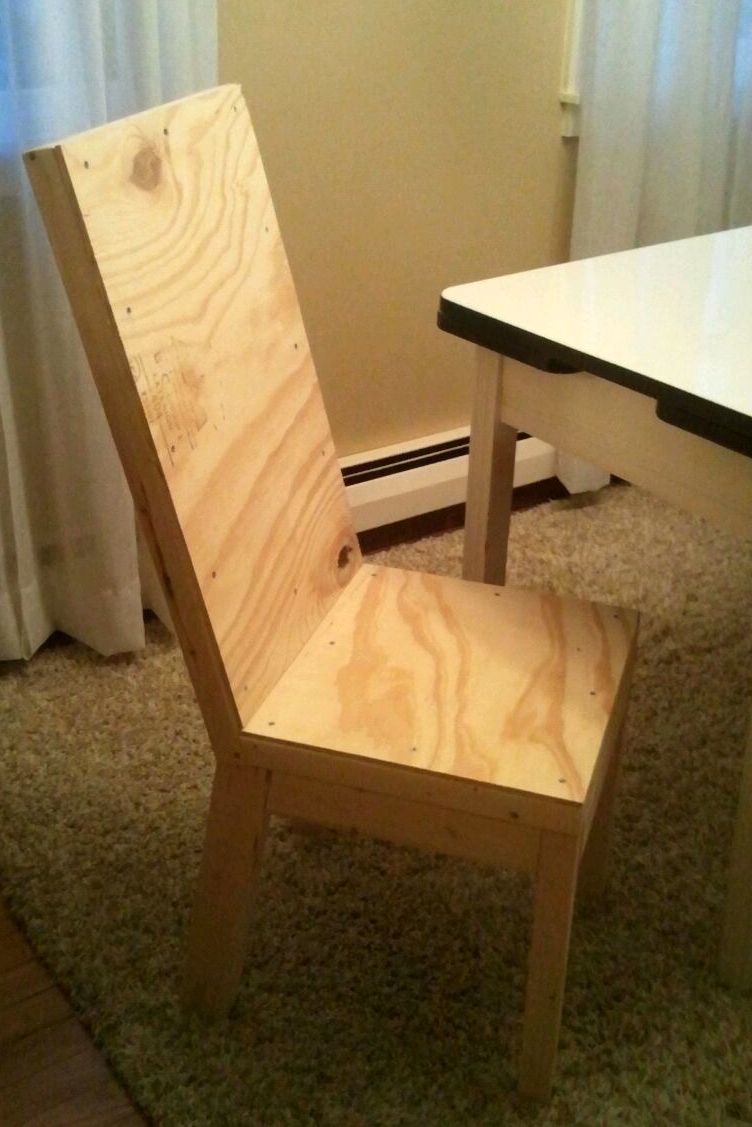
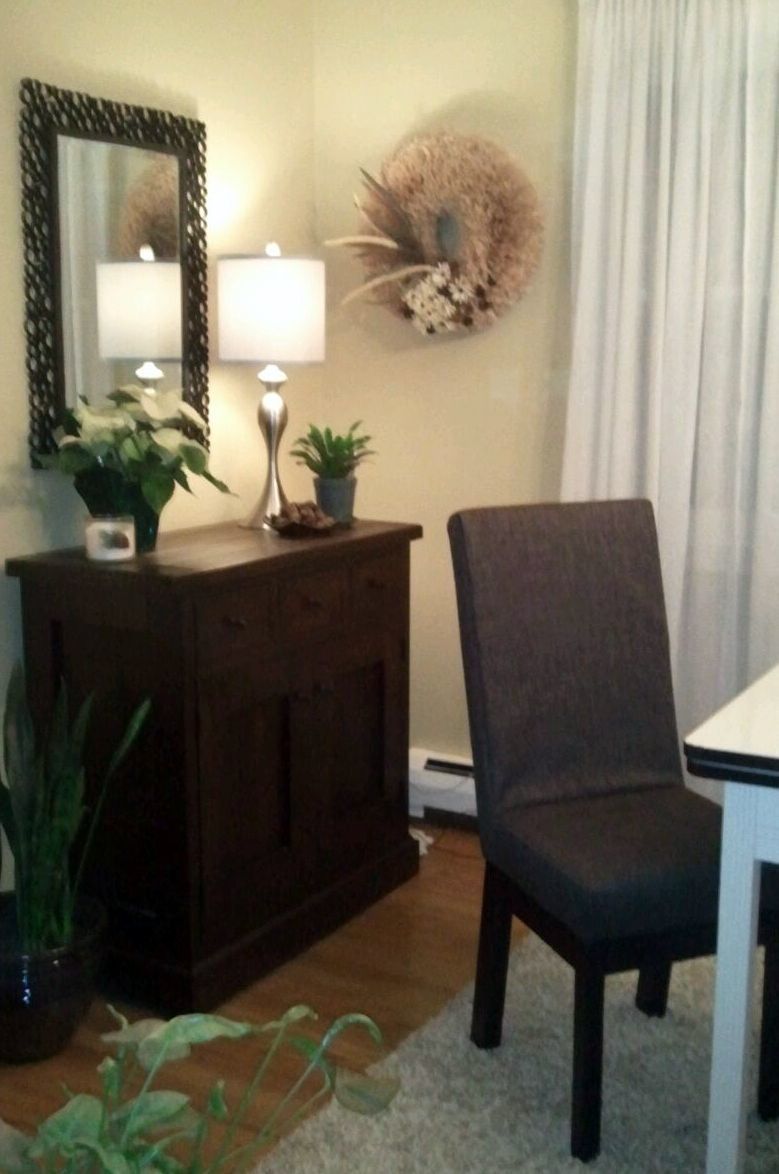
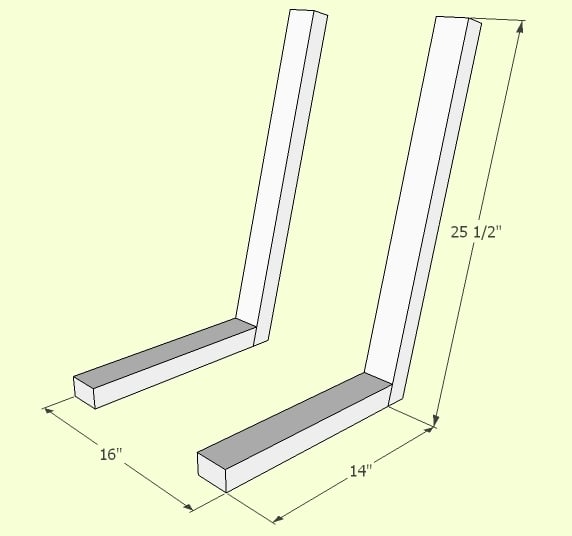
I bought some cool Parson Chairs to use with my grandparent's 1950s style porcelain top table. Unfortunately, the chairs were way too big to fit between the legs of the table. My friend said she was surprised I didn't build my own chairs in the first place... that's when I remembered seeing a Parson Chair plan on Ana White! I liked the overall design of the chair in the plan, but I wanted to make some changes to make it my own. I made the chair narrower to fit between the legs of my table, changed the angle of the rear legs from 15 degrees to 10 degrees, increased the rear legs from 2x2s to 2x3s and made the back taller. This was my FIRST sewing project and I'm really pleased with the way it turned out!
Wed, 01/02/2013 - 06:25
These look beautiful! Would you mind giving me your opinion on their comfort to sit in? Also, do you mind sharing where and what kind of foam padding you used for the seat? Thank you - and great job!
In reply to A question, please... by mikejillnelson
Wed, 01/02/2013 - 18:32
Thank you! They are actually really comfortable to sit in and no one believes I made them! I'm 5' 4", so I should mentioned that I shortened the leg to 14.5" and also shortened the measurement for the depth of the seat to 14". I got a high density foam chair pad from joann.com, but they are also available in the JoAnn store. I cut the chair pad to fit my seat with an electric kitchen knife then wrapped the chair pad with 1/2" batting (got that in the JoAnn store). Hope that helps. Let me know if you have any other questions. Thank you again for your compliments!
Wed, 06/26/2013 - 15:44
How much narrower and how much taller did you make the chair? I LOVE your design much more than the original. The narrower frame and taller back make it look much classier in my opinion. Please get back to me when you can. Thank you!!
Tue, 11/26/2013 - 18:03
Sorry I didn't see your question earlier... thank you for the compliments on my redesign :) I posted a new pic with the dimensions for the back and seat. Thank you again and let me know if you have any other questions.
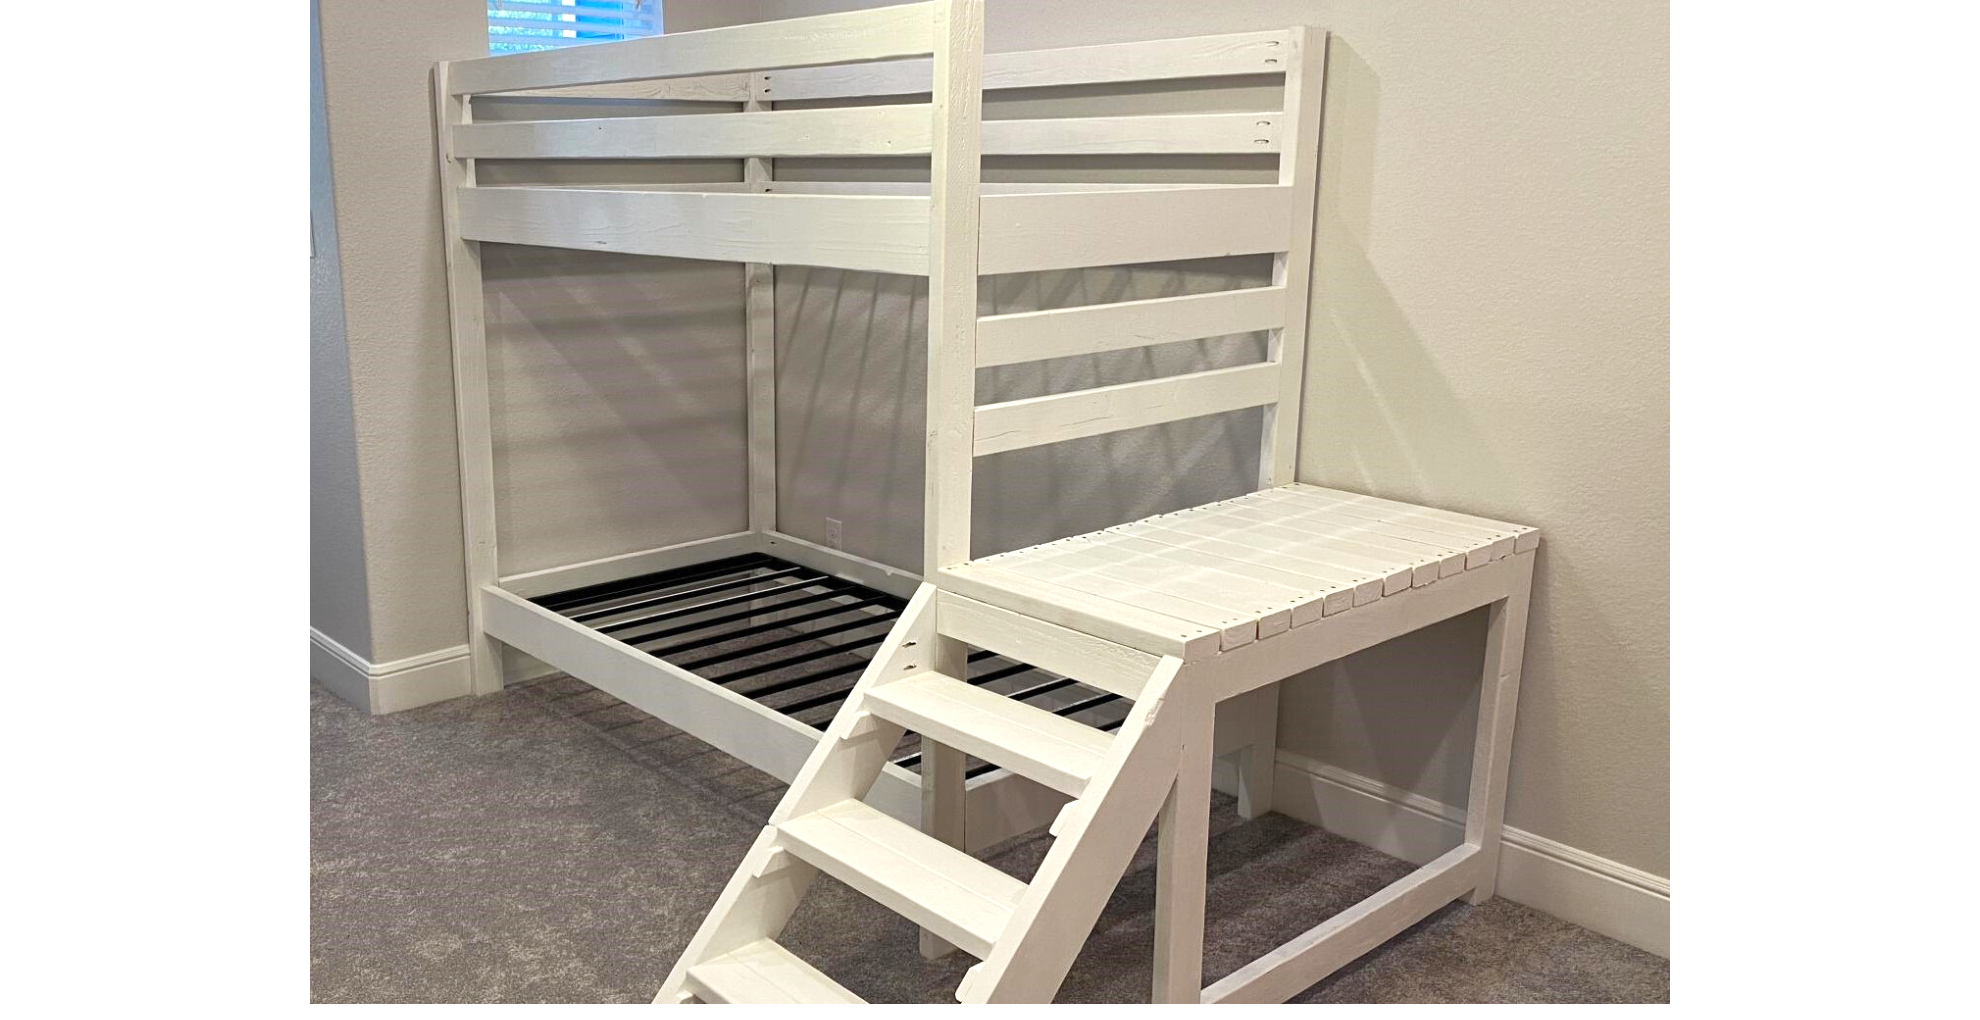
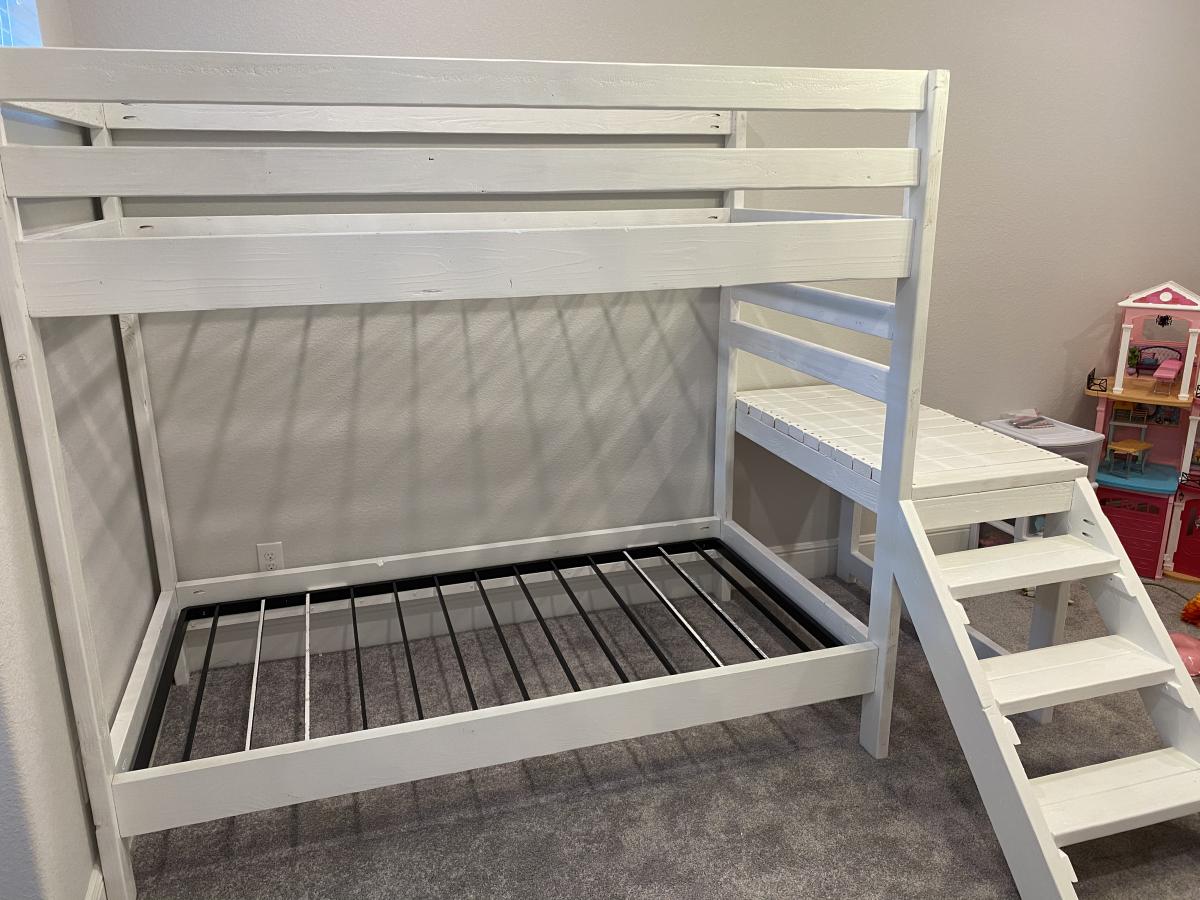
Used the Camp Loft Bed with Stairs Plans but double the bed rails. I just loved that the stairs and platform make it a little safer getting in and out.
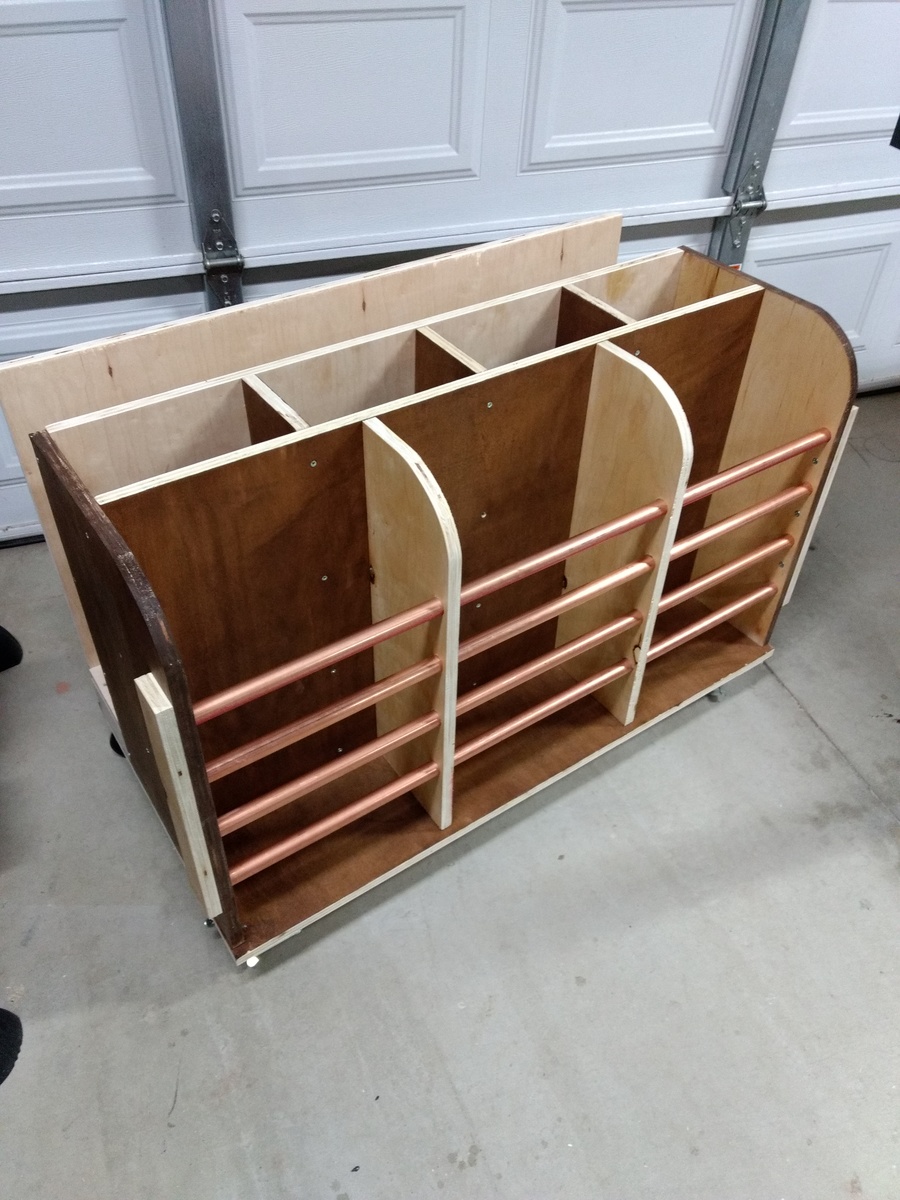
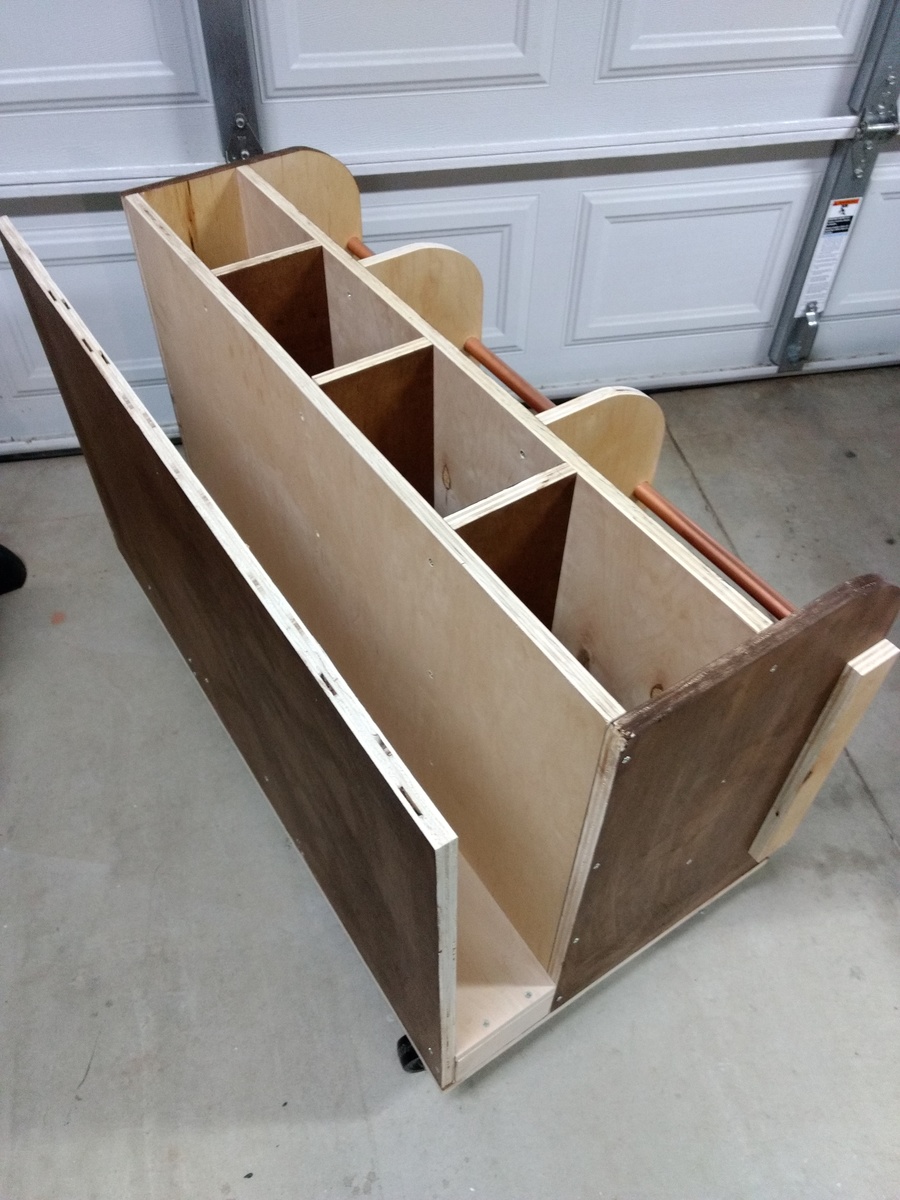
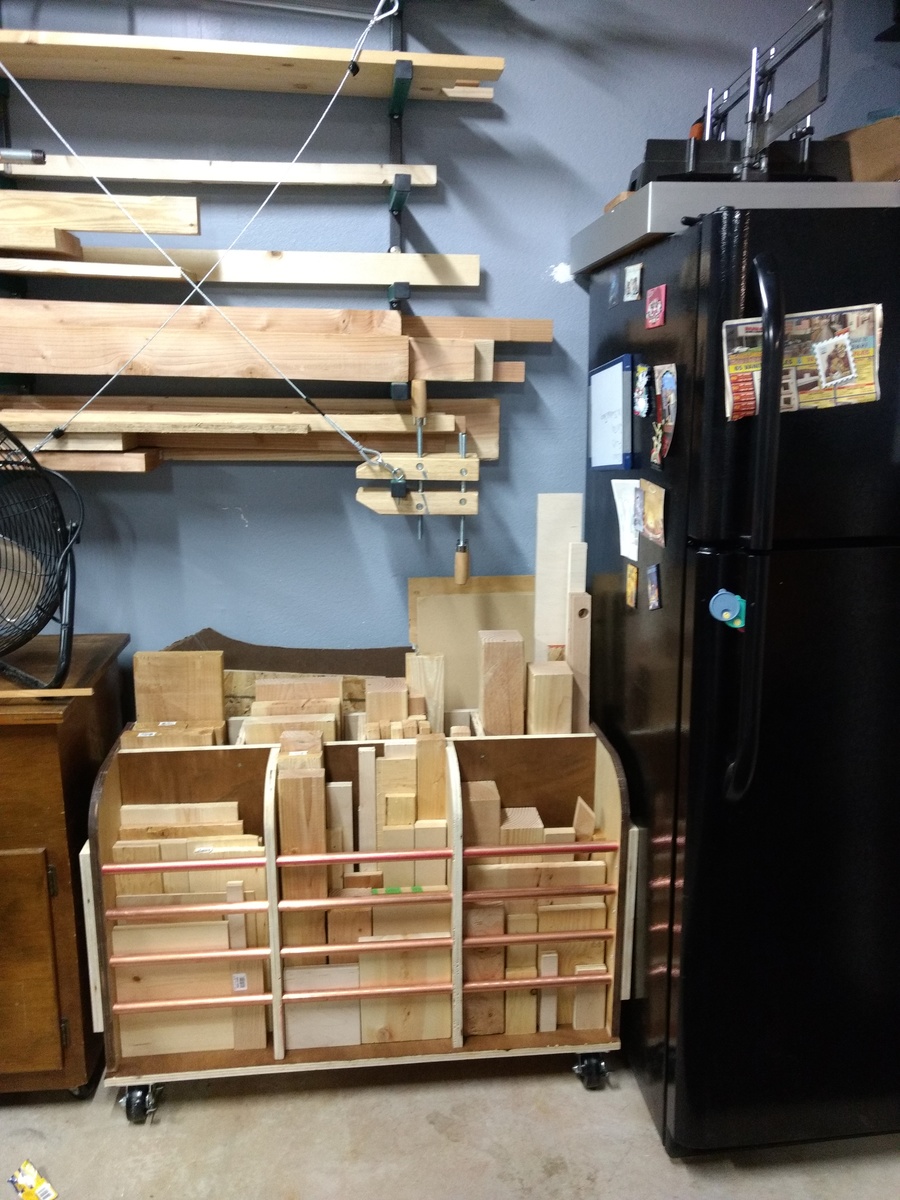
Cut-off lumber cart on heavy duty 3 inch locking swivel casters. Used 3/4 copper pipe and 3/4 plywood with a couple of pine wood scraps. Keeps things neat and clean. :)

My first Ana White project. Built Ana’s awesome small cedar shed as an outhouse for our many cats. The have access to it from inside the house. Great way to keep litter boxes and the mess out of the house. It is stand alone, and attached to the house, in front of a bedroom window. There are two ‘entrances’ as well as two, one-way, escape hatches, if a cat in the outhouse is interrupted by another cat (I.e. a male cat comes in and the female feels trapped) they can exit to the outside (one way so no critters can come inside!). Ana has easy to build plans, great site! I plan on making the square table just posted today for my newly refurbished deck. Keep in mind, my estimated costs and time reflect a LOT of additional features on the inside. The shed itself, very easy, simple, inexpensive. Very little waste with Ana’s projects as well.

Thu, 04/29/2021 - 09:06
Thank you for sharing, what a cool project!
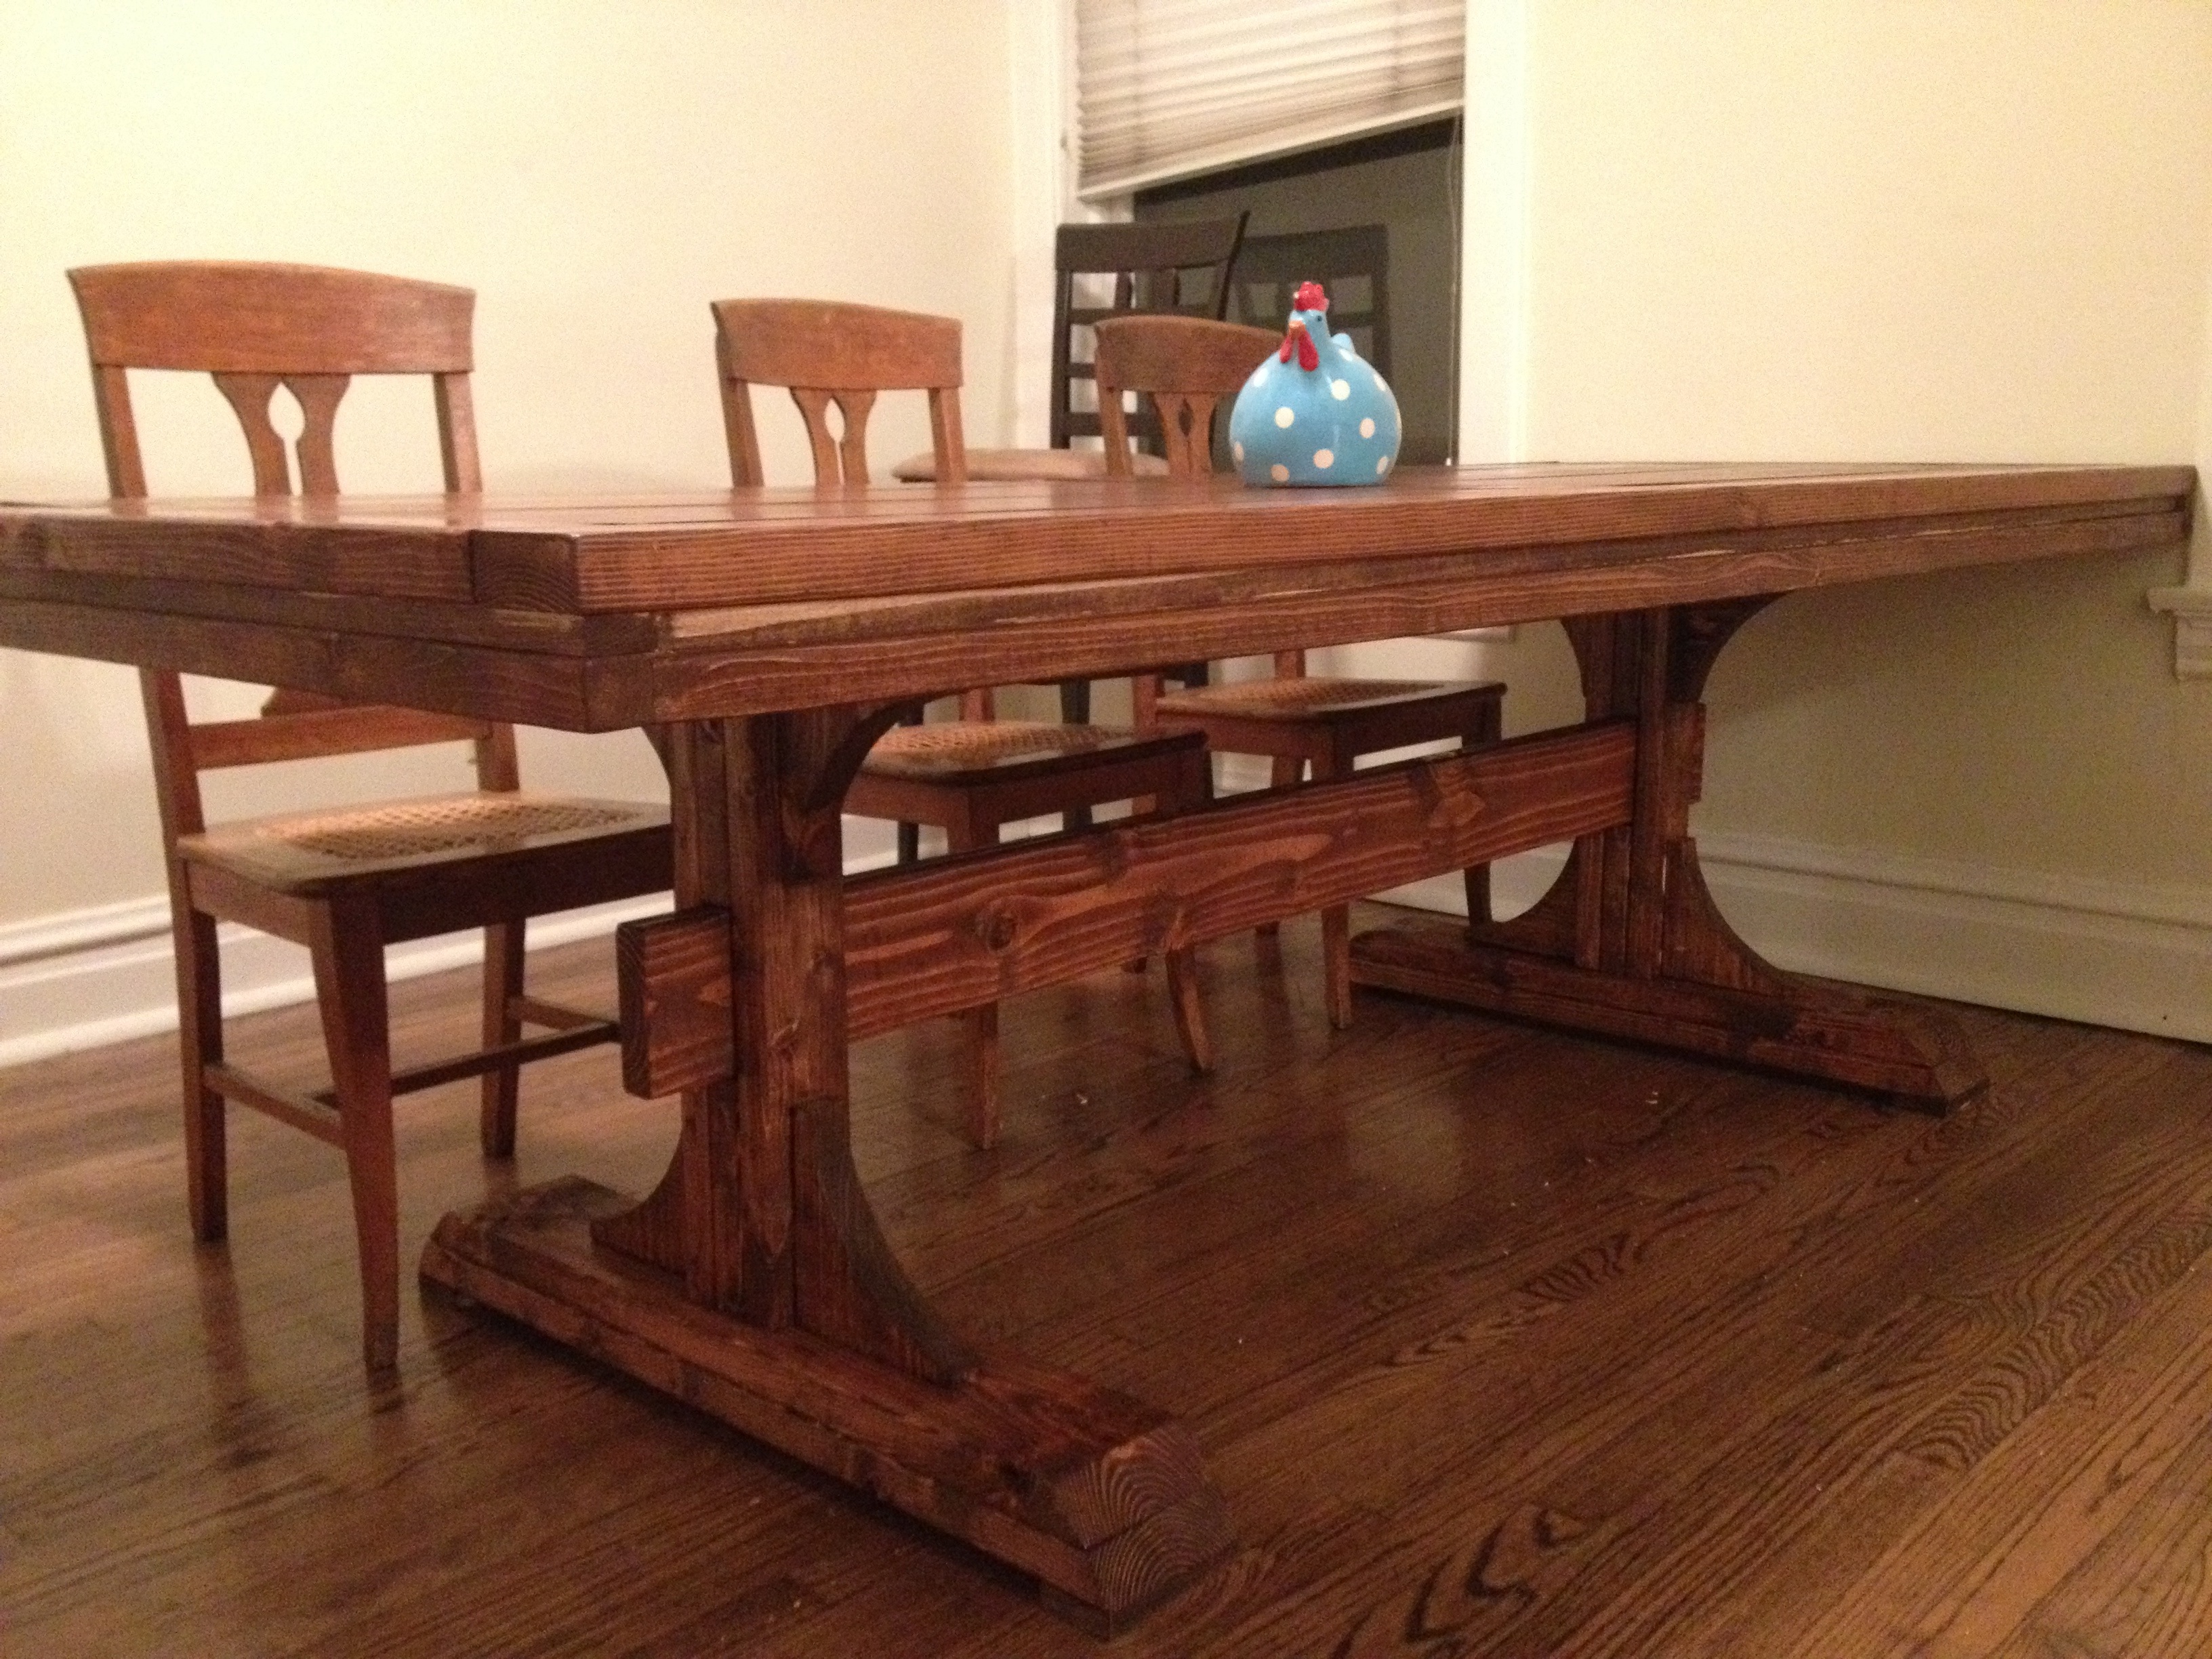
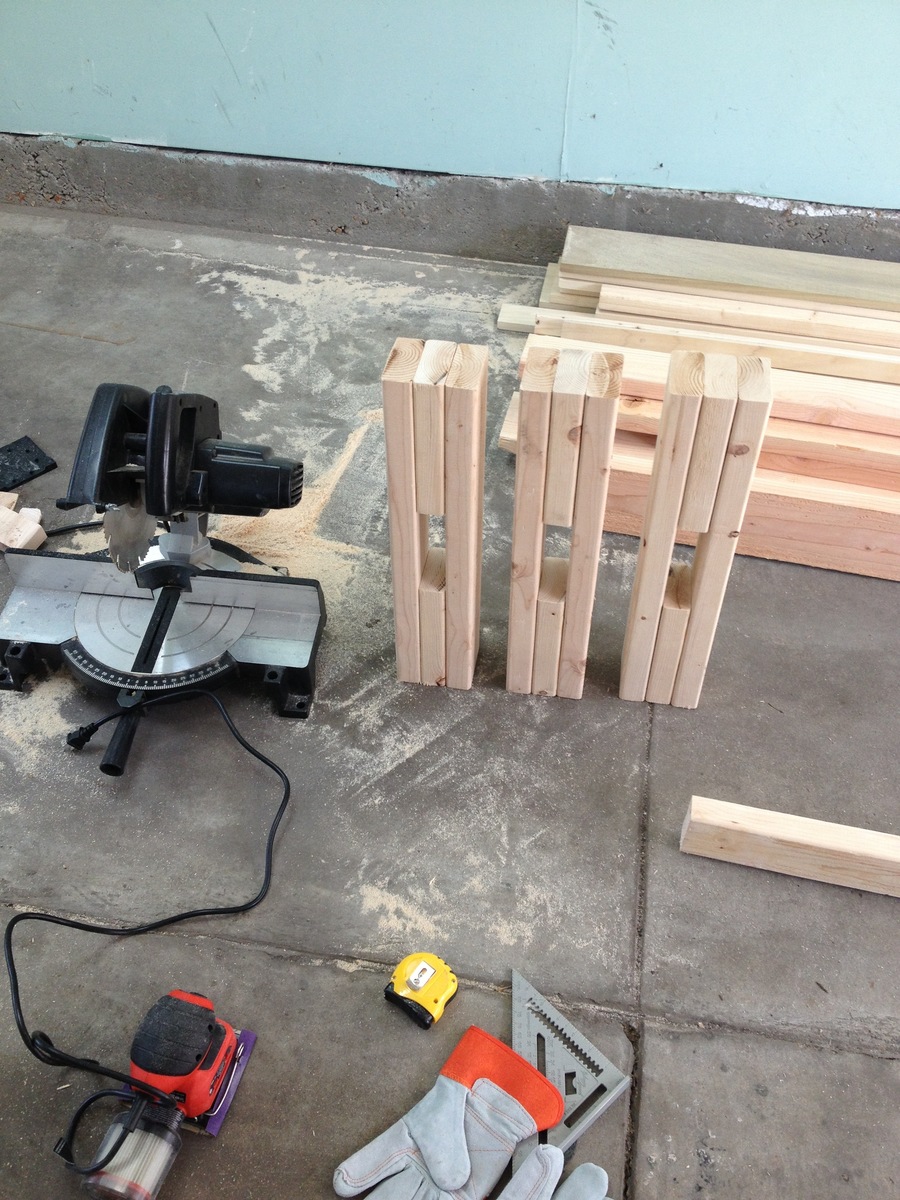
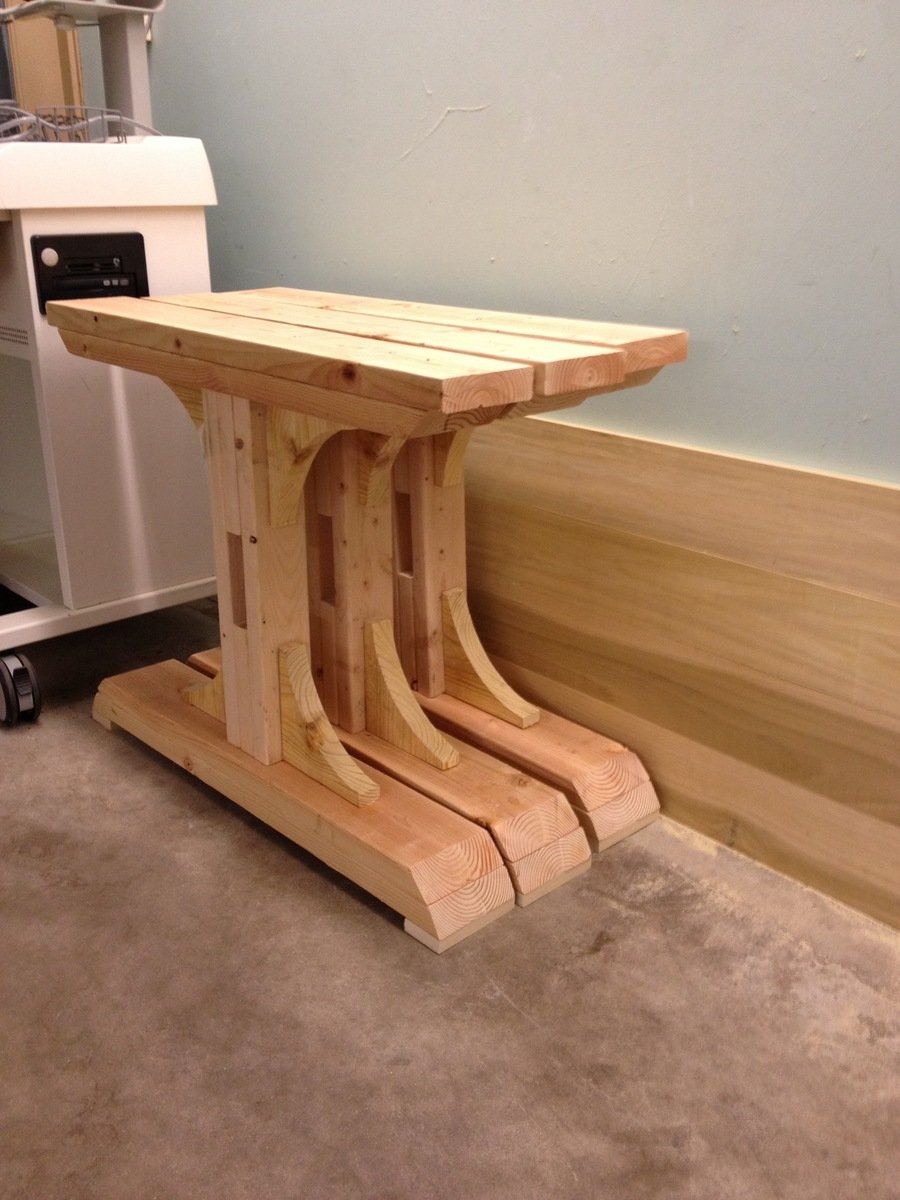
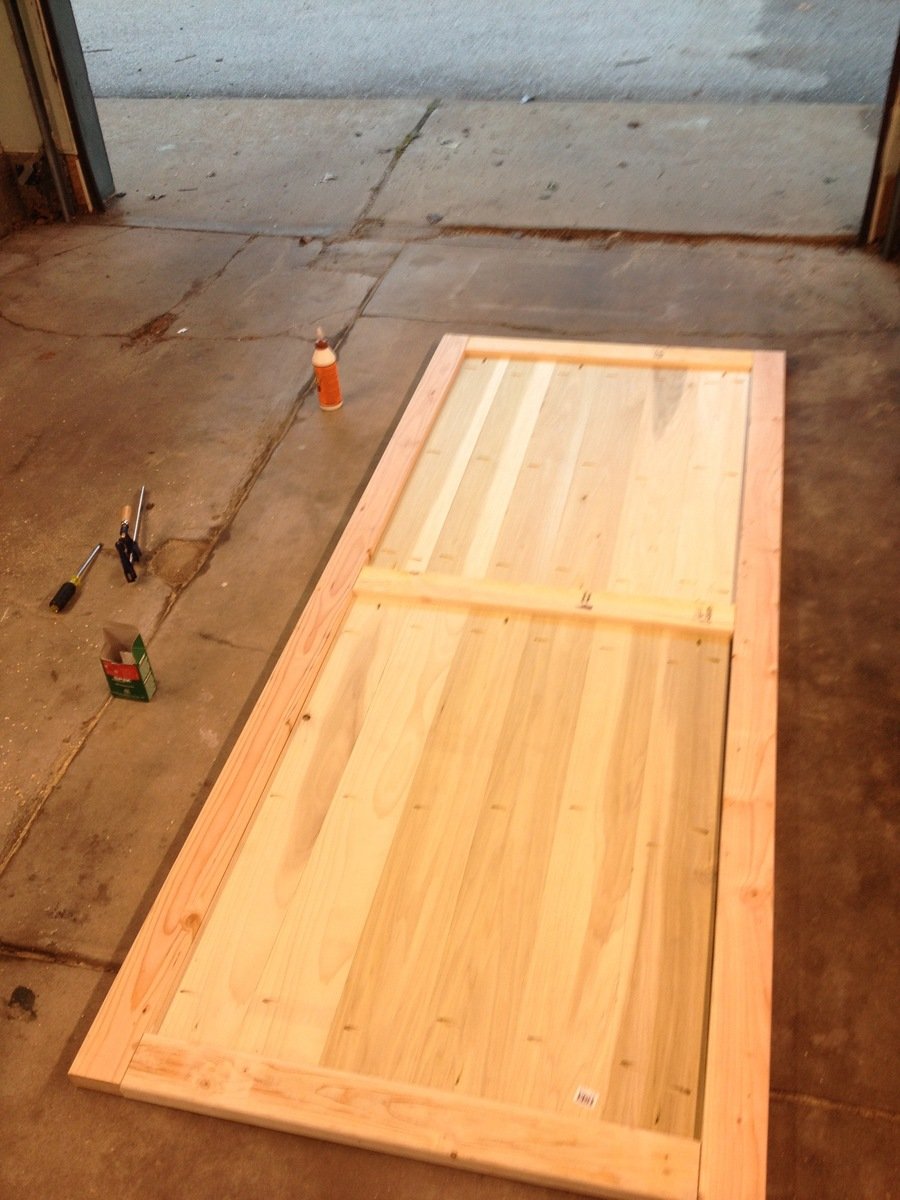
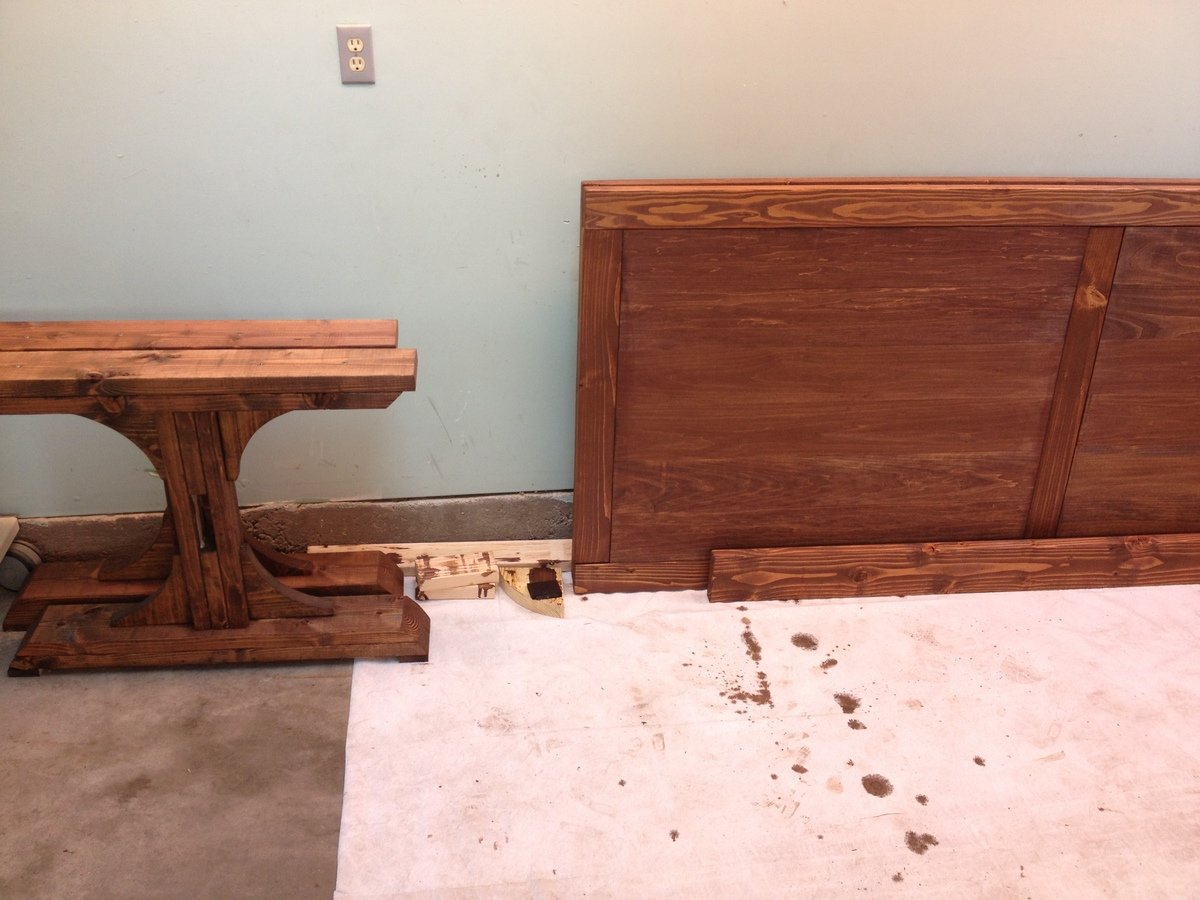
Built from the Triple Pedestal Farmhouse Table plans. Had to size down the plans a little bit to fit into my dining room. Created three pedestal legs but only ended up using two on the final table. Took about 16 hours from start to finish. All of the wood is pine except for the top, which is Poplar. Made a couple of mistakes along the way but am very happy with the way everything turned out. Feel free to ask questions and I will do my best to answer them. Happy Building!
Cool project