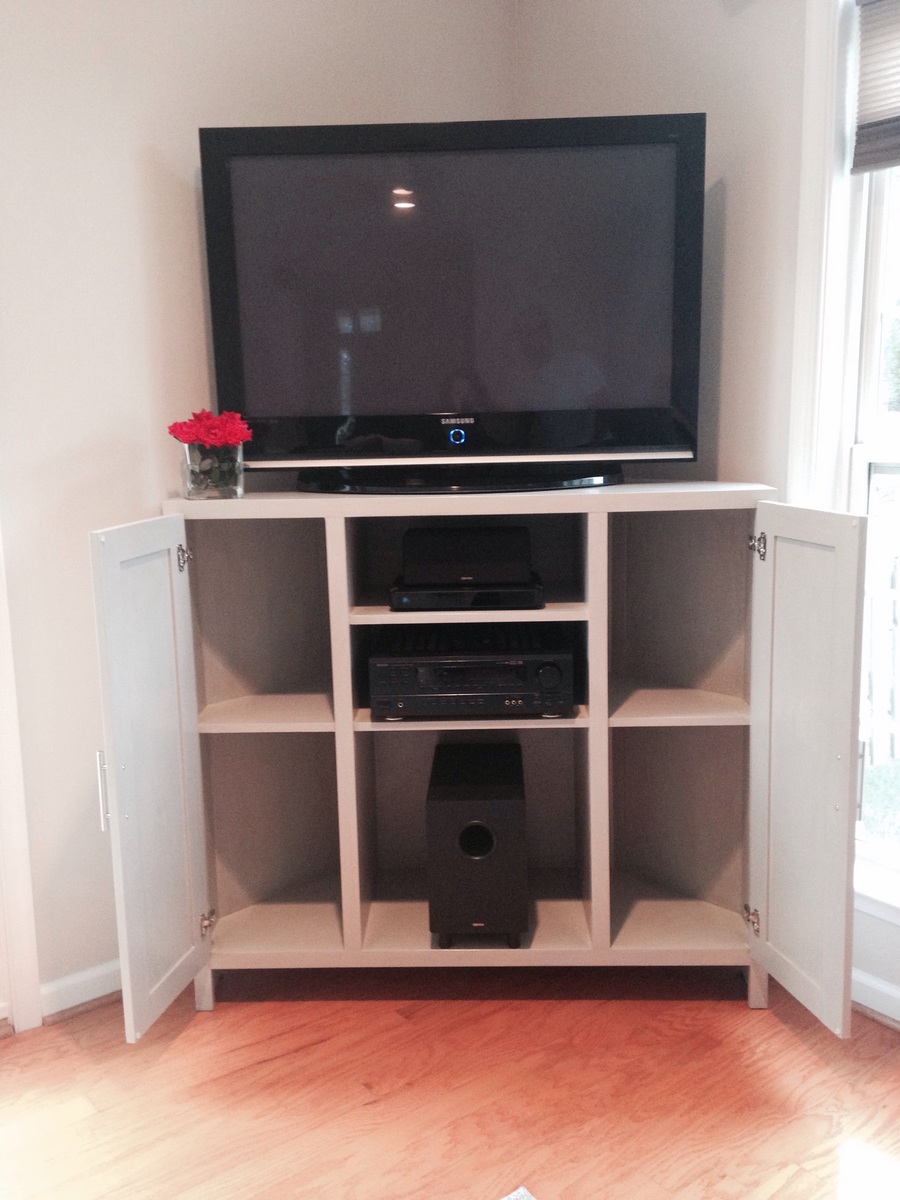
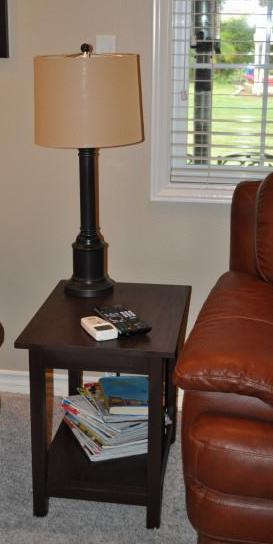
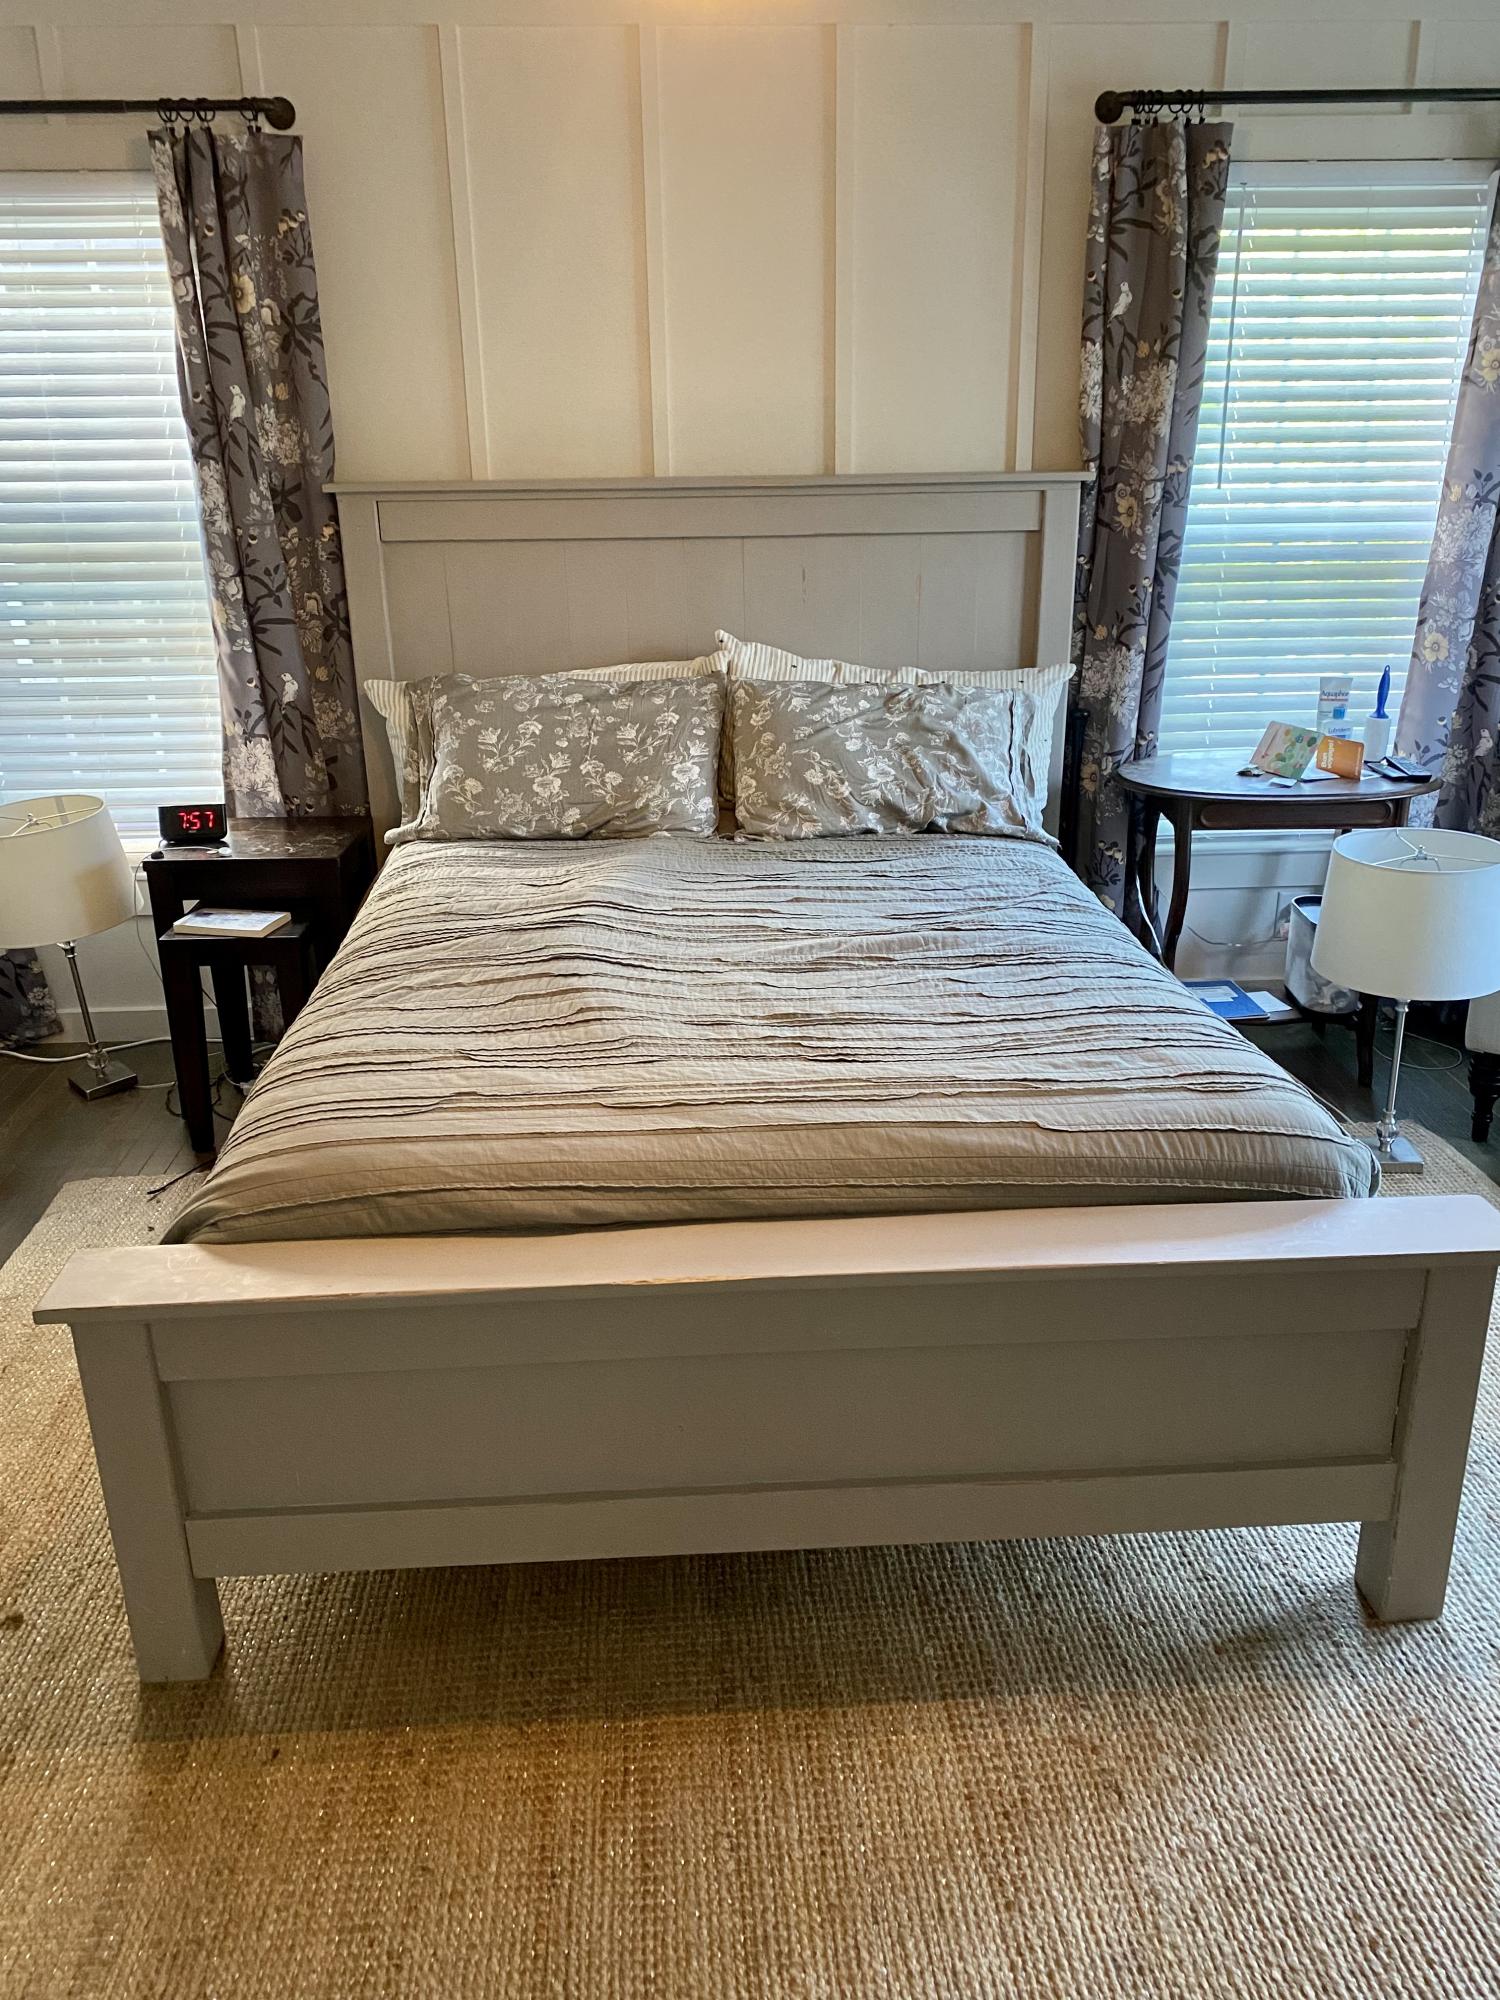
This project held two purposes: Father’s Day and my husband’s shoes/backpack. This was the perfect way to get them off of the floor and into something beautiful!
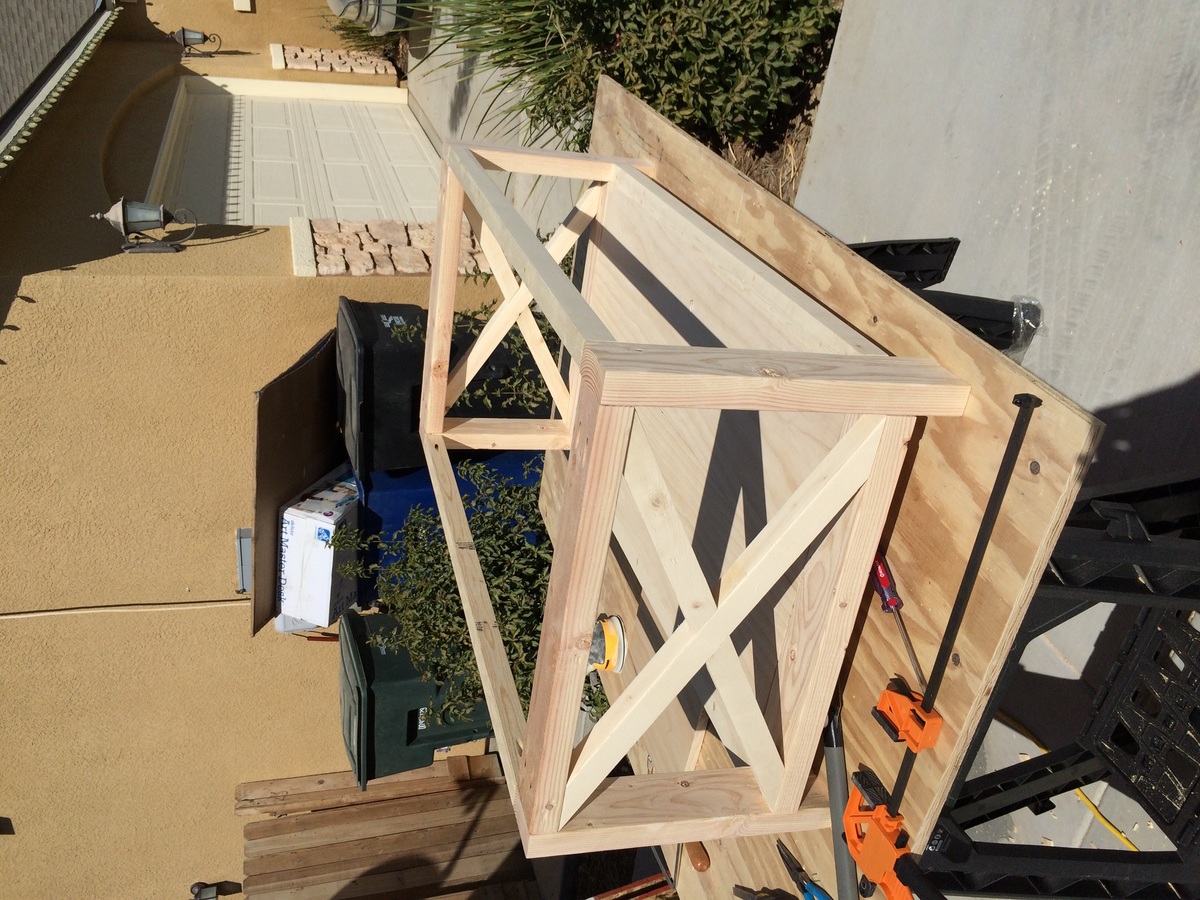
Both of my teenage kids help with different aspects of the build.
I will list what hinges and handles I used after reading all the other posts on this Becca Trunk.
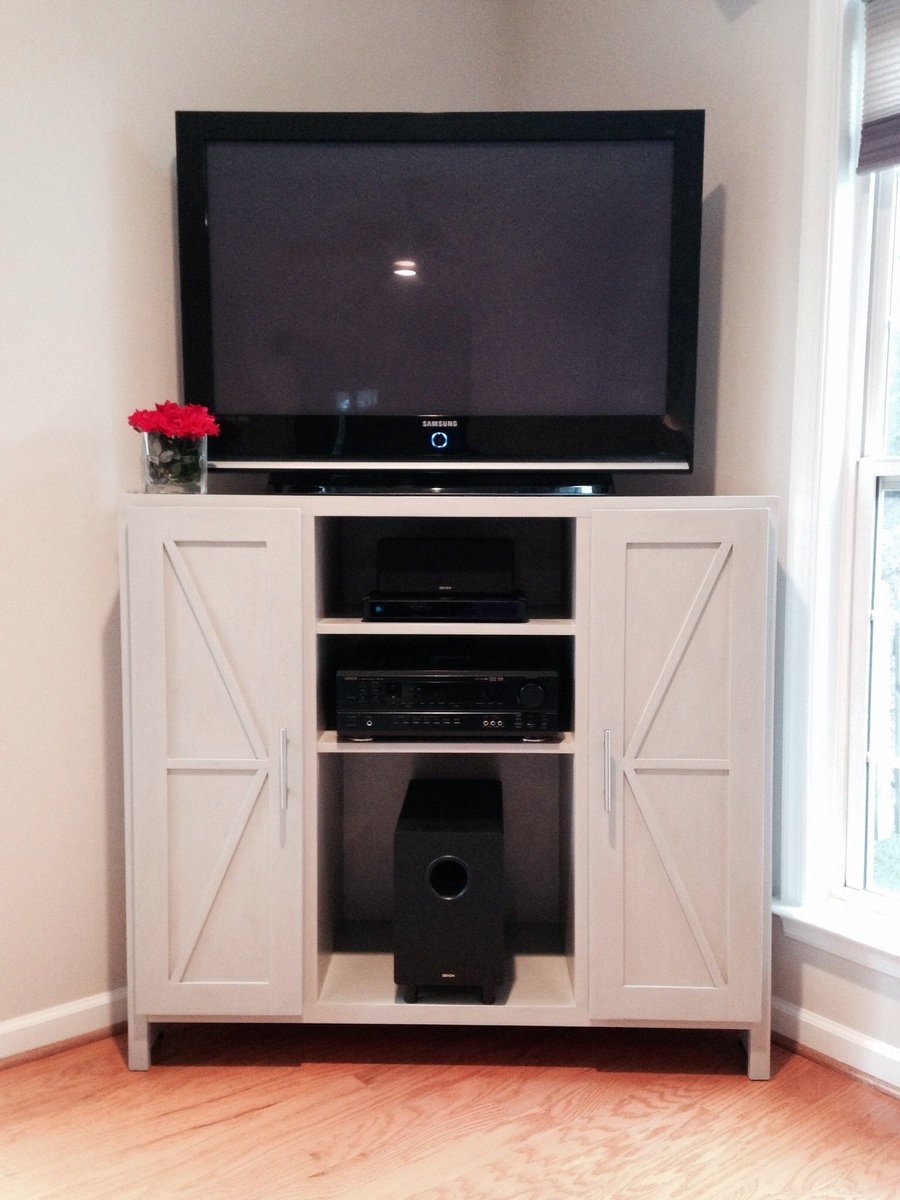
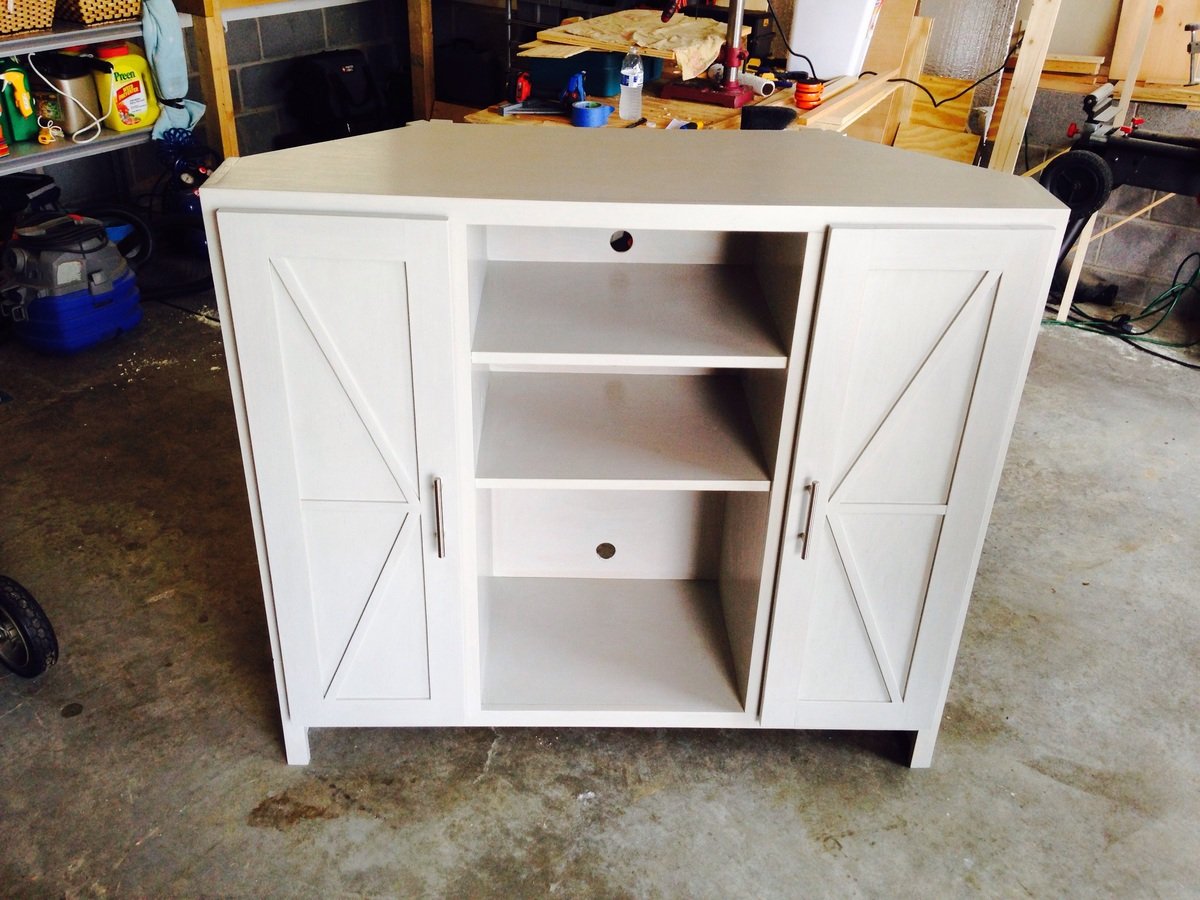
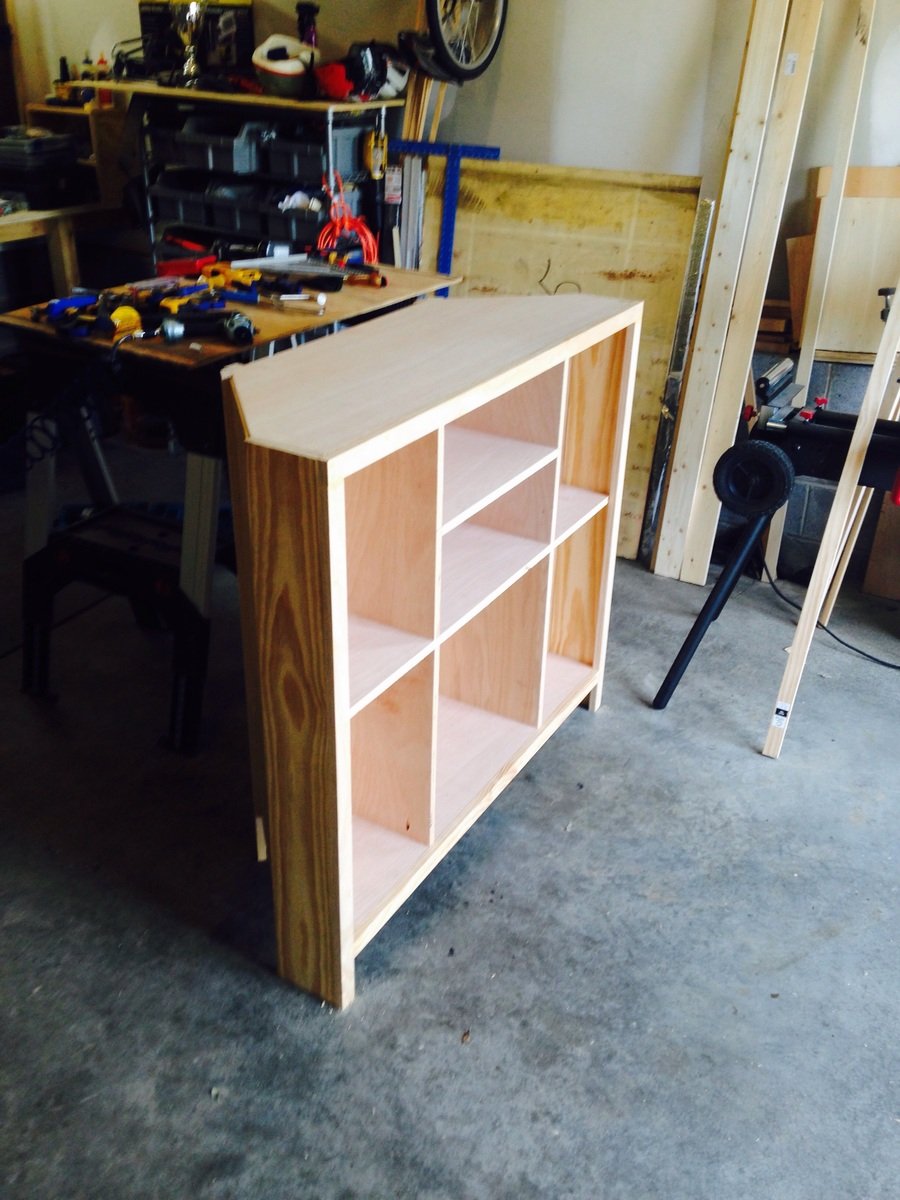
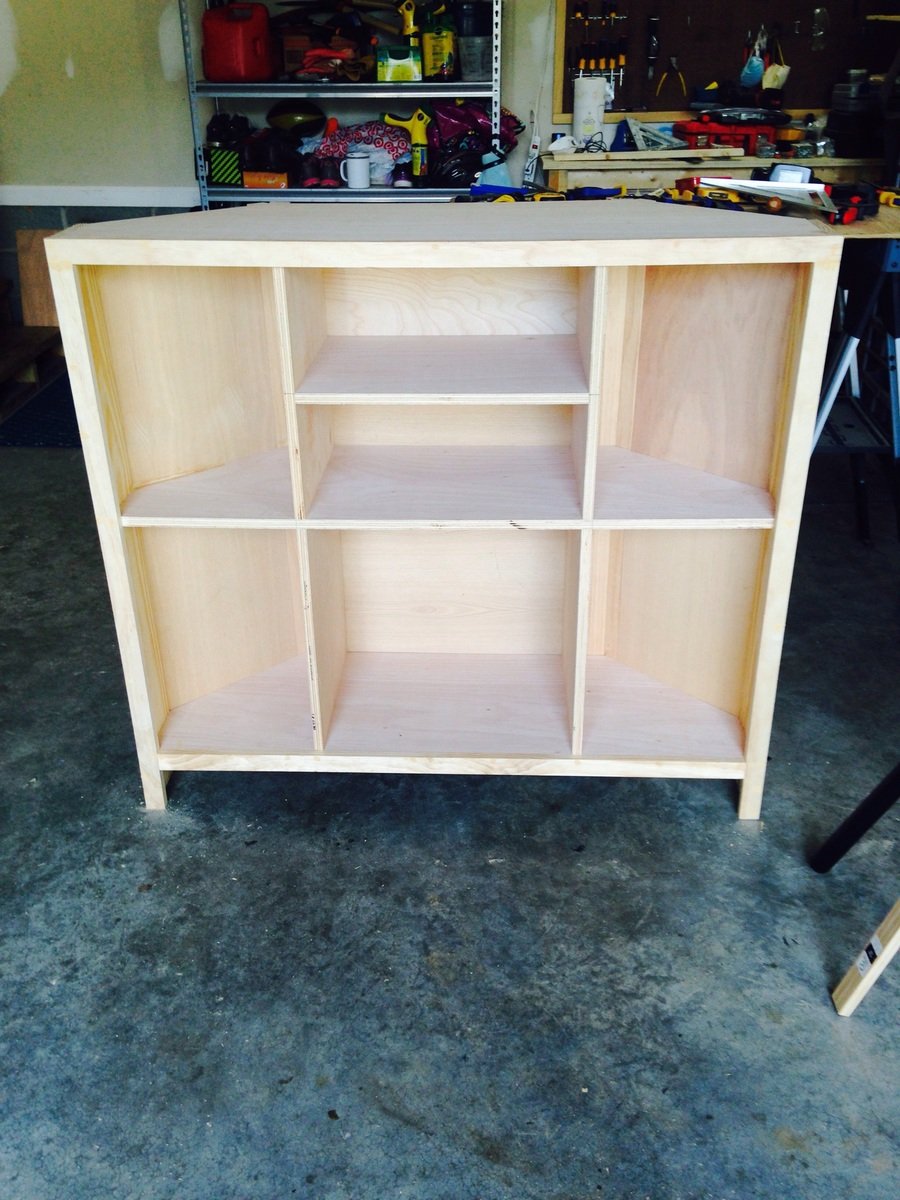
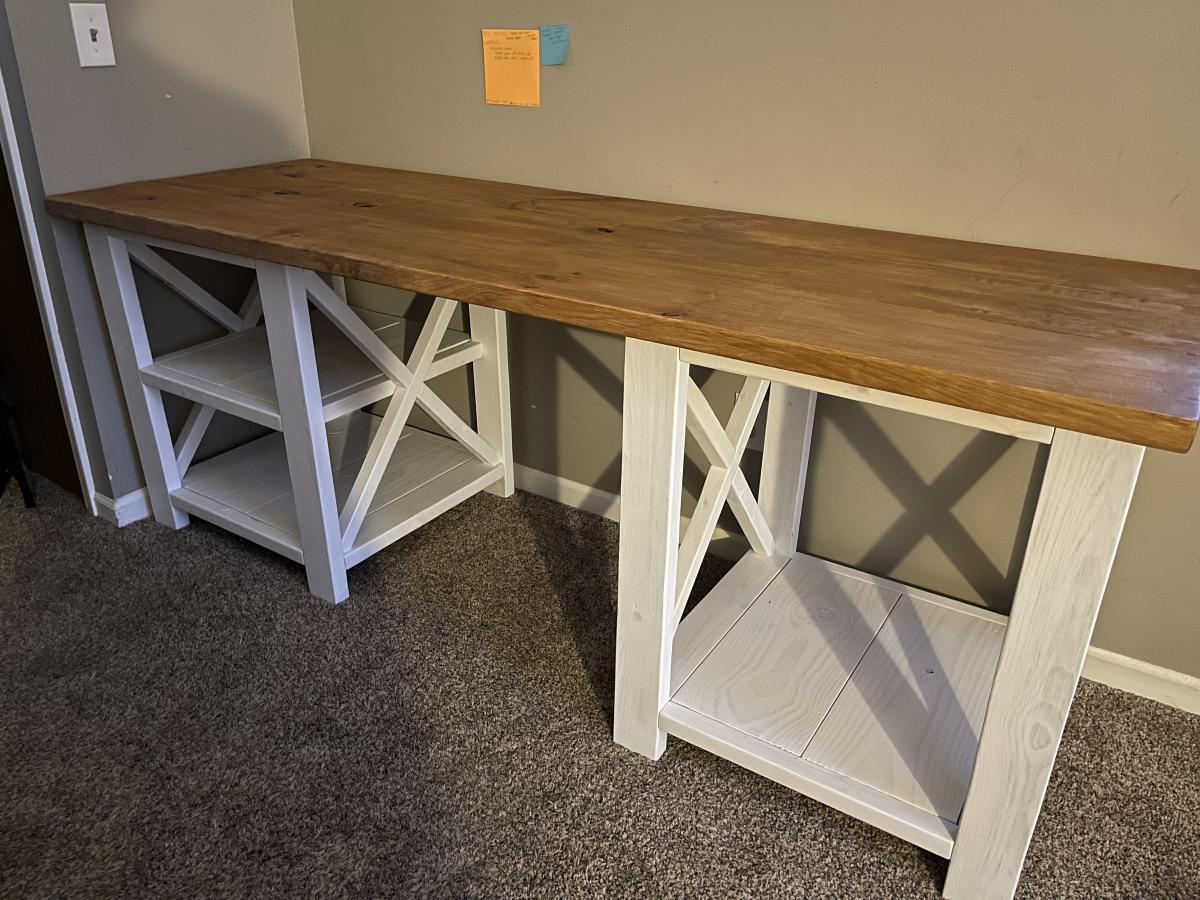
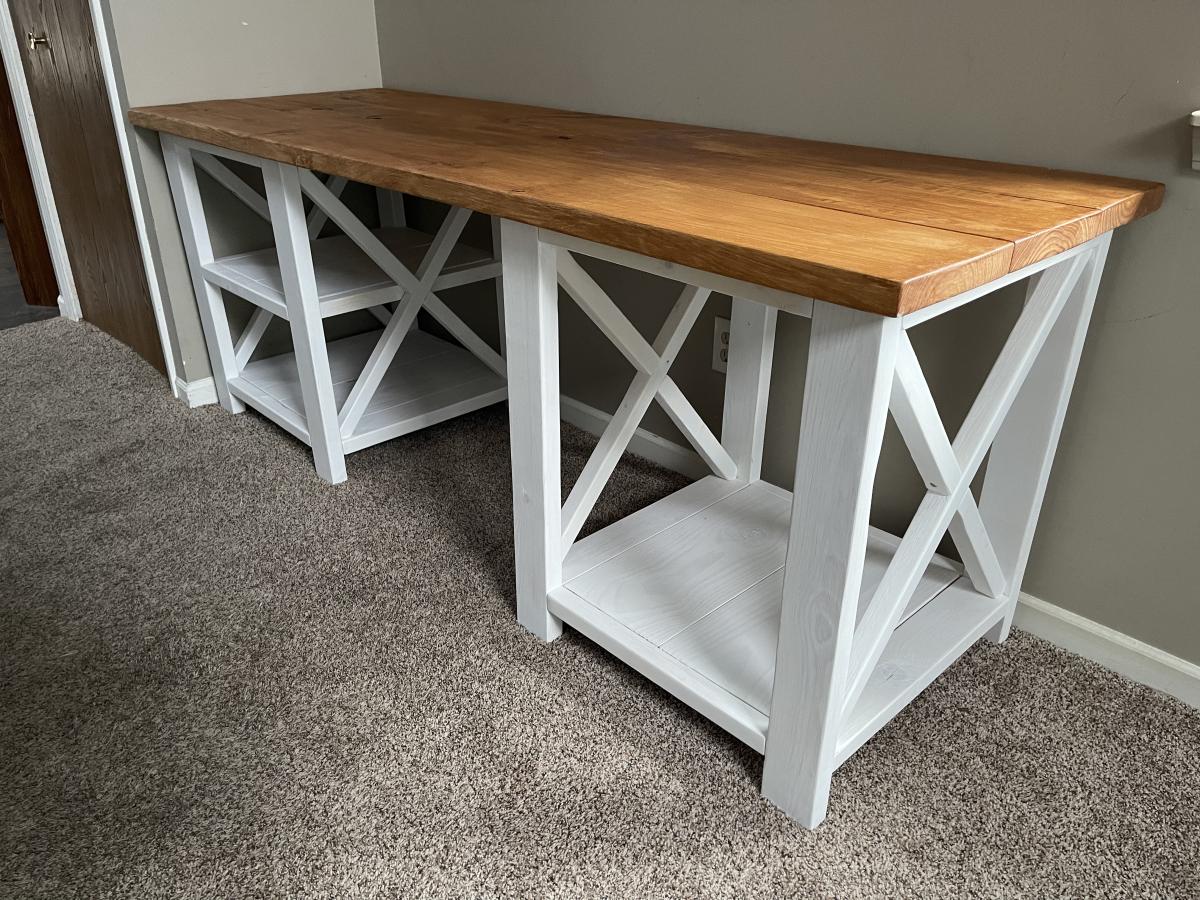
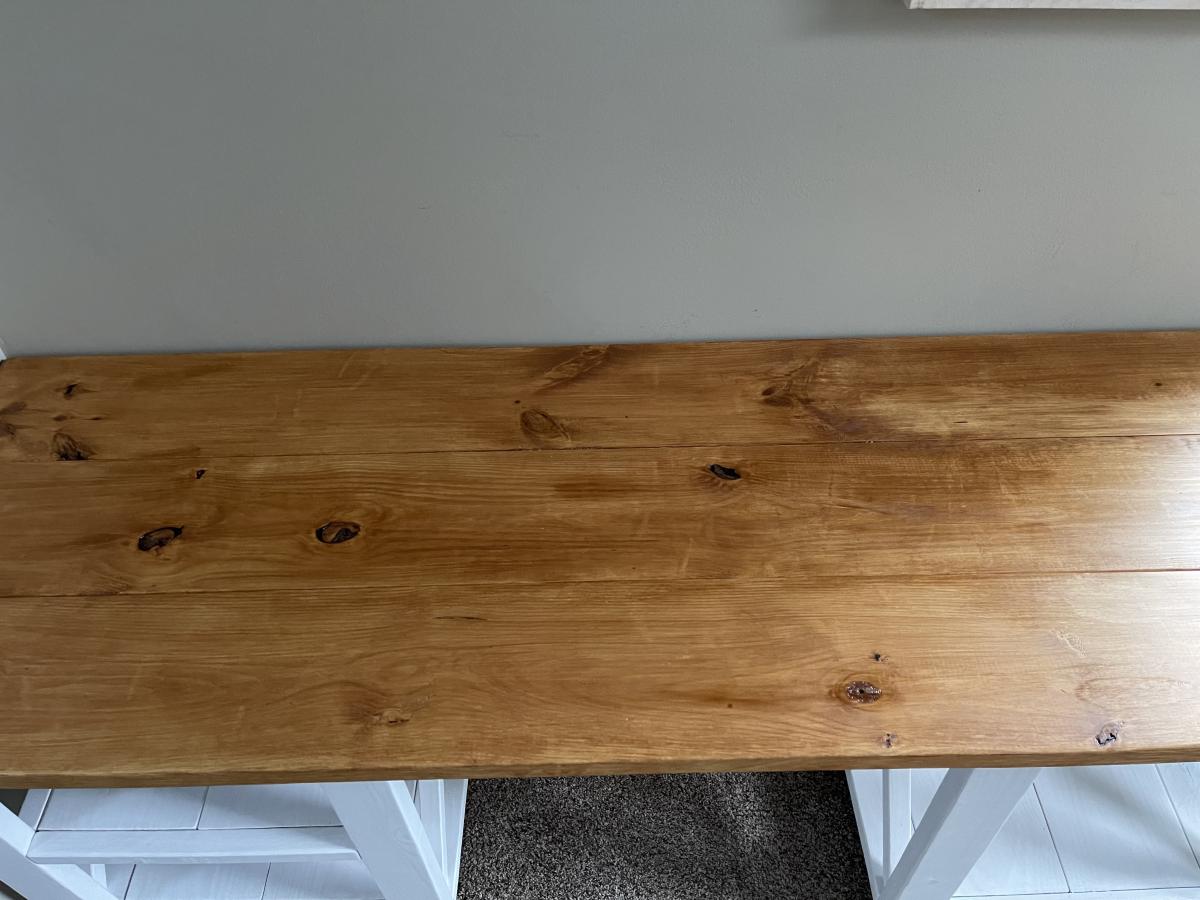
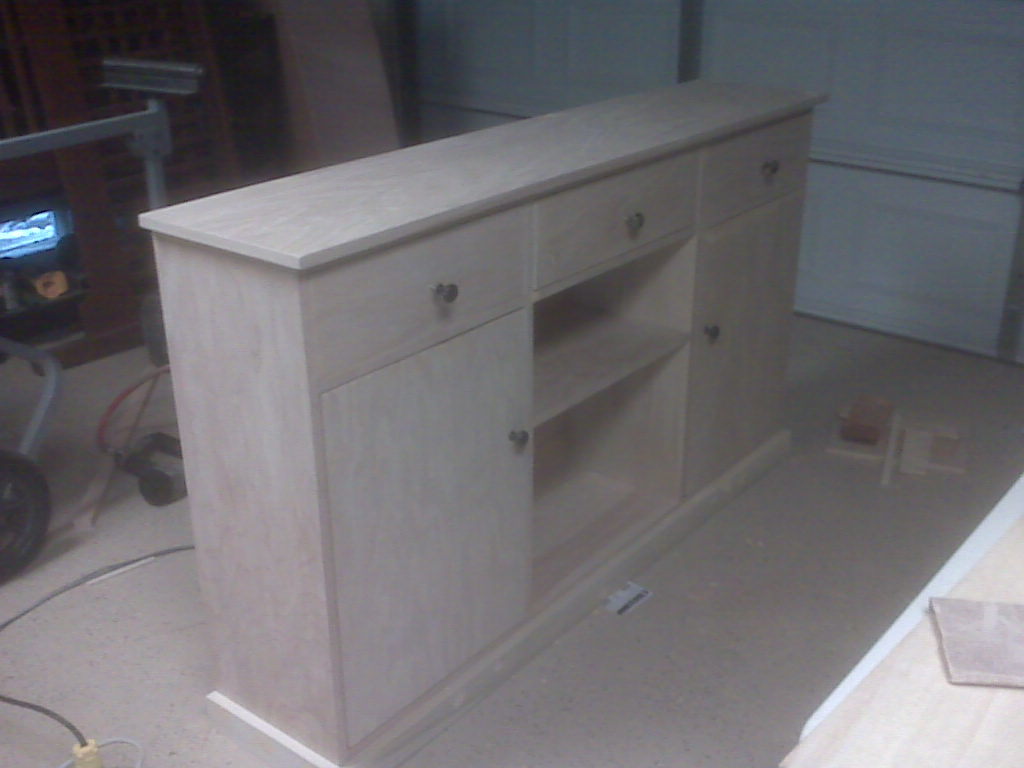
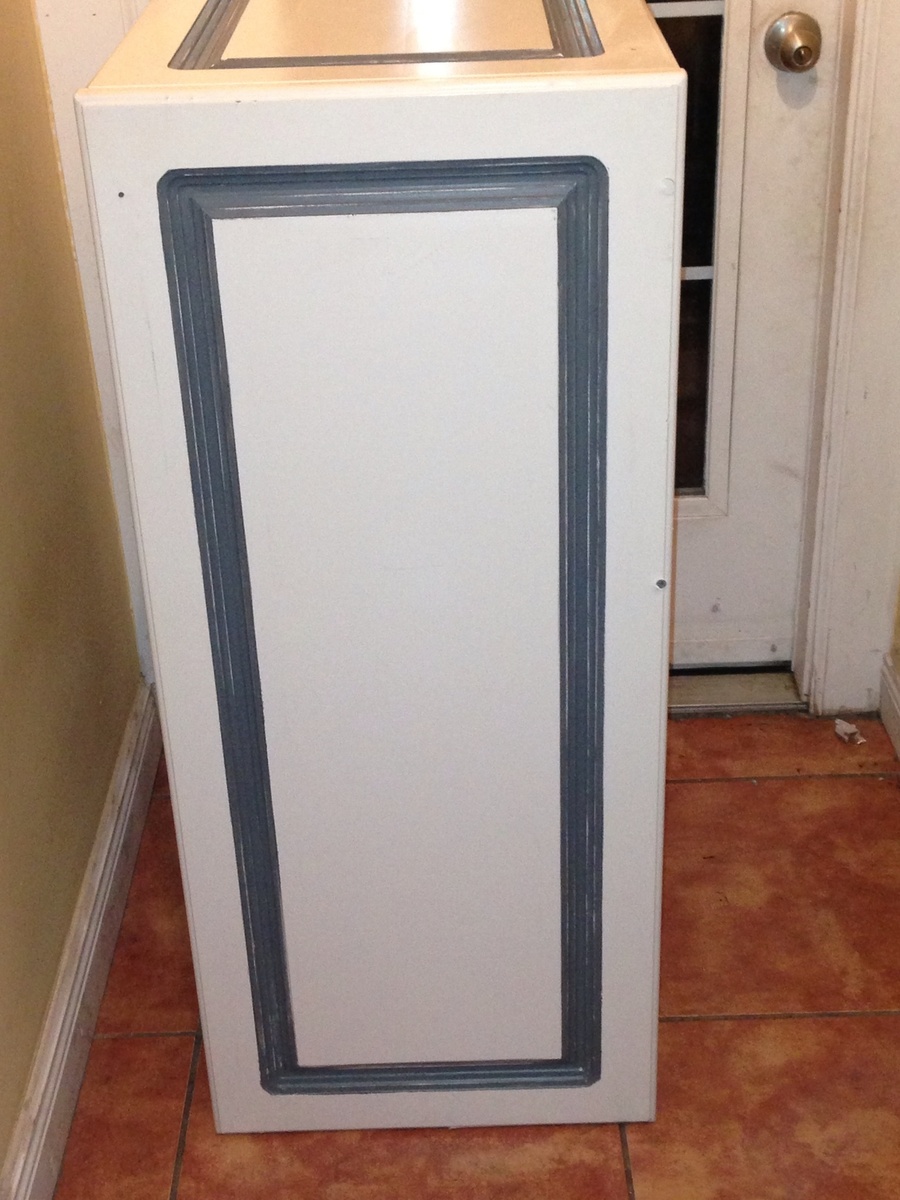
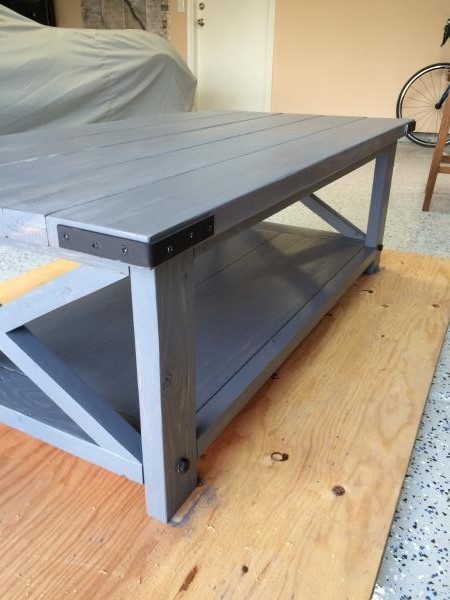
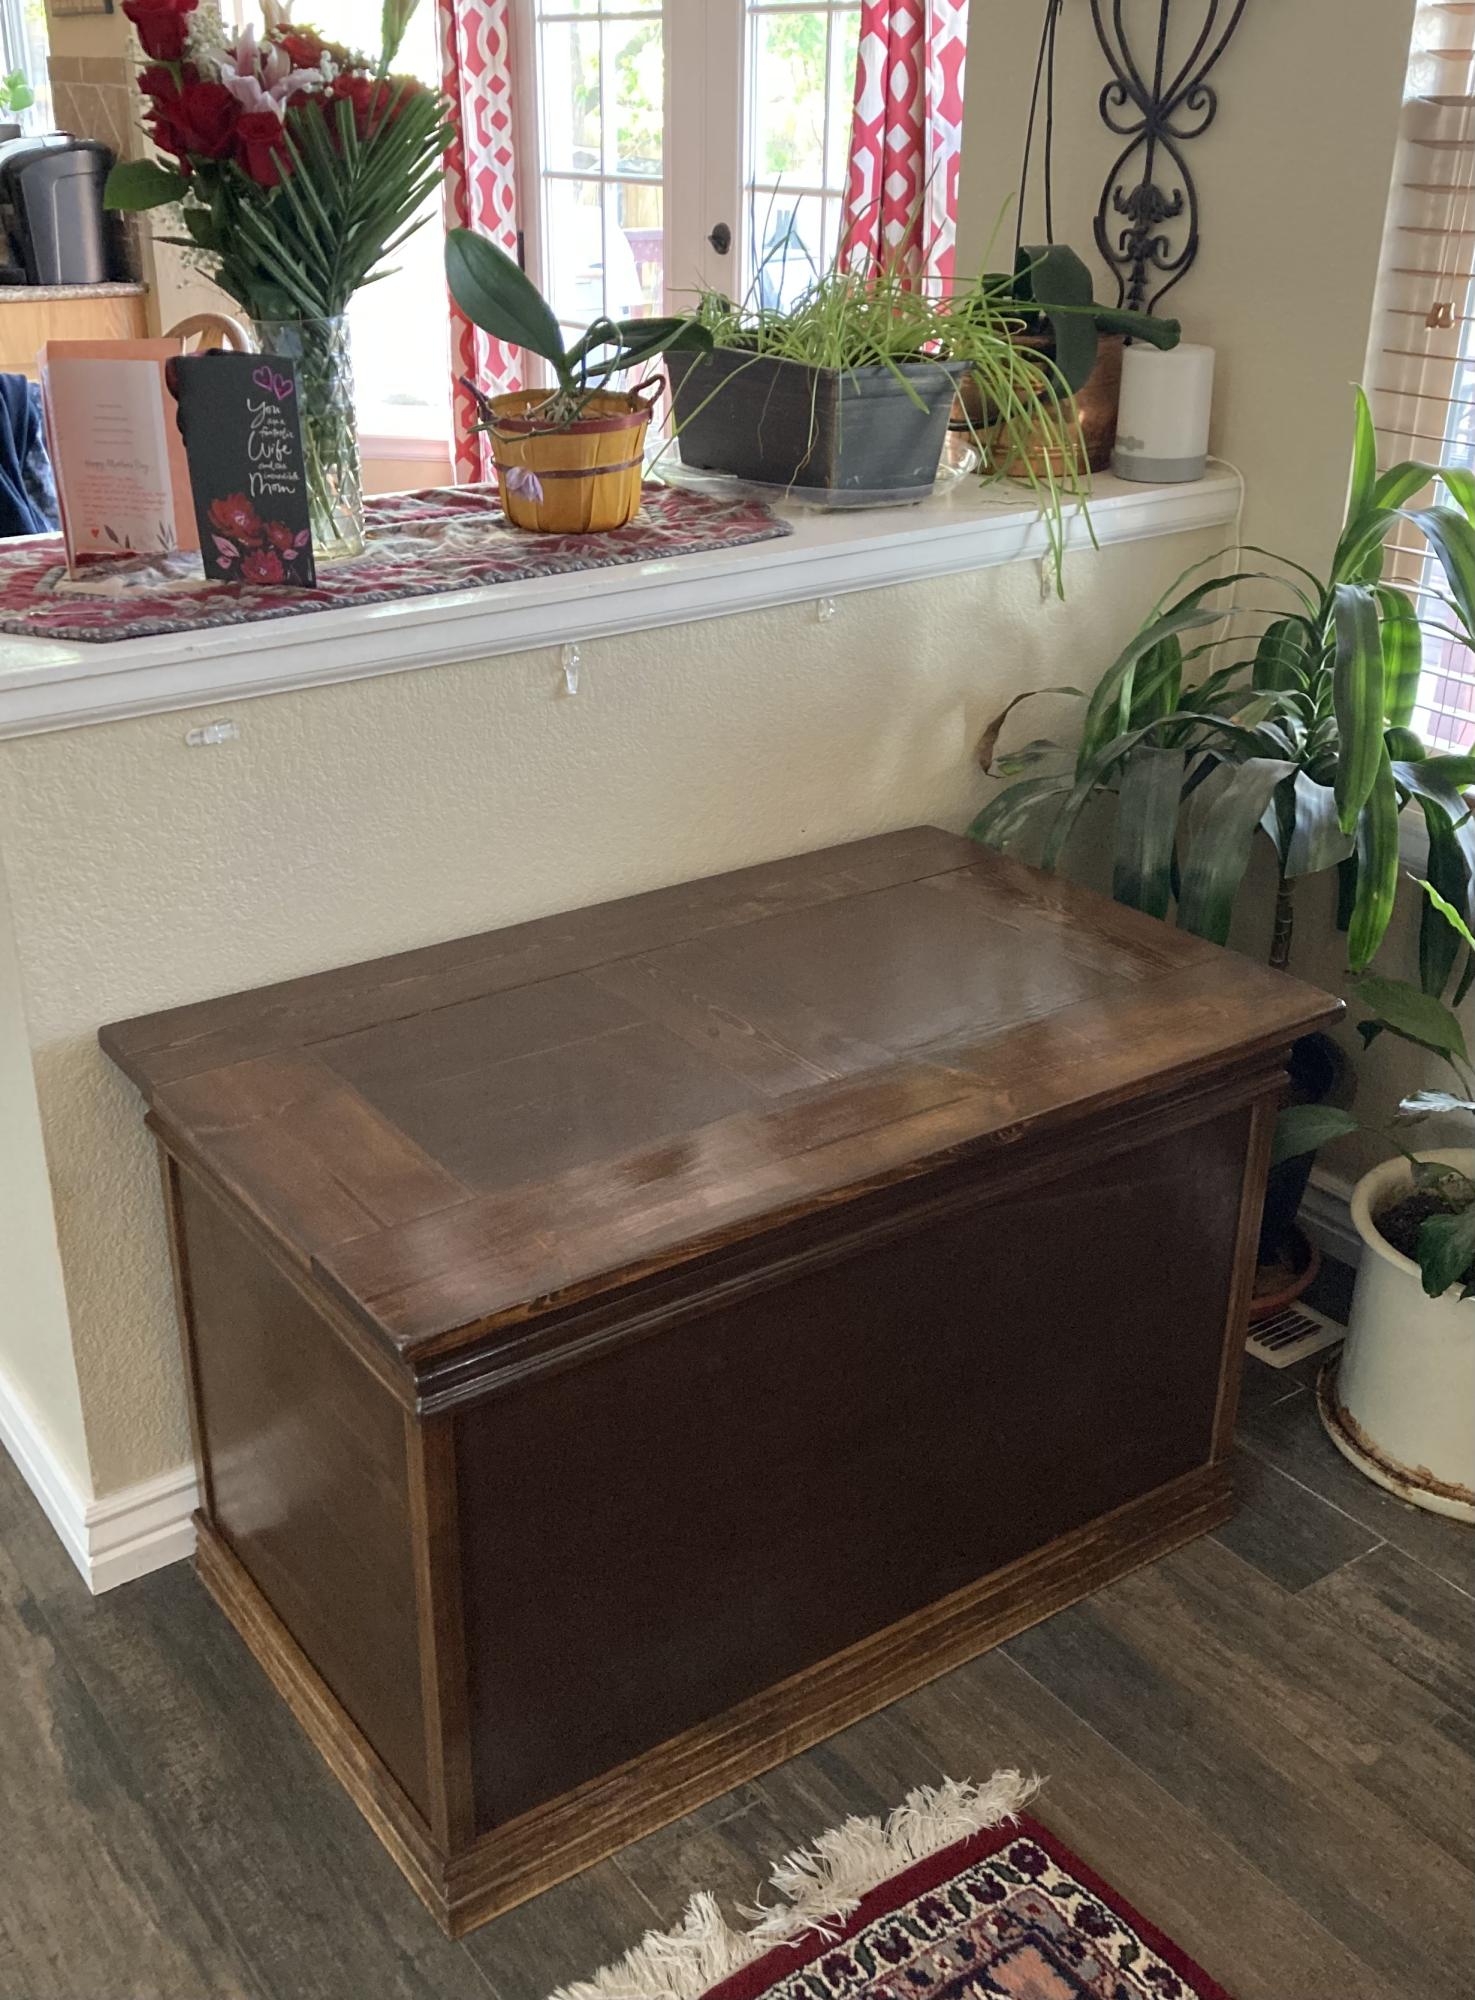
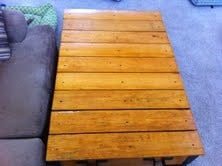
I did make my carcass taller and longer than the plans to hold my husband’s items plus some couch blankets. I have 4 supports on the bottom instead of three. I only used 3/4” hard plywood. I added an inch to each side of the lid, so it was easier to open. There are 2 coats of stain and 2 coats of 3x interior gloss poly made by Varthane on this trunk. I sanded with 320 sandpaper in between each coat of poly.
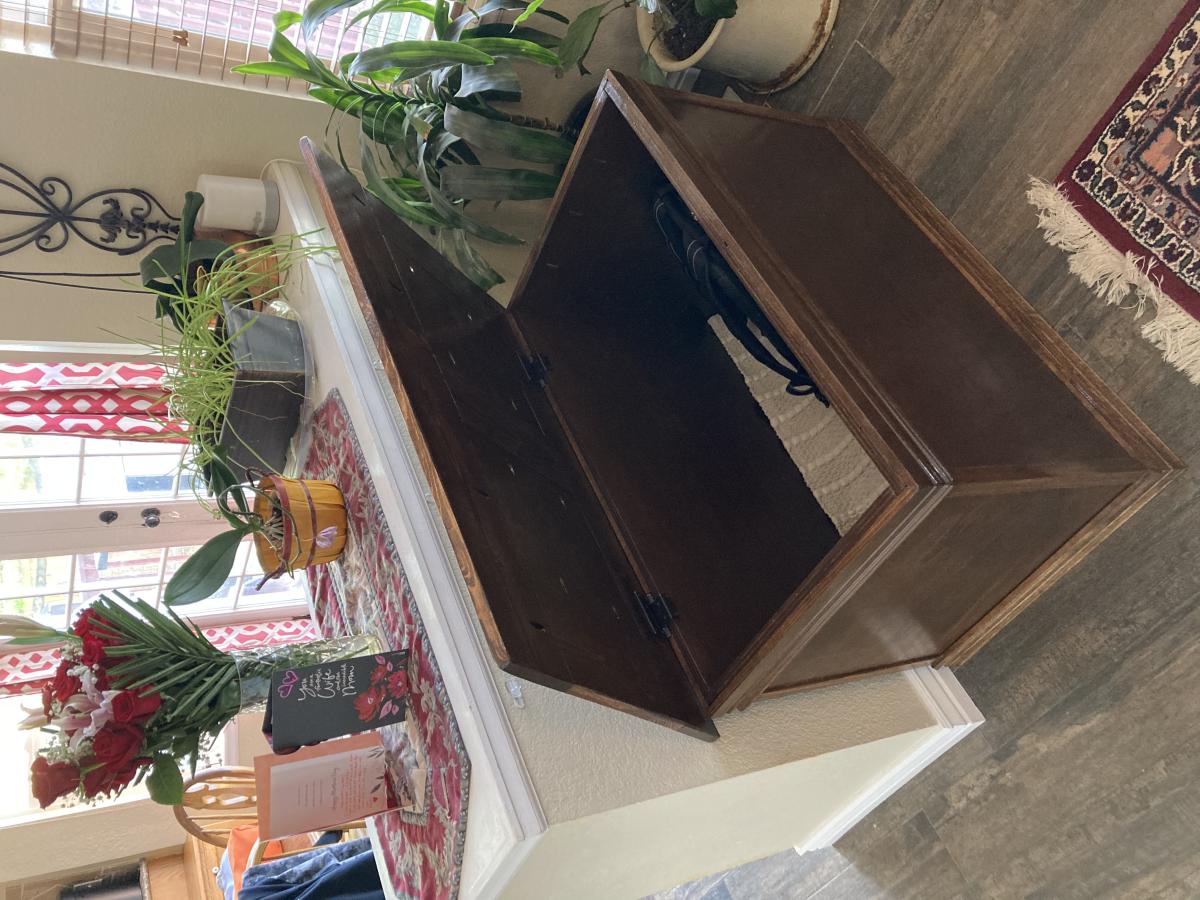
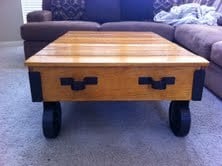
After reading all the posts about hinges, soft closing and looking at each picture, I came up with Torsion Hinges by Rockler. These hold up the lid at all different angles and give a soft close once lowered to a certain point.
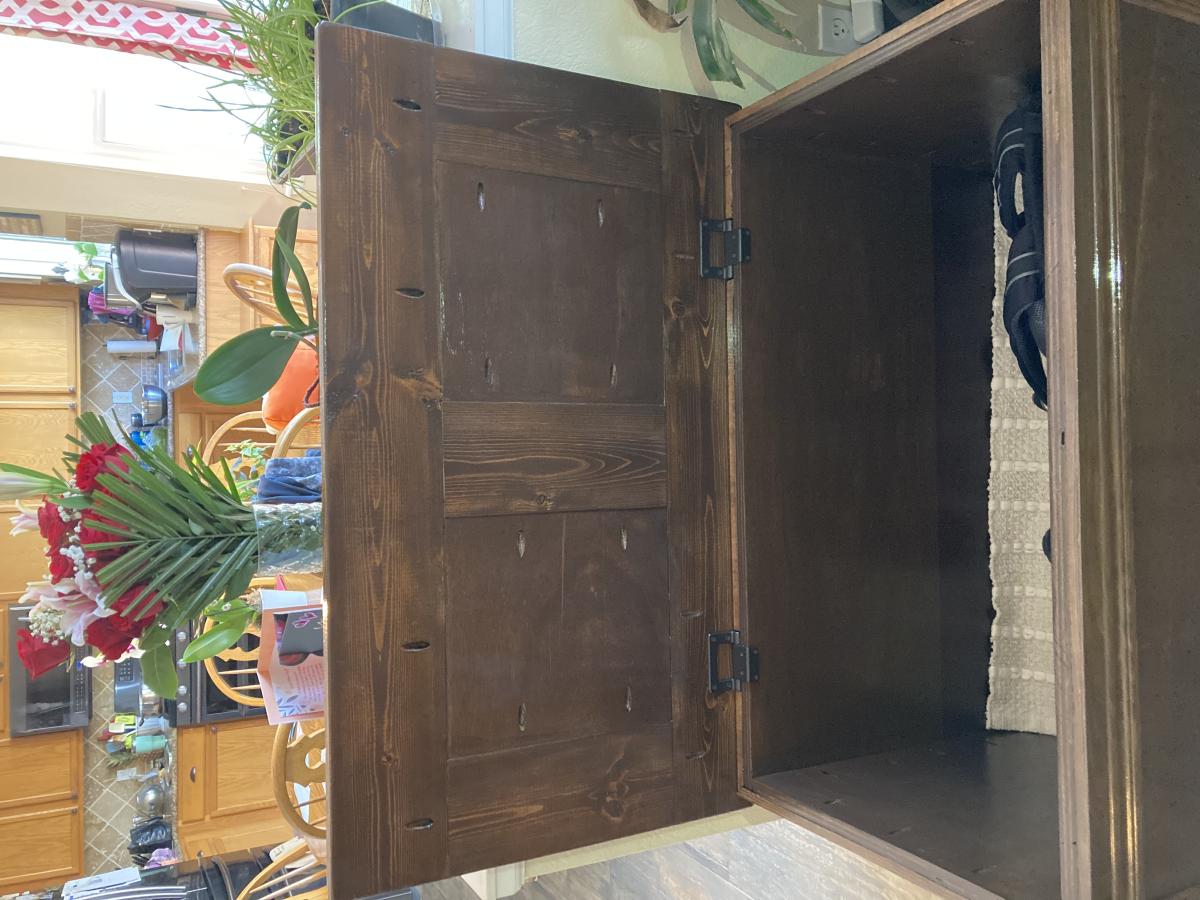
I installed 2 sixty pound bronze torsion hinges with the assistance of their Hinge Jig. That helped me to make my lines and pre drill marks without guessing. Rockler has several videos on them and how to install, plus several on YouTube. I bought them on Amazon for less than the site and sold by Rockler. I did chisel out a small rectangle of the molding and it was easier than I thought. I was so nervous after building it all and now cutting some out of it, but it worked! I did one and my son the other one. The Rockler Jig was very helpful lining all this up. My hinges are 6” in from each side of the trunk. I set the lid in the right spot and drew lines where the hinge jig rest in my chiseled spots. Then flipped it over and lined up the jig again on the lid and knew where my holes were going.
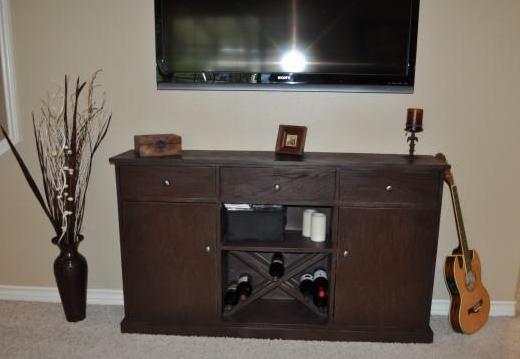
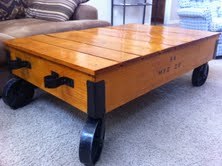
I have just received my 3 set of handles. The others were not chunky enough for the size and the proper look.
Adonai Hardware "Phebe" Antique Iron Drop Pull (Supplied as 2 Pieces per Pack) - Black Powder Coated. I also got these on Amazon.
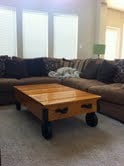
This trunk took time, but it was well worth it. So beautiful and worth it. My husband was so surprised and also knew it was for his shoes/backpack. He appreciated all the detail that went into it and lived that the three of us built it together for him.
Thank you Ana and Shanty 2 Chic for the plans and pictures. They are always so helpful. I have made many of your builds and I am learning from each one. Thank you again.
Blessings,
Jennifer


Comments
jsle_bel
Tue, 07/05/2011 - 08:26
I tried posting on your blog
I tried posting on your blog but for some reason it wouldn’t allow me.
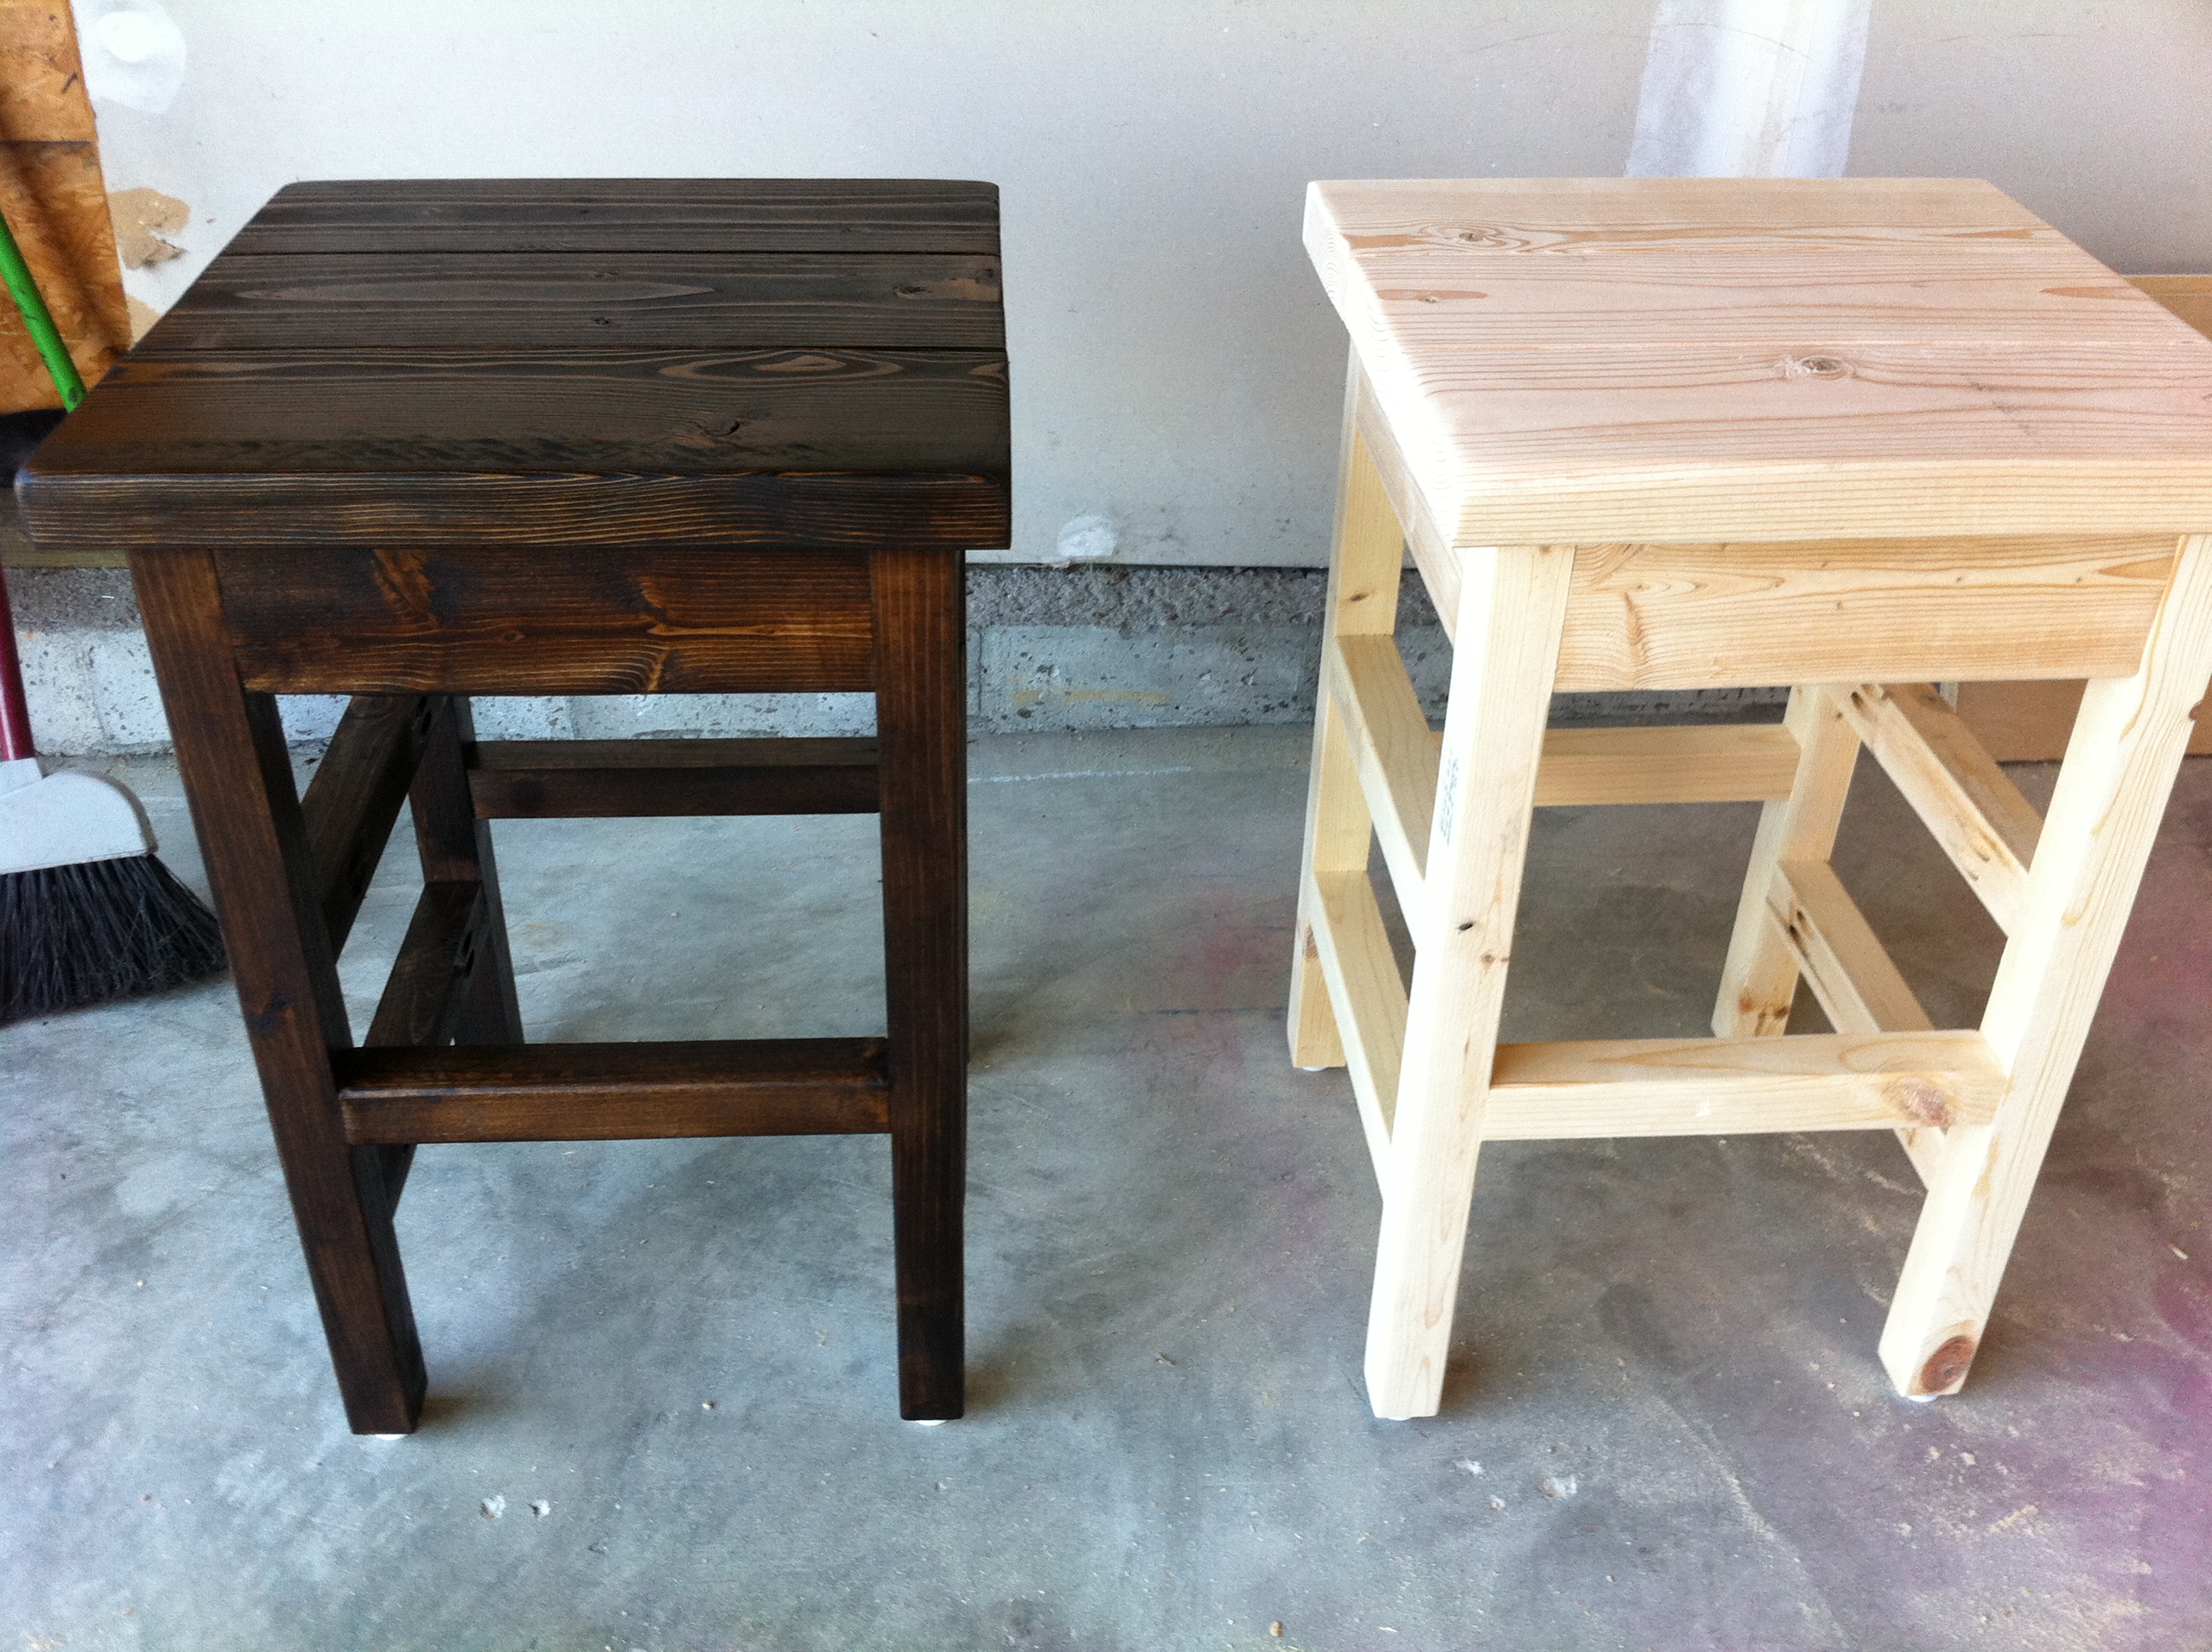
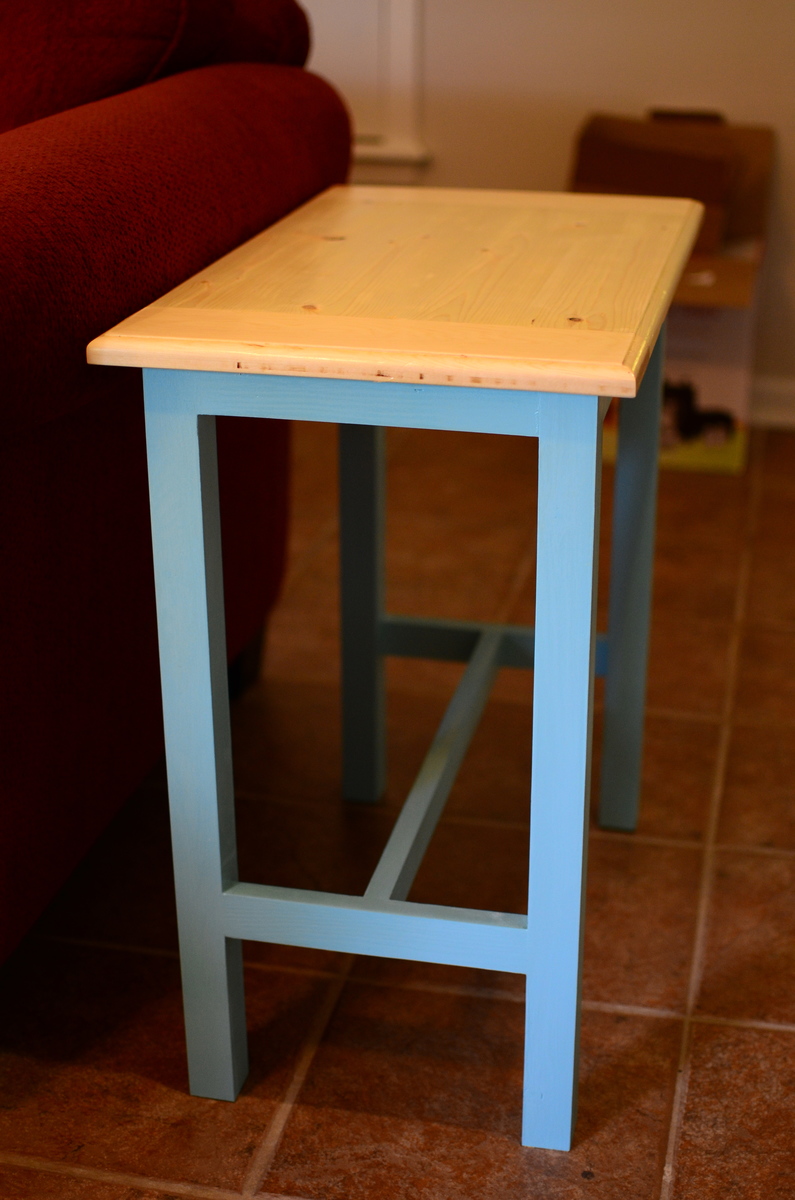
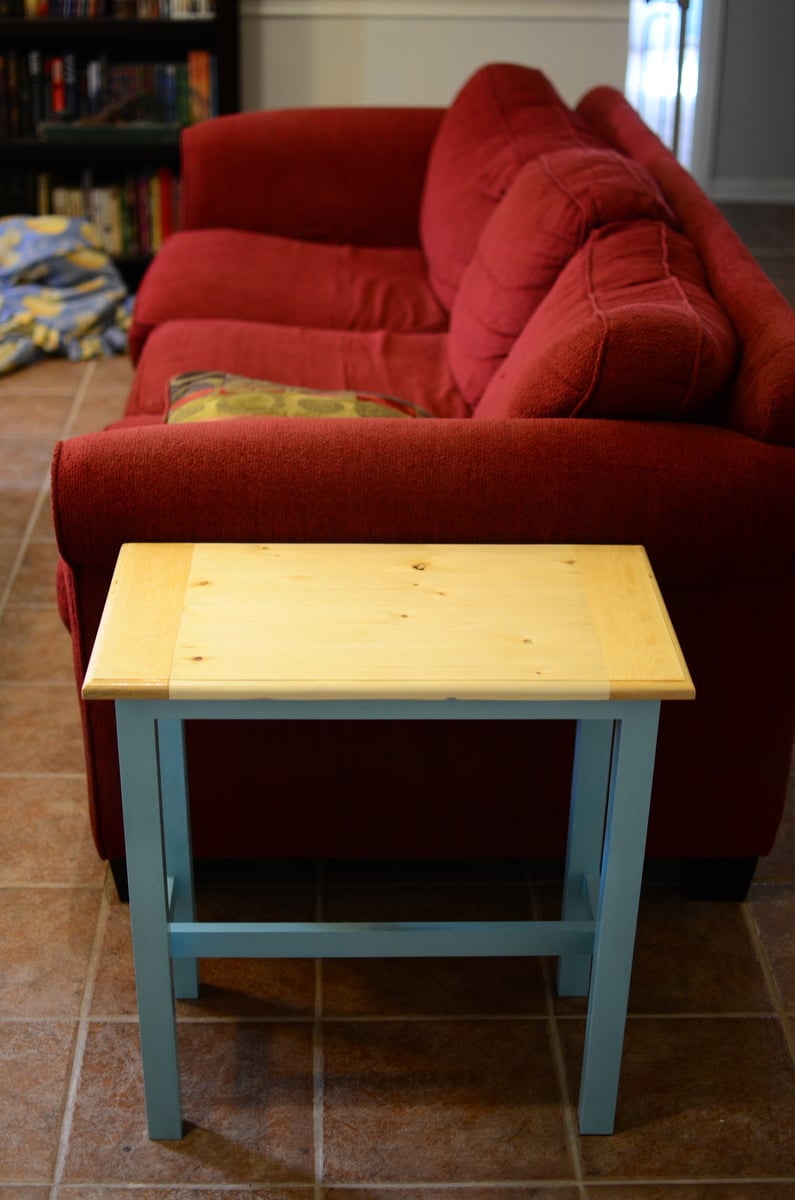
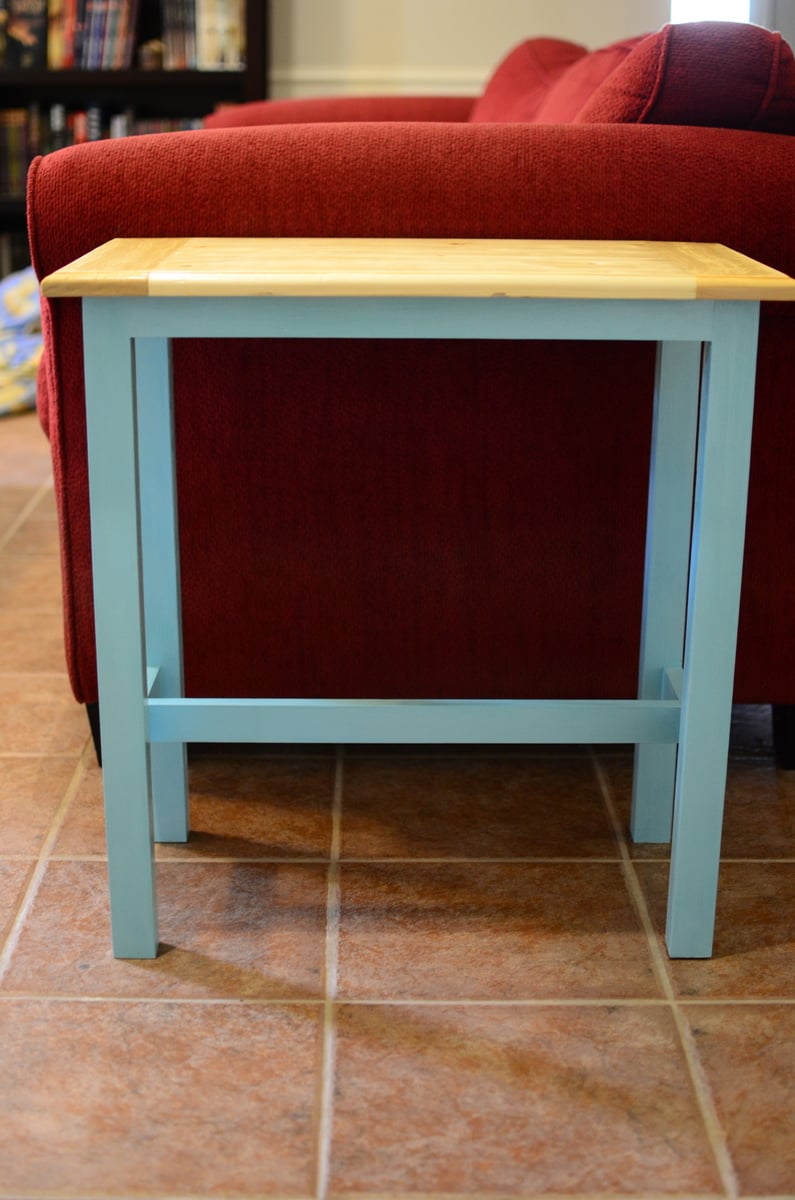
Okay, I seriously LOVE them! I'm in the process of making my own pub table for outside entertaining and was considering altering Ana's stool plans....now no need to! Thanks for posting, I'll just need to lengthen the legs a little and for that reason reinforce it a bit to make them sturdy (I've got three boys and a daughter that can be a rough as the boys). Thanks again and I'll be back to check out future posts. Check me out at: http://laundrywillwait.blogspot.com/
~Jen
In reply to I tried posting on your blog by jsle_bel
The Quaint Cottage
Wed, 07/06/2011 - 18:39
Thanks! Sorry the blog
Thanks! Sorry the blog wouldn't let you post. I'm new to the blogworld and I may not have something set up correctly. I'll share more projects as I complete them. Don't you just love Ana and her website? She is so inspiring. I'll check your site out too. Thanks again and happy building. :)
missy48
Mon, 05/28/2018 - 14:46
Measurements
are the measurements available?
missy48
Mon, 05/28/2018 - 14:48
Measurements
Will you post the measurements