Community Brag Posts

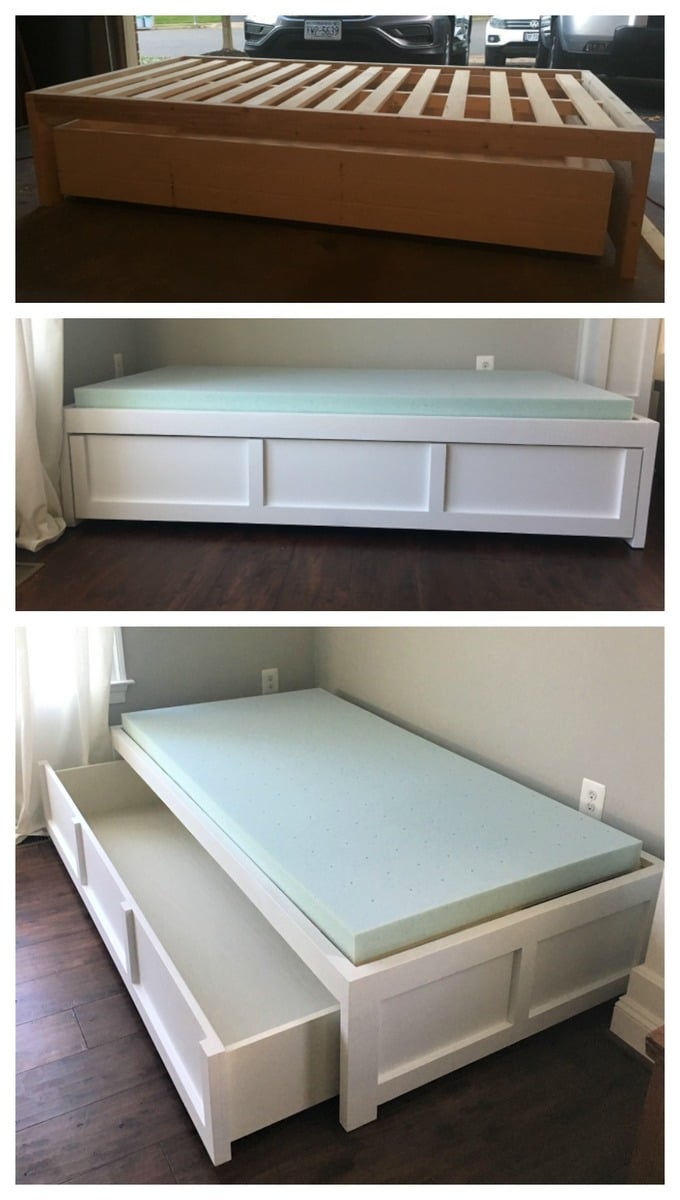
Daybed with Storage Trundle
Submitted by Crafty-Mom on Sat, 01/27/2018 - 10:38

This was my first project from Ana's website and I'm hooked! I'm a beginner, but thank goodness for my Dad's help because I have a lot of learning to do!

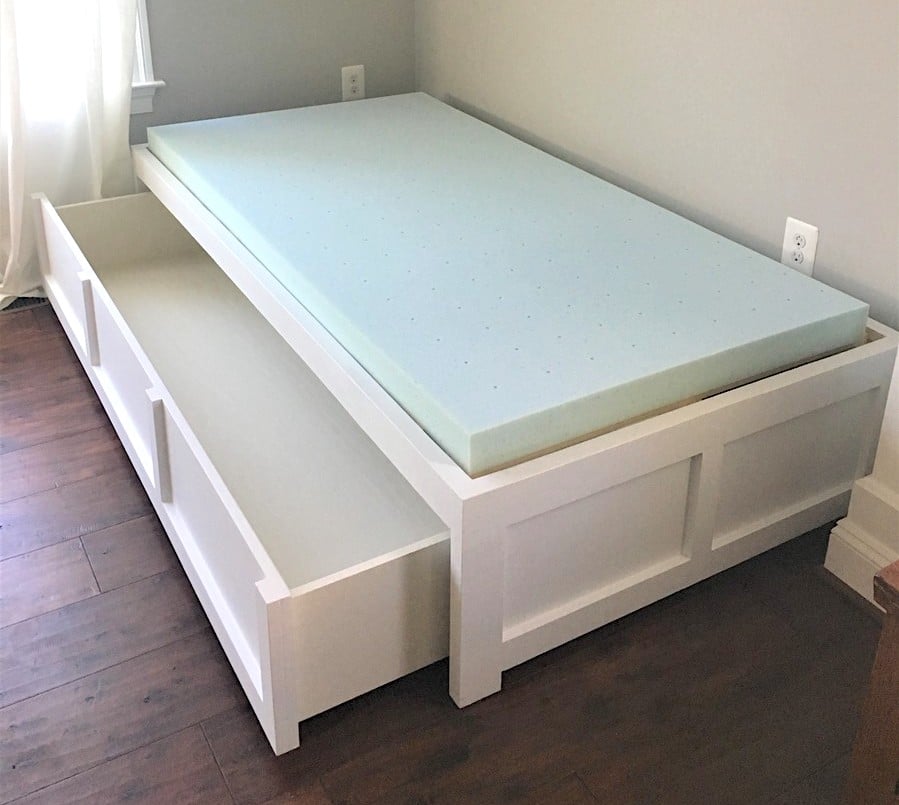
I wanted the drawer to be 1 drawer instead of 3. I feel like it looks cleaner (without having to adjust 3 drawers constantly to make it look good when you push them in). I was thinking the bed could actually be used as a trundle bed in the future too! I use this to store toys right now and it is Awesome!

I increased the bed size to fit a twin mattress and increased the height of the bed slightly so that the drawer would be a little bit deeper. We also added a back to the bed and carried around the trim to make all sides look the same. We added a bumper to the back and sides of the inside of the bed so the drawer is easy to push in and fits in snug. Finally we reinforced the bottom of the drawer with more 1x4 boards so that if a child does sleep in it, it would be more sturdy. I now have kids come over and jump into the drawer (literally) and I'm glad we reinforced it.

The changes we made did add to the cost and our time (as well as being newbies), but I think it's worth it and the bed turned out beautiful!
Estimated Cost
$180
Estimated Time Investment
Weekend Project (10-20 Hours)
Finish Used
Behr Marquee (I'll have to find the name of the white color we used). We almost went with chalk paint, but after talking to the HD guy, he talked me into this paint and I'm glad we used it! So much cheaper and turned out beautiful.
Recommended Skill Level
Beginner

Comments

Nisssc

Mon, 10/12/2020 - 07:51

This looks great! Any suggestion if I want cubbies instead of a trundle? Also, cubbies only on side as bed would be against the wall. Thanks for the inspiration!
Sandy

Outdoor Screen

Submitted by Debi G on Fri, 07/19/2013 - 06:30

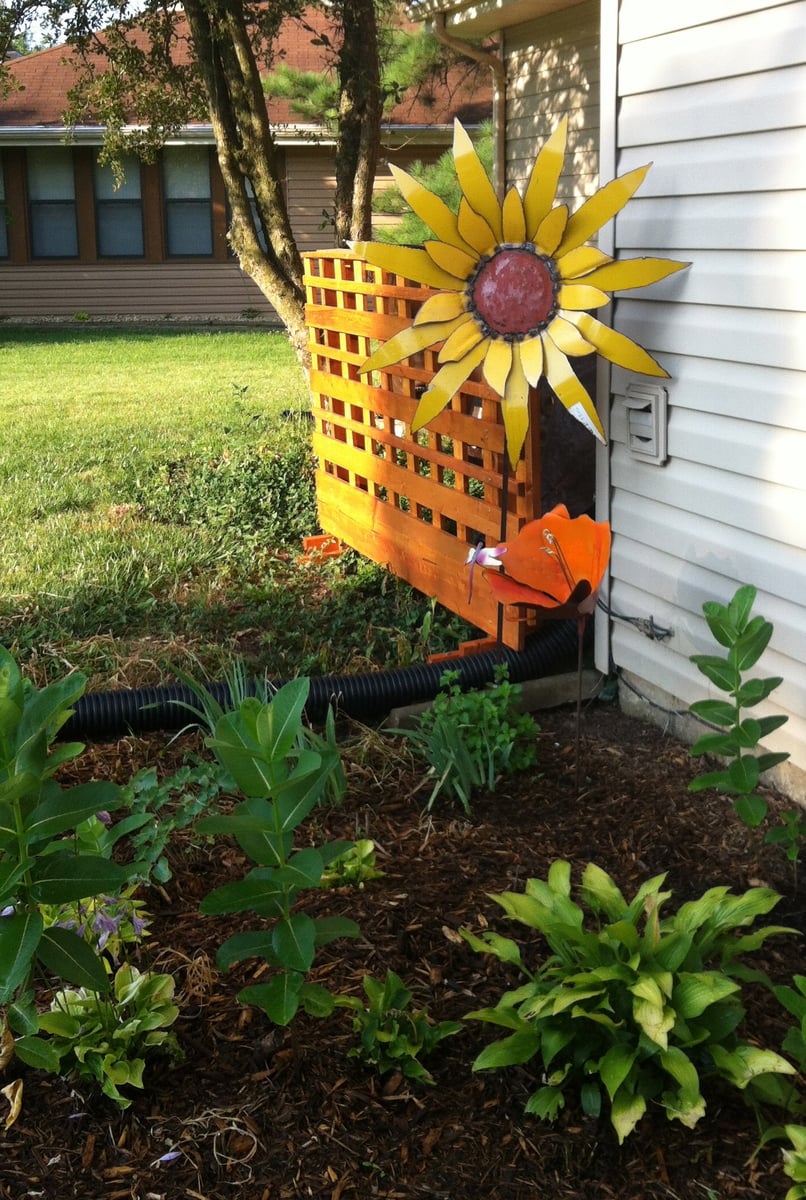
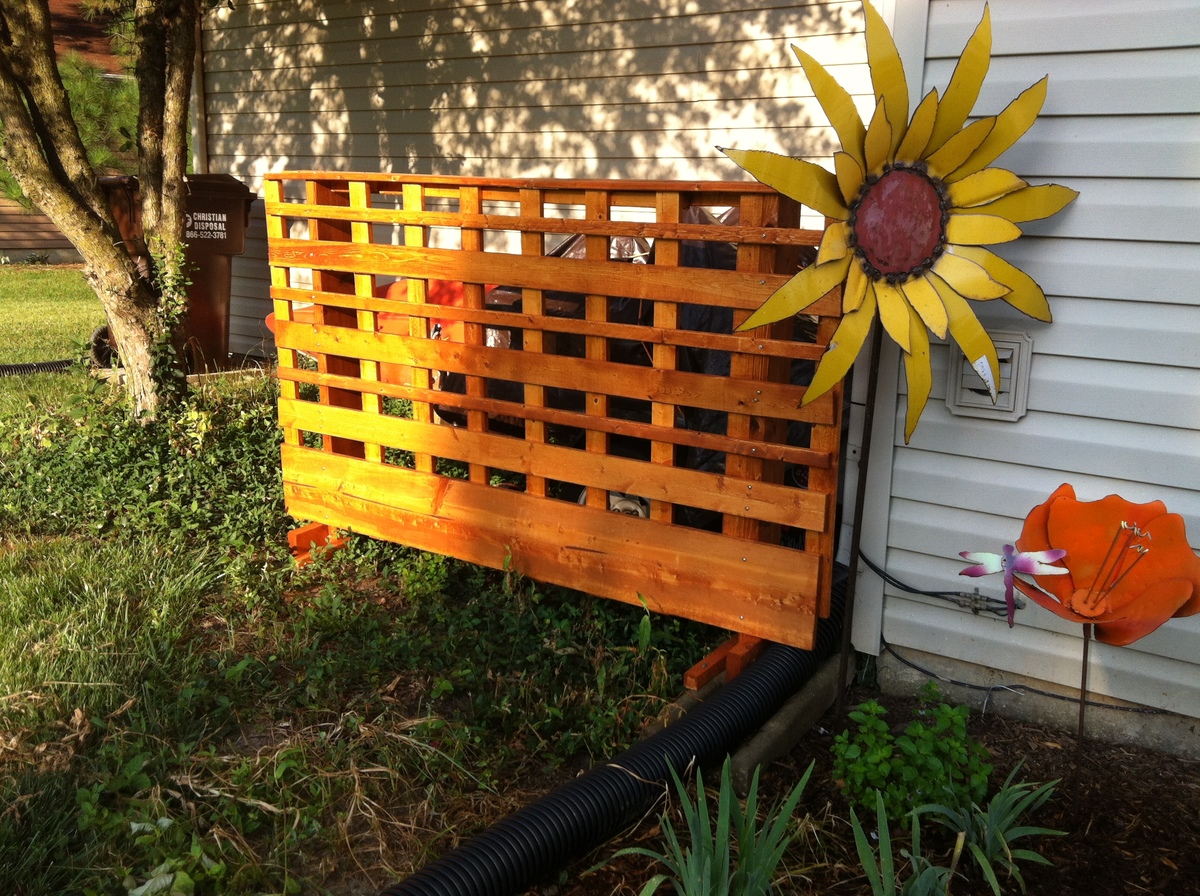
Technically, we are not allowed to store trailers or boats outside of our garage. Since our back yard faces a popular path for runners, pedestrians and cyclists, I came up with this solution and we have not been reported.

The size isn't ideal (peekaboo canoe), but I went with boards I already had. I didn't sketch this out ahead of time, just pieced it together using a 6" board as my vertical guide and a 3" board as my horizontal guide.

Instead of digging post holes, I built it onto feet so that it's free-standing and portable. We can move it any time we need to get the trailer out from behind it.

Next summer, I may put planter boxes on top and build a second panel as well.

Estimated Time Investment
An Hour or Two (0-2 Hours)
Finish Used
outdoor stain with sealer
Recommended Skill Level
Starter Project

Twin over Full with Trundle, storage stairs

This project took a week to build.  Working during my boys' nap time and late nights, I was able to complete everything in about 7 days.  I used cedar, and sealed with Cabots Bleaching Oil.  The cost of wood for the beds and stairs and drawers came to about $700.  The extra cost came from the additional side rails on the top bunk and the stairs and drawers.  Still comes in about $500 less than if bought commercially.  The famiy loves the bed and as my kids are 2 and 3, I expect to get many years out of the bunk bed.  Side note:  I had to add quite a few brackets and angle joists to secure and minimize wobble due to the additional weight of the top bunk.  (2 2x4s from the 4x4 to the side of the cleat and side rail of the bottom bunk, on the back side only, made a world of difference)

Estimated Cost
$700
Estimated Time Investment
Week Long Project (20 Hours or More)
Finish Used
Cabots Bleaching Oil
Recommended Skill Level
Intermediate

Comments

Ms.Bungalungalow

Mon, 12/11/2017 - 14:28

Hey there, I absolutely love your bed. The $700 scares me a little but i will not be using cedar. I will be doing everything else just like you. Thanks for sharing.


Reading Nook turned Tent!

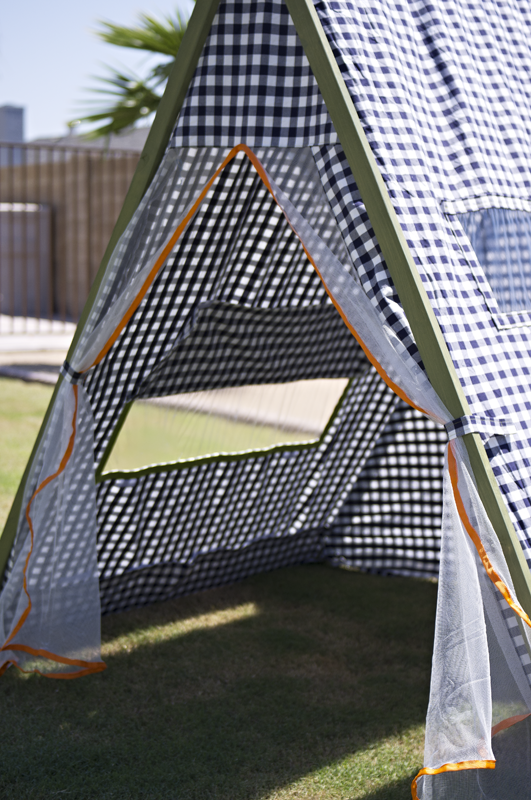
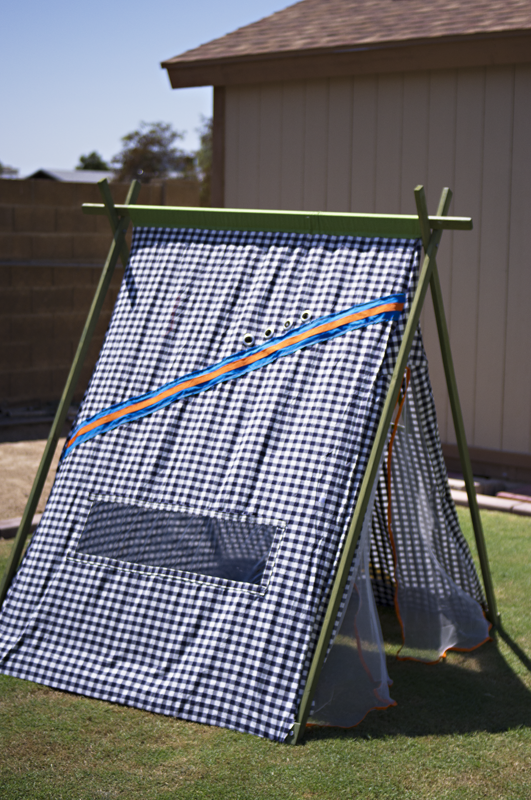
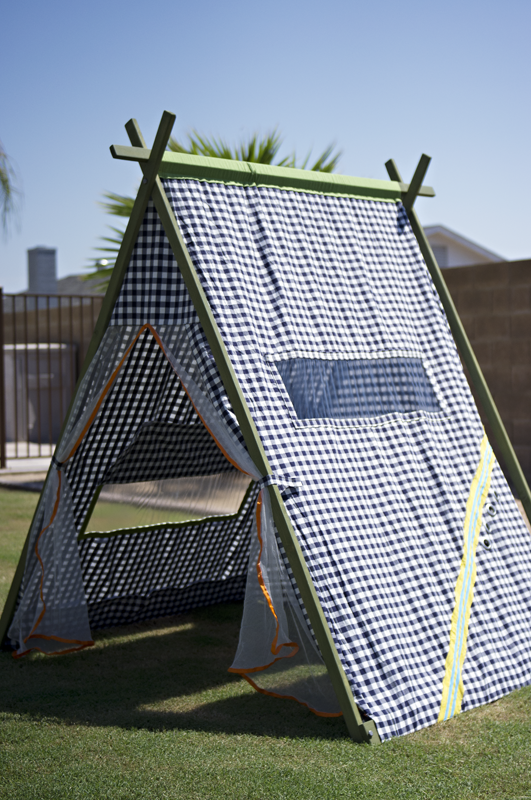
I made this for my boy who's turning four tomorrow! (Sep 1st) He loves building forts and I don't mind rearranging the furniture, but set up and clean up is so time consuming, we'd both rather spend more time playing. This is an indoor tent, but I took it outside for pictures. Aside from the obvious difference of adding doors and a back, the changes I made from the original plans are: using an 8 foot 1x3 so the tent is 4 feet deep instead of 3. Instead of stapling the fabric on the 1x3s at the bottom, I wrapped the fabric around and used velcro so I could remove it for washing. I sewed a tube of fabric and attached it at the top to make removal easier. Time Investment is so long because of the sewing involved for the tent. If you have an Ikea near you, they've got this stuff called glaze paint (more of a stain, I think) in all different colors - it doesn't need a top coat (unless you want it shiny), it's solvent free and, are you ready? $6 for 12.something ounces, MORE than enough for this project. To make it even easier if you're using fabric instead of curtains like me and you've got the room, cut a 8ft 1x3 in half so you've got two 4ft pieces. Most quilting cotton at fabric stores is 44-45 inches wide selvedge to selvedge (the ends that don't fray) and if you follow the plan according to where to drill for the top bolt, you'll need 4-4.25 yards of fabric, depending on whether you are going to use velcro or staple. I would use 4.25 if using velcro, the fabric can go right over the top bar and over the other side if you don't want to sew a tube like I did. If you don't want to sew at all, use iron-on hem tape on the cut edges and iron on velcro. Make sure of placement of the velcro before ironing on. More pictures on my blog =)

Built from Plan(s)
Estimated Cost
$50 - wood, bolts, stain, material for tent (everything)
Estimated Time Investment
Weekend Project (10-20 Hours)
Finish Used
Green Ikea glaze paint
Recommended Skill Level
Intermediate

Comments

Kitchen Cabinet

Submitted by rjustice21 on Thu, 09/26/2013 - 09:18

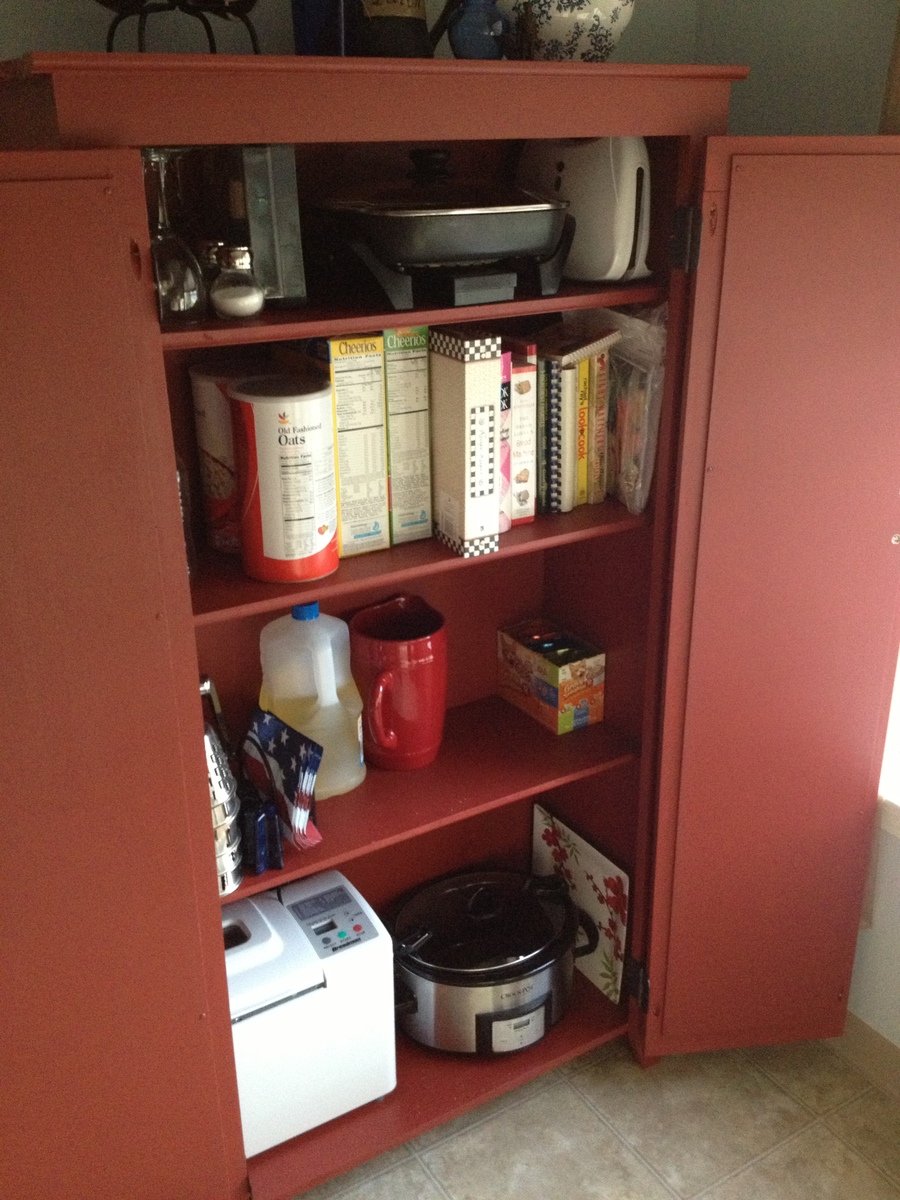
My wife and I needed space in our kitchen to store various items. This cabinet works perfectly for that purpose.

Built from Plan(s)
Estimated Cost
$100
Estimated Time Investment
Weekend Project (10-20 Hours)
Finish Used
Dark Red paint. I am not sure of the name.
Recommended Skill Level
Beginner

Comments

mybartmart

Fri, 09/27/2013 - 21:17

That paint colour is beautiful. As is the pantry, very well done. I wish you could find out the name and brand of the colour. It is stunning.

mybartmart

Fri, 09/27/2013 - 21:17

That paint colour is beautiful. As is the pantry, very well done. I wish you could find out the name and brand of the colour. It is stunning.

Chelsea Bunk Bed System

Submitted by steasck on Wed, 01/01/2014 - 14:36

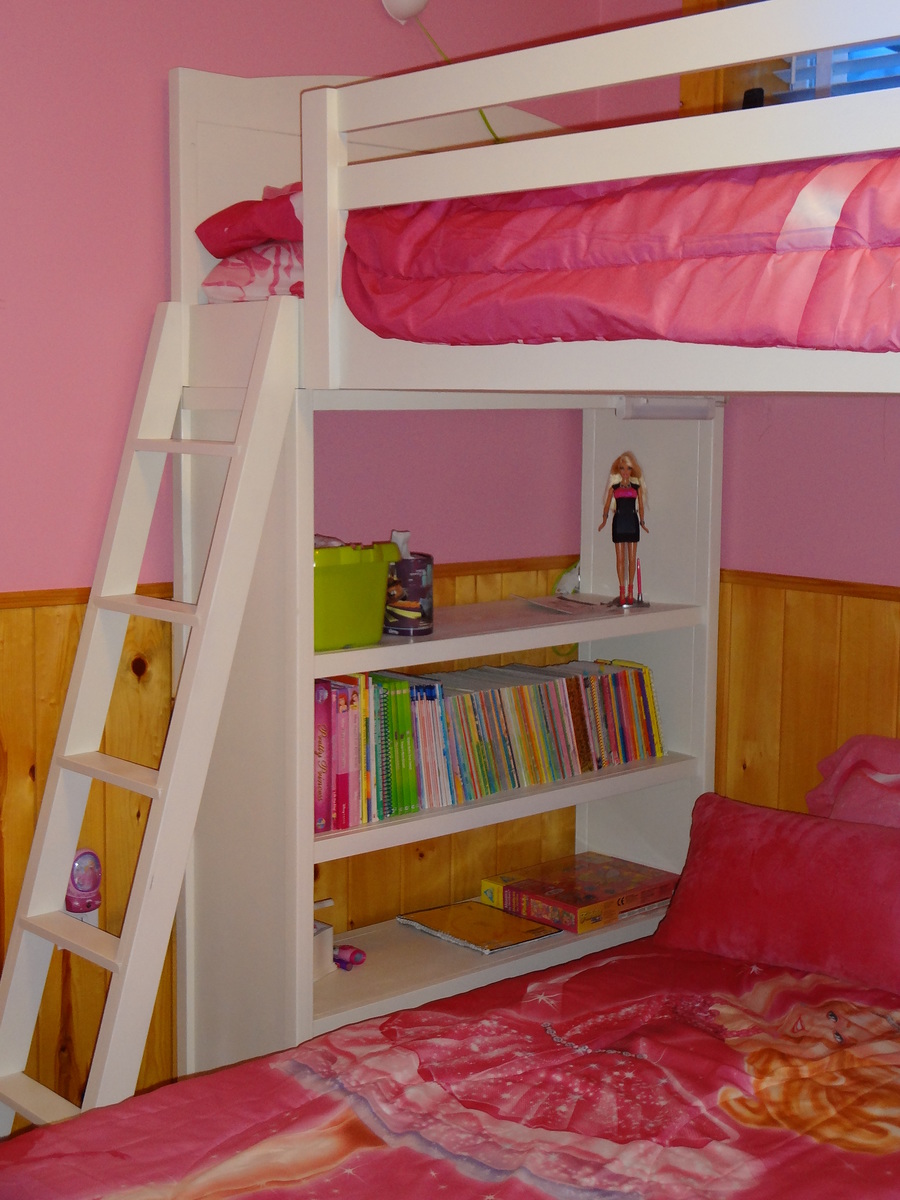
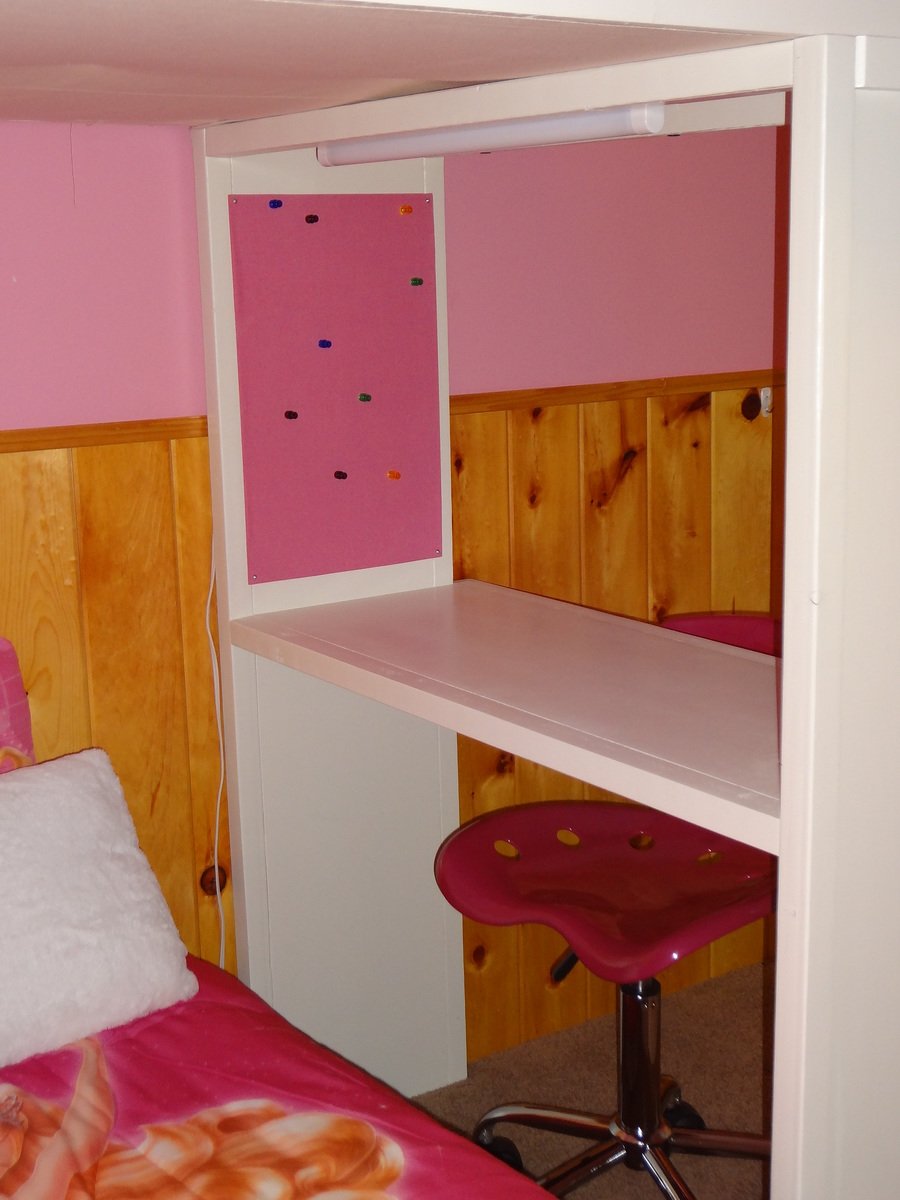
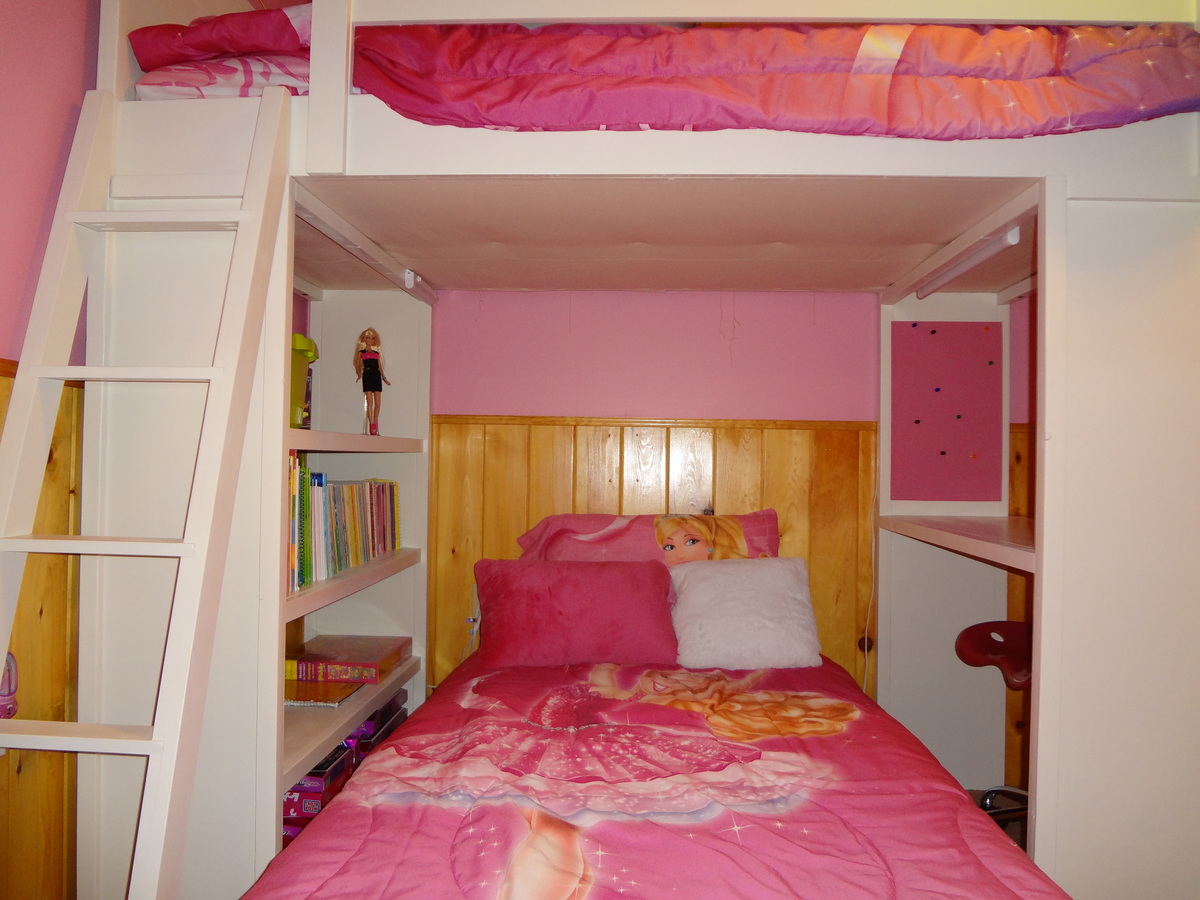
My dad and I built these beds for my 7-year-old daughter for Christmas. We followed the plans almost completely, with a few tweaks of our own. We didn't feel that the decorative feet would be very stable, so we just continued the length of the bookshelf and desk all the way to the floor. We put a piece of 1/4 in. MDF on top of the slats to help support the memory foam mattress. We also stapled canvas to the underside of the top bunk to hide the slats. I didn't want a headboard or foot board on the lower bunk (toe-stubber!), so instead of building the matching Chelsea bottom bunk, we just made a simple platform bed. We added magnet boards to each side of the desk. I liked the idea of magnets better than bulletin boards. Since this plan didn't include a ladder, we built the ladder from the Loft Bed plan. The bed had some significant wobble to it, so we attached it to the wall. Took ALL of the wobble out and it is very solid and secure now. I'm very pleased with how these beds turned out and my daughter loves them as well!
Estimated Cost
$375
Estimated Time Investment
Week Long Project (20 Hours or More)
Finish Used
We used spray primer and spray paint. It was easy to do it this way, but very messy and it took us about 18 cans to get the entire thing covered.
Recommended Skill Level
Intermediate

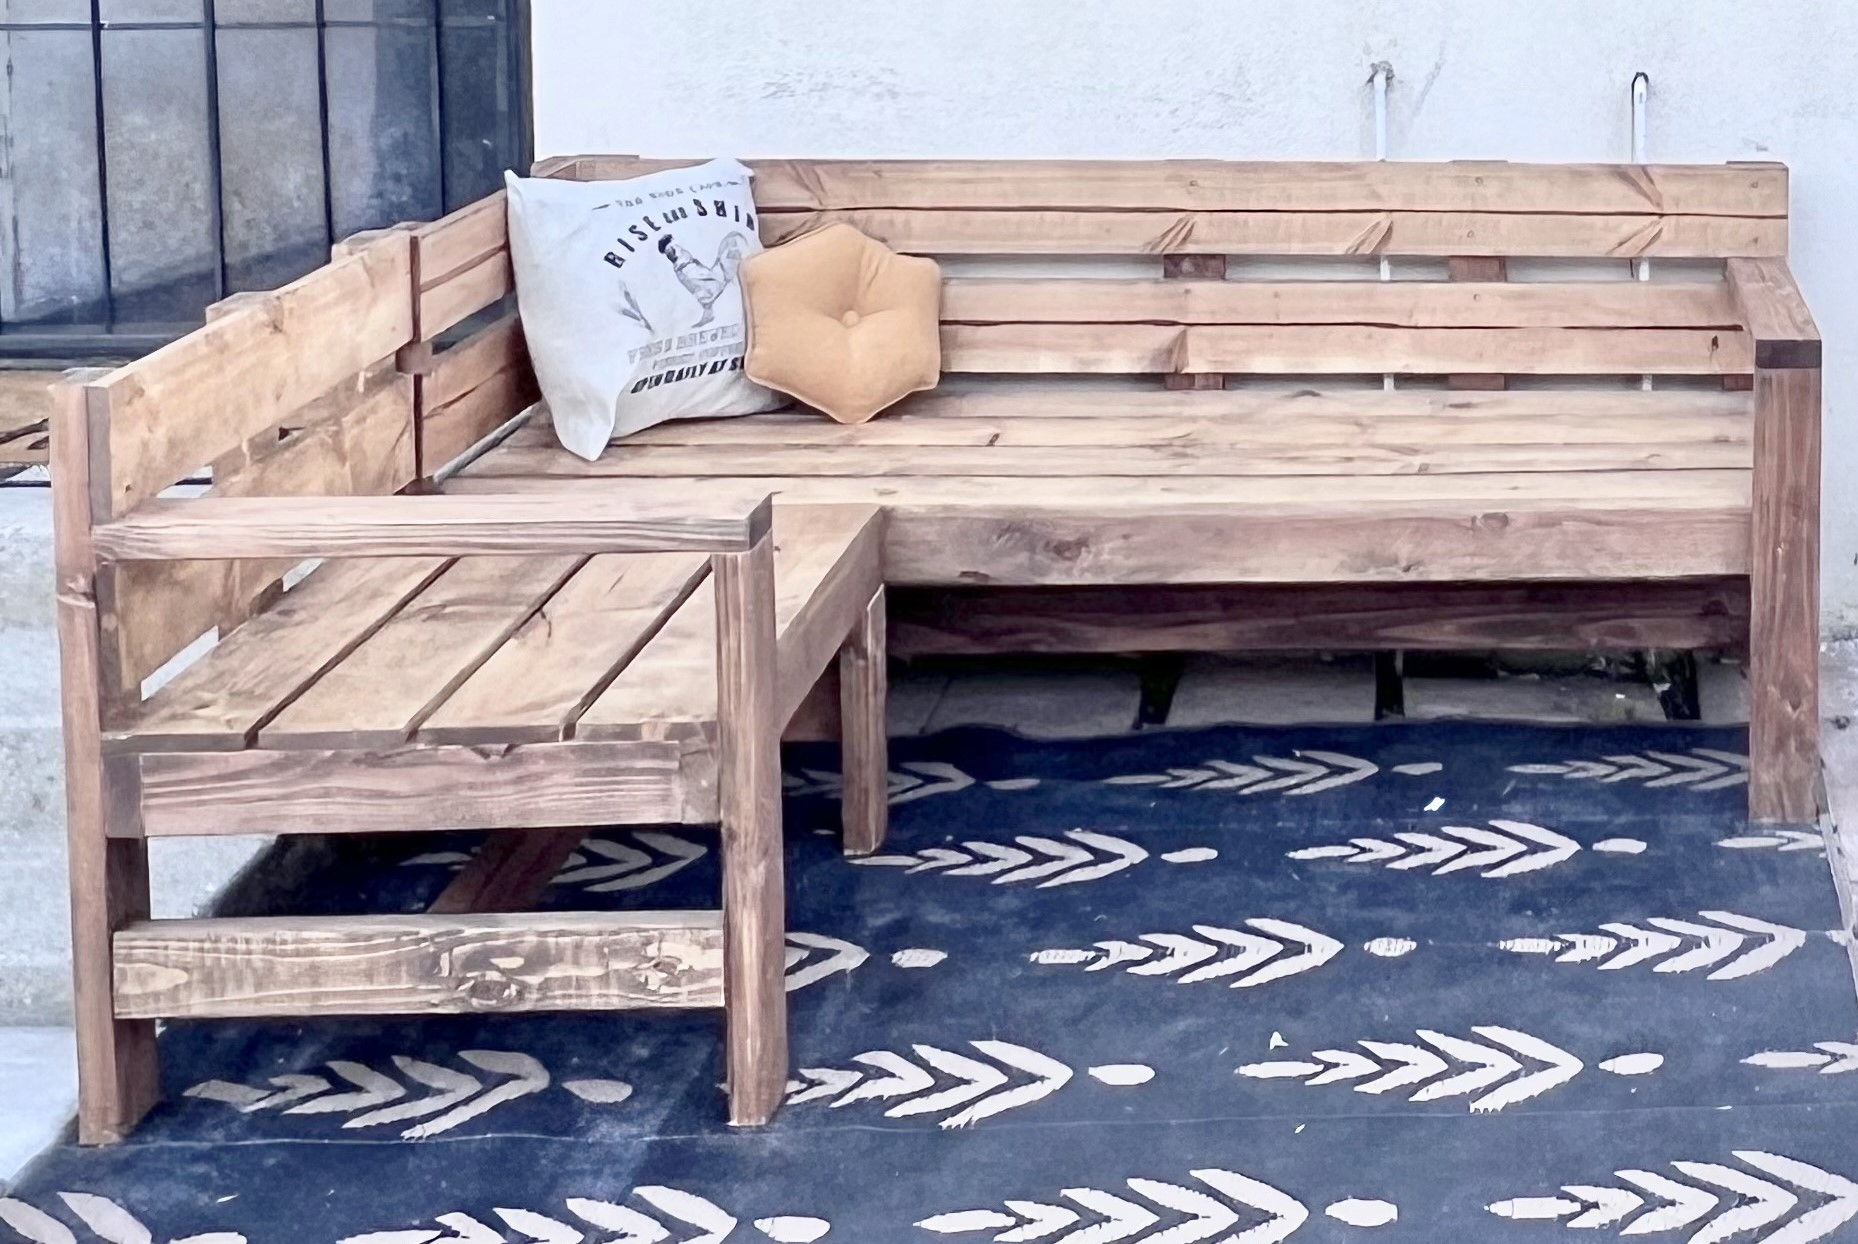
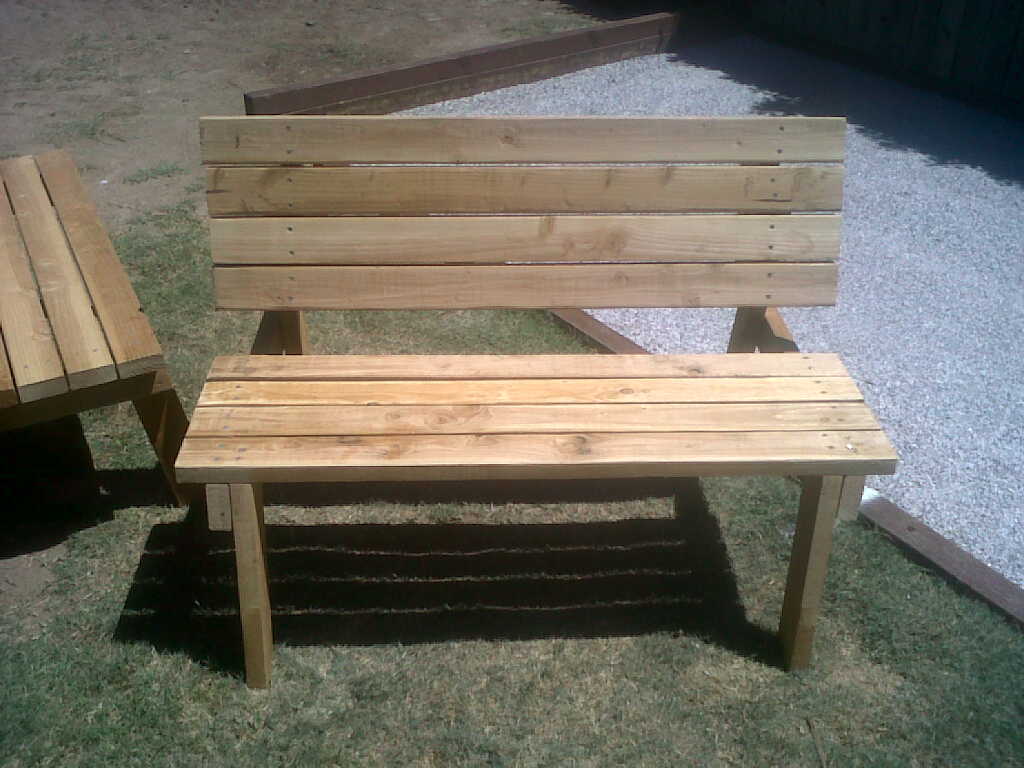
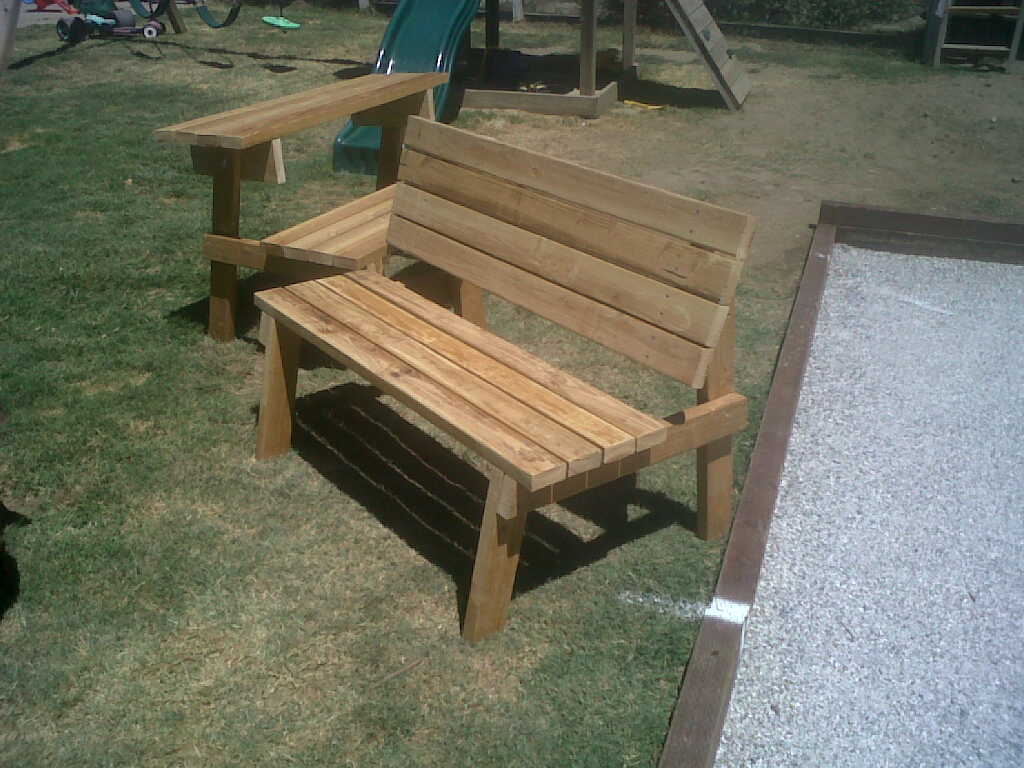
L-Shape Outdoor Bench

Submitted by ShannonG on Mon, 07/24/2023 - 13:21

Modified to make an L shaped bench . Absolutely love it! Thank you!
Built from Plan(s)

Comments

Converted A ashley twin size bed into Twin size Crib

Submitted by Mamabear2 on Thu, 01/23/2014 - 09:53

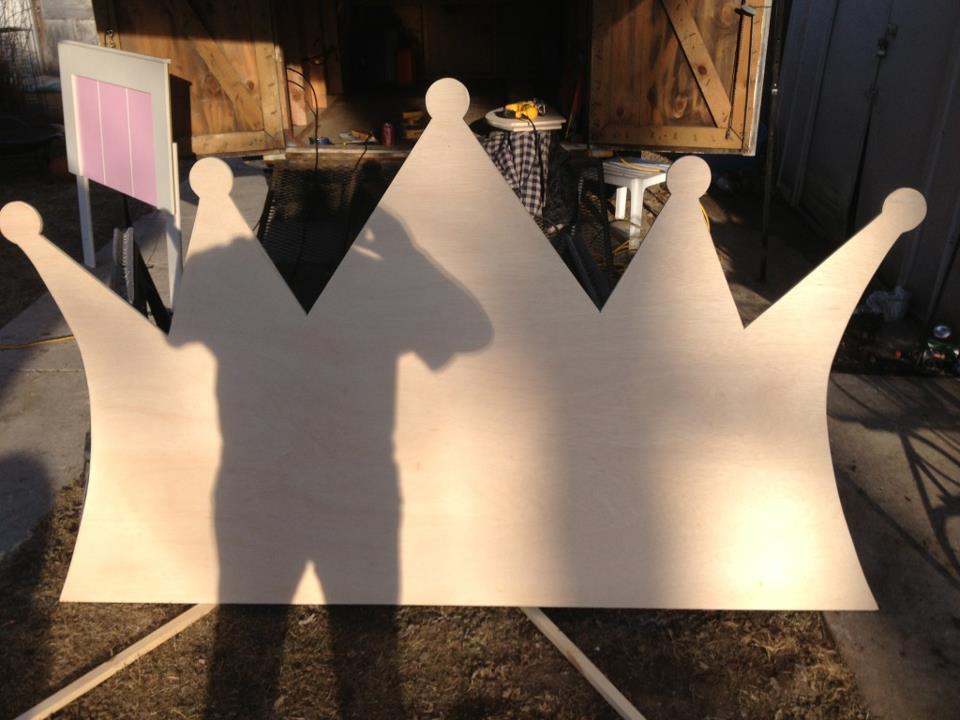
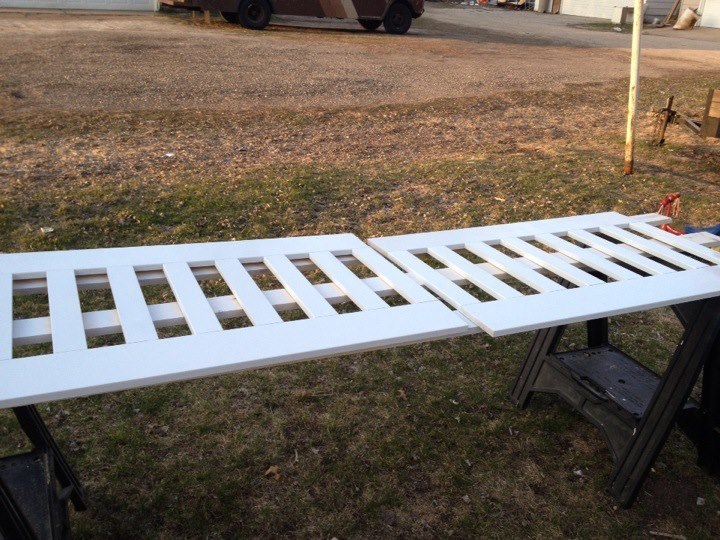
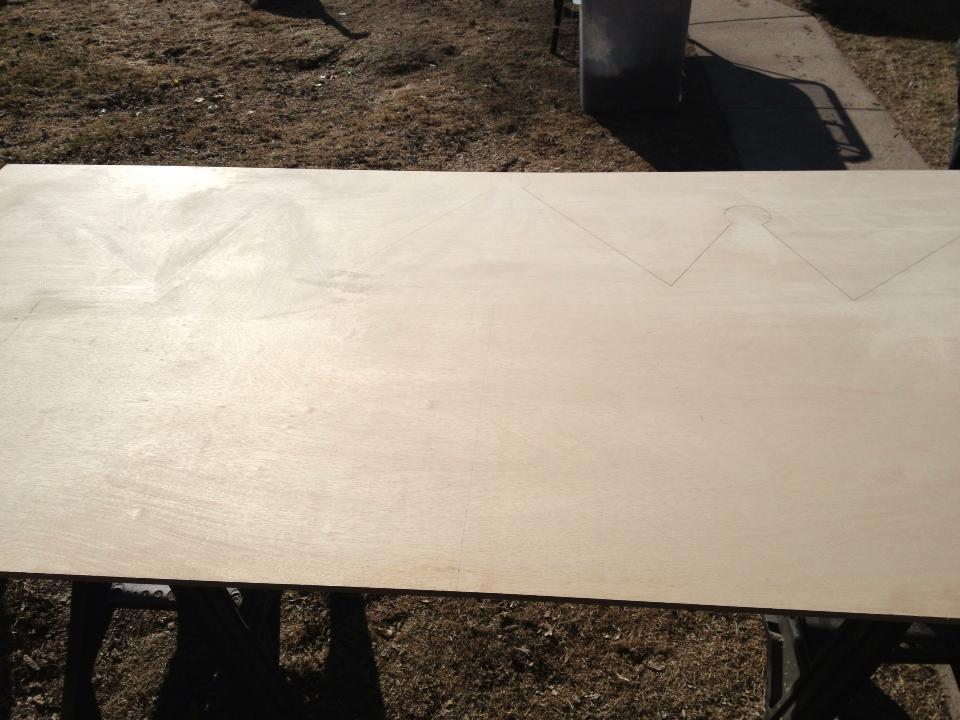
I purchased a twin girls captins bed for my daughter to grow into but she wasn't quite big enough for it yet so I had my husband convert it into a twin size crib!!!! Im in love with how it turned out. My husband Free hand a crown on a sheet of ply wood and cut it out. I used quilt batting and covered it with pink material and did the tips of crown in purple.

Estimated Cost
80.00
Estimated Time Investment
Day Project (6-9 Hours)
Recommended Skill Level
Starter Project

Awesome Garage Shelves

Submitted by scrapngurl on Sun, 04/19/2020 - 14:24

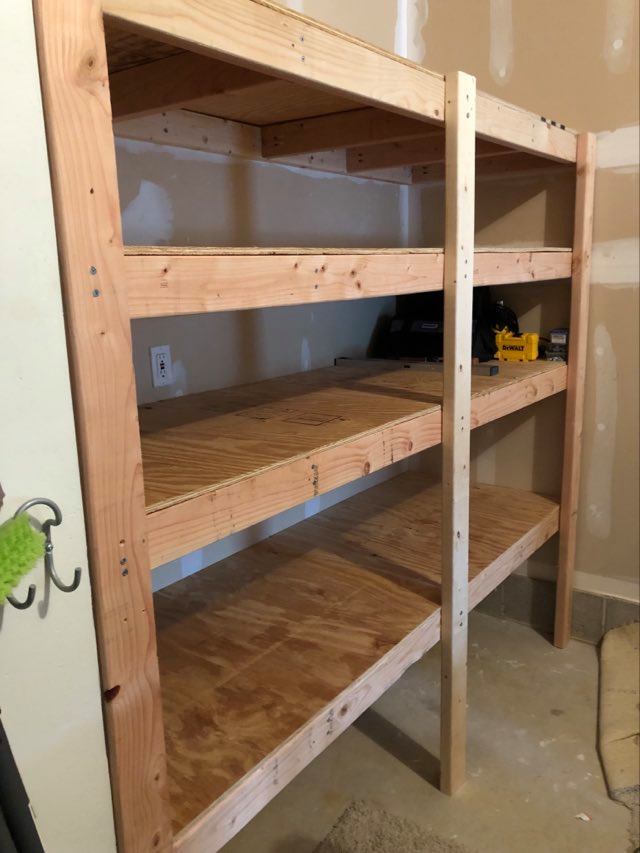
Thank God for these garage shelf plans! :D We have a one car garage that was disorganized and full of stuff. We tried to organize with some metal shelves, but they were very disappointing. They could not hold a lot of items because they were unstable and their measurements did not maximize the space we have. This was my first build and my husband thought I was crazy to attempt it. Neither of us knew what we were doing. However, the plans are simple, clear, and straight-forward and we had no difficulties. I can fit so much on these shelves because they are so sturdy. Love them!

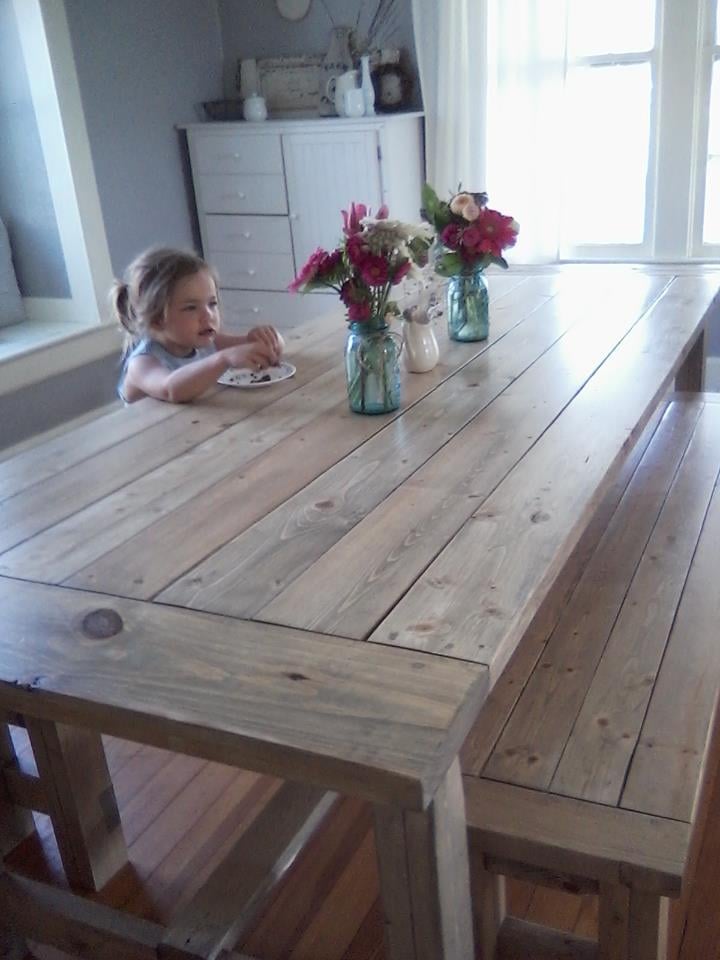
Farmhouse Table

We used pine and finished with one coat of Weathered Oak by Minwax and three coats of Minwax Polycrylic.

Finish Used
Weathered Oak by Minwax and Minwax Polycrylic
Recommended Skill Level
Beginner

Comments

Hhtuck

Mon, 04/11/2016 - 19:11

I like the finish you used on the table. I built my table, but have not stained it yet. This is my first diy wood project ever so could you break down exactly how to stain the table? I have minwax weathered oak and the polycrylic. I brush the stain on? And then how long did you let the weathered oak sit on the wood before you wiped it off?

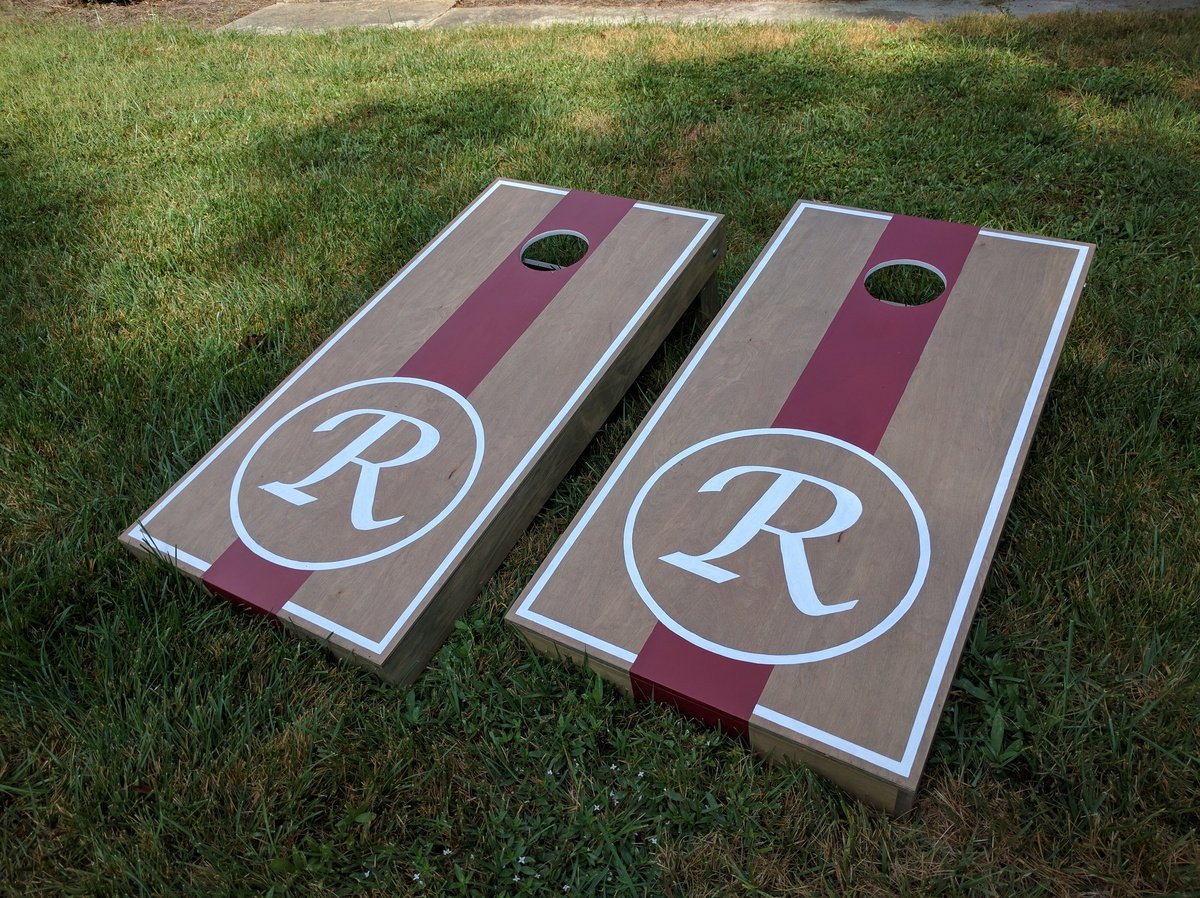
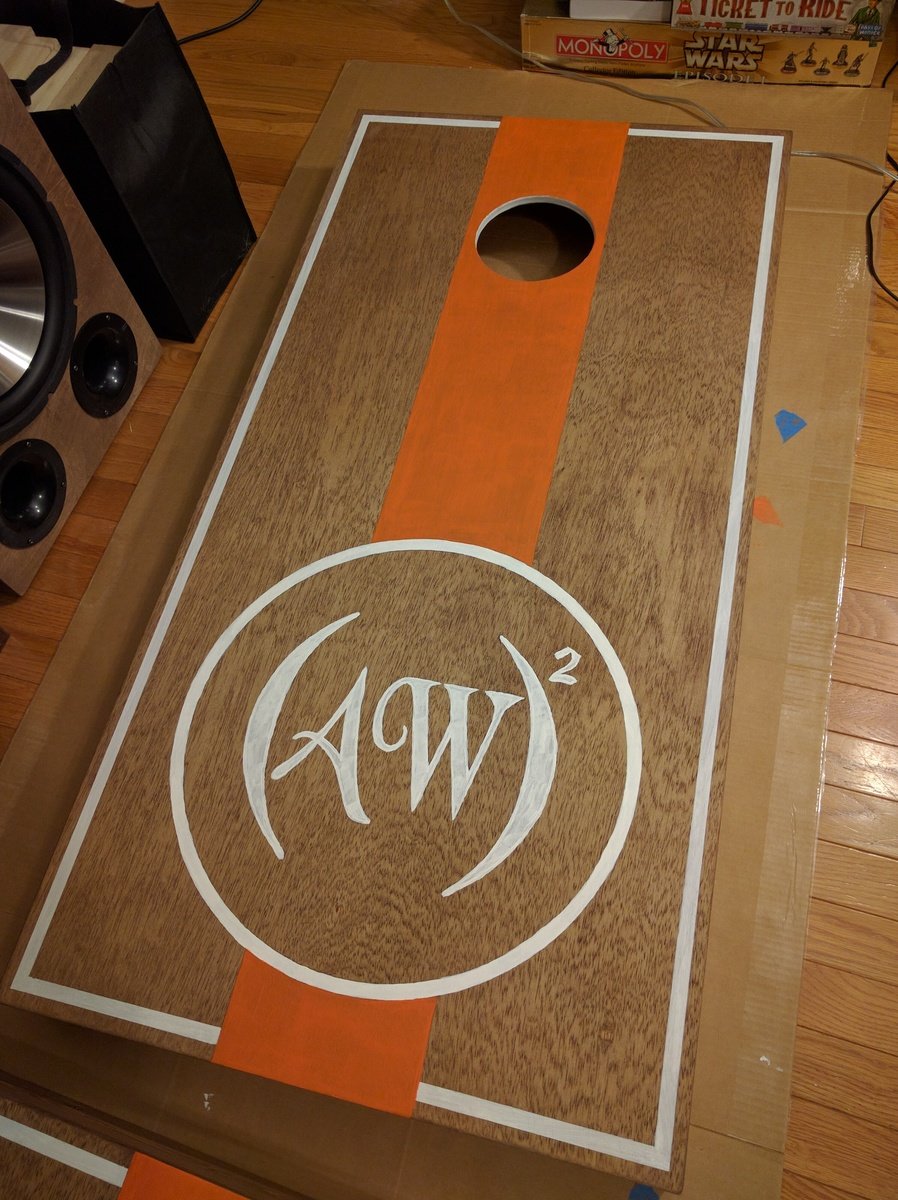
Cornhole Boards

Submitted by SaraLodise on Fri, 09/23/2016 - 13:15

Cornhole boards for friends and family :)       Used 1x4s for framing and legs, 1/2" ply for top.


"R" set:  Birch plywood tops w/ (2) coats of Miniwax Weathered Oak oil stain. Red stripe is Behr 'Cherry Cola.'  (3) coats of Polycrylic finish.


"AW" set:  Regular plywood tops w/ (1) coat of Miniwax Special Walnut oil stain & Glidden 'Clemson Orange' stripe.   (3) coats of Polycrylic finish.

Estimated Cost
$100/set (2 boards)
Estimated Time Investment
Weekend Project (10-20 Hours)
Finish Used
(see description)
Recommended Skill Level
Intermediate

Comments

Seasonal And Holiday

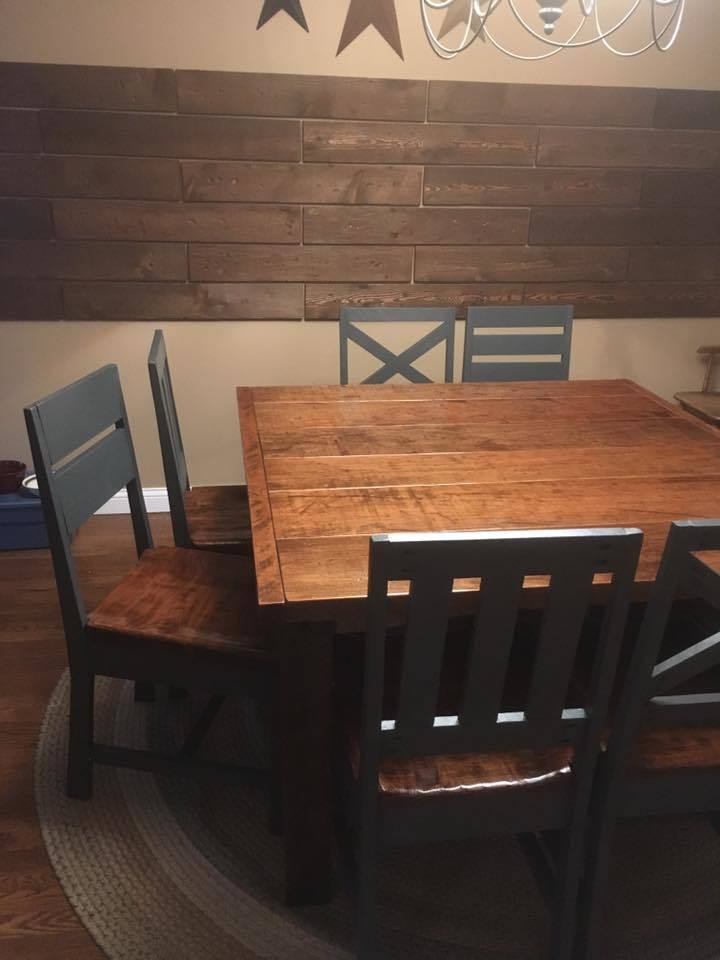
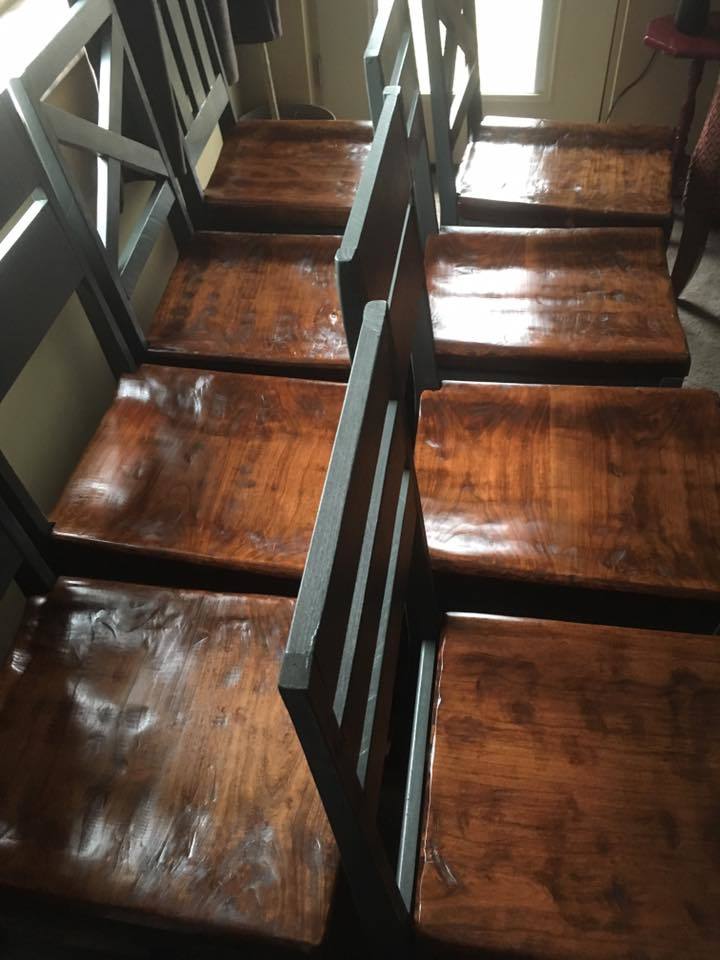
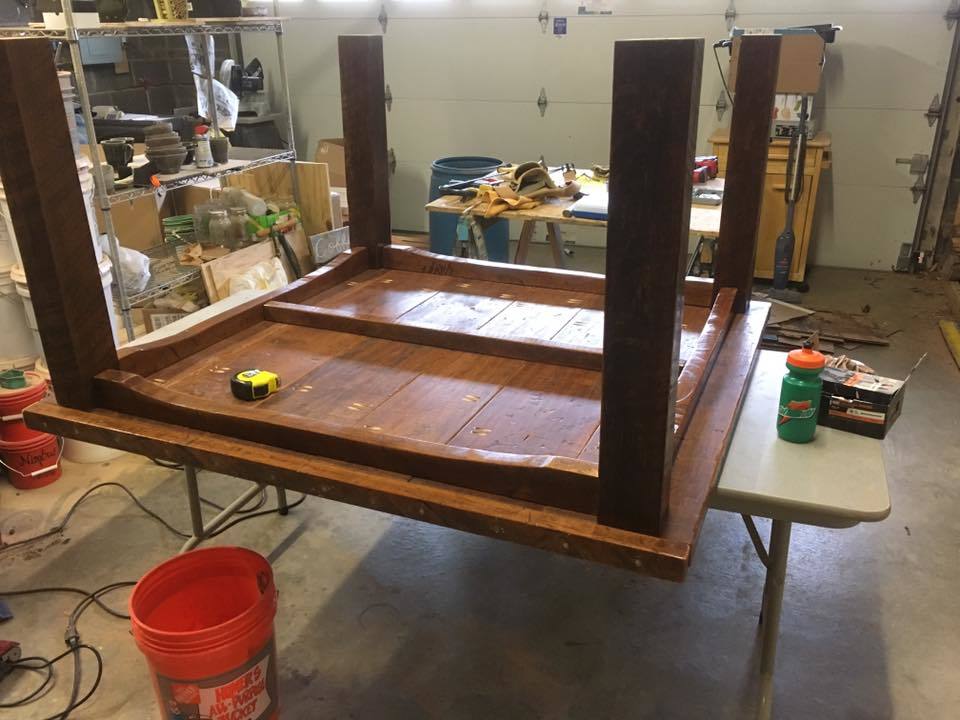
Dining Room table and chairs

Submitted by Anonymous (not verified) on Sun, 01/29/2017 - 06:22

I was only going to build the table, but after I found this chair and decided to make the 8 chair set. Great descriptions a d plans. 

Built from Plan(s)
Estimated Time Investment
Week Long Project (20 Hours or More)
Recommended Skill Level
Intermediate

Comments

Garden shed

Submitted by Anonymous (not verified) on Sat, 11/28/2020 - 13:19

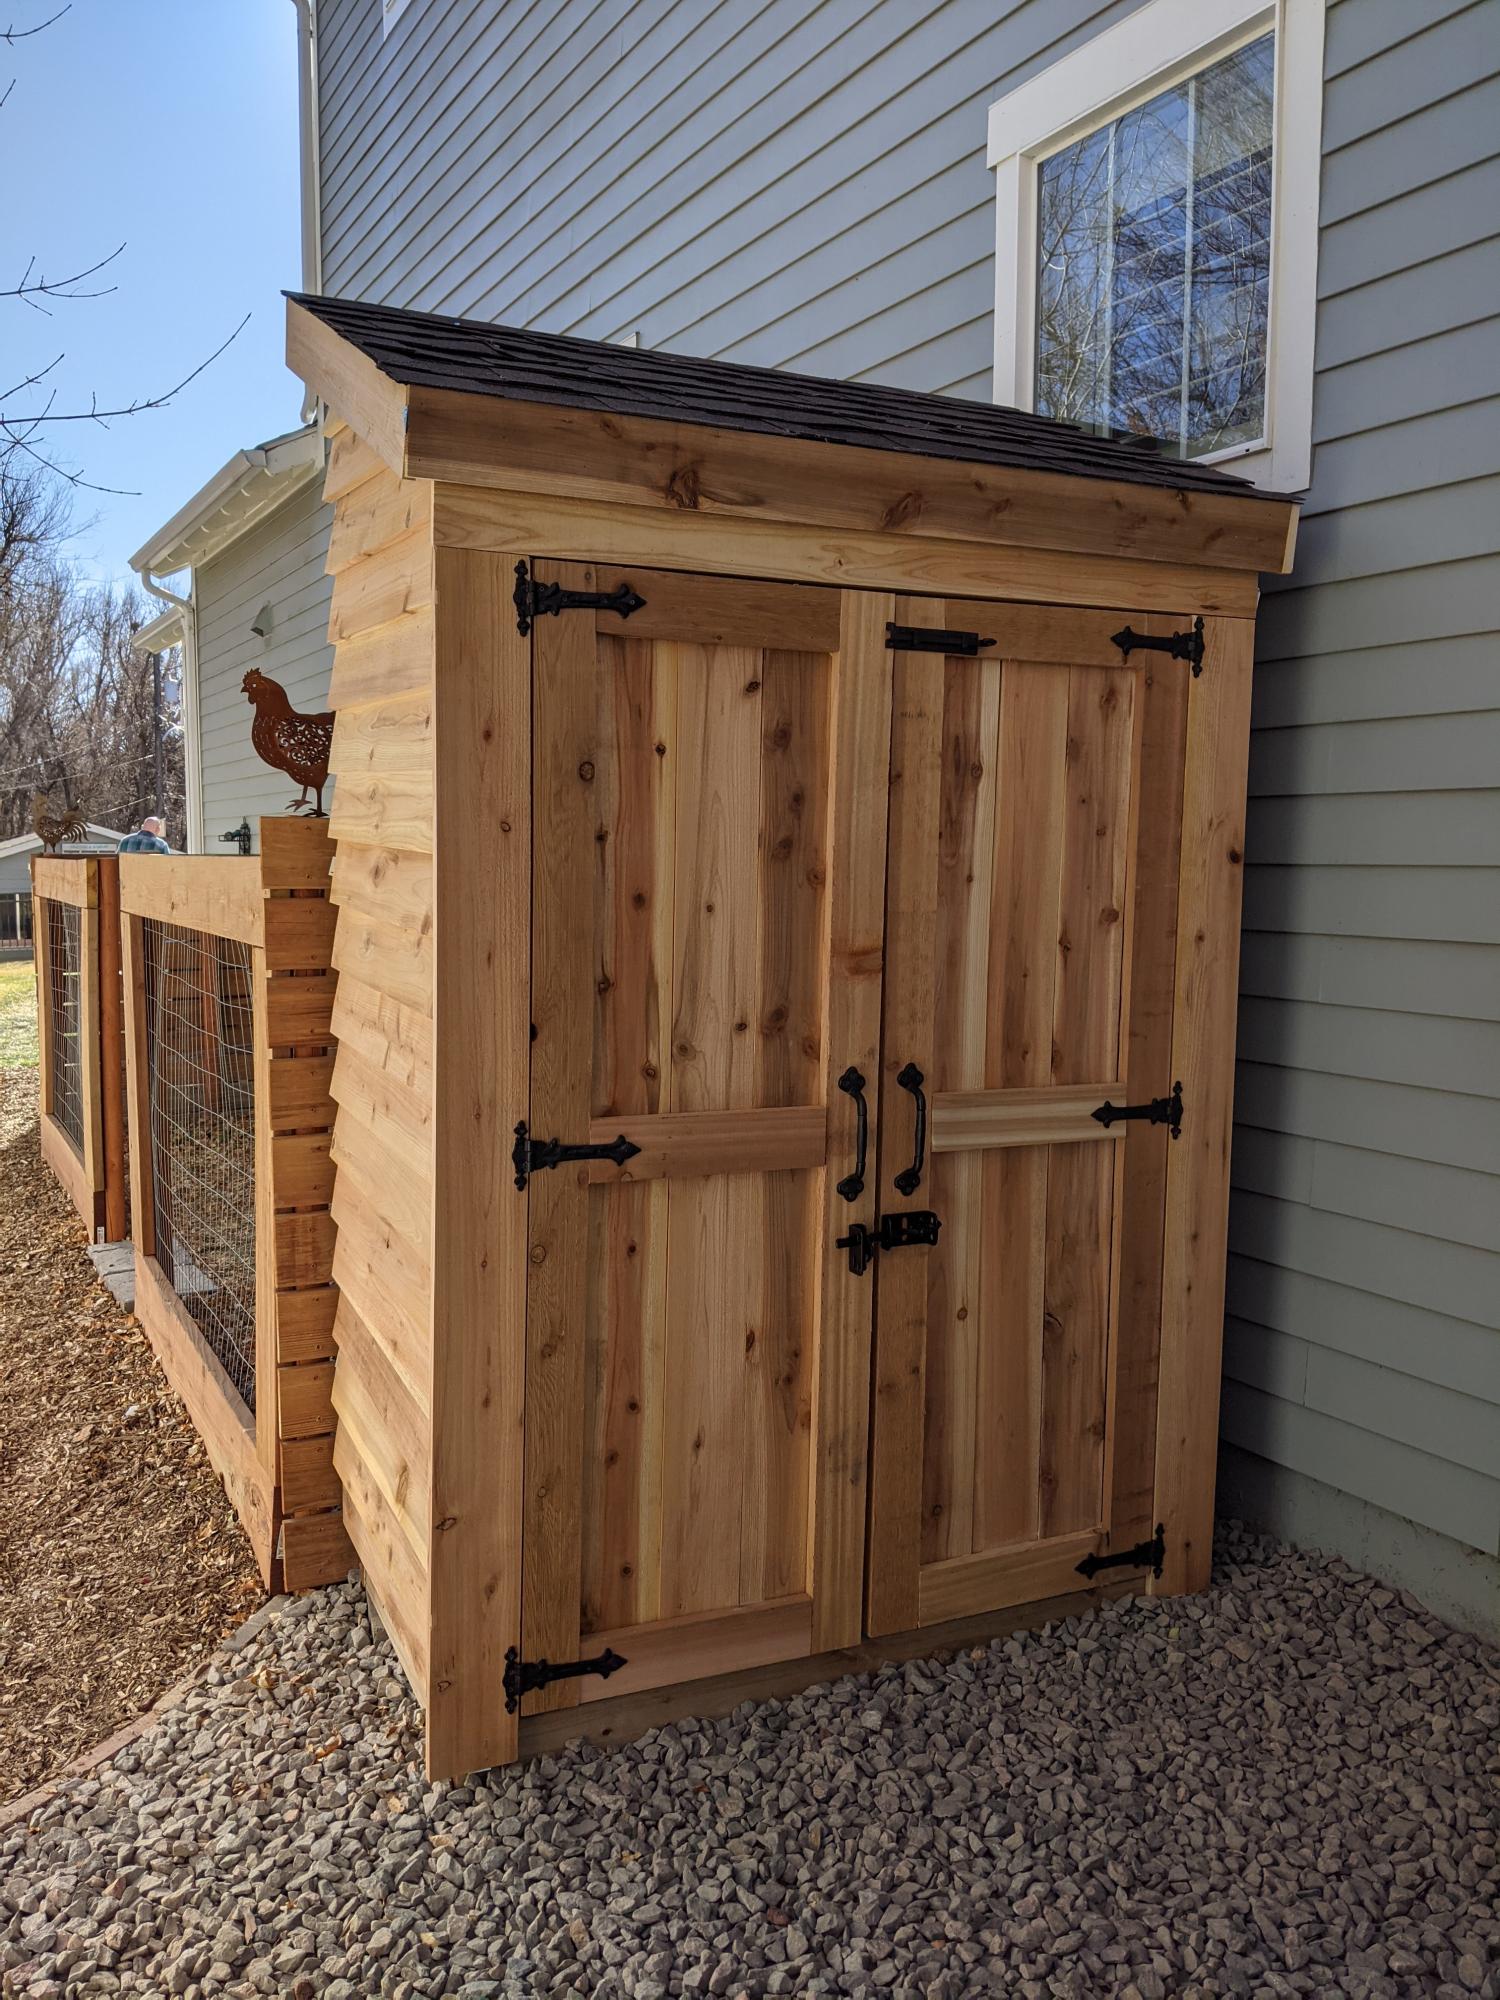
Our take on the small garden shed. Ours is 4 1/2 by 7 feet. We used cedar fence pickets and 2x4 construction. Left over shingles from when our house was built. We are definitely not roofers or framers, also chasing around a 3 year old didn't make things easier. Turned out beautiful for what we want it for. Just rustic enough. Great intermediate project.

Built from Plan(s)
Estimated Cost
$400
Estimated Time Investment
Weekend Project (10-20 Hours)
Finish Used
Thompson's clear water seal will be applied this summer.
Recommended Skill Level
Intermediate

Comments

Seasonal And Holiday

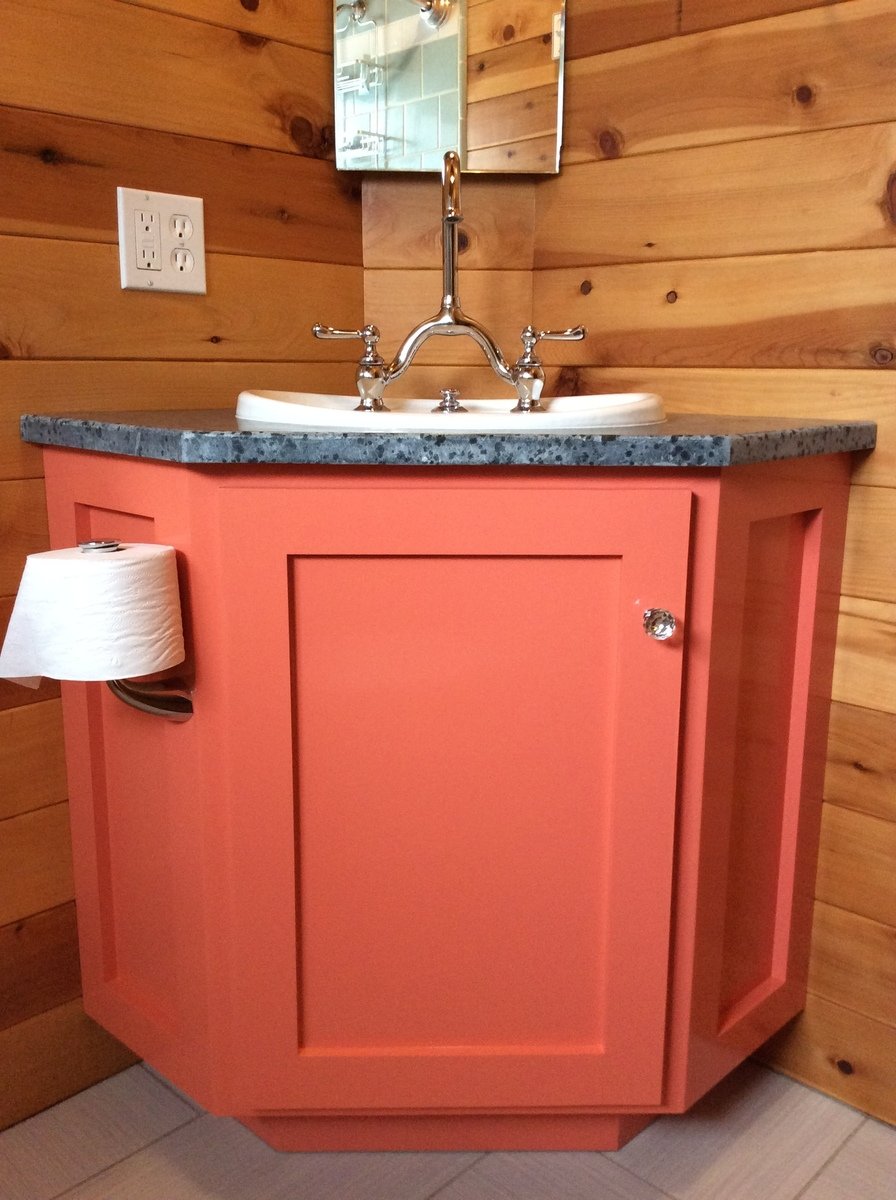
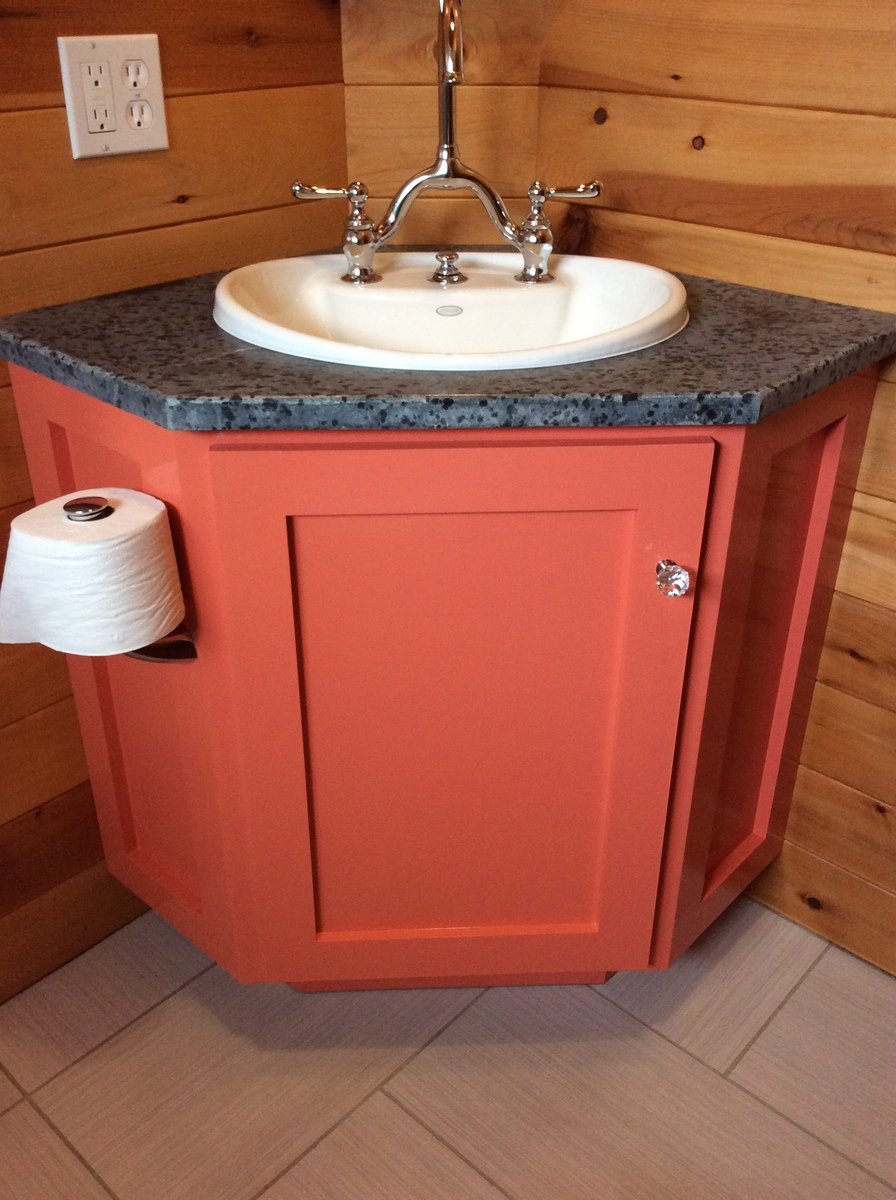
Bathroom corner vanity

Submitted by Anonymous (not verified) on Mon, 06/12/2017 - 12:49

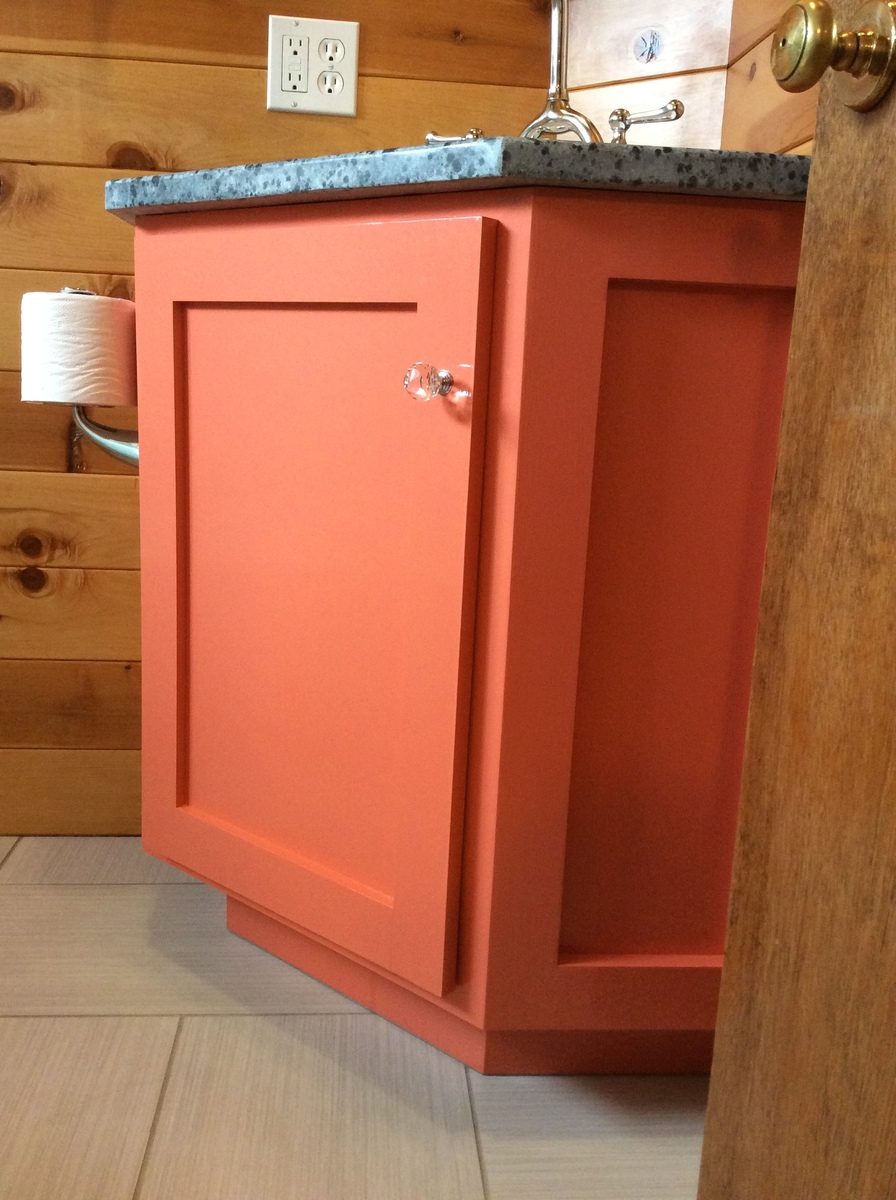
This project started because a corner bathroom vanity that fit my space requirements and budget did not exist. A plan specific to what I exactly needed also did not exist. After combing through what plans I found online, the Wall Kitchen Corner Cabinet best matched what I wanted. I modified it with the Momplex Sink Base Kitchen Cabinet in order to turn it into a sink base.


But, there was a problem. I hadn't actually built anything before. In order to get at least one project under my belt, I built the Vintage Step Stool. It turned out great, so I figured I was ready to go! Strangely enough, after spending about $100 and several weekends picking away at this project, it was done! It looked great, even. Then, I moved the vanity into the bathroom and realized that, while it may have looked great, it wasn't very square. Lesson learned was that this is a two person project. It is too difficult to keep things square and screw at the same time when there is only one person.


At this point, everyone was tired of having to use the kitchen sink to brush their teeth and wash their hands, so we needed to get this project done. $100 later, we had more material. Since I had figured out what needed to be done with the first vanity, let's call it our prototype, the second vanity went together REALLY quickly. 


Within a few hours, it was pieced together. Since it was going to be painted, we used Bondo to cover up our imperfections. Yes, of course there were imperfections. While much better than the prototype, it still was only my third woodworking project. Sanding, caulking, and priming took another hour or so. A few coats of the finish paint went on, followed by a couple more coats of a clear sealer, and it was done.


We moved it into place, screwed it to the wall, put the soapstone countertop on along with the sink and faucet, and it truly was complete. Sink is Kohler, faucet came from our local Habitat for Humanity store and I'm not sure what brand it is, and the soapstone came from soapstones.com. If we had oiled the soapstone with mineral oil, it would be a very dark gray.

Estimated Cost
$100-$150 for the wood, screws, caulk, primer, paint, and clearcoat.
Estimated Time Investment
Weekend Project (10-20 Hours)
Finish Used
Pratt & Lambert Azalea 5-12 and Designer White 33-1 for the colors. After each application dried, I sanded it with a very fine grit sandpaper to make the finish silky smooth. I also used our air compressor to blow the dust off, and then used a damp cloth to wipe it down before applying more coats. That worked better for me than using a tack cloth. Then, I added a few coats of a water based, heavy duty floor finish, meant for wet areas. I don't recall what brand it was.
Recommended Skill Level
Intermediate

Spa Side Table

I completed this table with my 5 year old daughter as my assistant. My husband requested a table to put next to our new hot tub to set his drinks on and this is perfect. We only put one board on the top because I felt since it would be outside, I wanted a smooth top. I just screwed it in diagonally from the bottom. I also used spar varnish since it would be outside.

Estimated Time Investment
Afternoon Project (3-6 Hours)
Finish Used
Rust-o-Leum Ultimate Wood Stain in Kona
Semi-gloss Spar Varnish (3 coats)
Recommended Skill Level
Beginner

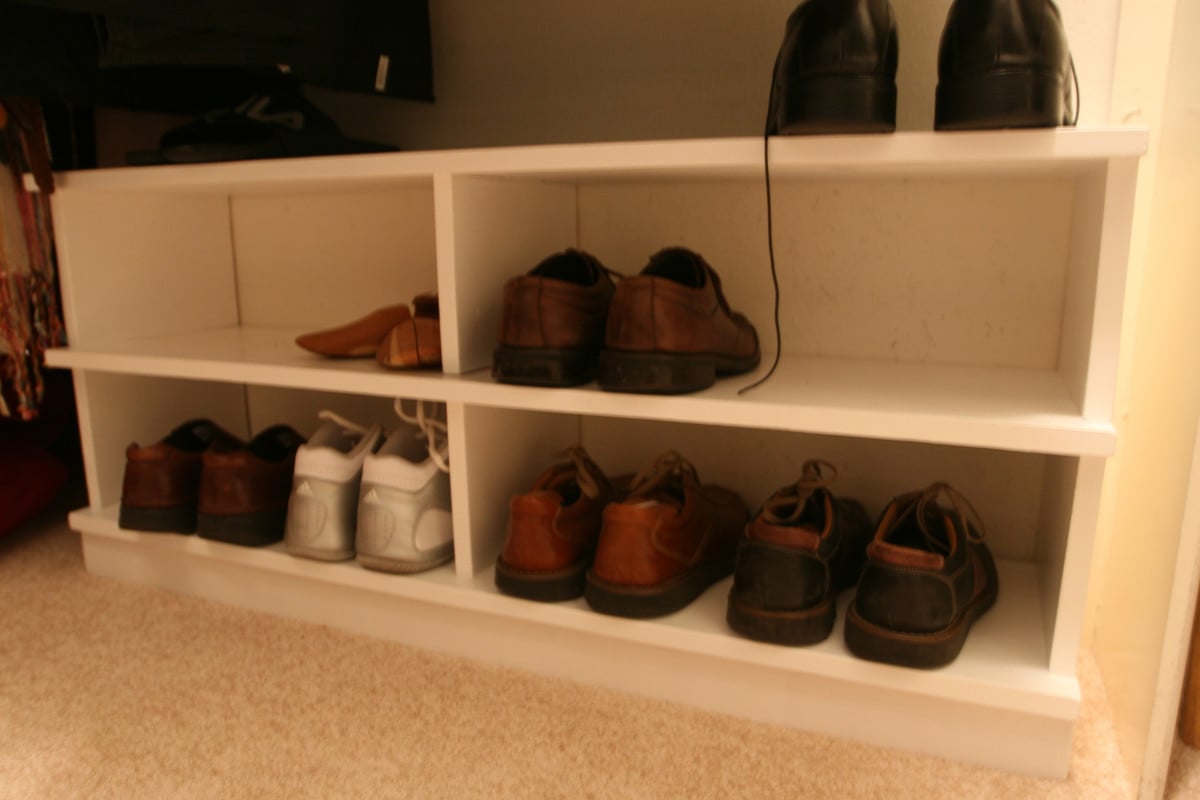
Shoe organizer

Submitted by Liz H. on Wed, 06/01/2011 - 21:26

I took the 25 cubbies plan and changed the dimensions to fit shoes. I made a simpler version for my husband too. This project went together quickly and was so fun to build.

Estimated Cost
$10
Estimated Time Investment
An Hour or Two (0-2 Hours)
Finish Used
White paint
Recommended Skill Level
Starter Project

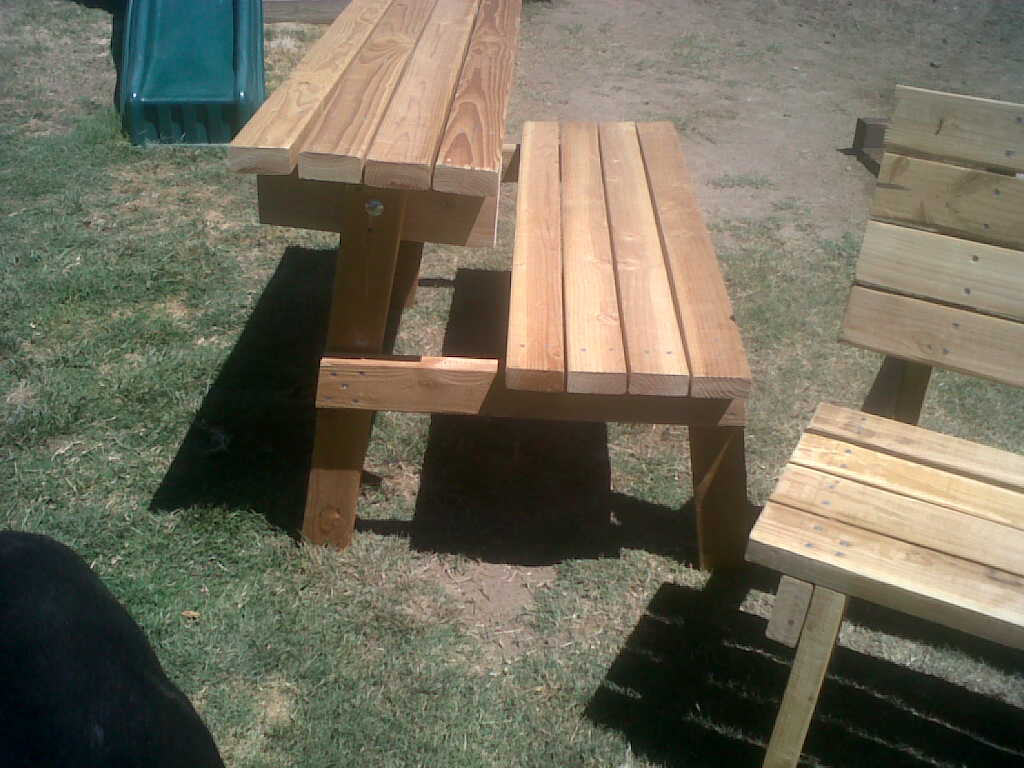
"Cull" Lumber from a big box store= cheap 2x4's for convertable picnic table

Submitted by MrQuinn on Mon, 08/15/2011 - 14:10

I found out what the rack in the drive up area of my local Lowes was!
I often see piles of wood and sheets or plywood and such sitting there, but I never paid it much mind-turns out its a clearance rack of sorts they call it the "cull" rack, because they are culling the items from inventory that may be cut, chipped marked etc.
So I was at the store buying something for my Bocce Court and saw this pile of 16ft 2x4's and saw they were only $20 and there was 8 of them- so I picked em up for a "future project".
Needless to say they weren't the truest boards but they worked well enough for something like this. I had to buy a 2x6 to attach the top to because 2x4's aren't wide enough to give proper clearance as the plans showed(and I really didn't want to reinvent the wheel on this) so i bit the bullet and bought a $3 2"x6"x8'
Now if you notice I used all 2x4's for this instead of 2x6 so I adjusted the top to 14 1/8 to accommodate 4 2x4 pieces separated by spacers I use when installing wood floors. I made no change to the seat dimensions, but there is 4- 2x4's vice 3- 2x6's.
Great plan- perfect for more seating on my weekly bocce nights and they hold in excess of 600 lbs easily for those concerned about load limits.
(Note for those curious, that is my Bocce court in the background, it is 10'x60' and built with pressure treated 4x6's and 2x4's and a whole bunch of DG and crushed oyster shells.)

Estimated Cost
$36
Estimated Time Investment
Afternoon Project (3-6 Hours)
Finish Used
none-I very rarely finish my wood projects-I will probably spray with a sealant to slow the elements since they will stay outside.
Recommended Skill Level
Beginner

Comments

sgilly

Thu, 02/23/2012 - 11:14

I plan to build several of these for my daughter's family. They stand around a fire most nights in the spring. Those nights often end up with roasted hot dog dinners with the friends who have dropped by. The dual purpose of these would be perfect!

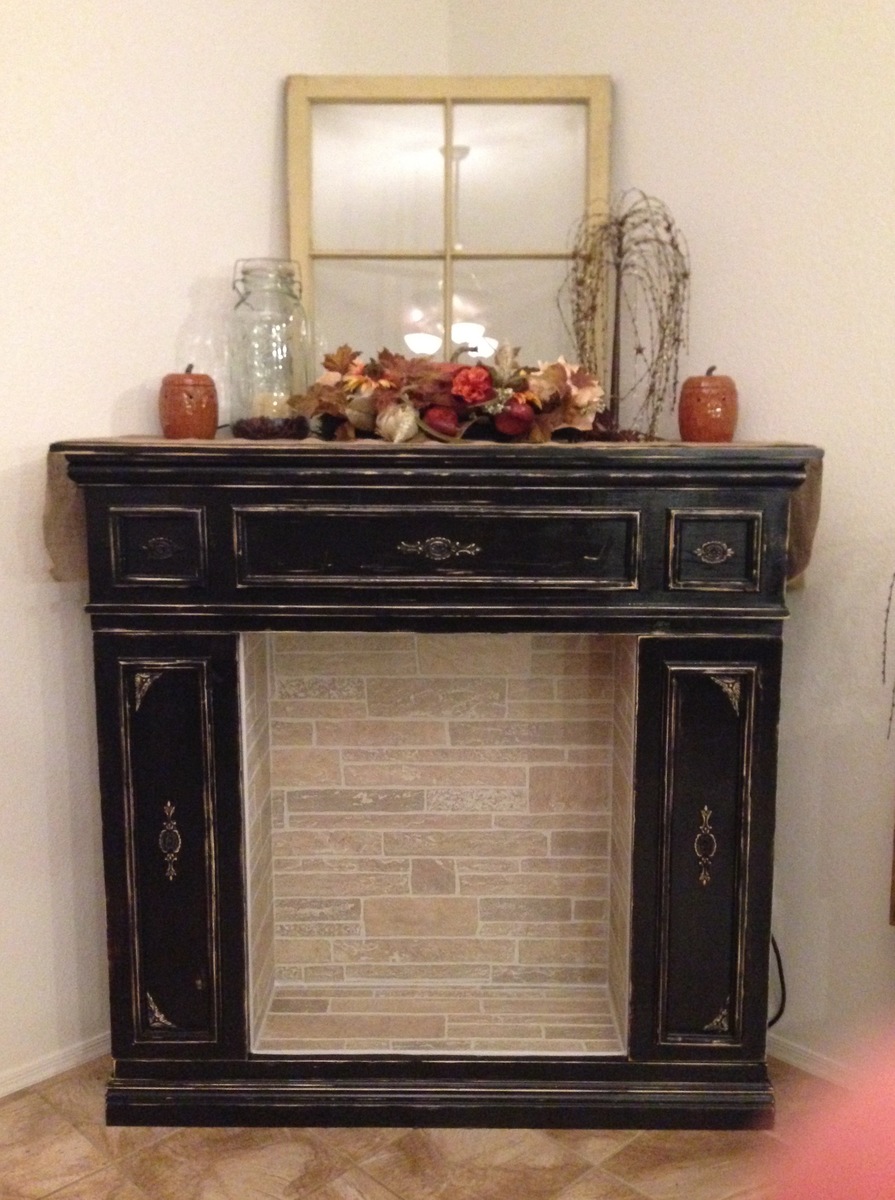
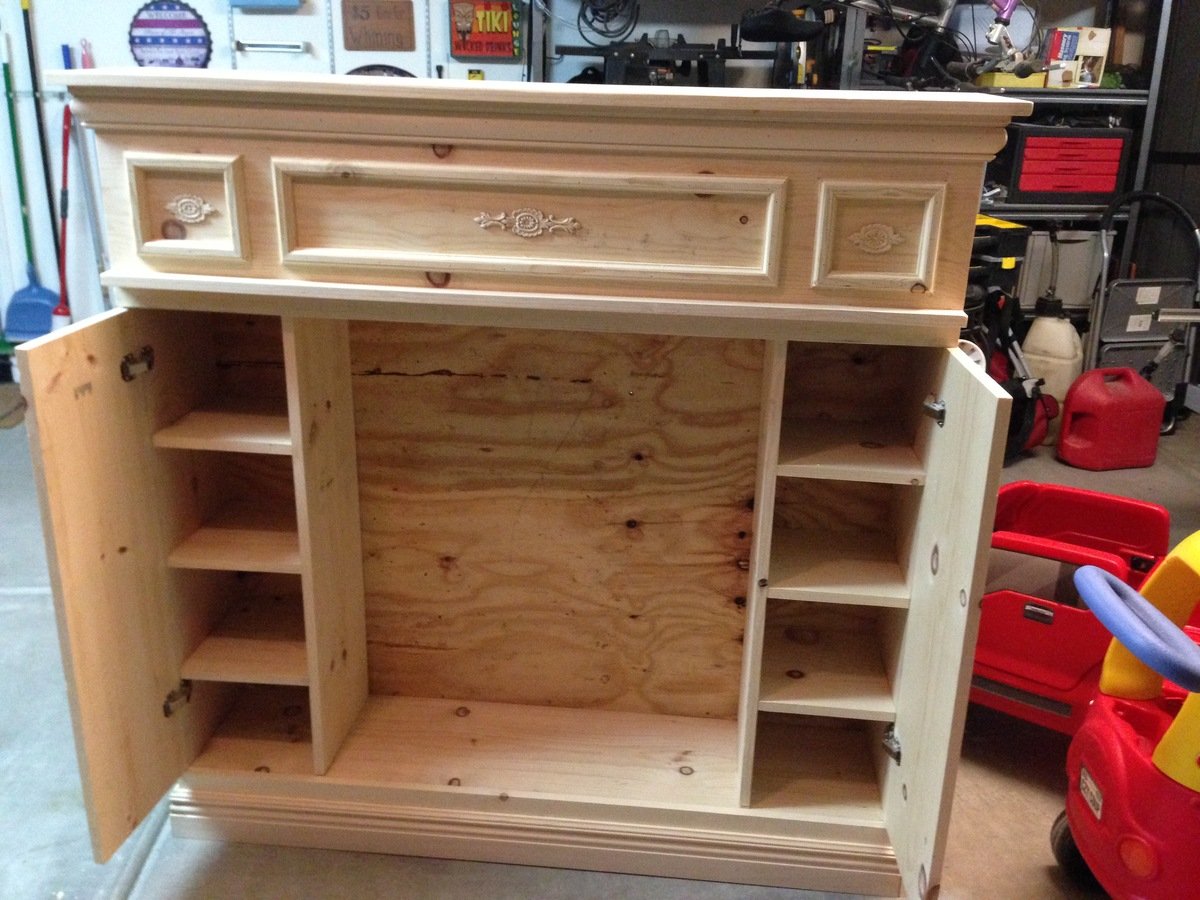
Faux Fireplace with hidden storage cabinets

Submitted by Wccox on Mon, 11/16/2015 - 20:50

Very nice project built in a day. 

Estimated Cost
$250
Estimated Time Investment
Day Project (6-9 Hours)
Recommended Skill Level
Intermediate

Comments

Seasonal And Holiday

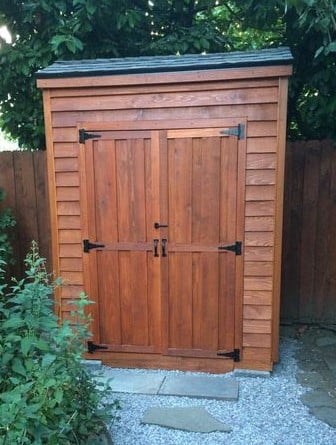
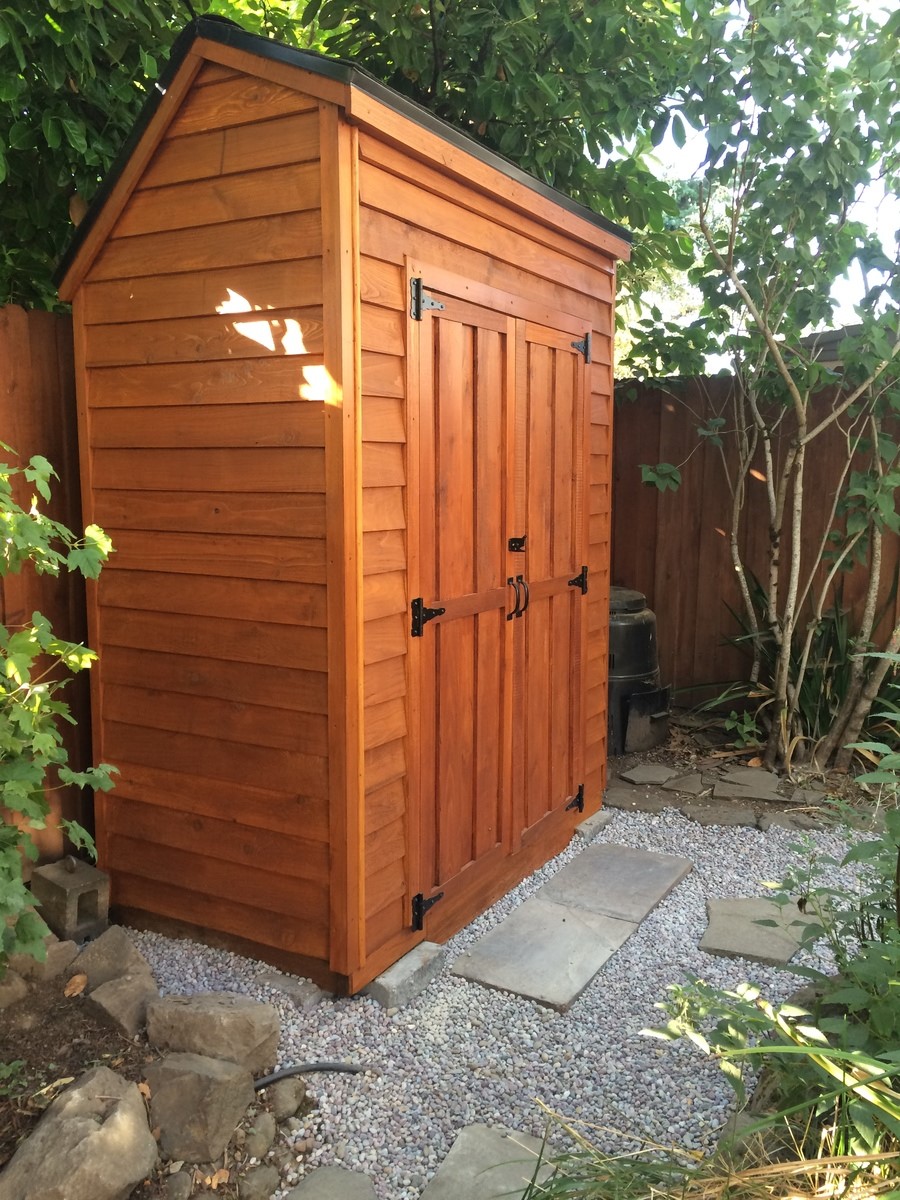
Cedar Yard Tool Shed

Submitted by Mad's Dad on Sun, 12/06/2015 - 09:43

I changed the plans just slightly. I used 2x4's for framing and enlaged the shed somewhat and added a floor. I also used a different type of roof to handle the amount of rain in my area.

Built from Plan(s)
Estimated Cost
$450.00
Estimated Time Investment
Week Long Project (20 Hours or More)
Finish Used
Natural Cedar stain
Recommended Skill Level
Beginner

Comments

Small End Table from 2X4's

Submitted by jbknakal on Sun, 04/10/2016 - 11:55

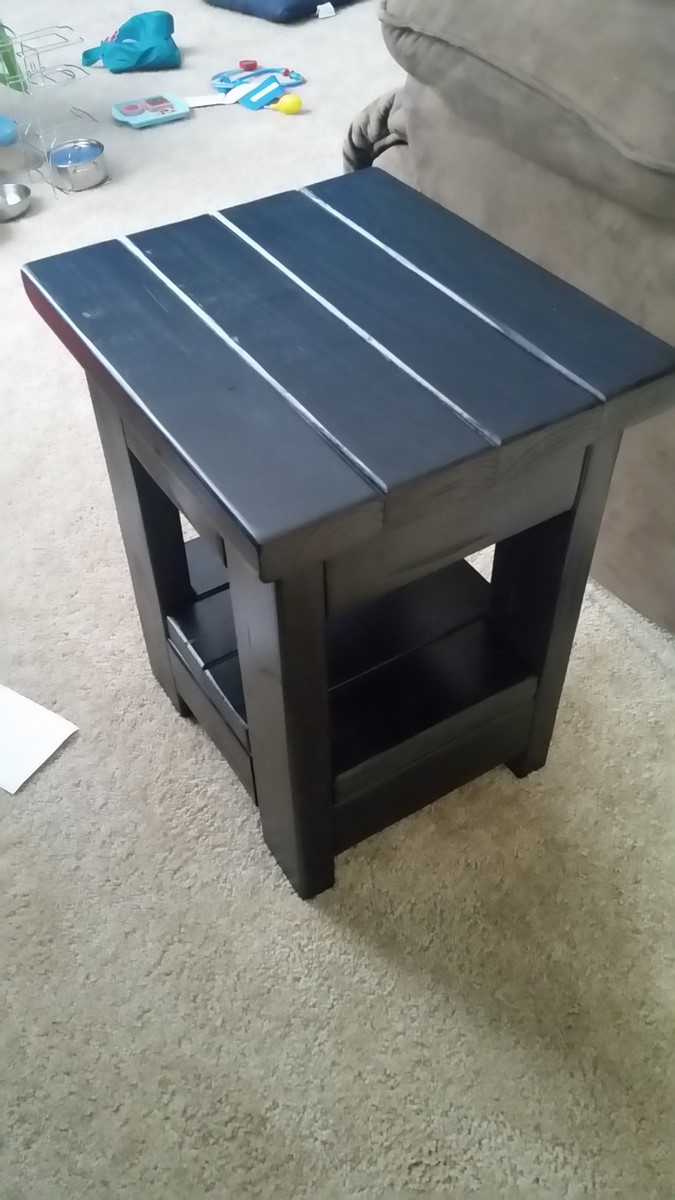
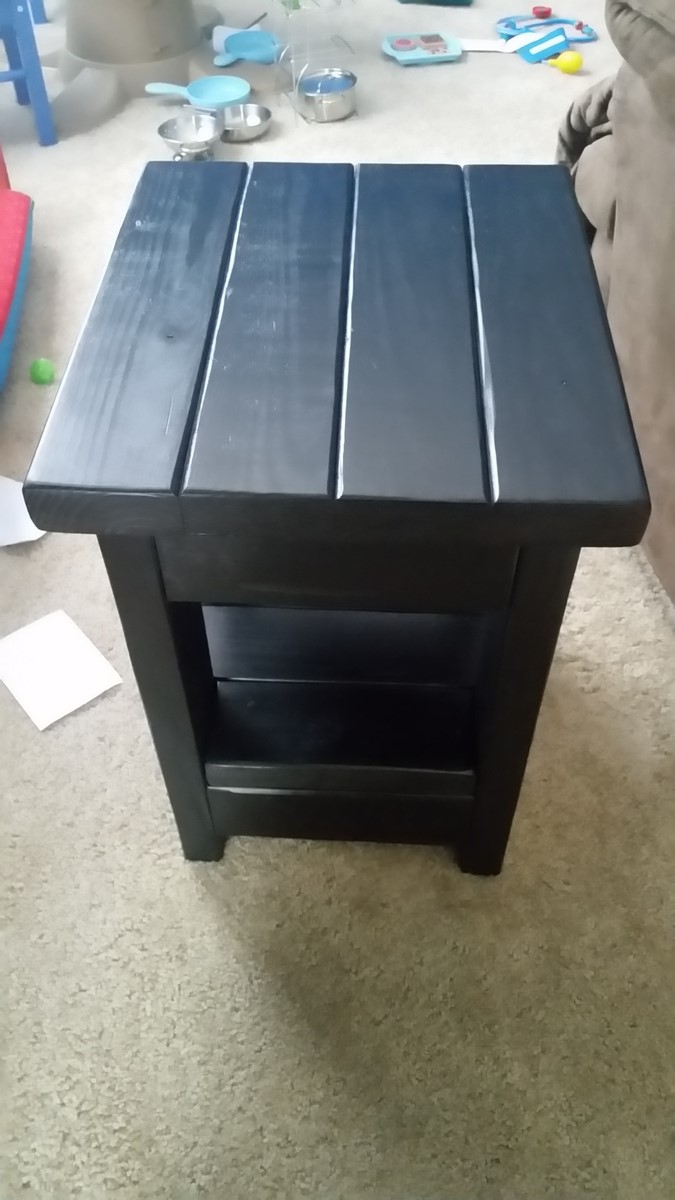
I made a smaller version of the Tryde End Table with Shelf. I made 2 of them from 6 2X4's

Estimated Cost
$30
Estimated Time Investment
Afternoon Project (3-6 Hours)
Finish Used
Black Paint
Recommended Skill Level
Beginner

Comments