Community Brag Posts

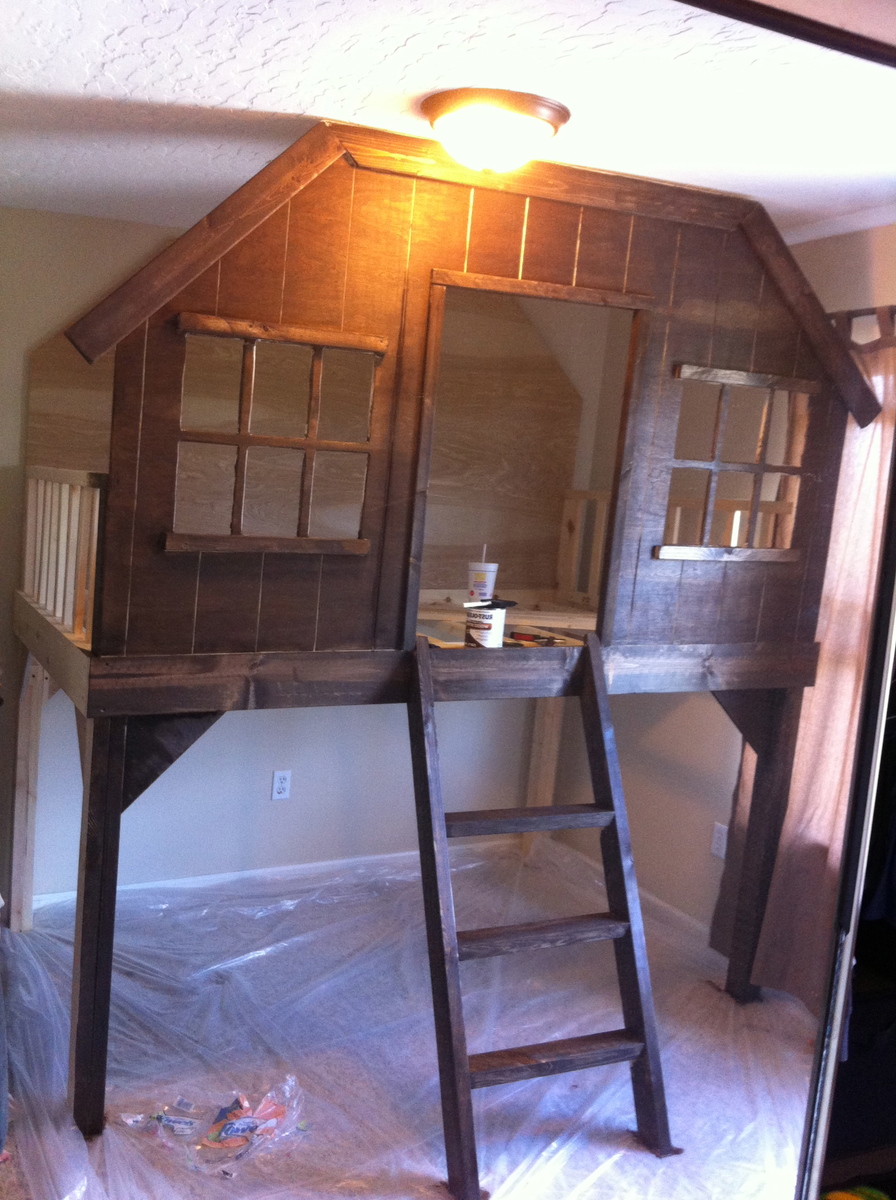
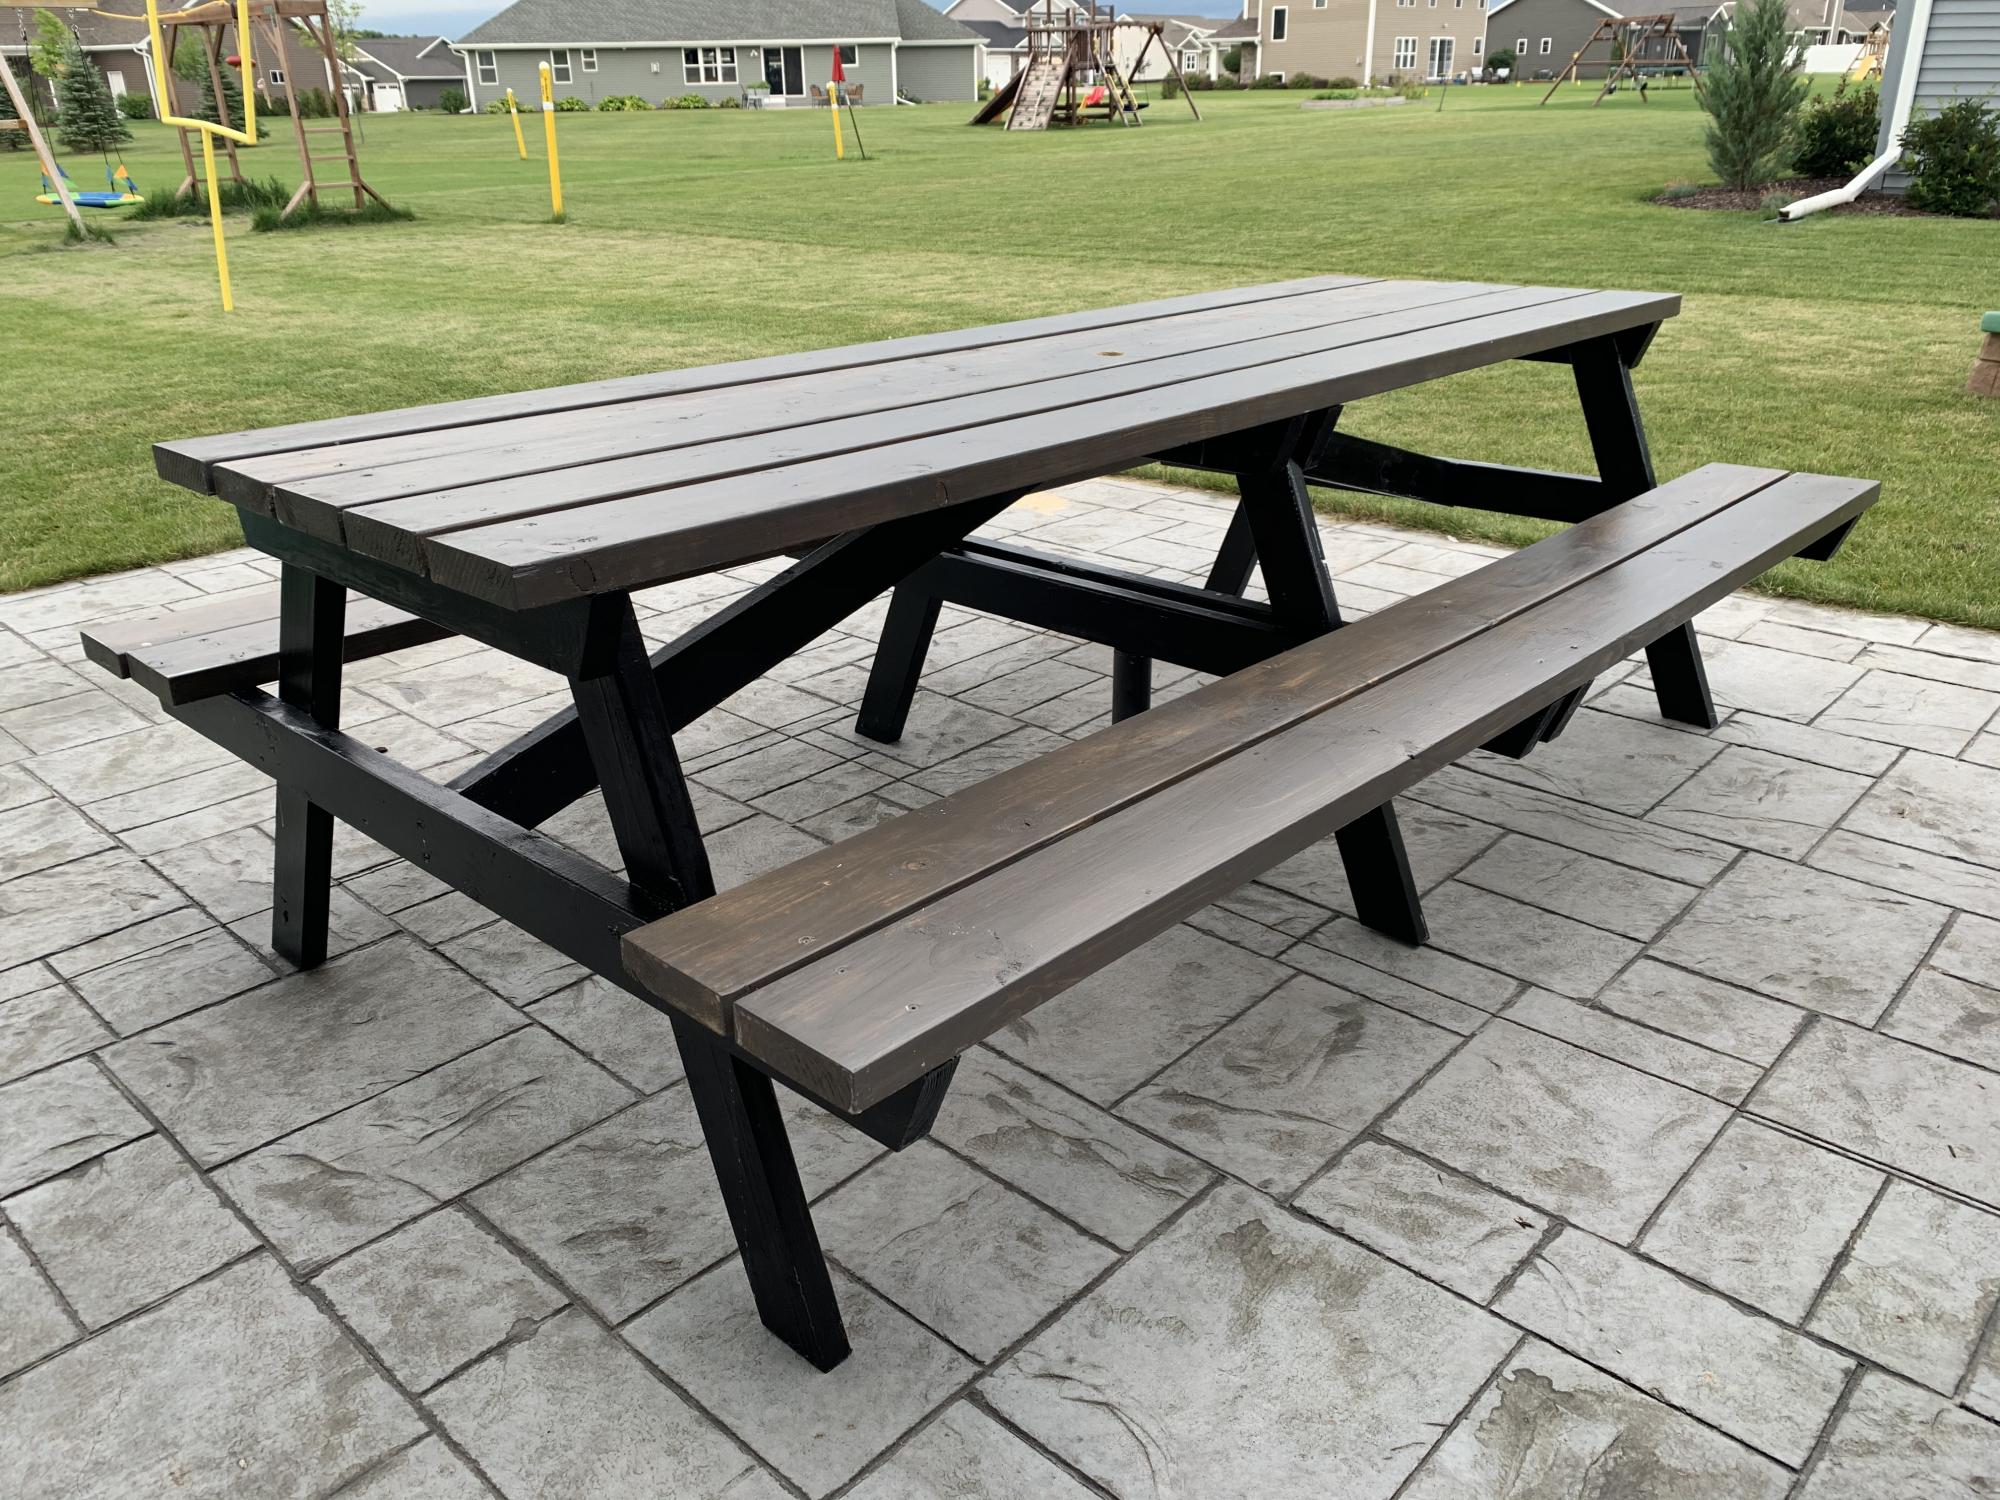
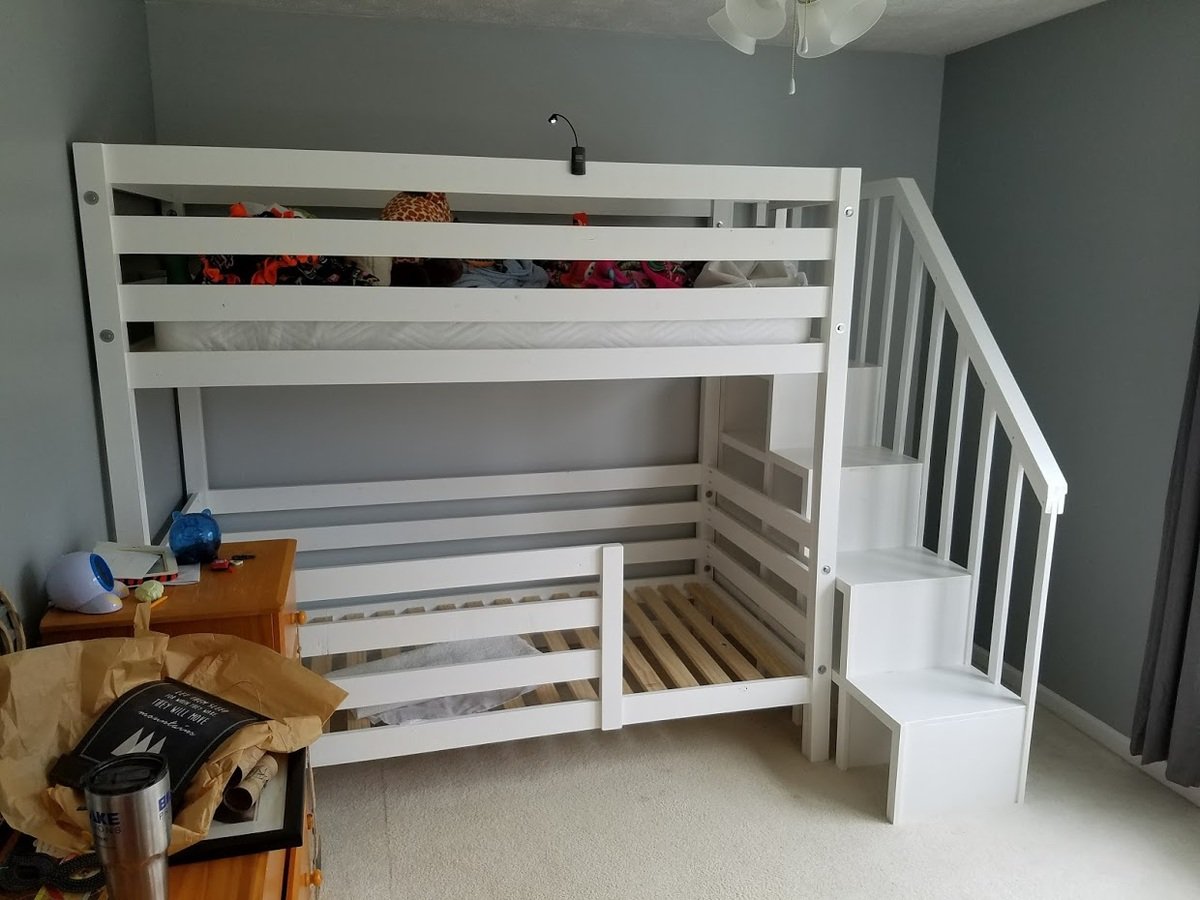
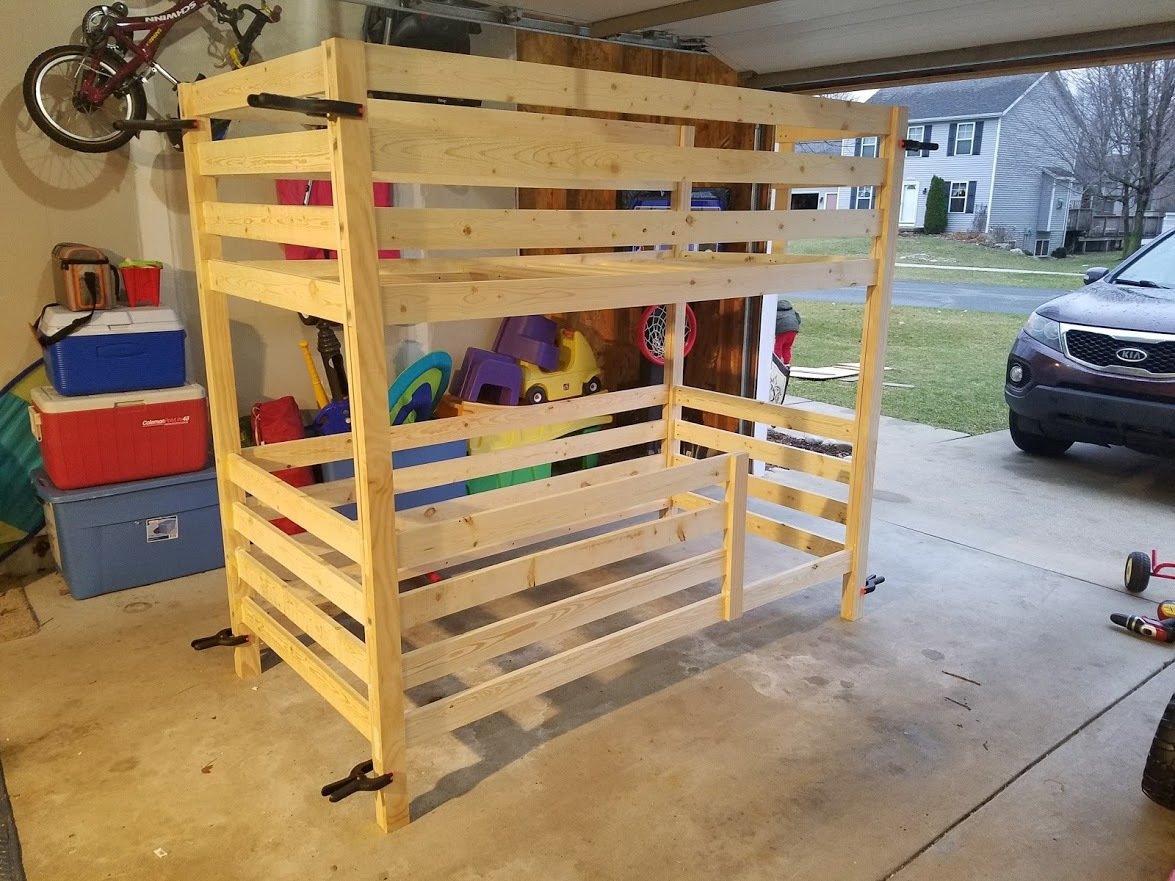
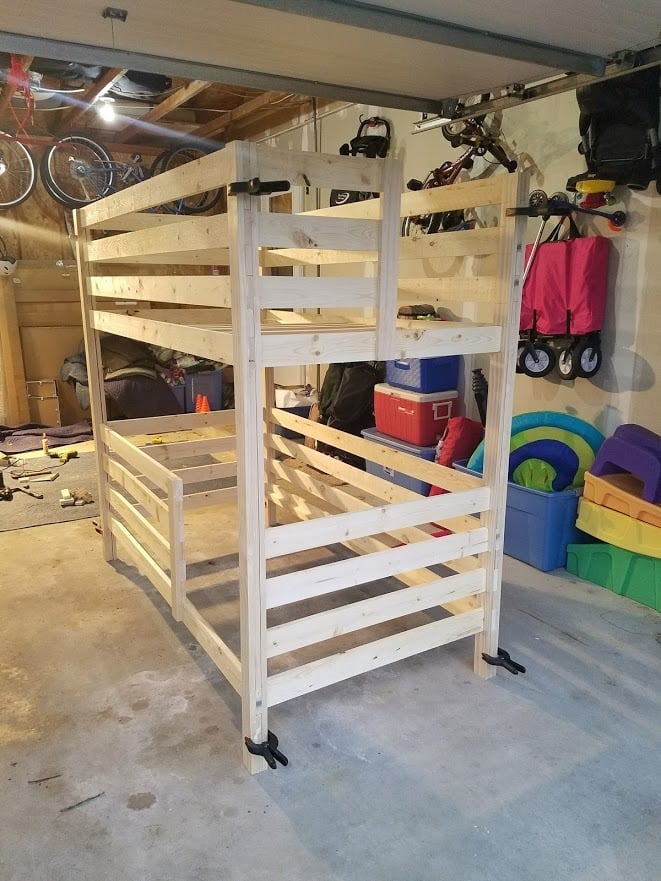
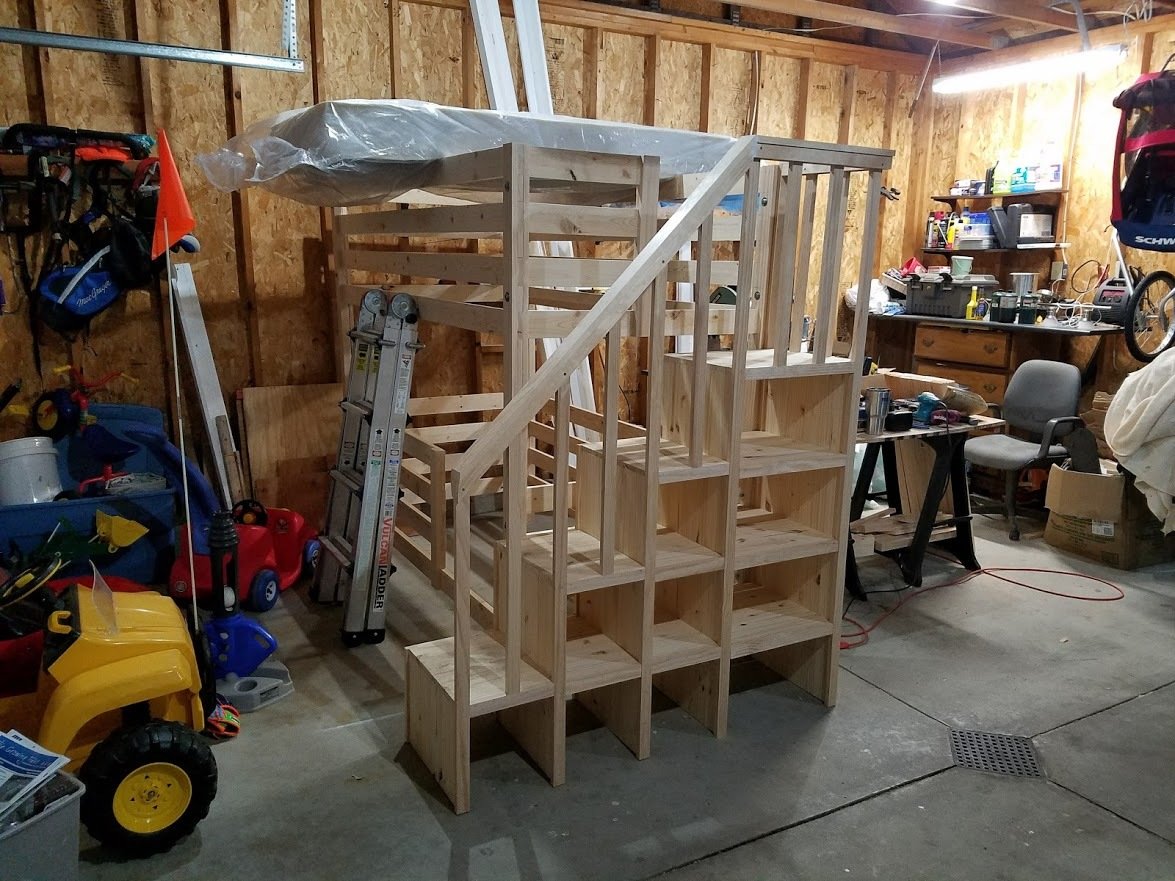
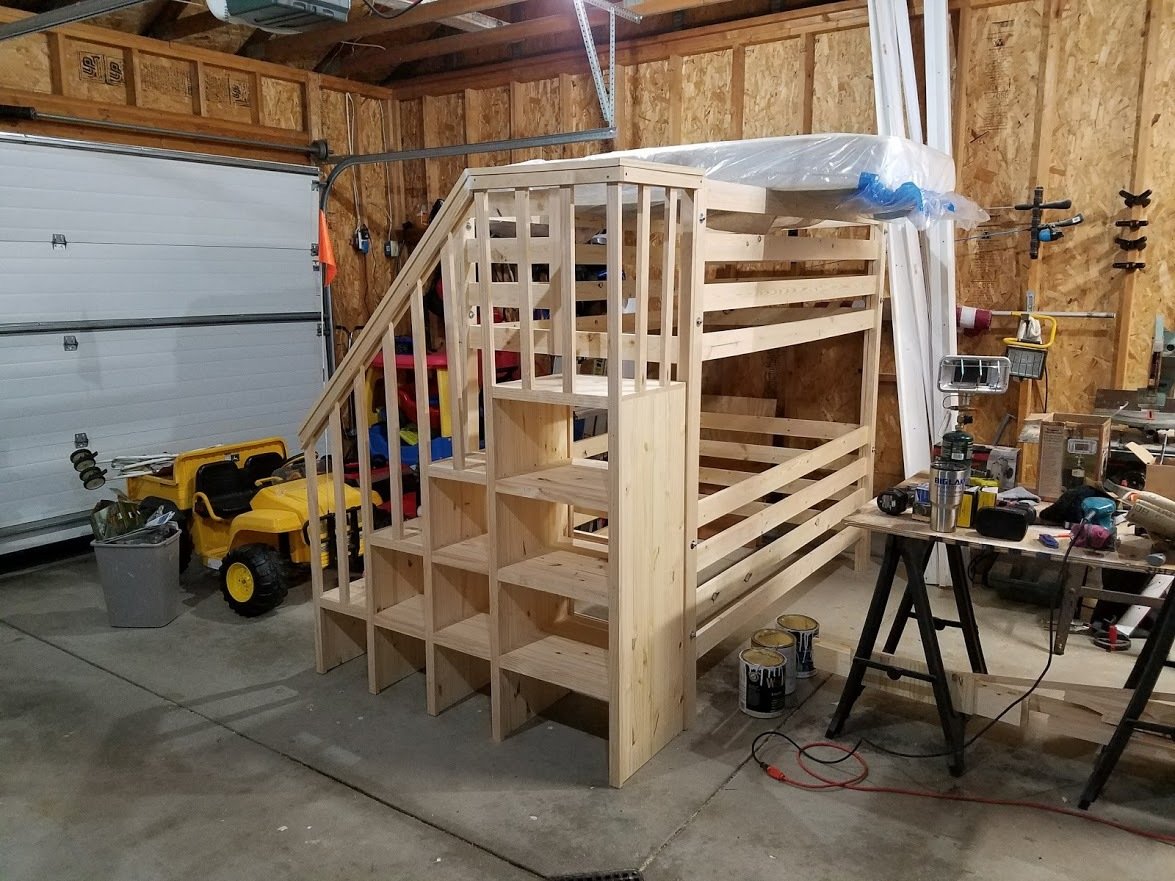
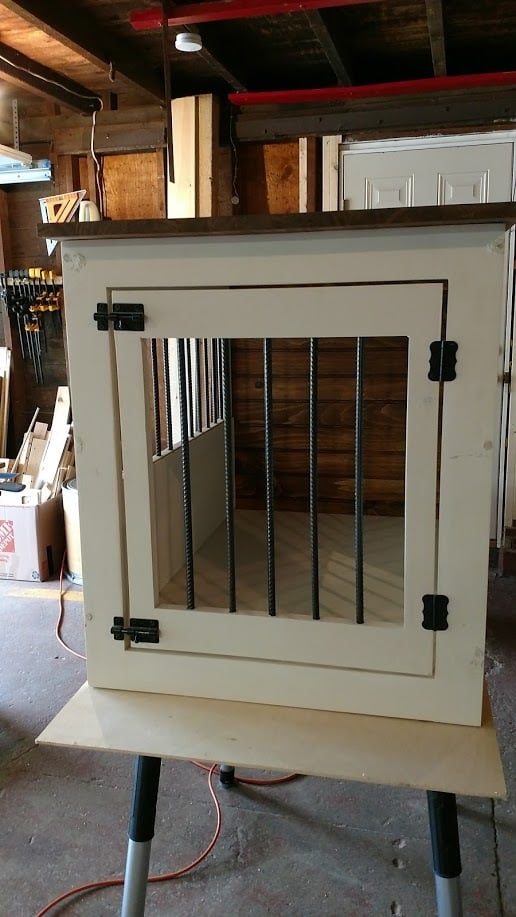
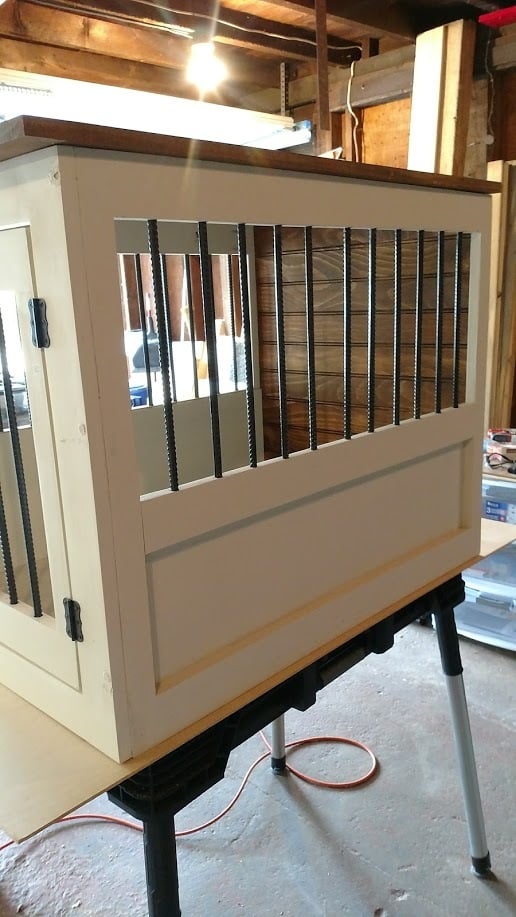
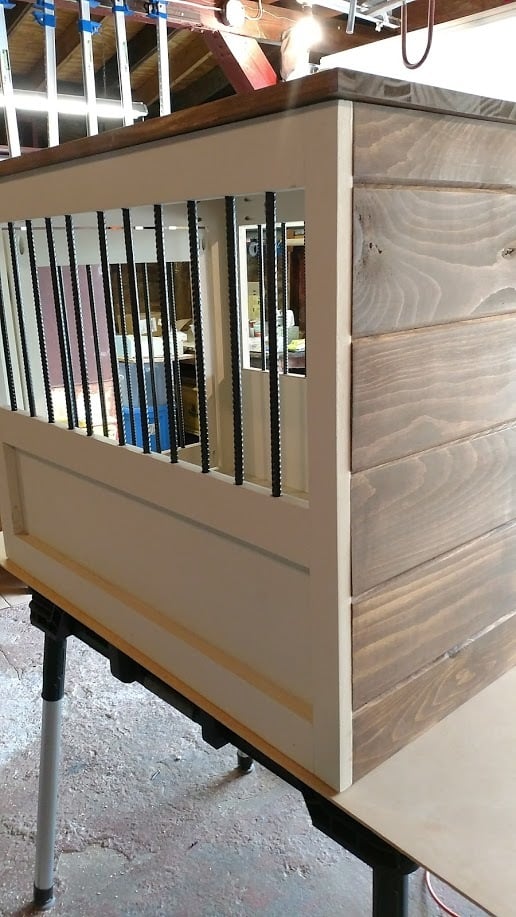
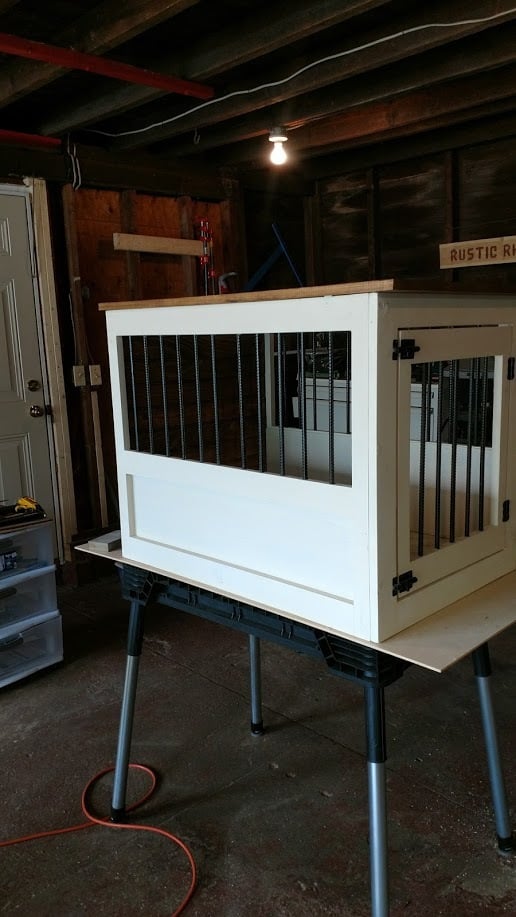
Full over Full Bunk Bed

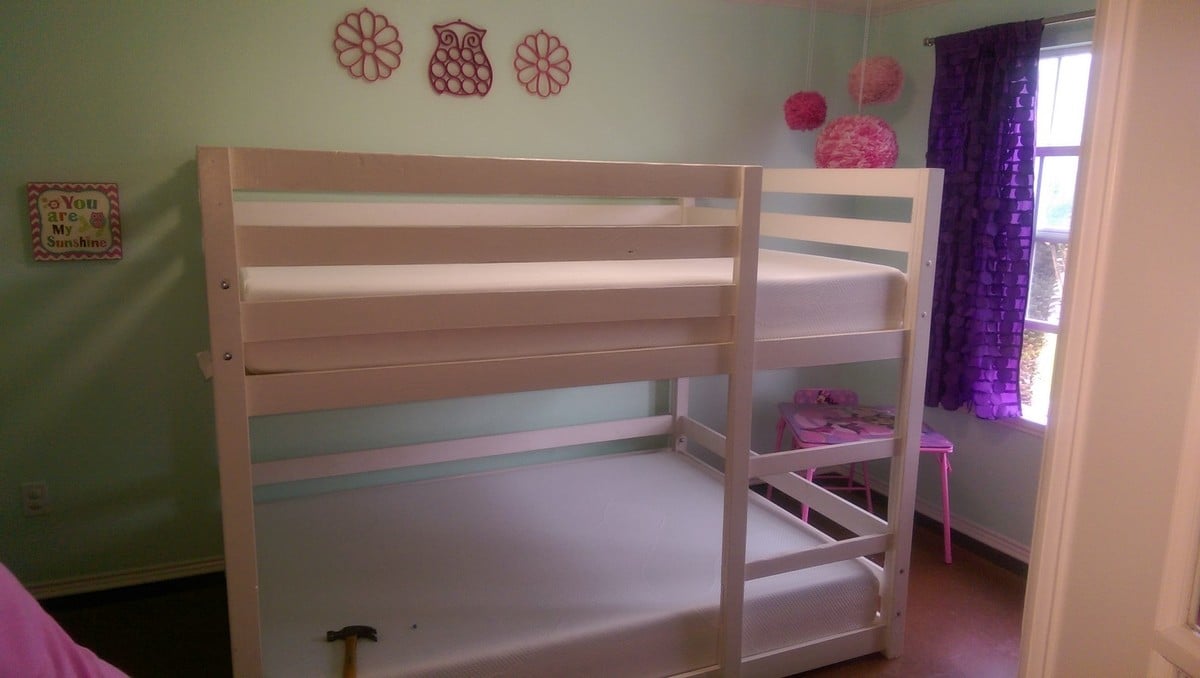
Full over Full bunk beds. Adjusted for Full from a twin measurement. only 1" off floor for more head room.extra rail bar coverage upstairs for my daughter who rolls out of bed regularly.

Built from Plan(s)
Estimated Cost
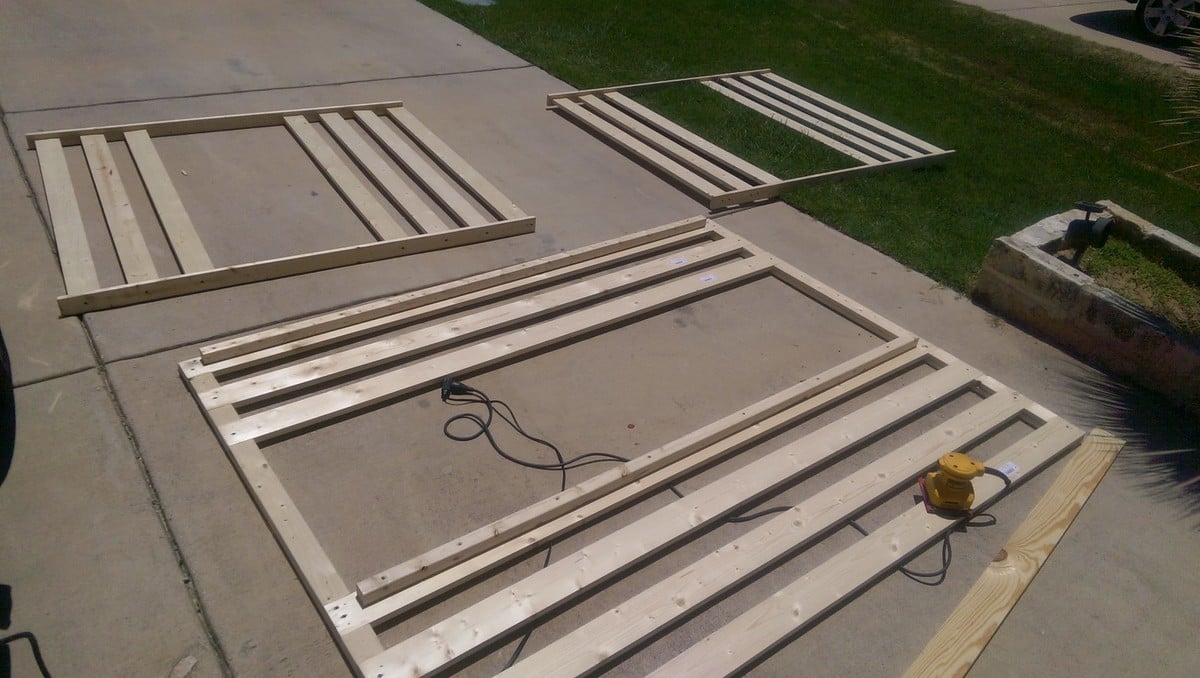
used common board mix and a few premium cuts. Pine was more costly. @$250
Estimated Time Investment
Weekend Project (10-20 Hours)
Finish Used
White primer/paint
Recommended Skill Level
Beginner

Comments

bjerfr

Sat, 07/11/2020 - 10:12

What measurements did you use to adjust to a full size?

Outdoor Sectional

Submitted by nikkiice on Sat, 05/28/2016 - 17:40

I had so much fun building this! I got a little creative with the corner section and decided to make it a table. I built a small hatch so that I could put in a container for ice and cold beer. When the hatch is not in use, the container can be removed and the hatch can be closed to provide more table space. I also added drink holders! 

Estimated Time Investment
Week Long Project (20 Hours or More)
Finish Used
none yet
Recommended Skill Level
Beginner

Surfer Shack

My buddy wanted this bed from Pottery Barn Kids but didn't want to spend $1300. It cost him $250 in materials and i built it for $300. So you DIY'ers could do it for $250. We also adjusted the size to fit a full size mattress.

Built from Plan(s)
Estimated Cost
$250
Estimated Time Investment
Weekend Project (10-20 Hours)
Finish Used
Kona wood stain
Recommended Skill Level
Intermediate

Comments

Rachael Cabos (not verified)

Wed, 06/06/2012 - 16:35

What were the dimensions?

Alexis buchanan (not verified)

Sun, 09/23/2012 - 14:42

Both my boys want to sleep up top I have a nice corner window seal that I'd like to put the l shaped loft at mid height double twin any suggestions also would like the entry on both ends so my 9 yr old can descend without waking my middle son would like a detachable slide in the middle

Hall Tree Bench with Shiplap Back

I made this for a cousin, but now I think I am going to need to make one for myself too!  I used shiplap for the back instead of plywood. It cost a little more but was less effort than cutting the lines into the plywood. Plus it was already finished. 

Built from Plan(s)

Outdoor Living Space - Inspired by Ana's Plans

Submitted by Anonymous (not verified) on Thu, 05/07/2020 - 10:25

My wife and I were looking for a way to make our deck more enjoyable. I came across Ana's plans a year or so ago, and after building the couch and chairs, I decided to make a loveseat, add a rug and outdoor curtains. Hopefully one day I'll add some lights and an outdoor fan to complete the look.

Estimated Time Investment
Weekend Project (10-20 Hours)
Recommended Skill Level
Beginner

Comments

Seasonal And Holiday

Garage Shelving

Submitted by Anonymous (not verified) on Sat, 07/16/2016 - 17:17

I am a beginner diy'er and this was one of my first projects.  Also it was my first time using the Kreg jig and I loved it!  My shelving system was around 8 feet tall, 12 feet wide and 30 inches deep.  I added some extra cleats to support my deeper shelves (30") and also used thicker (5/8") plywood.  This was a fun and easy project to do!  Thanks so much!

Estimated Cost
$150
Estimated Time Investment
Day Project (6-9 Hours)
Finish Used
none
Recommended Skill Level
Beginner

Bookcase Dollhouse

We built this for our daughter's 6th birthday! Love how it turned out :D  As you can see we opted to leave the plywood backing off for the time being so she can use it as a doll house and play on both sides. When she grows out of the doll house phase we will either convert it to a book shelf, donate, or sell in a yard sale ... so many options!

Built from Plan(s)
Estimated Cost
$74 wood & white paint
Estimated Time Investment
Afternoon Project (3-6 Hours)
Finish Used
One quart semi-gloss white paint (2 coats) bought at Walmart. Pink and green colors were left over paints from when we painted the walls in our home.
Recommended Skill Level
Beginner

Comments

Modern Outdoor Sofa and Loveseat

Modified the loveseat plans and created a sofa as well. No one that sees these thinks I built them. They look so much nicer than anything you can buy!

Estimated Cost
$350
Estimated Time Investment
Week Long Project (20 Hours or More)
Finish Used
First coat SW New Ebony Stain
second coat Varathane Briarsmoke
Recommended Skill Level
Beginner

Comments

8 foot picnic table

Submitted by Abby721 on Sat, 07/18/2020 - 08:40

This picnic table was a quick build and turned out amazing. I modified the center base support by adding an extra table top support and seat support board to the opposite side of the center legs to give the table symmetry to accommodate an umbrella hole. I also shortened both cross supports by an inch to make sure the base wouldn’t be longer than the top boards. The space between the center table support boards and seat support boards is the perfect size to fit a standard umbrella. I used a 1 3/4” hole saw to make the umbrella hole. The build and stain/paint took me about 5 hours but additional time is needed to properly seal the table. I used untreated pine. Treated pine may give the table longevity but it would also add a lot of weight to an already heavy table. This was a relatively easy and quick build and is a great size to fit my whole family plus a couple guests! I’m happy with how it turned out and would recommend this build to anyone looking for a budget friendly and simple patio table.

Built from Plan(s)
Estimated Cost
$75
Estimated Time Investment
Day Project (6-9 Hours)
Finish Used
Varathane Briarsmoke for the top and Rustoleum Canyon Black Satin for the base. Sealed with 2 coats of Varathane Helmsman Spar Urethane
Recommended Skill Level
Beginner

Comments

Seasonal And Holiday

Garage Shelves

Submitted by scoricha on Mon, 01/09/2017 - 11:01

I am loving my new garage shelves.  They were my first woodworking project and very easy to do!  I left the bottom right side open to fit my outdoor table and chairs in the winter (I live in Michigan).  I also used thicker plywood than plan because my shelves are a bit deeper.

Estimated Cost
$130
Estimated Time Investment
Weekend Project (10-20 Hours)
Finish Used
none
Recommended Skill Level
Beginner

Vegetable Bin

Submitted by Anonymous (not verified) on Fri, 10/16/2020 - 07:02

My first Anna White build. Easy and fun. I made this for my Grandmother for Mother's Day 2019. She absolutely loved it.

Built from Plan(s)
Estimated Time Investment
Weekend Project (10-20 Hours)
Recommended Skill Level
Beginner

Reclaimed Wood Farm Table

This was made from reclaimed wood from various building around the DC area.

Estimated Cost
$140
Estimated Time Investment
Day Project (6-9 Hours)
Finish Used
Teak Oil
Recommended Skill Level
Intermediate

Comments

Classic Bunk Beds Re-Imagined With Stairs

Submitted by edeboode on Mon, 04/03/2017 - 07:57

I modified the plans for the Classic Bunk beds by making them 74" tall instead of 63" and added a fourth slat all the way around to add more protection from potential falls.  I created one opening in the front for my youngest to get into the bottom bunk, and built slats about 2/3's across the front to act as a gaurd rail. I created another opening on the side for my oldest to get into the top bunk with stairs instead of ladders to again prevent falls.  I had to modify the Sweet Pea stairs to accomodate for the extra height in the bunk beds, simplified the railings, and I created each cubby to be big enough to use cloth storage totes that were 11x11x11.  Sanded the whole bed and stairs so the corners and edges were all rounded and smooth, and put two coats of white Deck and Porch paint to stand up to the the boys running up and down.  I used brackets to secure the stairs to the bed, and sixteen 3" bolts to bind the bed together.  Precut and drilled 17 slats for each bed seperated them 2" apart.  Spent a few hours every night during the week measuring, cutting, glueing, drilling and assembling the bed and stairs.  Spent an entire weekend sanding and painting.  Very happy with the way these beds turned out.  Overall cost of the project including the paint was around $400.  

Estimated Cost
$400
Estimated Time Investment
Week Long Project (20 Hours or More)
Finish Used
Porch and Deck Paint
Recommended Skill Level
Beginner

Comments

Potting Bench Project

Submitted by Anonymous (not verified) on Wed, 04/14/2021 - 10:50

Fun project indeed! Just make sure its all square every step of the way.
Thanks, I look forward to perusing some more projects!!

Estimated Cost
$50
Estimated Time Investment
Day Project (6-9 Hours)
Finish Used
Thompson's Clear Wood Sealer, two coats
Recommended Skill Level
Beginner

Comments

Kendal Dresser - upgraded

Submitted by Mobrien07 on Tue, 02/03/2015 - 15:59

I added front drawer trim & a walnut stained top to this already great design  


Built from Plan(s)
Finish Used
Minwax Special Walnut
Varathane clear coat
Sherwin Williams high gloss white
Recommended Skill Level
Intermediate

Comments

kmom721

Sat, 06/22/2019 - 08:44

It looks like they just bought some moulding and attached it


Dog Crate with a twist...

Submitted by AlexO on Mon, 05/08/2017 - 19:08

I really liked the Large Wooden Dog crate but wanted the sides to be lower and wanted to make sure there was no easy chew escape.  Not sure if you can see from the photo but the cats have taken over... Will need to make a larger one for the dog!

I followed the plan pretty much other than lowering the panel on the side and replacing the wooden bars with rebar.  The rebar was a bit of a learning curve getting the holes lined up perfectly but I figured it out and I think it came out pretty good!

Used all pine 1x3 and 1x2s.  Picked up a pine panel for the top and the bottom is a 3/4 plywood. Made our own chalk paint for the finish and sealed it with wax.

Oh, forgot, added tongue and groove pine for the back and finished it and the top with Antiguing wax.

Lots of fun and I think I will make a double one next!

Built from Plan(s)
Estimated Cost
Around $100 if you don't count all the practice pieces for the rebar!
Estimated Time Investment
Week Long Project (20 Hours or More)
Finish Used
Chalk paint and antiquing wax
Recommended Skill Level
Intermediate

Rustic X Console

Submitted by srodge1 on Mon, 10/04/2021 - 19:47

Built this for some dear friends ... turned out so pretty.

Built from Plan(s)

Comments

Variation on Easiest Upholstered Bench

Submitted by BuilderGal on Mon, 03/14/2011 - 10:42

I wanted an upholstered bench for the end of my bed but could not find one with the right measurements. So what to do when that happens, build your own. I used the easiest upholstered bench plans as my starting point, but incorporated turned legs from Home Depot and upholstered the cushion instead of making a slipcover for a more traditional look. I made the bench measurements one inch smaller in depth and one inch smaller in length than the plans to fit the end of my queen size bed. I used the pocket hole (Kreg ) jig to attach the legs to the 2x4s and pre-drilled holes in the base to eventually attache the upholstered top. I used stain applied very heavily as the grain on the legs was different than the 2x4s.After putting the frame together and staining it, I stapled fabric over 3 inch foam and a layer of batting to the unattached top MDF board. The best way to cut foam to size is with an electric carving knife. I then stapled fabric covered piping around the edge of the fabric. I finished it off by turning the whole thing upside down and attaching the finished upholstered top to the frame by screwing them together with the pre-drilled pocket holes. I love the way it finishes off our room and it looks very professional. As always, the hardest part of the project is not the building, but the staining and getting the upholstery just right.

Built from Plan(s)
Estimated Cost
$65 (for legs, 2x4's, and 3 inch foam)--used leftover MDF for top and fabric I had
Estimated Time Investment
Afternoon Project (3-6 Hours)
Finish Used
I used Minwax water based walnut stain and applied 2-3 coats very heavily and did not wipe it off. I also used 2 coats of polyurethane.
Recommended Skill Level
Beginner

Potting bench

Submitted by DianeS on Wed, 04/06/2011 - 14:04

I used the plan for the simple potting bench, but because I had  a lot of reclaimed wood, I used well supported 1x4's instead of 2x4's, simply because I had an abundance.

Built from Plan(s)
Estimated Cost
10.00 for screws and the potting bin
Estimated Time Investment
Day Project (6-9 Hours)
Finish Used
just sanded a lot.
Recommended Skill Level
Beginner

Comments

Back