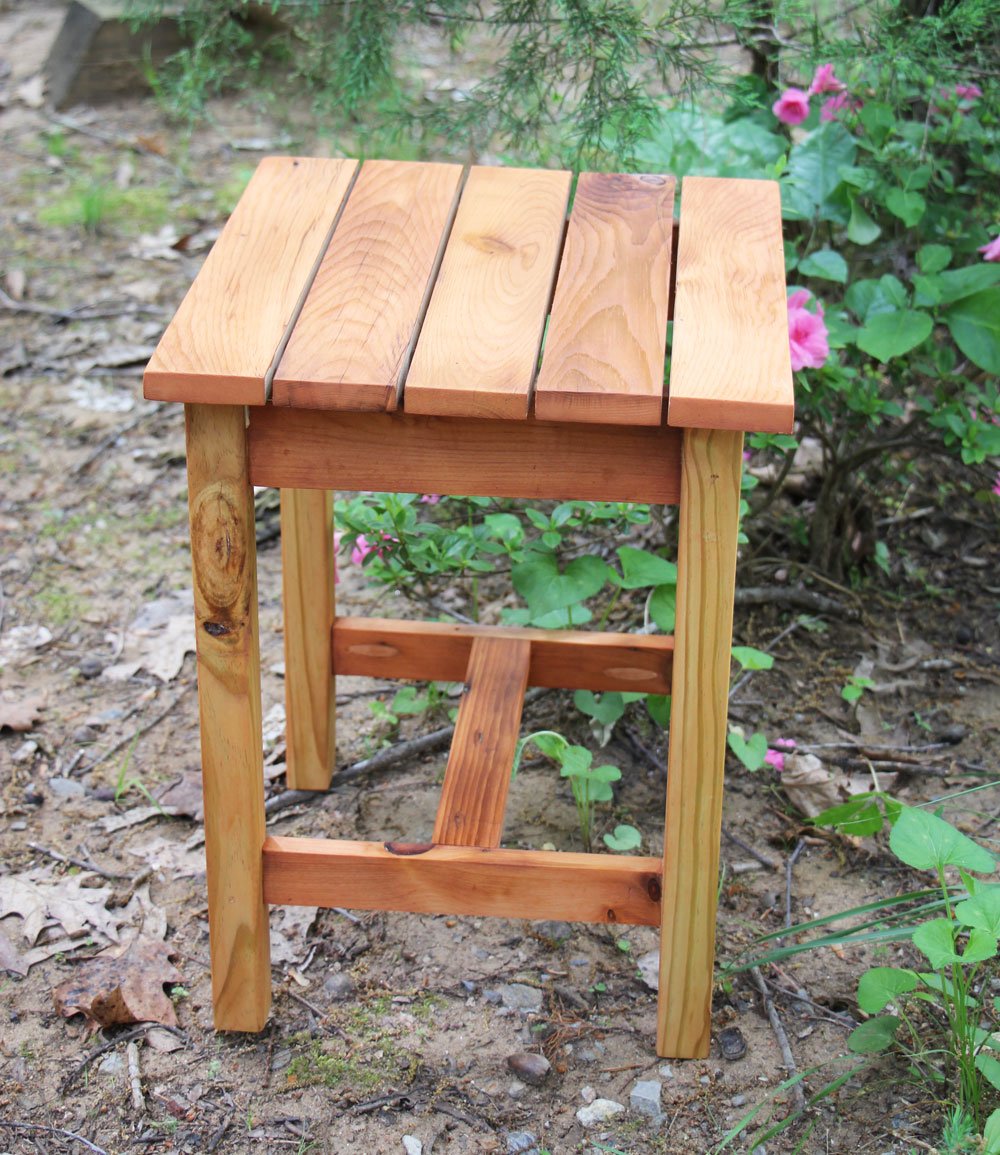
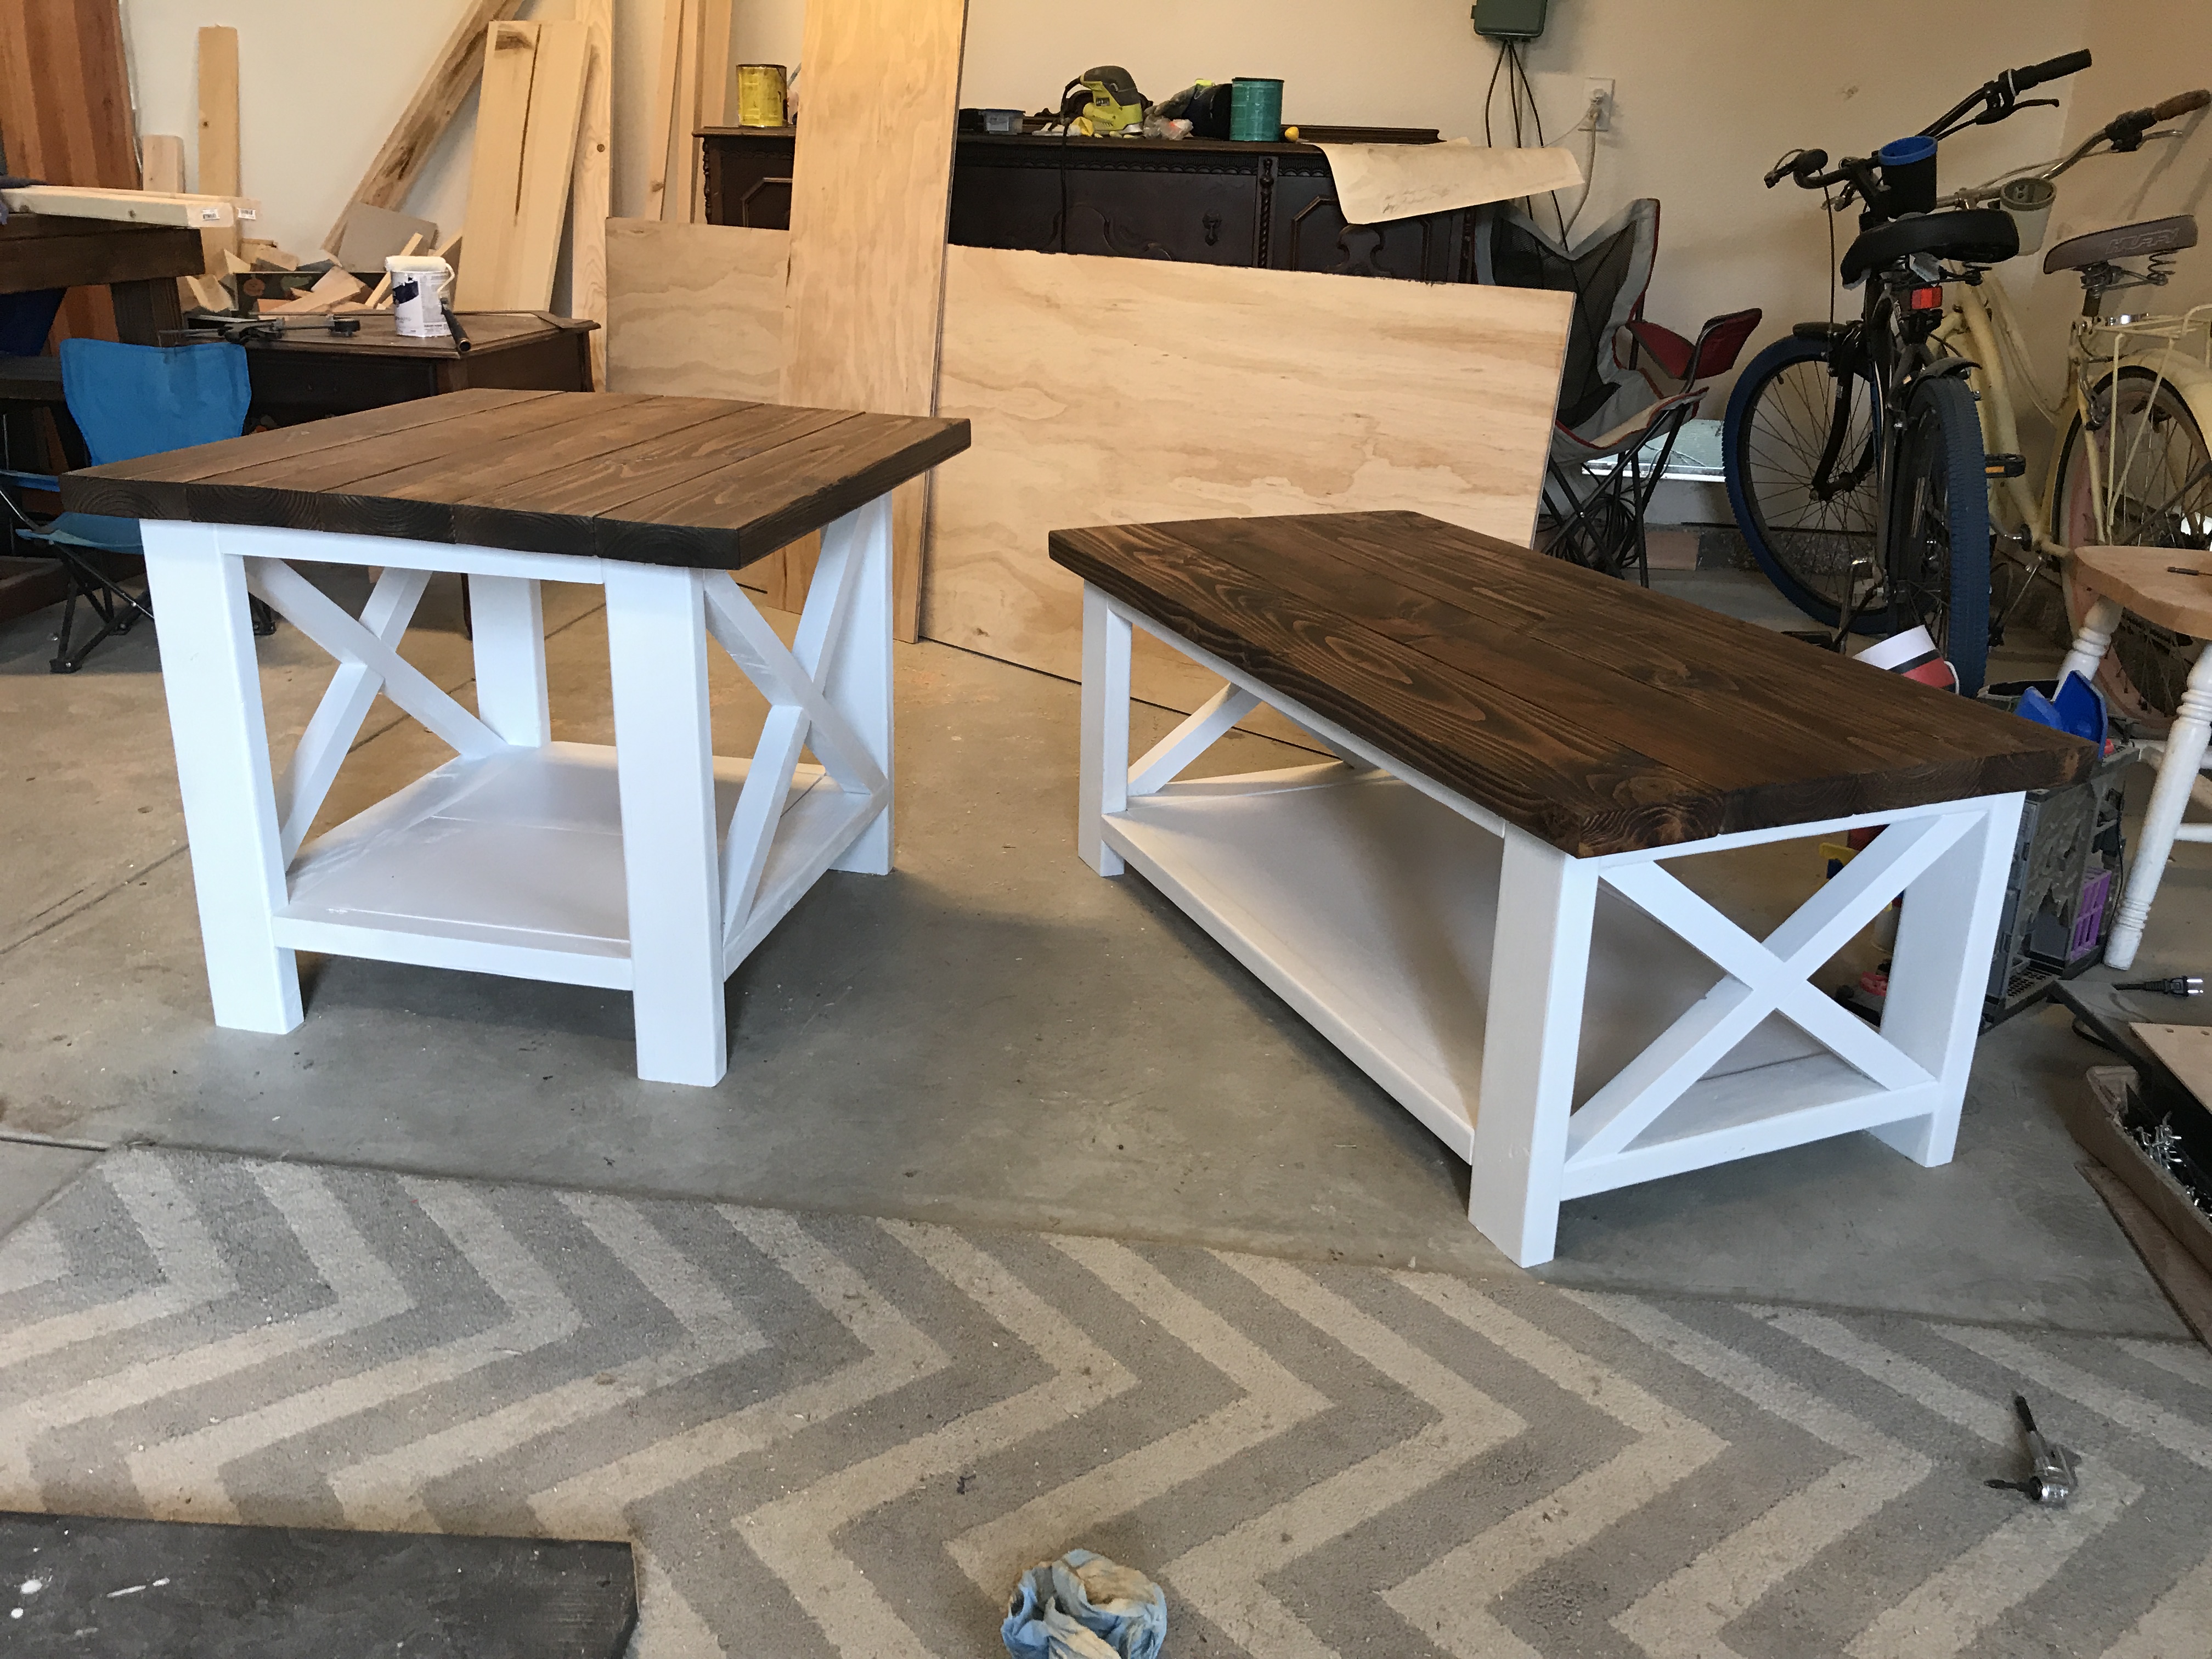
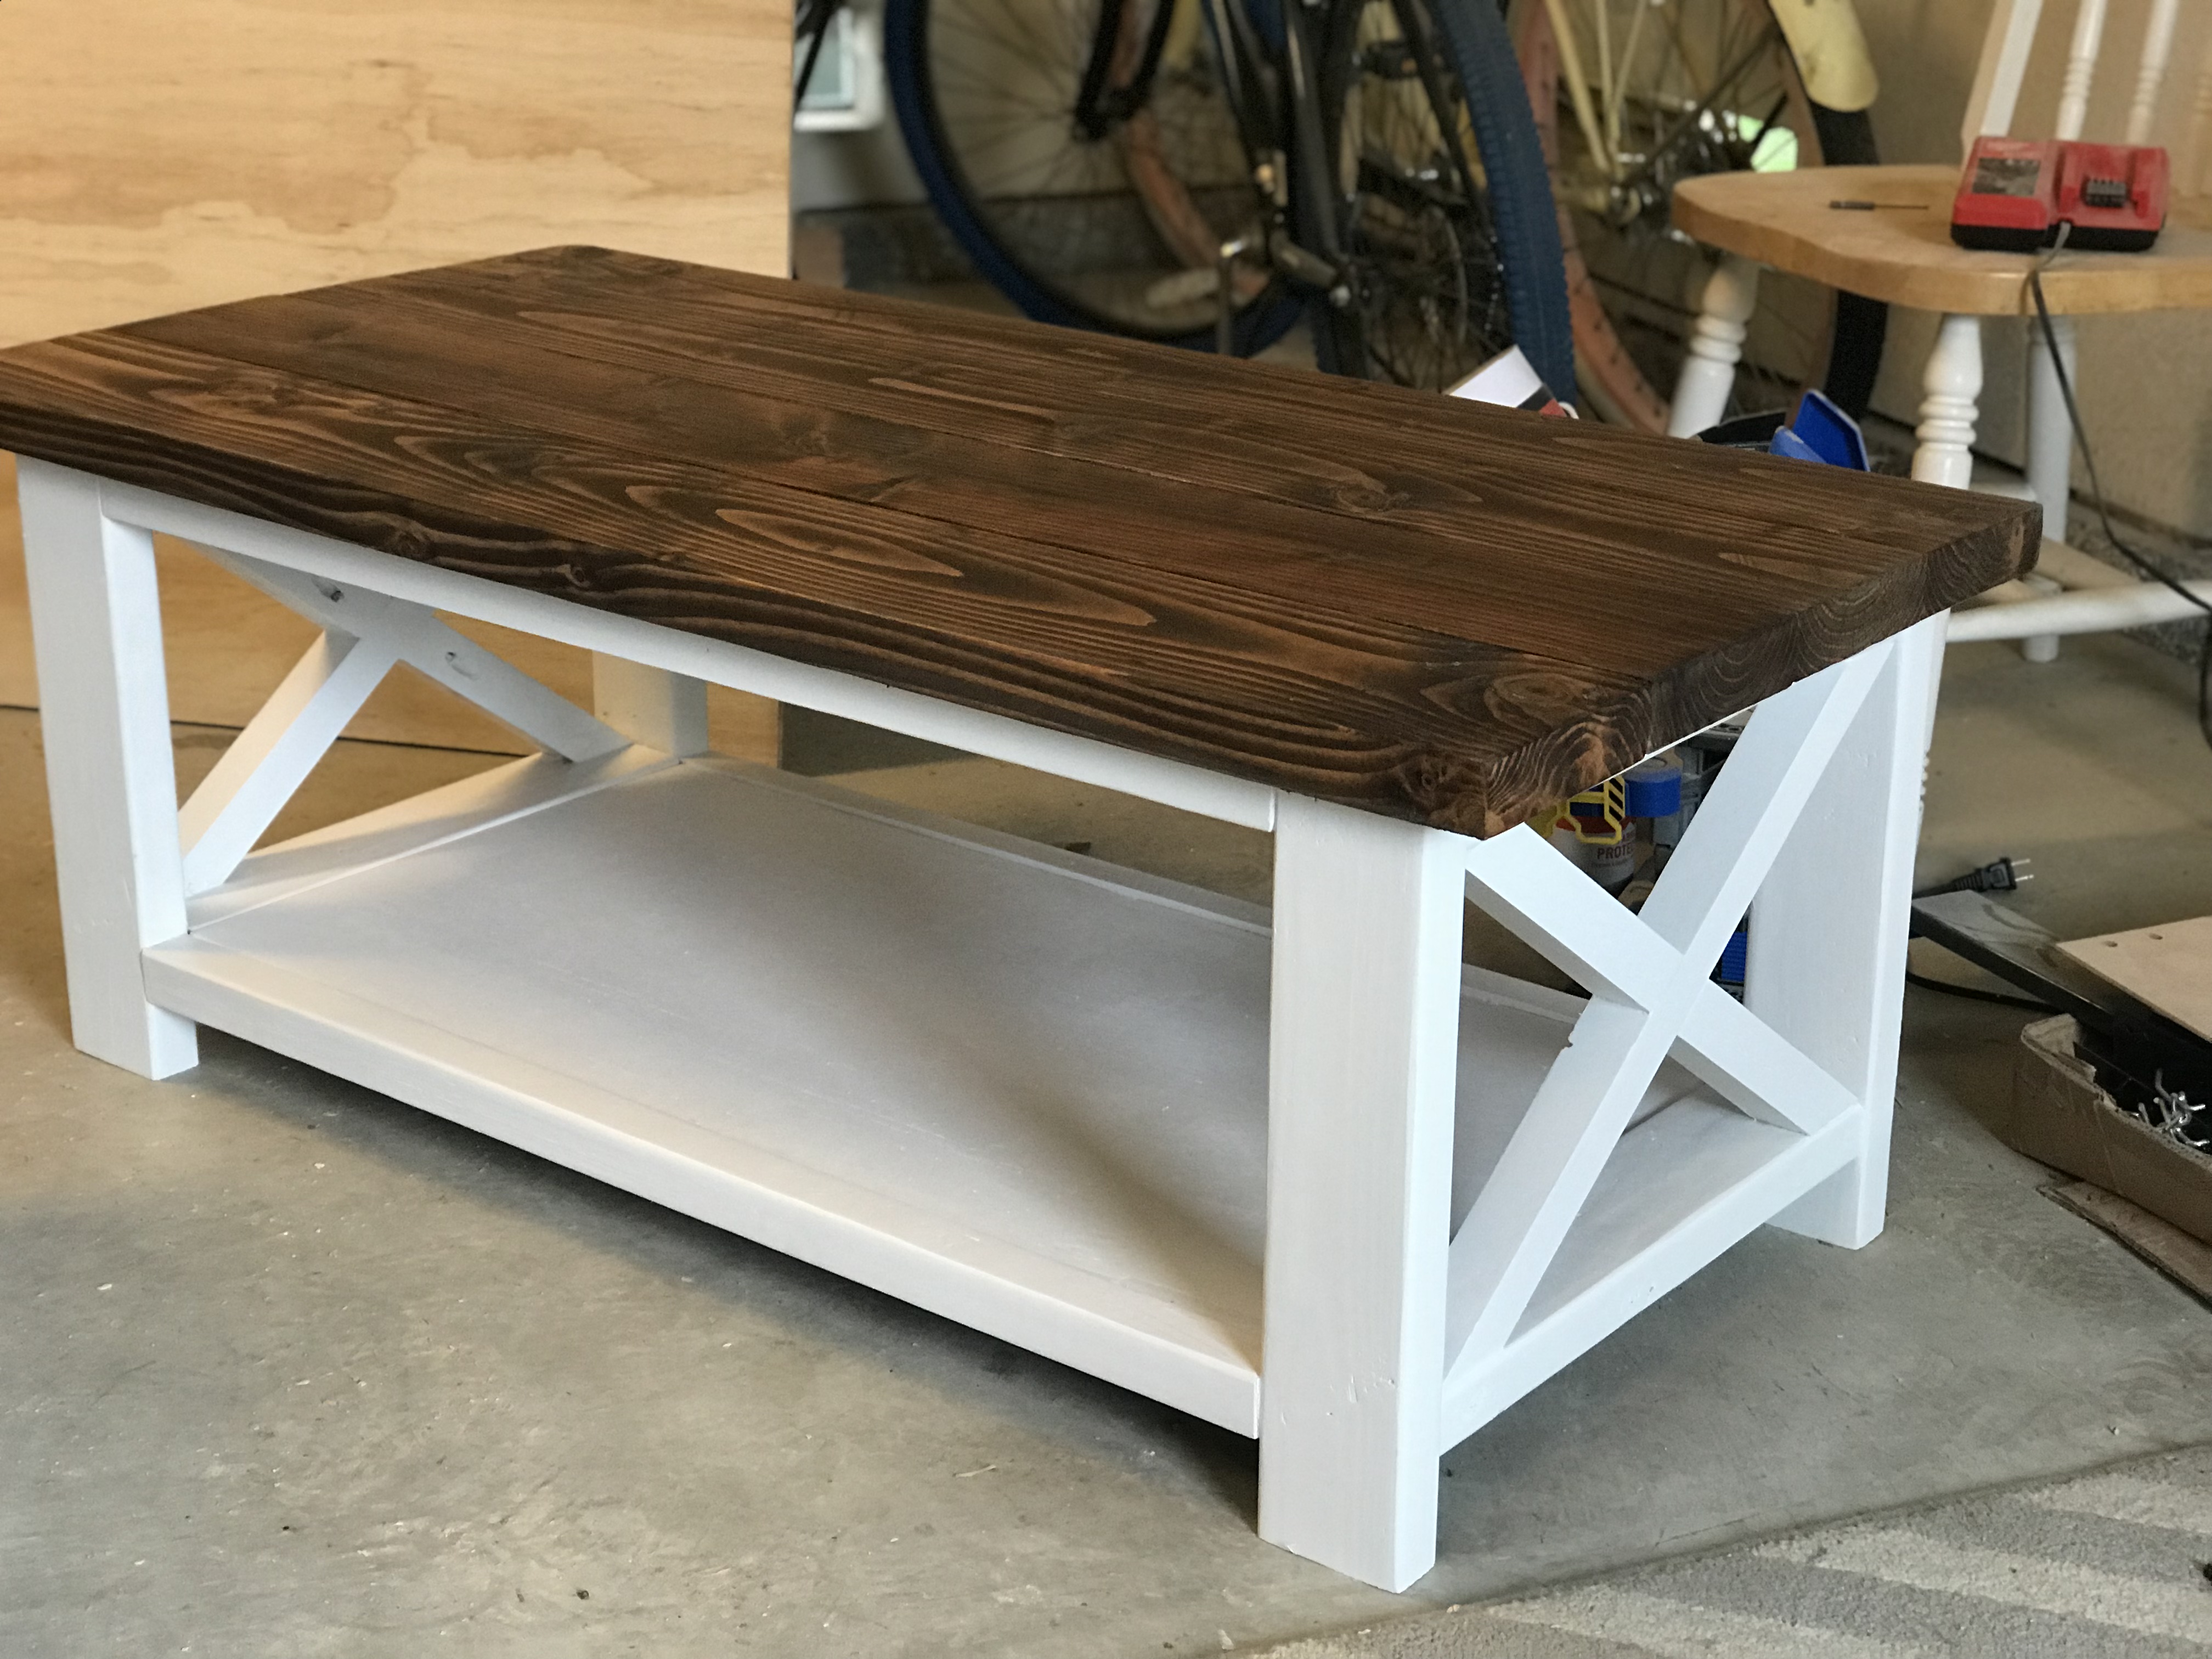
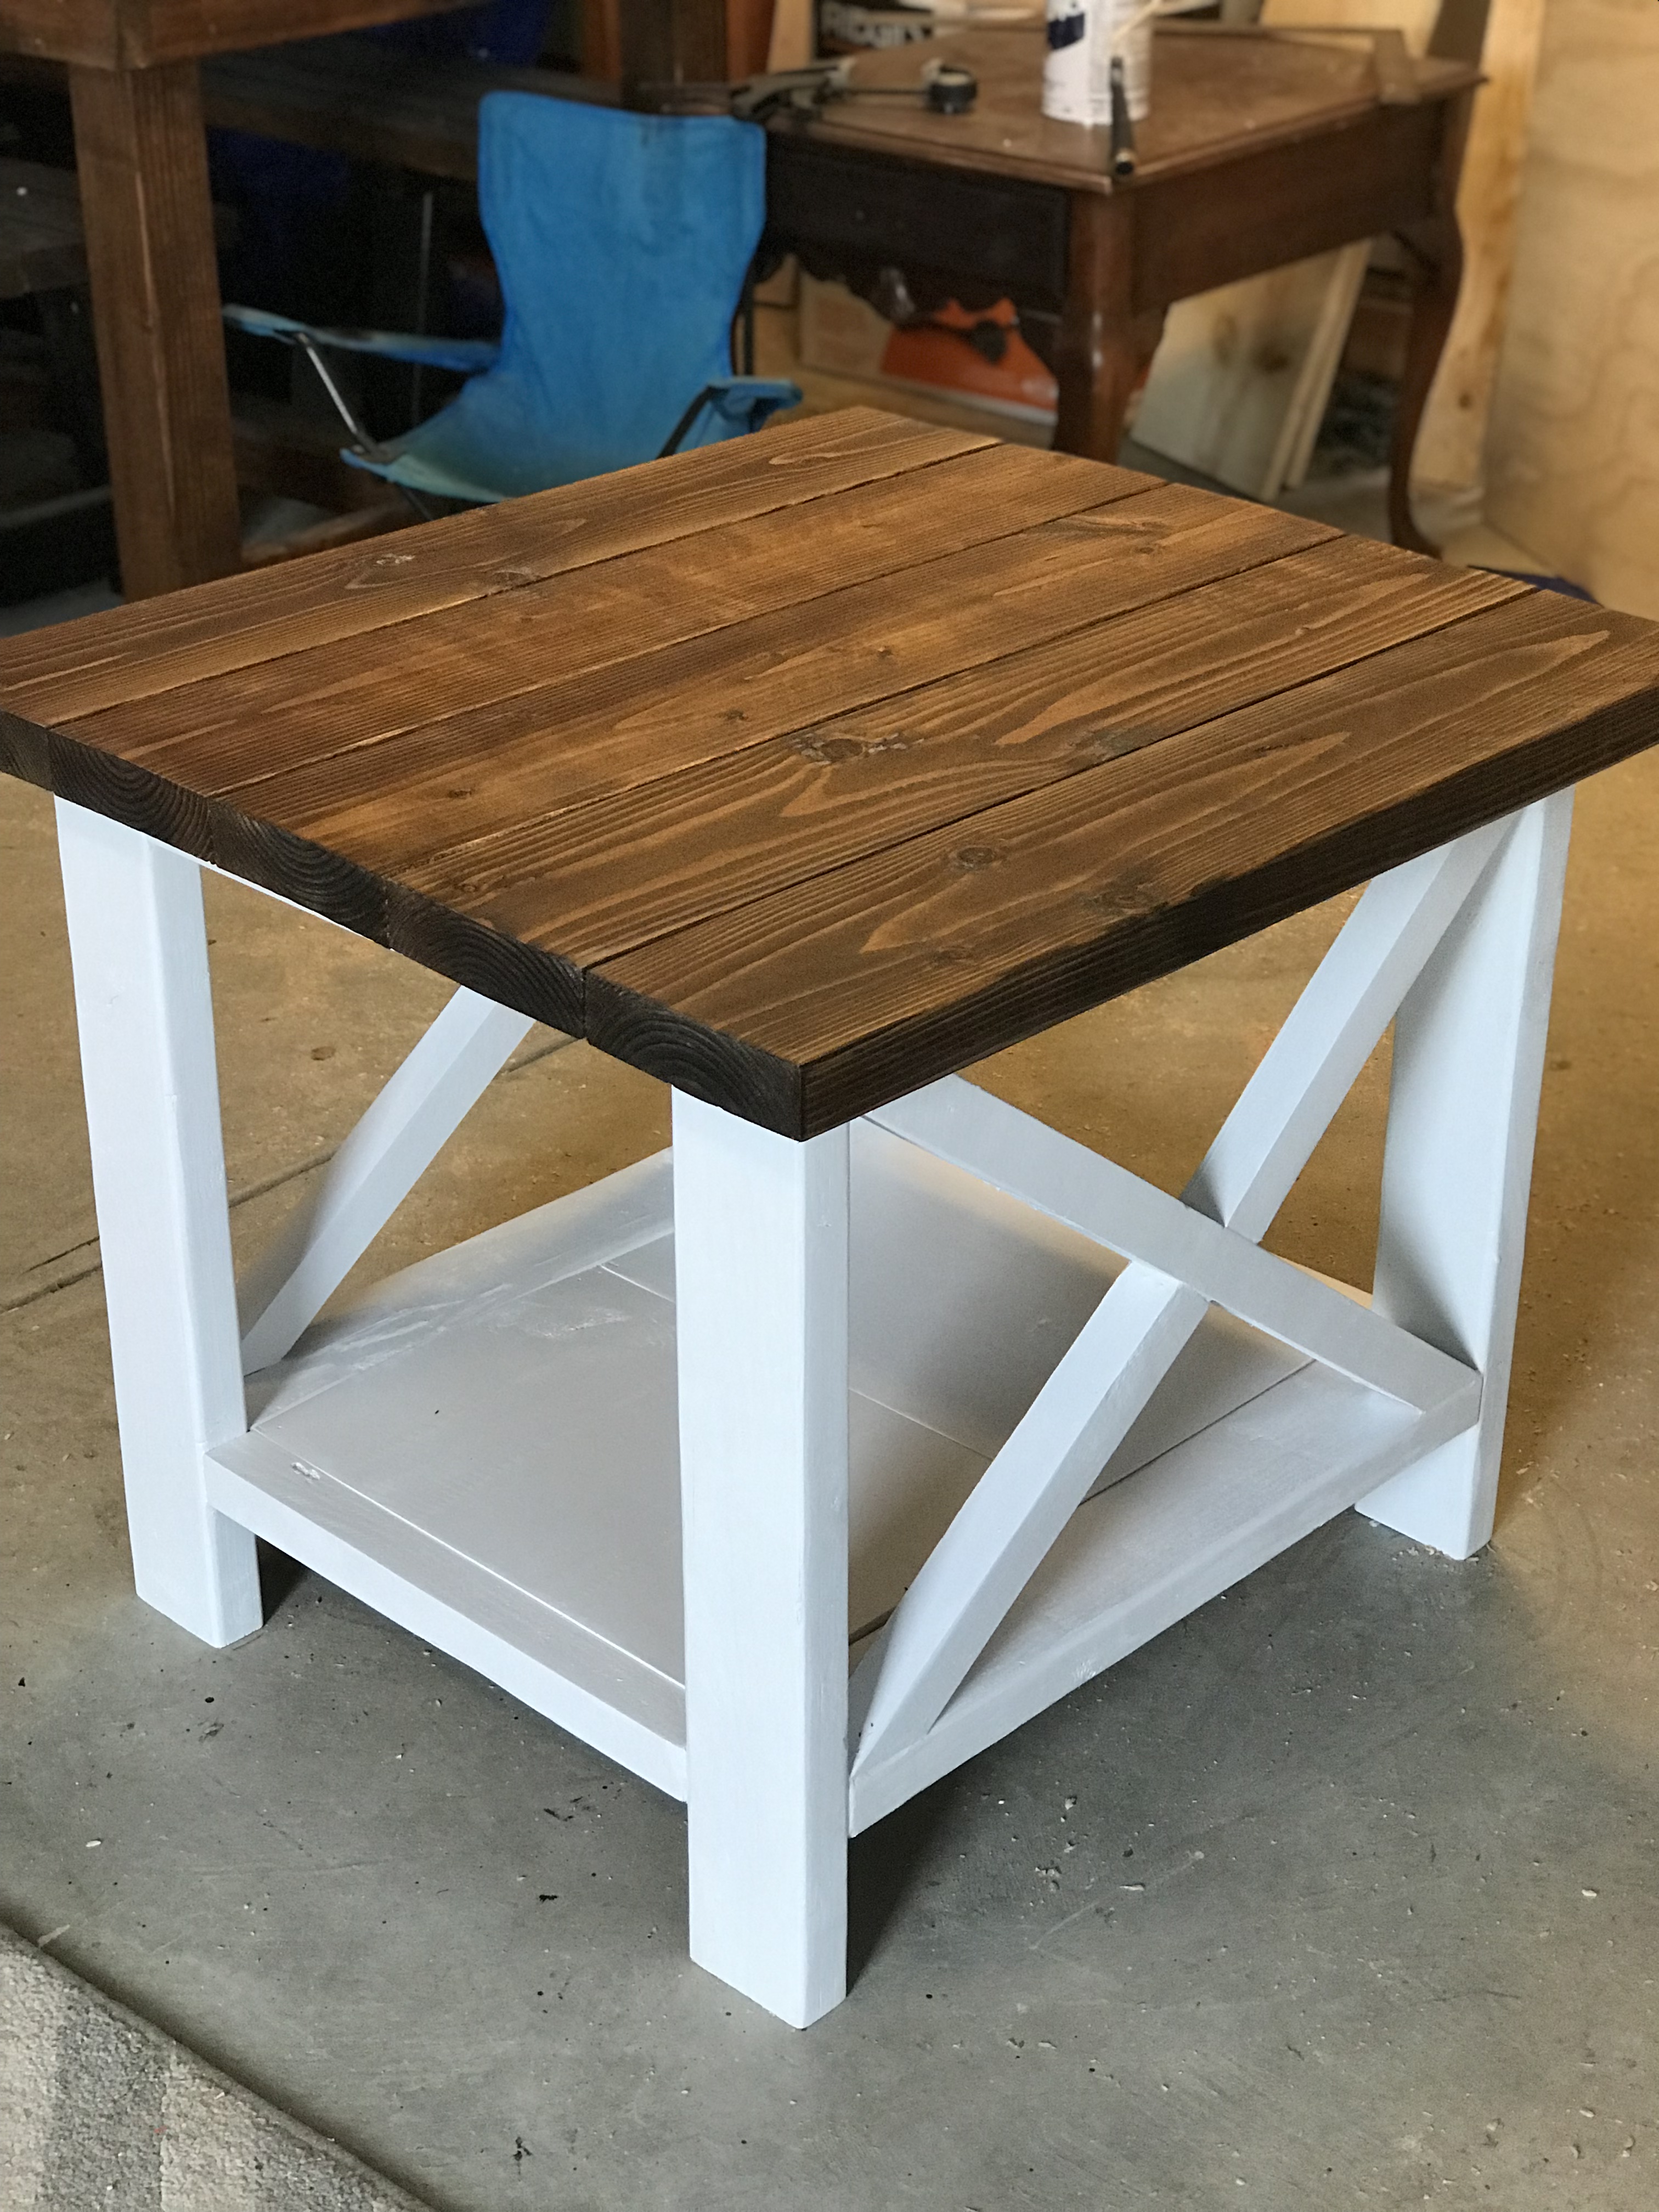
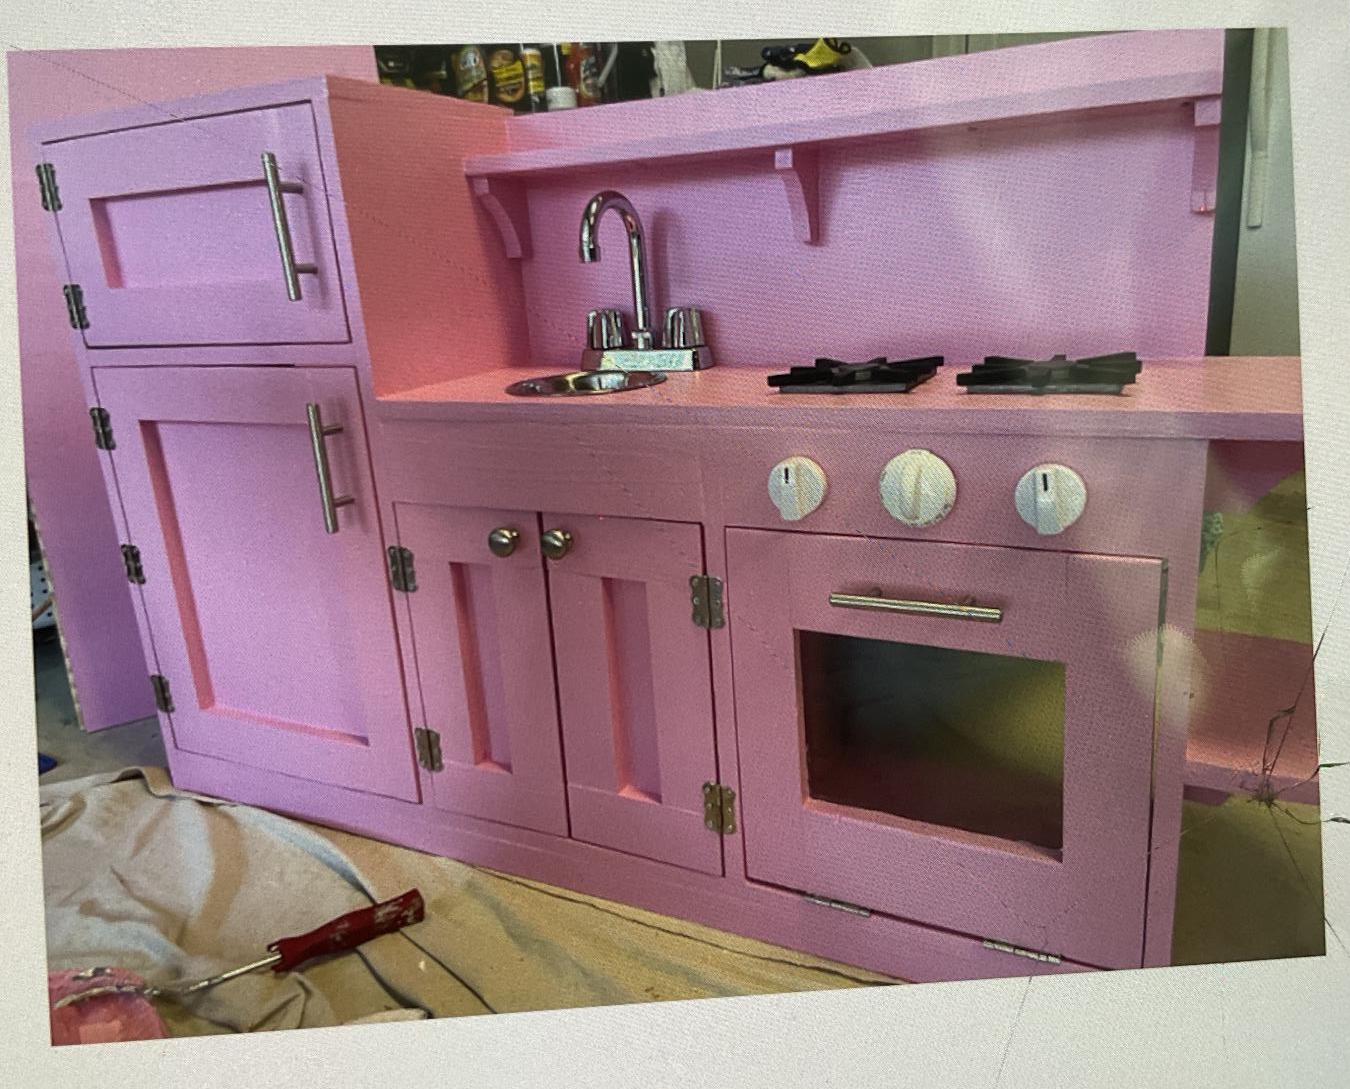
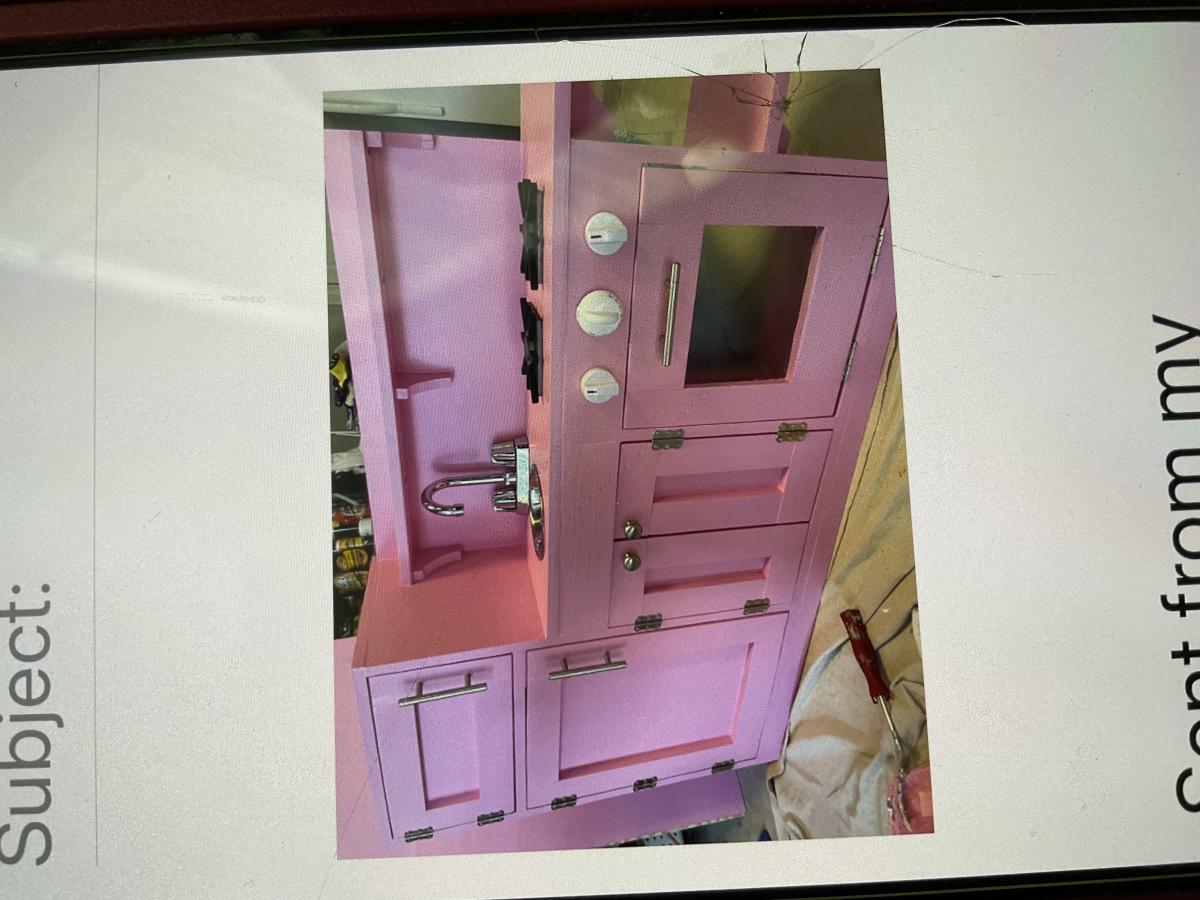
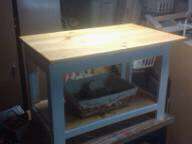
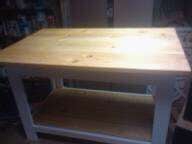
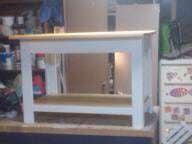
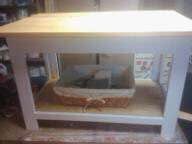
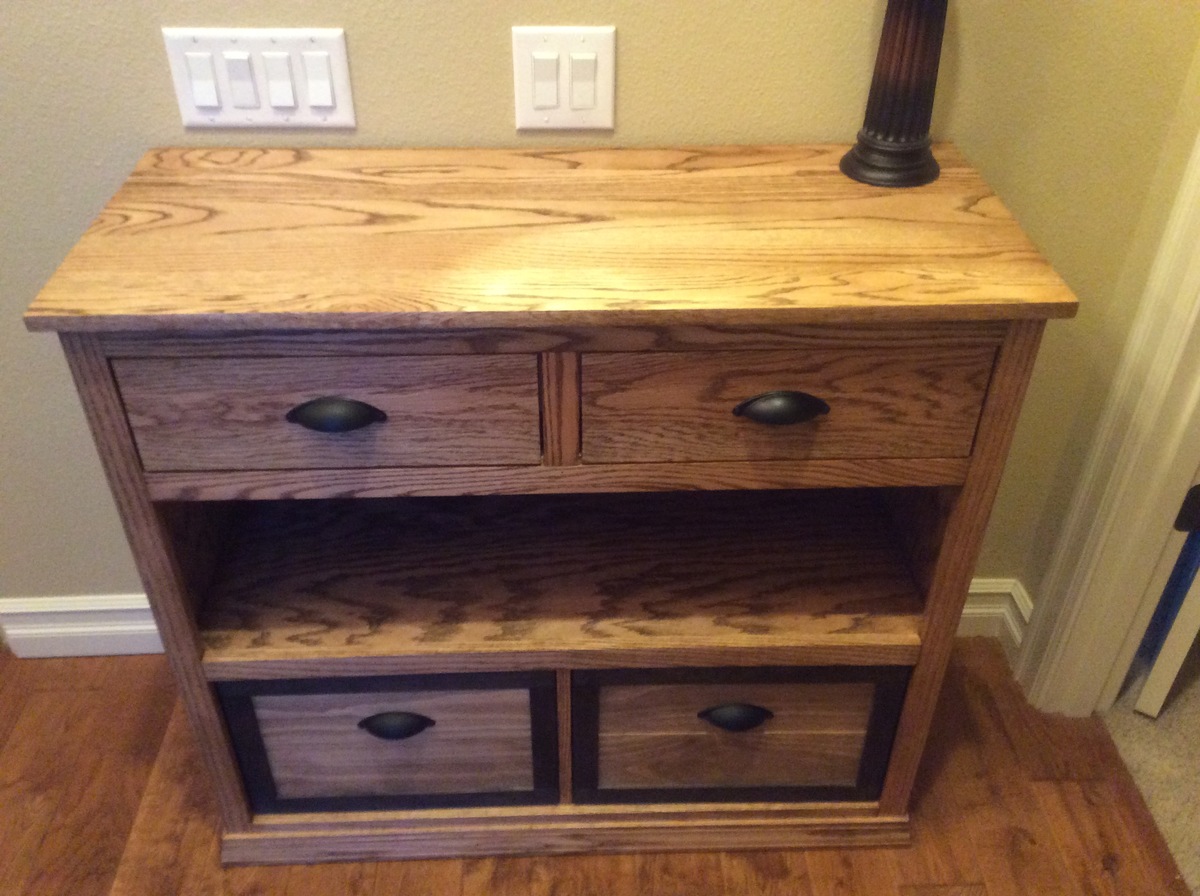
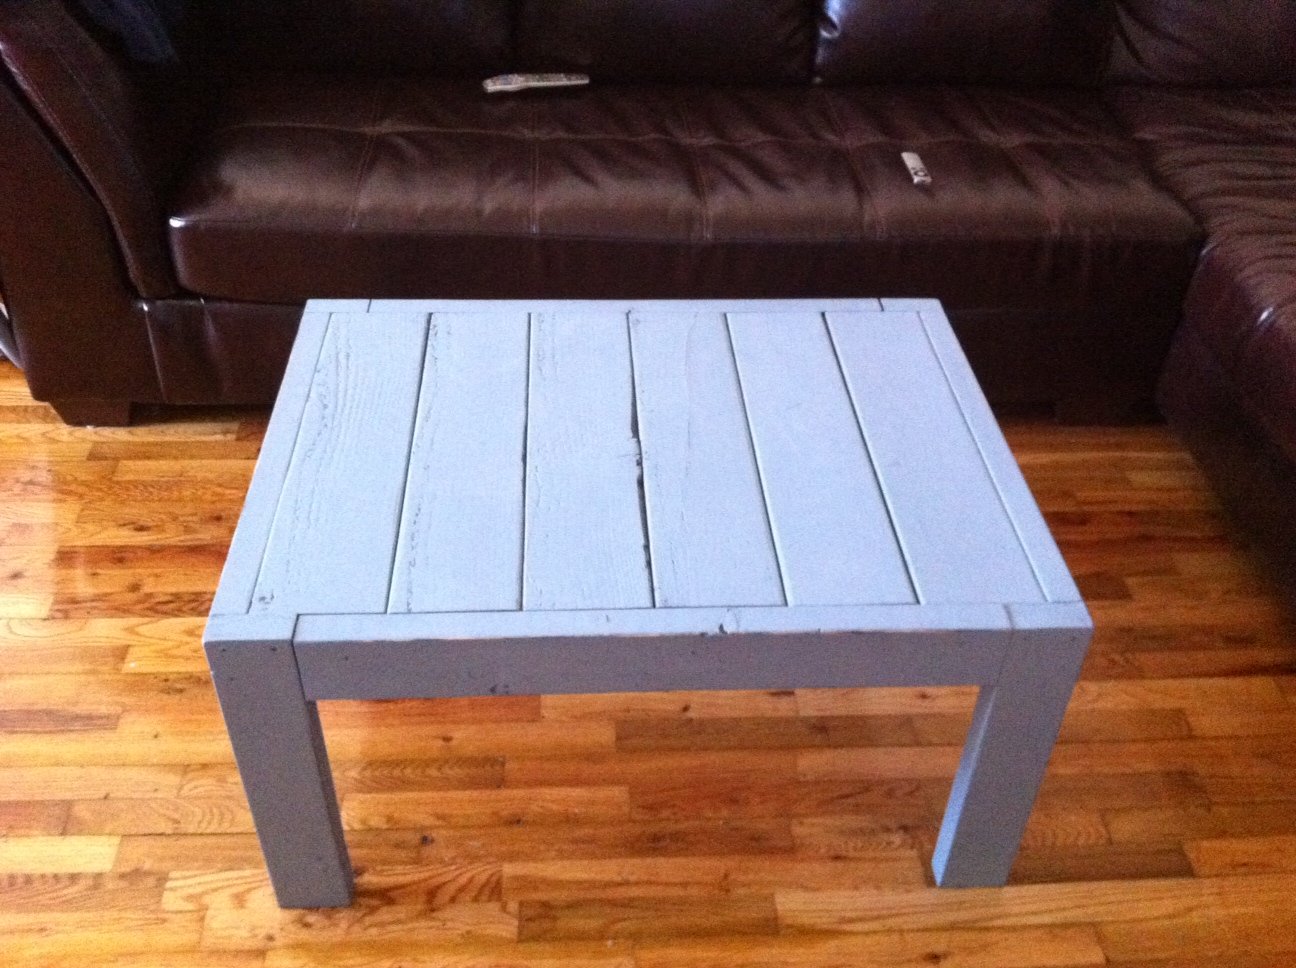
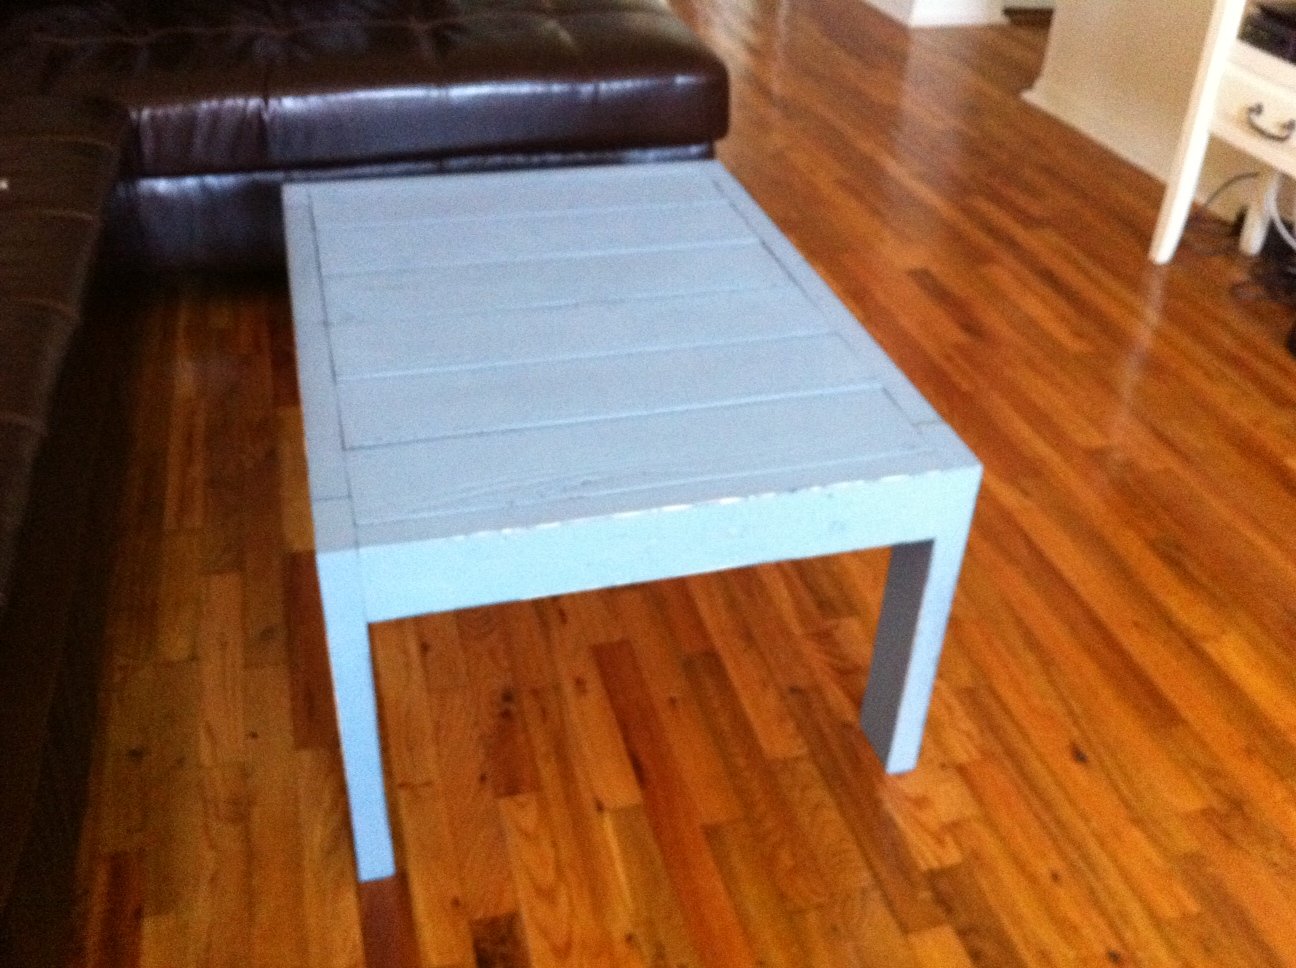
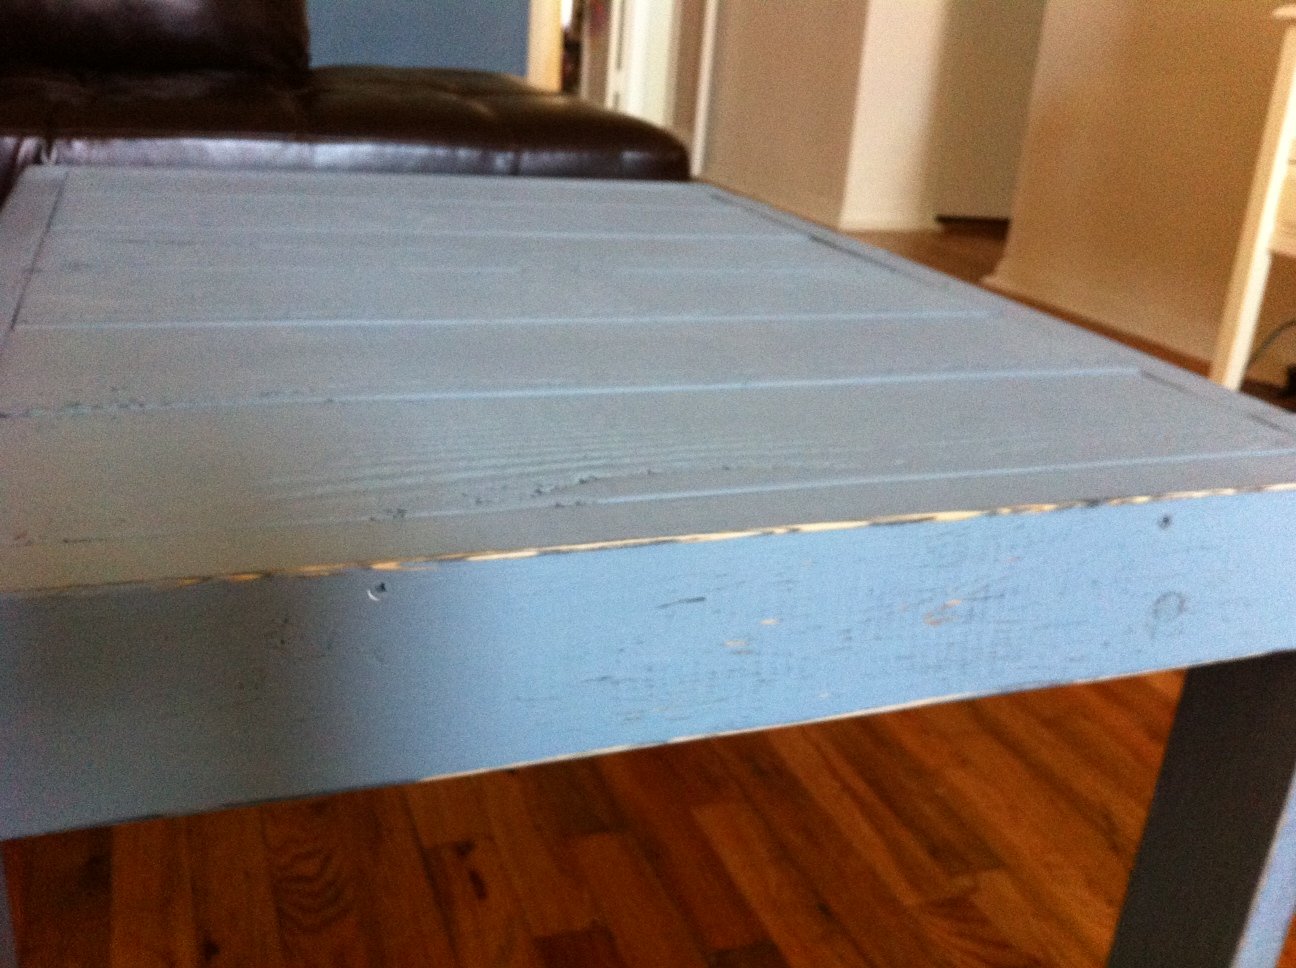
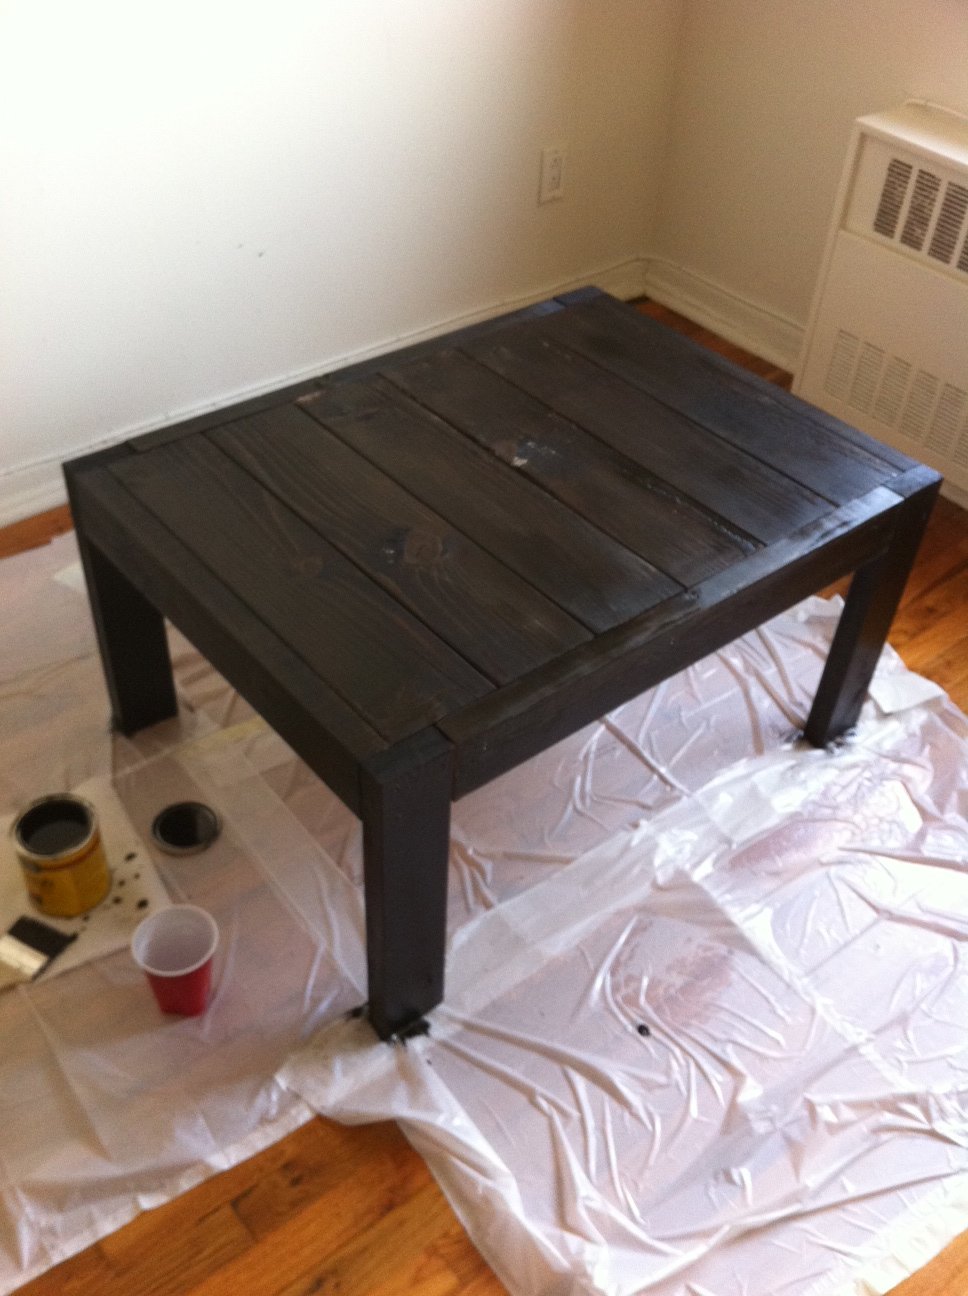
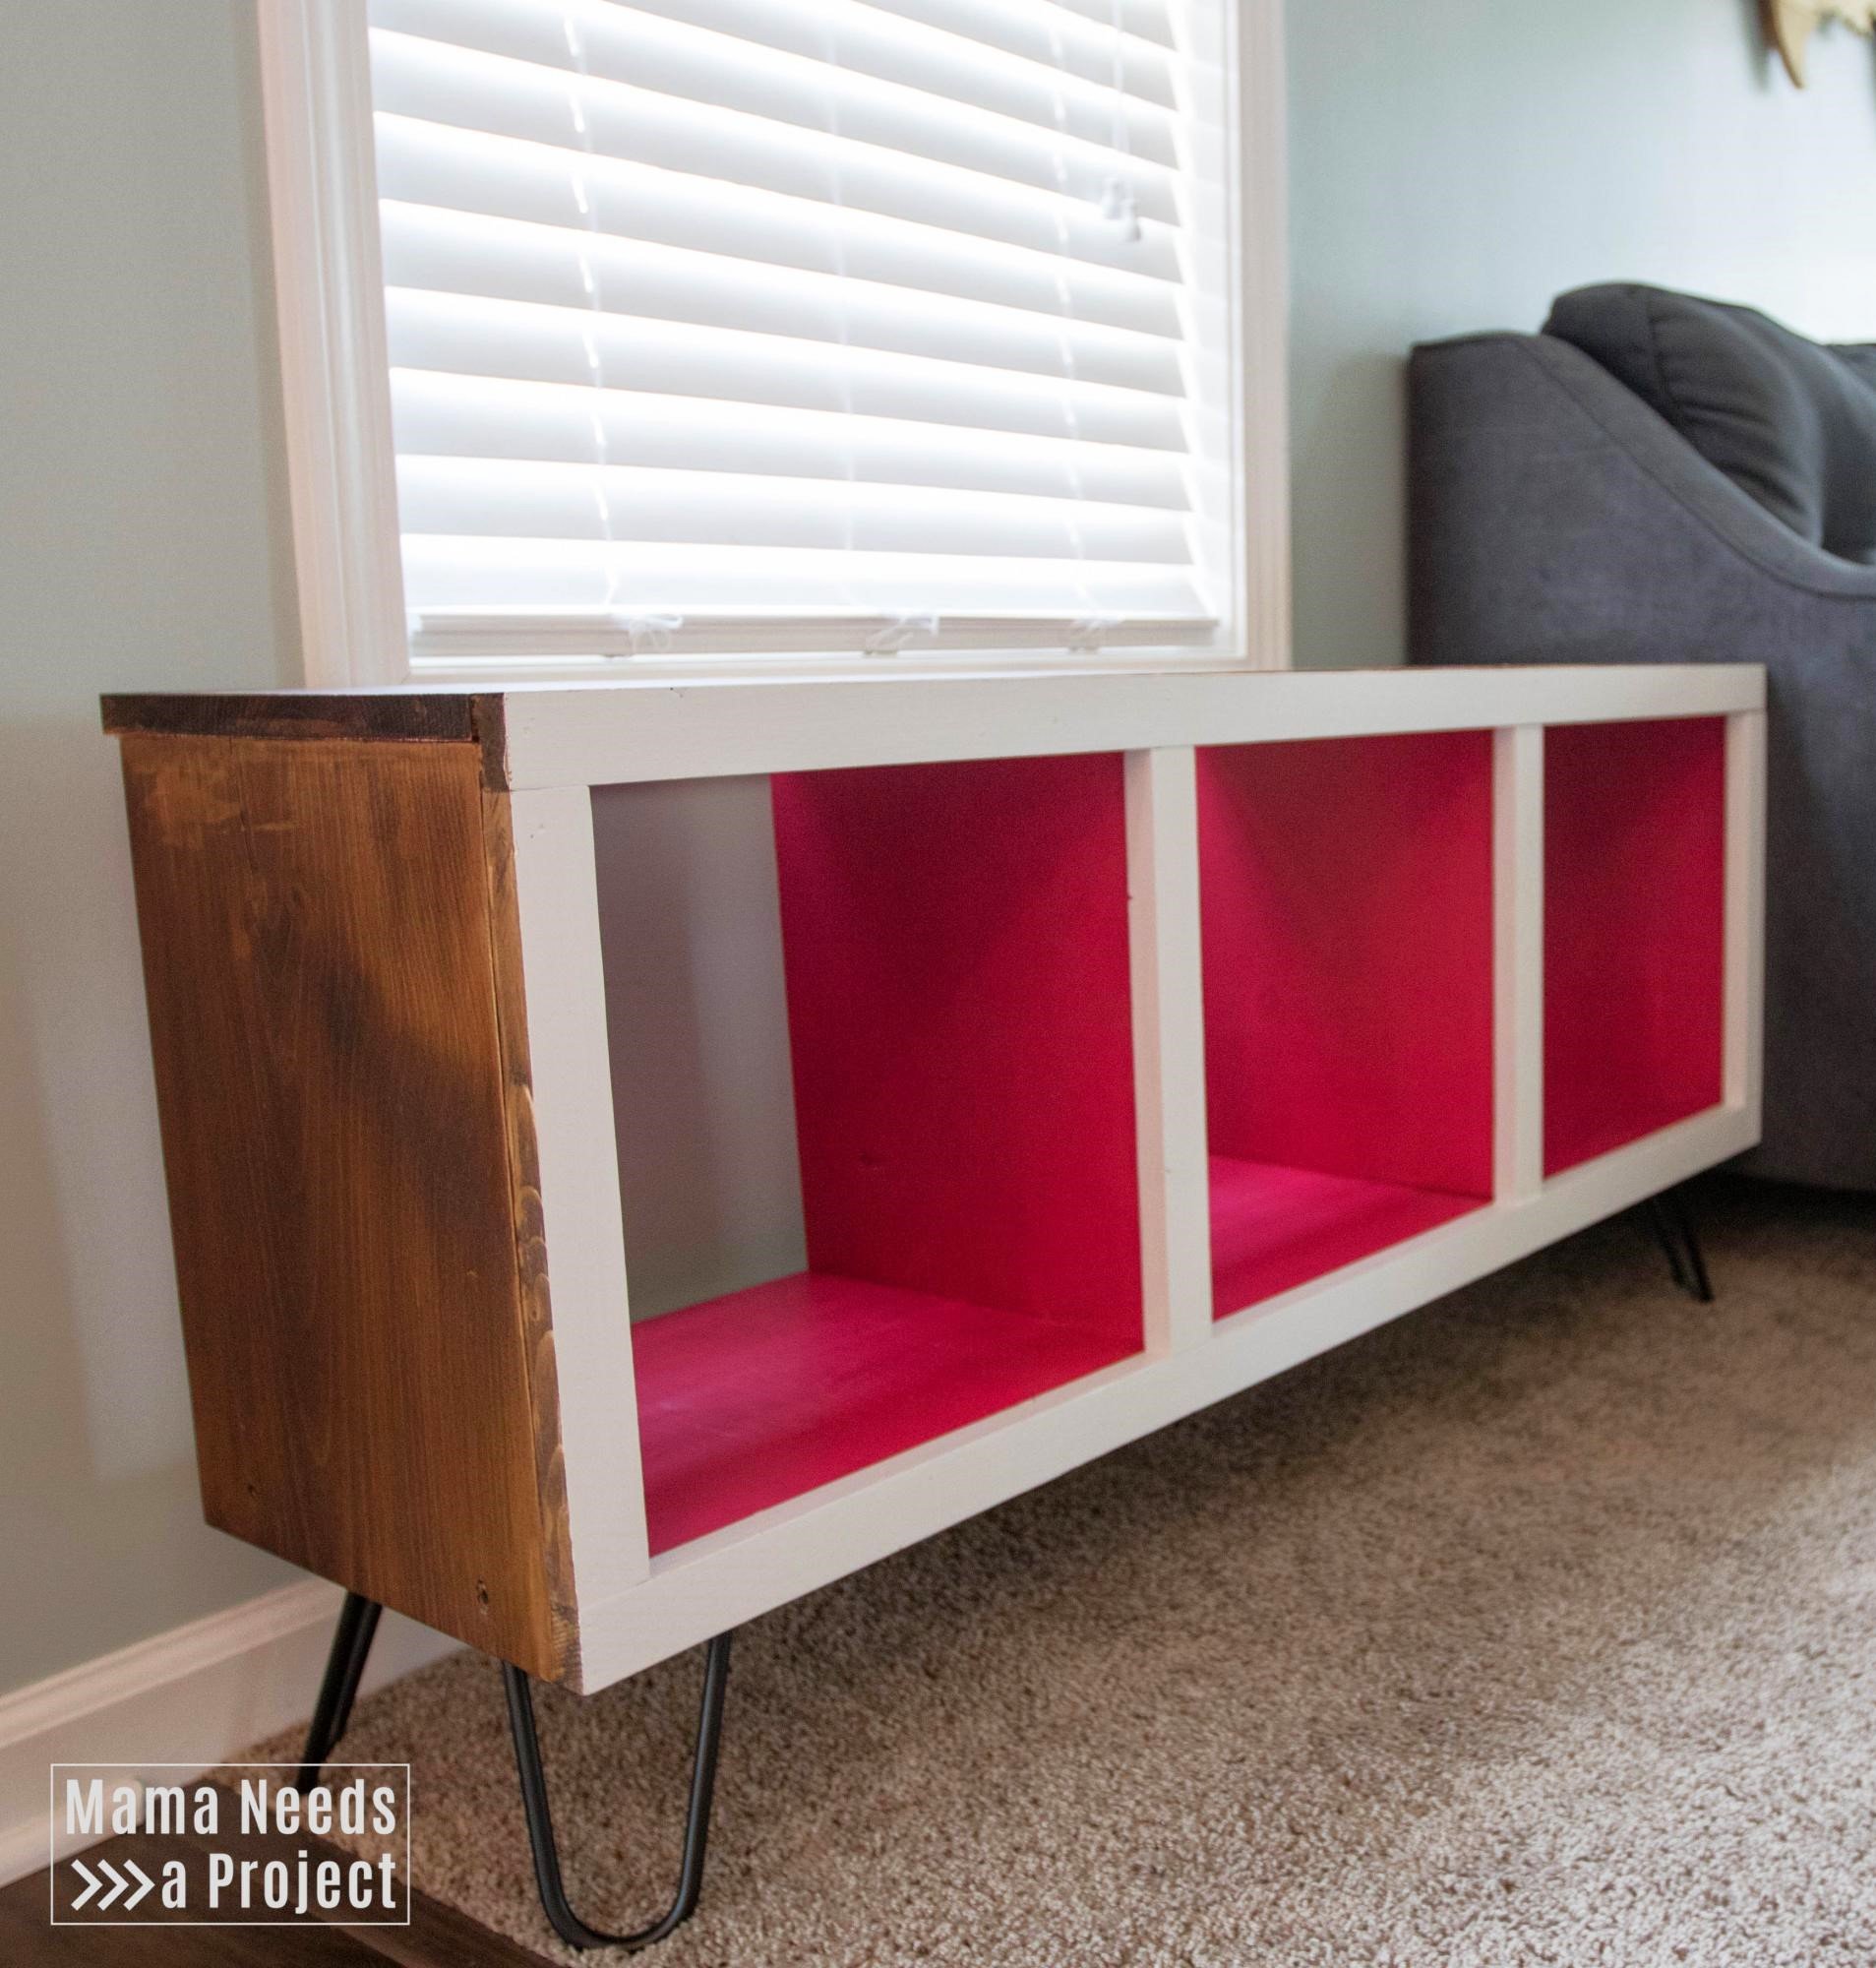
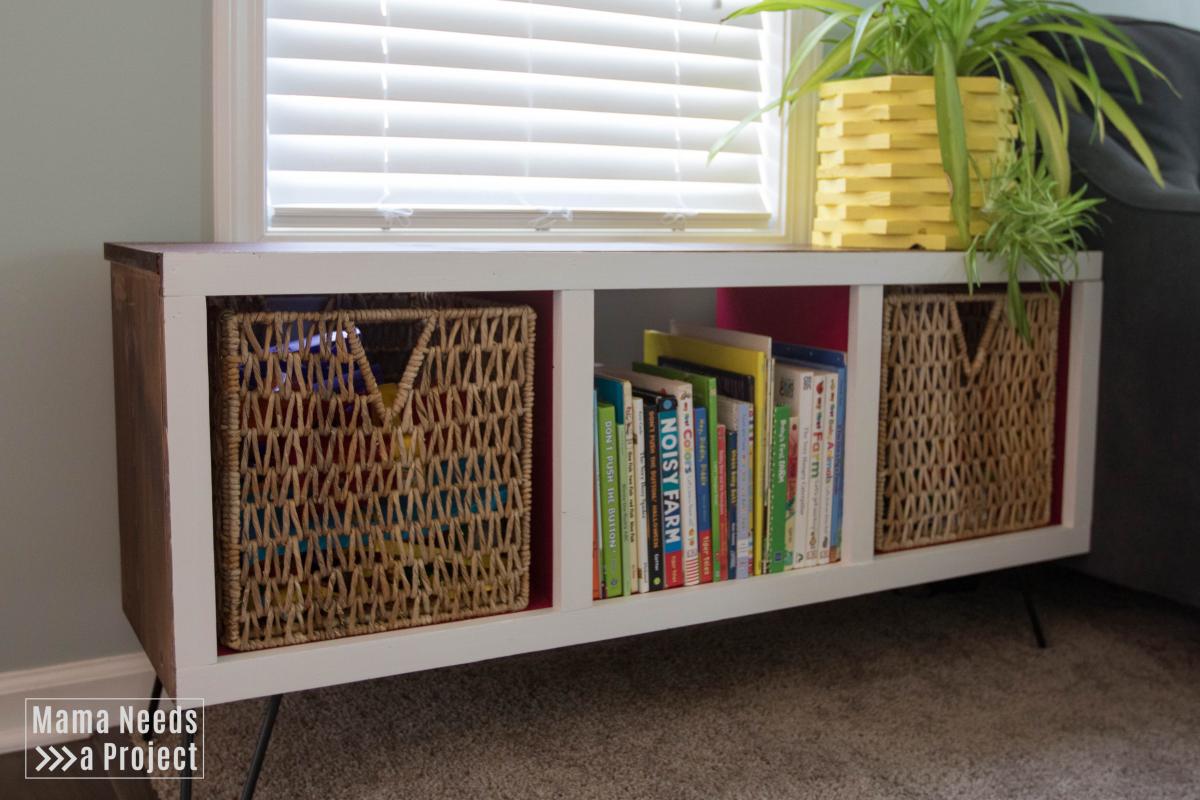
Cedar Outdoor Side Table First Project
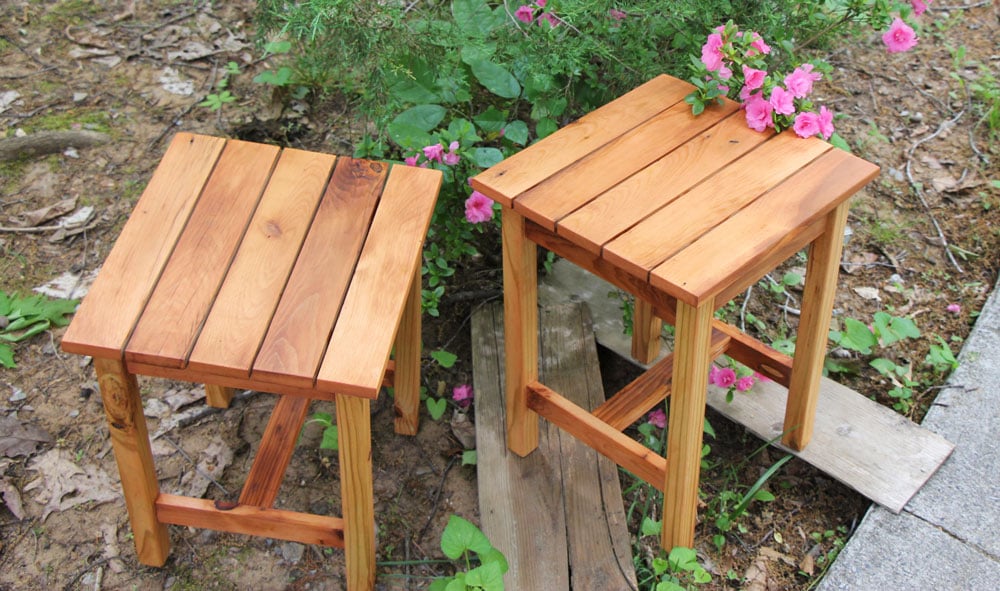
This was my first attempt at making anything out of wood. I was thankful for guidance from my husband but I did it myself!!!
Great project . Easy plan to read .
Rustic headboard built in an afternoon. Total cost was only $35!
Wed, 11/09/2011 - 12:46
I thought the 56 in headboard was a little excessive. So I cut it down a foot. If you decide to do this take 6 inches off the top and the bottom so it looks portionally correct. Another thing I did that was not mentioned in the what I have read so far was use kregs joints to connect the inner panel. If you build it from the back you will not see any joints except the top ones on the foot board. I patched them with that elmers patch stuff and are no longer visible. Minus all the sanding I built two beds in a half day.
Wed, 11/09/2011 - 15:52
I was thinking of doing this headboard for the farmhouse storage bed. Did you use 4x4s or build the legs the way they are in the plan? I have several 3x3s for legs that I was planing on using with the kreg. How easy was it to get the boards lined up with the kreg?
Wed, 11/09/2011 - 19:56
The legs are the same as the plan. I don't have a kreg jig so the bed is nailed and screwed together instead. Hope that helps! -Brook
Thu, 11/10/2011 - 06:48
Your finish is to die for. I could just look at it all day long. I'm weird like that. Fab job!
Tue, 11/15/2011 - 11:40
ok.thanks for your reply. But did you sand like 80-120-220 grit . thanks
Wed, 06/06/2012 - 12:37
Congratulations !!! and thanks for inspiring us by posting these photos of a terrific job!
I was just wondering..how did you manage to get the perfect light brown - chocolate tint shown on these photos??
I've followed the process described (oxidized the wood using tea followed by steel wool/vinegar mix) to the point. However, the result is grey tinted. even tried applying the process to different types of wood and applying less mix..even sanding it after the project dried and applying the clear wax..Same GREY result..
Please help!!
Wed, 06/06/2012 - 13:26
Different woods will give a different finish. This project turned out a little browner than the other times I've used the tea/vinegar treatment. Probably because it was previously painted and then stripped. You can also buy dark wax that will help change the color. You might try finding a stain that is the color that you want and staining your project. Good luck!
Thu, 08/23/2012 - 06:39
I just made the rustic headboard with new pine boards. Can I get this look with the tea and vinegar? How was it done? Thanks.
Wed, 07/10/2013 - 12:53
where does the white come from in your wood. did you strip pre primed pine then tea and oxidation? thanks,ante
Thu, 03/01/2018 - 16:39
Wow, I love the finish you gave this piece! Absolutely beautiful! Well done.
Mon, 12/07/2020 - 10:14
Anyone have plans for the sides and footboard for a queen?? Please and thanks! :)
We got idea from here, but we had to make our own plan for table to make it fit in to our home.. and we just love it :)
more in my blog http://kellarinkatkoissa.blogspot.se/2013/10/tee-se-itse.html
Sat, 06/20/2015 - 11:18
about how long did you make your table so that you could fit 3 chairs on each side?
you table is stunning
I needed more storage in my small kitchen so I modified this cart to 42 x 20 x 96. One shelf has a sliding drawer. I am very new to all of this so I mistakenly overlooked accounting for the side ends of the shelves in my calculations. I left them off, but may go back and insert 1 x 2 to complete them. Not sure yet.
I made these tables from the Ana White plans but for the side table I made it a bit larger to fit the space it was going to be going in. Stained the top varathane Dark Walnut and the bottom I painted white.
Granddaughter wanted a Pink kitchen for Christmas, so what does Meemaw do ?? She goes to your website and does her research. I completed this kitchen in probably less than 2 weeks.
She abstained loved it, and no one in the family could believe Meemaw built this…
Many thanks..
Fri, 03/10/2023 - 13:27
This is adorable, you are an amazing Meemaw, thank you for sharing!
Needed a sturdy coffee table and this plan was perfect. Doubles as a bench, extra storage in the hidden cubby underneath the flip top, holds football fiesta platters, beers, and when the parties not in full swing, I'm using as a sewing table as well. Love it. Used my Kreg jig for entire assembly so super sturdy and easy too. Modifications: 1x6 Pine boards, jigged together. love the look of pine and after assembly, meticulously sanded so feels like one piece of wood. Used the hidden hinges. Bottom shelf I made out of leftover 1x4's, to match the top. width is 36 inches. Had to fit in a tiny living room. Did add support to the bottom shelf, 2 1x2's under the 1x4's....my dog has already crawled onto the shelf.
Wed, 11/23/2011 - 04:25
Awesome job!!! Love it!!!
The natural wood look with the white looks so sharp!!!
Sun, 02/05/2012 - 02:36
thank you so much! Glad you liked it, I love the contrast too!
Since it's essentially a holder for hubby's beer and snacks this kind of top can take a lot of abuse and still look great
Tue, 02/21/2012 - 18:57
I love the look of this augmented plan. The 1x6 boards looks super sleek.
Can I ask you a question? I'm building this bench as my very first building project, and so far it is quite wobbly. I attached the shelves with one pocket hole in each corner through the shelf piece. You mentioned that yours is super sturdy. How did you attach the shelves?
Thanks! - Victoria
Wed, 02/22/2012 - 22:57
Victoria,
I made each side as a frame, looked like 2 rectangles and 2 squares. Those were both kregged together...then I put those frames, front, back and 2 sides together kregging those together. The shelves are all kregged in too. I don't know if that helps or not. I've used mine for extra seating.
good luck, angie
I love this site. We needed new furniture in are house and didn't want to spend a bunch of money. Finding the Rustic x plans was a life saver.
I am very excited to post this project .
I used the Schoolhouse Chair with Writing Pad Desk Plan exactly and did not stain the wood. Just gave it a coat of PU and there it is .
Its not a perfect project (since I used a Jigsaw ... Yes I did as no other tools were available :() but carefully cut them straight using guide.
As a first-timer I am happy with the result... sort of... But Thanks for inspiring Ana & Jaime !!!
Great plans! Fun project
Sat, 05/25/2019 - 19:34
Your chicken coop is beautiful! I love the farmhouse feel of it! Thank you so much for sharing a picture! Ana
I saw these plans several months ago and finally got the time I wanted to make it. I chose oak because it’s the best and prettiest stained. I love the way it turned out!
Fri, 03/17/2023 - 19:49
Absolutely beautiful, love the finish! Thank you for sharing.
I went round and round trying to figure out what type of shelving to install in our kitchen to go above a cabinet below that will be topped with a rough live edge pine slab (not yet completed). I stumbled across your industrial chic shelves post, found an old board laying around the yard and whalla! As always, thanks for this amazing site!!
Thu, 12/22/2011 - 12:44
Hi! Love how your shelves turned out. I was just wondering how much weight these shelves would hold. Looking at yours with plates on them, it seems like they hold quite a lot!
Did you use larger L-brackets or the same size that Ana used?
Thanks for posting your shelves!
I am built two of these cupboards for my dining room. I am calling them pie safes though. Making two added twice the work but I only had to think through the steps once.
I changed the size and style of the Pottery Barn plan to fit our space and match the Fancy Hall Tree that we recently completed. We think it came out great so wanted to share.
I work at a lumber yard, and this was built with "garbage" door jambs.
This is the Shanty Chick Side Board and Hutch that some of my high school students chose to build. It is going to the Texas state contest in Corpus Christi next week.
Fri, 03/24/2023 - 10:06
This is amazing, love the finish! We just shared it to our Facebook page, it is quite popular :)Thank you for sharing and good luck!
This was my first project and while I prepared to build it I had to endure some real negative forces coming from people who knew my building skills. But I was heart set on doing this and proving people wrong.
As you can see from the pictures I made some adjustments to the table as I did not want a square table rather a rectangle to fit perfectly in front of my sectional, LOL.
I could not believe how well it came out and how easy it was to build. Thank you Ana for this site as I know I would never have taken on this project without finding this site. Furniture building is something I always wanted to do and have as a hobby. I will NEVER purchase another piece of furniture from a store again!
I have included a few pics to show the progress.
I've made three of these loft beds. The plans are very easy to follow, and once assembled, they form extremely solid structures. Thank you very much Ana, what you are doing us very much appreciated.
Mon, 11/04/2013 - 11:42
I made a gate style door to close off the space under the stairs, a nice little tidy up.
Thu, 09/11/2014 - 17:24
How can i get the list of materials needed for this and also the plans for it please. my email is [email protected].
My wife showed me this wine rack on a you tube video so I checked it out. She really wanted one so I made her two of them. I also made a longer one for liquor bottles as well, ill post it as soon as I hang it on the wall.
I built this modern cubby storage shelf by making a few modifications to the Rolling Cubby Bench plan. It's a quick project with extra bright paint to add a bit of fun. Check out all of my tips for building this fun storage bench at https://mamaneedsaproject.com/modern-toy-storage-project/ .
Comments
Ana White
Sat, 05/04/2019 - 13:30
Great first project!
Great job! These little side tables are perfect! LOVE!
Thank you so much for sharing a brag post!