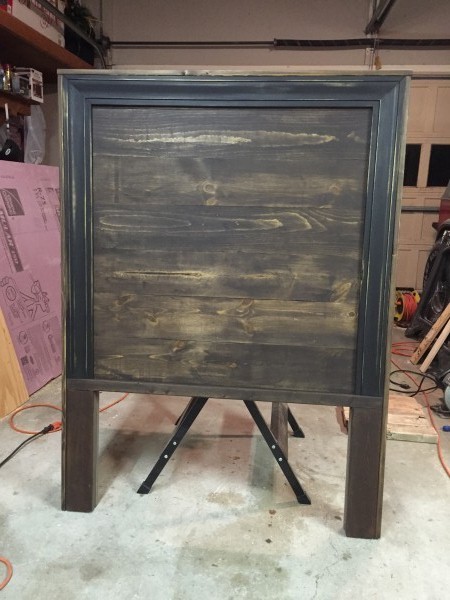
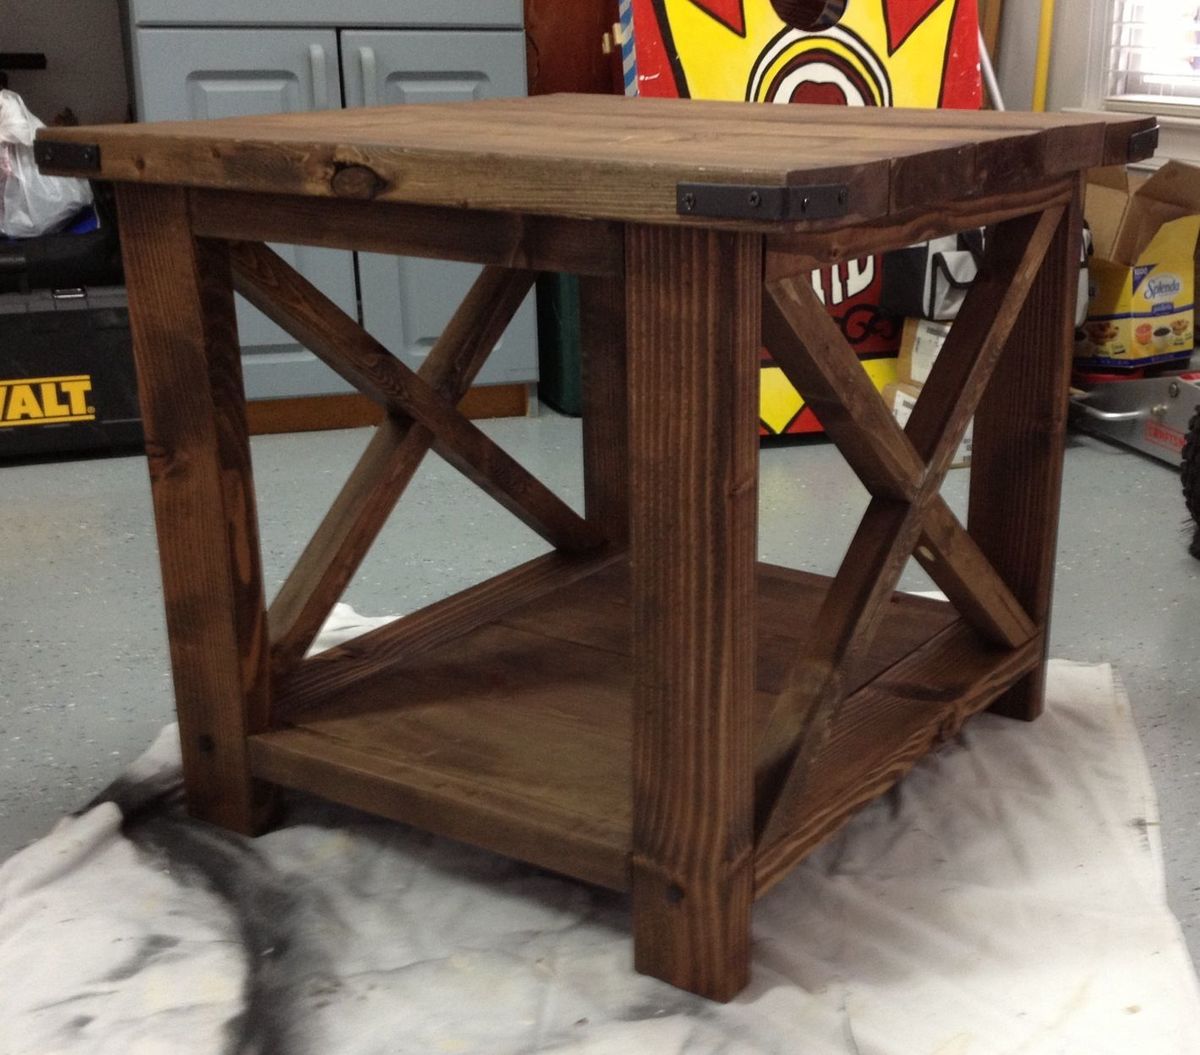
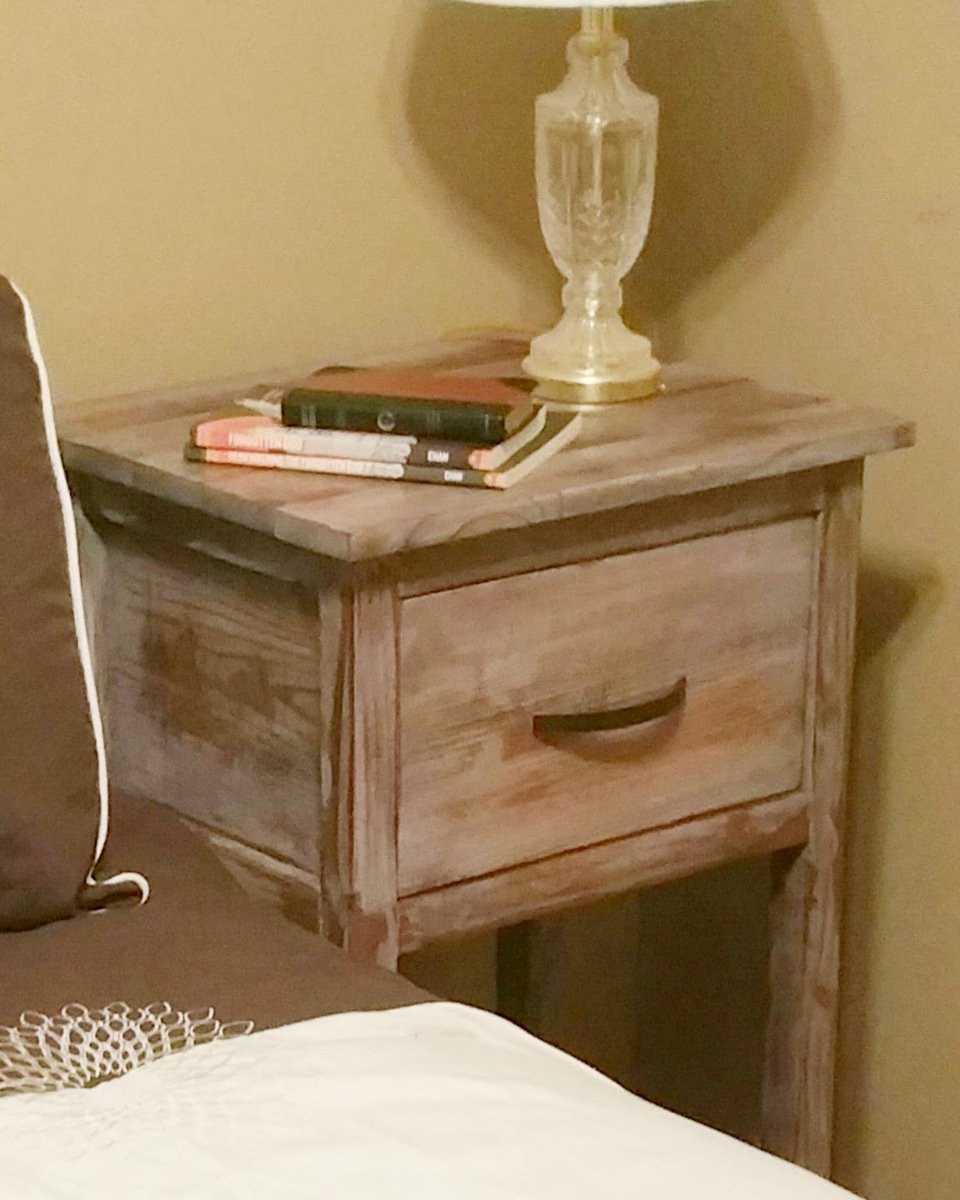
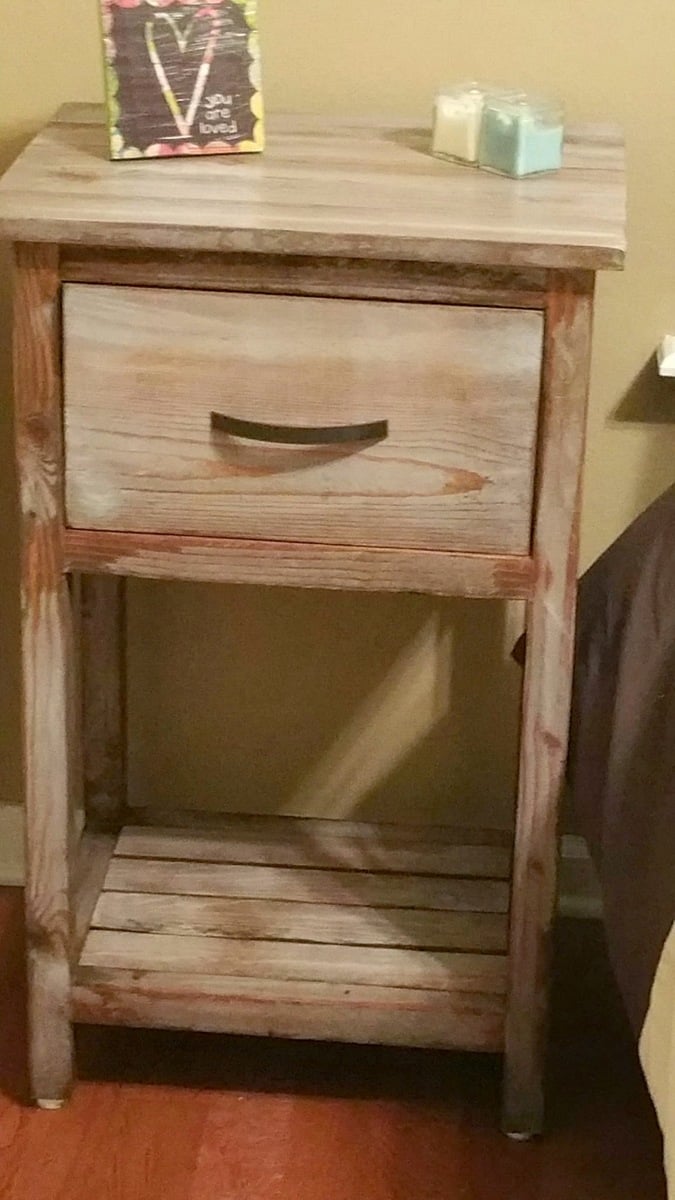
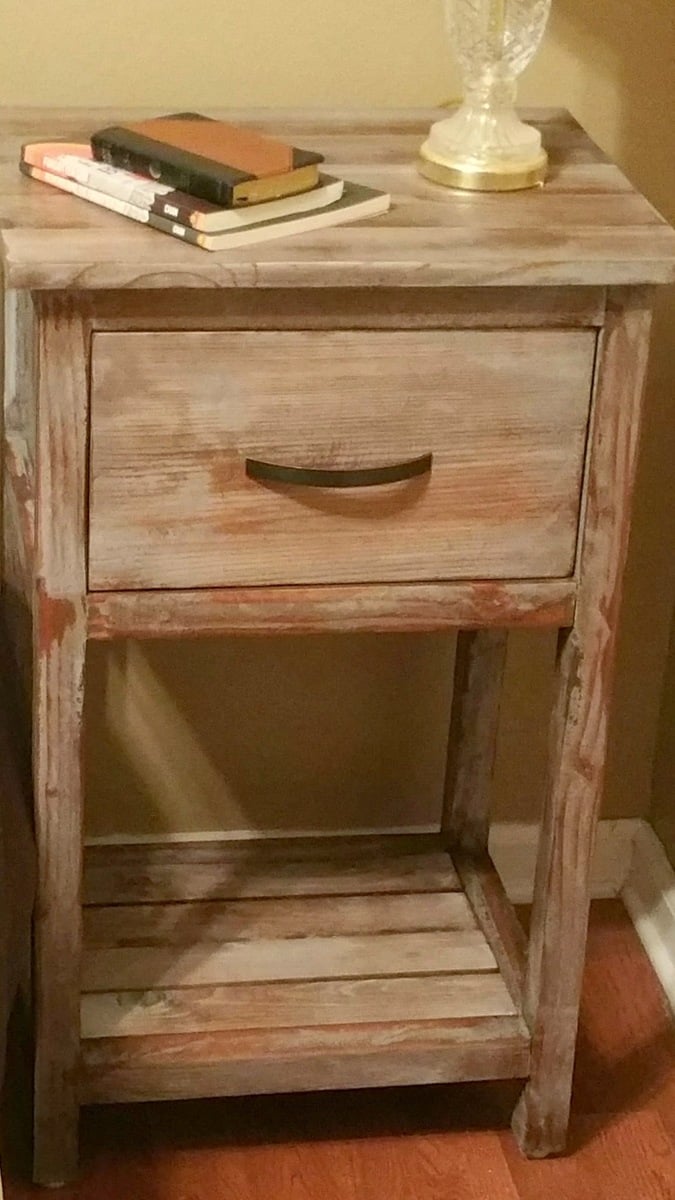
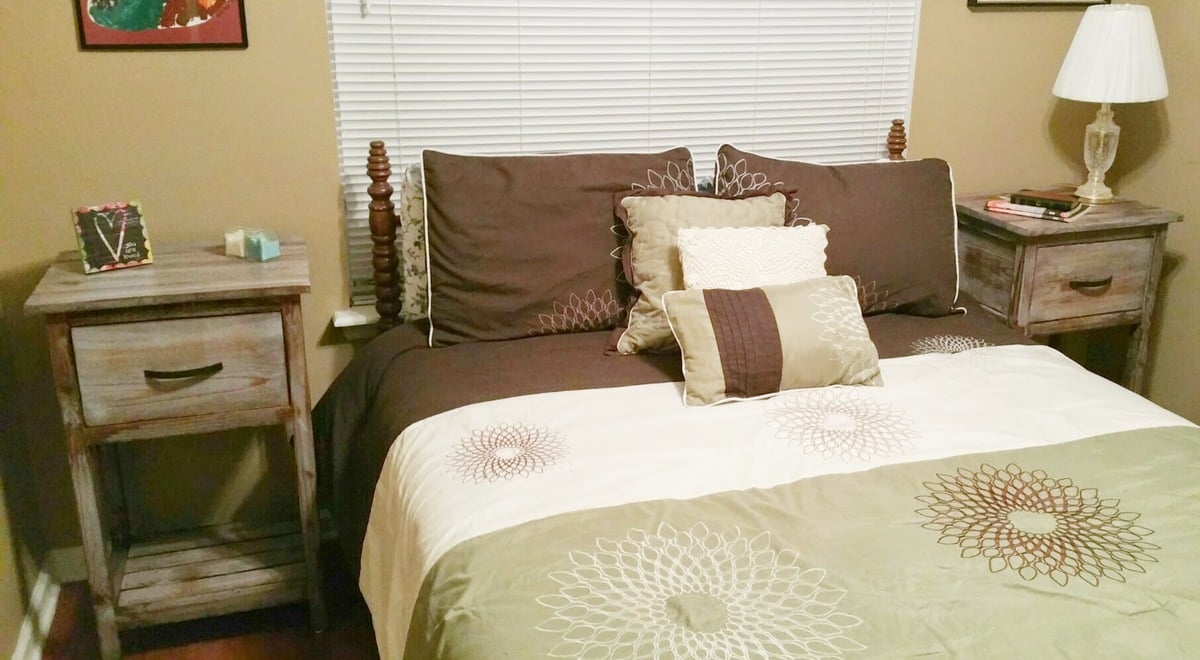
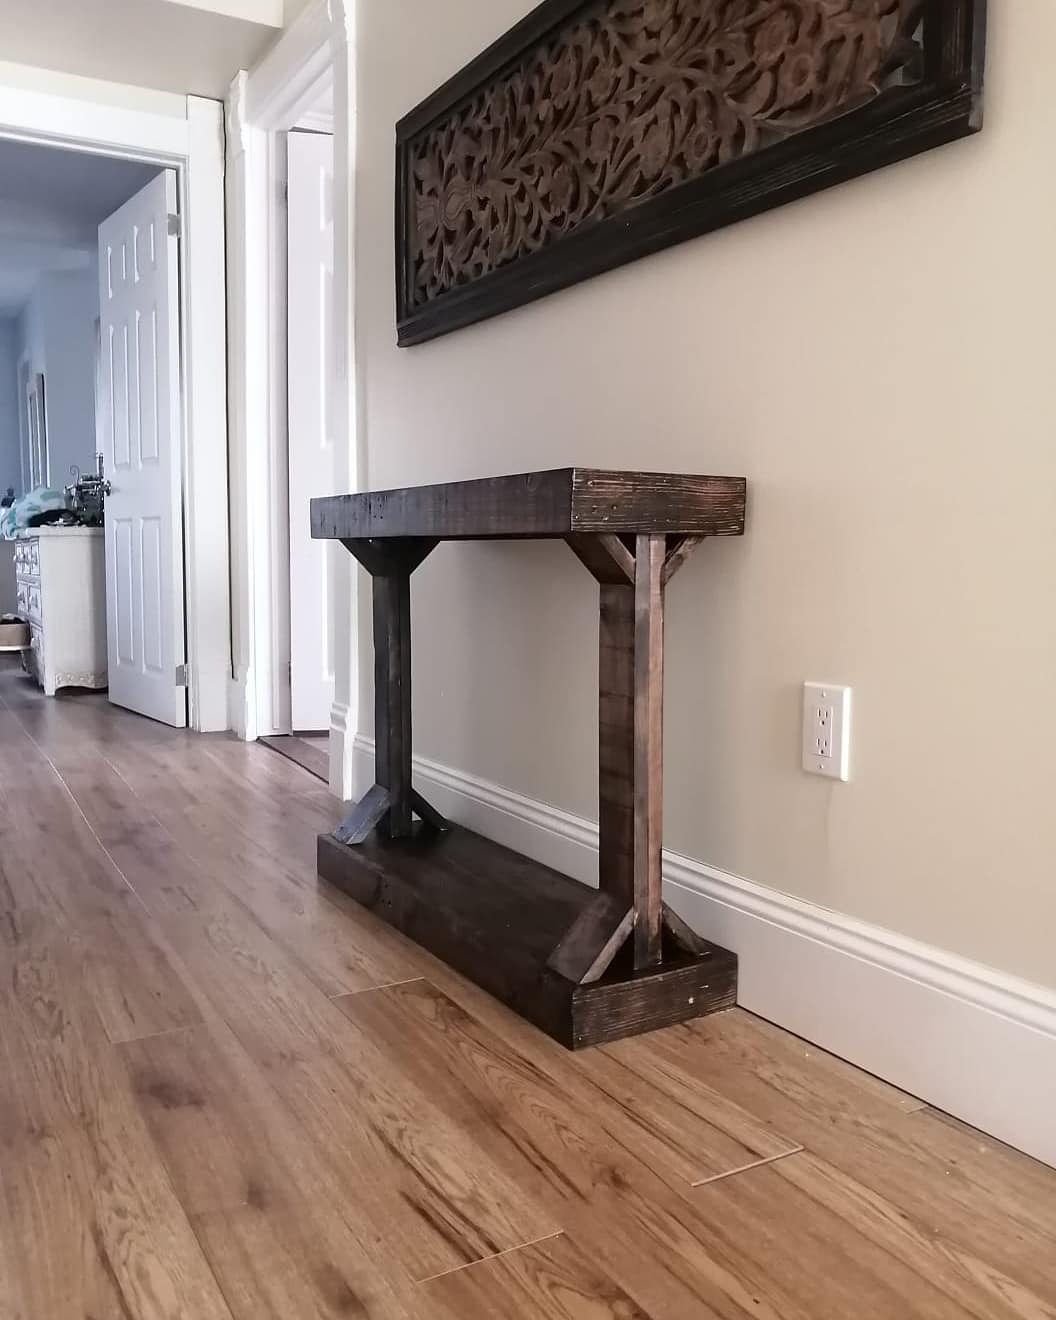
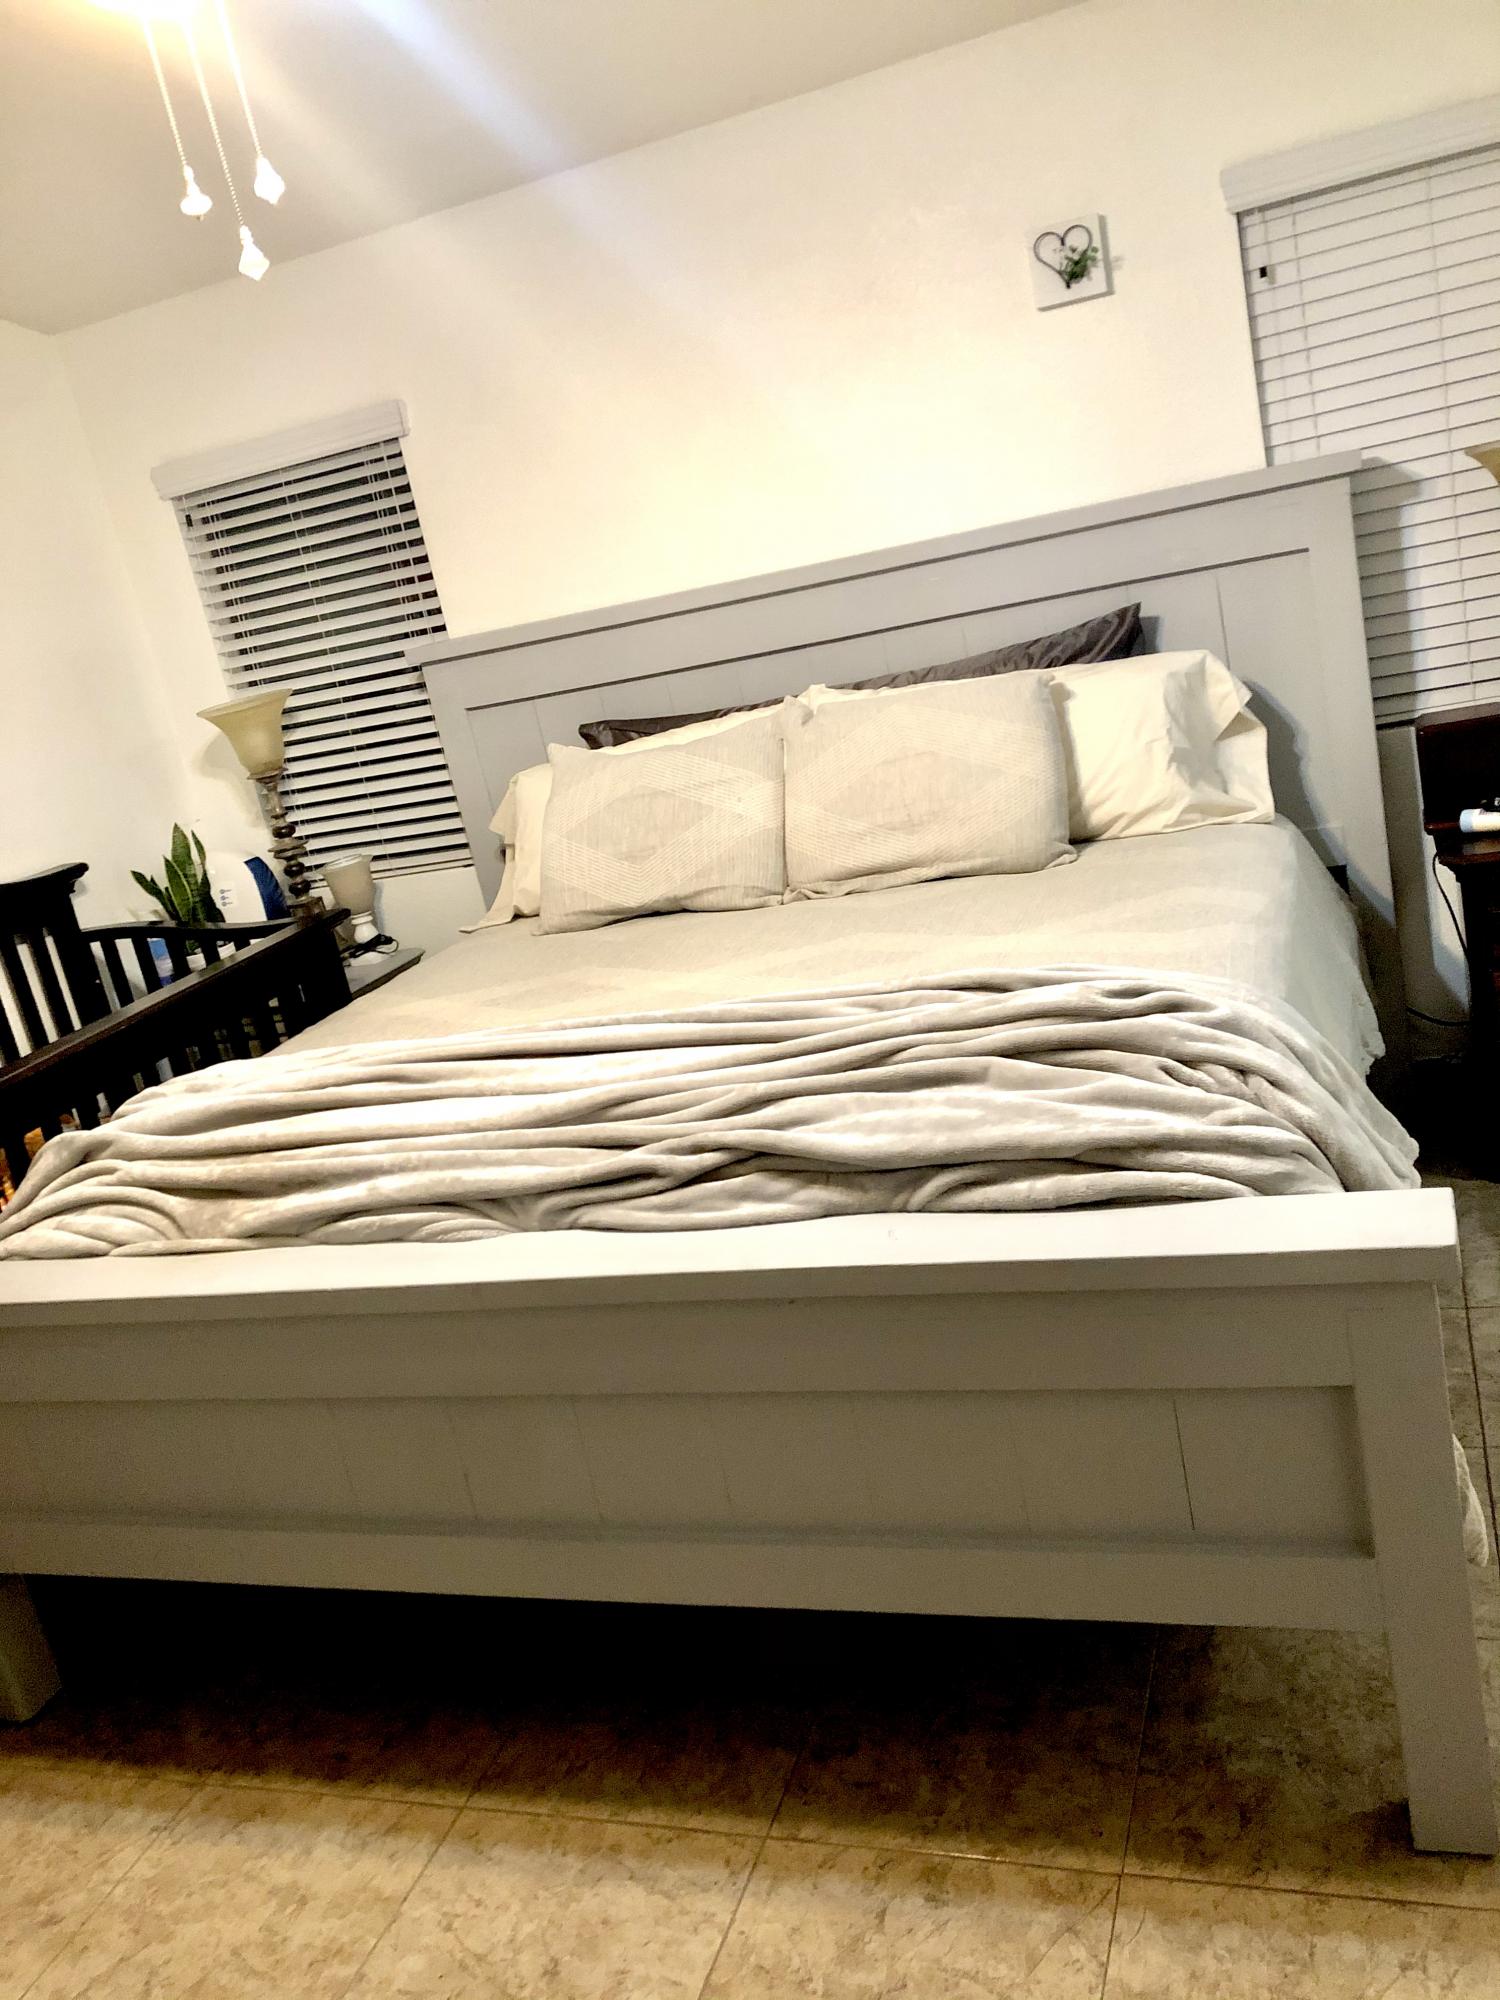
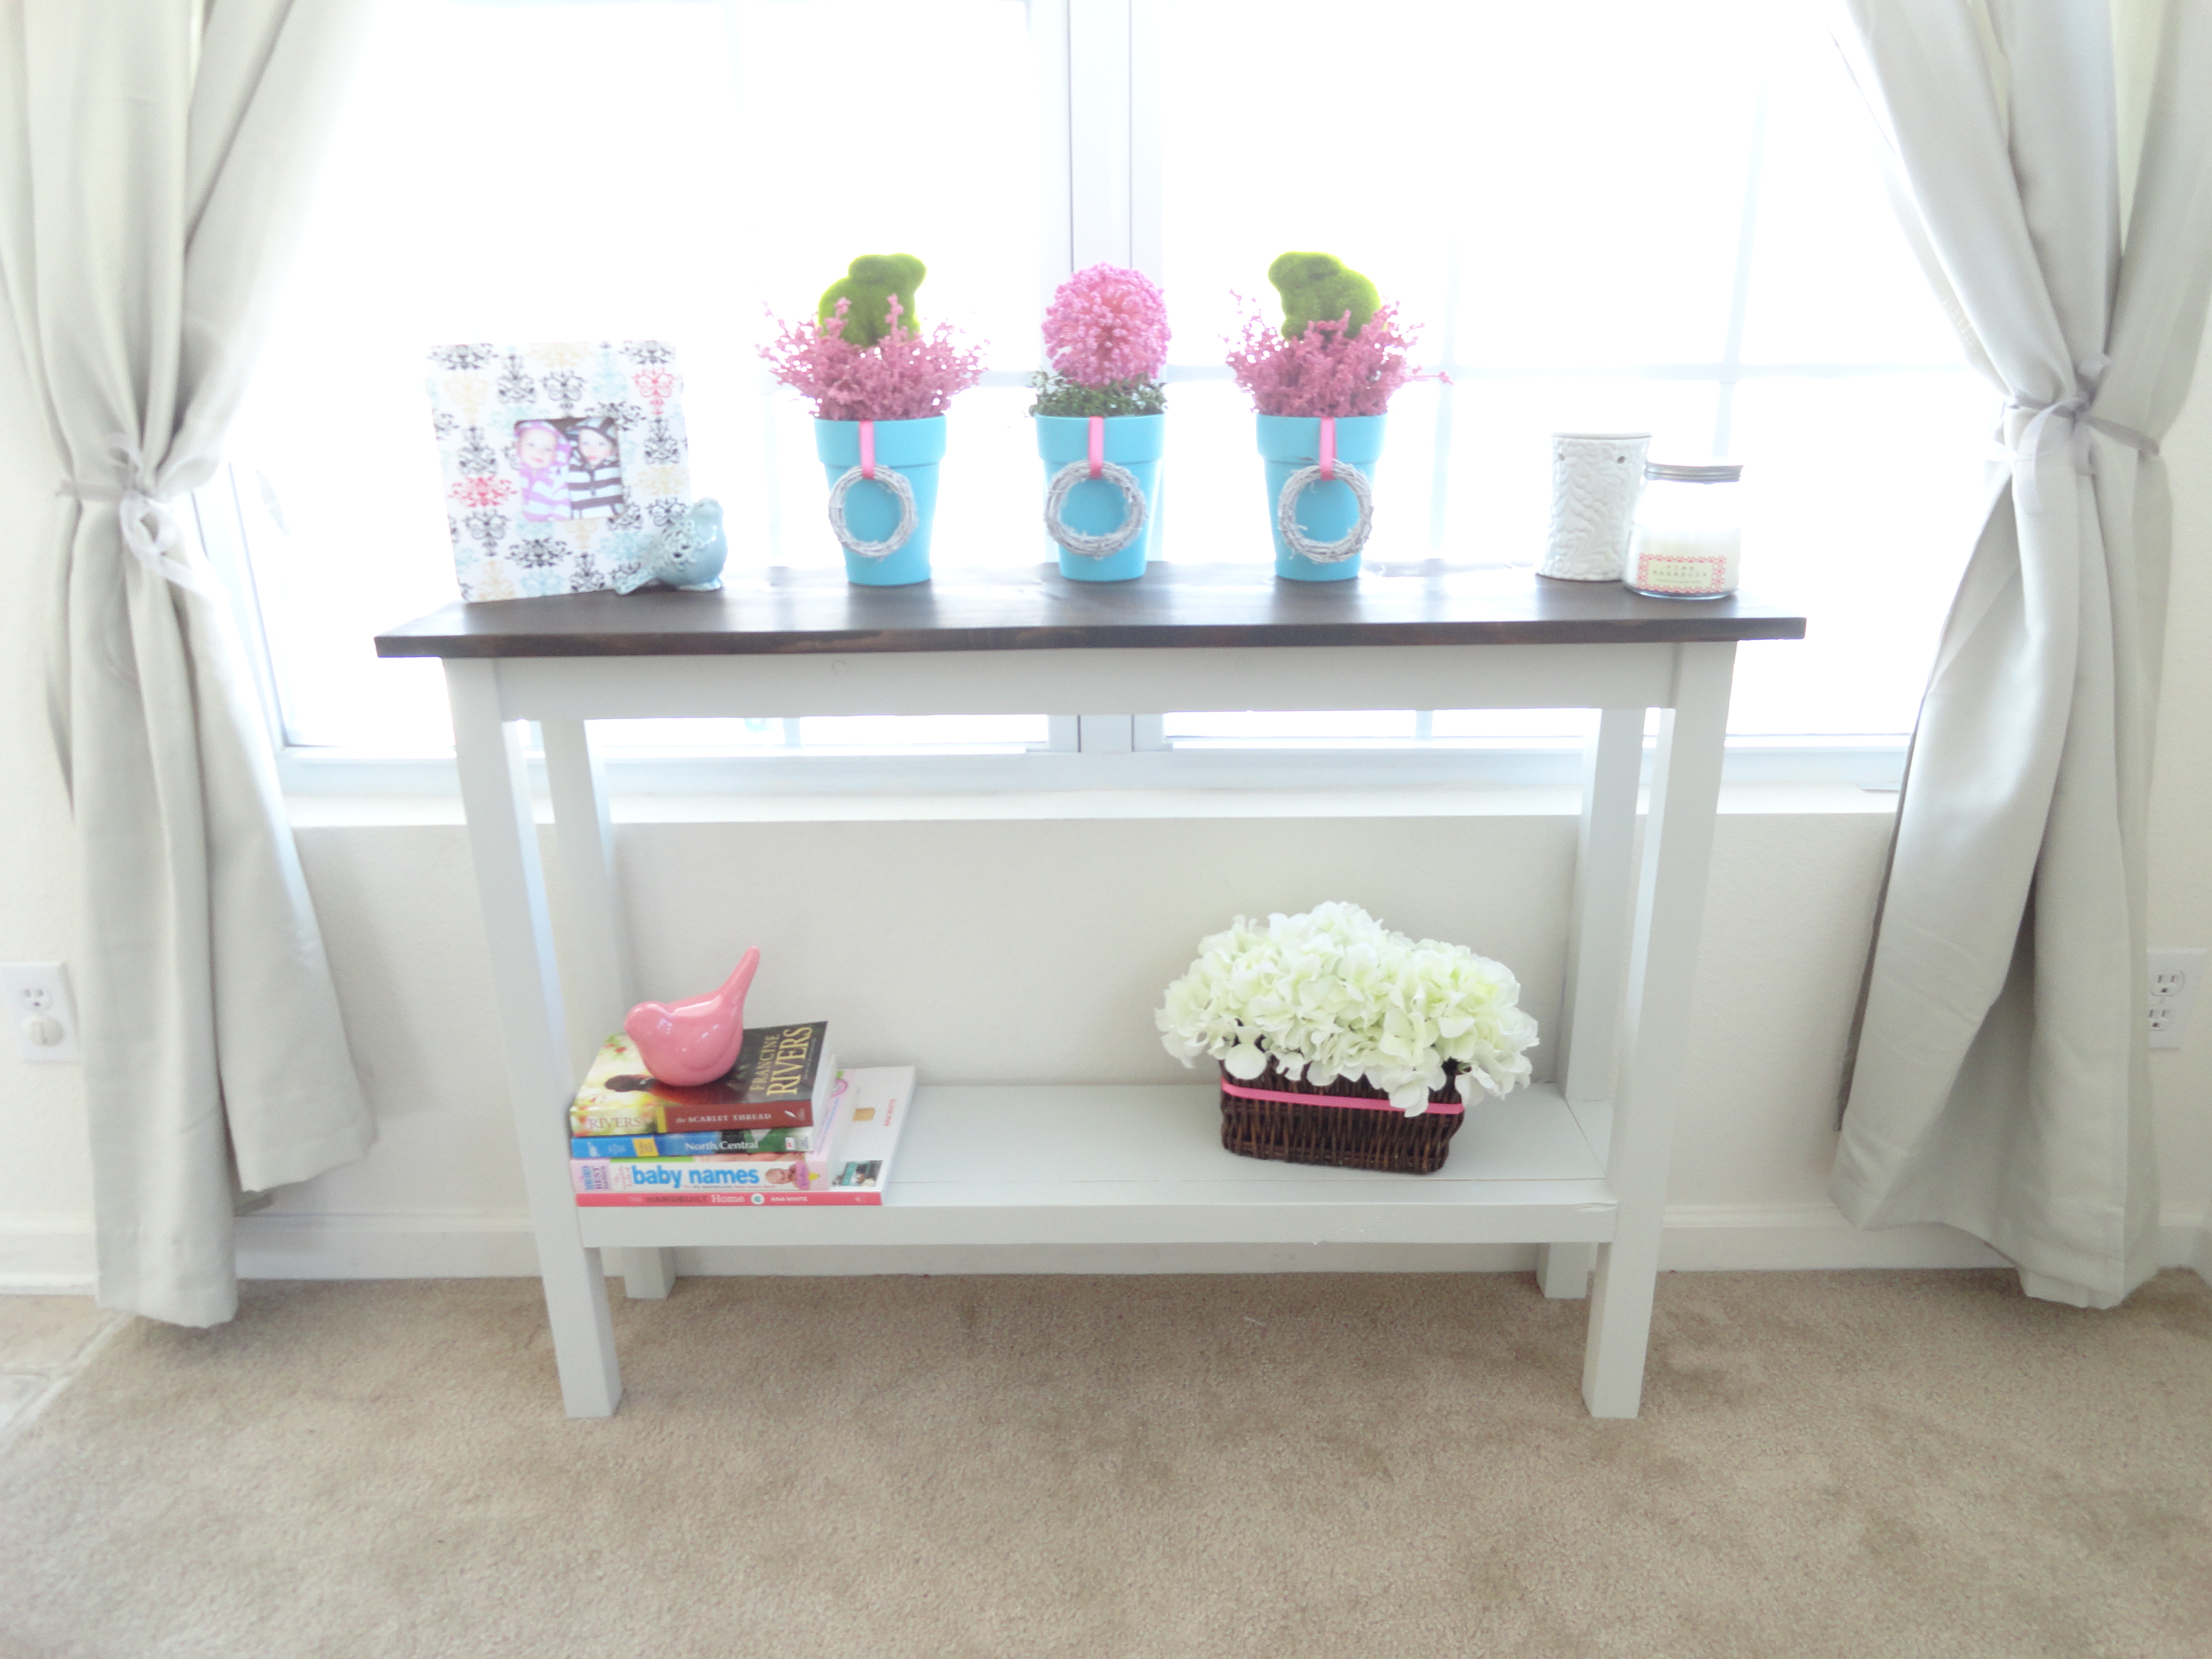
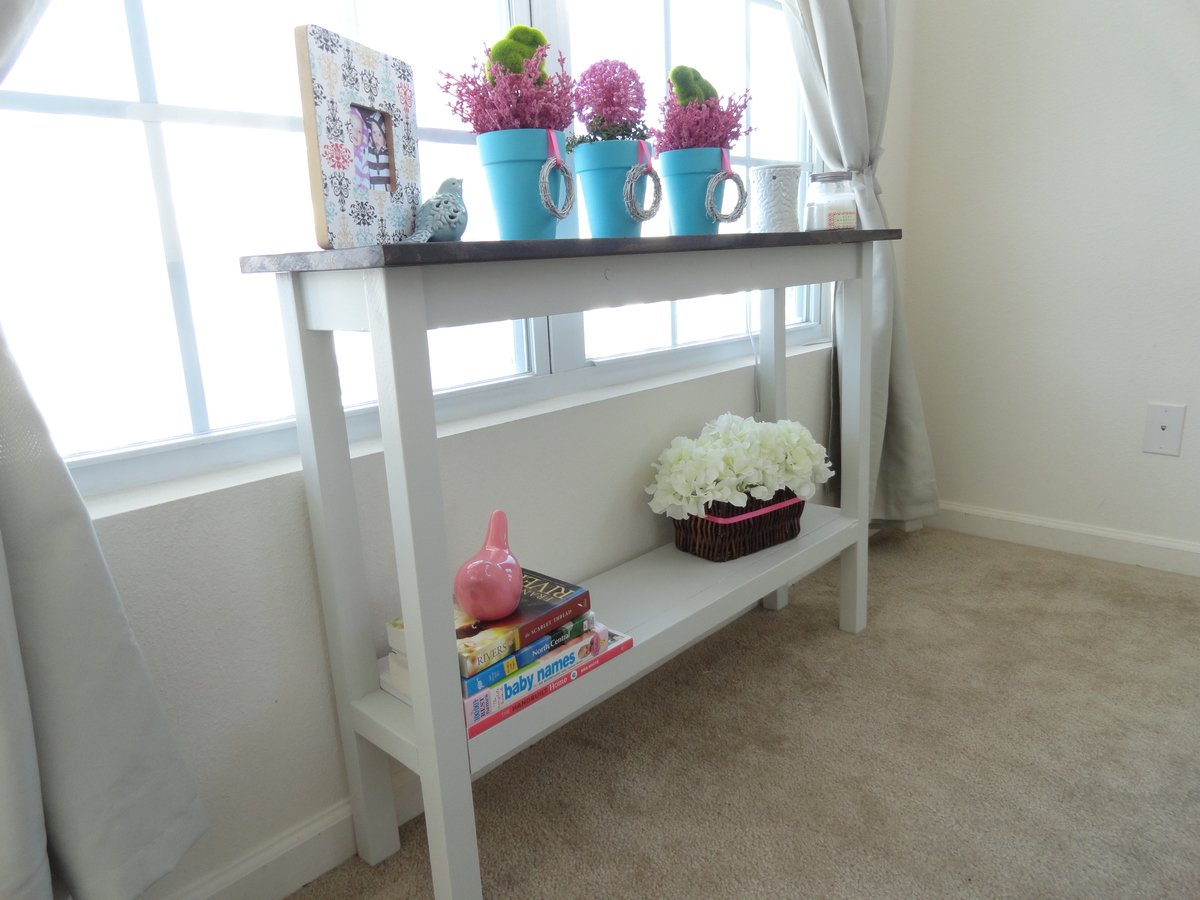
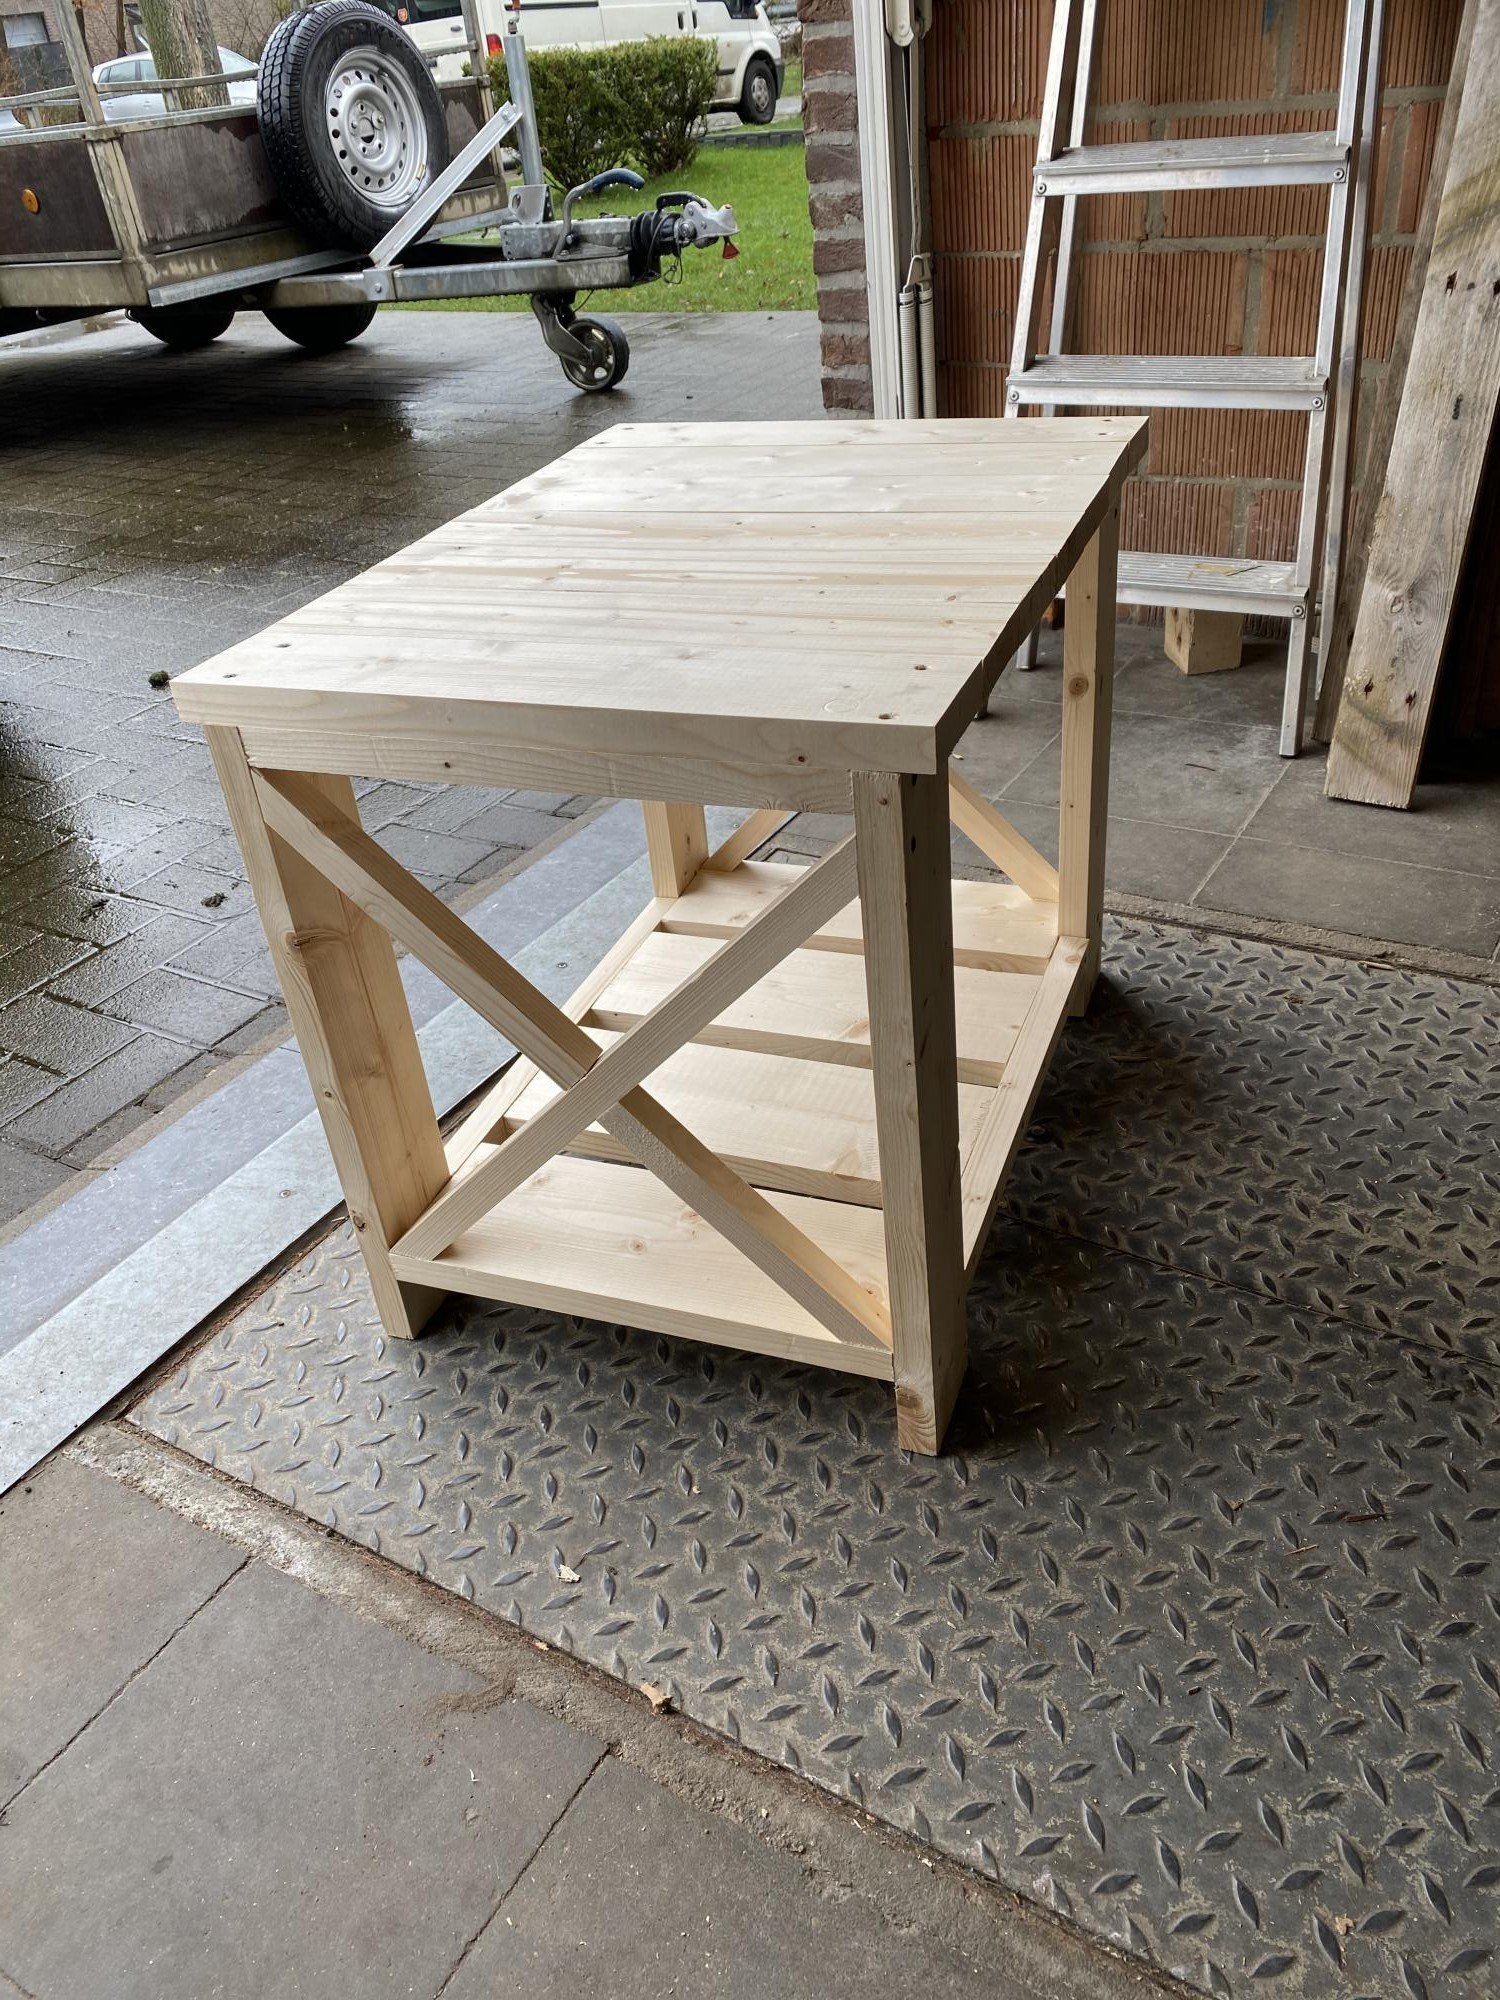
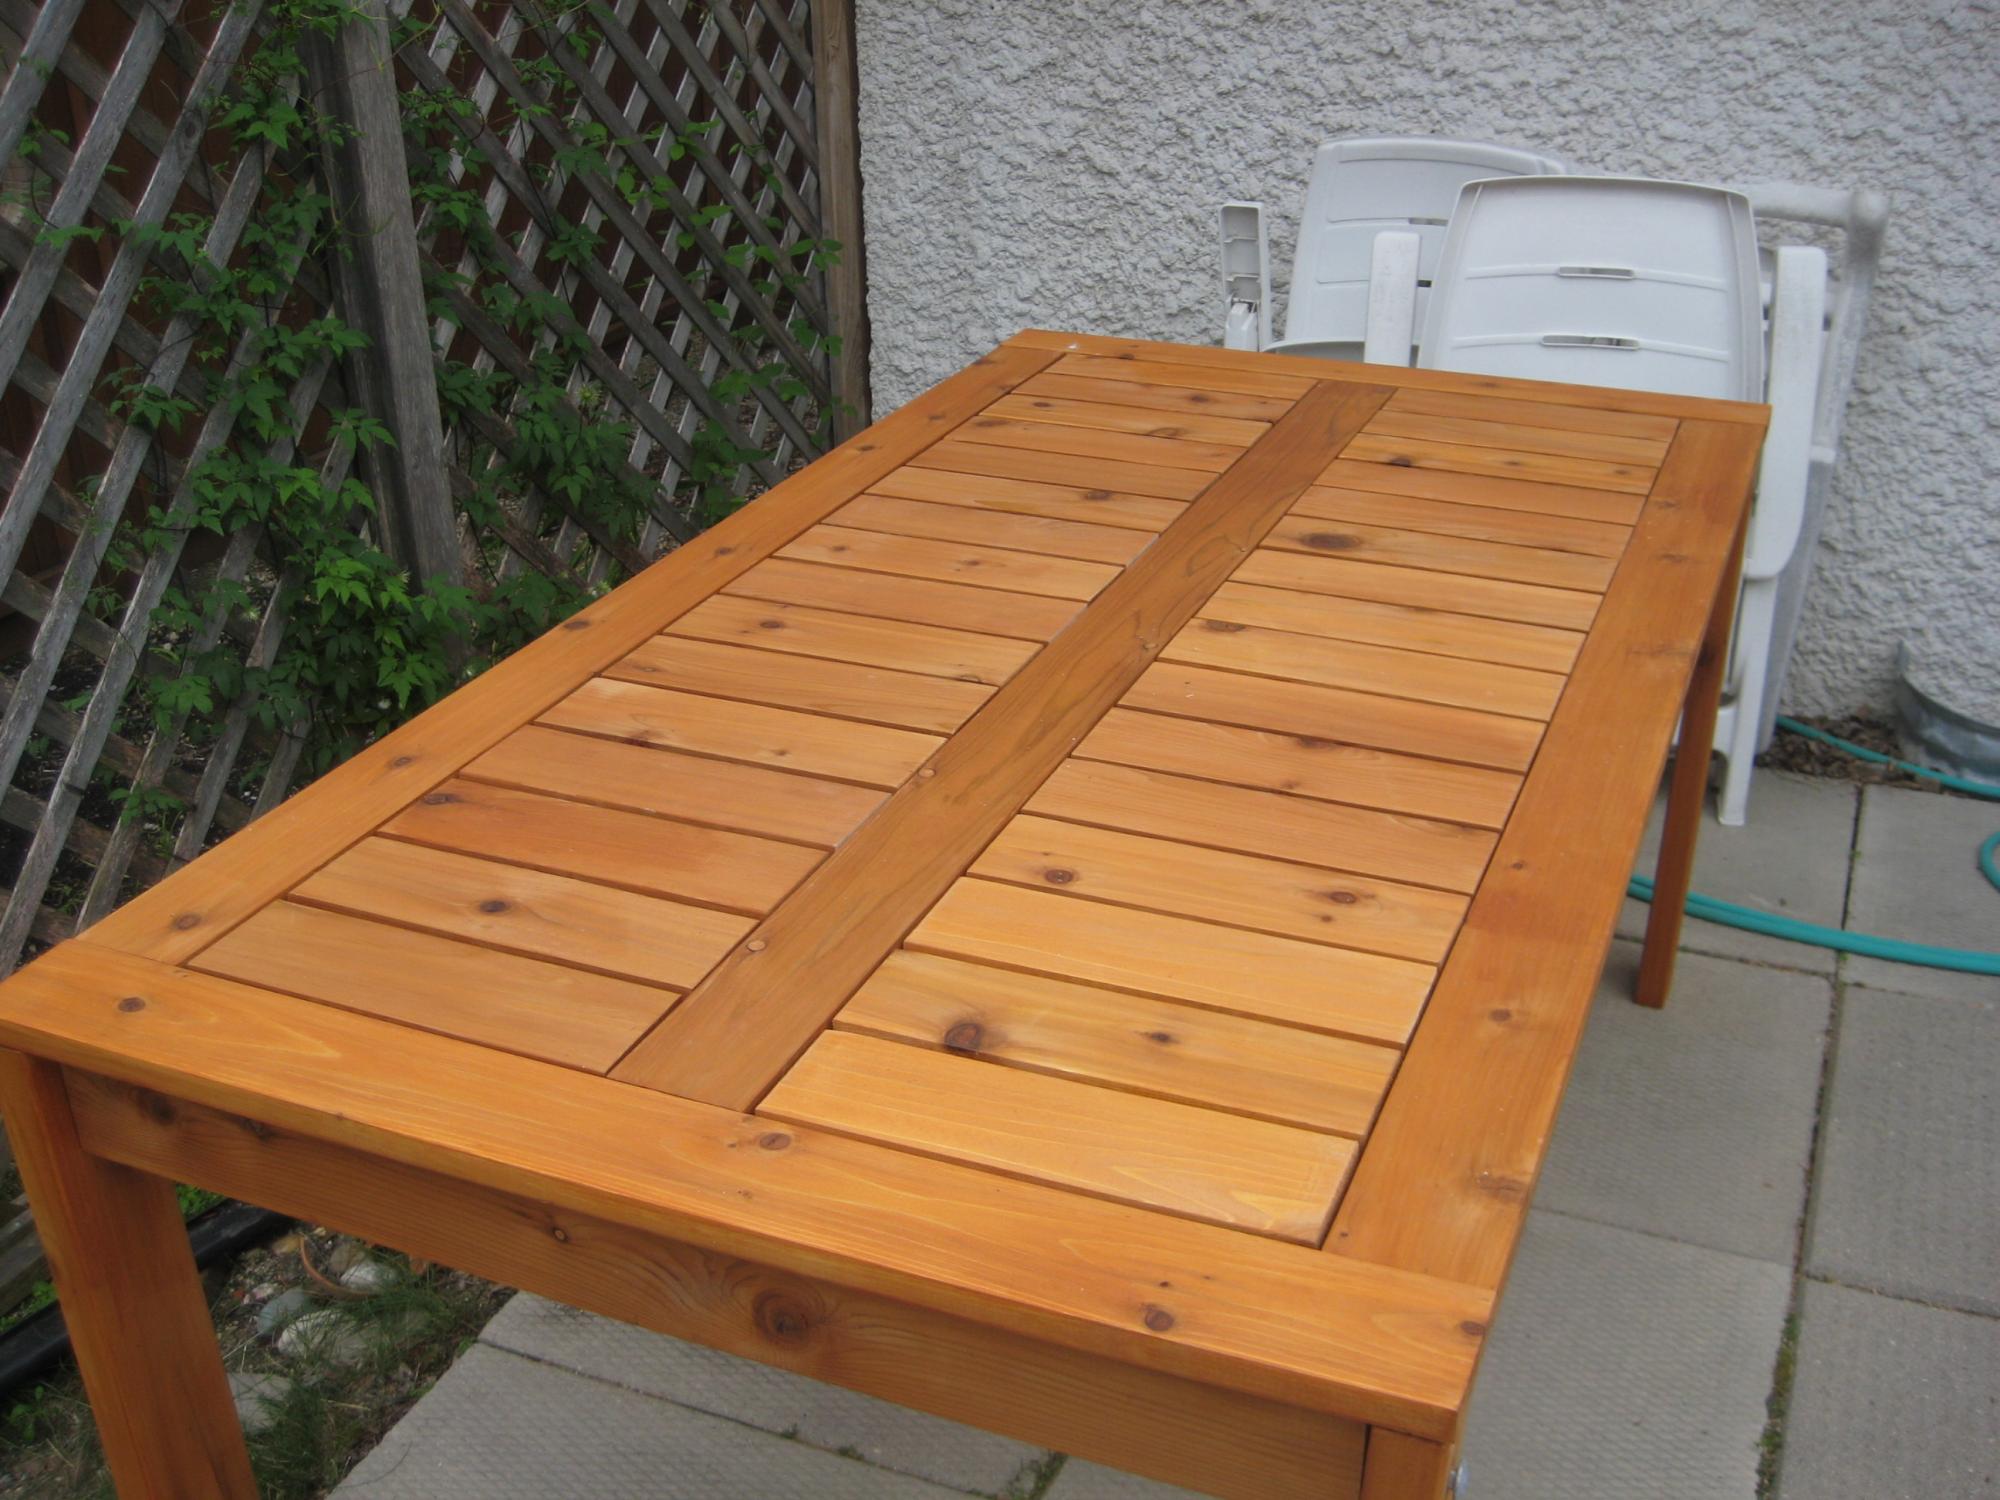
Gorgeous and easy
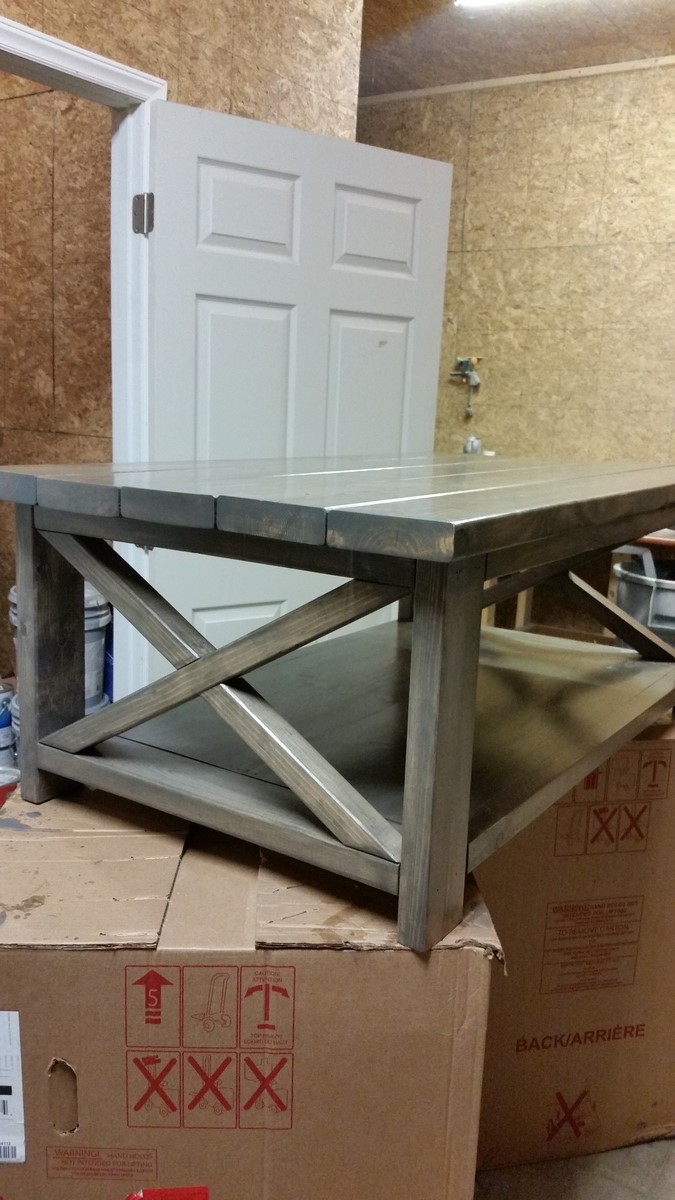
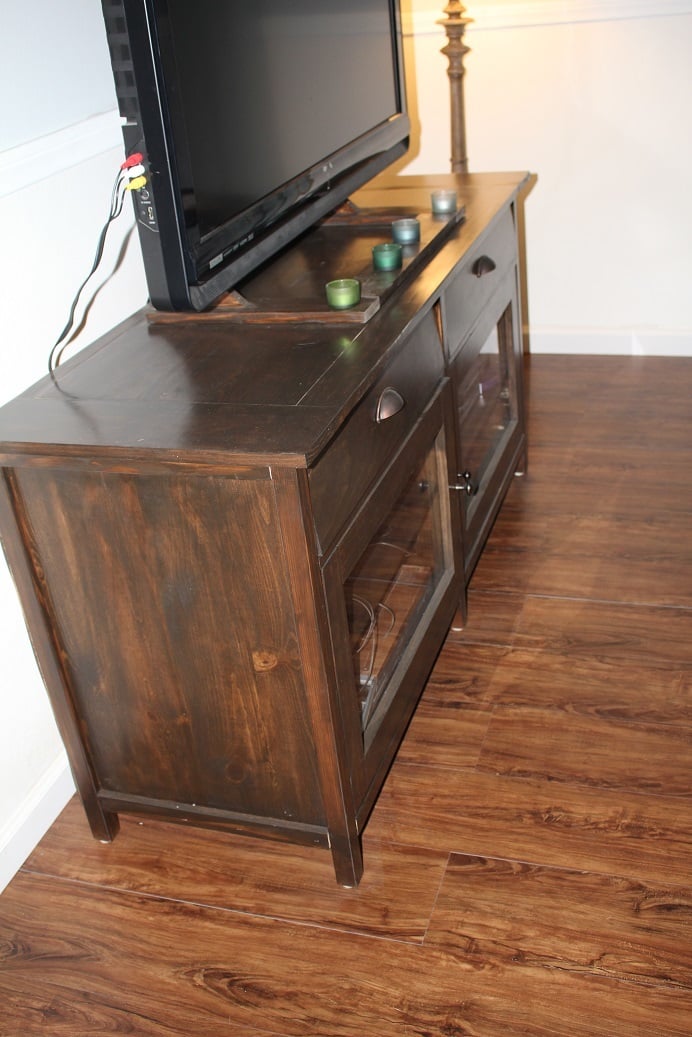
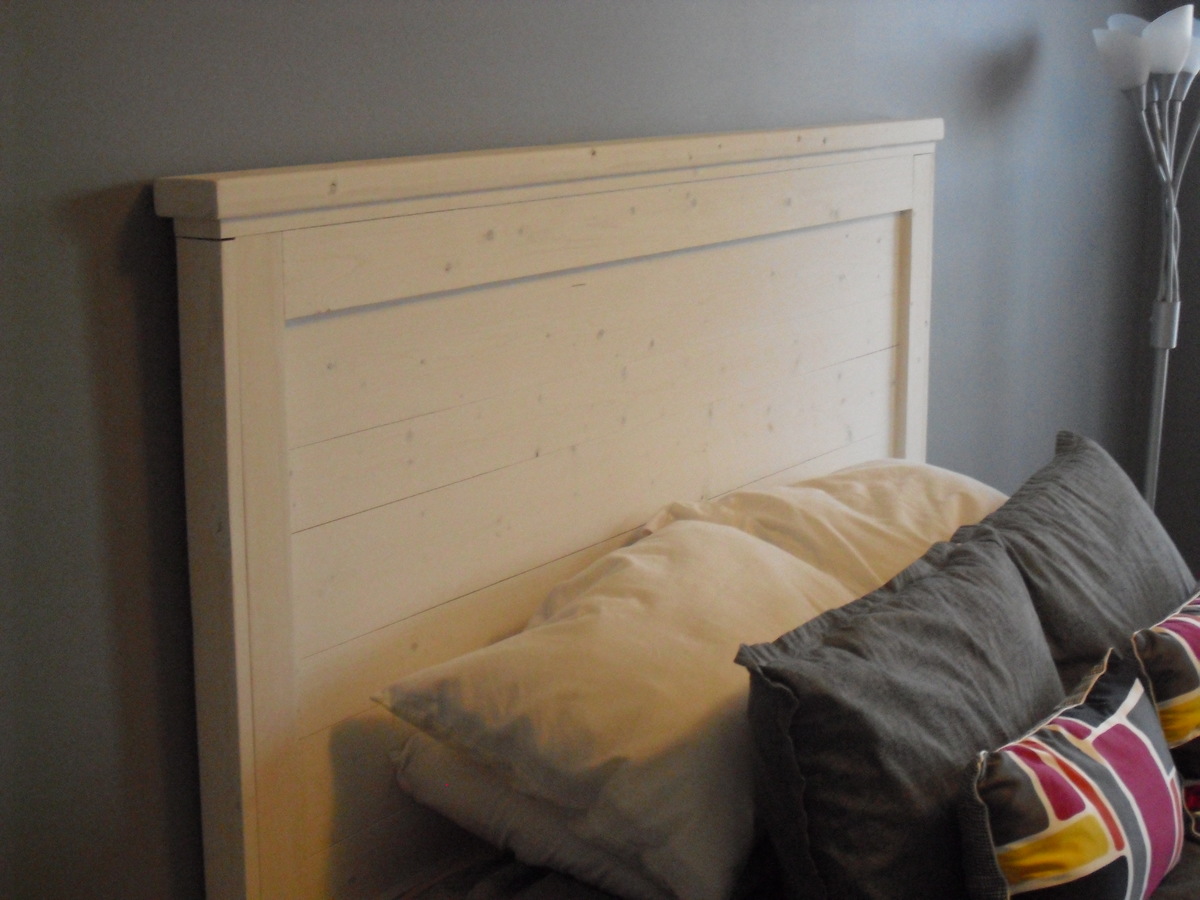
My hubby built the table and I stained it. It's GORGEOUS in our living room. Next weekend we're building the side and console tables.
Estimated Cost
$60
Estimated Time Investment
Day Project (6-9 Hours)
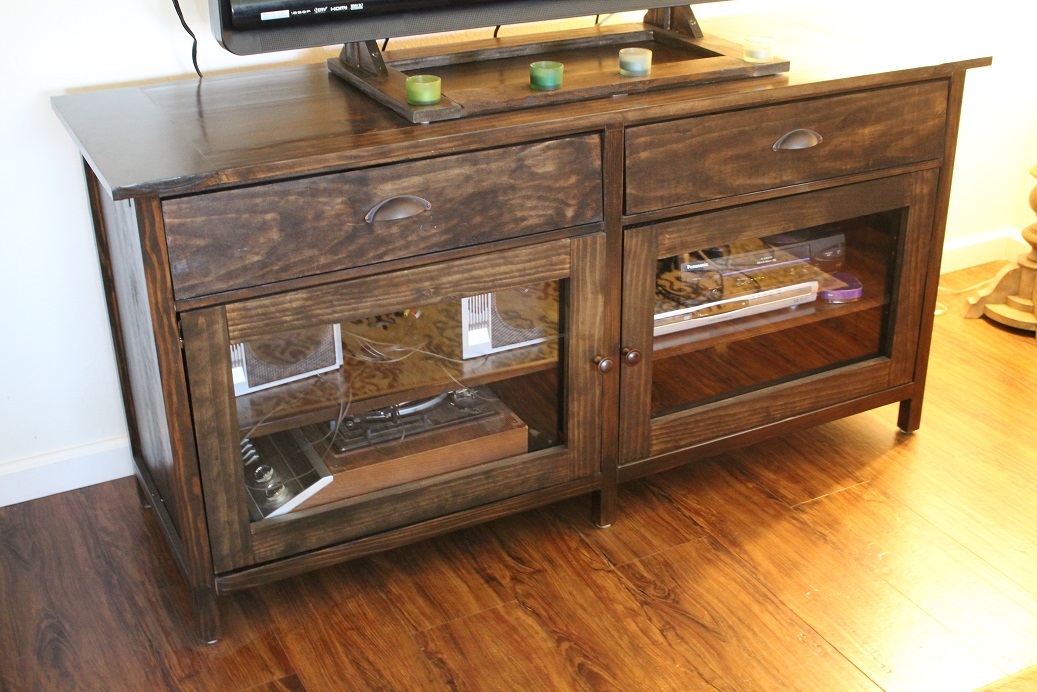
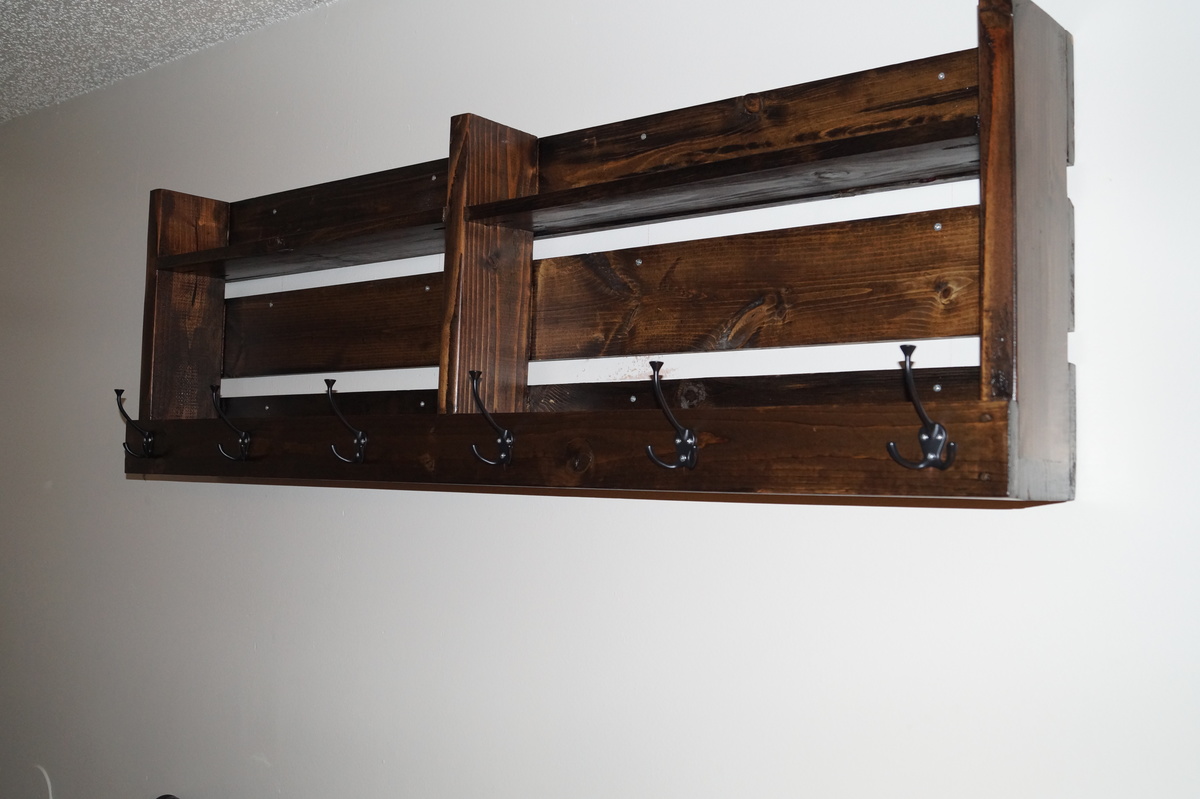
Finish Used
Minwax 80% Gray and 20% Jacobean , 2 coats polyurethane and 1 coat polycrylic
Recommended Skill Level
Intermediate