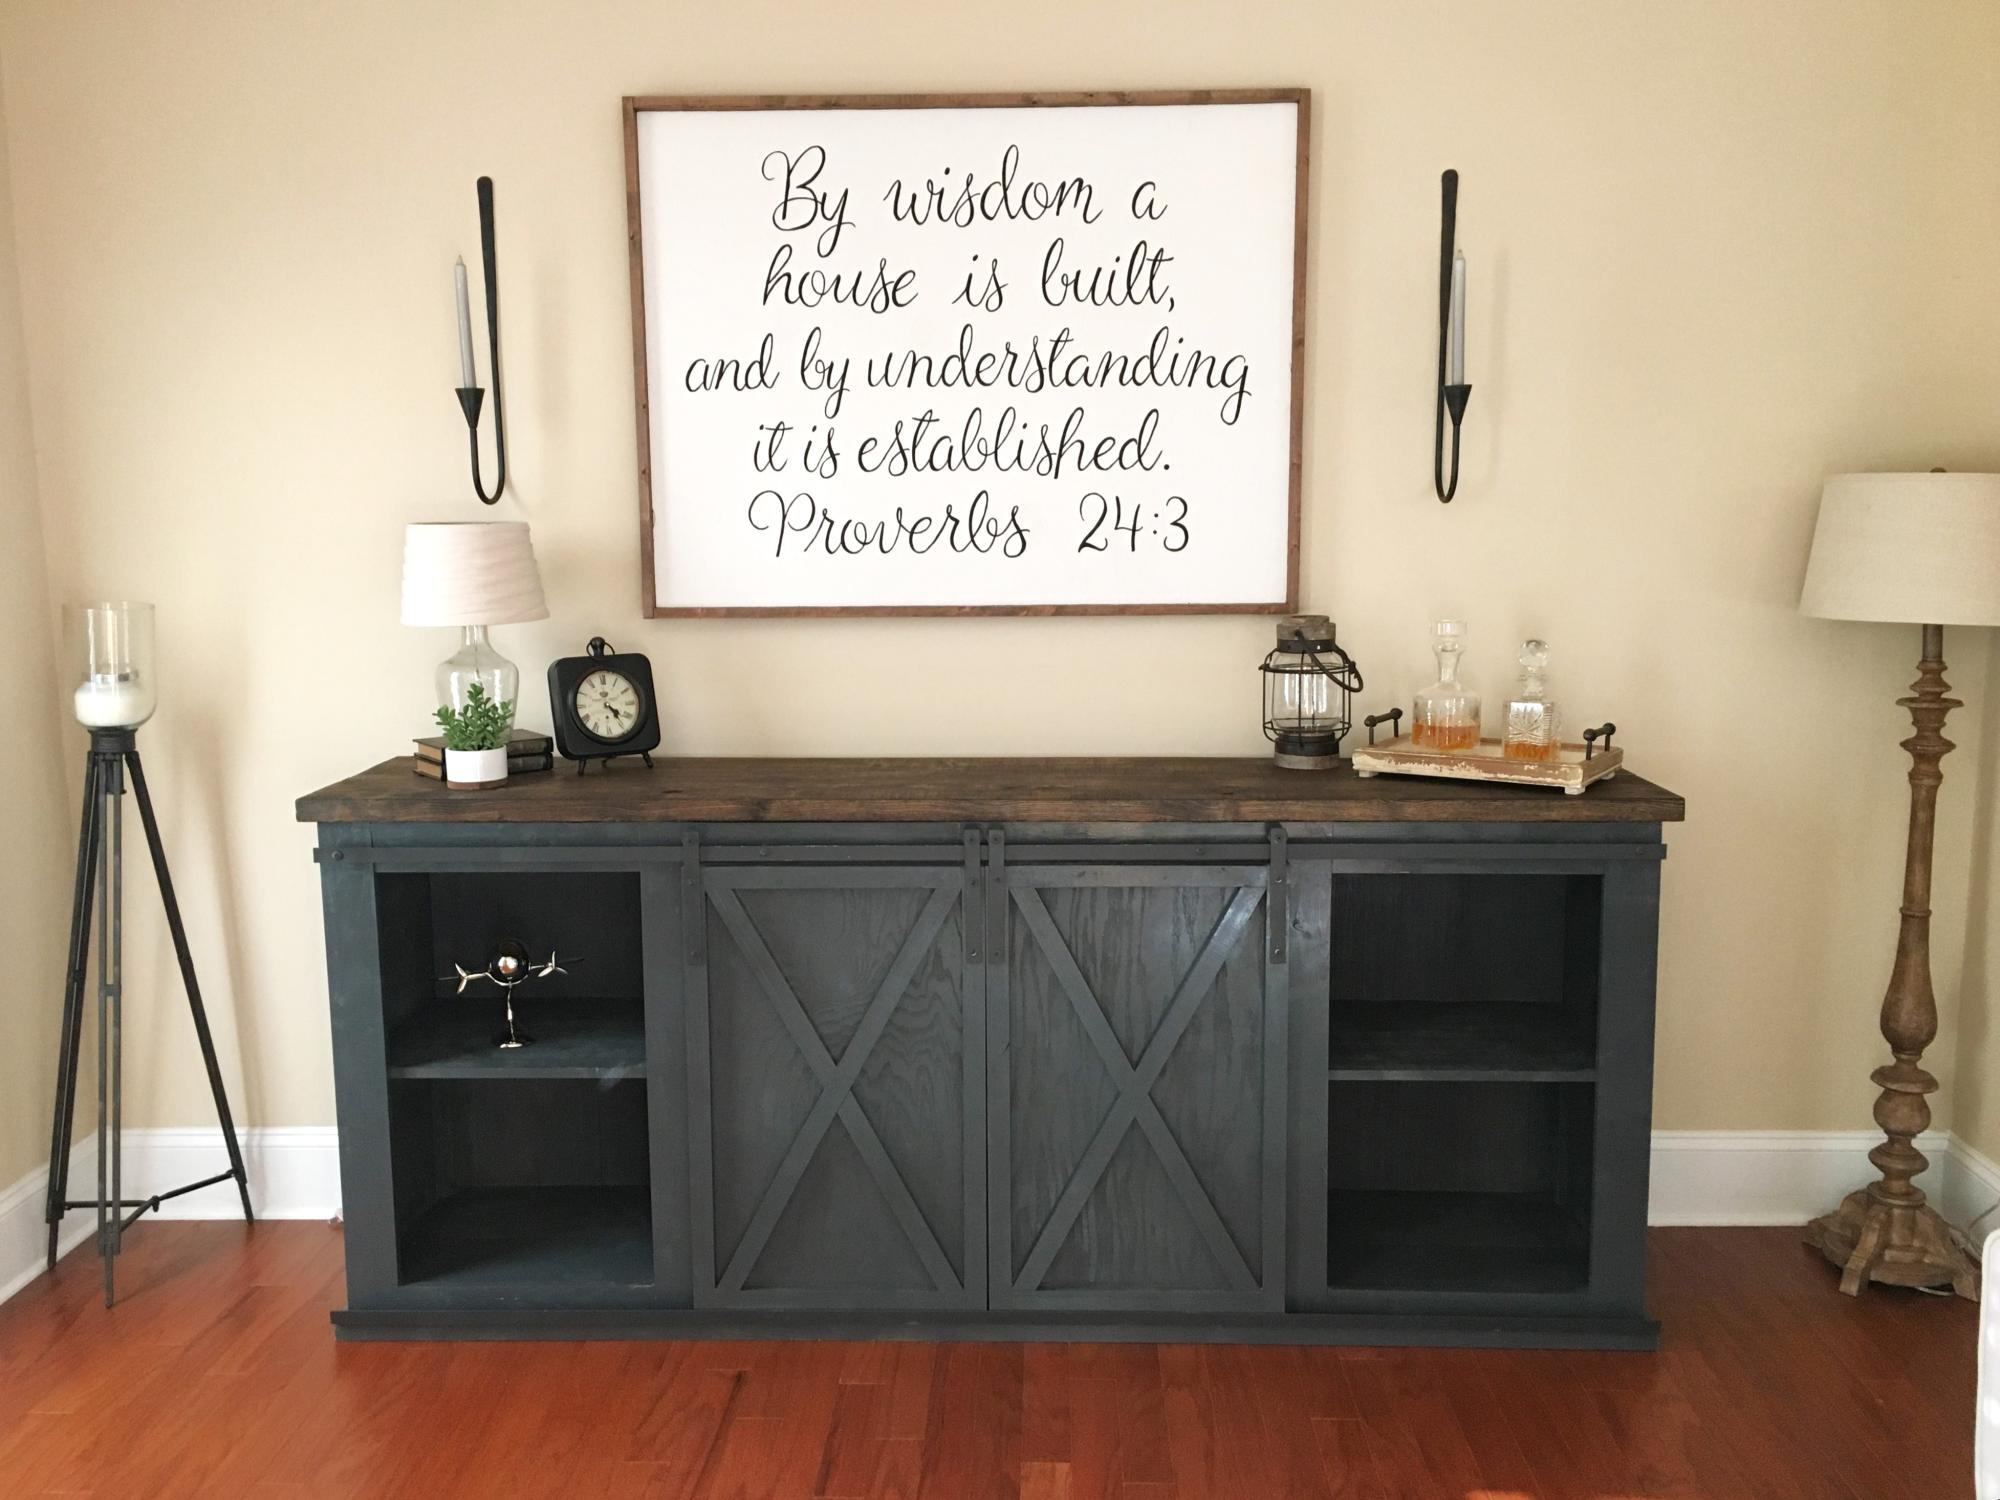
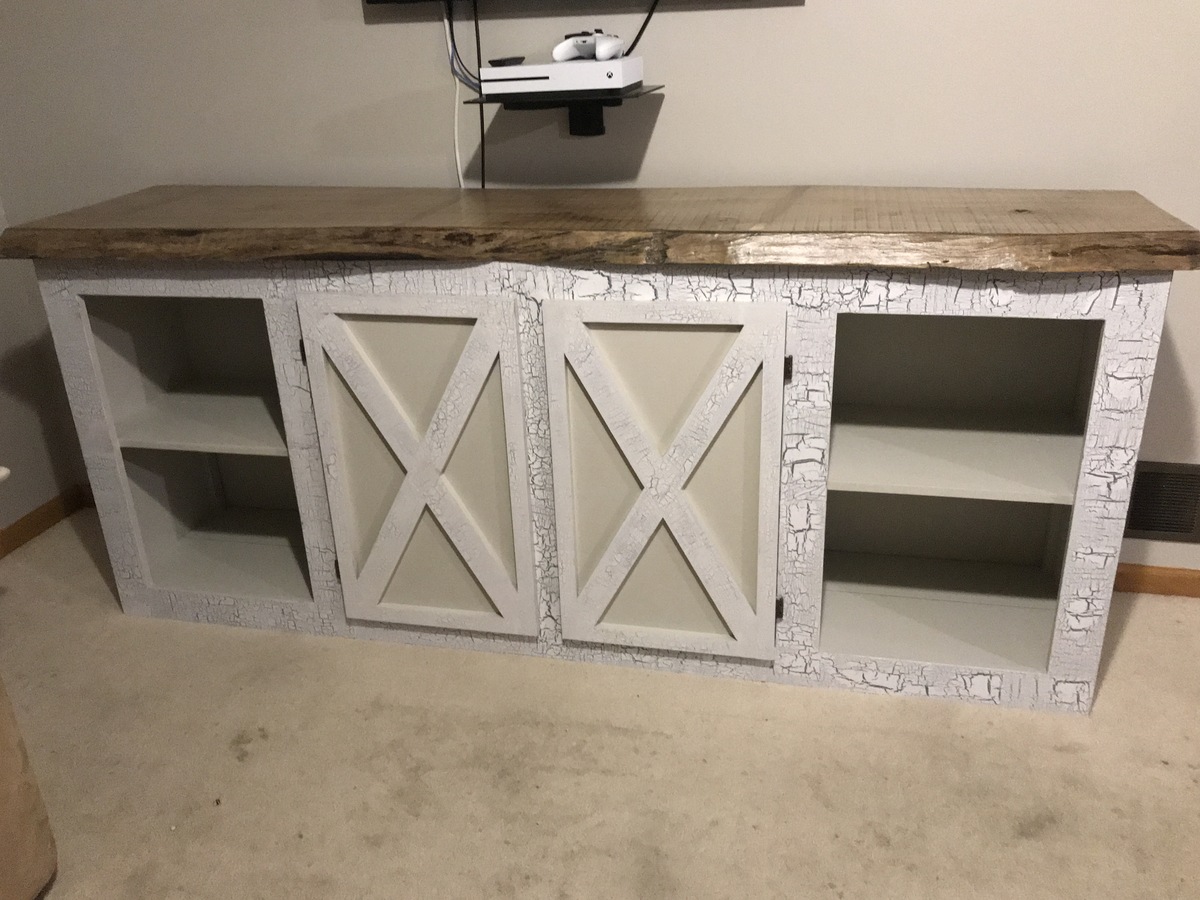
Garage shelving unit to inside shelving unit with barn door
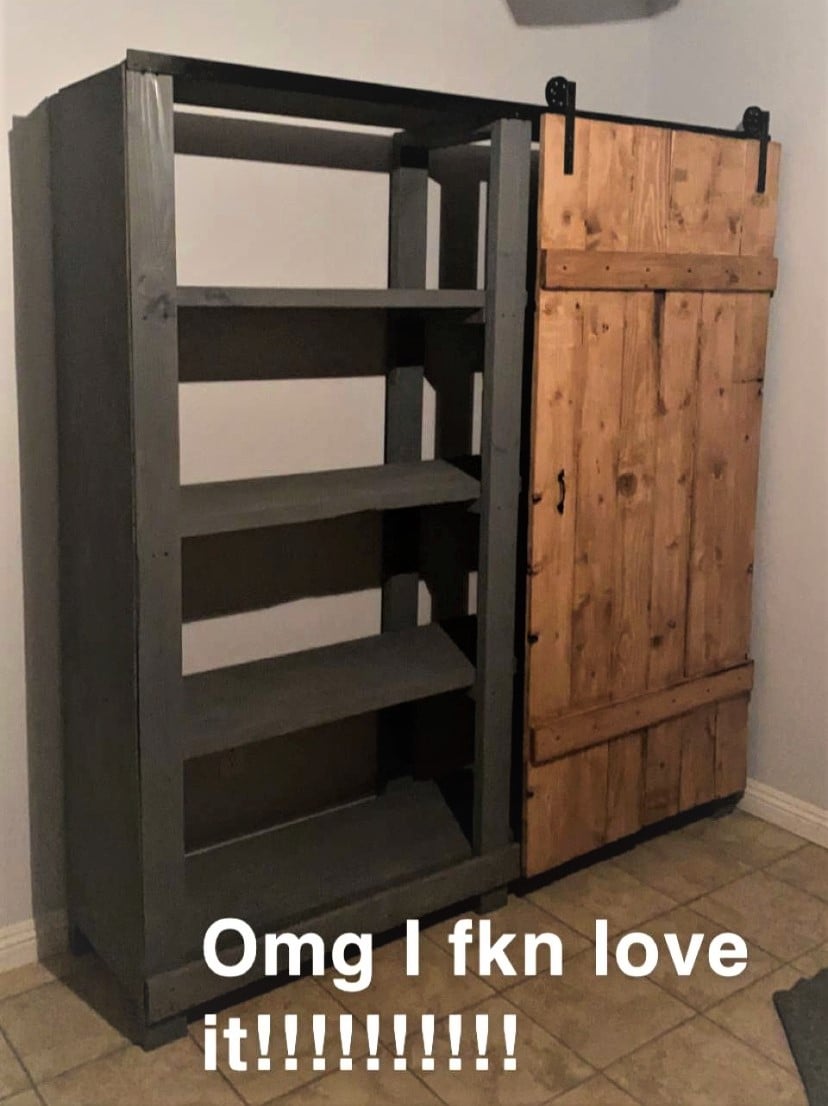
We too you’re 2x4 shelving unit with some small tweaking of measurements and added a barn door!
Built from Plan(s)
We too you’re 2x4 shelving unit with some small tweaking of measurements and added a barn door!

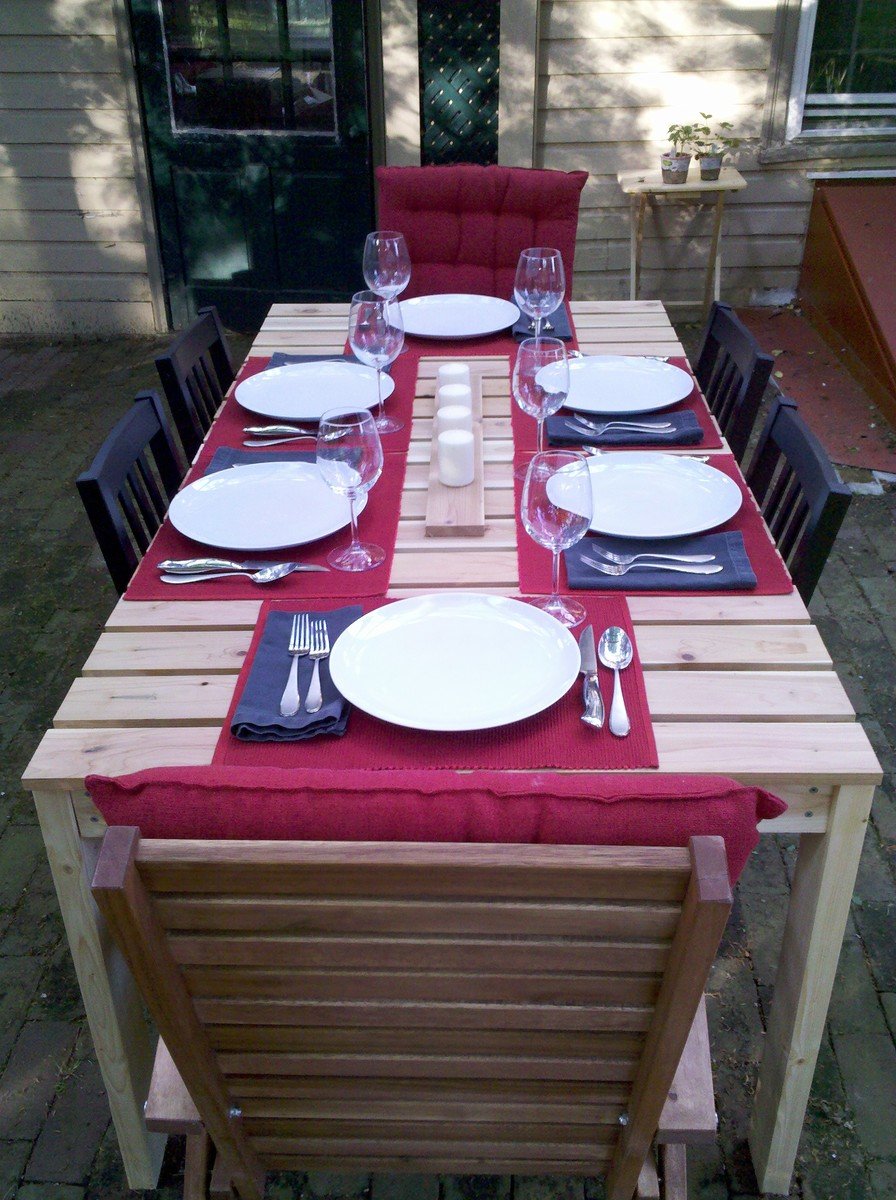
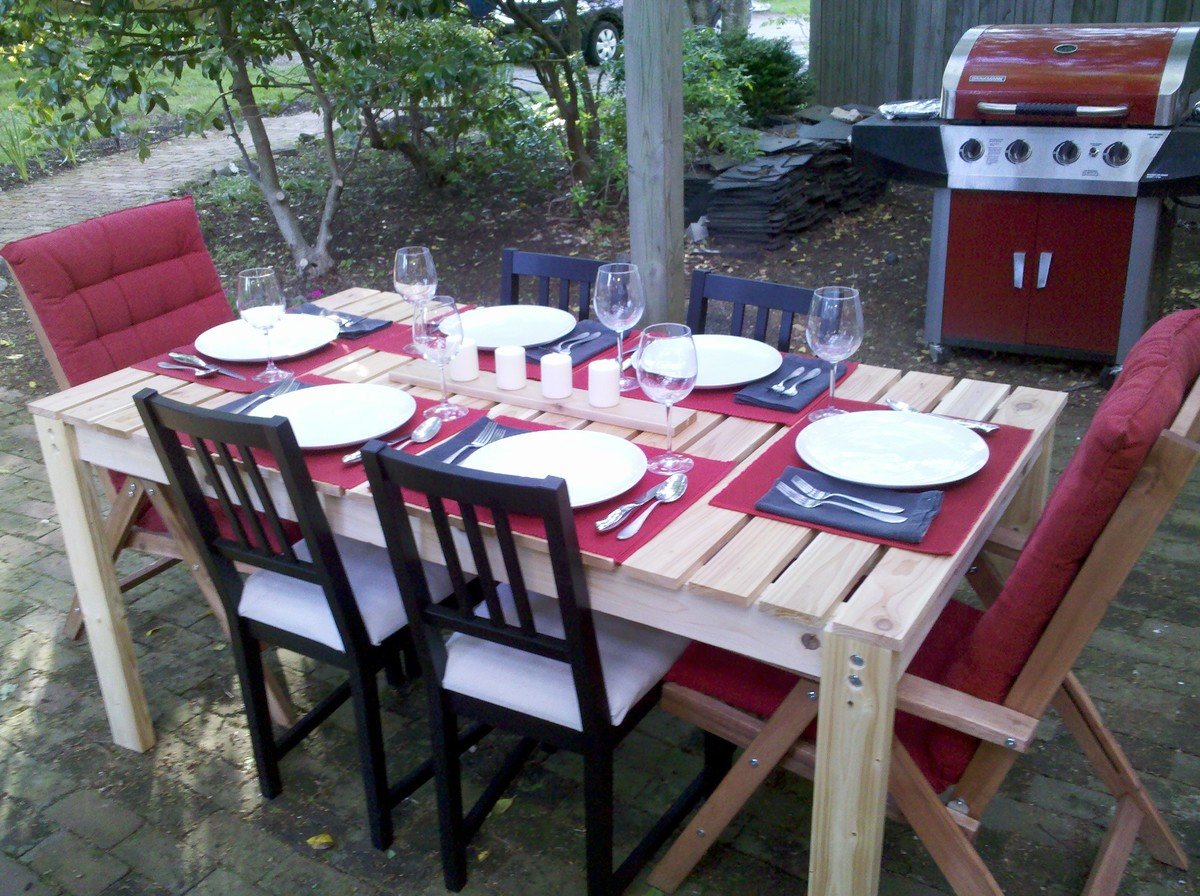
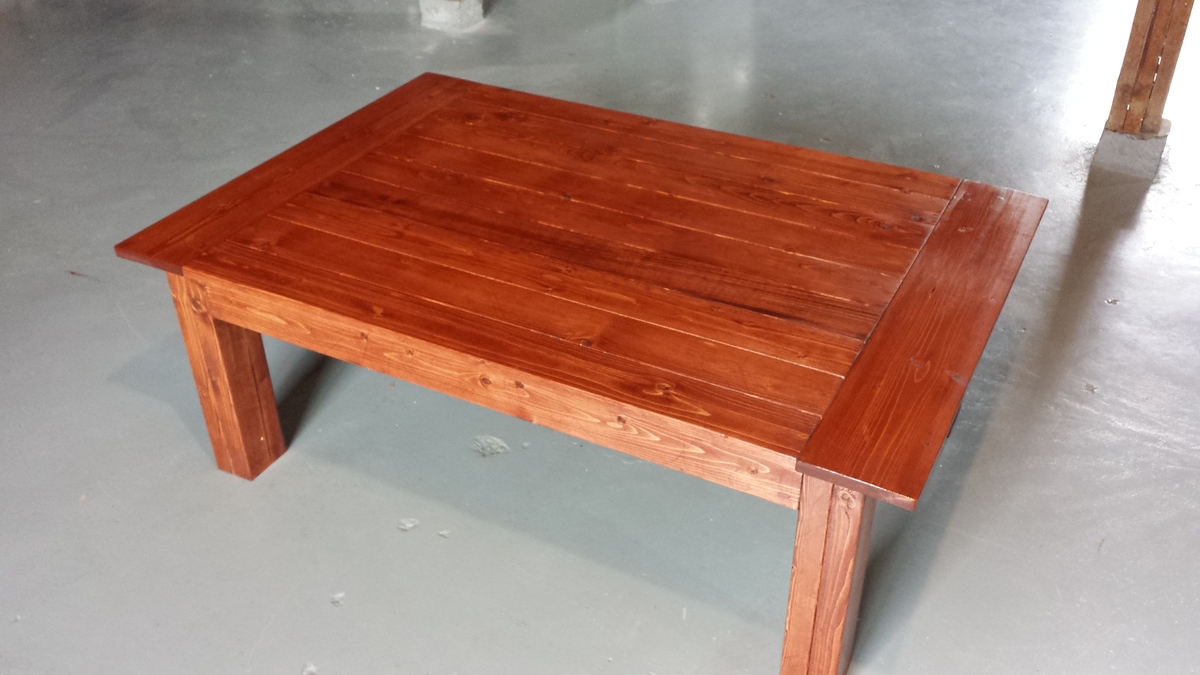
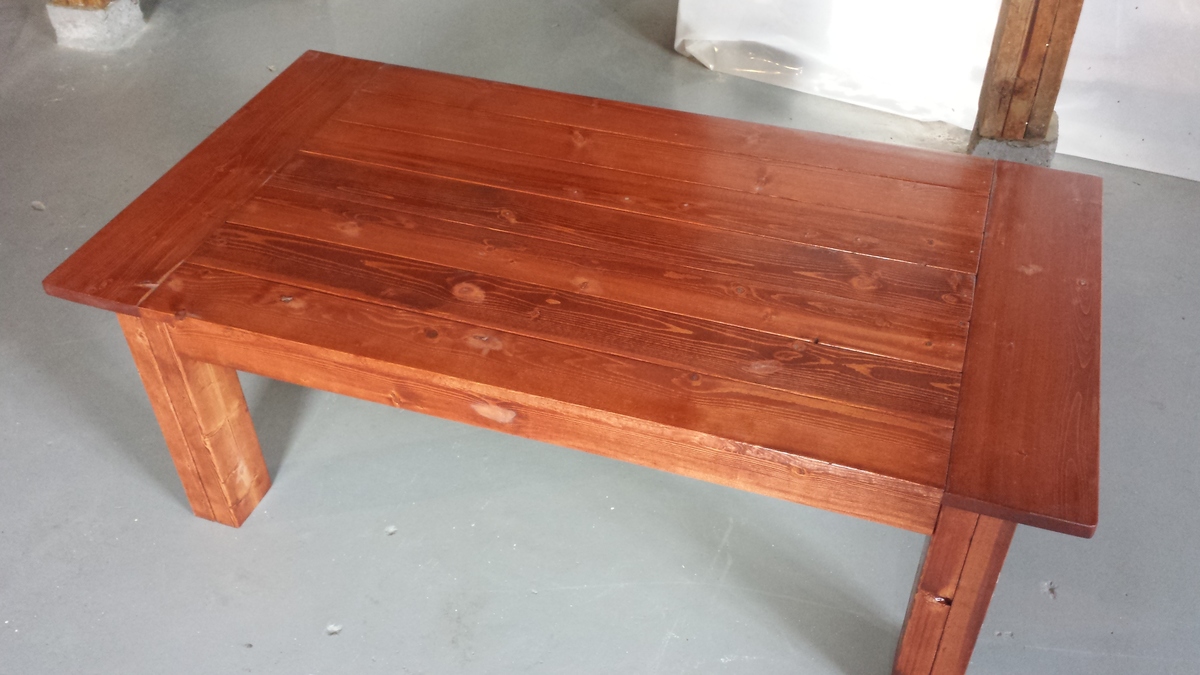
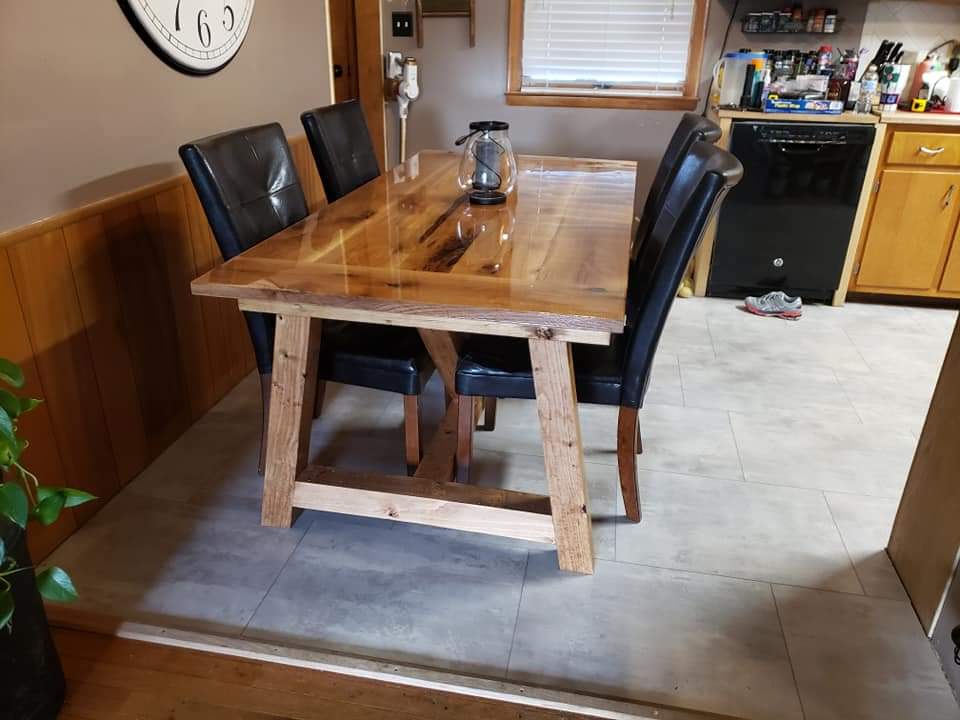
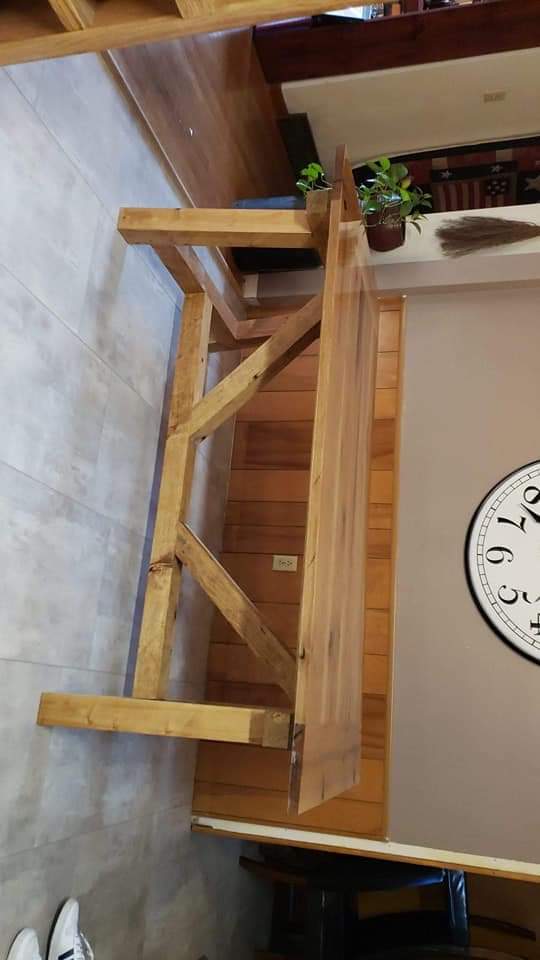
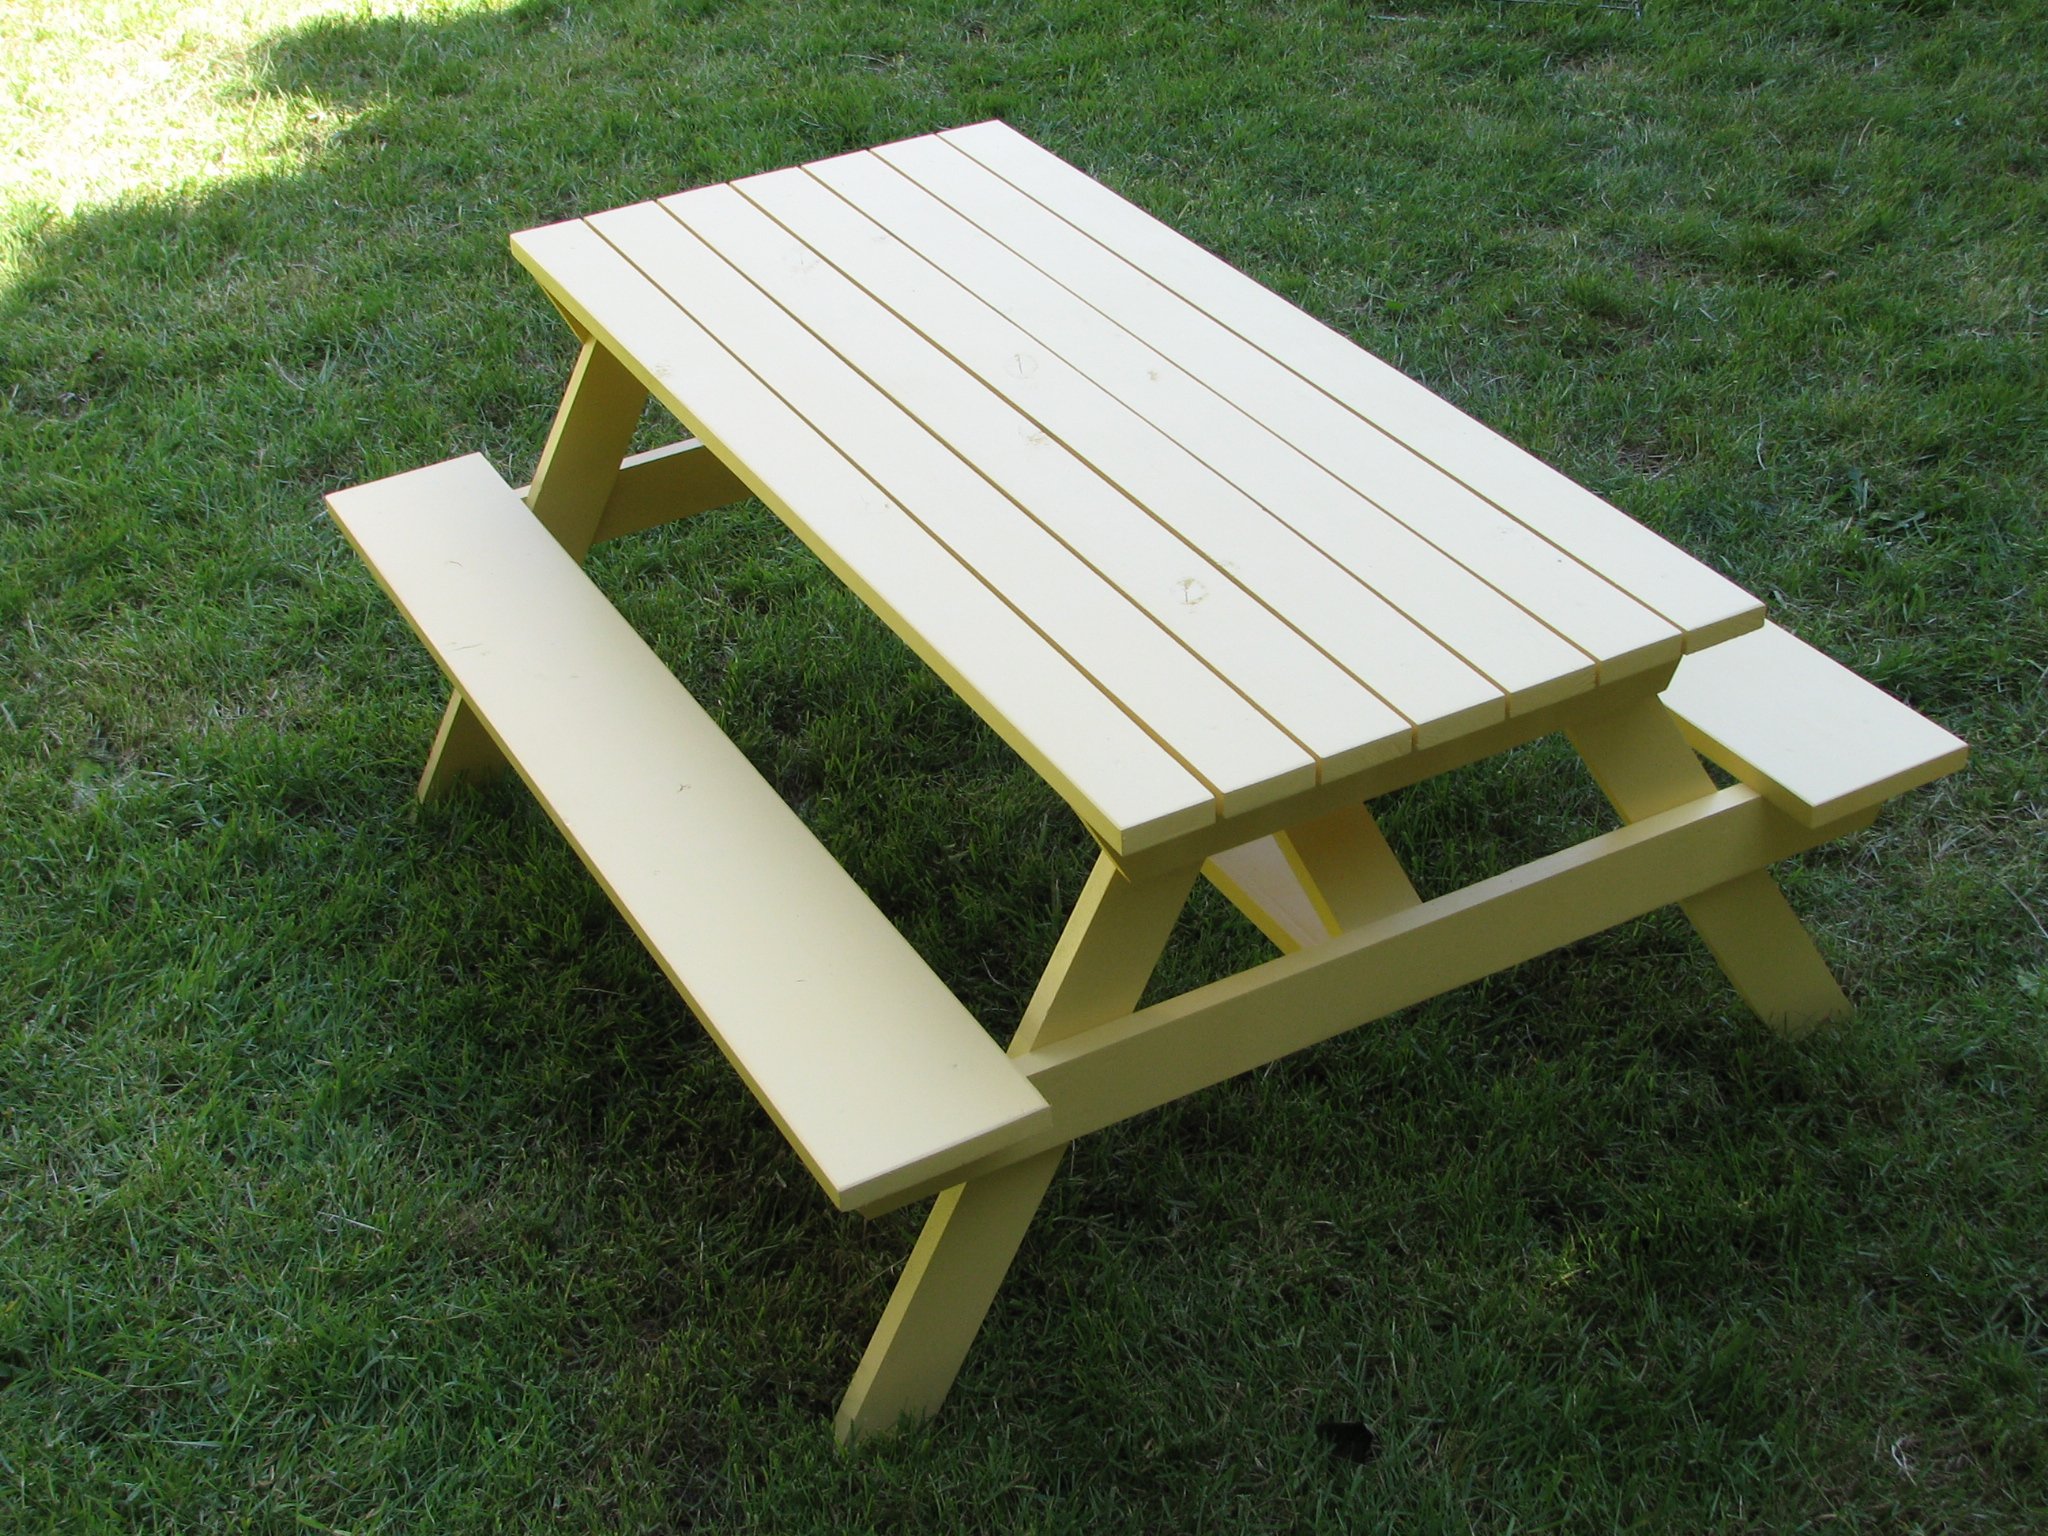
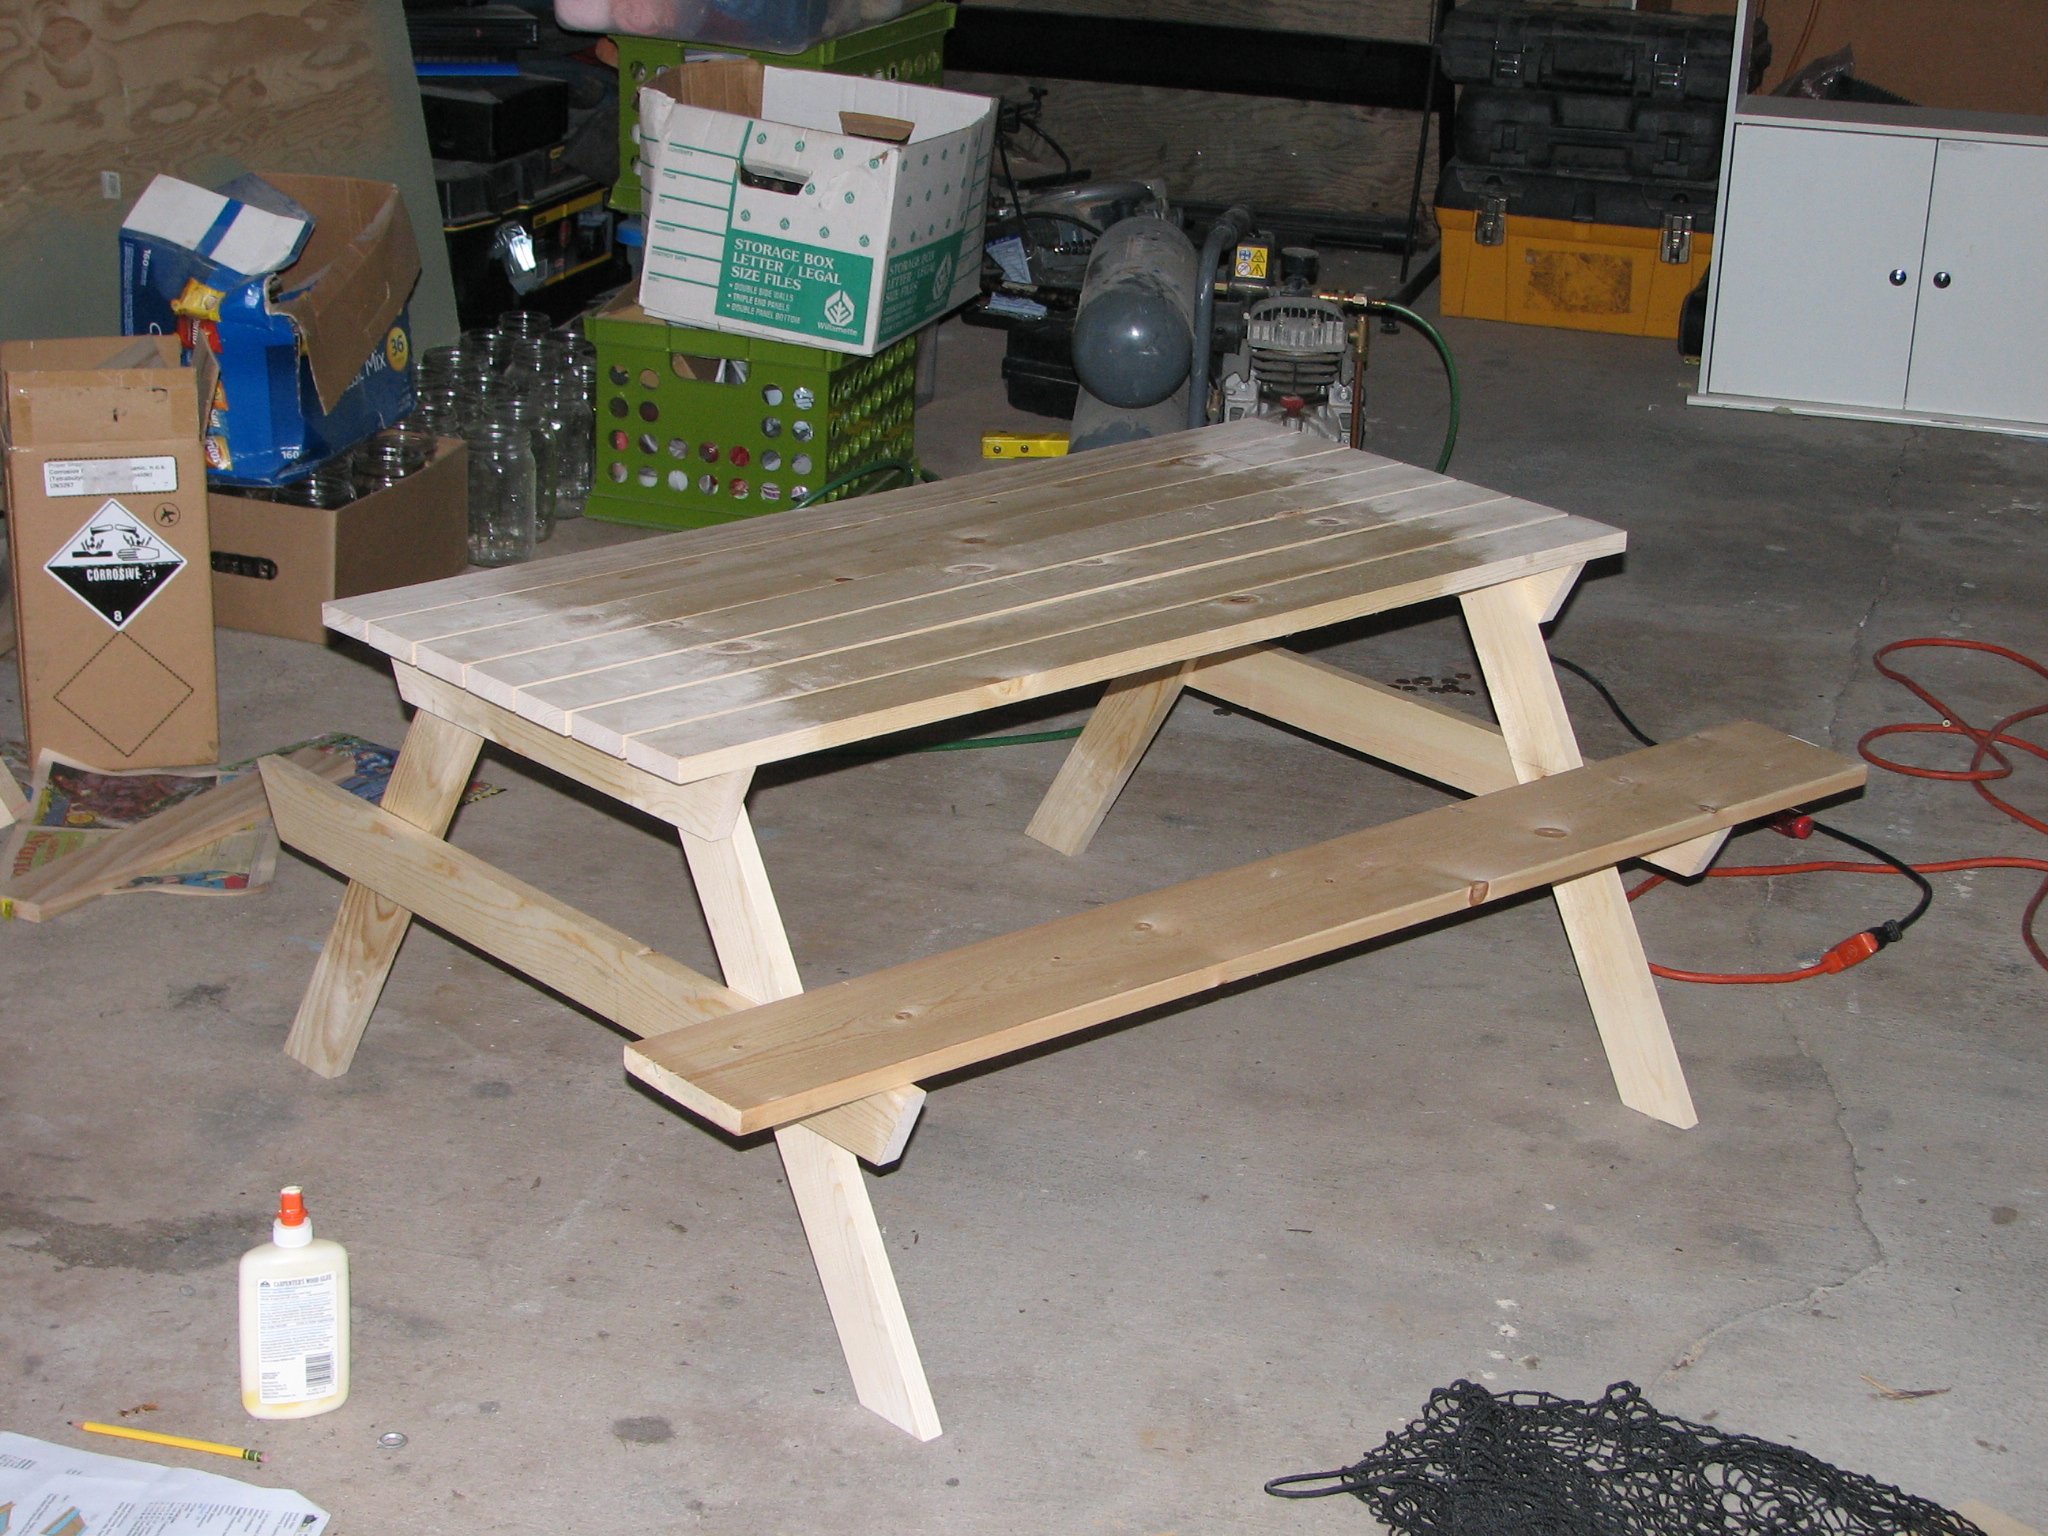
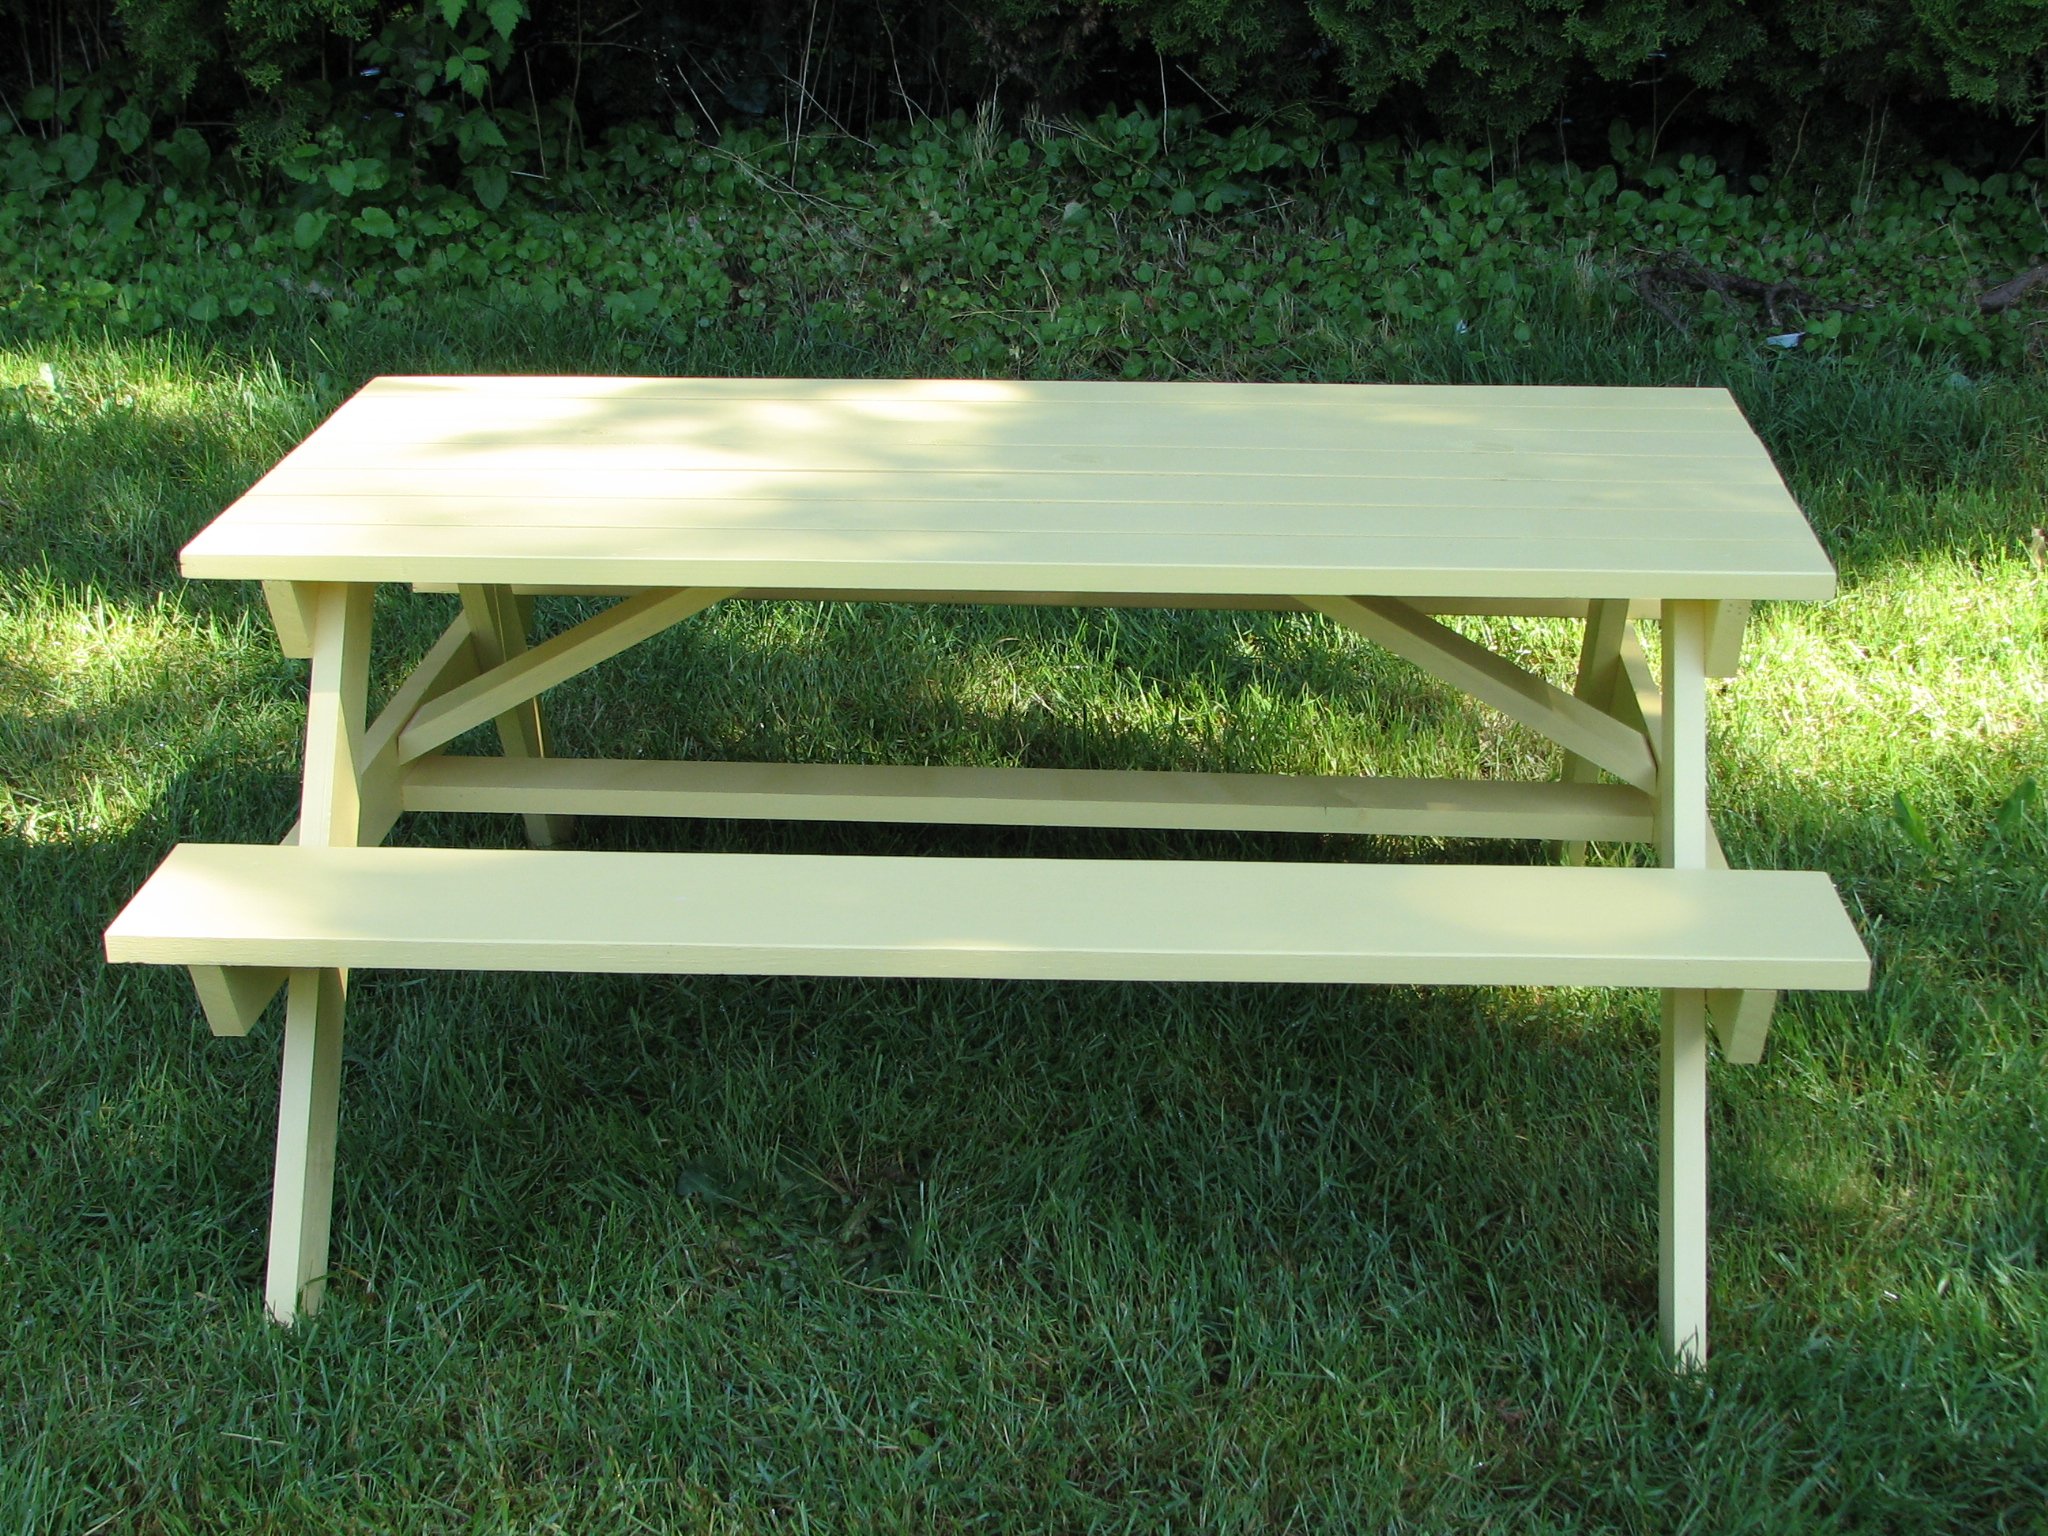
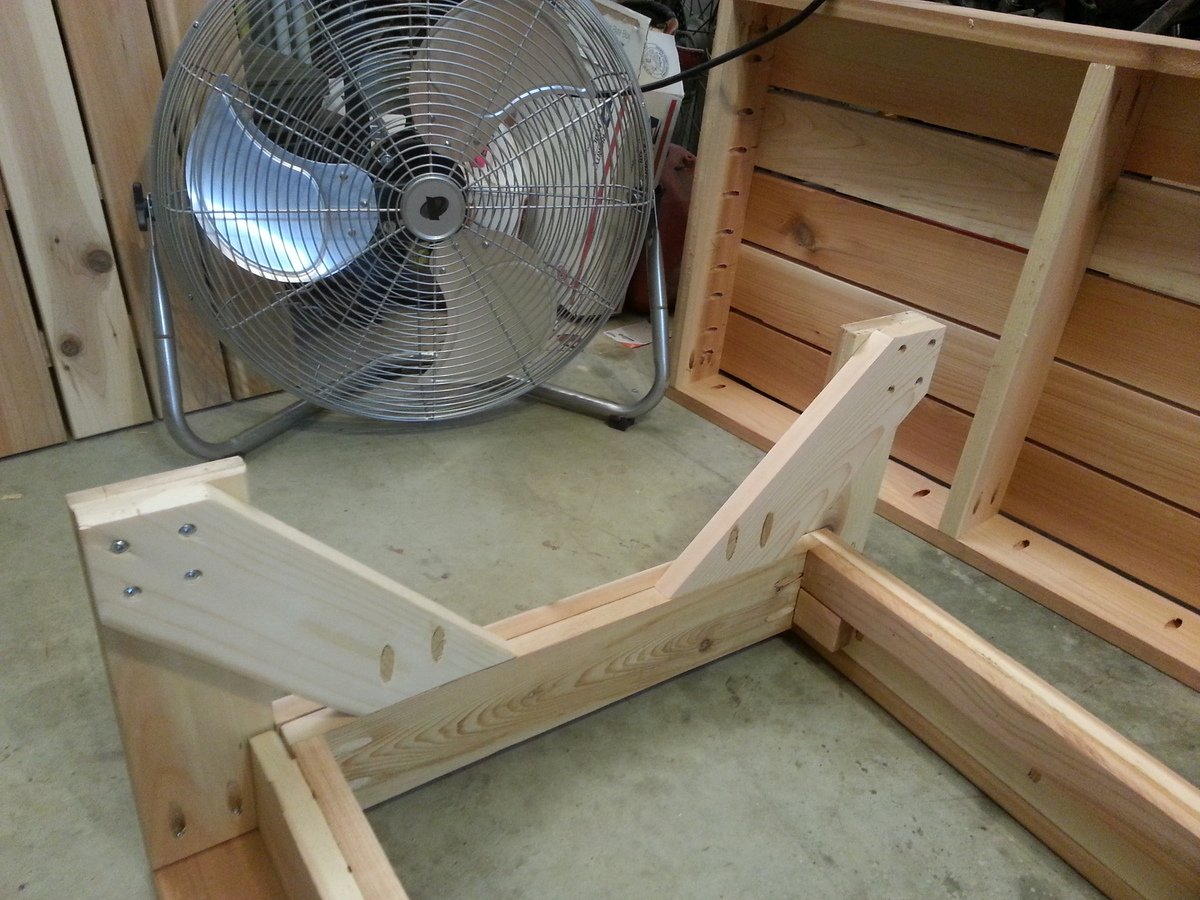
We needed an outdoor table for our patio, and this one fit the bill!
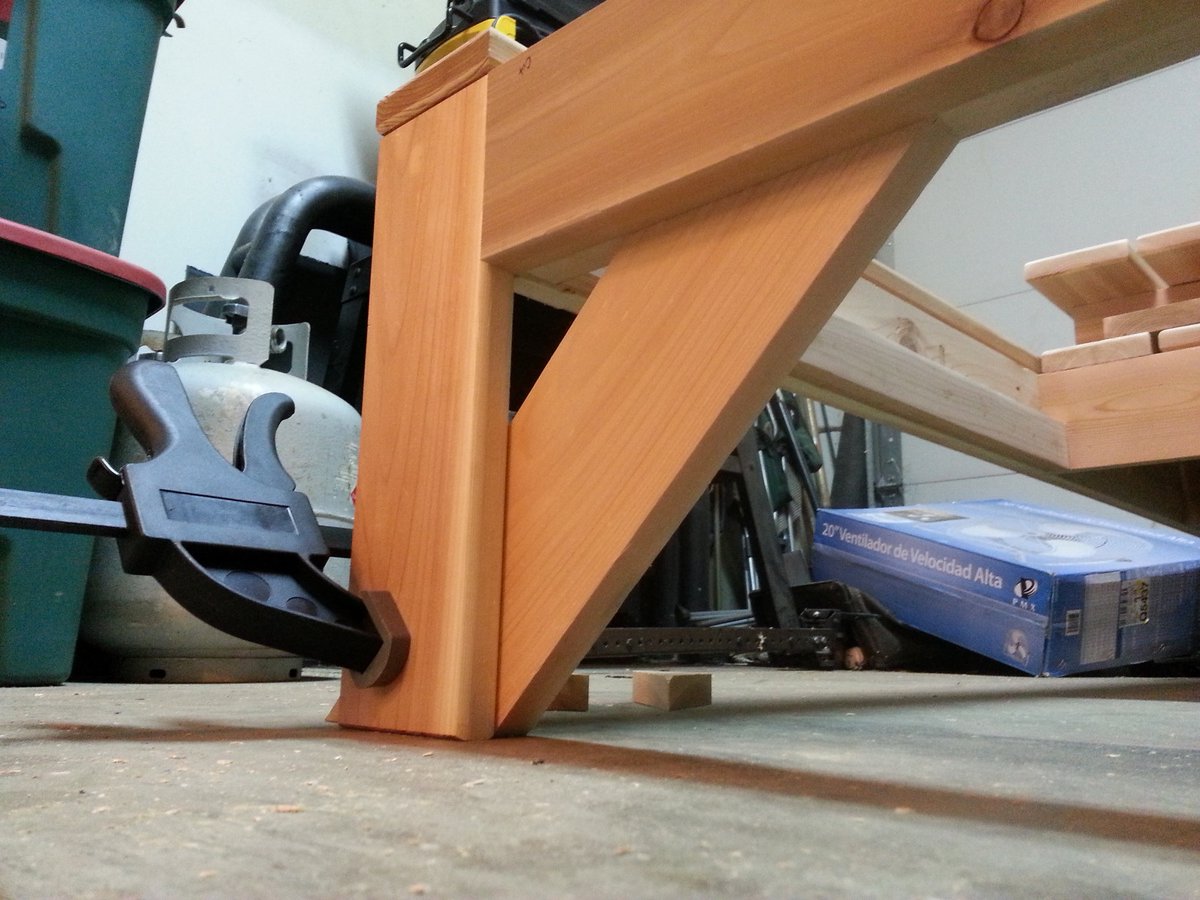
I loved the photos that others have put out of their own tables, but I was concerned about eating off of a table that was stained and varnished with petrochemicals. In order to avoid the toxic finish, I built the top and stretchers out of cedar wood, which I sanded down to 220 grit, and gave a light coat of tung oil finish. The legs are untreated 2x4s that I sanded down and gave a heavy coat of tung (e.g. seven applications.)
To ensure the legs remain in good condition, I intend to foot them with sheet metal casings when I remove them at the end of the season.
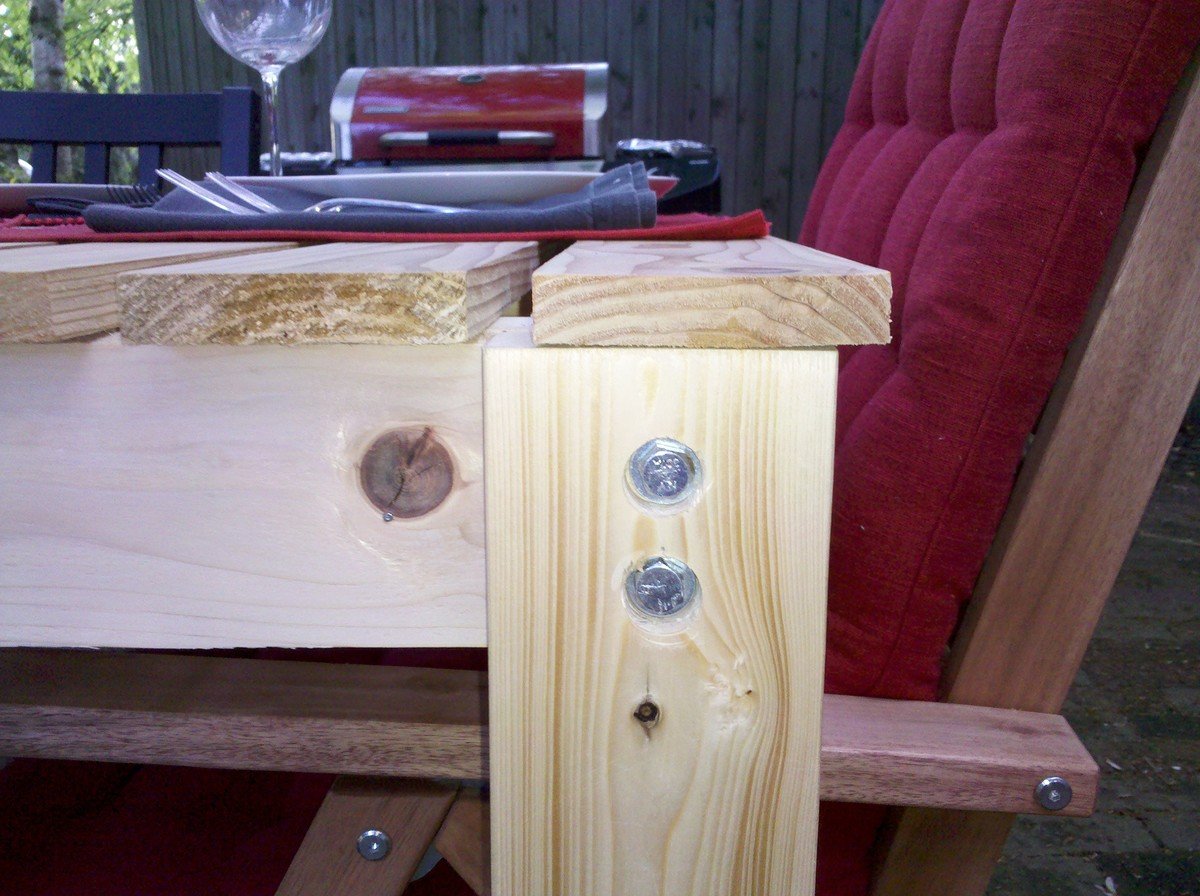
I also took Ana's advice, and attached the legs using bolts, so that I can disassemble the table and throw it in the garage over the winter. There's a close-up of how I inset the bolt-heads with a spade-bit below.

I didn't build this shoe dresser because I particularly needed one, but it looked so lovely that I couldn't resist.
- I modified the plans by building 3 bins instead of 2 so it could hold more shoes.
- I decided against the dowel stick and opted for hinges instead, which were surprisingly not too difficult to assemble. I found that I didn't even need the magnets after installing the hinges as the doors stay closed.
- I used 7" chains on both sides of each bin instead of a belt to make it extra sturdy.
- I added two back legs.
Et voila! This is the end result. I'm very pleased.
PS. Those flopping bins are a pain when you're trying to build!! An extra pair of hands is definitely recommended.


Fri, 07/05/2013 - 22:49
Pretty :) Good Job. Now if I only had the space for one thats 10 rows high :P I like the stain color too. Shanty 2 Chic always uses Rust-o-leum. I think its called dark walnut. Dont quote me though. I love the stain and spray paint combo colors they use.
~Melody
In reply to Nice Job by SoCaliforniaMel
Sat, 07/06/2013 - 20:00
Rust-o-leum, that's the one!
Yes, if only every woman could own a 10-row cabinet for all her shoes! :)
I've made a couple of tables from this plan now, and I love the simplicity of it. I changed the top to 1x4, 1x6 so that it doesn't look so bulky.
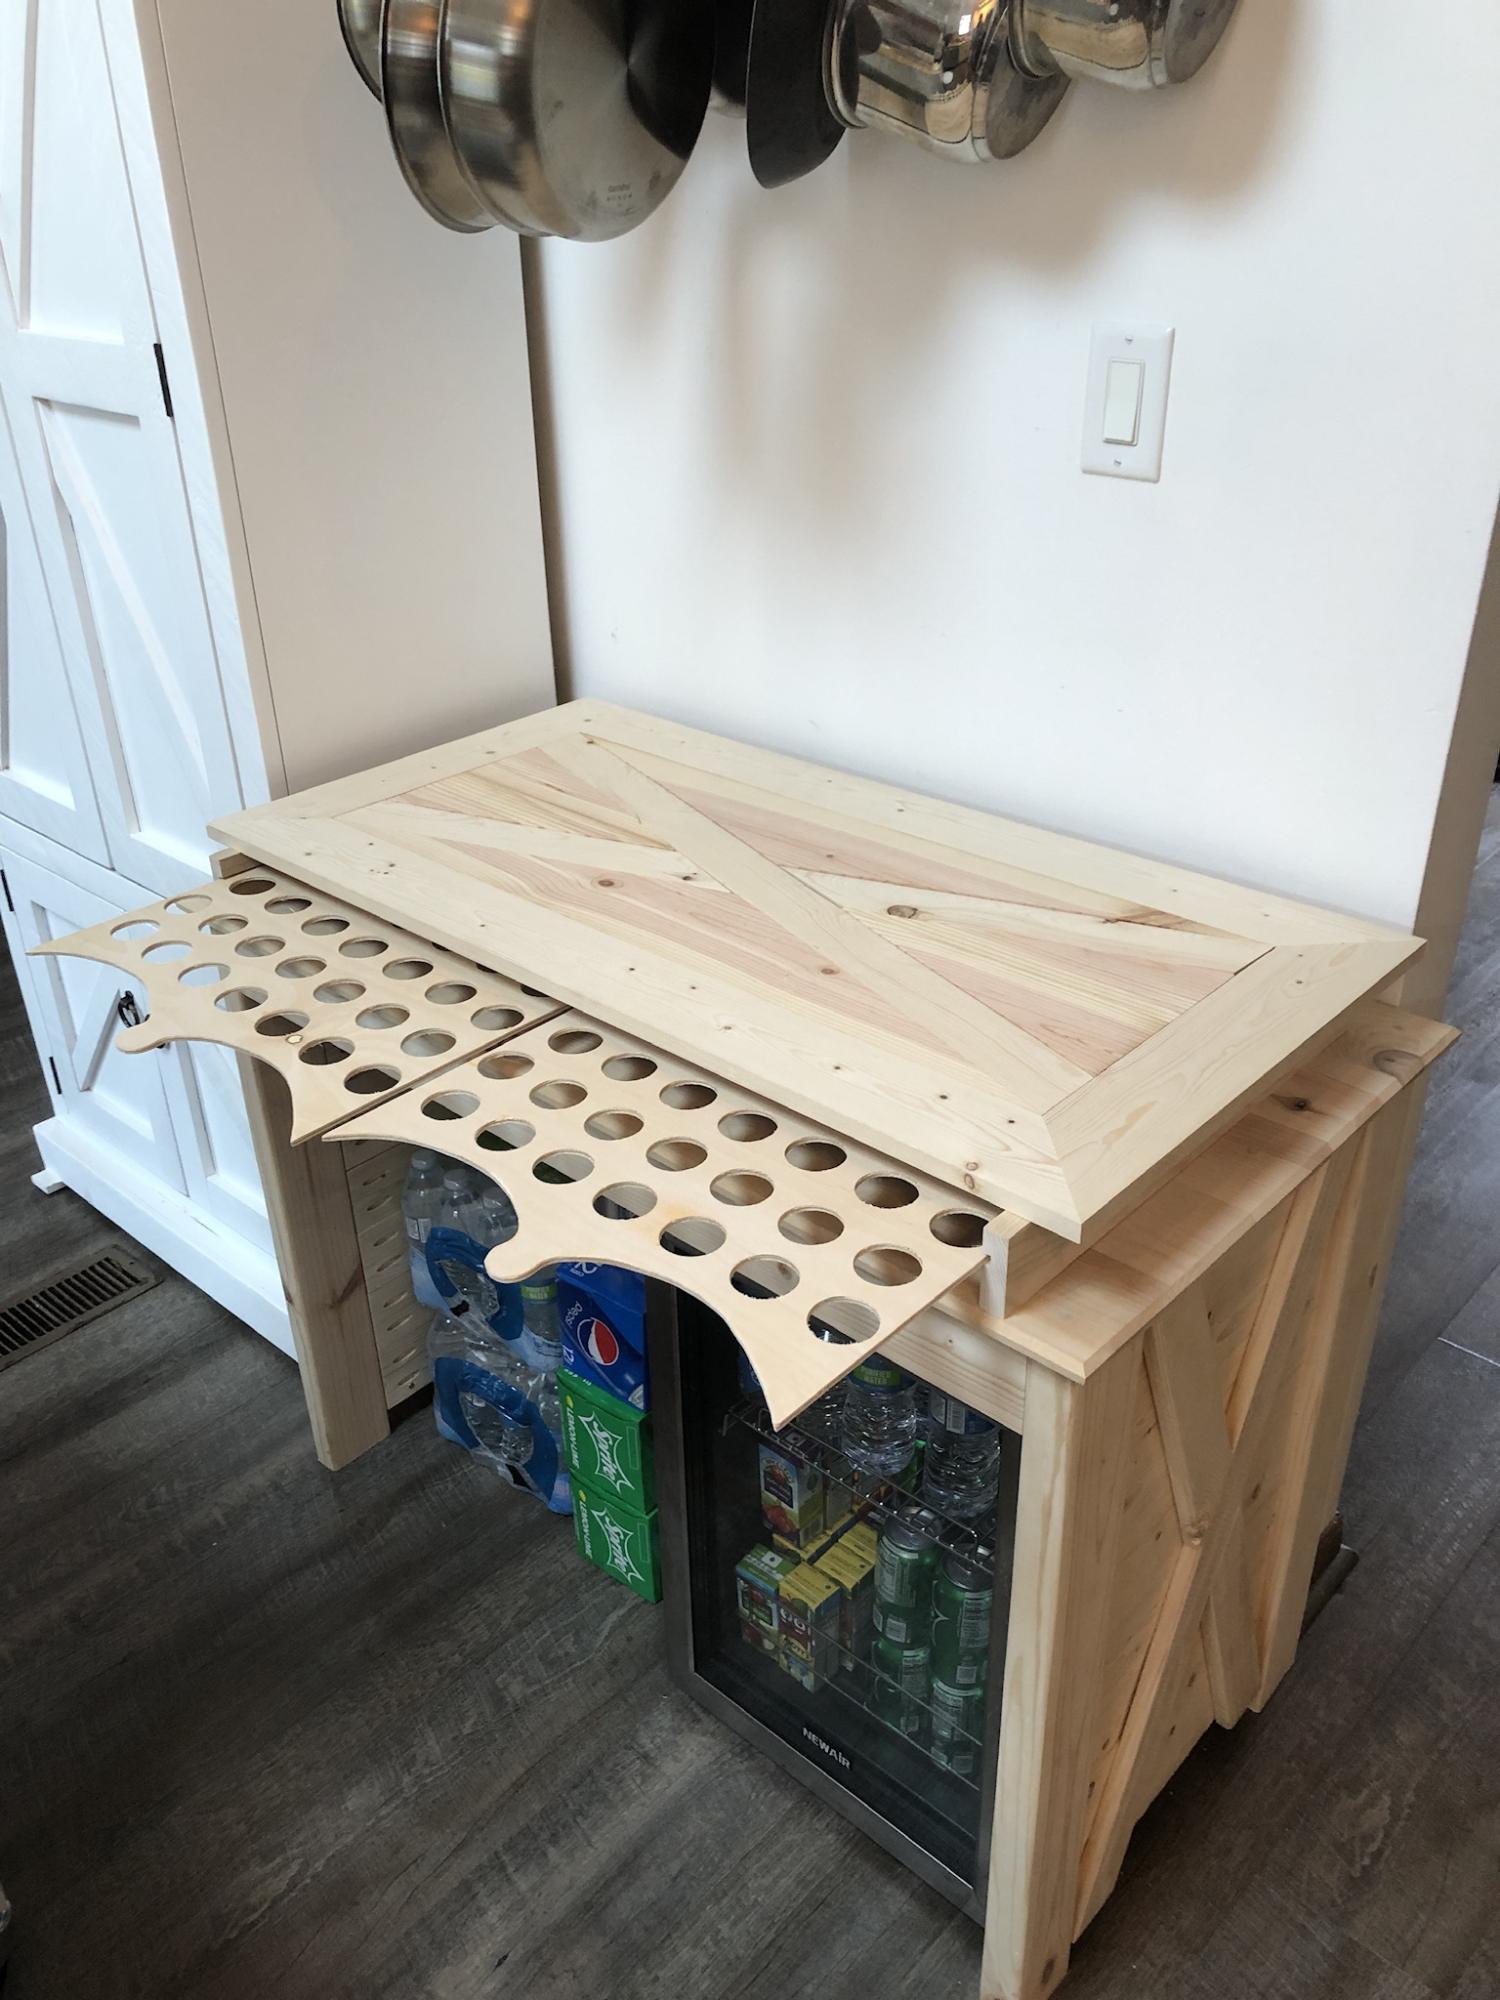
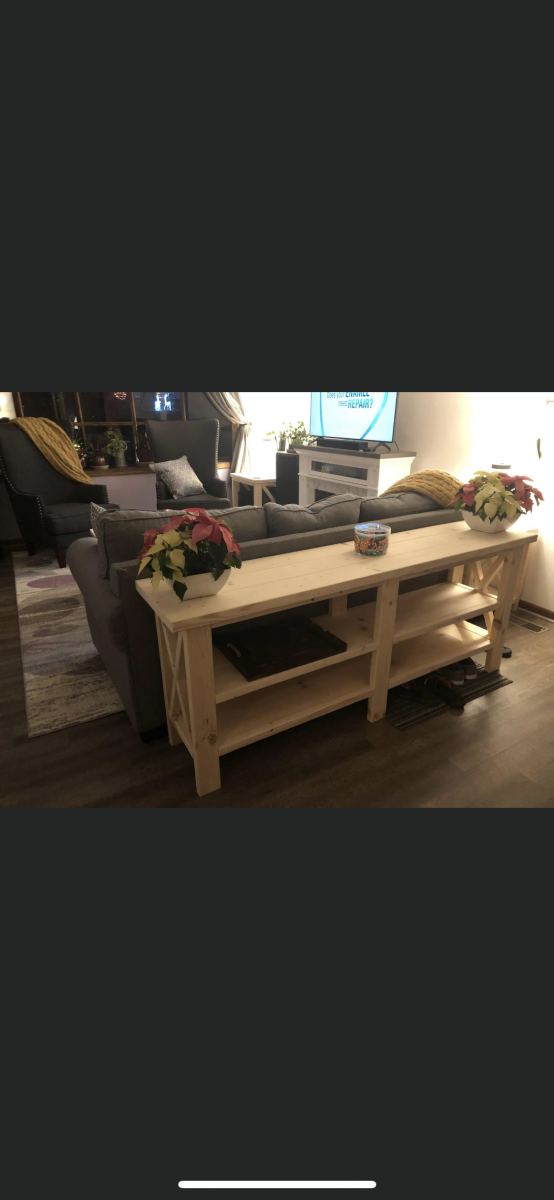
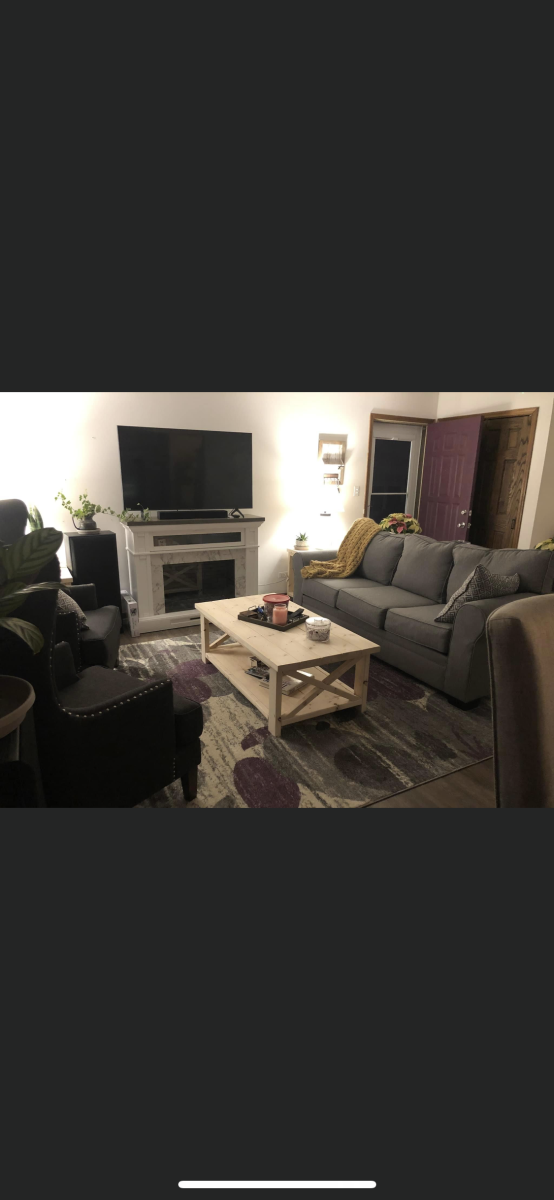
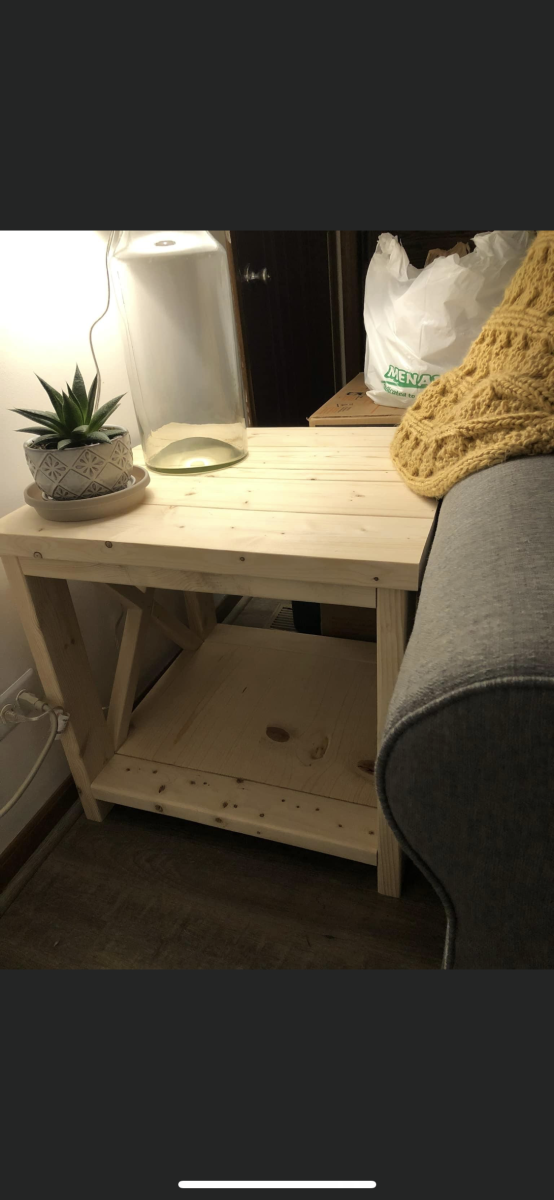
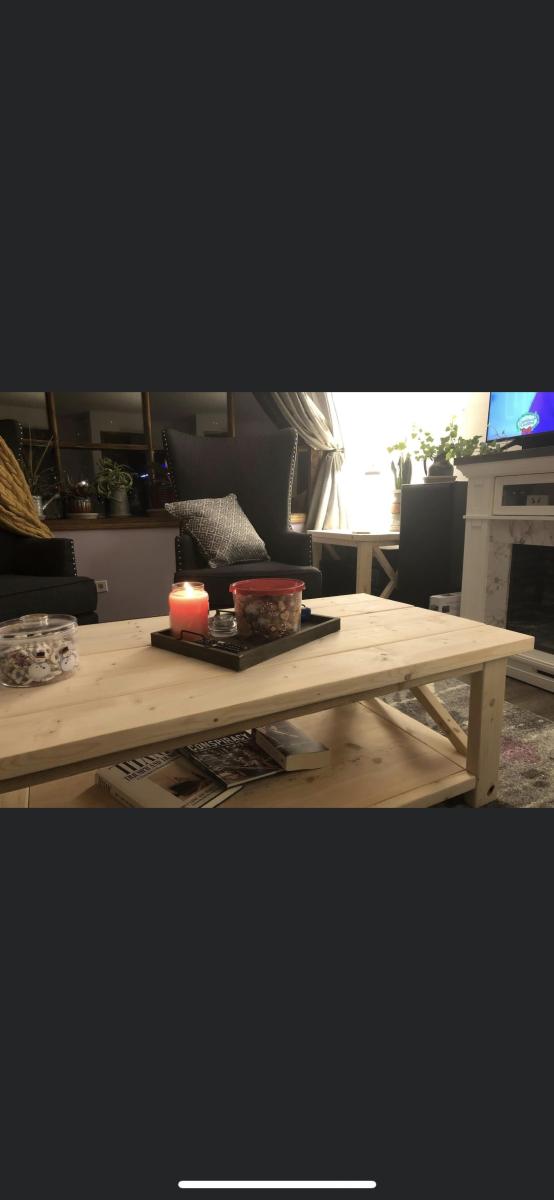
My wife and I moved in to our new home in July, fast forward to November and we still haven’t gotten our furniture due to the supply chain issues. With just over 2 weeks left before Thanksgiving we decided to host! Being a woodworker we decided I would build us furniture! Using plans from the rustic X collection I built 4 tables; 2 end tables, 1 coffee table, 1 console table. Slightly changing the plans for the end tables and raising the bottom shelf of the console table an extra 3 inches to be able to put shoes underneath. I also built a custom coffee bar I designed to ad to the collection. It’s really awesome and I’m super proud of it! It also has a hidden message to ad to its awesomeness! I hope you enjoy the coffee bar along with the rustic X collection! Thank you.
We have a little craft, woodworking business we just started called
jake n’ Jill’s woodshop
Facebook page under the same name, website is still being built.
(I did finish everything on time, bringing in the last table from the woodshop Thanksgiving morning, not sure what we want to do as far as paint or stain yet)

In reply to Love every piece! by Ana White Admin
Thu, 12/30/2021 - 08:14
Thank you so much! I really appreciate it! I love all your work and your plans are amazing and easy to follow. I love it!
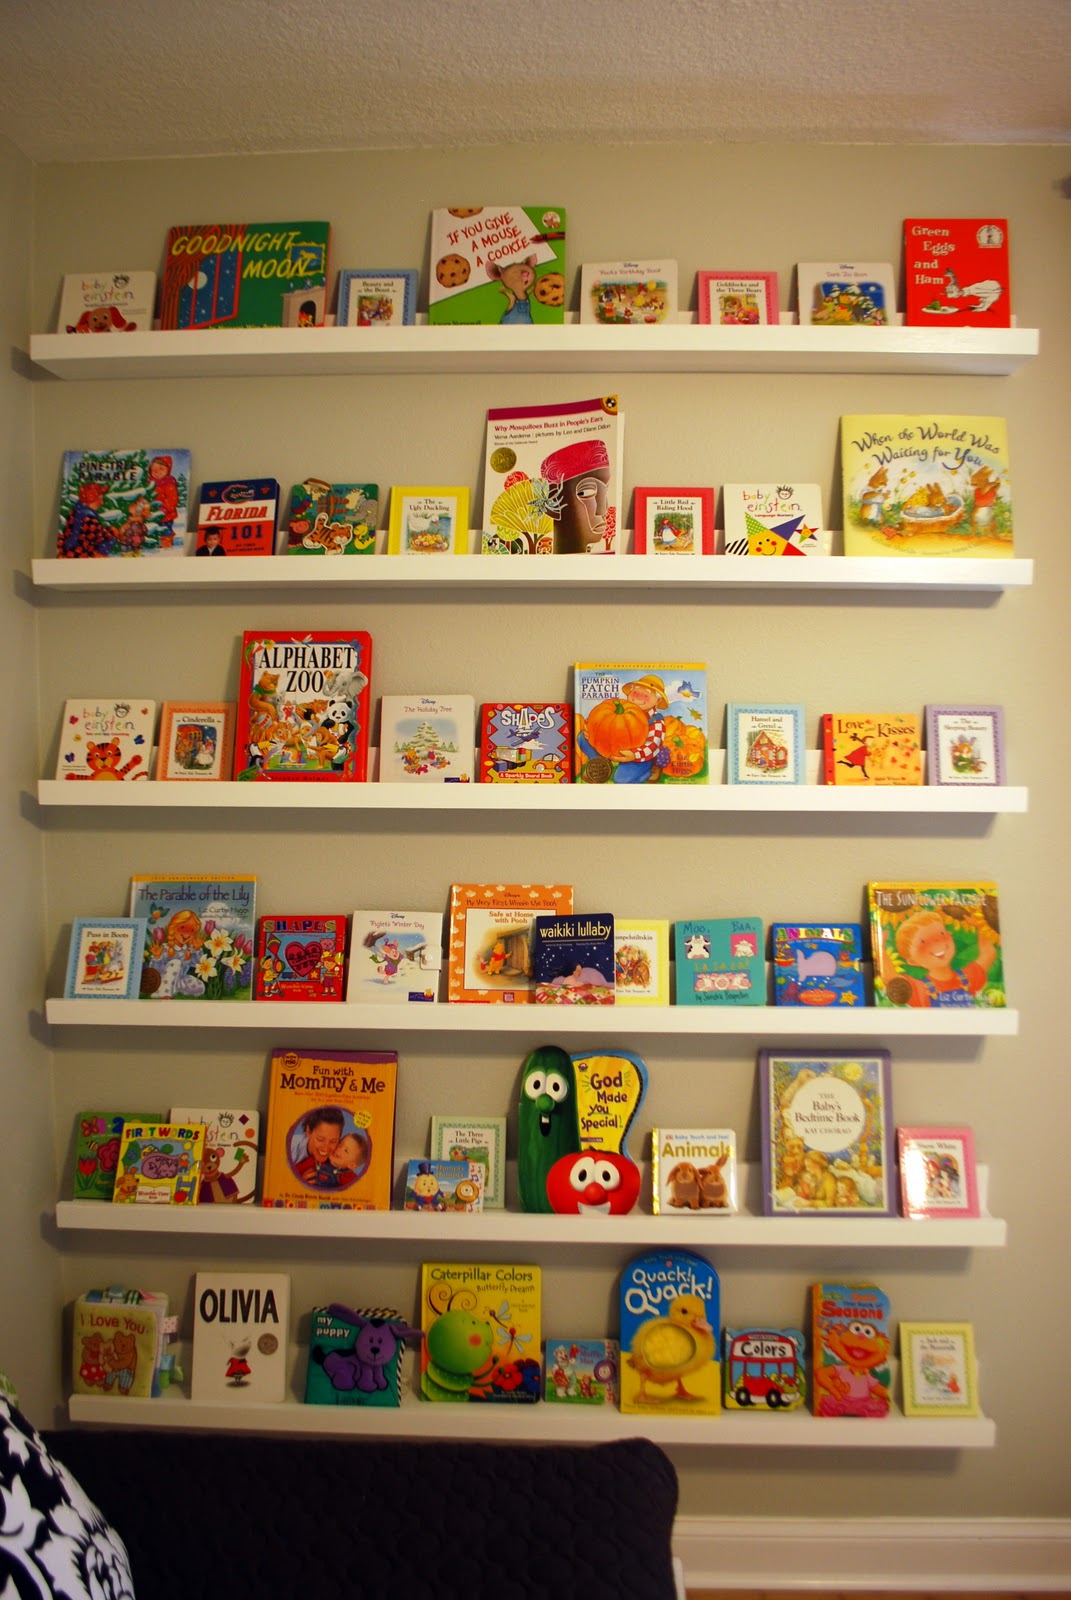
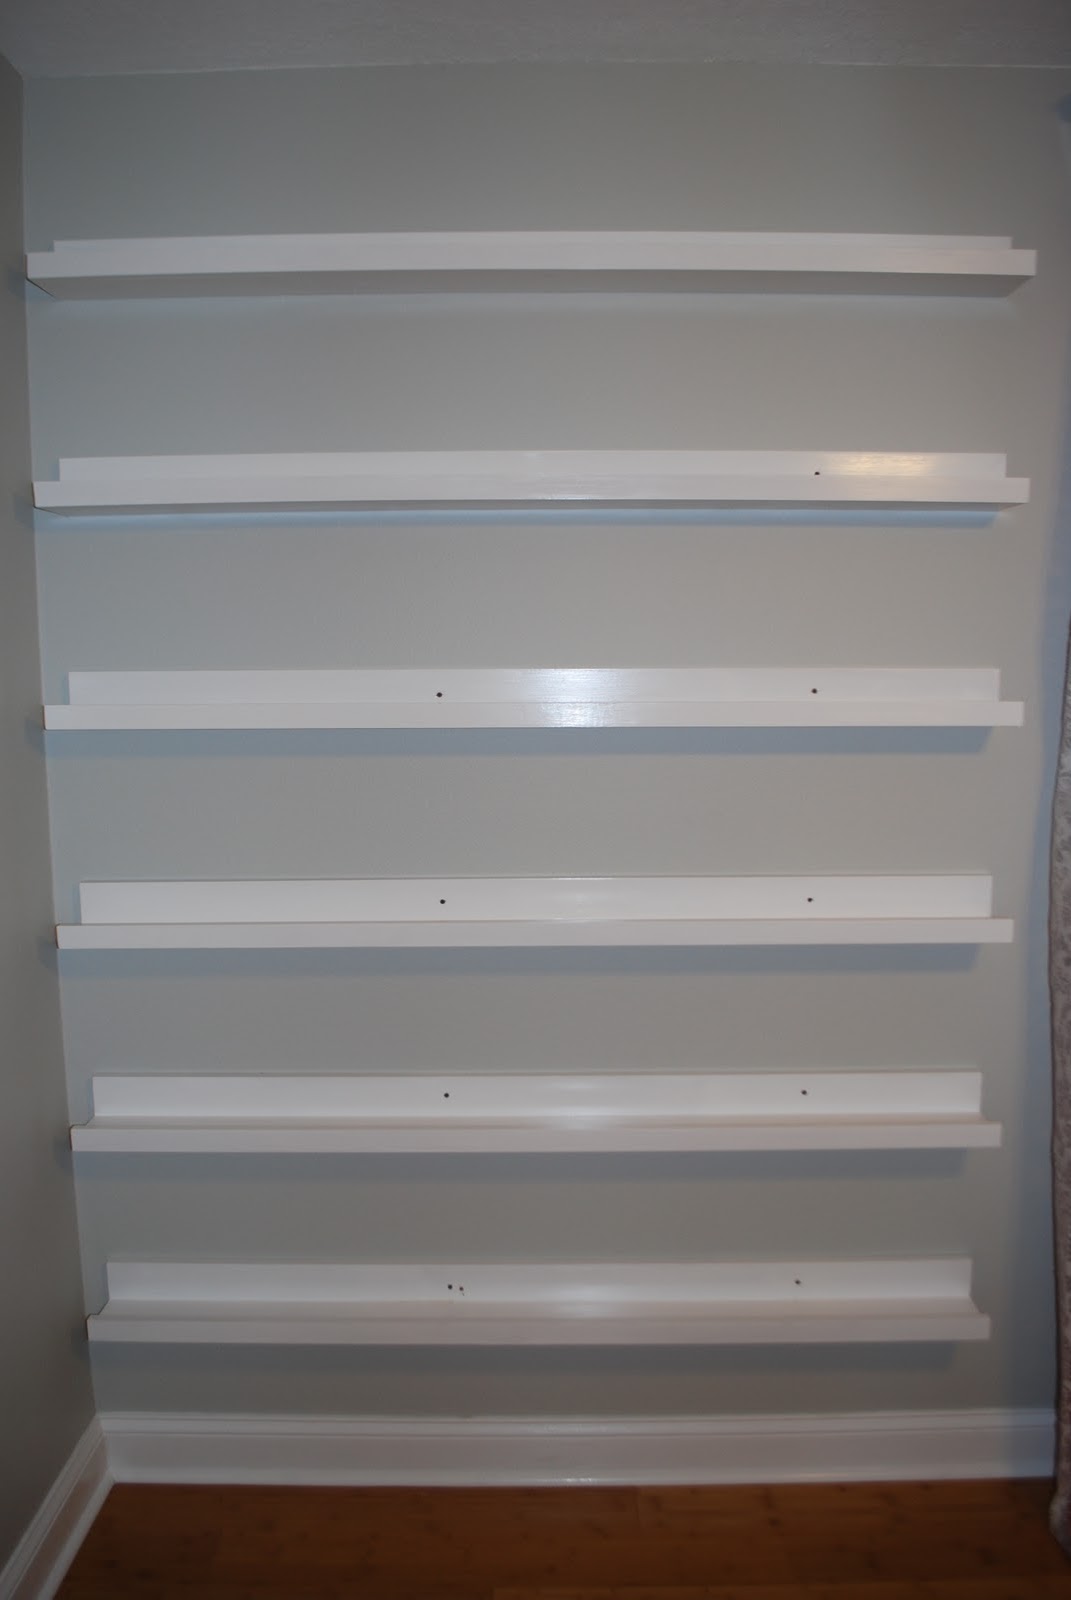
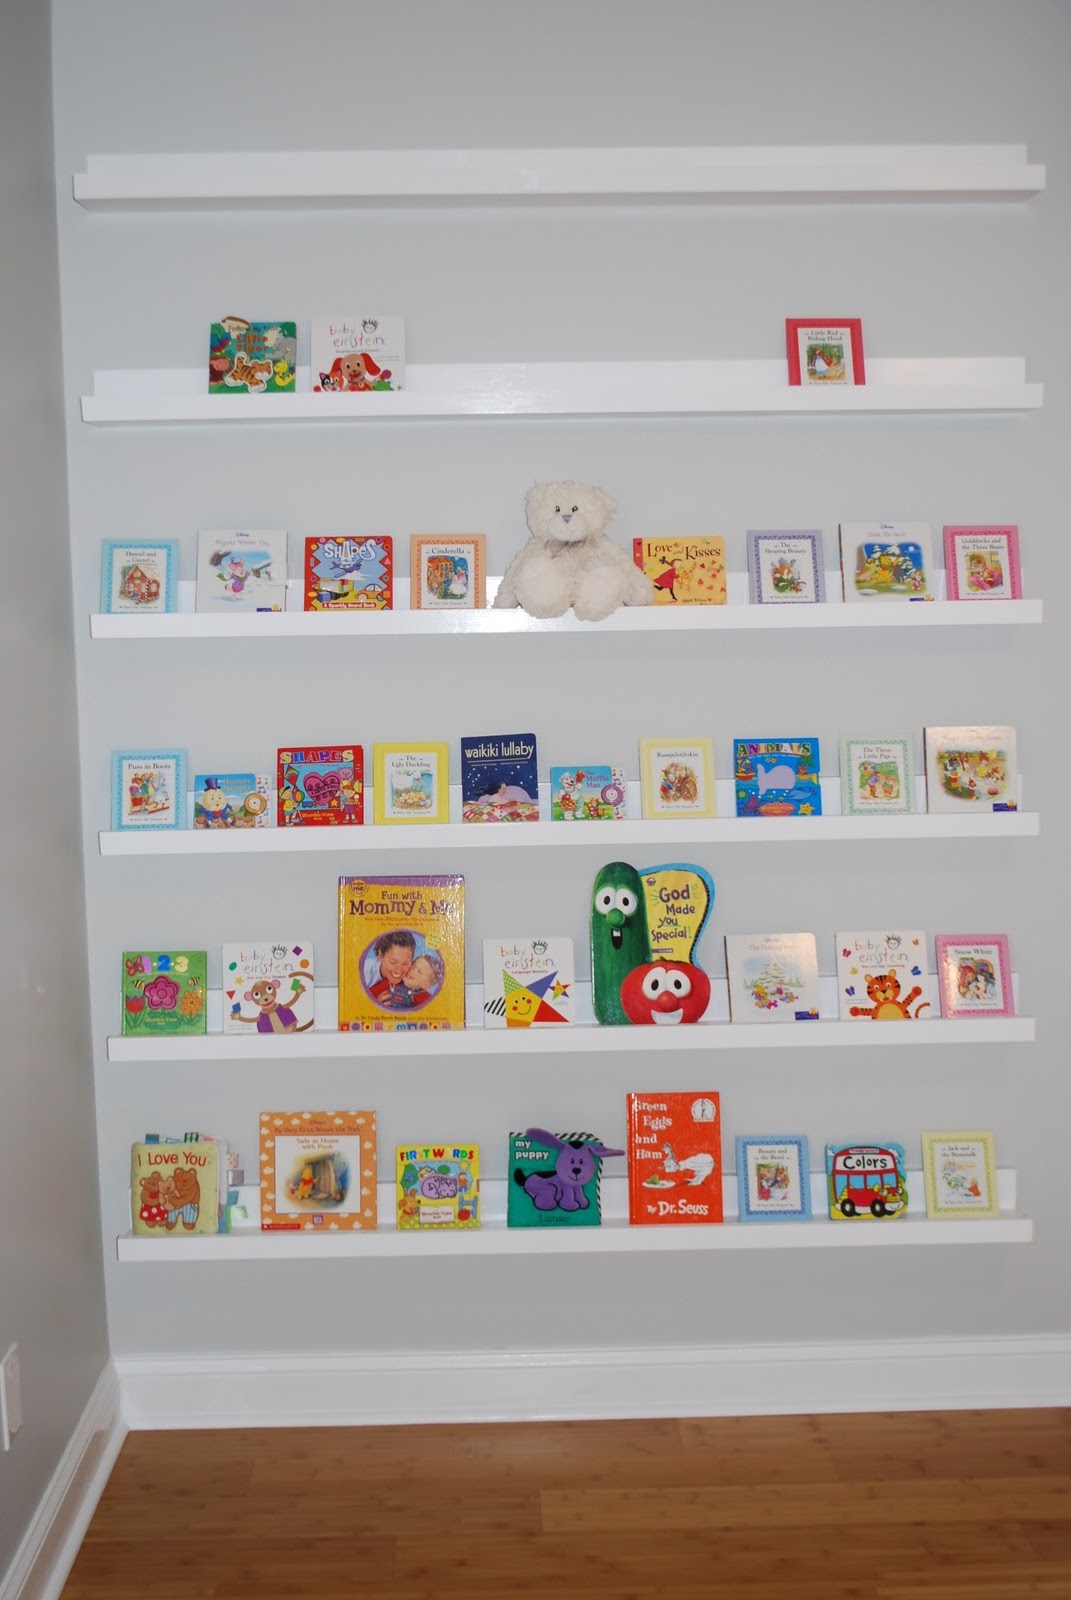
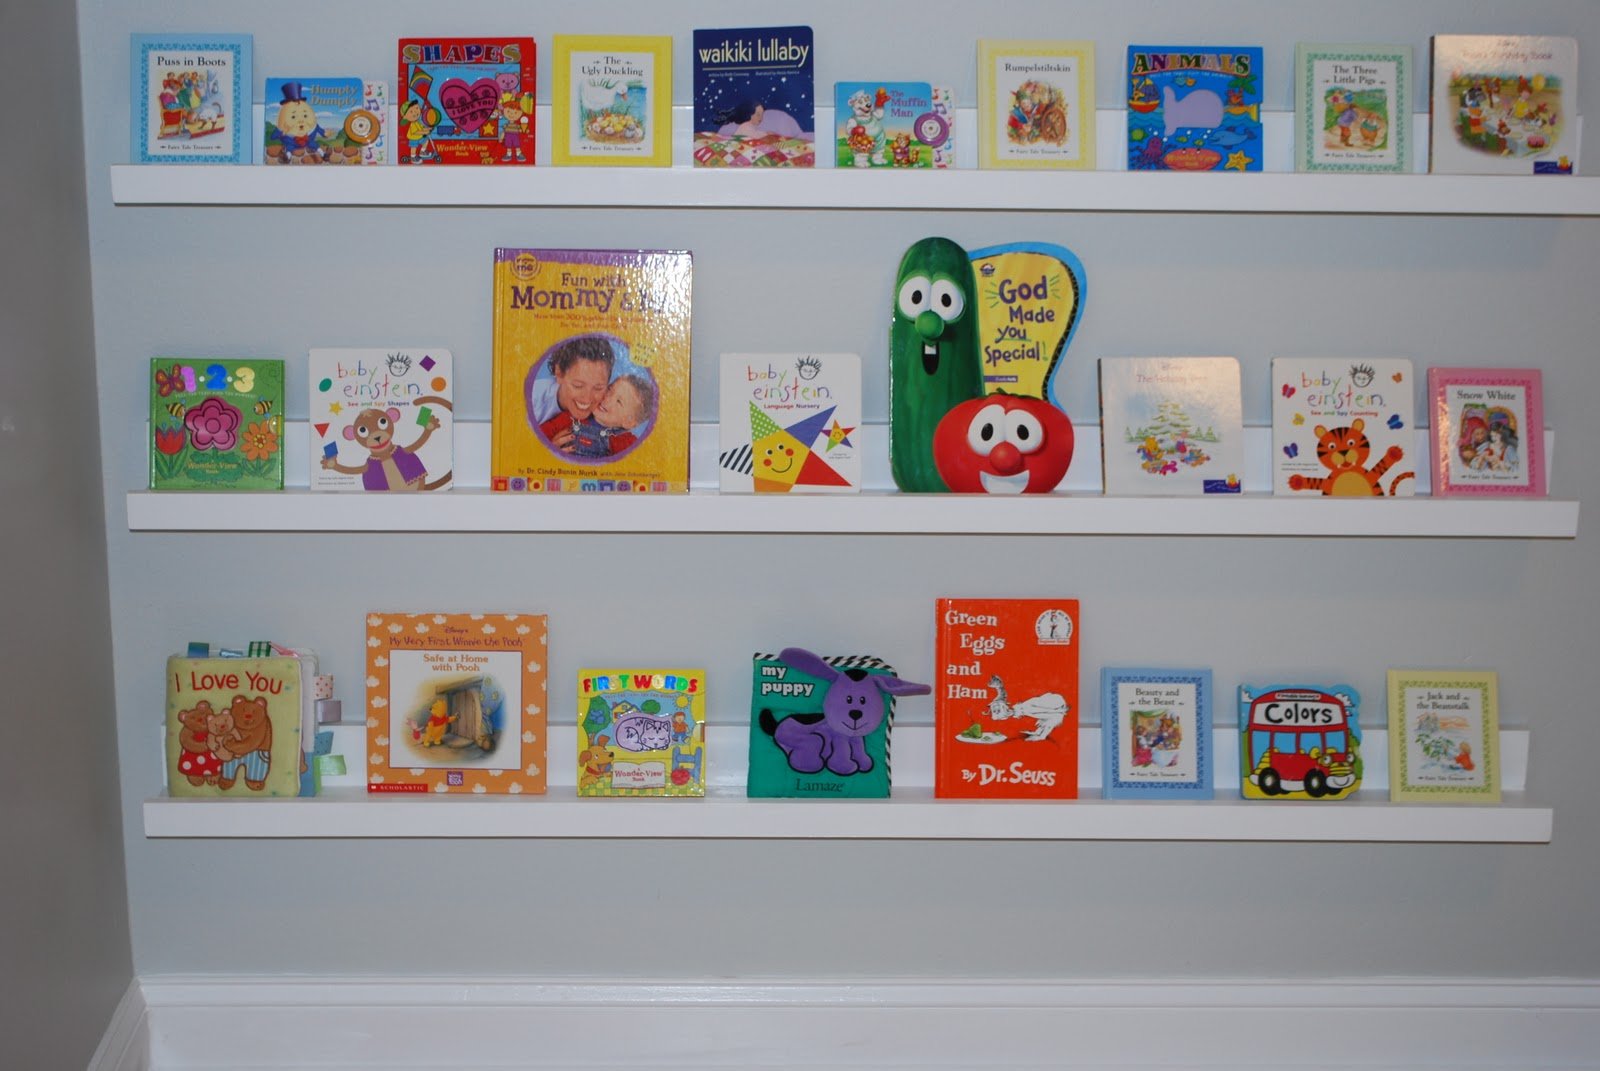
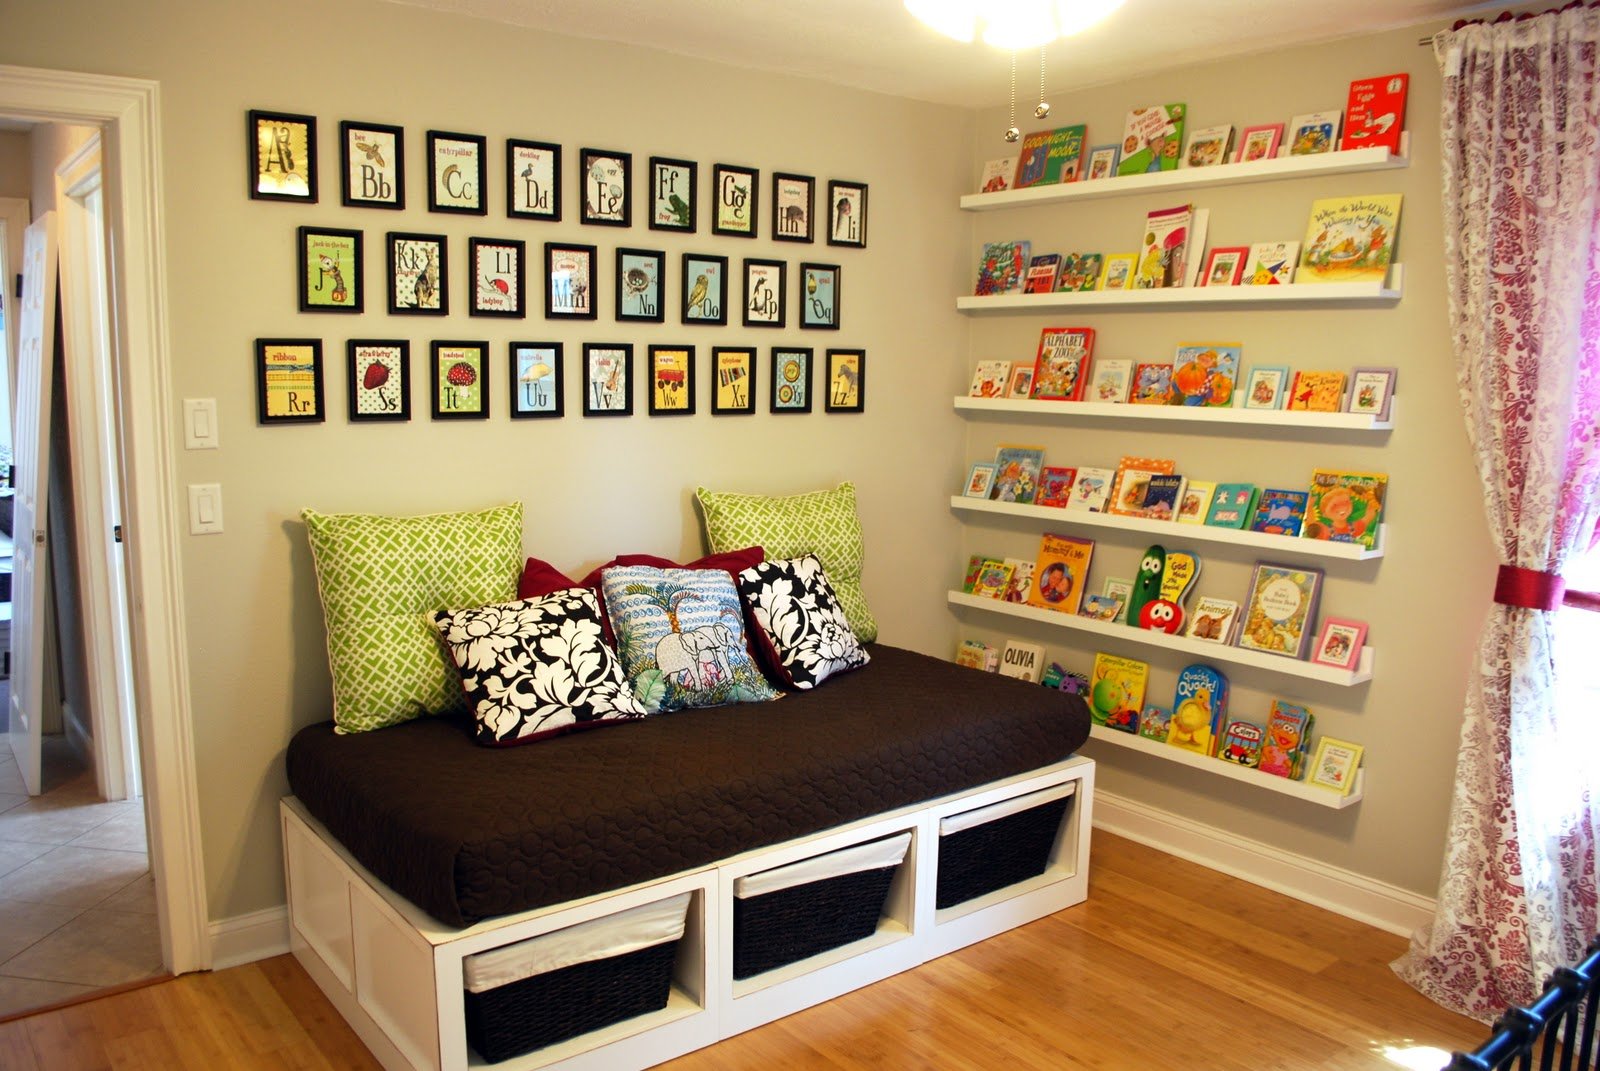
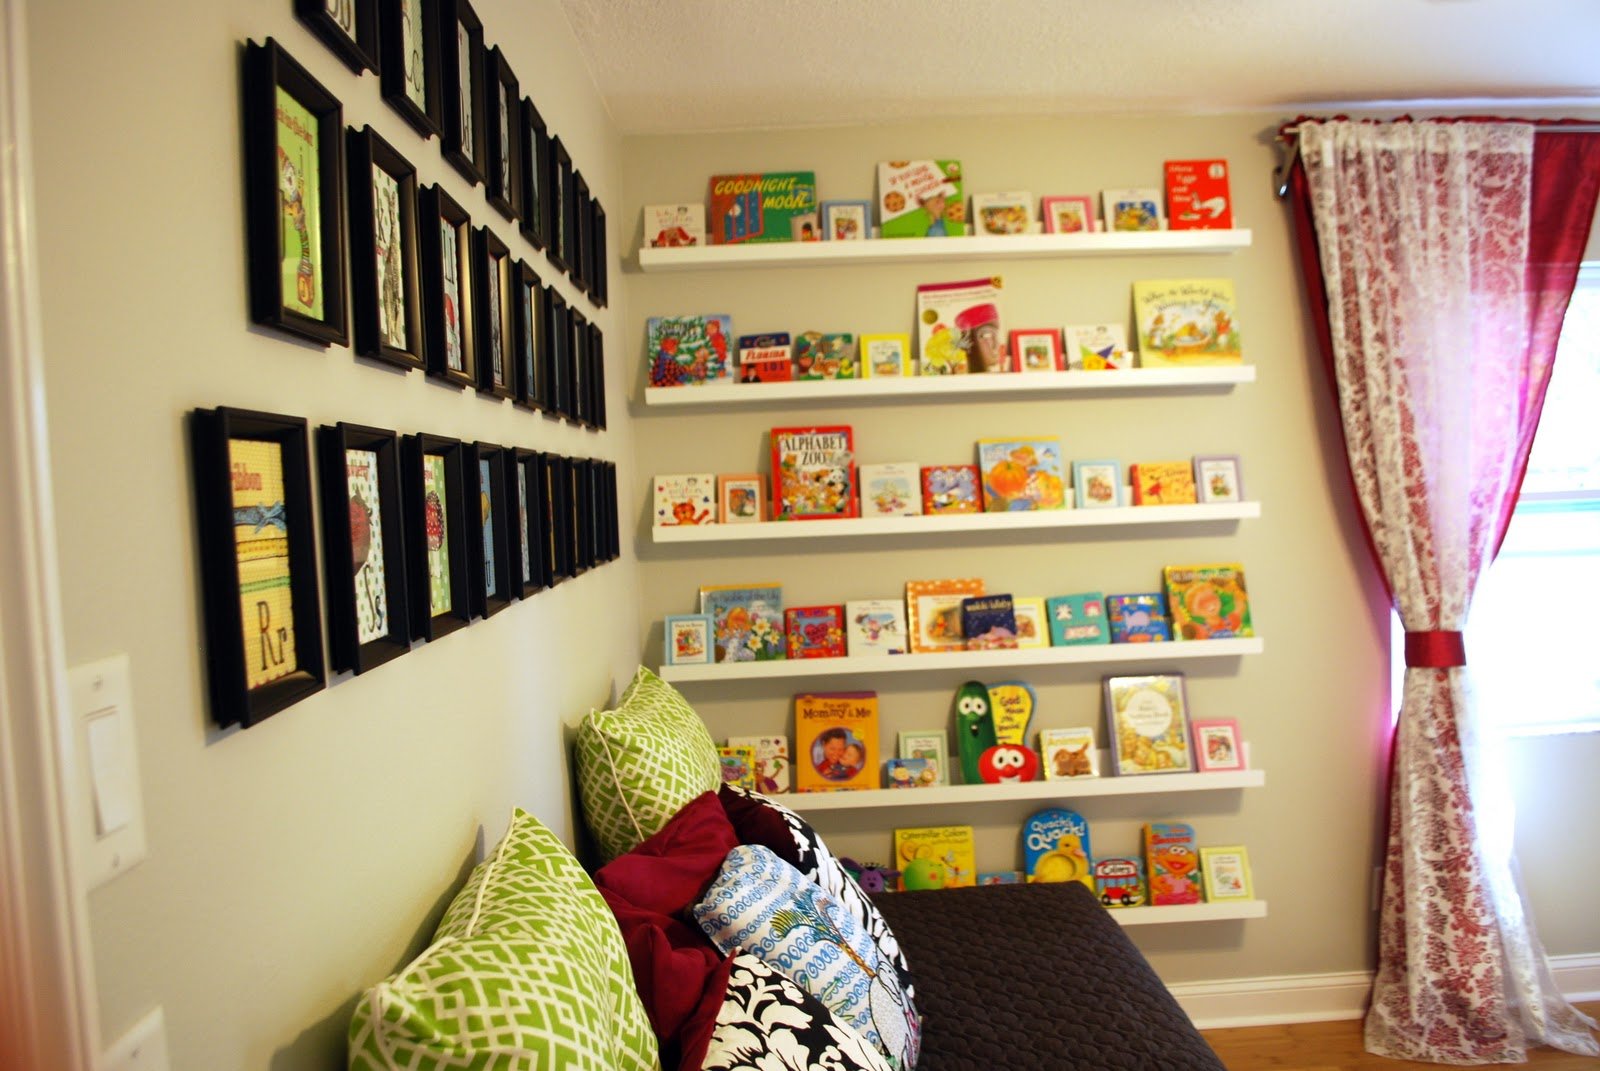
I built these bookshelves with the help of my husband for our daughter's nursery. They were so simple to build, the finishing work is what took the most amount of time. They're very sturdy, and we get tons and tons of compliments on the 'feel' that they add to the nursery!
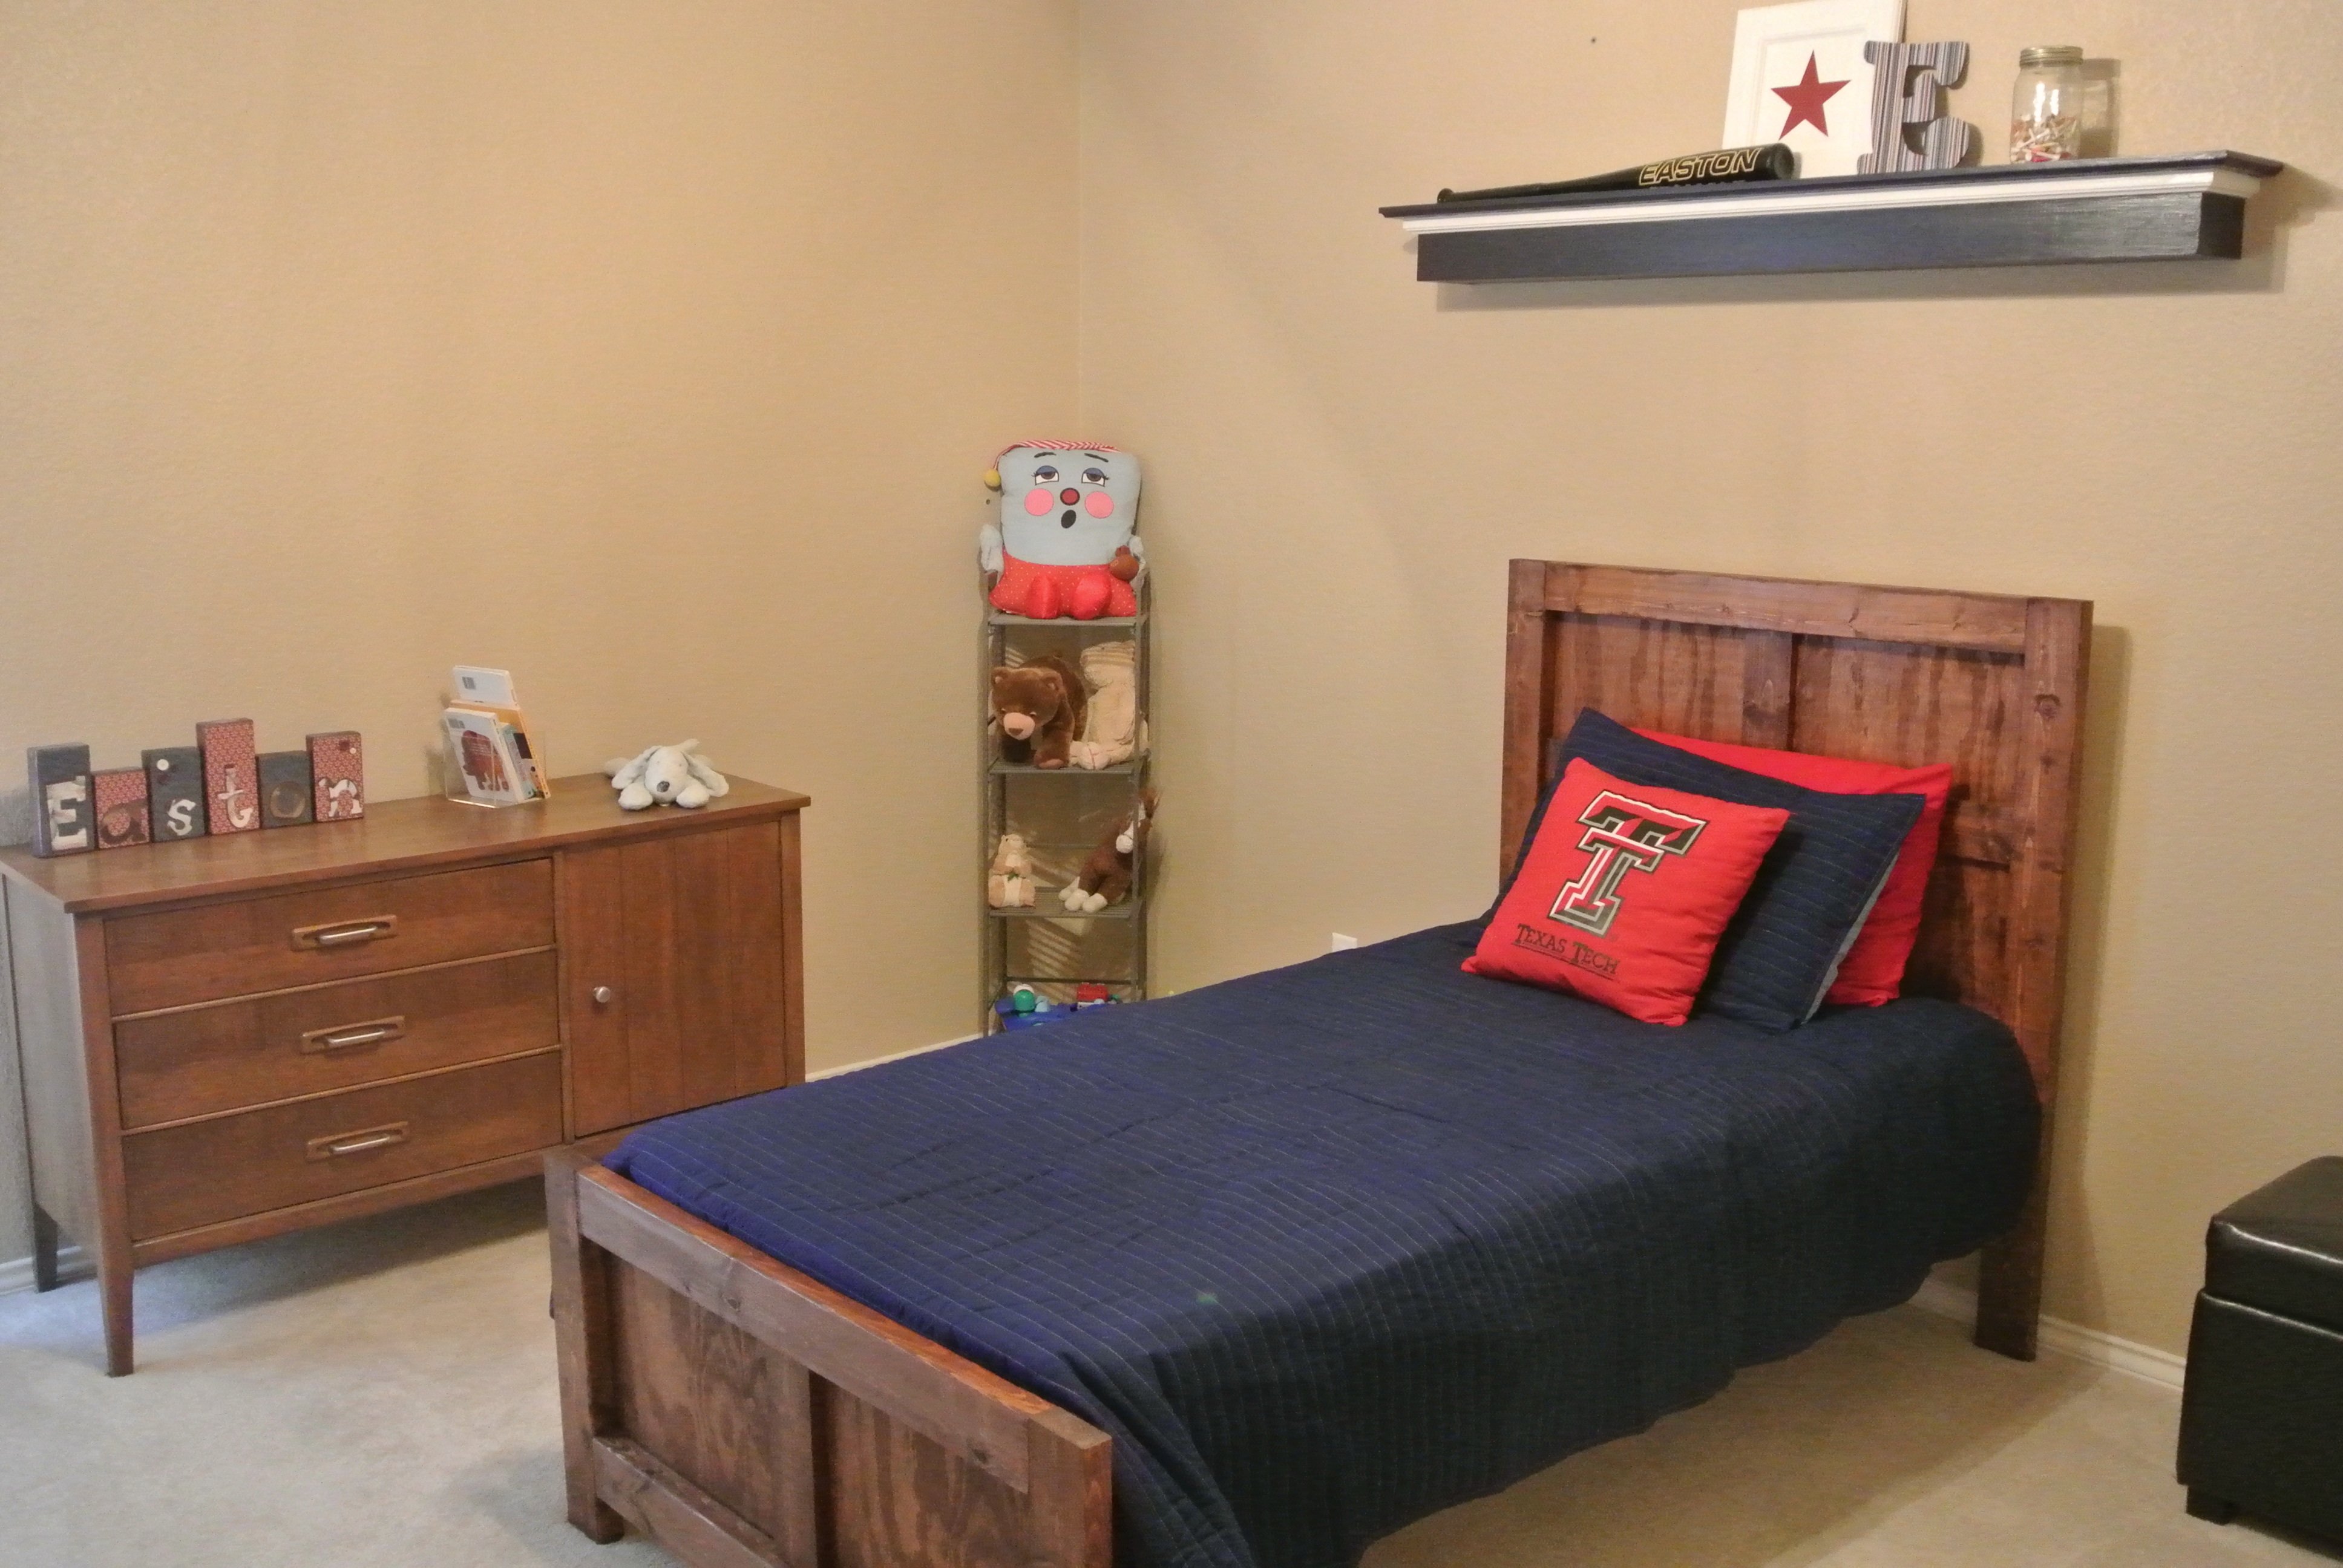
I couldn't believe how much twin beds cost in stores and couldn't find anything I liked for my son under $350. I have already made a few other things from Ana White, so I was excited to see this "knock-off!" I followed the plans exactly and didn't want his bed to be too high, so there is so box spring.
I have recently discovered how much fun it is to make things, so I couldn't wait to build my son his "big boy bed!" He loves it! He's happy so this momma's happy, too!

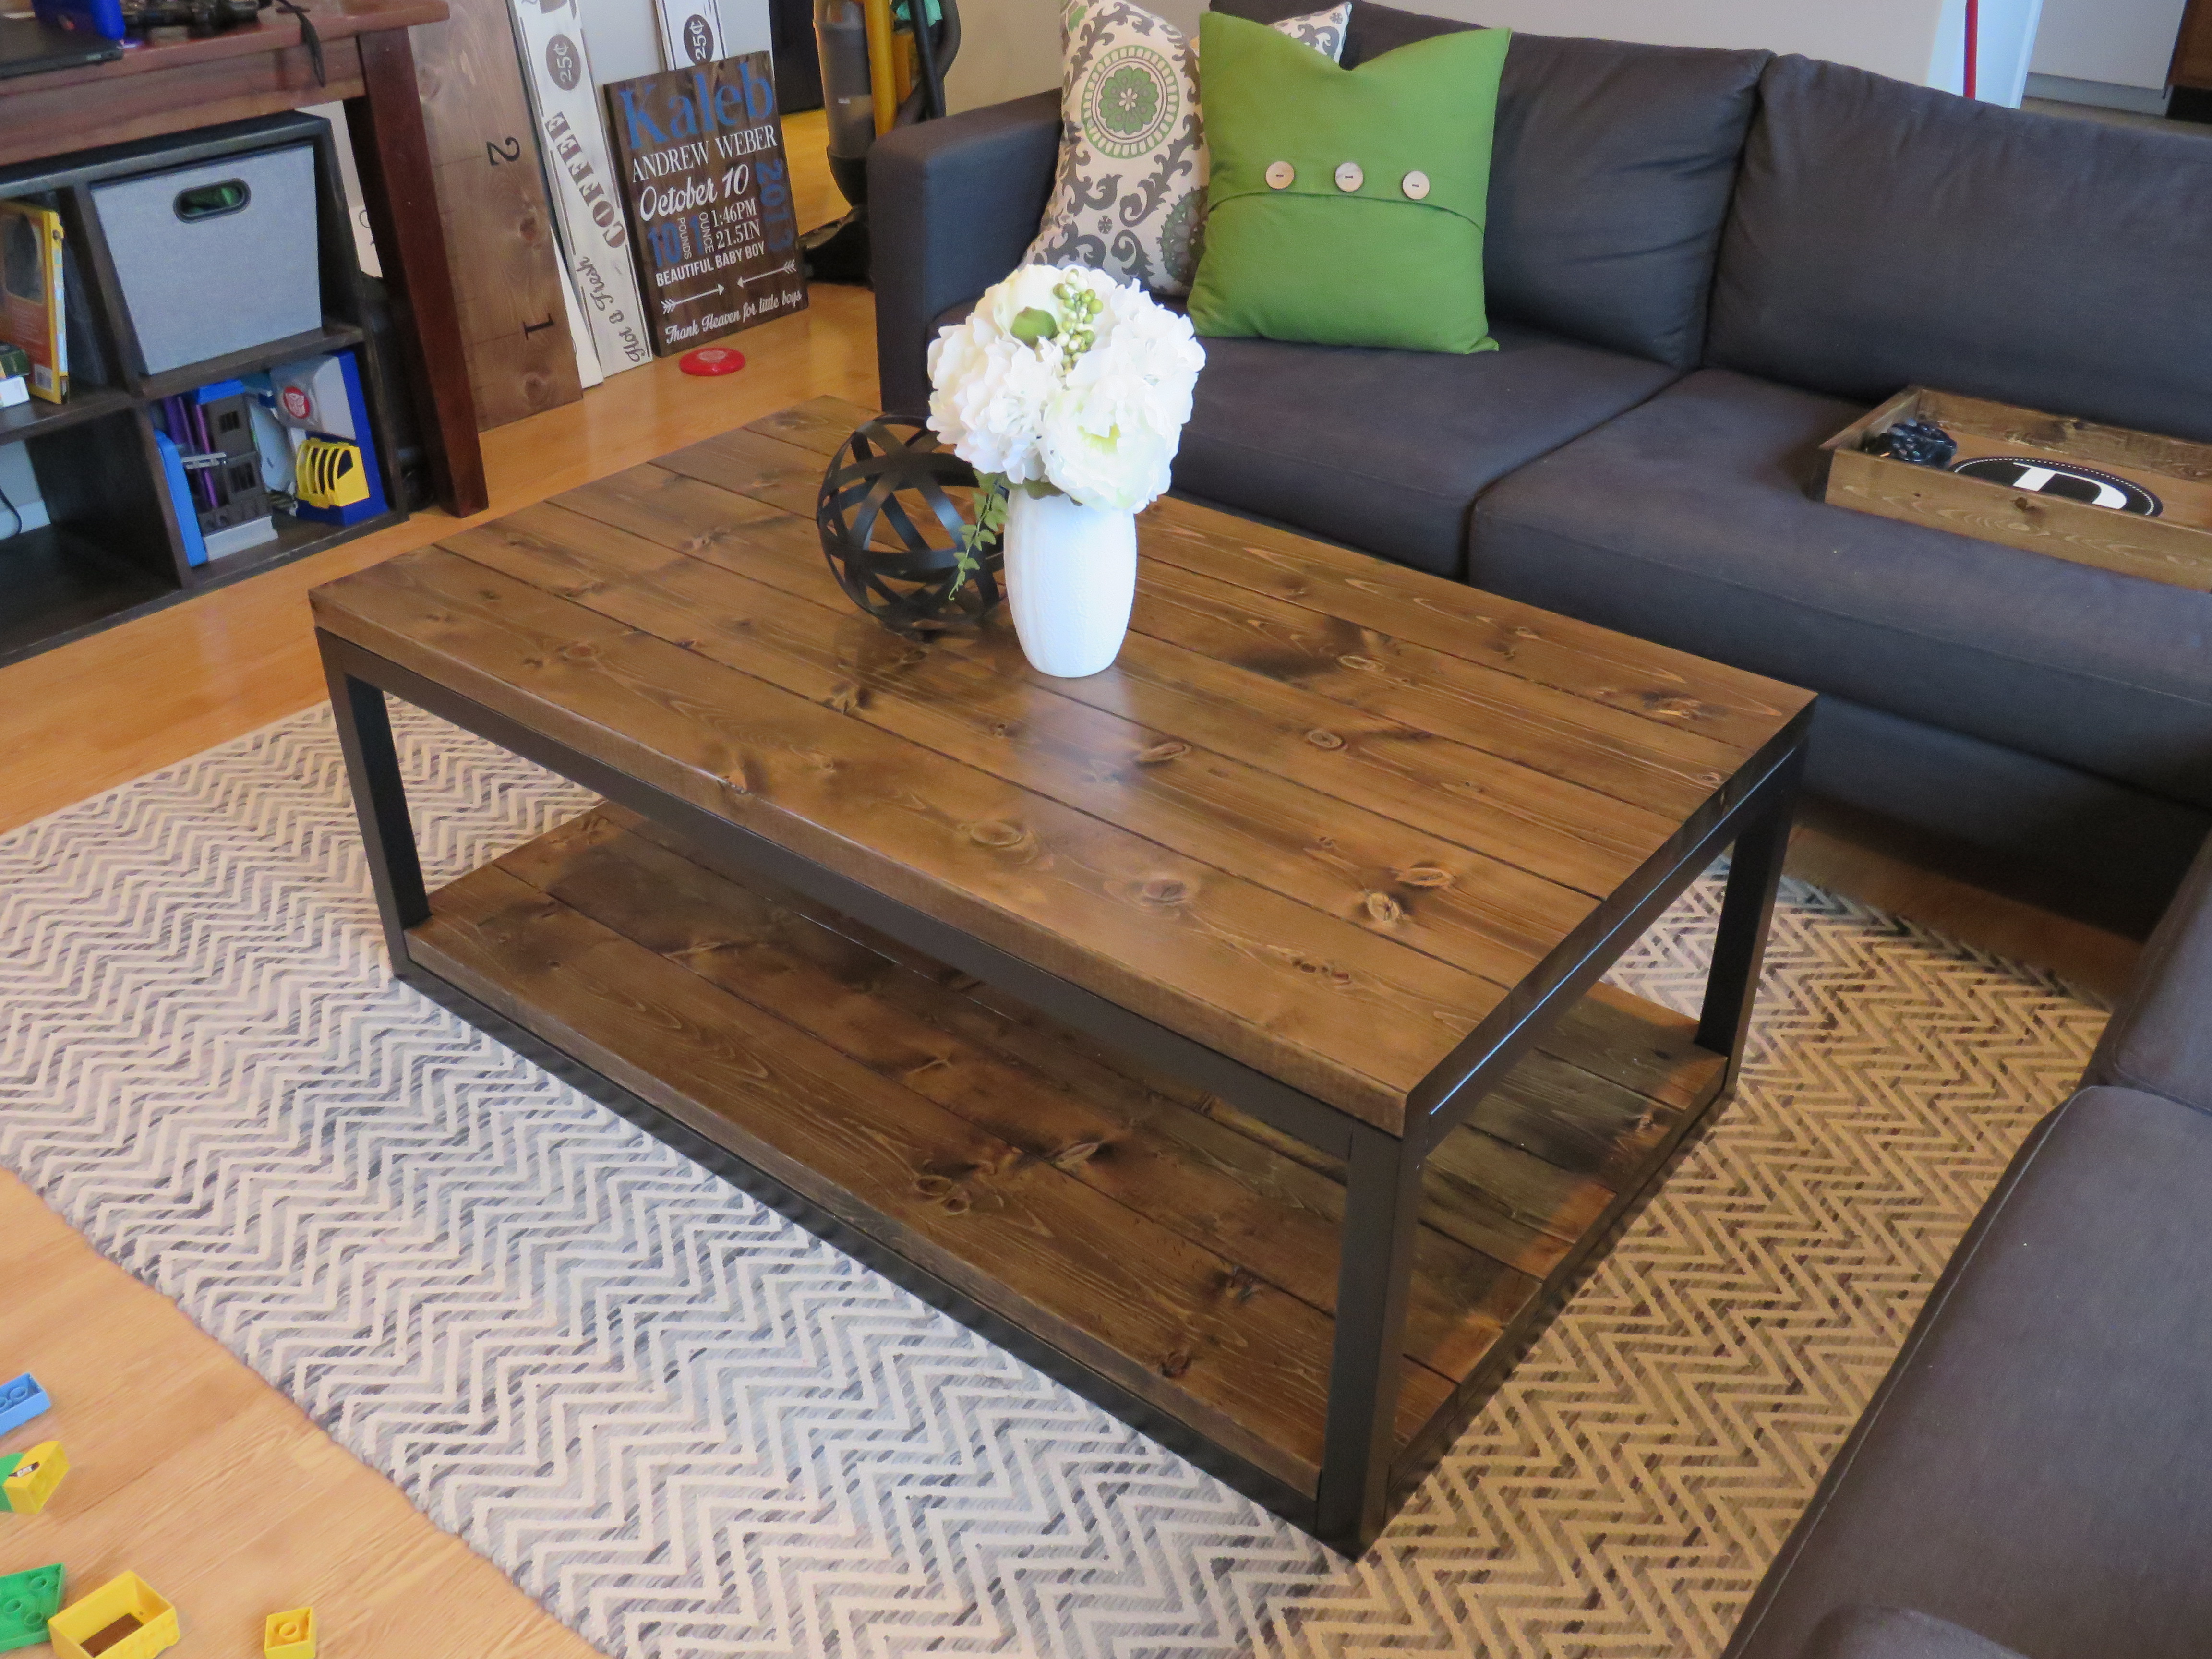
Built this industrial coffee table without plans
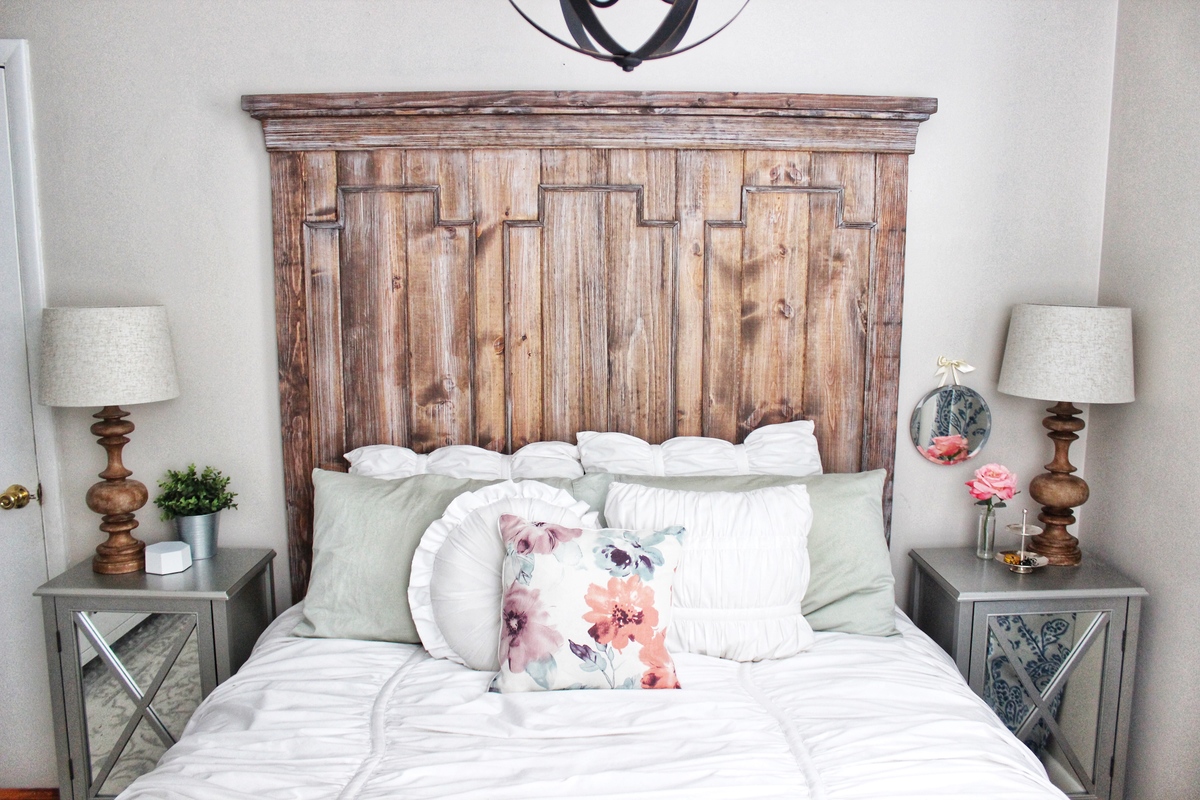
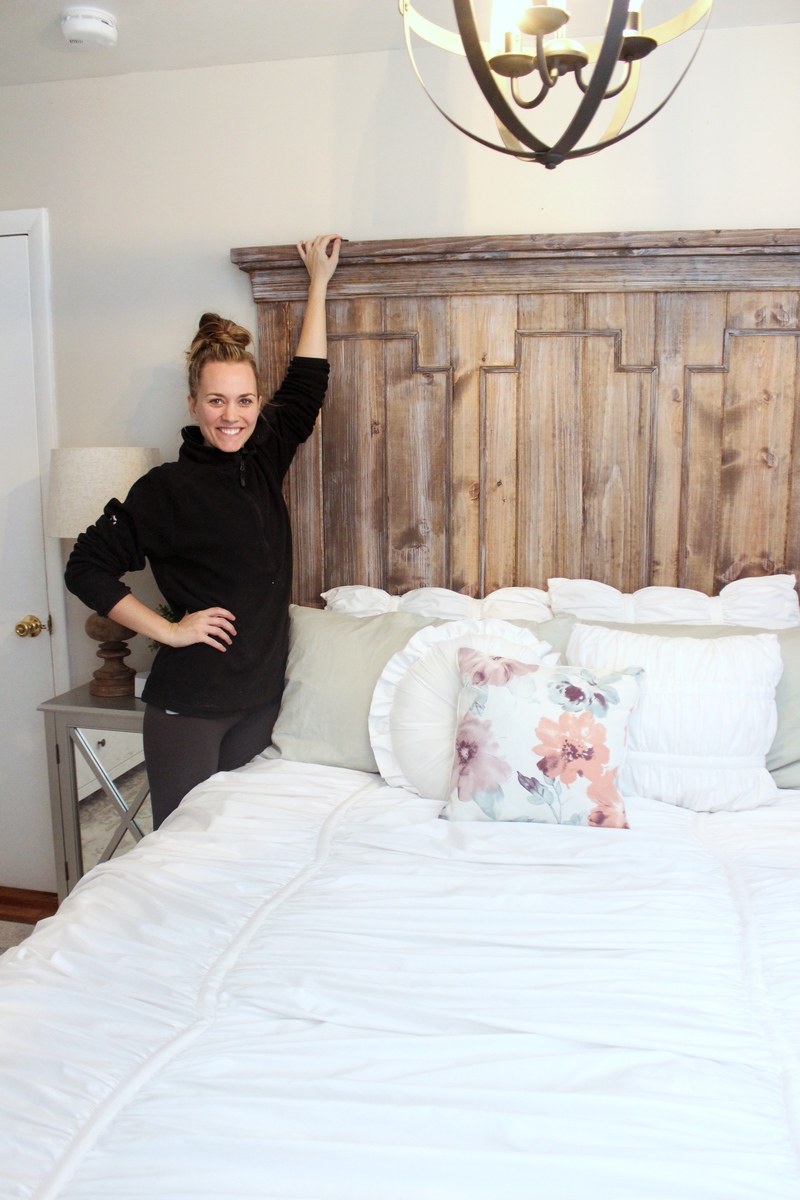
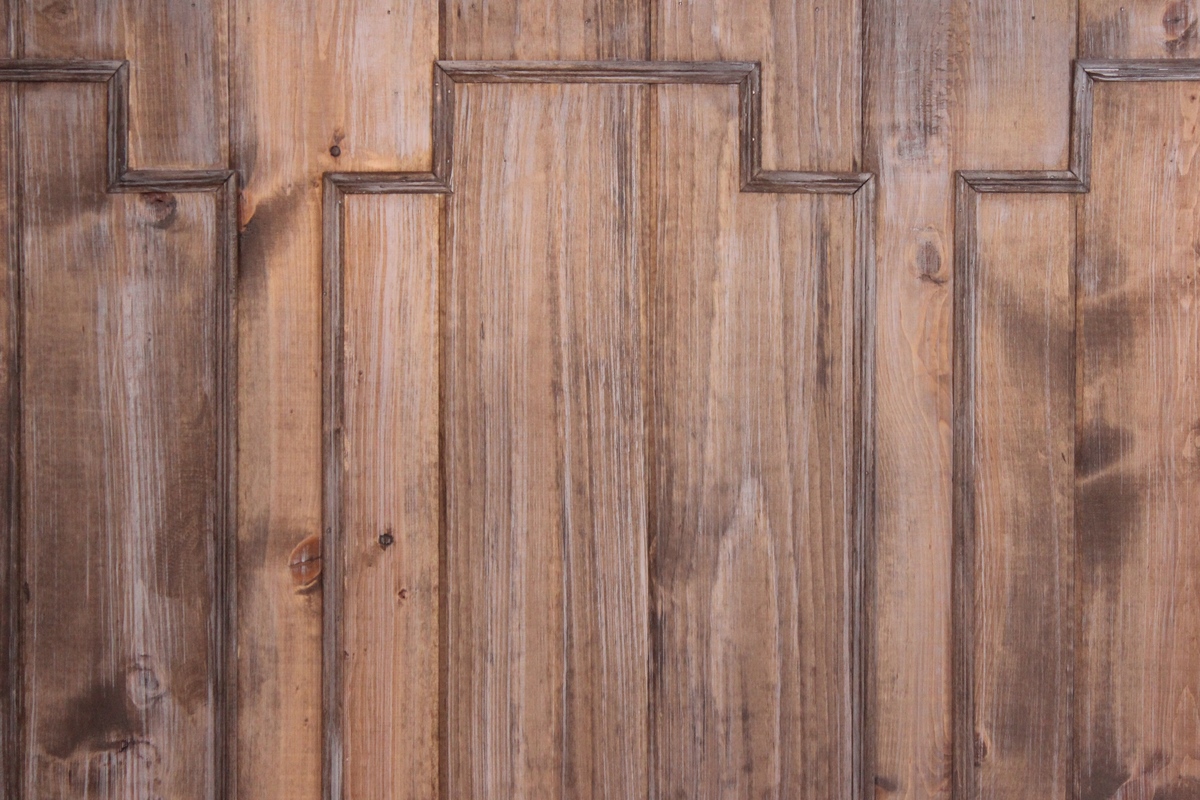
I fell in love with a headboard I found on Houzz that was priced over $1,500. I knew I wanted to build it myself but I had never built a headboard to this scale before. Several headboards from Ana's site helped give me direction and this is what I ended up with. My husband and I build furniture for a living, so we had plenty of lumber around to put most of the body together, but we don't often work with trim in such fine detail, so that added significantly to the cost (and time) invested. If I had to guess though, the headboard as we built it was probably around $125.

The plans were easy to follow. The family loves it! The top is made of 70+ year old rough cut oak.
While out shopping with my 4 year old son we came across a picnic table that he absolutely adored. I had wanted to purchase a kids picnic table last summer but never got around to it. After checking out the price tag on this little gem I decided I would check out Ana White’s collection of plans before I spent $80!!! I made a few alterations in size and added extra support for those changes, but even with the added lumber I got it ½ off the $80 store price!!


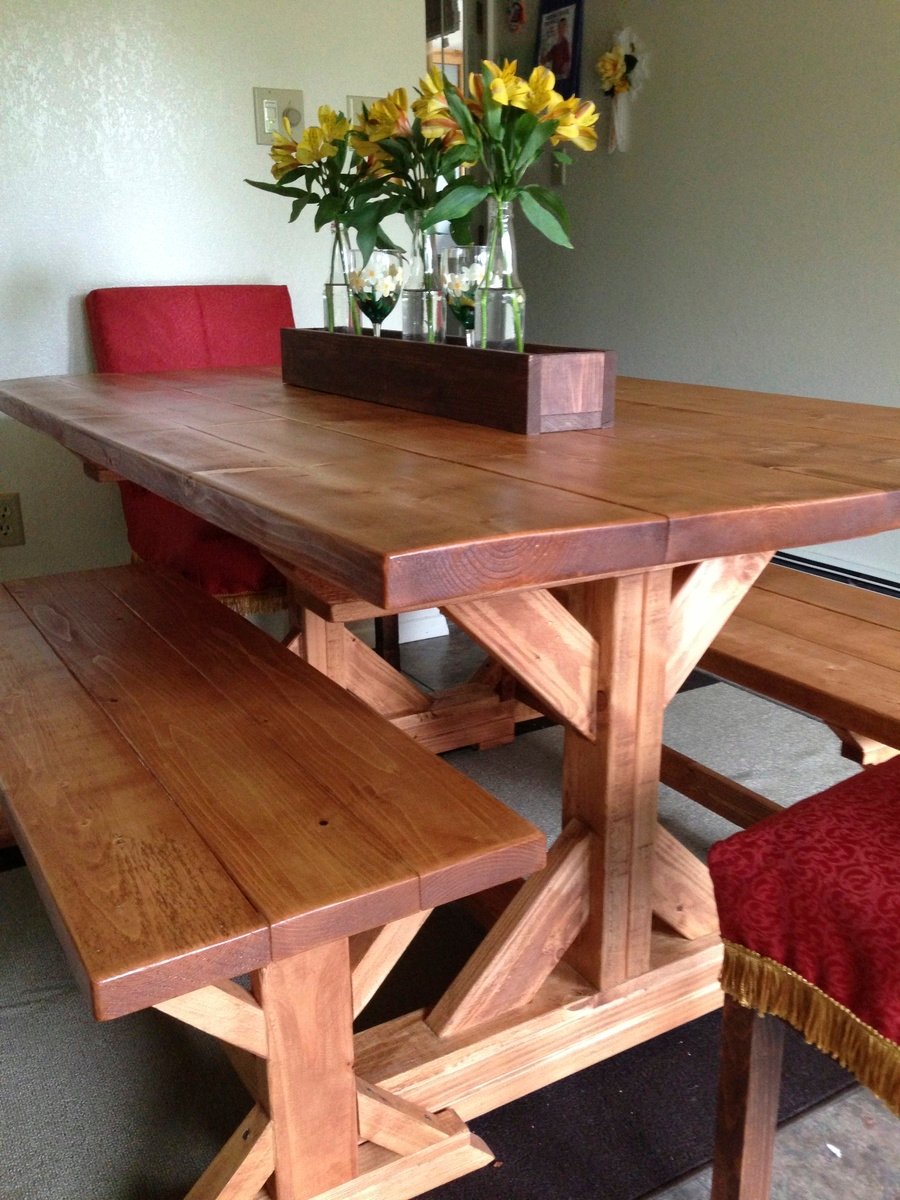
I was inspired to build this table after taking Ana's Adirondack Chair Class at Home Depot. Living in Fairbanks, AK means that the pickings are slim and pricy for quality furniture.
I shortened the table length to 5' to fit my space and made the benches 4' long and lined the legs up so they would fit comfortably under the table. I also made the chairs based on Ana's Parsons chair pattern.
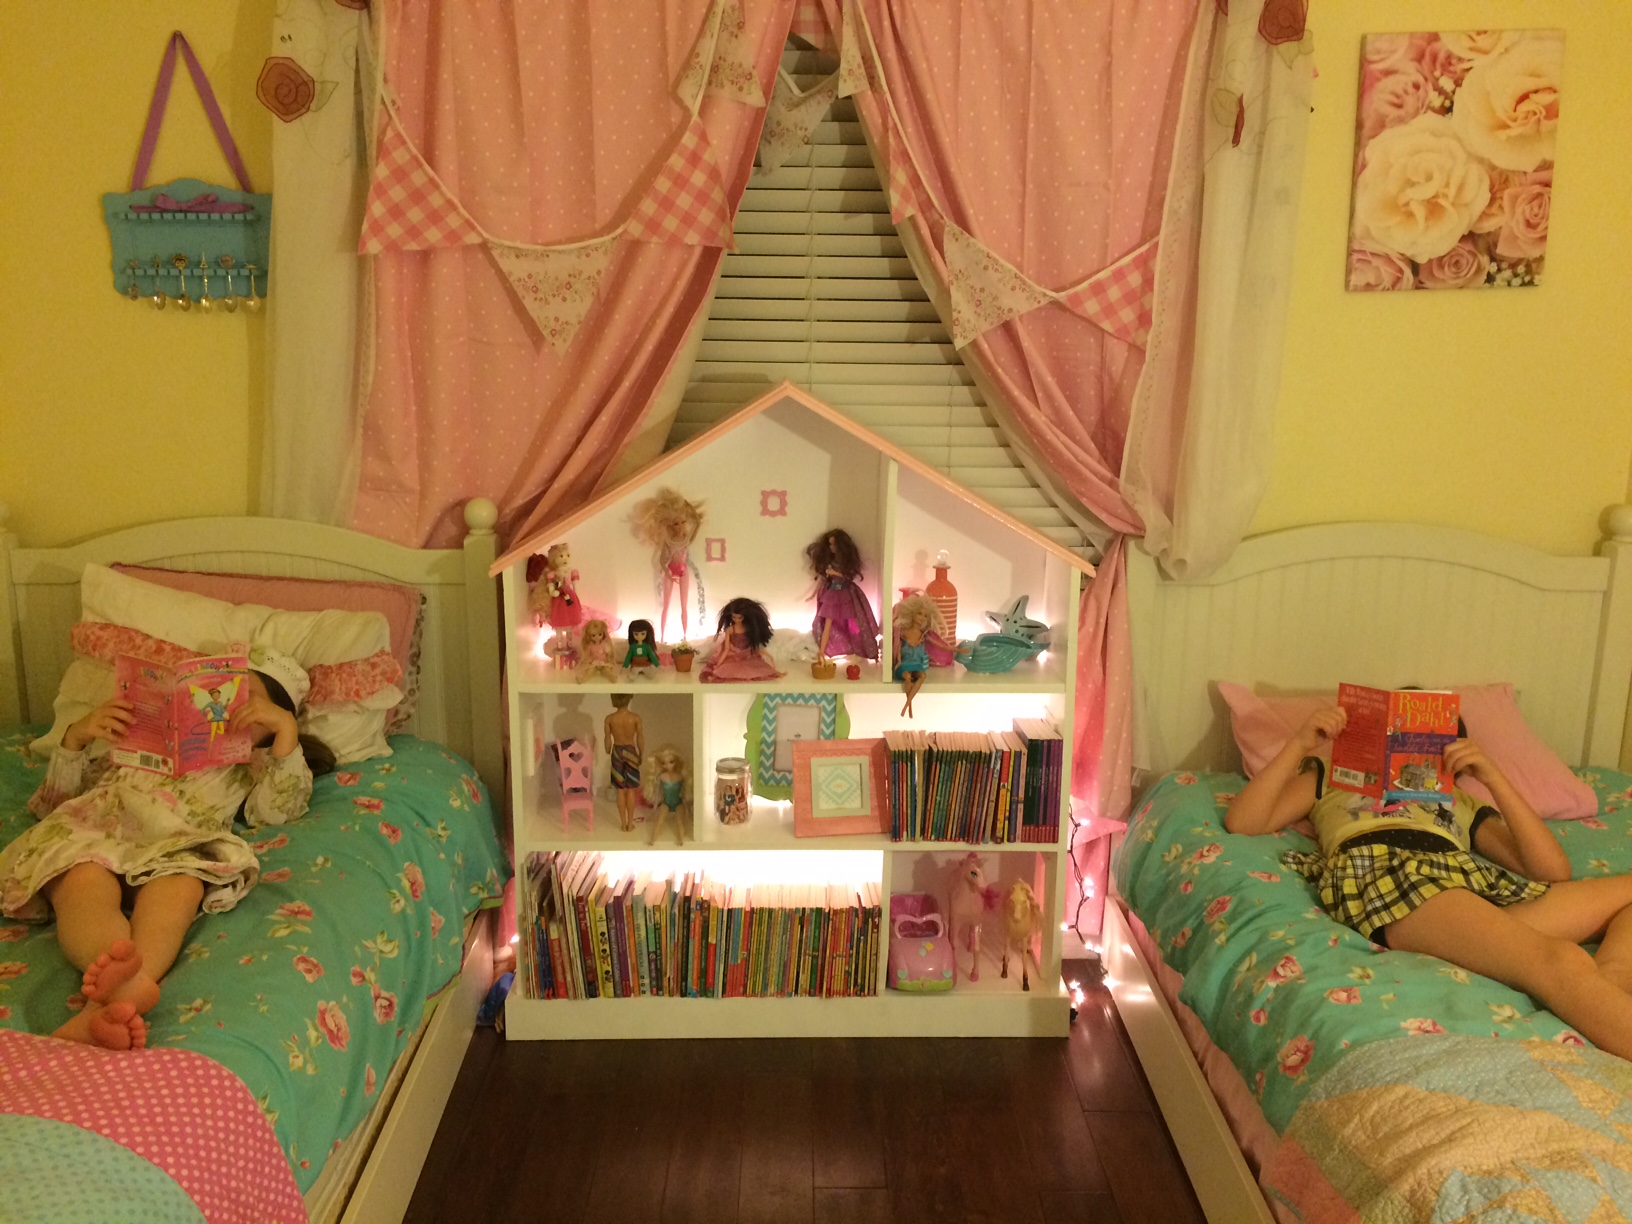
This sweet bookshelf was the perfect summer project. Our girls loved painting it and have already spent hours playing with it. We used High Gloss paint.
Here is a link for a video where you can see the kids painting it and how it looks in their room. https://www.youtube.com/watch?v=3tYXcWxQJ_U

This is the second set of Narrow Cottage End Tables that I have built. Like the first pair I built end a secondary shelf where the drawer would normally ride. This time the secondary shelf is flush with the surrounding support. I used as muched reclaimed wood as possible so instead of solid 1x material I glued up batten panels using pallet slats. I let them run 'wild' on the backside; this will cause some fitment issues when mounting the drawer hardware. Installing a thin cleat along the inside allowed for flush mounting the hardware. The rope handle is 3/8 natural giving the pieces a 'nautical' feel. I drilled the through holes 2/32 smaller in diameter then the rope diameter, or in other words the through holes are 5/16 as opposed of 3/8 of an inch. Make sure to thread the rope from inside the drawer out then back in. I used constrictor knots on the inside to secure the rope ends as well as providing a 'pull' for the handle.
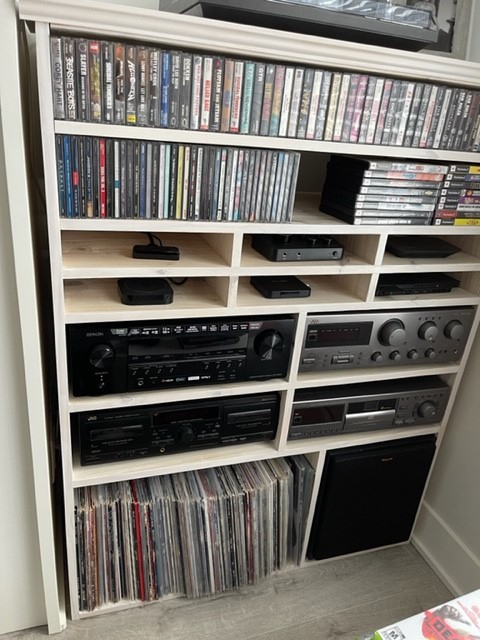
I have a bunch of those streaming boxes, Apple Tv, Roku, a game console and from what I can tell, there is no entertainment console out there that accommodates them very well, so I made my own. I also have a bunch of retro cassettes and CD's that I wanted to display (the cassettes more for nostalgic reasons) and of course vinyl! so I made this very unique console to accommodate everything. The streaming boxes, karaoke, wifi box, game console all get there own little boxes which keeps them all able to connect easily the remotes and all the wires stay hidden in the back. I also put some light strips on it for some additional night time fun! I made this out of a material called Whitewood, which I've found here at Home Depot in Canada. Its really really cost effective and the boards are easy to work with and are nice and straight! Thank you Ana for giving me the confidence to design my own unique project!


Fri, 01/07/2022 - 12:35
That's awesome, way to go, this is where custom DIY comes in!
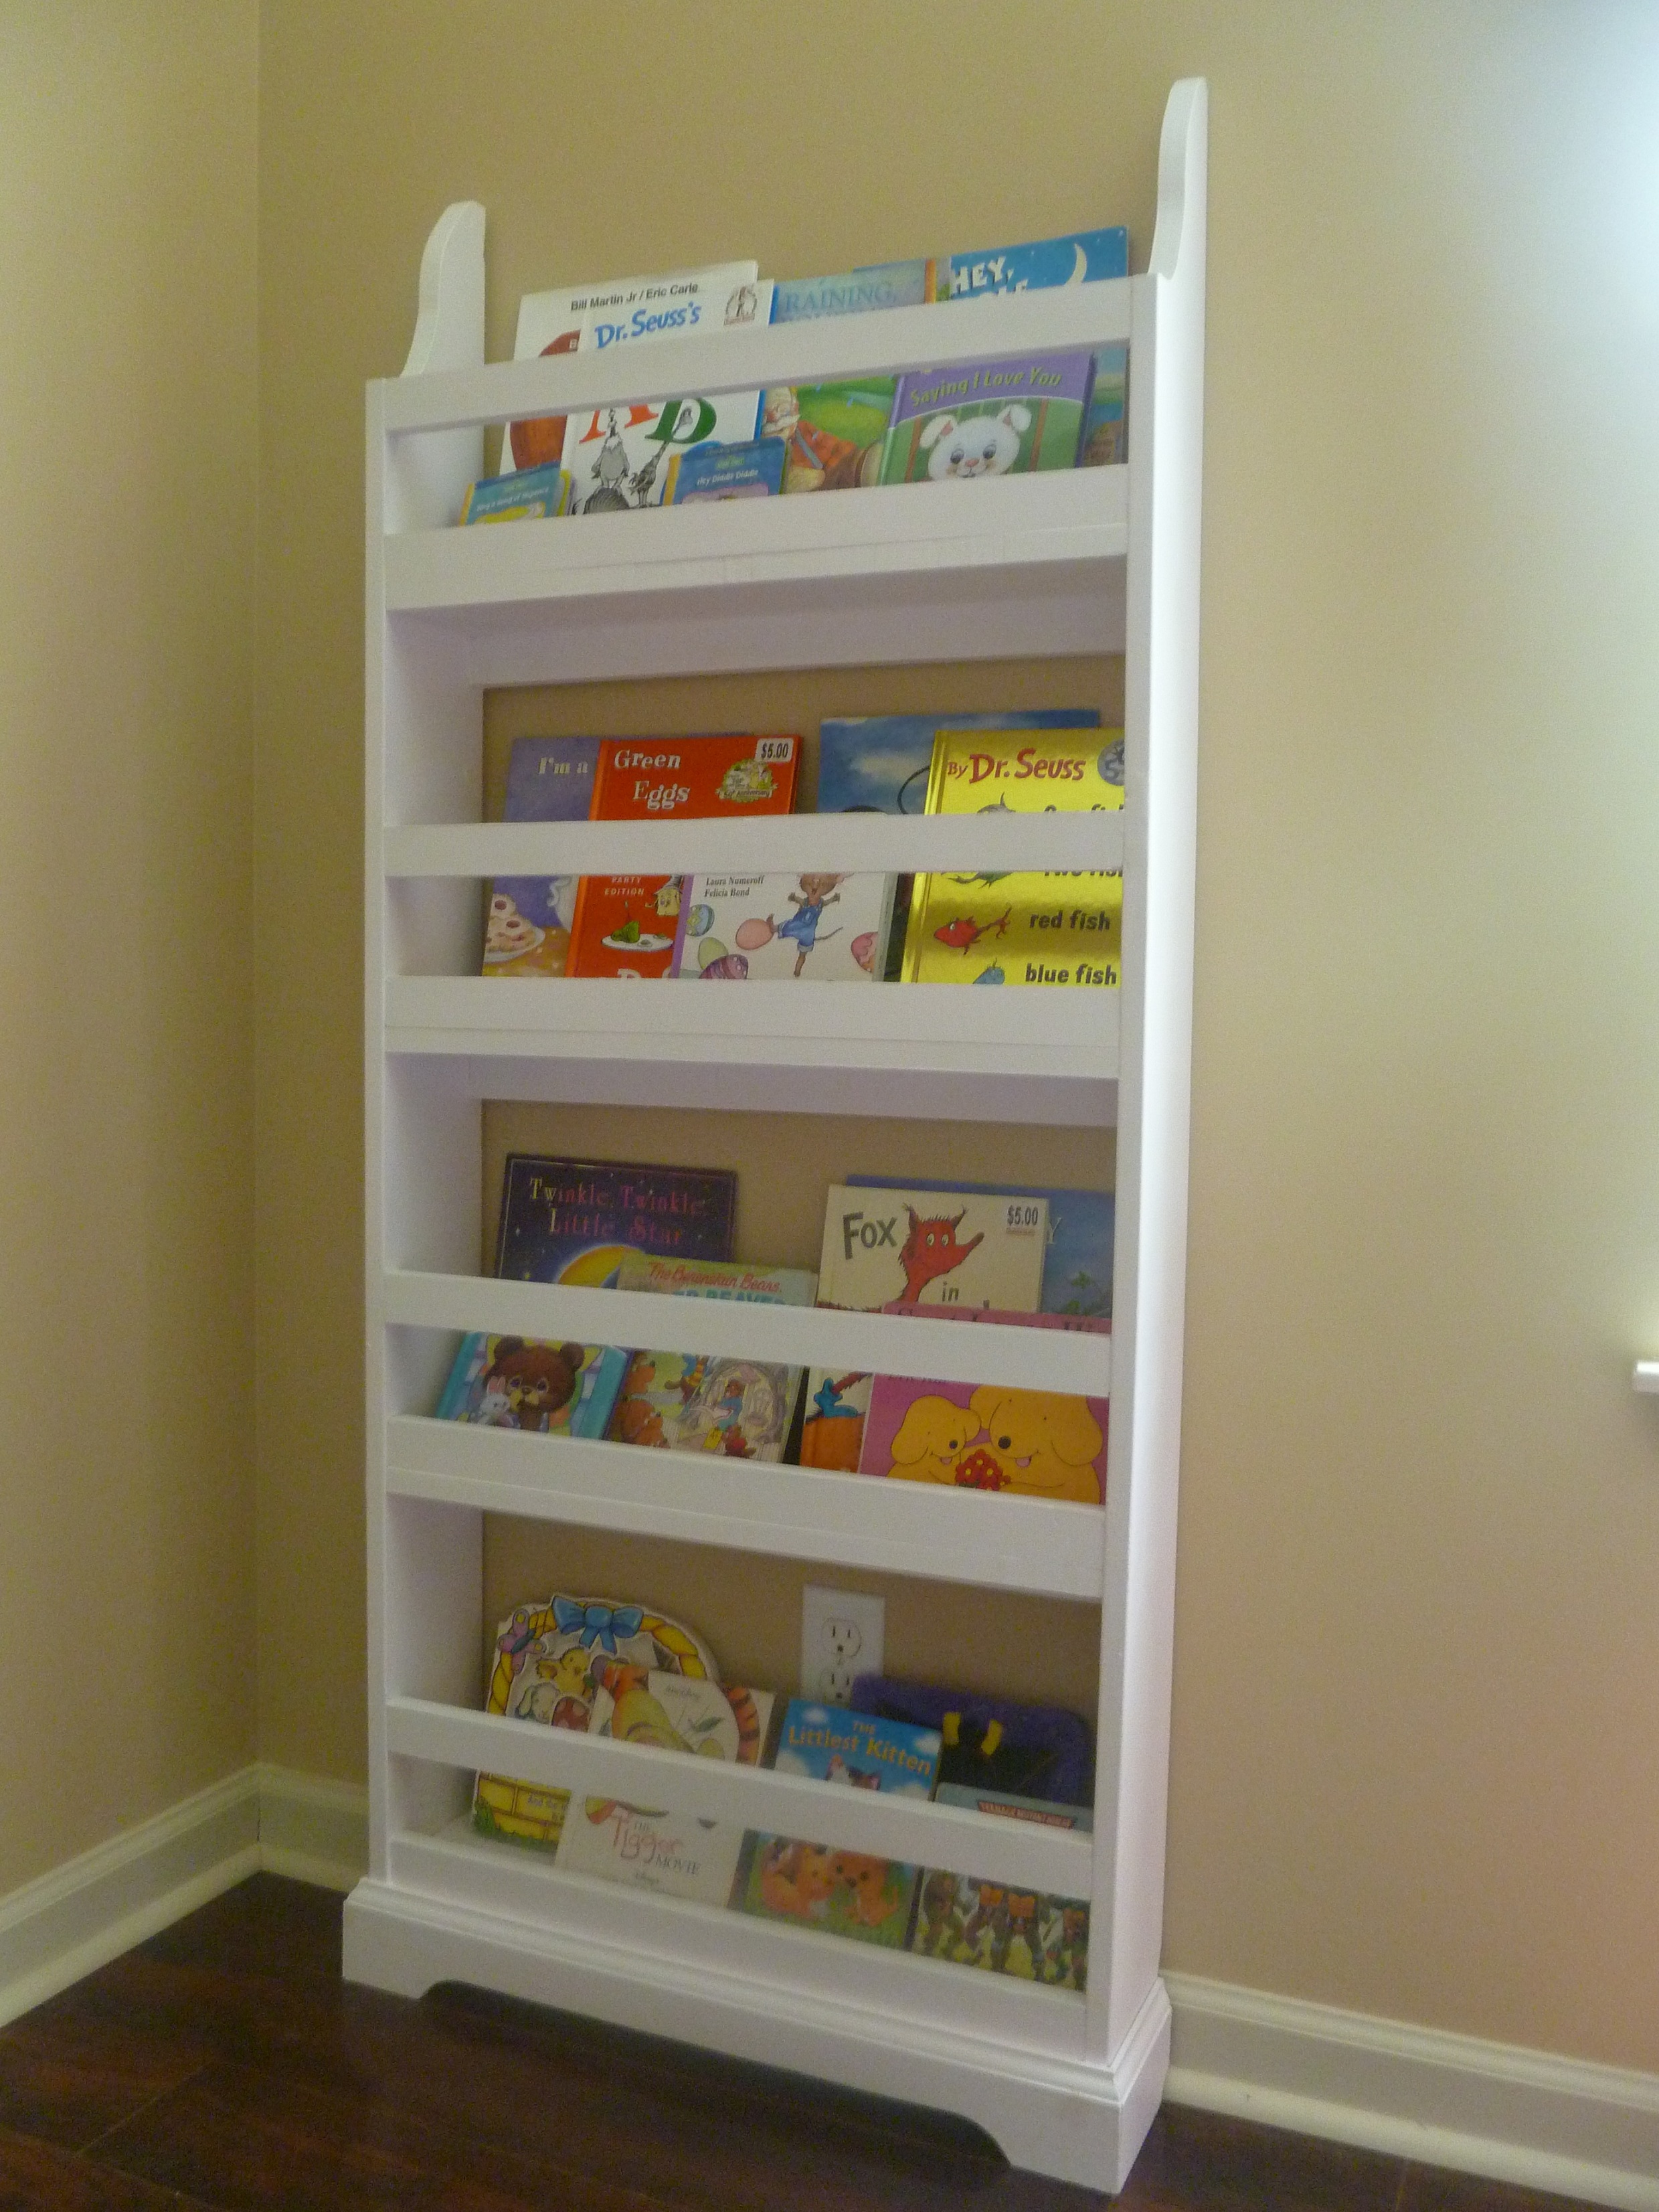
This plan was a breeze to put together (go out and buy some clamps if you don't have any!!) until I finished it, then looked at my wall and saw the baseboards. I really wanted it to be screwed/nailed into the wall, so it needed to be flush. That's where the nightmare being. Eventually (over a week later) I got that finished, however, and am loving my little one's new bookcase! I just can't decide where to put it now, in her bedroom or in her playroom. Maybe I'll make another and she'll have two! :D This plan was very simple to follow, and the materials weren't expensive, so I could definitely do that.

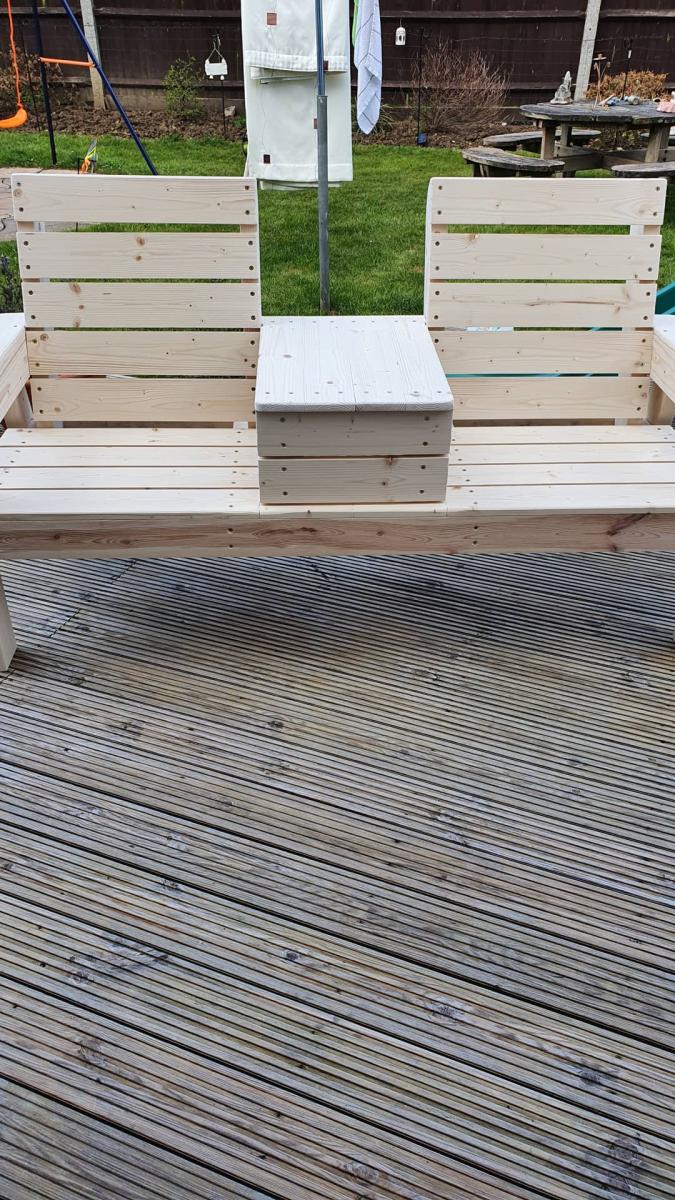
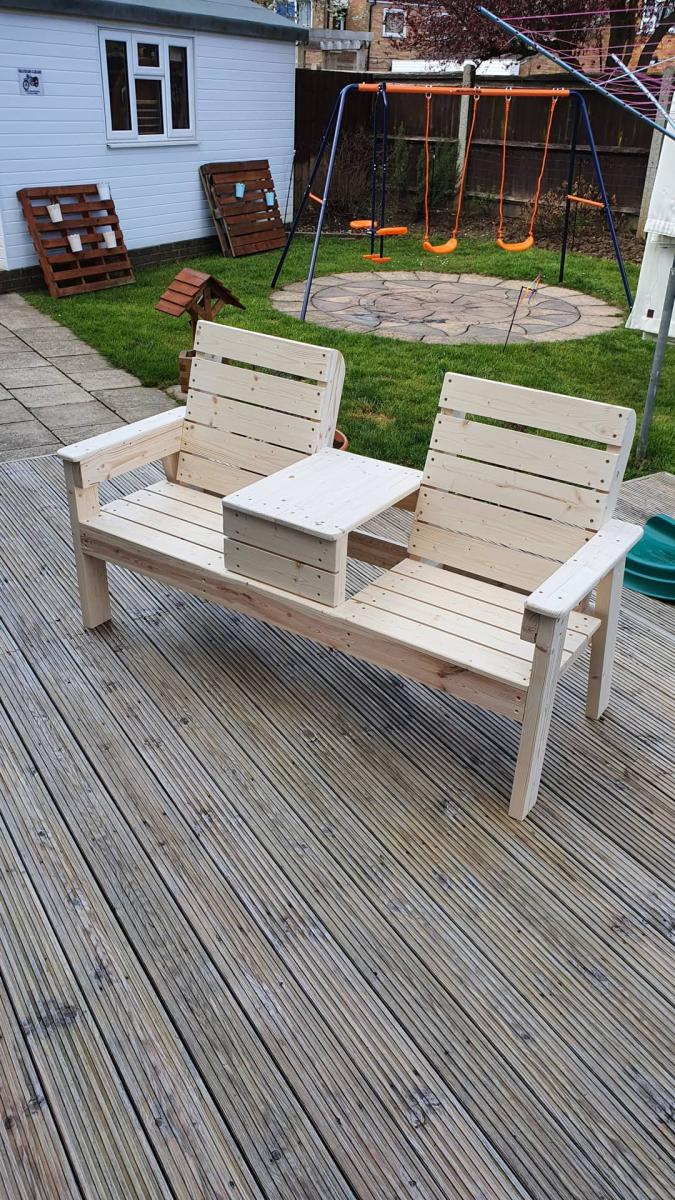
These are solid cedar. They also have several coats of polyurathane. They both got wet sanded and buffed for final coat. They were also modified with leg braces amd braces along side decking. Enjoy!
Wed, 07/10/2013 - 09:38
Sorry first pic got uploaded upside down some how ? Instagram acct is jrh413 for anyone who wants to follow. Thanks!

This is the first time I attempted a project with doors, and was rather intimidated by that. I managed to get through it without a square and ended up with a square piece in the end. I installed shelves behind each door so that DVD cases would fit both on the bottom and on the shelf.
I customized the middle section to accommodate our cable box and PS3, while still allowing for storage of controllers in the bottom portion.
This was a fun project.

I pretty much followed the plans to the T. I did use 3/4" plywood for the middle shelf instead of the suggested wood. The hardware was the hardest part and mostly followed the previously posted DIY from Jamie's website with a few modifications.

Cool project. Loved doing it. Turned out well.


Comments
Ana White Admin
Mon, 12/27/2021 - 15:56
Nice Work!
That looks fantastic, way to go!