Community Brag Posts

Closet Door with Storage
Submitted by kristen on Sat, 03/12/2011 - 21:07

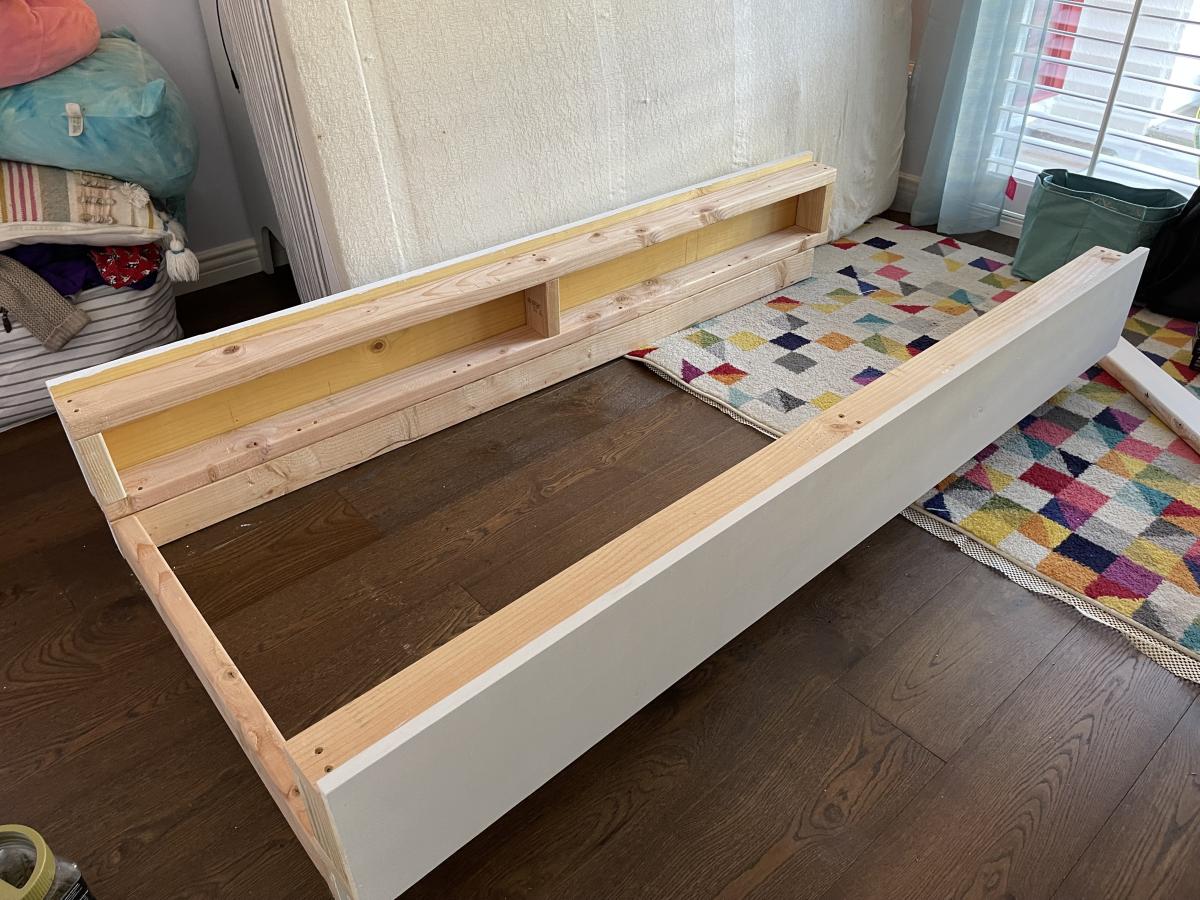
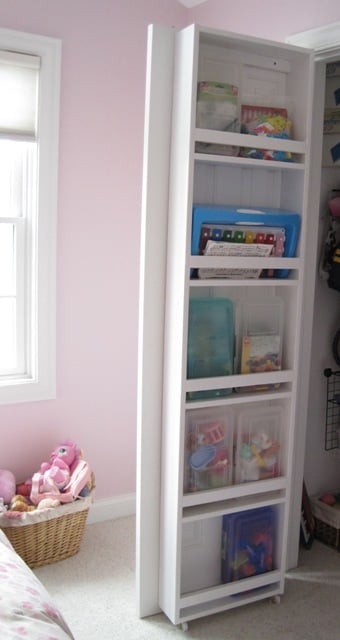
This was my first Ana White project, and I learned a lot from making it since I was also a novice woodworker. I am very happy with the end result, but it was probably a good thing that this went on the inside of a closet :) It gave me the confidence to go on and build something more difficult with the skills I built along with the storage.

The $30 estimate is only for the wood. Wood putty, sandpaper, screws, paint, etc. will make this more expensive, but you will use all of the extras on other projects since this one won't use those up.

The time involved is a guess--it has been a few months since I completed this. Someone with experience could probably do it faster and someone brand new to building might go slower. So I chose 3-6 hours, a nice in-between number.

Watch your caster size with carpet. That was my only snag with the instructions. Ana has hardwood floors that the casters roll on. I have carpet so I wanted larger wheels in order for smoother rolling. That added height to the caster also, so you want to modify the length of the sides of the storage unit to reflect the larger casters on carpet.

All in all a great plan and useful end result!

**UPDATE--January 30, 2012** We removed the casters from the bottom of this just yesterday and the door opens SO much easier. I would invest in some high quality casters and not the cheap ones I bought if you are going to use these. Without the casters I am only putting light things (stuffed animals) in this. If you are using it for heavier items, I would use the casters but make sure they readily turn. The casters I had did not want to turn as the door moved and they dragged on the carpet instead. Also, the overall height of your unit will depend on the height of your casters, so buy them first if you are going to use them. I still love this though!
Built from Plan(s)
Estimated Cost
$30
Estimated Time Investment
Afternoon Project (3-6 Hours)
Finish Used
White primer and white paint over that. I used the Zero VOC paint you can get at Lowes--I think it is Olympic brand.
Recommended Skill Level
Starter Project

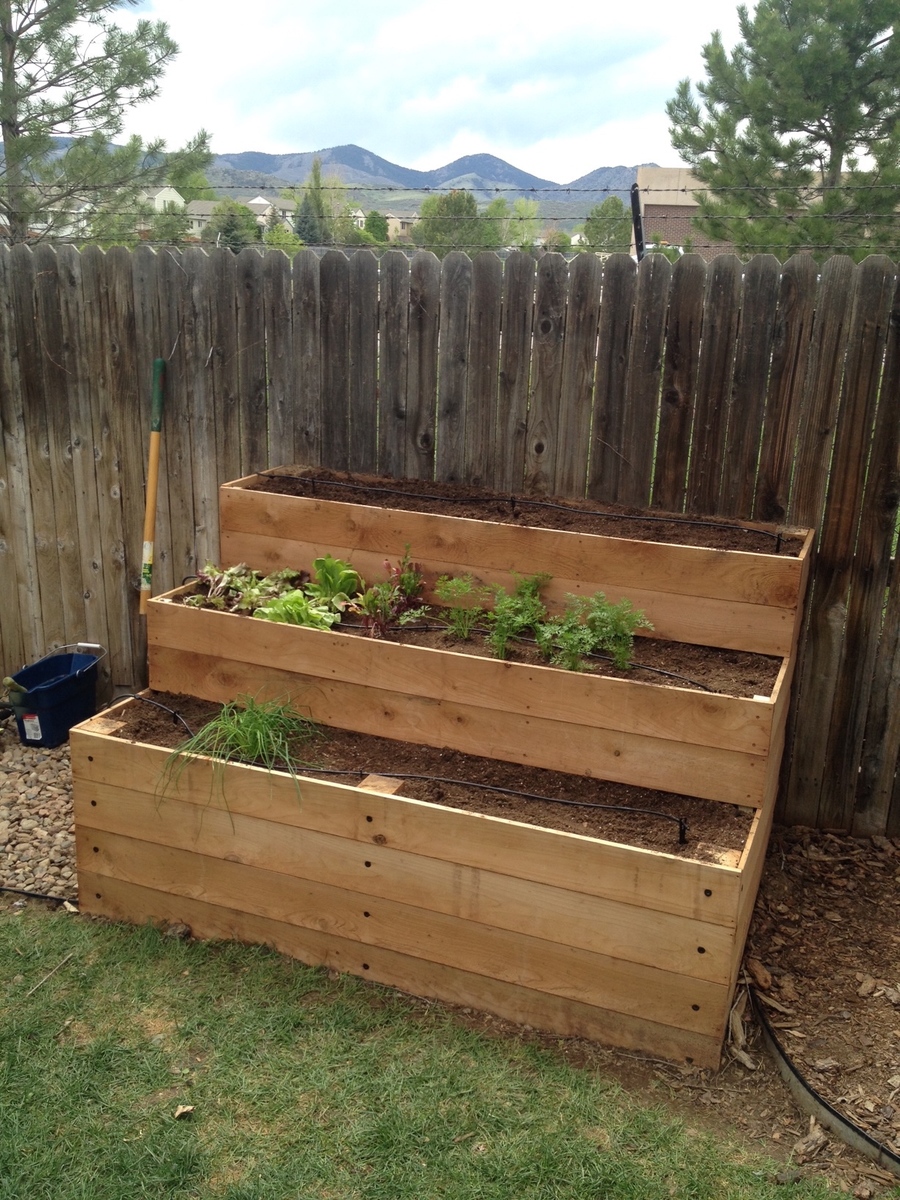
Cedar Raised Garden Beds - 3 Tiers

Steps:

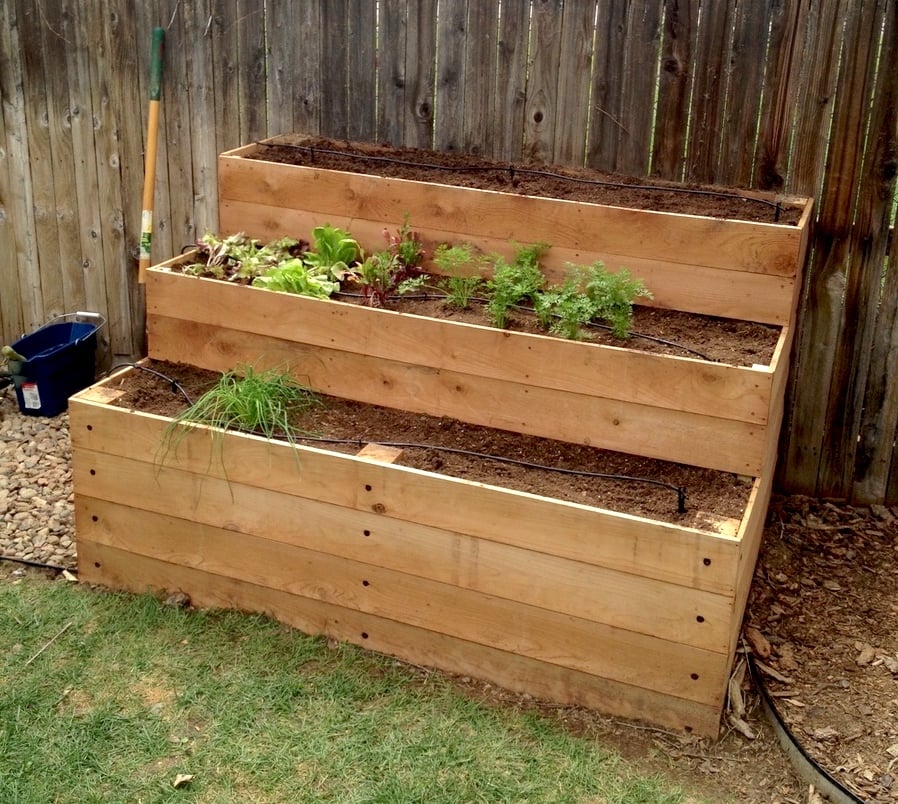
1) Cut the boards to the specs below or adjust to your space

2) Kreg Jig the cut boards along each of the sides (length wise and on the ends) for attaching and making a box.  

3) Make 3 separate boxes, don't assemble until you move to location.  I used 4x4 cedar posts in the corners of the base box to add stability.  I used 2x2 pine in the front corners of boxes 2 and 3 for stability.  Install these after the dirt has been added so you can hammer in as a stake, attach with screws on front and sides.  I created 2 stakes for boxes 2 and 3 and added to the front to prevent bowing when the dirt is added.

Box Dimensions:

1) (base) 70.5" L x 46 W x 4 cedar boards high

2) 70.5" L x 32 W x 2 cedar boards high

3) 70.5" L x 16 W x 2 cedar boards high

Estimated Time Investment
Day Project (6-9 Hours)
Recommended Skill Level
Beginner

Rustic End Table

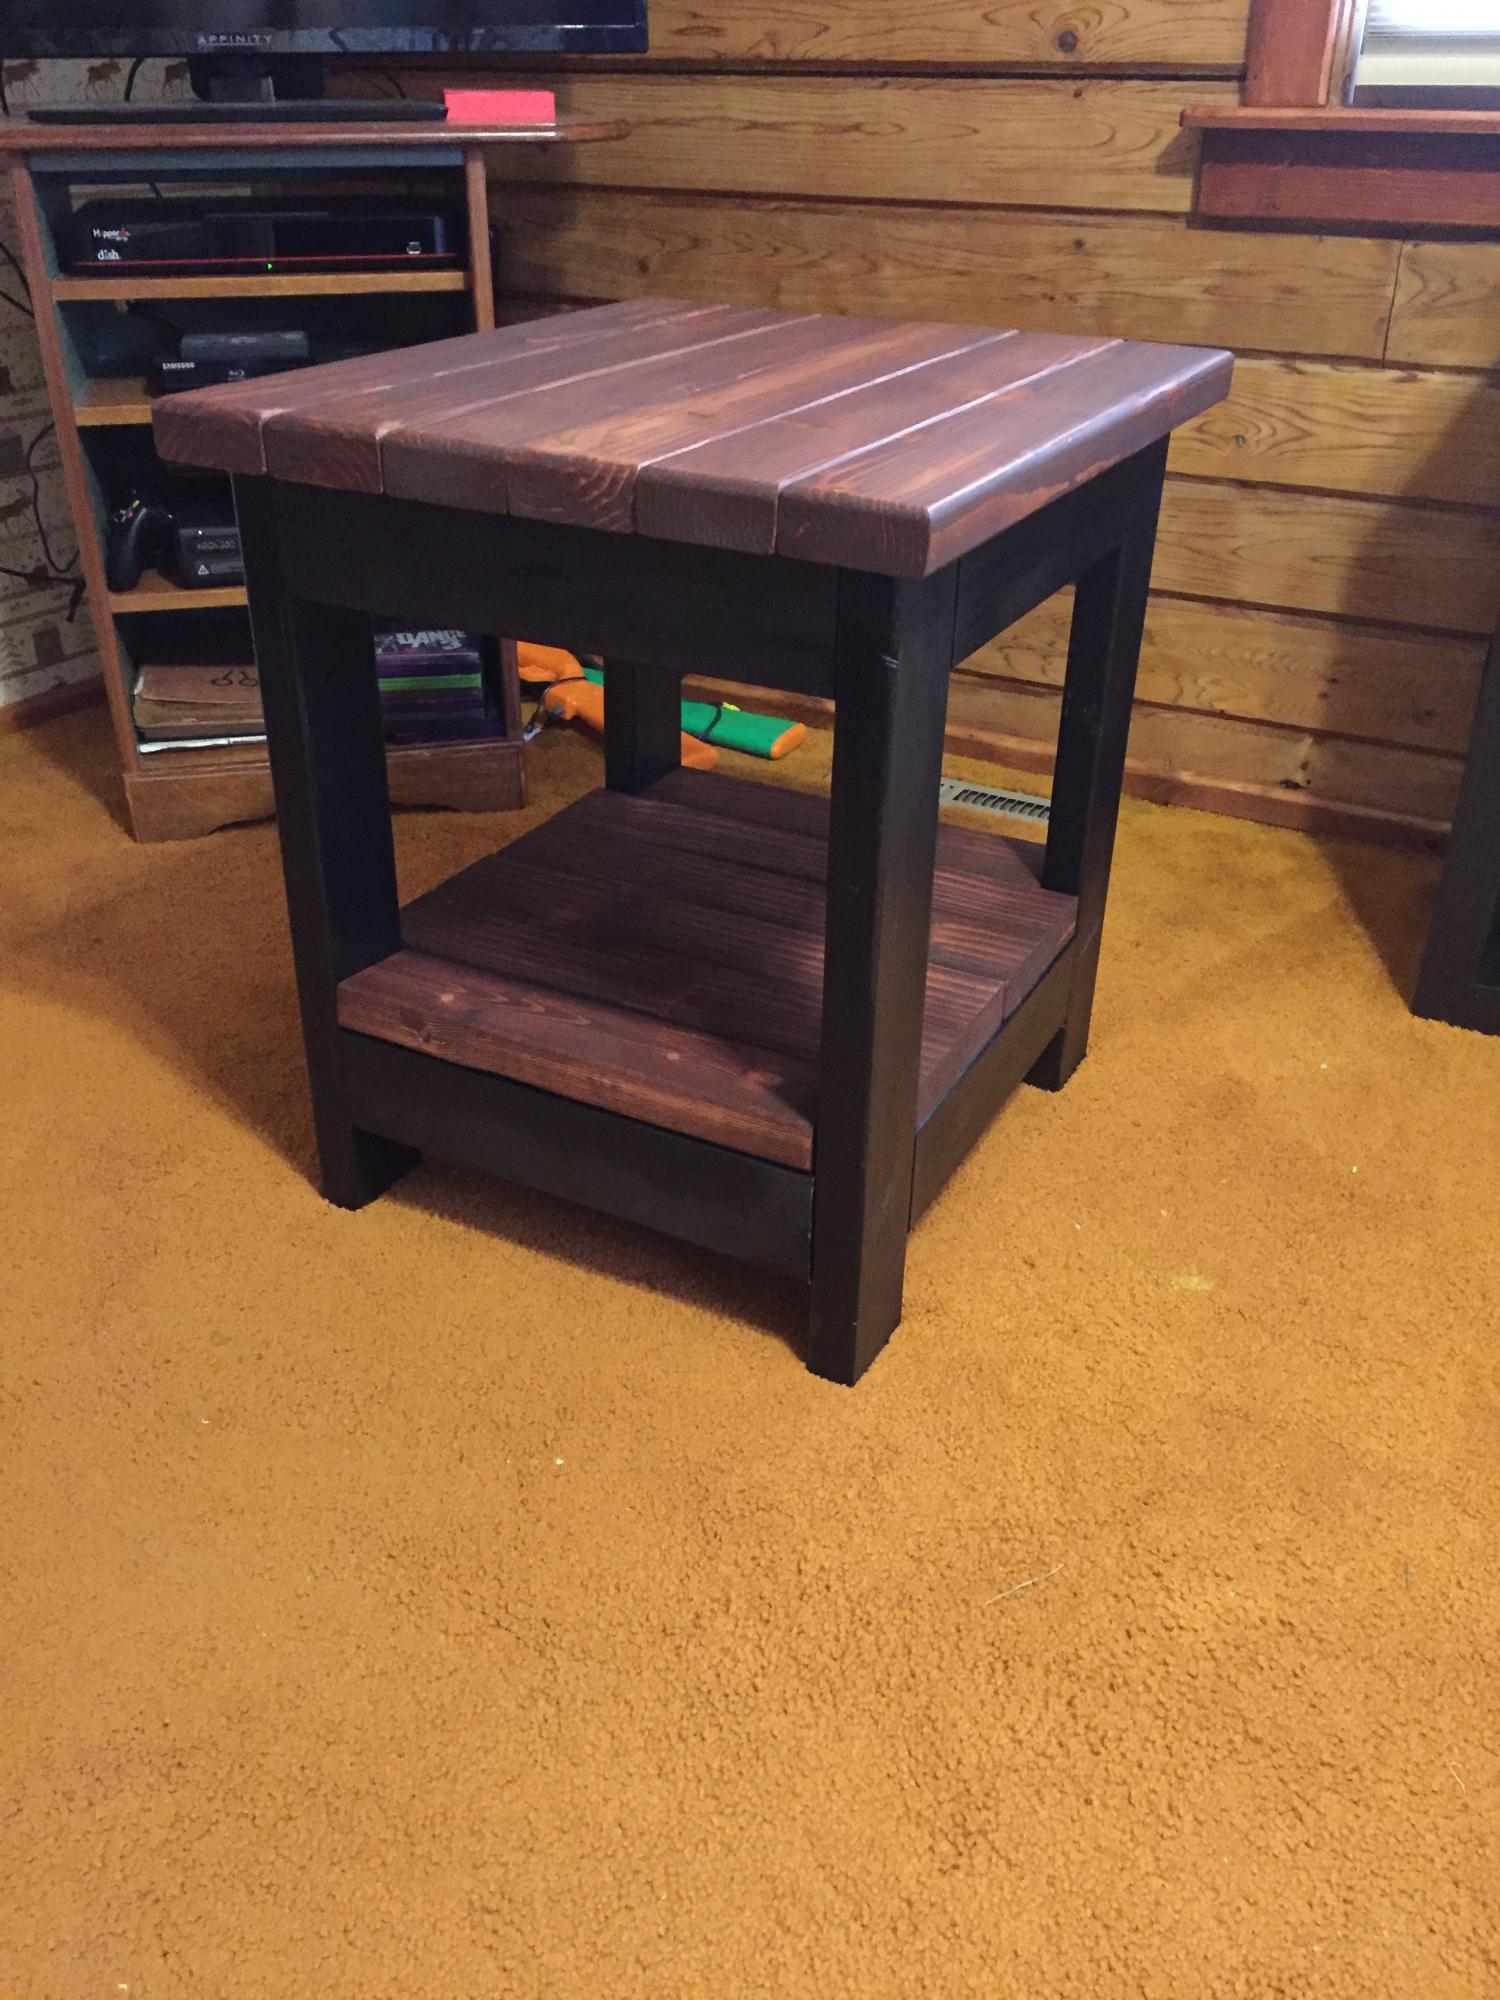
Our first project using the plans provided on this web site.  We couldn't be happier with the outcome.  The plans were concise, accurate and easy to follow.

Estimated Cost
$50 for the lumber and approximately $25 worth of Gel Stain for 2 tables
Estimated Time Investment
Weekend Project (10-20 Hours)
Finish Used
Barclay Gel Stains
Recommended Skill Level
Beginner

Comments

My new closet

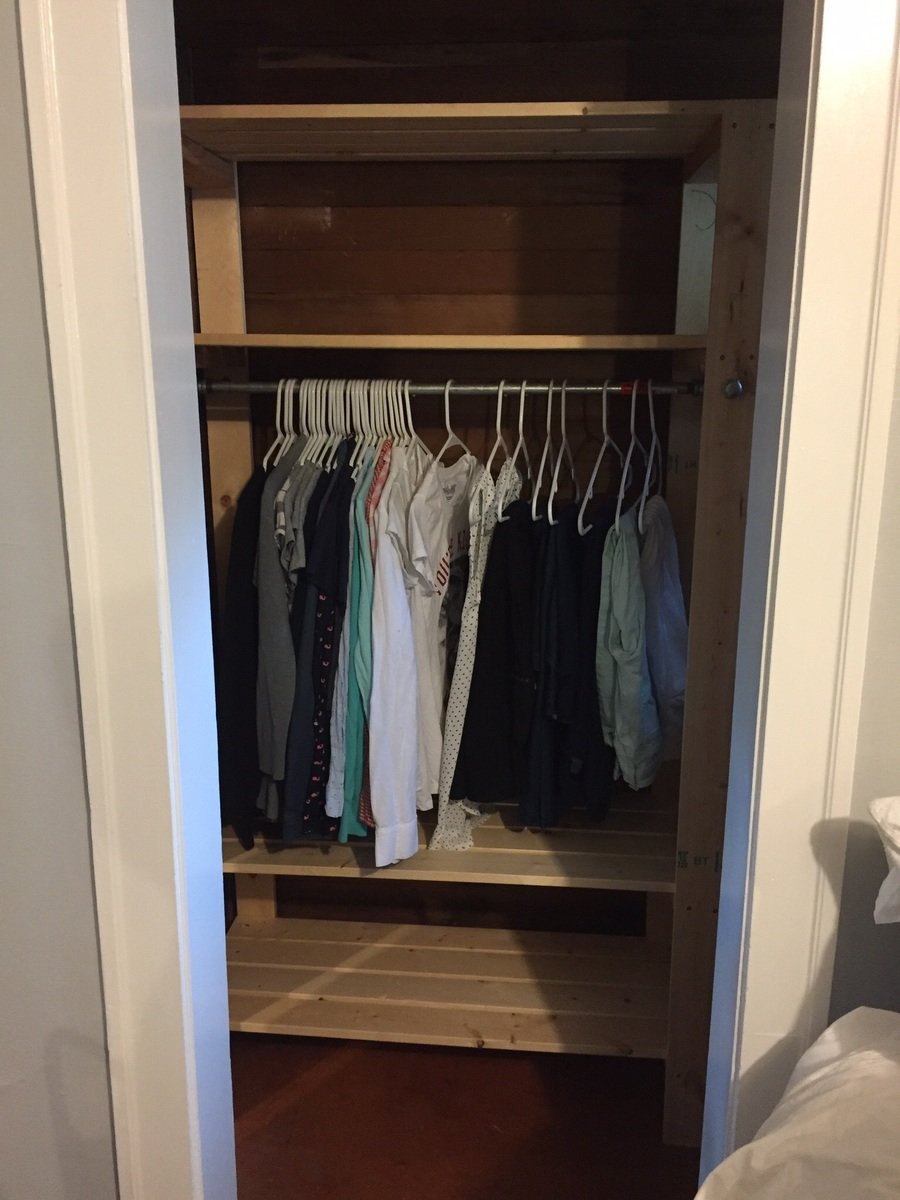
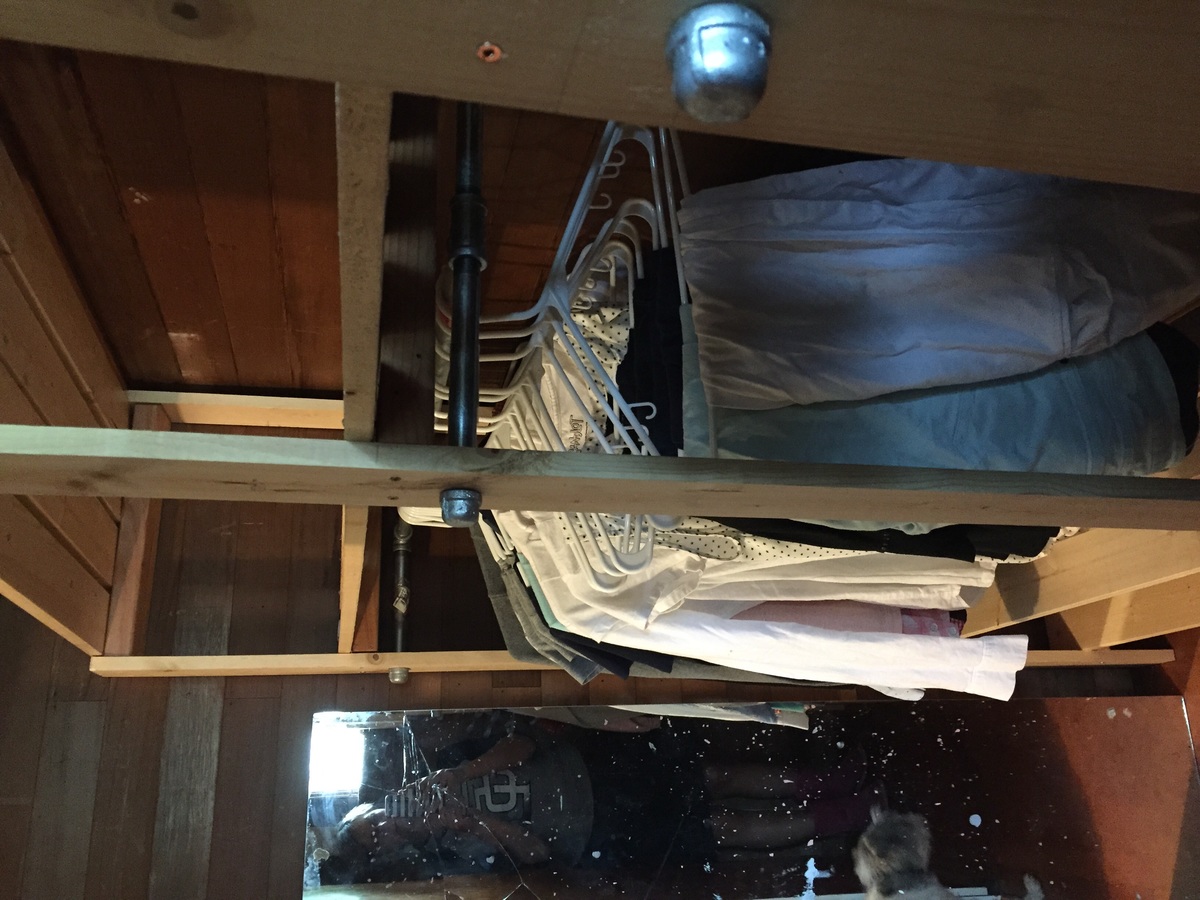
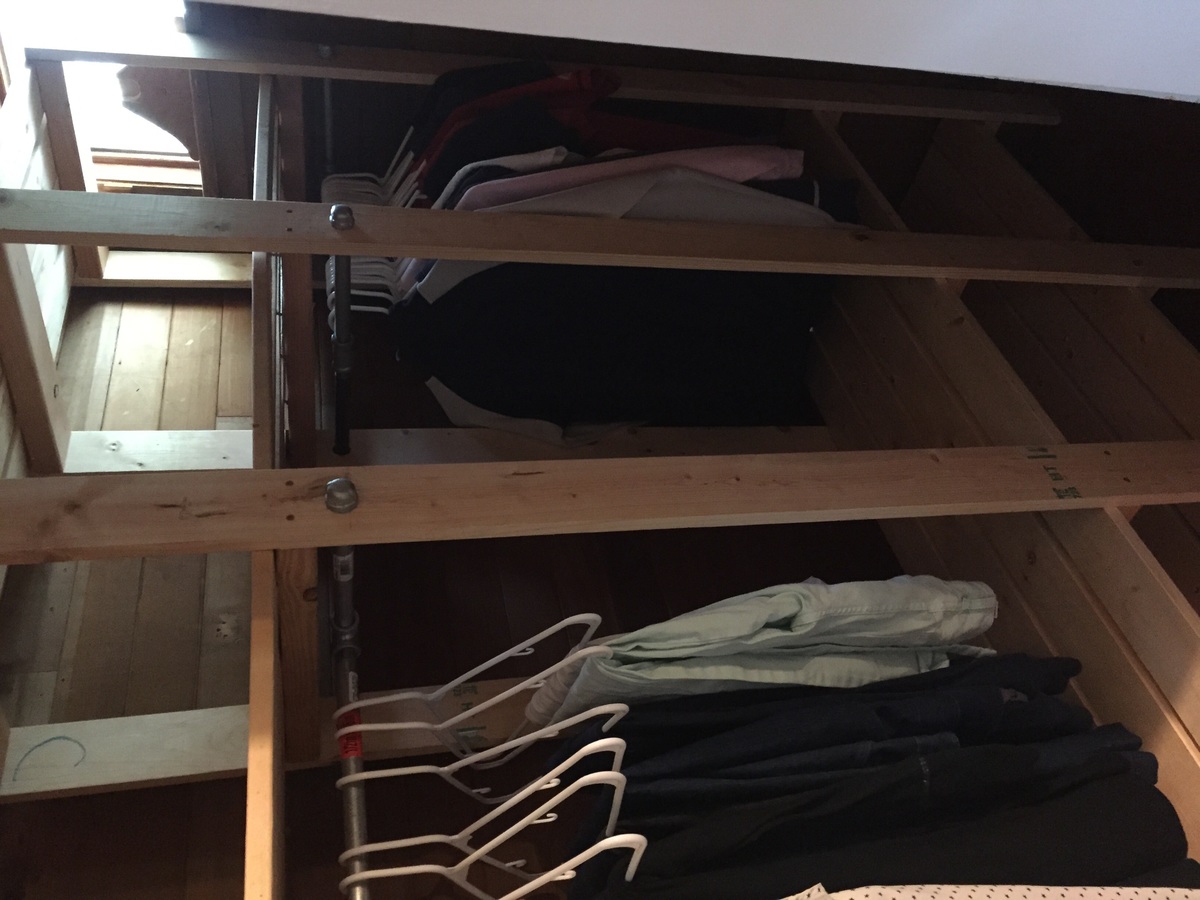
It was a bit tricky putting it together in my limited space closet but I got it all done! Loving it! It also forces me to make up a capsule wardrobe and clean out my closet as there isn't room for everything. Thanks Ana!

Built from Plan(s)
Estimated Time Investment
Day Project (6-9 Hours)
Recommended Skill Level
Beginner

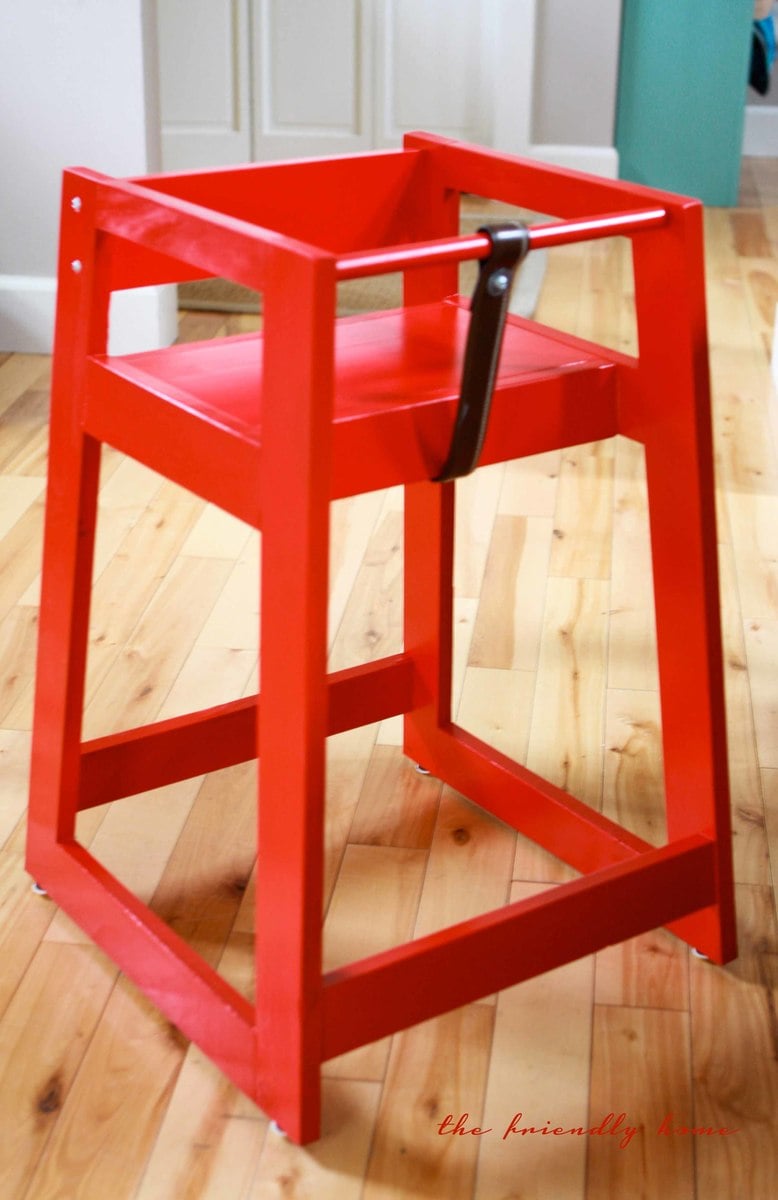
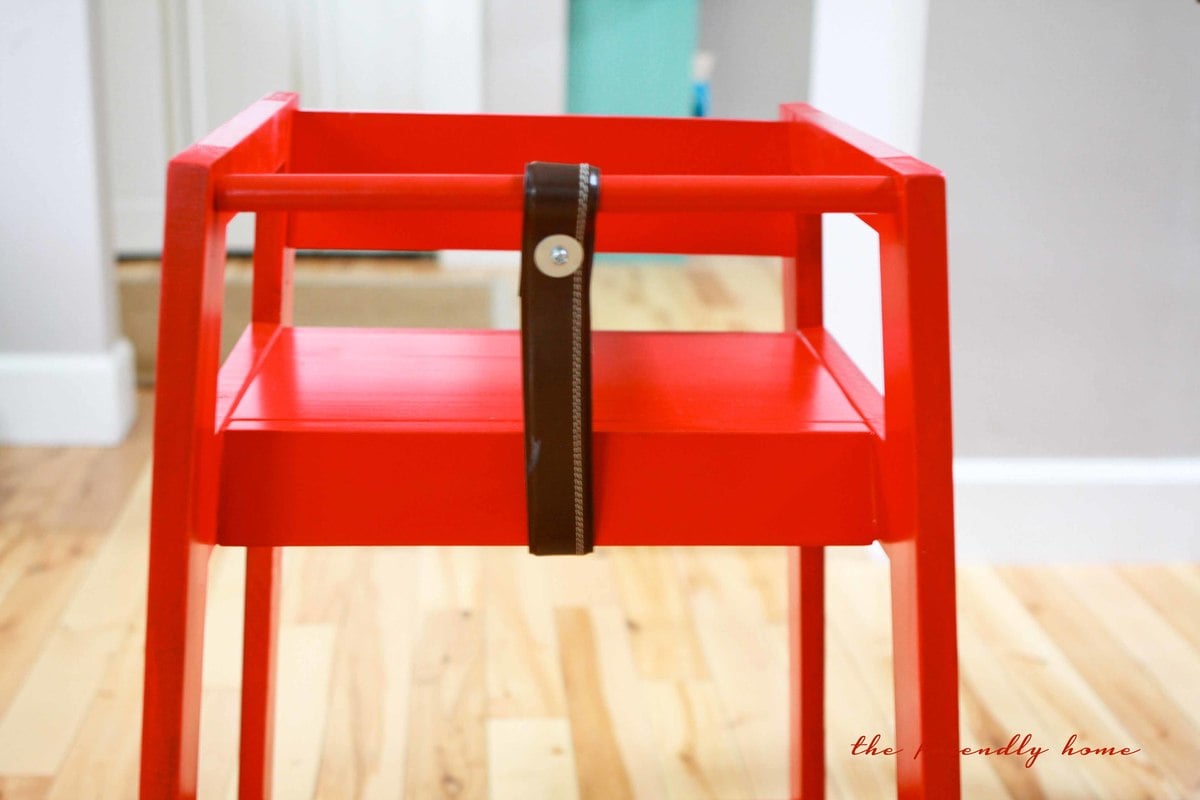
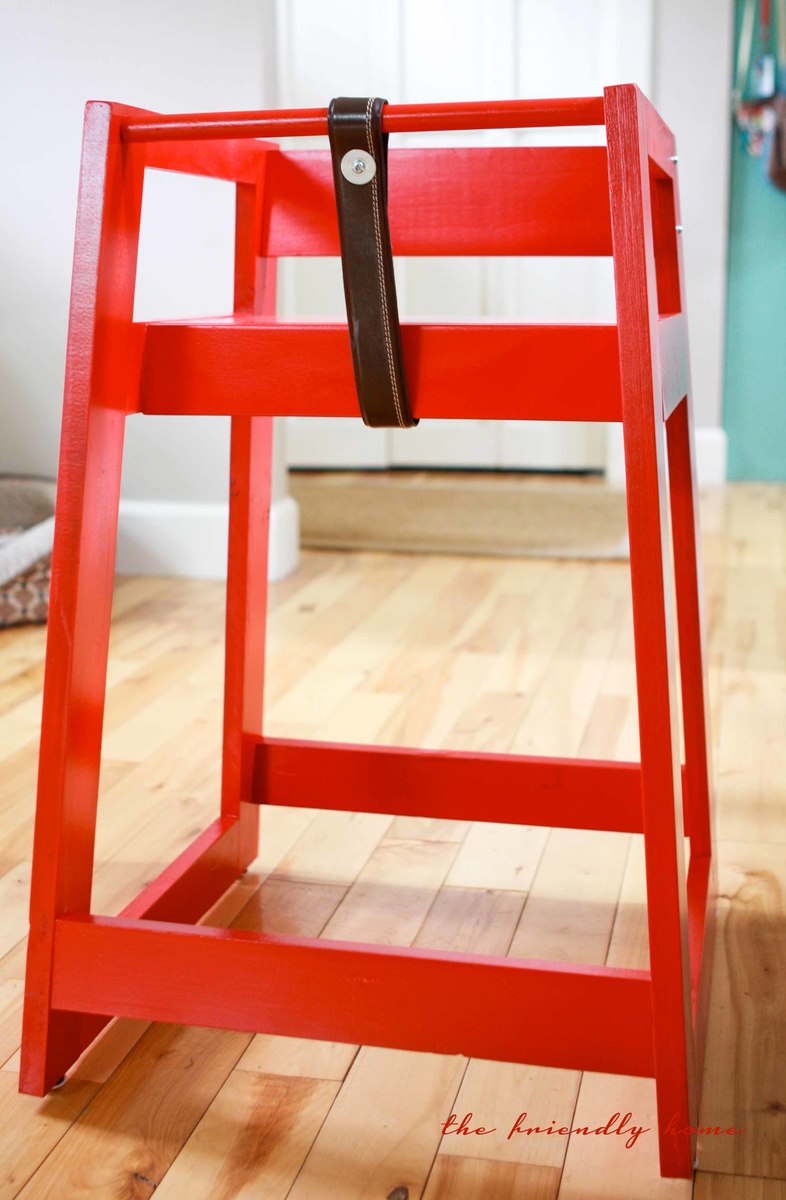
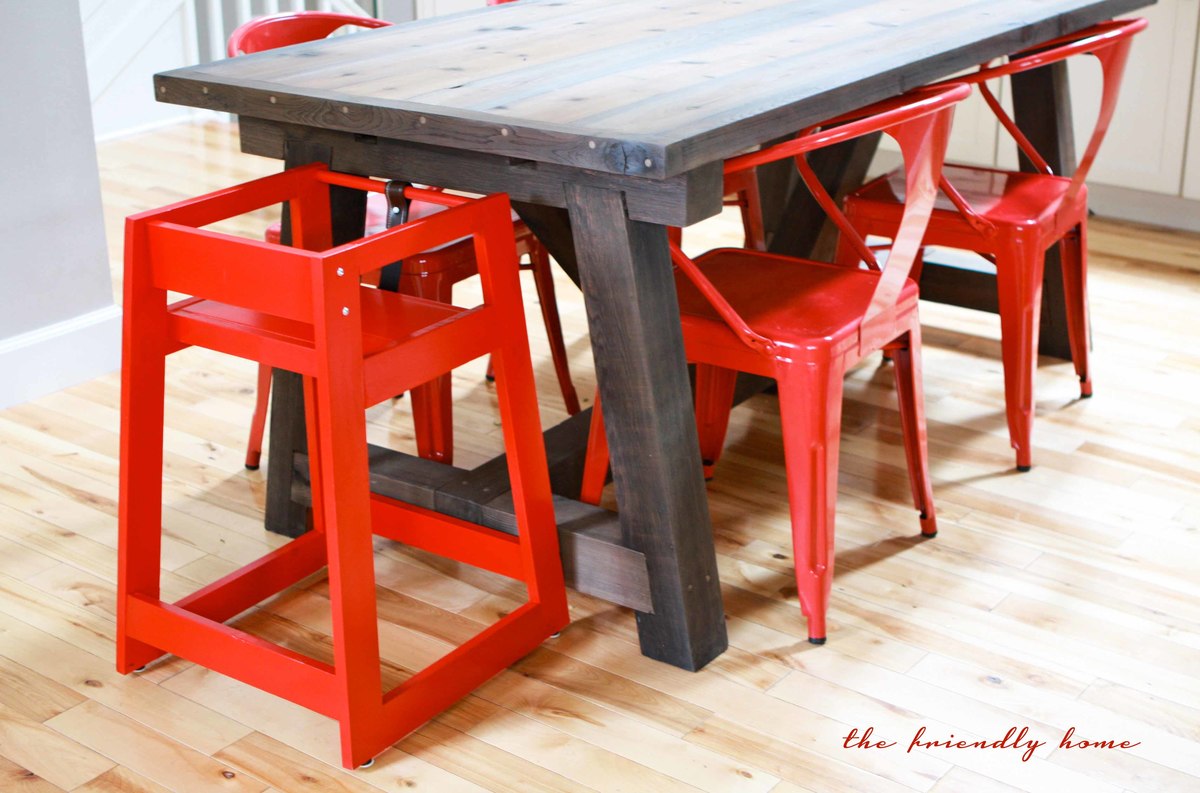
Restaurant High Chair from scraps

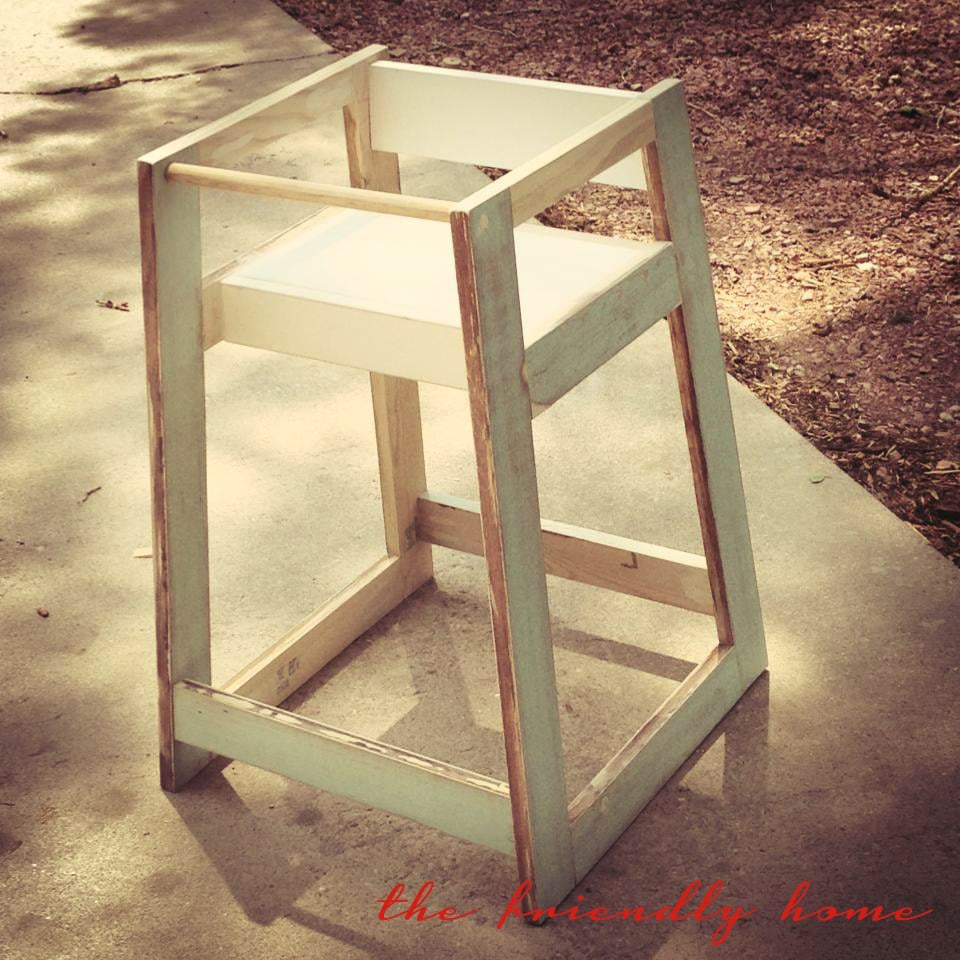
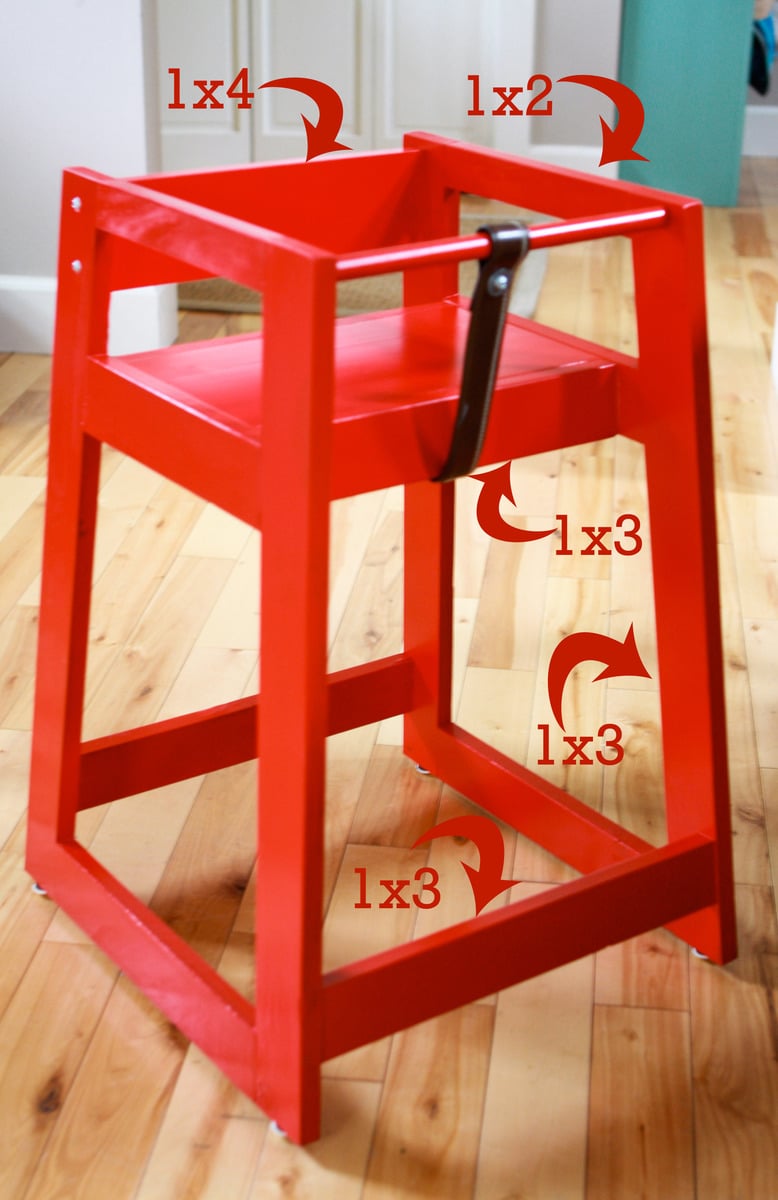
This took me longer to build than I expected -- maybe because I was working from scraps and had to figure out what would fit where along the way. Also, I initially cut all the side pieces with parallel cuts. Oops. So I had to re-do them all.

For more info, check out my blog post!

Built from Plan(s)
Estimated Cost
$14 for paint and furniture glides -- had the rest on hand.
Estimated Time Investment
Day Project (6-9 Hours)
Finish Used
Gloss Cherry premixed paint by Valspar.
Recommended Skill Level
Intermediate

Comments

Spice Cabinet

Submitted by Anonymous (not verified) on Fri, 12/24/2021 - 20:39

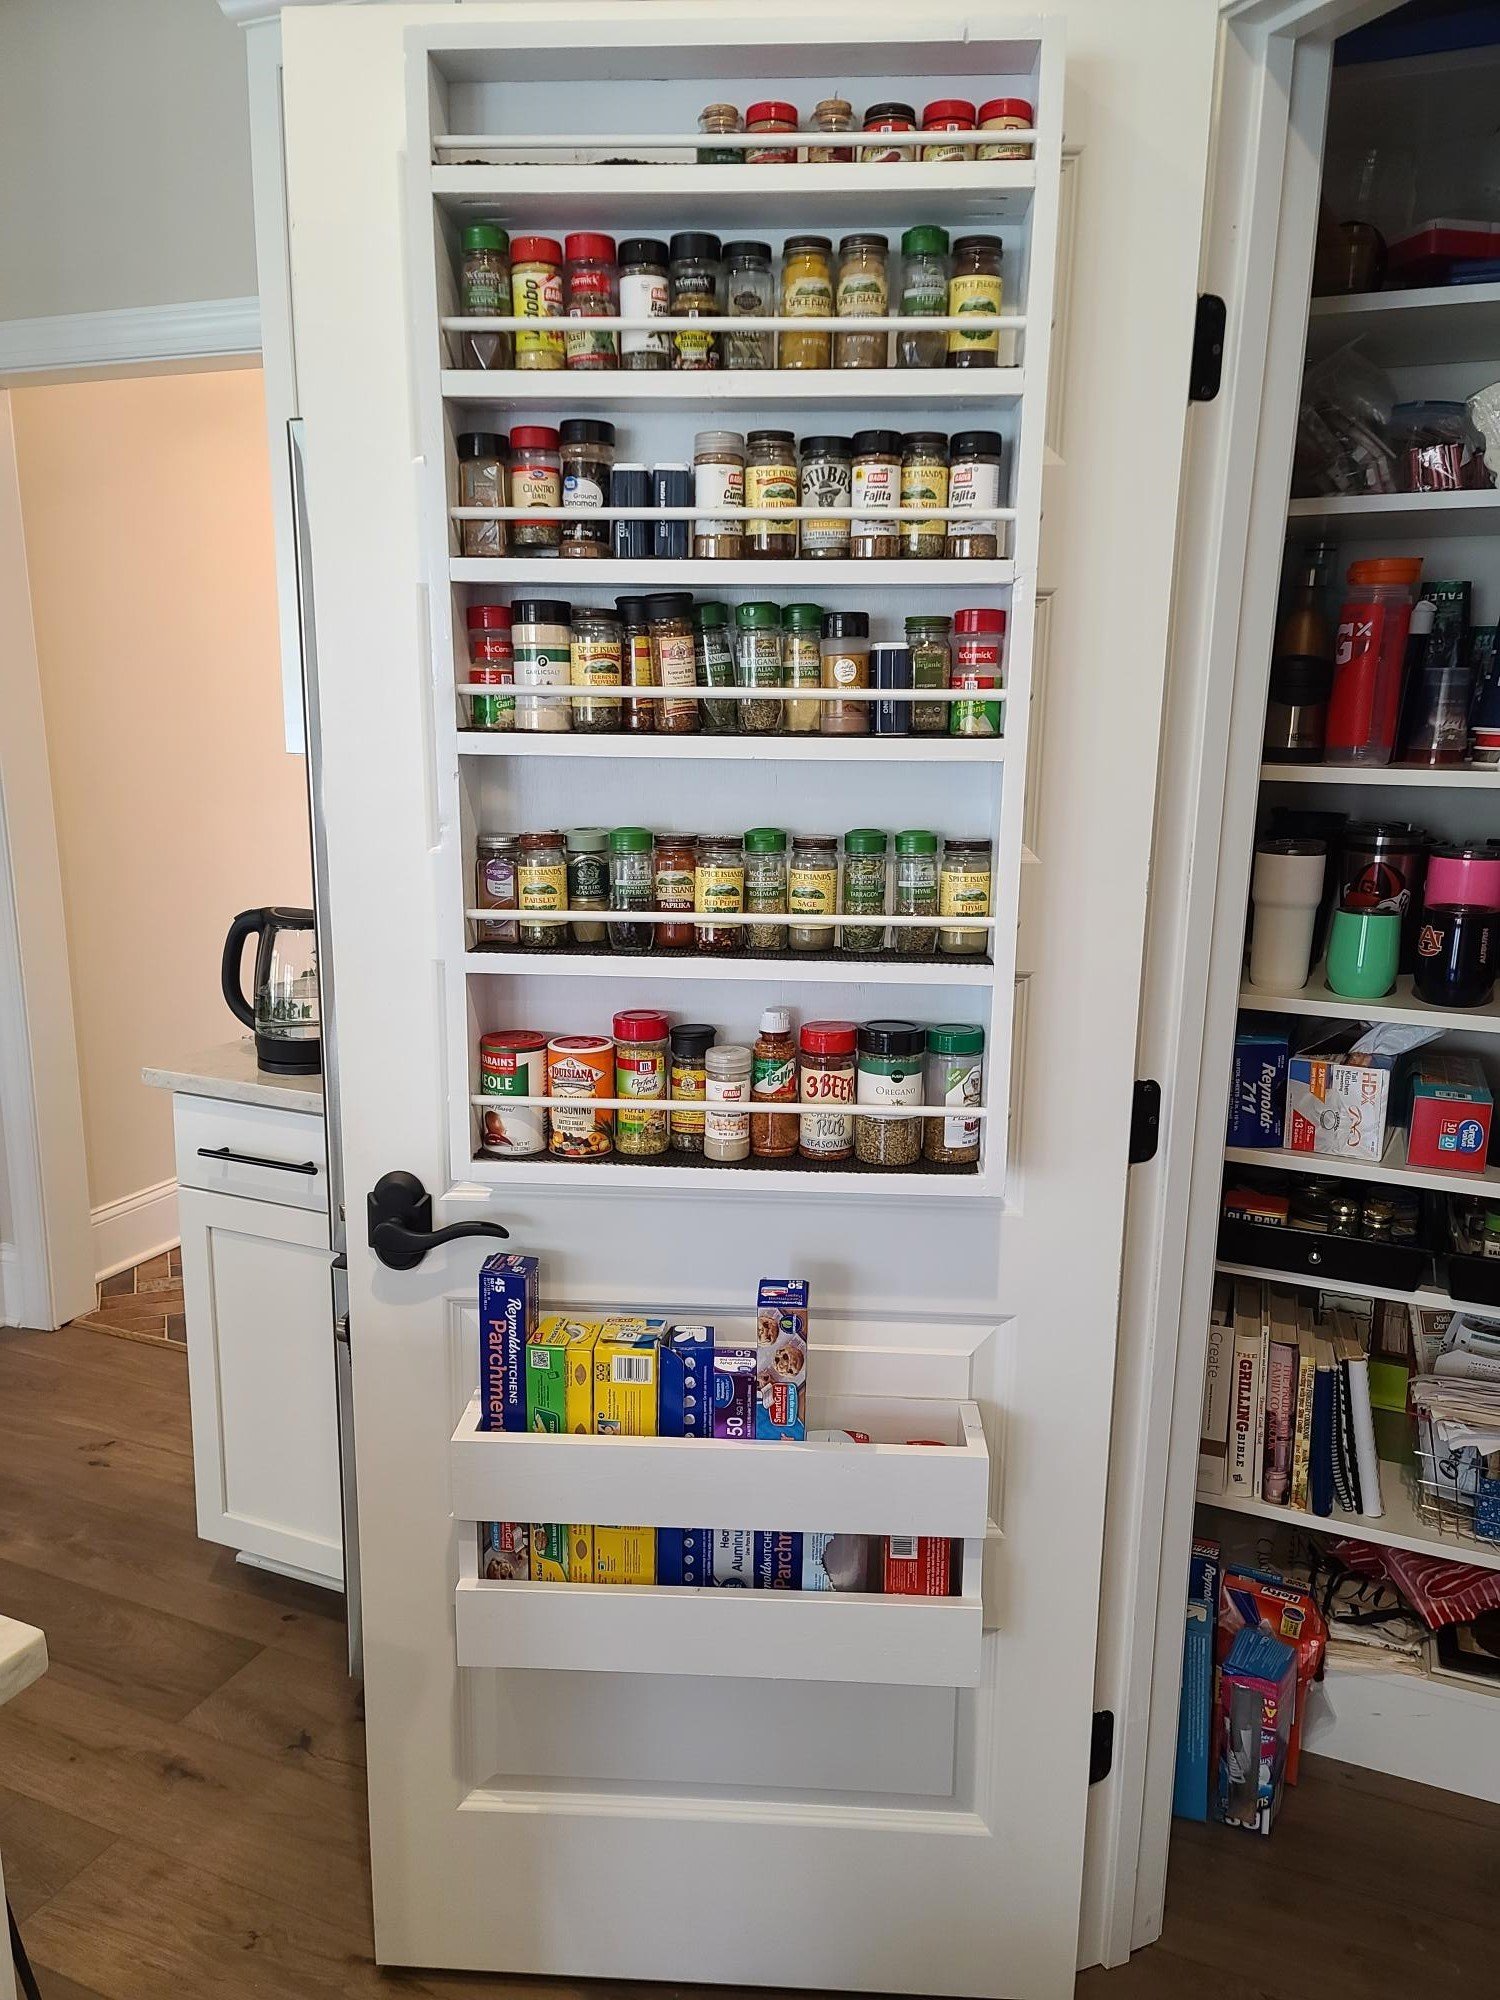
Love to cook, didn't have enough space in the pantry for all my spices. Used the spice cabinet plan and it was perfect.

Built from Plan(s)

Comments

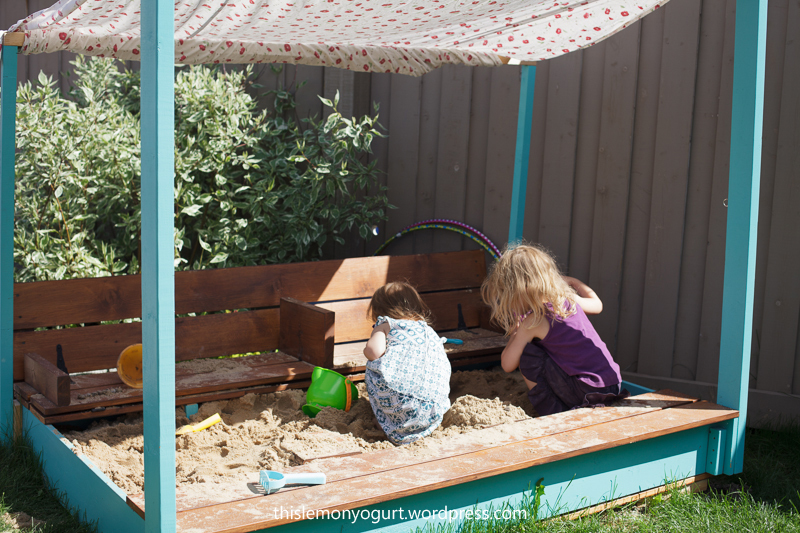
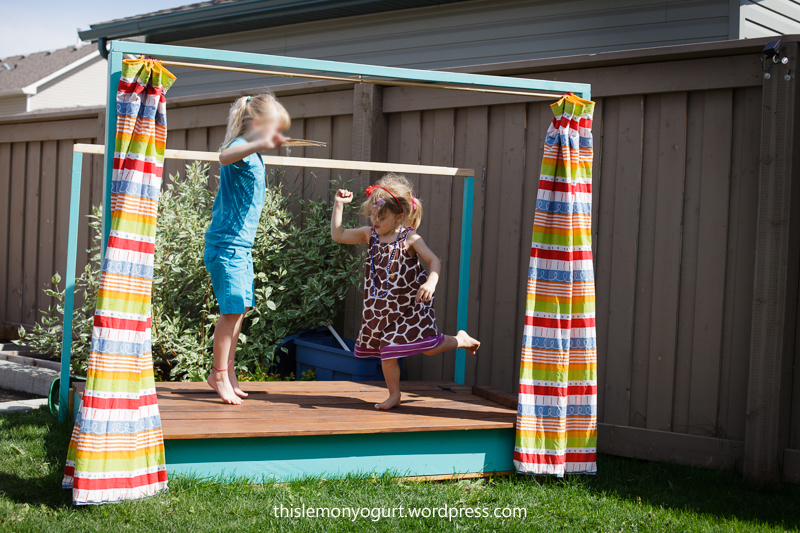
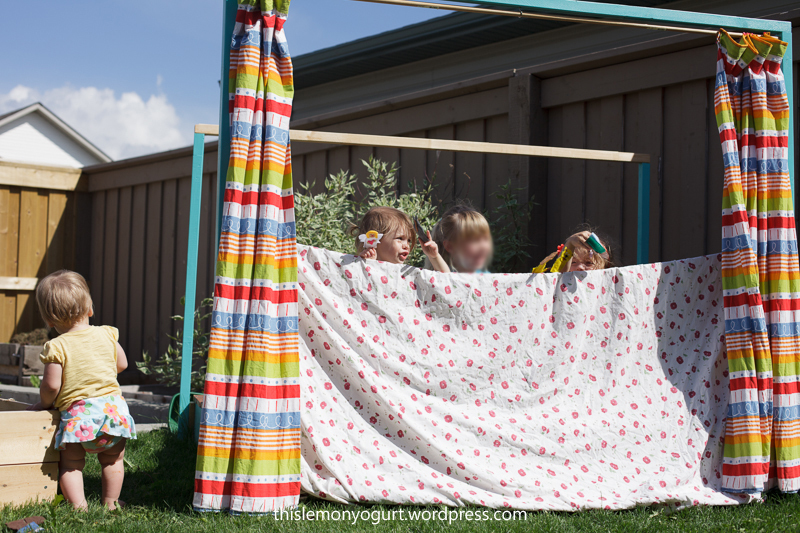
Sandbox (plus stage and puppet theatre)

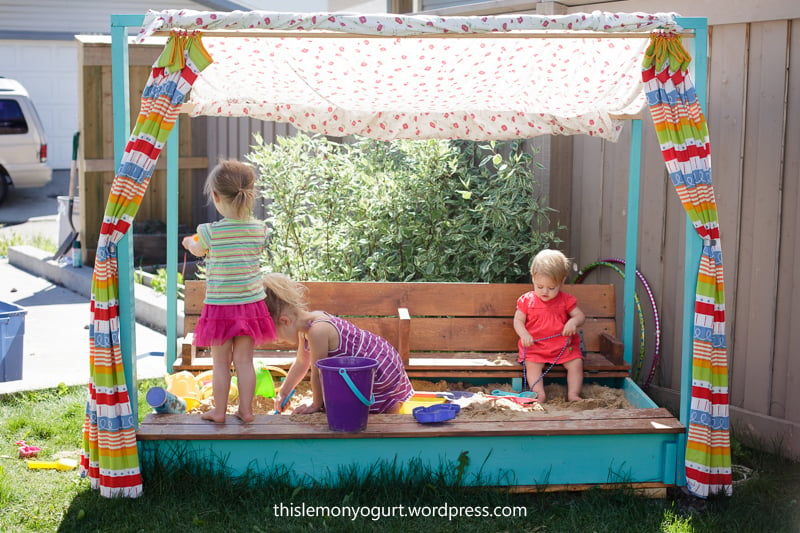
I started with the original plans for the sandbox with the benches, and then just sort of took off with the modifications.

When it's open, it's a 4'x6' sandbox with a bench on one side and a canopy overhead. When it's closed, it's a stage complete with curtains, or can also convert into a puppet theatre.

I had to make several adjustments to the original plan to allow for enough support for the stage to be walked (and danced) on, including an extra armrest in the bench, and a few blocks built up from the base of the sand area. I also used 1x6 boards for the top instead of 1x4, to cover the entire 4' with only the one bench.

Thanks so much for the plans, my girls love it! (and thanks to KnittingEmily for posting the plans for the 6' sandbox, which gave me a jumping off point for the sizing I used.)

The story of how I built it can be found here:
http://www.thislemonyogurt.com/a-box-of-sand/

Built from Plan(s)
Estimated Time Investment
Weekend Project (10-20 Hours)
Recommended Skill Level
Beginner

Comments

Lasso the Moon

Fri, 06/28/2013 - 07:51

Oh, this must seem magical to those little ones. It looks like so much fun. Great job!
Anna

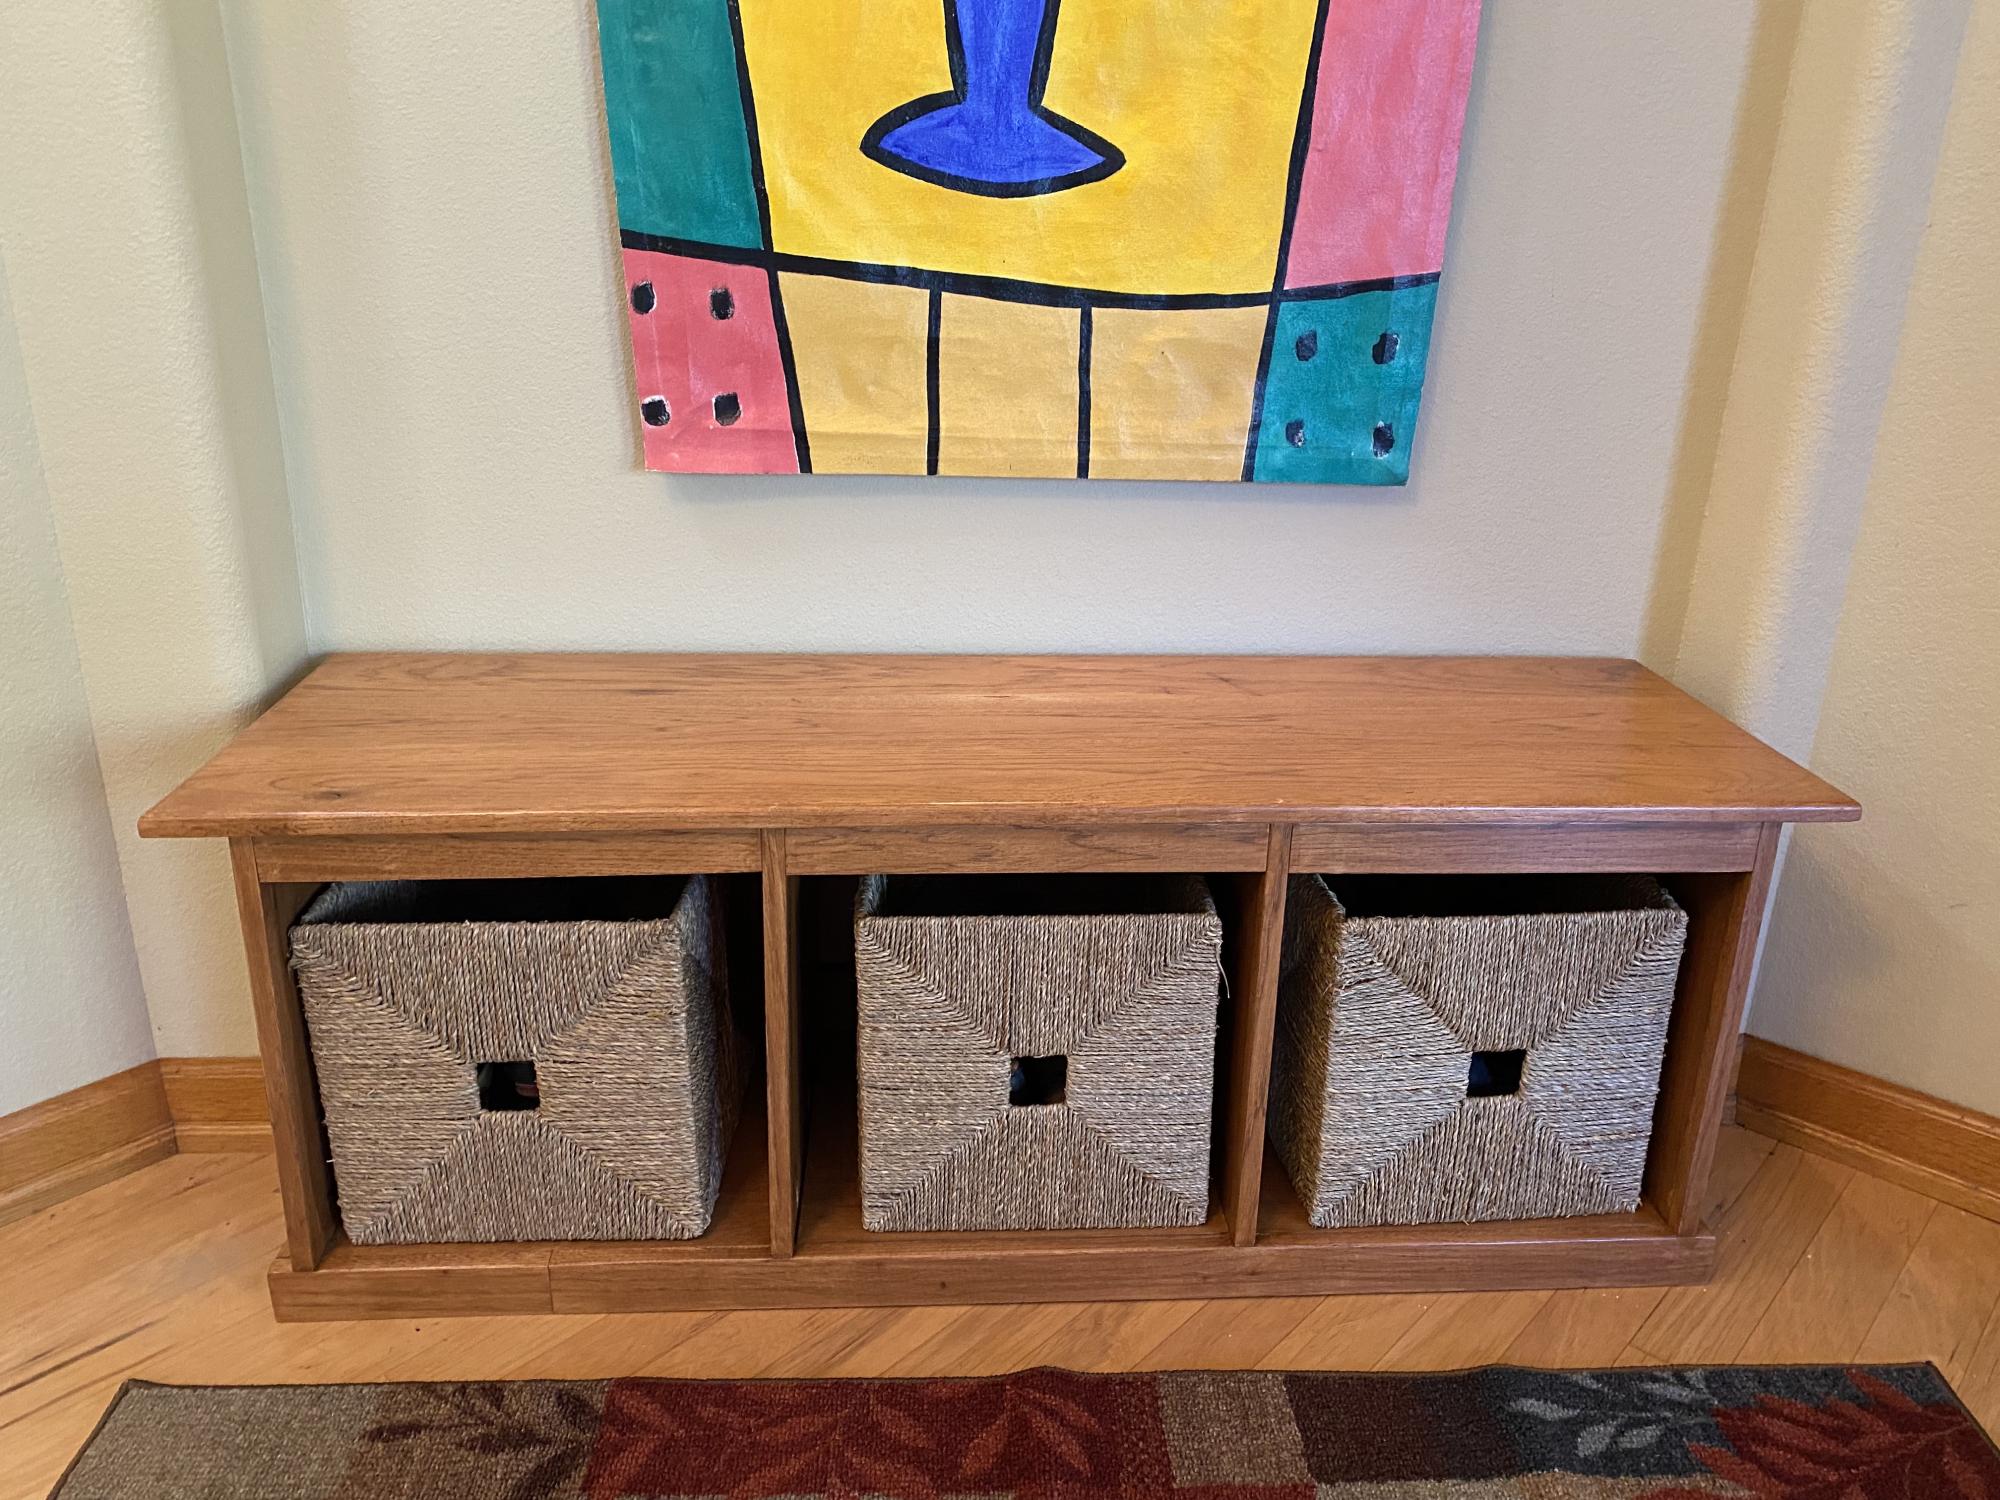
My entry way bench in Hickory

Submitted by Anonymous (not verified) on Tue, 12/28/2021 - 12:19

The bench plans were super helpful!!

Built from Plan(s)

Comments

Factory Cart Coffee Table

This was my first project, so it took me a while to make since I had to figure out what I was doing. But, it was so much fun and I'm excited to make more!

Built from Plan(s)
Estimated Time Investment
Week Long Project (20 Hours or More)
Finish Used
Minwax Red Mahogany, Minwax rub-on poly
Recommended Skill Level
Beginner

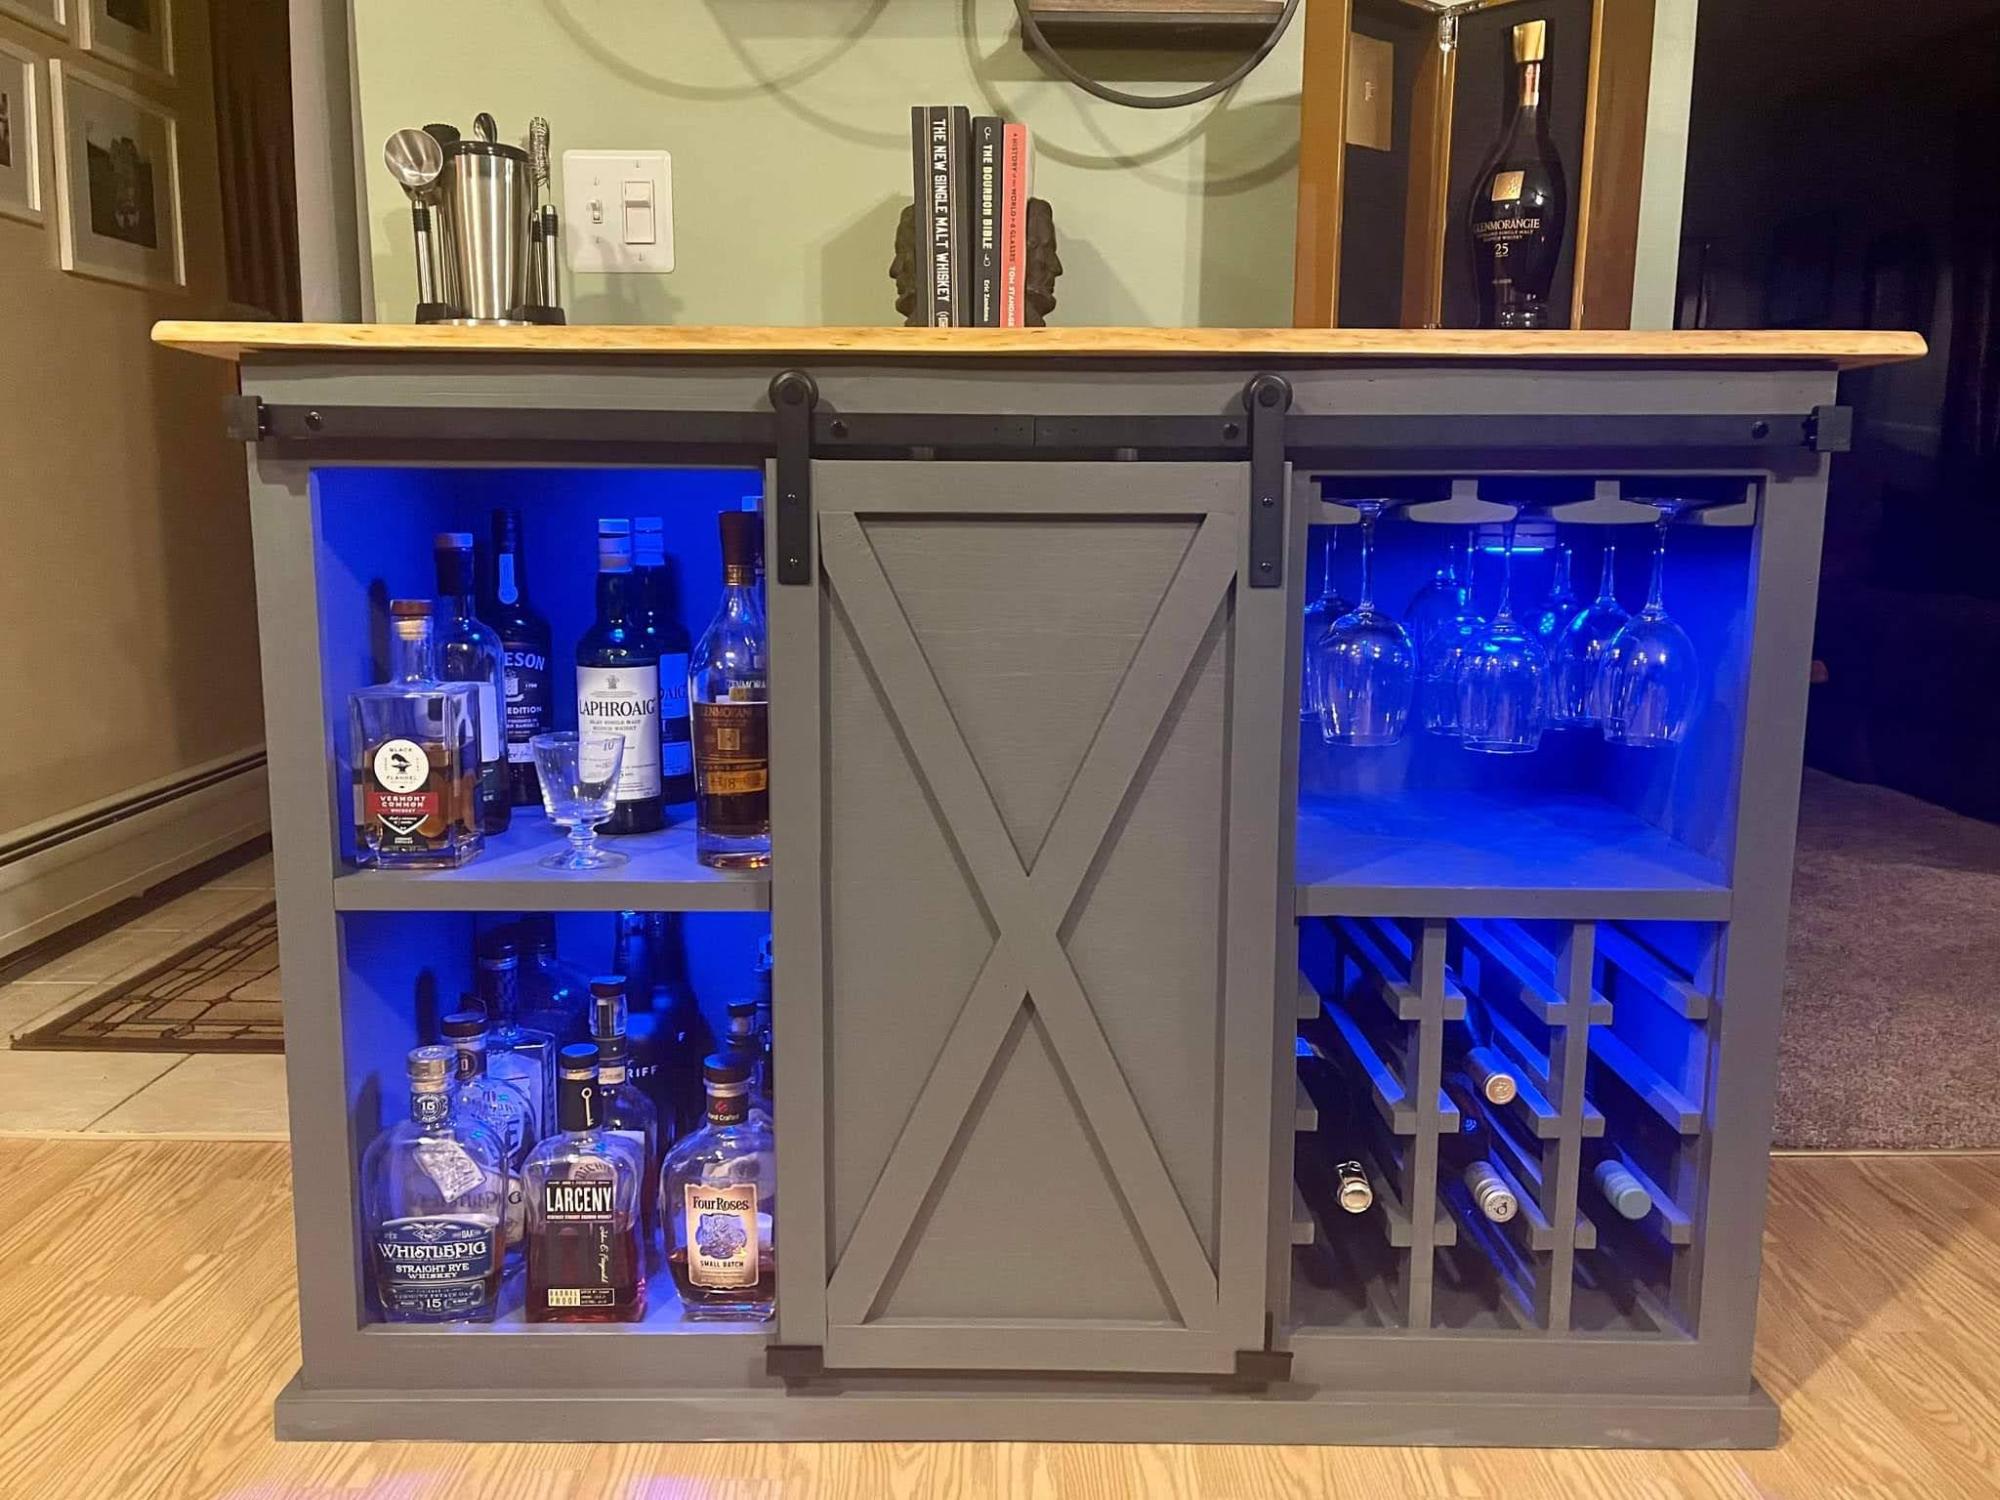
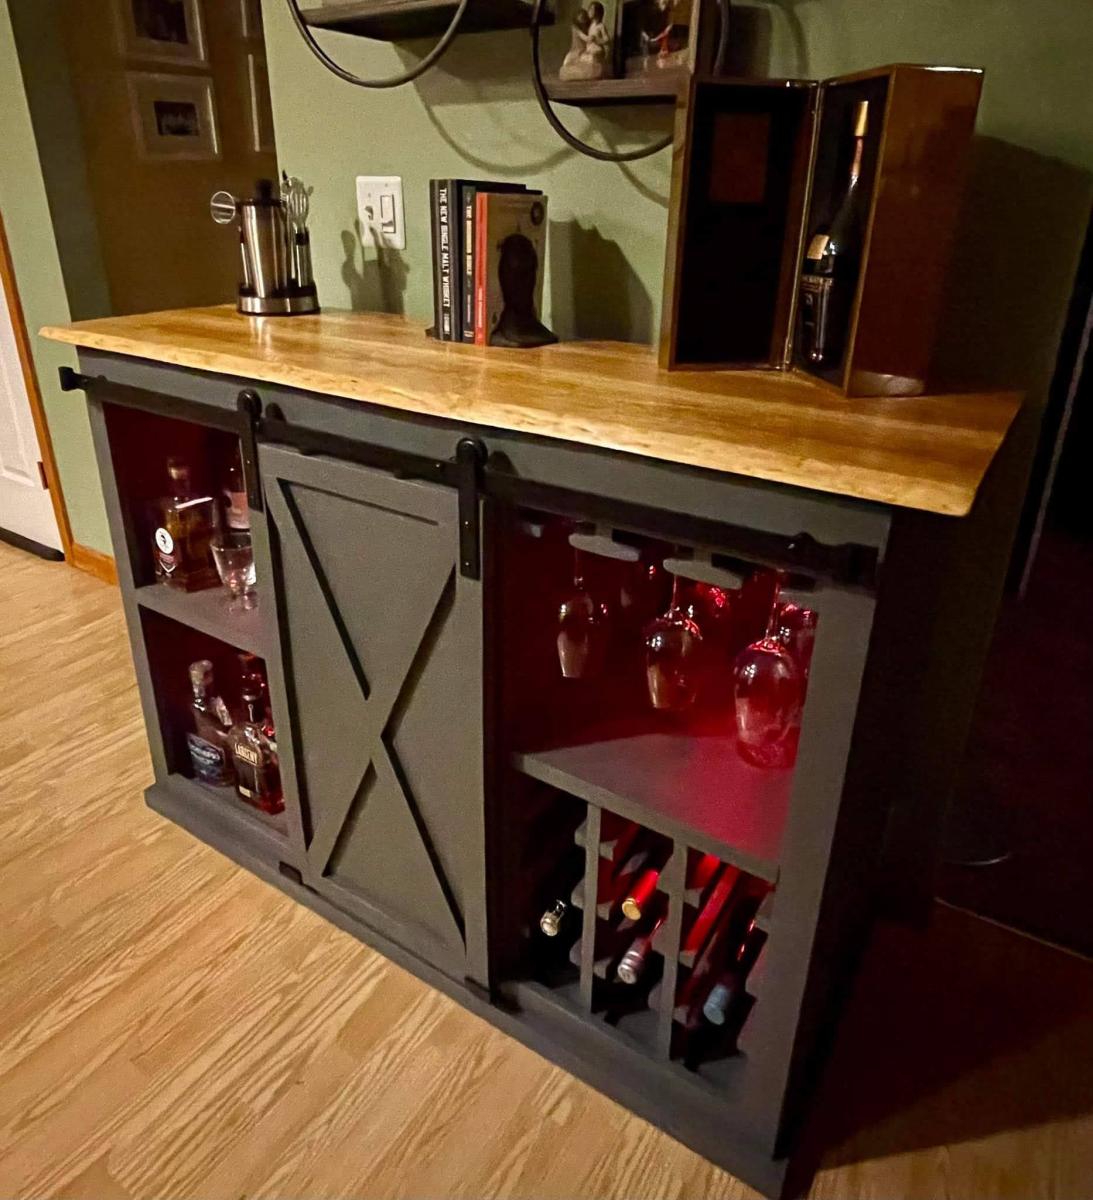
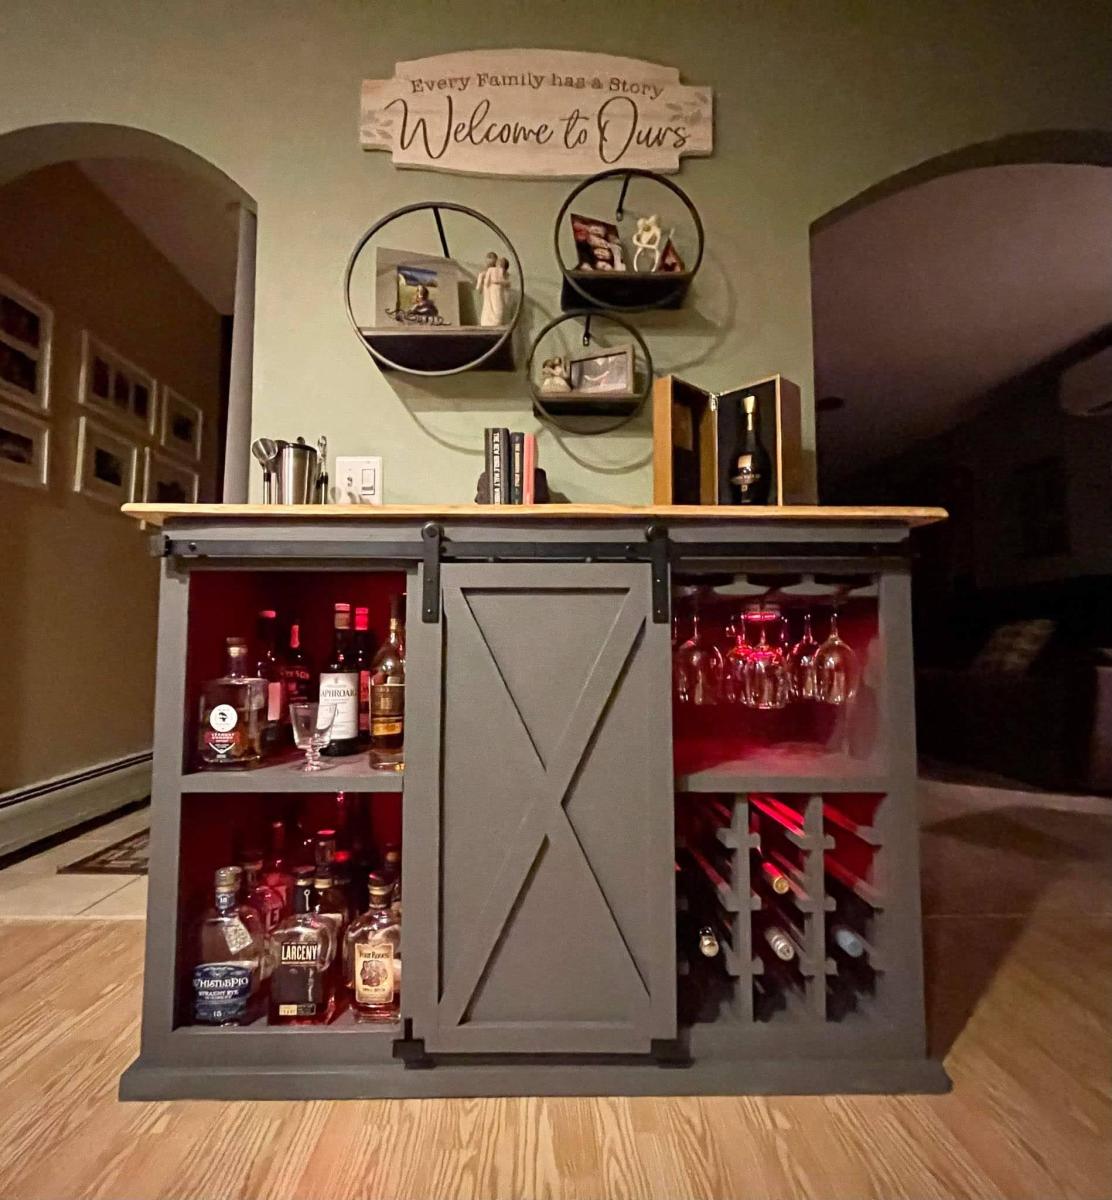
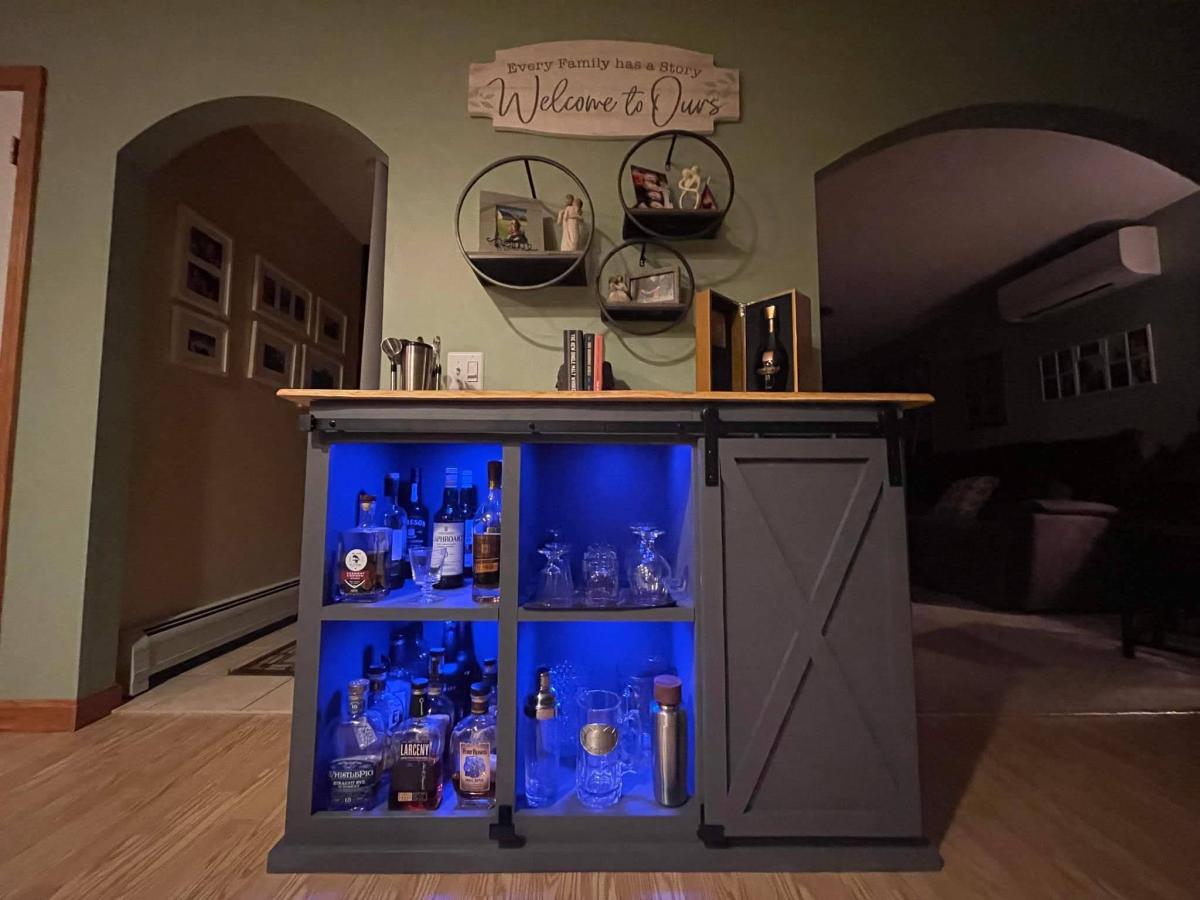
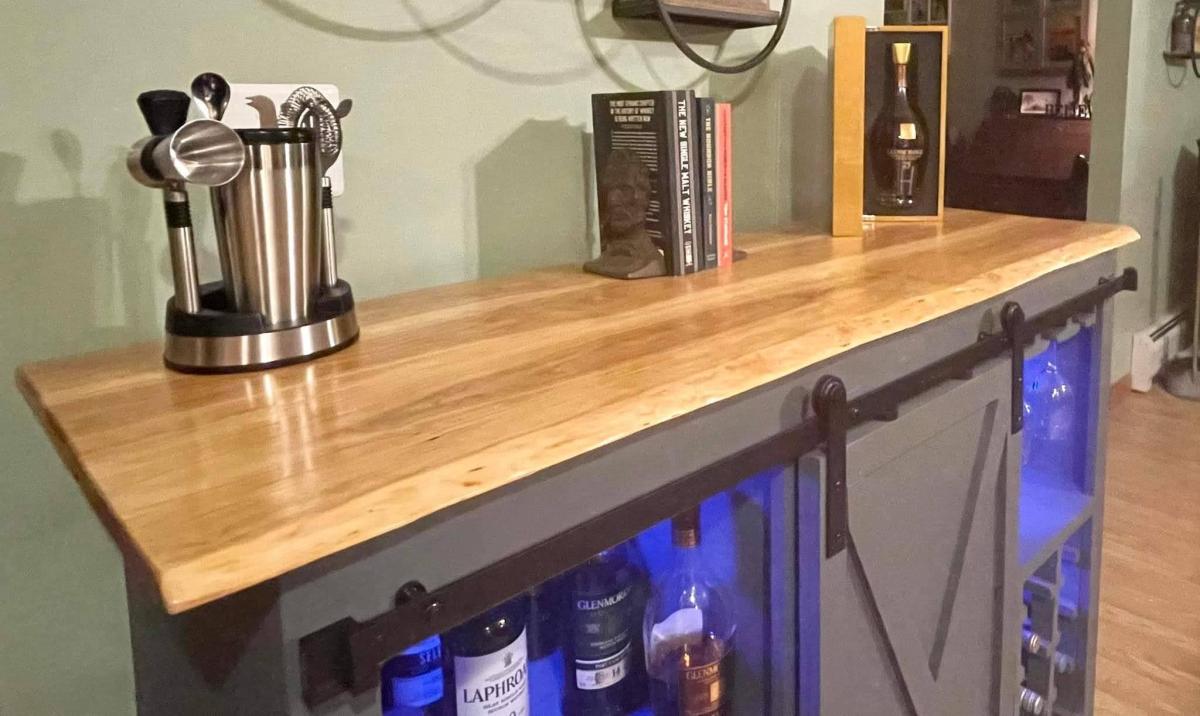
Whiskey/ Wine Bar

Submitted by Dan Dodd on Fri, 03/18/2022 - 13:43

Whiskey on the left, Wine rack & glass holders on the right with storage in the middle. Frame built mostly with Pine, painted with Peppercorn Grey. Cherry tabletop with live edge. Finished with boiled linseed oil and semi-gloss polyurethane. A whiskey Bar should be fun! Stick on lights in each bay battery powered, comes with remote with many color options.

Built from Plan(s)

Comments

Ana White Admin

Fri, 03/18/2022 - 17:41

It looks great and serves it purpose, love the added lights for fun! Thanks for sharing:)

Sideboard/Buffet

Submitted by rcnicks on Tue, 03/13/2018 - 14:03

This was a piece made by my husband for our outdoor living/patio area! Love how it turned out--and the walnut top was worth the extra money. Same wood that he used to make a fireplace mantle in the same outdoor area. The plank doors were leftover pieces we used to cover a ceiling, and created a great result. Found the Annie Sloan paint (Parisian Grey, I believe) and wax on a Buy/Sell Facebook site in our neighborhood and saved a little money.

Built from Plan(s)
Estimated Time Investment
Week Long Project (20 Hours or More)
Finish Used
Annie Sloan chalk paint and wax on base; Heavy floor type wax on walnut top
Recommended Skill Level
Intermediate

Comments

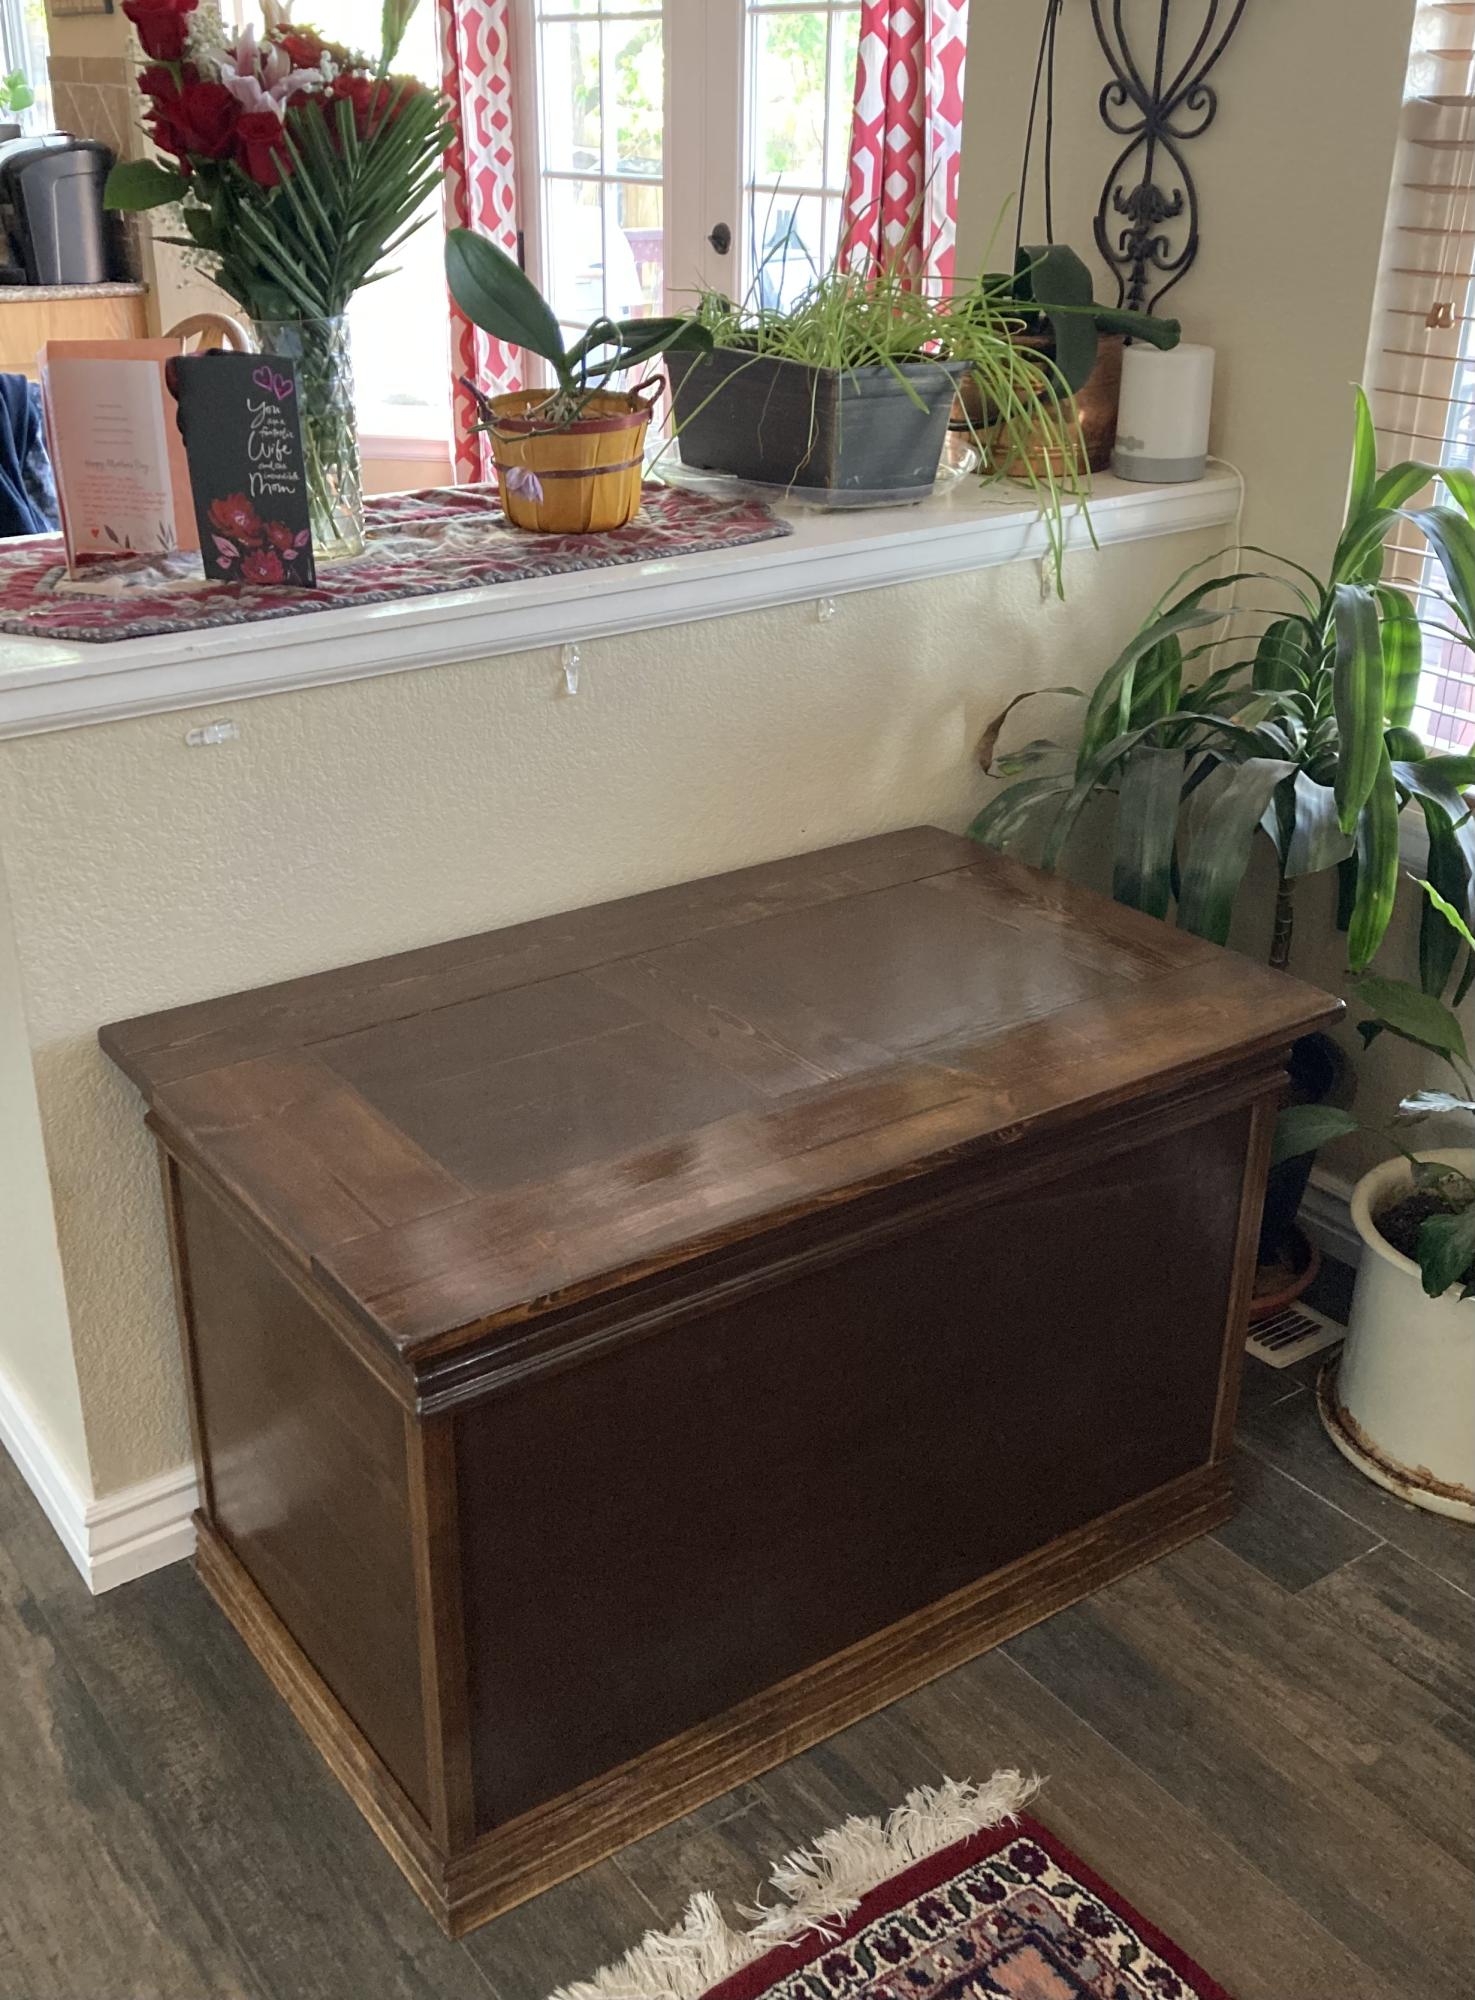
More than a Trunk

Submitted by jendon on Sun, 05/15/2022 - 19:55

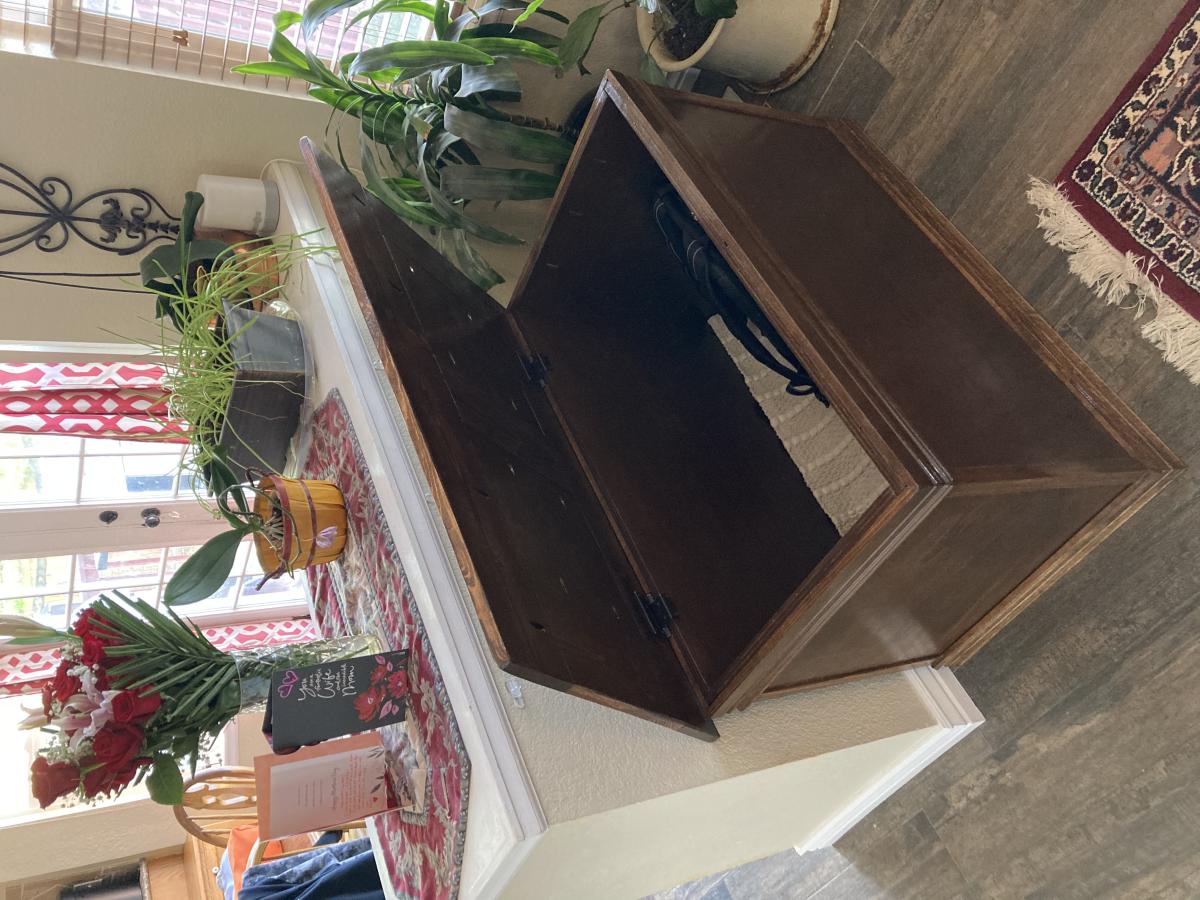
This project held two purposes: Father’s Day and my husband’s shoes/backpack. This was the perfect way to get them off of the floor and into something beautiful!
Both of my teenage kids help with different aspects of the build.
I will list what hinges and handles I used after reading all the other posts on this Becca Trunk.

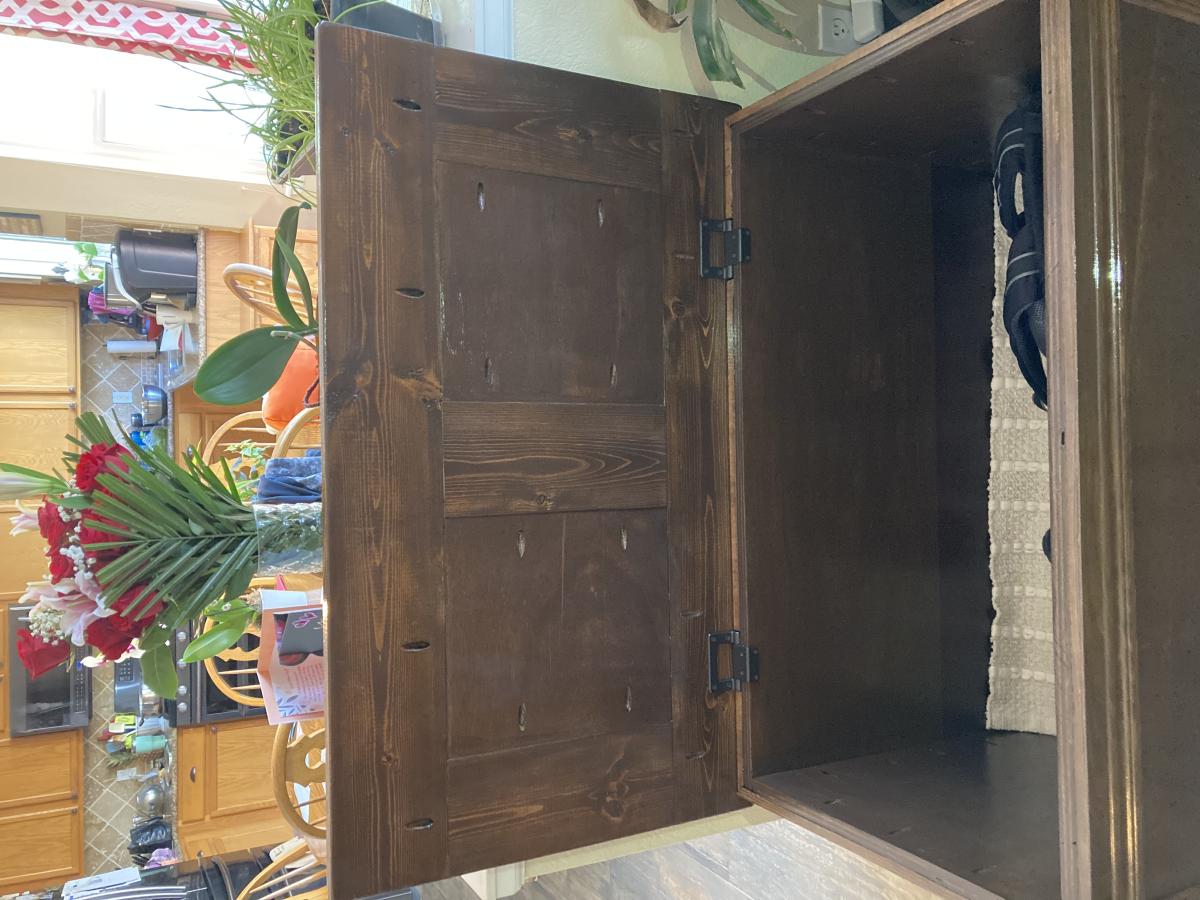
I did make my carcass taller and longer than the plans to hold my husband’s items plus some couch blankets. I have 4 supports on the bottom instead of three. I only used 3/4” hard plywood. I added an inch to each side of the lid, so it was easier to open. There are 2 coats of stain and 2 coats of 3x interior gloss poly made by Varthane on this trunk. I sanded with 320 sandpaper in between each coat of poly.
After reading all the posts about hinges, soft closing and looking at each picture, I came up with Torsion Hinges by Rockler. These hold up the lid at all different angles and give a soft close once lowered to a certain point.
I installed 2 sixty pound bronze torsion hinges with the assistance of their Hinge Jig. That helped me to make my lines and pre drill marks without guessing. Rockler has several videos on them and how to install, plus several on YouTube. I bought them on Amazon for less than the site and sold by Rockler. I did chisel out a small rectangle of the molding and it was easier than I thought. I was so nervous after building it all and now cutting some out of it, but it worked! I did one and my son the other one. The Rockler Jig was very helpful lining all this up. My hinges are 6” in from each side of the trunk. I set the lid in the right spot and drew lines where the hinge jig rest in my chiseled spots. Then flipped it over and lined up the jig again on the lid and knew where my holes were going.

I have just received my 3 set of handles. The others were not chunky enough for the size and the proper look.
Adonai Hardware "Phebe" Antique Iron Drop Pull (Supplied as 2 Pieces per Pack) - Black Powder Coated. I also got these on Amazon.

This trunk took time, but it was well worth it. So beautiful and worth it. My husband was so surprised and also knew it was for his shoes/backpack. He appreciated all the detail that went into it and lived that the three of us built it together for him.
Thank you Ana and Shanty 2 Chic for the plans and pictures. They are always so helpful. I have made many of your builds and I am learning from each one. Thank you again.
Blessings,
Jennifer

Built from Plan(s)

Comments

jendon

Mon, 05/16/2022 - 18:30

Thank you, Ana. I appreciate your kind words. You have really inspired me and you prepare myself and others for success with your plans and especially the videos. I have learned a lot from you! Thank you!! Blessings, Jennifer

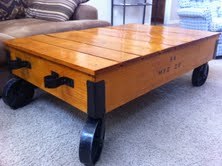
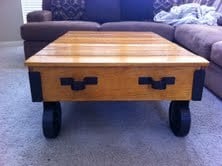
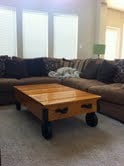
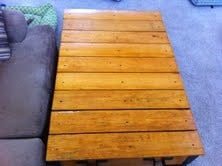
Third Project - Factory Cart Coffee Table

Submitted by scot price on Fri, 07/15/2011 - 12:37

This Factory Cart Coffee Table is my third project. I used pretty much the same design as the Factory Cart Coffee Table plans on the site, with some minor modification. We attached a few pieces of hardware to the sides, and corners of the table to add a little bit more of the industrial look.

Great plans, keep up the good work. I am beginning to build a lot of stuff now. The furniture all looks great, it has the look of homemade, and saves a lot of money over buying in a store.

Built from Plan(s)
Estimated Cost
$215
Estimated Time Investment
Afternoon Project (3-6 Hours)
Finish Used
The finish I used on this project was Bullseye Amber Shellac, and Deft Brushing Lacquer. I put down three coats of the Amber Shellac to give the wood a great amber color. I let the shellac dry for a couple days, then added six coats of the Deft Brushing Lacquer. I also spray painted all the hardware with Rustoleum Hammered Black Spray Paint.
Recommended Skill Level
Beginner

Comments

Pam the Goatherd

Sat, 07/16/2011 - 08:20

Been looking at these plans for a while trying to figure out where I could fit a table like this in my teensy-tiny house. Love your interpretation of it. The black hardware is a nice touch!
vaki (not verified)

Fri, 07/22/2011 - 12:41

Congratulations on your beautiful piece of furniture!
Where did you buy the casters and what size did you go for?

scot price

Thu, 07/28/2011 - 07:20

Hello,

Thanks...we really like the look of this piece in the house, and by building it ourselves it saved a ton of money.

I got the casters at Tractor Supply. They are 5 inch casters. The front two are able to swing 360 degree, and the back two are just straight casters. These were by far the most expensive portion of the project. I bought and tried 3 inch casters first, but these made for a really, really low table.

Guest (not verified)

Wed, 08/03/2011 - 19:23

I love the work you did on the table. Did you also stencil something? Did you get the hardware at the tractor supply store? Just beautiful.

scot price

Mon, 08/29/2011 - 08:54

Thank you so much. We did stencil something on the side (S & K MFG Co.). A mix of mine and my girlfriends name.

We got the hardware at Lowes, and the casters at Tractor Supply. The casters were the hardest part since I was looking for the old type casters used on the turn of the century carts, but those were way too hard to source.

Red Coat Tree

Submitted by StacieM on Wed, 08/03/2011 - 19:35

So I finally painted my coat tree this weekend (in the 105+ degree heat). I love it. It's far from perfect but it was only my second project and was a great learning project and serves great for towels, coats, hats, dog leashes, etc. Sorry about the poor photo.

Overall the project took much longer than it should have since I was cutting everything with a crooked cutting circular saw so getting the angles right took a long time. (I have learned that a power miter saw is worth every penny!)

I'm very happy with it. Thanks for the great plans Ana!

Estimated Cost
$10
Estimated Time Investment
Afternoon Project (3-6 Hours)
Finish Used
One coat of spray primer, two coats of Krylon Pimento spray paint (Satin finish).
Recommended Skill Level
Starter Project

cabin in the woods

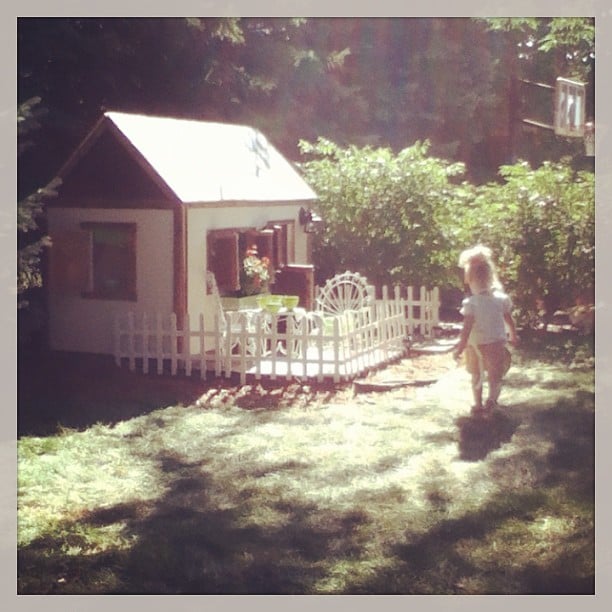
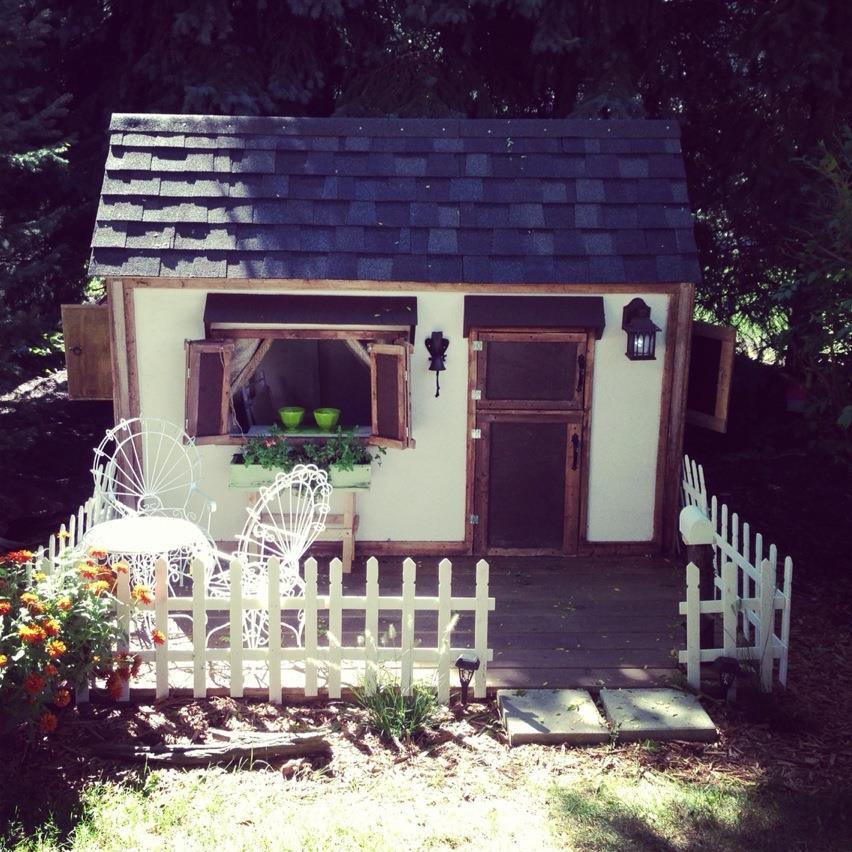
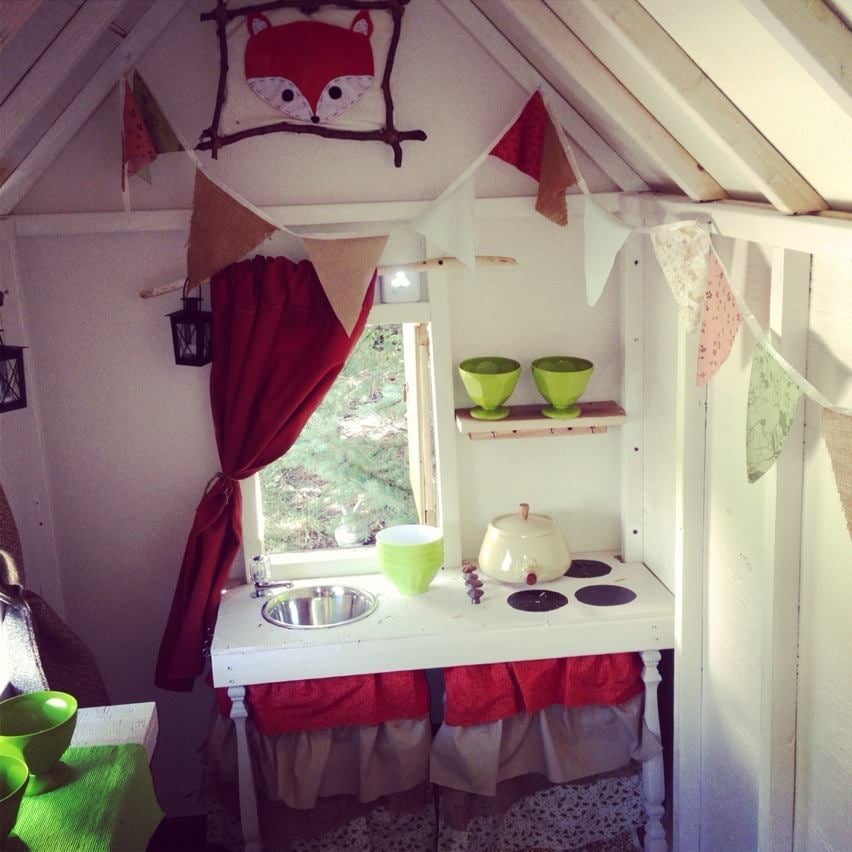
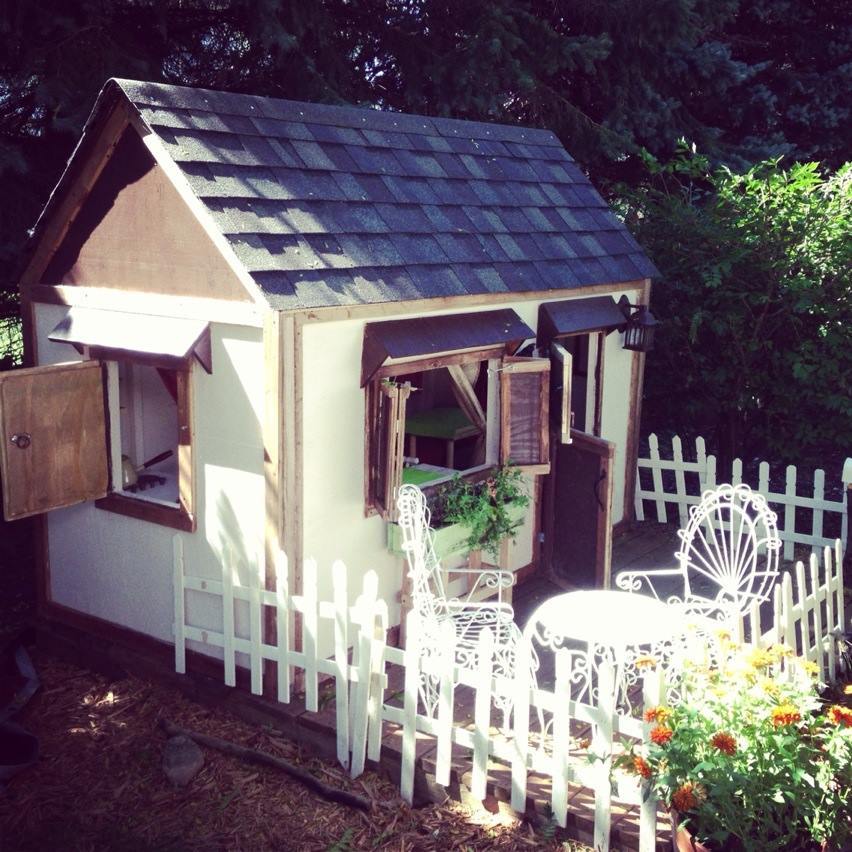
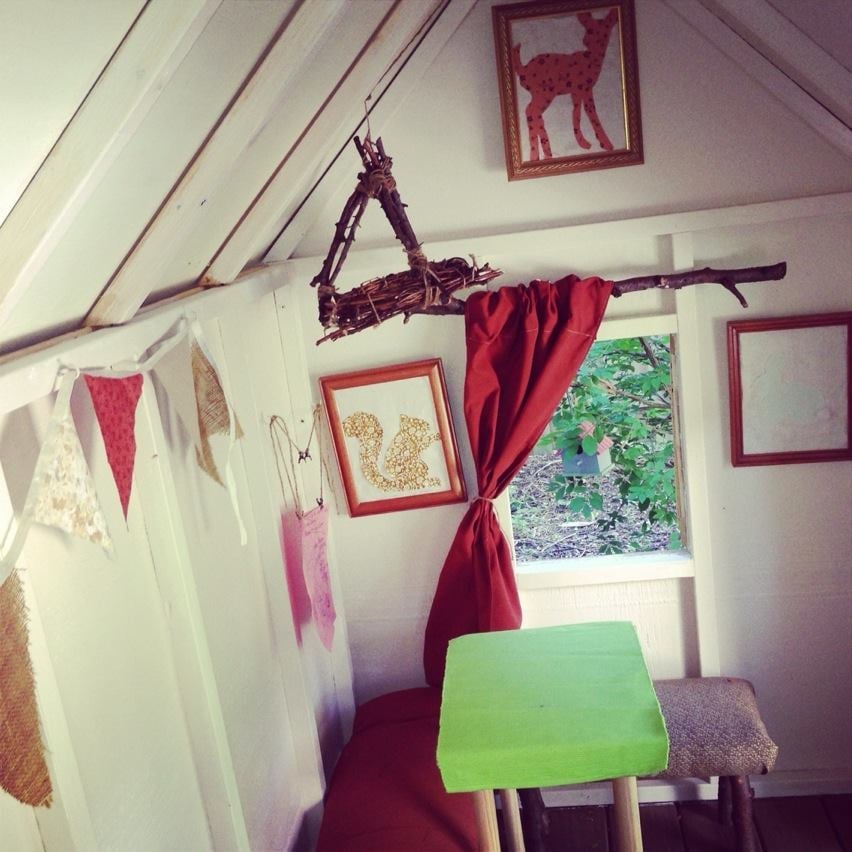
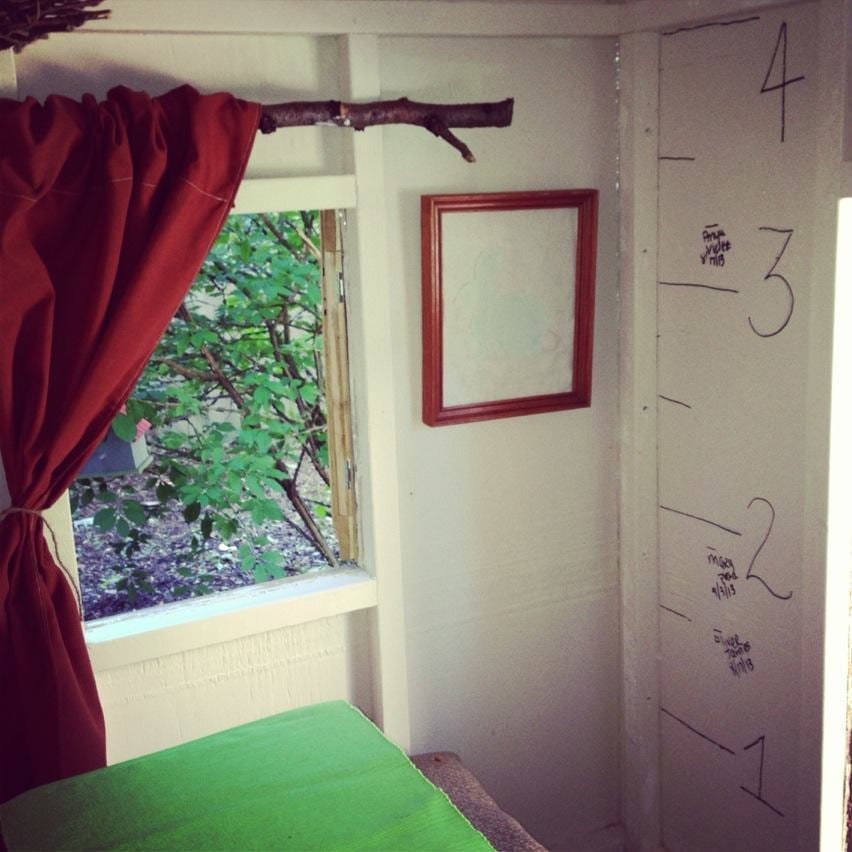
This was something I had always wanted to build for my nieces and nephew! it was a blast to build and see it come together. Two people working on this job is best. I loved the look of being able to open the doors top and bottom! I added the awnings above all the windows and doors to prevent as much water going into the playhouse as possible. The roofing was a little overwhelming at first but as we got going it turned out just fine! I wanted to lantern in the front to actually light up but I didn't want to run electricity so I got the lantern and put a motion sensor battery light on the inside and it works great! I also put one on the inside for more lighting there too, along with 3 battery "candle" lanterns. For the inside decoration I went with a wood land theme, put a growth chart on the inside wall to measure their height each year, and even made face masks! This is always and ongoing project for me seeing as how i'm always adding something new. The little ones love coming over and getting mail in the mailbox. Thanks Anna for the playhouse plans! I'm excited to see my nieces and nephews imaginations grow with all the possibilities the playhouse brings!

Estimated Cost
$250-$500
Estimated Time Investment
Week Long Project (20 Hours or More)
Finish Used
exterior paint from menards in "clam chowder" and the brown is exterior paint we had on hand.
Recommended Skill Level
Intermediate

Comments

amelierainfall

Tue, 07/29/2014 - 14:04

So I had a hard time figuring out which house to build for my daughter and your house gave me such inspiration! I cannot wait to make this for my little girls 2nd birthday. She loves play pretend. Thank you for your inspiration!

WHAT ANA INSPIRES!!!

Submitted by redhead_61 on Fri, 08/26/2011 - 09:36

I had a friend doing a class for a church activity on refinishing furniture. I think she mentioned to our leaders that I build furniture so two weeks ago she emailed me to see if I would be willing to participate and take a little time to talk. I said of course, and then in my true fashion of loving a good get-together and having a tendency to overdo things, I said, "we could even do a little project too".

I went onto this site printed off 5 projects under $30 and let anyone that wanted sign up. I figured the easiest way to let people build a project in an hour and a half was to pre-cut and pre-drill everything (Thank you to my new Kreg jig that let me rock that part out no problem)

I ended up cutting and drilling for 26 orders!!! EEK! I was a little like a mad hatter running around helping people that had never even held a drill before (so please excuse the LACK of pictures, including none of me doing anything at all :( ) But I think it turned out awesome and everyone was so excited.

I just wanted to post this as a little tribute to Ana for all the amazingness that you are. Thank you for helping those scared to even start.

Estimated Cost
under $30
Estimated Time Investment
An Hour or Two (0-2 Hours)
Recommended Skill Level
Starter Project

Comments

ferbit

Fri, 08/26/2011 - 10:03

What a fun idea!!! Looks like everyone was having a fantastic time!

Ana White

Fri, 08/26/2011 - 11:26

Thank you so much for sharing this! I can remember when my little sister took woodshop in high school, and we all looked at her like "what is woodshop" and "why on earth would you ever want to take woodshop - woodworking is for retired men!". Not too many years later, I was wishing I had taken wood shop!

This is so amazing to see because you are teaching these beautiful and courageous young laddies skills they will use throughout their lifetime. Not to mention the confidence to tackle other traditionally male trades. And I'm willing to bet, their daughters will be using drills too!

I'm so honored to know you!

And might I add, those projects look GOOD!

romanweel

Sun, 02/03/2013 - 12:17

MAN! I want to do something like this! What a wonderful thing to do to bring all those ladies together! (And tell Miss Red Shirt, I want a T just like hers! "Be Kind"!) Way to rock it out, all of you!

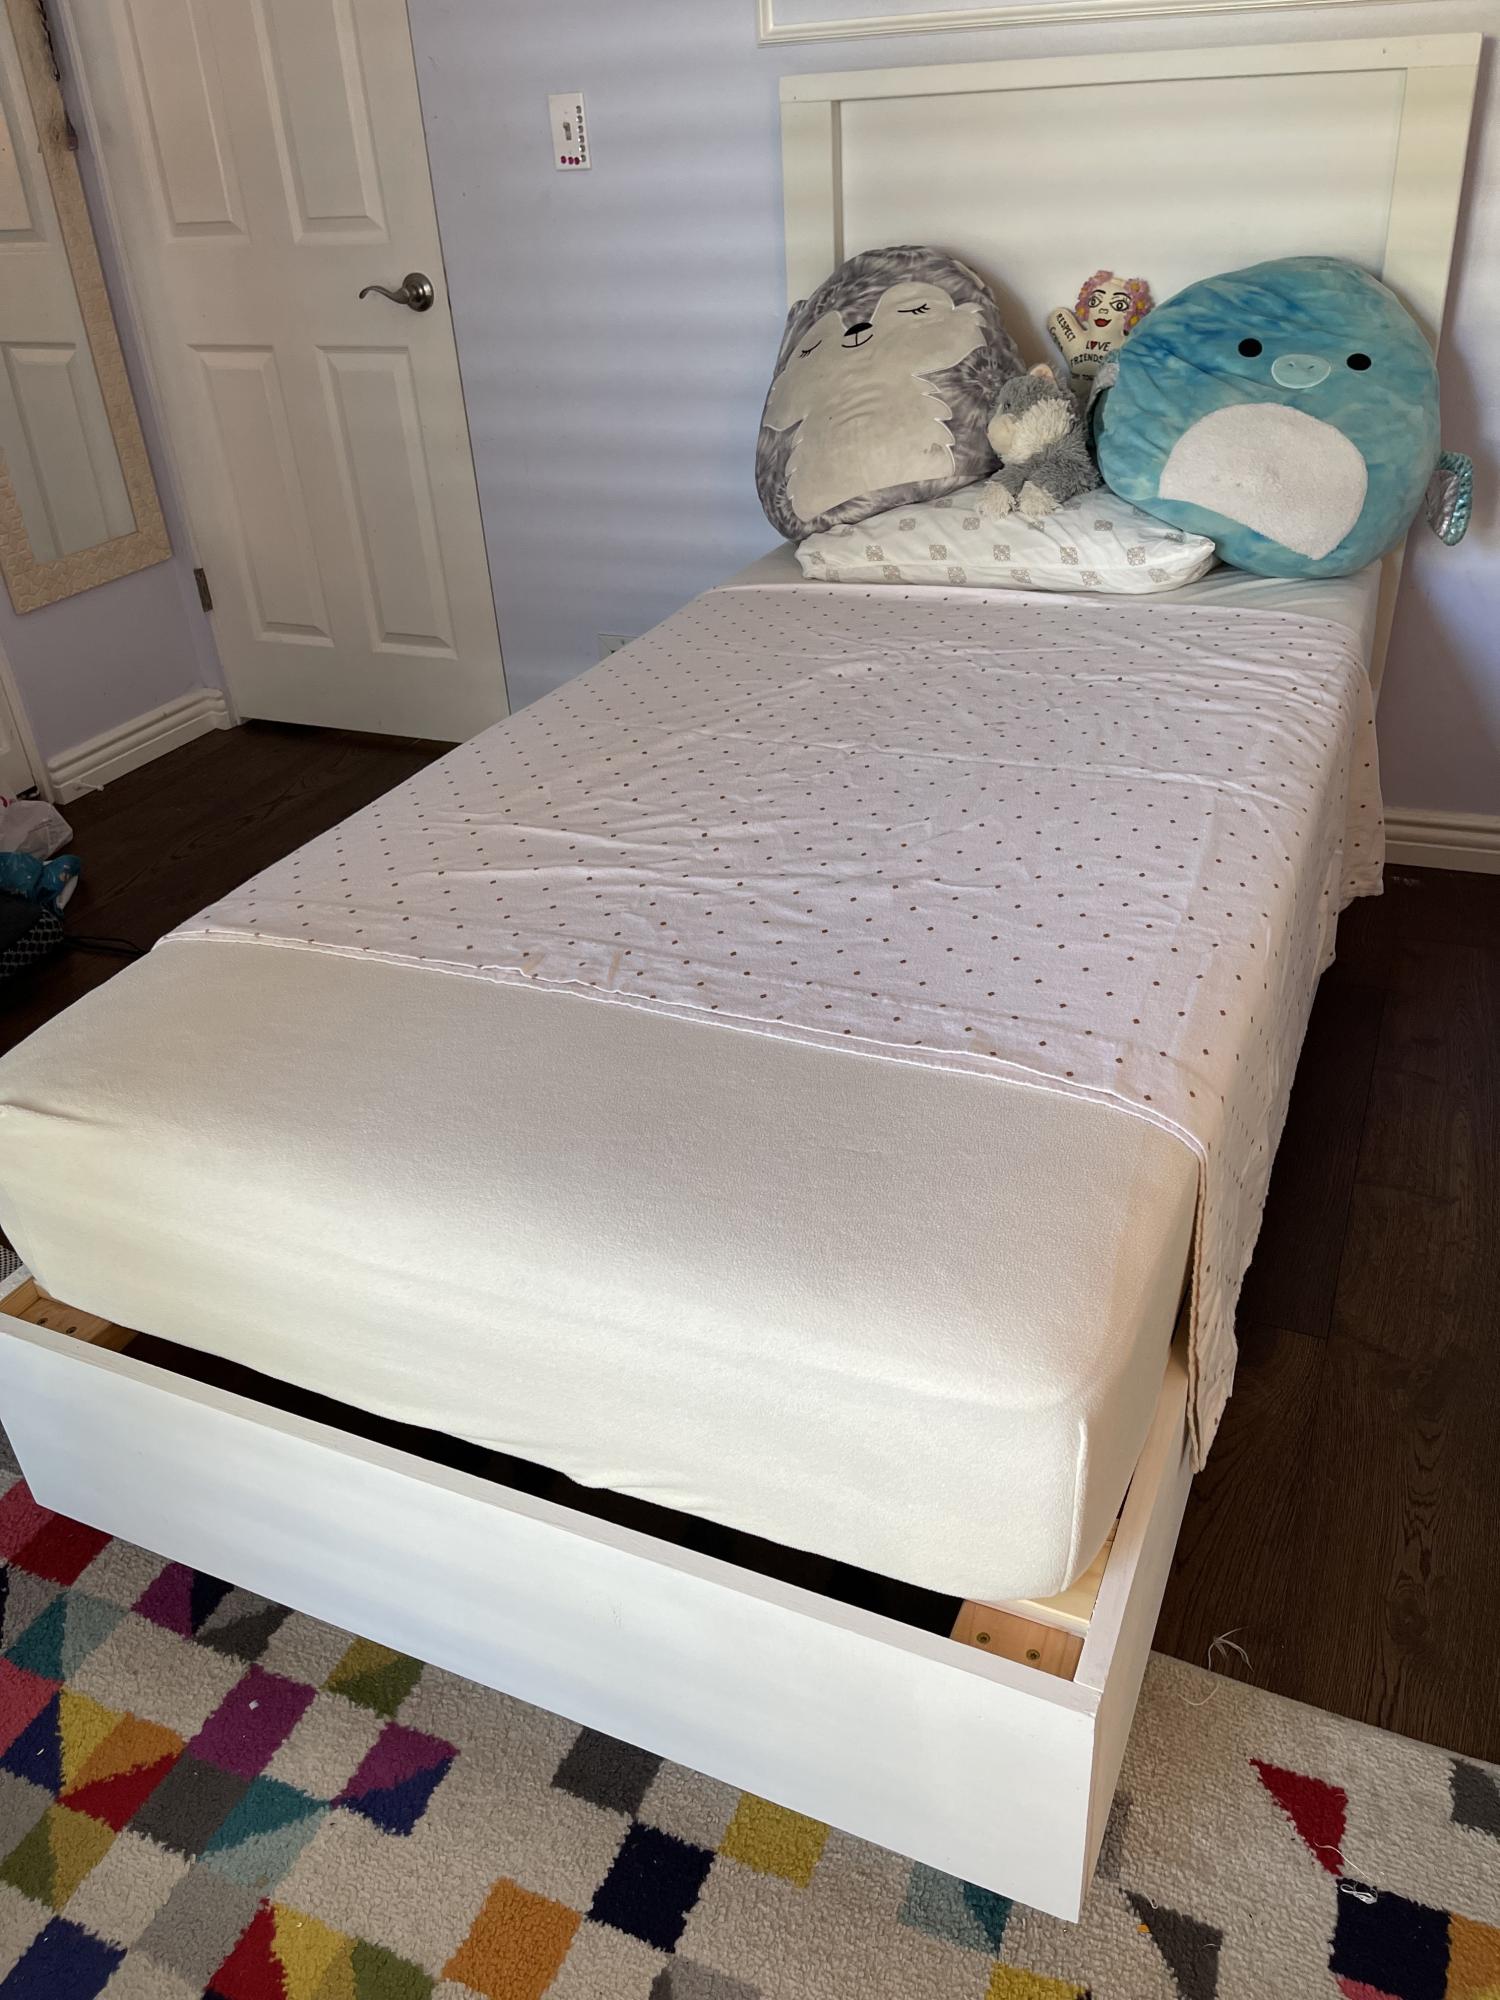
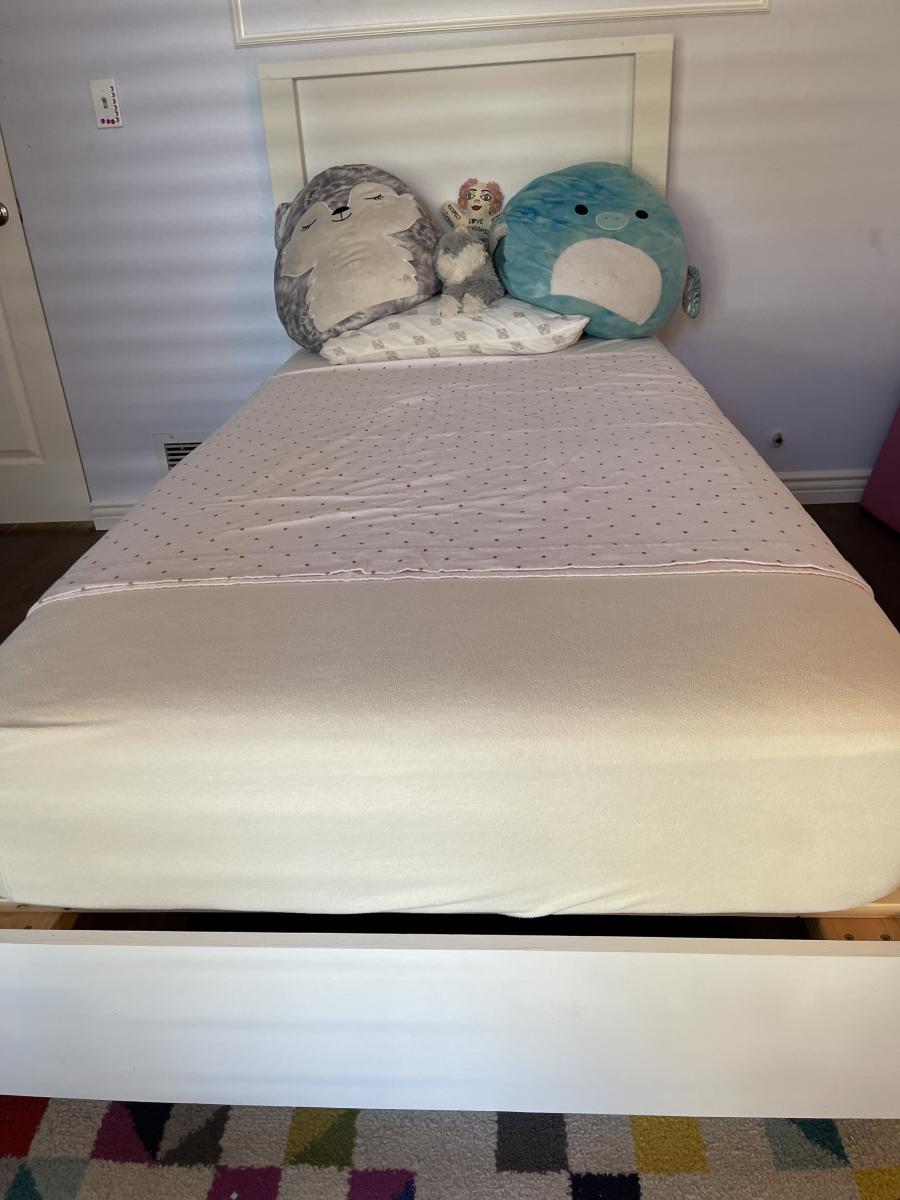
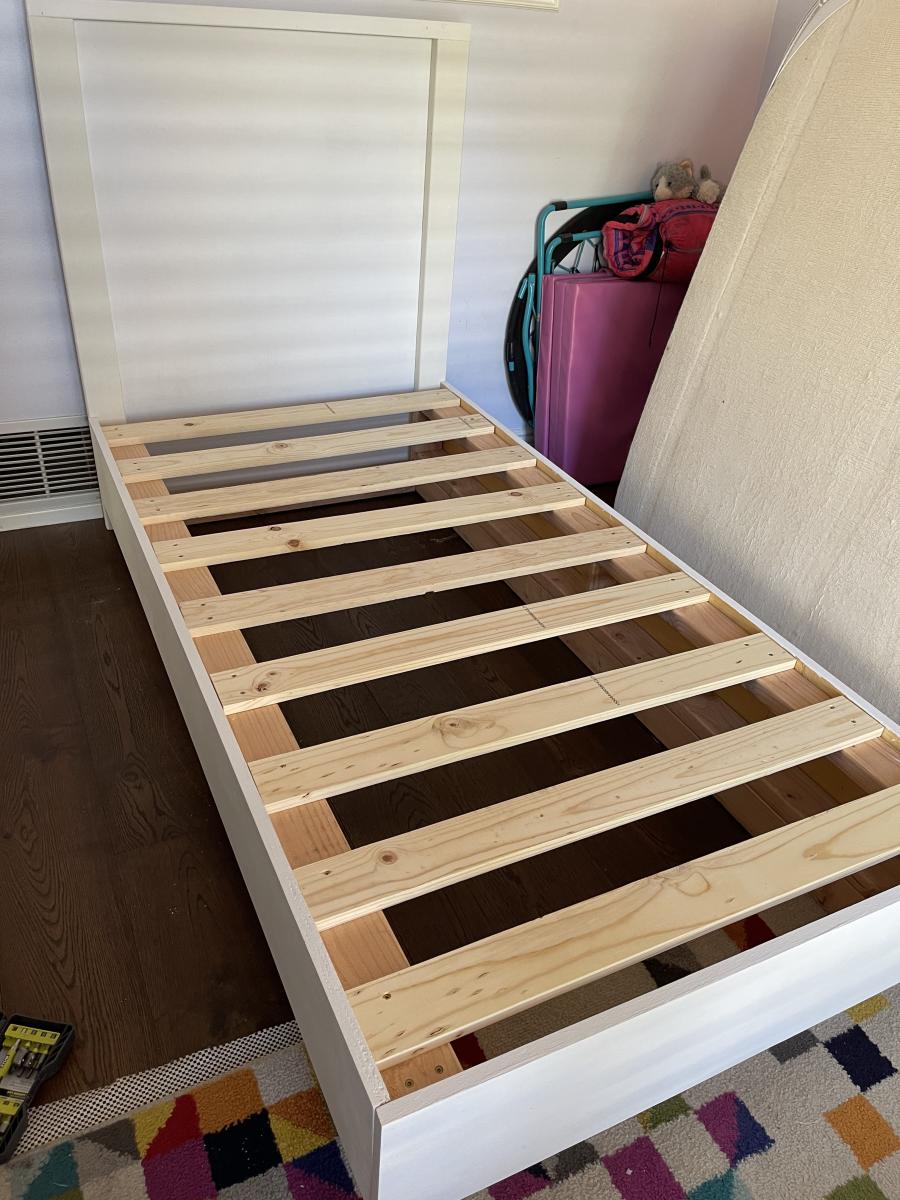
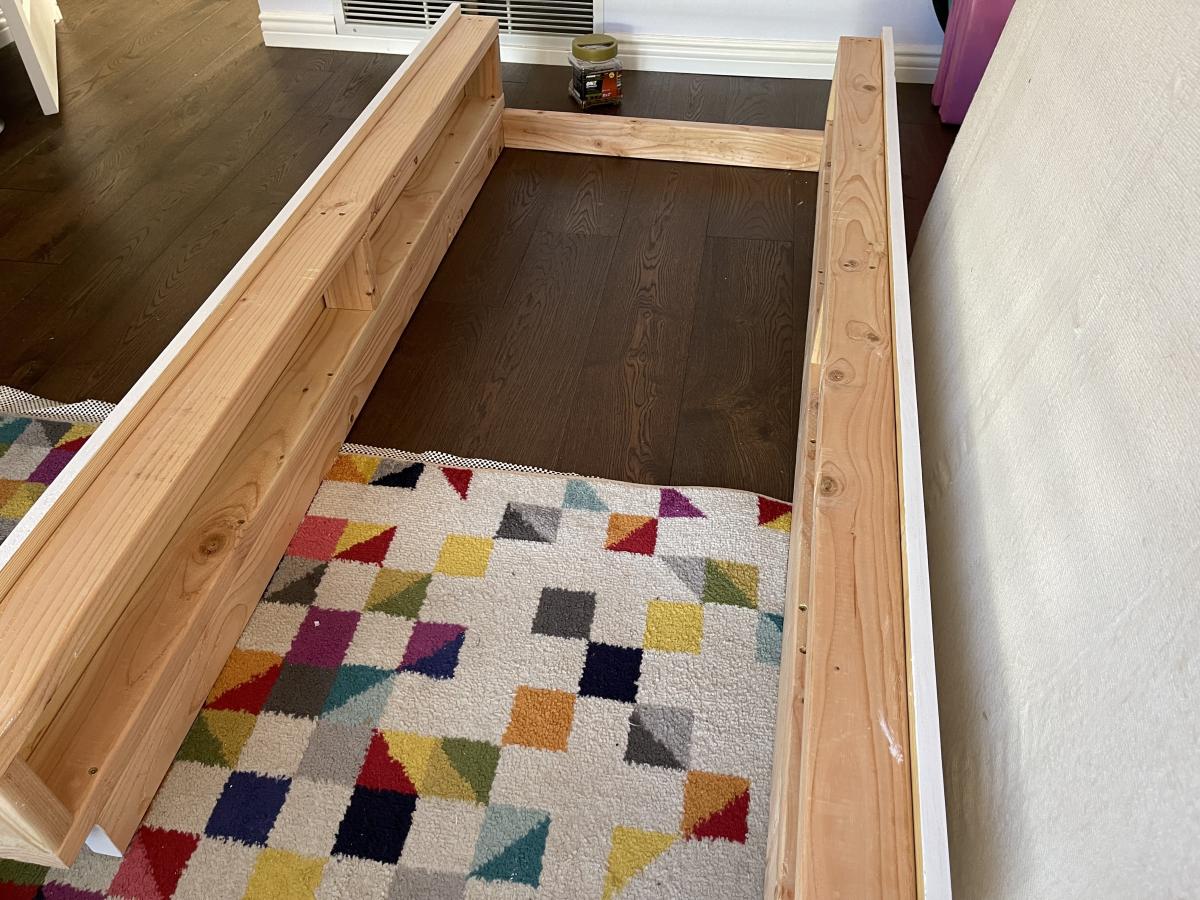
Floating bed

I built a floating bed using Ana's plans. In my case, I built a twin size bed which now my daughter enjoys every night. The bed turned out beautiful and very sturdy.

Comments

Octagon picnic table

Submitted by Anonymous (not verified) on Fri, 03/03/2023 - 02:27

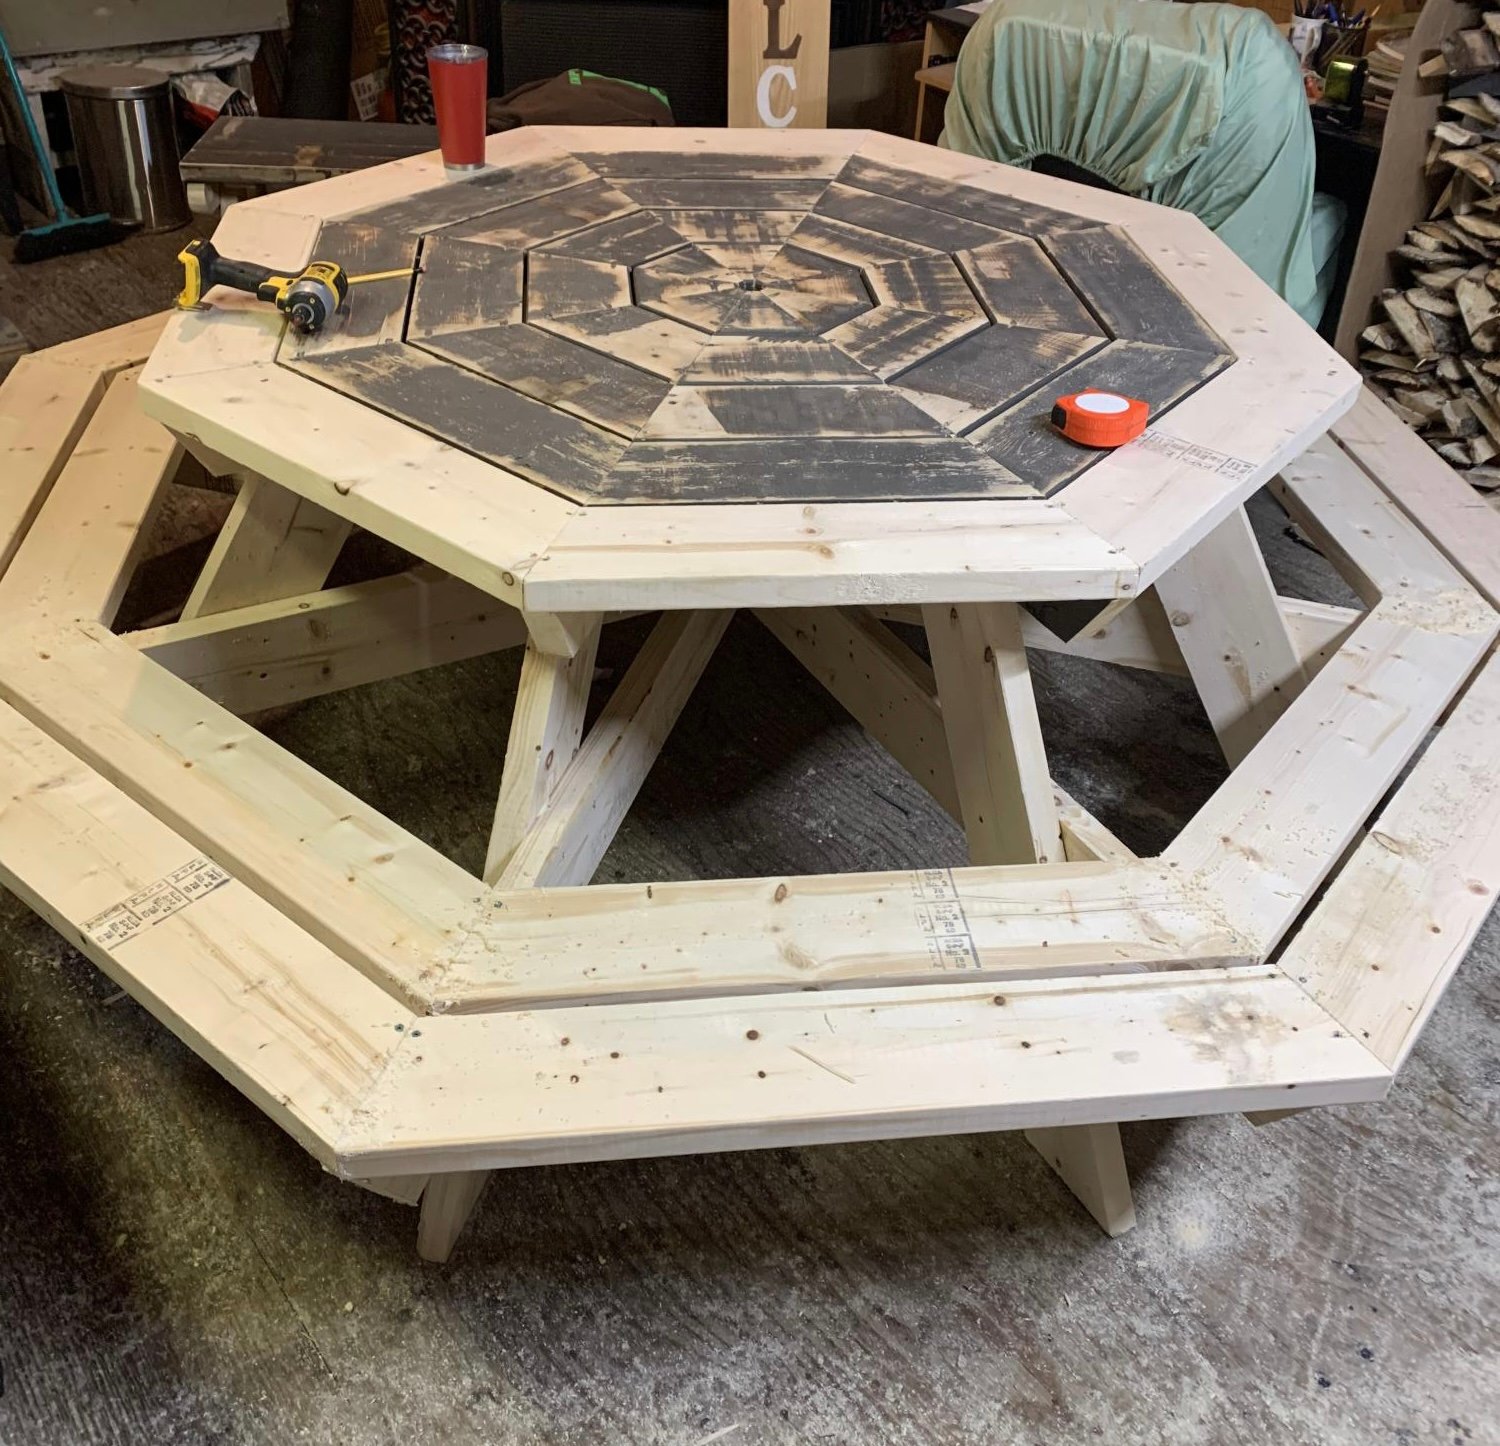
Great project . Easy plan to read .

Built from Plan(s)

Comments

Rustic Headboard

Submitted by beingbrook on Wed, 11/09/2011 - 08:26

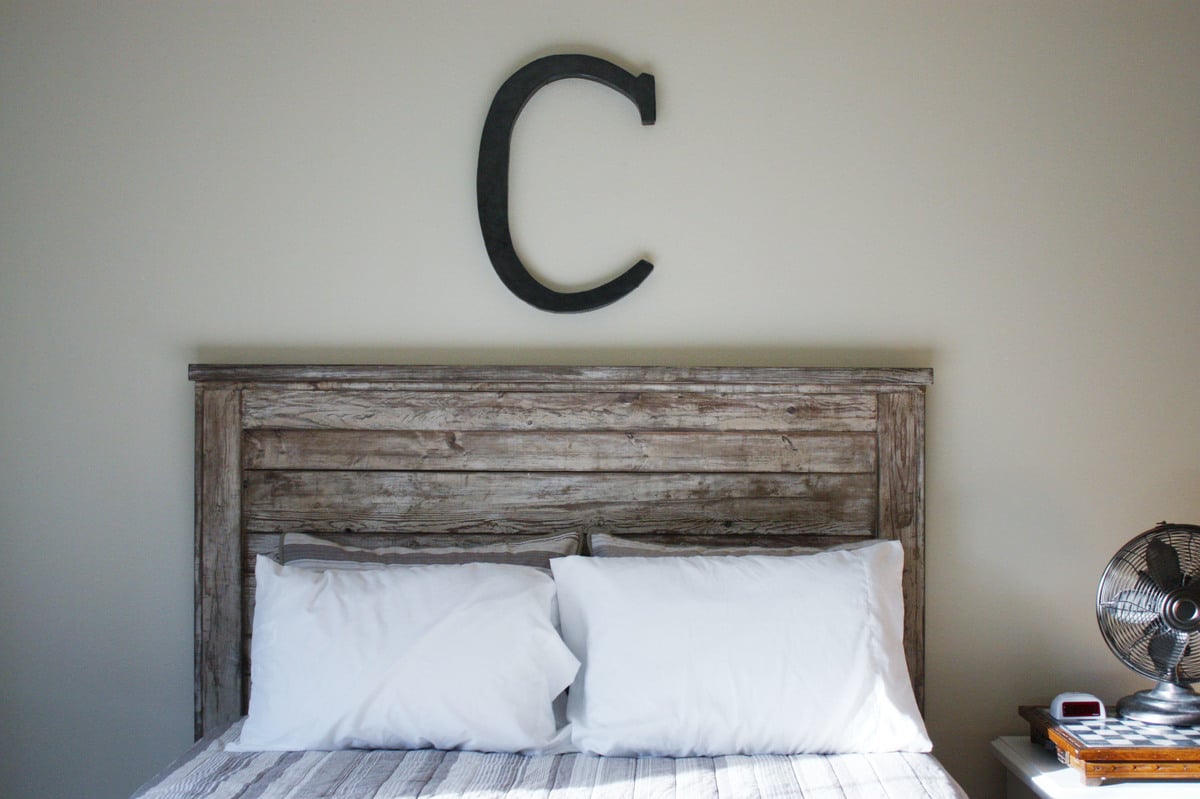
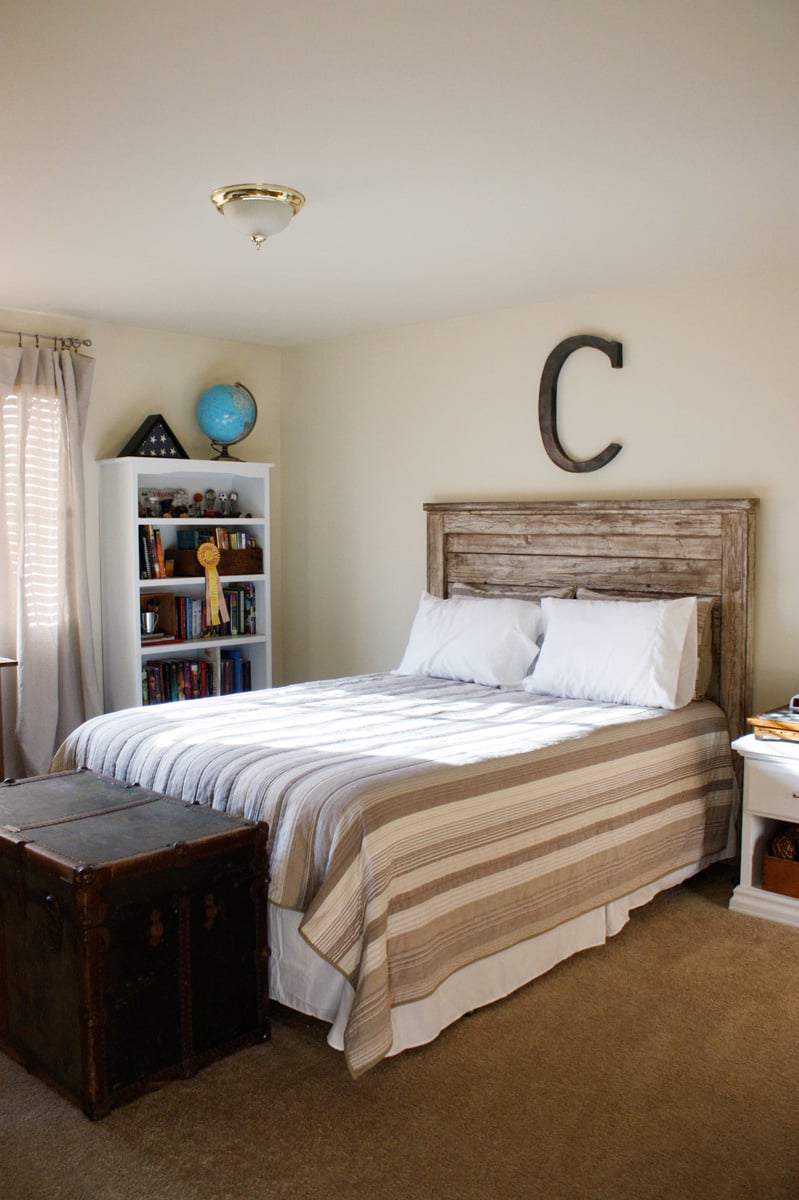
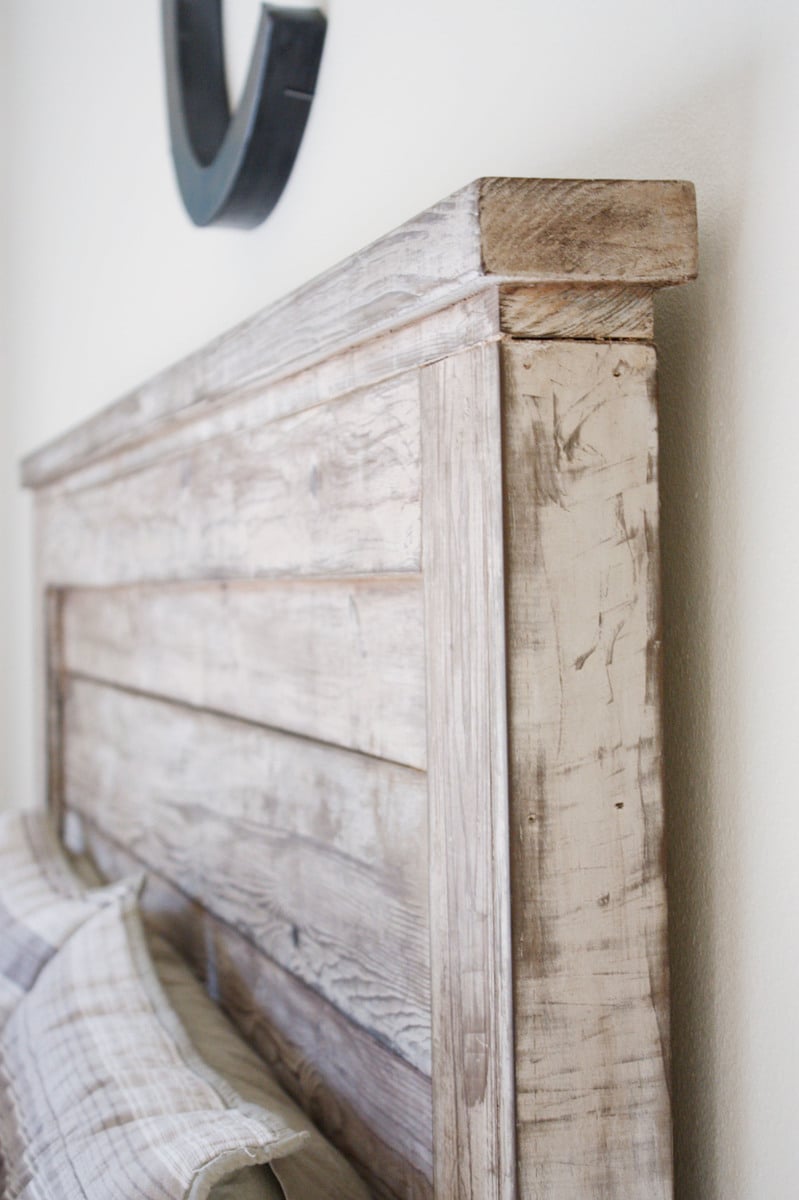
Rustic headboard built in an afternoon. Total cost was only $35!

Estimated Cost
$40-60
Estimated Time Investment
Afternoon Project (3-6 Hours)
Finish Used
Oxidized the wood using tea followed by steel wool/vinegar mix. Finished with Annie Sloan clear wax. A detailed explanation can be found at my blog: http://beingbrook.com/rustic-headboard-aged-wood/
Recommended Skill Level
Starter Project

Comments

scott56

Wed, 11/09/2011 - 12:46

I thought the 56 in headboard was a little excessive. So I cut it down a foot. If you decide to do this take 6 inches off the top and the bottom so it looks portionally correct. Another thing I did that was not mentioned in the what I have read so far was use kregs joints to connect the inner panel. If you build it from the back you will not see any joints except the top ones on the foot board. I patched them with that elmers patch stuff and are no longer visible. Minus all the sanding I built two beds in a half day.

Ava-Drew

Wed, 11/09/2011 - 15:52

I was thinking of doing this headboard for the farmhouse storage bed. Did you use 4x4s or build the legs the way they are in the plan? I have several 3x3s for legs that I was planing on using with the kreg. How easy was it to get the boards lined up with the kreg?

Guest (not verified)

Tue, 11/15/2011 - 10:34

how much did you sand this headboard?

thanks

Brook@BeingBrook (not verified)

Tue, 11/15/2011 - 10:39

We sanded the boards before building since we got the cheapest grade of lumber they had. I also sanded it about 10 minutes after I removed all the paint stripper.

Brook@BeingBrook (not verified)

Tue, 11/15/2011 - 11:51

No just used a power sander. Was going for a rustic wood look so didn't worry about the sanding being perfect. Just wanted it smooth enough not to snag anything.

Mario (not verified)

Wed, 06/06/2012 - 12:37

Congratulations !!! and thanks for inspiring us by posting these photos of a terrific job!

I was just wondering..how did you manage to get the perfect light brown - chocolate tint shown on these photos??

I've followed the process described (oxidized the wood using tea followed by steel wool/vinegar mix) to the point. However, the result is grey tinted. even tried applying the process to different types of wood and applying less mix..even sanding it after the project dried and applying the clear wax..Same GREY result..

Please help!!

Brook @ BeingBrook (not verified)

Wed, 06/06/2012 - 13:26

Different woods will give a different finish. This project turned out a little browner than the other times I've used the tea/vinegar treatment. Probably because it was previously painted and then stripped. You can also buy dark wax that will help change the color. You might try finding a stain that is the color that you want and staining your project. Good luck!

Ante

Wed, 07/10/2013 - 12:53

where does the white come from in your wood. did you strip pre primed pine then tea and oxidation? thanks,ante

Farmhouse Entryway console

Submitted by Anonymous (not verified) on Fri, 03/17/2023 - 15:29

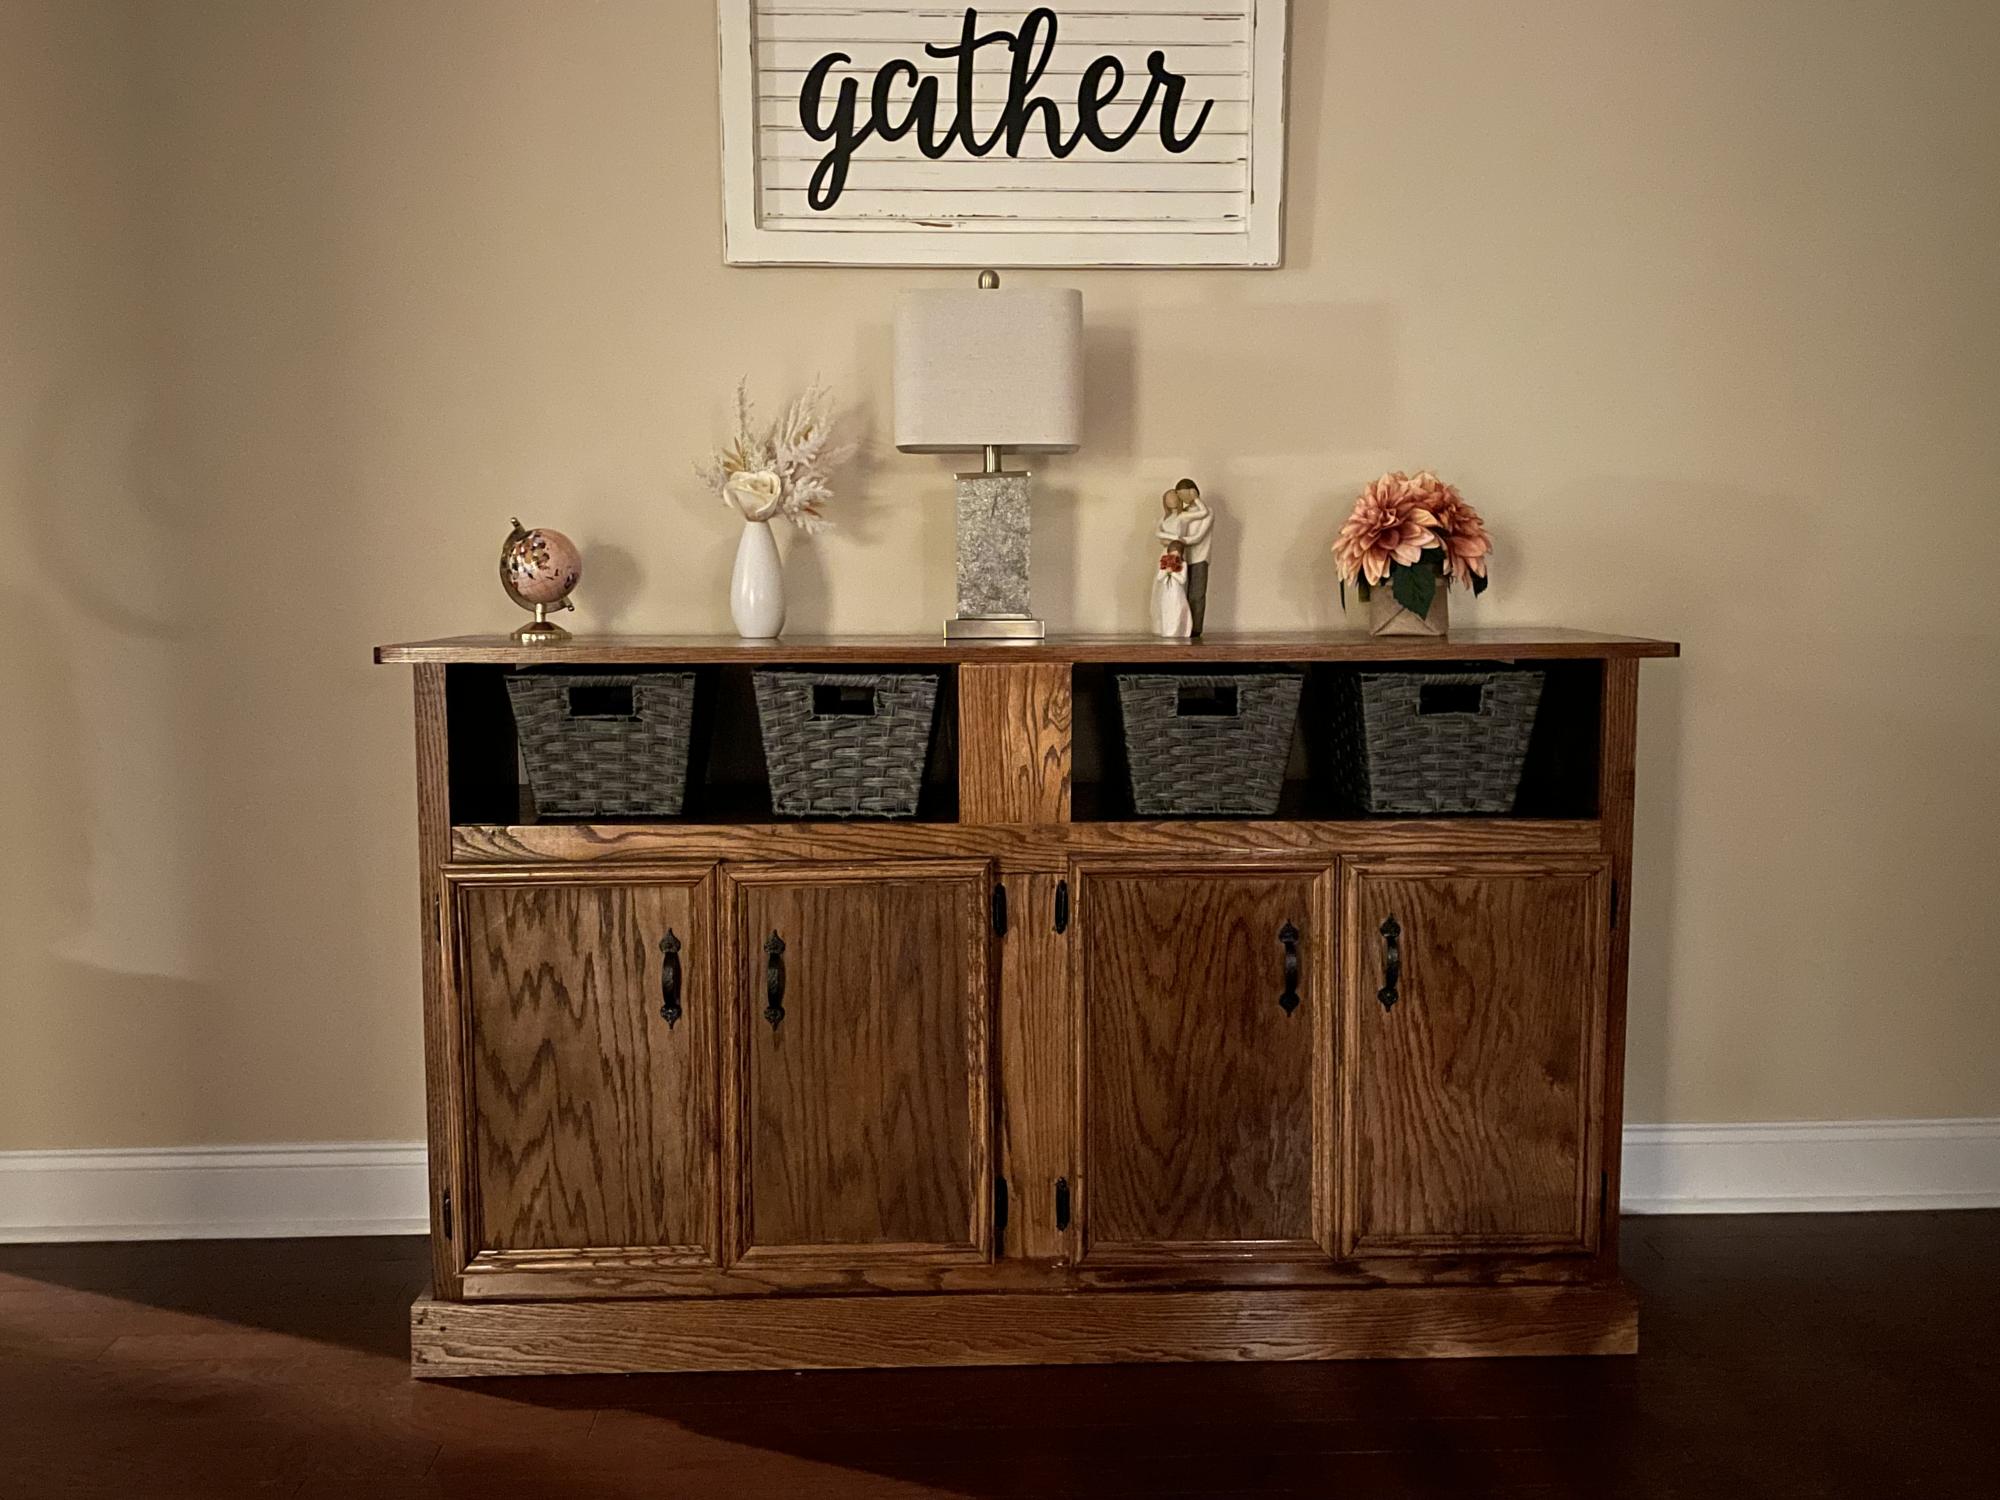
I saw these plans several months ago and finally got the time I wanted to make it. I chose oak because it’s the best and prettiest stained. I love the way it turned out!

Comments