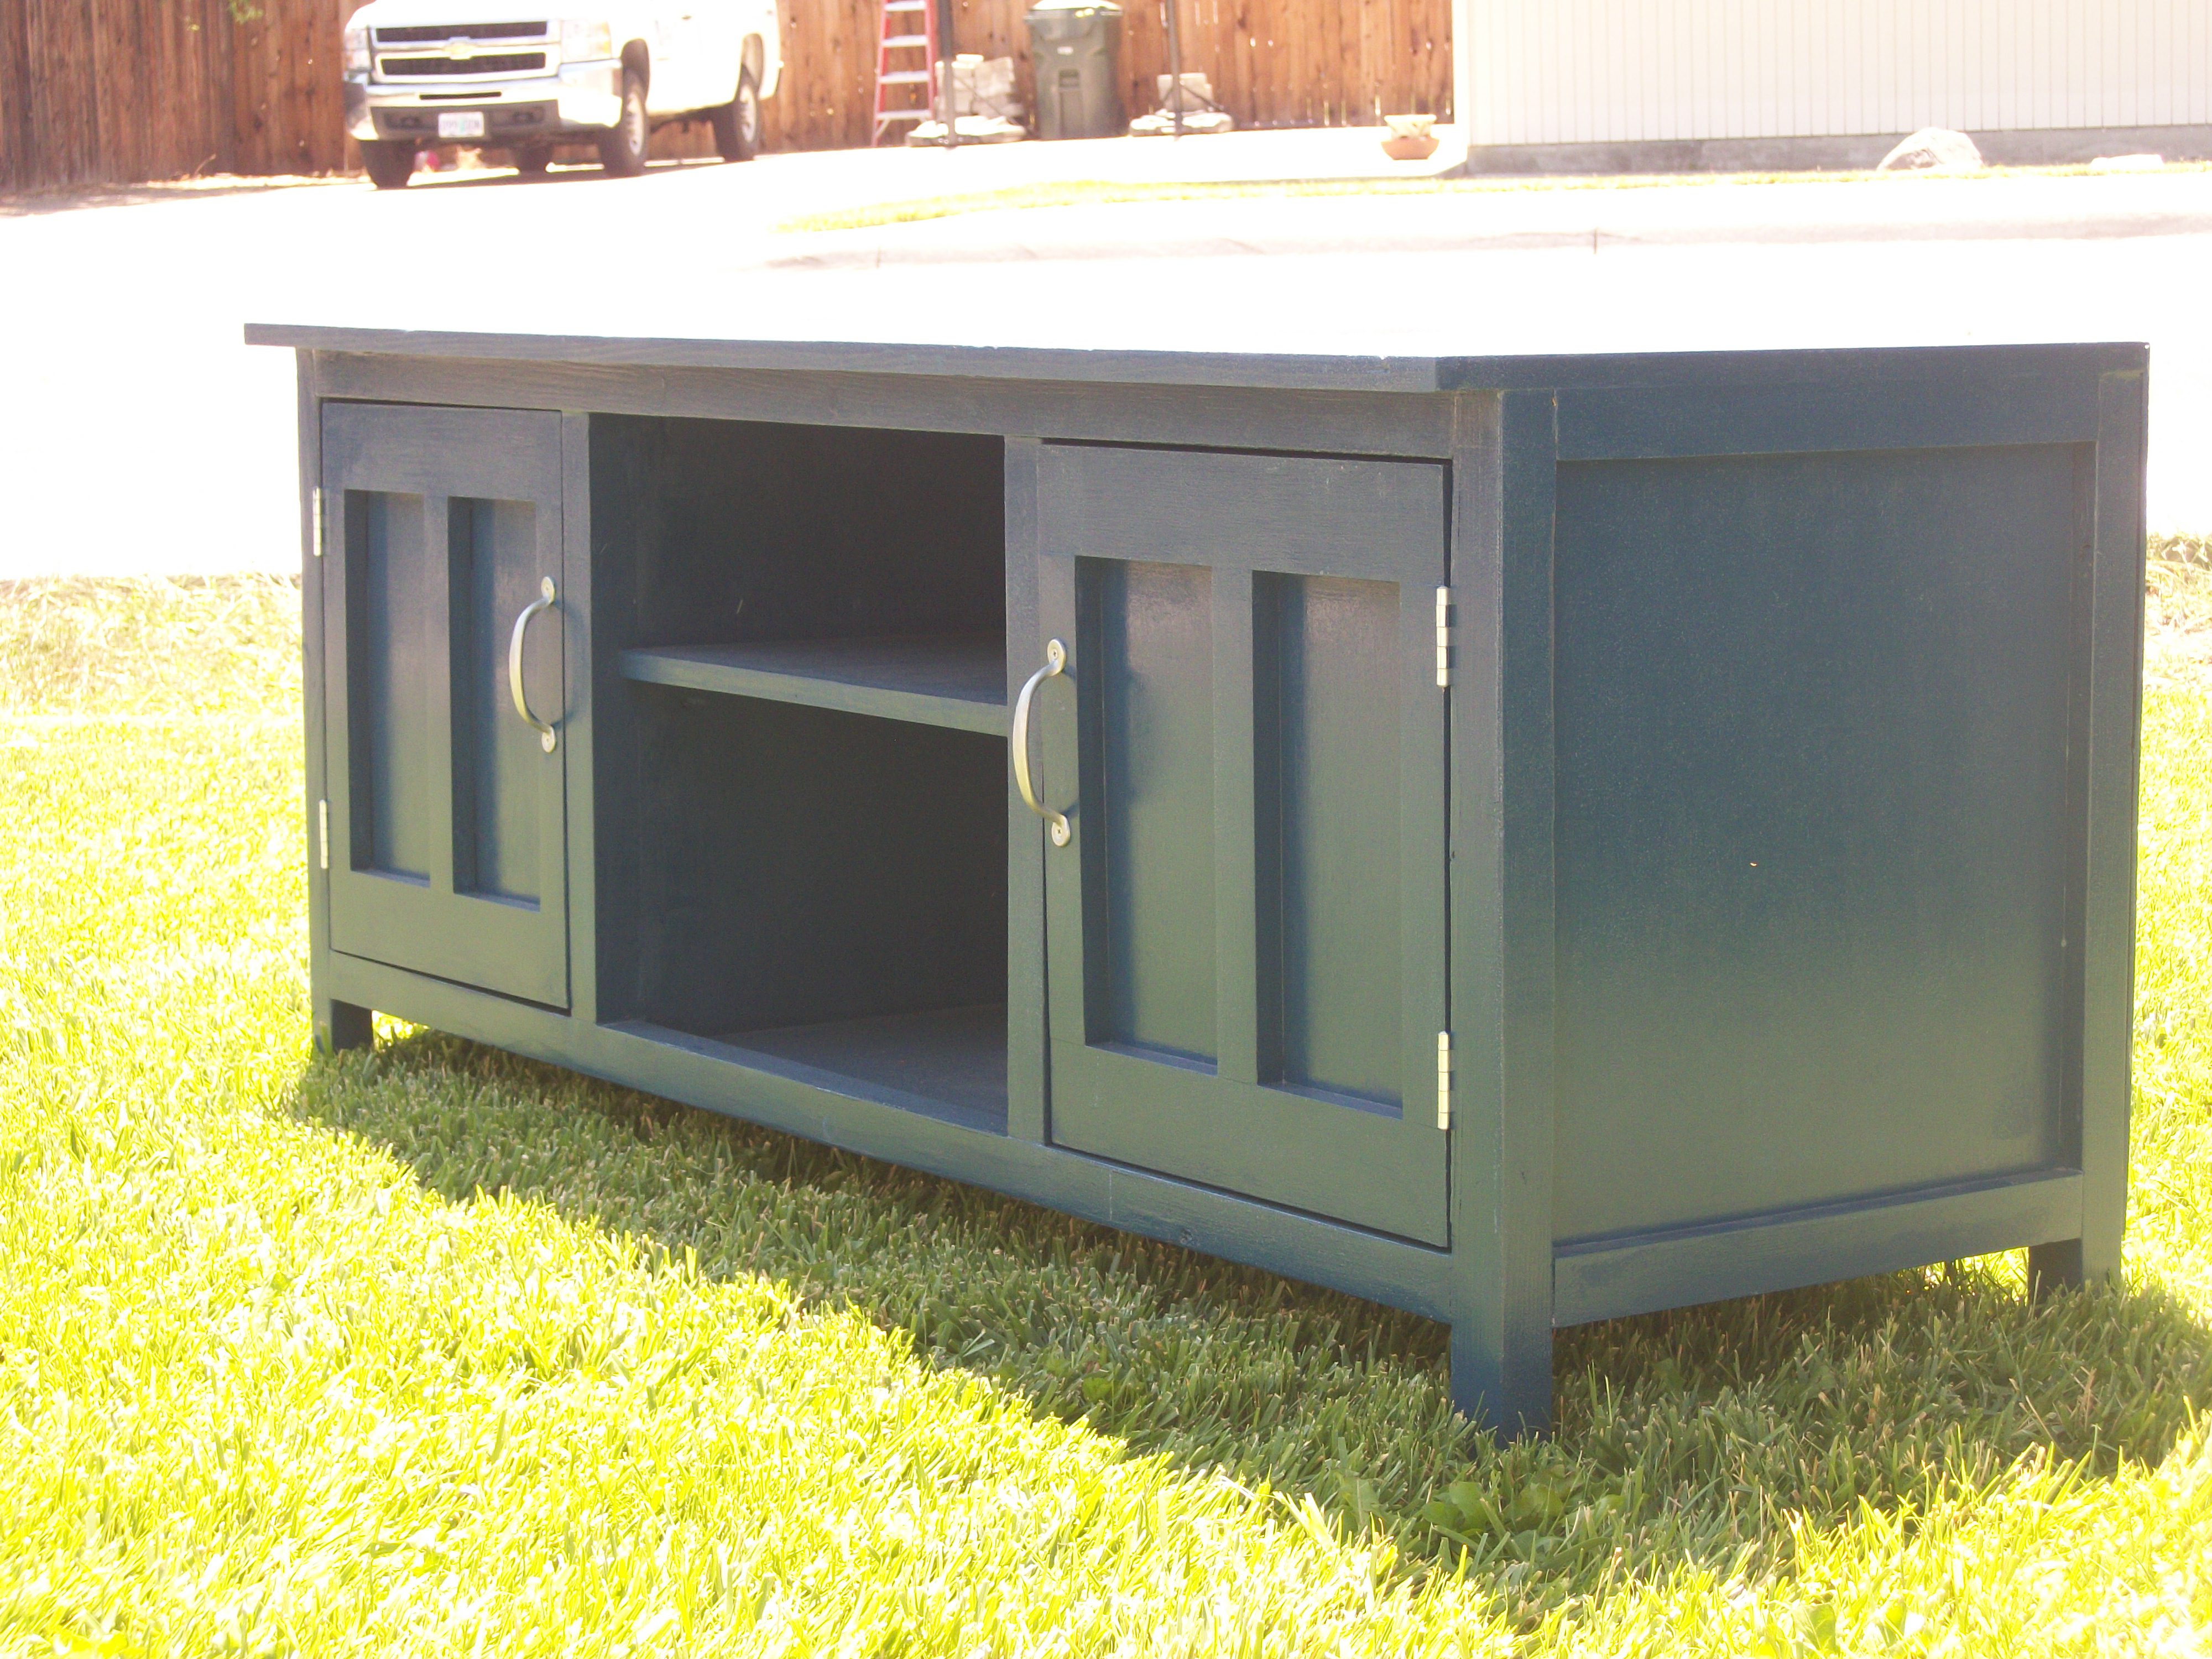
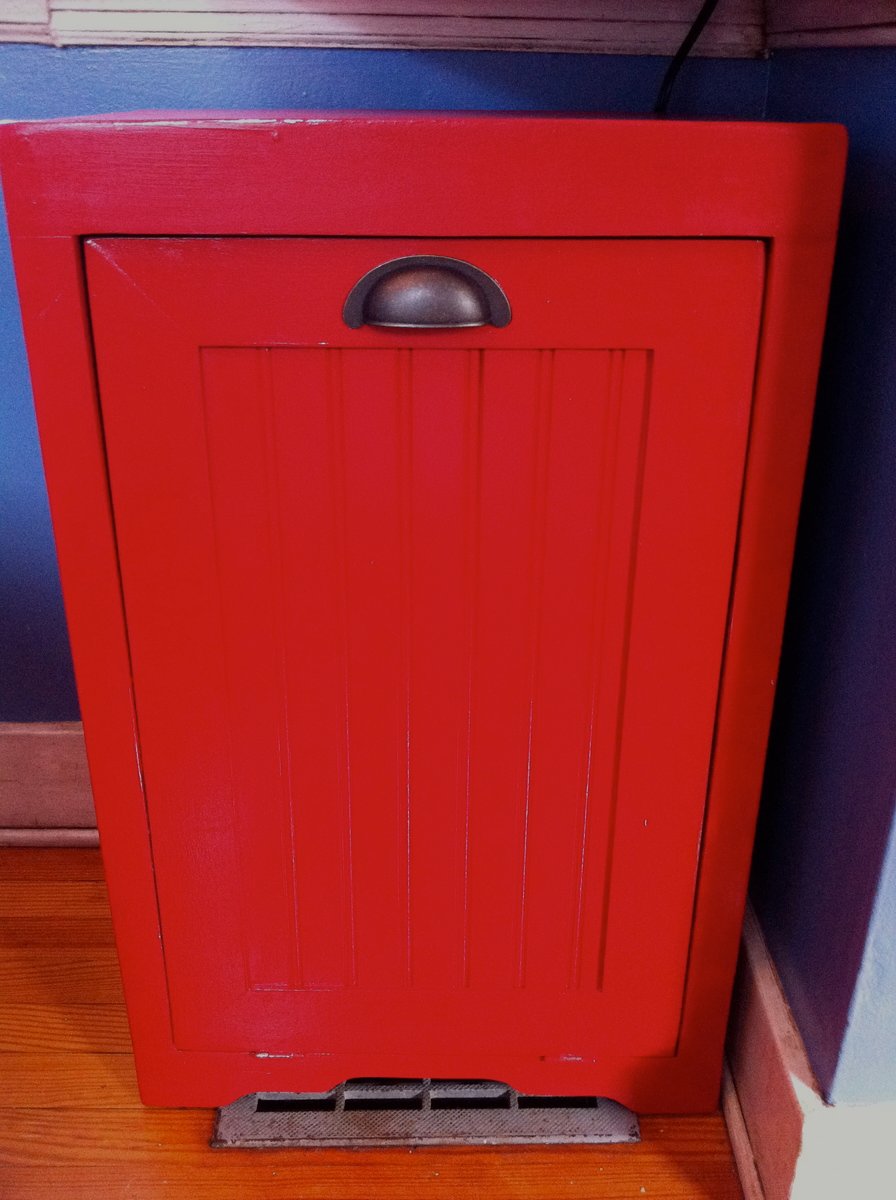
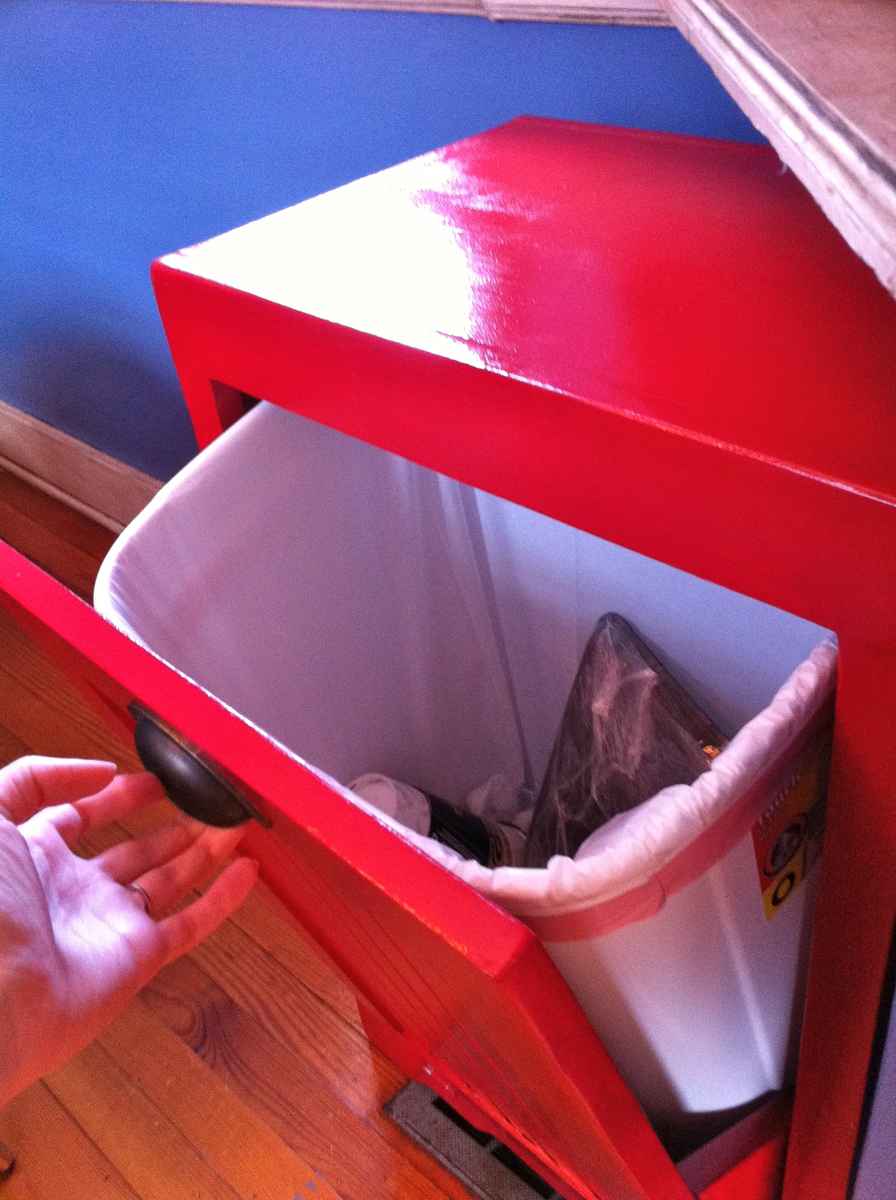
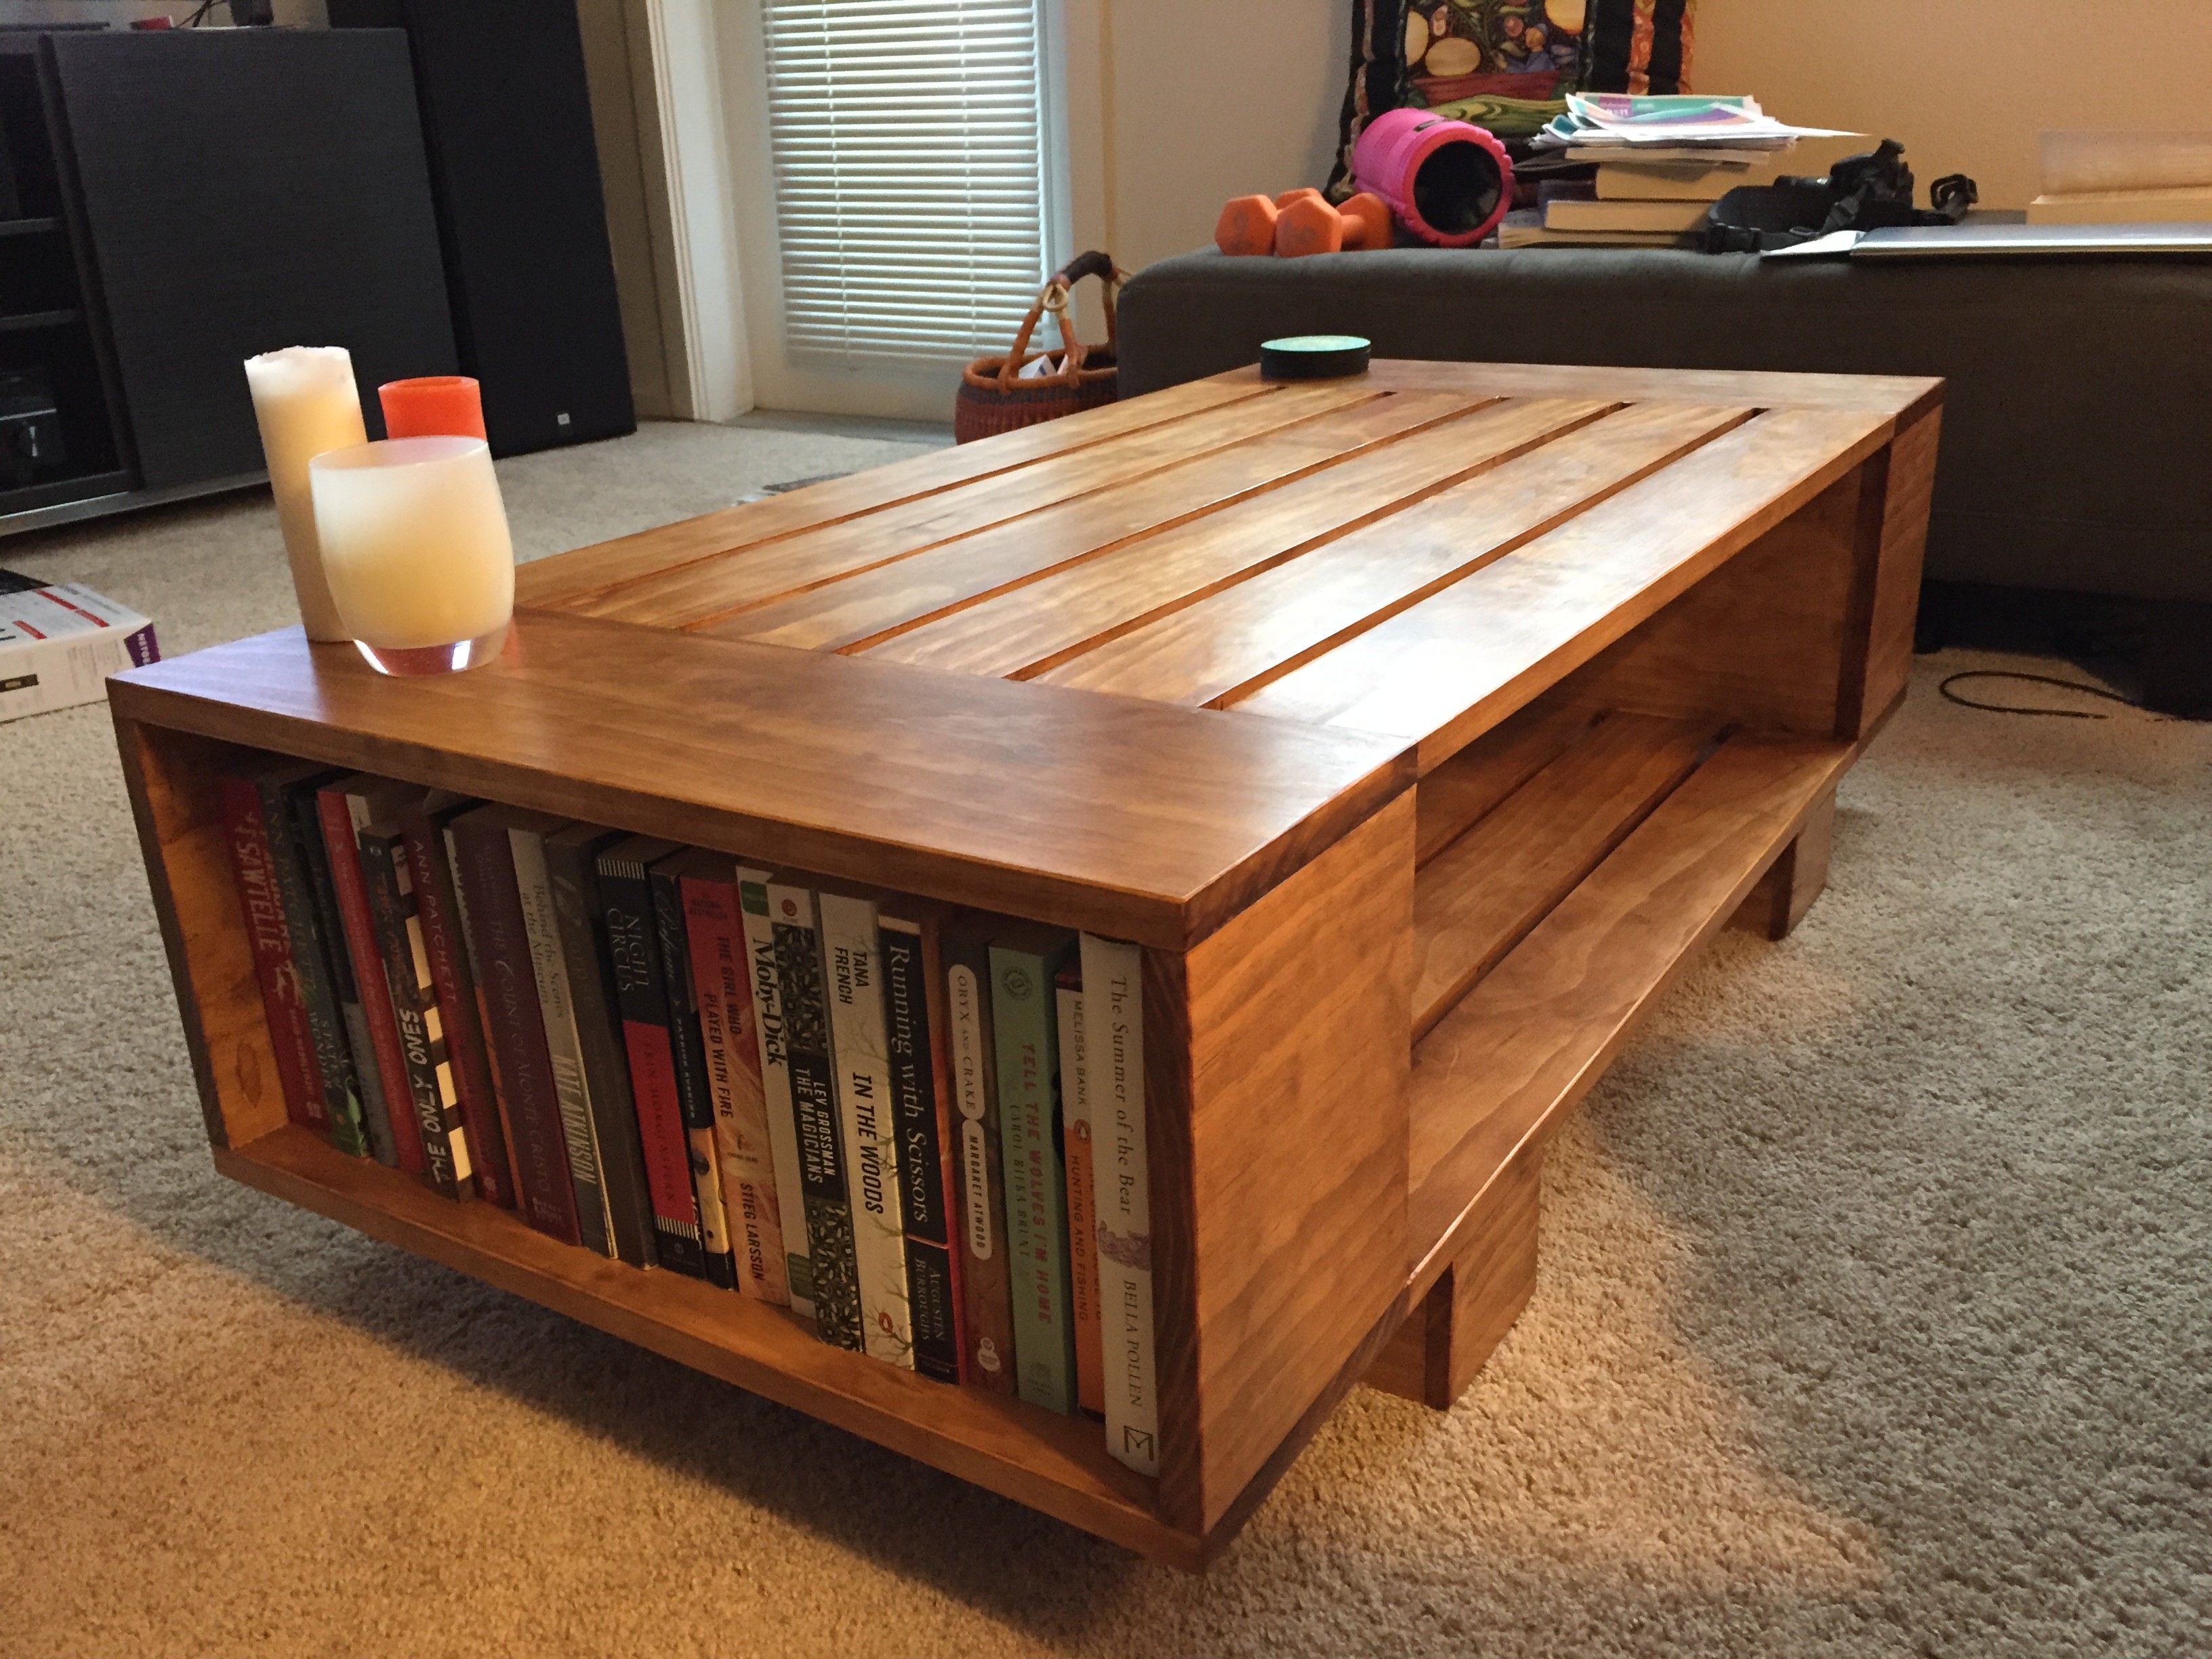
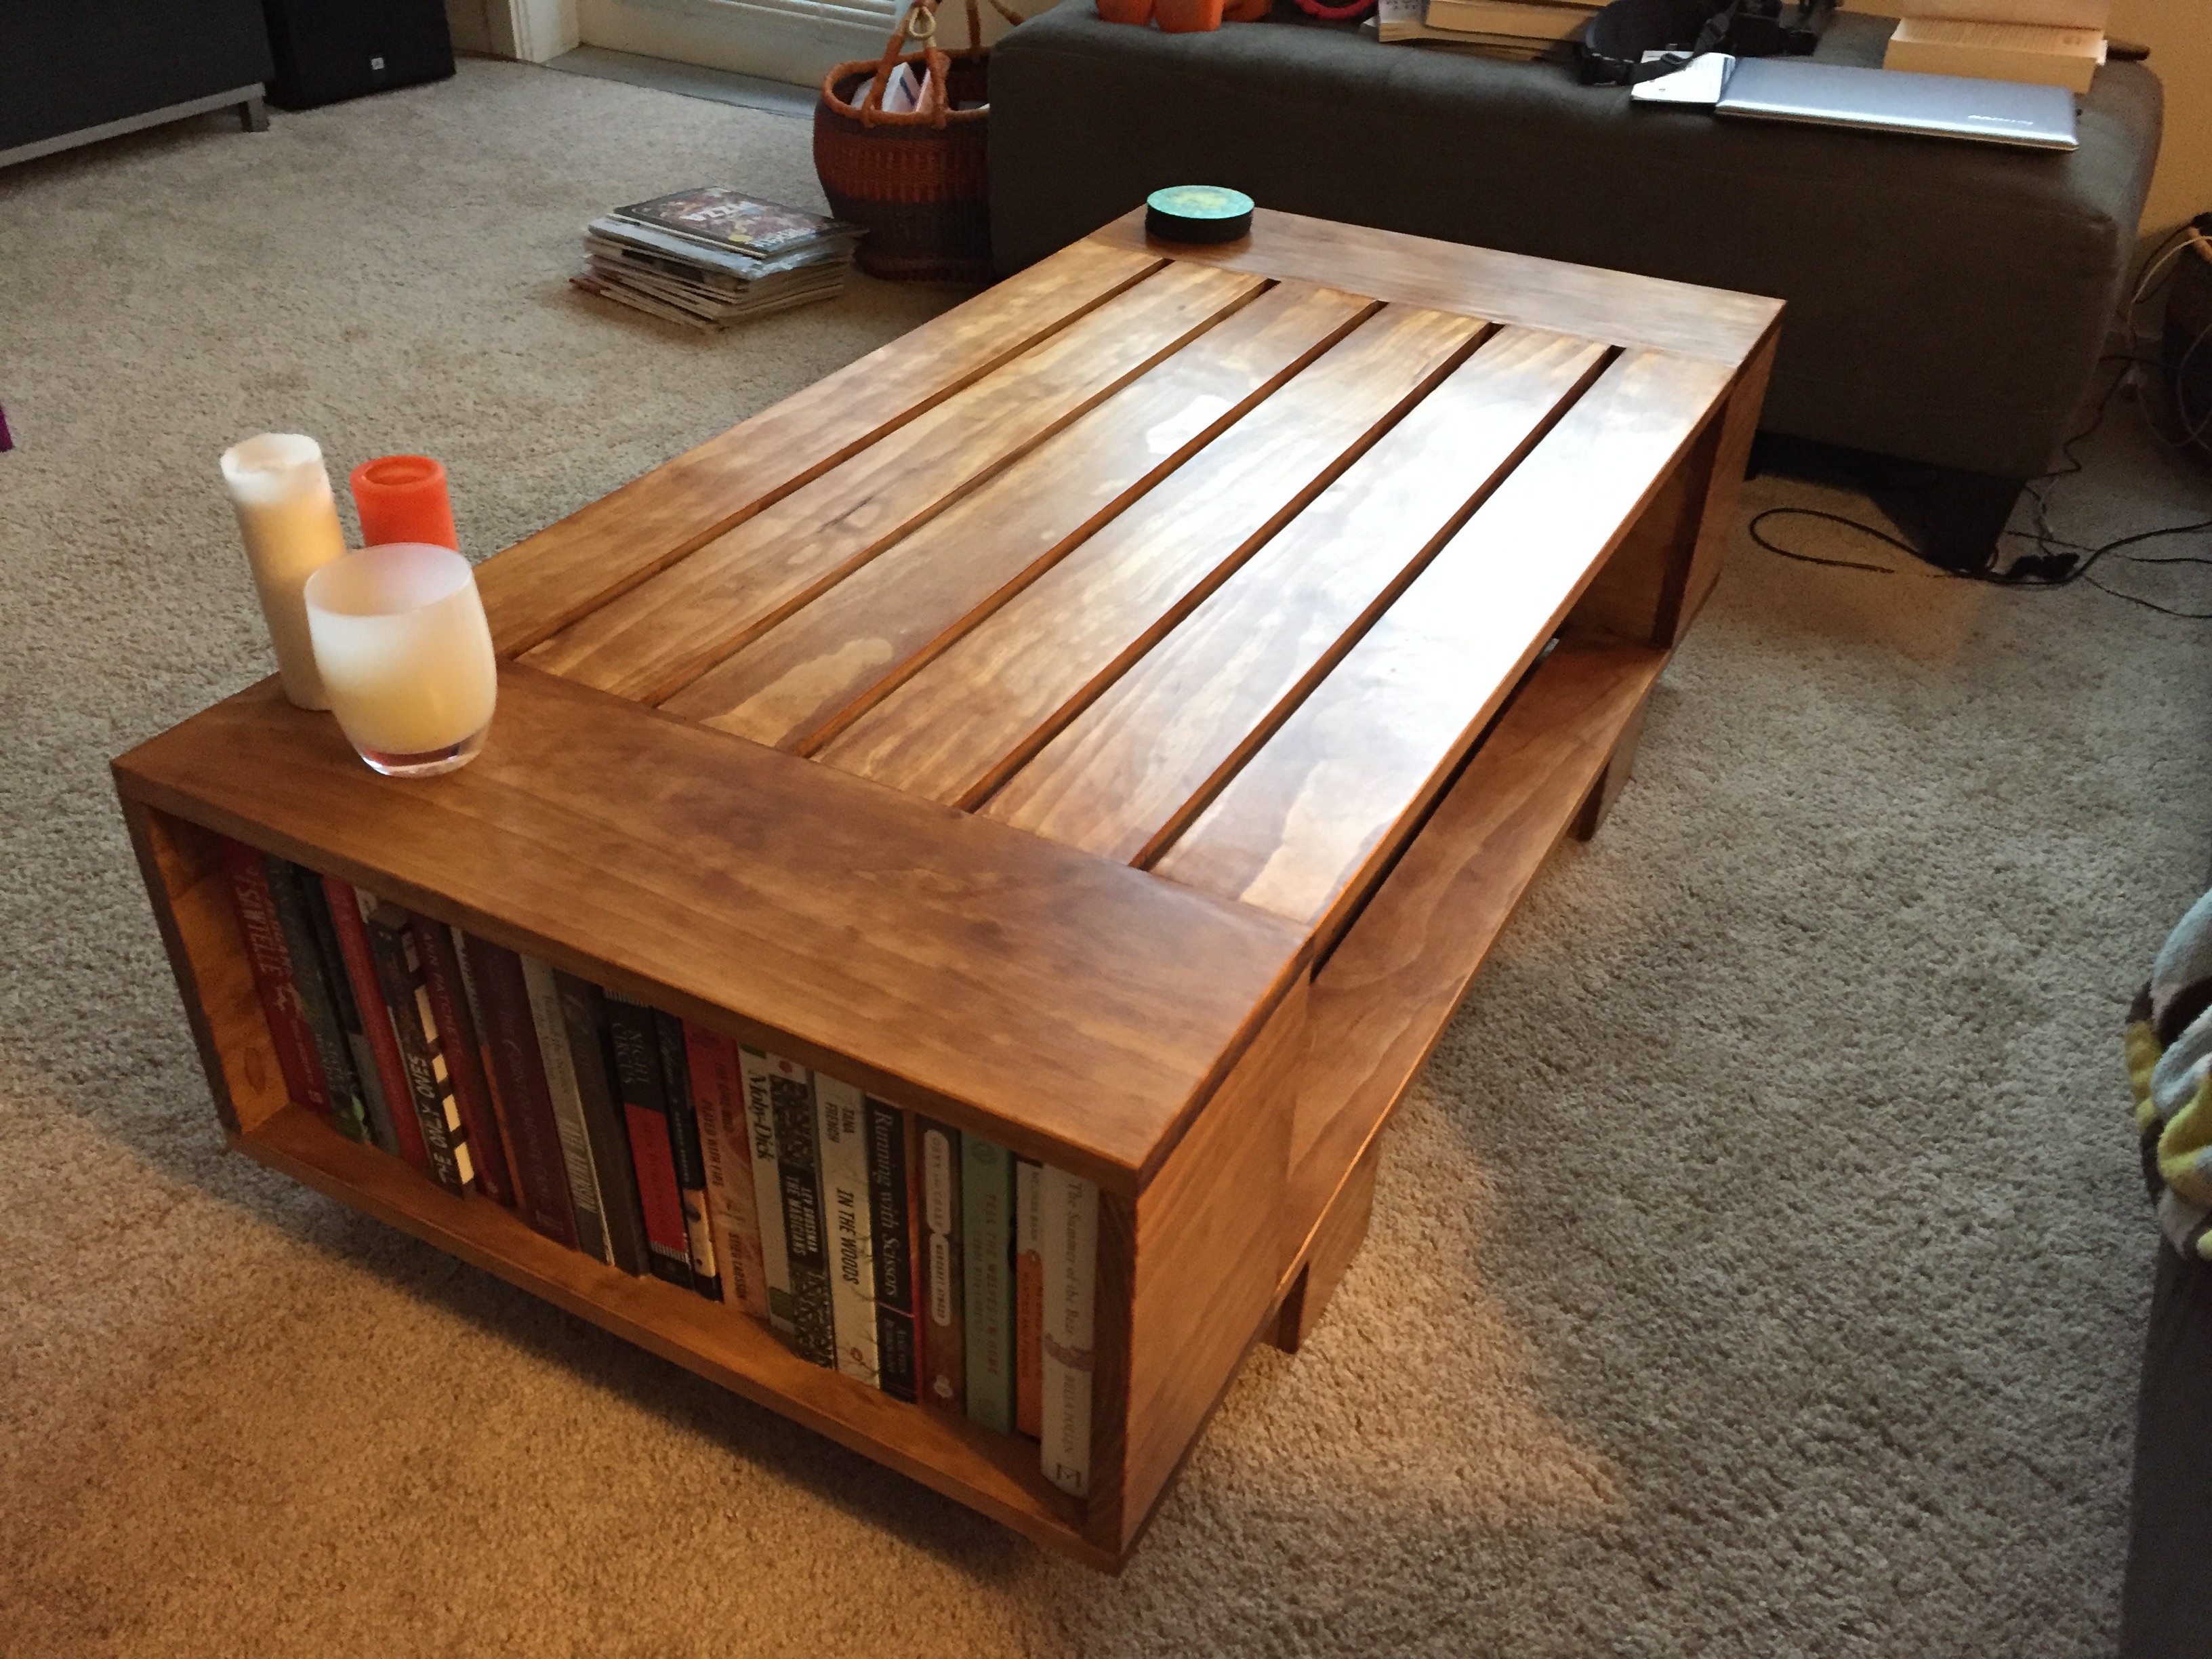
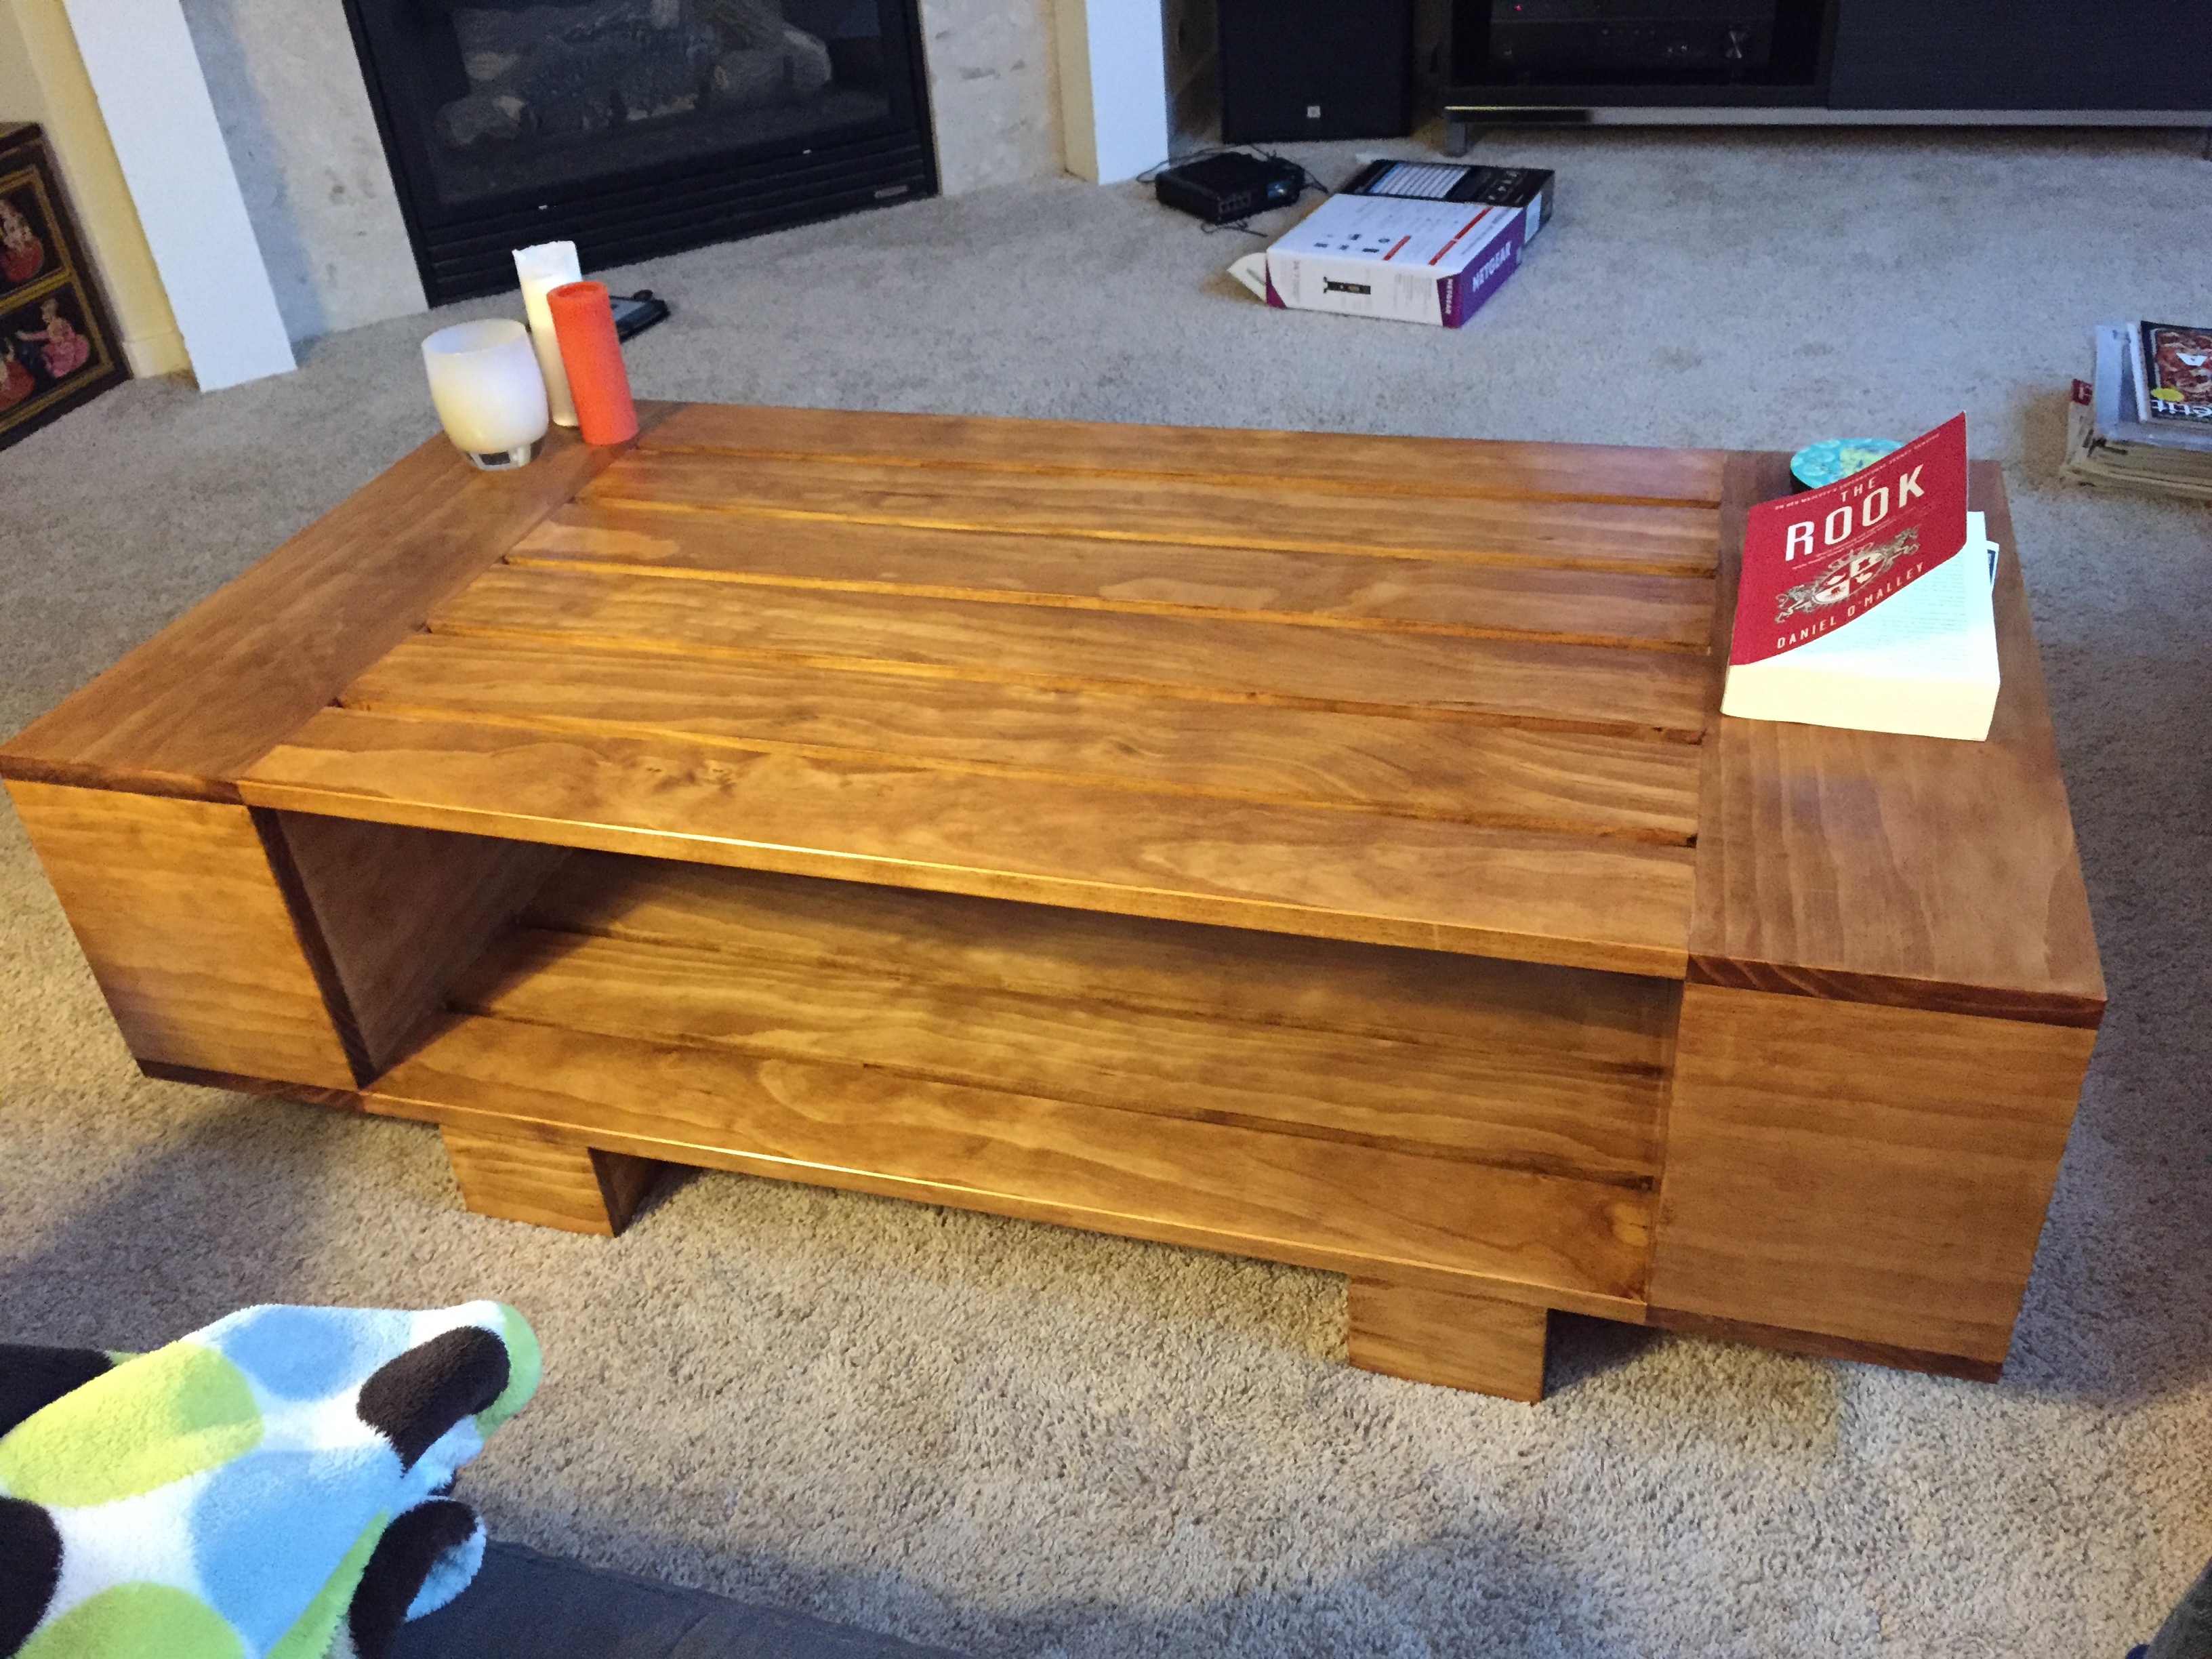
Apothecary Media Console

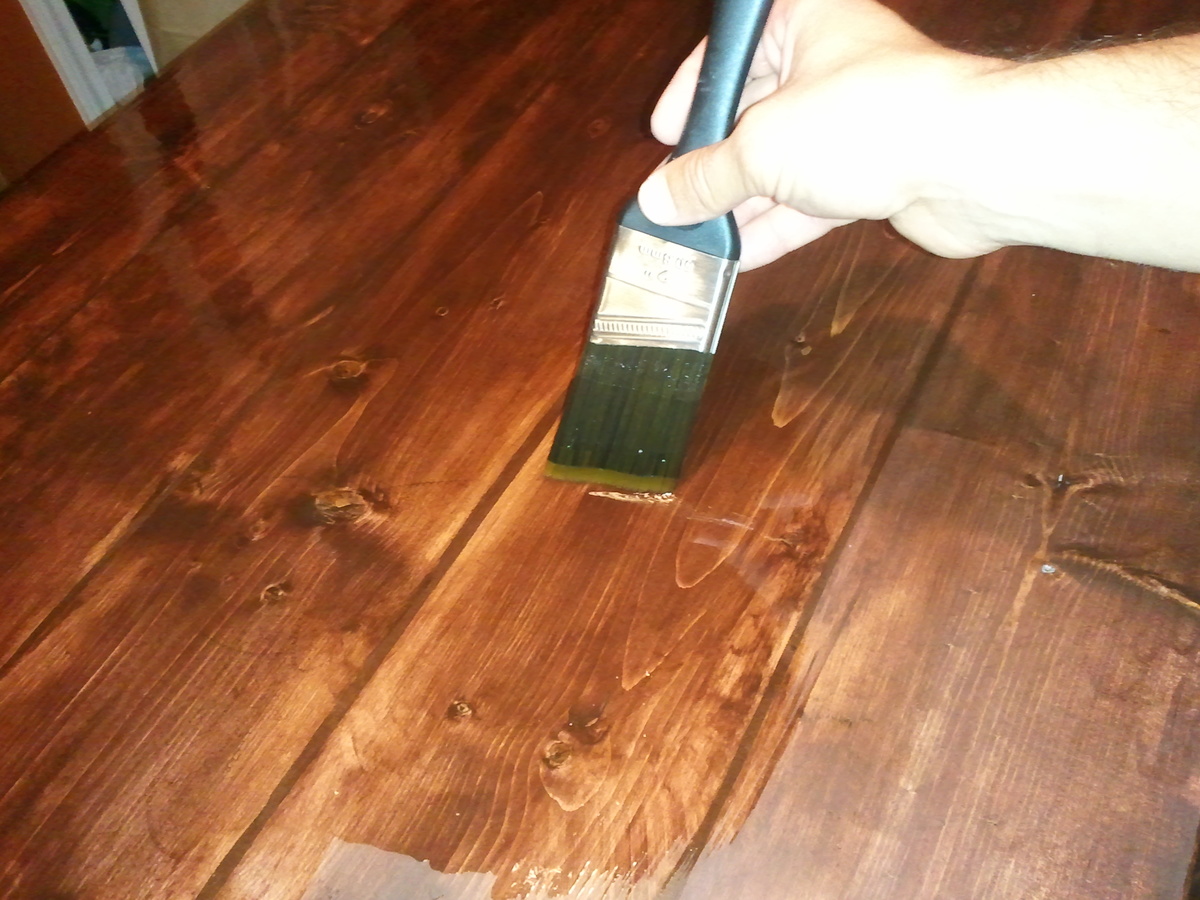
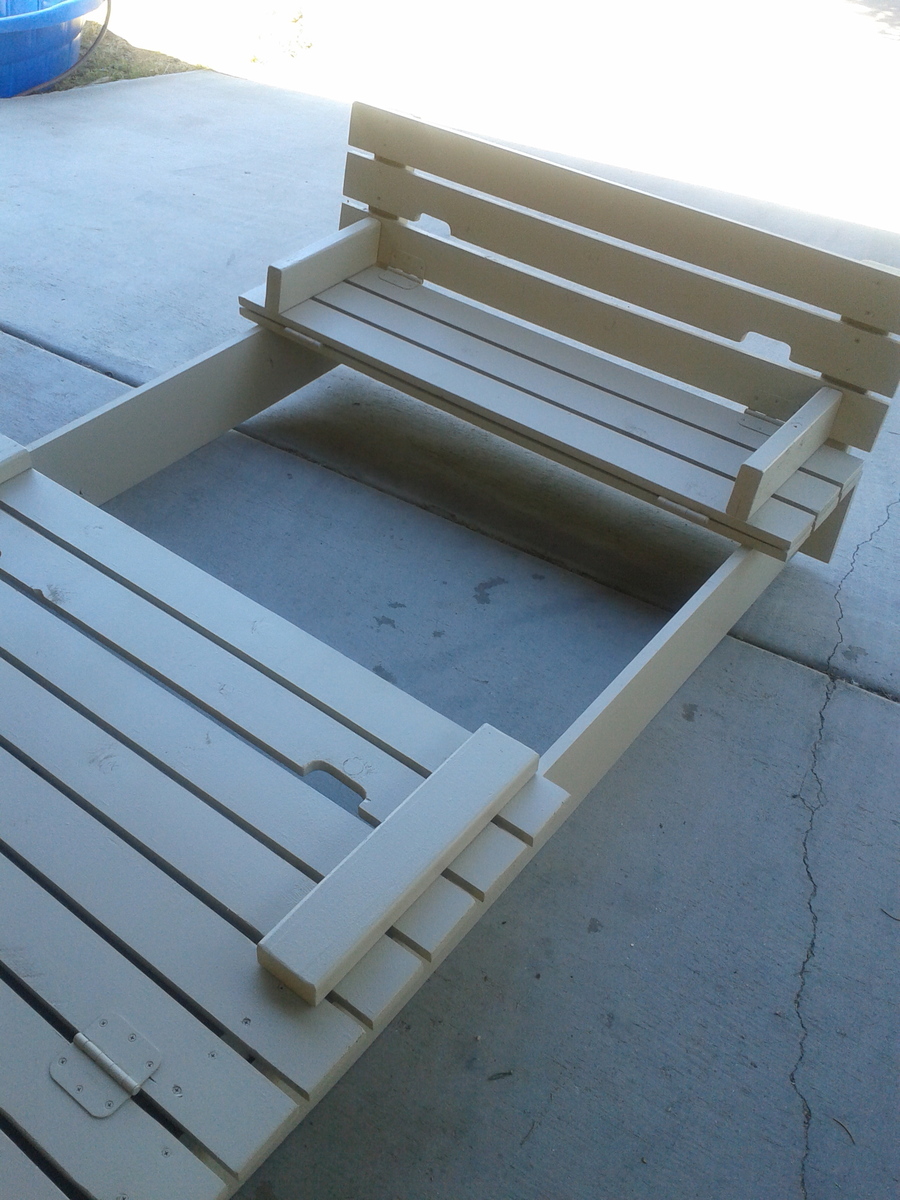
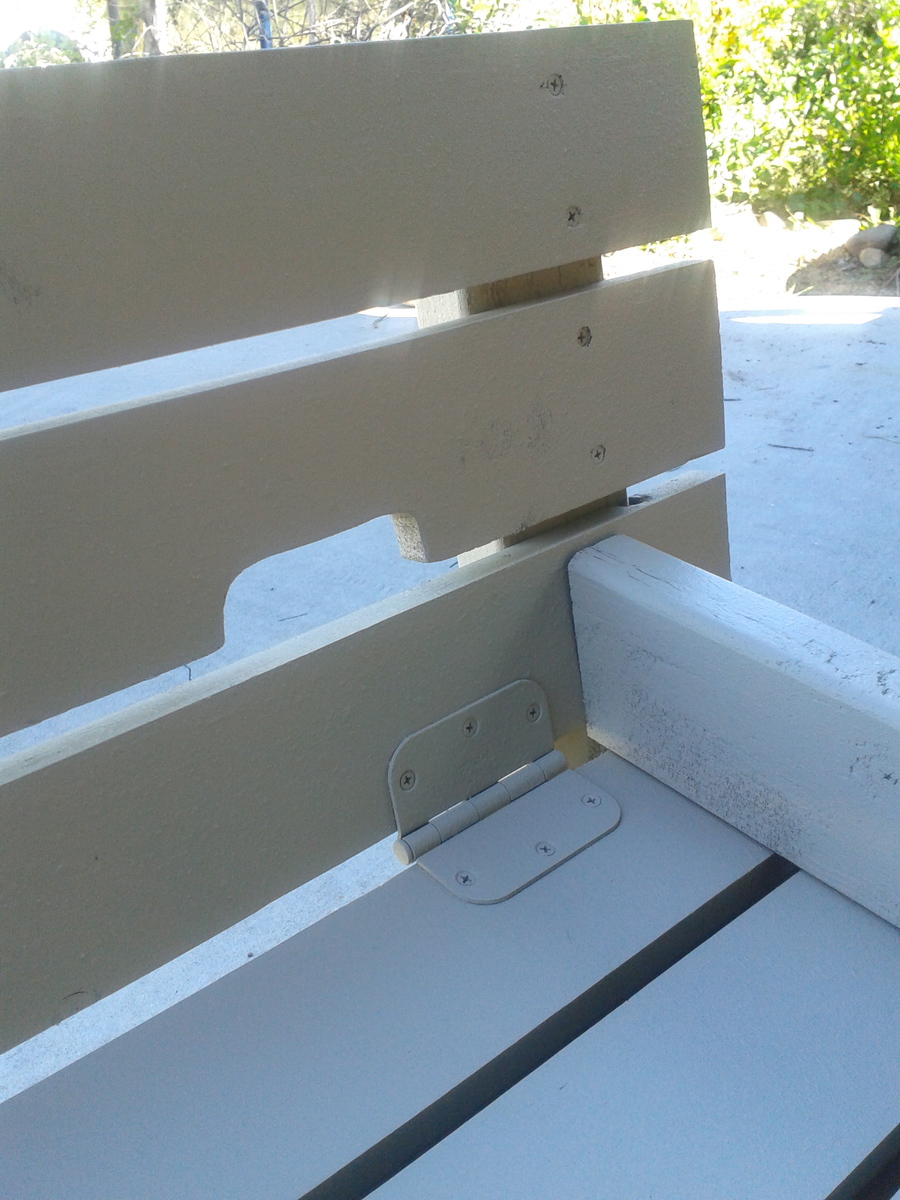
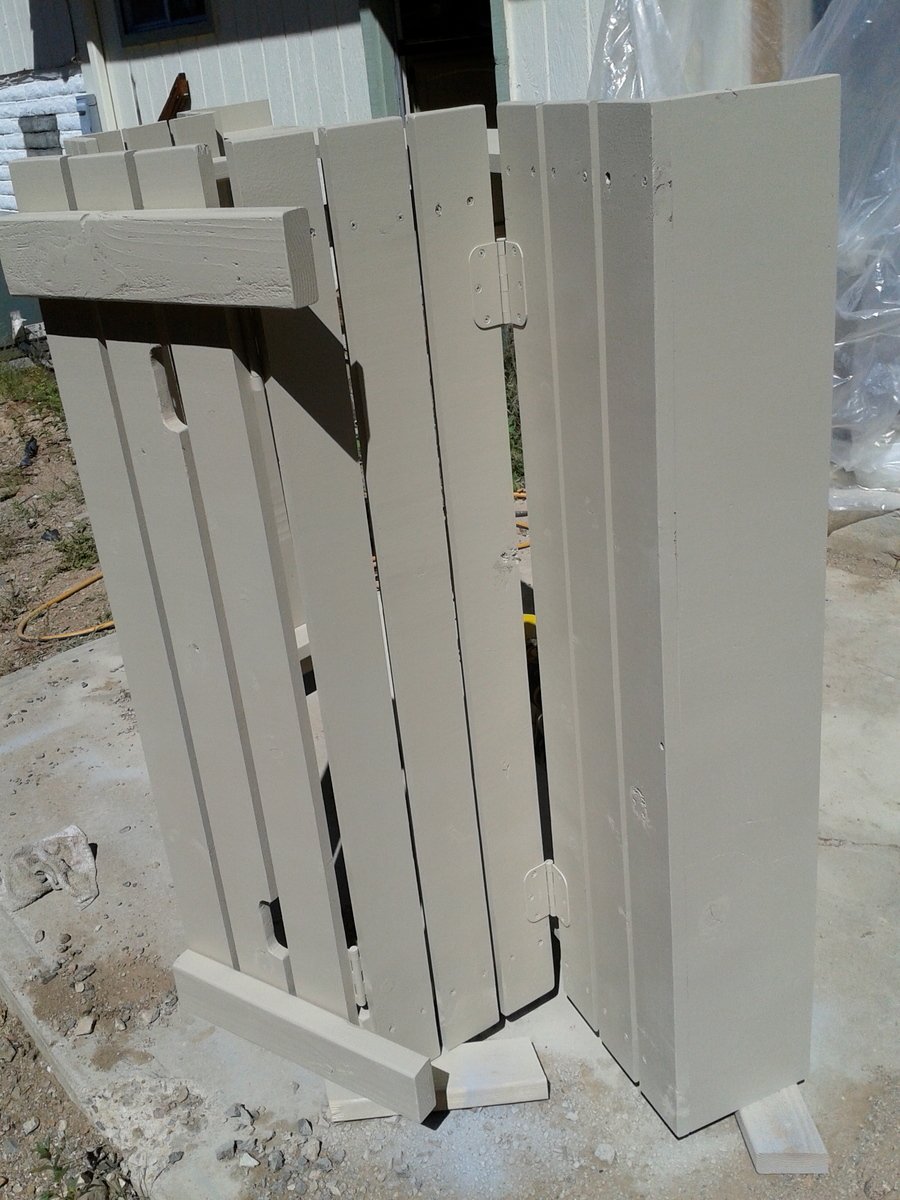
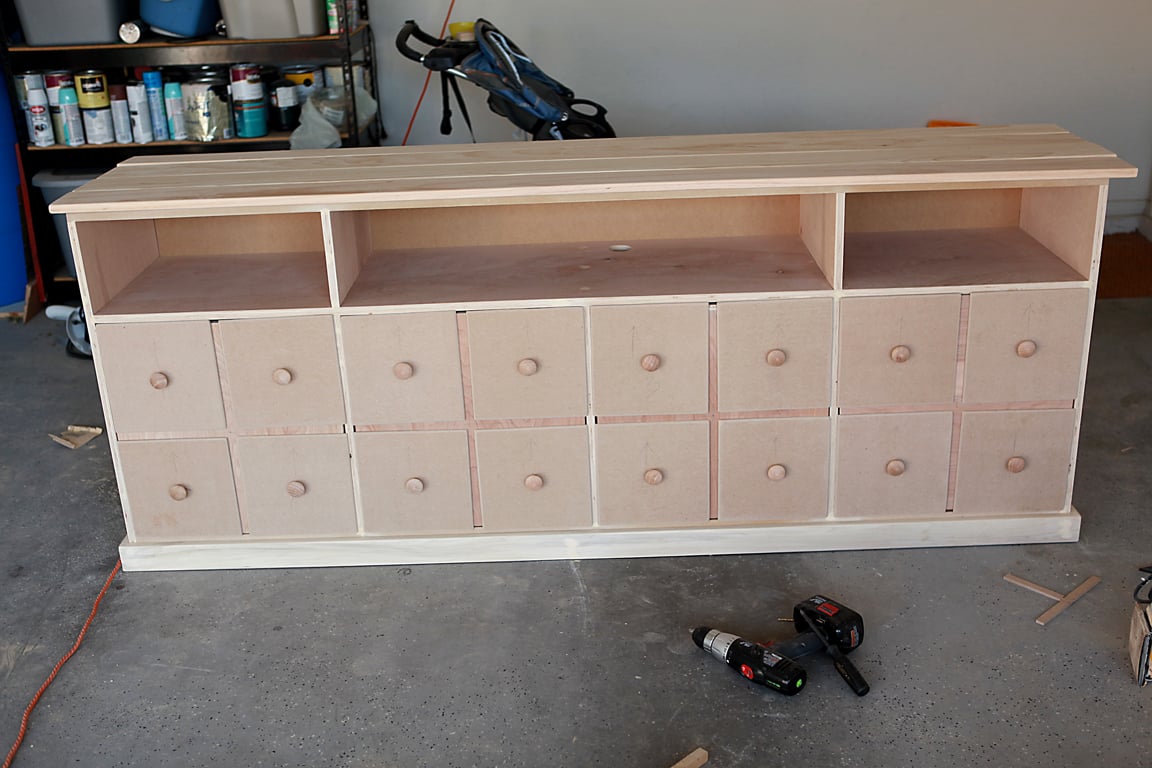
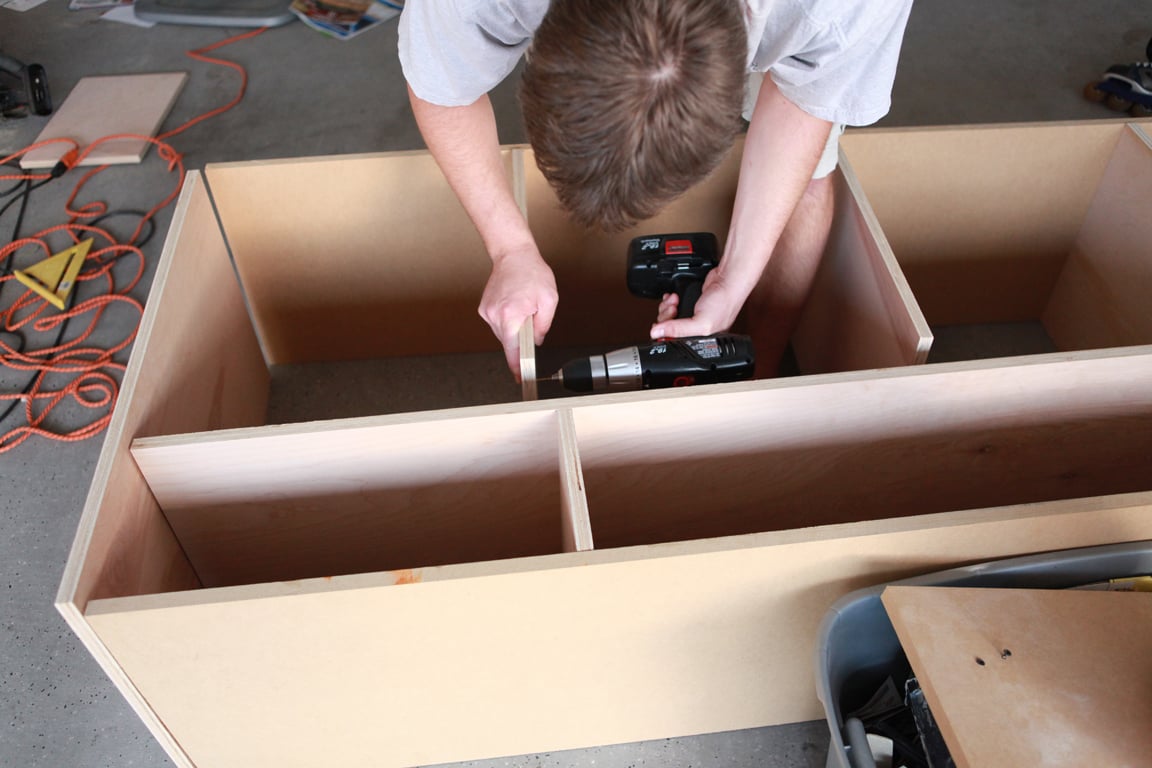
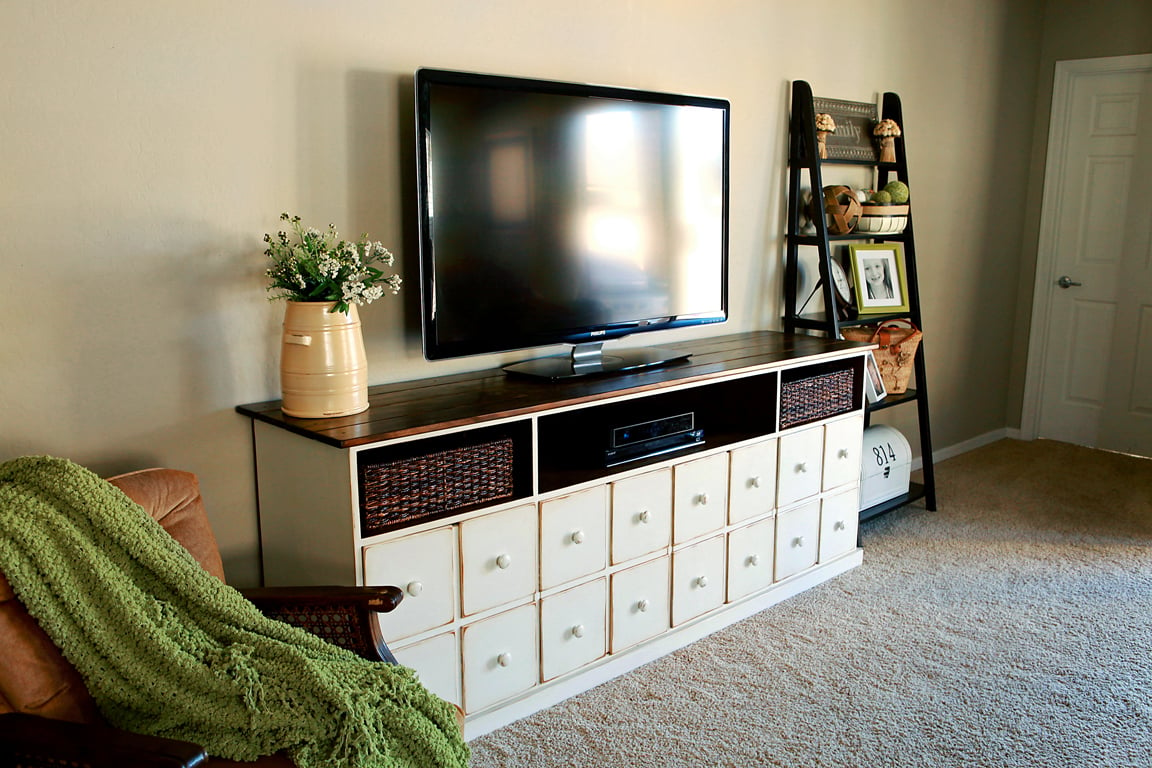
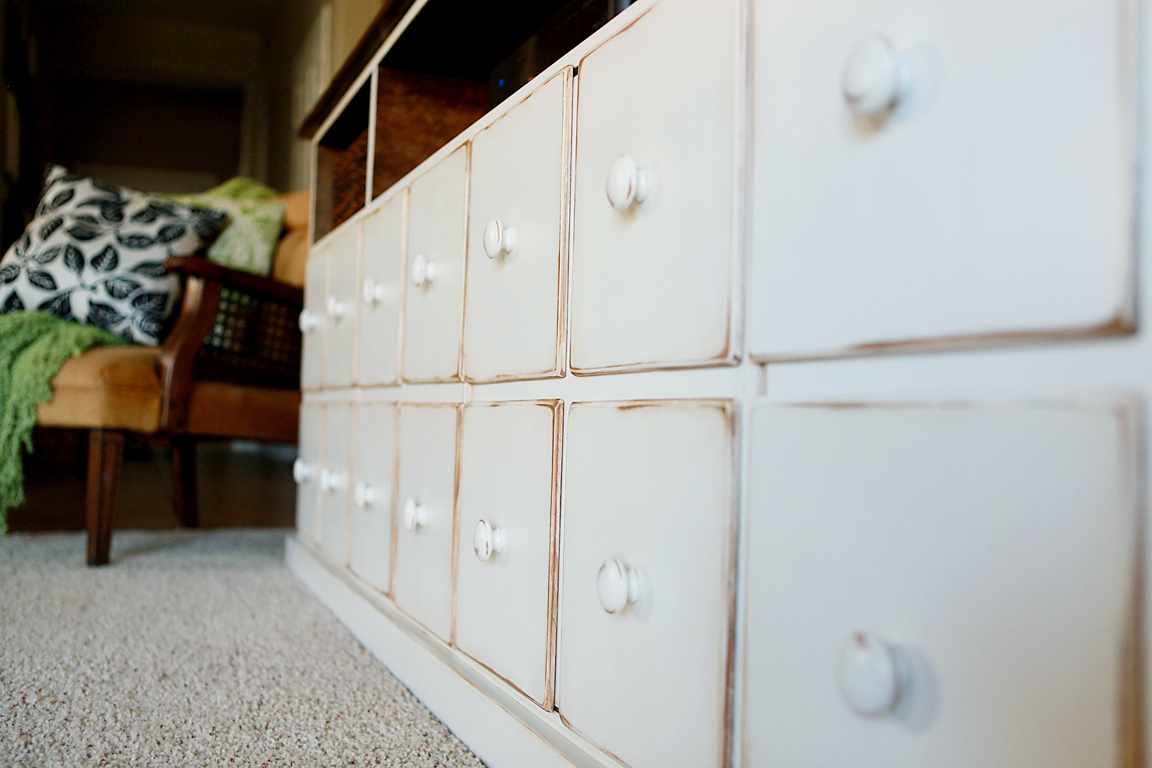
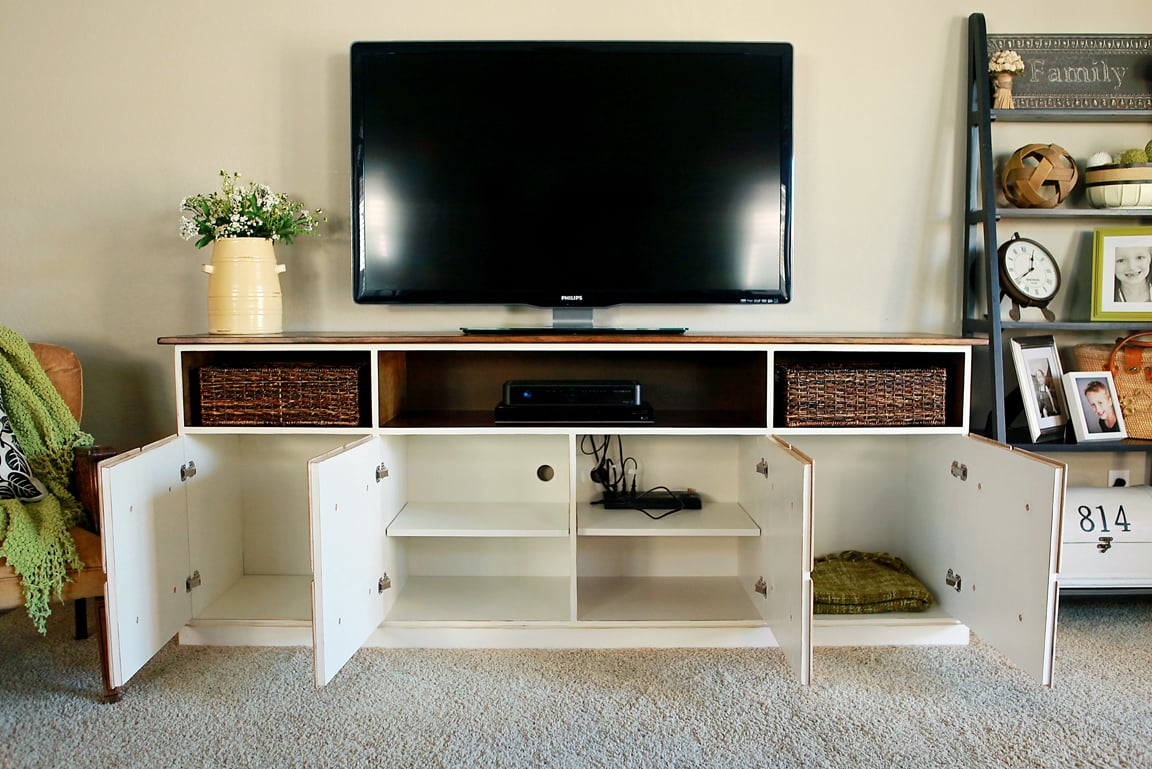
My husband and I worked on this in the evenings. It took us about a month, just because we didn't have the time to devote all at once. We modified Ana's plans for the Apothecary Media Console to accomodate a surround sound bar in the center and to custom fit our baskets. We went with 4 cupboards to keep a uniform look. The faceplates were painted before we permanantly attached them with gorilla glue. . . one of the last steps. The finished cabinet is approximately 86 inches wide by 33 1/2 inches tall by 18 1/2 inches deep.
Built from Plan(s)
Estimated Cost
$350.00
Estimated Time Investment
Week Long Project (20 Hours or More)
Finish Used
wood filler,
gorilla glue,
minwax wood stain - dark walnut,
minwax wipe on poly,
Valspar color match interior latex paint,
Valspar clear mixing glaze,
Glaze mixed with Olympic paint sample satin "Pumpernickel",
polycrylic,
150 fine sandpaper
gorilla glue,
minwax wood stain - dark walnut,
minwax wipe on poly,
Valspar color match interior latex paint,
Valspar clear mixing glaze,
Glaze mixed with Olympic paint sample satin "Pumpernickel",
polycrylic,
150 fine sandpaper
Recommended Skill Level
Intermediate