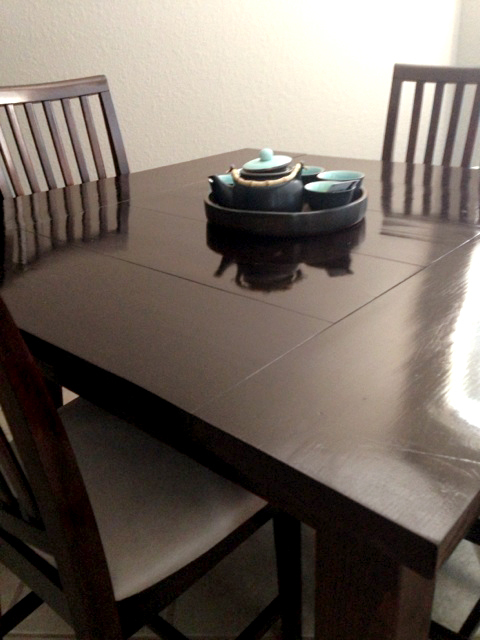
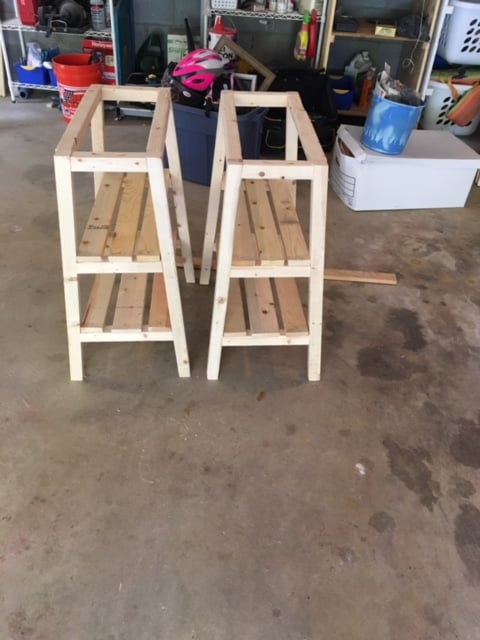
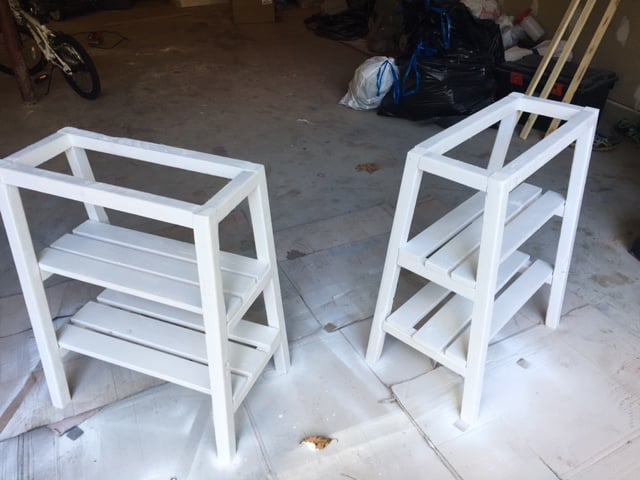
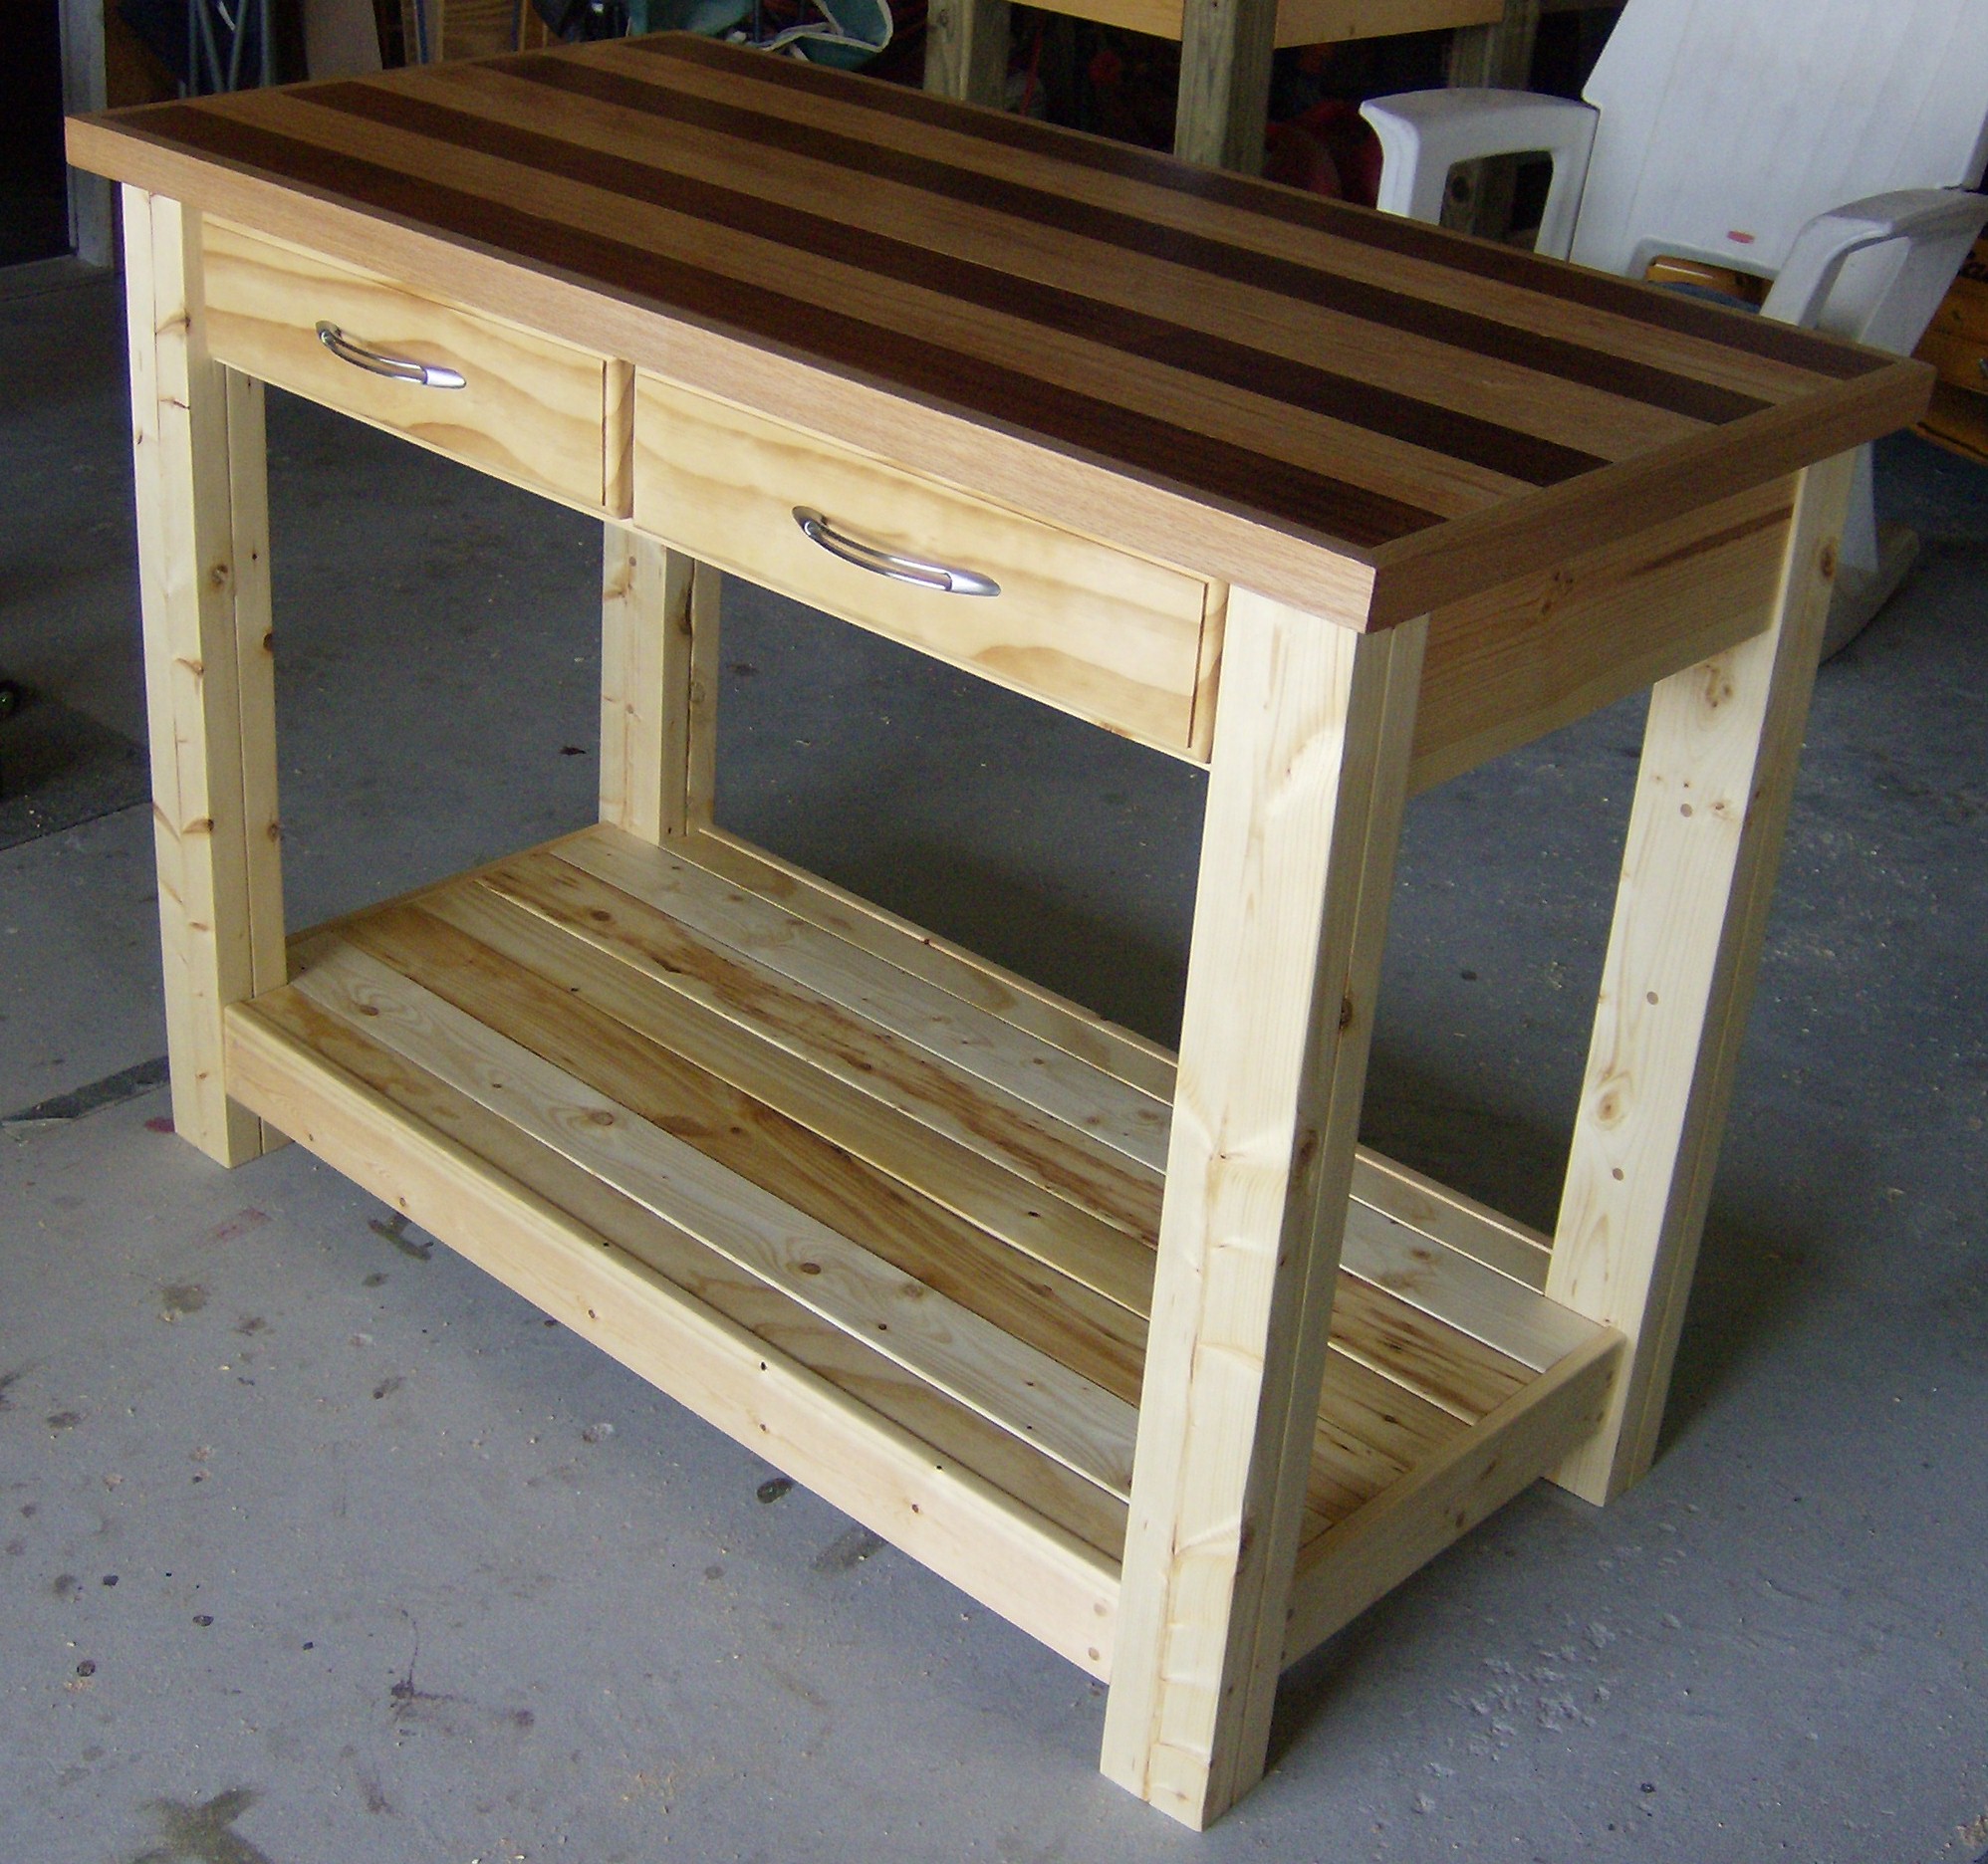
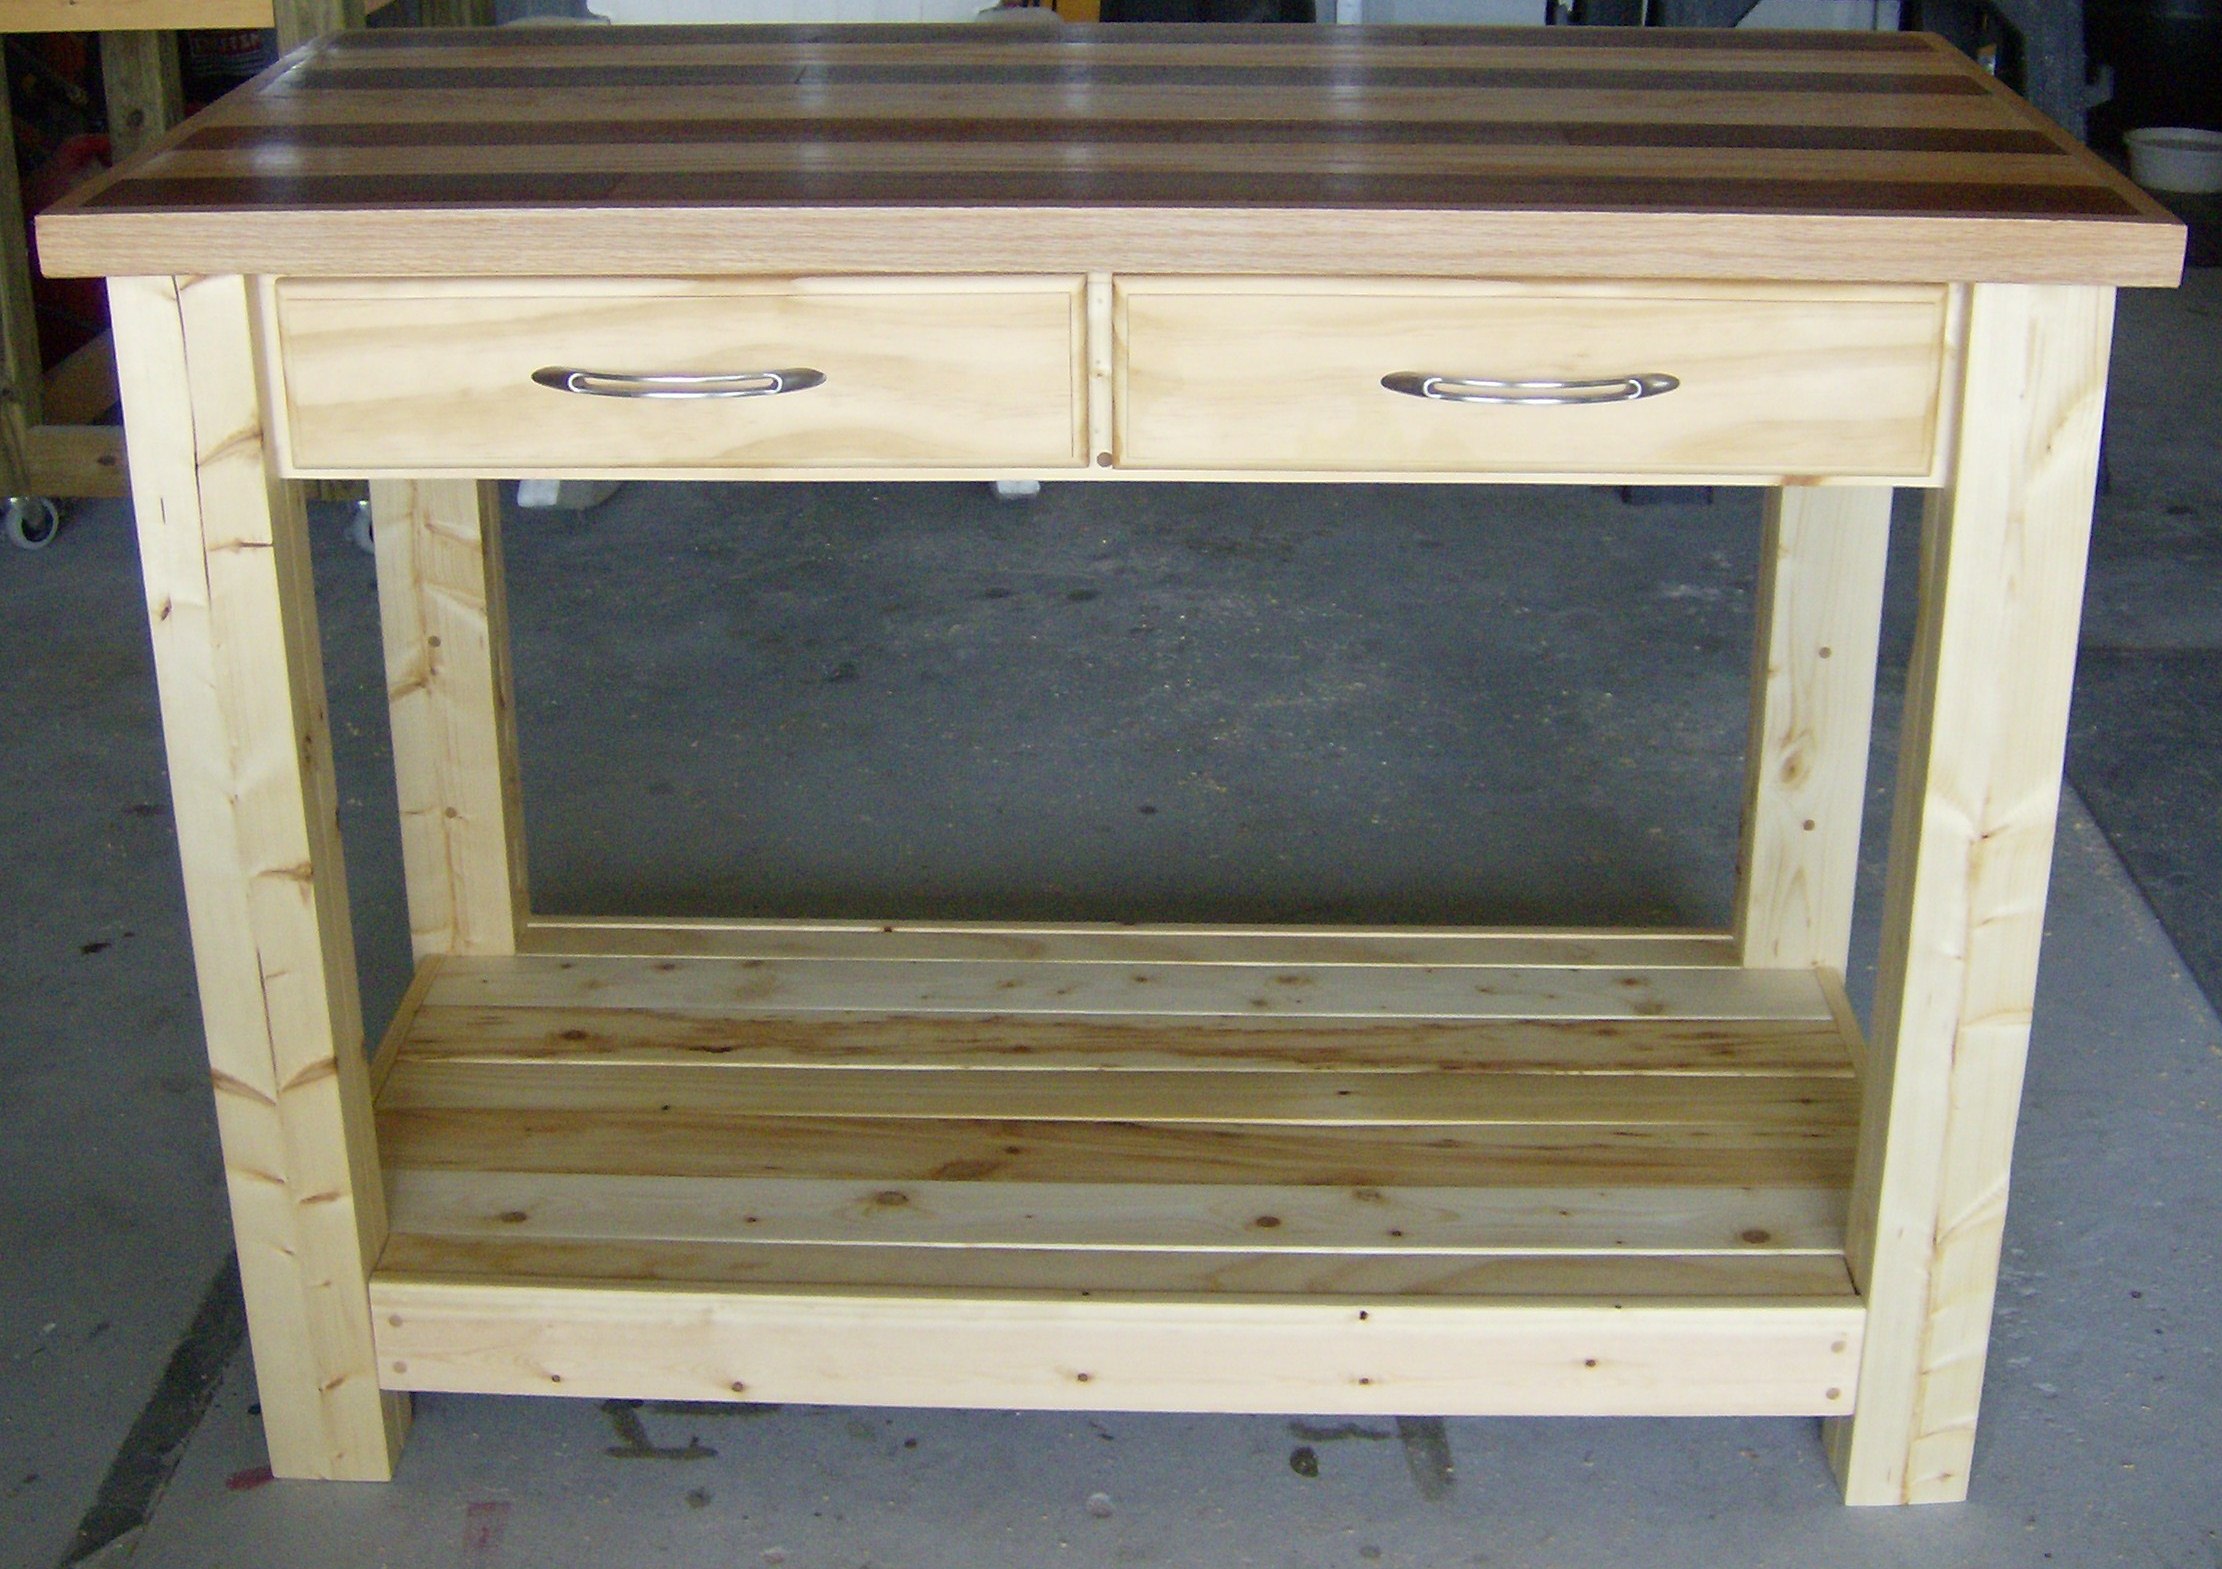
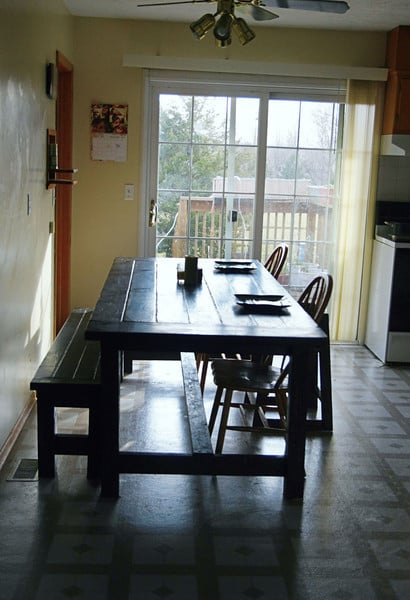
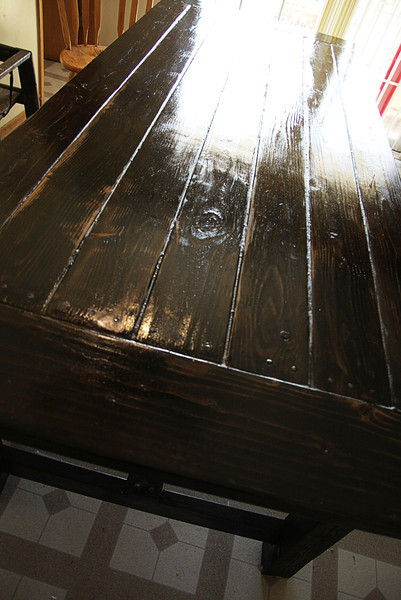
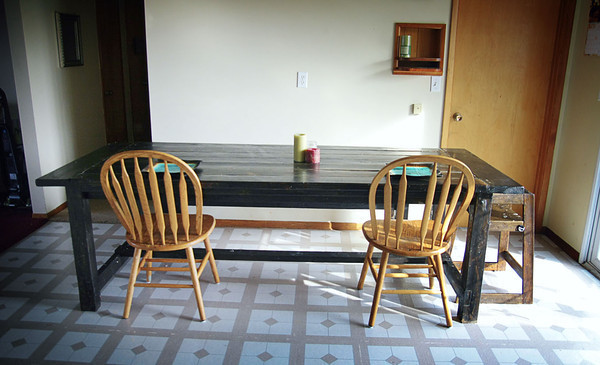
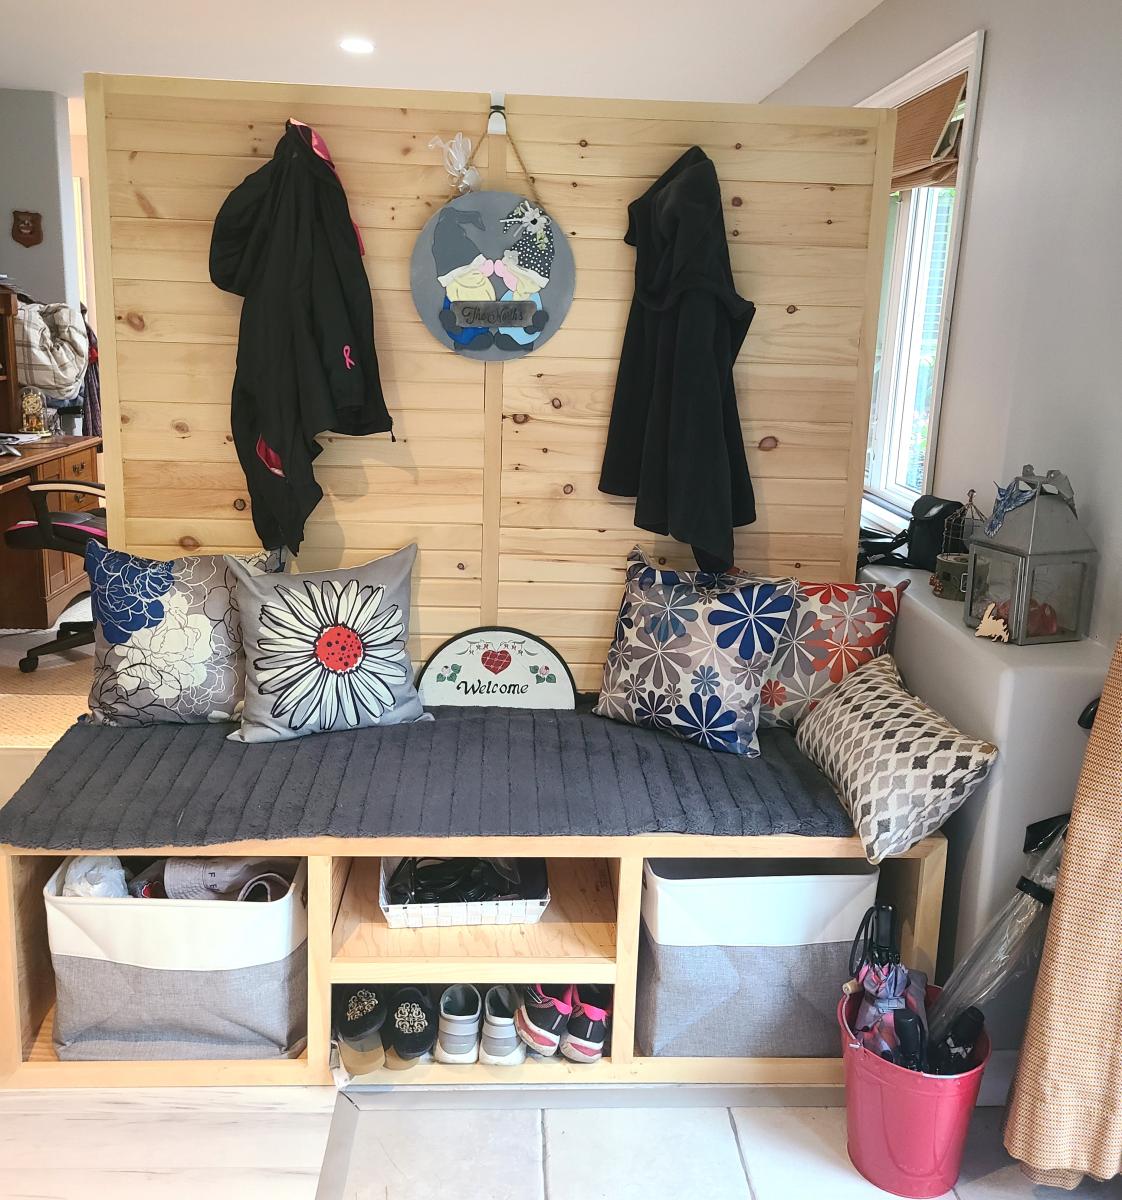
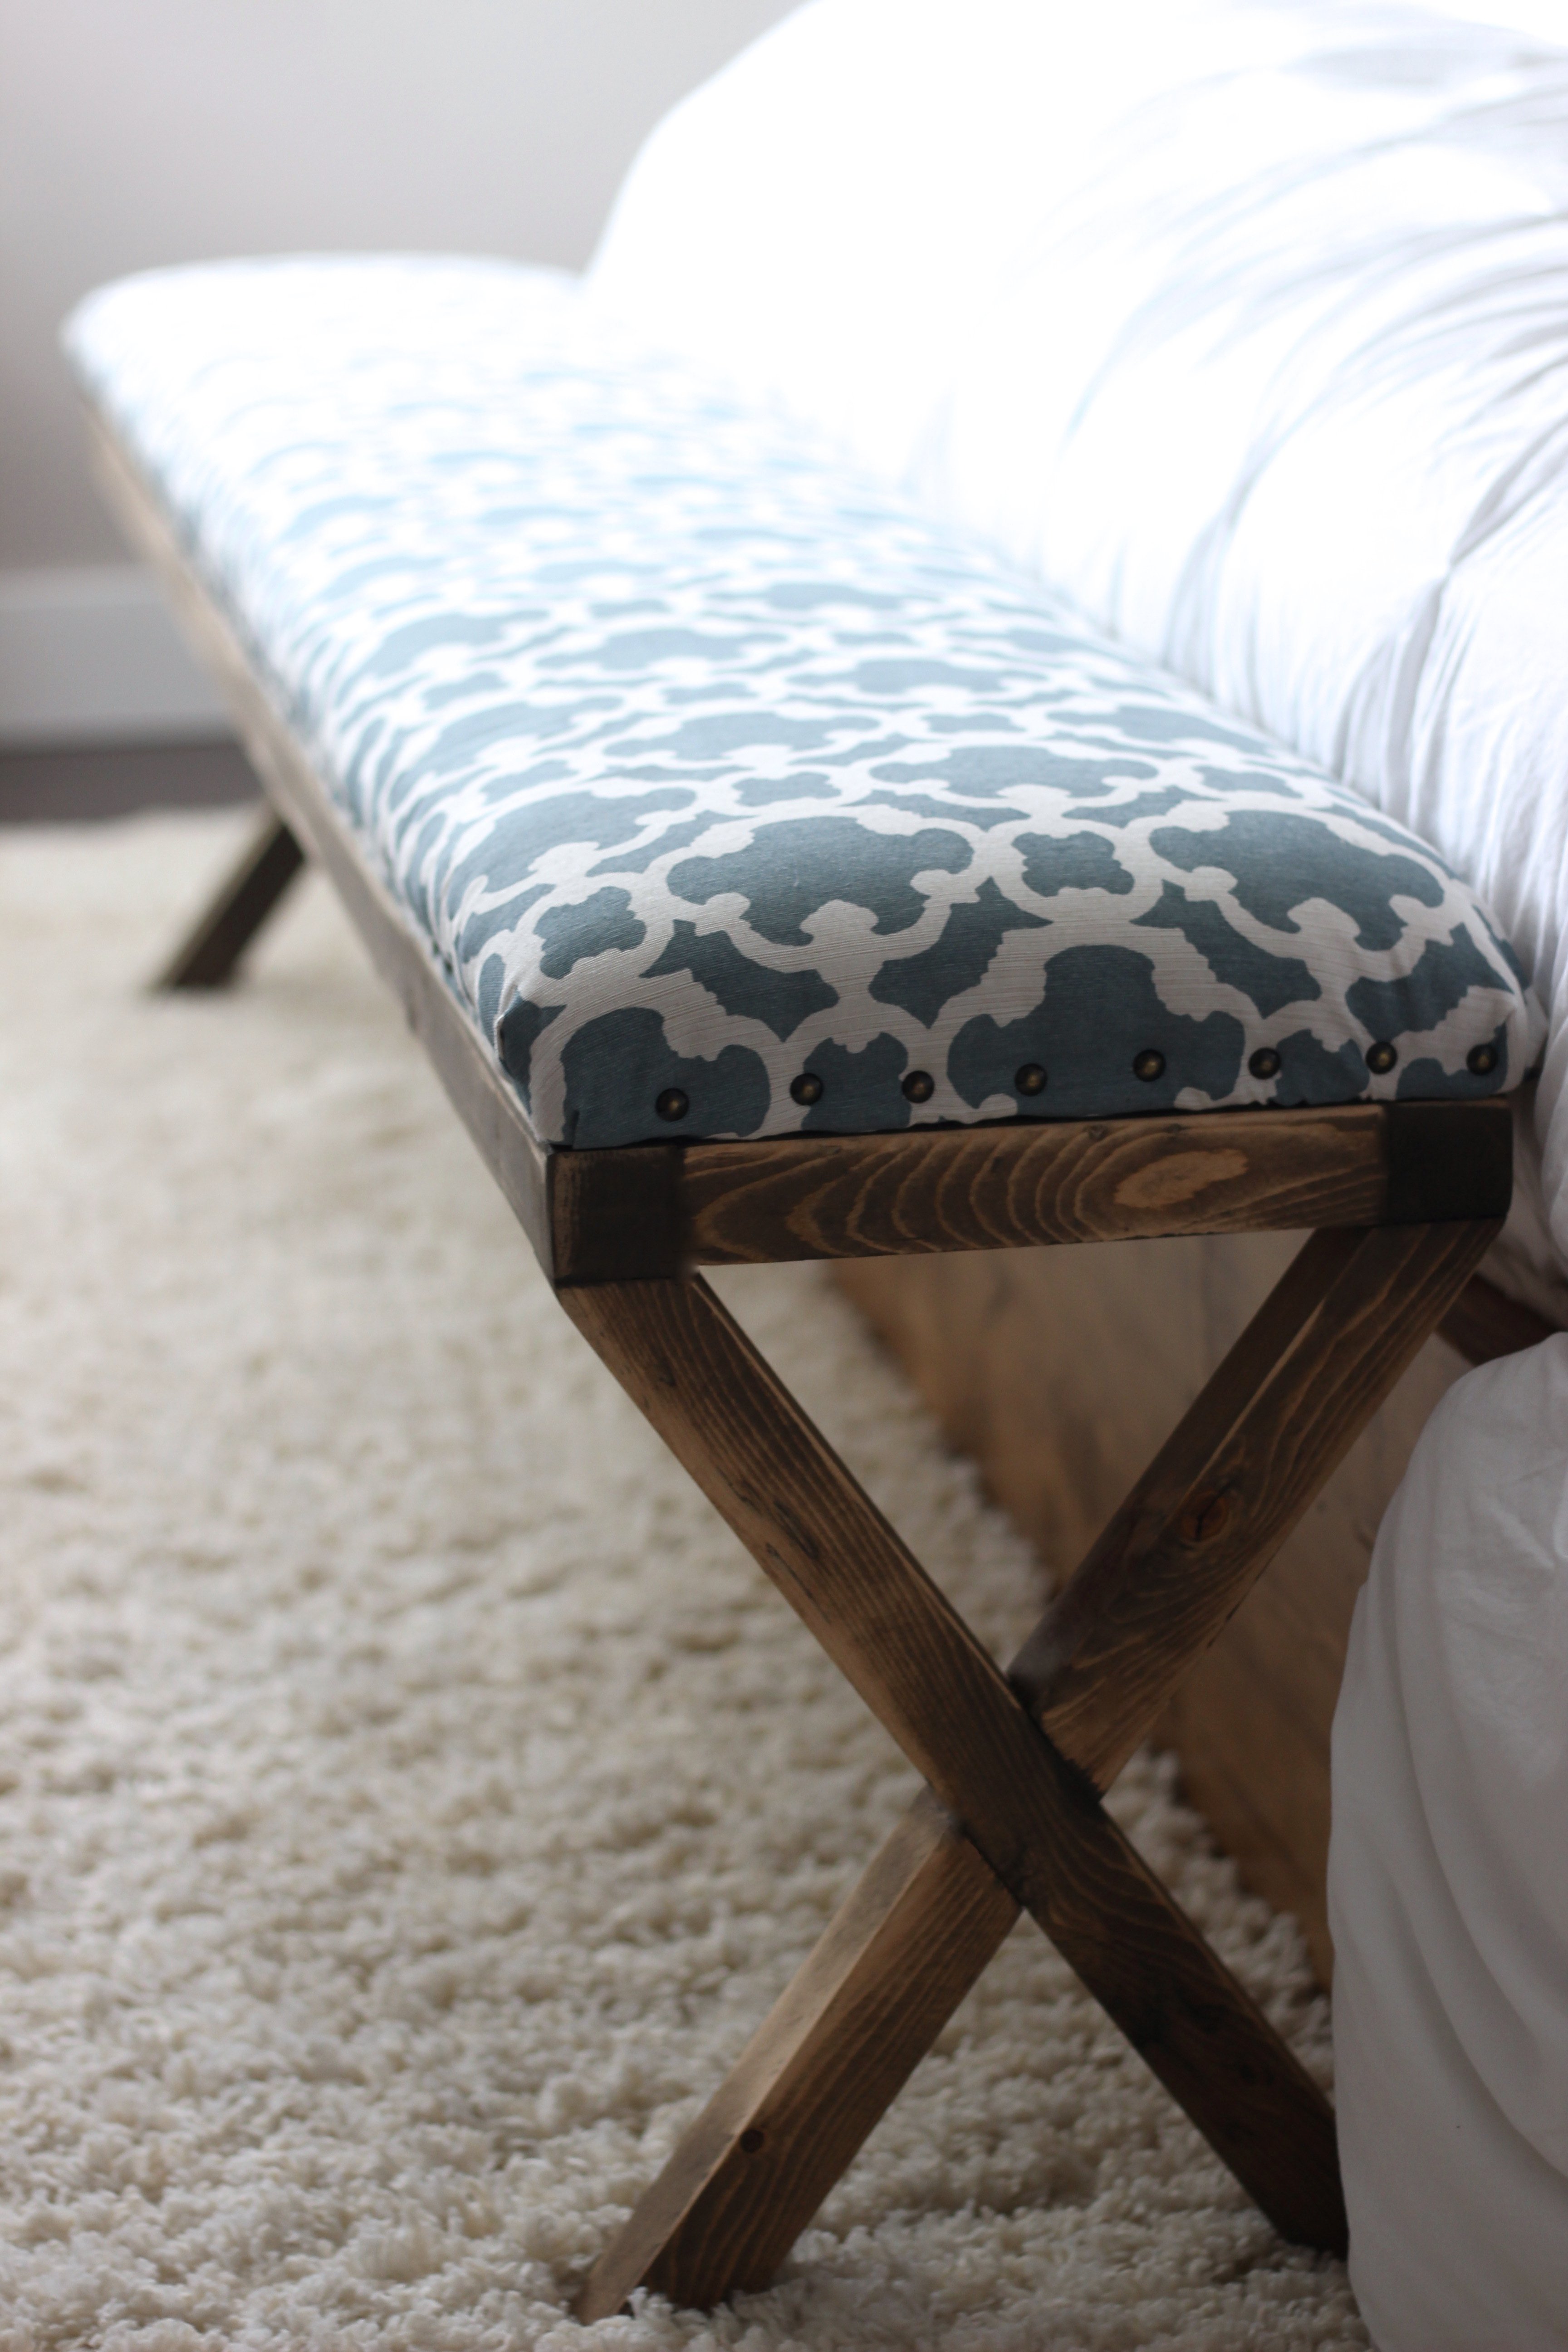
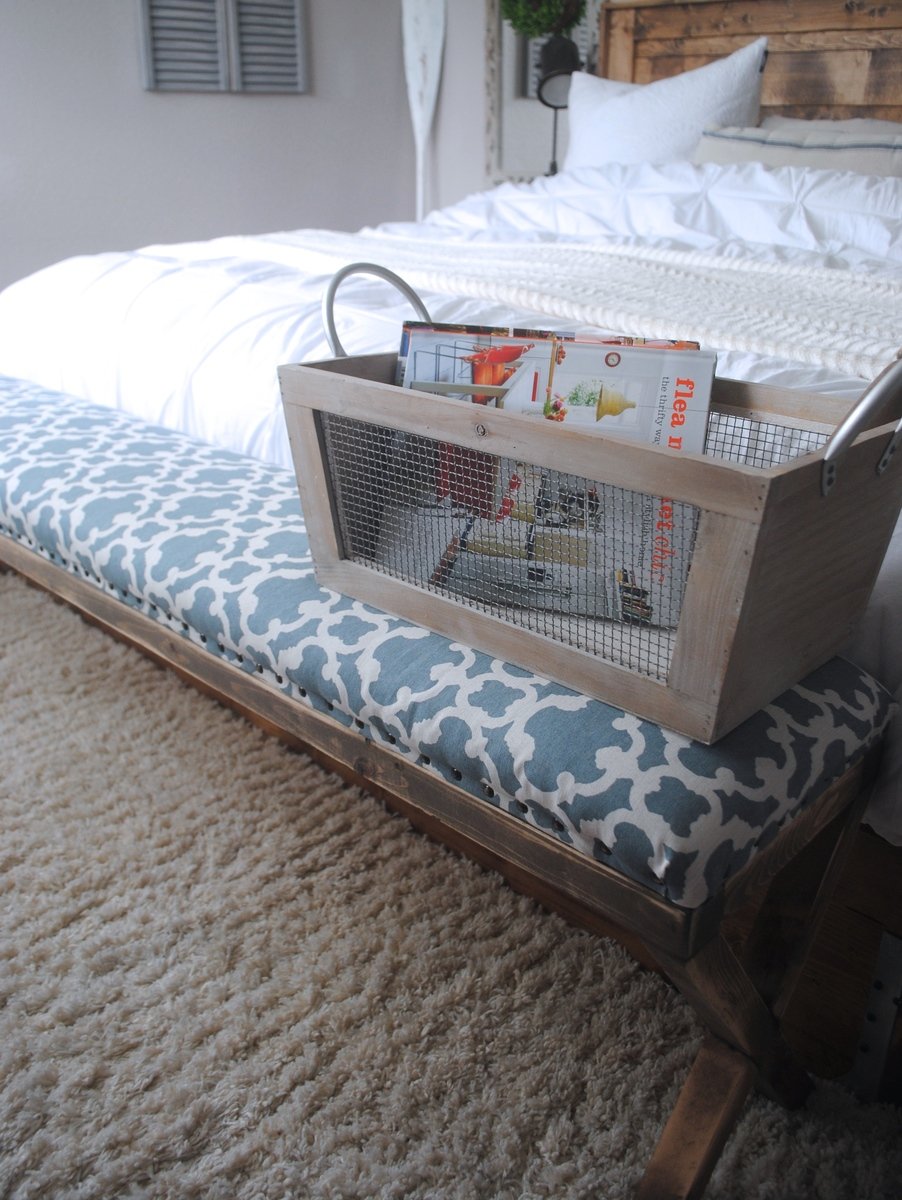
Farmhouse Table and Benches
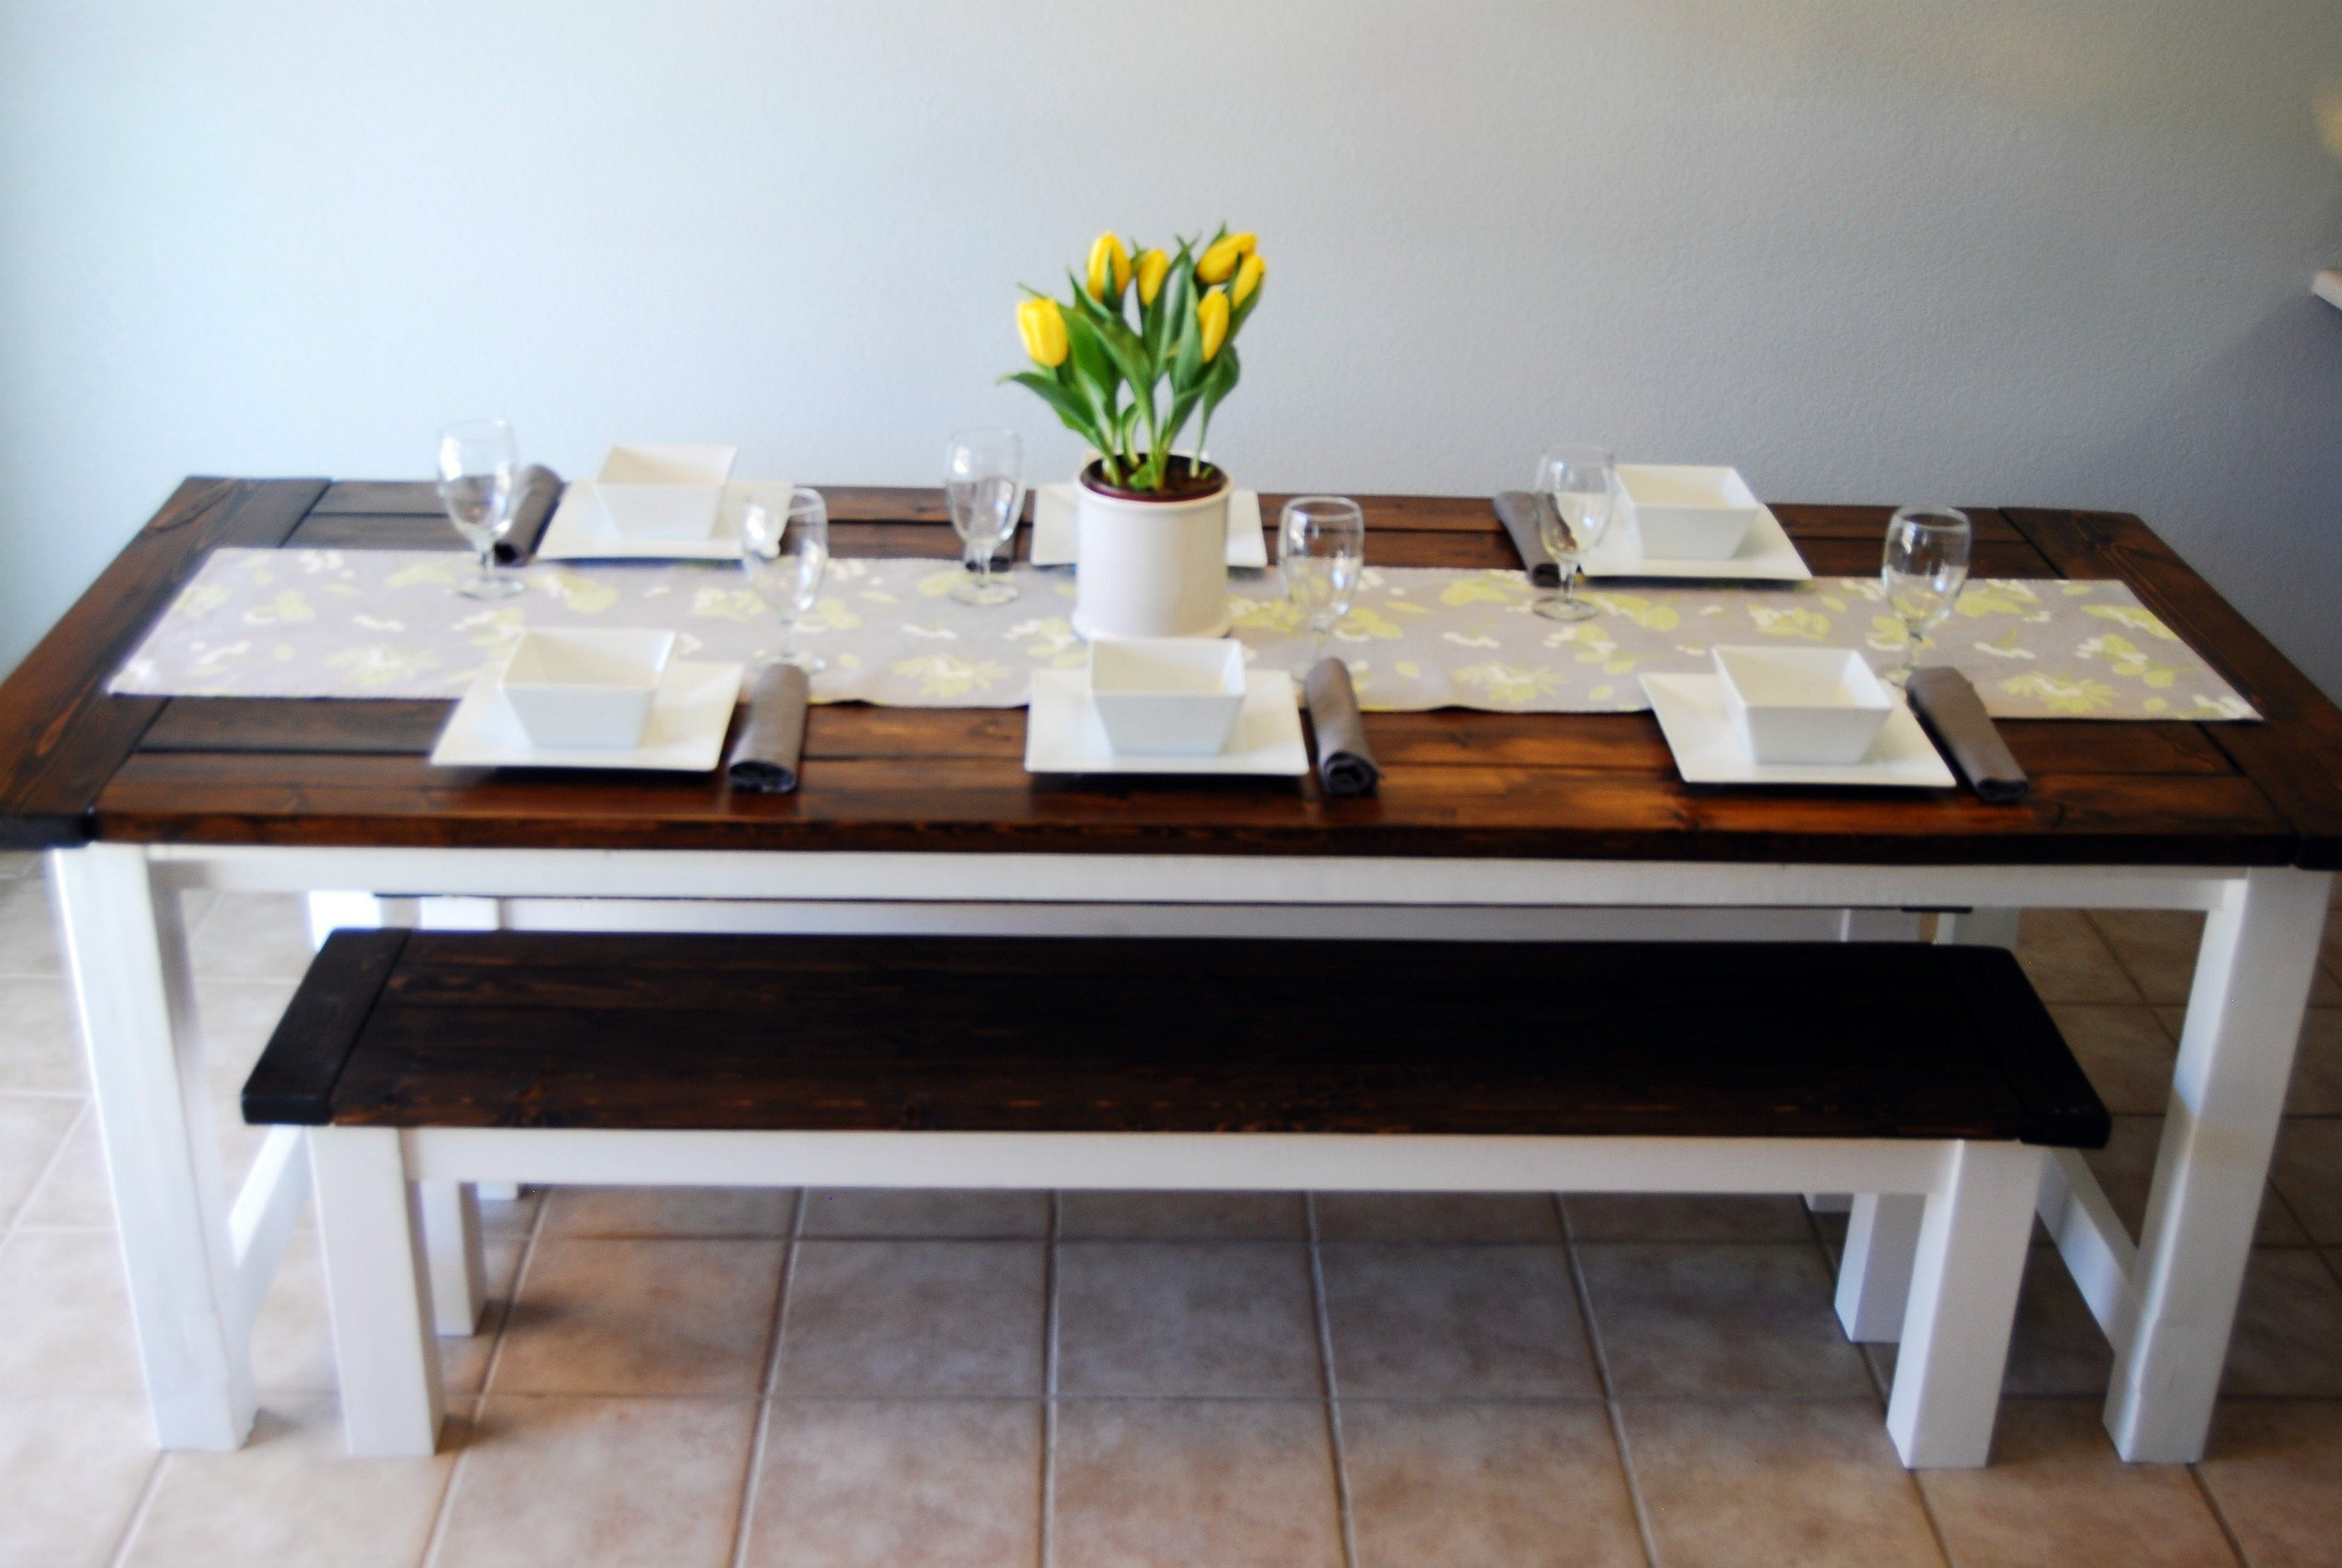
It isn't perfect, but it's beautiful and made with love!
7ft Fancy X farmhouse table
This was my first project! We just bought a house and have no furniture except a mattress on the floor! But soon, we will have a home full of custom built furniture :)
I modified this plan quite a bit so it would fit in my space better. My husband really wanted a square table, so I came up with this one based on the farmhouse table. I changed the table top pieces to 2x10’s simply because I like how they look. It took me quite a while because I wanted the top to be super smooth with minimal gaps between the boards, so I ran the boards through a planer quite a few times until they were perfectly flat. Also, since it is square and smaller, we didn’t need the support beam along the middle.
I really wanted chairs that matched the table, so I ordered chairs that were unfinished and stained them to match the table. This took FOREVER and they were a little expensive, but they turned out great! We also got 2 barstools that match.
Like any other project, the finishing took the longest. I sanded for what felt like 20 years, then stained and poly’d for another 10. I am pretty happy with it considering it was my first try!
Thu, 08/22/2013 - 11:21
I ordered them from a manufacturer in California called Maywood Shops, LLC. The chairs weren’t that expensive themselves because they are a wholesaler, but I had to pay around $175.00 to ship them!! After that, they were comparable to store-bought chairs.
Mon, 08/26/2013 - 11:39
Not exactly what I was going for, but it turned out pretty good!!
I needed new bases for my glasstop desk. I found the Sawhorse Leg Storage Desk and thought it would be perfect! I am a beginner and this was my first time cutting an angle like 5 degrees parallel and not paralell. The pictures in the instructions really helped me out with that. The units came together pretty easy and I decided to plank the shelves instead of using plywood (because I had scraps on hand and wanted to use those rather than cut plywood). I am a beginner and am still a little weary of using my circular saw too much, so planking the shelves was a better fit for my skill level. I think it turned out really good. I used white satin spray paint and got small clear plastic "bumpers" to pad the top where the glass sits on the bases.
This is my second project. (My first was the canopy doll bed.) It just took a couple of days to get it all cut, put together and sanded. This was my first time with the Kreg Jig and I loved using it. So awesome.
The first 'from scratch' project my husband and I have completed. For extreme beginners, definitely simple to put together for an amazing finished piece.
My bathroom has very little storage space. So during our recent remodeling of the room, I decided to add this cabinet. Changed the plan a little to make it recessed in the wall. I love how it turned out!
Sat, 09/03/2022 - 13:28
This looks amazing, love how it's recessed! Thankyou for sharing.
I built this cabinet for a little additional bathroom storage. I used select pine for most of the project and some old leftover hardwood flooring for the top. The lines of the hardwood gave the cabinet top a nice rustic appearance. I am happy how this project turned out.
This was very easy to make and I love how it turned out! It was a fun gift to give to our chicken-loving friends:-).
Sat, 10/01/2022 - 15:47
This looks great, I'm sure you're friends loved it! Thanks for sharing.
As soon as I heard my brother was going to get a puppy this month, I decided I was going to make this food and water dish holder. I LOVE IT! I am going to give it to him for Christmas. I made it with larger bowls for when the puppy becomes a full size Golden Retriever. She won't need it right away, so I've decided to wait until Christmas to wrap up and give to my brother. I had a lot of fun making this project. I need to make one now for our cockapoo.
Since I had to use larger bowls, I had to come up with my own measurements. I'm pretty proud of myself for tackling that all by myself. :-)
Coated it pretty heavy with the polyurethane to protect it from water spillage.
Our daughter asked for a kitchen island so my first stop was Ana's website to see what plans I could find. I built the base while my husband was out of town one week. This was a zero trip to Lowe's project as I raided our wood rack and scrap bins. My husband came home and built the countertop.
Mon, 09/19/2011 - 20:48
I have to say I'm so jealous. Absolutely beautiful! Words can't even say. Great job!
Tue, 11/01/2011 - 09:10
How did you build the butcher block top? Any recommendations, additional resources or anyting?
Easy project. I needed this bench a bit smaller due to space constraints so this is 28" x 42". I kept the height the same and finished the surfaces with some thick polyurethane. It should be noted my cost was a bit higher due to buying a sanded plywood, coated self-tapping screws and a more expensive polyurethane. I also went a bit slow on this project and it took about 2.5 hours including application of the single coat of poly.
Sat, 12/19/2015 - 09:10
Very nice job and great looking workbench! Thanks so much for taking the time to share!
This was all my husband - he did a great job using the modular desk plans to customize (its a bit larger) this desk for our office. He finished it this past weekend so not much on it yet!
Mon, 02/06/2023 - 12:21
WOW, this is so awesome, well done! Thank you for sharing.
My daughter wanted her room redone for her tenth birthday. We decided to go big with Ana's storage bed plans. I had so much fun building this and really learned a lot. It took me three months to find enough spare time to finish it, but it was worth the wait.
Mon, 11/07/2011 - 19:24
You did a really great job building the storage bed. I am in the process of building this same bed for my teenage son, only I'm not building the towers. Finding enough time to actually get a project finished is nearly impossible when you only have a few hours here and there! Your daughter will love all the extra storage space as she gets older.
Tue, 11/08/2011 - 05:19
Thank you very much! For such a large project, and only the second piece of furniture I have made, I couldn't be happier with the results.
I love our table and bench (and high chair). It's working well for our family and I had a lot of fun building and finishing it. Thanks for the plans, Ana!
I don't think I made any modifications to the table or bench, but I used 1x3s for the high chair instead of 1x2s.
Sat, 09/01/2012 - 19:57
Like to know how to build a farmhouse dinner table. Do u have plans for one or know where I can get one at. I love the country look and that what I looking for. Thank you
These were a labor of love! I bought my first miter saw and decided this would be the project to try angles. It wasn't easy but I figured it out.
These were pretty easy otherwise to put together once you get past the stringers. They aren't perfect but they are very sturdy. I've had a few people ask me to make them one too!
Built to be used for my coffee bar.
I used treated lumber for my project. One chair took me 2 to 3 hours from start to finish and the 2nd chair went a lot faster! The plans were so easy to follow, Thanks Ana!
- Built by Kara
The first real project I have attempted. I don't have any real experience with woodworking outside of shop class in junior high school.
My mother has been asking for one of these for many years. Mission accomplished.
Todd North
I've wanted a nail head upholstered ottoman for forever. I came across this tutorial & Roque Engineers tutorial and combined them Super super easy guys! We made ours at 6' in length x 12" in width ( our room is SUPER small ) Check out our blog for more details.
Comments
Guest (not verified)
Tue, 07/12/2011 - 13:53
question
this looks awesome. What wood and stain did you use. I think we may try to do this.
Guest (not verified)
Tue, 07/12/2011 - 20:59
Same question! That is a
Same question! That is a beautiful finish; I'd love details on how you achieved it!
ksfirewife
Tue, 08/23/2011 - 12:37
Which Stain
I'd also like to know what stain you used, this is absolutely gorgeous!
Guest (not verified)
Fri, 09/30/2011 - 04:31
GOTTA KNOW!
This is EXACTLY what I was hoping to do with the table we just built. Would you be willing to share your finishing process here? Beautiful job.
Guest (not verified)
Tue, 10/18/2011 - 14:18
Would Love to know the colors.
Im dying to know what the name of the color of stain you used for your table. It's beautiful! The color of the white part would be nice too:)
Keri Lee
Fri, 11/18/2011 - 14:03
Thank you so much for all
Thank you so much for all your compliments! I apologize for not responding to your questions sooner, I never realized I had comments on this post! 
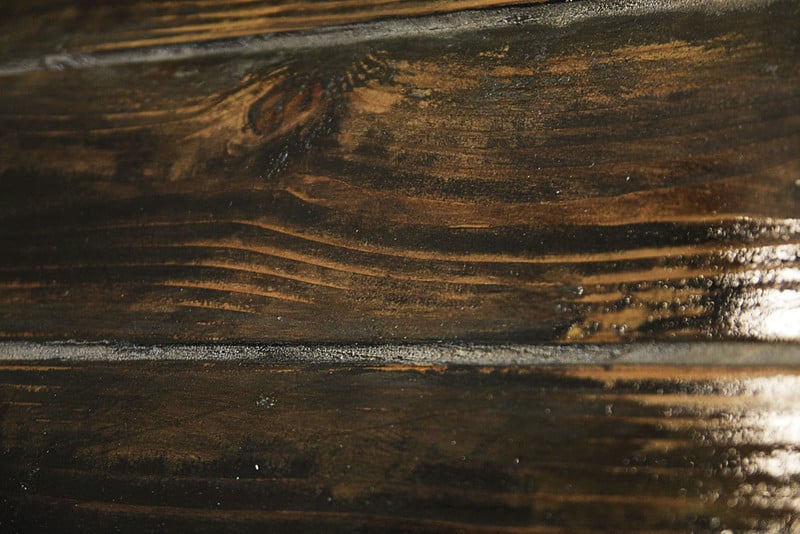
I used MinWax stain in Dark Walnut and three coats of MinWax Fast-Drying Polyurethane in Satin finish to seal the stain. For the paint, I just used some white, satin Olympic no VOC paint right off the shelves at Lowe's. It was left over from painting my house. To date, I have not sealed the paint and I may not bother since it's holding up just fine. As far as my "technique" is concerned, I just followed Ana's tips about sanding between coats. I applied the stain and poly with a small white sponge roller. I used a paint brush for the legs since I feel like I get better results, even though it takes a little more time.