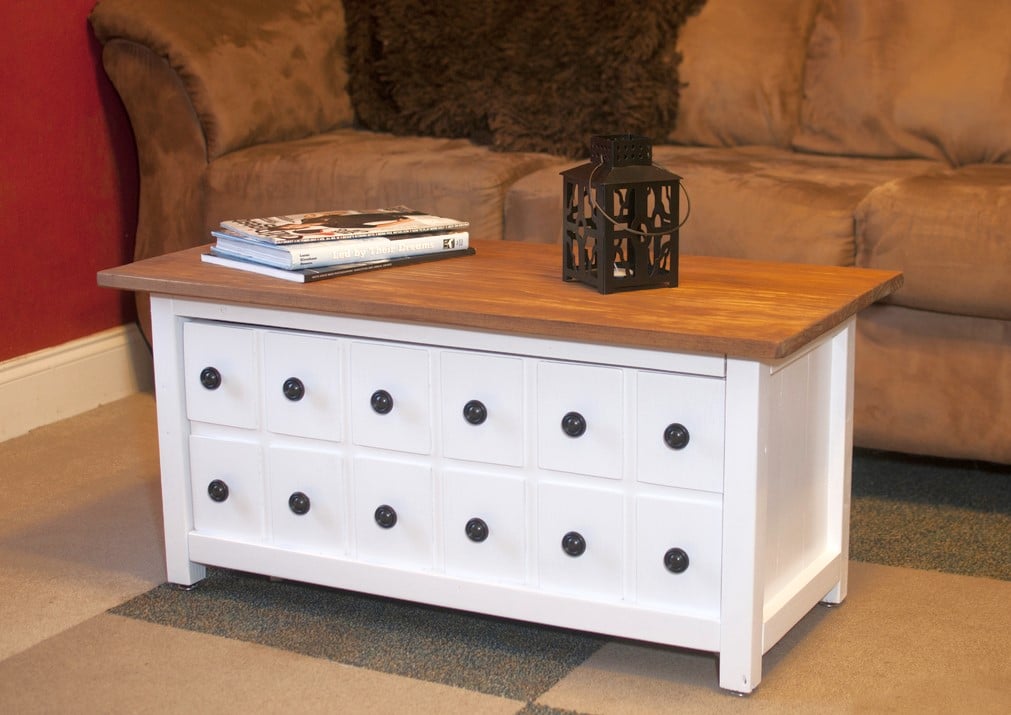
Rustic x coffee table and rustic x console table
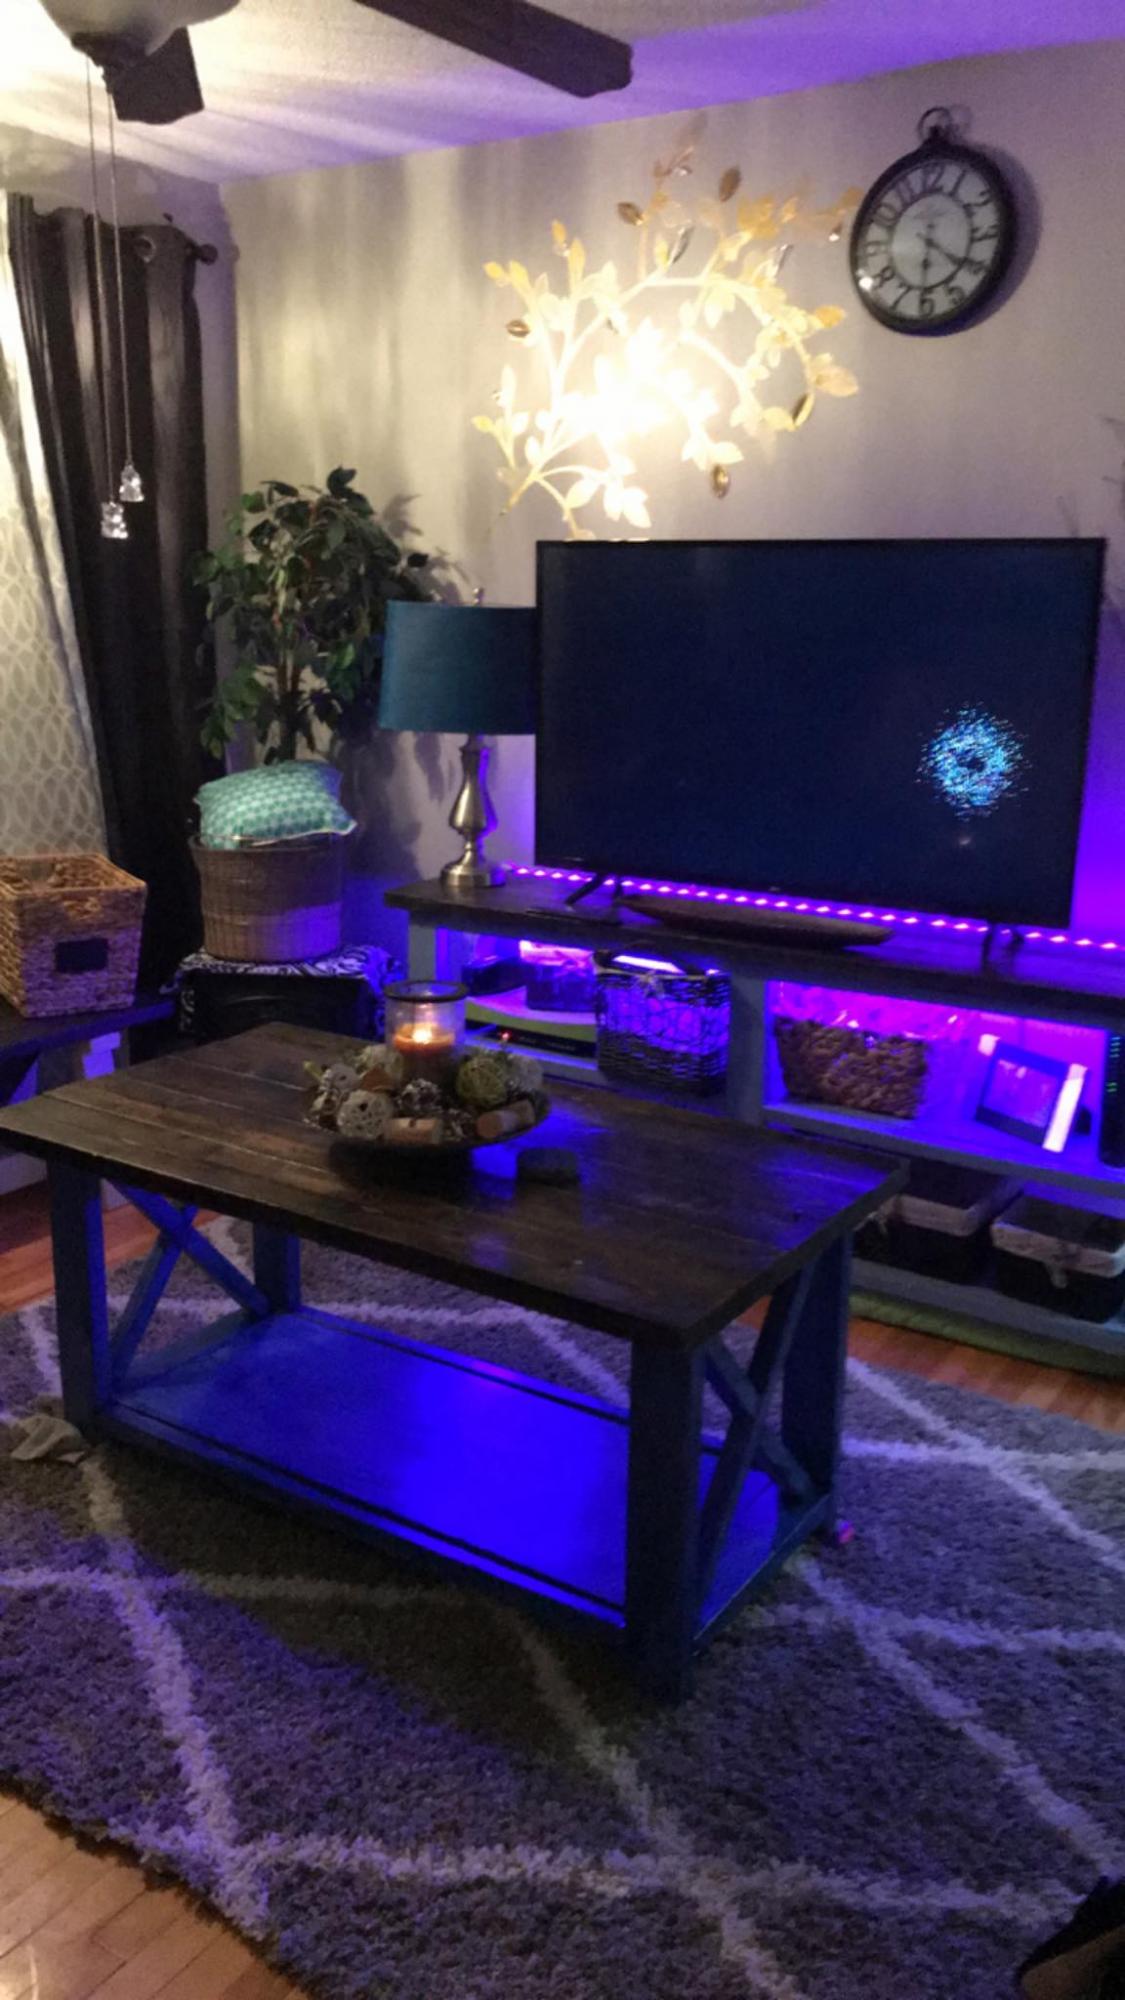
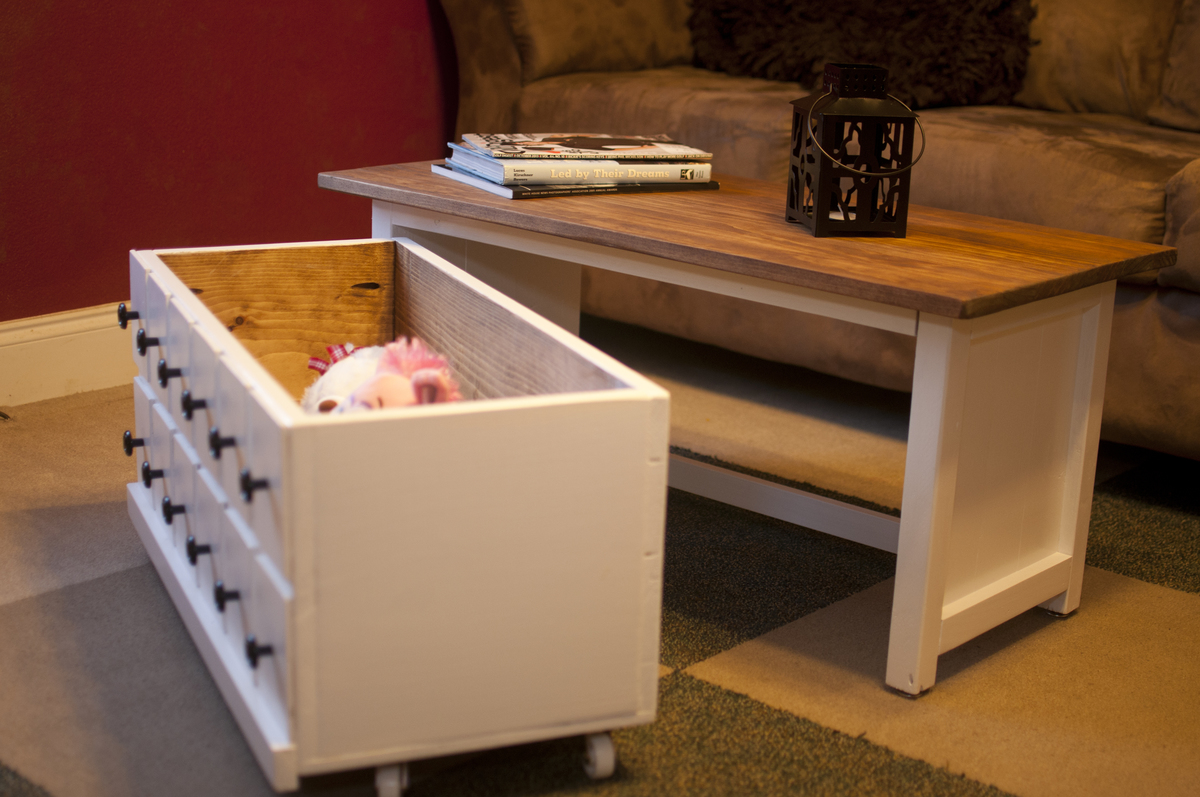
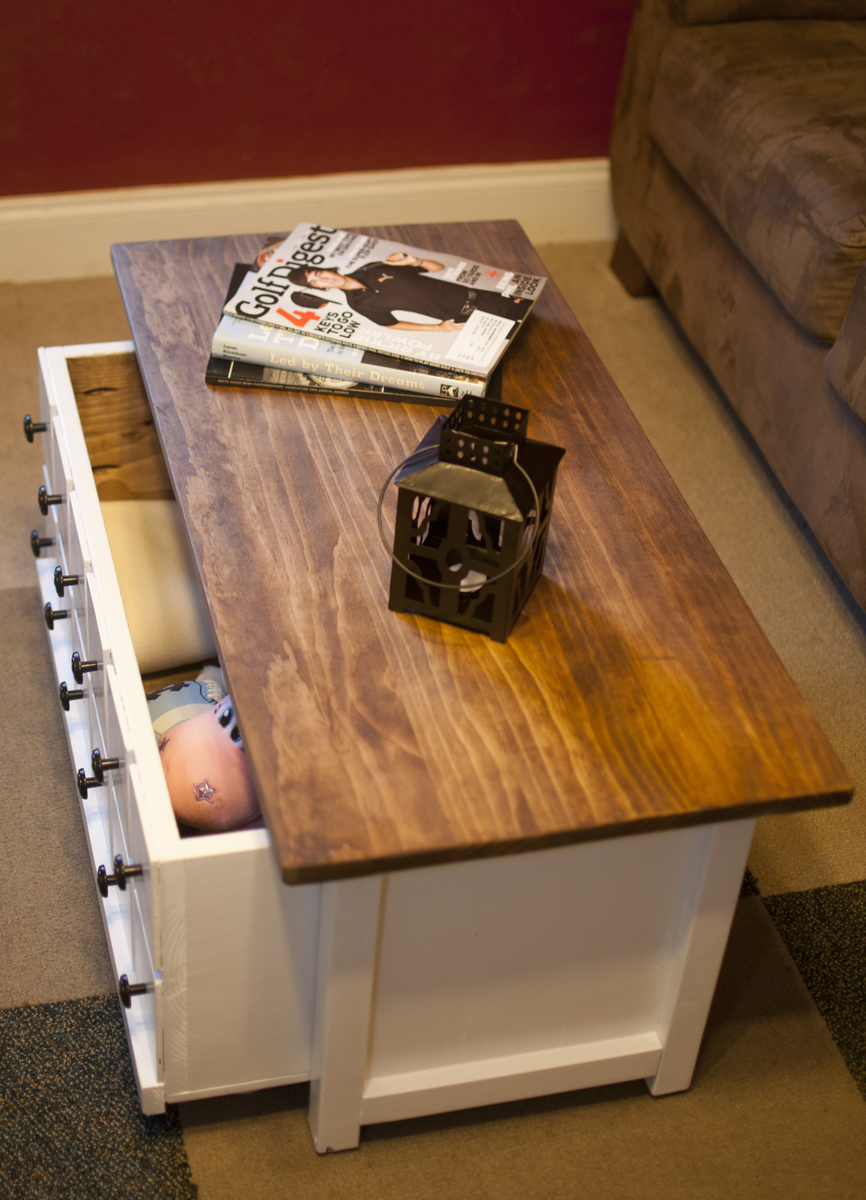
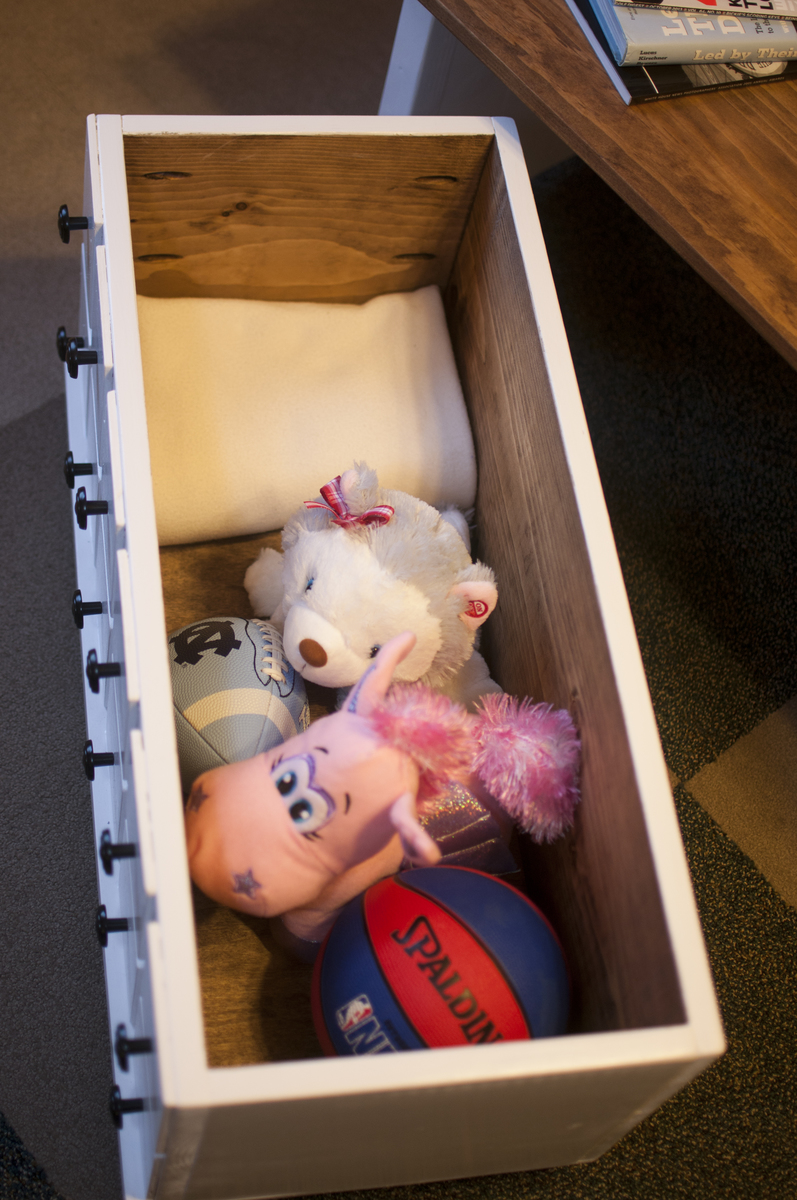
Made exactly as according to Ana Whites plans. Easy to build and very pretty once completed
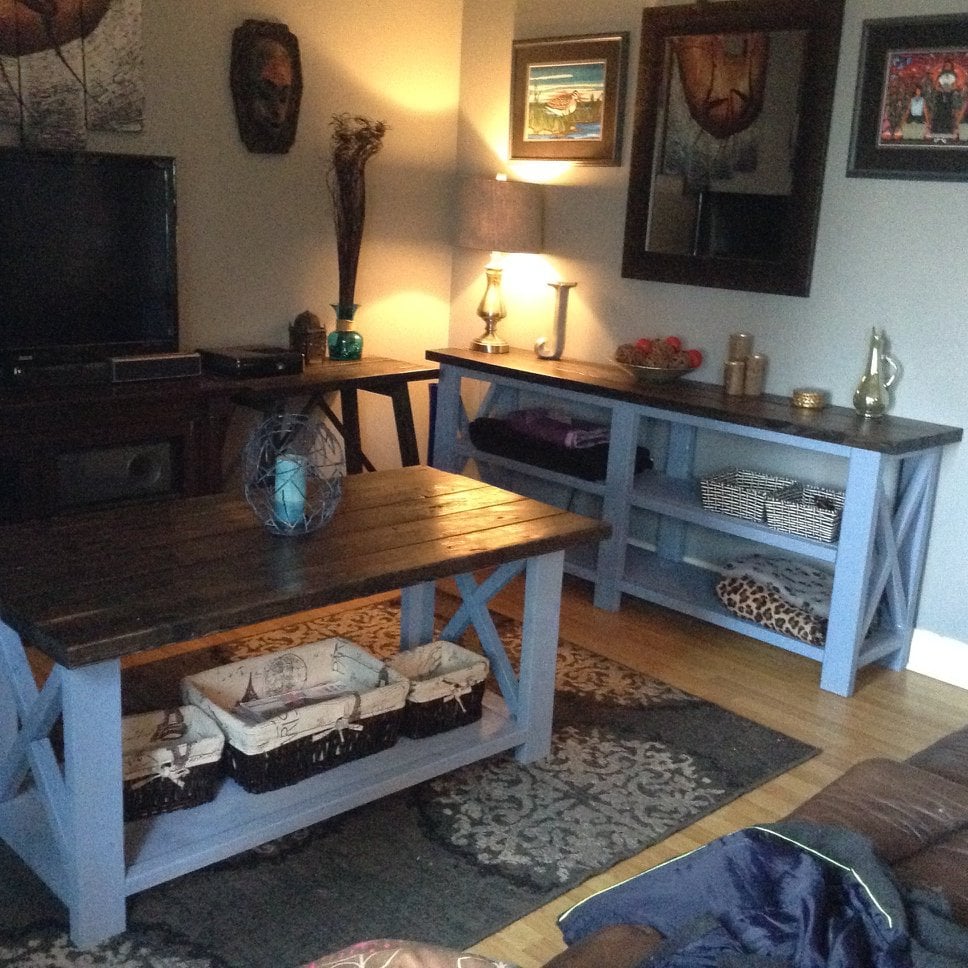

Made exactly as according to Ana Whites plans. Easy to build and very pretty once completed


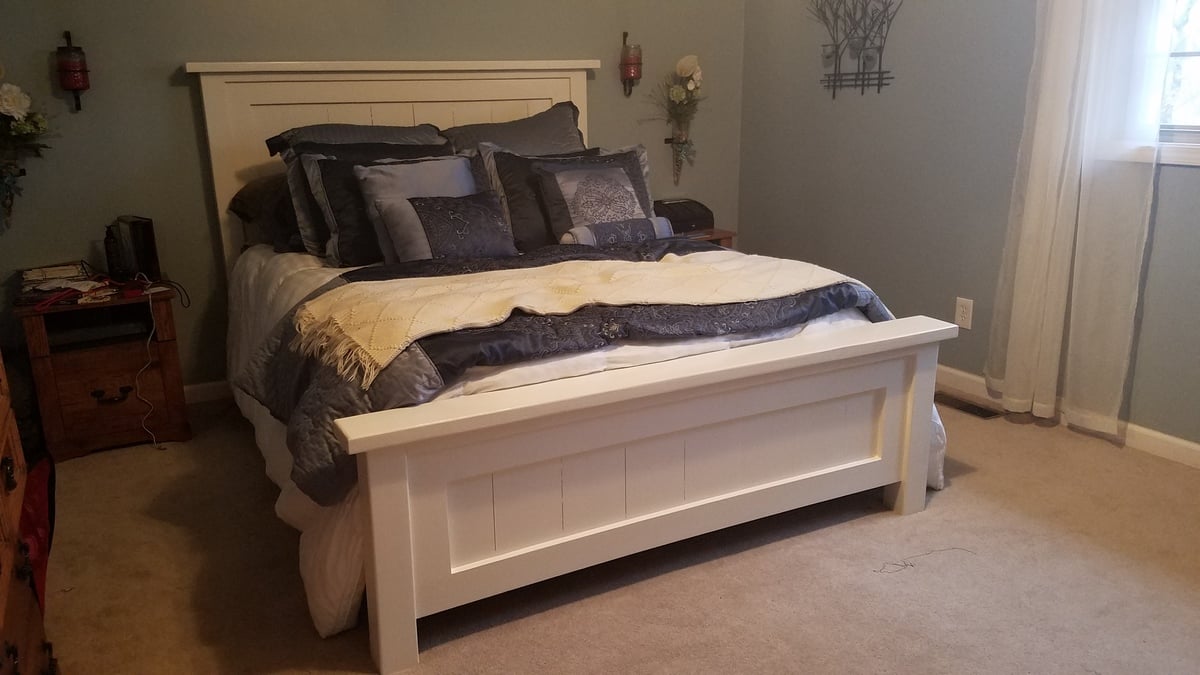
I built this bed for my sister's new house. I used aspen for the visible boards and furring strips and regular lumber for the rest. The only change from the original plan is that I used 1x6s for the legs so it would sit higher off the floor.
I painted it with Rustoleum Painter's Touch Metallic in Oil Rubbed Bronze and I really like how it turned out. I didn't use any primer, so you can almost see the wood grain which gives it the illusion of being stained. It also has a metallic sheen in the right light, but it's very subtle. The only downside is the metallic gives it a rough texture. I contemplated putting a couple coats of poly over it, which I may do later.
*Picture was taken with her old full size mattress
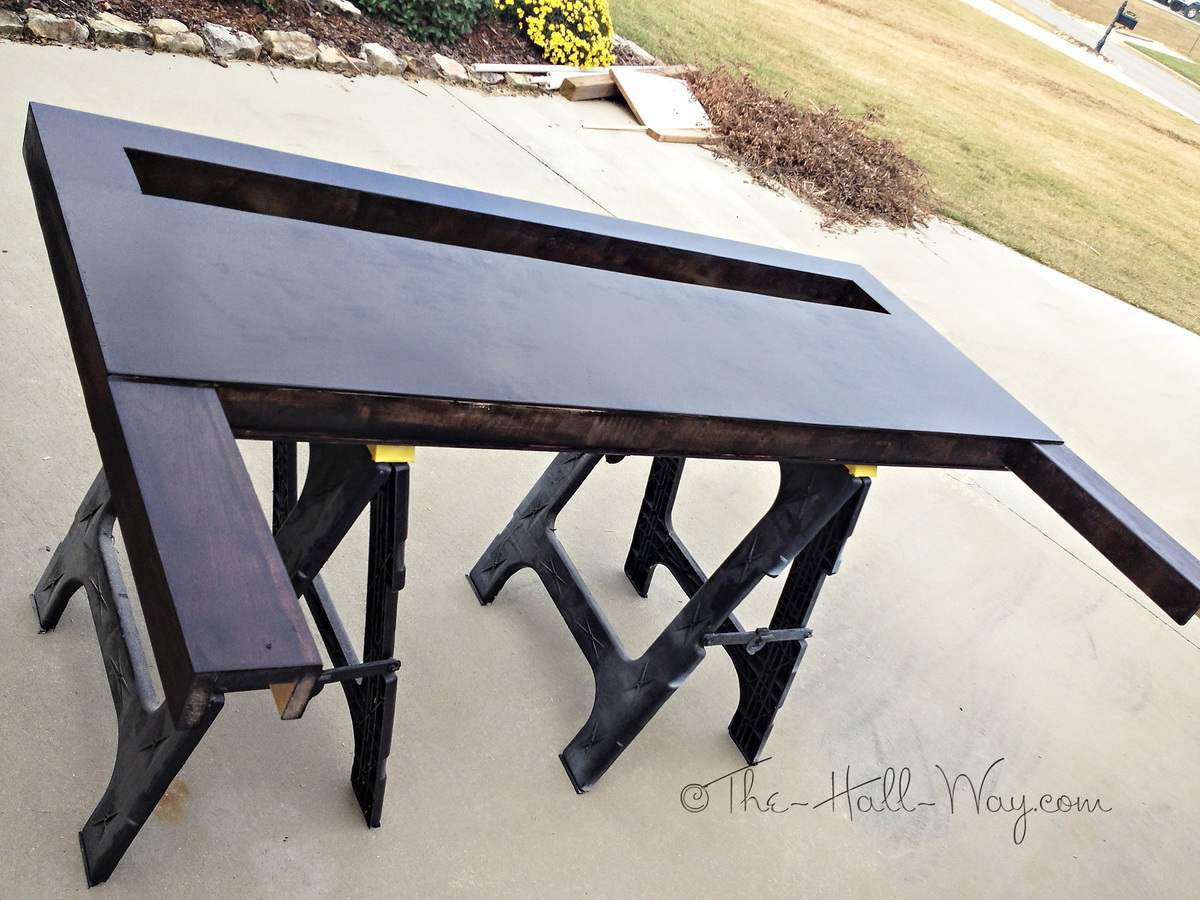
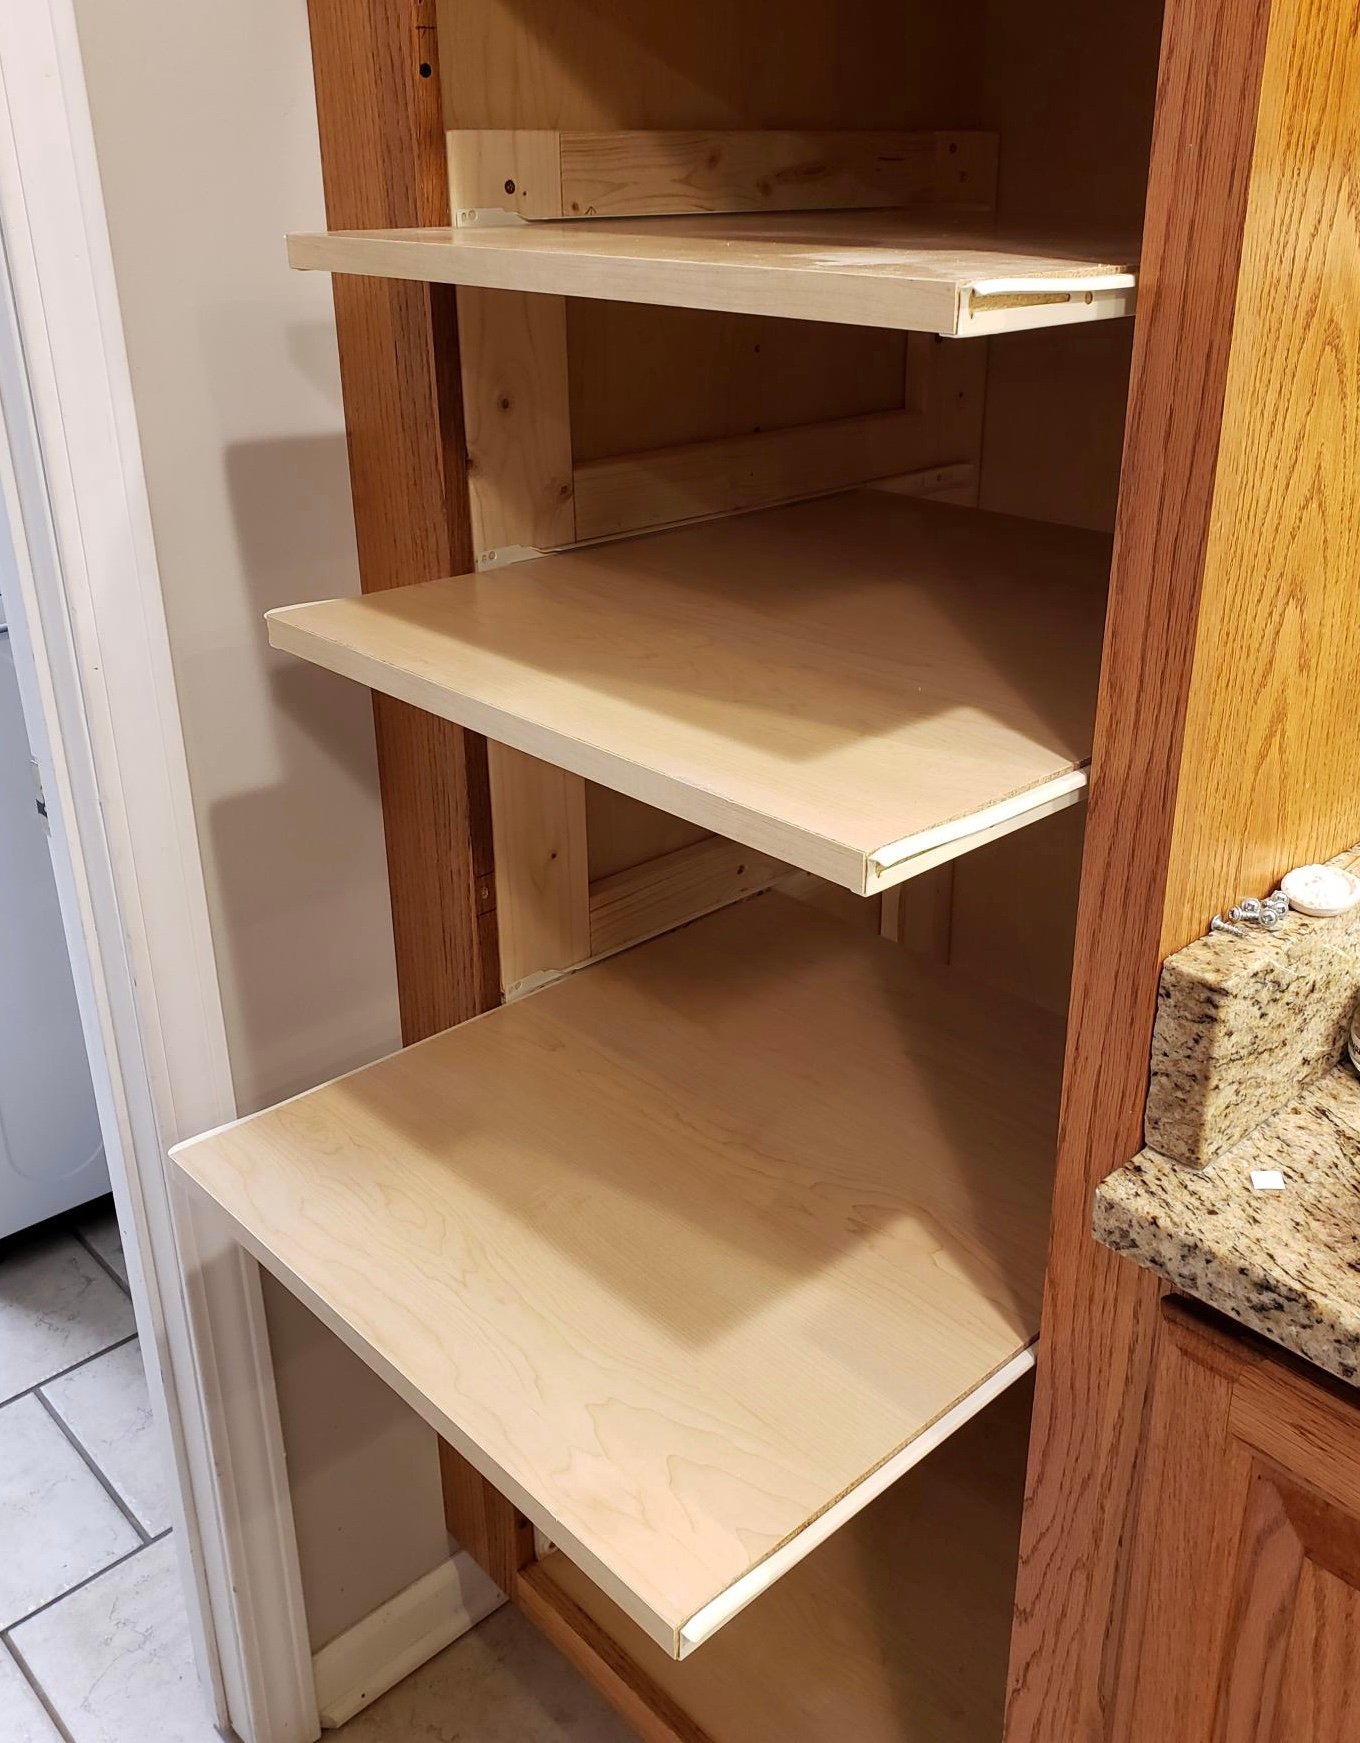
Stationary shelves are such a hassle, especially in a deep pantry cabinet! Now I can actually SEE the contents of my pantry cabinet. Thanks for the inspiration and tutorial to get it done!
Thanks ANA for the plans!!
I found the original plans and LOVED them, but my house is tiny, so I was forced to re-work the plans to fit my space! This is a good bit smaller, but every bit as awesome! ;) I decided not to distress it, but I may down the road if it starts to scuff up! ;) Project took about a week long including finishing time. Actual build time was 9-10 hours over two days.
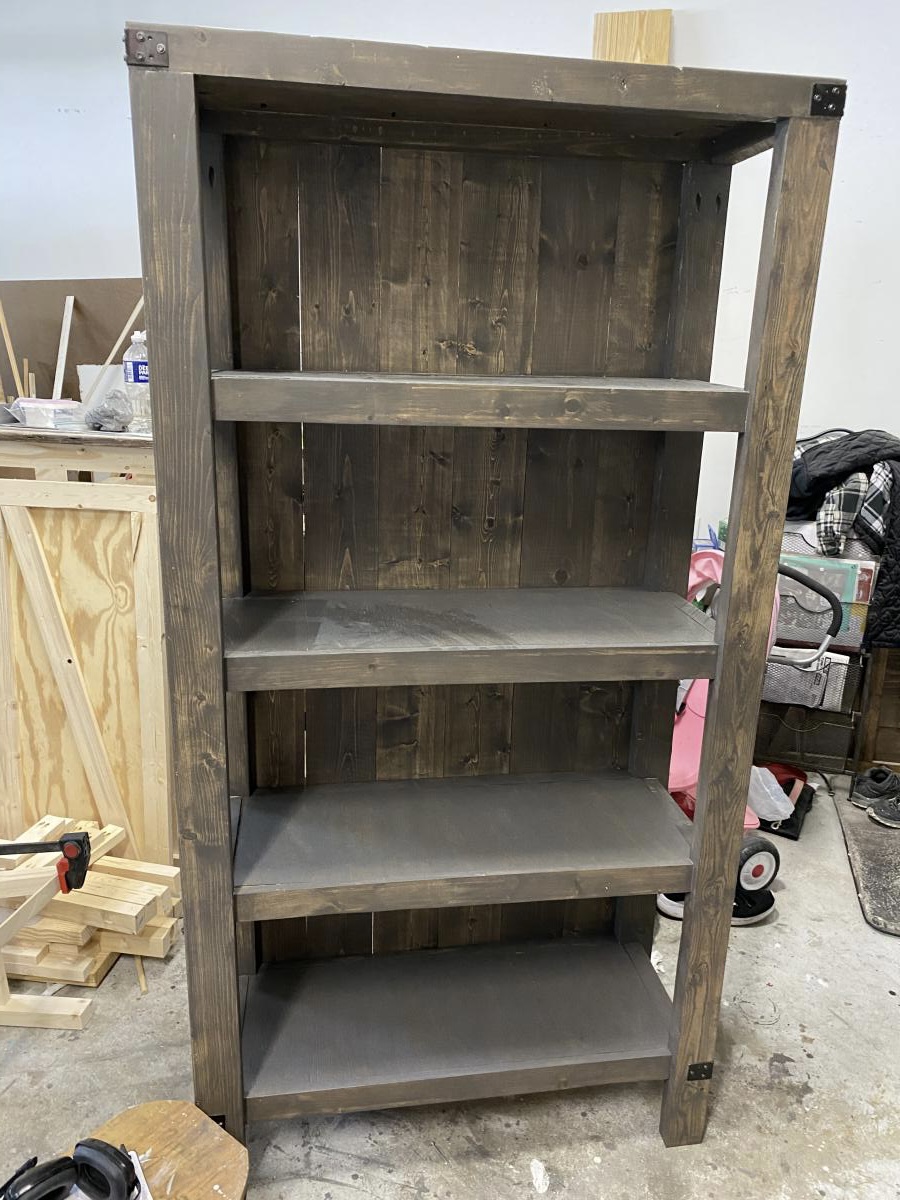
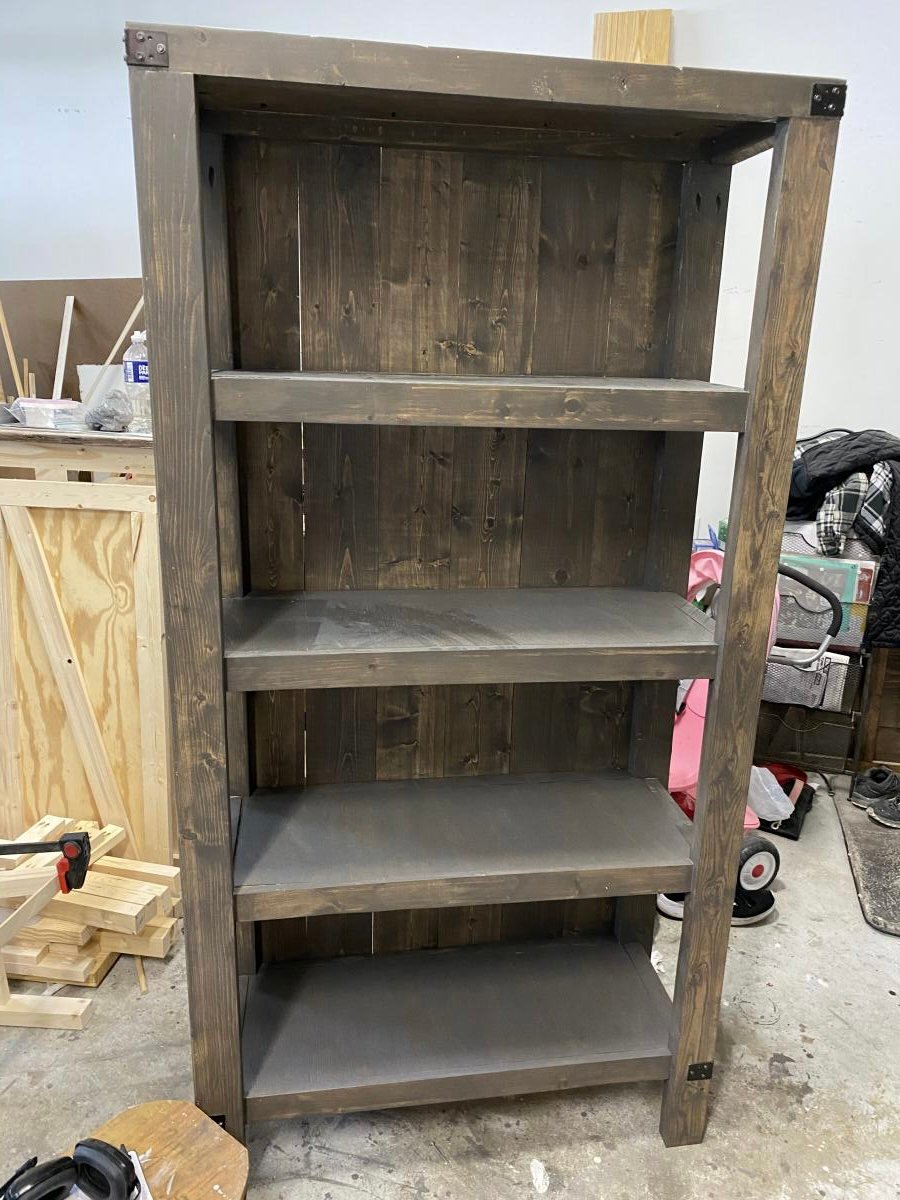
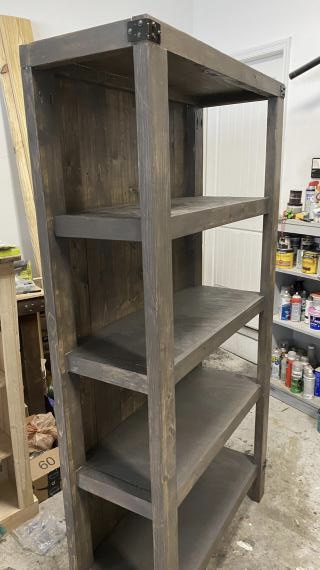
My husband has been hounding me to build him a bookshelf for his office. I actually used wood that I already had in my garage. The next time I build it, I will follow it exactly... I used plywood on the shelves and planks on the back... next time, I will do the opposite, but I really love it!!
Fri, 03/19/2021 - 09:31
The brackets add that farmhouse industrial feel, great job!
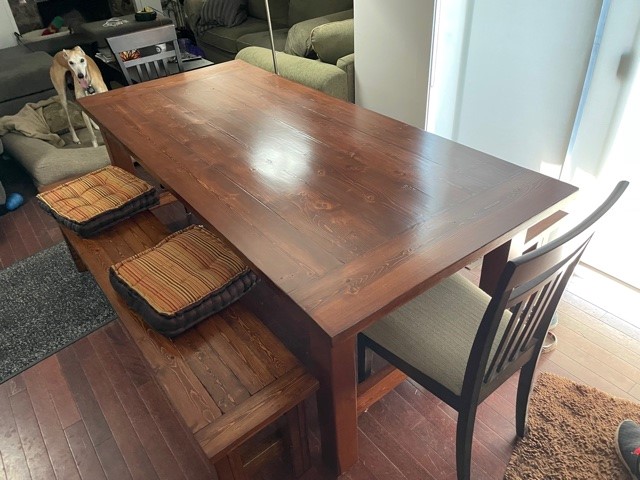
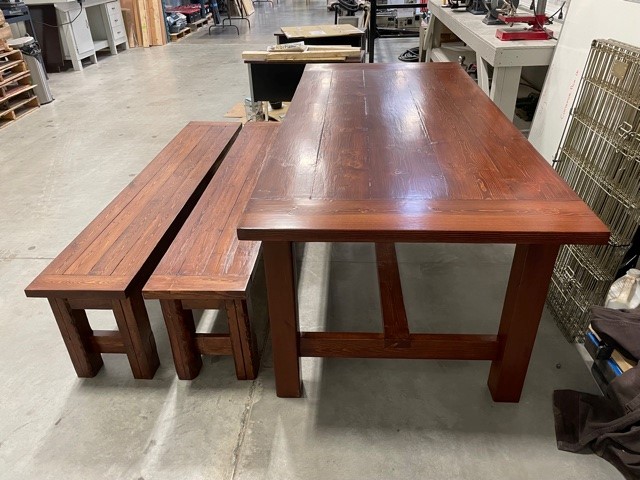
I used the no pocket hole plans and as per someone's great recommendation - I moved the stretcher supports to the inside of the legs to give a little more room when the chair is pulled out and someone is sitting on an end. I also made a planer tool for my table saw so I could square off the edges of the table top boards and the bench seat boards. The boards then sat closer to each other so I don't have places for crumbs to fall down between the boards. I did have a couple of sections that didn't quite match up and used resin to fill those areas after staining the boards. I then used a lacquer finish (Watco clear satin lacquer). The stain is Minwax English Chestnut but I did use the Minwax wood conditioner prior to the stain for a more even uptake of the stain. All great recommendations from folks on this site!
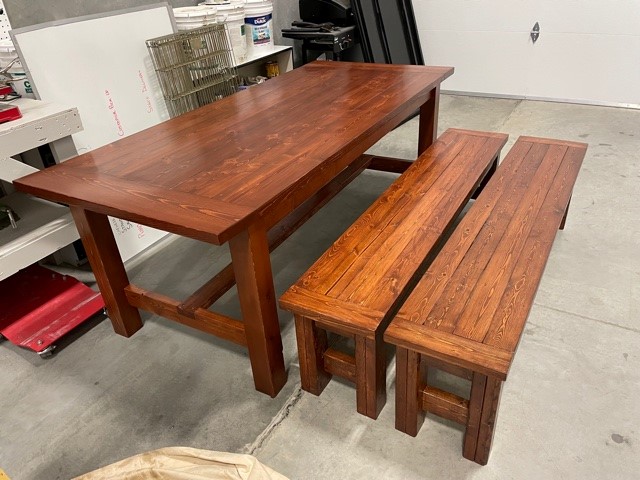
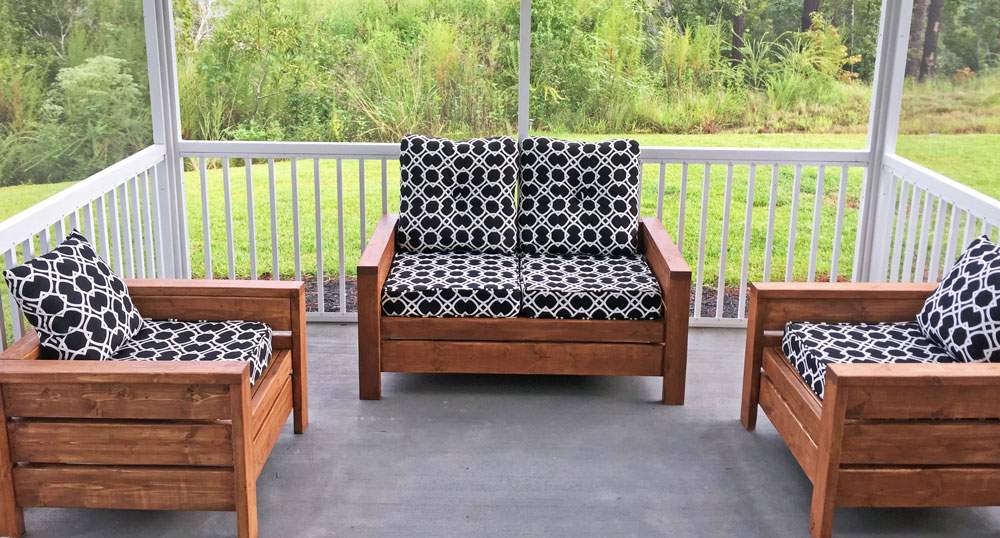
Built the 2 chairs according to the plans, and then modified it for a bench that's 48" (our cushions are 23.5 x 23.5). Worked really well!
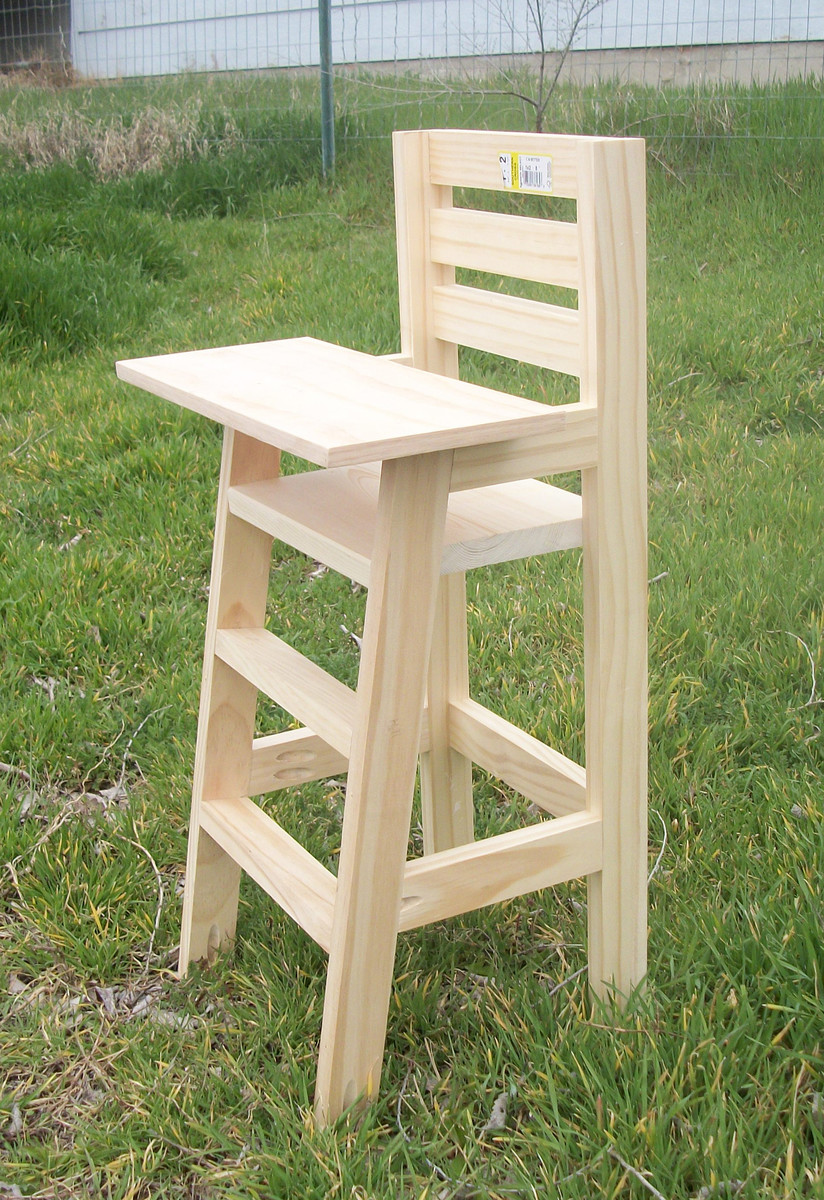
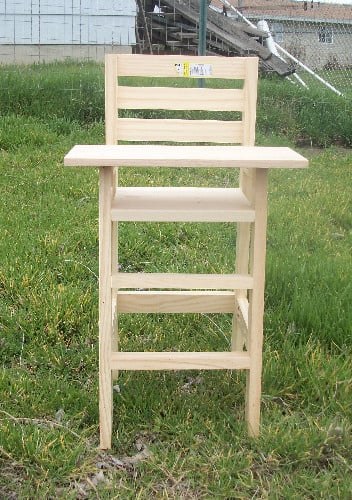
My neighbors grand-daughter is about to turn 3 and I thought this would make a great present for her.. plus, when she saw it online while visiting me (I was checking the website as usual), she said "Oh, I NEED one of those!". I laughed and then that night went out and checked my scrap pile to see if I had everything I needed to build it.
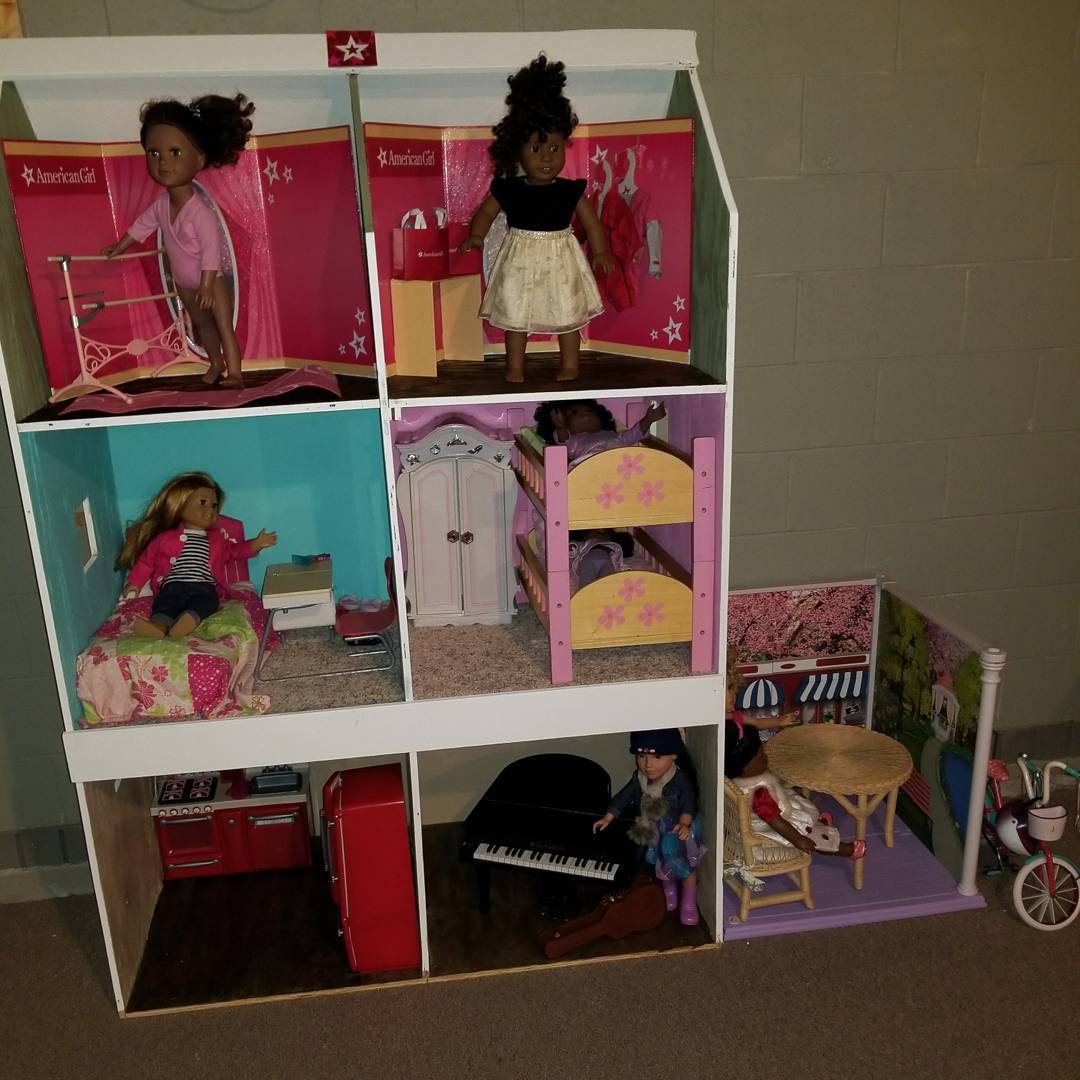
Both my princesses absolutely LOVE their dollhouse. It was my first diy project and it's wasn't nearly as difficult as I thought it would be.
My daughter's room needed more storage and the closet was the perfect place to add some! Visit the blog link for more pictures.
Good plans and easy construction. Thanks!
Thu, 08/08/2013 - 08:54
Planning to build a set like this for my new patio. The angles on the bench legs don't appear to be 45s. Could you share a few detail about them? Thanks!
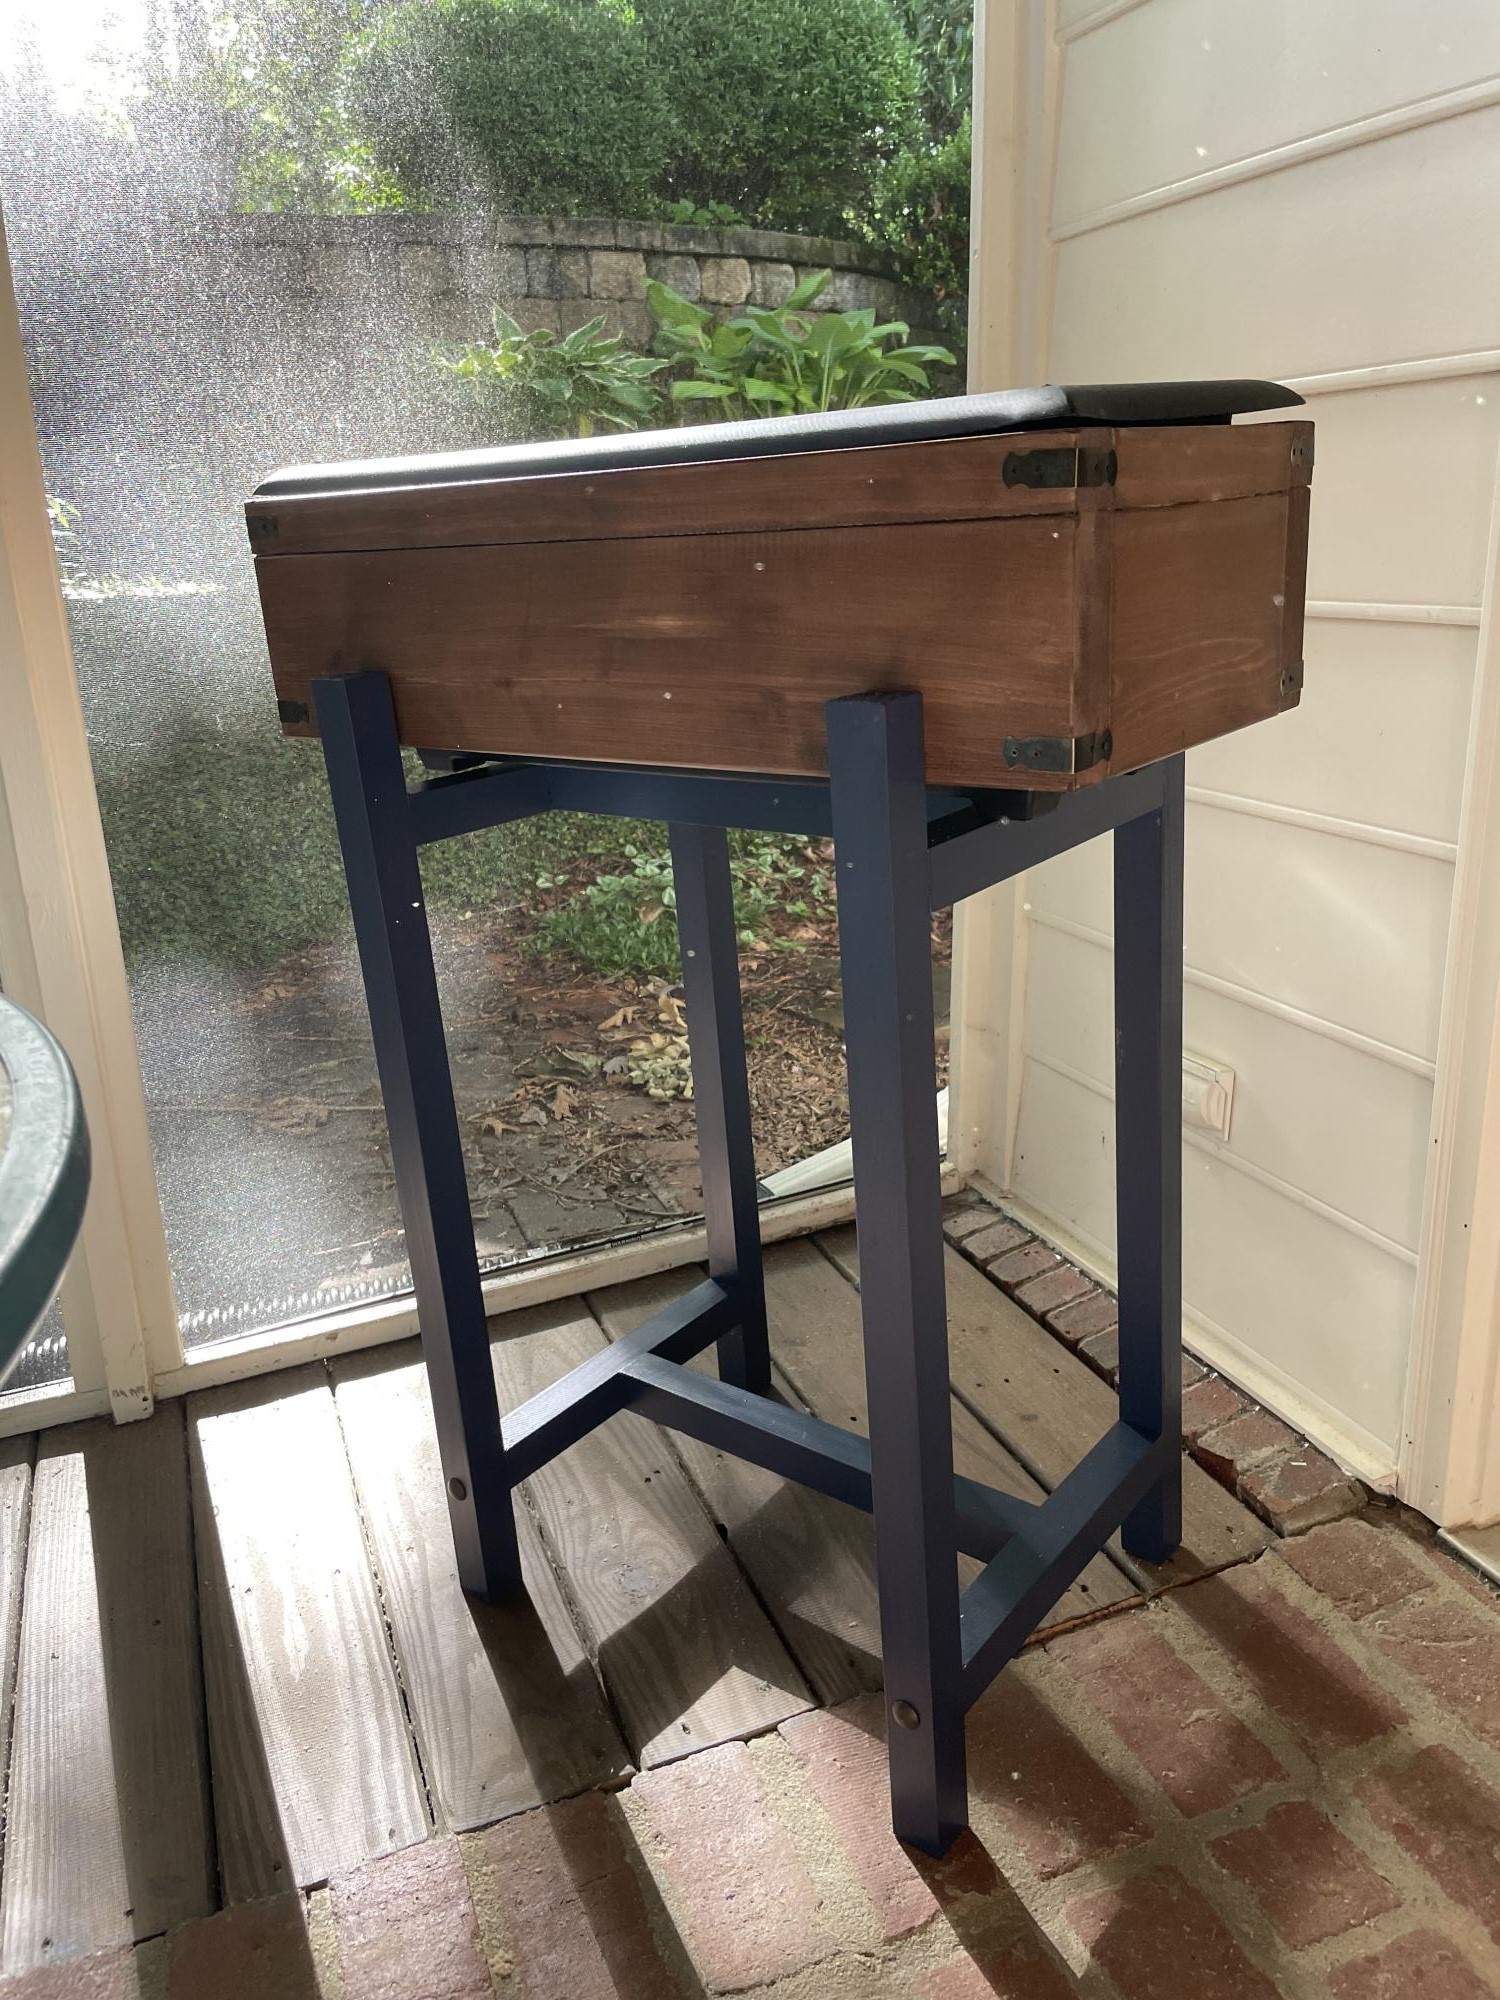
Plan to use as a cooler :) adjusted dimensions to fit a bigger planter box and added some decorative details. It came out great!
We needed to transition our son out of his crib-turned-toddler-bed to free up the crib for the next spawn, arriving in November. We wanted something we could sit or lie on with him for the reading of bedtime stories, which ruled out most toddler beds and the inexpensive twin size beds. The choice was clear between spending $1000 on some out-of-the-box bed from a furniture store, using a mattress-and-springs-on-metal-frame from the mattress store (which lacks any sort of organized storage potential) or building our own awesome storage-friendly bed that will hopefully last until the kiddo graduates high school and gets his own place. I love this plan because of the ample storage it provides between the under-the-bed cubbies, the cubbies on the "walled-in" side of the bed that can be used for off-season clothes and less-frequently-used items, even the space between the cubbies only accessible by sliding the mattress off and popping out the slats. Also, my child is doomed to need glasses at some point in his life, so the headboard with space to stow the glasses, an alarm clock, a glass of water, a couple books ... this plan was perfect for what we needed and what we wanted. And custom-made by dad? Painted Elmo-red (the current obsession) by 7-months-pregnant mom? What could be better? We are thrilled by the bed and are already planning the expansion we'll do (create a bunk? Just build a matching bed?) in a few years when the new little brother has outgrown the crib.
We opted to skip pretty much all the hardware on this bed and, with the help of a few nails inserted via nail gun, put the bed together with copious amounts of wood glue and clamps. This bed is NEVER wiggling apart, no matter how much the kid jumps on it. The exception is the binding of the headboard and footboard to the base itself -- this is done with cleverly placed screws so that the bed can be disassembled if it ever needs to be moved. The project would've been a weekend project from shopping through painting except that we had to wait hours for glue to dry in between steps. As a result, it monopolized our garage for about a week.
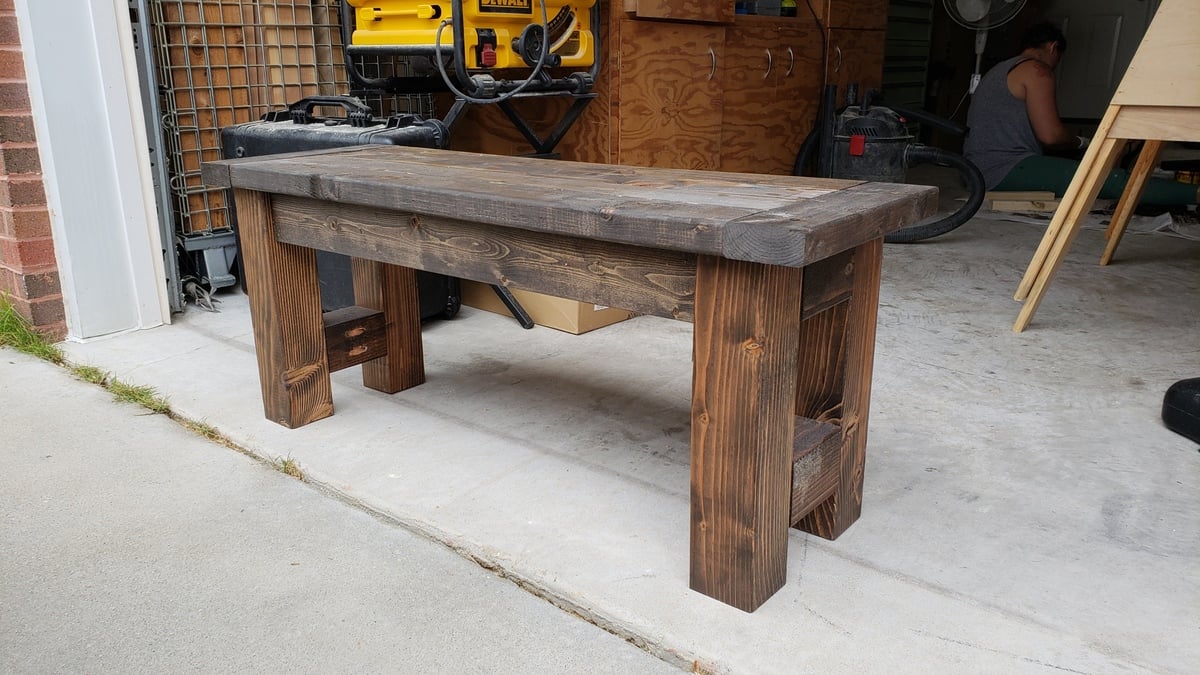
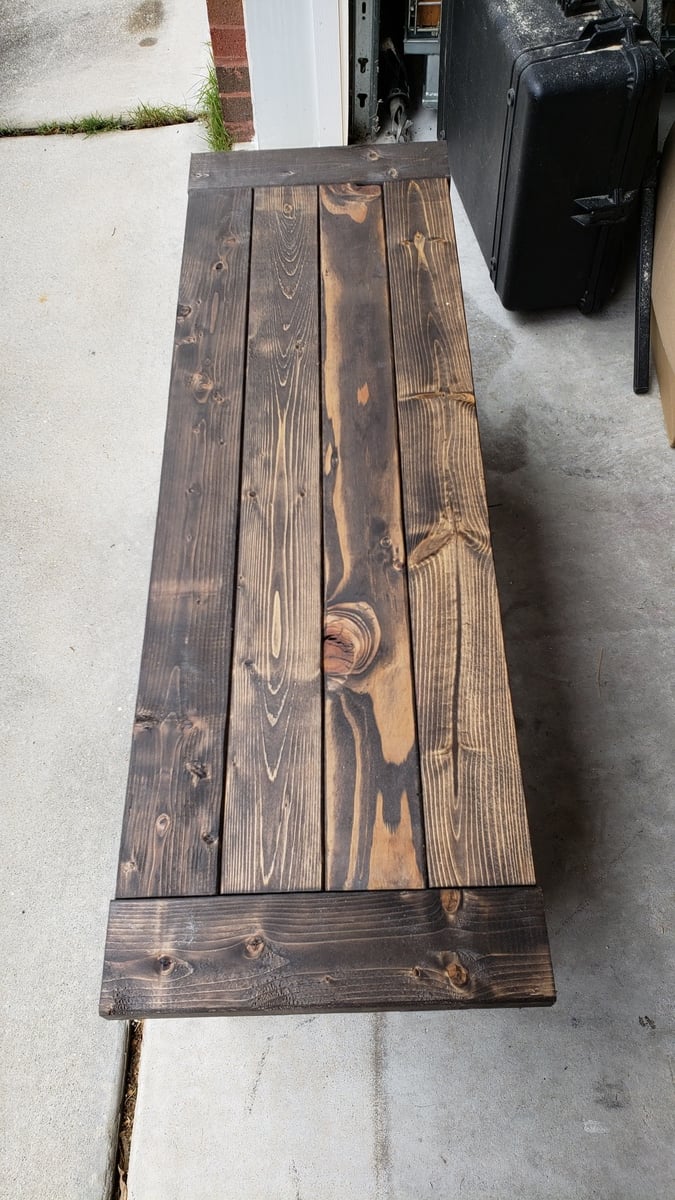
Made a 4 foot version of the farmhouse bench. I also used 4x4s for the legs instead of 2x4s. They work great, just makes the bench a little heavy.
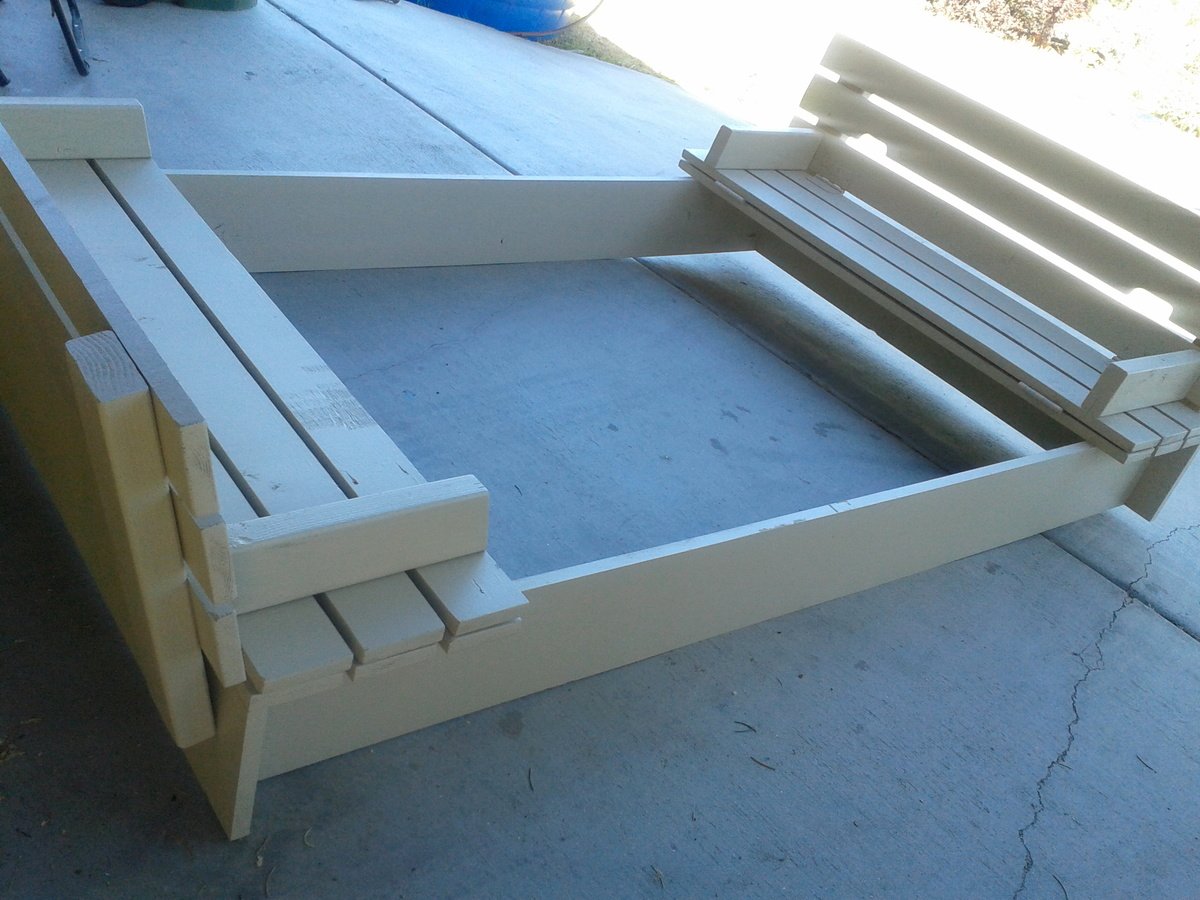
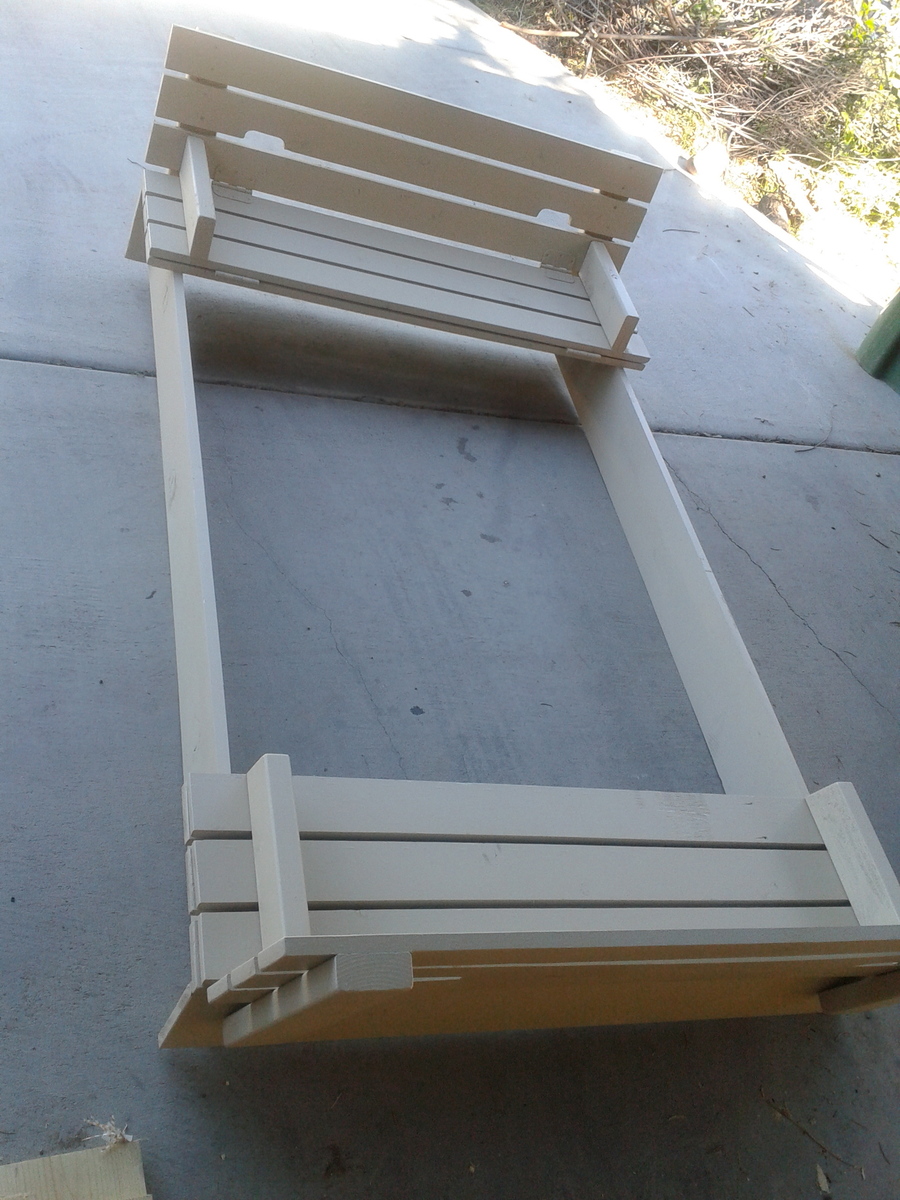
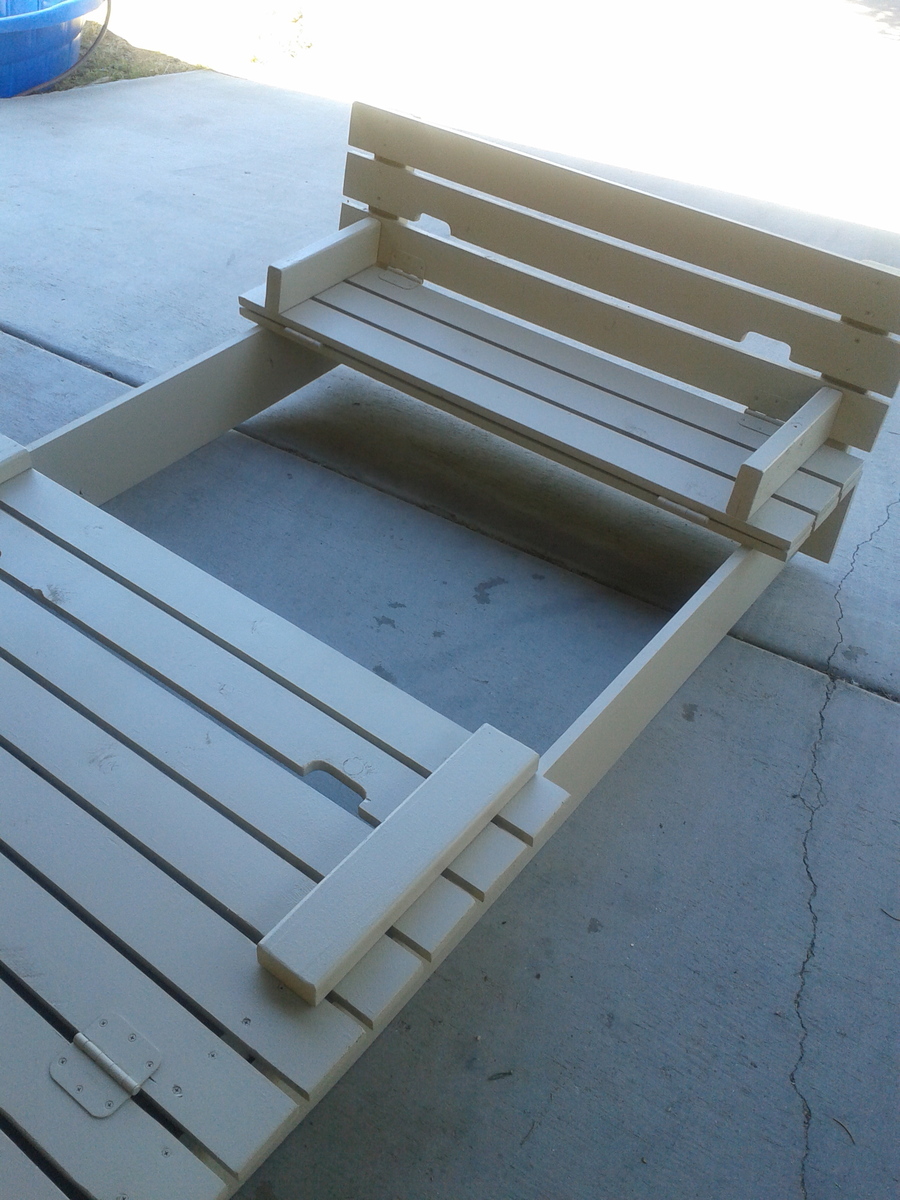
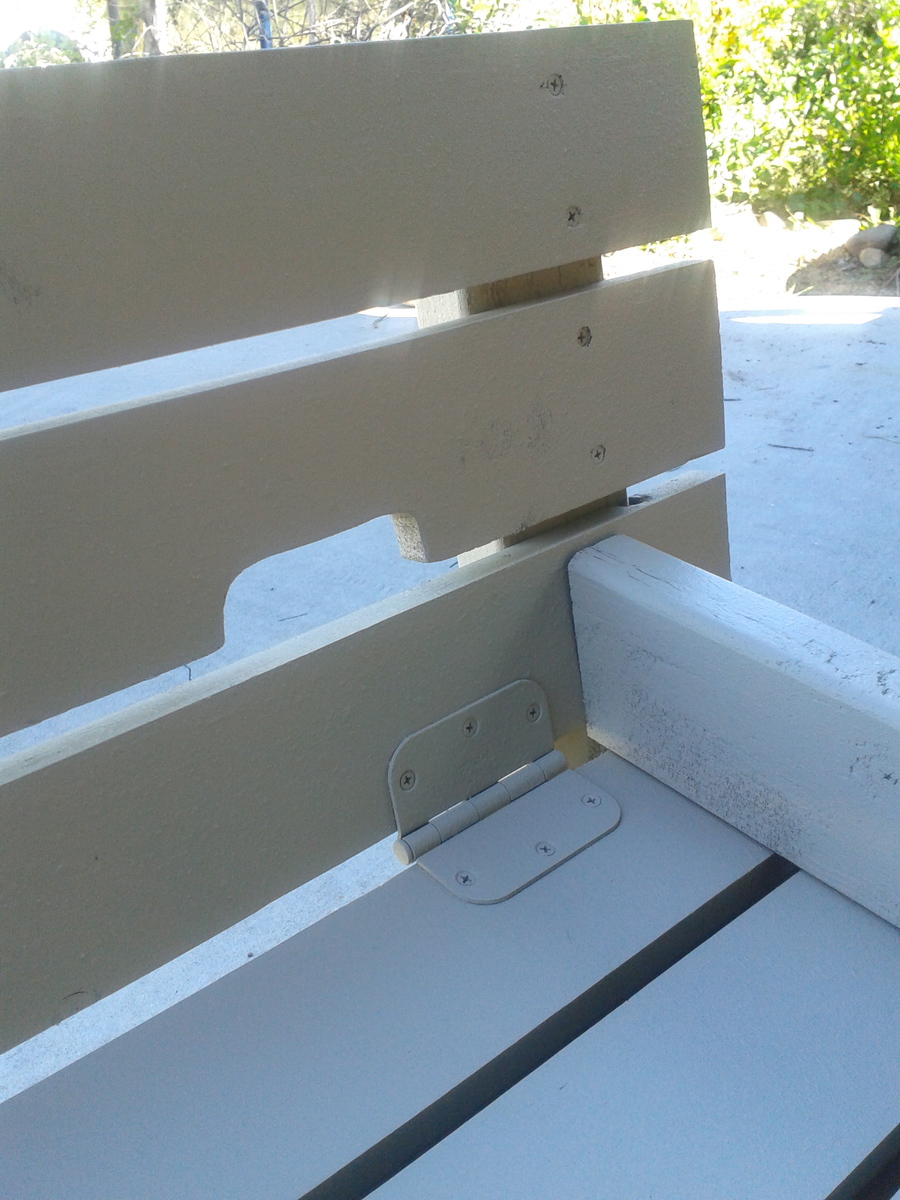
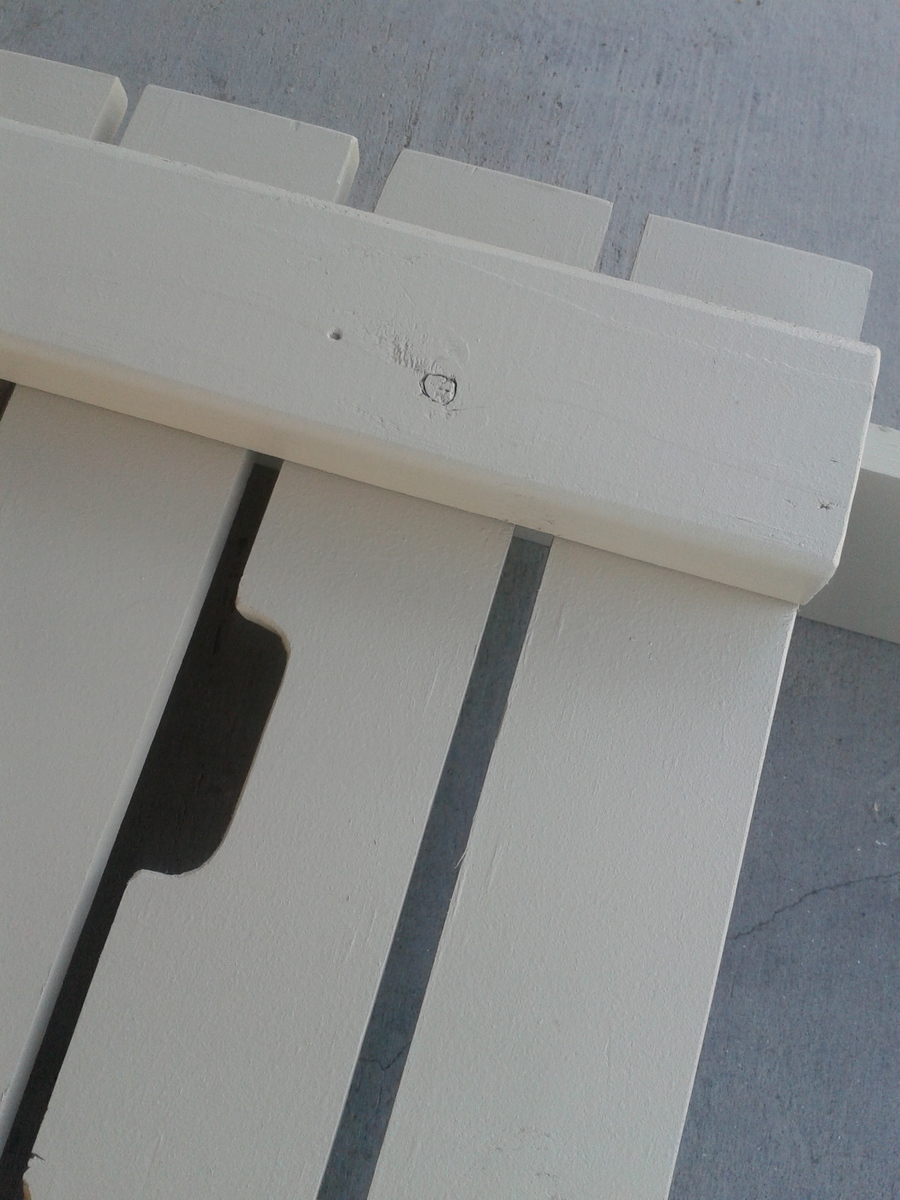
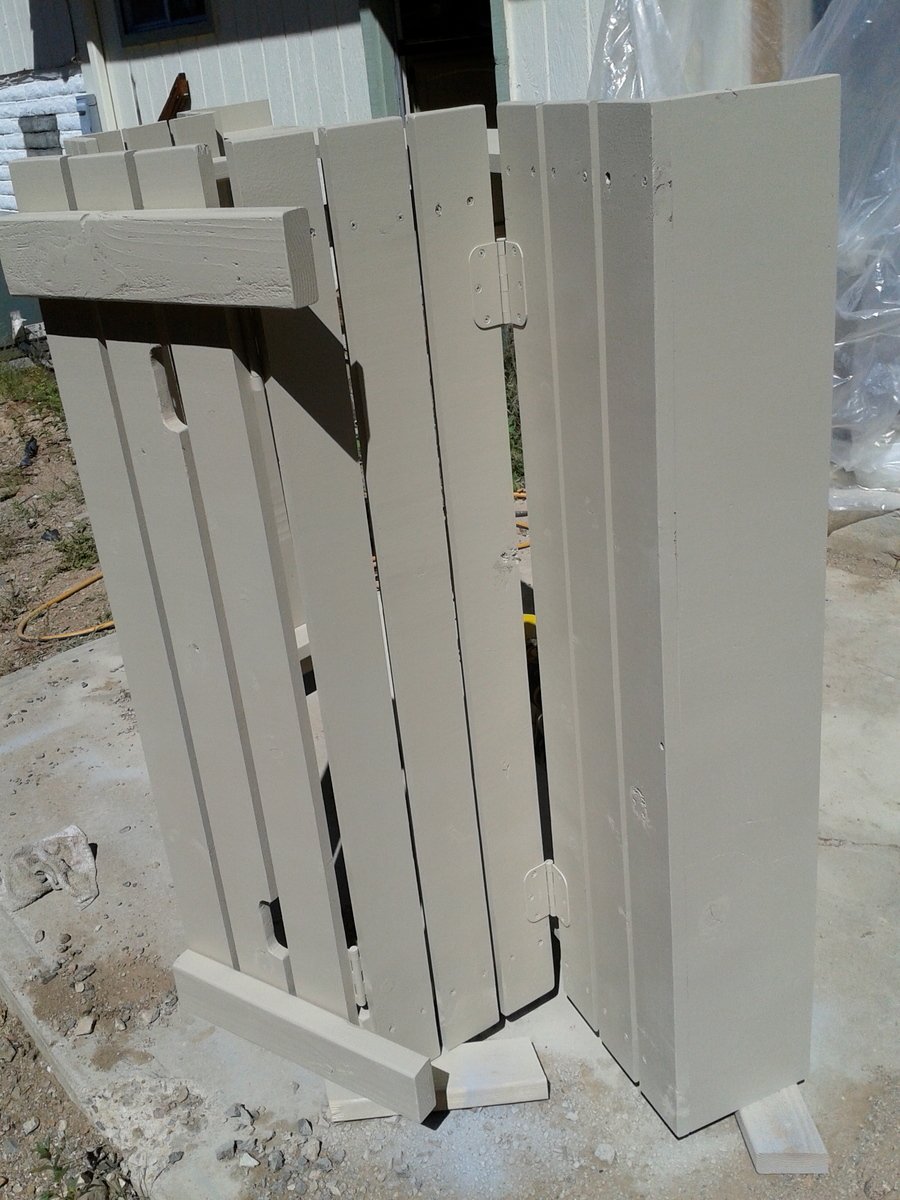
On this project we modified a few things like the arm rests which we cut at an angle to keep kids from pinching fingers in there if someone decided to move the bench back on them. We also modified the size which we made 6'x4' to maximize play sand space and kid space. Therefore this made our benches bigger so that big kids (my husband) could sit on the benches and play in the sandbox. Yes there was talk about putting cup holders but I won the conversation by mentioning sand in his drink and we would have to do a sippy cup. We notched out the handles instead of installing handles which made it look sleek. We used the template from the hinge so it matched the shape....clever huh? We decided to primer and paint this one sandstone in the brick and mortar sample book by Behr and had them put it in an exterior paint color for us. We used a wagner paint sprayer which made the project fast at the end. Overall still an easy project for anyone. I do suggest pre drilling all holes first before screwing in screws so the wood doesn't split when doing the slats on the top.
Wed, 04/08/2015 - 12:41
I was wanting to make a big one like a 6ft by 6 ft and was wondering how long you made everything.
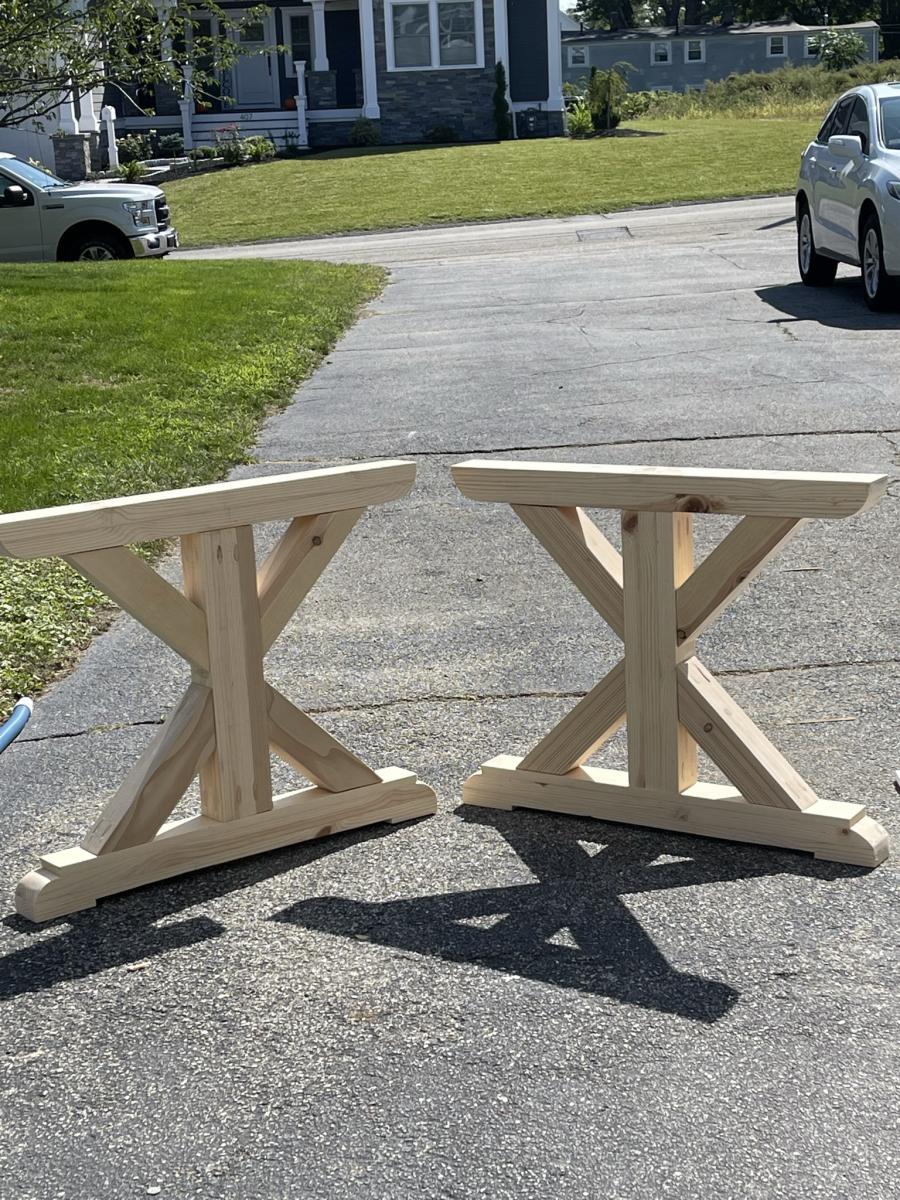
A farmhouse table I built based on one of your inspiration projects! All by hand and chiseled myself 😍
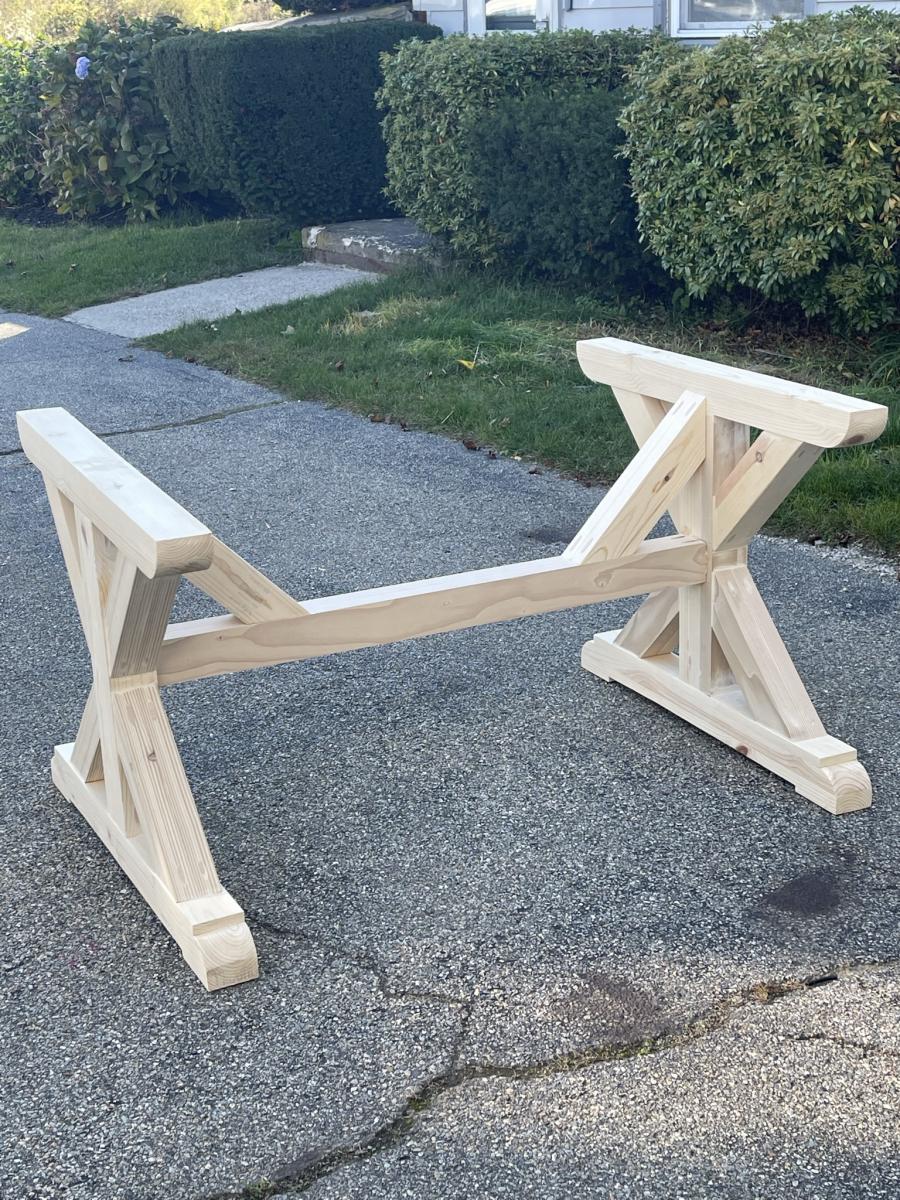
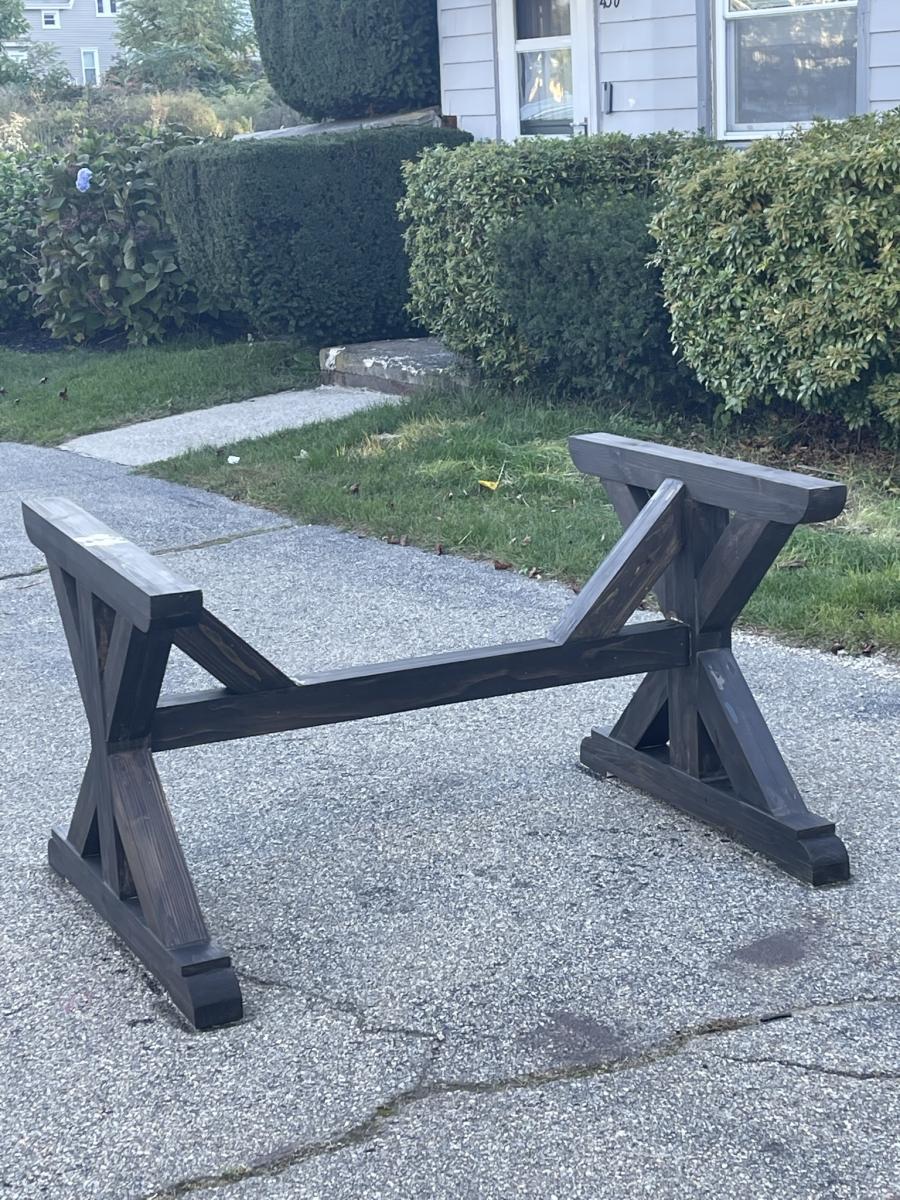
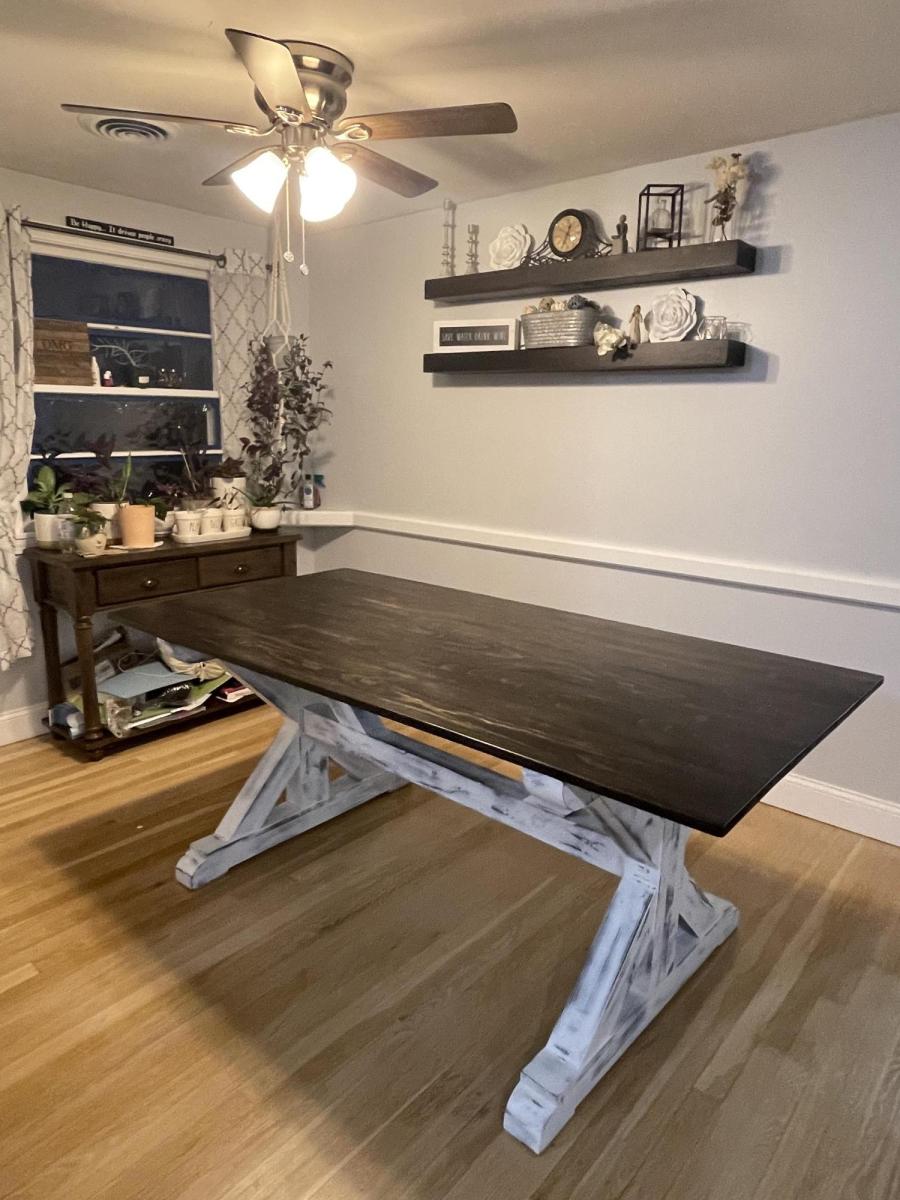
Thu, 12/29/2022 - 11:13
Thank you for sharing, such a beautiful handmade piece!
Using this plan I built my lounger with some changes, mainly adding lawn mower wheels to one end. The cushions I made have a mesh bottom to let the cushions dry faster, and zippers so they can be removed and machine washed. More details on what I used and many more photos on my blog.
Tue, 09/20/2011 - 12:49
I love the idea of the mesh! It would work as a great bench when you need more seating too. I think it'd be nice with huge wooden wheels also.
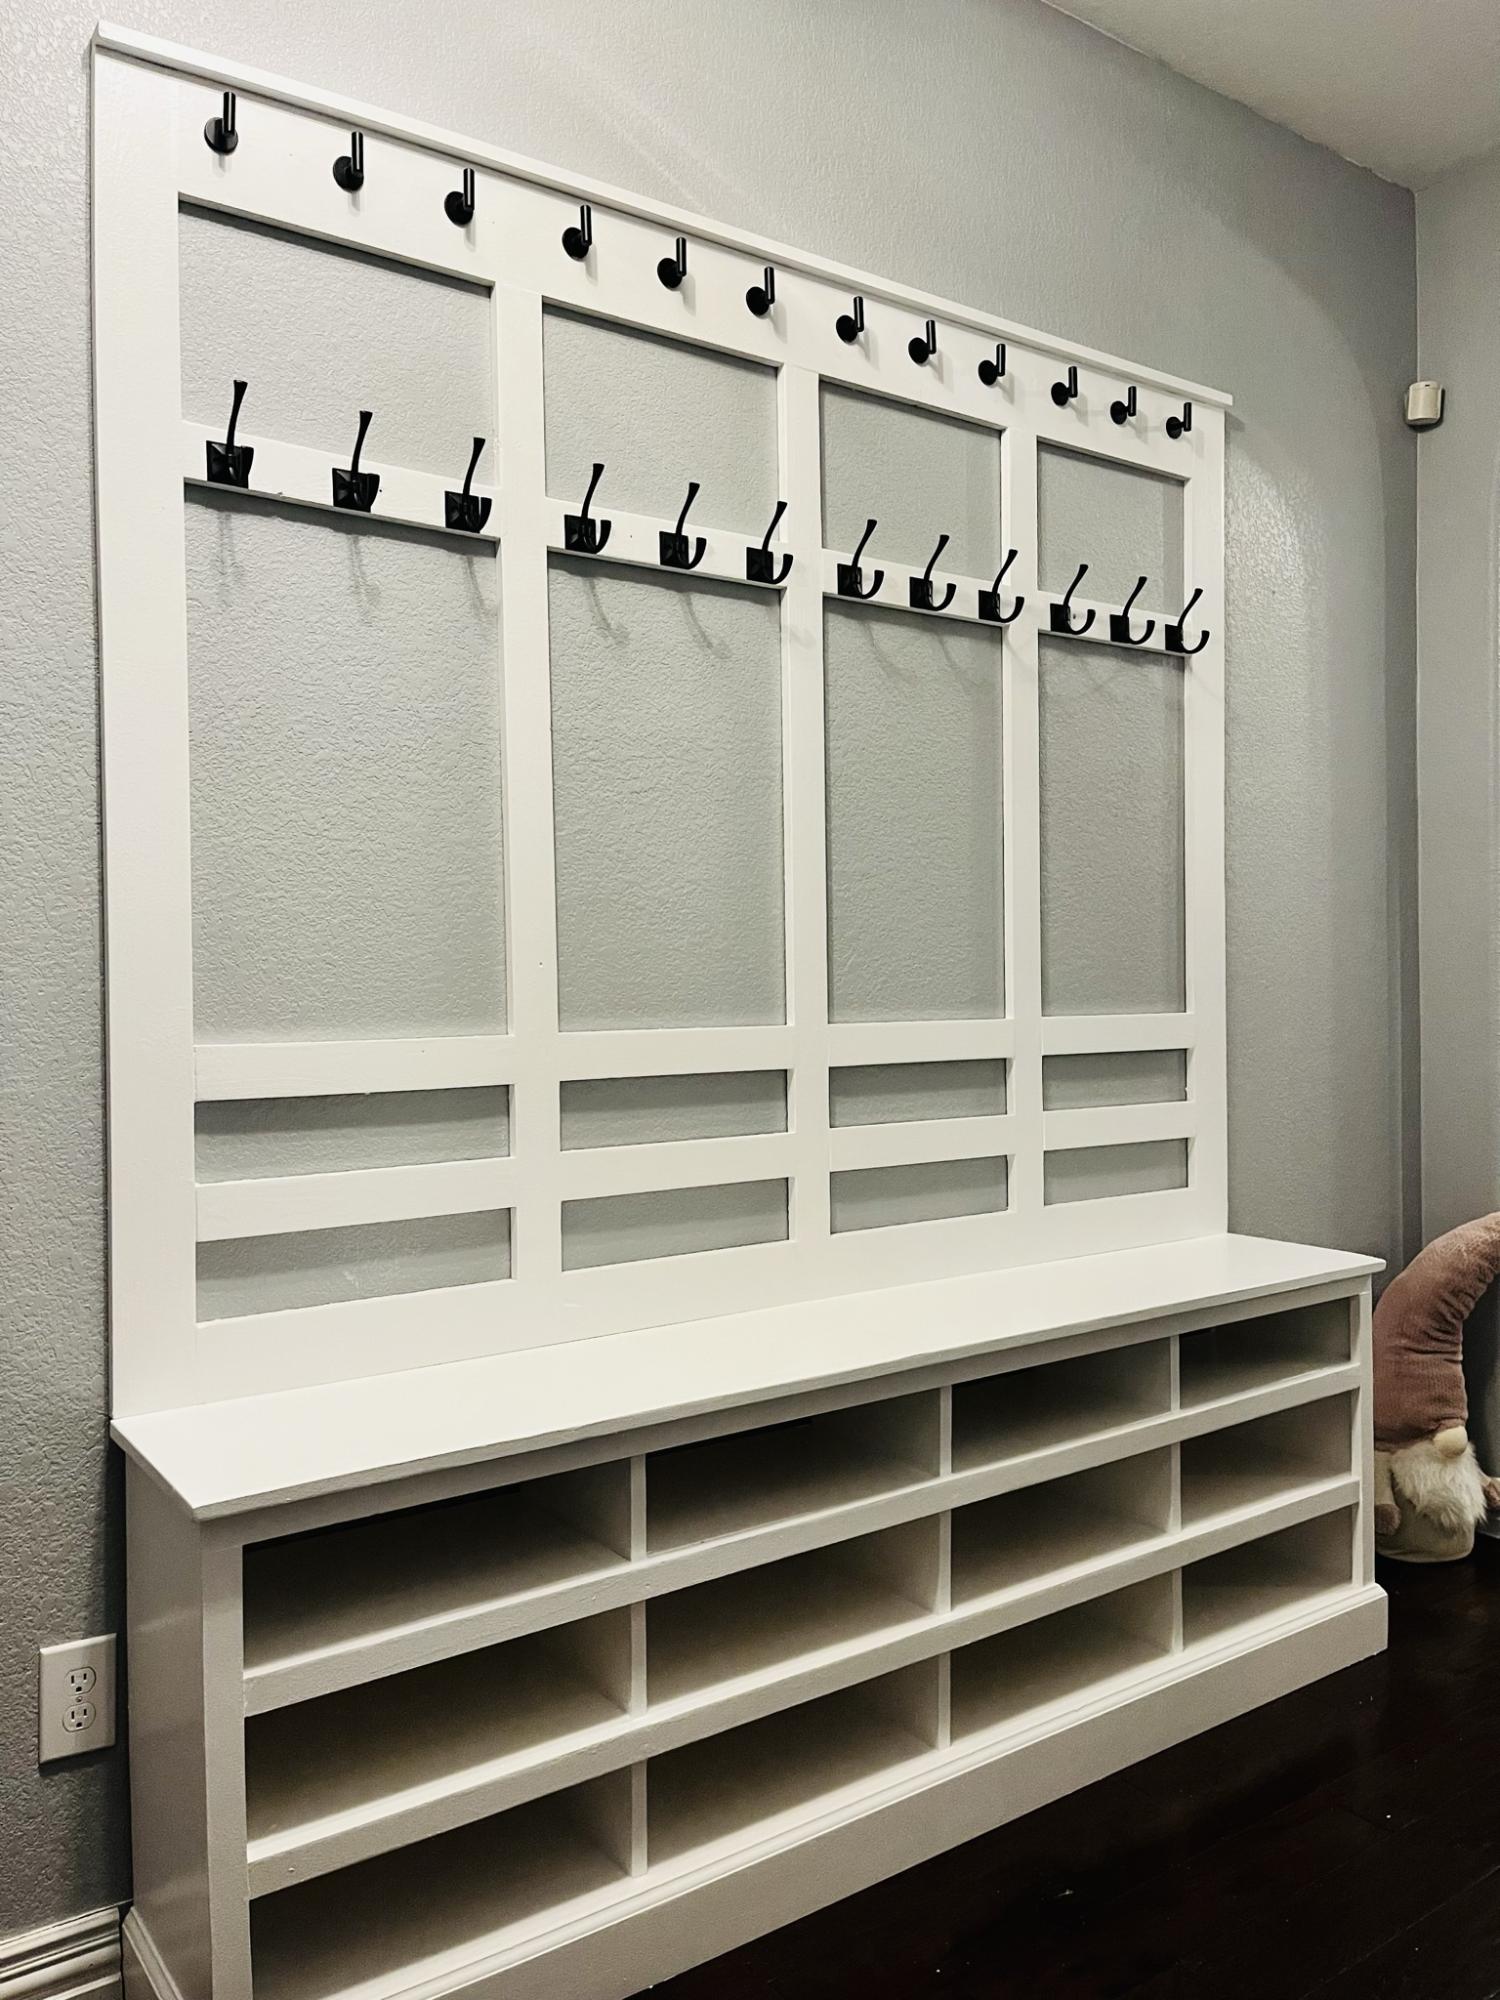
I modified the plans for the farmhouse hall tree to build this for our entryway. The farmhouse hall tree was a perfect base plan for this project! We went from a mess of jammed in jackets and piles of shoes to a clean and organized entrance! Thank you so much for providing the original plans! We love this!
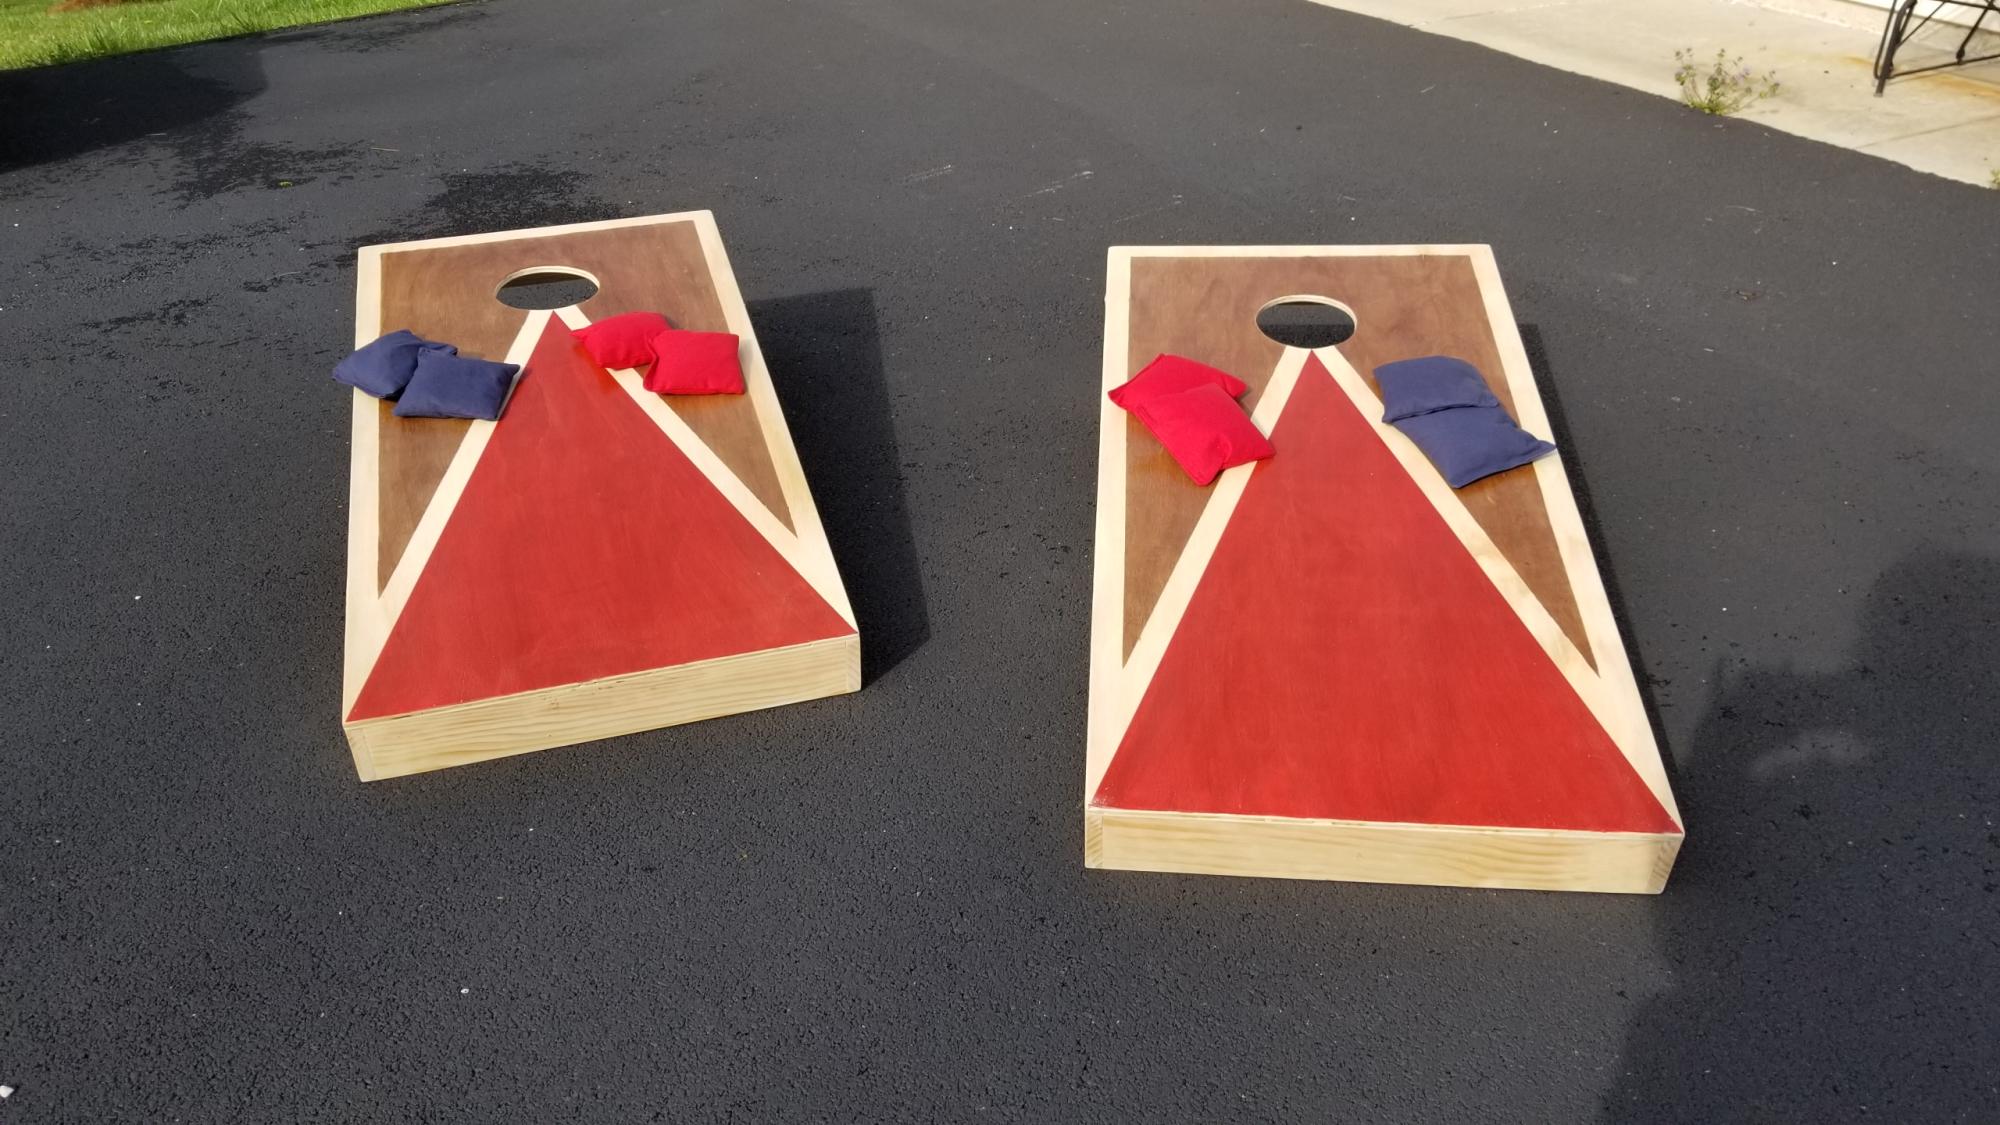
I made one set for my son, the one with the stained top. His friends liked it so much and kept borrowing his set, that he wanted to surprise them with their own and asked me to build them one with the LSU colors. Thought they turned out great! Thank you for the plans!

Thu, 02/09/2023 - 09:40
These look fabulous, ove the paint/stain job! Thanks for sharing.
I started baking my own bread a few months ago, and storage was an issue. My husband decided to build me an old fashioned bread box and set out designing one on his own to fit in our small galley kitchen. I love it. It is a double decker, so I can fit two loaves in it just fine. The inside is coated with a food-grade sealer.
Sun, 12/04/2011 - 02:32
That is a great idea indeed and I love how it has a shelf inside.
Wed, 12/07/2011 - 03:49
This is an awesome idea, can't wait to make one for my kitchen. Beautiful job! Thanks for sharing this!
Sat, 06/30/2012 - 07:05
Just what I'm looking for! Do you have a pattern or measurements on this project? Thanks!
Tue, 08/20/2013 - 10:40
Please, let me know if there are plans/measurements somewhere. Love this!!