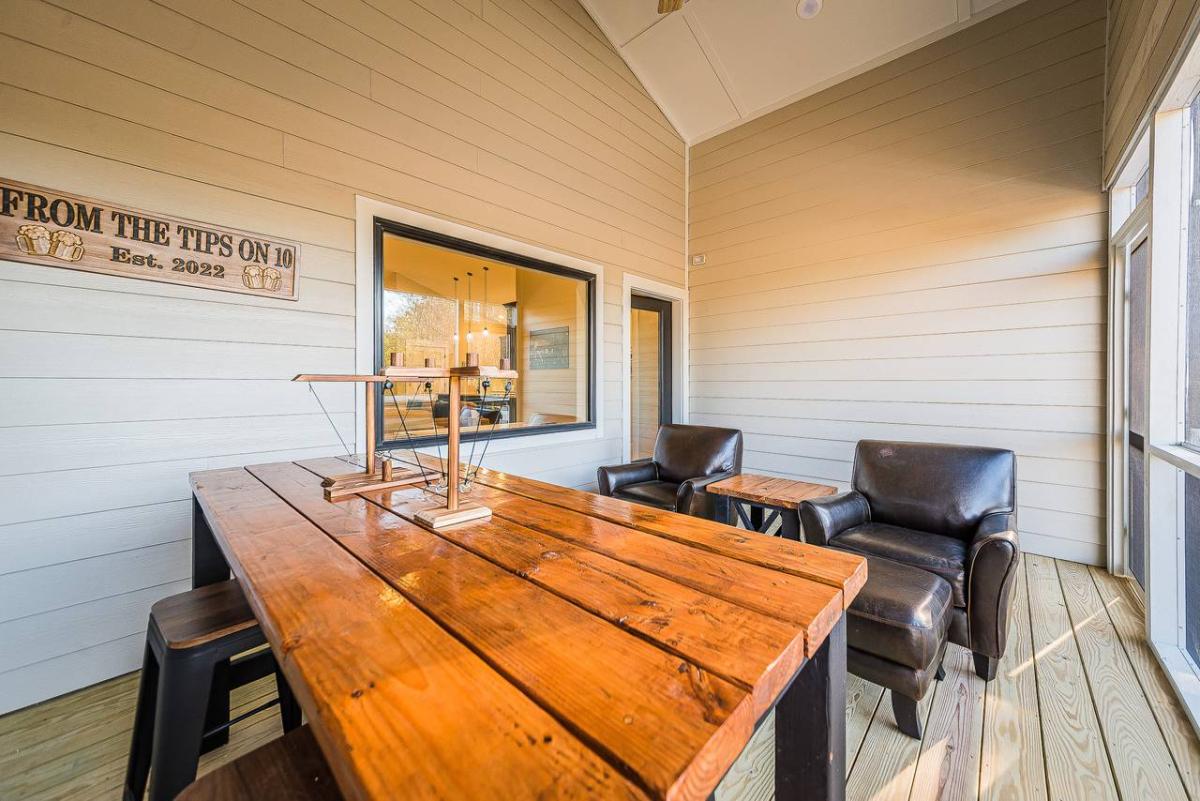
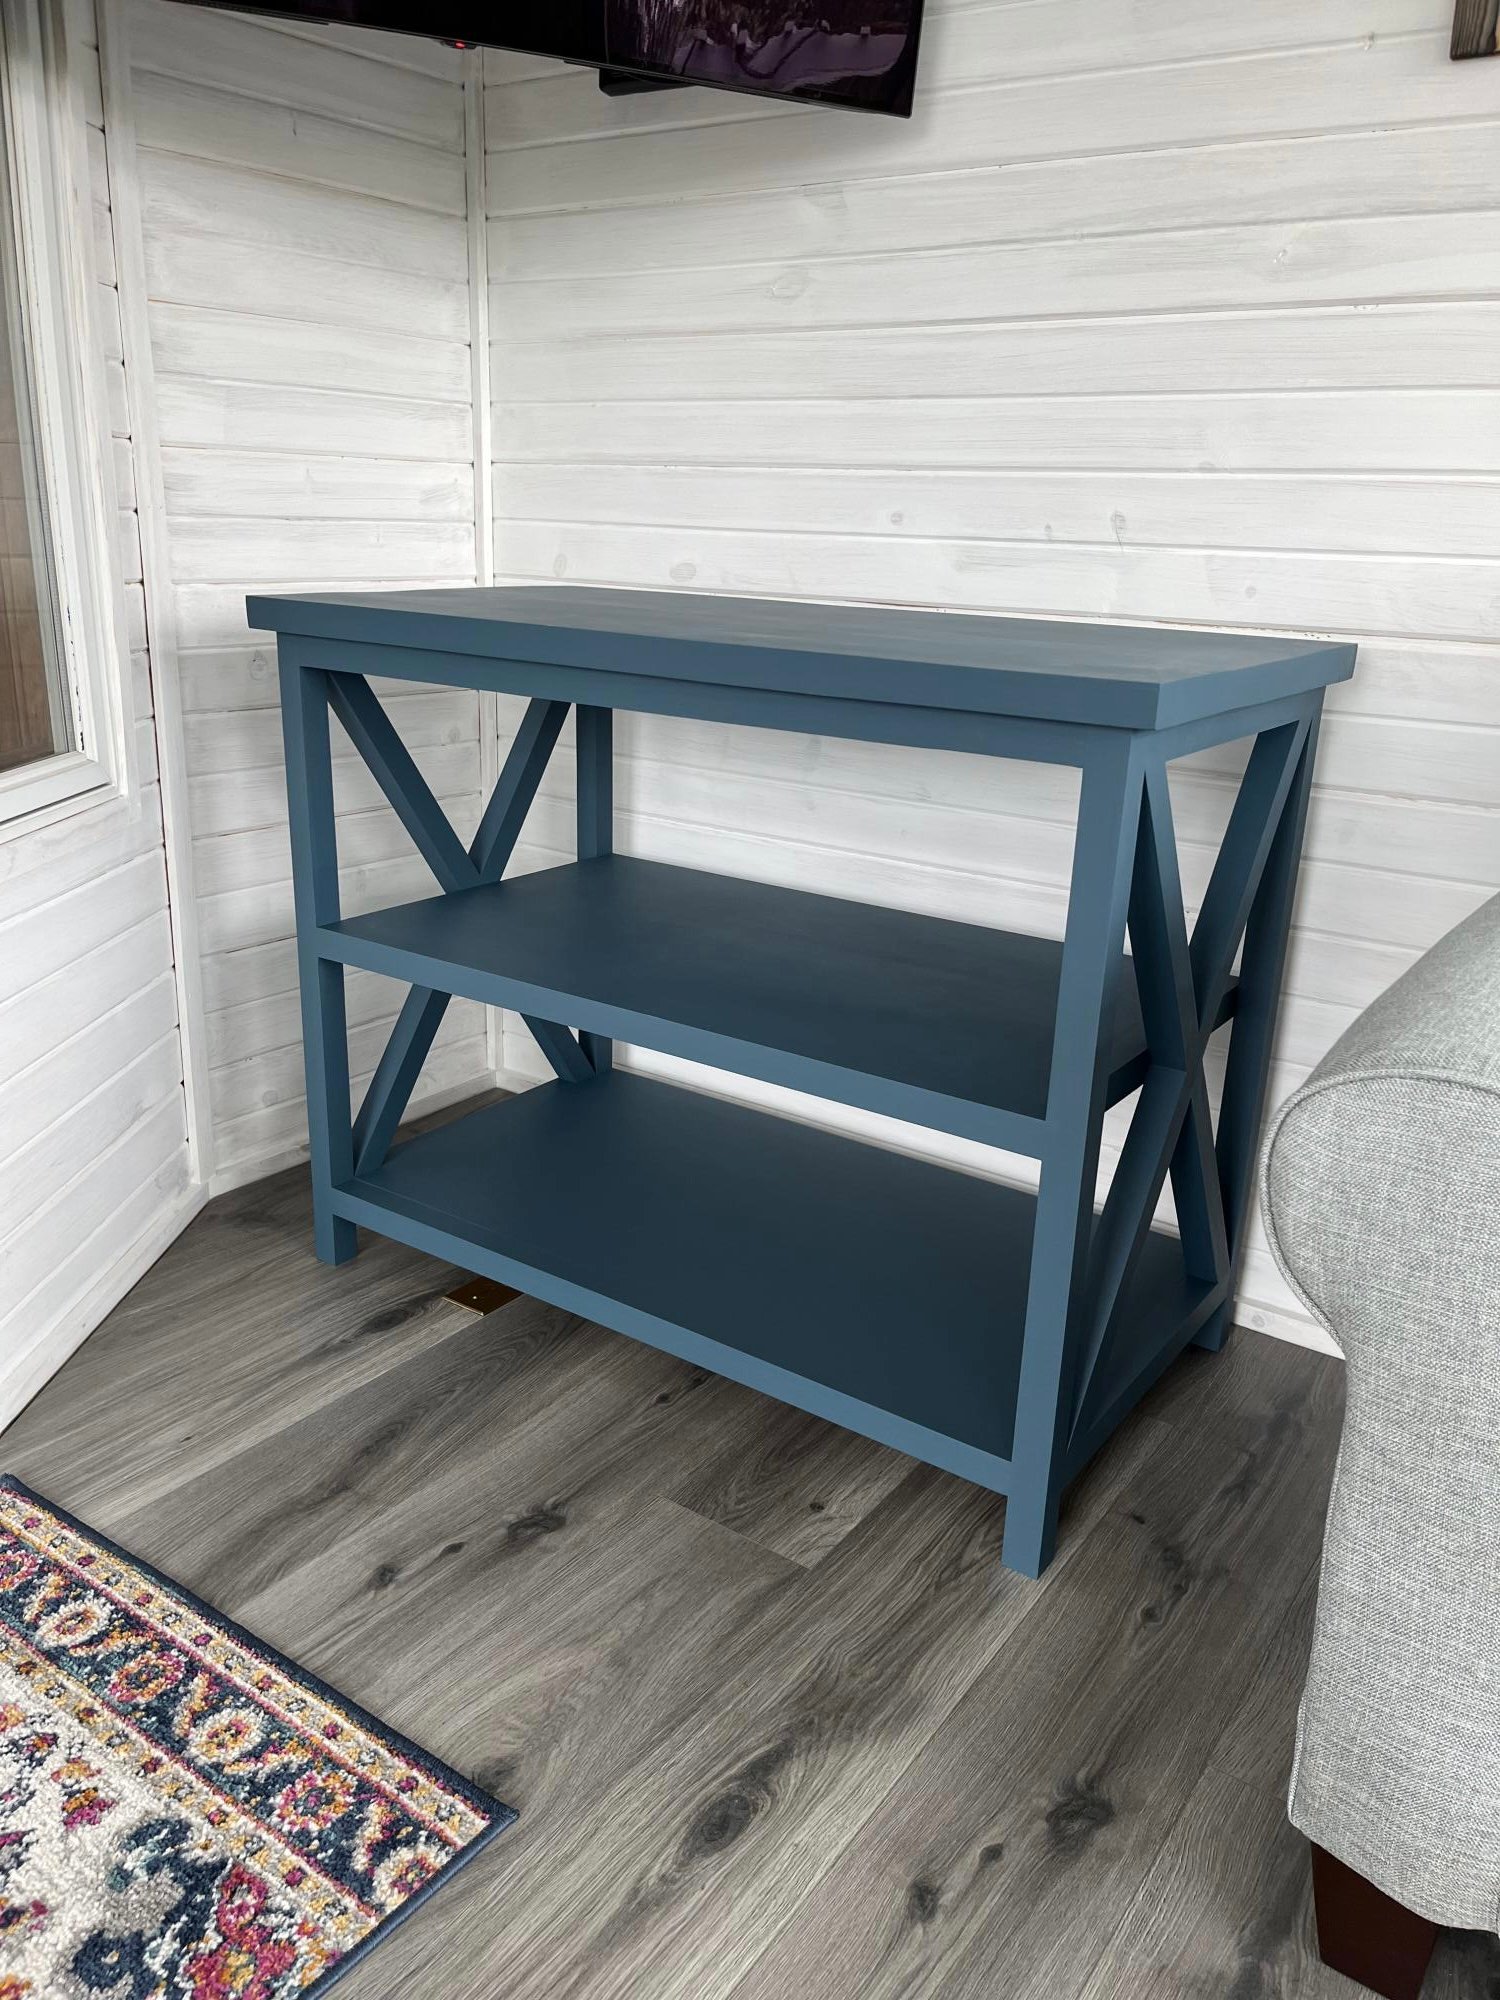
My Golf Getaway Cottage
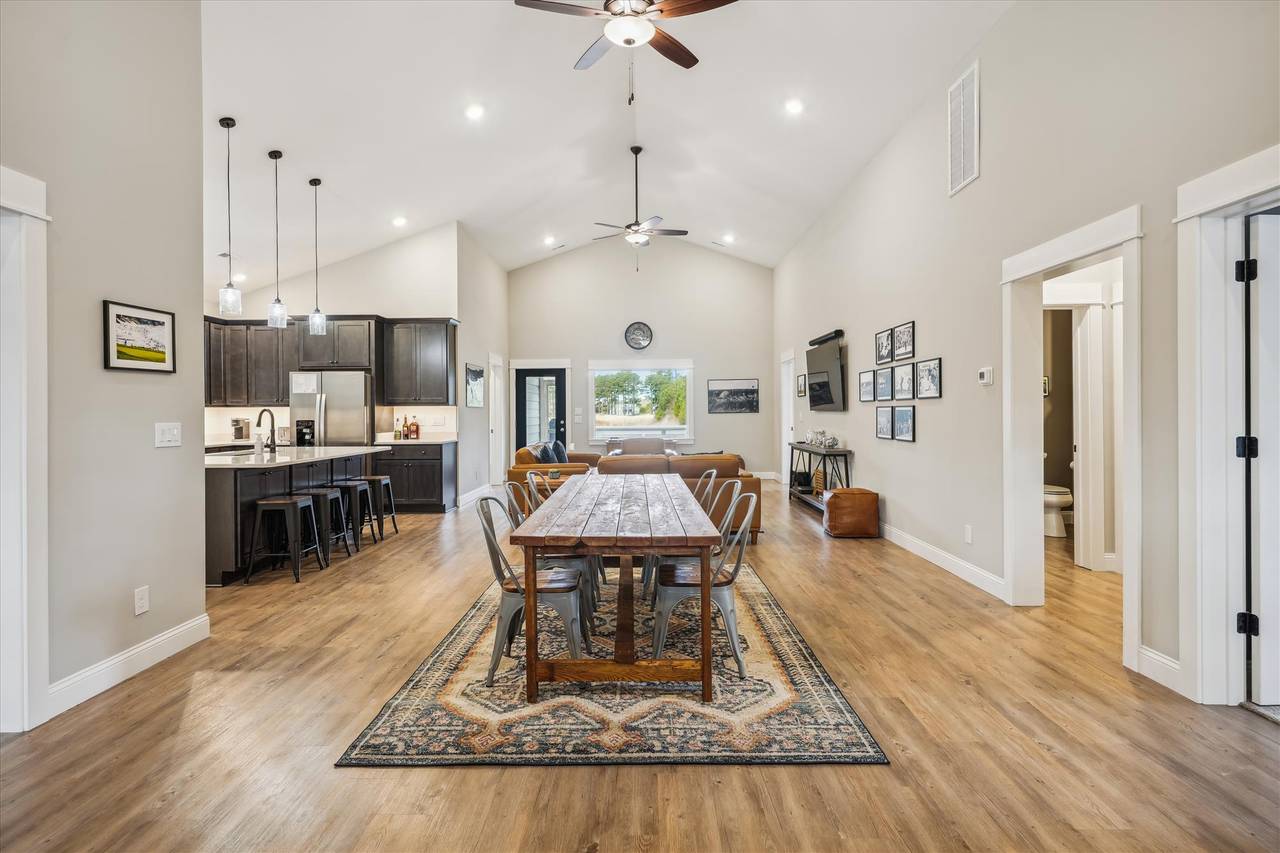
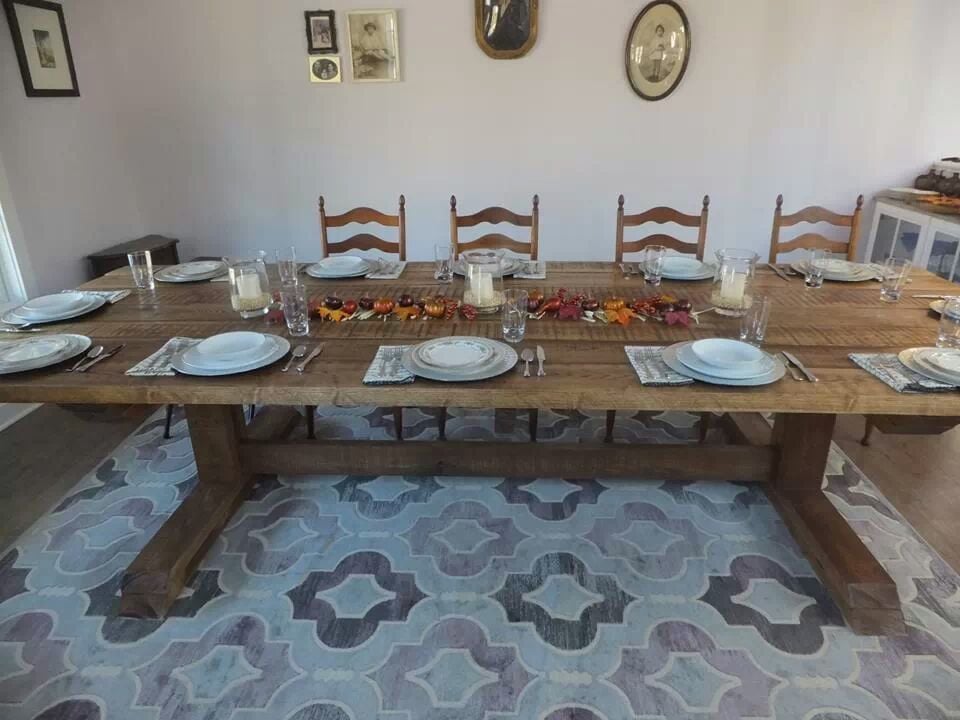
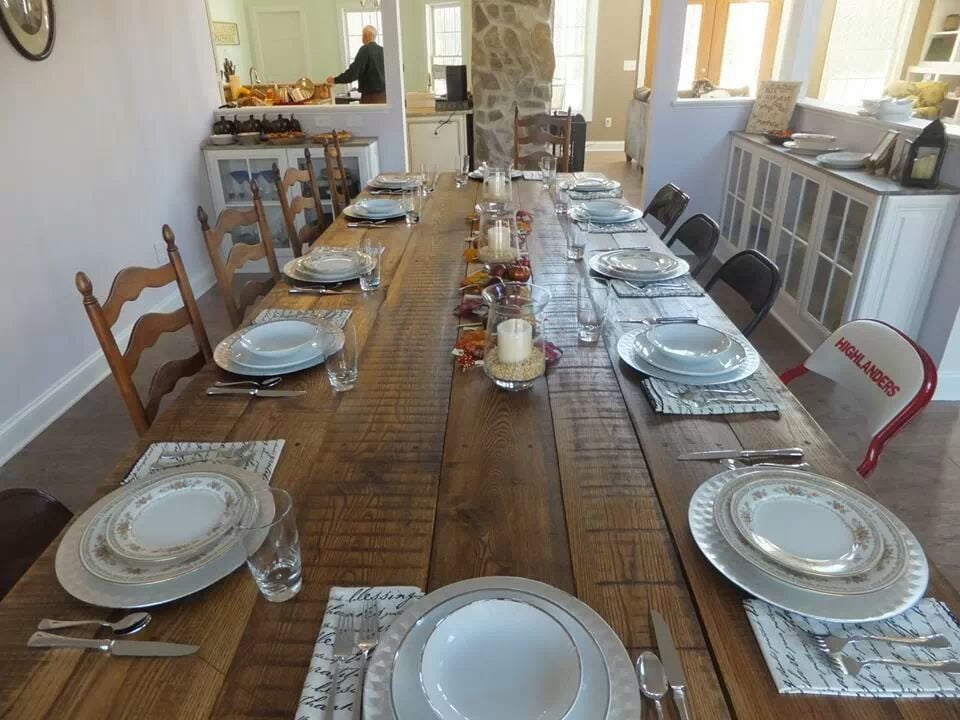
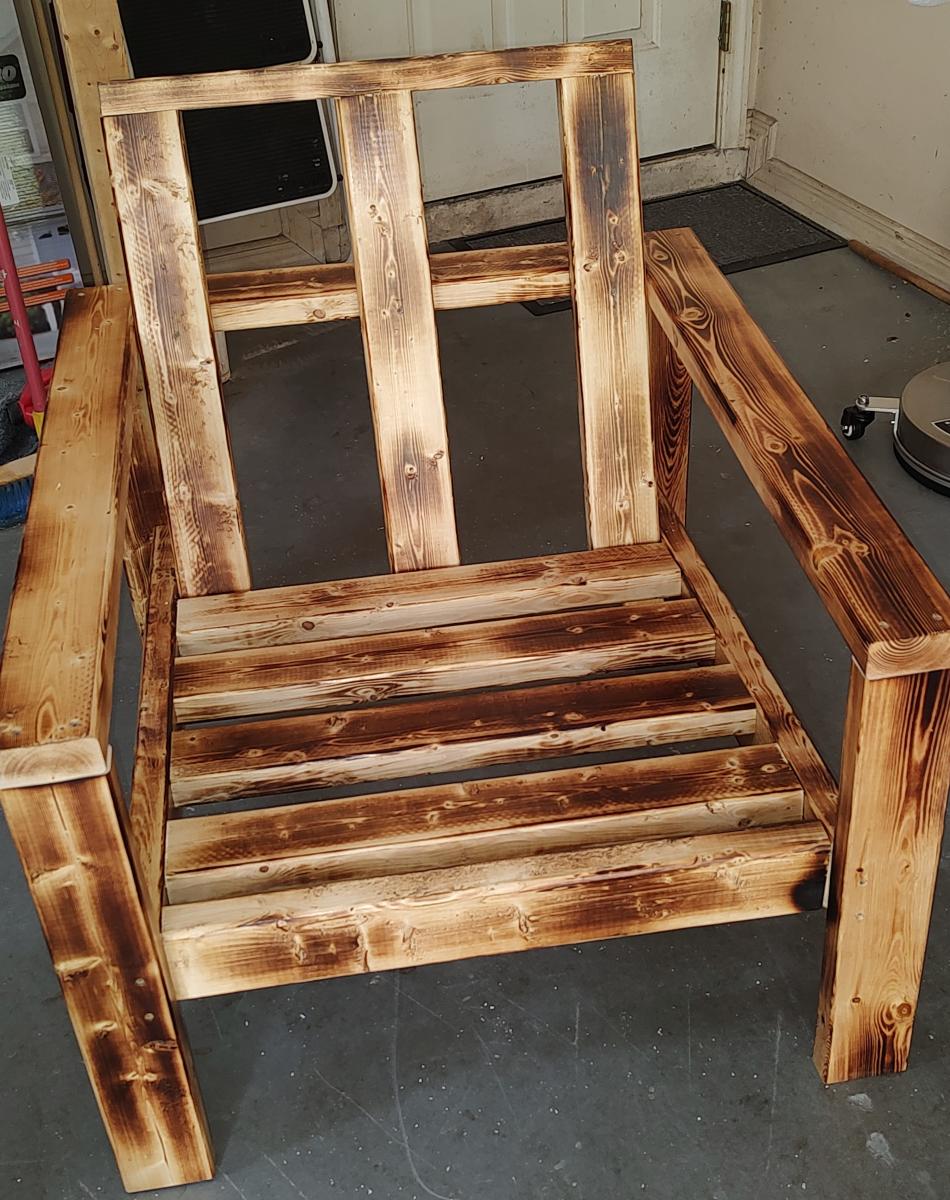
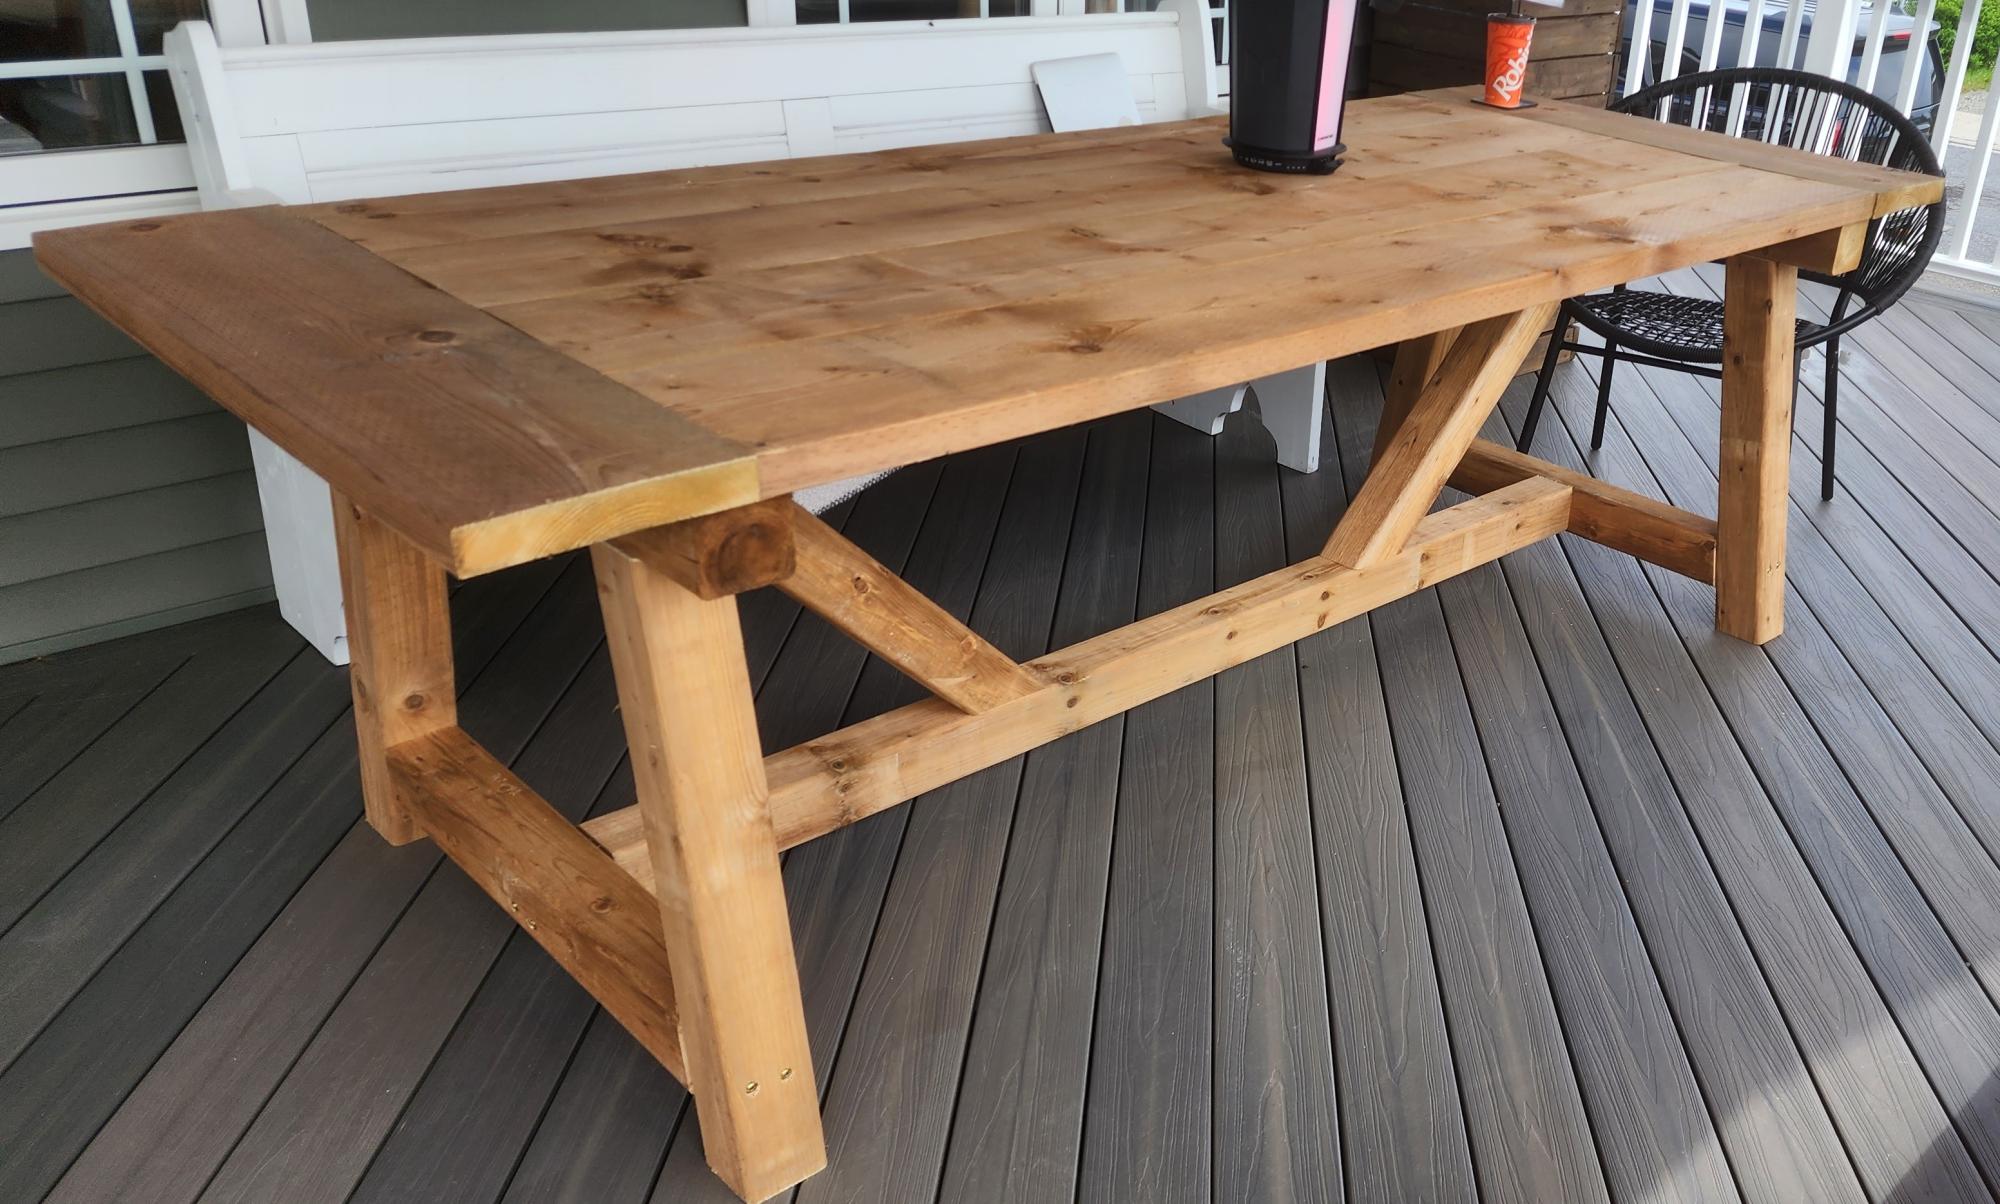
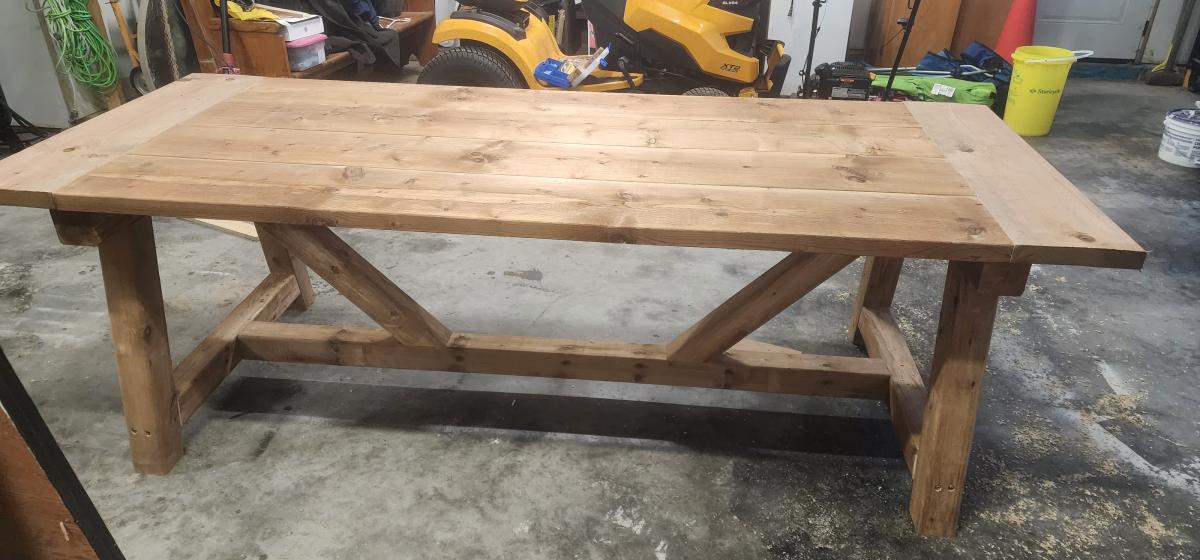
While my vacation property was being built I got hooked on Ana’s plans. Farm table, followed by coffee and end tables and finally a fabulous pub table.
Can’t wait to entertain.
Built from Plan(s)
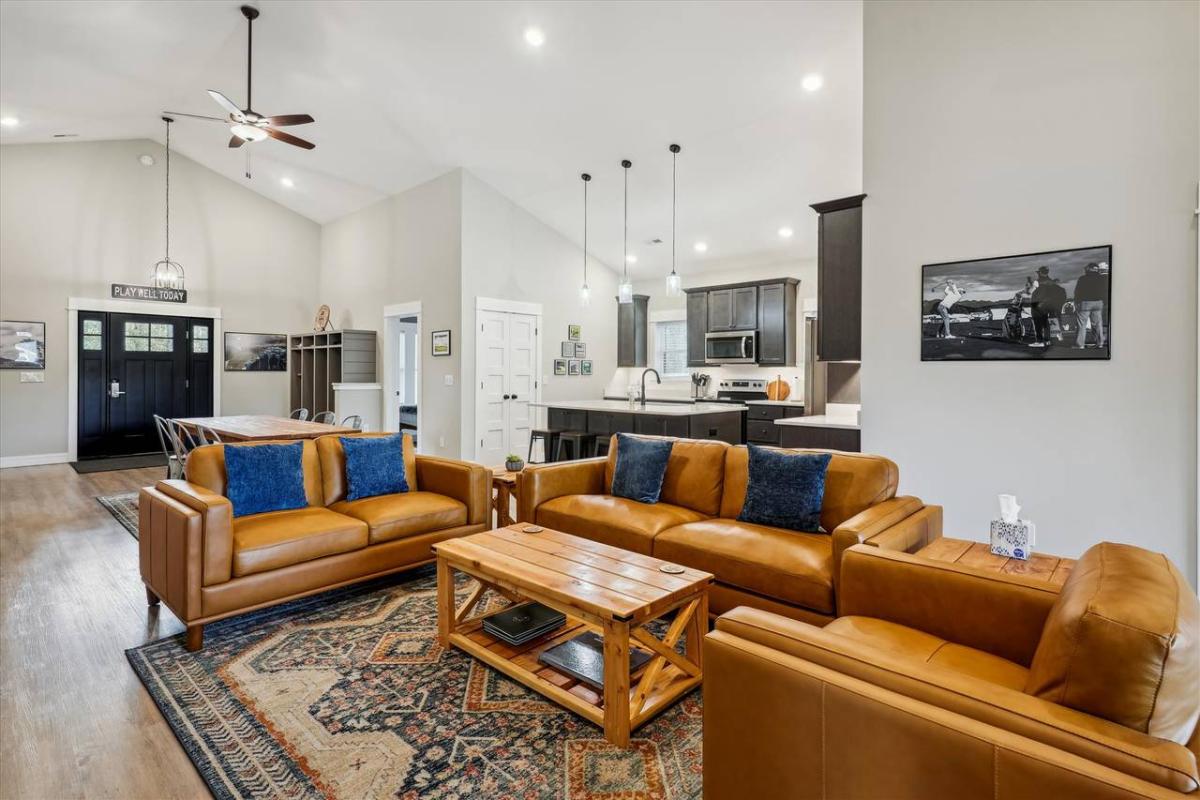
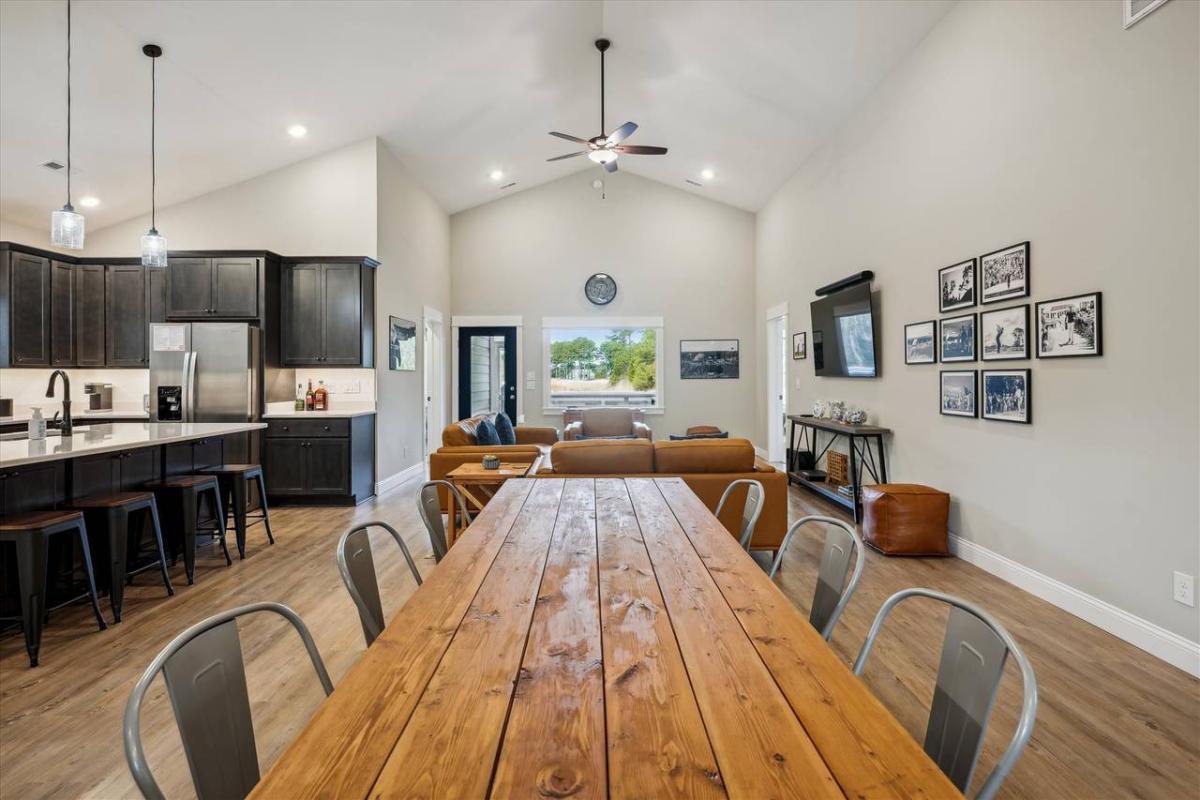
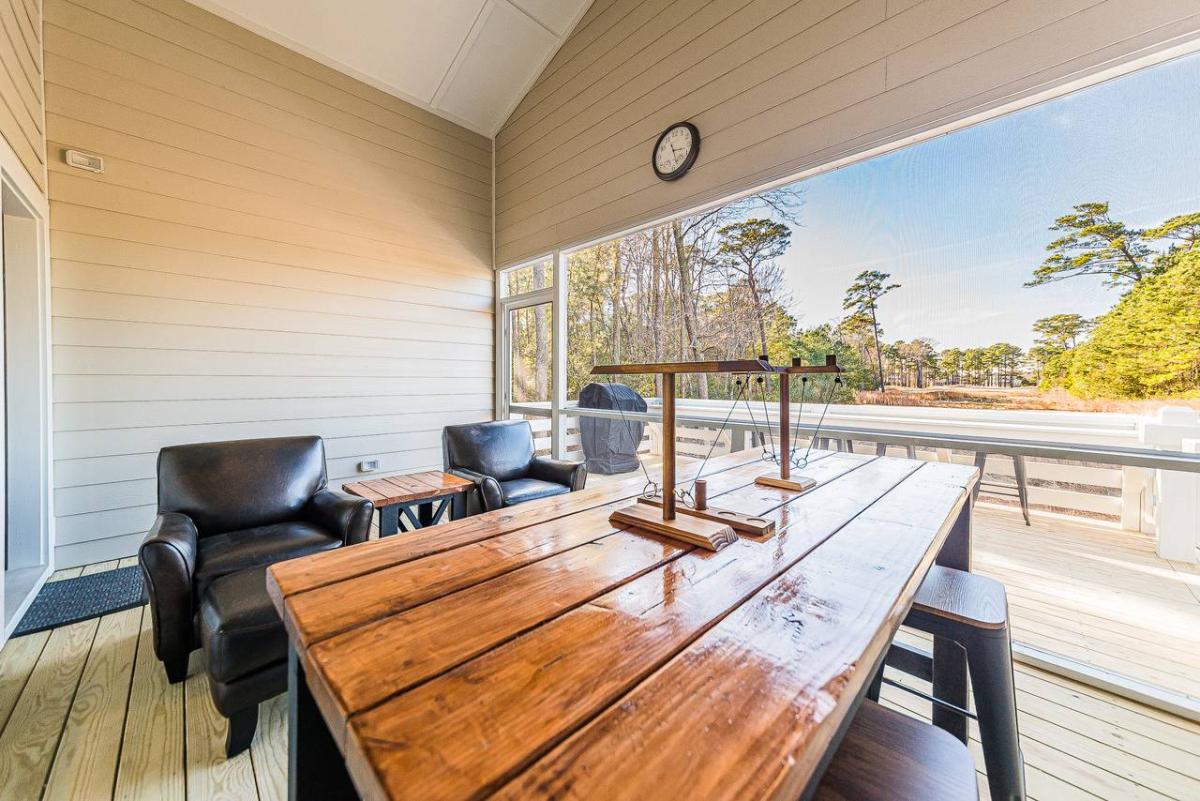
While my vacation property was being built I got hooked on Ana’s plans. Farm table, followed by coffee and end tables and finally a fabulous pub table.
Can’t wait to entertain.
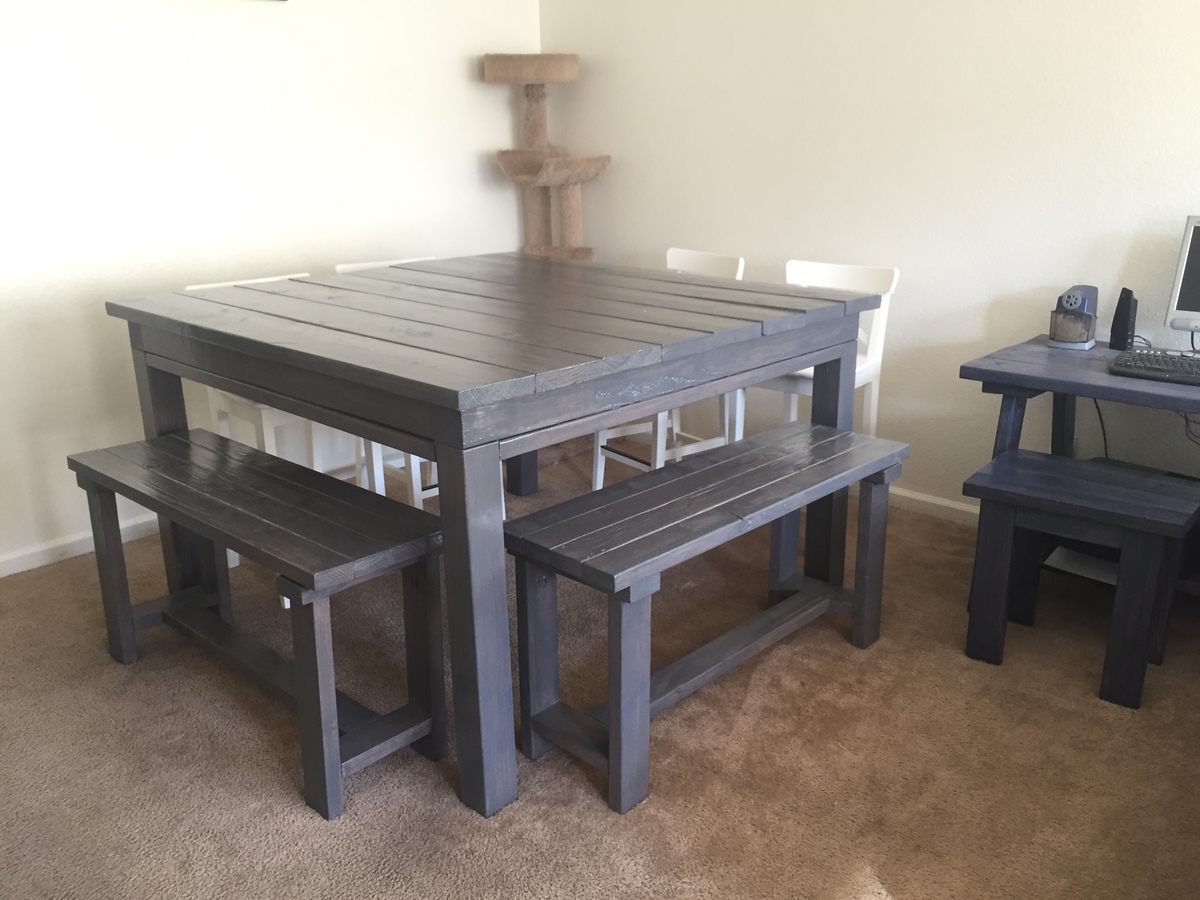
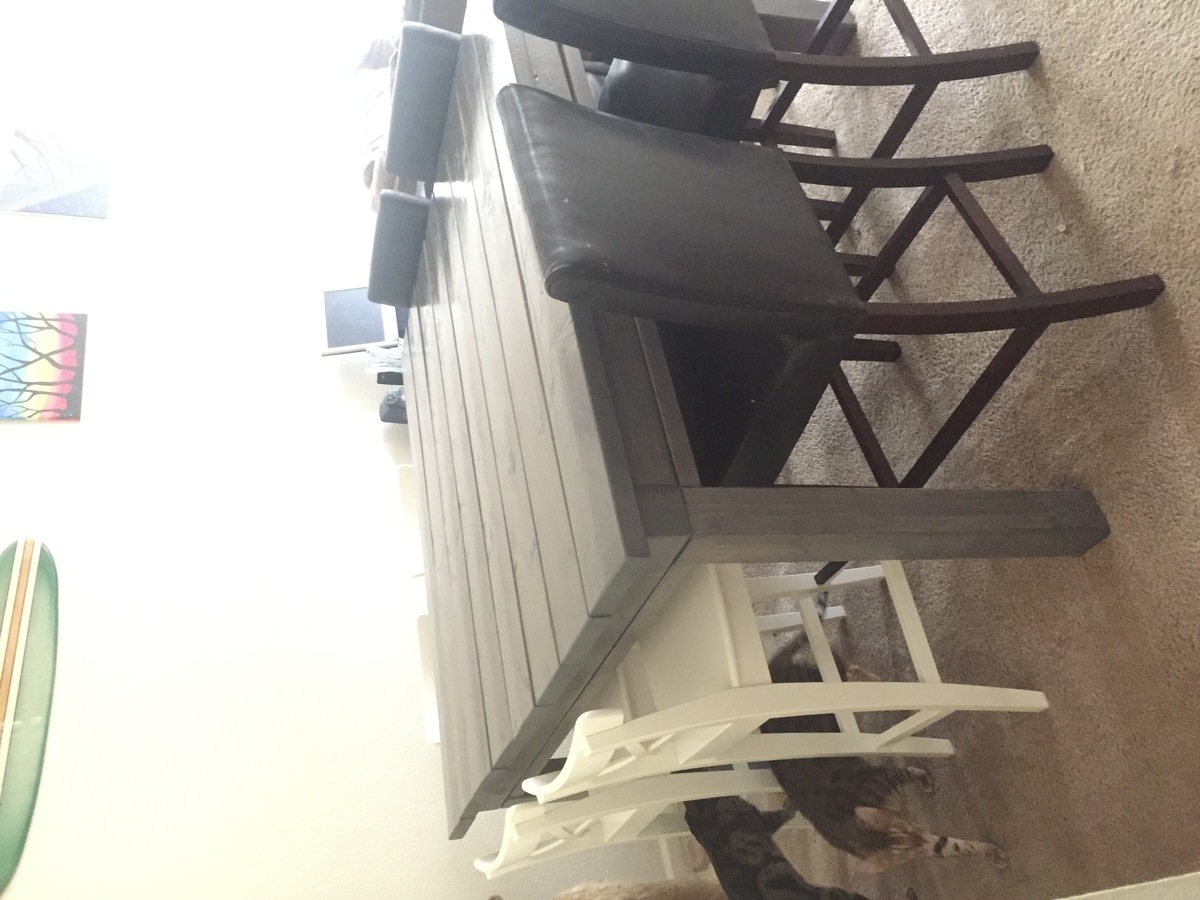
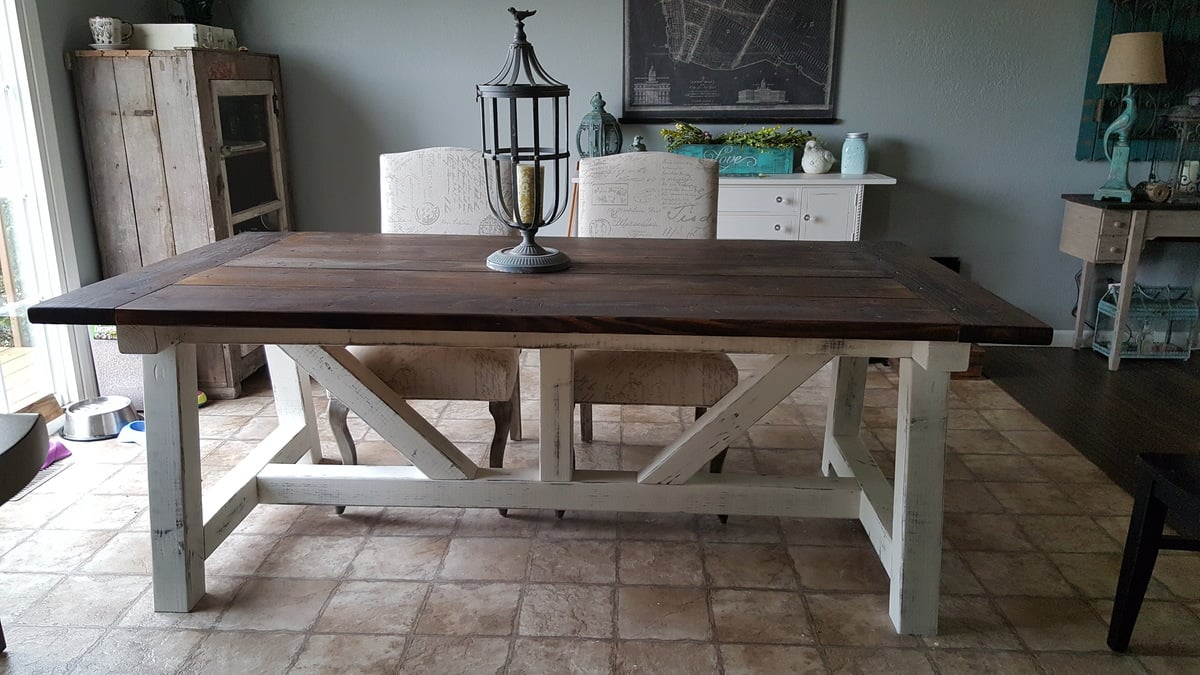
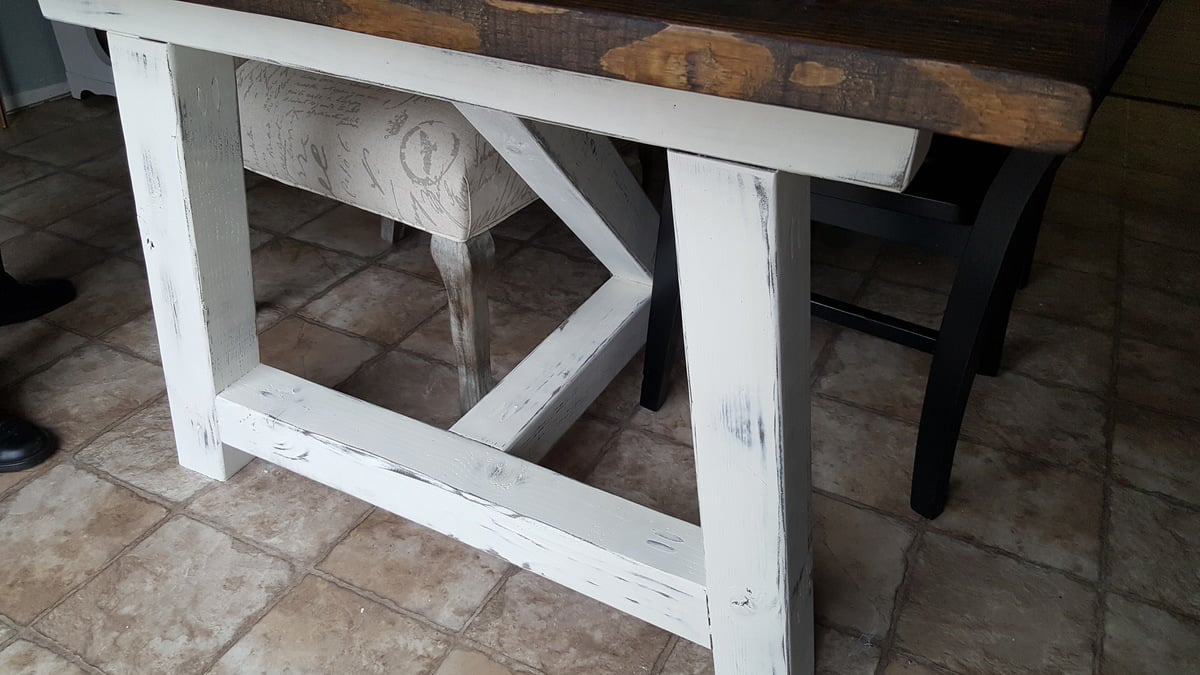
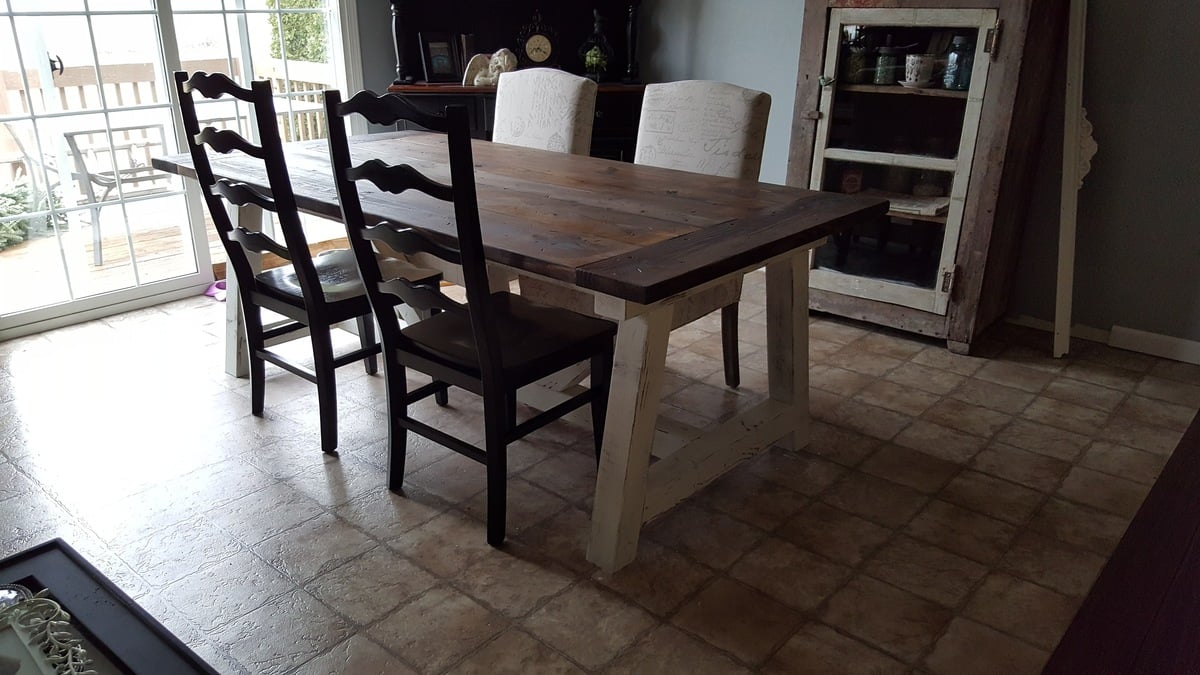
I fell in love with the truss beam table, but realized that it would be too small for our family of 7. With a little altering and using ideas from the pub/counter table, my husband and I were able to complete this lovely square table!! It stands about 36 inches high and is about 60 inches across. I am in love!
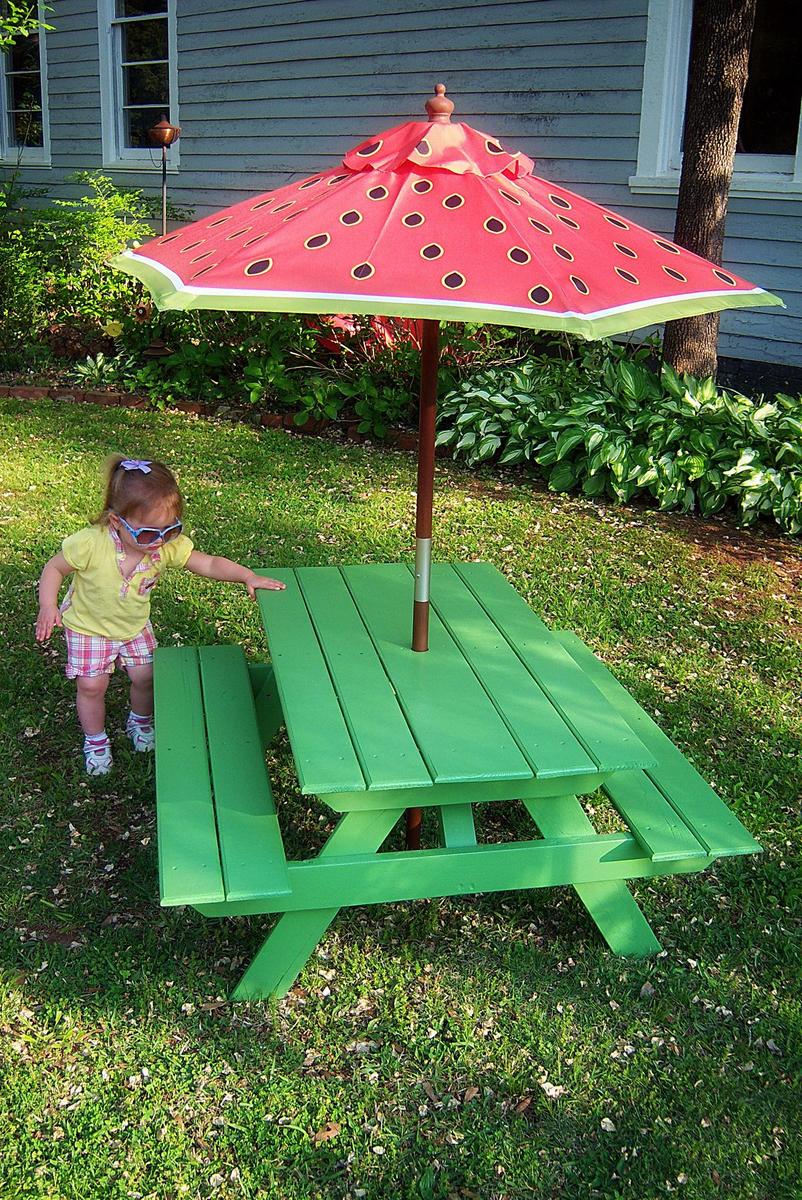
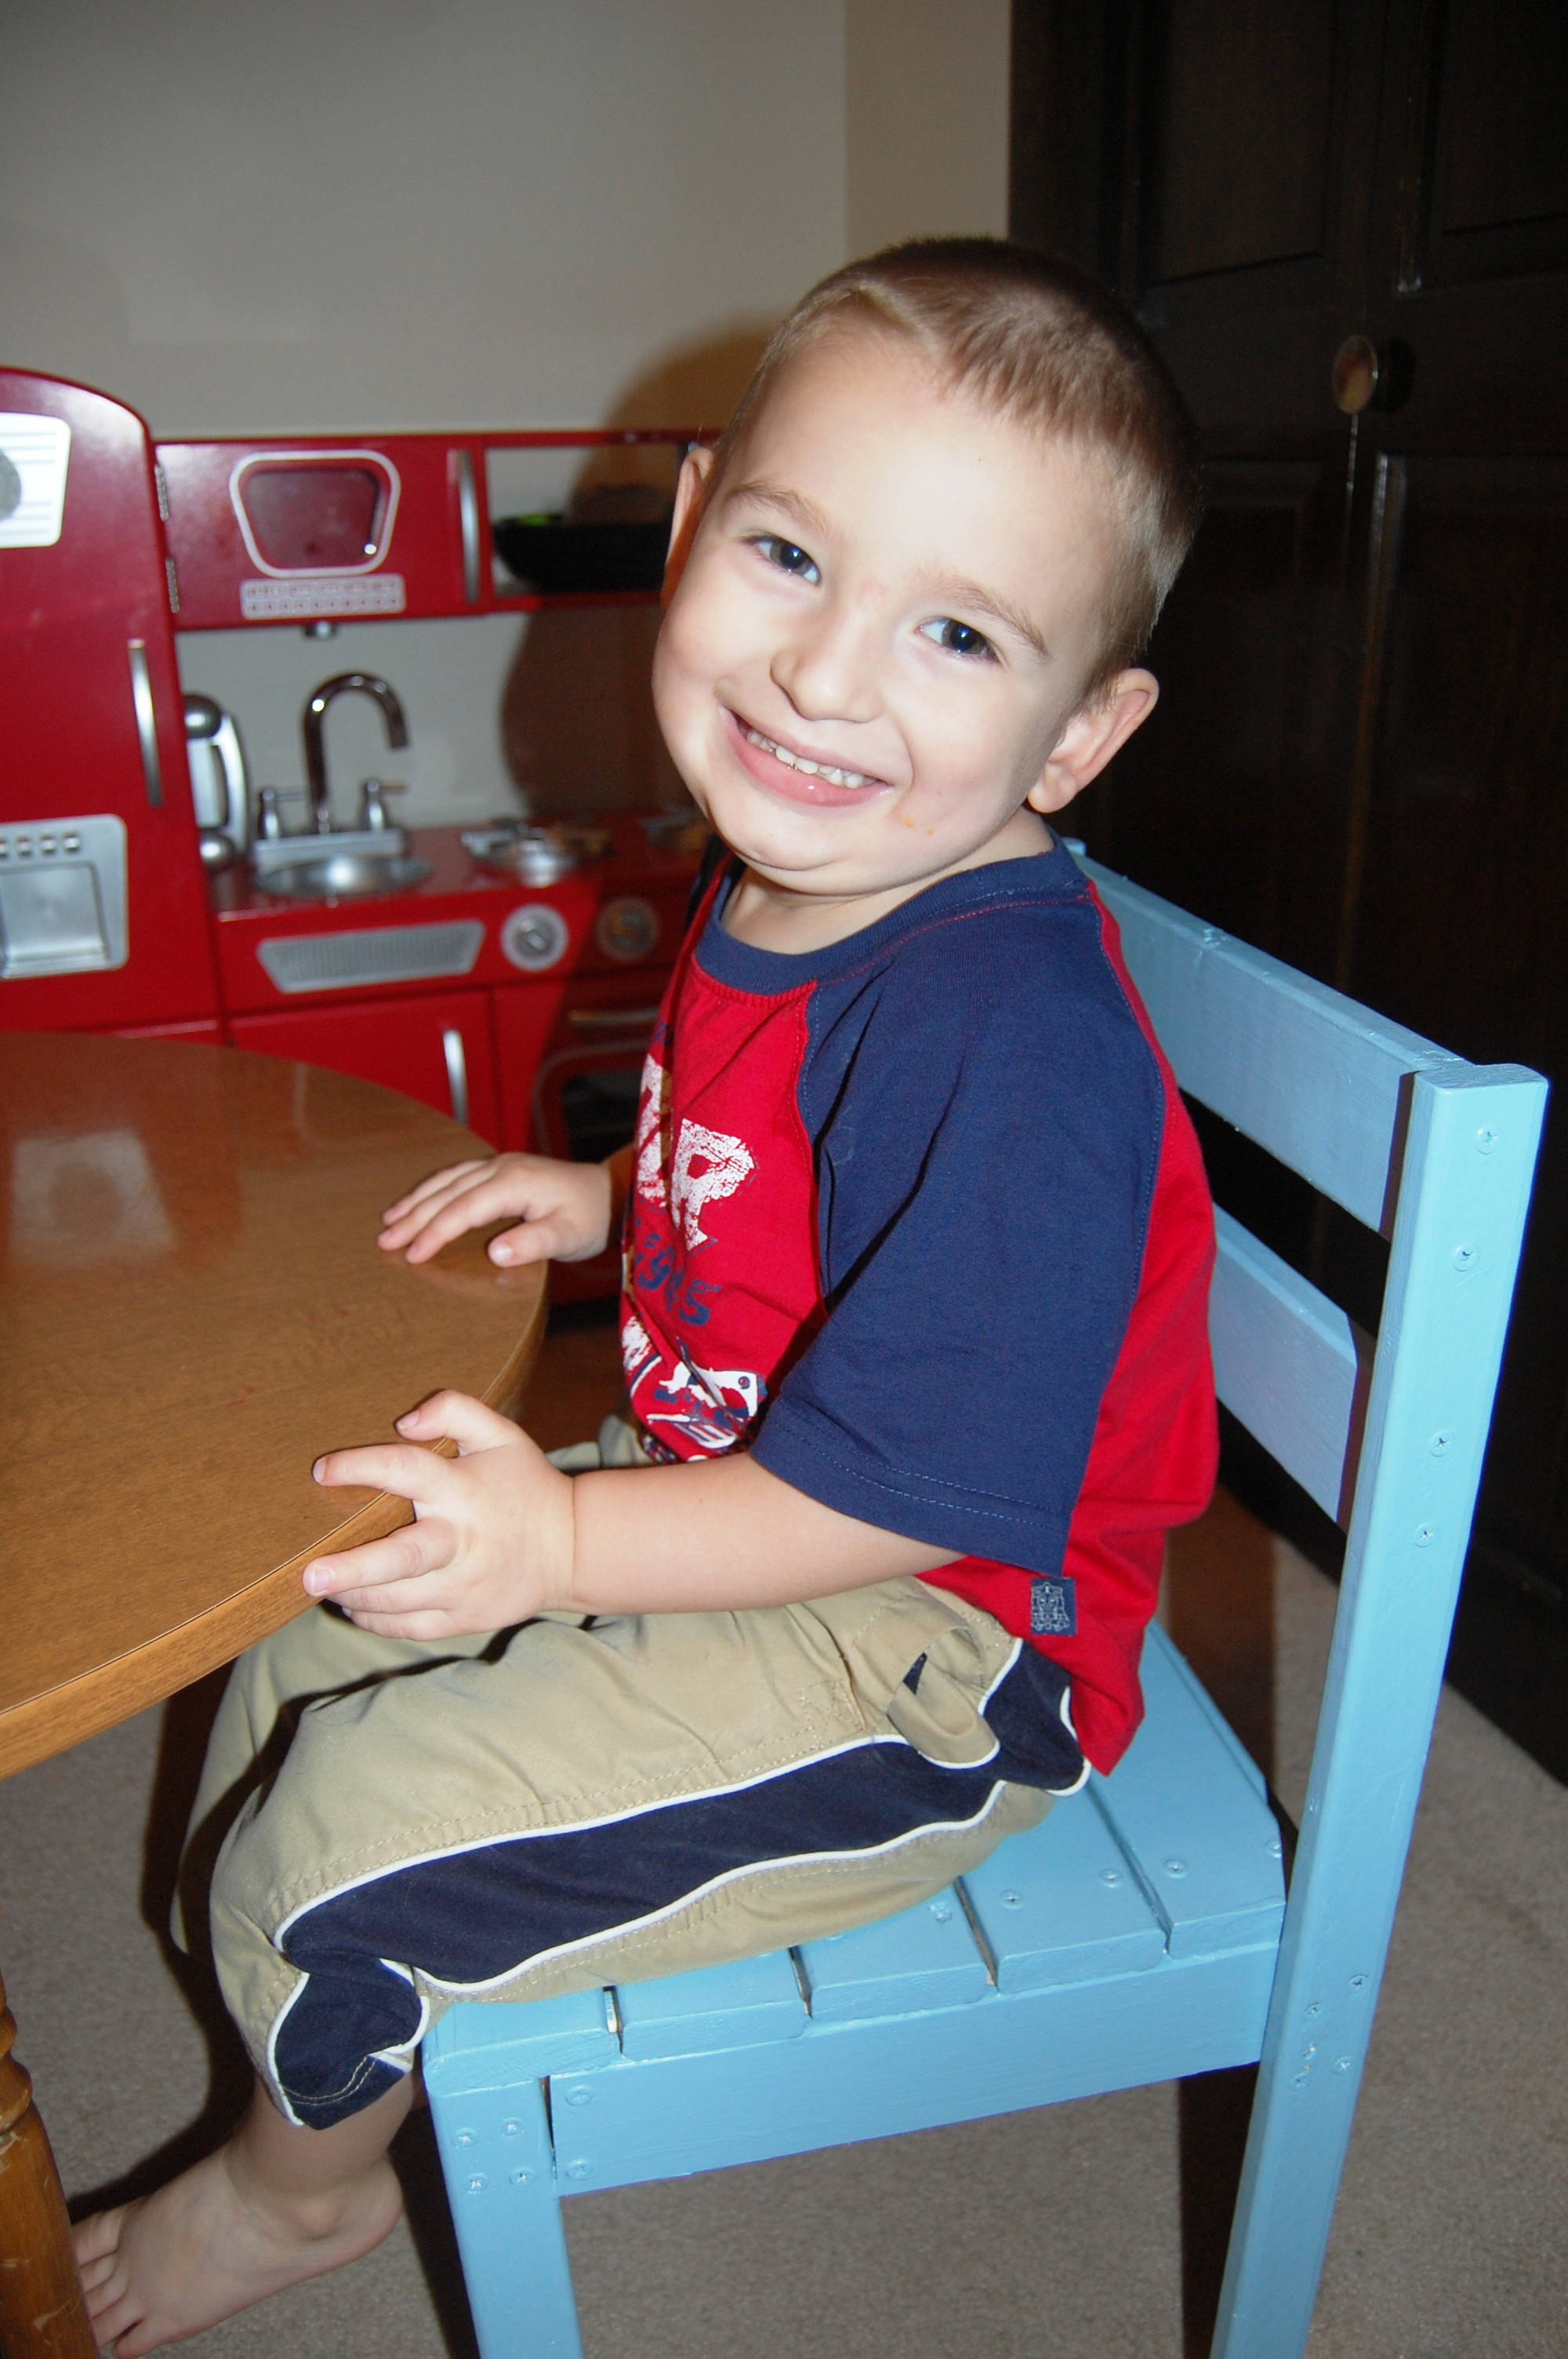
My daughter was given this umbrella at Christmas, but needed a table to go with it. Ana's plans for the preschool sized picnic table worked perfectly. I built it using one standard sized shipping pallet and even got to try out my new router! Thanks Ana!
Tue, 04/04/2023 - 13:58
Looks like the perfect solution, love the fun finish! Thanks for sharing.
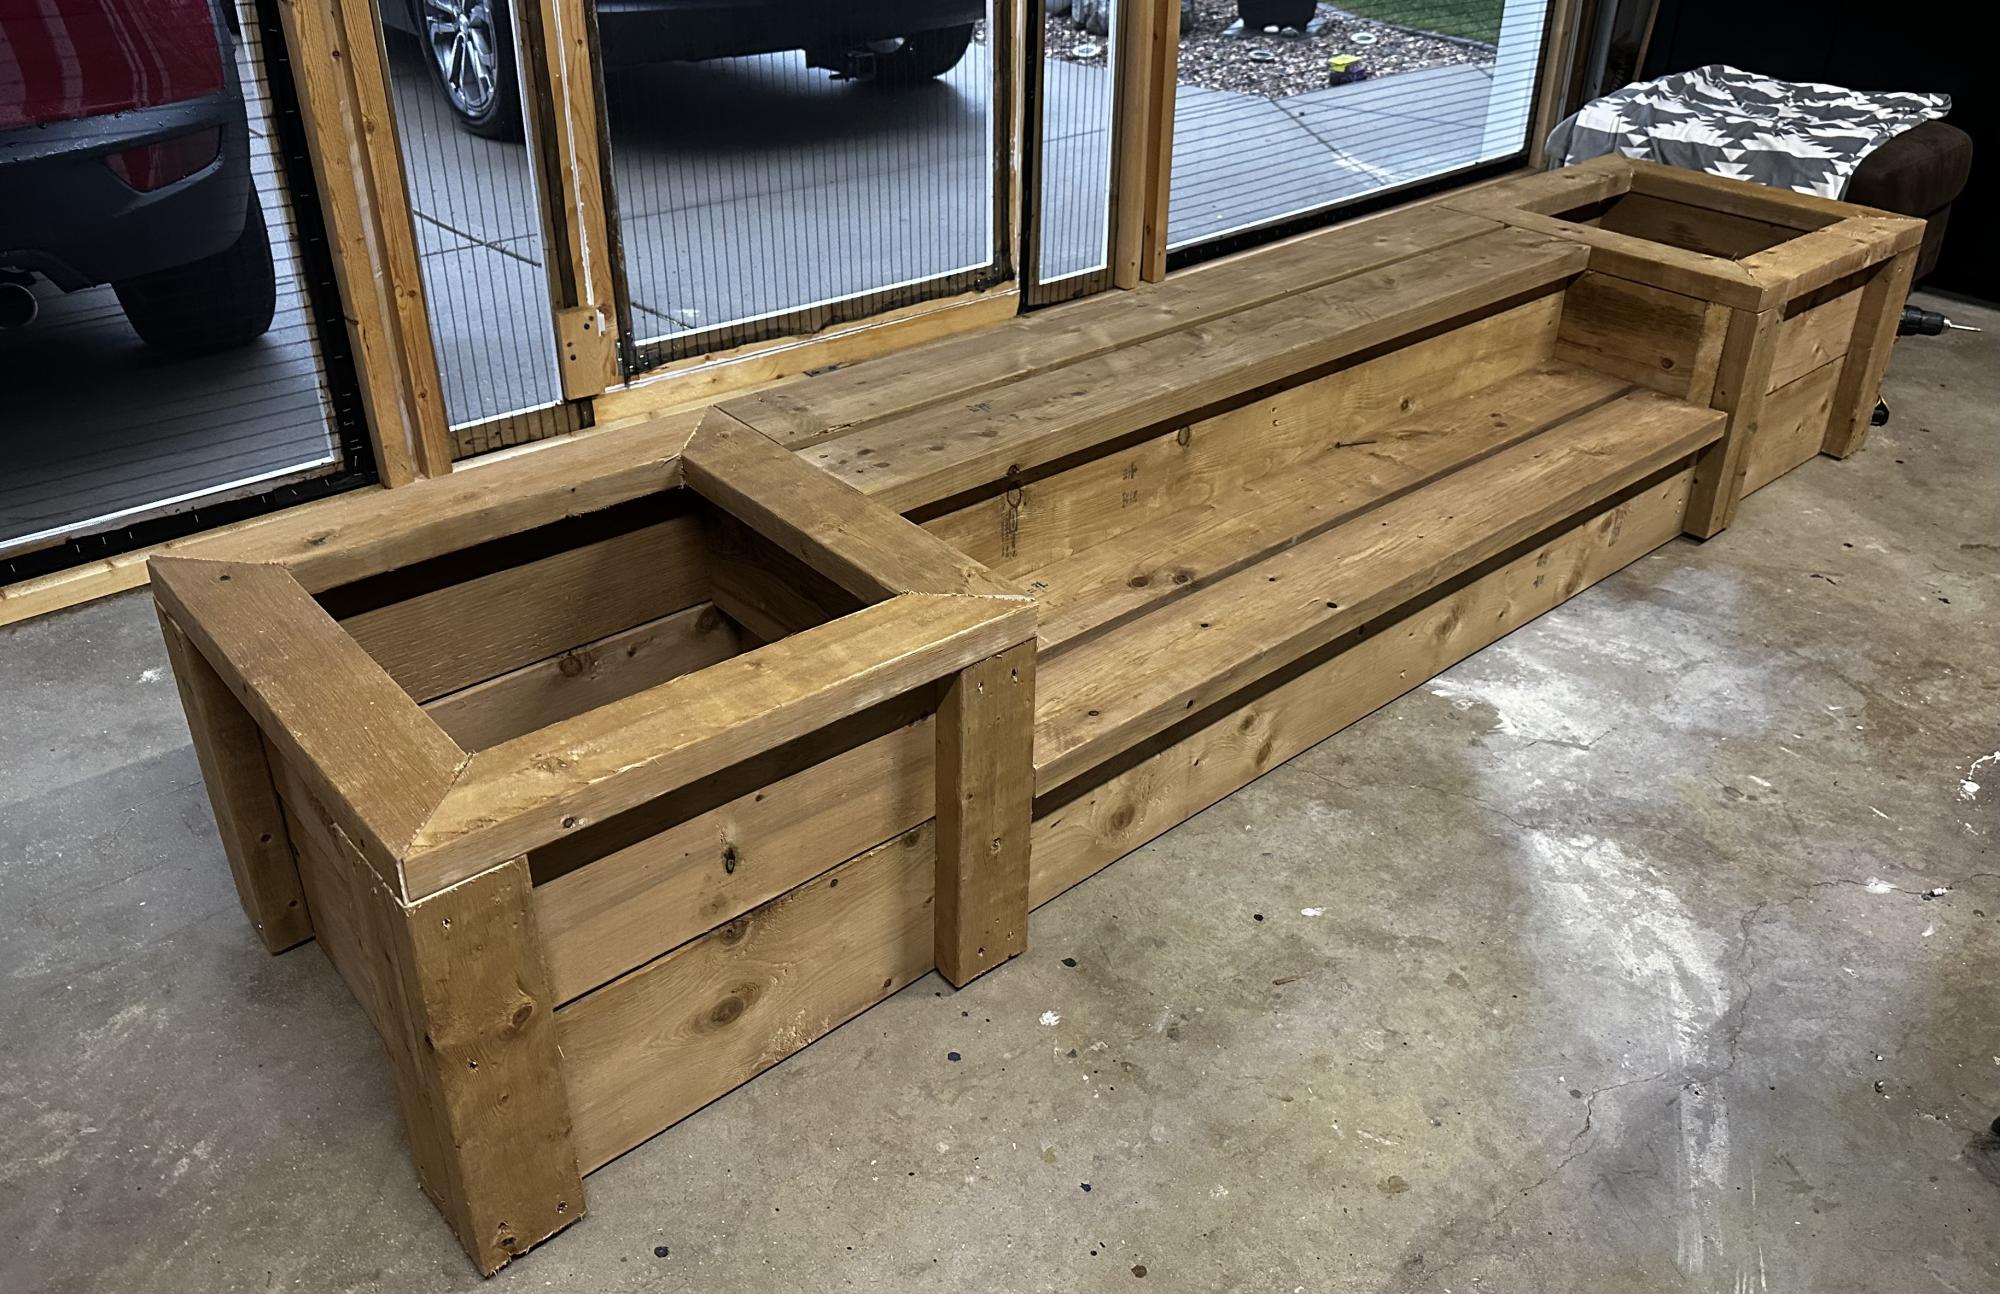
Built this from Ana White plans. Love how it looks in our four season room.

Fri, 04/21/2023 - 10:20
Gorgeous build and finish, well done! Thank you so much for sharing.
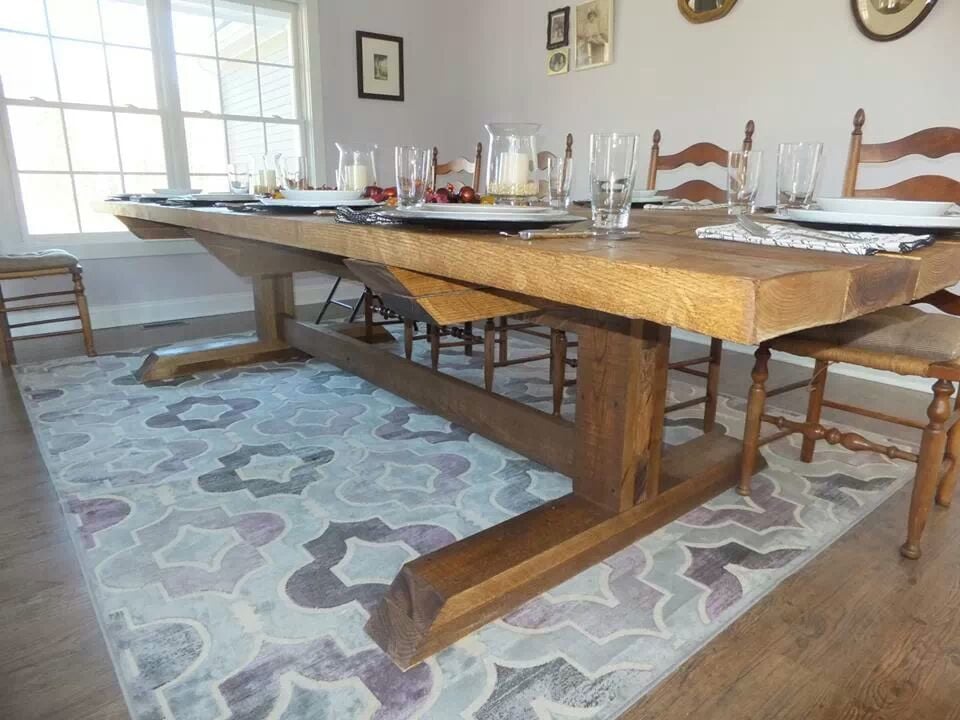
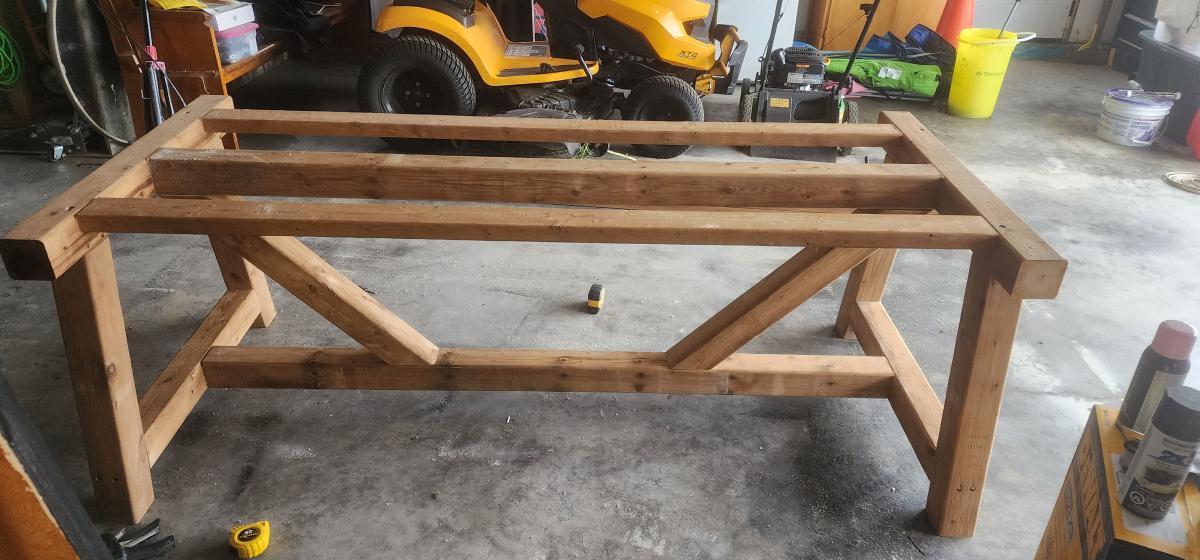
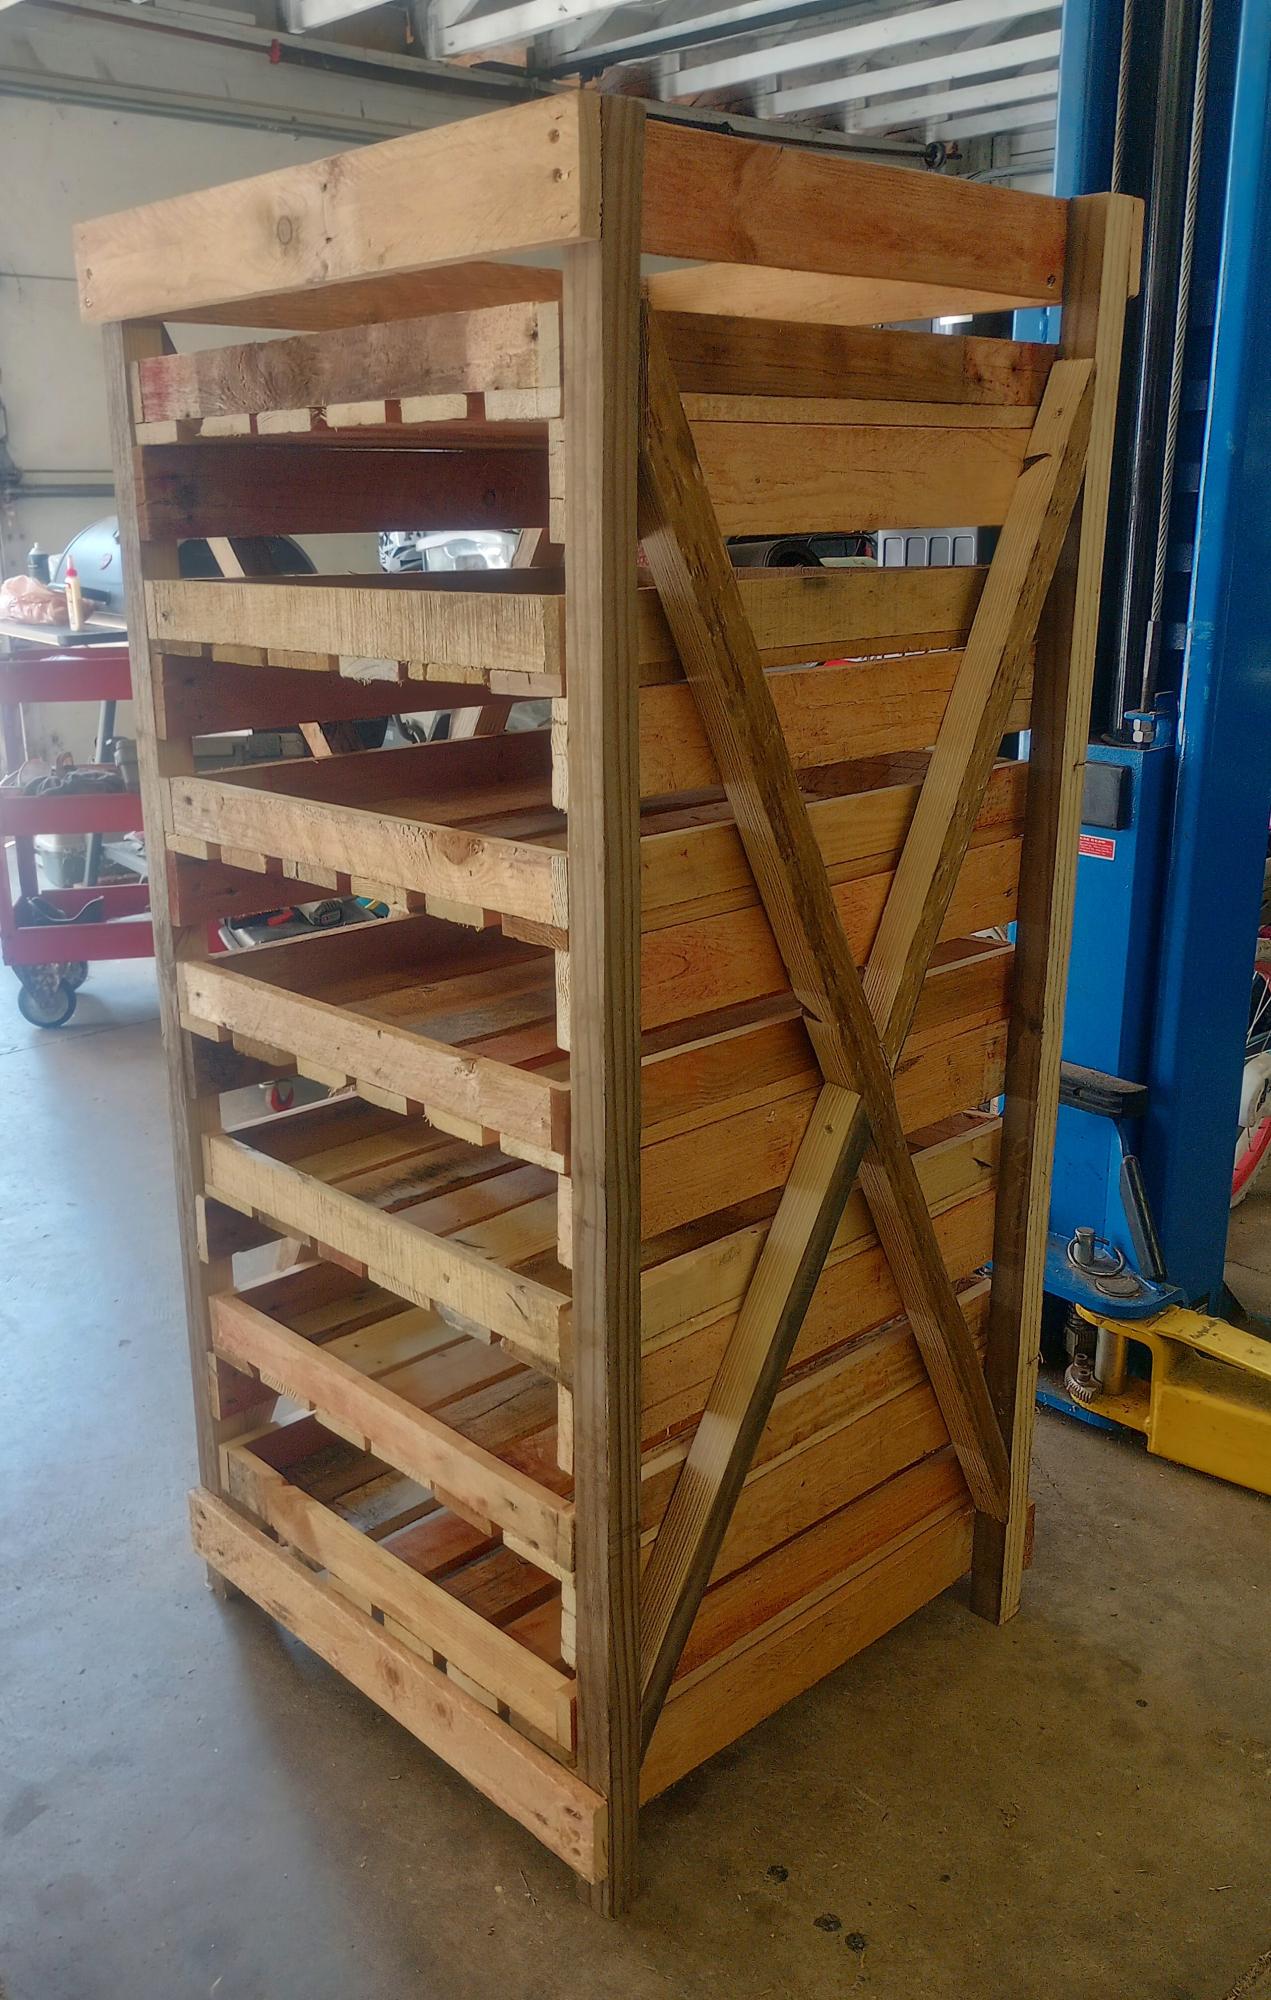
I used Ash wood from my local woodworking shop. The wood varied in width but is a true 2" thick. The table is 12' long and 4.5' wide. I didn't see the need in having the X on the leg ends as the ash was plenty strong enough to hold the top planks. Plus, I really like the look without it. I did add a cantilever beam in the center to stop sag. I didn't feel like I needed diagonal bracing in the center to support the cantilever beam (Note: Original design has center diagonal supports in wrong direction which do nothing for structural integrity of table). The table top planks were strong enough to span an 8' distance. The table top over hangs each end by 2' on center. I left the wood as rough cut as possible. I did rough it up a little more. I sanded with a #36 grit only to sand off writing, dirt, and burrs. I stained with MinWax Early American and sealed with Satin Poly by MinWax. Feel free to ask any questions. This is my 2nd wood project and I am hooked.
Wed, 02/19/2014 - 14:37
Can I ask how you attached the top supporting plank under the table top and also how you attached the bottom cantilever into the upright supports?
Fri, 04/04/2014 - 08:39
I screwed the top cantilever planks on each end into the post. I notched and screwed the center cantilever support. I actually didn't need the center cantilever support because the wood could span the distance but I did it just to be safe.

Wed, 10/22/2014 - 10:39
I love the roughed up top. How did you get the lines in the table top? It looks fabulous!
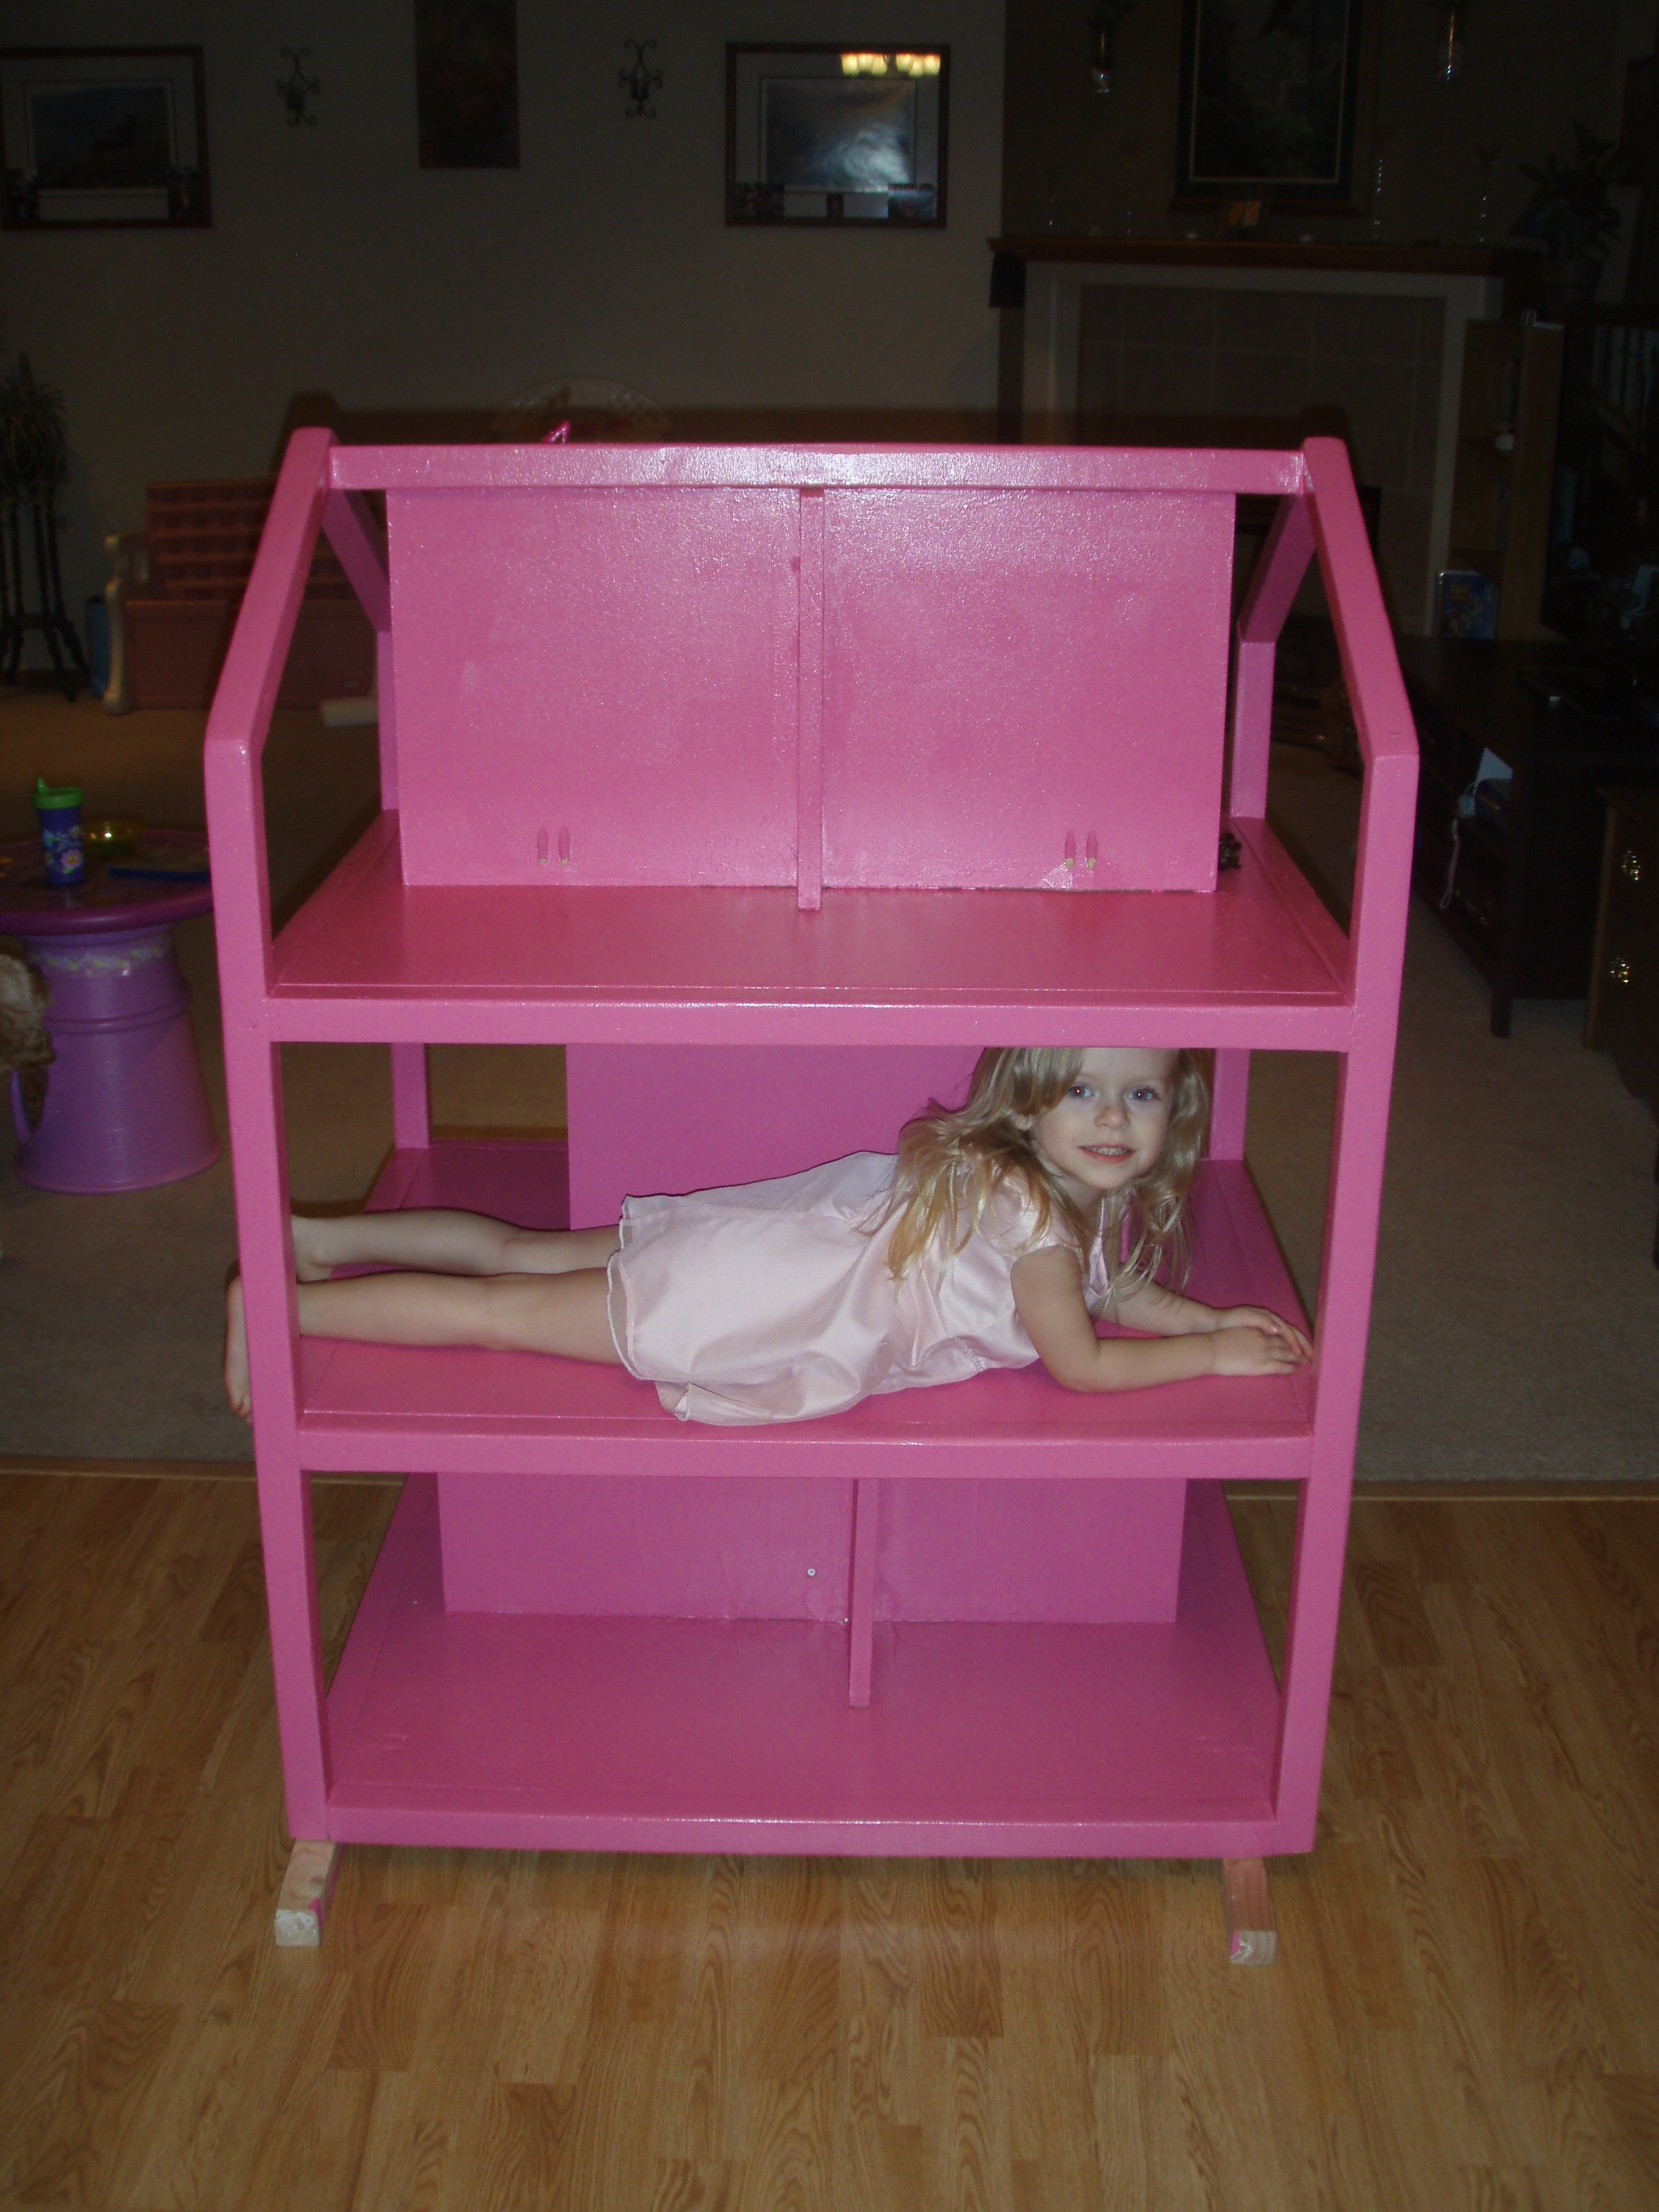
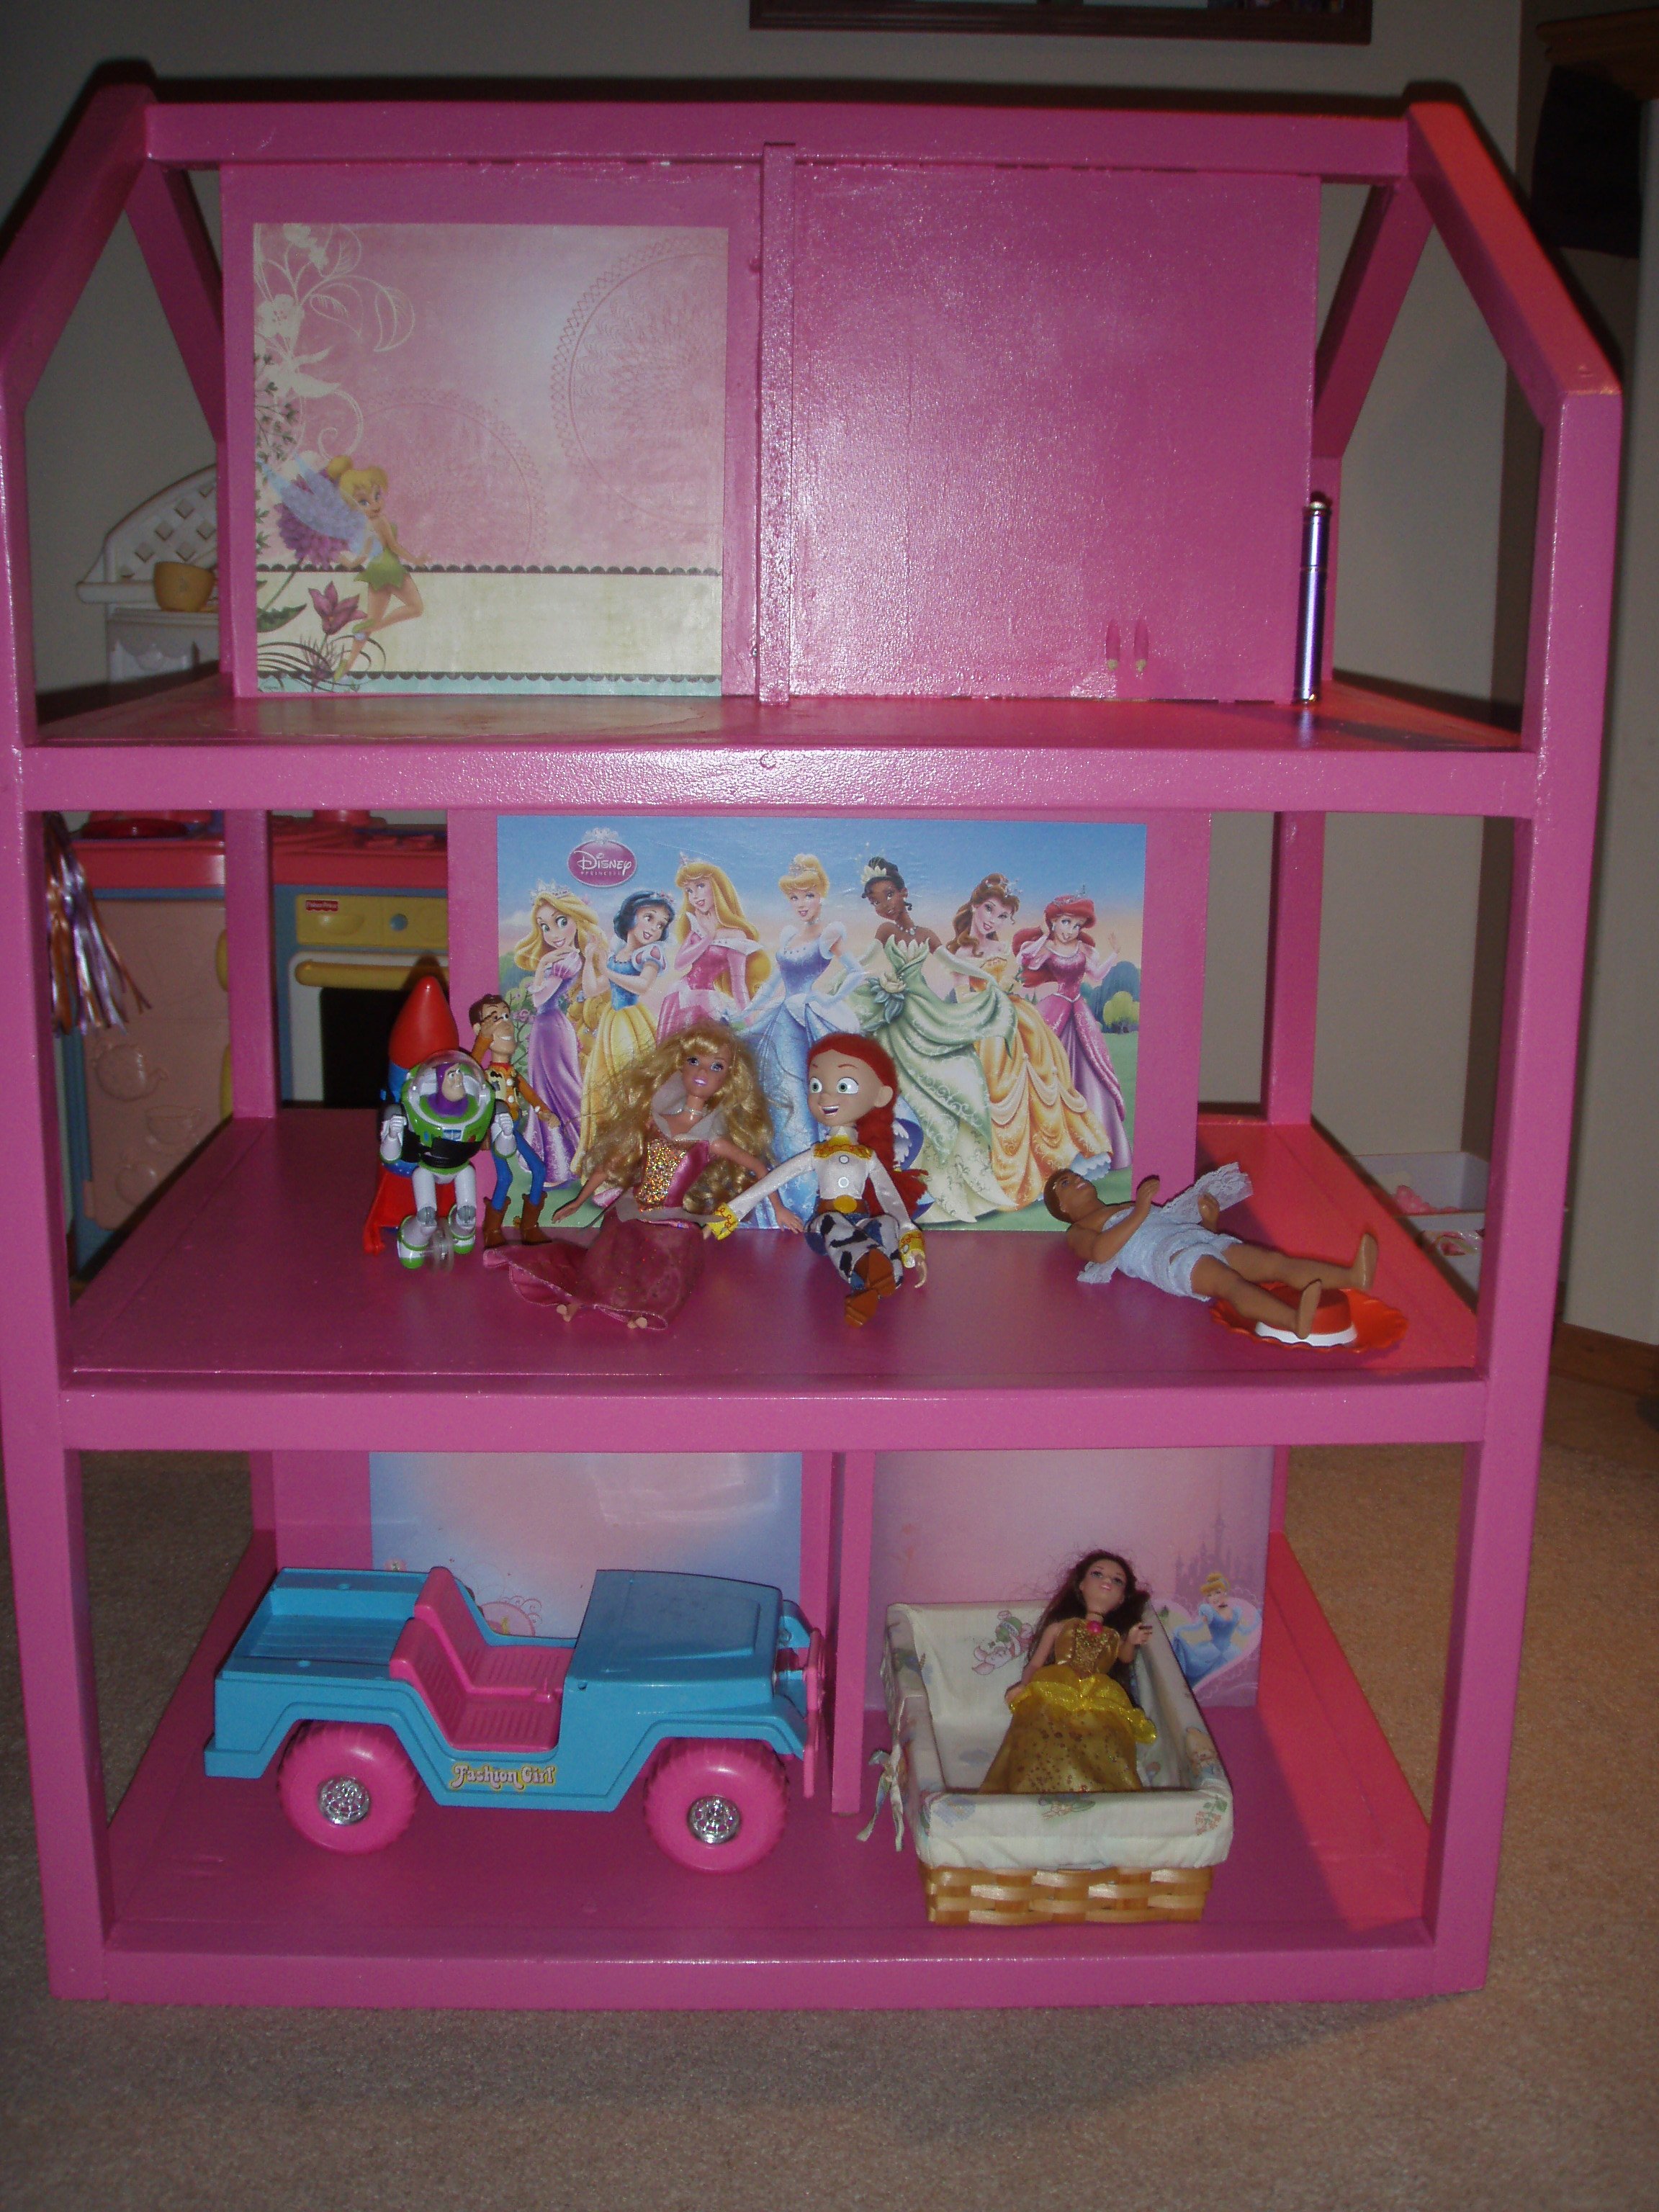
This is my 3rd build from Ana’s site. I built the dream Dollhouse with my daughter. She loves it! I would recommend taping off a section the size of the finished doll house to get a feel for the size. I knew it would be big, but wow it is huge. Fist thing she did was climb inside.
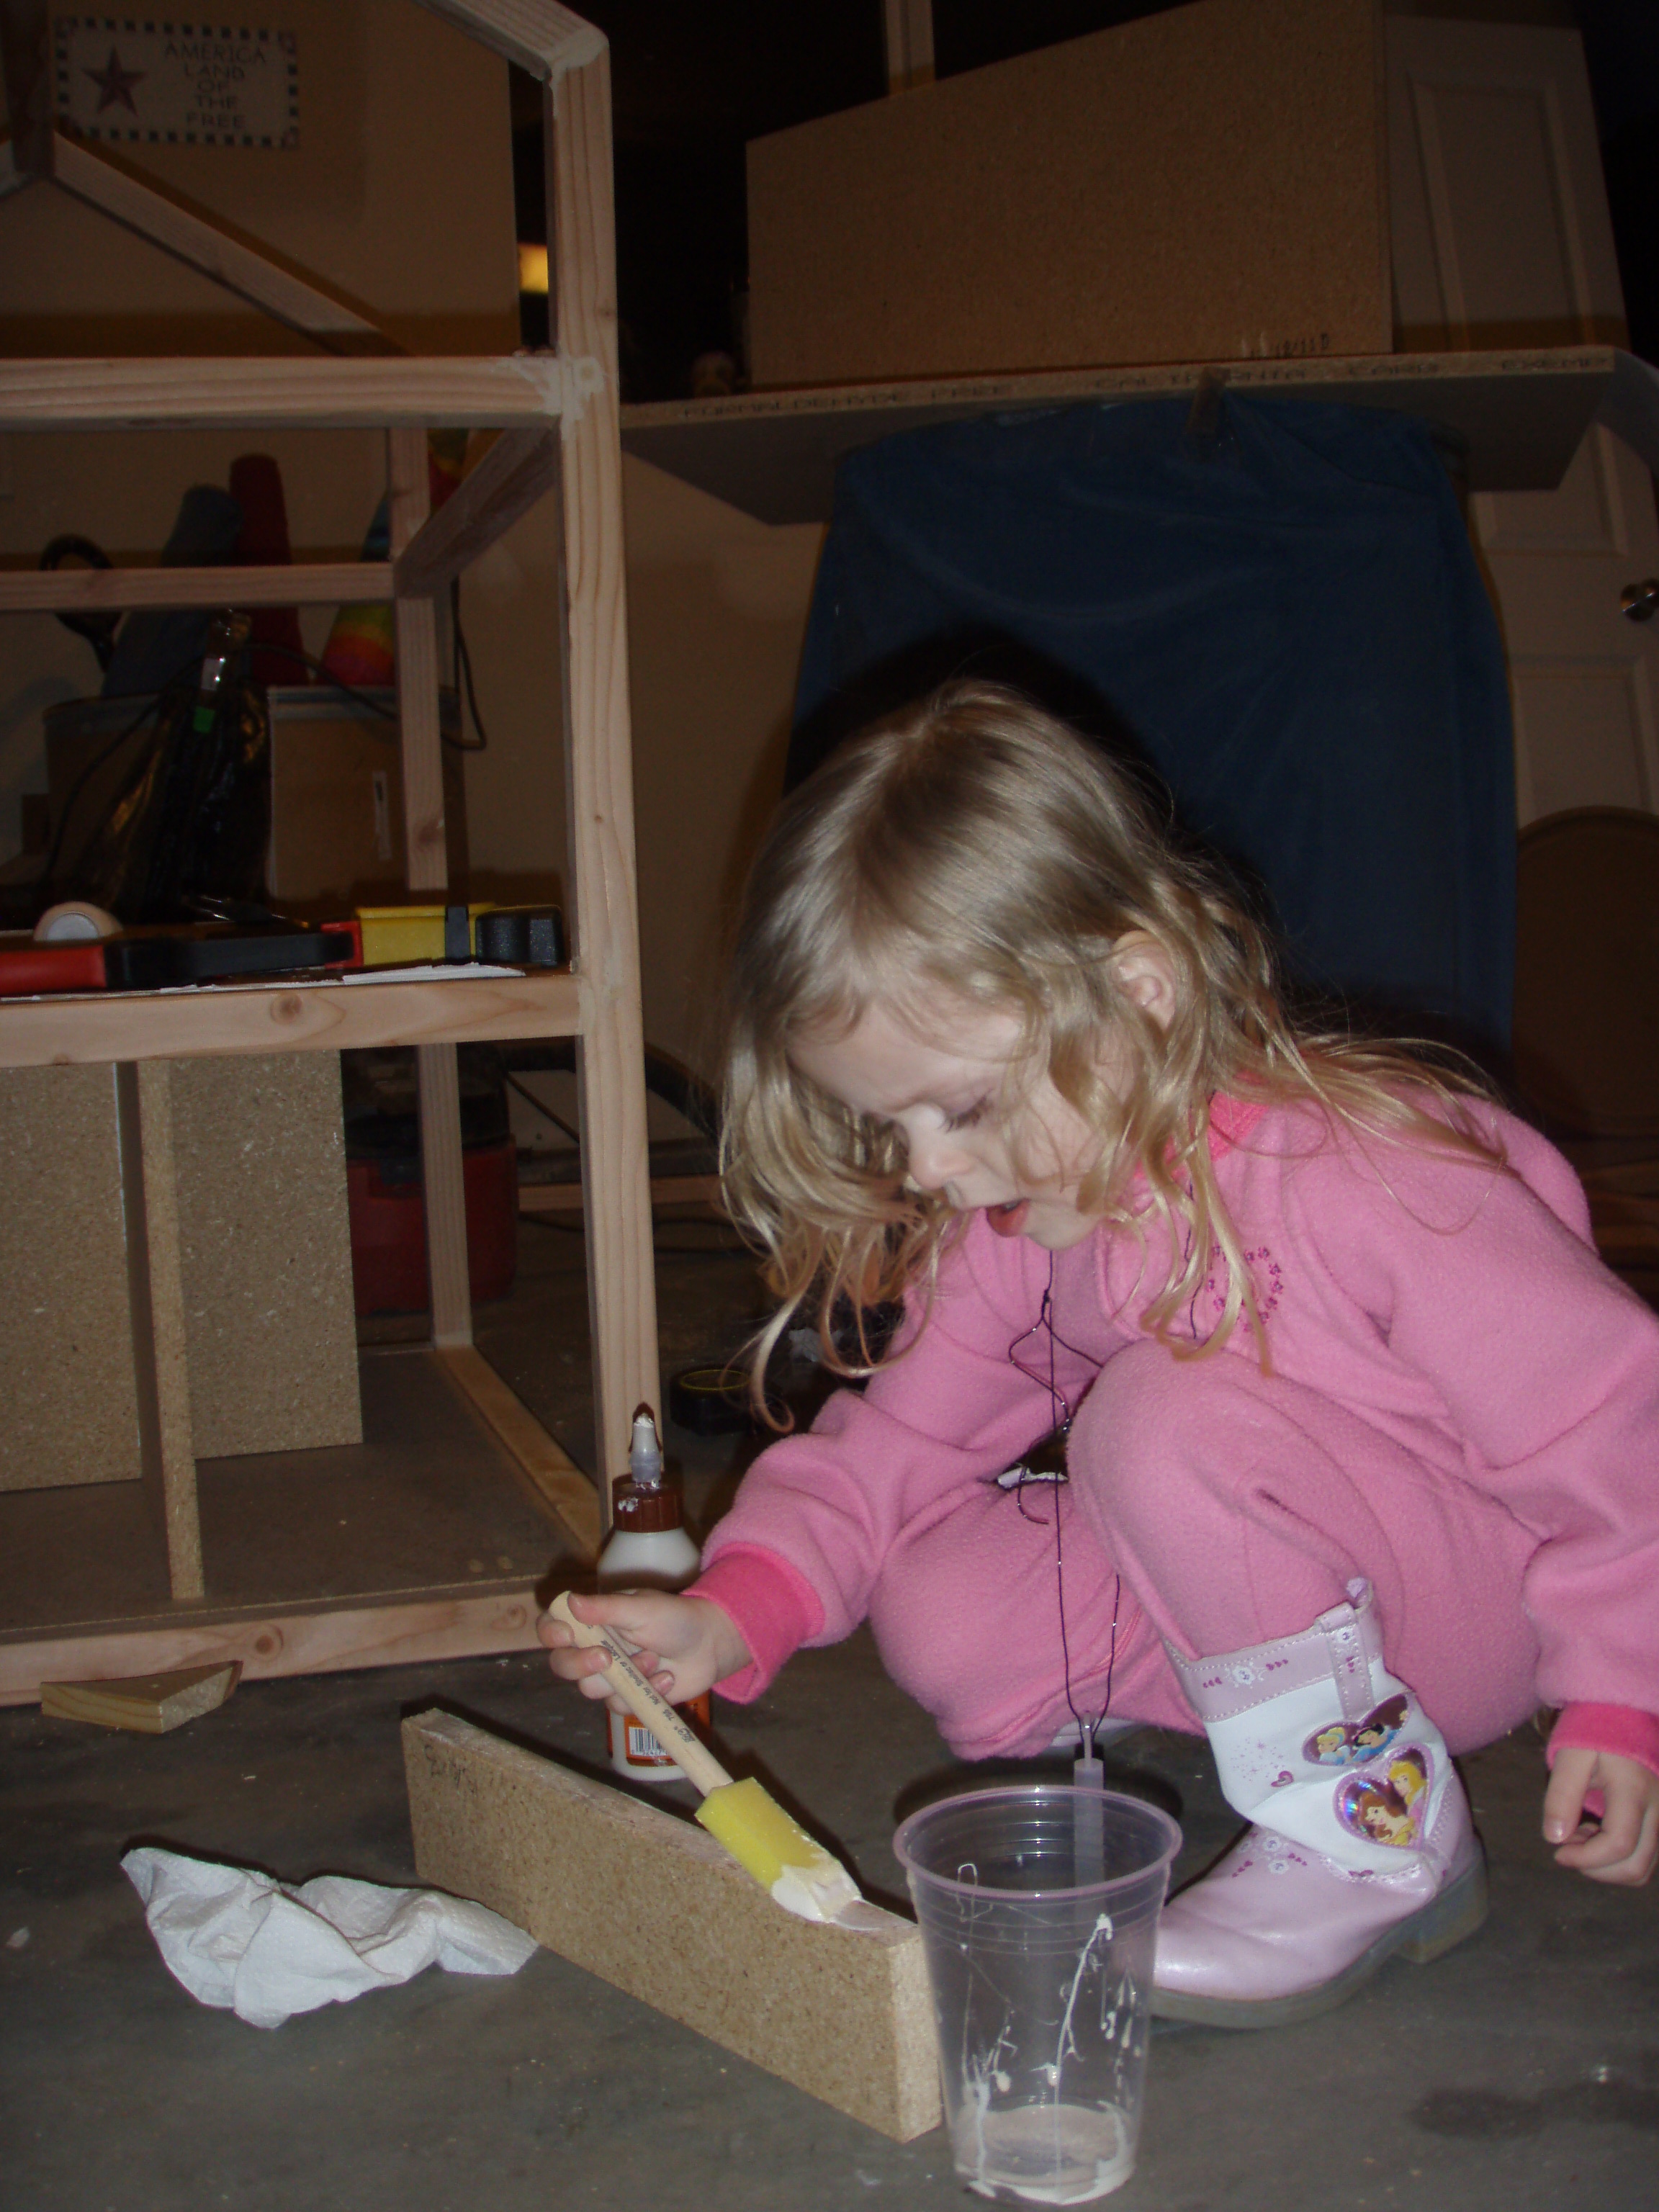
My 3 year old daughter helped when she could. She applied wood glue with a foam brush, painted the bottom and checked all the board walls and floors with a level.
I did not do the stairs, I did not think my daughter would play with them; I also wanted to keep the floor space. I still need to finish putting the wall paper up & add the casters. My dad got me 1 ½ trim for crown molding from the habitat for humanity store. He is also looking for caters there as well. Next time he come to visit are we are going to install it. With the crazy snow in Washington it might be a while.
I used a cheap primer that really mad the paint worse, but like my mom said I can always remodel it later.
I the supplies were close to $75, the new saw blade, Kreg Jig Jr., and other misc. to stock my shop a lot more.
Thank you Ana for such a great plan!
Becca
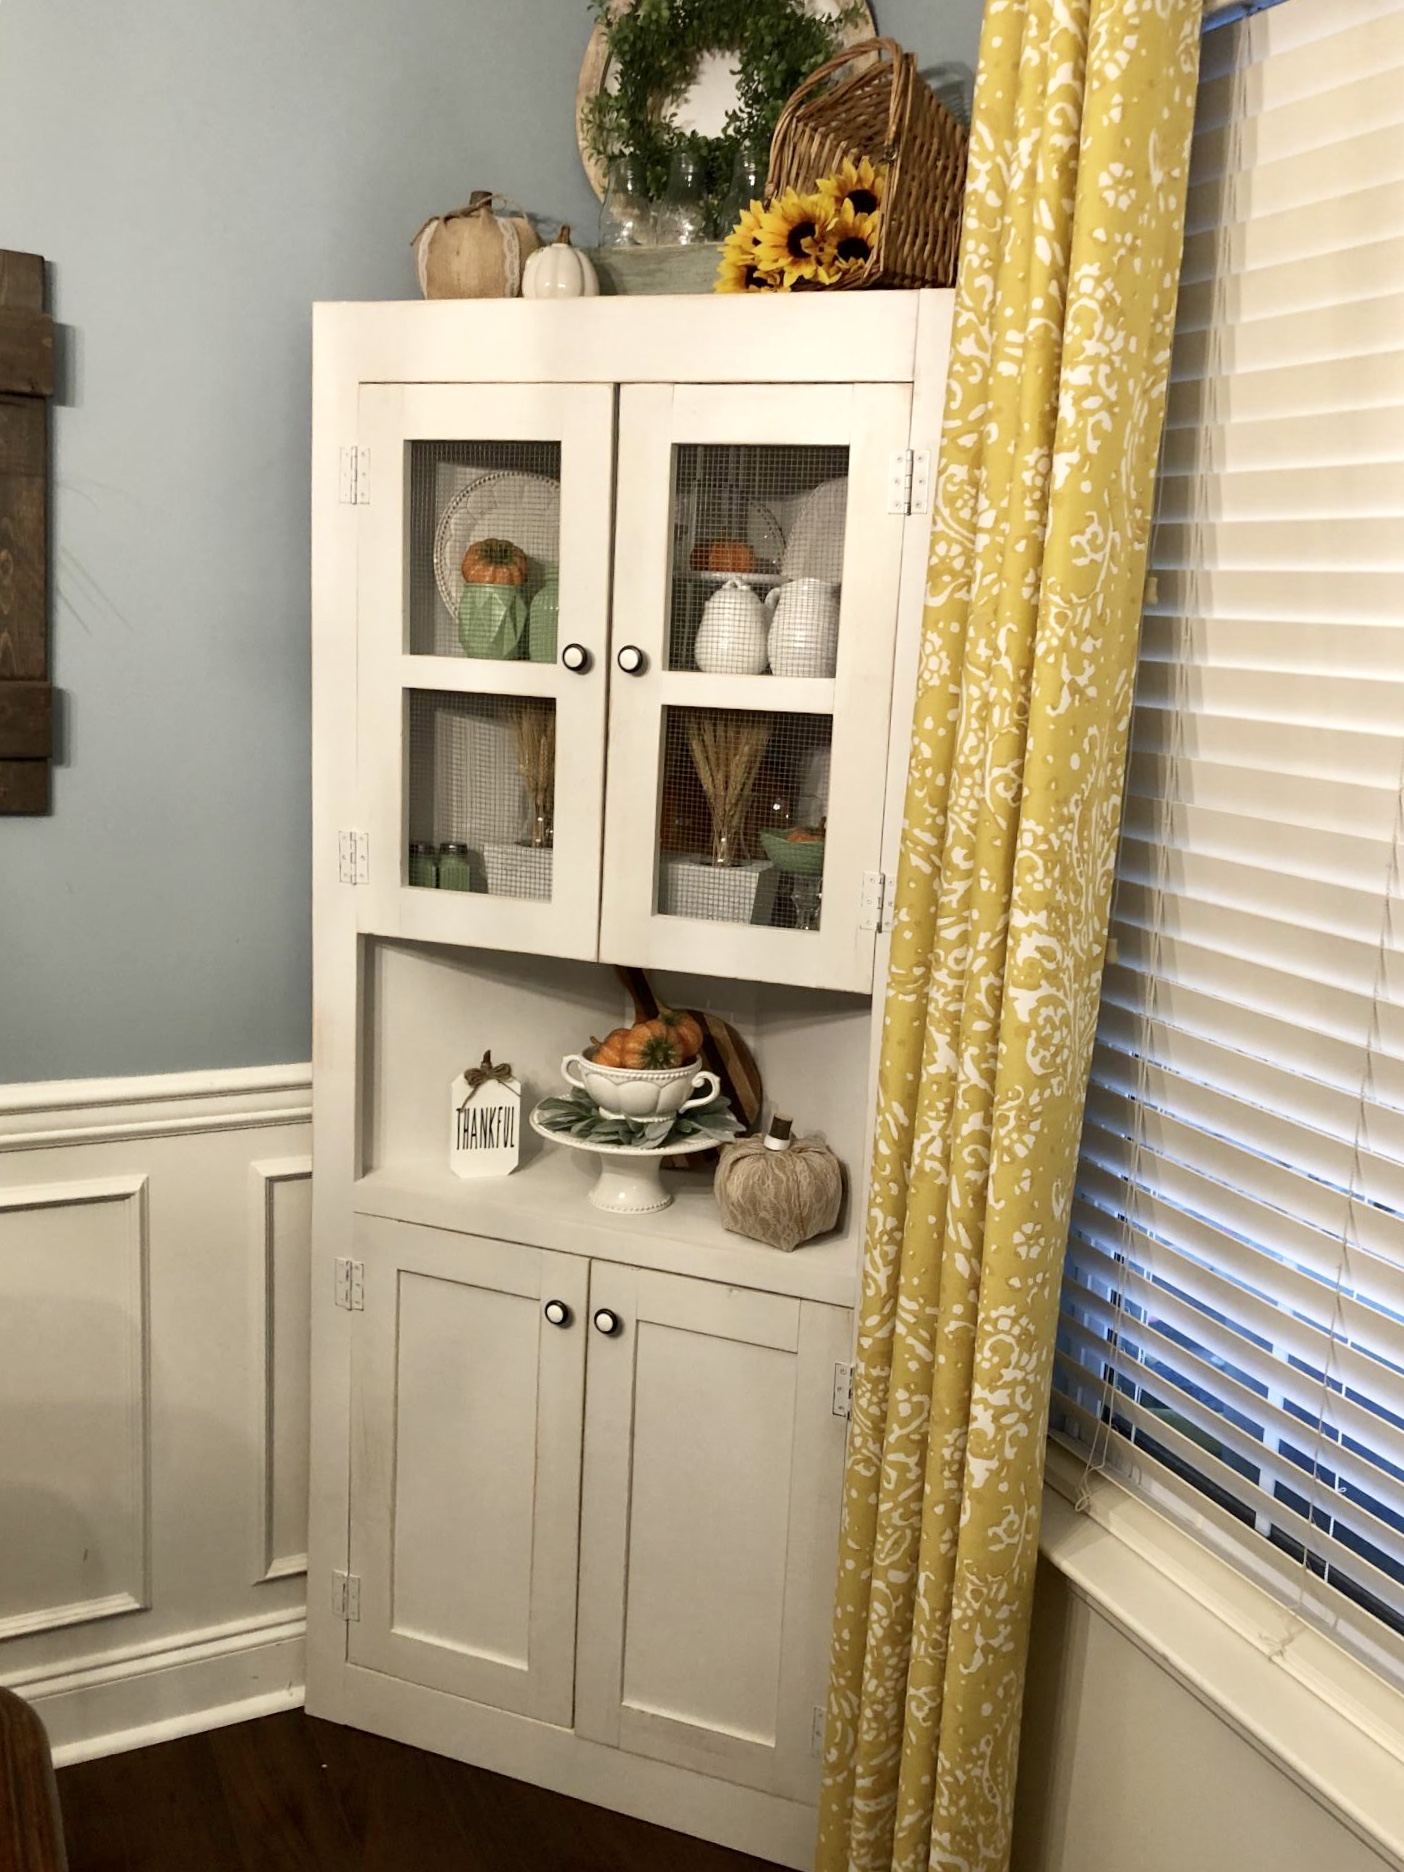
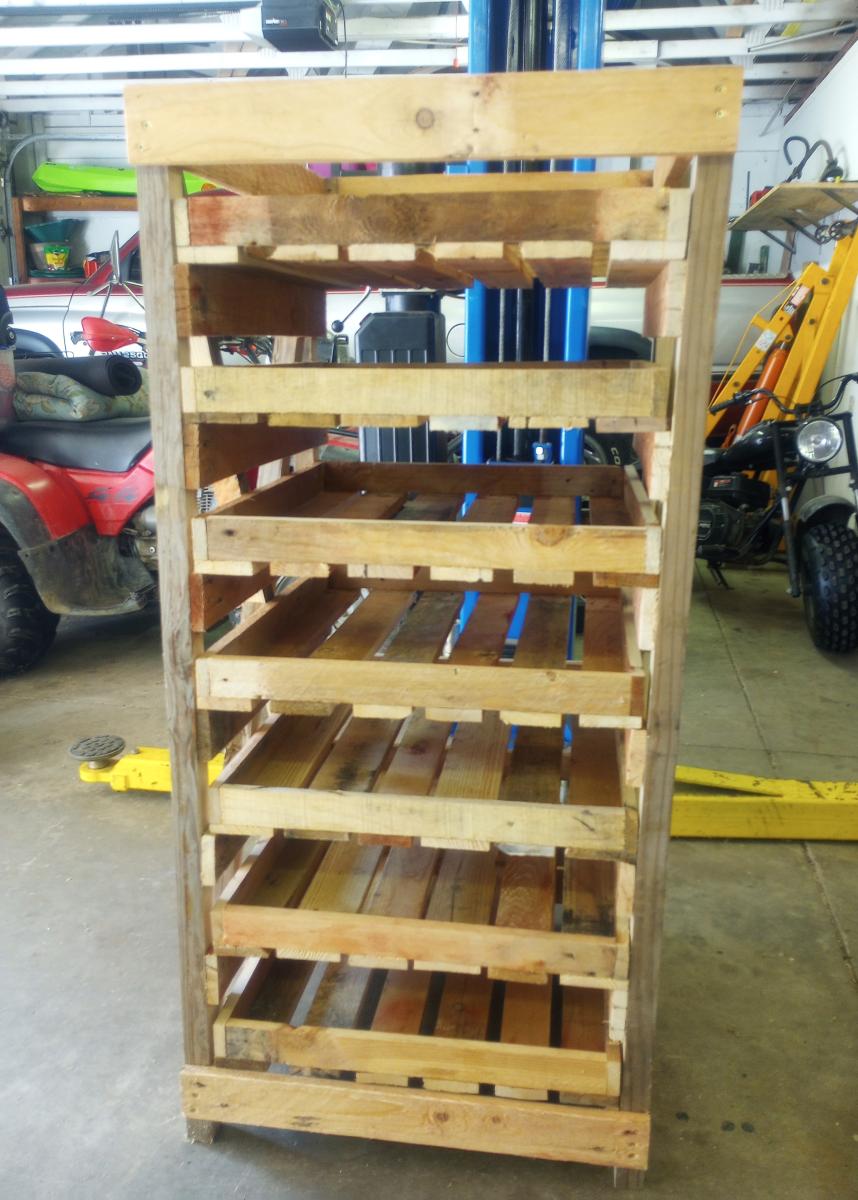
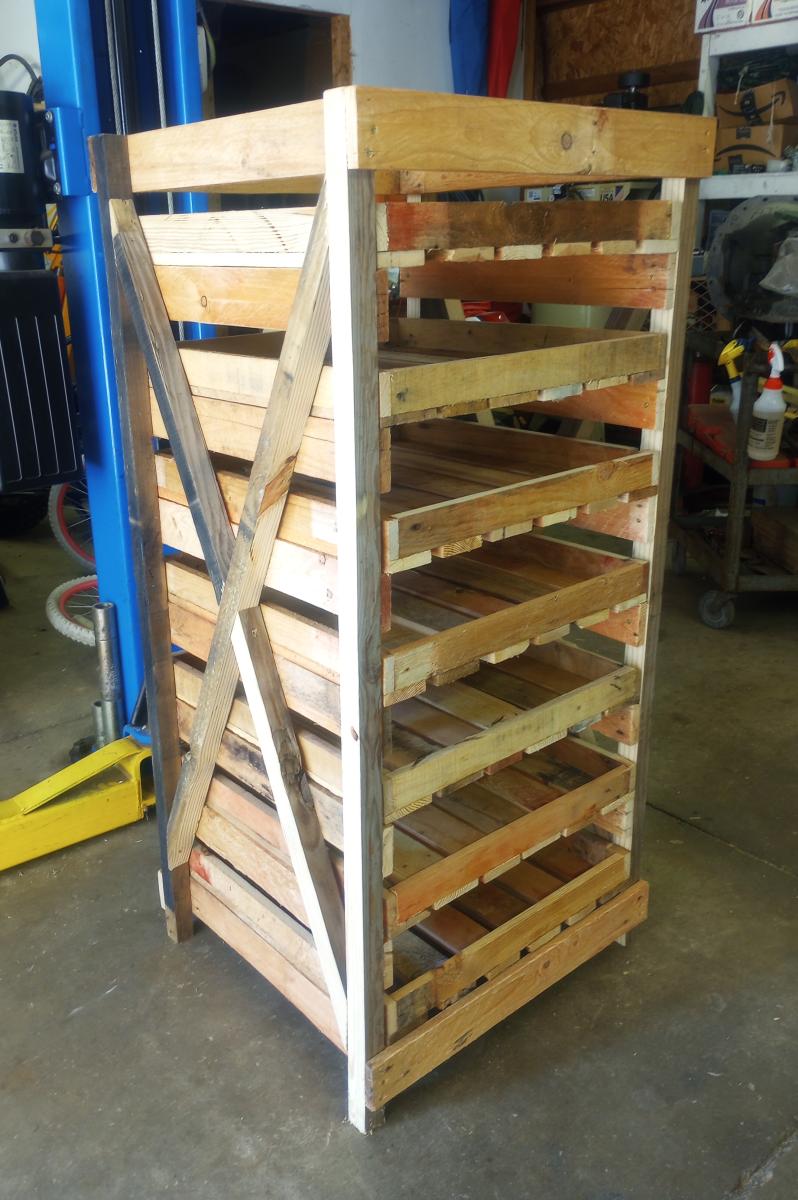
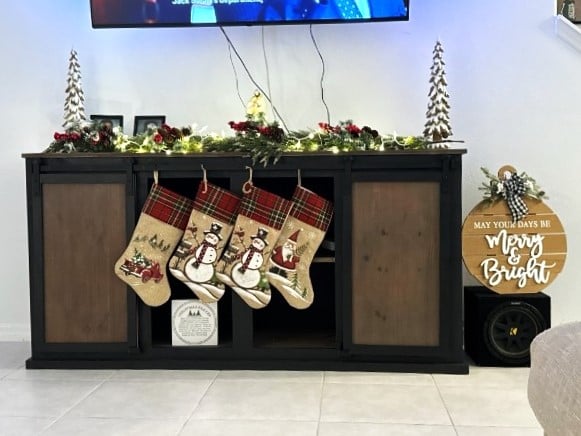
Wanted a corner cabinet for awhile and found Ana’s plans!! So easy and love my cabinet❤️
This was my first time doing a big project like this . Thank you for the plan for this.
Thu, 06/15/2023 - 09:19
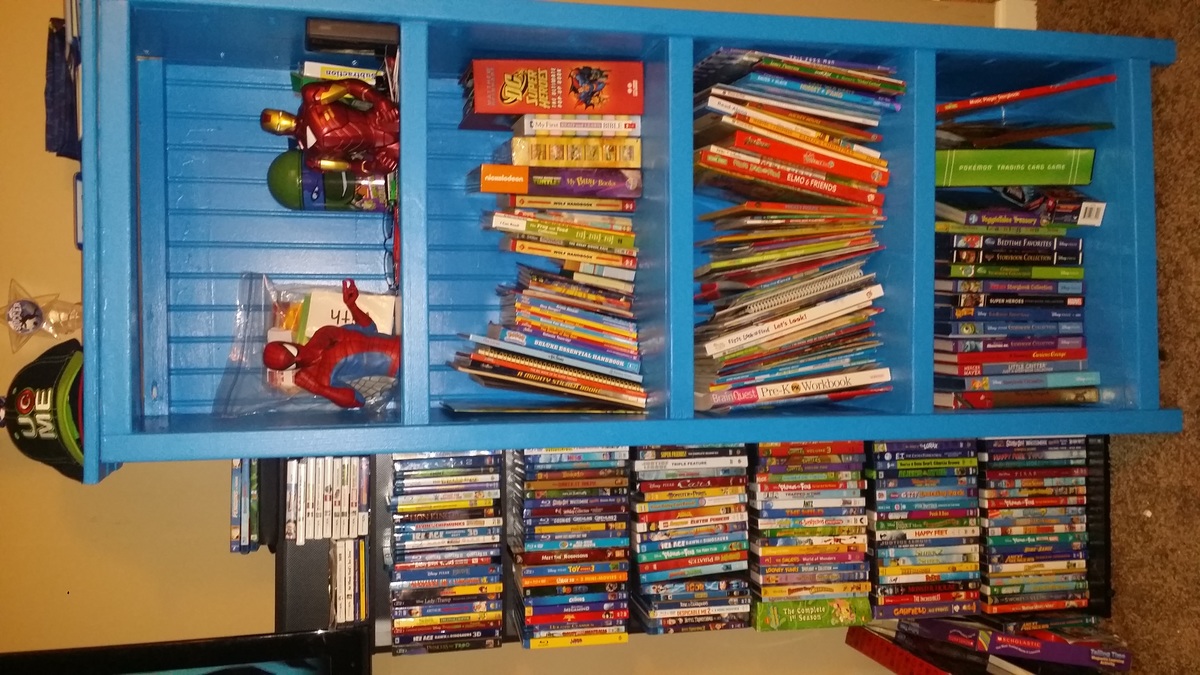
These look awesome, can't wait to see them all in place and filled up! Thanks for sharing.
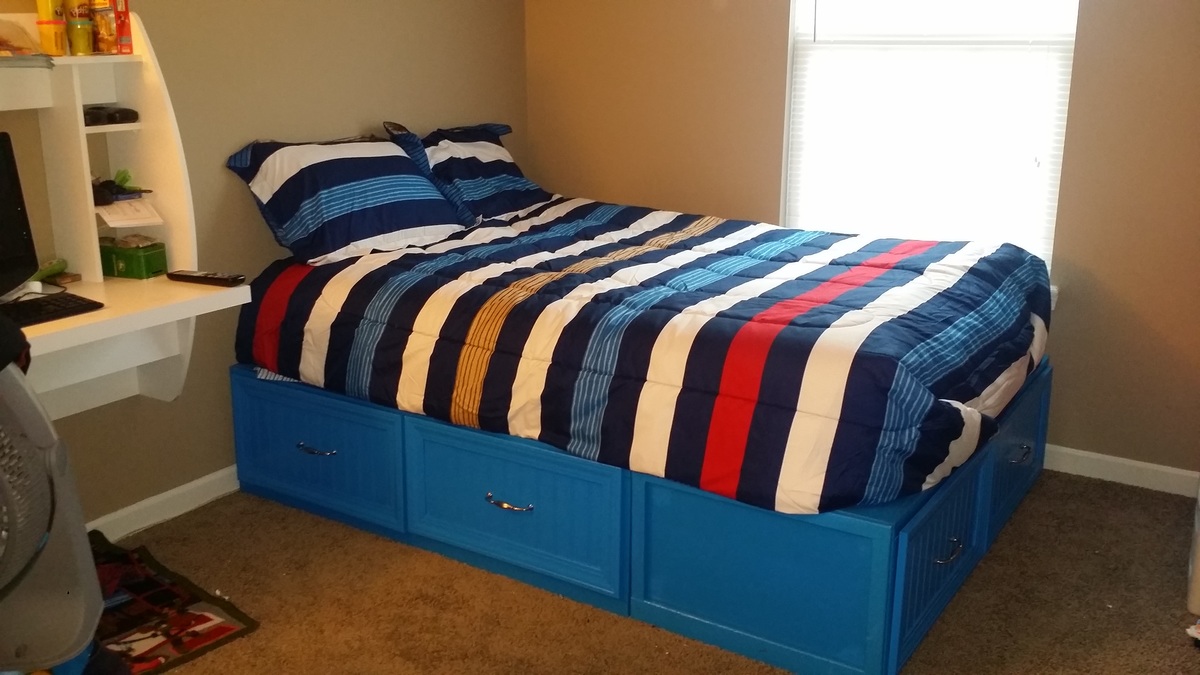
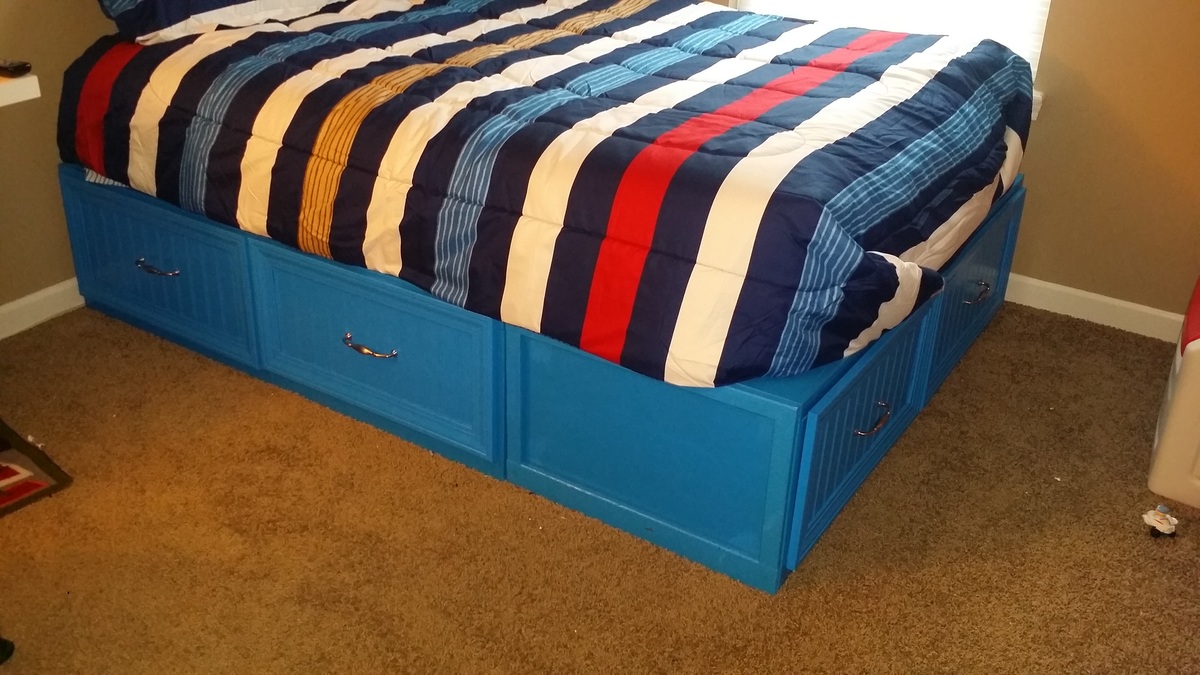
This (so far) is my best creation yet! I had previously made a bed for my son but my joinery skills were not up to par so it didn't make it. After re-evaluating his room I realized he was lacking on space so we needed to ditch the dresser. So glad I ran across this plan on Ana's website!
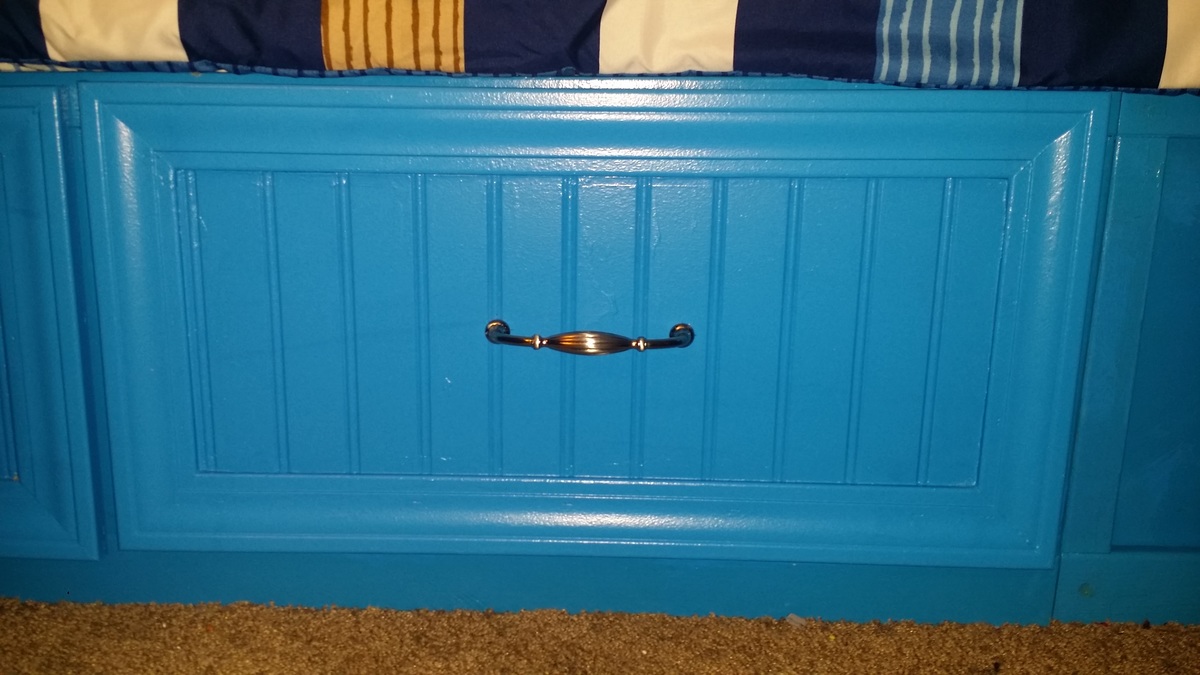
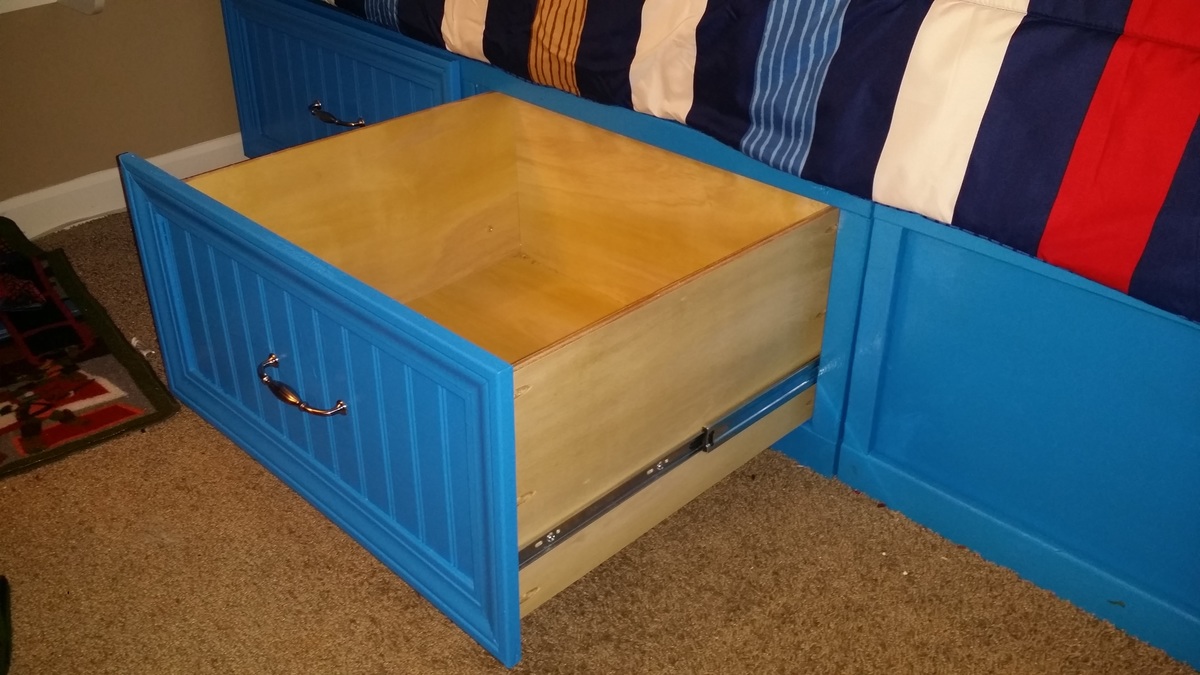
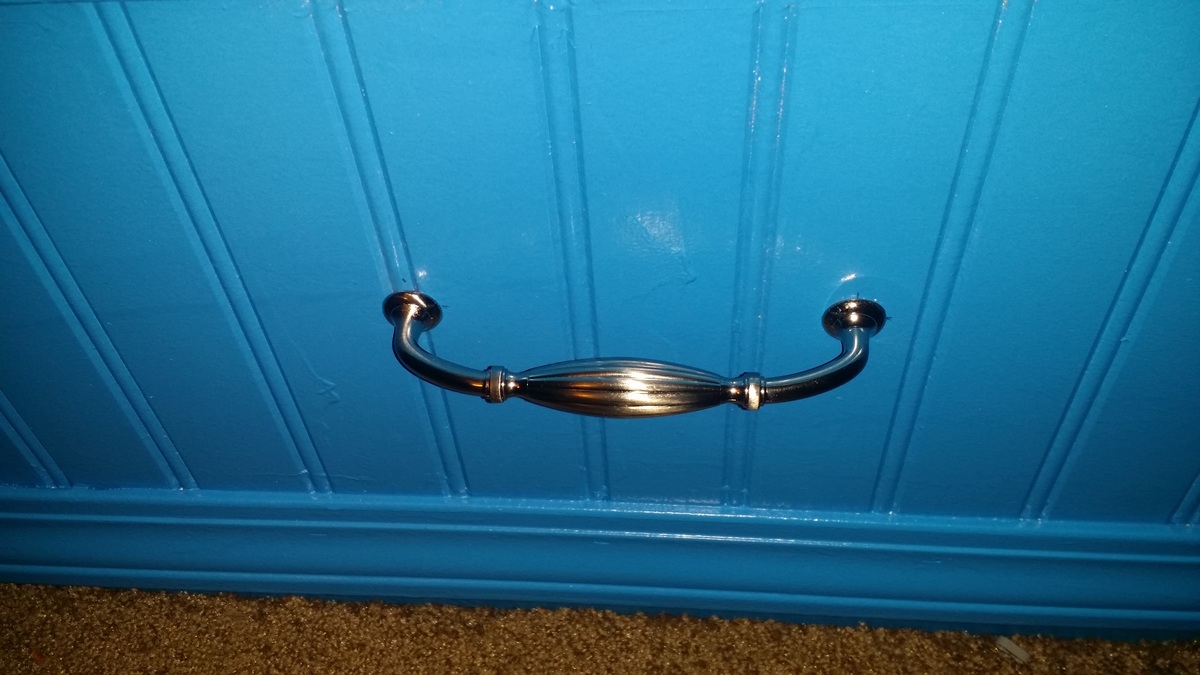
Since I was ditching the dresser in his room I needed to make sure the drawers were deep (25"x18"x10.5"). I once again ran into some issues where I was not paying full attention to the instructions and ordered side-sliding drawer slides instead of under mounting ones. So I had to alter the plan a tad bit. Not to mention my drawer openings were not completely square so I added some door trim and beadboard to the face and let it cover the imperfection. I must say it was well played!
I didn't have all the tools needed right away so as I got to different parts of the project I bought so many tools!!!
Two hours and done!
Easy project, had it done in about 8 hrs, staining and paid ting took another 4 hrs. Not bad at all.
Was very easy to put together even with pocket screws.
Retired firefighter Joe
4x4 farmhouse beam table using pressure treated lumber, made a little longer to accomodate 6' church pews, so pleased with the build, best part, it took me 3 hrs to complete!
Corrina Kelly
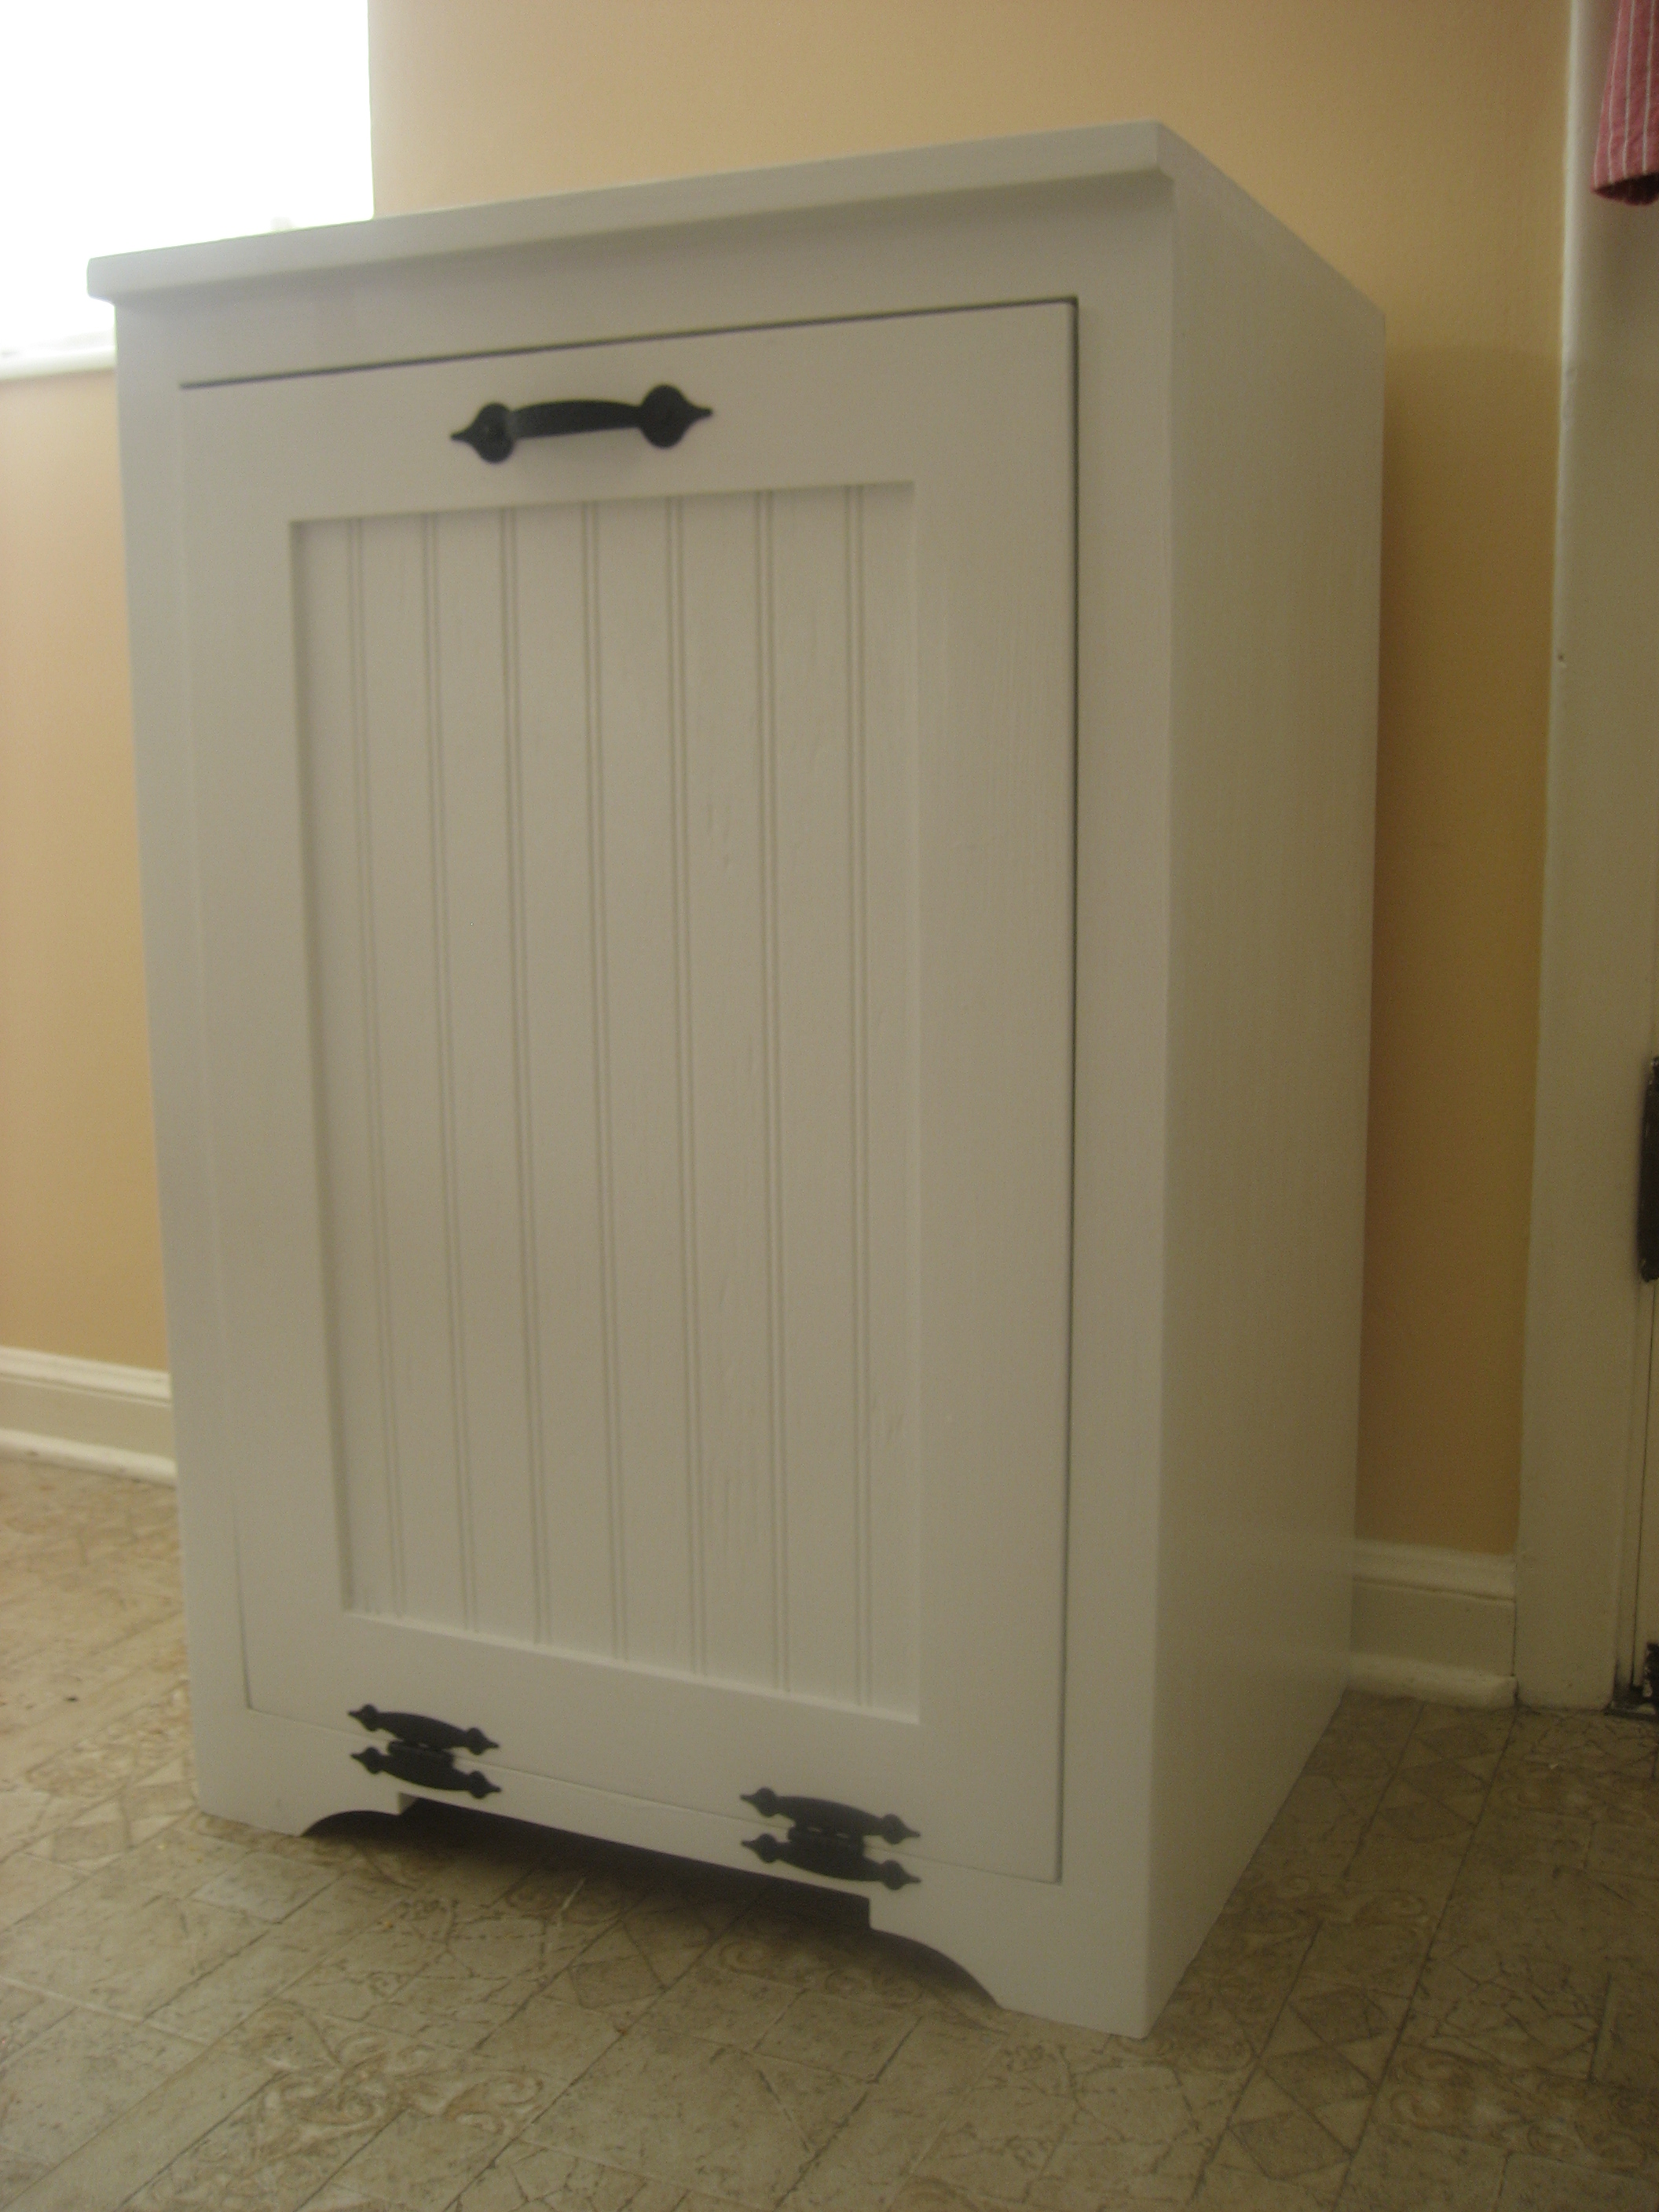
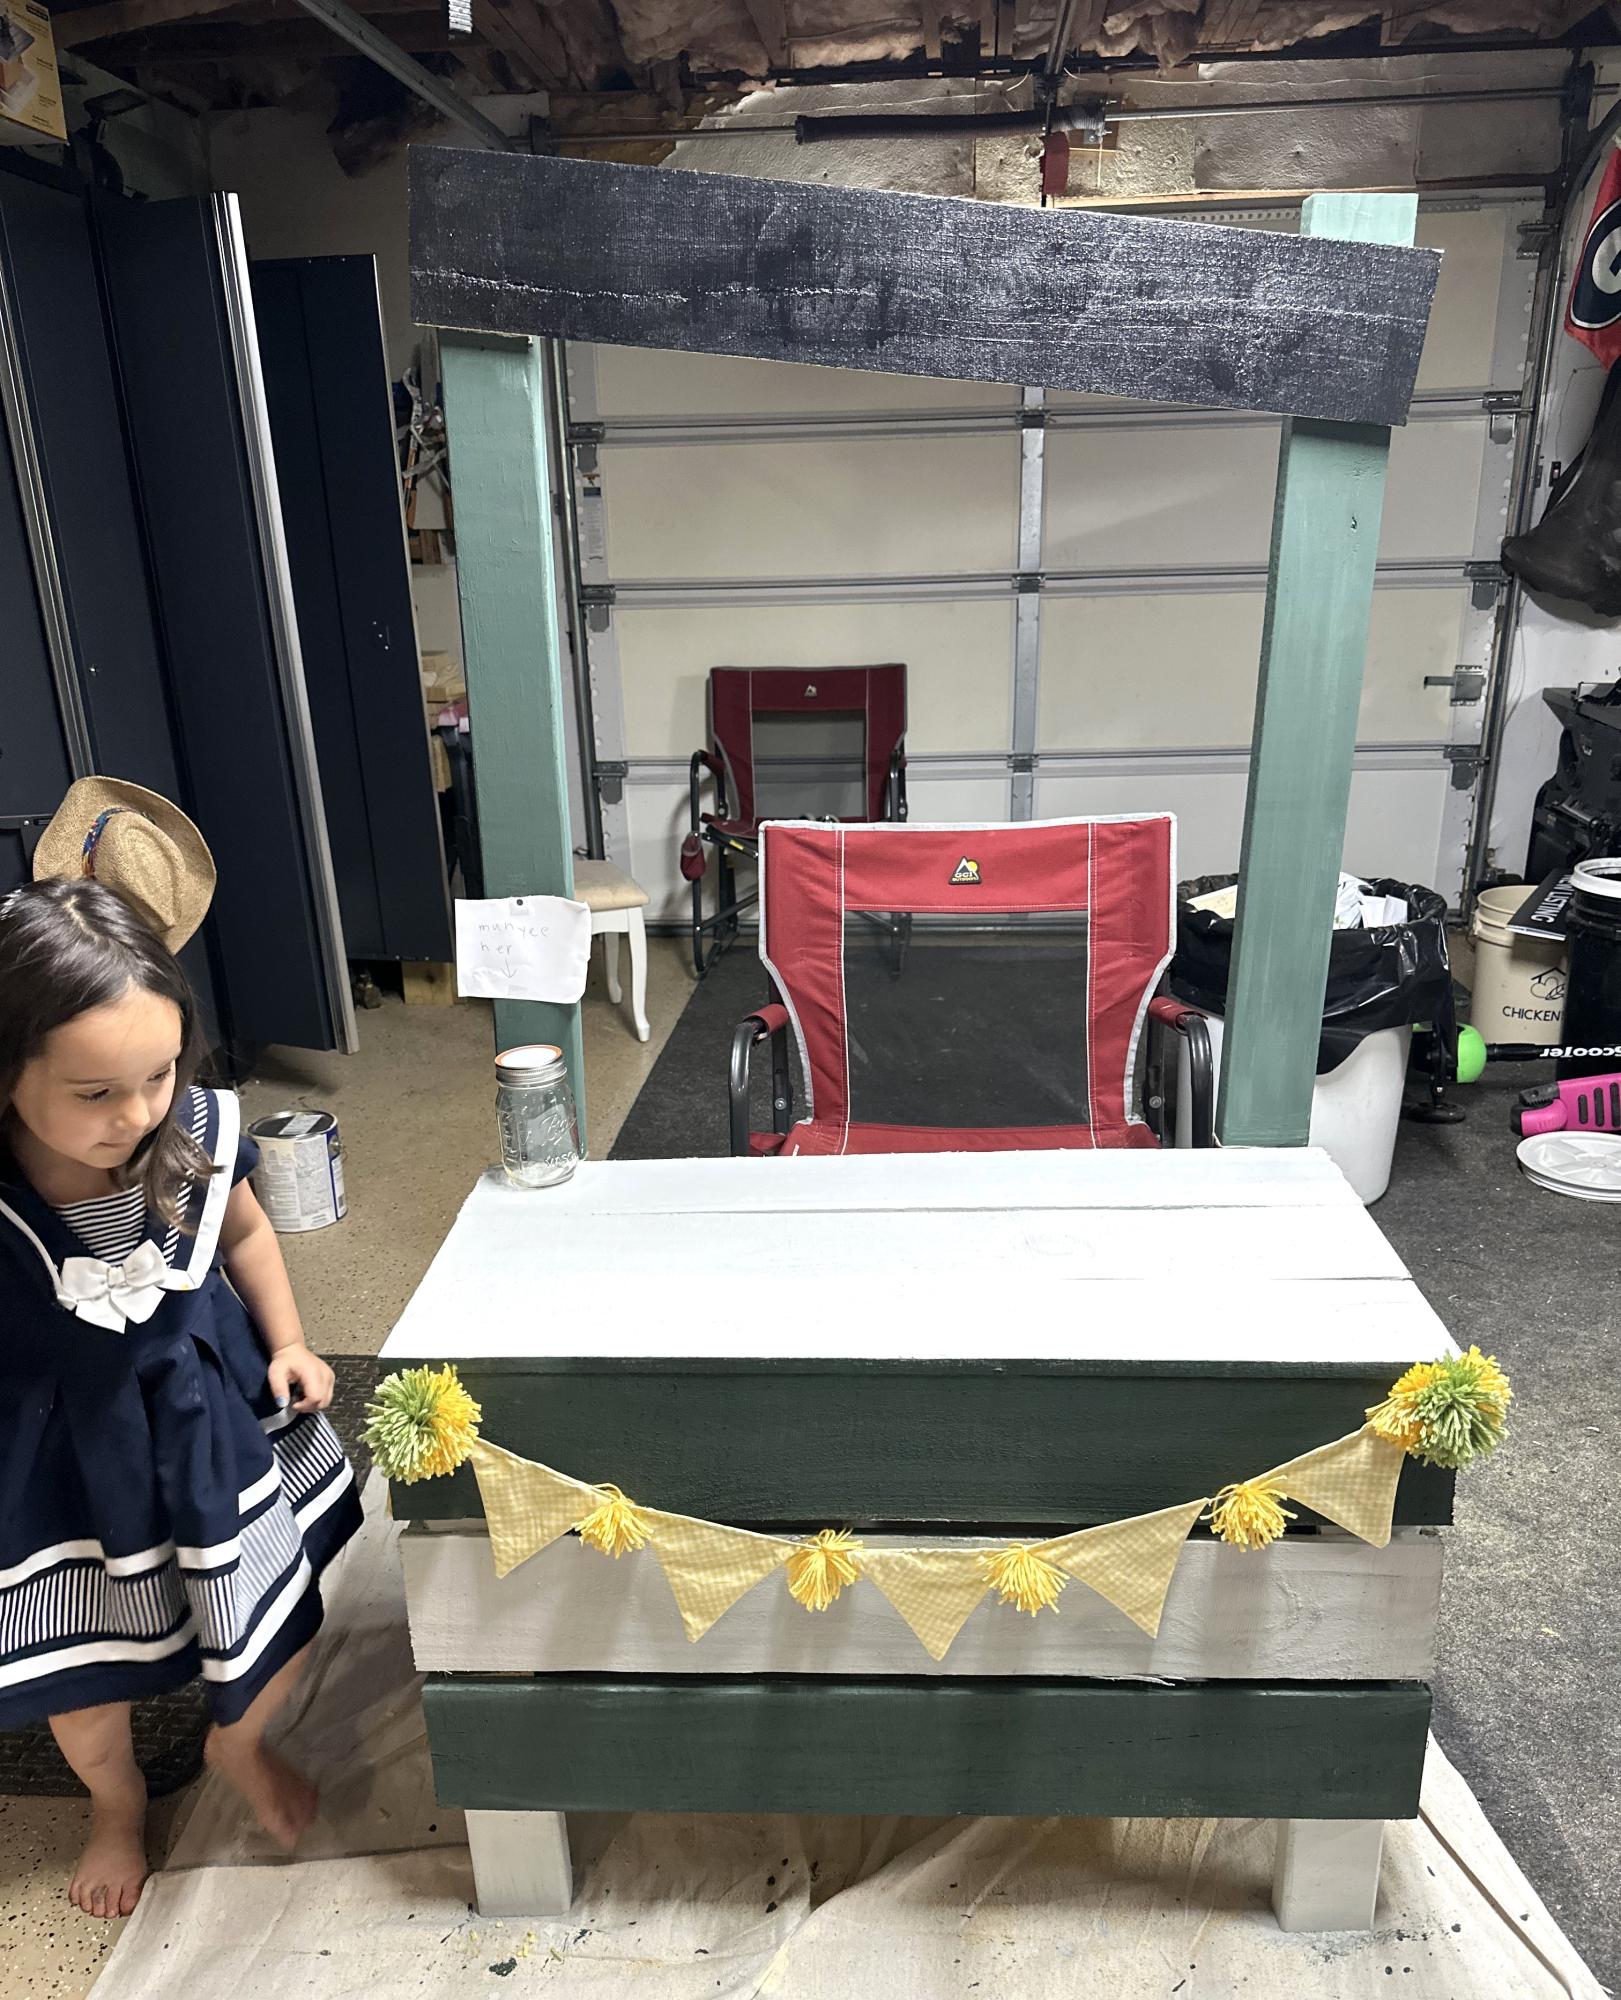
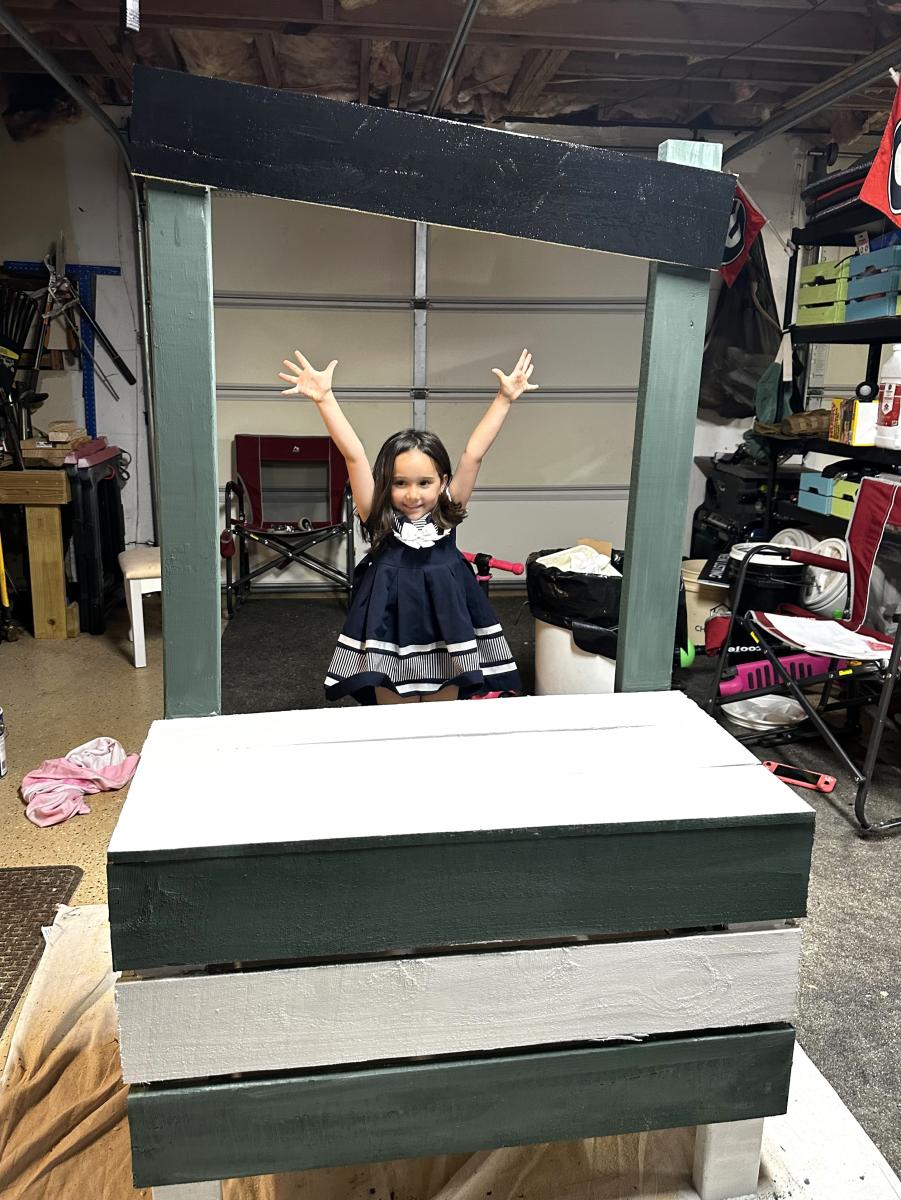
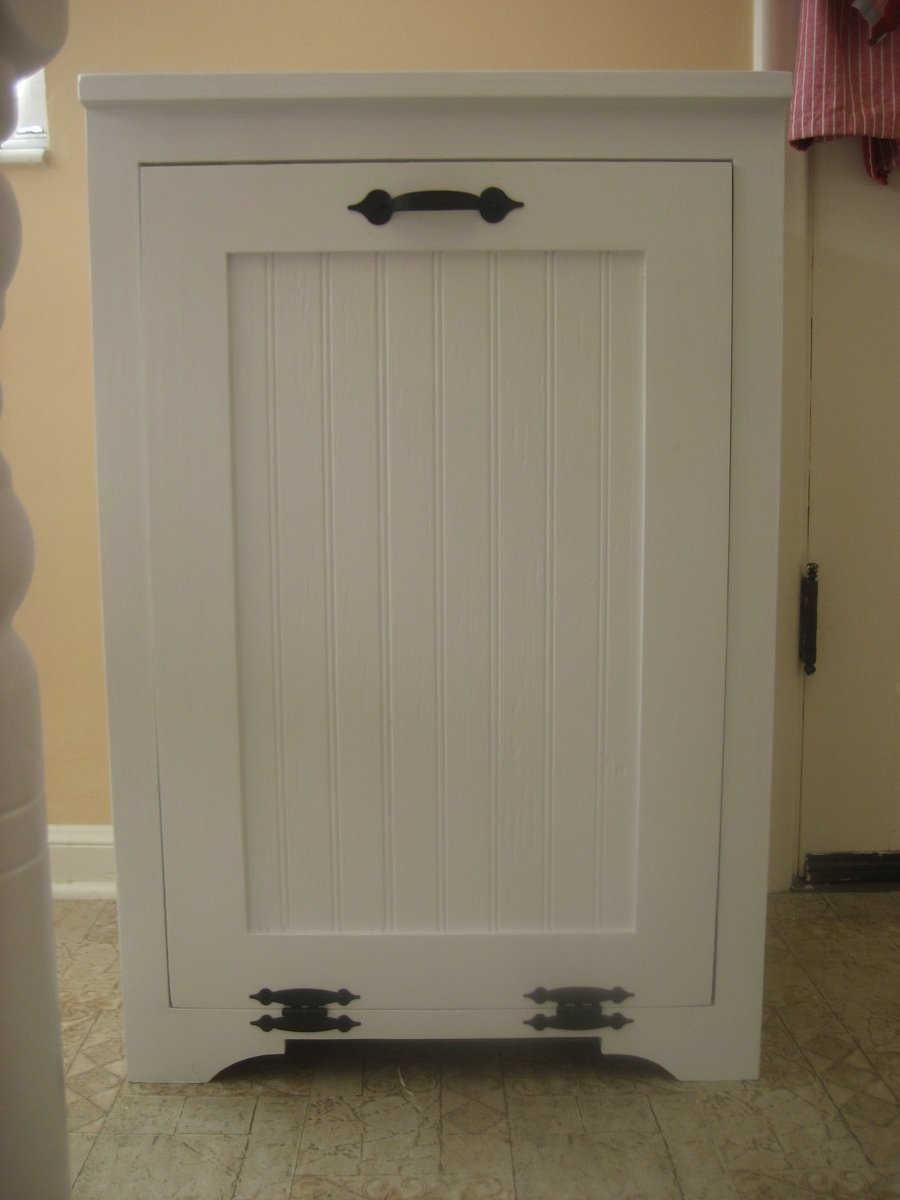
My family has been needing something like this for a while to keep our toddler out of the trash. Now I can tell people I built it myself. This is my first Ana White project and first time using pocket holes and I have to say I am very happy with how it turned out.
Tue, 08/21/2012 - 15:09
I do not see the plans for this cabinet, what is the link? Thank you. What size trash can is this design to hold
Tue, 08/21/2012 - 18:19
the link seems to work: http://ana-white.com/2011/04/wood-tilt-out-trash-or-recycling-cabinet.
But, if it doesn't work for you just do a search for trash or recycling and you should find the plans.

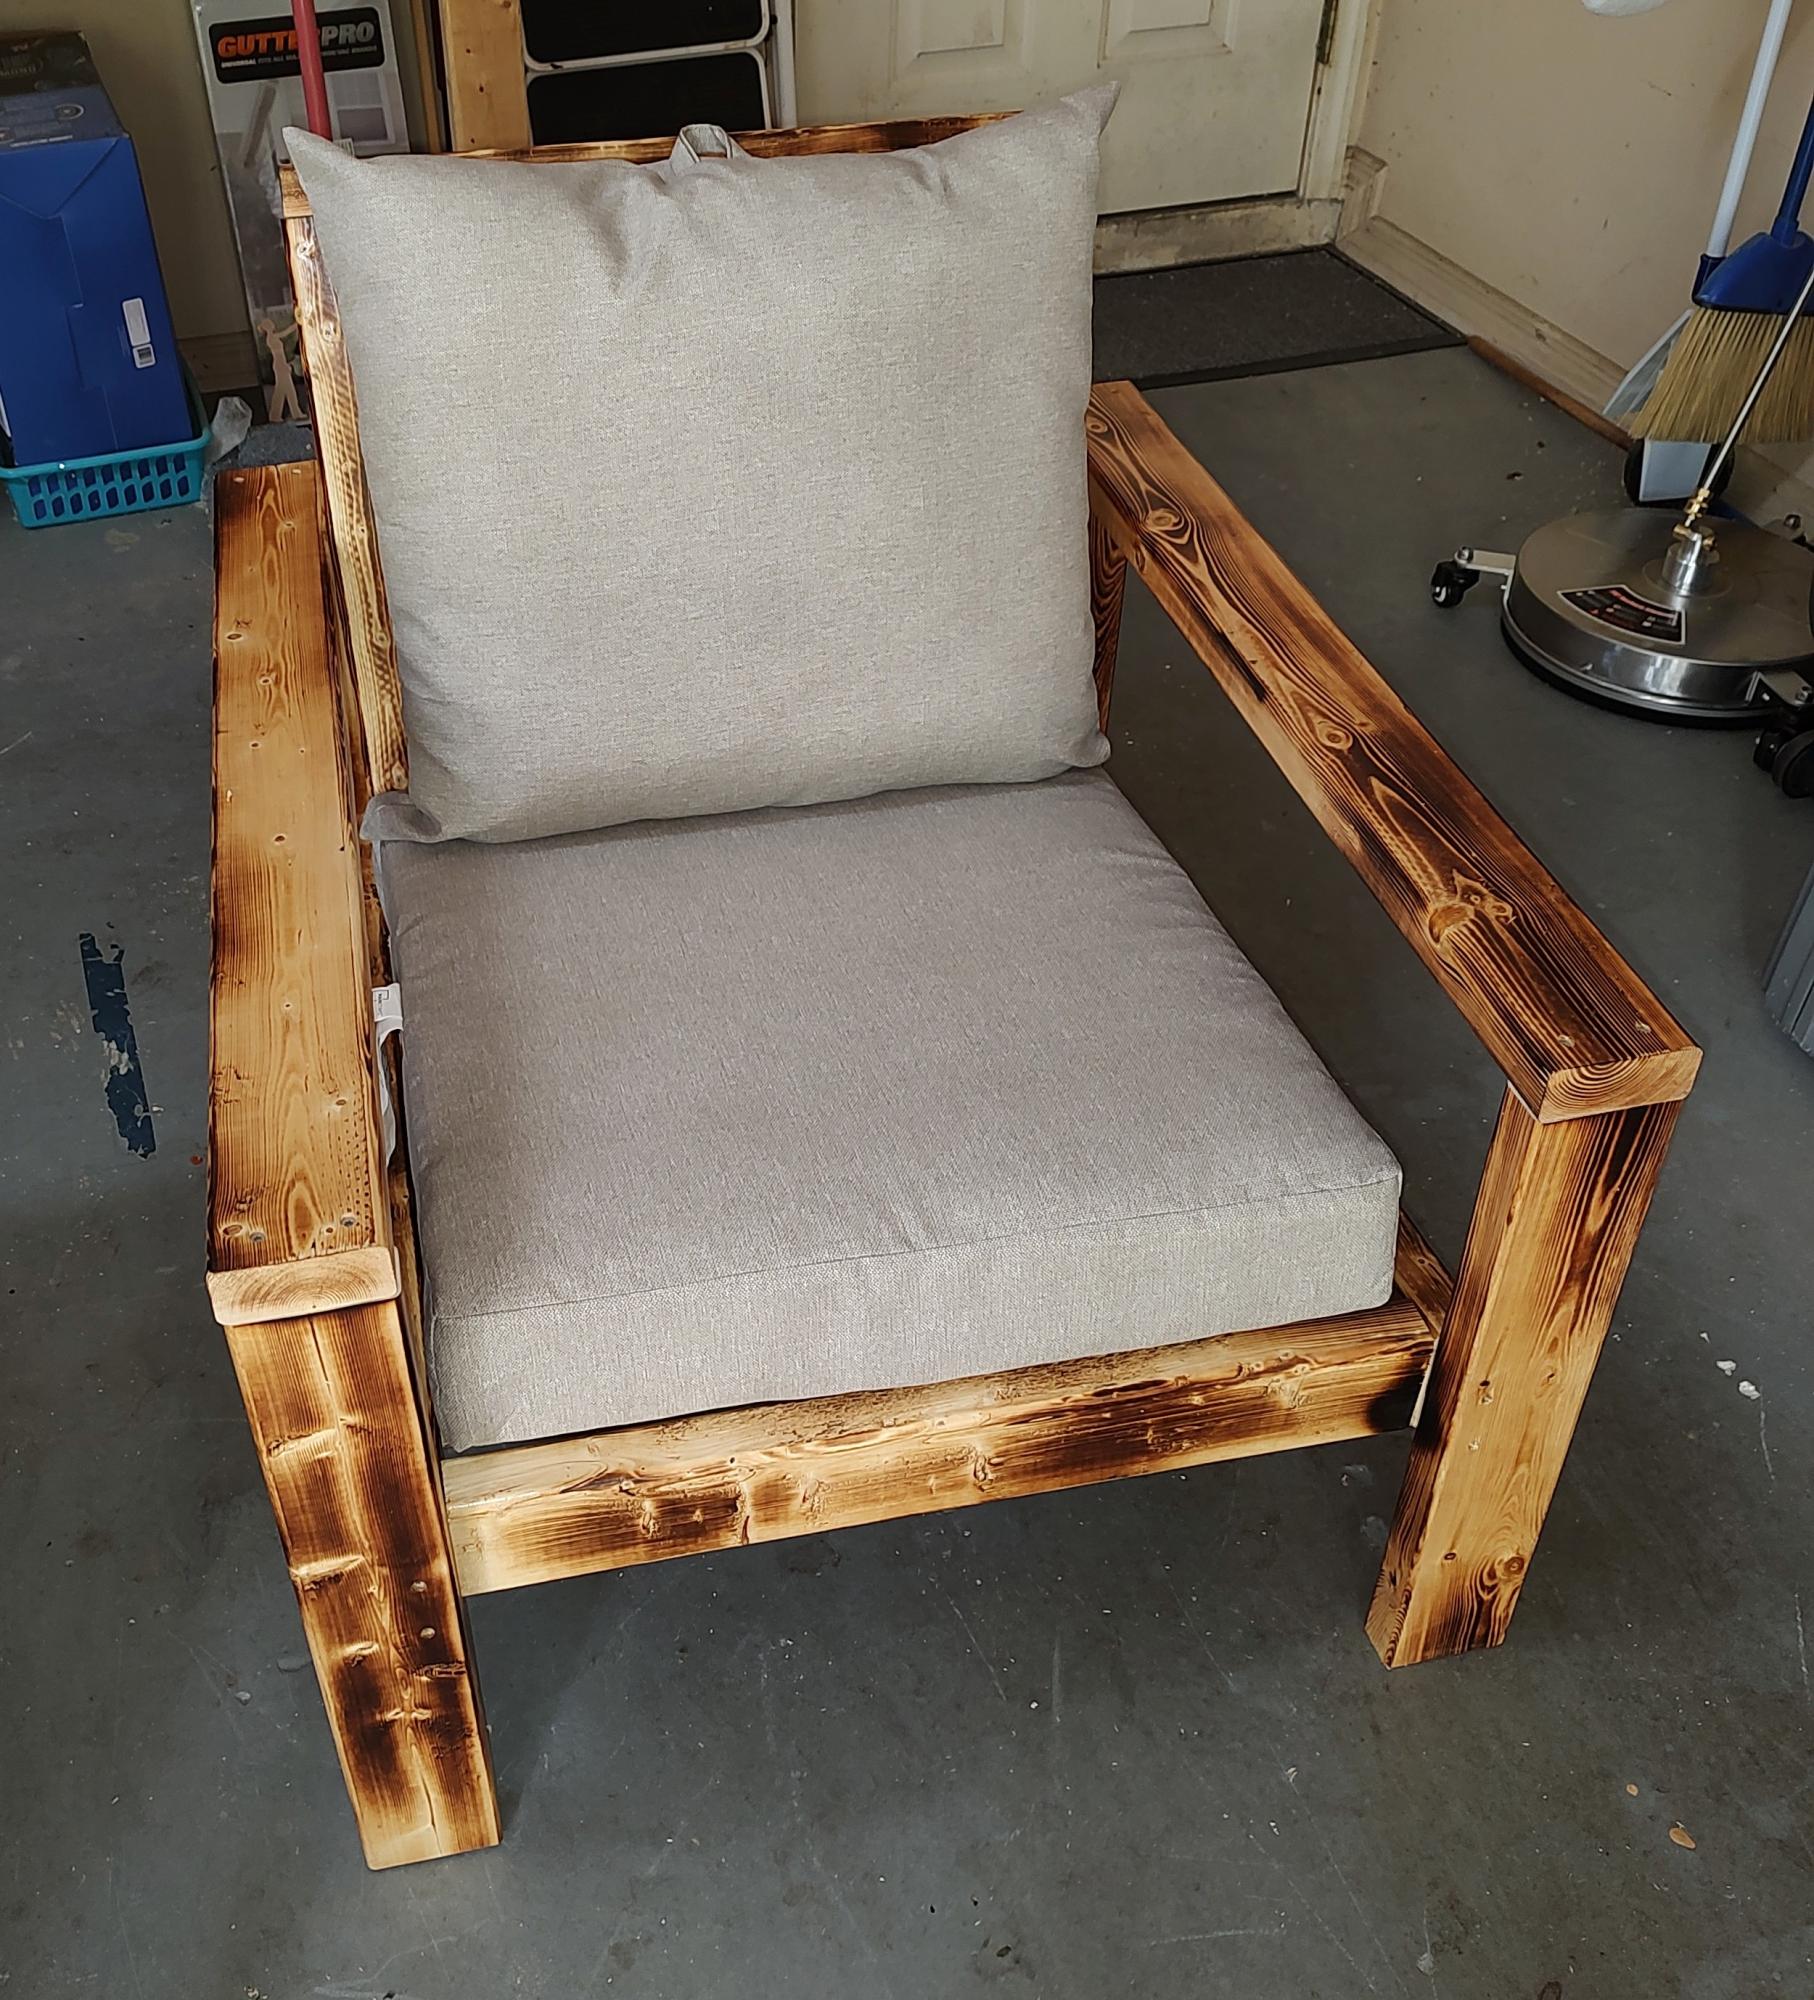
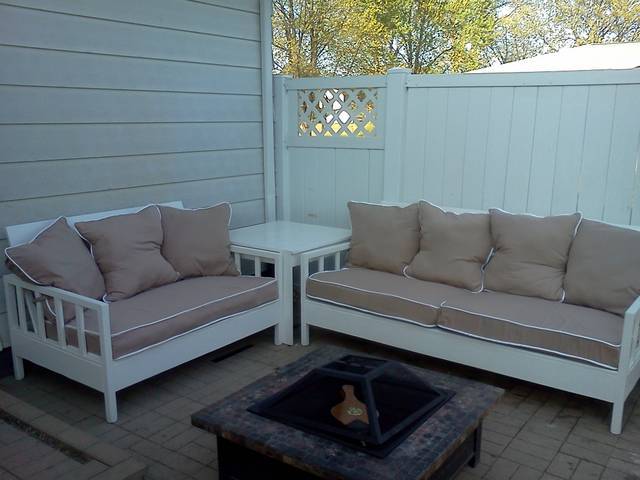
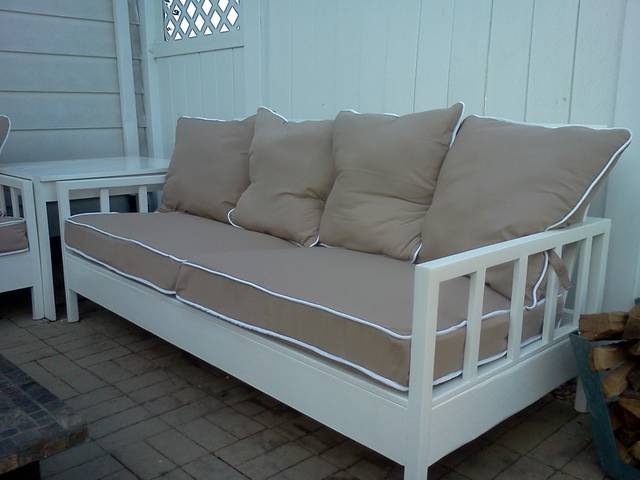
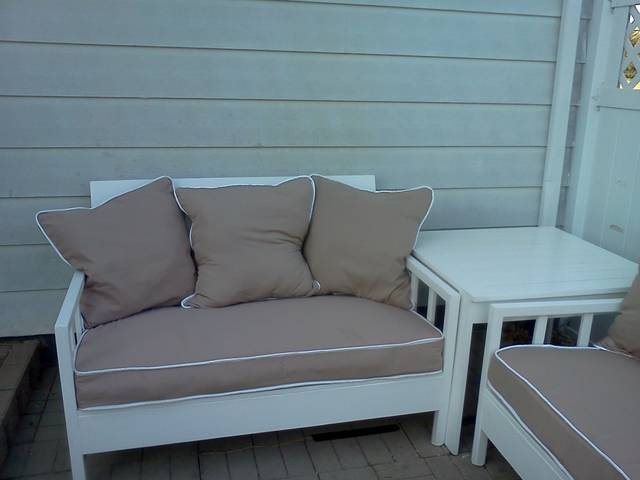
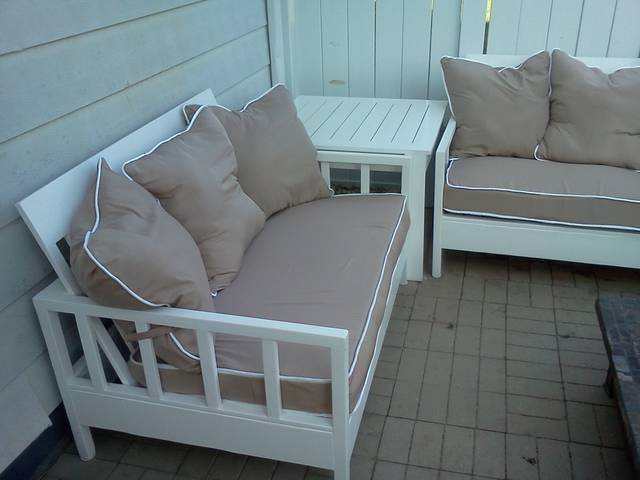
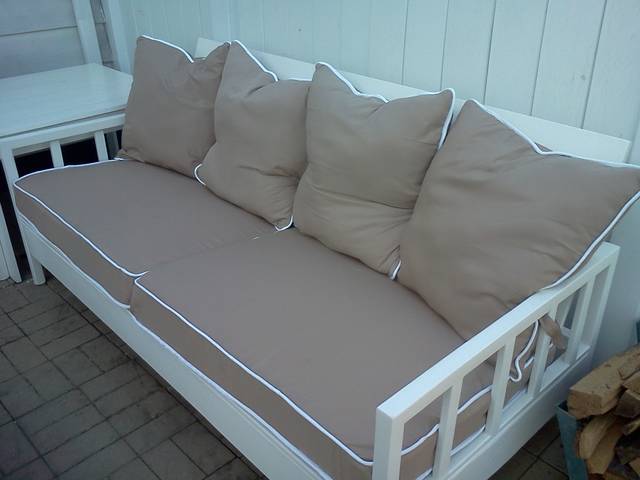
I built this set from the plans of the Simple white outdoor sofa. I did make a few changes to meet my needs. My original idea was to make 2 sofas but after doing some measuring I realized a loveseat would be better so I just took about 24" off of the length. I also did add slats to the arms, just to give it a different look. I found this project to be pretty easy with the plans that are provided and I used the link that is attached to the page for sew mama sew to make all of the cushions! I built the side table from the plans for the Ottoman or Accent Table for Simple Modern Outdoor Sectional although I made the table larger width wise (24 x 24) to fit nicely between the sofa and loveseat.
The only thing I would do a bit differently if I were to build it again would be to use a slightly better grade wood so I would have to use less wood filler and sand less ( That is what took the most time ) otherwise this could have been finished in half the time it took me. This is a great project that really transformed my back patio!
Mon, 04/09/2012 - 19:29
Fantastic job. It looks nice enough to be "inside furniture". I love the slatted arms, too.
I'm in total agreement with you about using a better grade of wood for some of my projects. For the time it takes to make the "cheap" wood paintable (forget staining it with all the filler and glue marks), it is so worth it for me to spend a bit more and have a finished product that looks so much better and took much less time!
Again, I love your finished project! Great job.
Mon, 04/09/2012 - 19:58
Are you concerned about using pine for outdoor use? I would like to do the same but I am not sure how to protect the wood from the elements here in Wisconsin. Any ideas would help
Tue, 04/10/2012 - 05:37
Thanks so much for the compliments! I have used pine in other outdoor projects and have found that if you use a good quality exterior paint they are protected enough to endure the weather. I live in Illinois so I know what you mean about the elements but so far they have made it through just fine :) just use 2 coats of paint and make sure all of the exposed pine is covered with the paint. I also put plastic protectors under all of the feet so that no water will be absorbed that way. Good luck!
Mon, 08/26/2013 - 14:06
So I need new furniture inside the house and your photo has convinced me to build these for my living room. I've got a smaller home (670 sq/f) so it's a challenge to find furniture that fits- two loveseats of this design would fit well in our space. Beautiful job, well done, and thanks for the push I needed to get started.
Fri, 11/08/2013 - 06:11
Hello!!
I am so inspired I am going to build the same sofa!! How did you attach the slats in the side arms?
Thanks,
Kelly
Fri, 11/08/2013 - 07:29
Hi,
To attach the side slats I countersunk long thin wood screws to the top and bottom rails. I put one screw at the top and bottom of each slat then filled the holes with wood filler. To be honest, if I were to do it again I would definately have used a Kreg (which Anna recommends for most projects) because it would have been a lot less time consuming. The sanding of the wood filled holes took a long time to get filled and sanded just right so there was no sign of the holes. Good luck!!!
Sun, 11/10/2013 - 05:10
Thank you! I hope to have side arm slats installed tomorrow. I am going to 'frame' the slats with 1x2's and then insert the framed set into the arm. :-) we'll see how it goes.
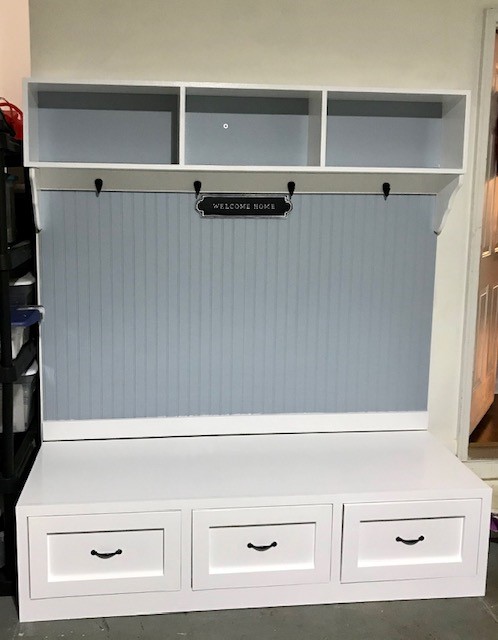
This was my first time building anything from scratch! I used the plan "Mudroom Bench with Easy Drawers" for the bottom section. I did not make any modifications, but I did have some trouble with the drawers. First I made the drawers 1/8" wider than the available space (after adding the hardware); so to resolve that I had to notch out the frame and sink one of the drawer slides.
I never realized how finicky drawers can be, but I learned a lot from this project, and my family loves the finished product.
I chose not to use the plan for the hutch, because the cost was starting to creep up, I didn't want walls on the left and right. So I just added bead board directly the wall (glue and brads) and added some trim. For the upper unit (cubbie), I just made a basic structure out of 1x10's, and I used some bead board scrap as a backer (turned the pattern out). I then sunk a couple of anchoring screws into the back (which will be hidden behind baskets) and added a couple of decorative shelf brackets for added stability.
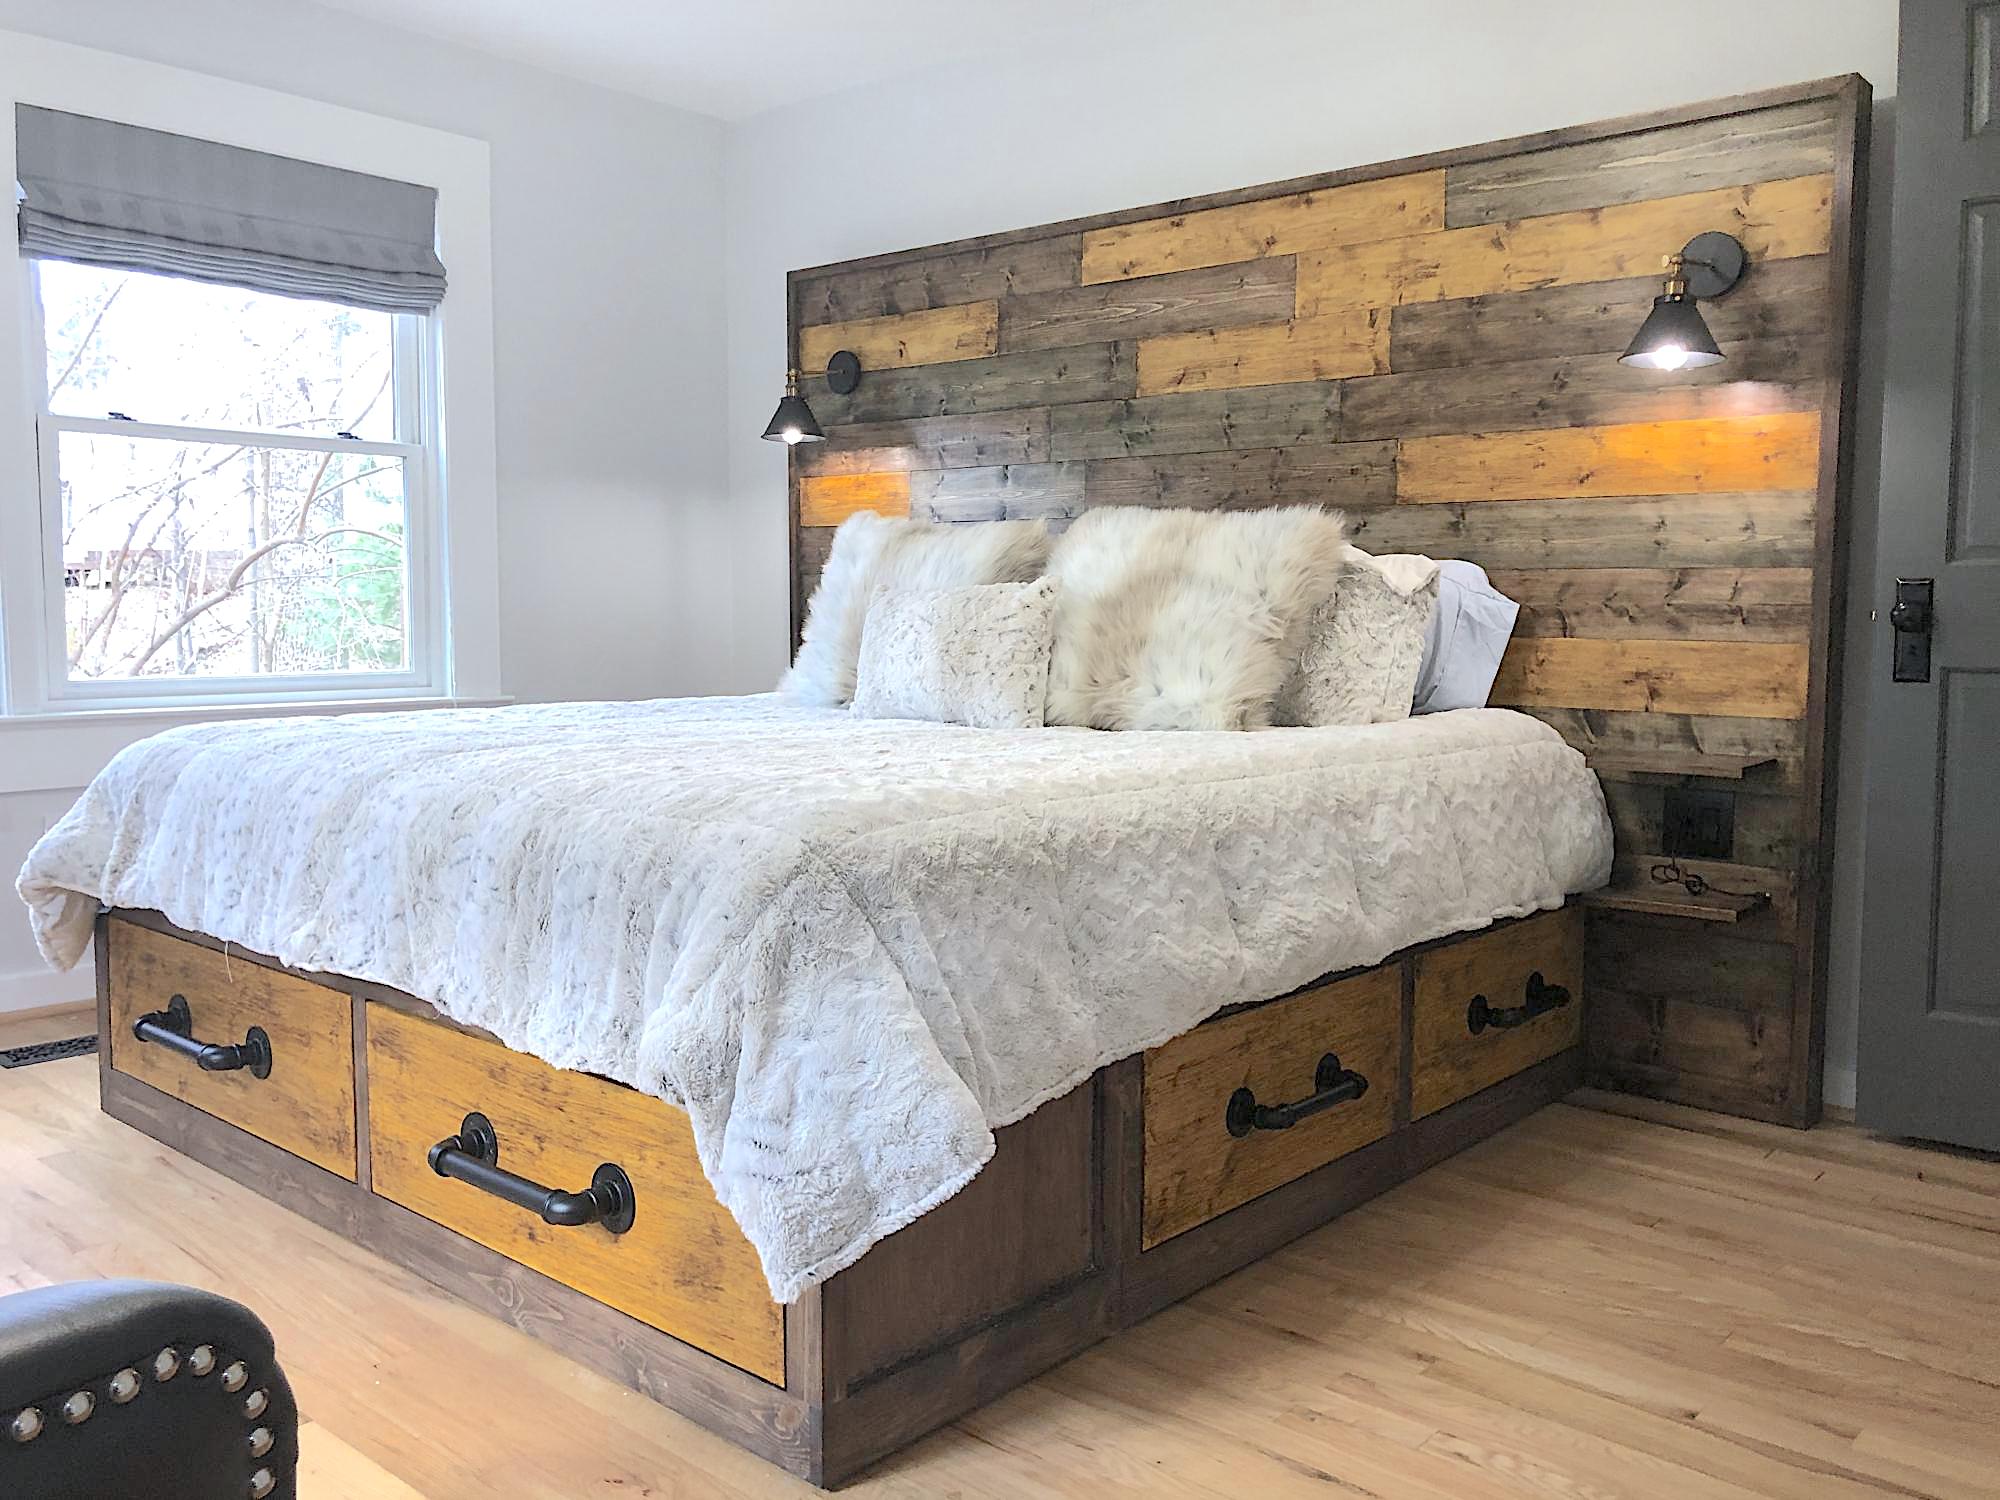
Base is classic storage king and the headboard was custom made to fit the size of the room. Enjoyed this project and the extra storage the drawers are providing. Thanks for the sharing the design plan; worked perfectly.
I followed the plans mostly. My wife really liked the design. I spaced the drawers out 4 more inches I believe and I made a removable top ,not pictured, so I could stack on top of it. It came out great. Cool idea thank you!
Mike
Wed, 10/04/2023 - 08:36
Thanks for sharing, it looks awesome! Would love to see it filled up:)
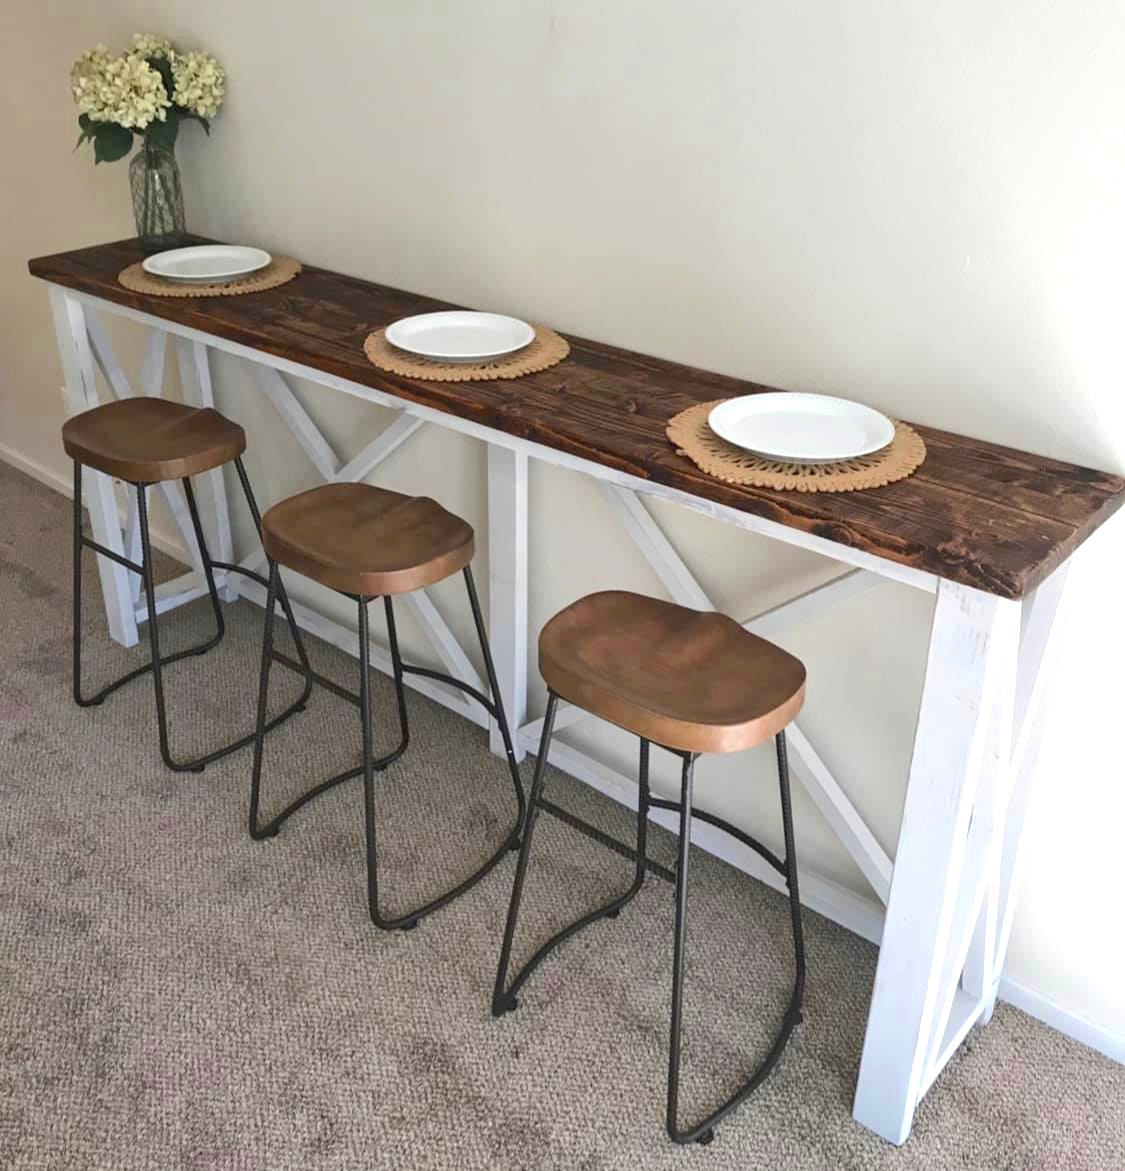
Hand made breakfast bar check us out on Facebook marney Marie
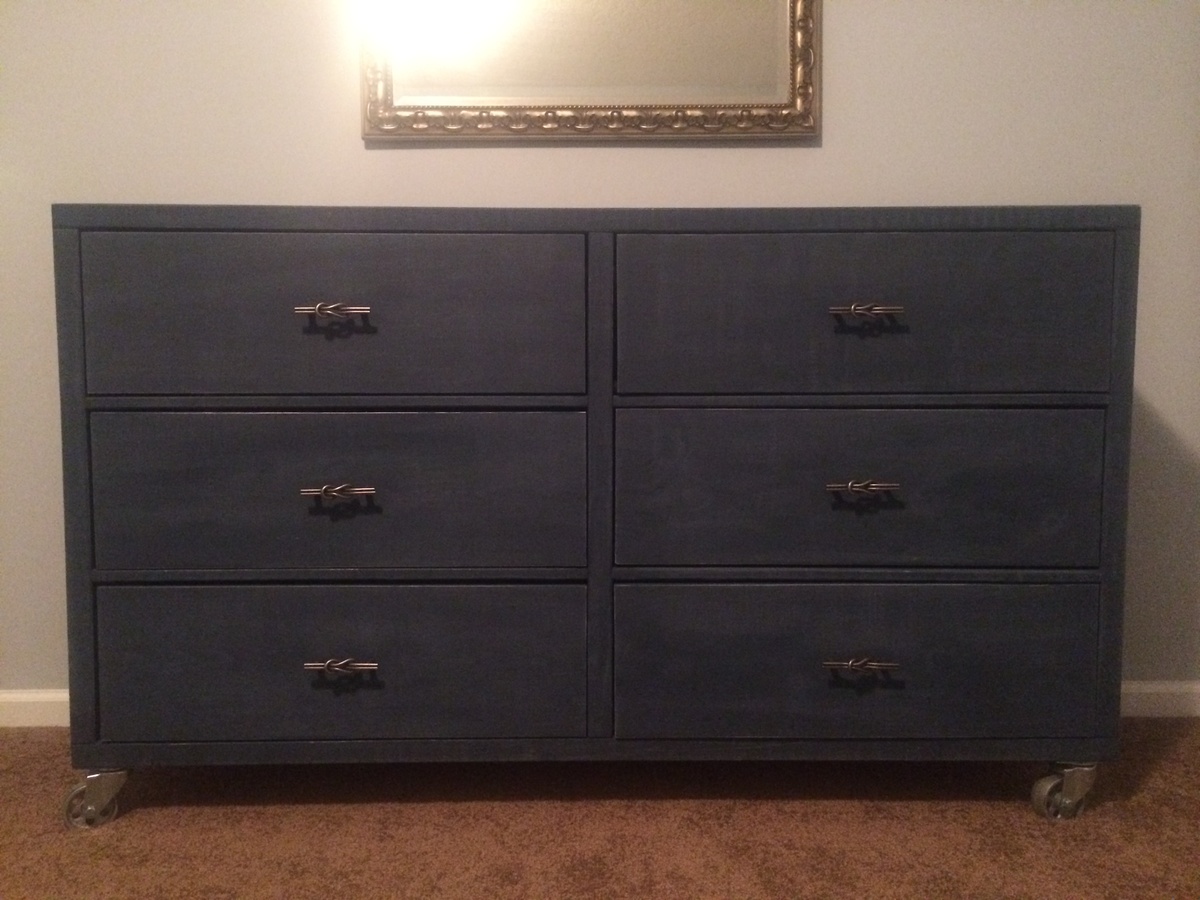
We need bedroom furniture desperately! So, I decided, for my second build I would start in our bedroom! The dresser first, because I was going crazy without a place to put my clothes!
A simple design wood-stained with vinegar and steel wool and black. It's a 6ft design.
Dale Mulert
Comments
Ana White Admin
Fri, 02/24/2023 - 09:11
Stunning projects and vacation home!
WOW, these are amazing and look fabulous in the space! Thank you for sharing.