Community Brag Posts

Rustic small rolling kitchen island

I modified this plan to use wood that I had and also a piece of kitchen counter top that was left over from my daughters new house.  


Built from Plan(s)
Estimated Cost
Scraps
Estimated Time Investment
Weekend Project (10-20 Hours)
Finish Used
Golden Oak
Recommended Skill Level
Intermediate

Comments

Sandbox with Benches

Burnt and stained with a semi transparent mahogany water sealer

Built from Plan(s)
Estimated Cost
$120
Estimated Time Investment
Afternoon Project (3-6 Hours)
Recommended Skill Level
Beginner

Comments

I doubled the recipe and built a table that seats 12!

Submitted by JMRojas on Fri, 03/06/2015 - 14:07

I used the Farmhouse Table plans and just extended the measurements to build an extra-long outdoor table that seats 12.


Estimated Cost
$250
Estimated Time Investment
Weekend Project (10-20 Hours)
Finish Used
Tea, vinegar, and steel wool
Recommended Skill Level
Intermediate

Comments

Husky Farmhouse Table

Submitted by jleigh333 on Wed, 03/18/2015 - 12:56

I fell in love with this table as soon as I saw it! I made another farhouse table last year (first table I'd ever built) and liked it okay but I had made a lot of mistakes. The old table is now my work table in the garage- which is great because I needed a bigger work surface anyway! I tried to make my table just like Ana's version but I used regular latex flat paint over the stain instead of milk paint (couldn't find the type she used). I was impatient and didn't want to order it and wait for it to be shipped. I was kinda hoping it would flake/crack a little but it didn't. Oh well, I still really like how the legs turned out. I stained them (and the top) with a 50/50 mixture of Minwax stain in dark walnut and classic gray. I used three coats of Minwax fast drying poly on the table top and just rubbed the legs/base with a furniture wax to give them a little bit of a smooth sheen. I also distressed them a little bit. I like how the dark stain kinda bled through the paint. It really helped to add to the antique effect. I wish I had taken more pictures throughout the building process but I was so focused on the job that I just didn't think about it! Anyway, I just love this table! It was really fun to build and the turned legs take it to the next level! 

Built from Plan(s)
Estimated Cost
$400
Estimated Time Investment
Weekend Project (10-20 Hours)
Finish Used
Minwax dark walnut and classic gray mixed 50/50
Minwax fast-drying polyurethane
flat latex paint in an antique white/cream
clear furniture wax
Recommended Skill Level
Beginner

Comments

tammyj

Thu, 02/01/2018 - 10:37

Love this table!!!! Can you tell me the wood species that you used?Love the stain color!!!

tammyj

Thu, 02/01/2018 - 10:38

Love this table!!!! Can you tell me the wood species that you used?Love the stain color!!!

Kentwood bookshelf

Submitted by Anonymous (not verified) on Fri, 07/14/2017 - 00:14

Together with my wife, we decided to start making our own furniture and it was our first project. It took us a week to complete it (it took us longer than most people as we had to learn from scratch how to use the tools for each of the steps such as the circular saw, sander, pocket holes, etc.). We also learned the hard way how critical it is to use straight boards and how difficult it is to find straight 2x2. Overall we loved the process and are very excited by the final result!

Estimated Cost
$100
Estimated Time Investment
Week Long Project (20 Hours or More)
Finish Used
Danish oil - natural
Recommended Skill Level
Beginner

A bathroom cabinet for all that stuff!

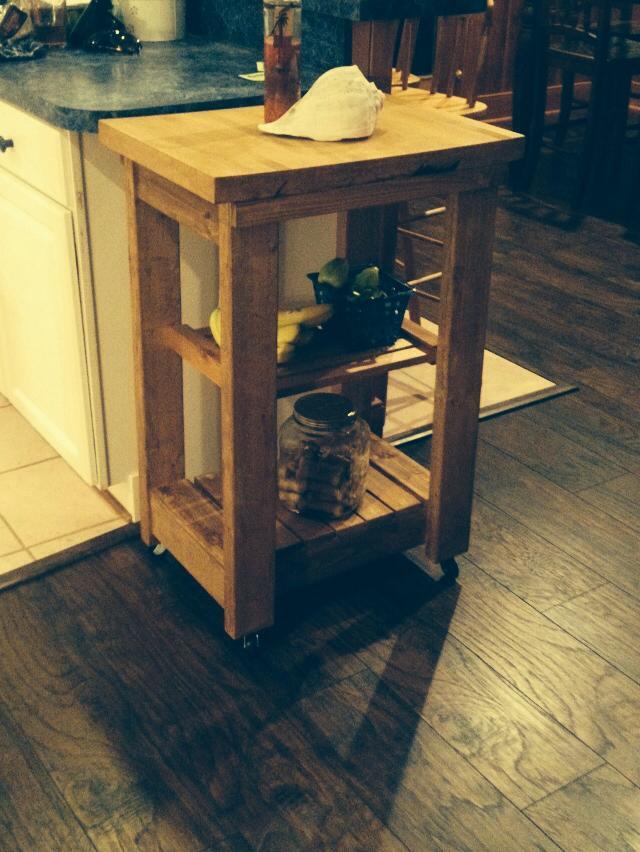
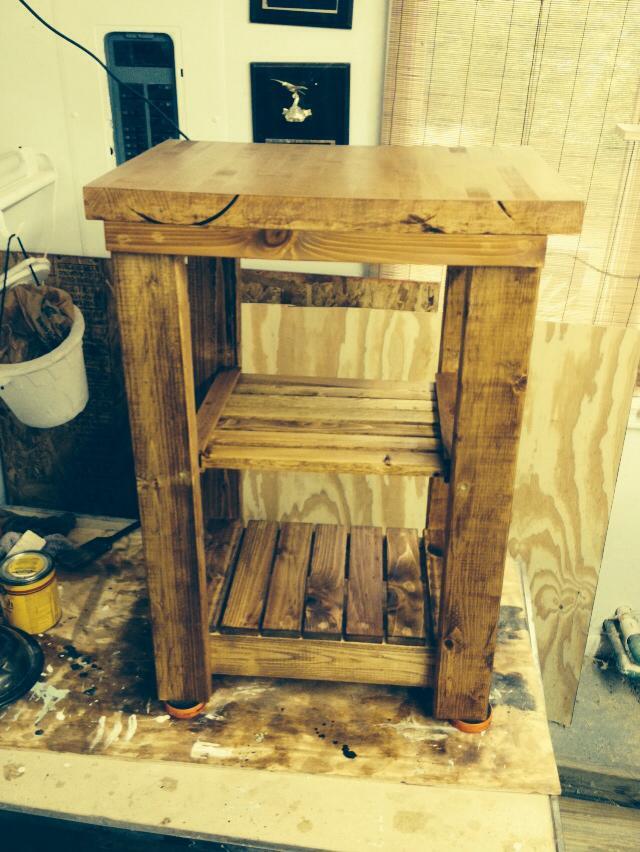
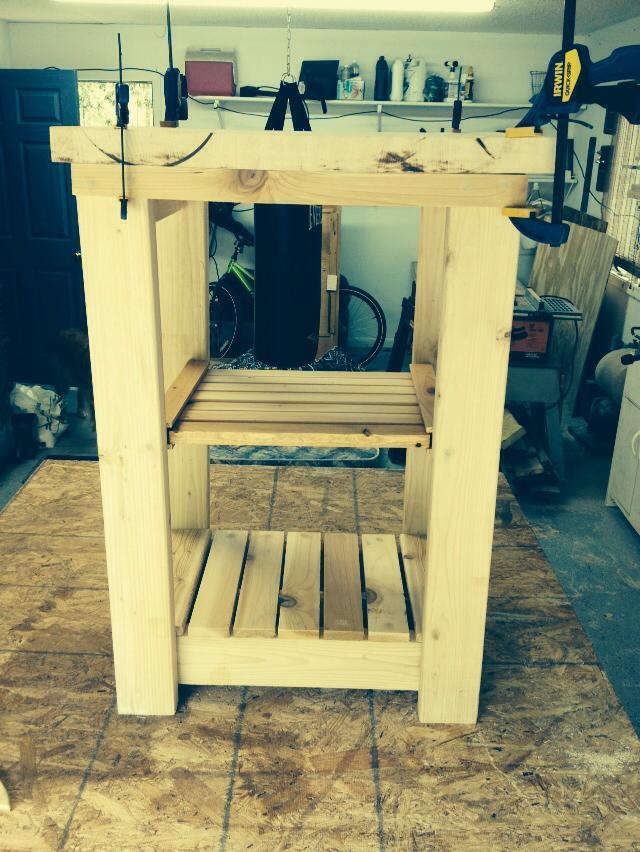
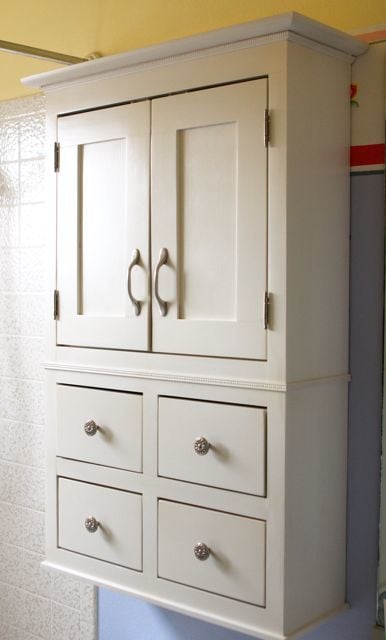
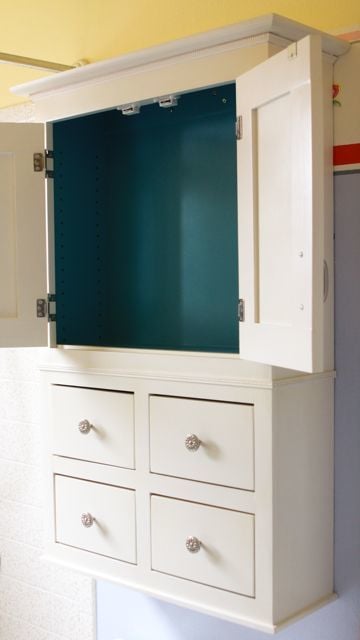
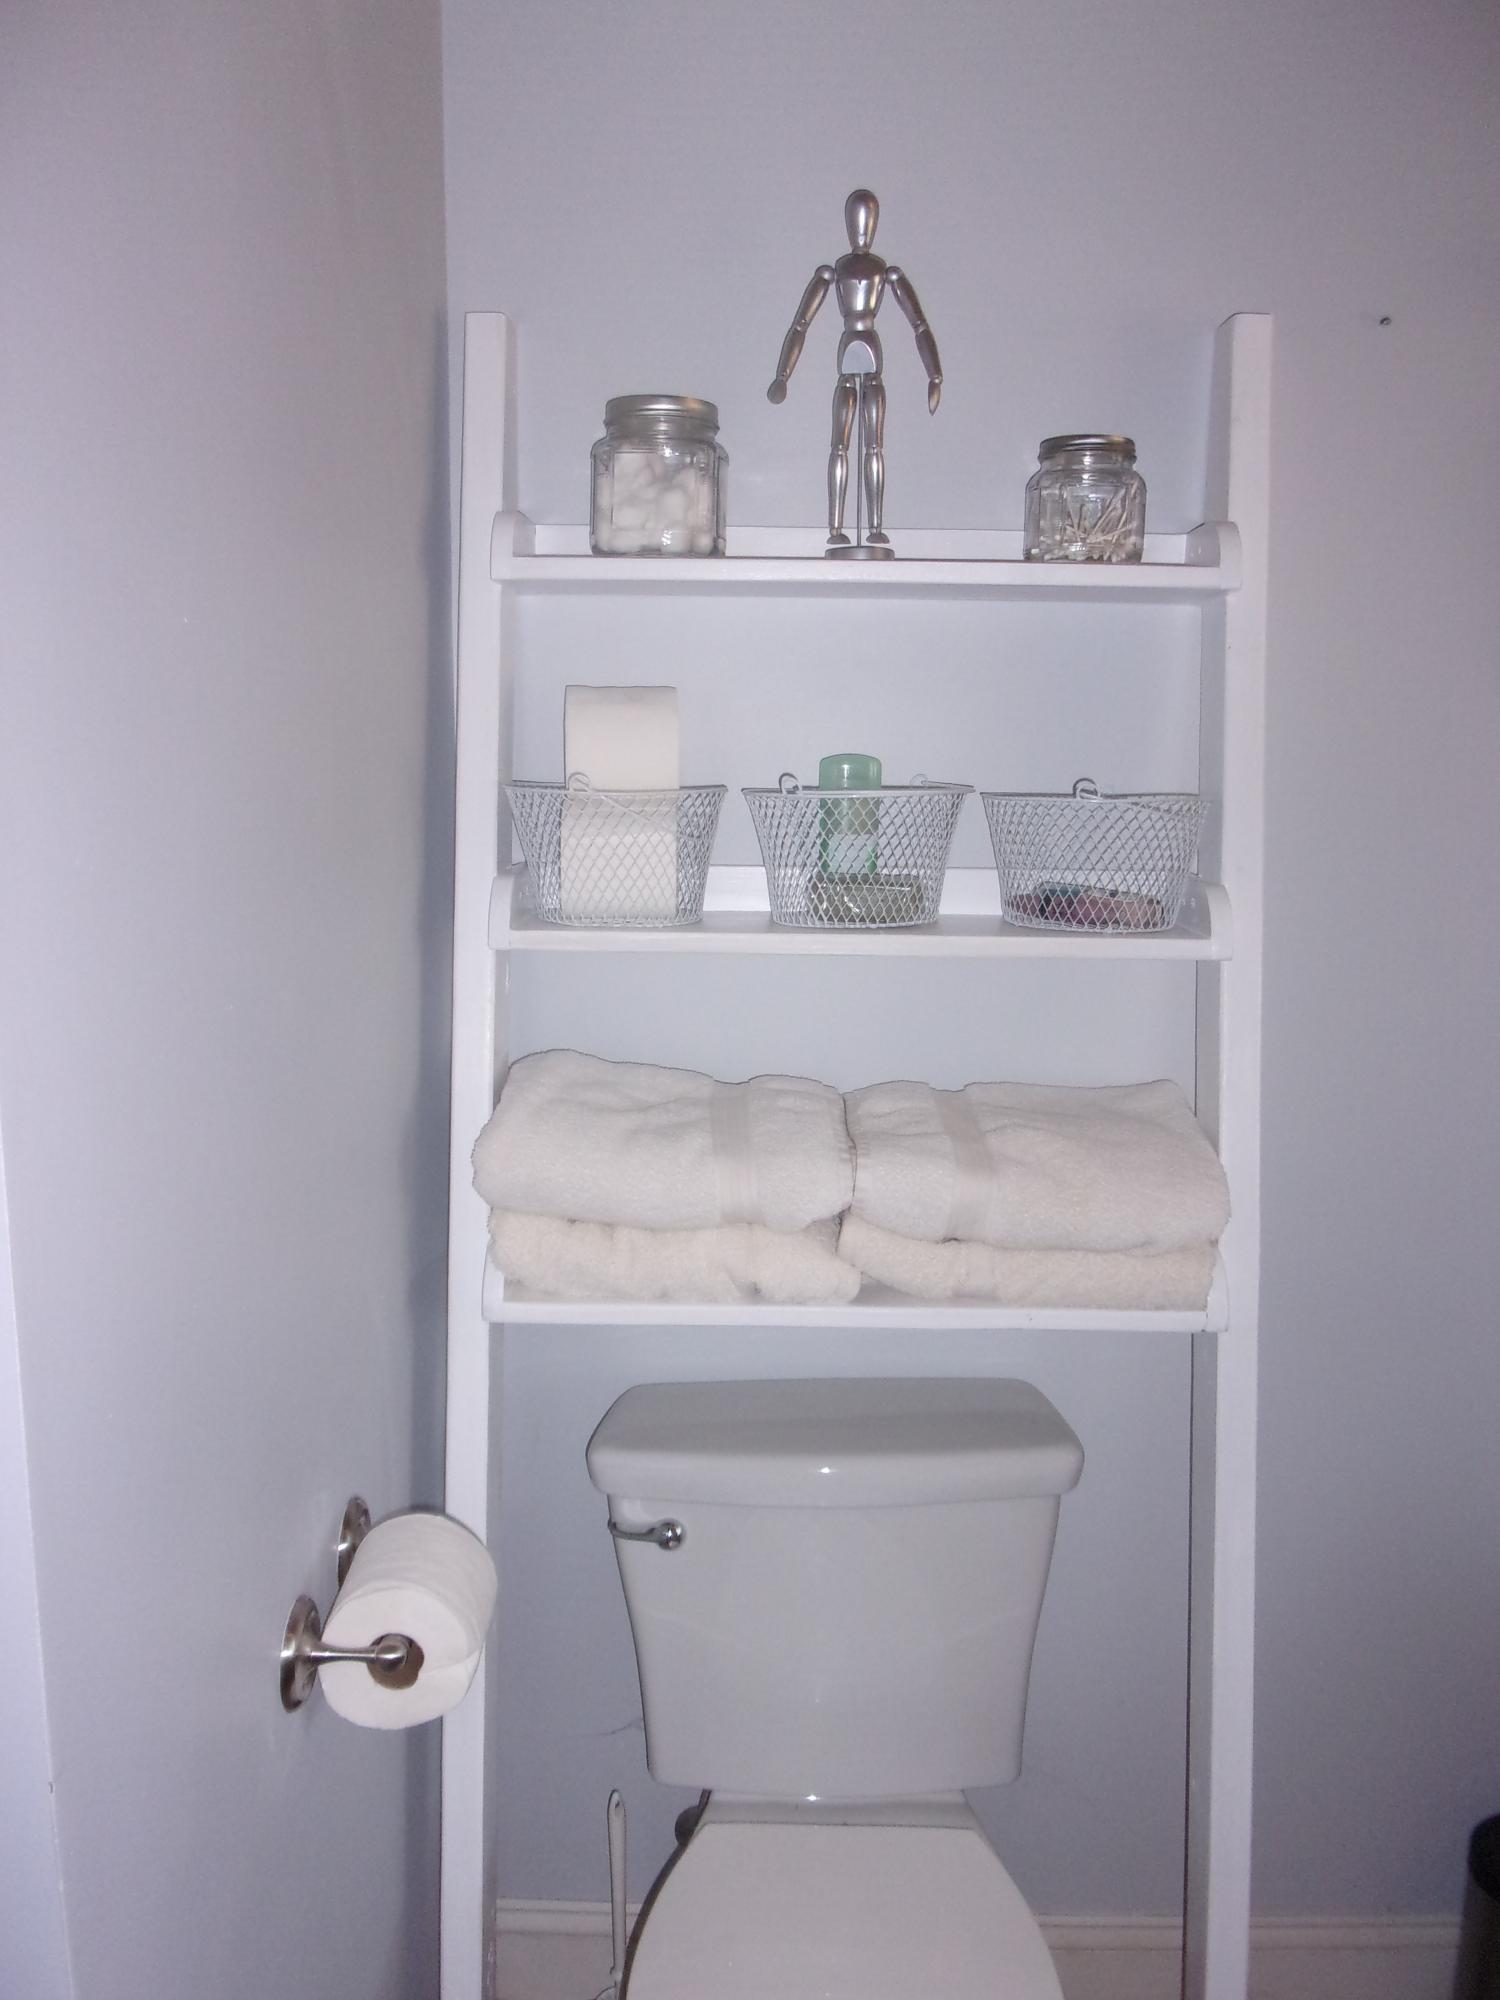
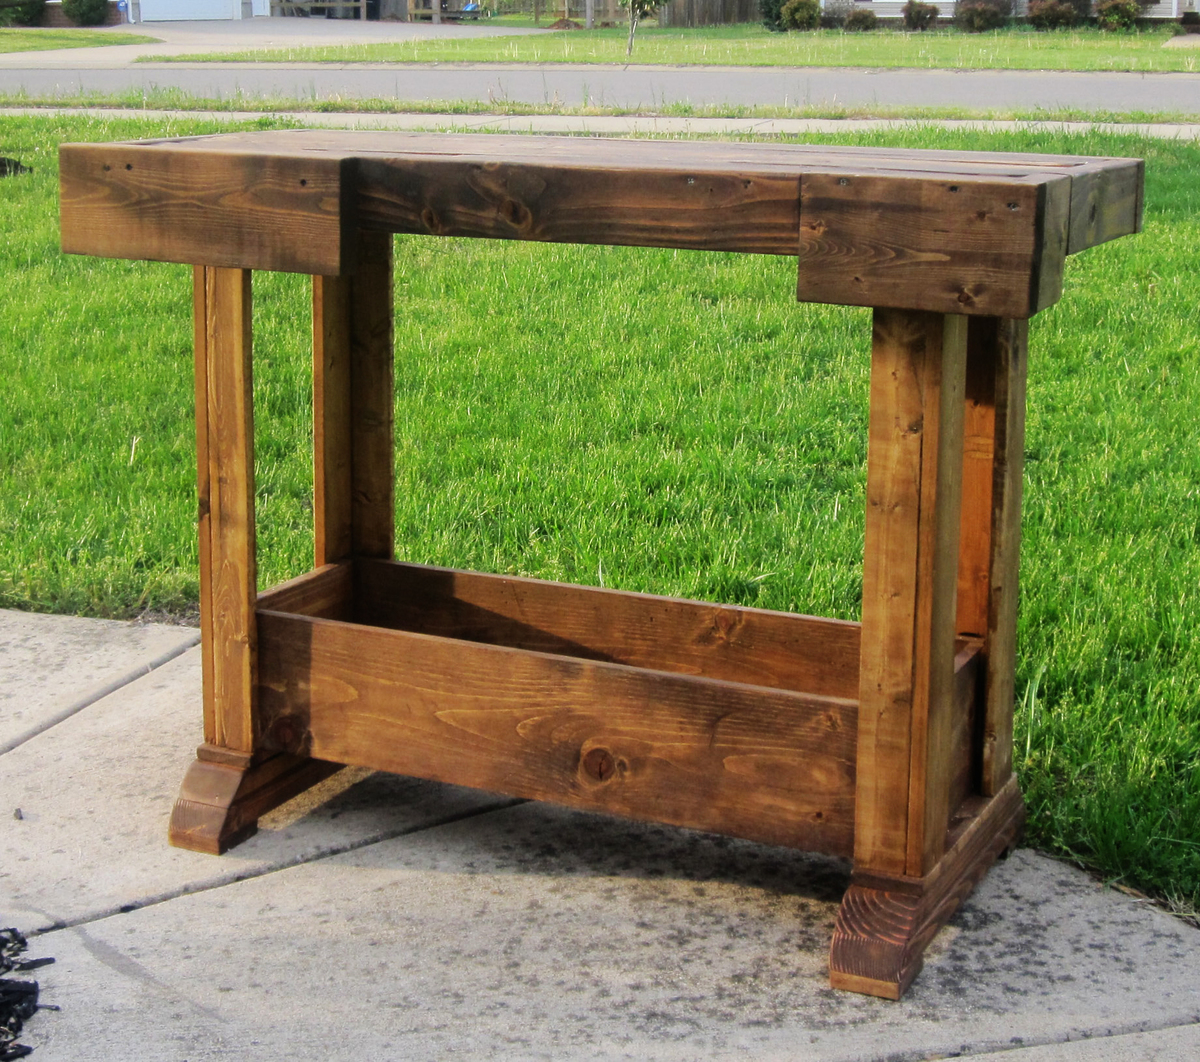
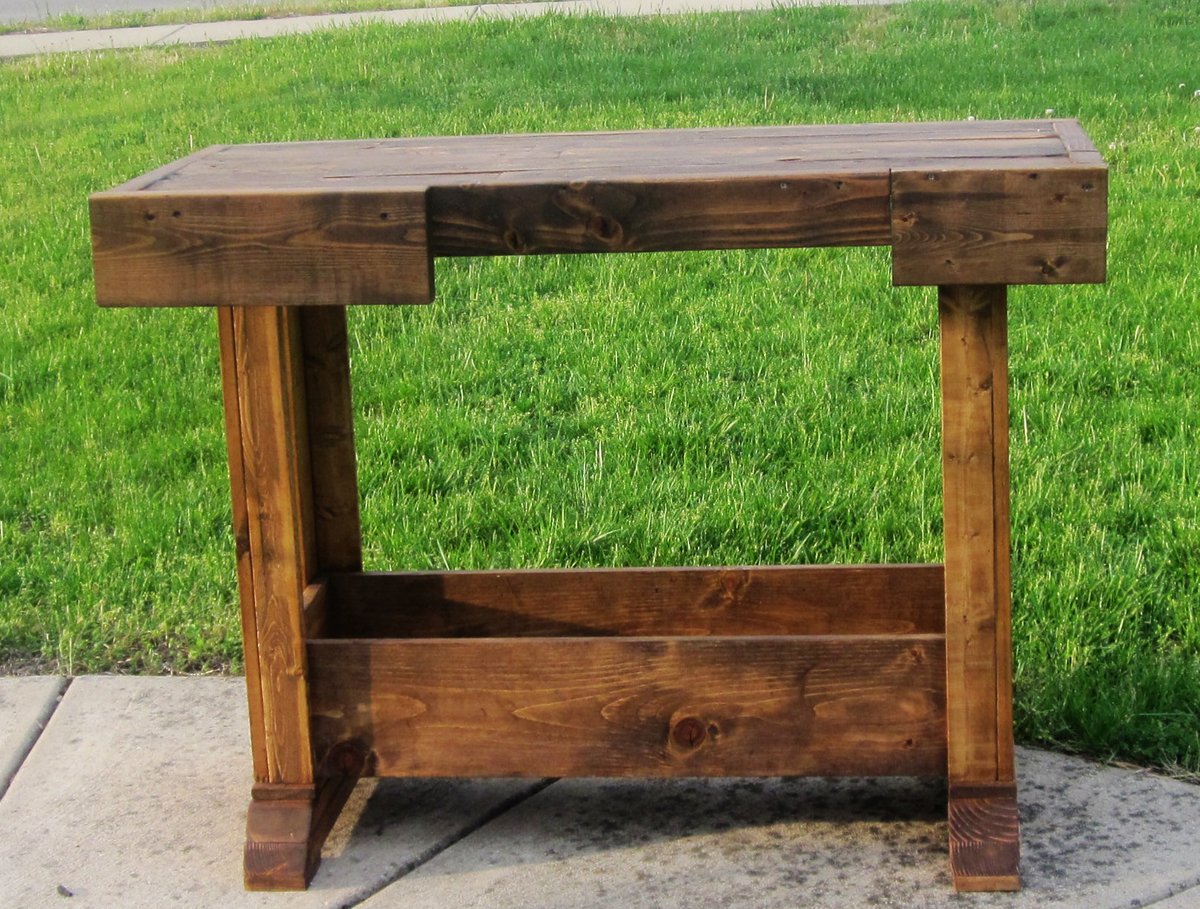
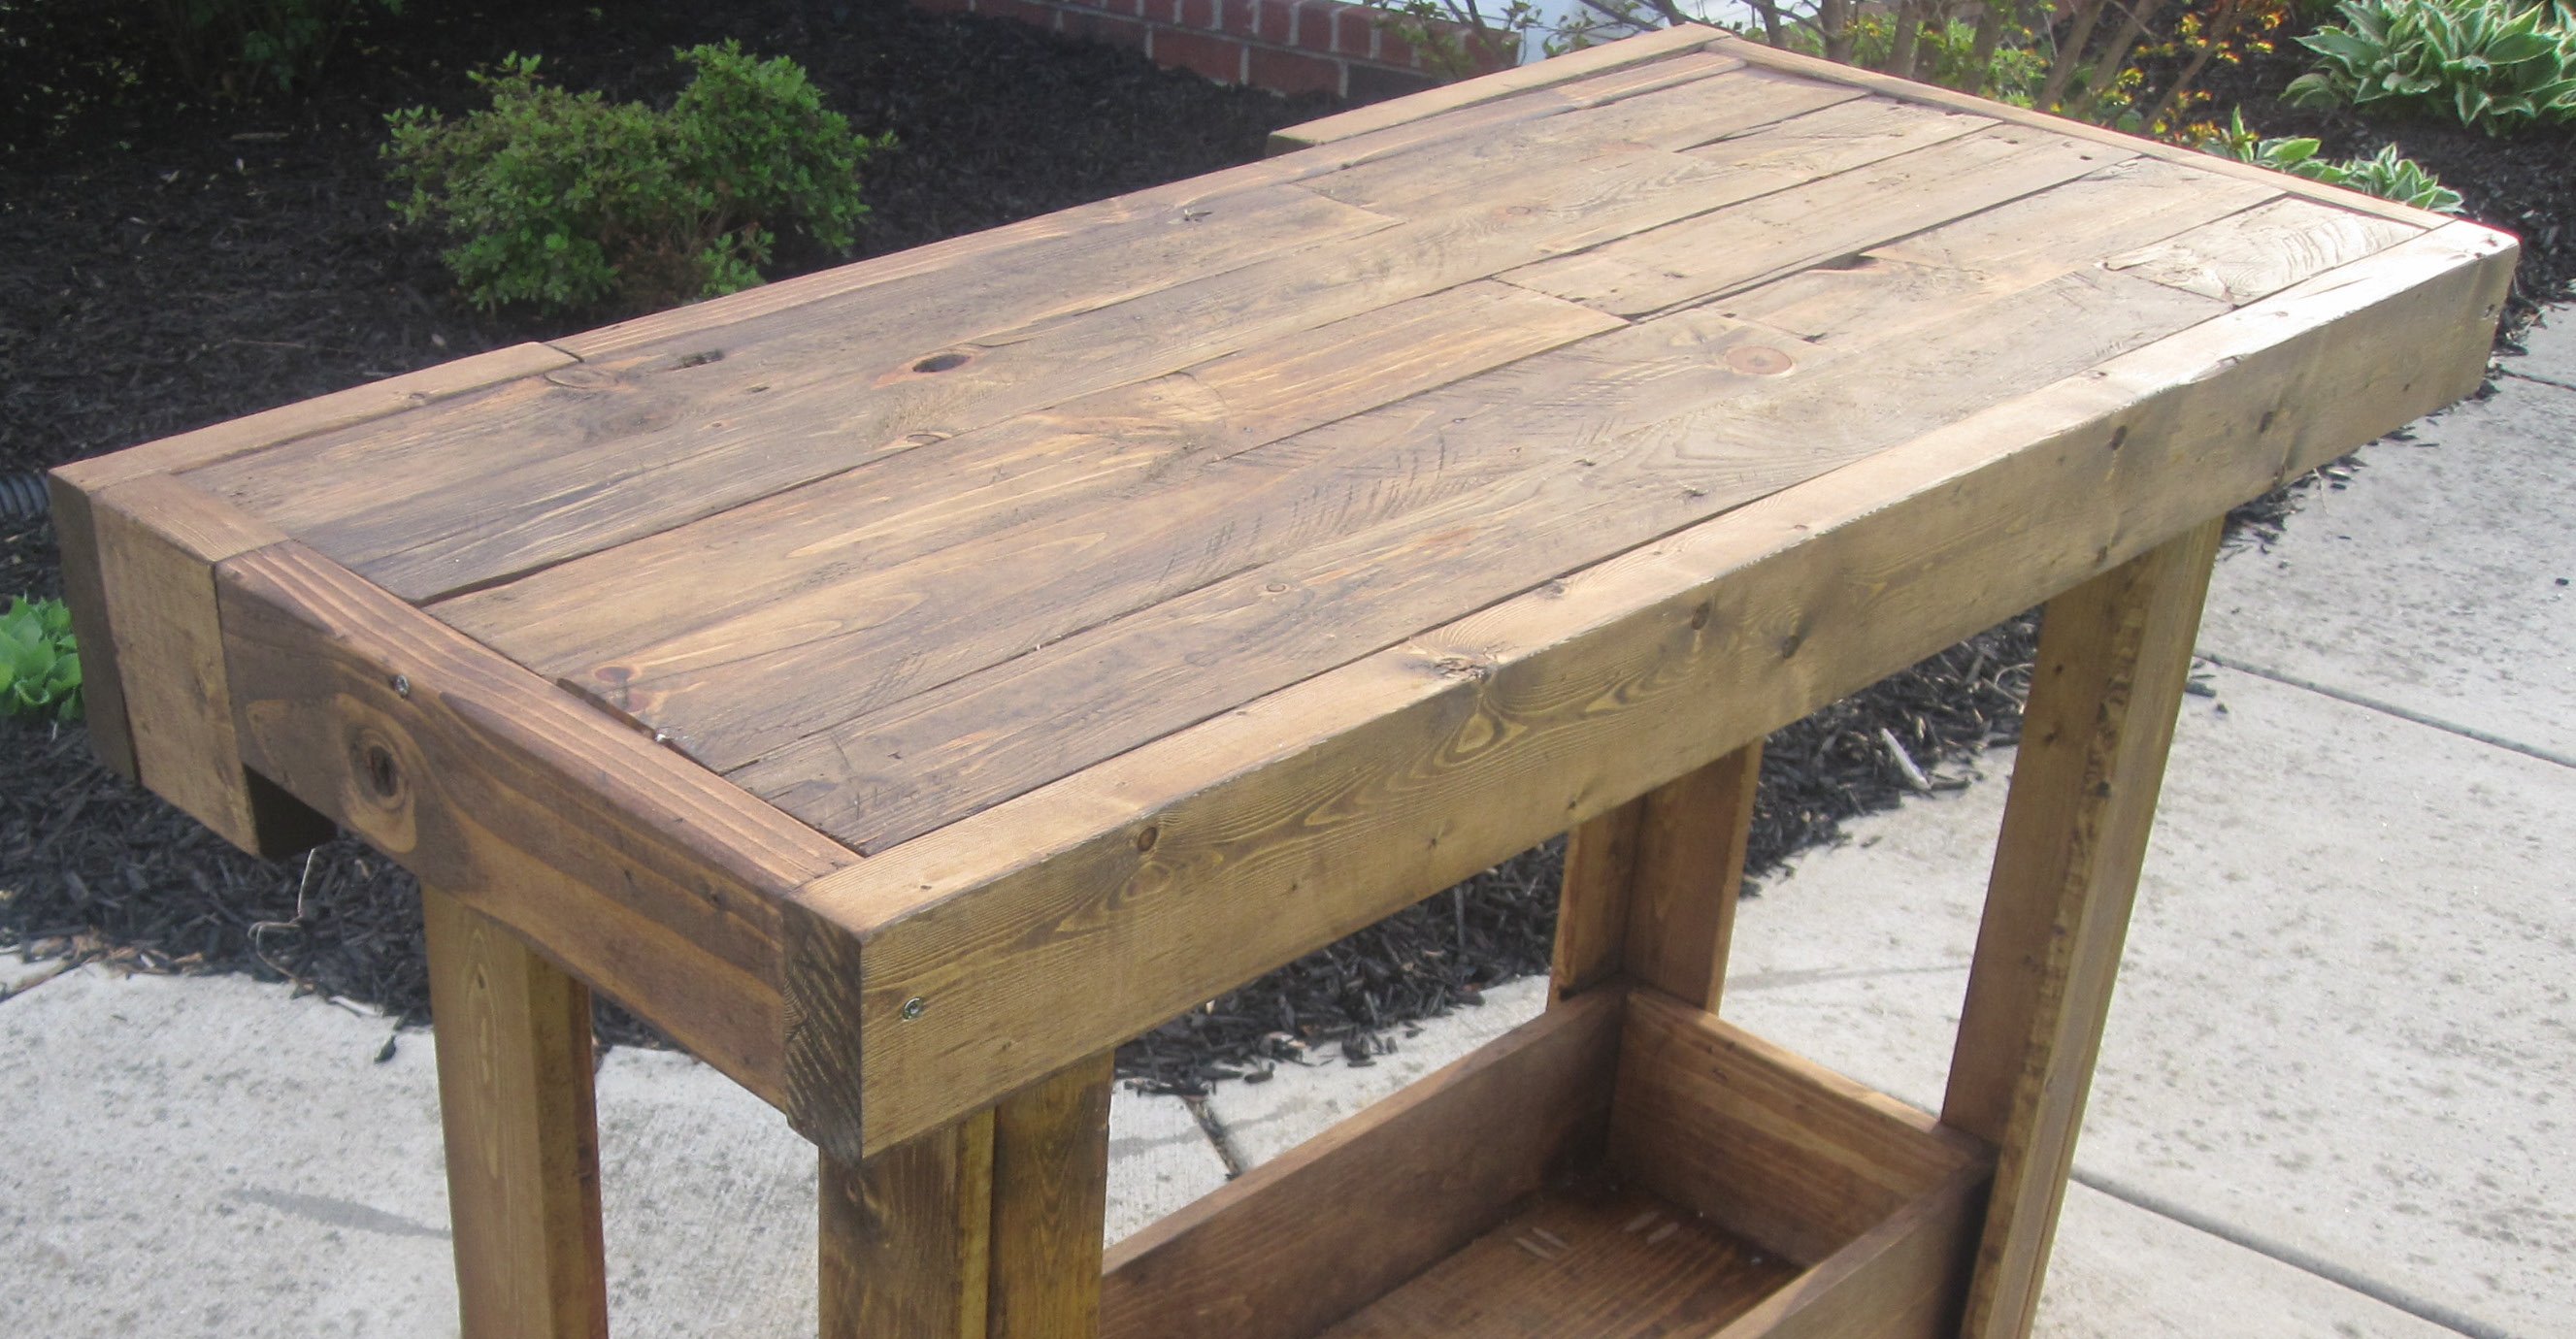
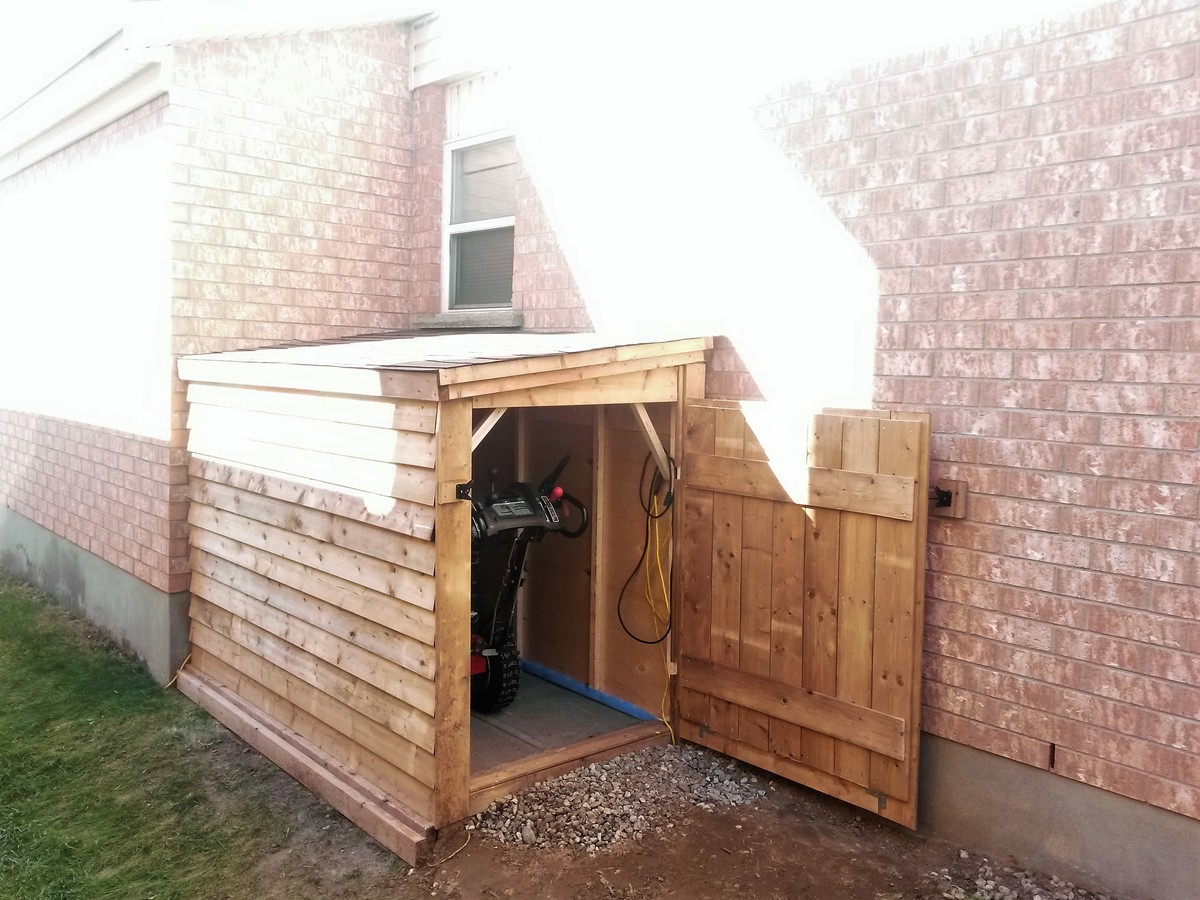
Overall measurements: 24x40. I followed the same basic steps as the nursery armoire, but on a much smaller scale and with a 1x3 added to the back for hanging the cabinet on the wall. I sketched this out on my own and built it to fit above the toilet in my girls' bathroom.

For the first time, I used my table saw to route a space for the 1/8" MDF cabinet backing and drawer bottoms. I will probably use the same method again, but the MDF has to be absolutely square for it to work.

Also a first for me, I used a shelving jig to drill perfectly spaced shelf pin holes on the inside of the cabinet. I love the jig and the accompanying drill bit (from Woodcraft -- orange and blue do not carry it) and I'm looking forward to using it a lot more in the future.

The white latex paint finish is covered in Krylon "crystal clear" spray, which is (sadly) not actually crystal clear. I really like its durability and ease of application (re-coat after only one minute!), but will only use it on darker colored projects in the future. I'll have to sand, paint again, and recoat with my old standby, Minwax Polycrylic, to get rid of the yellow tones in the "crystal clear" Krylon spray.

Built from Plan(s)
Estimated Cost
$125
Estimated Time Investment
Weekend Project (10-20 Hours)
Finish Used
Spray primer followed by Sherwin-Williams ProClassic semi-gloss white (which I applied in several thinned coats). Krylon not-so "crystal clear" topcoat.
Recommended Skill Level
Beginner

Farmhouse table & bench!

Submitted by jamie_C on Sun, 04/03/2011 - 19:42

This was quite the project- took us several weekends to finish (we don't have a garage or really any good working area- we rent.  Oh and we also have a toddler).  We assembled the table in the living room, stained it on our front sidewalk, did a couple coats of poly in the backyard, and finished the last coat of poly in the dining room!  (we know how heavy this table is, that's for sure!  We modified the original farmhouse table dimensions so that this table would fit in our oh-so-tiny dining room.  As you can tell, we also decided to build a bench to go with it.  We are extremely pleased with the results!

Estimated Cost
$125
Estimated Time Investment
Week Long Project (20 Hours or More)
Finish Used
Used wood filler on screw holes, and did LOTS of sanding. Used two coats of Cabot Early American stain. Followed by 3 coats of polyurethane, and 2 coats of Minwax Polycrylic on the table top.
Recommended Skill Level
Beginner

Modified rustic table and benches

Submitted by dkarinen on Sun, 06/16/2013 - 21:09

We built this table for my brother and new wife's wedding present. We modified it to use as an outdoor dining set. Instead of using the 1x10 for the tabletop we used 2x6's and for the legs we used 4x4's. We attached the top boards with a Camo fastening system we used last year on our deck (works great to conceal the screws). I stained the frame in Behr Cordovan Brown and the top boards in Behr Cedar Naturaltone. It was our first attempt at building a table and I think it turned out great, only problem was giving it away!

Built from Plan(s)
Estimated Cost
$300
Estimated Time Investment
Week Long Project (20 Hours or More)
Finish Used
Behr cordovan brown stain and Behr natural cedartone
Recommended Skill Level
Beginner

Comments

storchinsky

Mon, 06/17/2013 - 10:57

Very nice! I'd been considering this plan for my outdoor table, but my husband liked the modern farm table better. Same idea--I am leaving gaps to allow the water to drain. Love the two-tone finish! It's amazing what you can do with plain old 2 x 6s!

Antique Workbench Console

Submitted by momofaj on Sat, 04/23/2011 - 12:14

This was an easy project although it took us 3 weekends to get it finished.  My son loves to help now but it slows down the process.  We used wood we already had and reclaimed oak to make this table. 

We had to resize the table to fit our entryway.  The table design  was 64” long and we made ours 48” in length.  It was easy to do the math, the cuts for length were 75% of the original size.  For example,  the table top trim piece calls for a 64” cut,  take 64 x 75% and you get 48.  So that cut piece would be 48” instead of 64”.    We kept all other measurements the same, both width and height.   The only other change we made was in bottom shelf,  it calls for a 1x12 and we already had a 2x12.

 I am still looking for a metal piece(towel holder) to go on the front of the table.

Built from Plan(s)
Estimated Cost
15.00
Estimated Time Investment
Weekend Project (10-20 Hours)
Finish Used
Minwax English Chestnut
Recommended Skill Level
Beginner

Rustic Modern Hall Tree

Submitted by Anonymous (not verified) on Wed, 12/29/2021 - 02:48

I made this slightly smaller version of Ana’s Hall Tree to fit smaller spaces. I added beadboard to the back to put an added farmhouse touch. Finished in Golden Oak and white.

Built from Plan(s)

Comments

Little Kids Picnic Table with alterations

Submitted by jsle_bel on Thu, 05/12/2011 - 10:22

While out shopping with my 4 year old son we came across a picnic table that he absolutely adored. I had wanted to purchase a kids picnic table last summer but never got around to it. After checking out the price tag on this little gem I decided I would check out Ana White’s collection of plans before I spent $80!!! I made a few alterations in size and added extra support for those changes, but even with the added lumber I got it ½ off the $80 store price!!

Built from Plan(s)
Recommended Skill Level
Starter Project

Modern Farmhouse Bed Frame

Submitted by SofiaTaz on Thu, 01/06/2022 - 23:15

I love how this bed frame turned out! Everywhere that has stain is cedar and the rest is all scrap spruce. Thanks for another great plan Ana!

Built from Plan(s)

Comments

Playhouse loft bed with stairs and slide

Submitted by alminter on Wed, 07/08/2015 - 21:29

This is by far the biggest project I've completed yet. It actually surprised me how easy it was to complete. It did take me about 4 days to build the project and an additional week to sand and paint the project.

I followed the playhouse loft plans and the storage stairs plans, adjusting only the back to allow for the additional length of the slide. I didn't add the windows to the sides (I didn't see any point in having them there). I also used the castle loft plans for the slide. When I first started this project I was planning on making the slide completely separate. I changed my mind mid project after I had the side wall cut to length at Lowe's, so I just added that small piece to the left of the slide to make up for the gap. I also made this project in 4 separate pieces (stairs, slide, front wall, back) so I could put it together in her room in one evening and not have to kick her out. Once we moved it to her room all I had to do was screw the four corners in and attach the back wall and bed slats.

I definitely recommend not using particle board. I had no idea what the difference was between particle board, mdf and plywood when I started this project. Particle board was less then half the cost of plywood, but looking back I would pay the extra for the plywood. I don't feel like the screws hold well in the particle board and it also chipped on the bottom some. I actually had a chunk come off in the corner where I must of screwed to closely to the edge. I'm sure this is basic knowledge for most, but for those newbies (like me) just a little tip.

I had a lot of fun building this bed (not so much sanding and painting) and learned a lot. Now off to browse for my next project :)

Estimated Cost
400-500
Estimated Time Investment
Week Long Project (20 Hours or More)
Recommended Skill Level
Beginner

Comments

Toddler bunk beds

Submitted by jarsofclay on Sat, 08/03/2013 - 19:01

well after I made my daughters bunk beds my toddlers were begging and begging me to make them a bunk bed so this weekend I decided to make a toddler bunk bed. So here it is and I'm here to share with you all.

Built from Plan(s)
Estimated Time Investment
Day Project (6-9 Hours)
Finish Used
I stained it with early english stain
Recommended Skill Level
Beginner

Comments

CreativeChaos

Sun, 08/04/2013 - 16:20

That is absolutely adorable! We know all about the little ones wanting to be like the big ones. Great job!

jarsofclay

Mon, 08/05/2013 - 15:57

Thankyou very much! Yeah it was every day every time I'd go into my work shop they asked if I was making their beds

herrejon

Sun, 10/13/2013 - 17:48

Hi! it's just what we're looking for!
do you have plans or something like instructions por dummys :)
i'm a begginer

herrejon

Sun, 10/13/2013 - 19:11

Thanks a lot! It looks so easy! Can't wait to start! I'll share with you our happy little faces when it's done :)

Outdoor Modern Comfort Loveseat

Submitted by Anonymous (not verified) on Mon, 04/25/2022 - 18:19

I used some 2x6 boards leftovers from some deck work. The build is solid.

Comments

Corner cabinet

My mom had been wanting a corner cabinet in her dining room forever but every one we found was mad expensive. So I built her one as a gift. She loves it! I used left over paint from her dining room walls so the colors match exactly.

Built from Plan(s)
Estimated Cost
$100. Paint was free as it was left over.
Estimated Time Investment
Day Project (6-9 Hours)
Finish Used
Interior wall paint
Recommended Skill Level
Intermediate

Rustic Kitchen Island

Submitted by Anonymous (not verified) on Thu, 06/09/2022 - 14:25

Love how this turned out! Thanks Ana!

Comments

My Farmhouse/homework table

Submitted by ajcajj on Fri, 08/05/2011 - 10:47

I saw the plans for the narrow farmhouse table and had.to.have.it! I showed my husband and he liked it but wanted turned legs. This was the compromise. I'm so happy with how it turned out!

Built from Plan(s)
Estimated Cost
$28.00
Finish Used
I used a minwax stain with poly on the top and white on the legs
Recommended Skill Level
Beginner

A Different Take on the Cedar Shed

Submitted by afbutters on Sun, 10/18/2015 - 12:26

Loosely based on the small cedar fence picket storage shed plan, this was my first attempt at making a storage unit with a roof. There was only one unplanned trip to the store (to replace two 2x4's that I cut to the wrong length). Pro tip: "measure twice, cut once" doesn't work if you measure the wrong length twice. Also almost lost two fingertips because I'm an idiot and forgot the most basic of safety rules for power tools, namely the "don't put your fingers near the blade of a circular saw when it's in use" rule. Very lucky to only come out of it with a good scare and some wounds that will heal without permanent damage. 

Built from Plan(s)
Estimated Cost
$500 (Canadian)
Estimated Time Investment
Weekend Project (10-20 Hours)
Recommended Skill Level
Beginner

Comments