As an Ana White newbie I was excited (to say the least!) about my first real project.
It was also my proving ground. My Hubby said that if this went well, I could feel free to build an office desk... pergola... coffers in the dining room... whatever! He was floored and impressed beyond words!
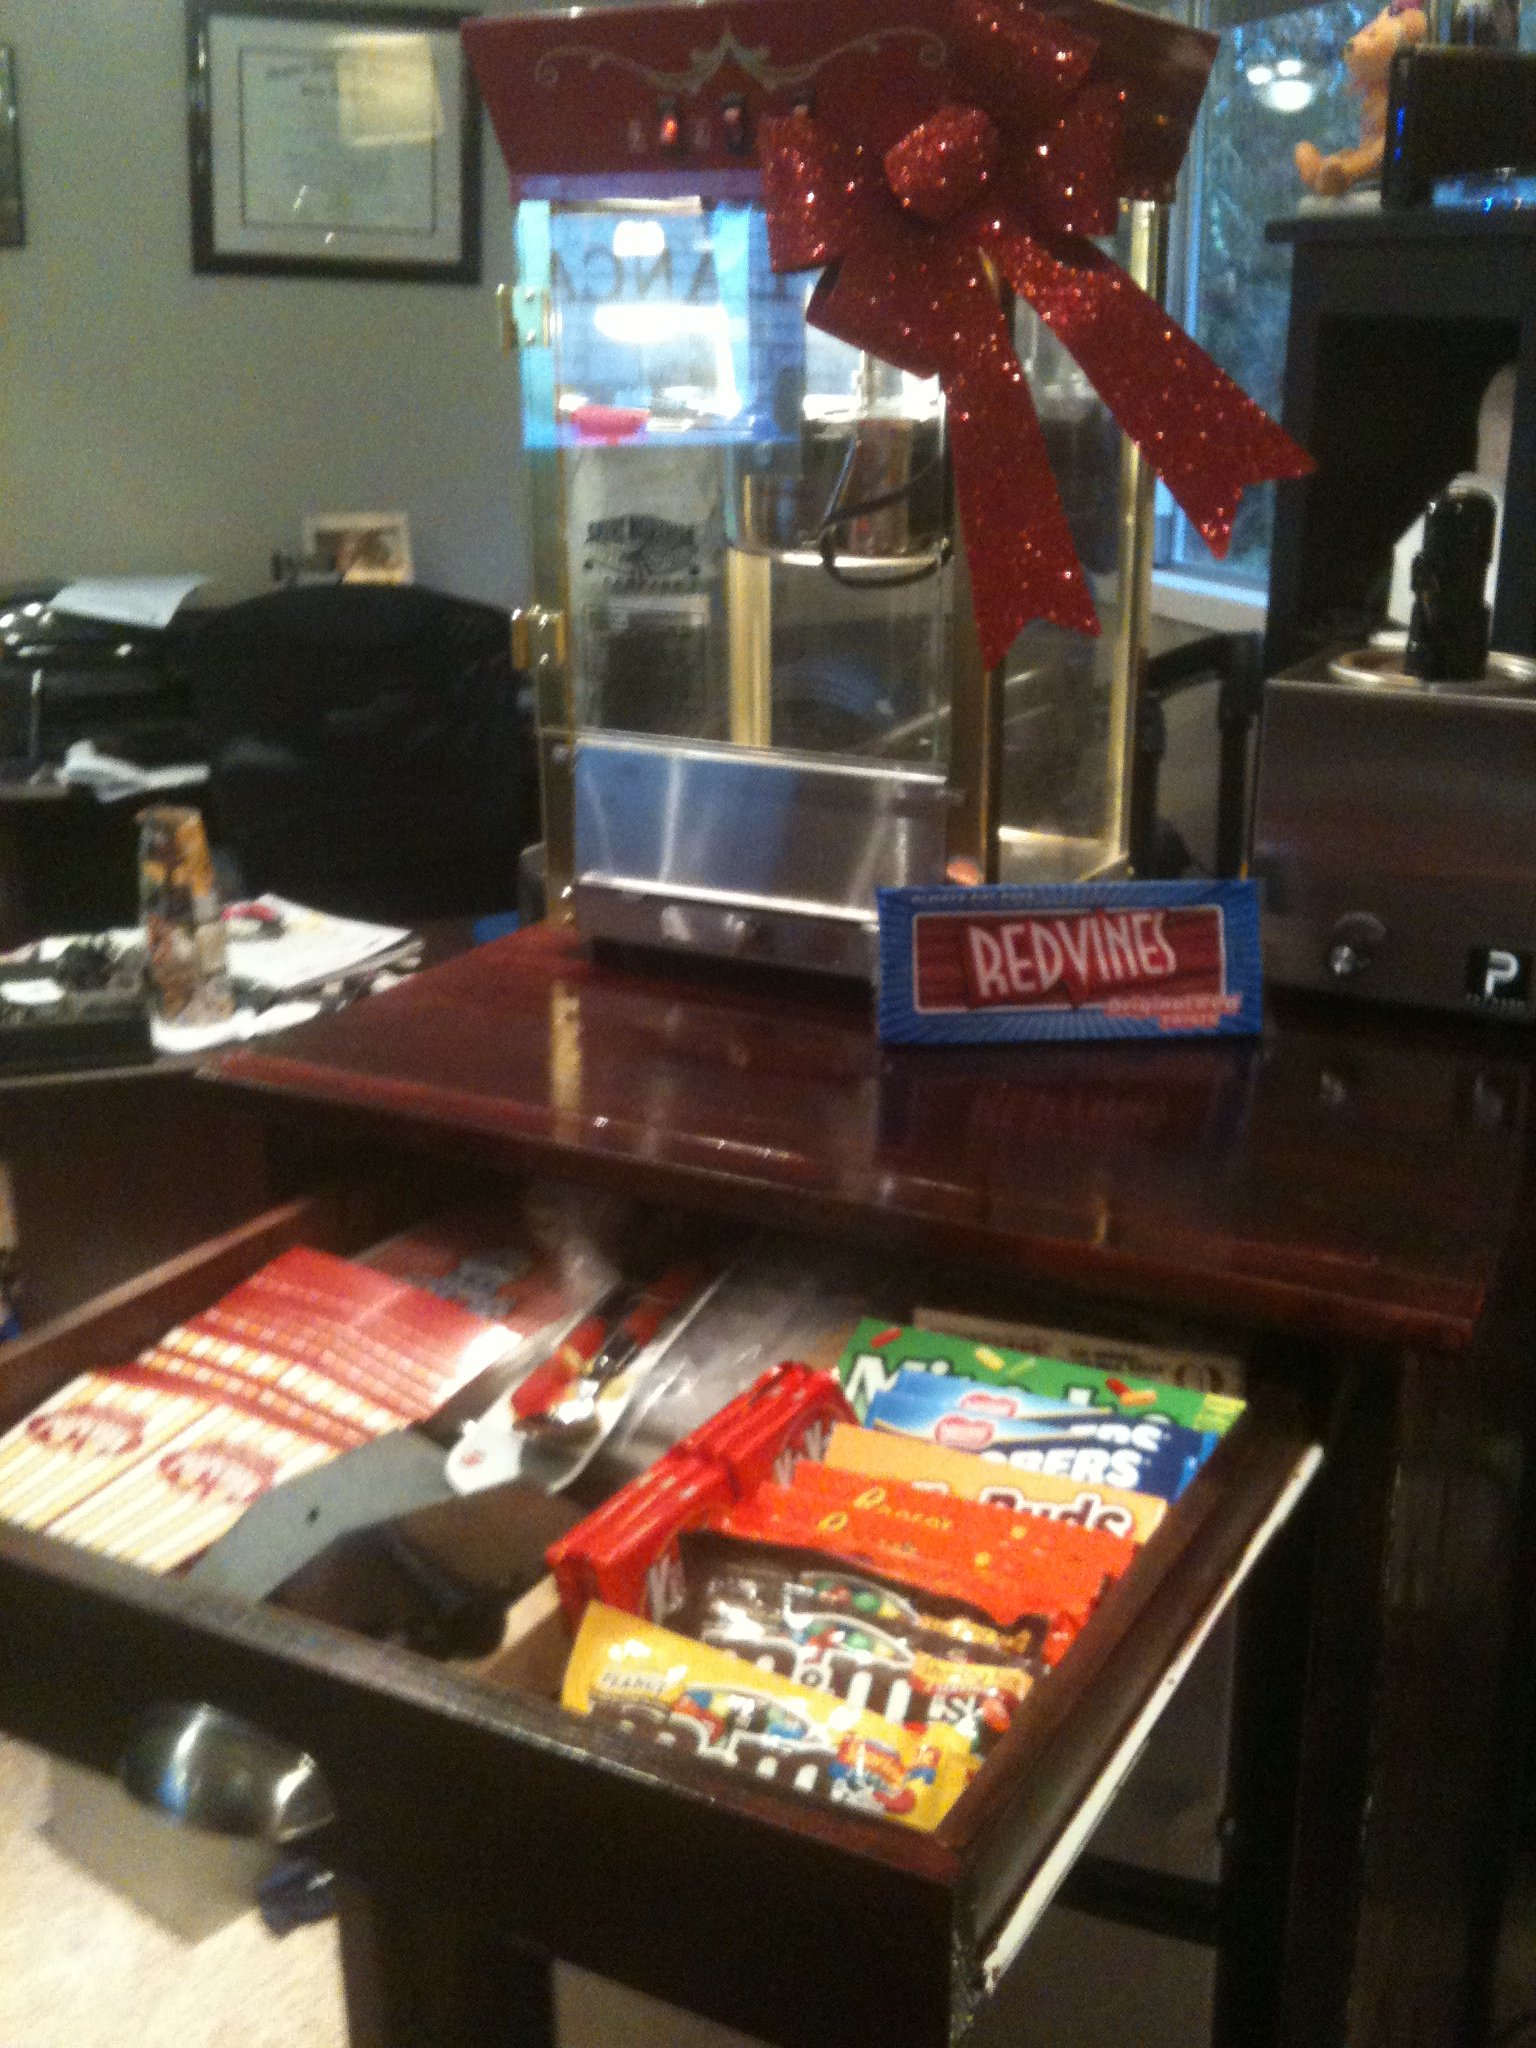
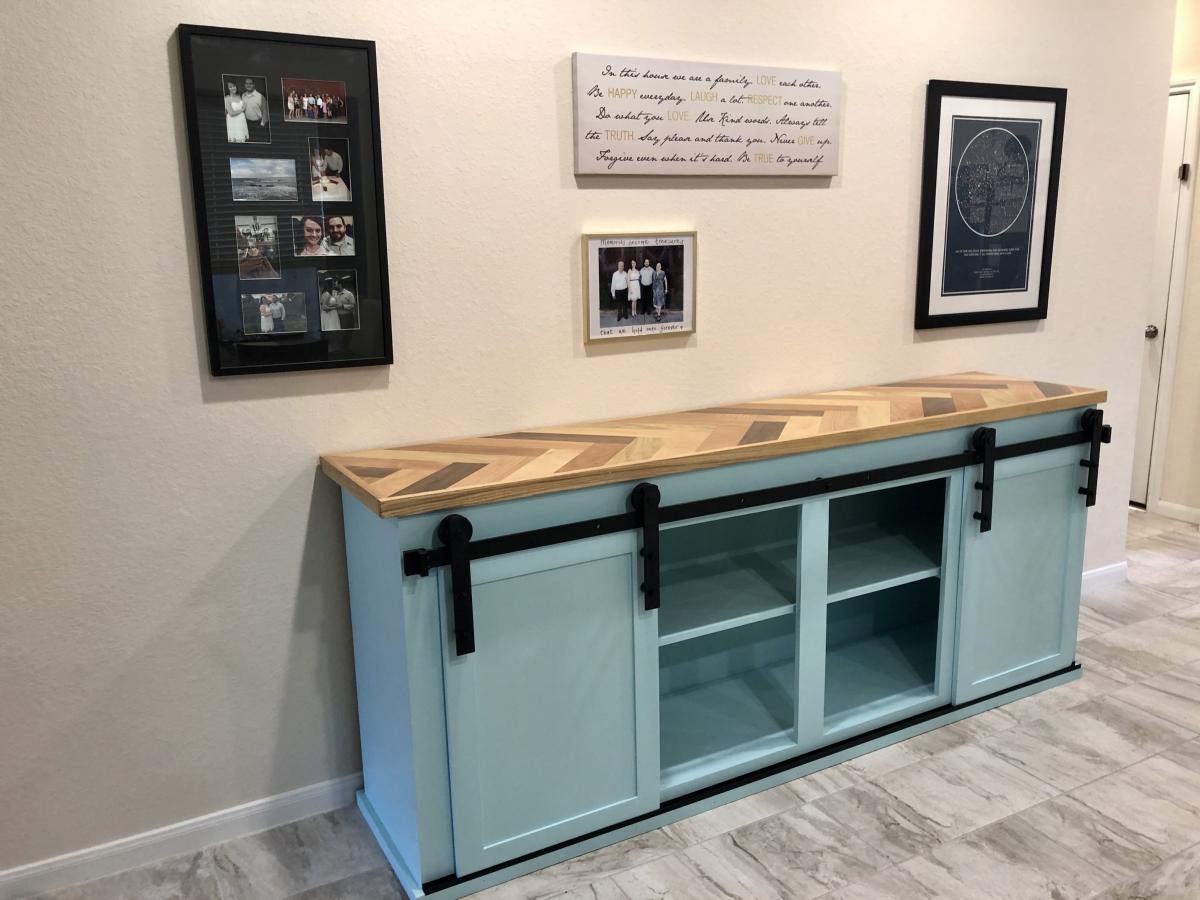
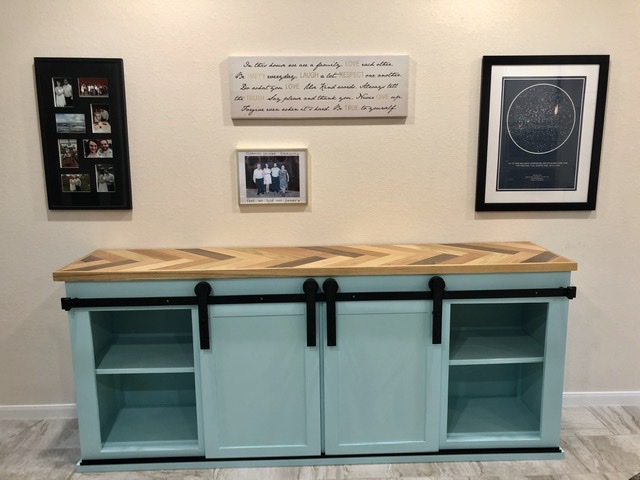
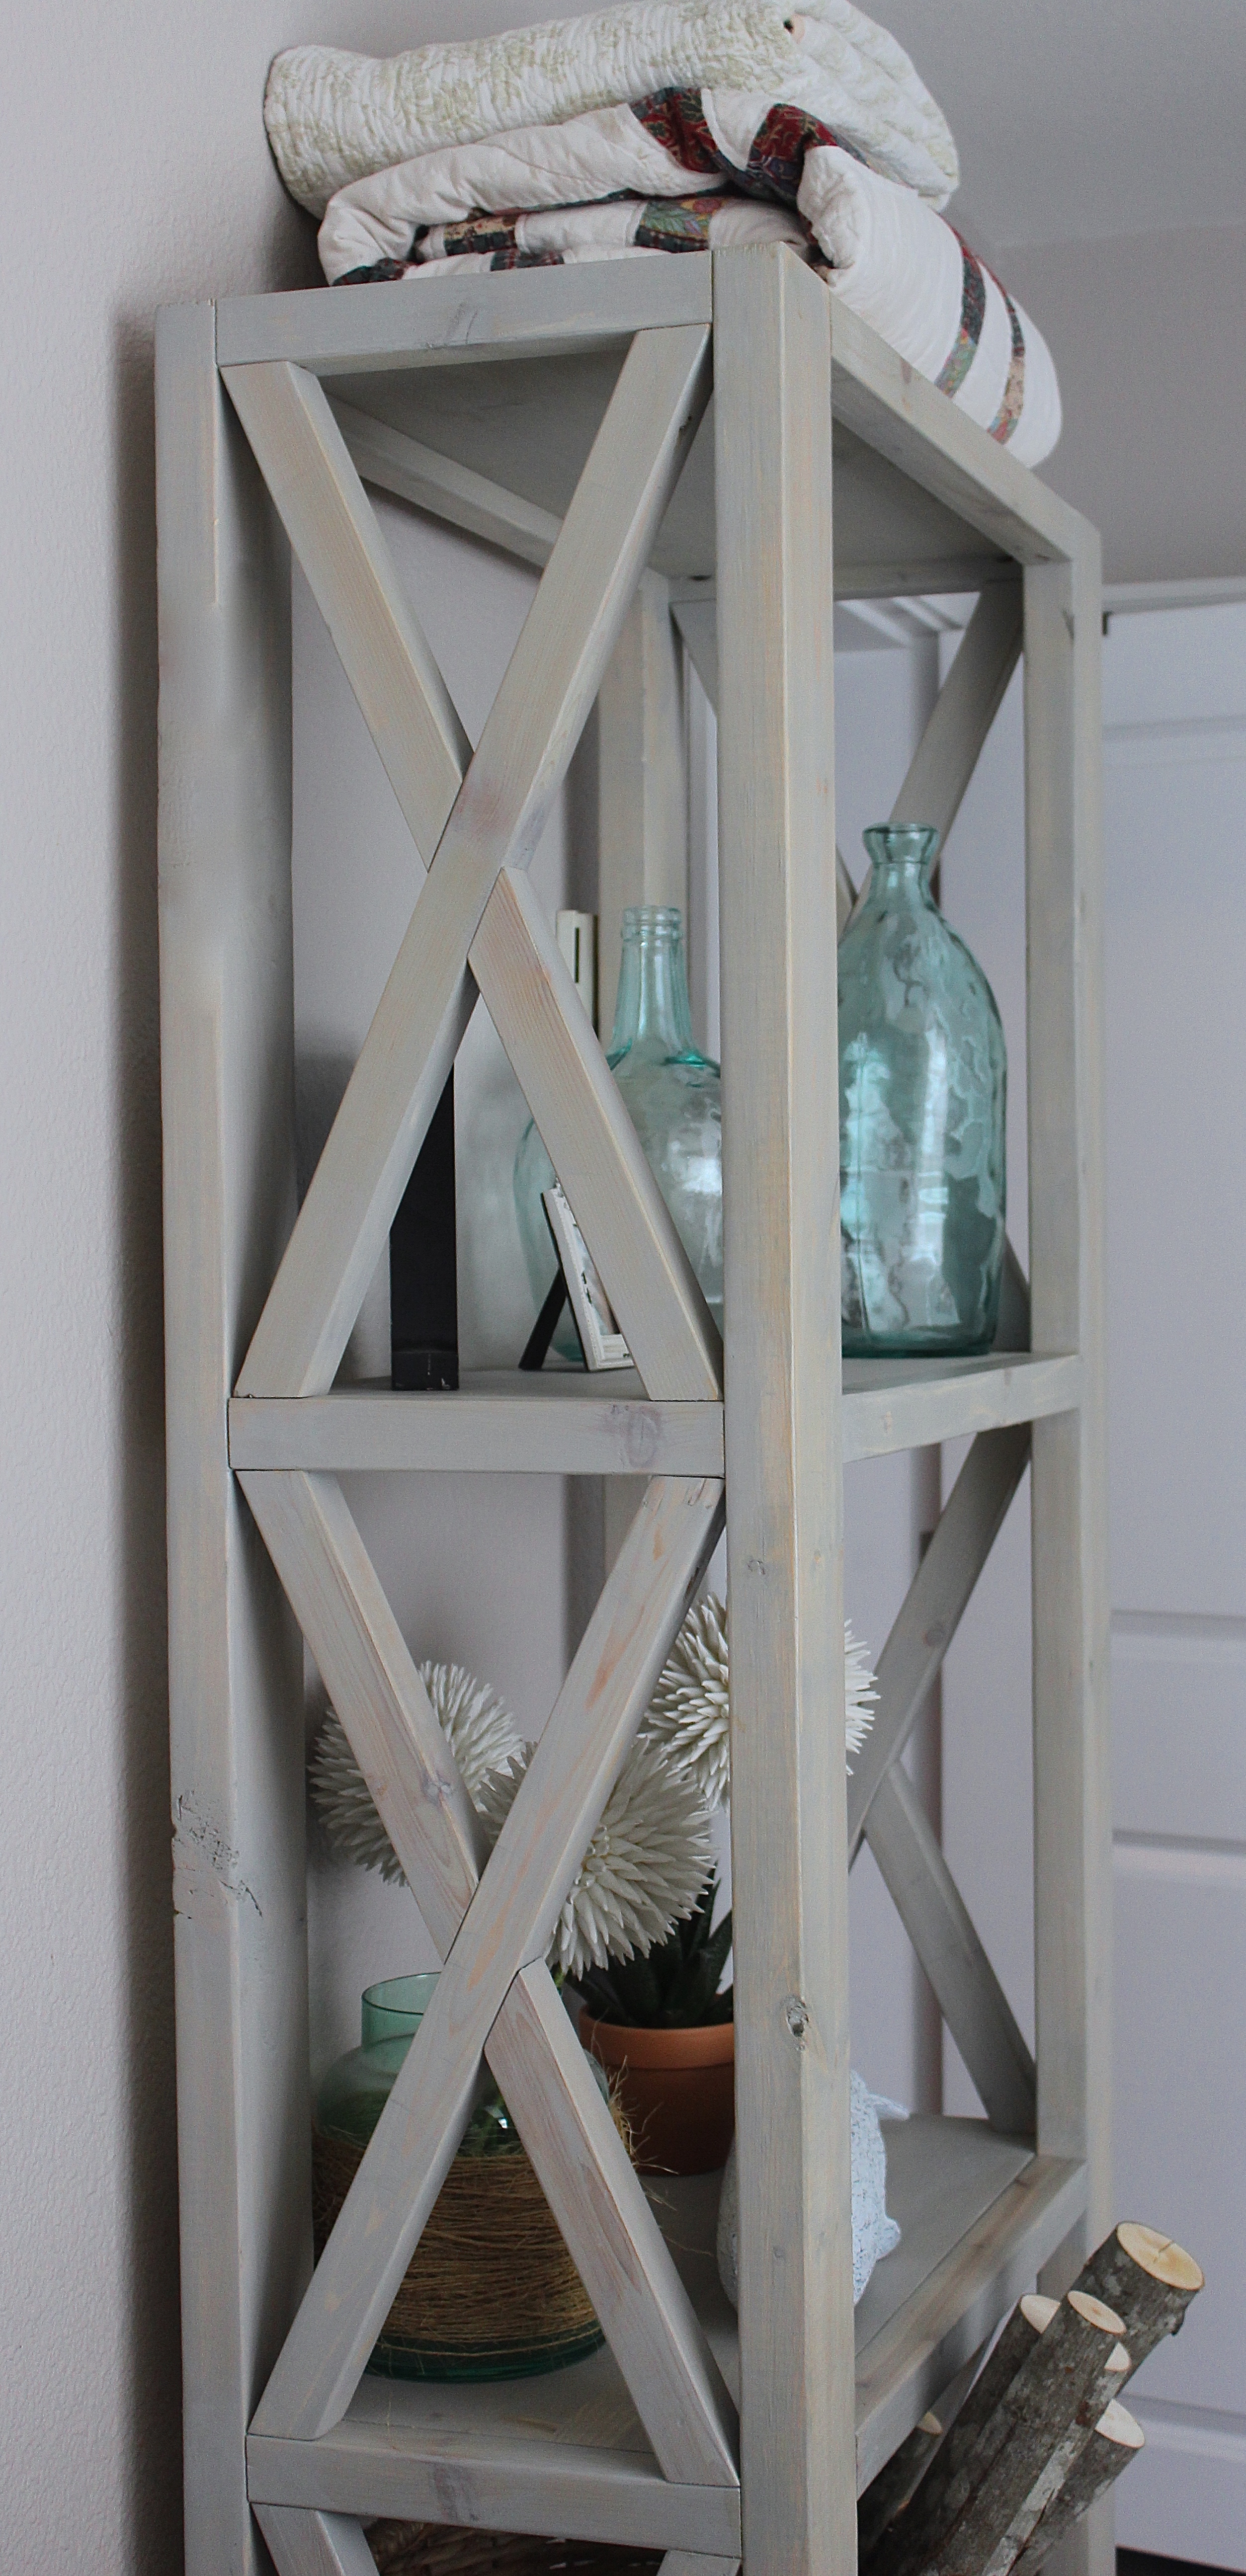
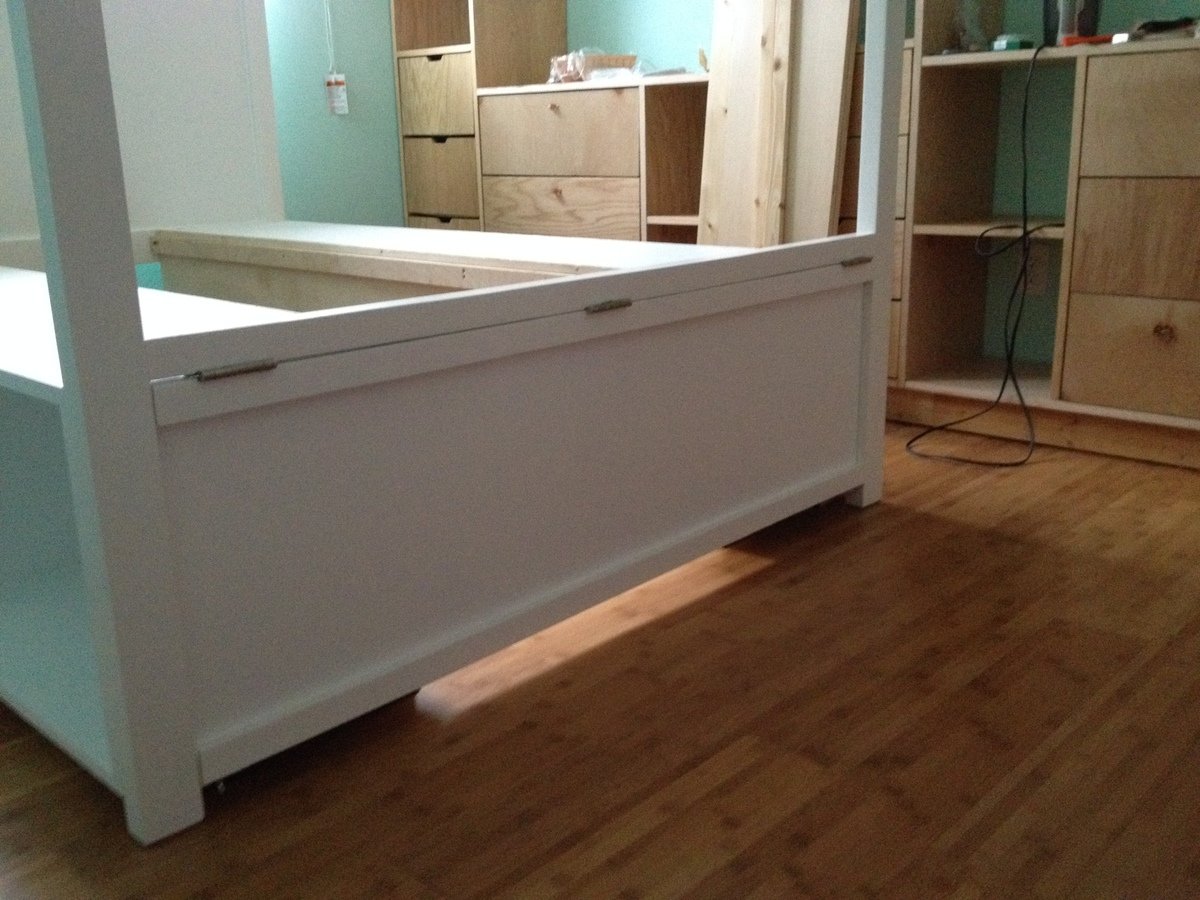
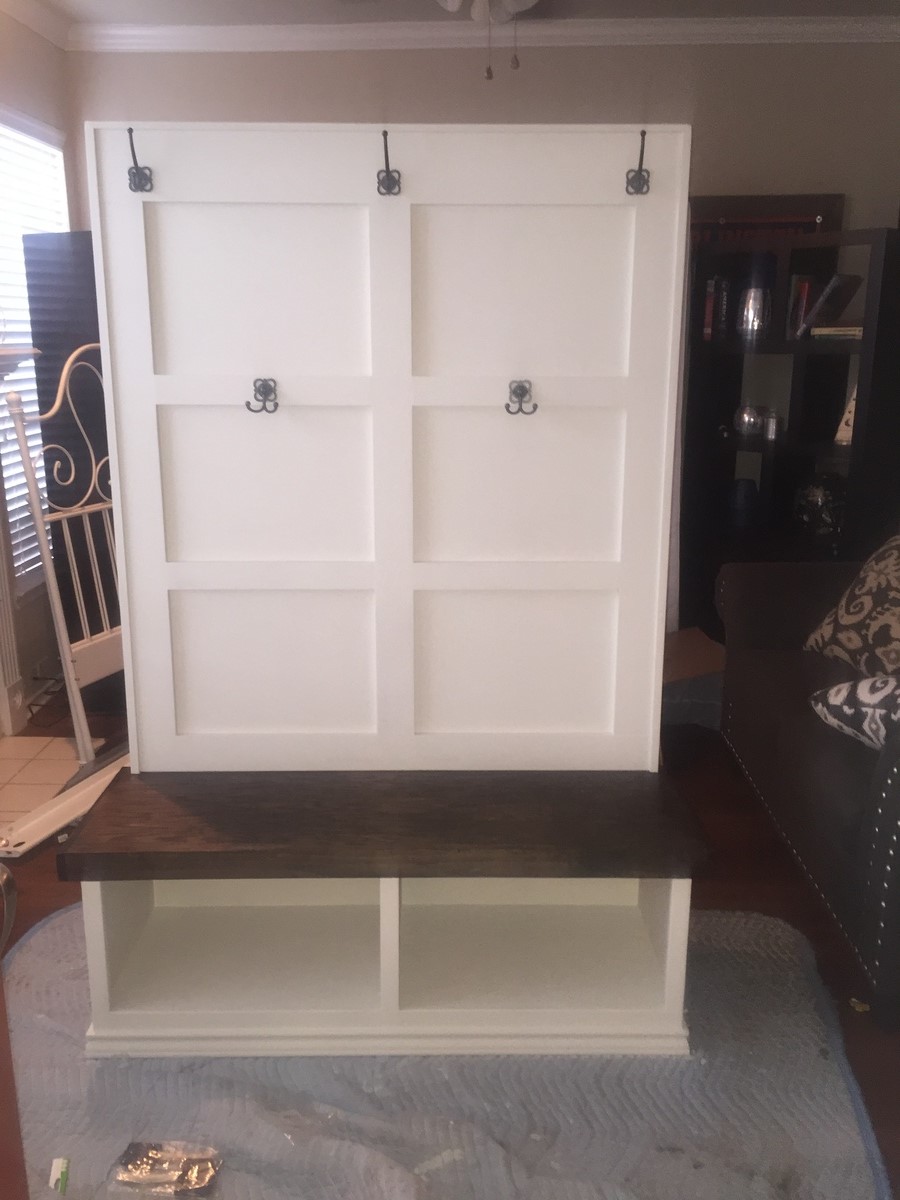
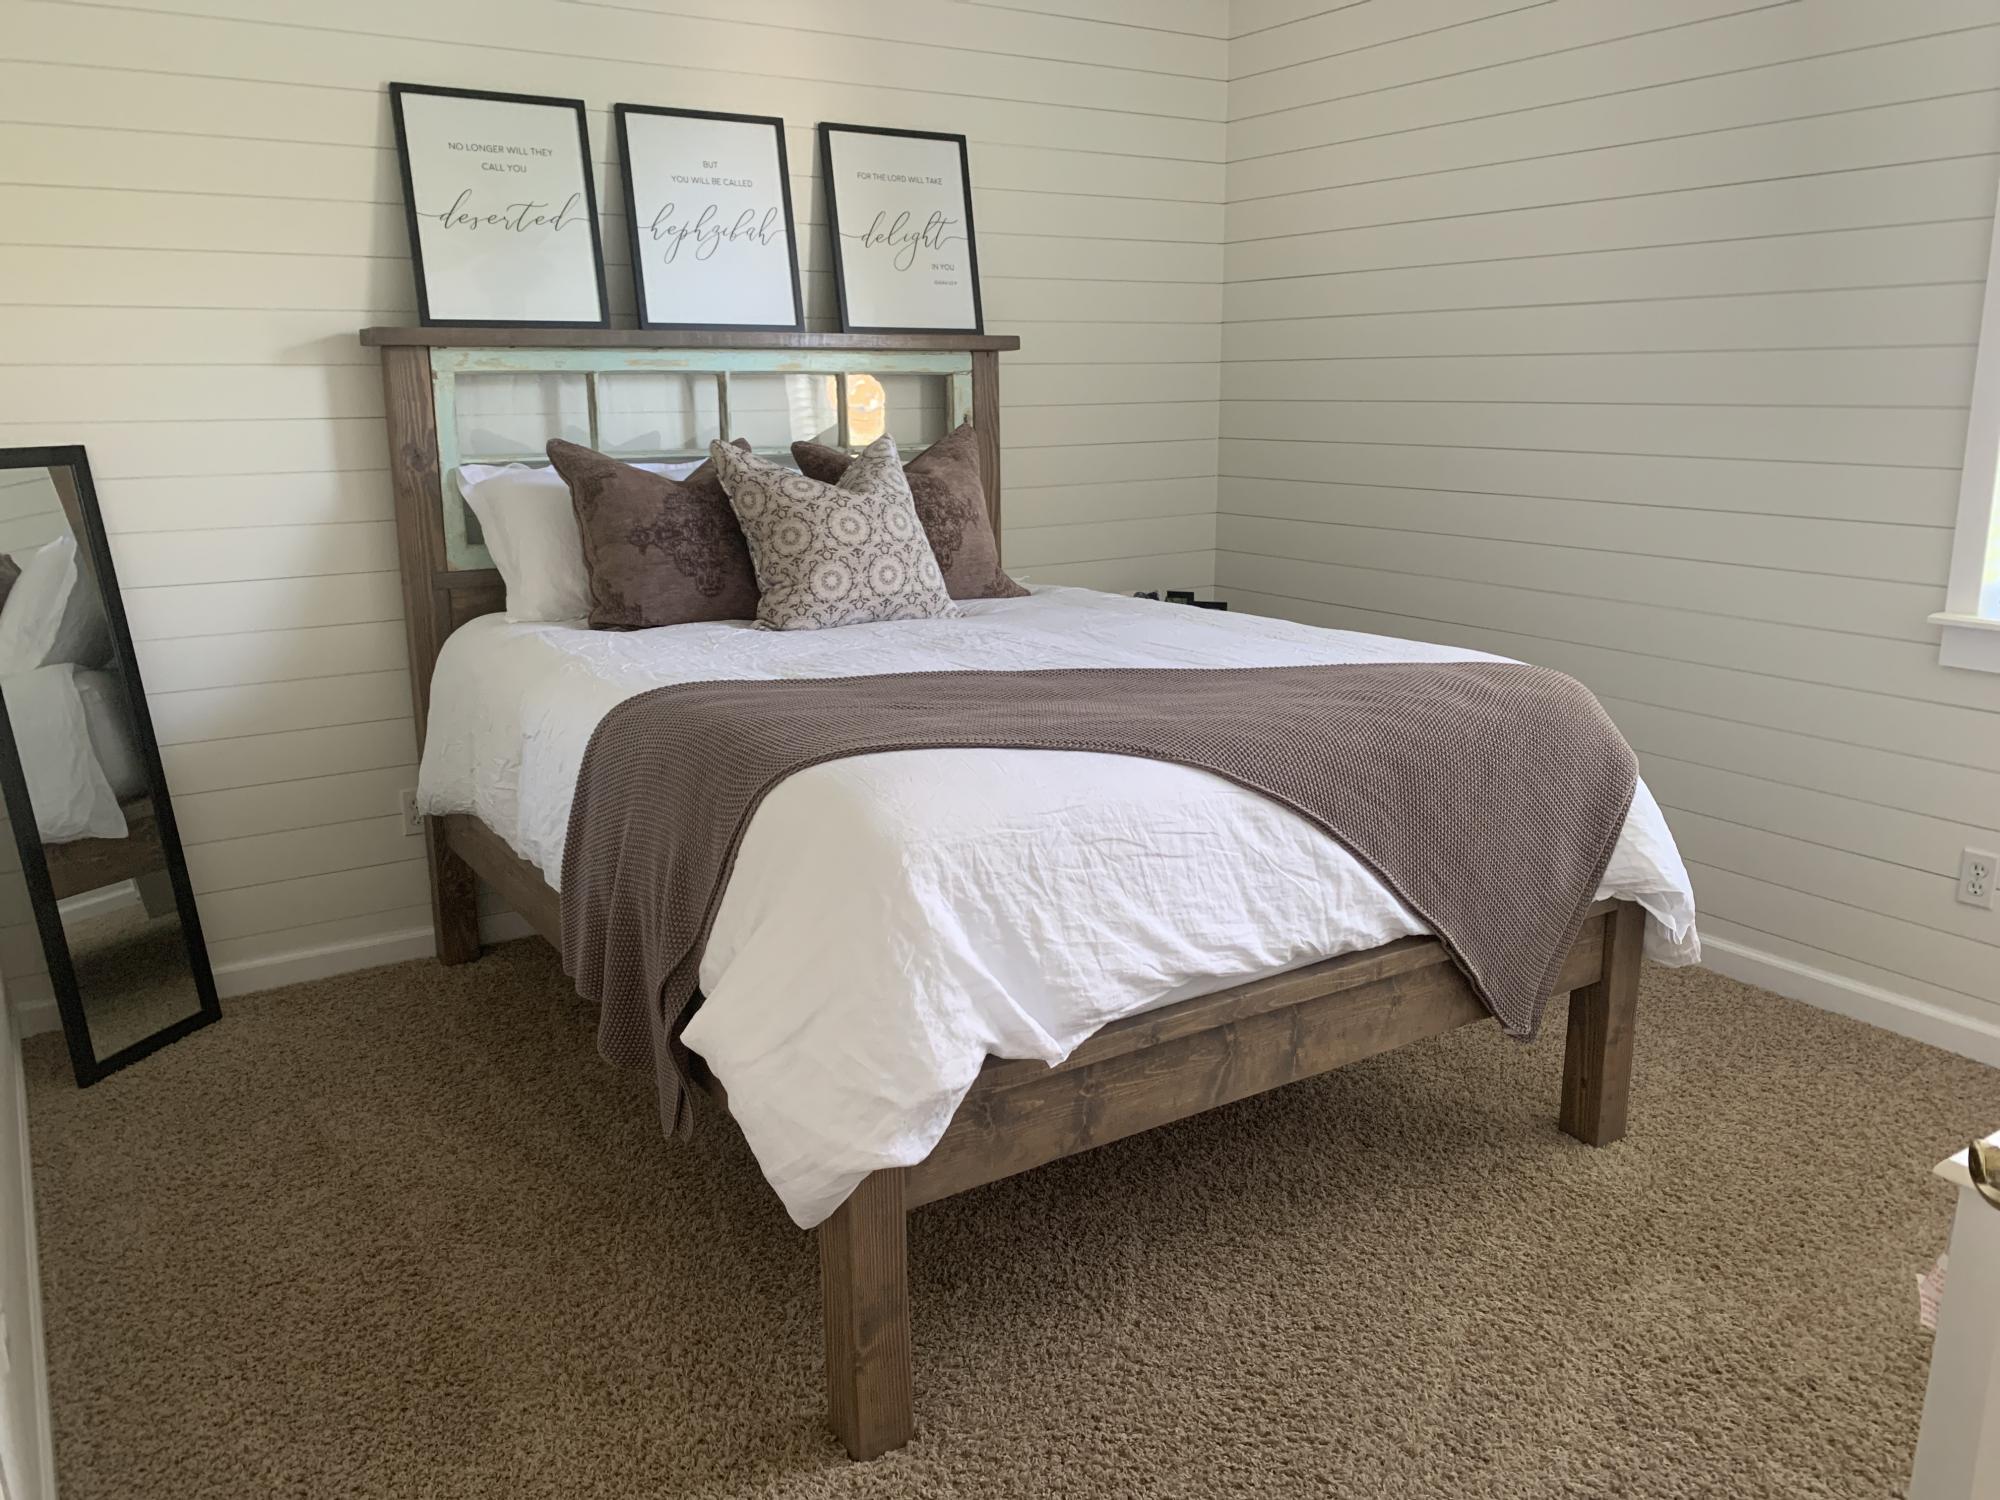
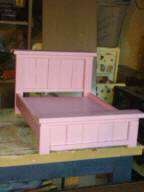
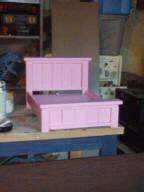
I have included a before picture of our entryway and also a view from our front door, so that you can see how much of a presence this has in a room. I love it absolutely!
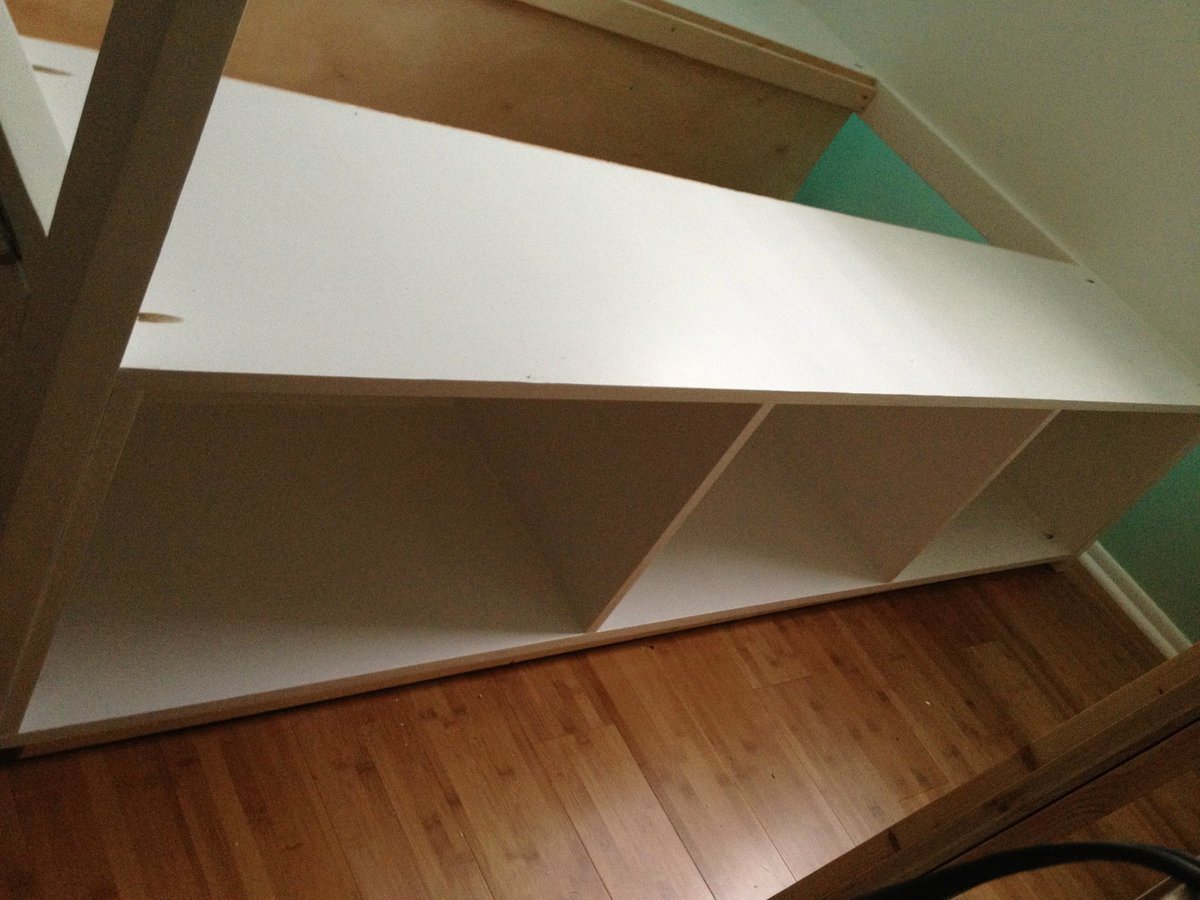
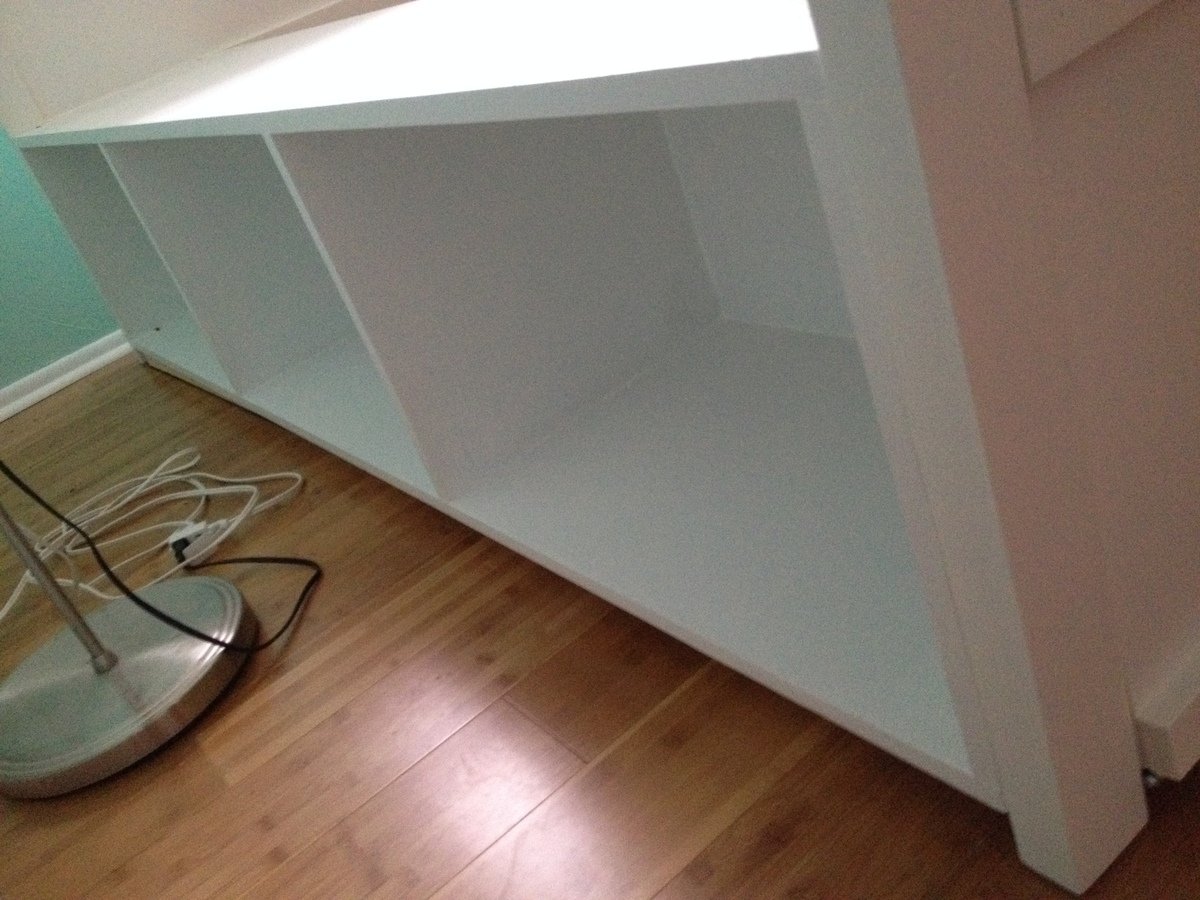
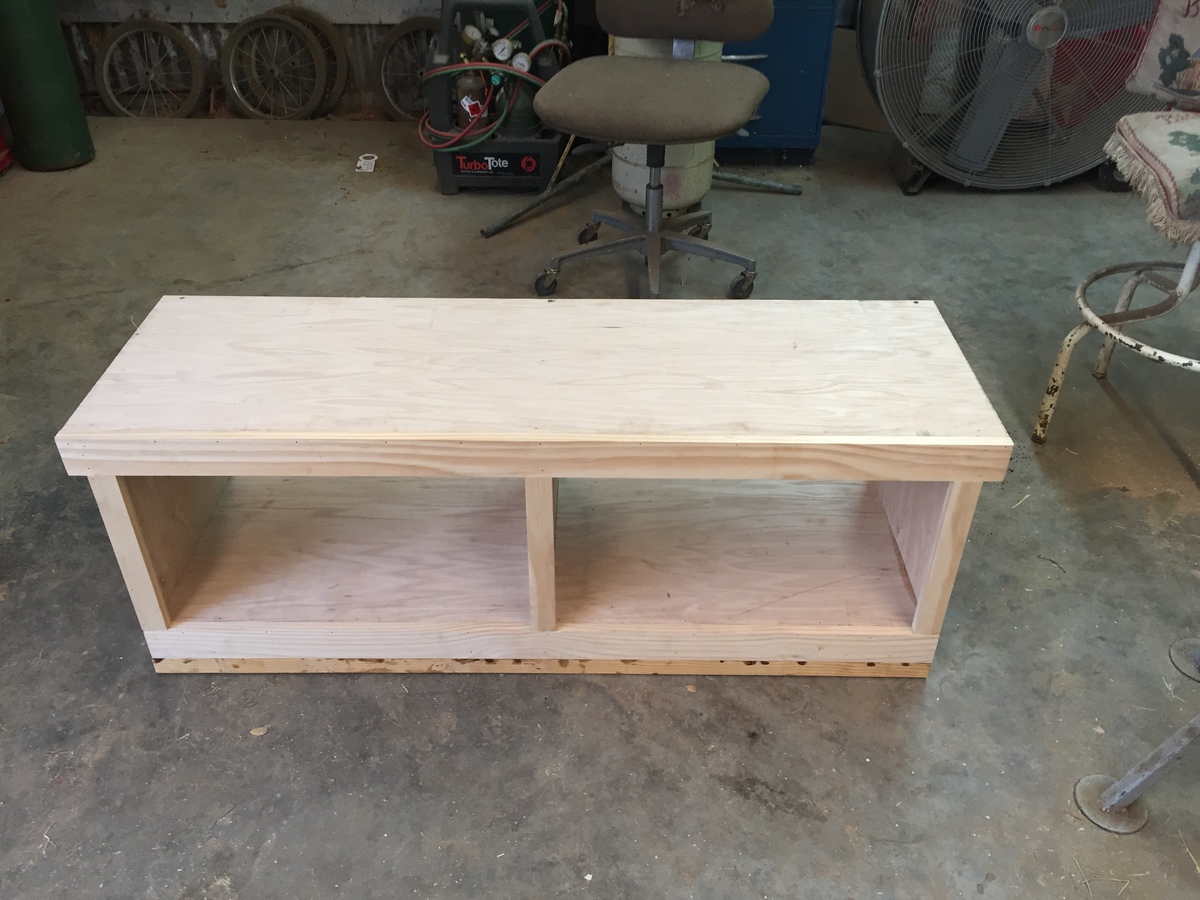
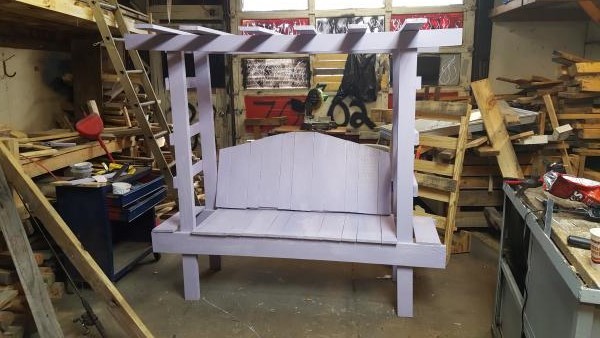
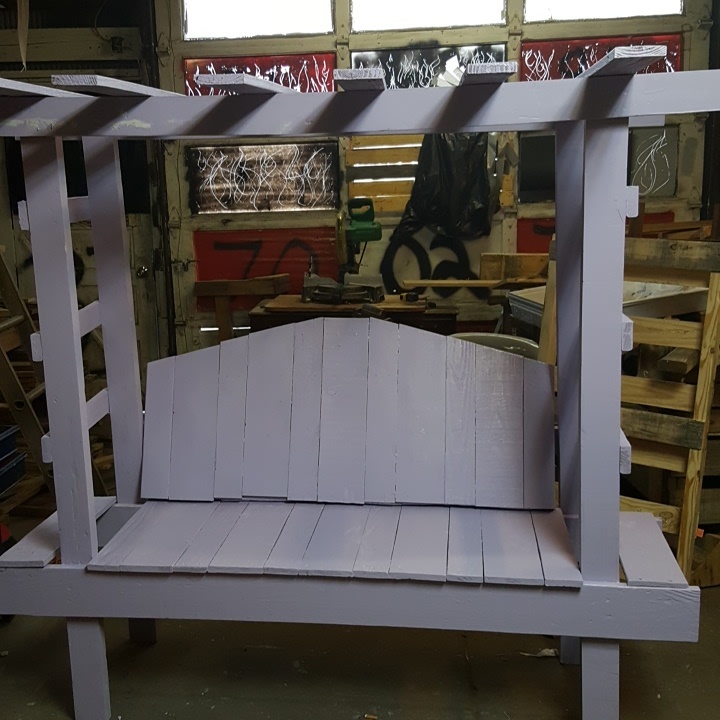
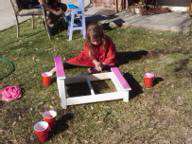
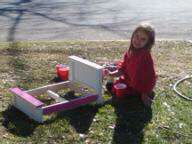
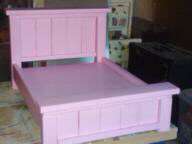
I made mine a bit deeper in the seat (about 20") because my husband has size 15 shoes that needed to be hidden. I also added a shelf for more shoes (which was easy and also where I tried out my new Kreg Jig). That tool is pretty darn sweet!
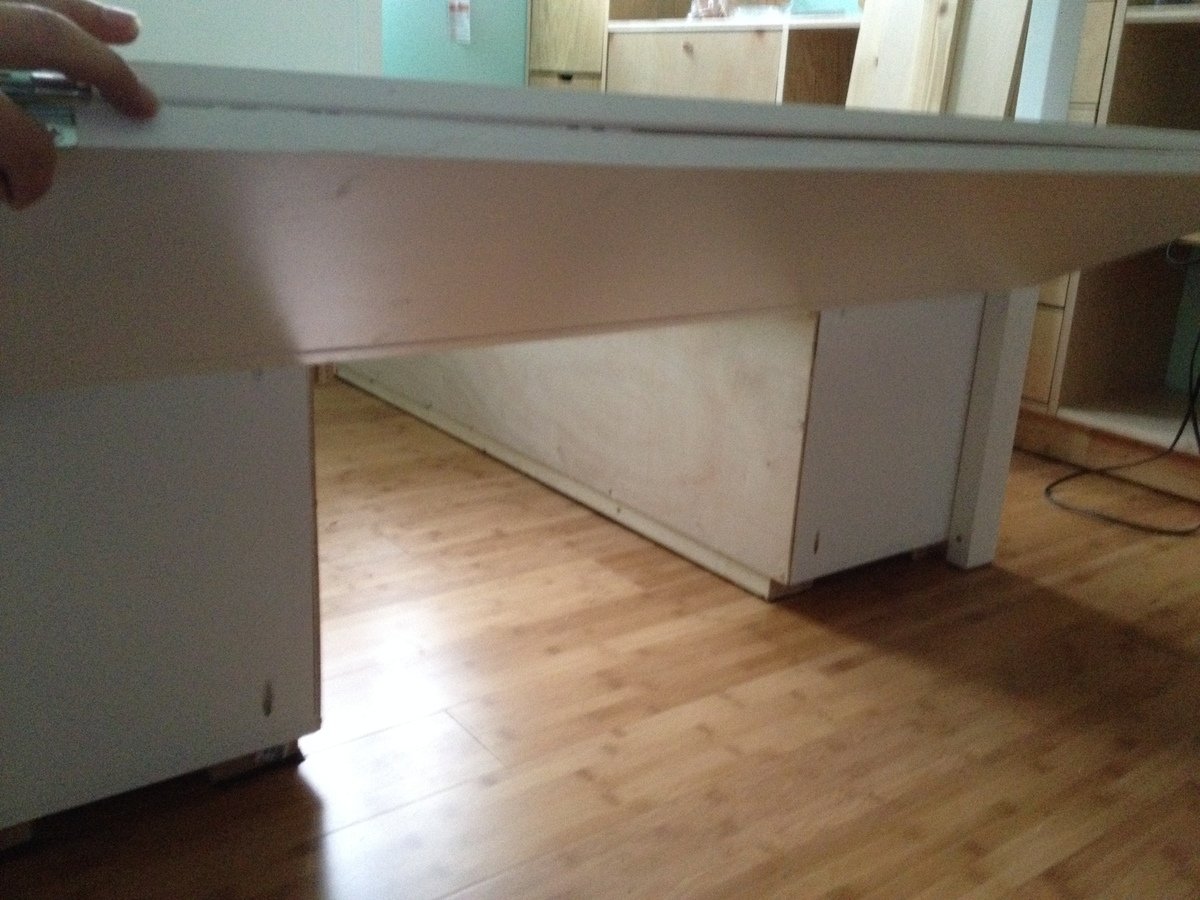
I decided to use hefty planks for the seats as well and reinforced them with a bit beefier legs, as my husband and his family are all nearly 7 feet tall. (just in case - you know!)
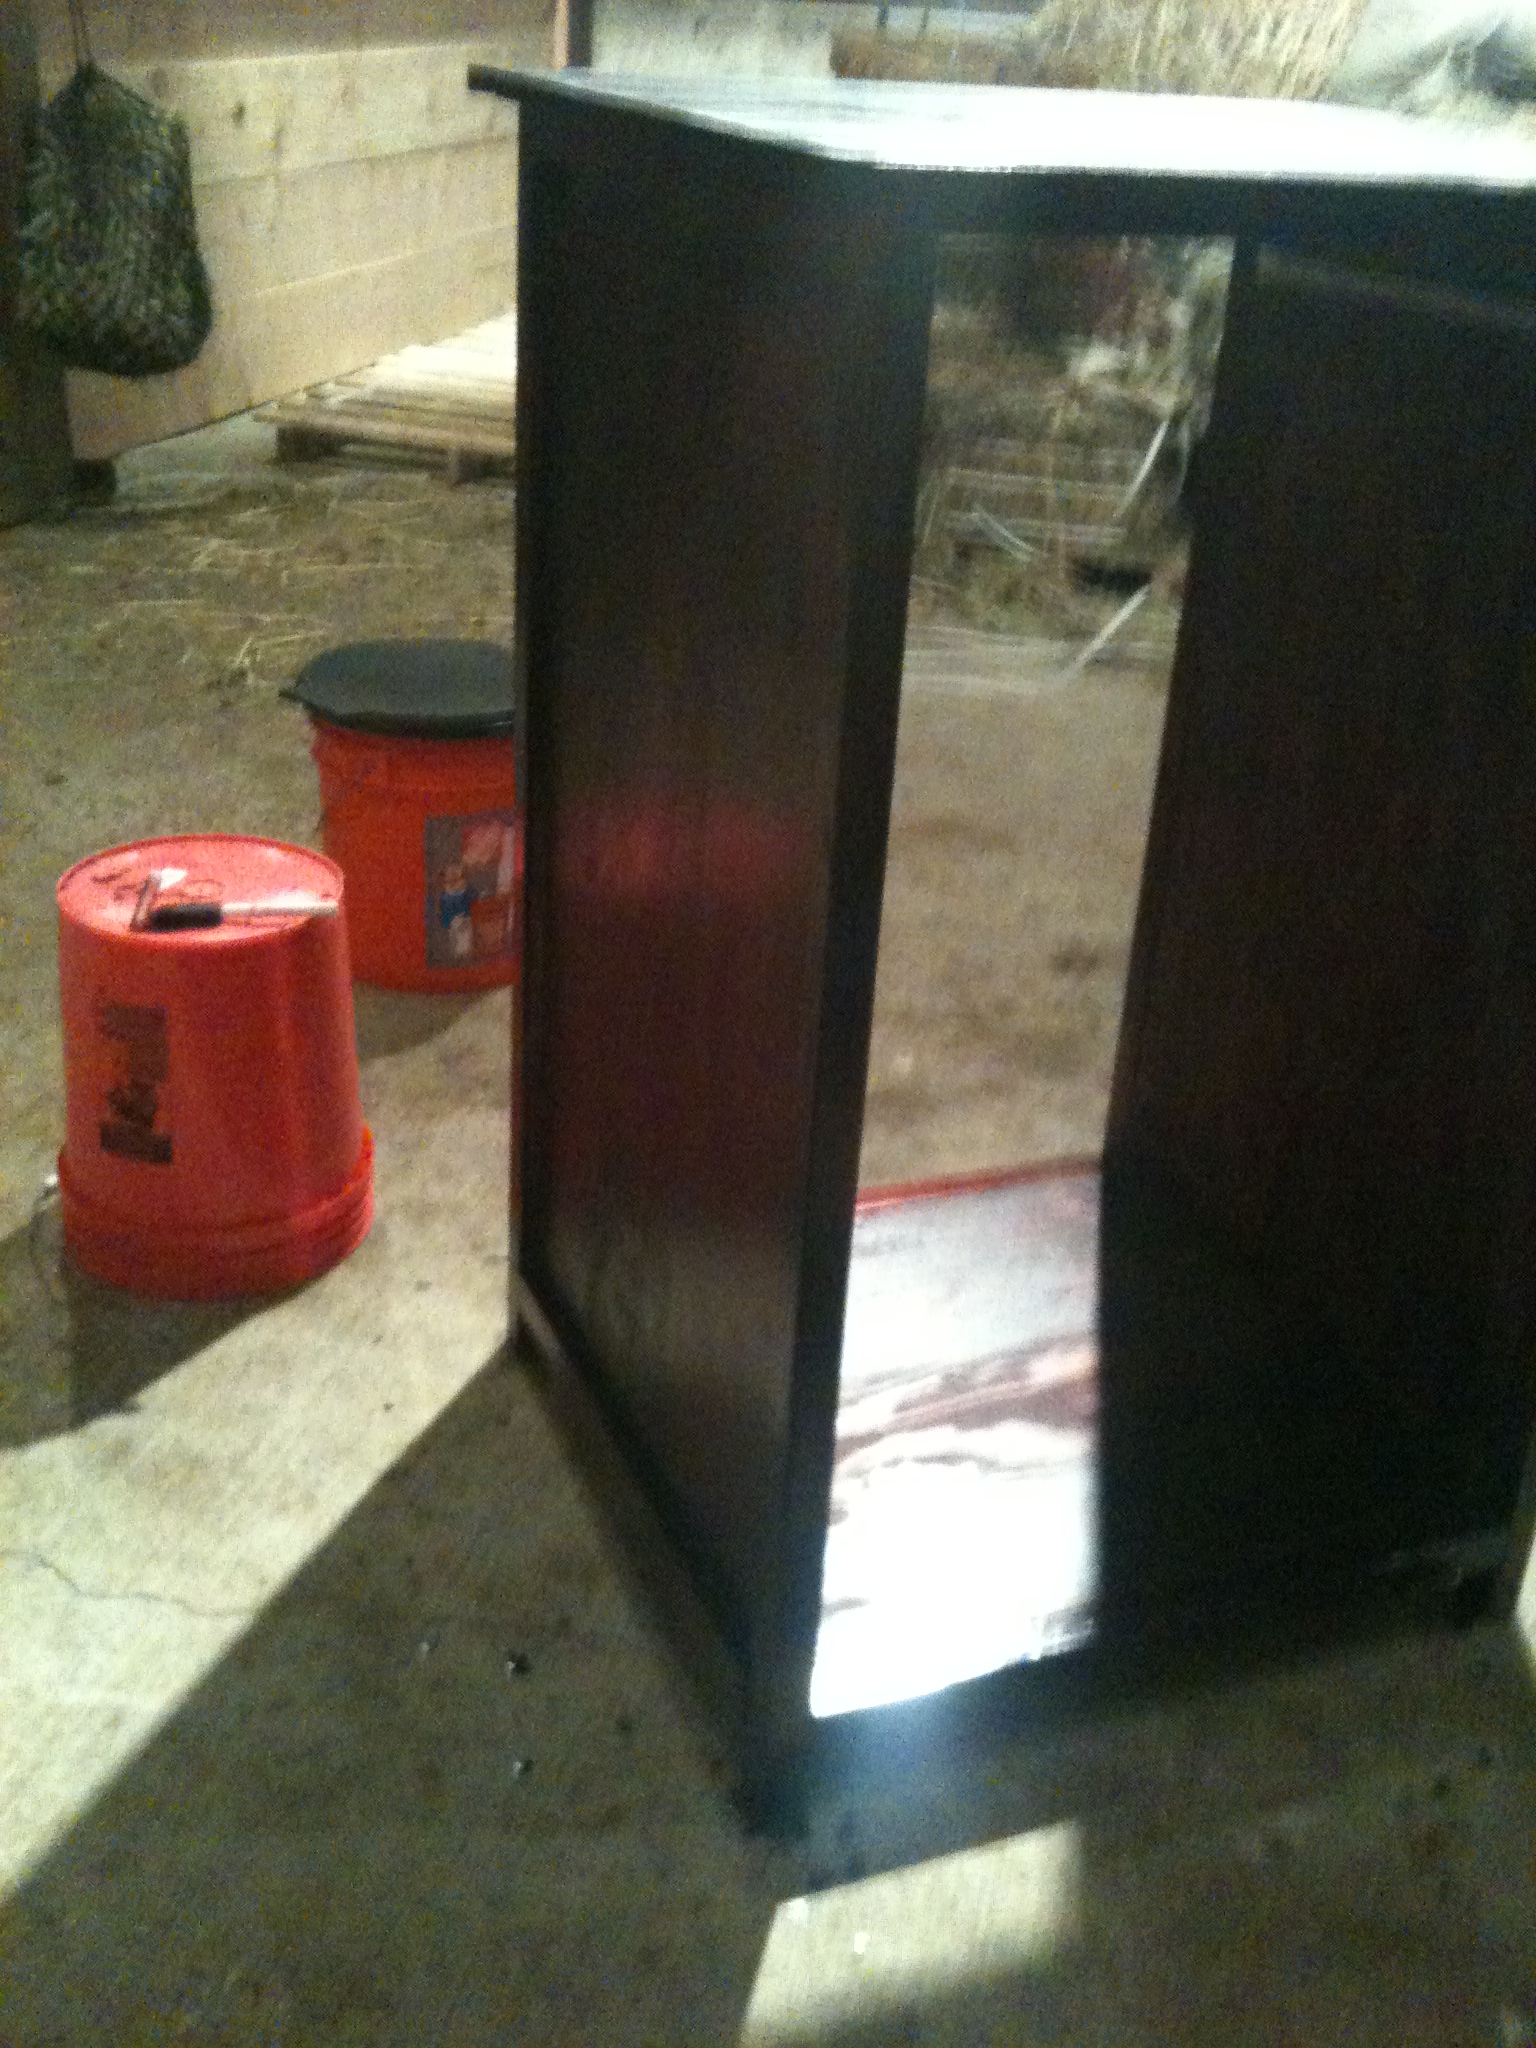
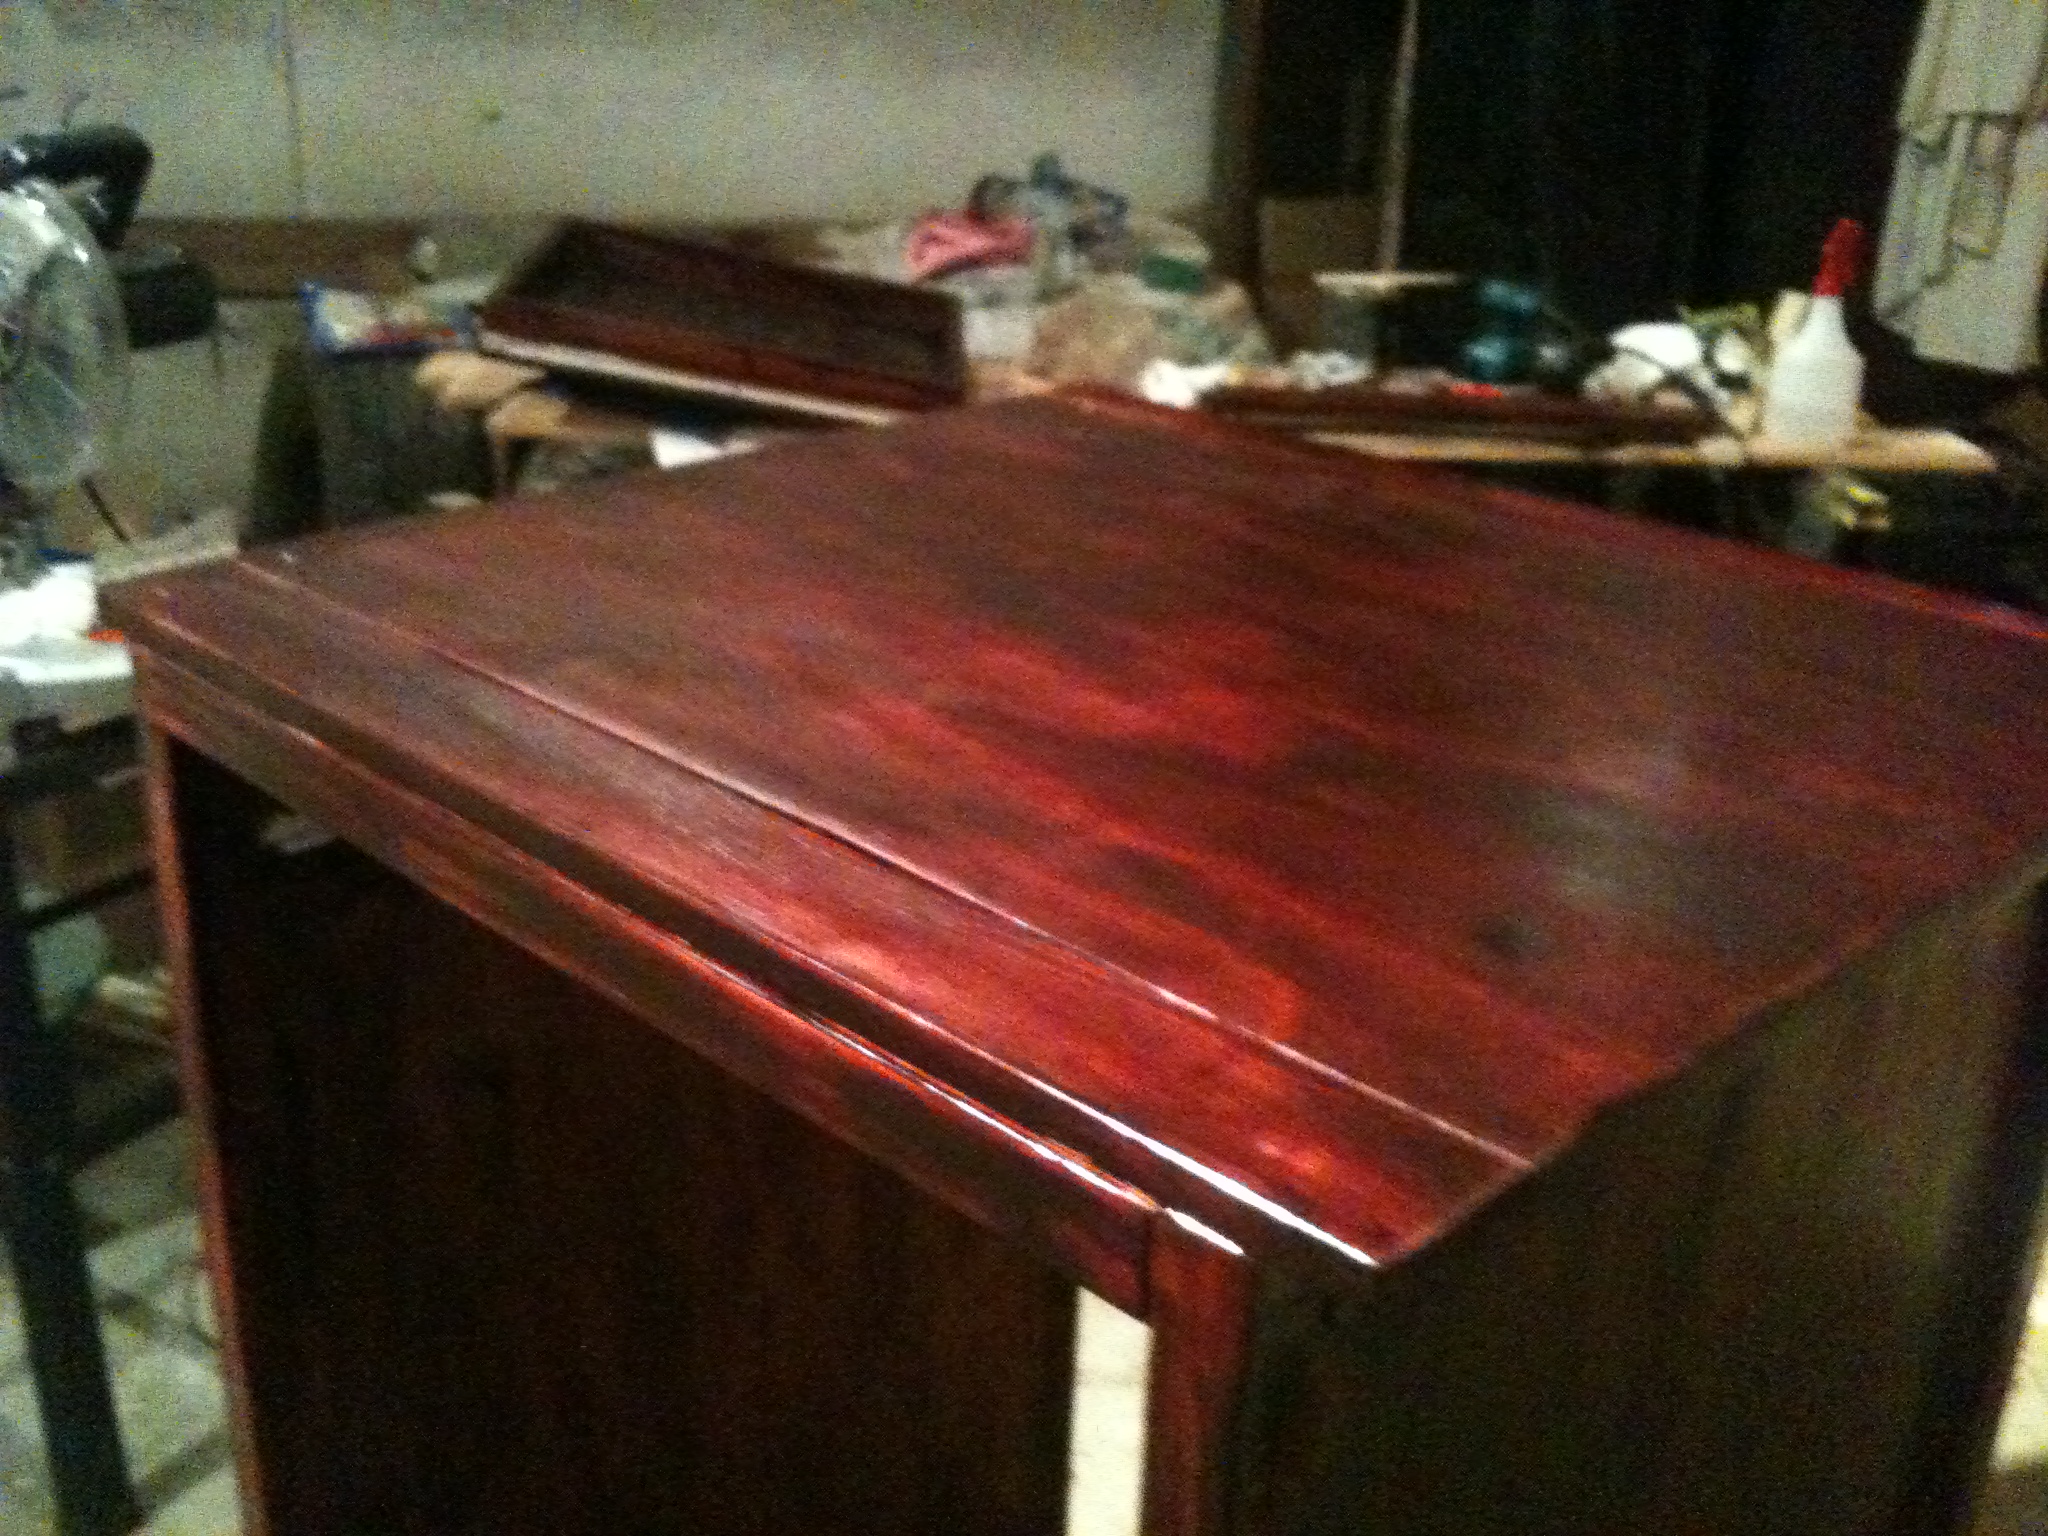
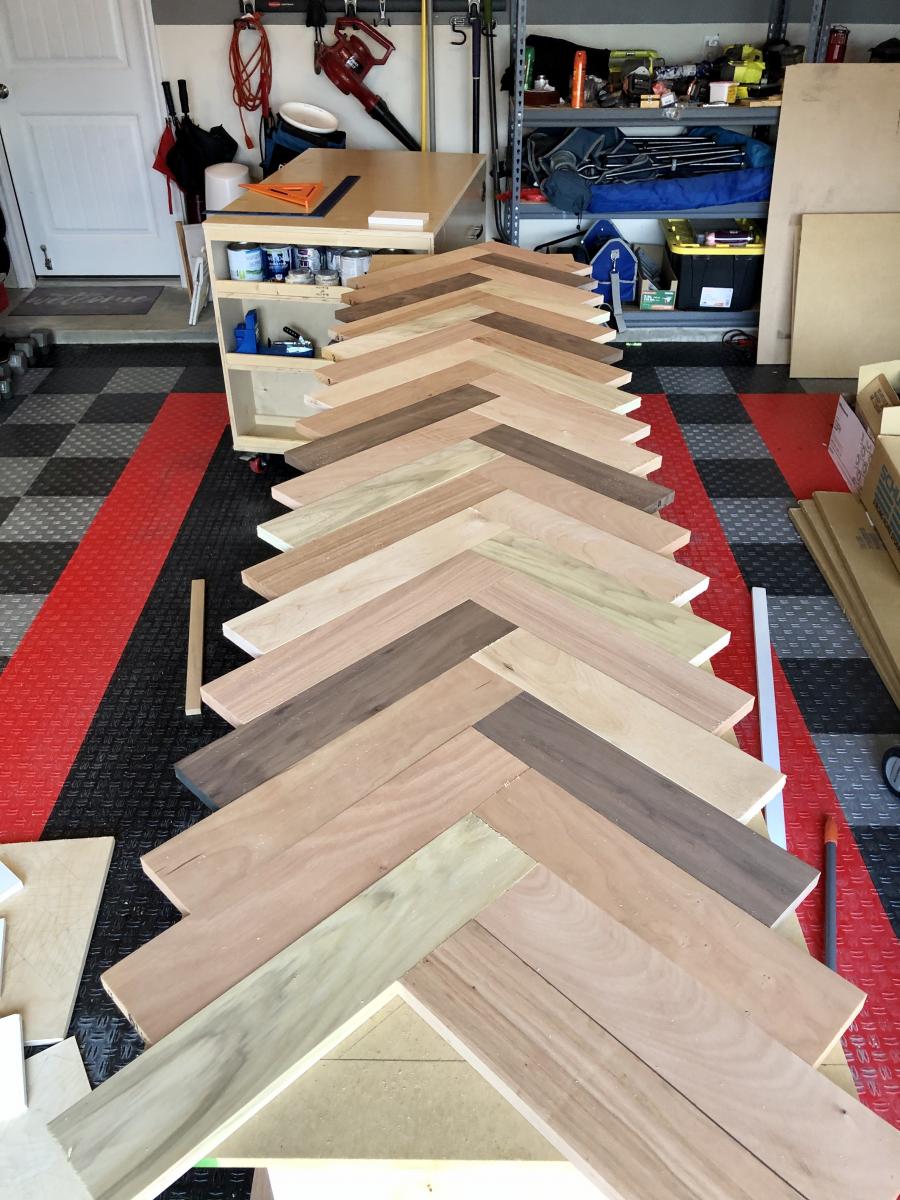
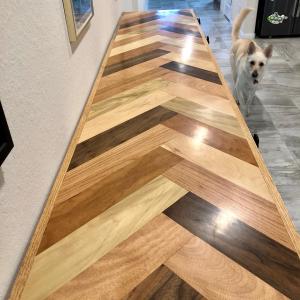
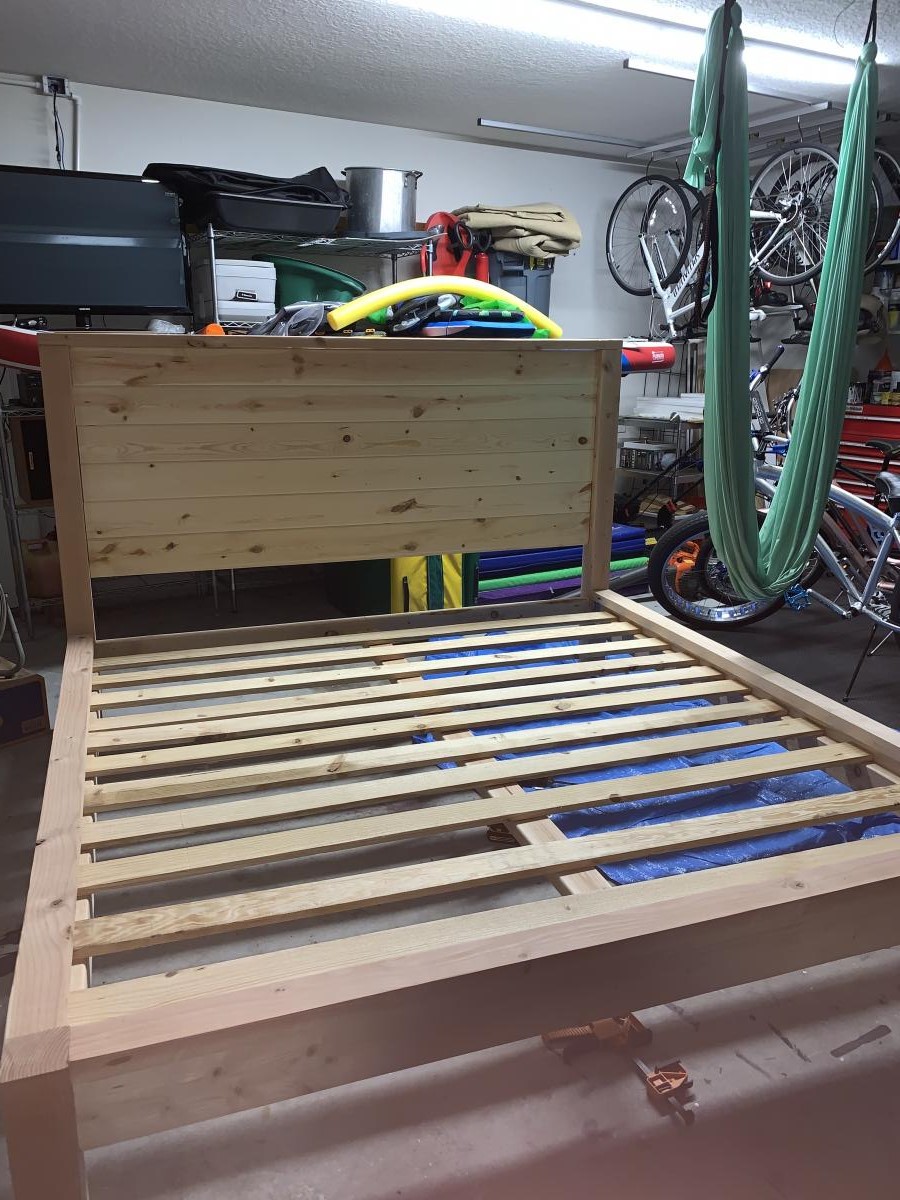
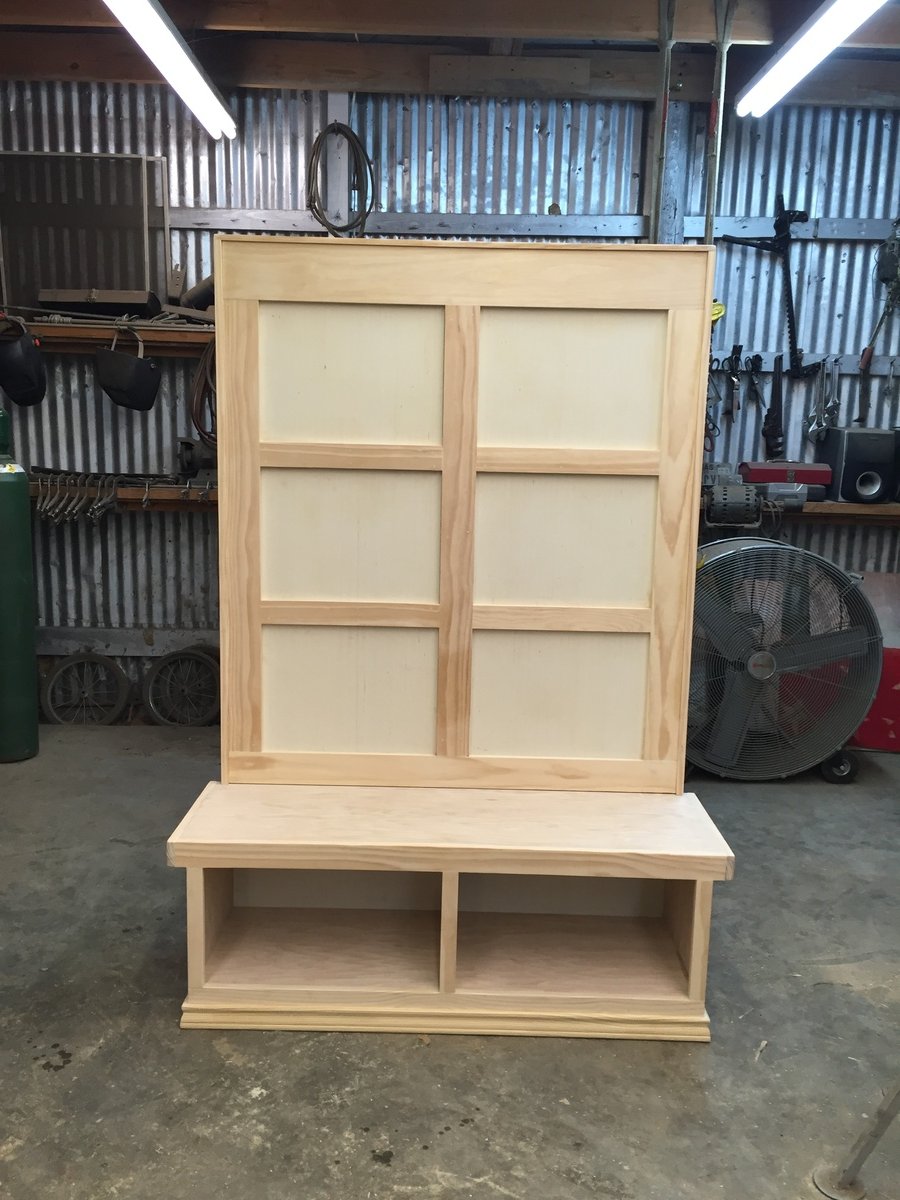
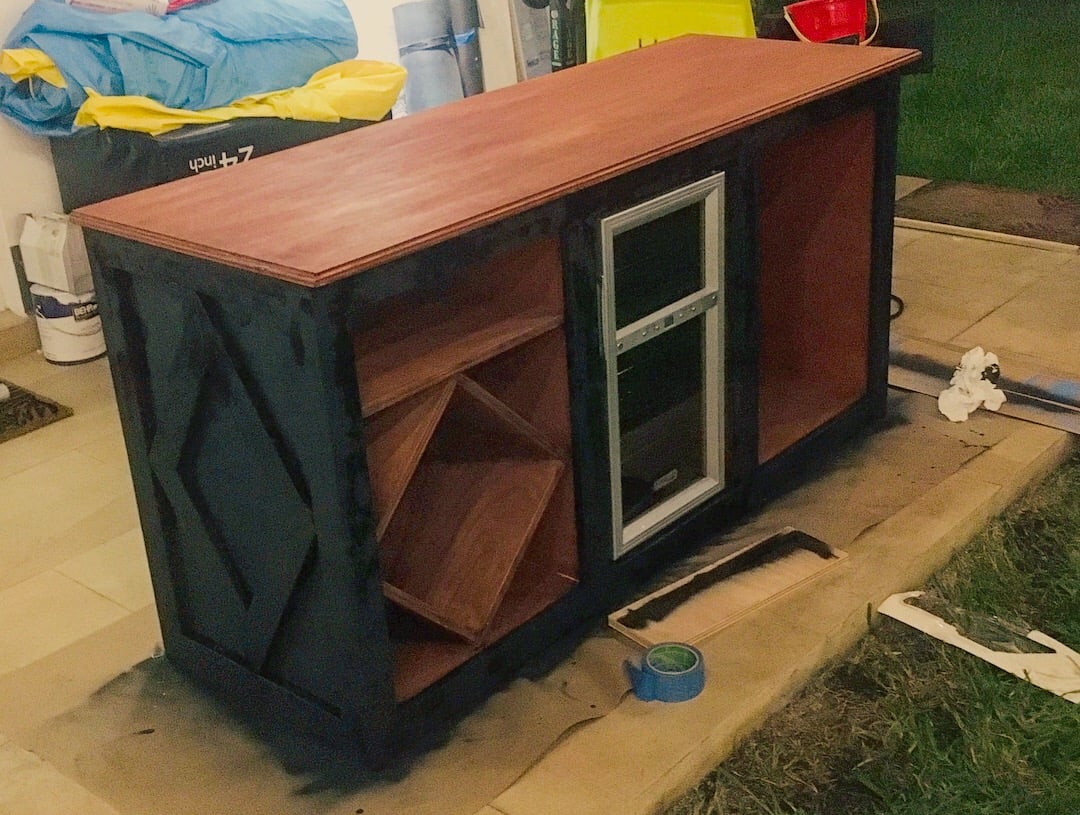
Mine is a bit shorter in length than Ana's... but all in all pretty similar. These pictures don't show all the holes filled in yet (as I ran out of putty) but that will be done next week. It looks pretty polished where I have filled them in though - paint is a wonder at hiding things.
My tearful thanks to Ana for making this seem so completely "do-able" for a woman! I was feeling pretty low before building this - but I have to say that working with wood is a REAL confidence booster and it feels so satisfying when you see the finished result. The JIG is a bit intimidating till you get used to it - but then it's so cool! Love it!
I started this on a Sunday night and finished on a Wednesday night.
I will be building again very, very soon!


Comments
Ana White
Thu, 01/12/2012 - 20:40
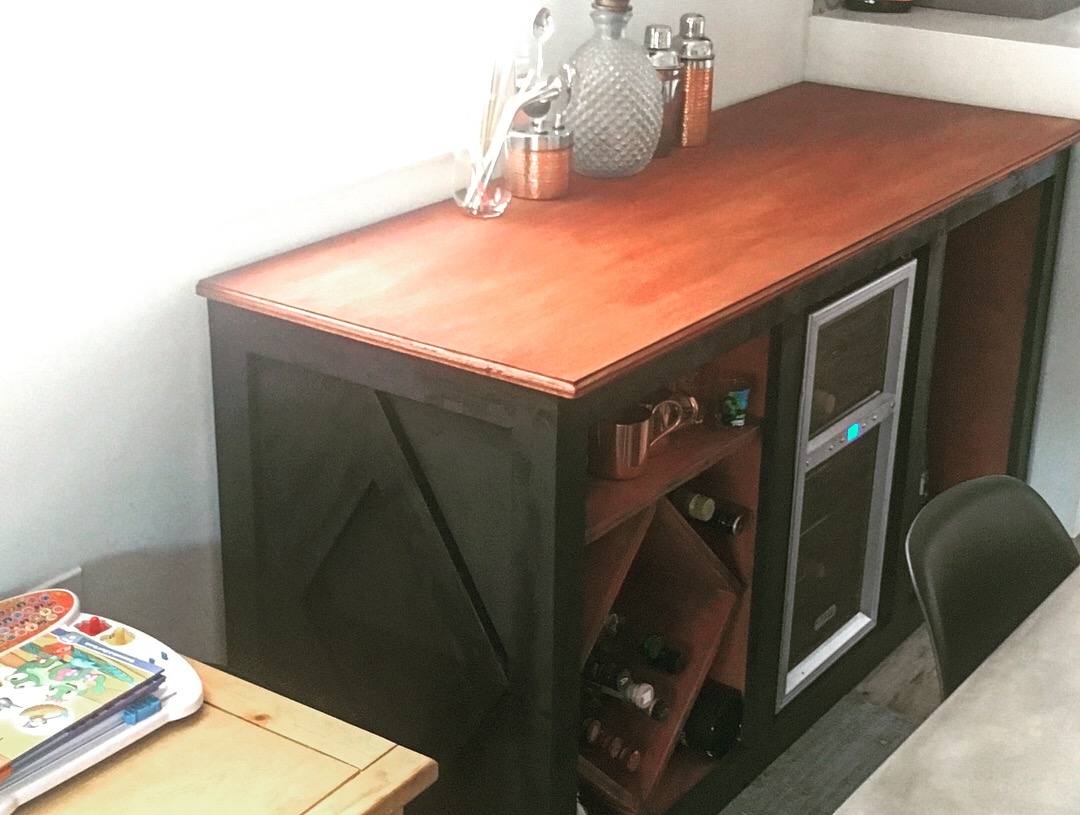
Love it!!! Gorgeous finish,
Love it!!! Gorgeous finish, what a sweet gift for the hubs man cave!
dananryan
Fri, 01/13/2012 - 17:45
Lucky Husband!
What a great gift. It looks gorgeous.
lalapizzaparty (not verified)
Sat, 01/14/2012 - 19:12
I love this! So fun. I love
I love this! So fun. I love that you built this in your barn for your hubs mancave.
That makes you sound pretty cool!
woodtop
Sat, 01/14/2012 - 19:34
It is beautiful..
Hey..that amazing. I have a brother who own a mini fridge in his room. This will look nice for him to put his mini fridge. It will also look nice if can add a door to it.