Community Brag Posts

Workbench

Submitted by e1p2m3 on Wed, 06/26/2013 - 06:52

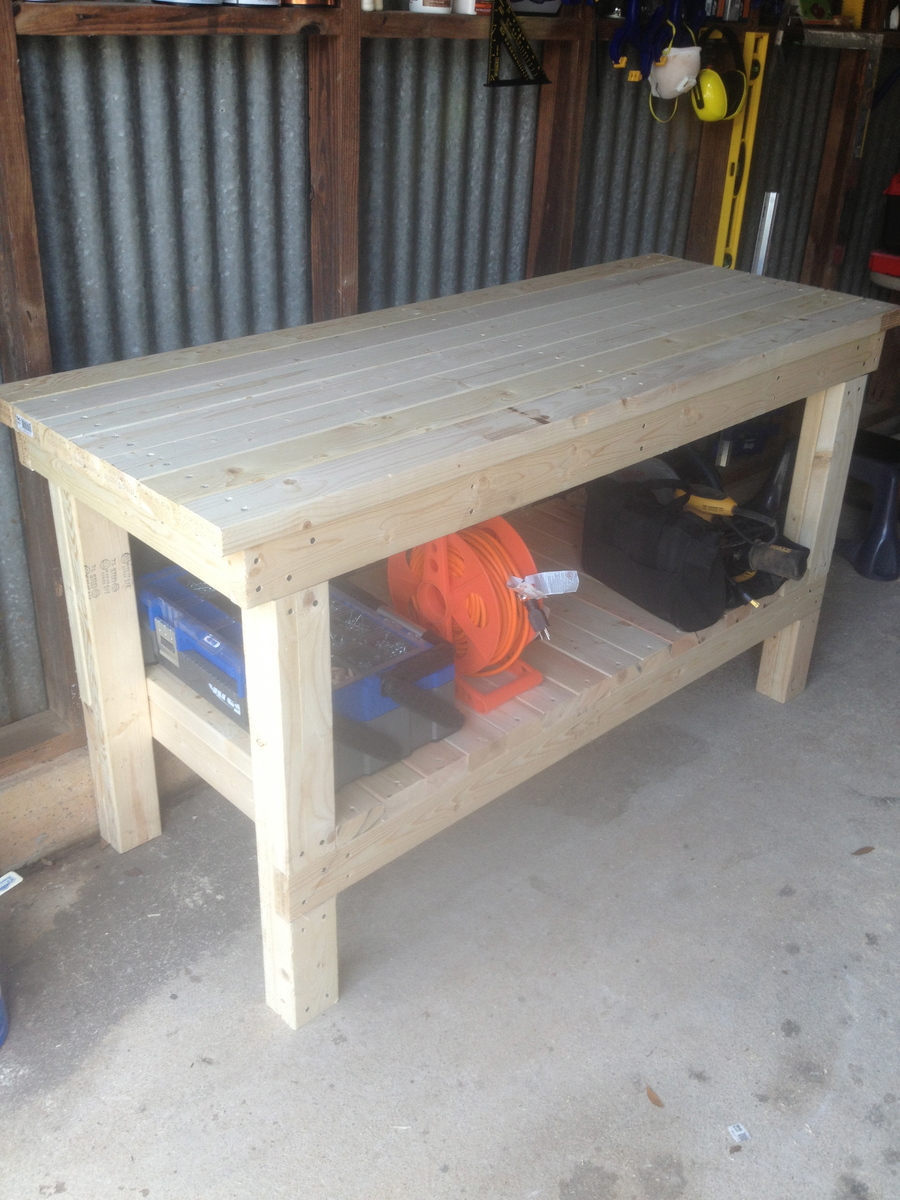
This is from the "Workbench to Get the Job Done" plan. Instead of using plywood for the shelves, I used 2x4s cut to length which made the piece extra sturdy. I also left a little overhang on each of the ends for clamping things (I wish I left at least 3" on each side, but I think I left about 1 1/2").

Estimated Cost
50
Estimated Time Investment
Afternoon Project (3-6 Hours)
Finish Used
None
Recommended Skill Level
Beginner

Upholstered Toy Boxes from Old Kitchen Cabinets

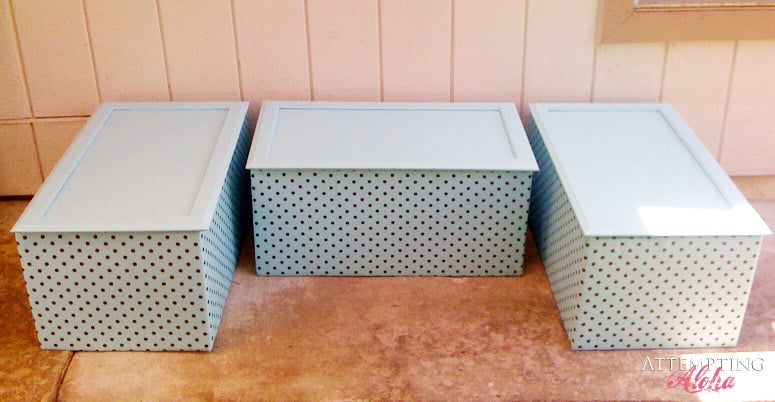
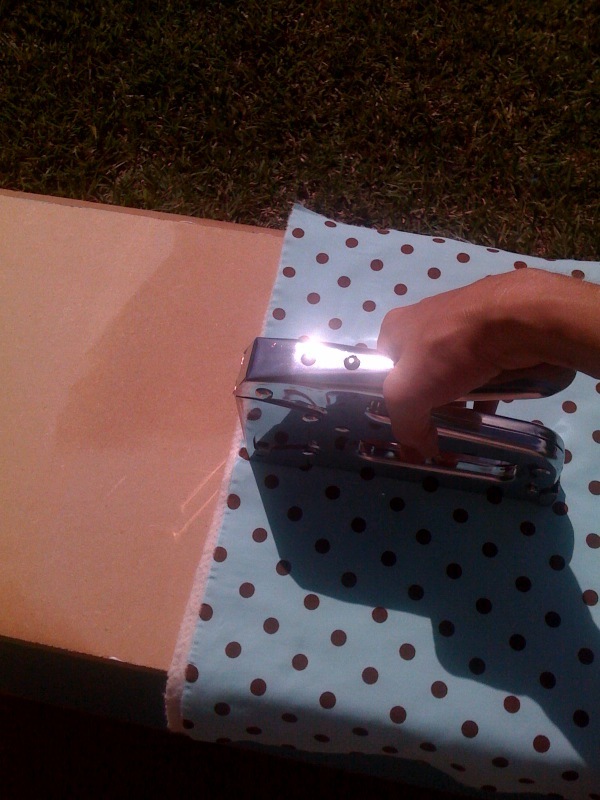
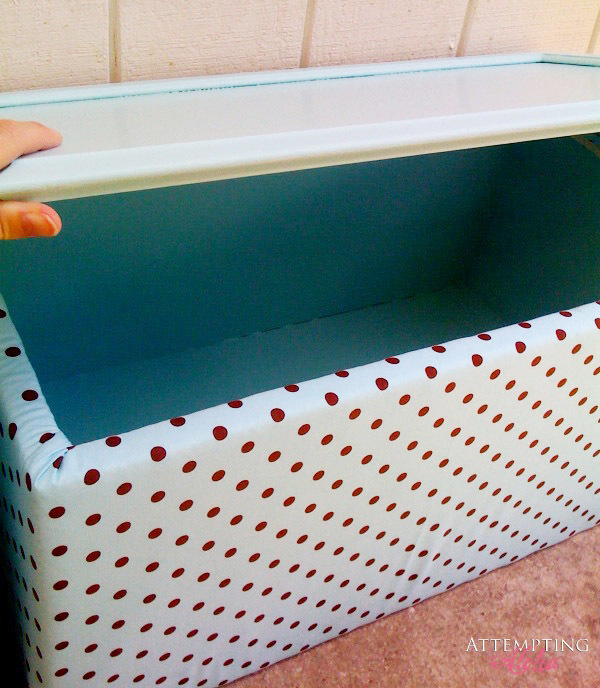
I loved Ana's upholstered toy box benches that she made and really wanted to do some of my own (three girls = muchos toys). We are remodeling our kitchen, so I decided to use our old cabinets for as much of this project as I could! Fun to keep a little bit of our home with us wherever we move (military family). :)

Built from Plan(s)
Estimated Cost
0
Estimated Time Investment
An Hour or Two (0-2 Hours)
Finish Used
Robert Kaufman Pimatex Basics fabric and acrylic latex Oops! paint from local hardware store.
Recommended Skill Level
Beginner

Motorcycle Gear Locker

Submitted by abarbato82 on Sun, 02/27/2022 - 05:45

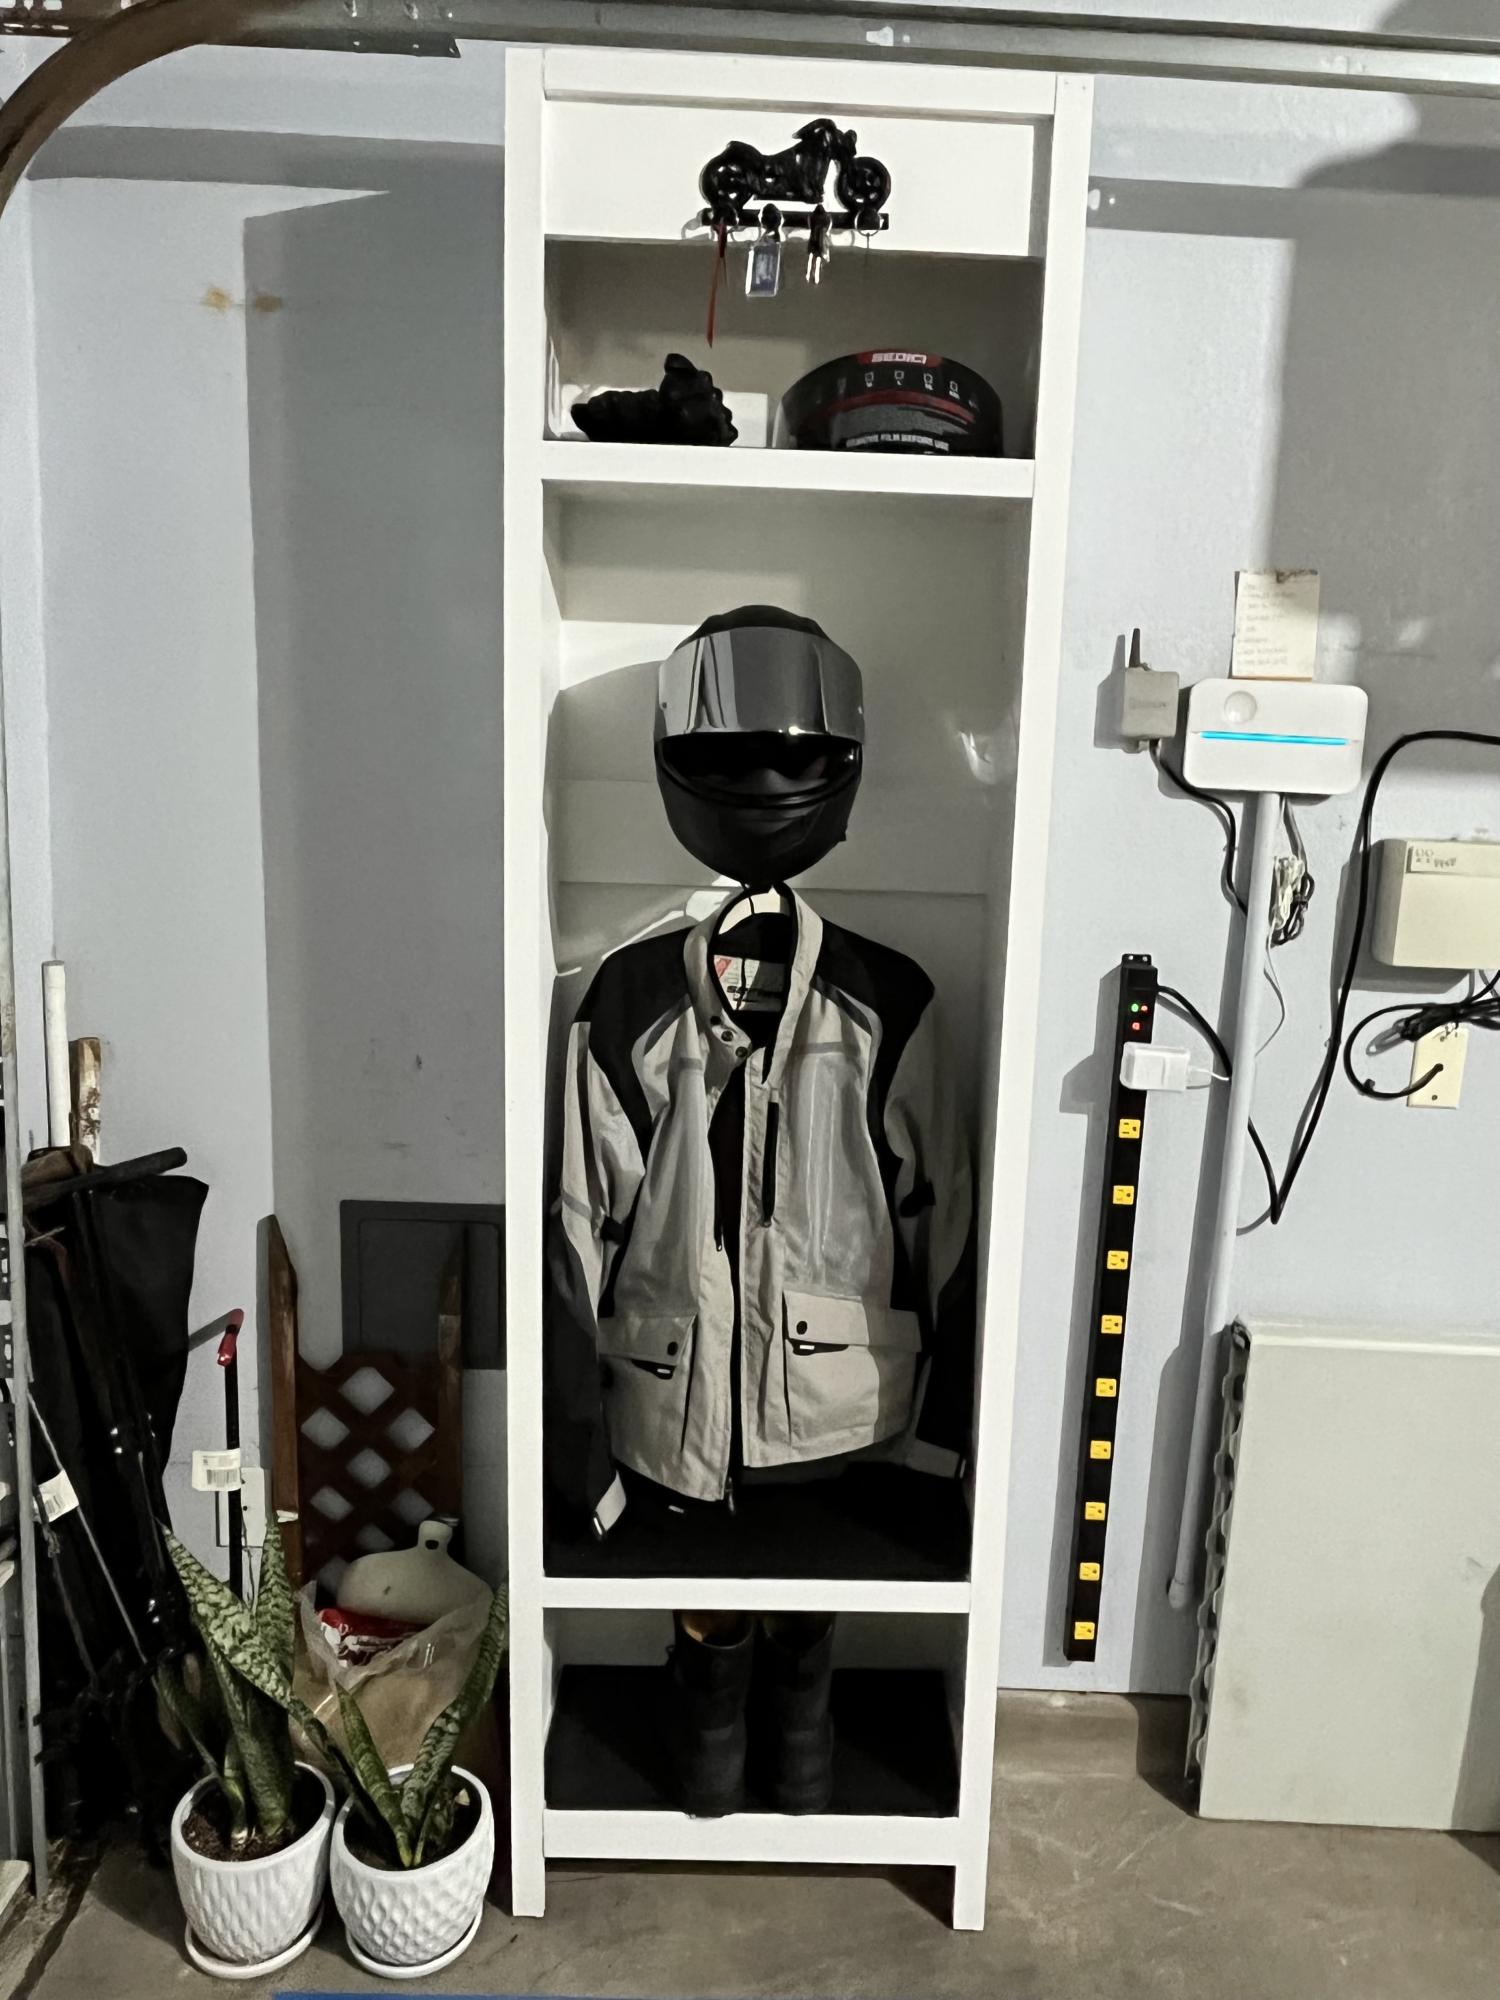
Had all my motorcycle gear throughout the garage and wanted to pull it all together. The single locker plan was a perfect blueprint with just some adjustments to height and width. Thank you!

Built from Plan(s)

Comments

Indoor Dog Kennel

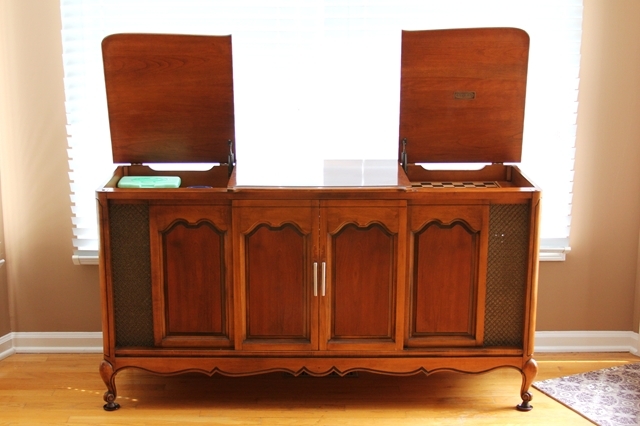
I love my dogs, but their wire kennels were an eyesore. Removing them completely was not an option, but I was tired of looking at them. I went back to my first-ever rehab project, and took it one step further to create a one-of-a-kind castle for my pups.
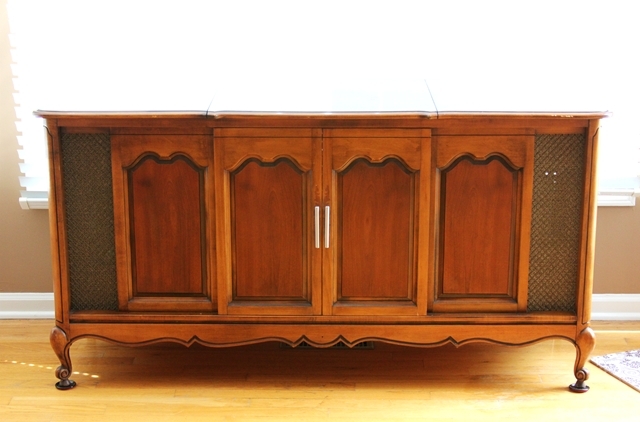
The original piece of furniture was an old console-style TV cabinet. Sliding doors on the front revealed the TV, and two lids on top contained the tuner and a turn-table.

Armed with screwdrivers, hammers and a dremmel, all components were removed form the cabinet, leaving just the shell. (PLEASE be sure you remove all sharp, potentially dangerous, screws, staples and what-not’s from the inside of the cabinets, to avoid injuring your pet! The dremmel allowed me to cut off and grind down stubborn screws.)

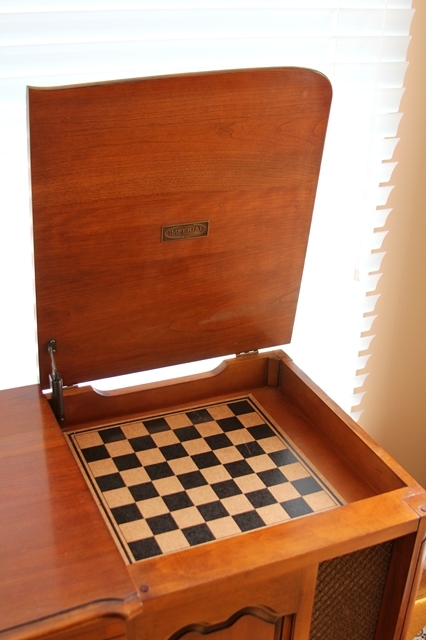
To cover the holes in the top cabinets, I used old checker boards. The cubbies are now a great place to store dog treats and leashes.

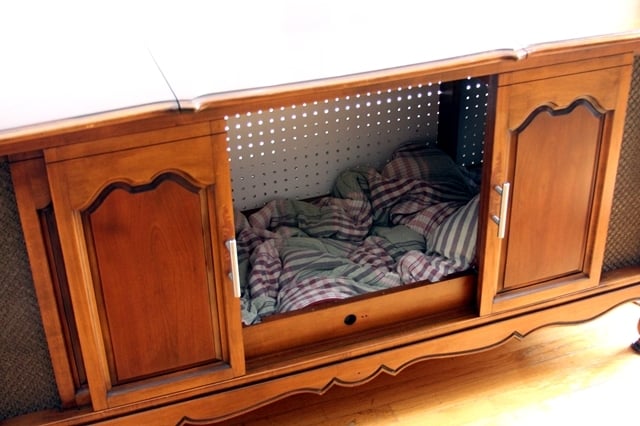
OPTIONAL: The back panel of the cabinet I used had holes from the TV components. I elected to replace the back board with a new sheet of peg board. (The peg board allows for much-needed ventilation.) In order to get the size perfect, I traced the old back onto the new and marked the original screw holes.

I vacuumed the inside to remove all construction debris and polished the exterior with Pledge. Then, I inserted an old comforter into the kennel, and stood back as my two pups launched themselves into their new abode.

The doors can stay open during the day for them to enter at their own will, and close for bedtime. And my eyes no longer hurt.
Estimated Cost
Cost of Cabinet (will vary)
Estimated Time Investment
Afternoon Project (3-6 Hours)
Finish Used
I did not elect to change the finish, but it could be painted to match any decor if you want.
Recommended Skill Level
Beginner

Comments

Barbara Cash

Thu, 08/11/2011 - 18:41

This was such a great idea. I love the old console. I love to build but I love it so much more when I can use old wood or repurpose parts of old furniture and industrial pieces. I feel creative. The checker boards are great. Do you have a blog?
Beffus (not verified)

Wed, 08/24/2011 - 09:33

I wish I thought of this or saw it long ago! I have 2 huge ugly crates in my living room...I am now on the hunt for 2 much better looking living spaces for my "other babies"! Love love this idea so much looks beautiful!

Hockey Drying Rack

Submitted by Anonymous (not verified) on Tue, 09/27/2022 - 17:35

Love it so much! It holds every single piece of my husbands gear, and he finally keeps it all in the garage instead of dispersed on the ground around his office (gag). I’m currently making a vinyl sticker with his name and number to put on the front bottom piece! Thank you, Ana!

Built from Plan(s)

Comments

Sandbox with benches

Submitted by h.abbott on Tue, 04/10/2012 - 05:43

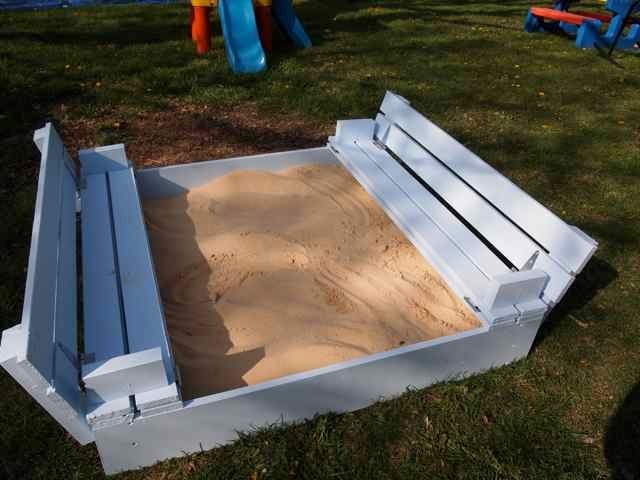
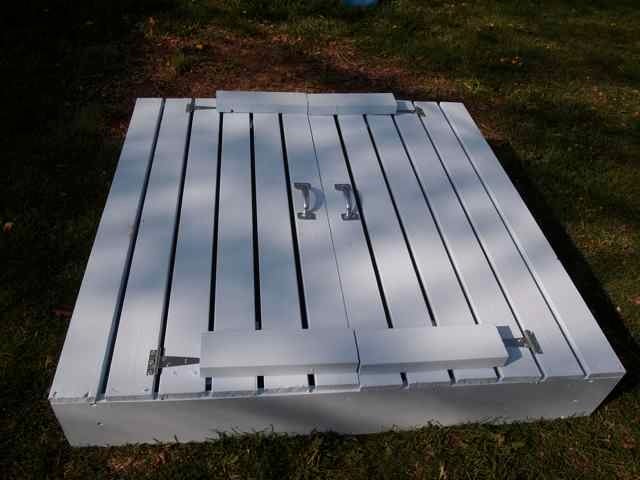
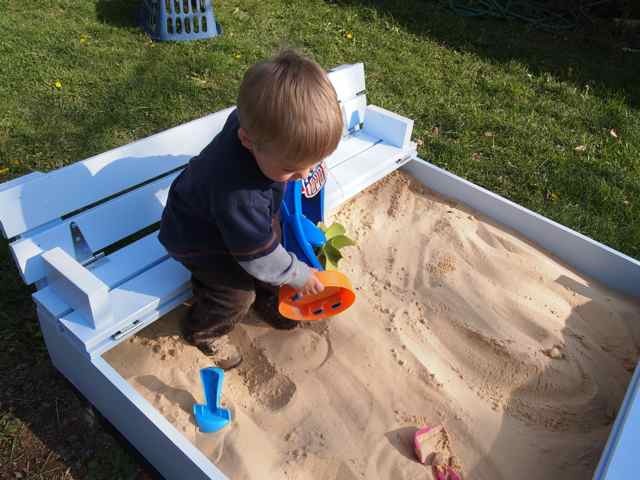
I knew I needed a sandbox for my toddler, and saw the original on pinterest. I was so happy when I came here looking for designs and saw that someone had created a plan for this. I think I'm more excited about it than my little guy is.

The plan was easy to follow, and it went together quickly. Thank you very much for these plans

Built from Plan(s)
Estimated Cost
$50
Estimated Time Investment
Afternoon Project (3-6 Hours)
Finish Used
Exterior paint in light blue.
Recommended Skill Level
Starter Project

Comments

hippyengineer (not verified)

Tue, 10/16/2012 - 19:32

You rock Ana! Your plans are some of the best quick builds with lots of features. I built this sand box in two hours and my son is having the best time. This is a Texas winter replacement for the beach and the backyard pool.

edkeogh

Mon, 05/23/2016 - 19:44

So I just started making this box and it's truly an awesome design but I couldn't get 1x8 lumber instead I got 2x8... For the box base, will this make an difference in the mechanics of the seat and back opening..and the overall size of the box is 1.5" longer at 49" instead of the 47" the plans detail.. I was hoping that it won't but I think it might interfere with the 2x4 support the seat back..

I right in the middle of this project so I need to get on with it as it's nice tomorrow..

THANK YOU
ED

VegTrug

Submitted by carongirls on Sat, 02/22/2014 - 18:52

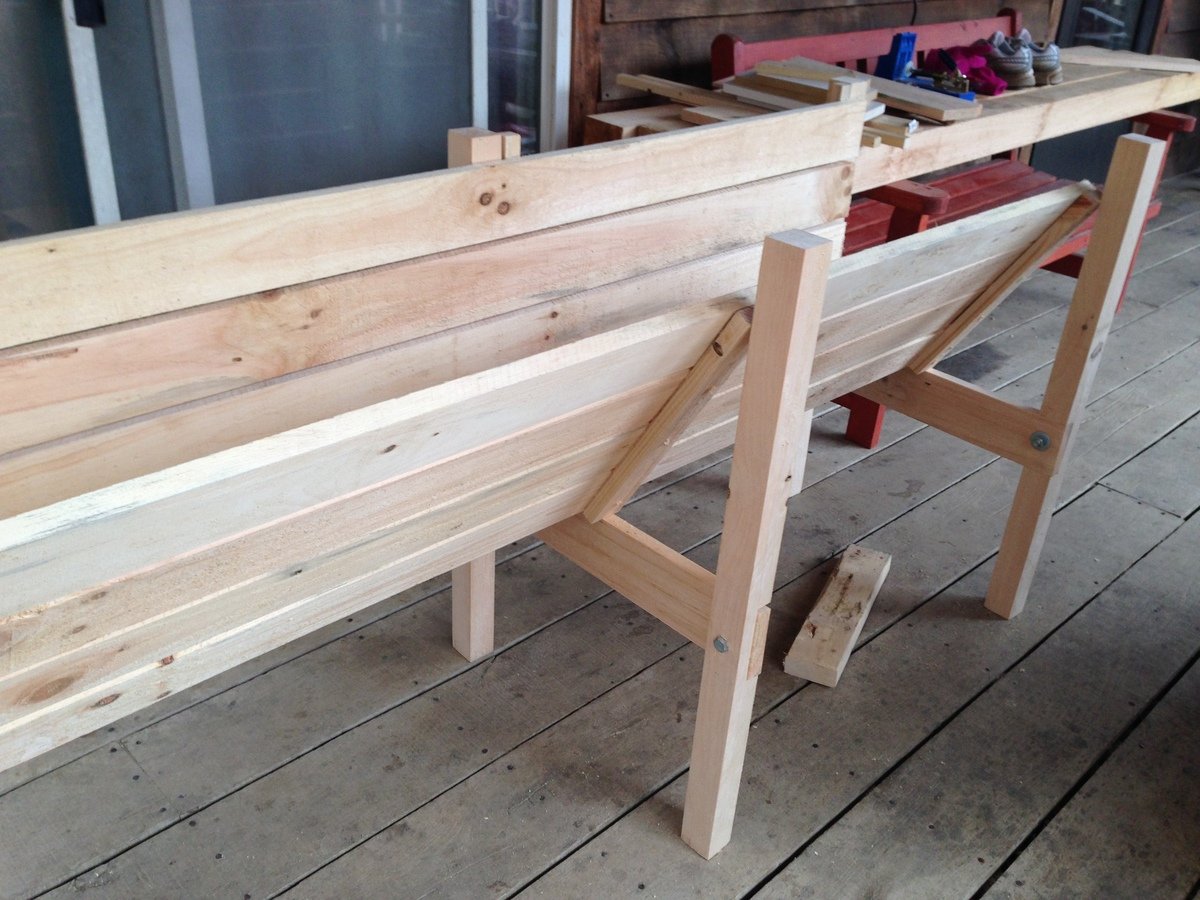
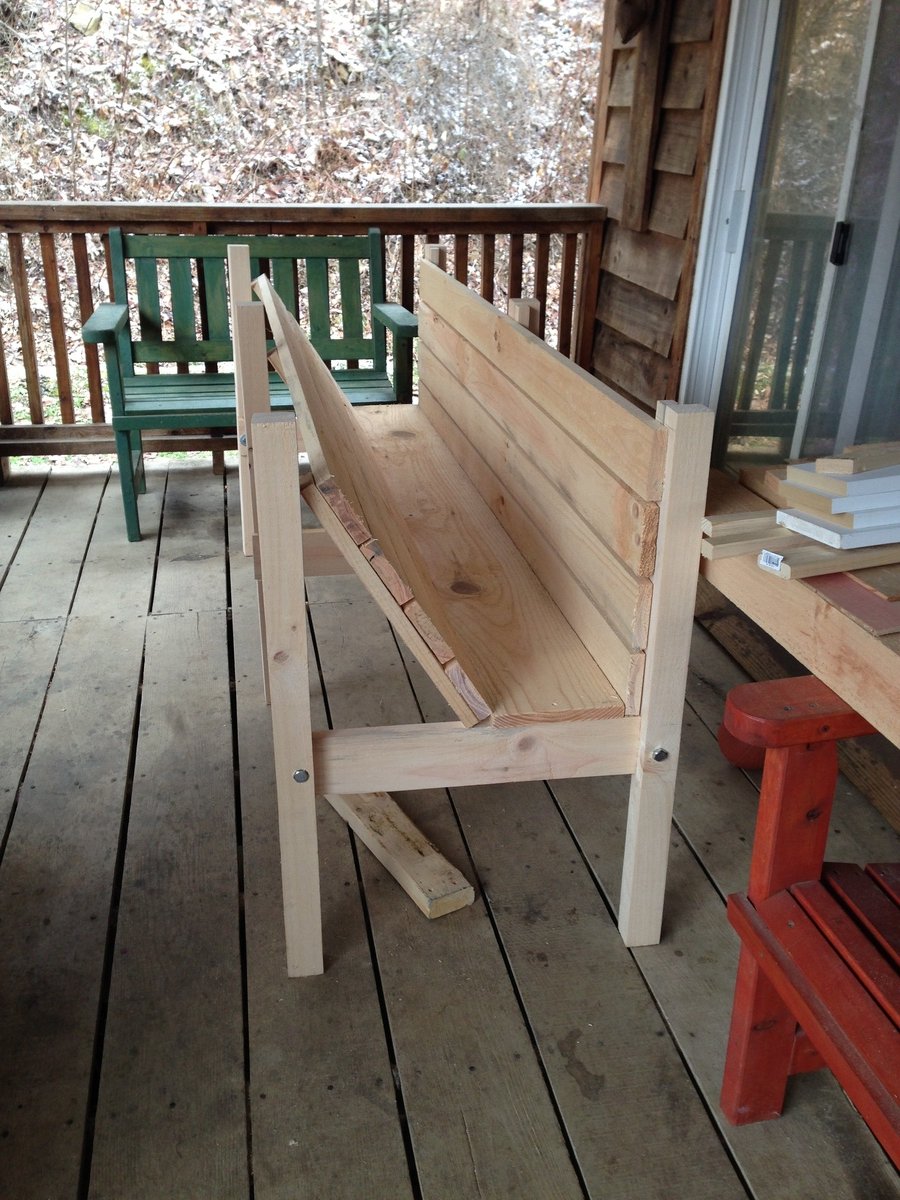
A friend needed a raised garden bed for her husband who is in a wheel chair. I searched and found the VegTrug's. It took a lot of trial and error. I based it off Williams Sonoma's pictures. I wouldn't of attempted this with out a plan if it weren't for Ana's website.

Recommended Skill Level
Intermediate

Comments

steve badham

Wed, 09/09/2015 - 02:56

We have just set up a "Men'sShed" in our little village here in the UK, and think that these would make a great first project for novice handymen. Are there any plans available to help us?

Steve

Trickman2

Wed, 05/18/2016 - 21:45

Not sure what the story is here,  Maybe she got in trouble for saying Vegtrug?  I would like plans for a DIY Raised planter bed like the above. 

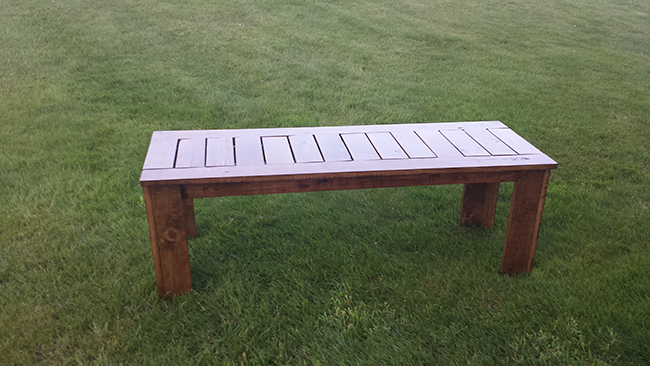
Simple Outdoor Bench

Submitted by coolove on Sat, 05/24/2014 - 21:24

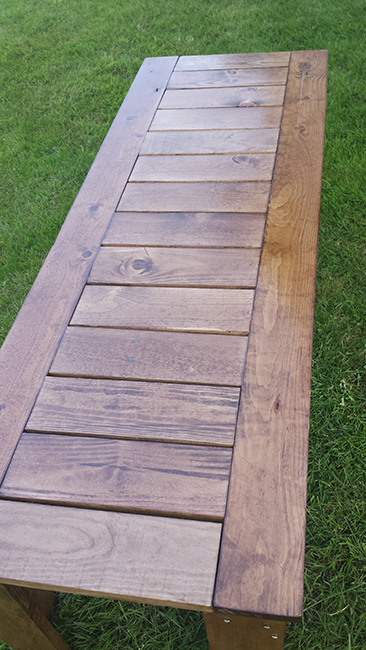
I wanted to make something for my mom so she could have a place to grow her herbs this year on the balcony for easier access instead of planting in the backyard. The project was stretched over a few days. Cutting on day one, sanding on day two, painting on day three and drilling and putting it together on day four.

With the exception of the legs, the entire bench was put together using the Kreg Jig mini. I added extra 1x4s to the legs. Though, next time I will change to either 2x4s or 4x4s for extra stability when sitting. I really love how it turned out. I almost don't want to put it outside.

Built from Plan(s)
Estimated Cost
$30 for wood
Estimated Time Investment
Weekend Project (10-20 Hours)
Finish Used
Varathane Dark Walnut and Cabot Semi-gloss Spar Varnish. The finish had been sitting in my garage unmixed for a few months. It came out a lighter color then I expected but I love the outcome.
Recommended Skill Level
Beginner

Comments

lbadger

Wed, 11/25/2015 - 16:28

I love how your bench came out! I am looking at doing something similar - two in sectional arrangement to use as project/work space seating and convert to spillover sleeping area (the table will lower to bench height). I have a question about stability.Even with the additioanl 1x4 are you finding this bench not very stable?

thanks!

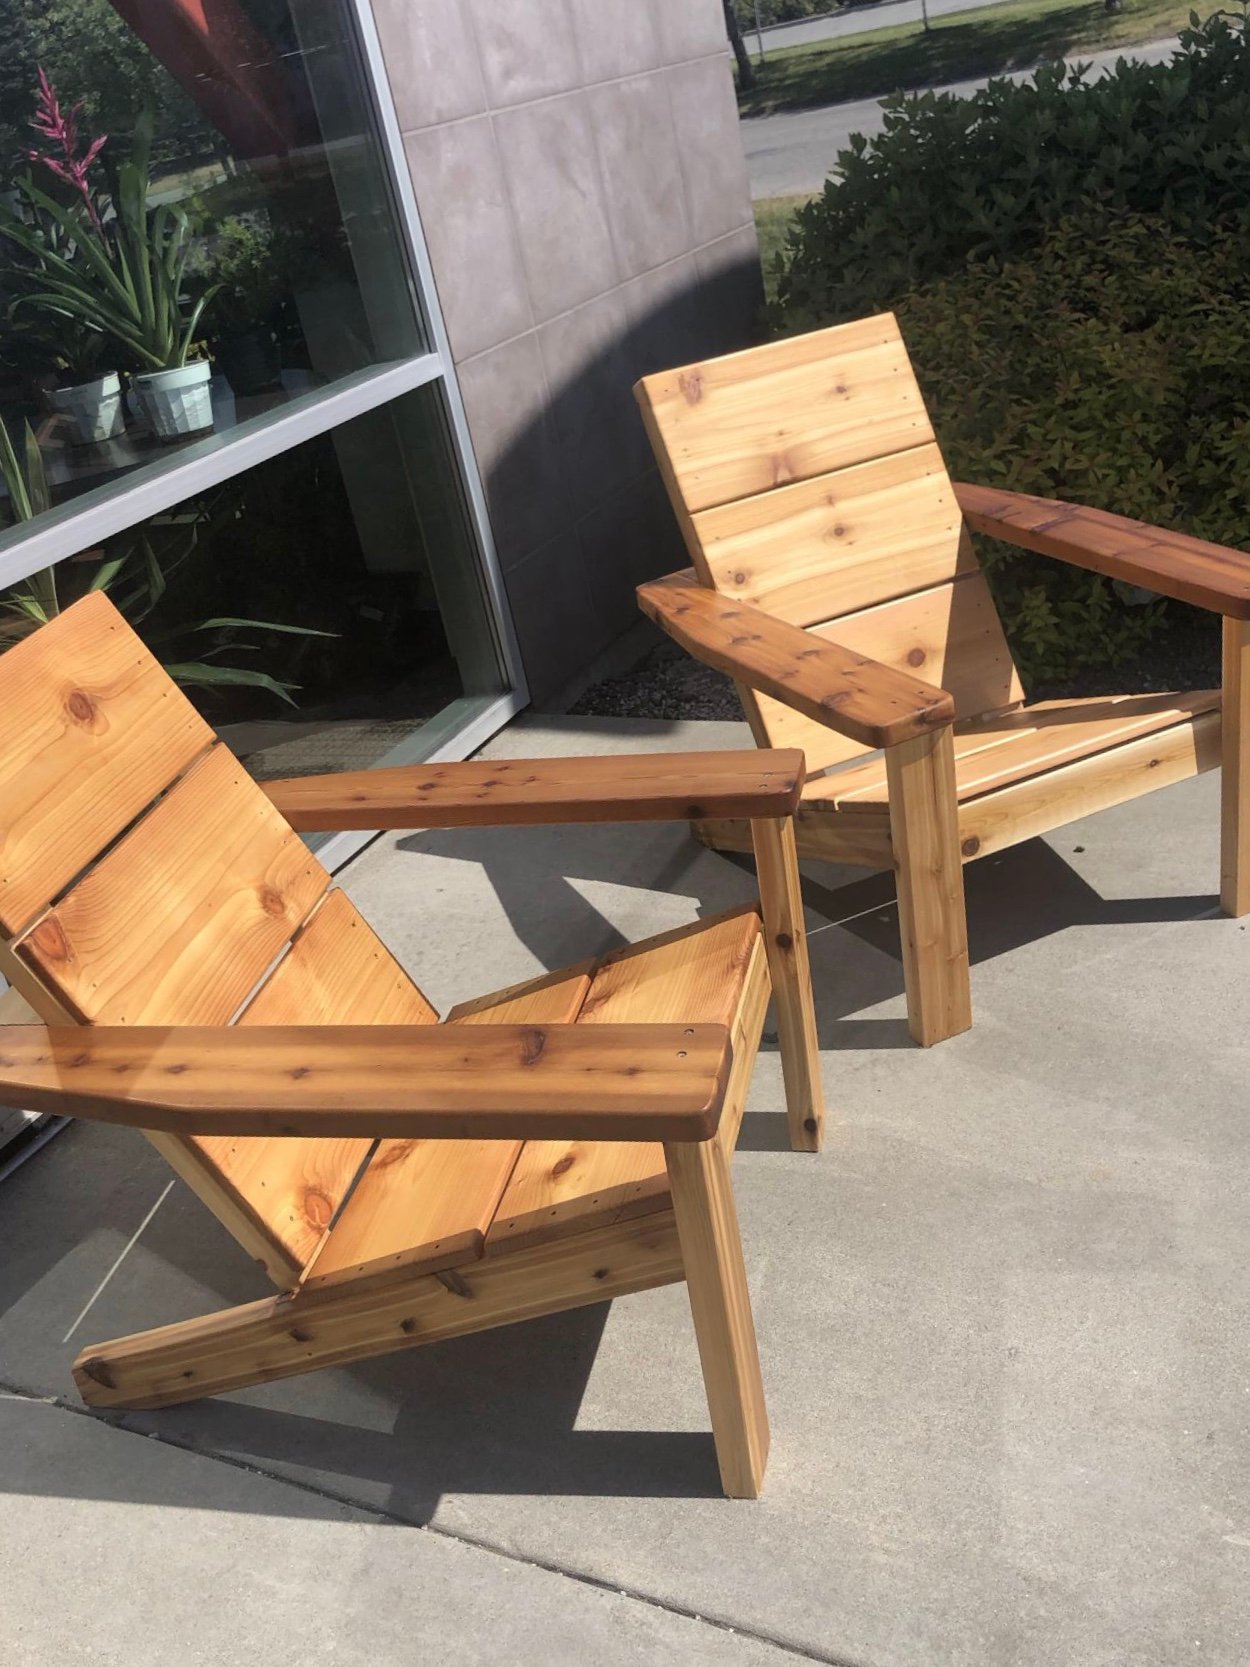
Best Chairs Ever!

Submitted by Anonymous (not verified) on Tue, 06/09/2020 - 18:16

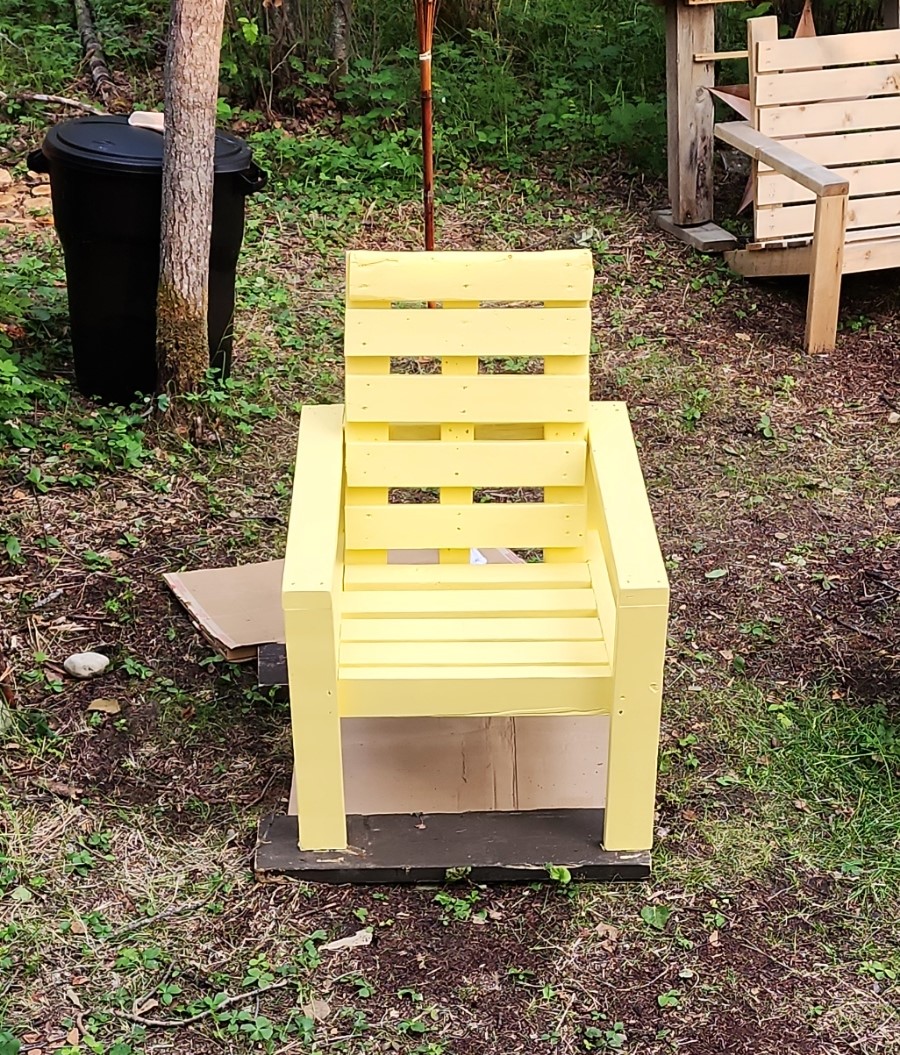
I made these modern Adirondack chairs for our business in Anchorage. GREAT and easy to build design by Ana - we upgraded the arms to tapered 2x6 and they're awesome!

DIY Murphy bed made from solid wood

My husband used the plans from this website to make a single Murphy bed. He didn't make any changes, save for building the frame out of solid poplar and using birch plywood for the flat surface the mattress sits on when it's unfolded. We trimmed it to mimic the the lines of a built-in in the same room, and stained it Jacobean to make it look dark. It's a solid piece of furniture and is saving us tons of space.

Estimated Cost
$200
Estimated Time Investment
Weekend Project (10-20 Hours)
Finish Used
Minwax Jacobean
Recommended Skill Level
Intermediate

DIY Upholstered Bed

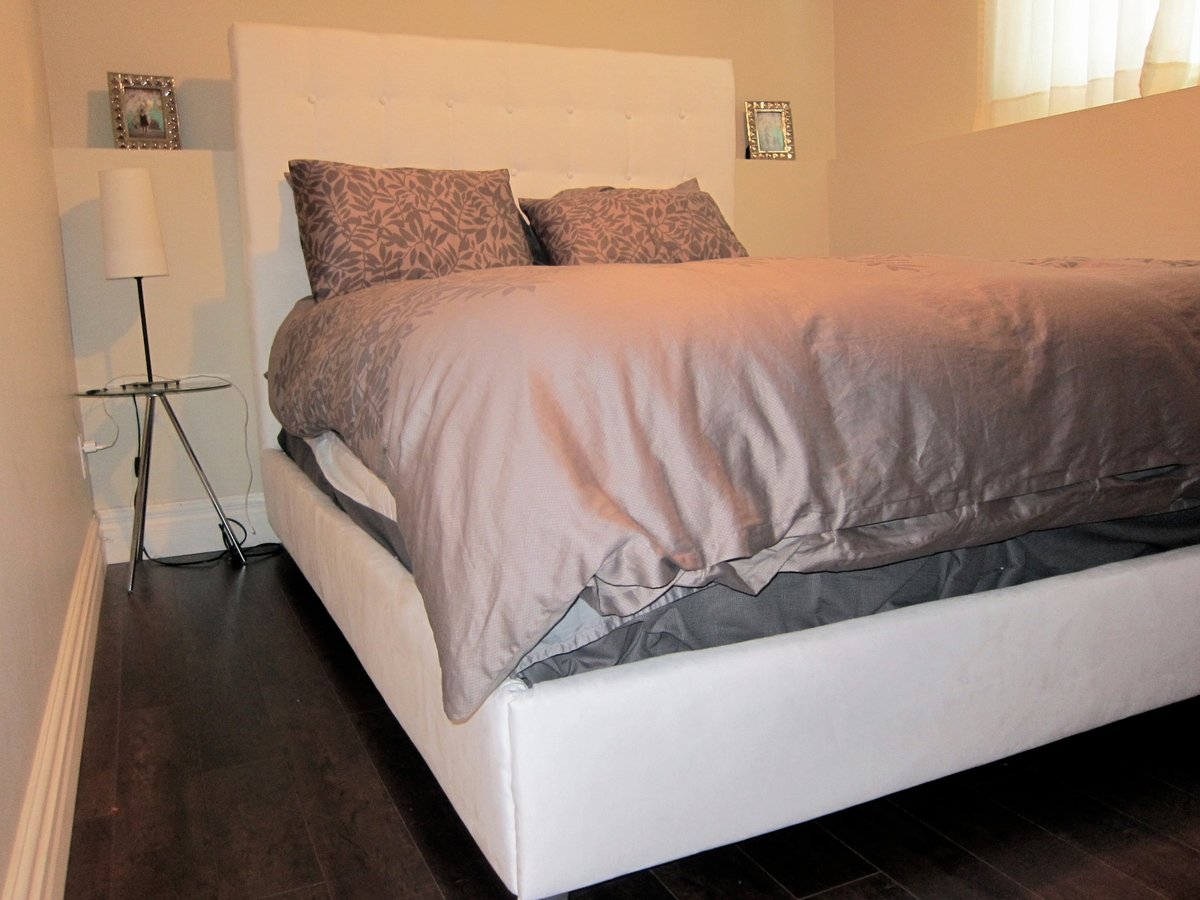
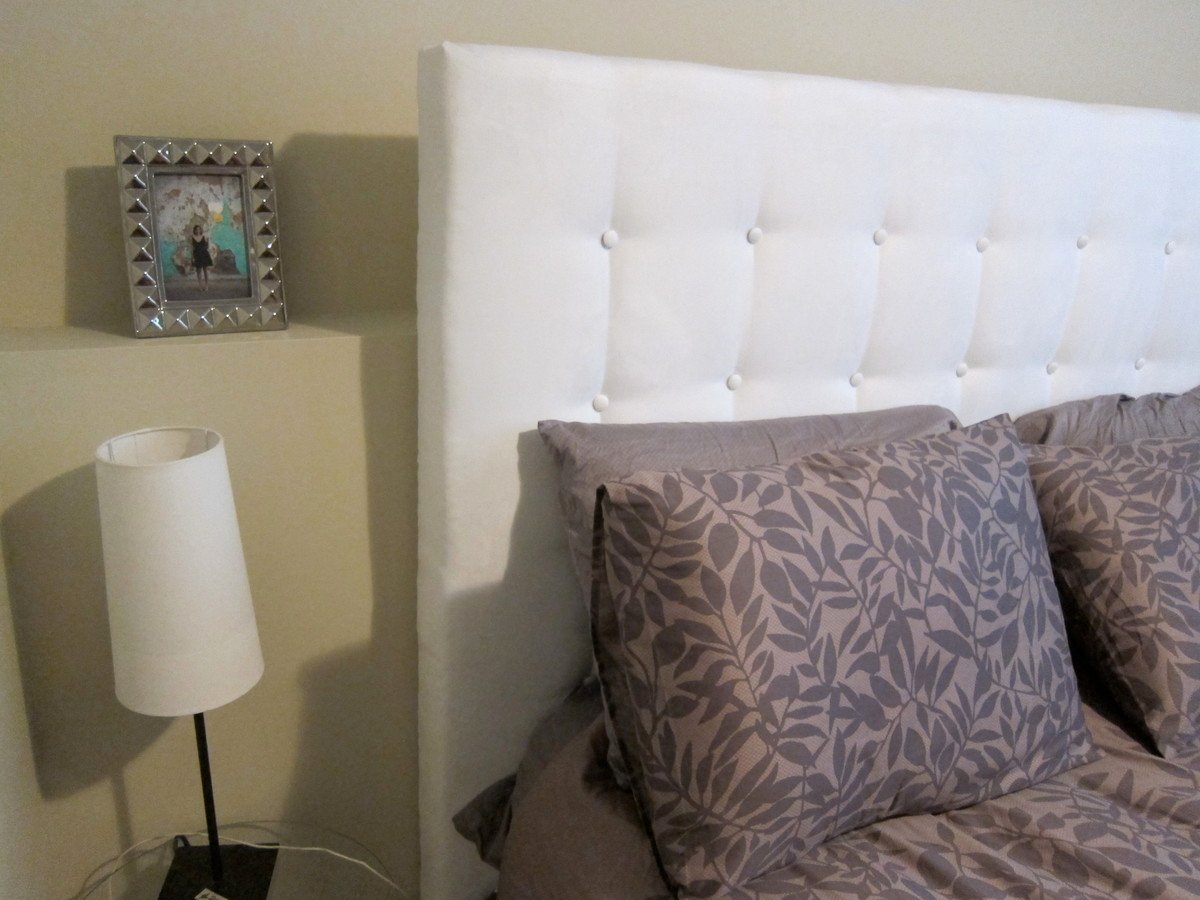
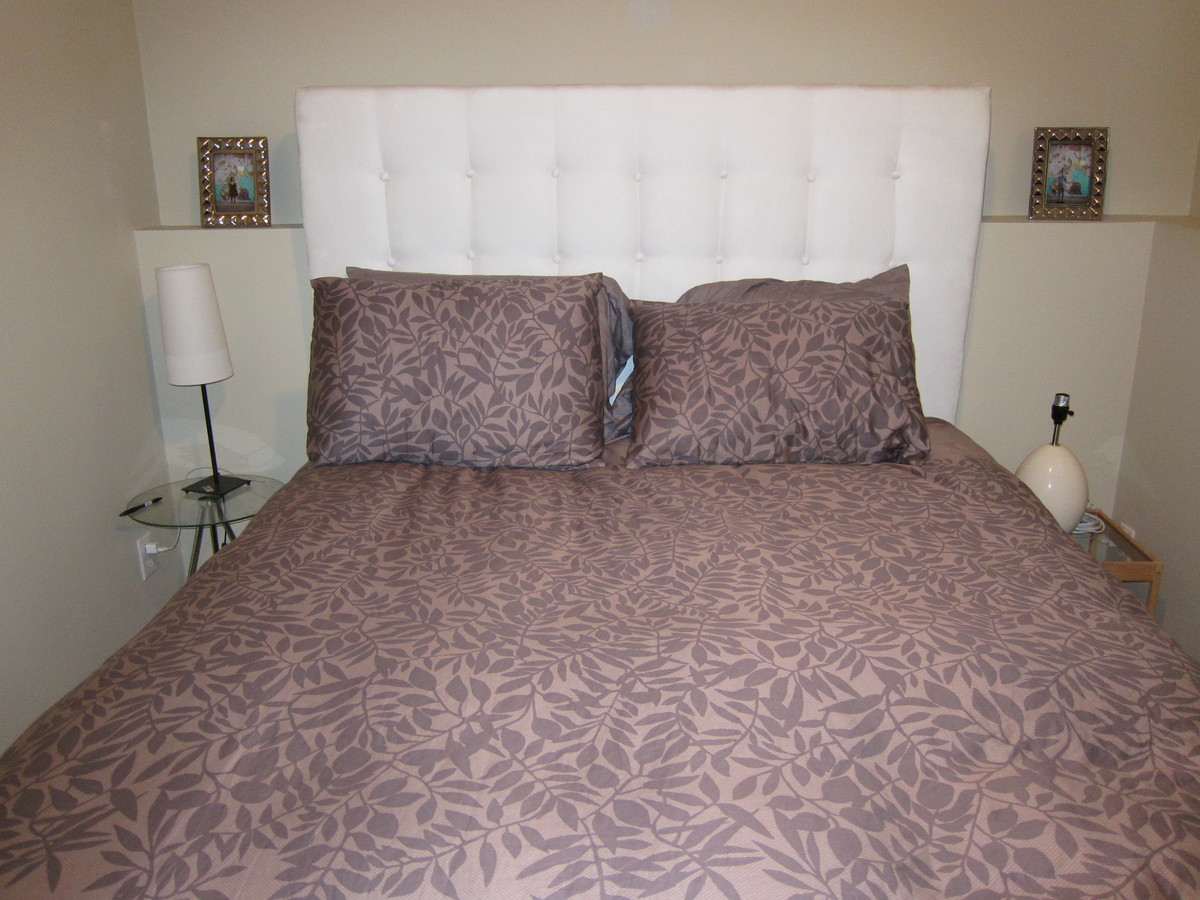
This is my first big build. I did make a small twin sized headboard a few years ago. But this time we built the entire bed frame along with the headboard. It took a loooong time but was totally worth it!

Estimated Cost
$350 - $400
Estimated Time Investment
Week Long Project (20 Hours or More)
Finish Used
fabric + batting + foam:)
Recommended Skill Level
Beginner

Comments

X Console Table

Submitted by MichelleC on Thu, 10/04/2012 - 13:53

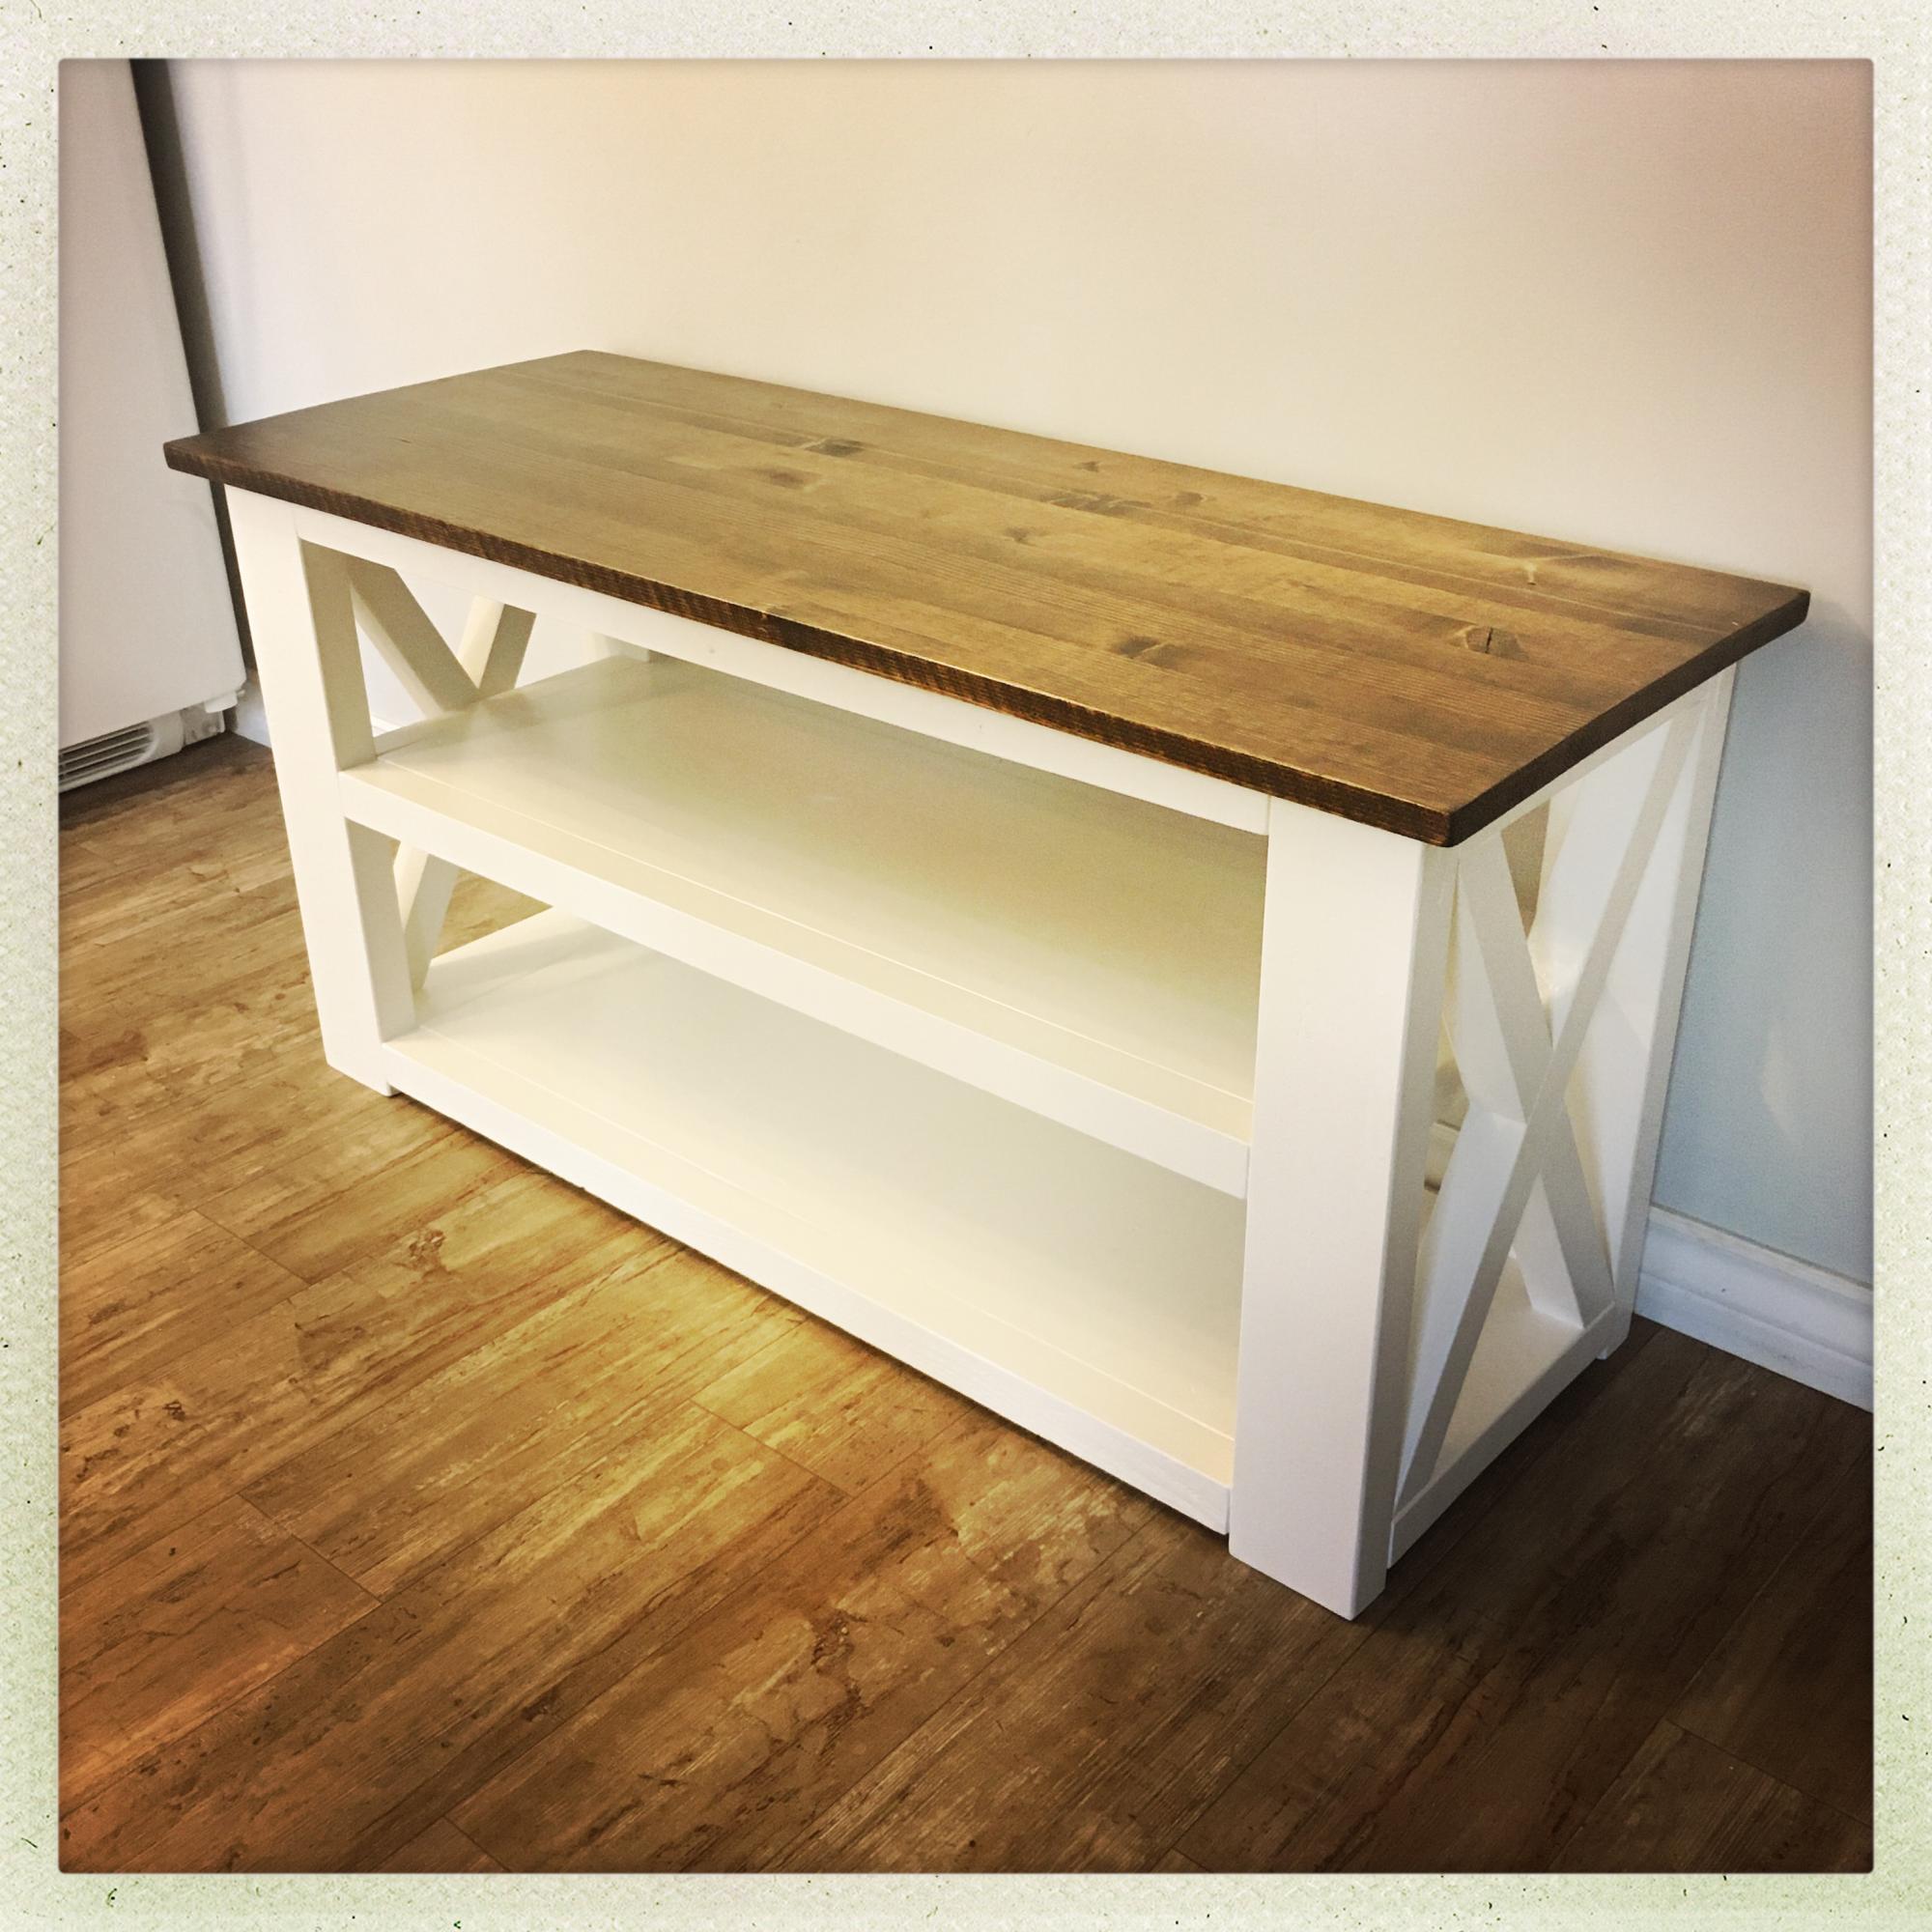
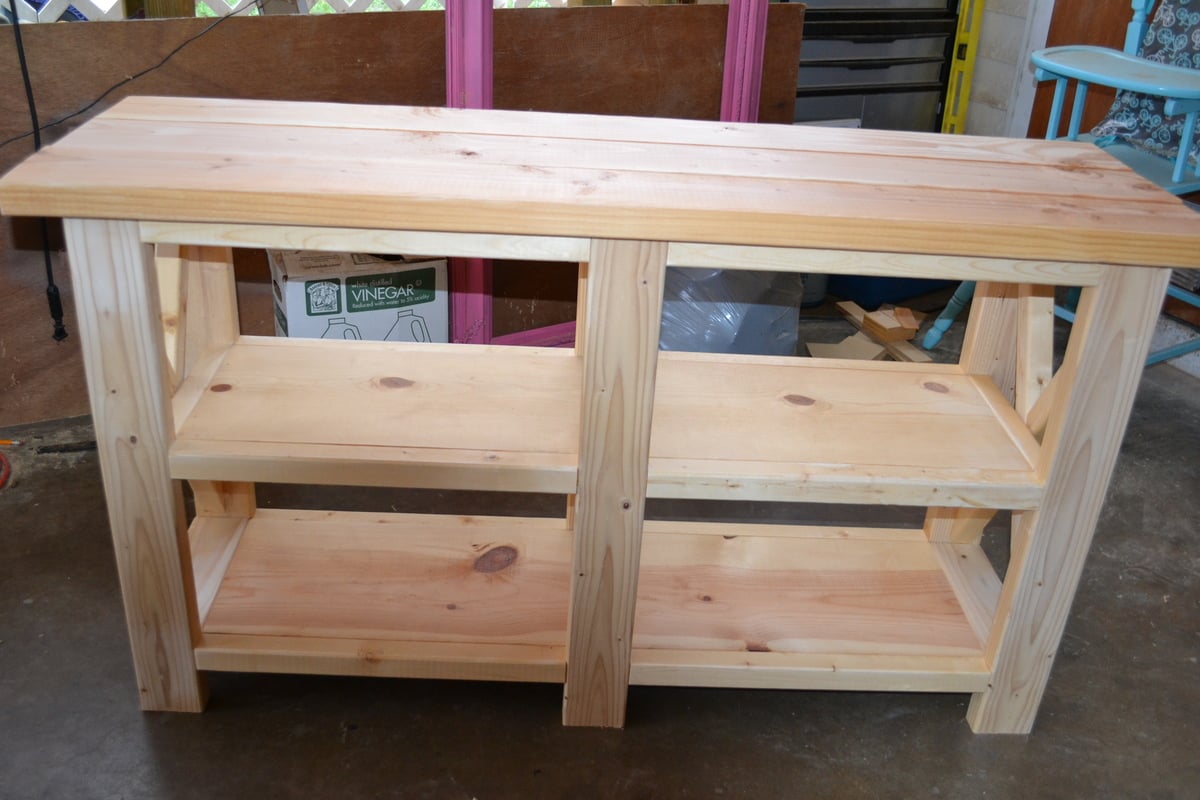
I built this a couple feet shorter than in the plans because it is for my neighbor's fish tank! It was fun to build and I'm in love with the finished product. She's going to paint or stain it herself. The pics were taken in my messy, projects-everywhere carport right before the neighbor hauled it off! Her son-in-law wants one now, and I will be building one for MYSELF right away as well! Thank you Ana!!!

Built from Plan(s)
Estimated Cost
75
Estimated Time Investment
Day Project (6-9 Hours)
Recommended Skill Level
Intermediate

Comments

Rocking Chair

Submitted by PPTG on Mon, 08/31/2020 - 12:11

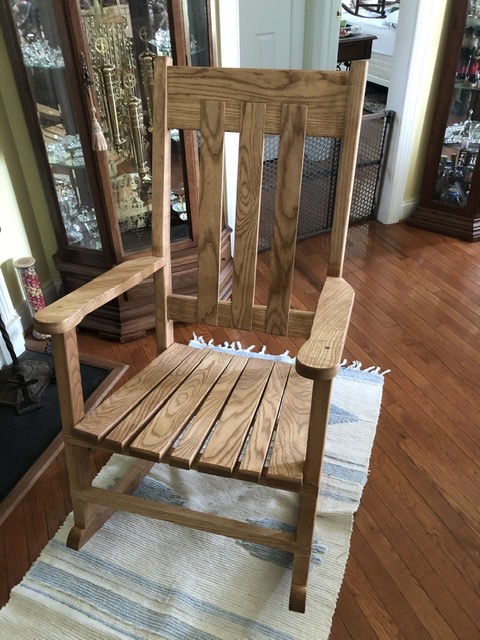
Getting ready for retirement, so I thought I needed a rocking chair.
No plans, just built what looked and felt right.

Estimated Time Investment
Week Long Project (20 Hours or More)
Finish Used
Early American
Recommended Skill Level
Intermediate

Comments

David King

Thu, 03/18/2021 - 01:27

Lovely chair. Nice proportions. Would like to copy it. Have you got any plans, sketches, or dimensions to share?

jlxvnwk

Fri, 02/10/2023 - 13:10

Love this rocking chair! Do you have any dimensions or plans. I would live to take this project on. Thank you.

Custom Kentwood Bookshelf

Submitted by presbywf on Mon, 10/13/2014 - 12:03

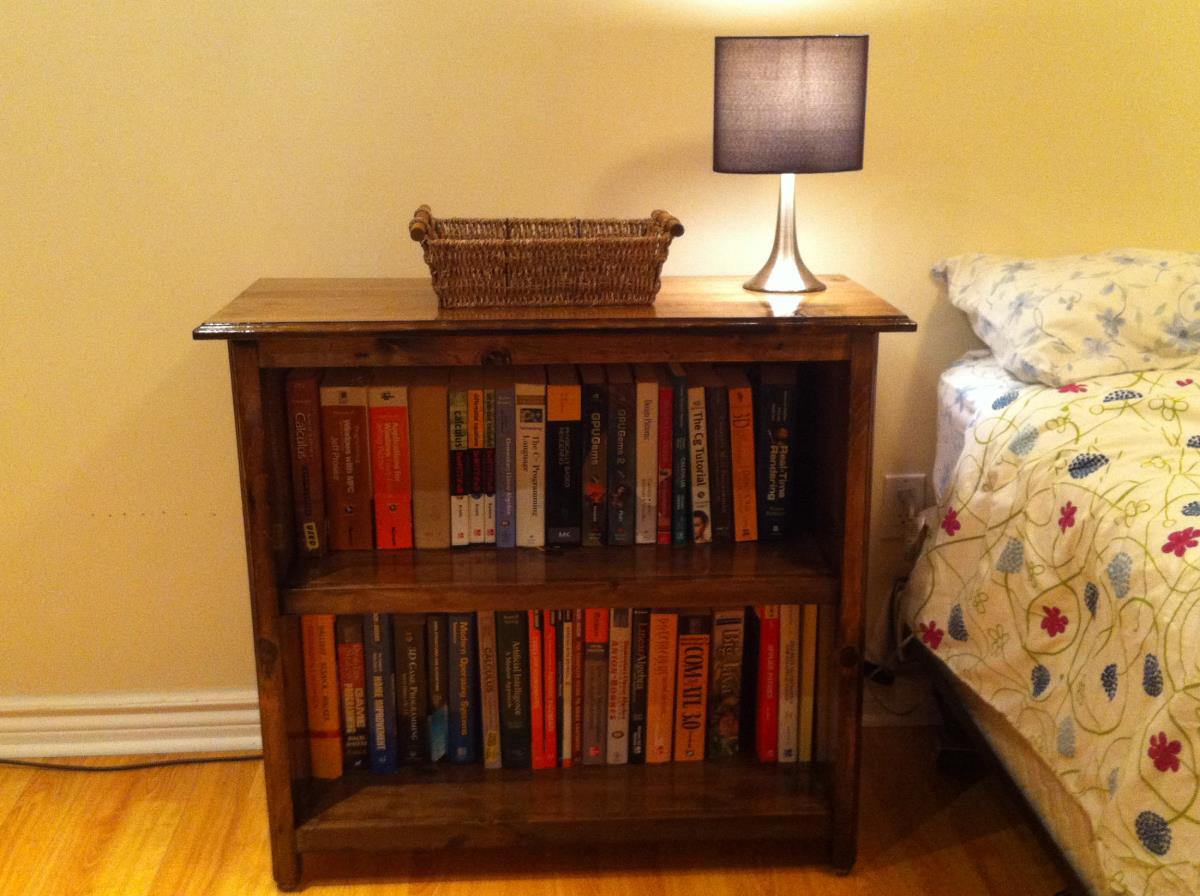
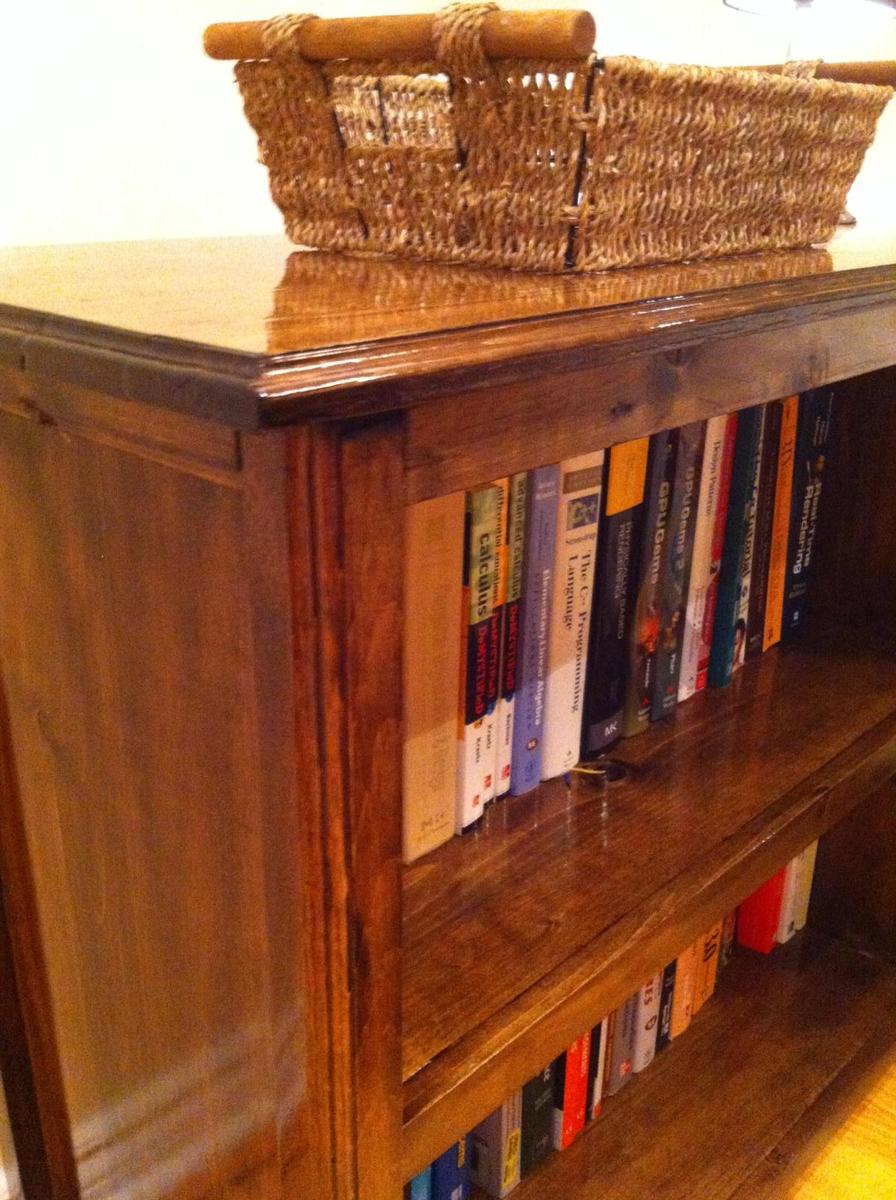
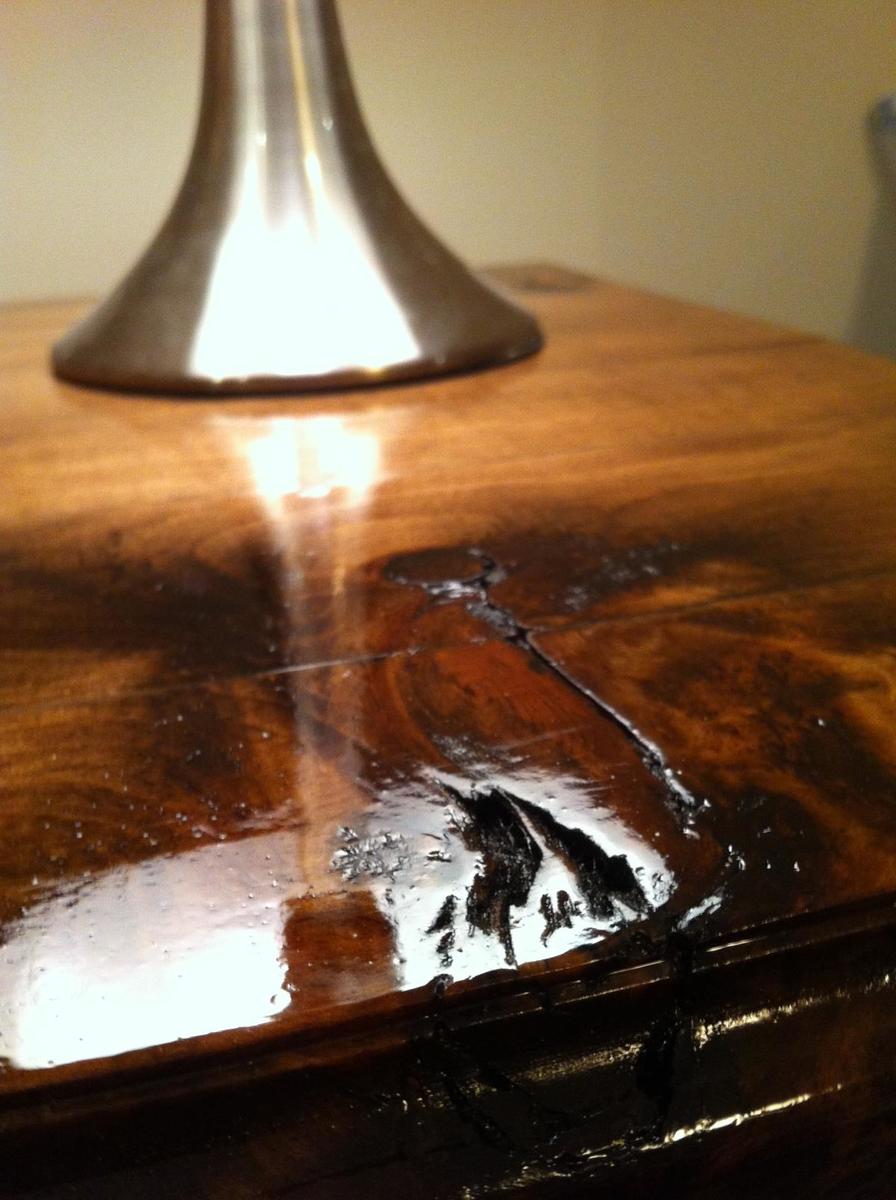
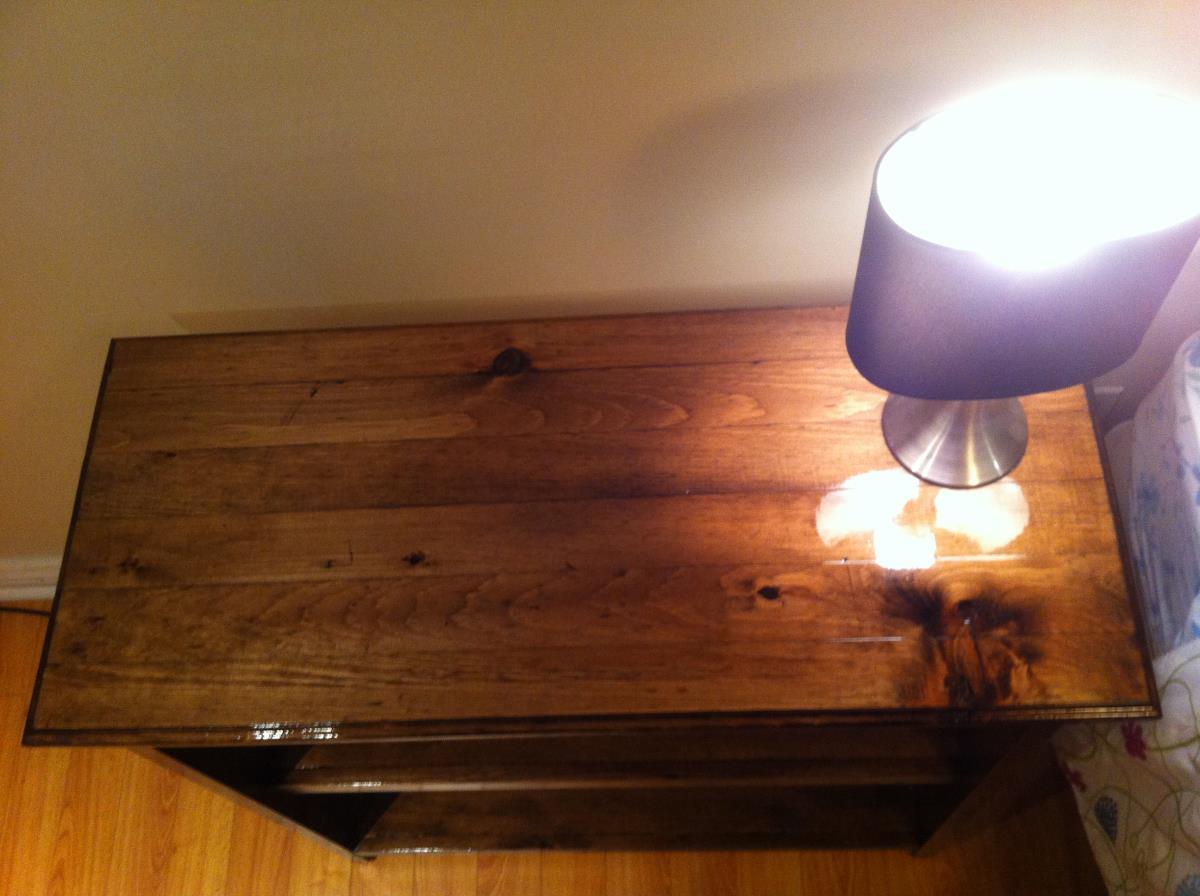
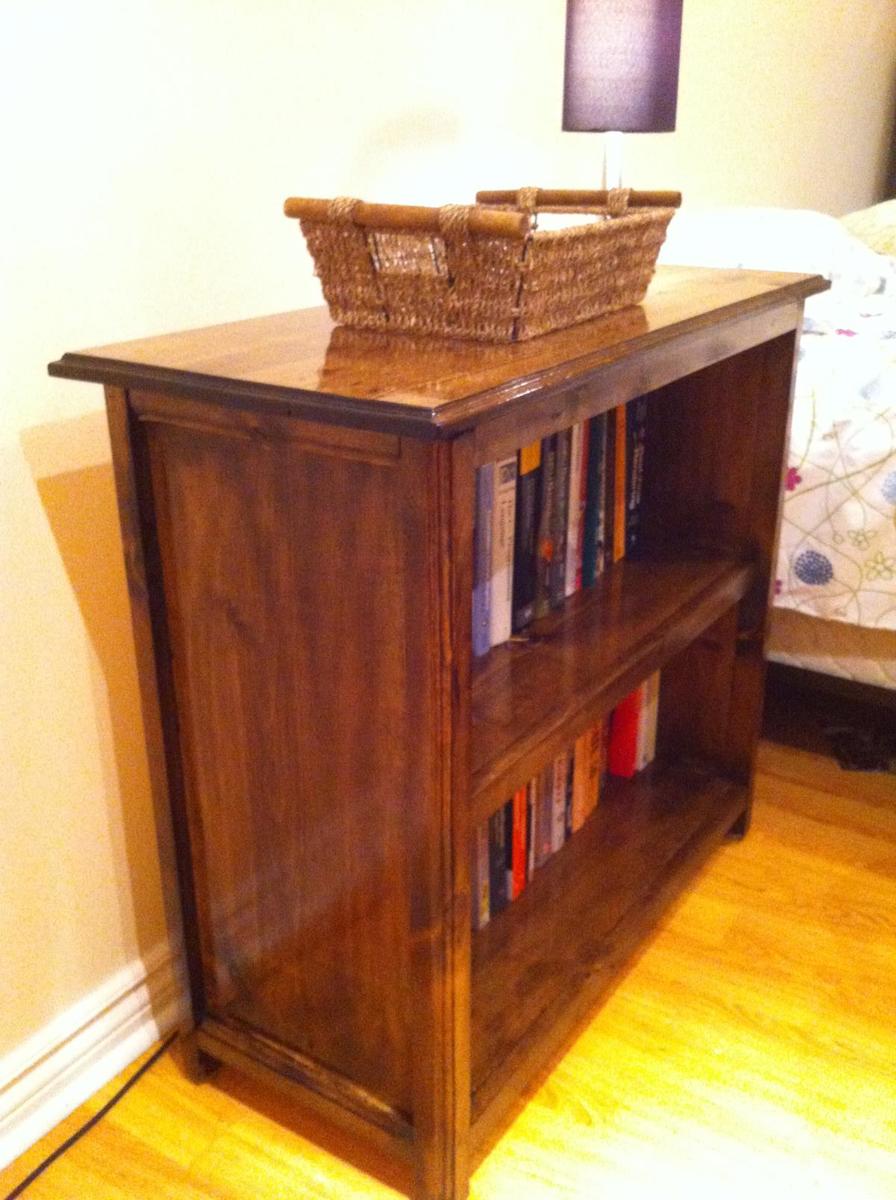
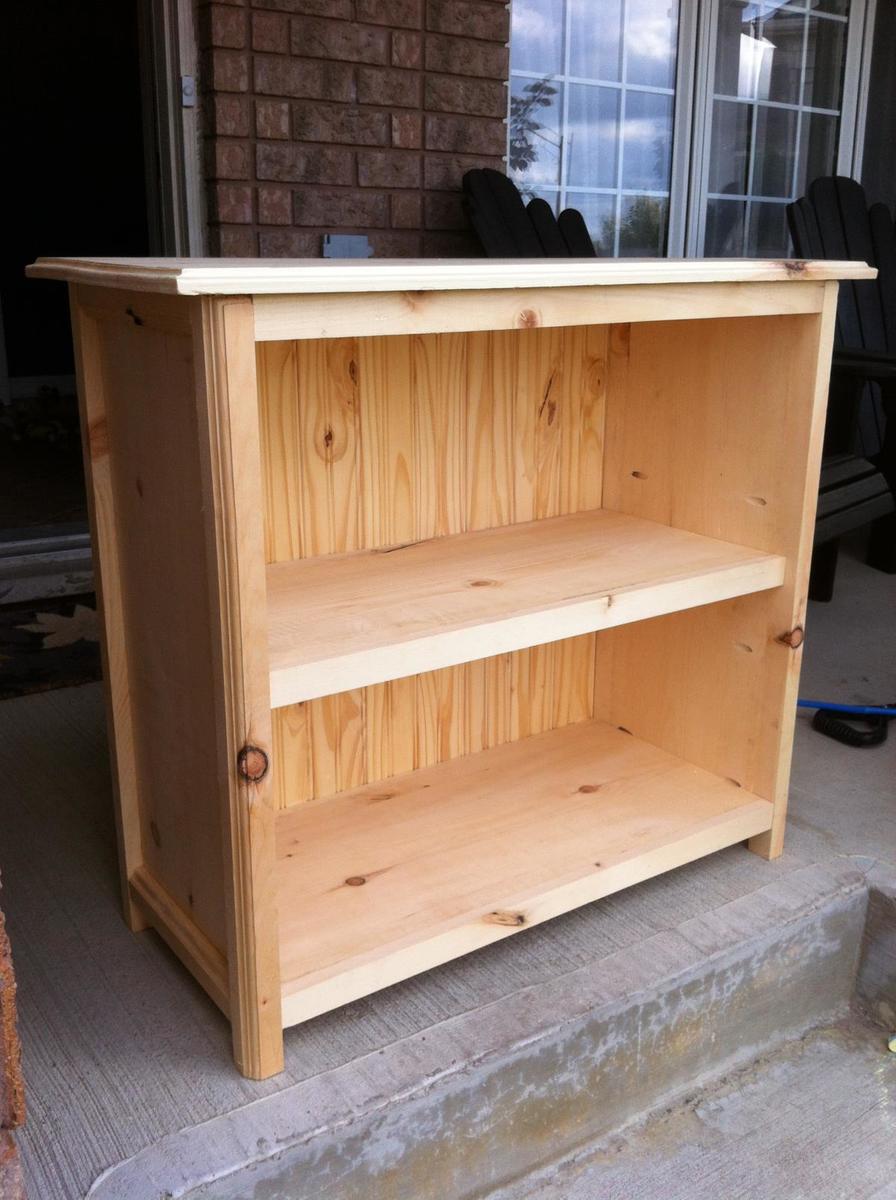
This is a modified version of the Kentwood Bookcase to be shorter and wider to fit my space.  I used my router for the first time on this project giving the legs and top a little bit of flair.  I also wanted it super glossy, so I applied three coats of Minwax high gloss polyurethane.

One lesson I learned for my next project is that "stainable" wood filler isn't actually stainable.  I'm quite disappointed with how visible my Kreg pocket holes are on the front - I'll be sure to make sure they're all hidden next time.


Estimated Cost
$40 for stain, brushes, and rags. $80 for wood. $10 for tongue and groove backing
Estimated Time Investment
Week Long Project (20 Hours or More)
Finish Used
Minwax preconditioner. Minwax jacobean oil-based stain. Three coats of Minwax high gloss poly
Recommended Skill Level
Beginner

Comments

booksnotbombs

Mon, 10/13/2014 - 13:32

This is beautiful! You did a good job, and I love the finish. I can't see the pocket holes in your finished pictures even after you pointed it out.

I used wood filler that was tinted the same color as the stain last time, and it was great.

Tip Toe Adventures

Mon, 03/30/2015 - 20:23

Wow!!! This is so beautiful, and the stain job on pine...just wow!! You did such a great job with the router and I can't even find the kreg jig holes even though you said it. The plugs made for those work out perfectly though and are pretty cheap for a huge bag to have around.

Kids Adirondack Chair

Submitted by JenMack on Thu, 01/26/2017 - 12:40

This was one of my very first wood projects and I LOVE it. I used a smaller circular saw, drill and orbital sander. I love how it turned out and now I have a DIY problem. :-)

Built from Plan(s)
Estimated Cost
$25
Estimated Time Investment
Afternoon Project (3-6 Hours)
Finish Used
None yet
Recommended Skill Level
Beginner

Outdoor Sofa - Front Porch

Submitted by mclaudeg3 on Fri, 11/06/2020 - 16:47

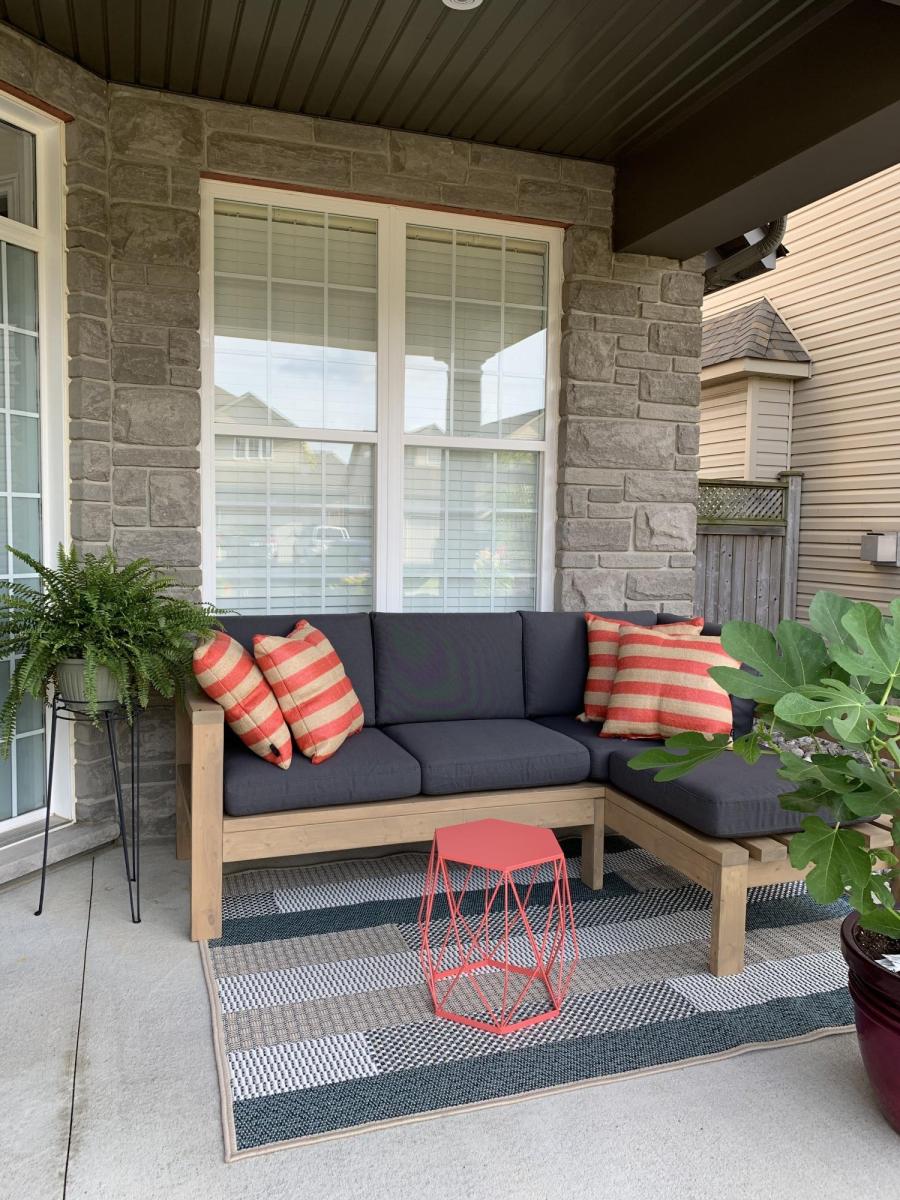
This project was quite easy and did not require many tools. The plan allowed me to adjust the measurements easily so it could fit in that space. I used regular 2x4’s and treated the wood with Mountain Ash colour in a semi-transparent stain from Sherwin Williams, I just love the colour! I build 2 - 2 seaters exactly the same. The one side has no arm, as I wanted it to look like a lounge chair. I love to sit in the corner and stretch my legs 😊. I bought the cushion covers from IKEA, and got good quality foam.

Estimated Cost
Wood ~$300
Estimated Time Investment
Weekend Project (10-20 Hours)
Finish Used
2 coats of semi-transparent Mountain Ash stain from Sherwin Williams.
Recommended Skill Level
Beginner

Comments

Seasonal And Holiday

Shoe and storage bench

Submitted by Anonymous (not verified) on Fri, 11/27/2020 - 07:21

I love your designs and could spend hours browsing here! But that doesn't get things built! ;)

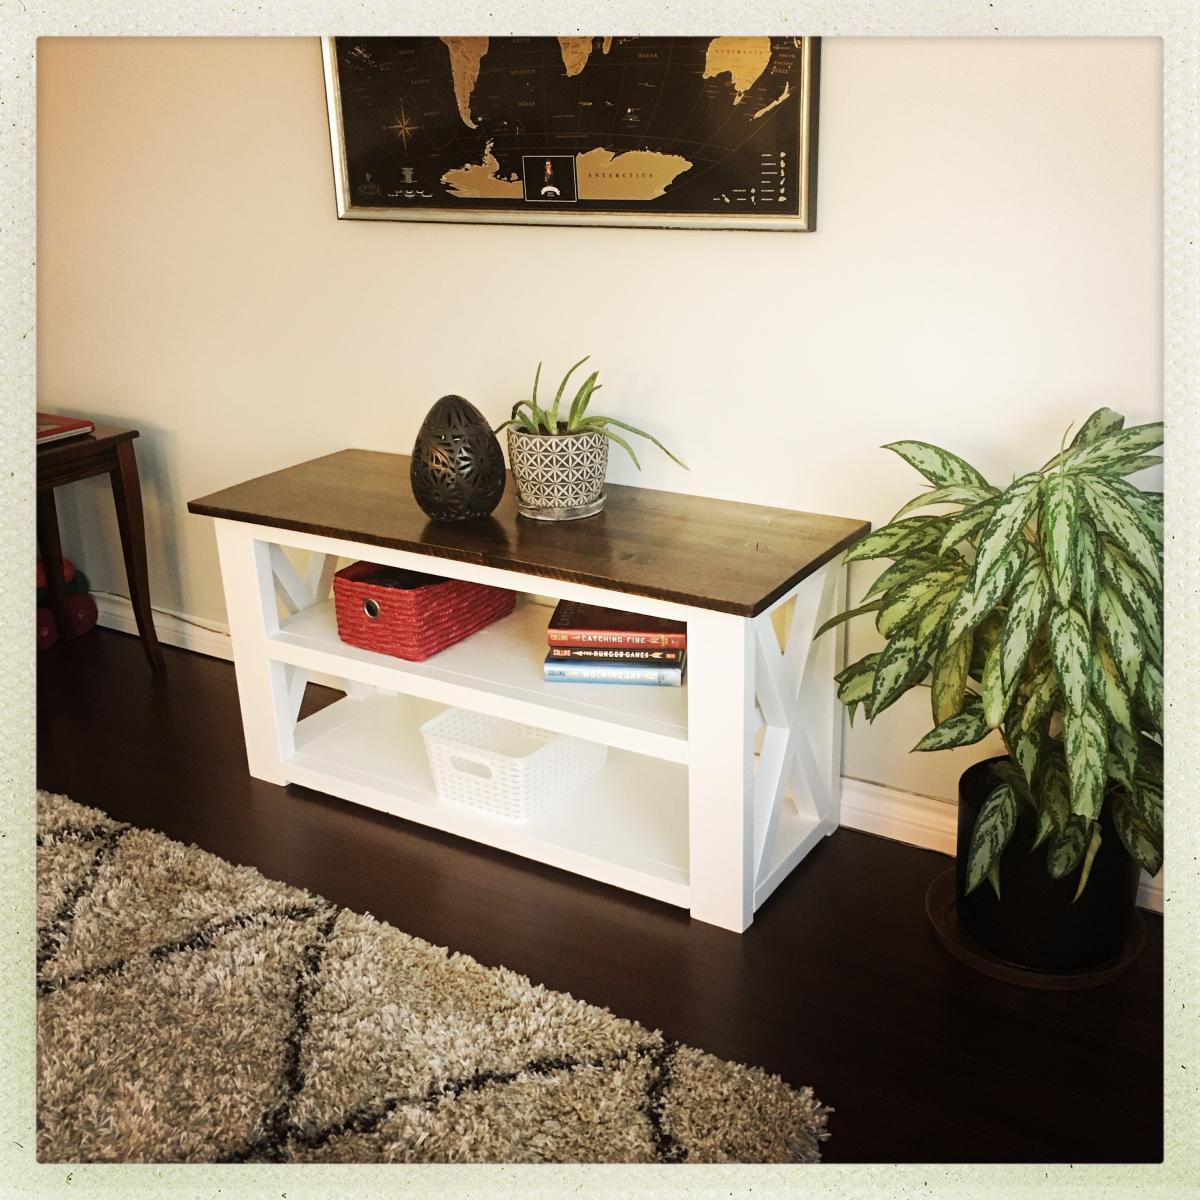
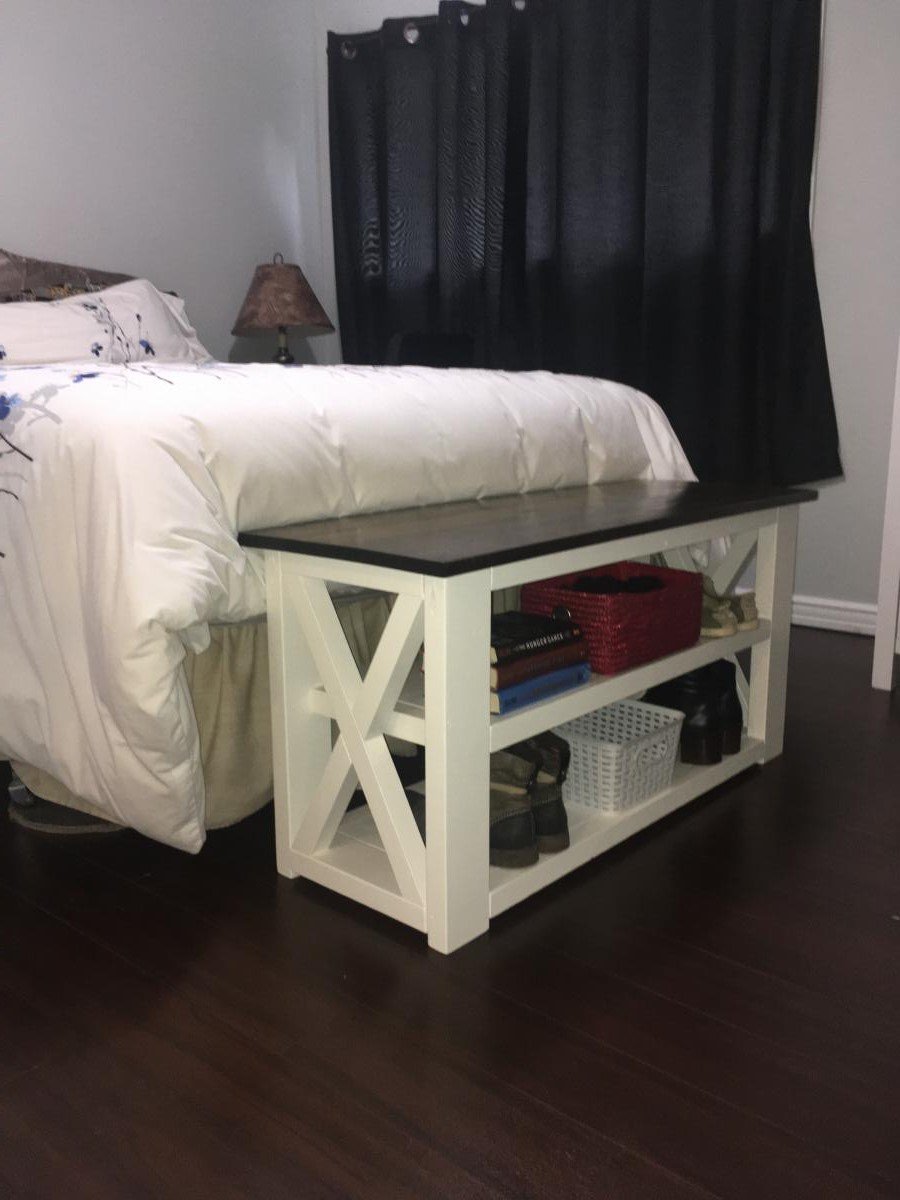
I used your general plan to build this cute bench as my first project for my new Handywoman Business

I was easily able to adjust and customize it to my customers specifications and it is very sturdy. Also my first adventure in pocket holes and I am in love!

Built from Plan(s)
Estimated Cost
$140.00
Estimated Time Investment
Weekend Project (10-20 Hours)
Finish Used
Minwax Dark Oak
Minwax satin varnish
Beauti-tone interior Latex, Semigloss in Cloud White
Recommended Skill Level
Intermediate

Comments

Modular Bookcase turned Game Console table

Submitted by Anonymous (not verified) on Sat, 01/23/2021 - 08:24

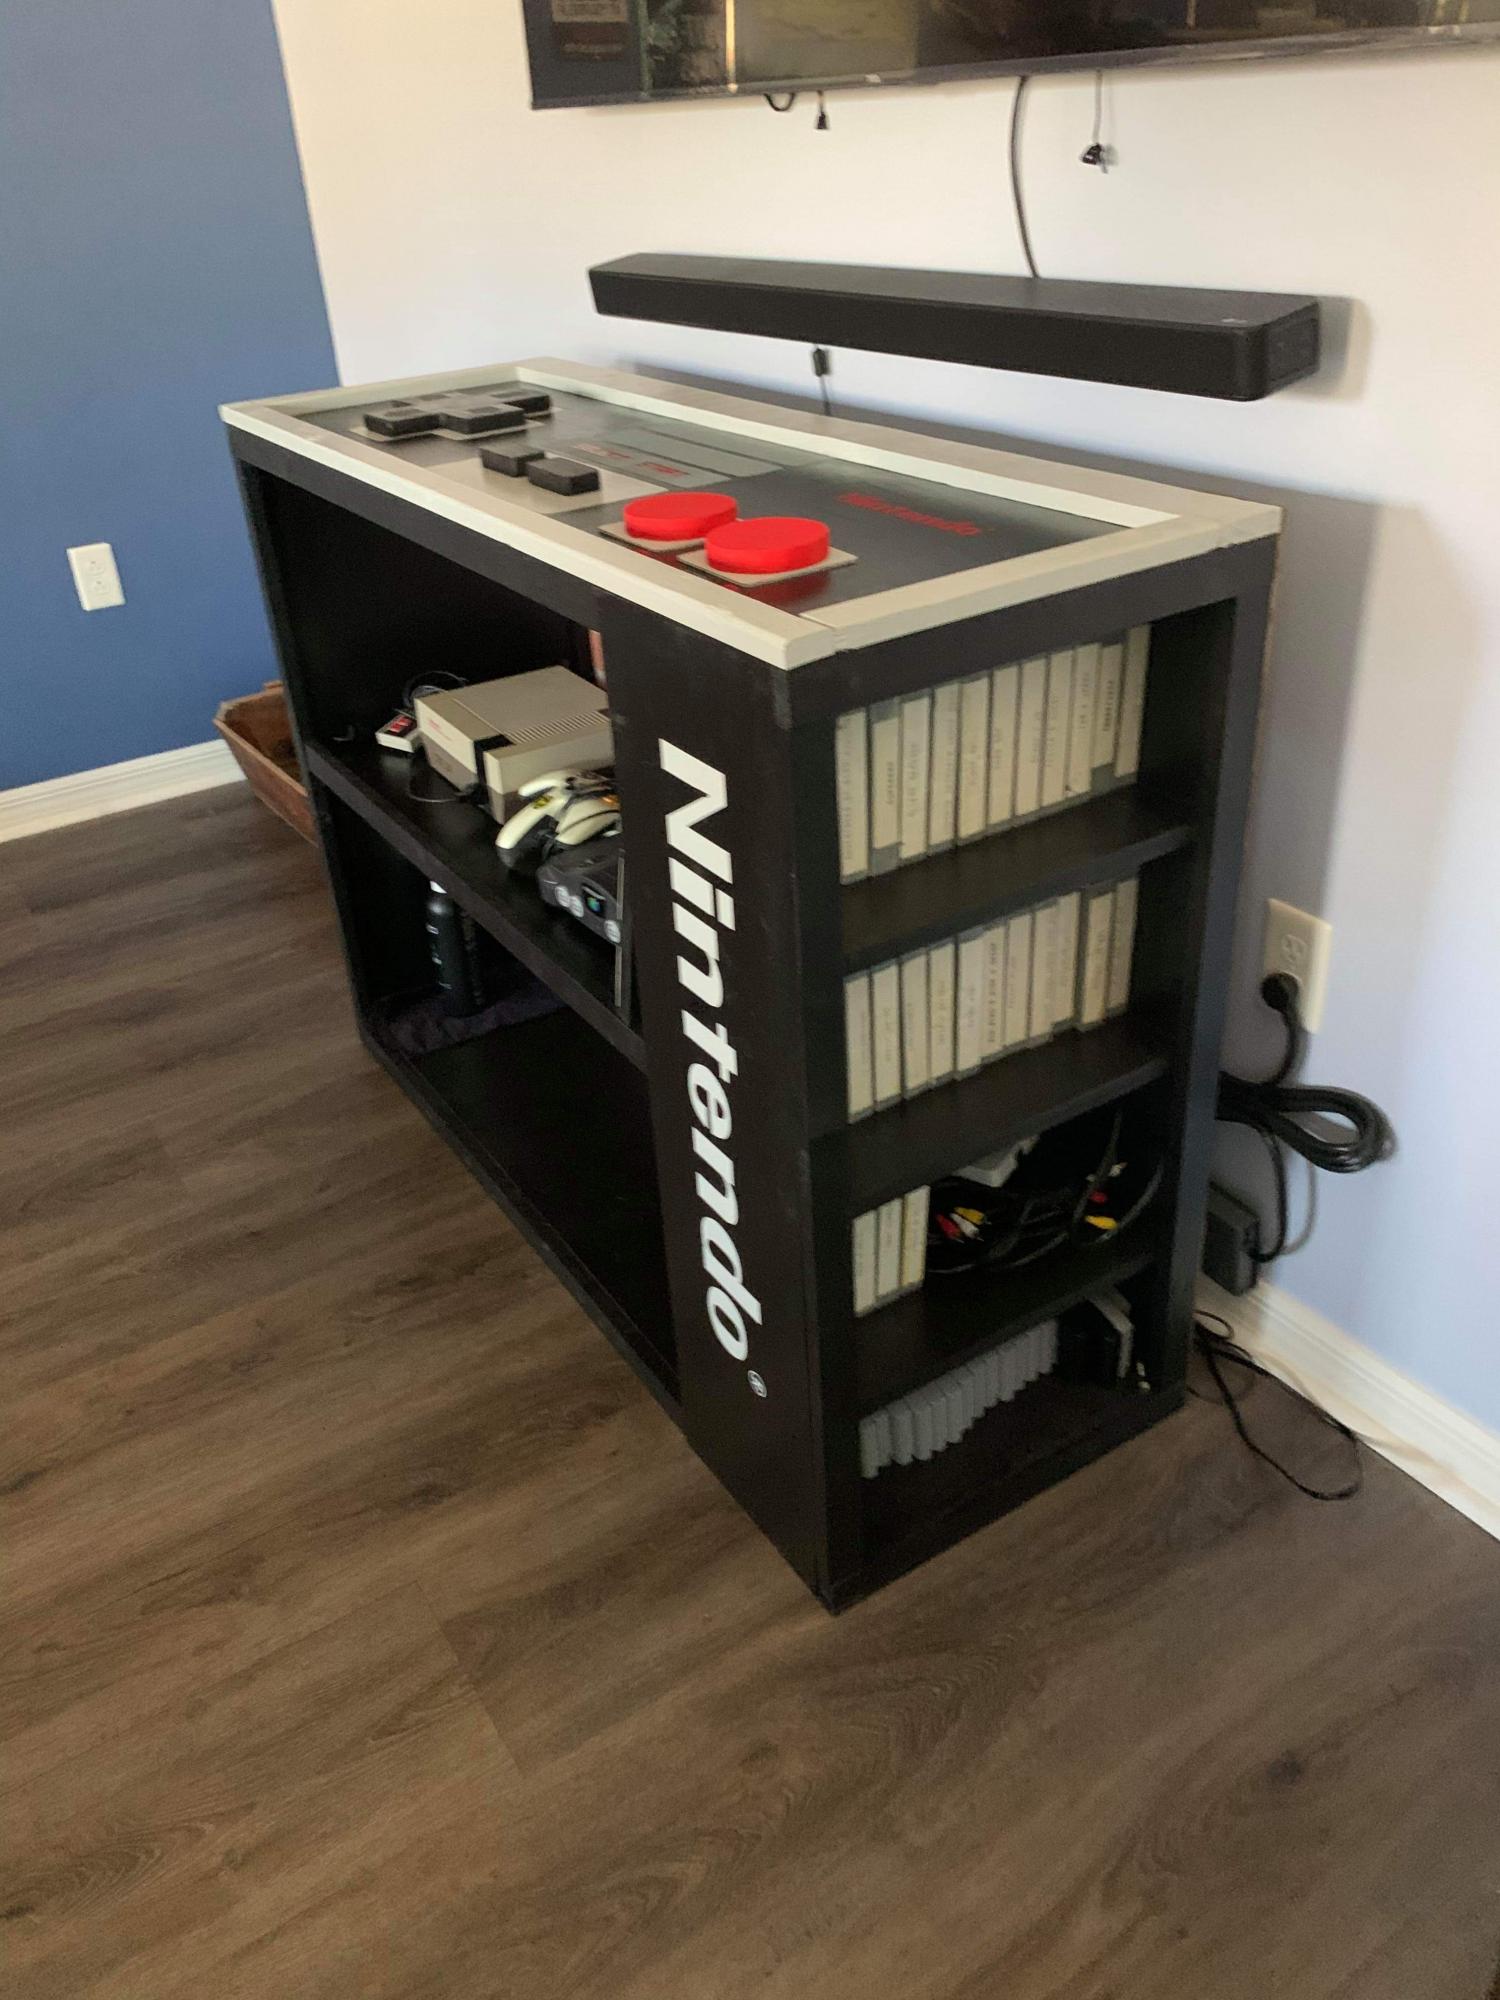
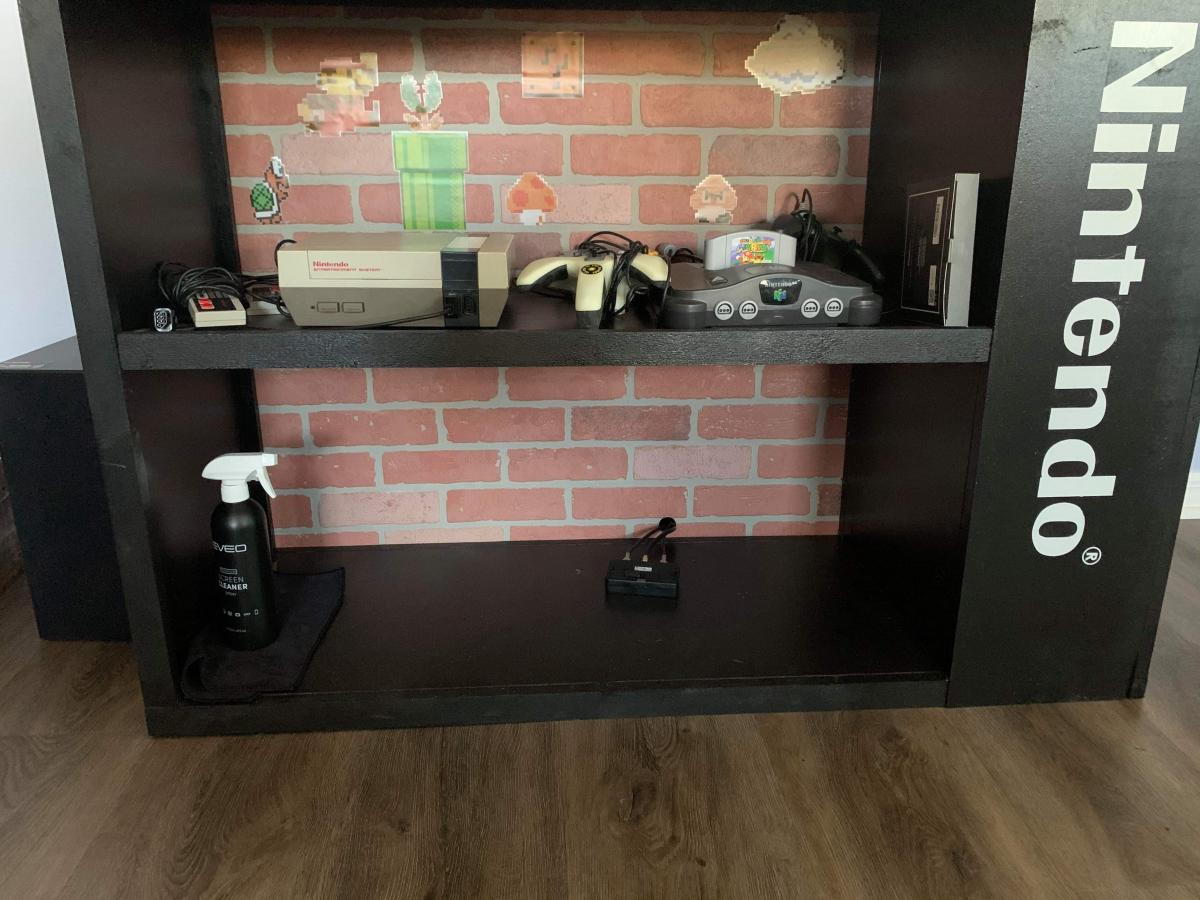
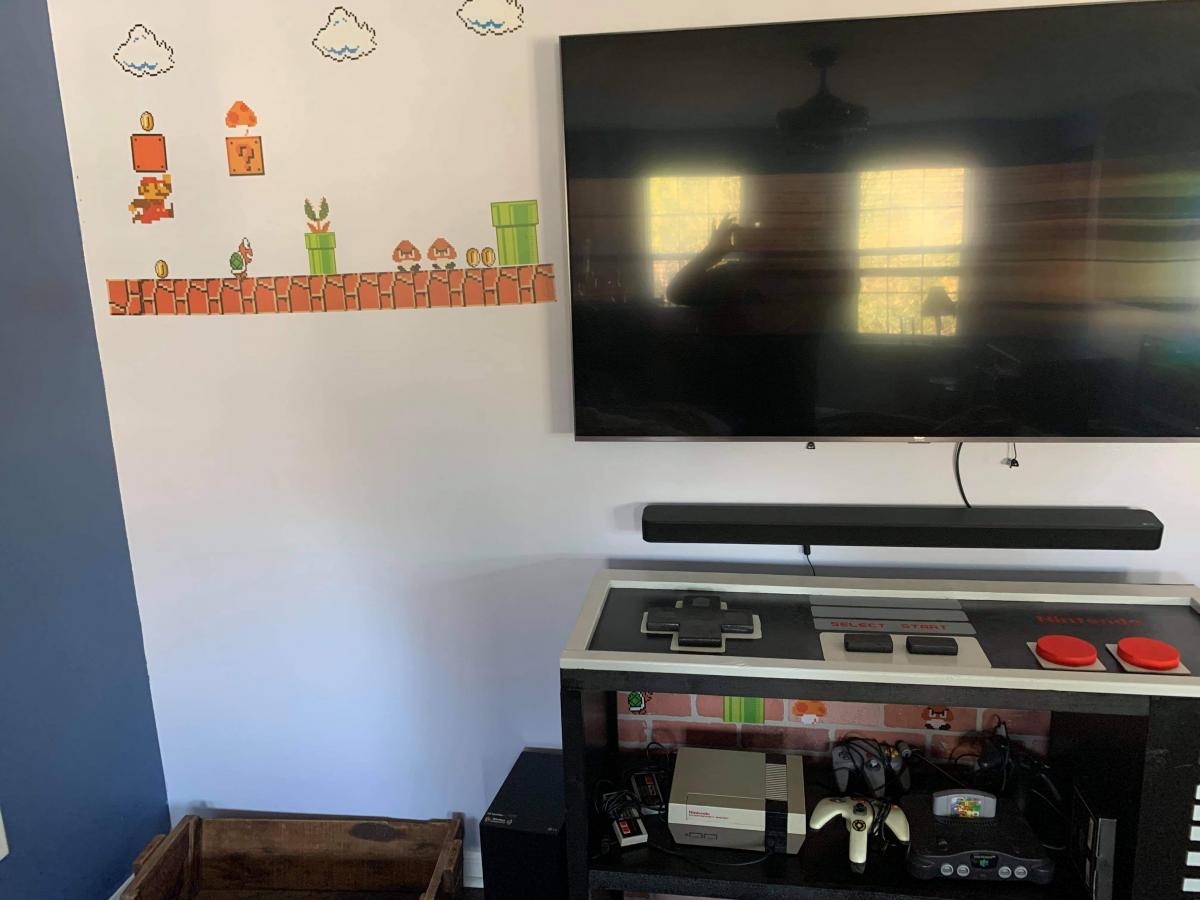
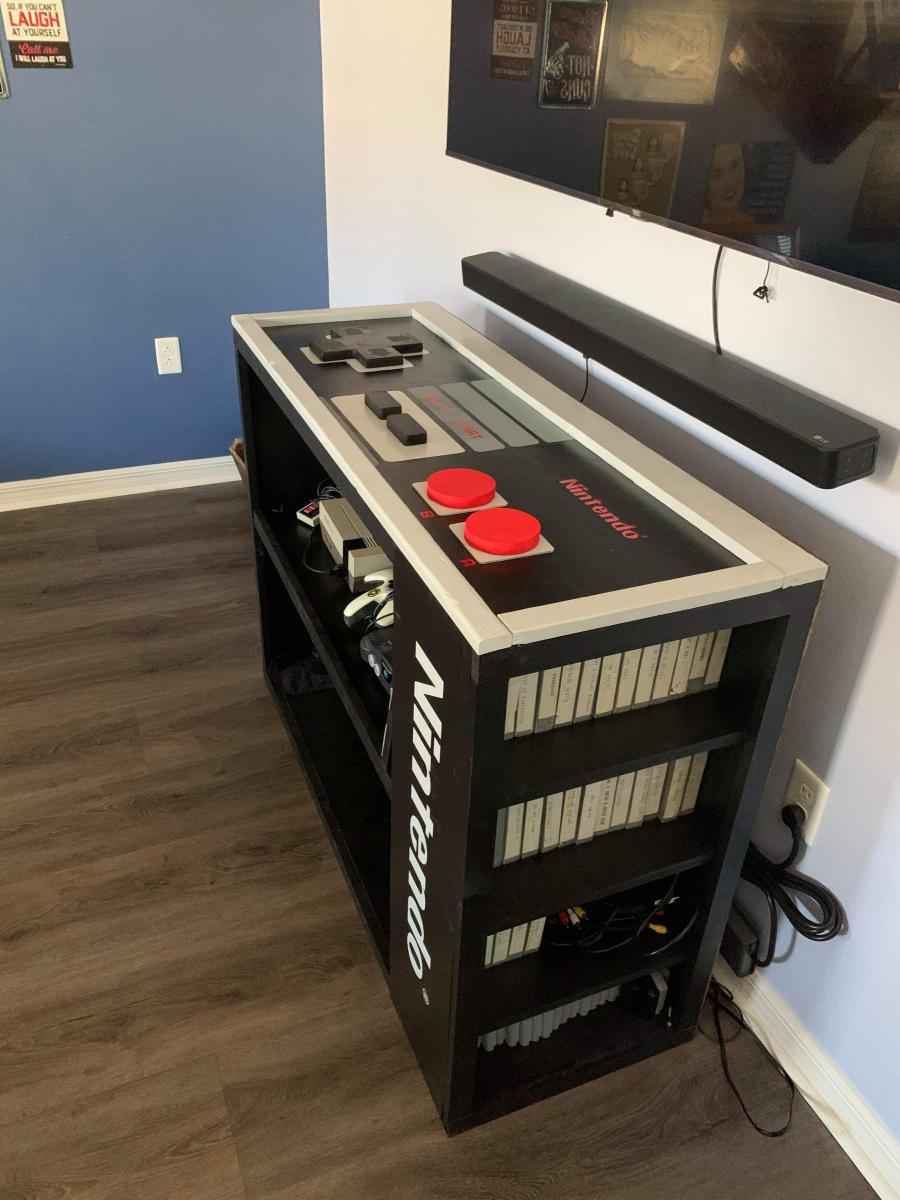
I'm married to a manchild lol and he wanted a custom Nintendo console like one he saw online. I made this a little taller and added more shelves to store the games. He also decided he wanted a back and I happened to have some extra faux brick paneling. This was when he got super excited to add stickers to it and complete the wall too. It fits everything he needed and it actually turned out pretty incredible. He wanted the controller to be 3D even though I'm itching to try out epoxy. But maybe on a later project :)
The plans are so easy to follow and this being my 6th project from AnaWhite I'm really learning alot!
I can't thank you enough for what you do!!!

Built from Plan(s)
Estimated Cost
$80
Estimated Time Investment
Weekend Project (10-20 Hours)
Finish Used
I actually used some black semi gloss outdoor paint to avoid another trip to the store, and I wouldnt recommend it. The layer paints didnt stick and the finish was less than desirable. Lesson learned lol. I also used acrylic on the details
Recommended Skill Level
Intermediate

Comments

Back