Community Brag Posts

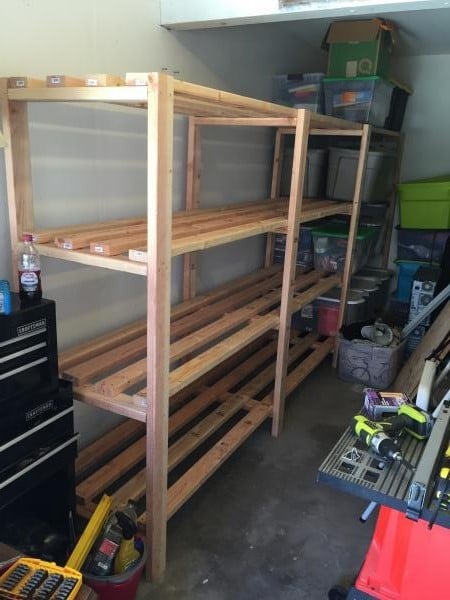
Garage Shelving - Some minor mods to Ana's great basic plan
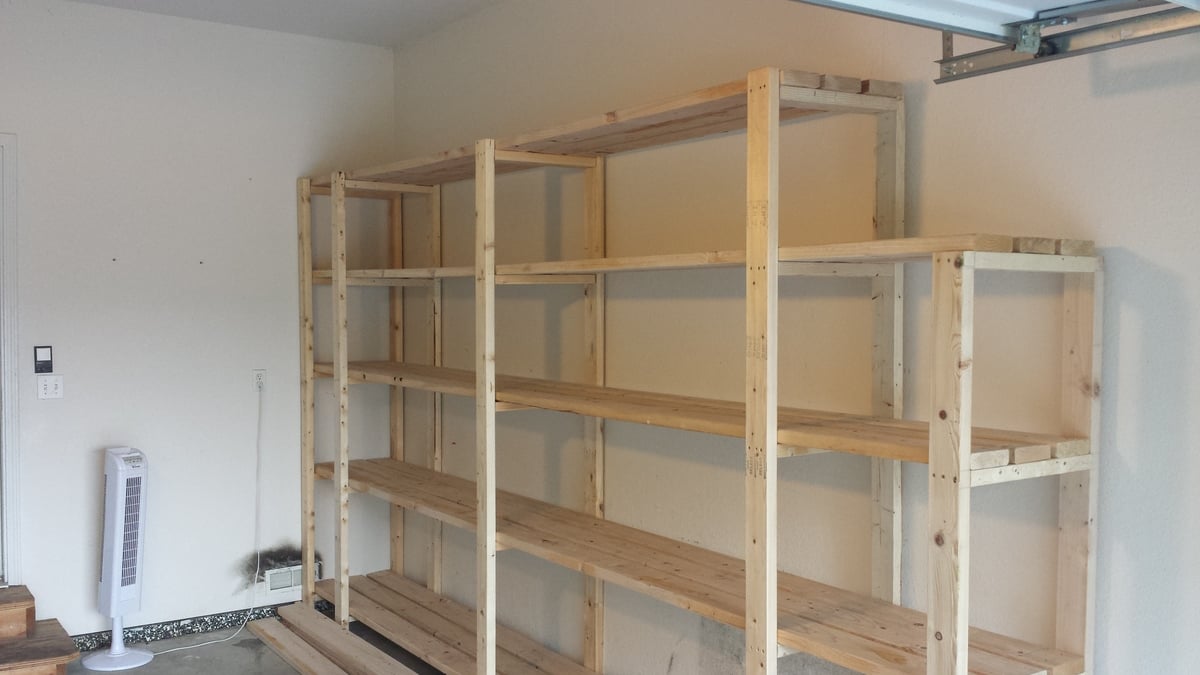
My father-in-law and I knocked this project out in about 5 hours including the trip to the lumber yard. You've got a great basic design here! A few modifications we made:

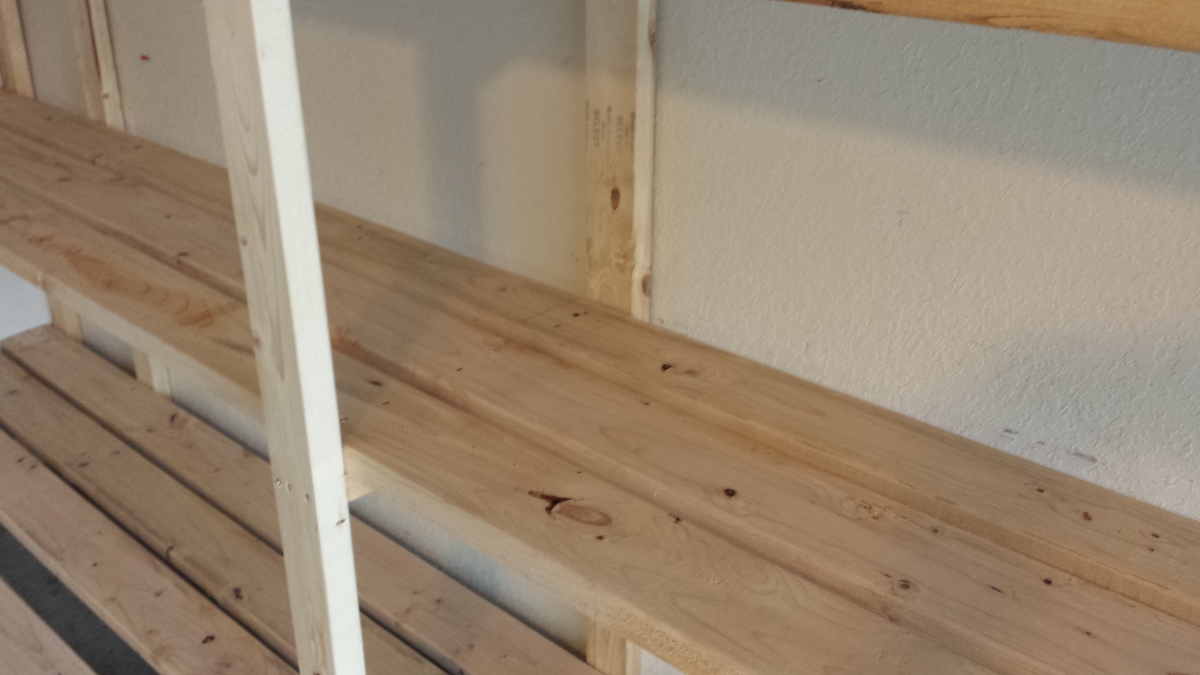
1. I thought the depth of the shelves in the original plan was a little too shallow so I used 3 2"X6"s instead of the 4 2"x4"s. That made the shelves 1 1/2" deeper. Although 2"x6"s are obviously more expensive, the overall cost for the project didn't change much because we only had to use 3 boards per shelf instead of 4. This also reduced the amount of screwing and made it easier to position the shelf boards without taking measurements since we only had one middle board to deal with (instead of 2 with the 2"x4"s). We just eyeballed the spacing of the middle shelf board as we worked.

2. Since our garage has a 10' ceiling, I decided to go 8' tall with the unit. This allowed us to add a 5th shelf.

3. Some oversized tubs can be 18-20" high or more so I varied the height of each shelf -- 24" at the bottom, then 20", 18" and 16". There's approx. 24" available between the top shelf and the ceiling.

4. Due to the position of the garage door track, I had to notch out a couple feet at one side. The end support piece is only 6' high.

5. Since many storage tubs can be 16-18" wide, I made sure that there was at least 54" between 3 of the vertical support structures. This will allow us to store 3 tubs side-by-side and maximize storage. You might notice that I have two vertical supports that appear to be very close together near the back wall. I did this so I would have something on that side to attach more shelving to on that short wall where the garage door opener is. 

The only cuts we had to make for this entire project were for the 18 1/2" 'braces' or support pieces on the vertical ladder structures. The shelves are either 14' or 12' (top shelf only) and the vertical 2"x4"s are either 8' or 6'. Most lumber yards will carry these lengths in either 2"x4"s or 2"x6"s. 

We didn't use any wood glue, and I admit this may come back to haunt me. However, to get a good fit and eliminate gaps, I used clamps I already owned to squeeze the boards together before adding the screws. Everything feels very solid and sturdy to me. 

Because of the extra height compared with the original plan, I was worried about it possibly tipping over (we have a 10-year-old who likes to climb frown) so I made sure that 3 of the supports are lined up with the wall studs. After leveling the entire unit, I plan to anchor it to the wall using 3 1/2" screws.

So for about $187 in lumber and maybe $20 in construction screws, I've got 76 feet of STURDY shelving that should accommodate hundreds of pounds! Not a bad investment at all...
 

Estimated Cost
$187 lumber + $20 construction screws
Estimated Time Investment
Afternoon Project (3-6 Hours)
Finish Used
None right now, but my wife wants to sand it and apply marine varnish to give it a shiny, yet still unfinished, look.
Recommended Skill Level
Beginner

Comments

Morgan's Farmhouse Bed

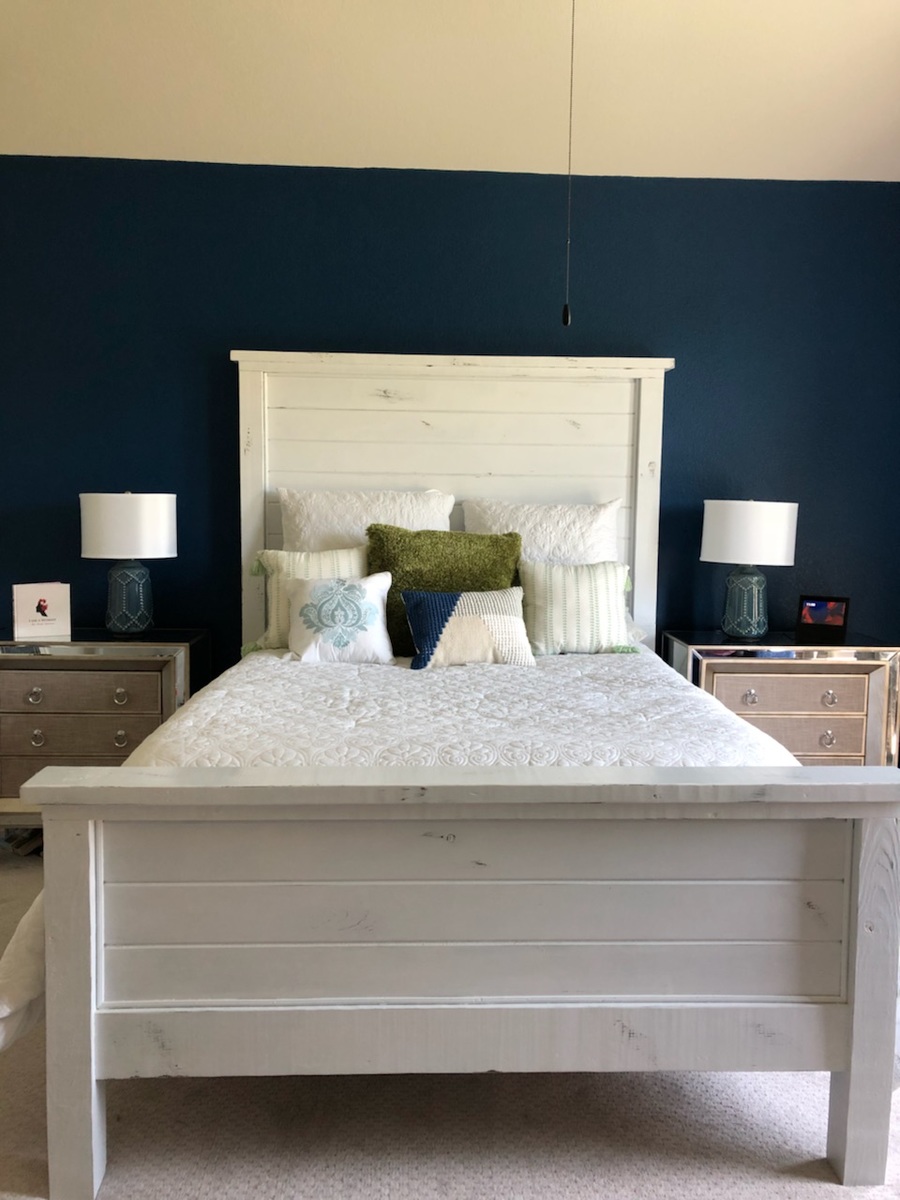
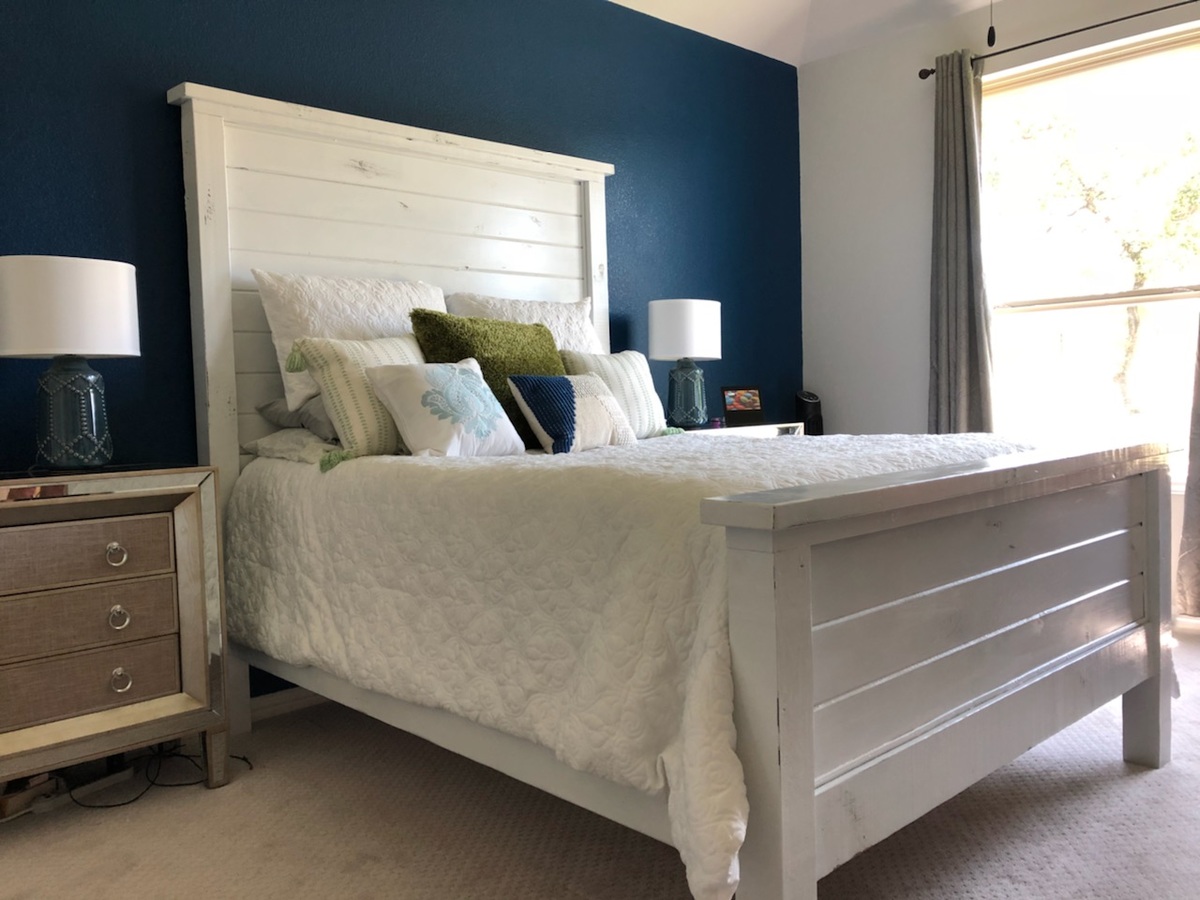
Both of my children have moved into new homes within the past year.  So it looks like I will be busy building things they need for them.  Enjoy being able to do this for them!  Thanks, Ana for the inspirations!

Built from Plan(s)
Estimated Cost
$160 to $200 which includes the bed rail brackets used for side rails and middle support.
Estimated Time Investment
Weekend Project (10-20 Hours)
Finish Used
A gray stain then flat white paint distressed then Glossy clear Acrylic coat
Recommended Skill Level
Intermediate

Comments

Easy Peasy Garage Shelves

Submitted by NickInHB on Mon, 09/07/2015 - 13:12

This was such an easy project to complete although it did take some time to measure and cut all the boards.  I could only transport 2x4s at 8' so after cutting the height to 6' for the braces I used the extra 2' for the shelf width.  The extra width really helped with some of my storage totes.  I made the first section at 5' in length to handle the heavier totes, and the second section I used the full 8' board with a brace in the middle.  I wish my garage was a little deeper to handle 16' of shelves as it would have saved me a good bit of time.  I'm also glad I have an extra ryobi battery to charge while I assemble.  Gotta love how fast those things charge.  Can't wait to try another one of your plans.

Estimated Cost
Around $130 from the Depot. 2x4 at 8' $2.73 a piece and two boxes of screws.
Estimated Time Investment
Day Project (6-9 Hours)
Finish Used
none
Recommended Skill Level
Beginner

Comments

alipettaway

Sun, 05/31/2020 - 22:32

Awesome job!! I’m wondering if plywood can be used for shelving instead of more 2x4s like on the non free standing garage shelves?

My Craft Table

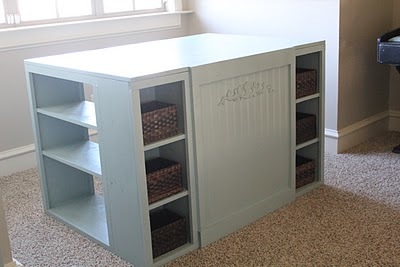
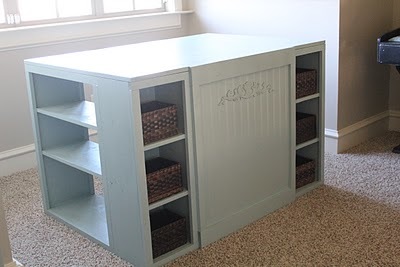
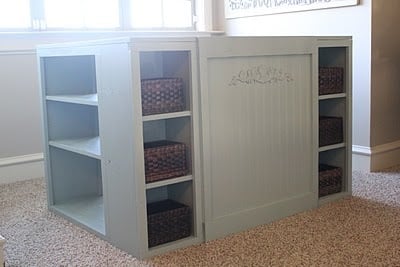
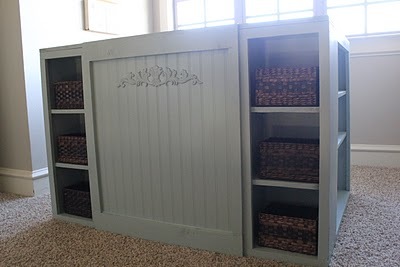
I used Ana's plan for the modern project table to create my craft table. I modified it just a bit by removing the "floating top" and covering the front to provide more hidden storage (a must for me). I used my brad nailer and gorilla glue to construct. I used all whitewood boards for the base and 3/4" mdf for the top. I love it! You can read more details at http://www.shanty-2-chic.com/2011/01/all-finished-yeah.html !

Built from Plan(s)
Estimated Time Investment
Weekend Project (10-20 Hours)
Finish Used
2 coats of Valspar Aquatic Edge and 1 coat of Polycrylic in Semi-gloss. I use 4" Whizz rollers on all my furniture painting.
Recommended Skill Level
Beginner

DIY Cornhole Board

I built a pair of cornhole boards following a tutorial on This Old House.  I used the Glidden Paint Team Colors line to get the a quart of blue and orange paint in the official Auburn colors.  I used my Silhouette Portrait machine to create stencils for the AU logo, Auburn tiger logo and "War Eagle" text.

Estimated Cost
150
Estimated Time Investment
Weekend Project (10-20 Hours)
Finish Used
Glidden Paint from the Team Colors Collection
Recommended Skill Level
Beginner

Rustc X Laundry table

Submitted by Anonymous (not verified) on Sun, 10/14/2018 - 13:16

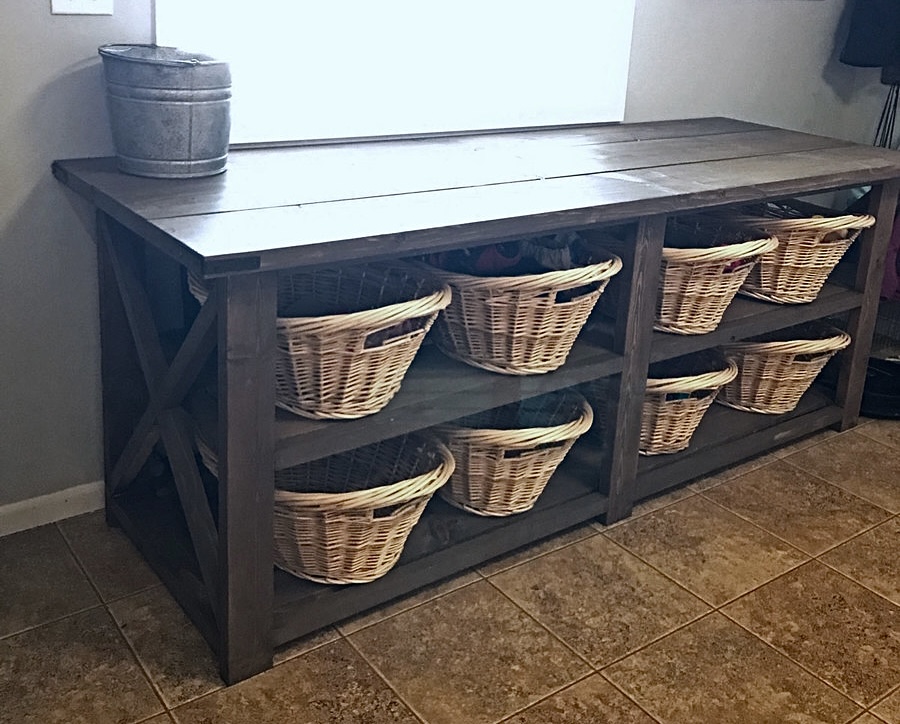
Customized this table to fit perfectly in my laundry room. It turned out exactly how I had hoped!

Built from Plan(s)
Estimated Cost
$150 for lumber and stain, $80 for 8 baskets
Estimated Time Investment
Weekend Project (10-20 Hours)
Finish Used
Stain color Briarwood
Recommended Skill Level
Beginner

Comments

Ana White

Sun, 10/14/2018 - 13:31

Wow, this is absolutely amazing!  What a perfect and lovely spot to fold and sort laundry!  Thank you so much for bragging.  

Modified Rustic X Coffee Table

Submitted by PamC03 on Sun, 10/18/2015 - 22:28

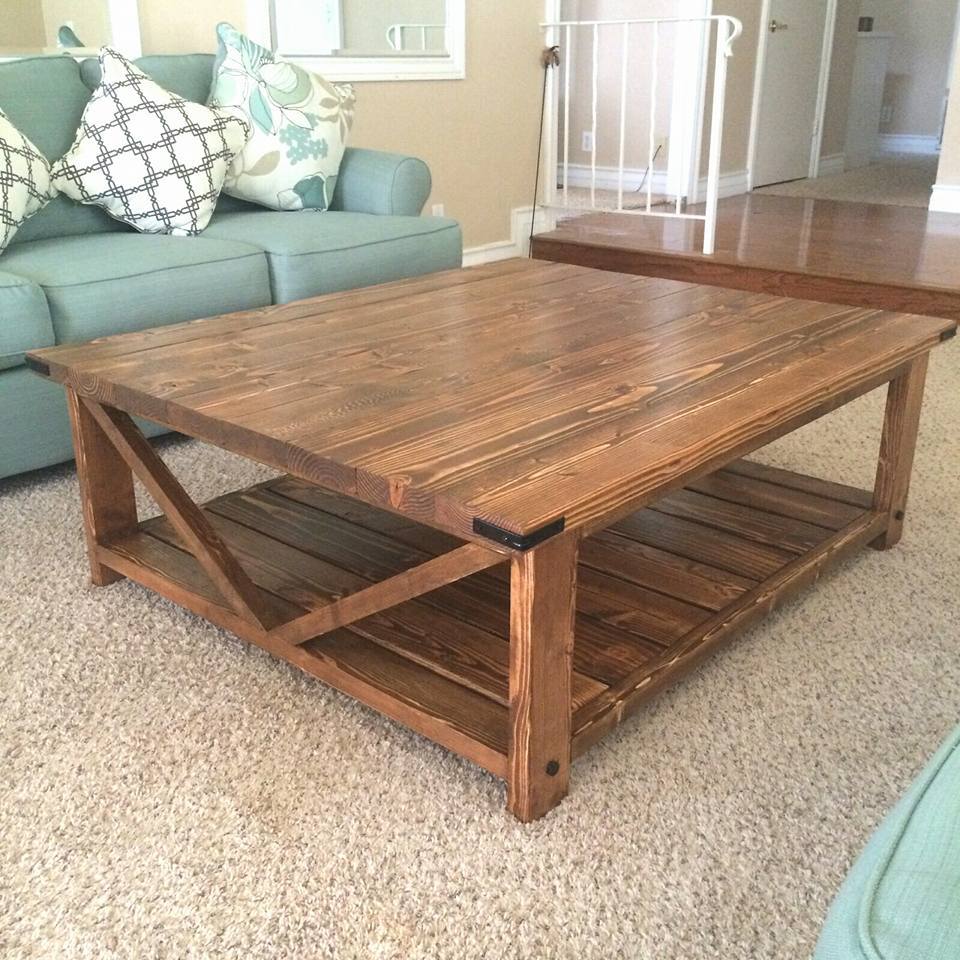
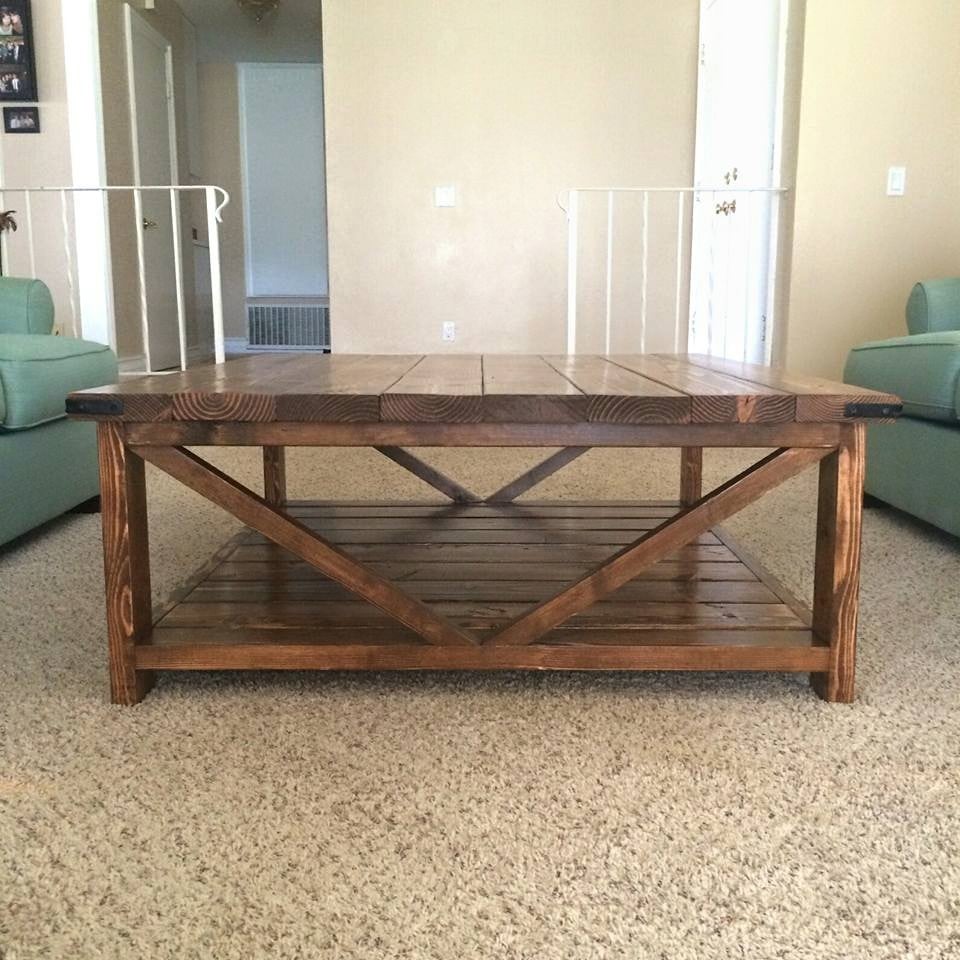
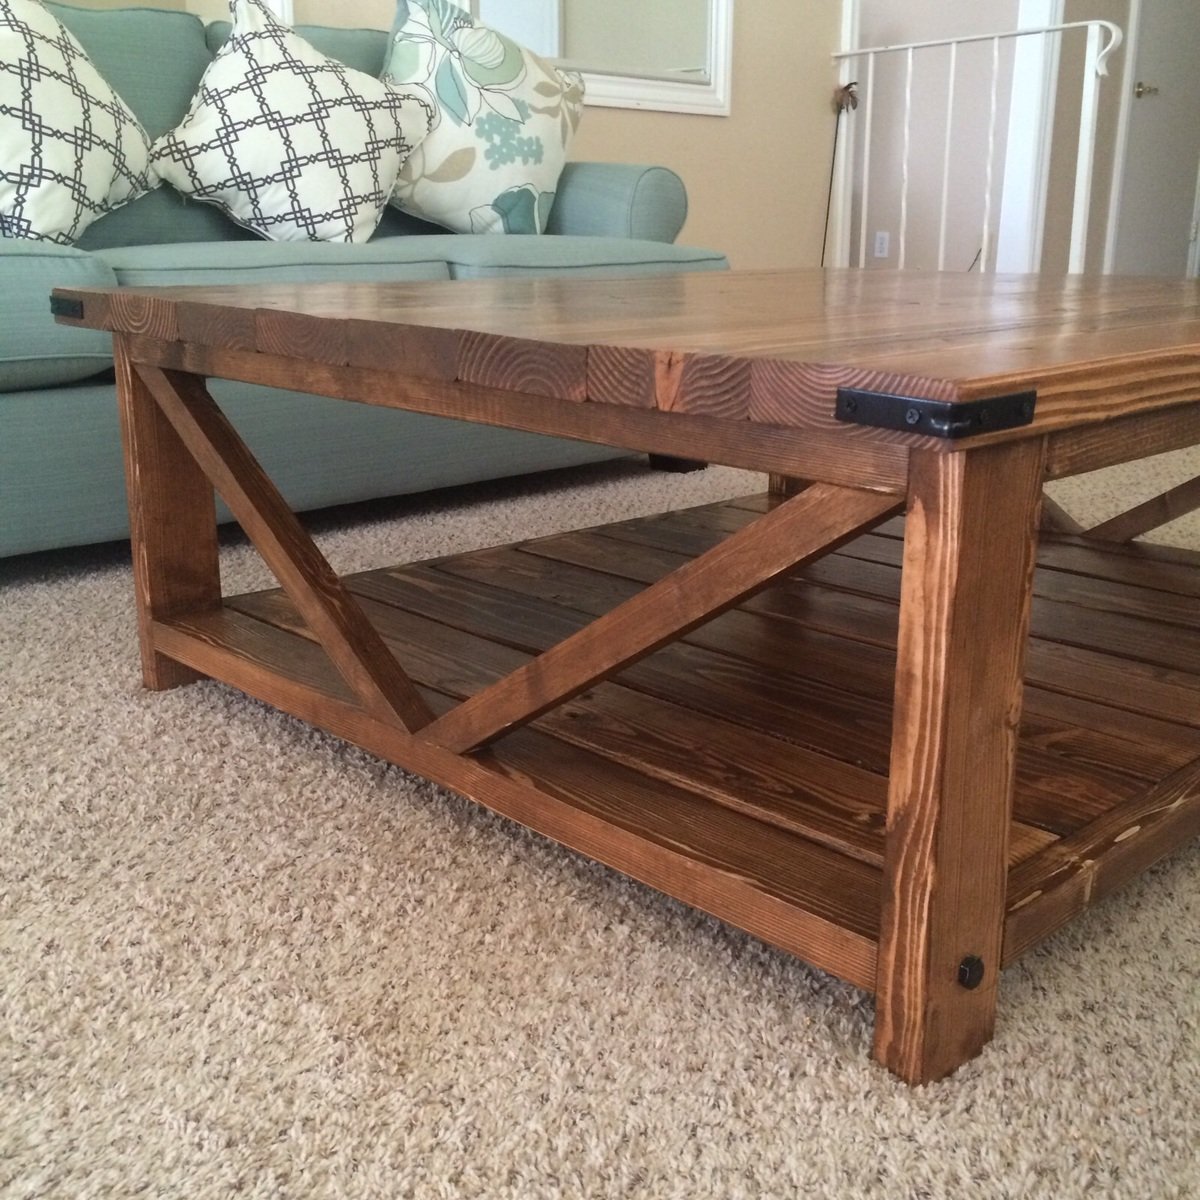
As a beginner at woodwork, this table was pretty easy to make. The instructions were easy to follow. I modified the table by adding 2x6 planks on the bottom and changing up the "X" design. The angles are tricky to get right, but i used scrap wood until i got the perfect angles then used my 2x2's for the final cuts. I also changed the finished dimensions of the table to fit in the room I was making it for, so this table was quite a bit wider than the original. It took me about a day and a half/two days to fully build and then I finished slowly over the rest of the week by staining and using a satin poly finish (I gave the top 4 coats so it took a little longer than normal). I'm so happy with the finished table I've already bought the wood to make another smaller one!

Built from Plan(s)
Estimated Cost
$70 for wood and hardware
Estimated Time Investment
Weekend Project (10-20 Hours)
Finish Used
Varathane Early American w/ Satin Poly
Recommended Skill Level
Beginner

Comments

Audrey Wright

Thu, 10/22/2015 - 05:02

For a beginner, you'd done a great job. I'm a beginner too and I can hardly do this in two days.. 

King Farmhouse Bed

Submitted by Webbuzzard on Tue, 01/22/2019 - 15:44

I pretty much followed the original plans.  I added a chamfer on the outside corners of the posts and on the top boards on the head and foot boards.  I also stained these to match the nightstands.  Since I used a foam mattress, i built a platform by gluing/screwing a 2x4 inside the side rails.  Then I set 1x6s on the 2x4 to support the mattress.  

I use the free version of Sketchup to design the bed and estimate materials needed.  

Lessons learned

  • Take extra time to figure out how to connect the side rails to the head and foot boards.  I thought i could use a sliding lock but this wouldn't work for my design.  I improvised using 3x7 tie plates and screwed the two components together.  For the headboard, I lined the 2x4 with the inside headboard post.  For the footboard, I bent the tie plate 90 degrees and screwed the 2x4 to the footboard.  It worked very well.
  • I would recommend chamfering the outside top of the side rails.  I didn't and my wife complains that she  bumps her shins on it. 
  • Top boards are 1x5s, which in my are are only sold at home depot.  The other wood is readily available.

It's not that difficult of a project.  It is time consuming, though.


Estimated Cost
About $150
Estimated Time Investment
Week Long Project (20 Hours or More)
Finish Used
Latex semi-gloss enamel for everything except the top boards which were stained and polyurethaned.
Recommended Skill Level
Beginner

Comments

markswoodprojects

Fri, 10/16/2020 - 13:48

I love the look of your version. Do you have the SketchUp file anywhere that I can download? I would really like to make this version as I love your proportions and the color scheme.

Ten dollar ledges

Submitted by Redbow on Thu, 10/03/2013 - 13:40

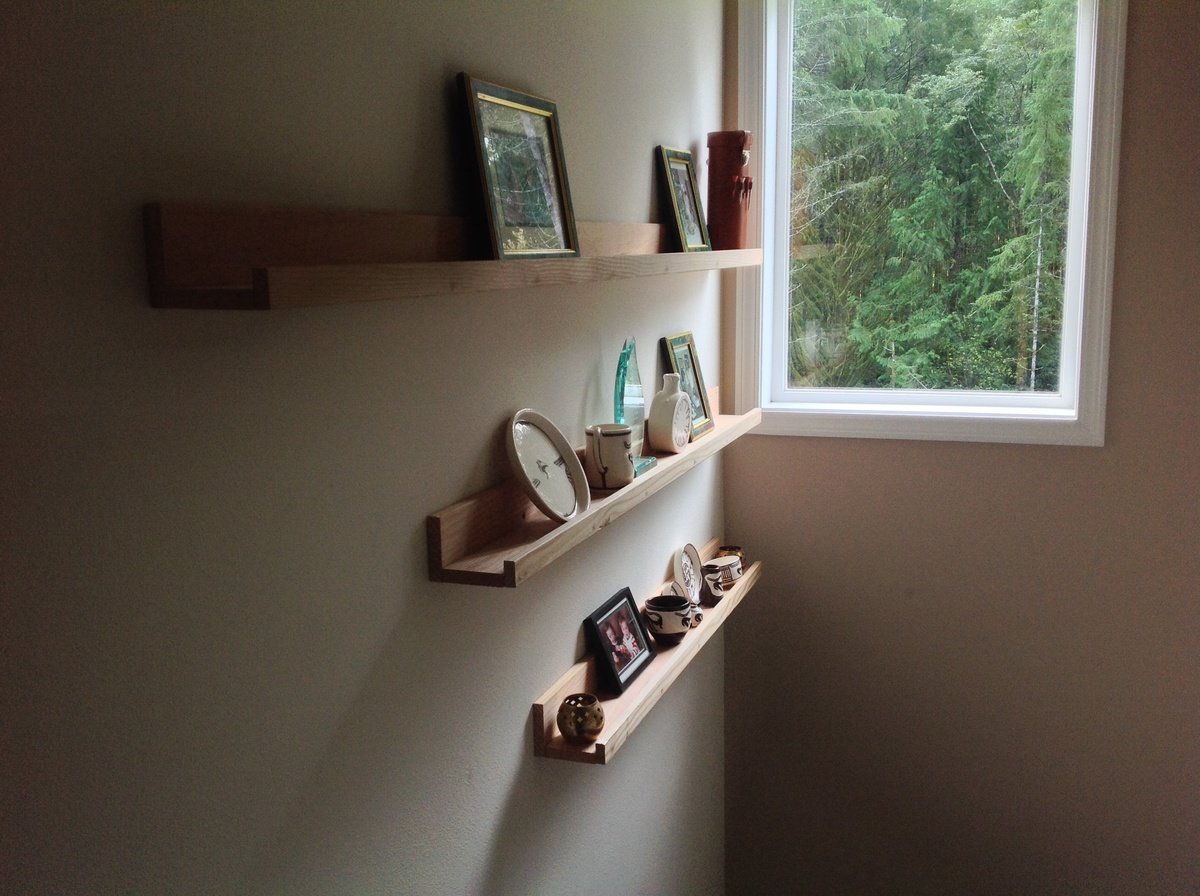
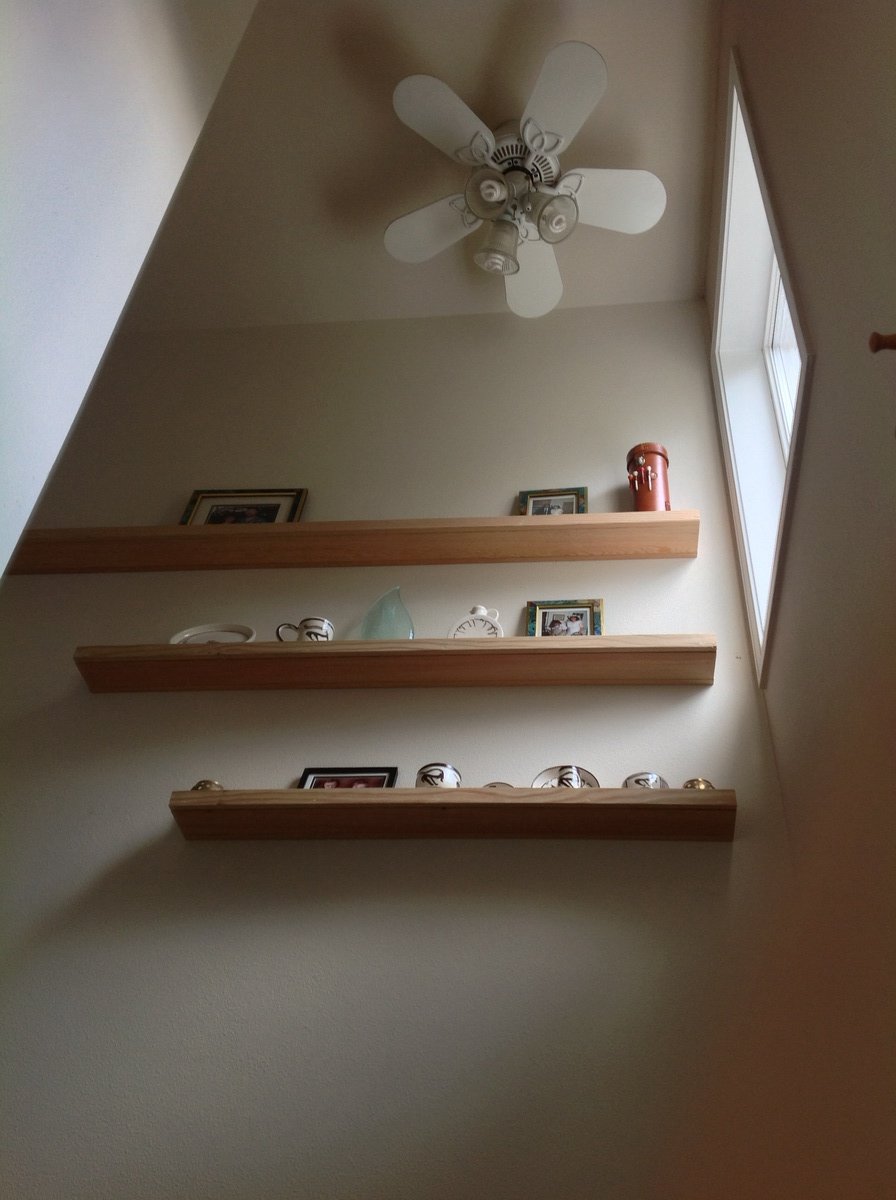
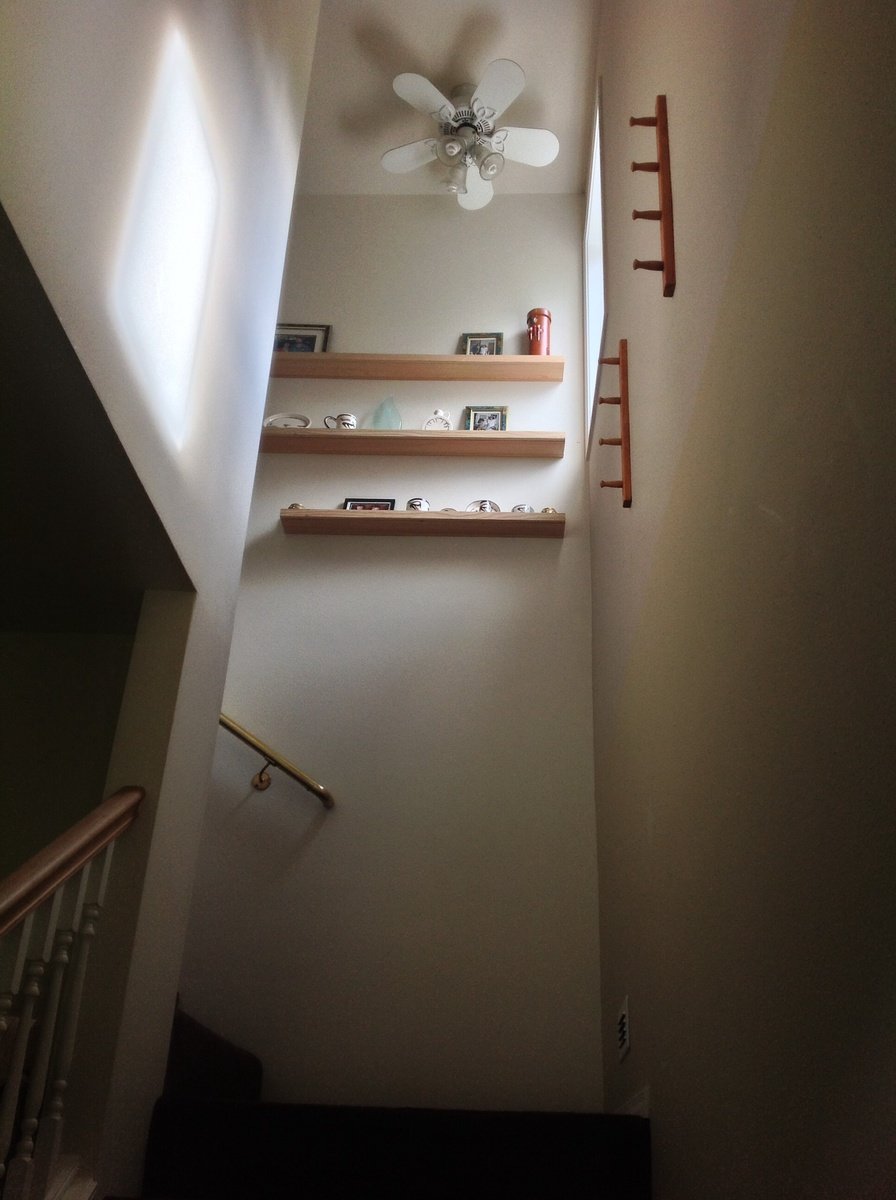
Built three 10 dollar ledges of fir for a tall, awkward area over our stairs. 3.5, 4.5, and 6 feet long. Looks great and finally can make use of that space. I initially bought red oak but decided it was too heavy (and too expensive at $90). Still need to putty the screw holes.

Built from Plan(s)
Estimated Time Investment
Afternoon Project (3-6 Hours)
Finish Used
None. I like bare wood.
Recommended Skill Level
Starter Project

... and the chairs
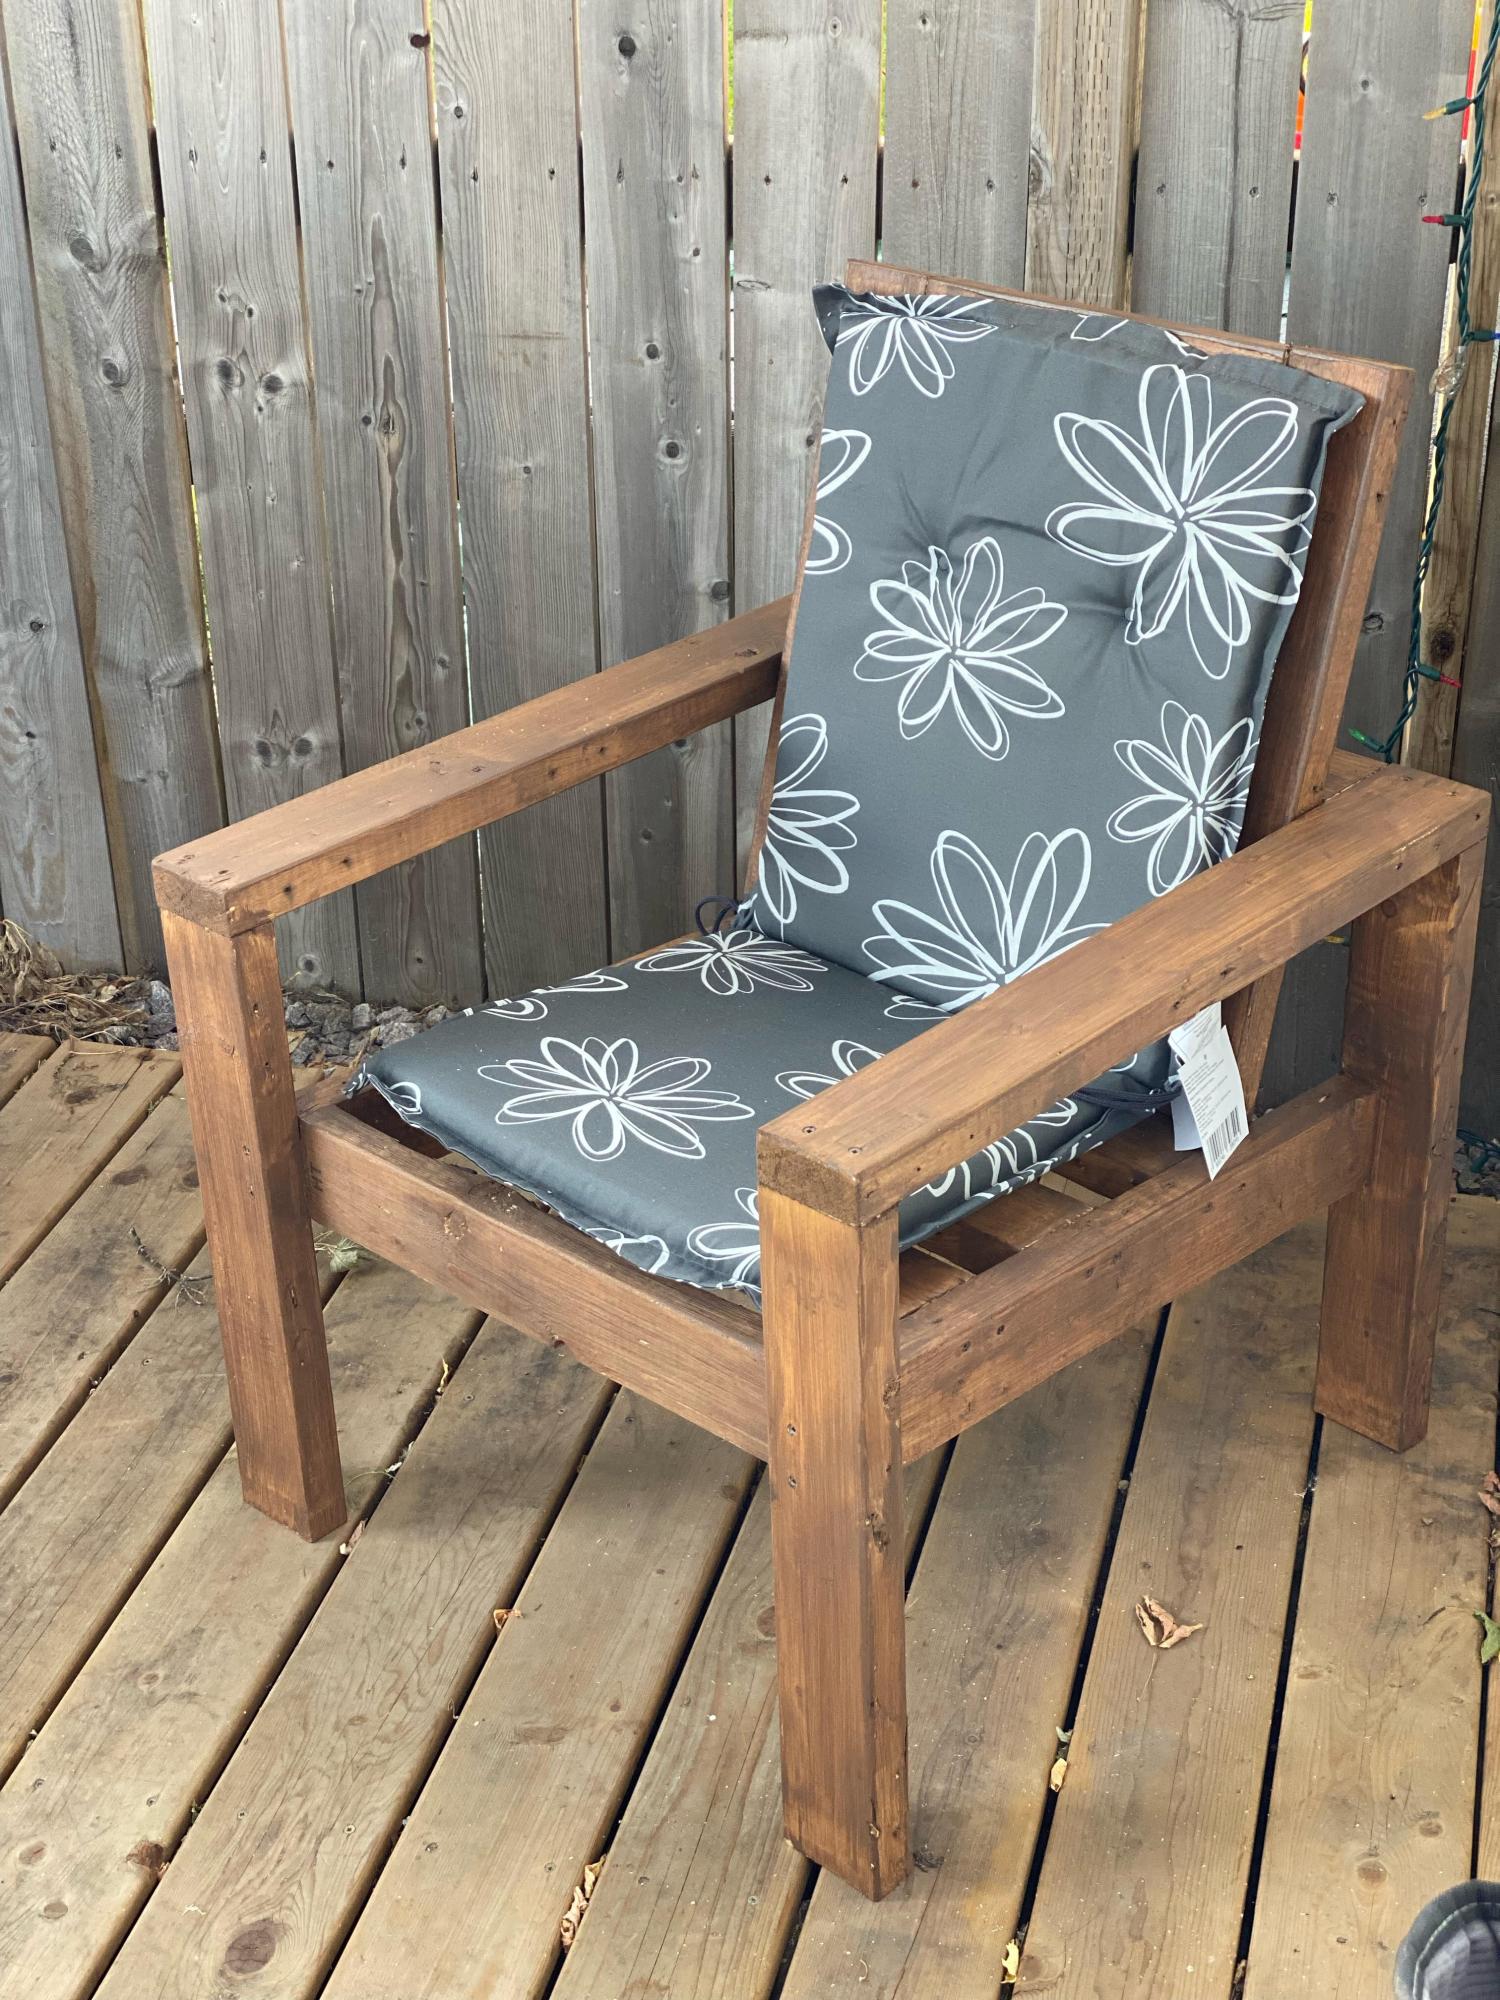
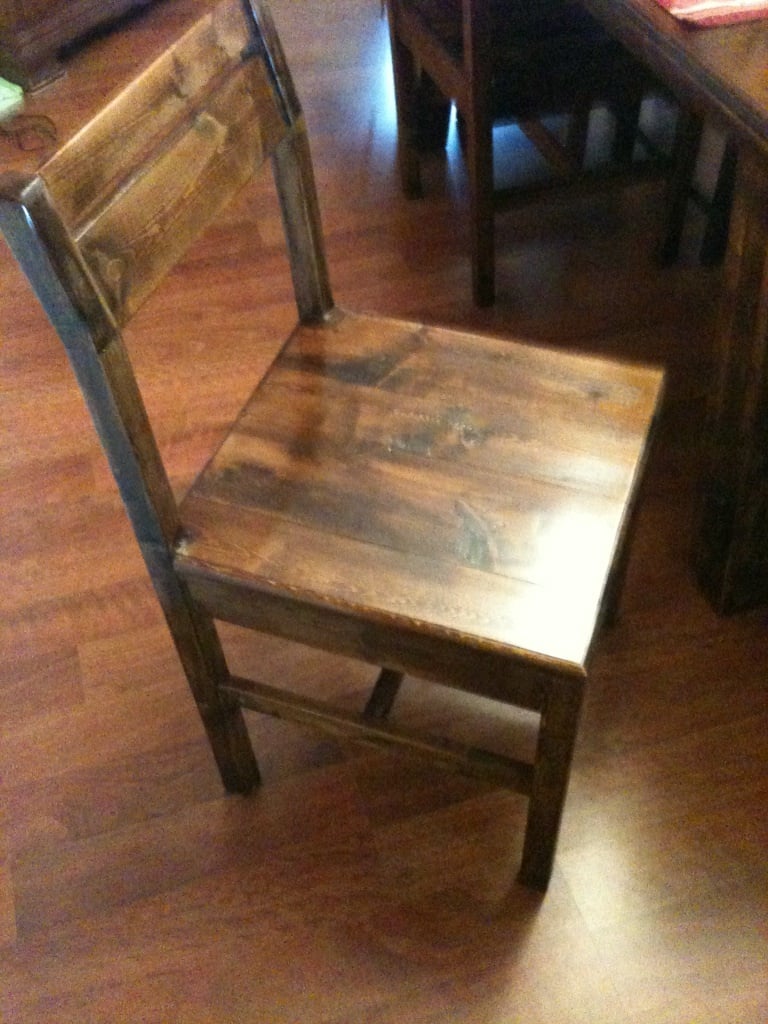
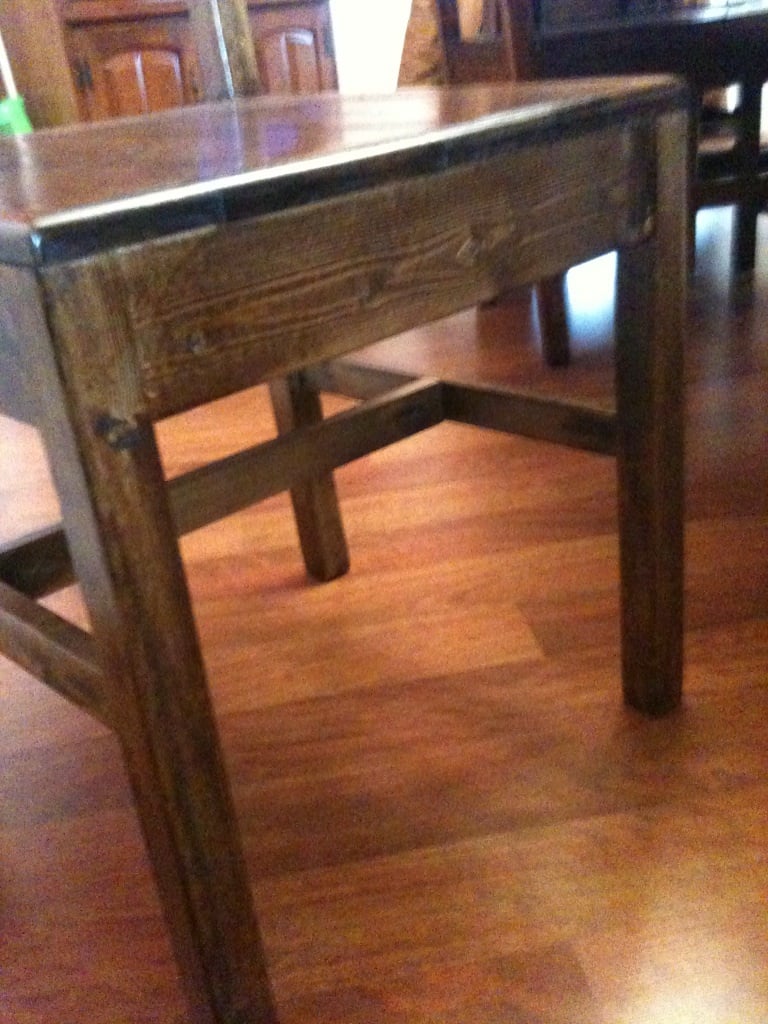
In addition to the farmhouse table, my husband also built me six chairs to match. He started with the modern angle chair, and added a cross support underneath. With the dark stain they work perfectly with the table.
Built from Plan(s)
Estimated Cost
$80-$100 (can't really remember!)
Estimated Time Investment
Week Long Project (20 Hours or More)
Finish Used
Minwax Provincial
Recommended Skill Level
Intermediate

Comments

spiceylg

Sun, 12/04/2011 - 02:30

He did a beautiful job! What an accomplishment. I know you are proud!

Guest (not verified)

Sun, 12/04/2011 - 05:49

What a fantastic Job!! The set looks great. Definately work to be proud of. Thanks for posting!

Over the toilet medicine cabinet / storage

Submitted by skyzen on Tue, 11/19/2013 - 17:06

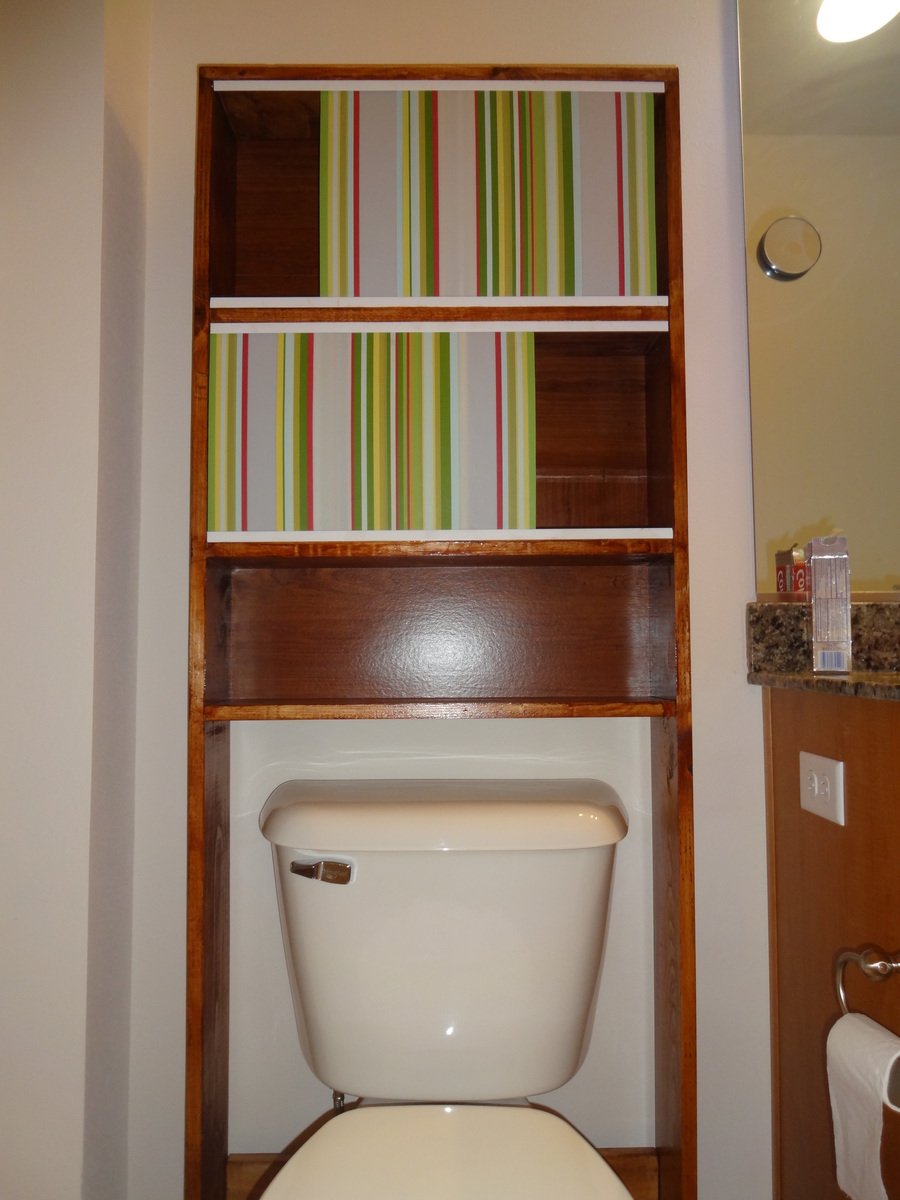
I recently discovered your blog and got really inspired. After building a couple of beginner projects following your plans, i started to think about making something that can be used as medicine cabinet and does not take much space. Came up with the idea for this over the toilet storage rack.

My goal was to recycle/reuse some of the stuff that was sitting in my garage.
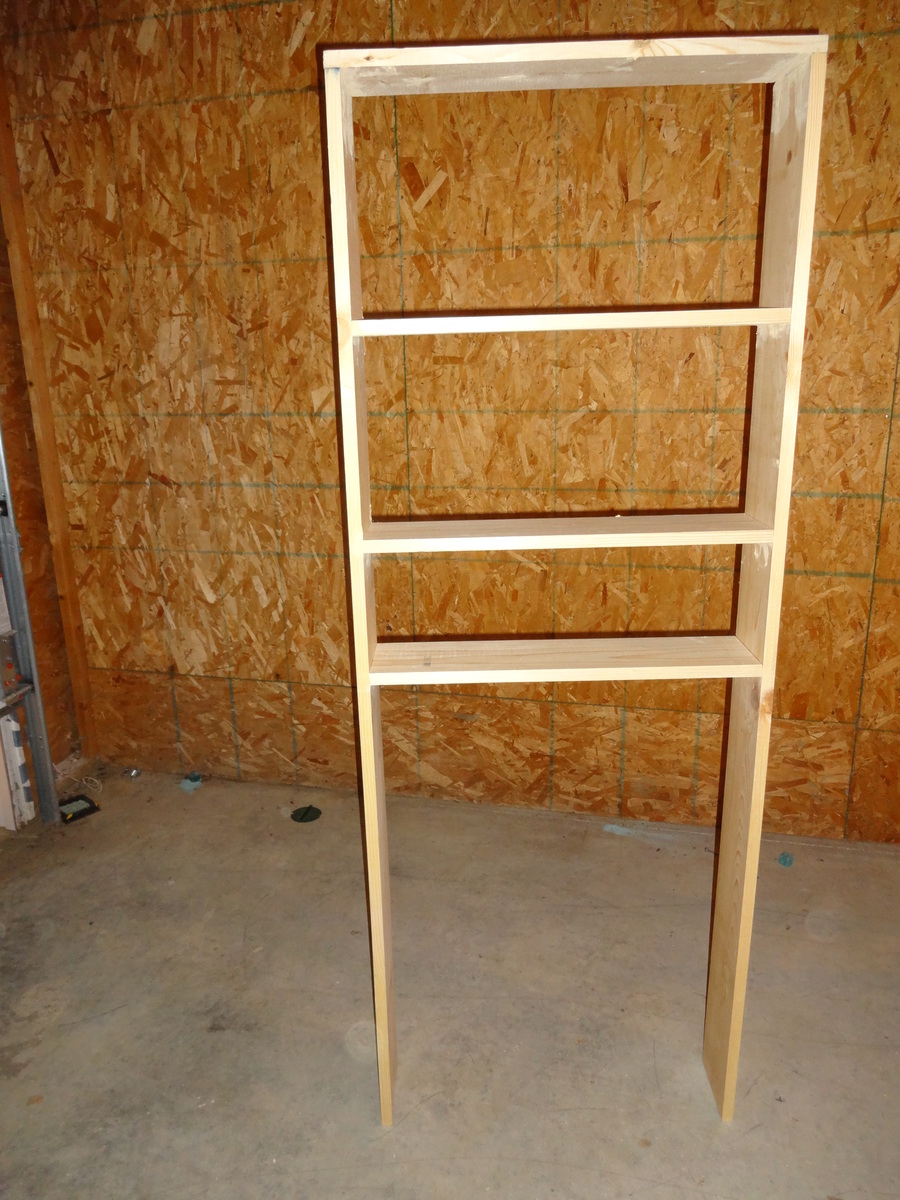
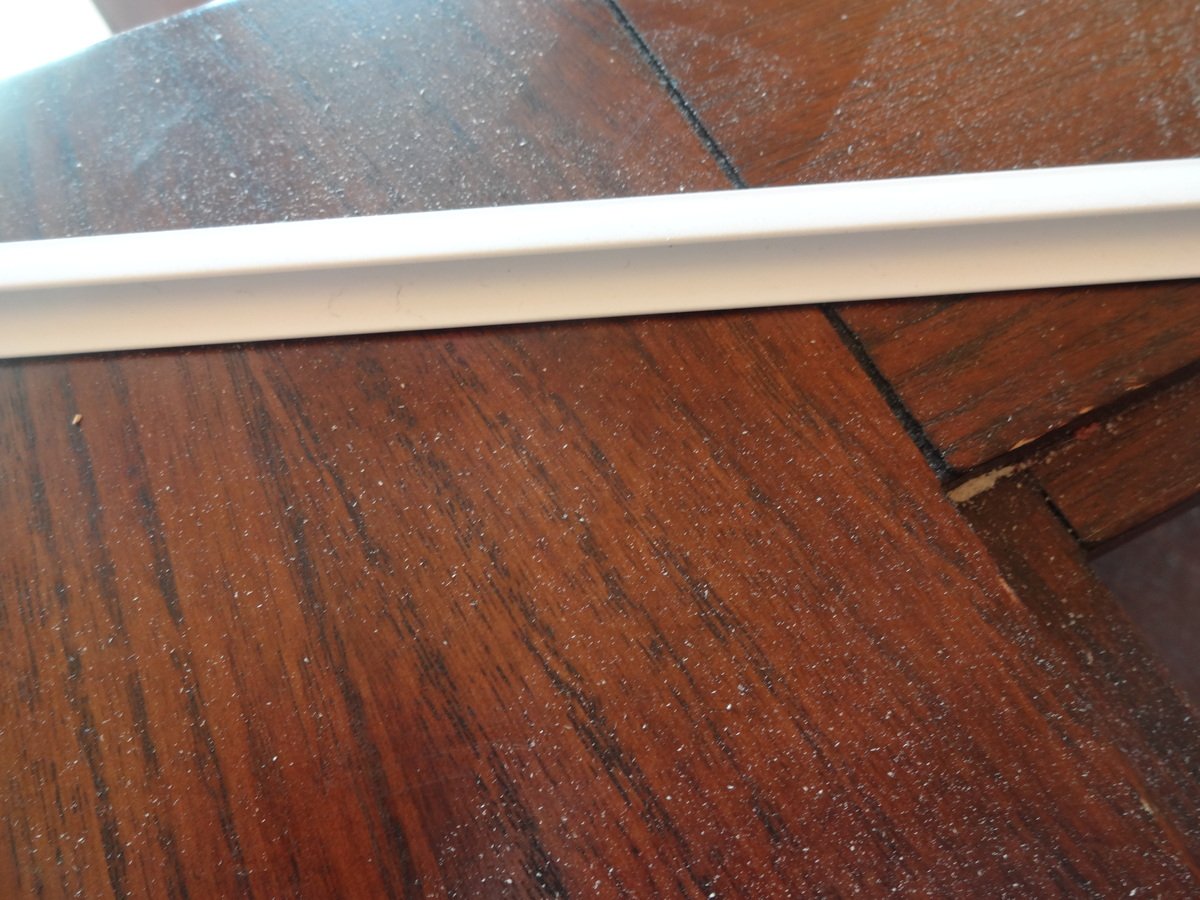
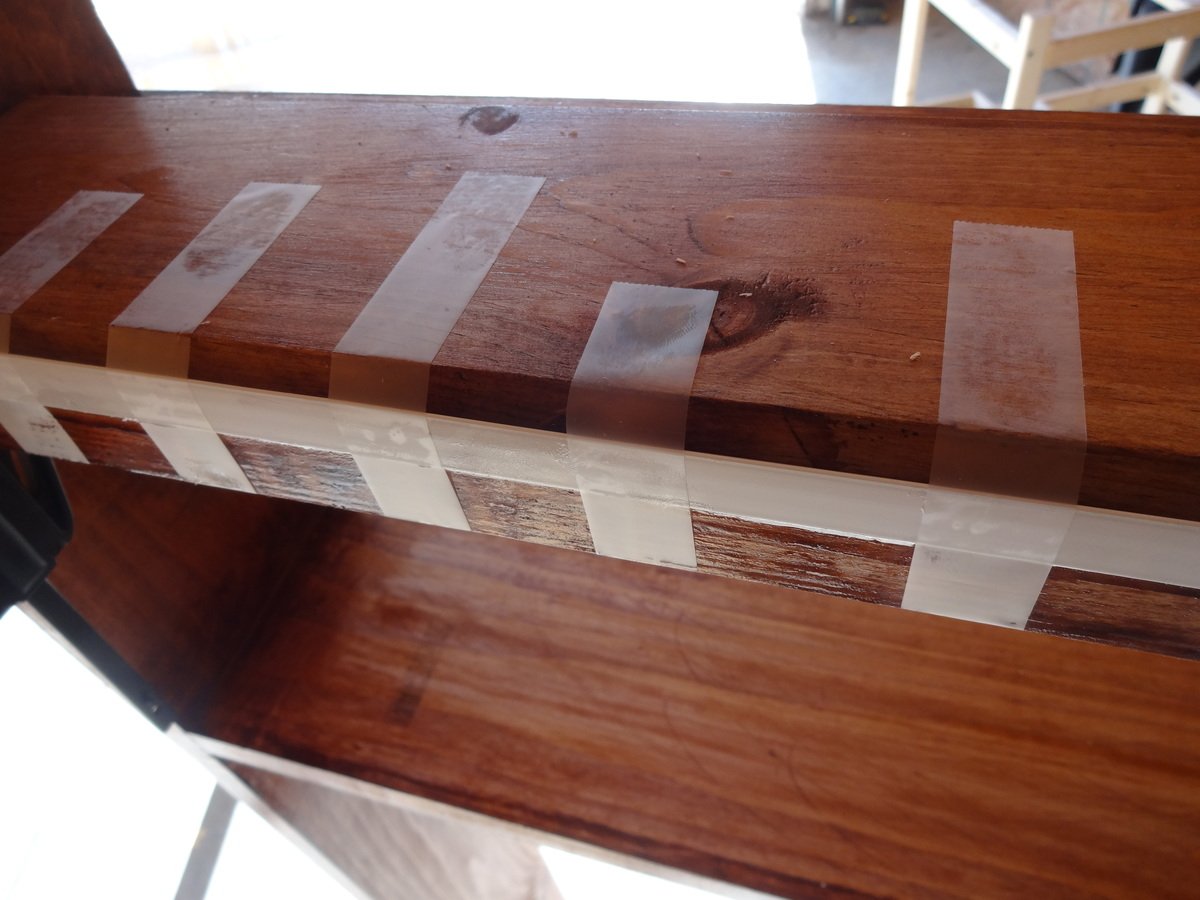
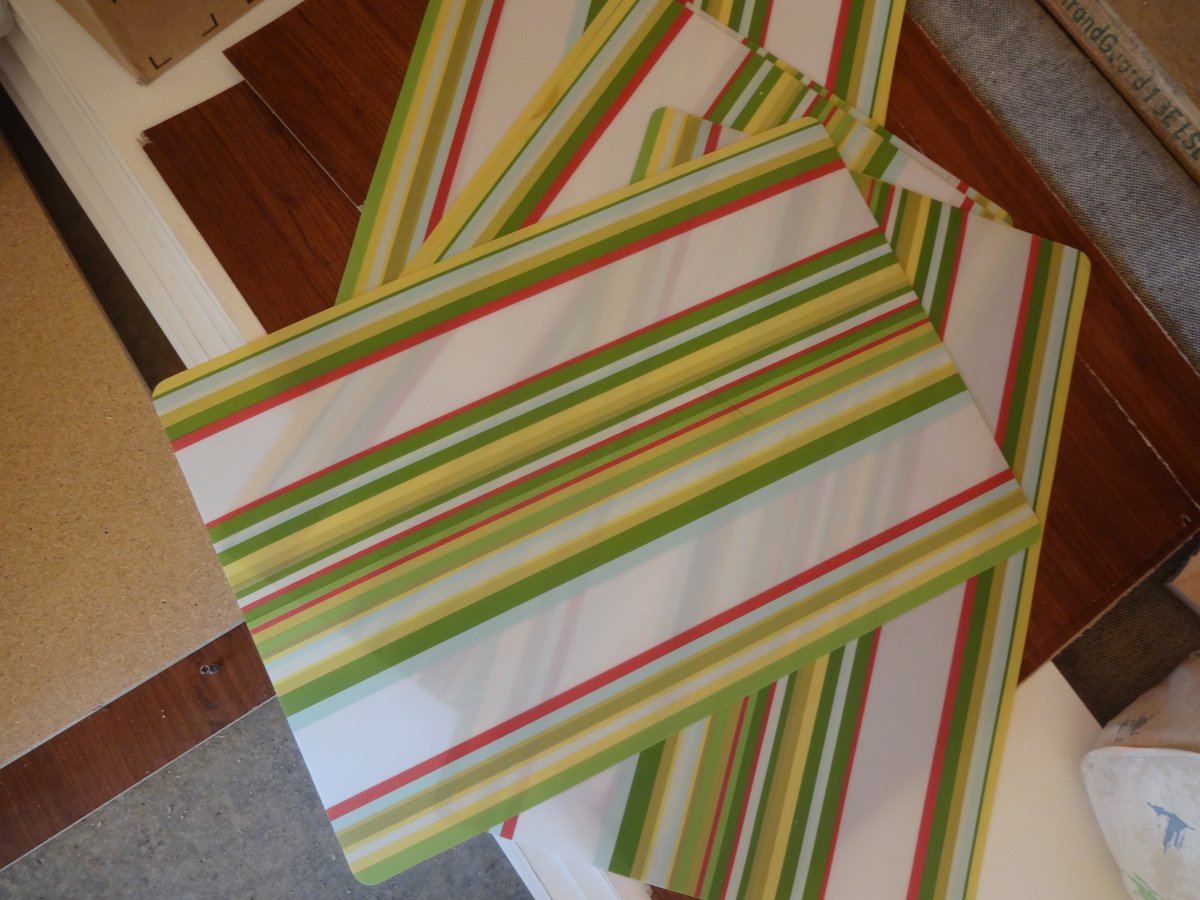
Started with building a frame using 1x6s (24 inch for shelves and 72 inch height). Used plastic table mats were used as sliding windows. Found a PVC trim (8 ft) for $2 at lowes that has been used as the rails/track for the windows. The back is piece of cardbord that was scrap from an old broken ikea bookshelf.

I am pretty happy that i recycled some stuff and made this in less than $15.

Estimated Cost
$15
Estimated Time Investment
Afternoon Project (3-6 Hours)
Finish Used
Minwax Bombay Mahogany Satin
Recommended Skill Level
Beginner

Comments

kevinwdavies

Tue, 12/01/2020 - 14:20

Did you do anything to the bottoms of the legs to prevent wet floors from wicking into the wood? I am wanting to build something similar to replace a particle board cabinet-in-a-box because the particle board did soak up water and get ruined. What I'd REALLY like are metal end caps with an adjustable foot (like you put at the bottom of a table leg) but I can't find a combination of the two anywhere.

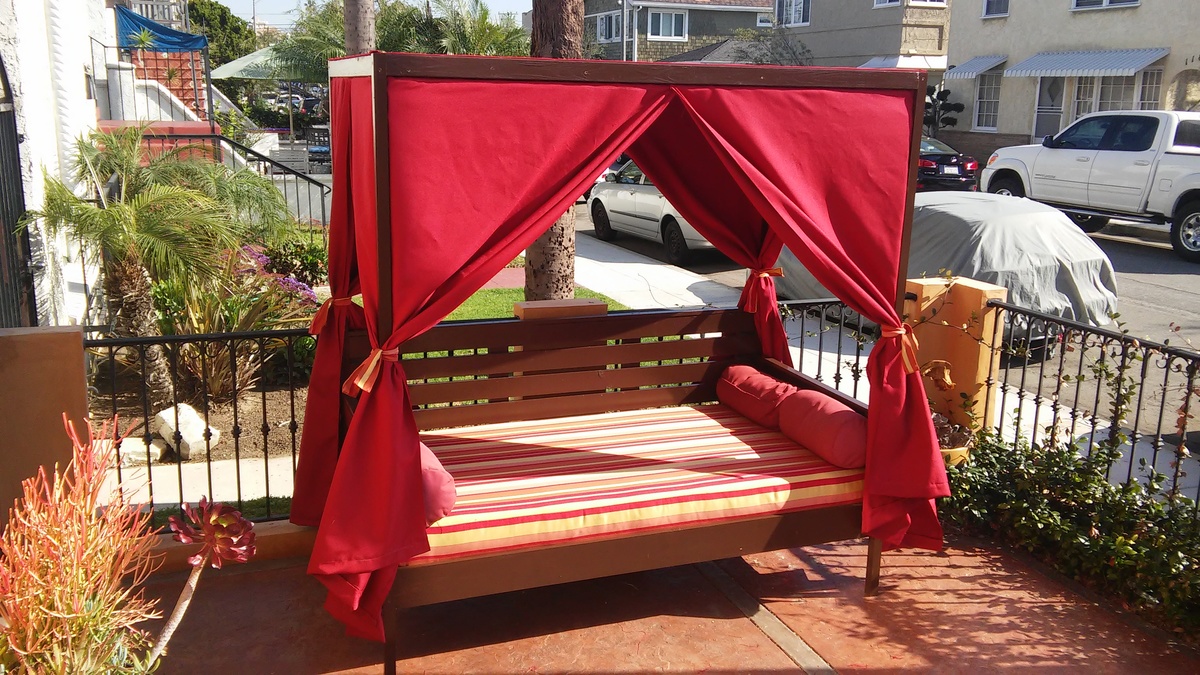
outdoor canopy with curtains

Submitted by Anonymous (not verified) on Sun, 02/21/2016 - 16:51

I gave away my outdoor furniture in need of something for that space.  This plan is perfect with added outdoor matress and Curtains so I can lay down on the summer.

Built from Plan(s)
Estimated Cost
100-150 for bed
250 mattress plus cover
200
Estimated Time Investment
Weekend Project (10-20 Hours)
Finish Used
Chocolate stain.
Strip sunbrella for mattress and high density foam.
Rasberry sunbrella mattress
Recommended Skill Level
Intermediate

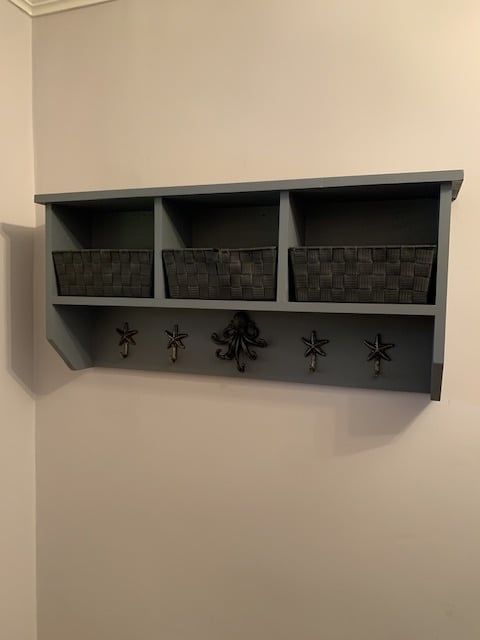
Hall shelf Unit

Submitted by Anonymous (not verified) on Fri, 06/16/2023 - 17:56

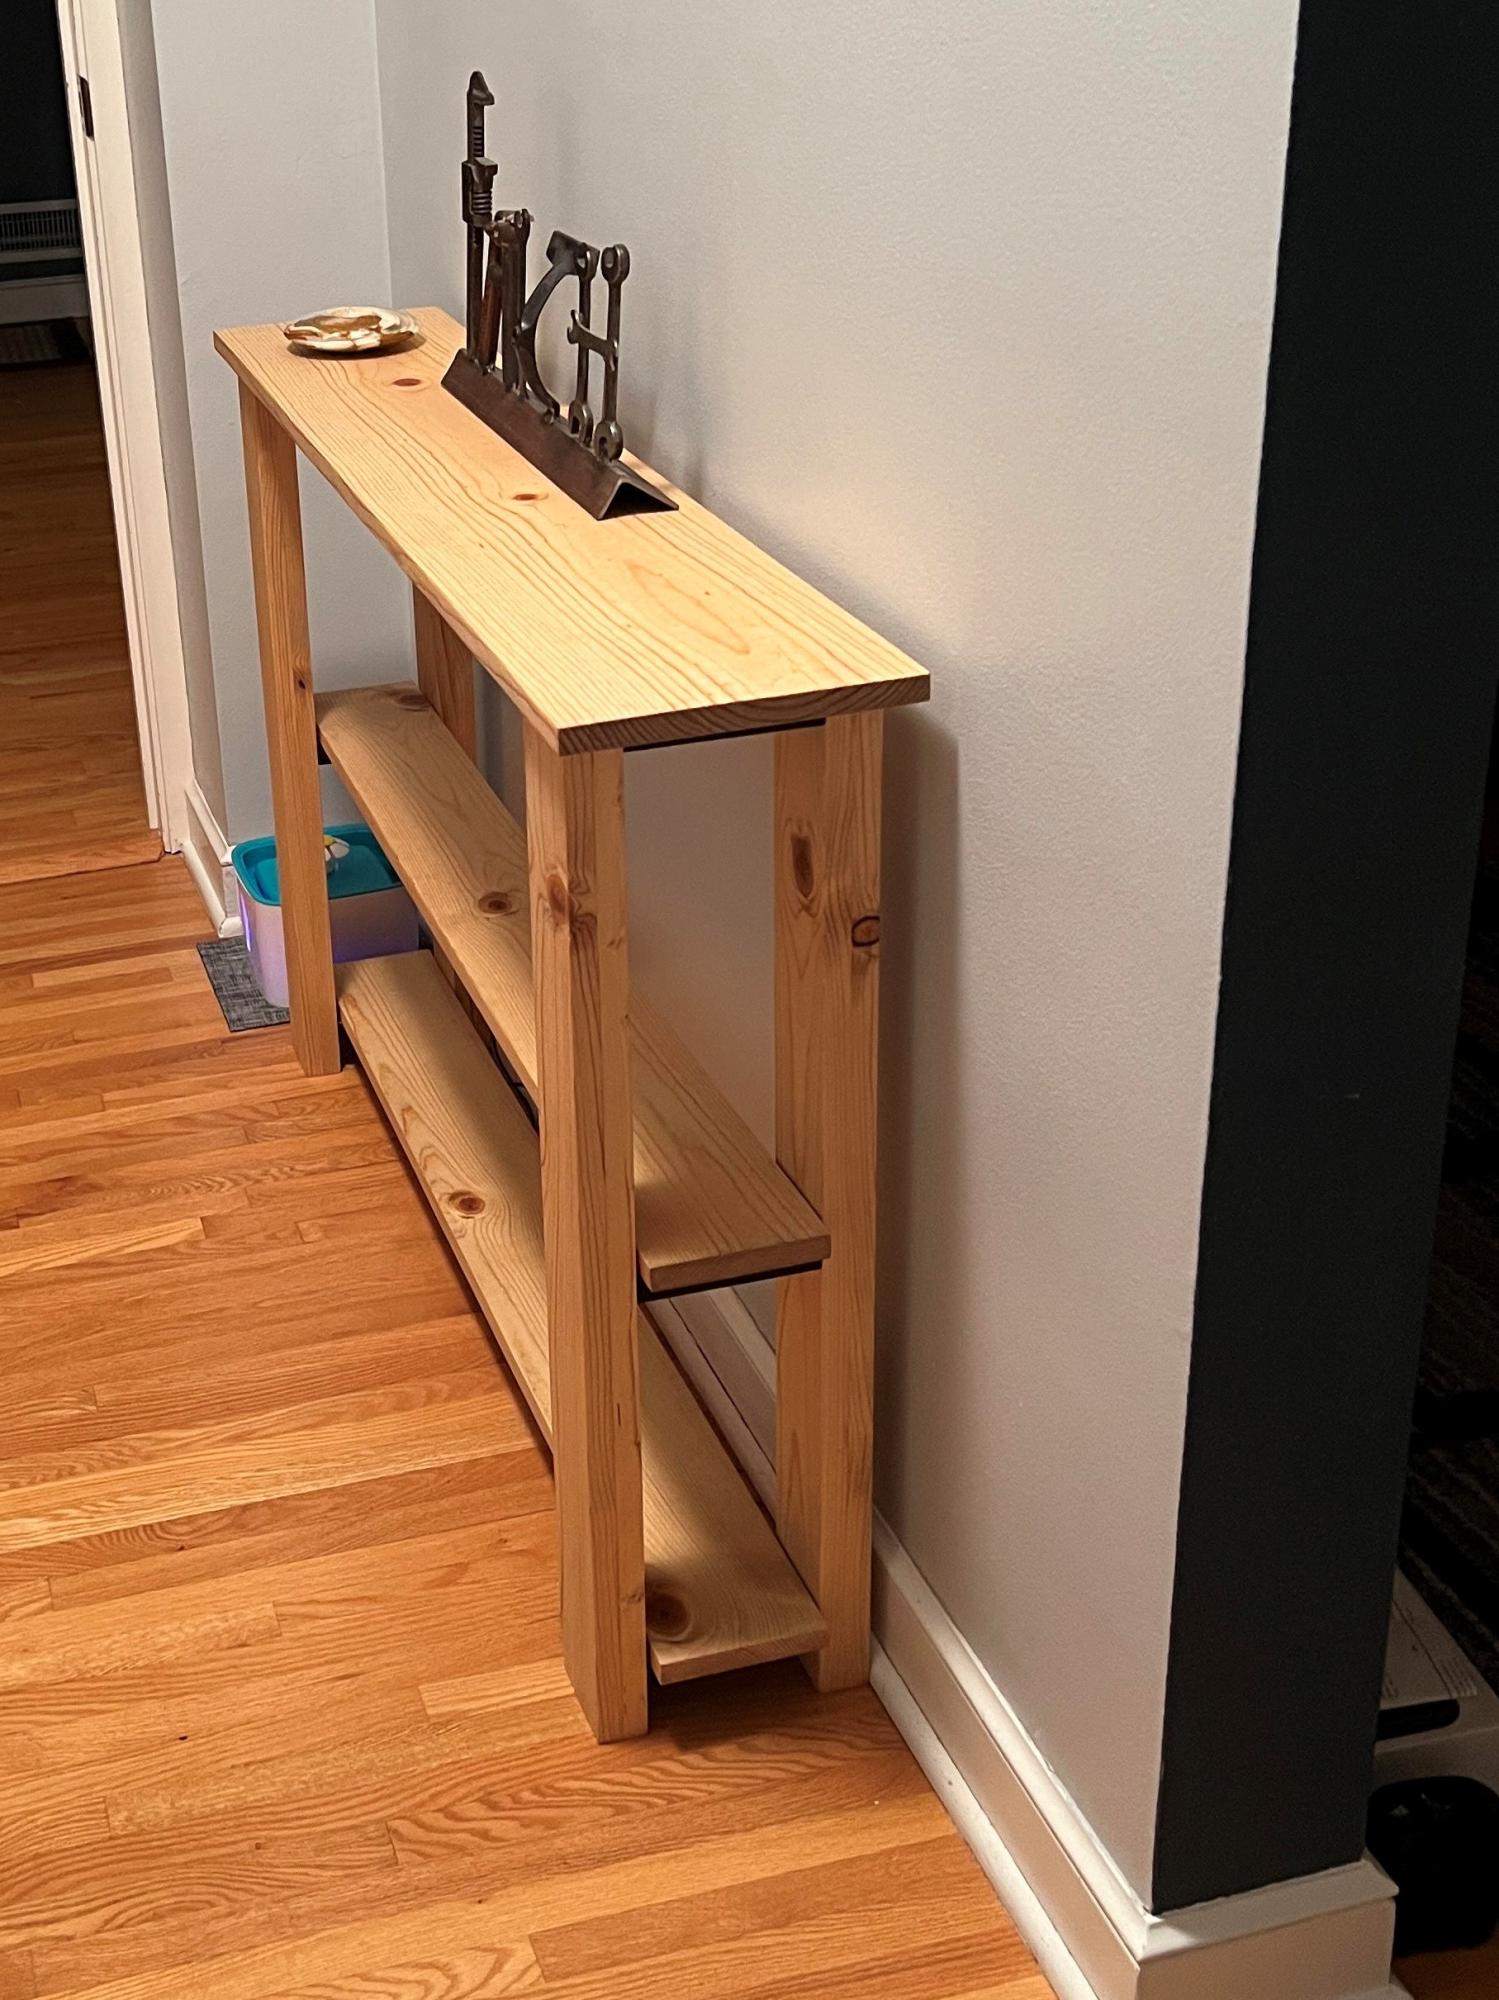
I actually used a partial plan from a previous Ana-white photo and plan. I used some nautical hooks to finish it off.

Comments

Loft Bed w/ Bookcase and Headboard

Submitted by trodkewich on Sun, 02/12/2012 - 15:05

We used the loftbed plans, http://ana-white.com/2010/05/furniture-plans-loft-bed.html and the bookshelf plans, http://ana-white.com/2010/06/plans/what-goes-under-loft-bed-how-about-b…- then designed our own headboard. The girls love their new room and we're going to build another one for the boys! We just put a platform bed from Ikea underneath!

Estimated Time Investment
Weekend Project (10-20 Hours)
Recommended Skill Level
Beginner

Comments

greg f (not verified)

Sun, 12/30/2012 - 06:39

i want to build this project for my daughter, but the link for the bookcase is a dead link. where can i find the bookshelf plans? i plan on making the loft be a full size, so will be adding 15" to my project. thank you!

Square Picnic Table using Deck Boards

Submitted by Anonymous (not verified) on Fri, 07/07/2023 - 11:32

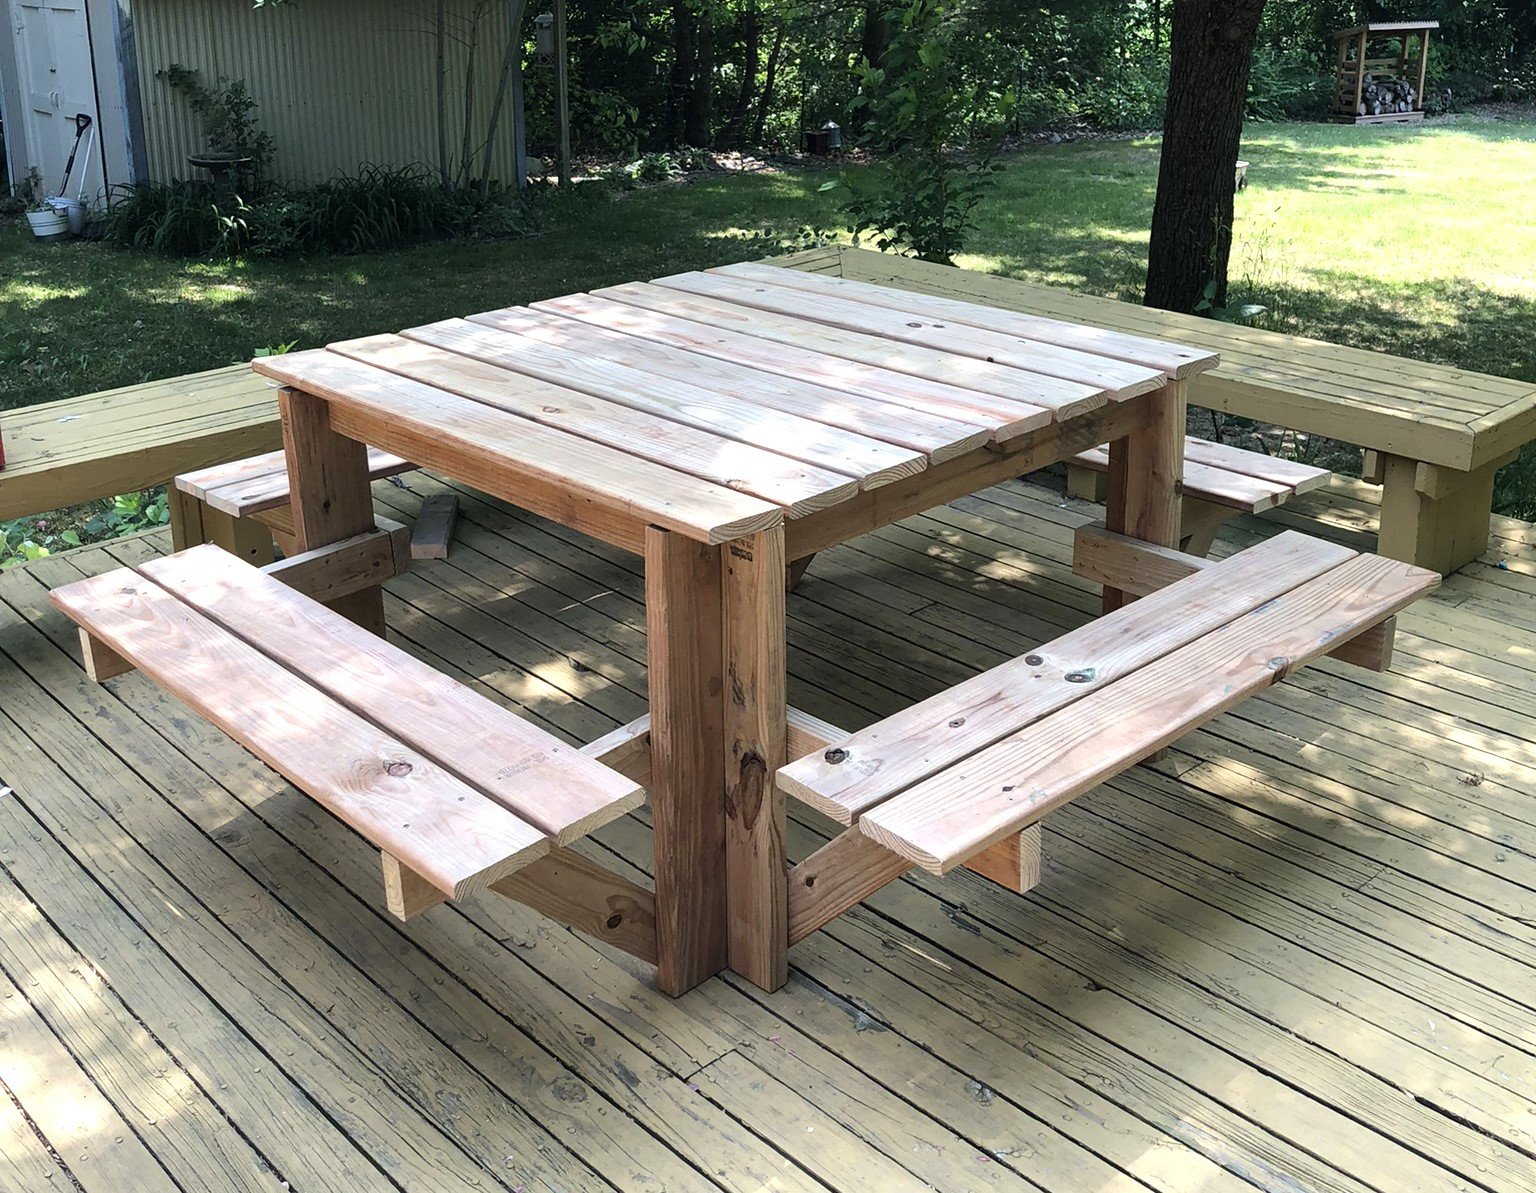
I used deck boards instead of 2x6 for the top and seats; this lightened the table overall while negating the need to sand and finish the boards.

I also used a cedar-tone treated board so staining wasn't necessary.

Kelly S.

Built from Plan(s)
Seasonal And Holiday

Playroom Stage!

Submitted by kdins31 on Thu, 01/02/2014 - 09:48

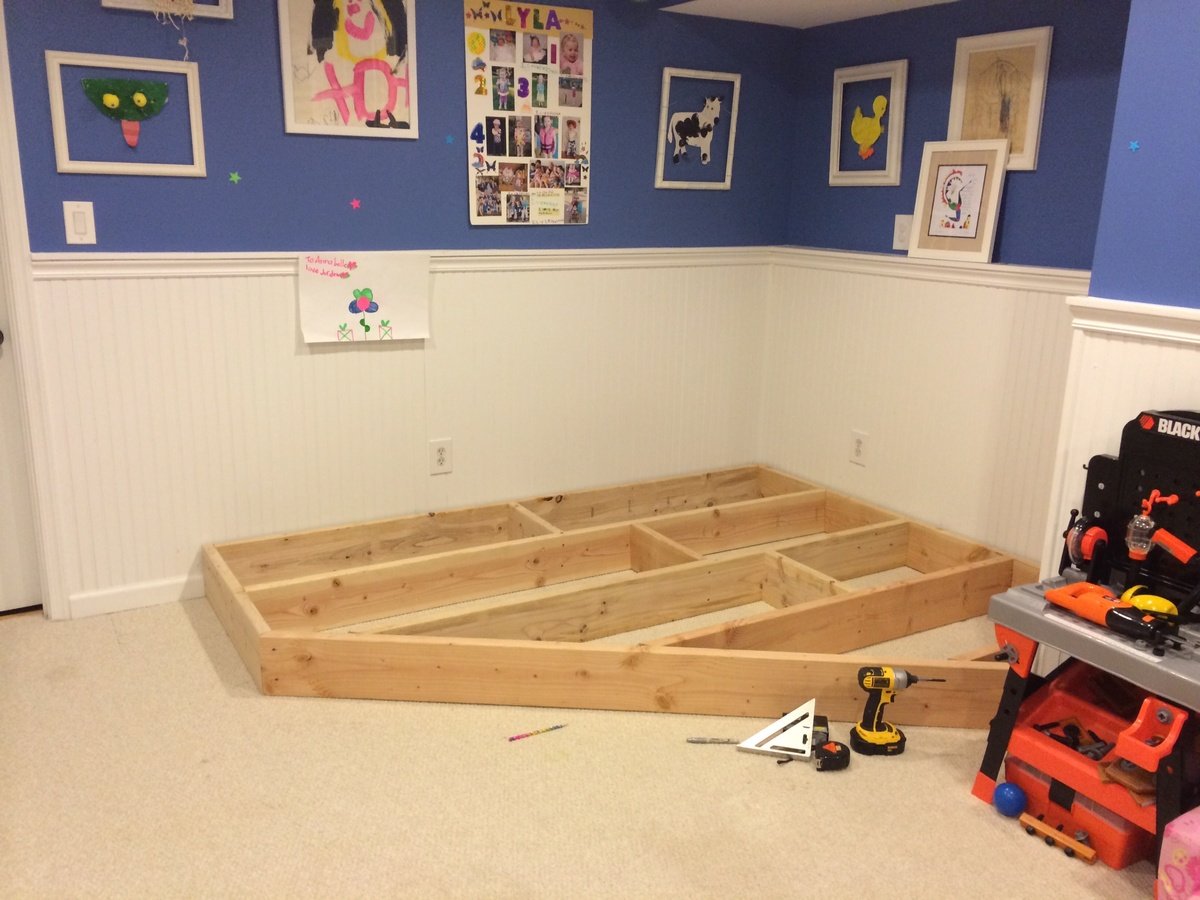
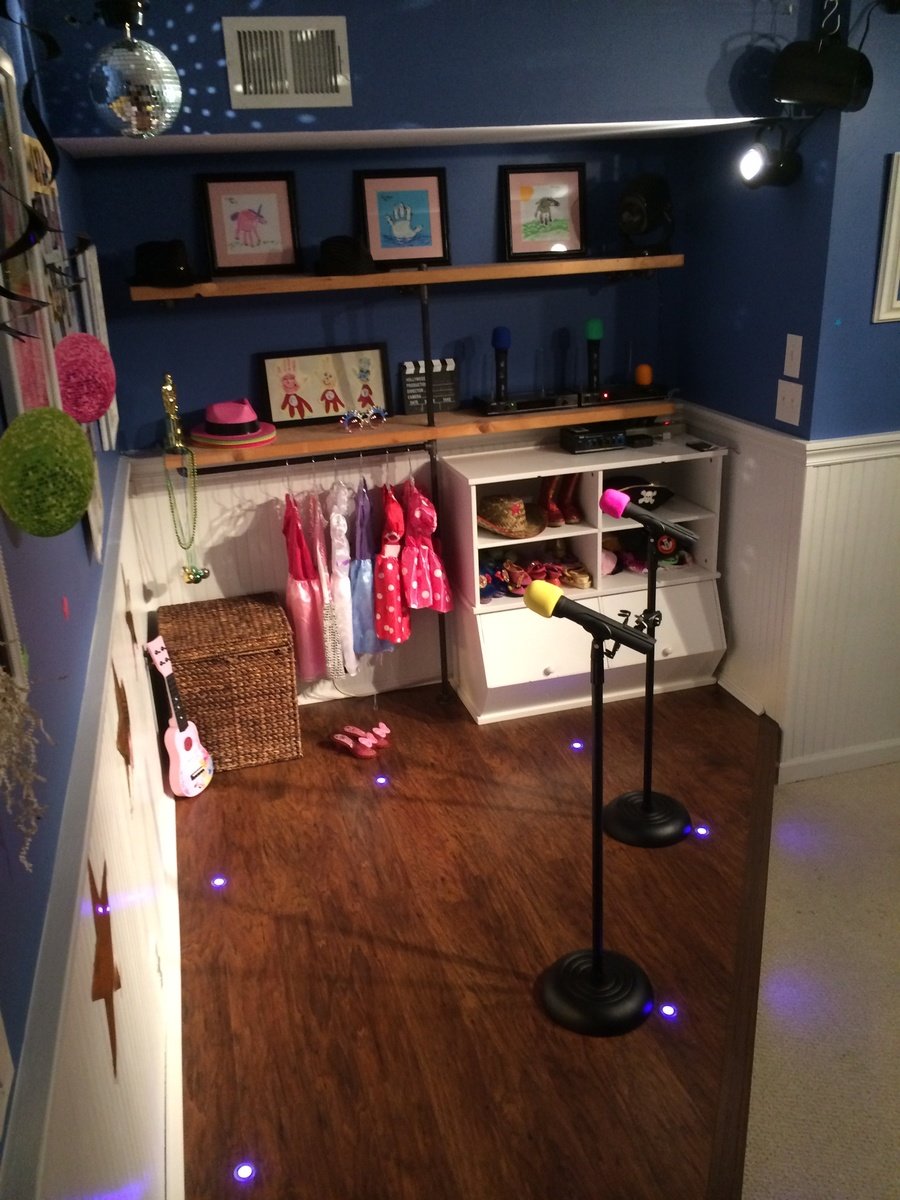
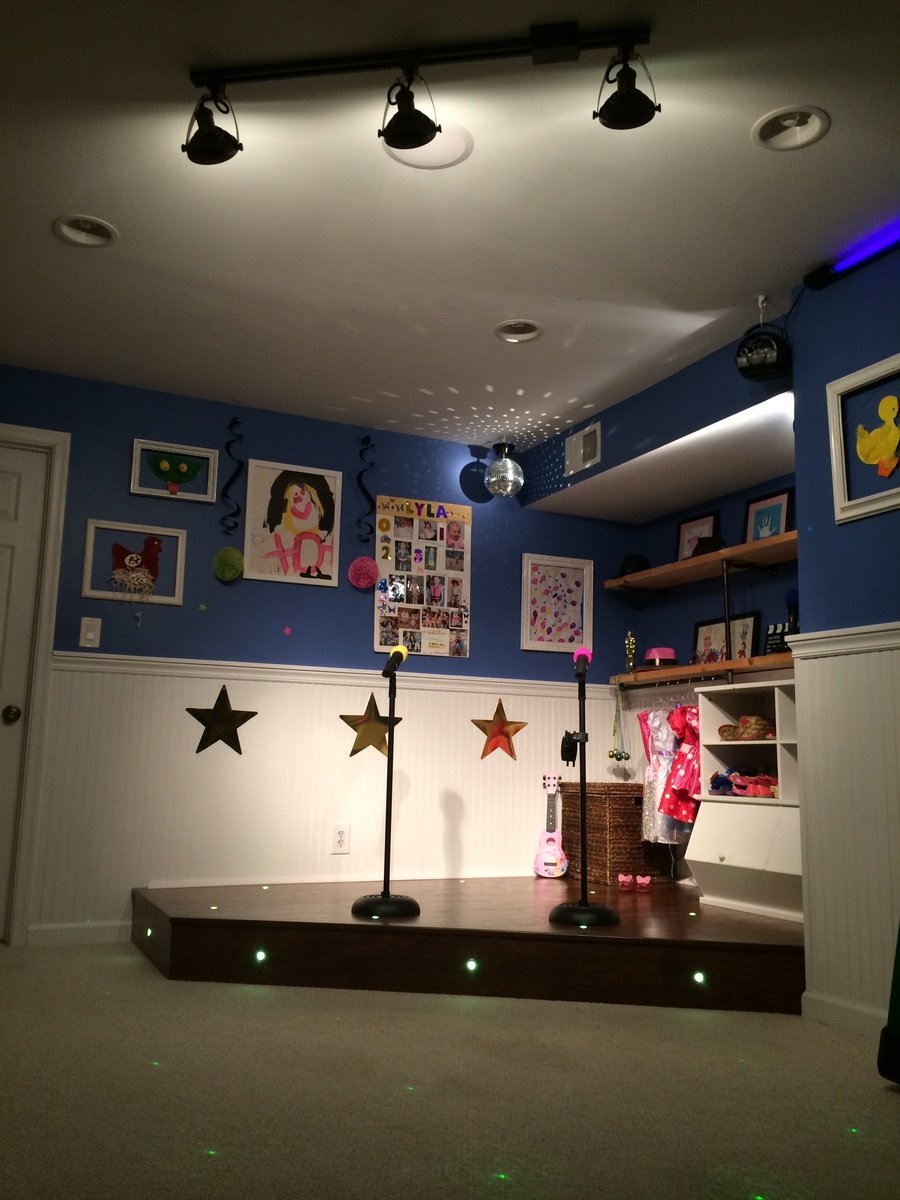
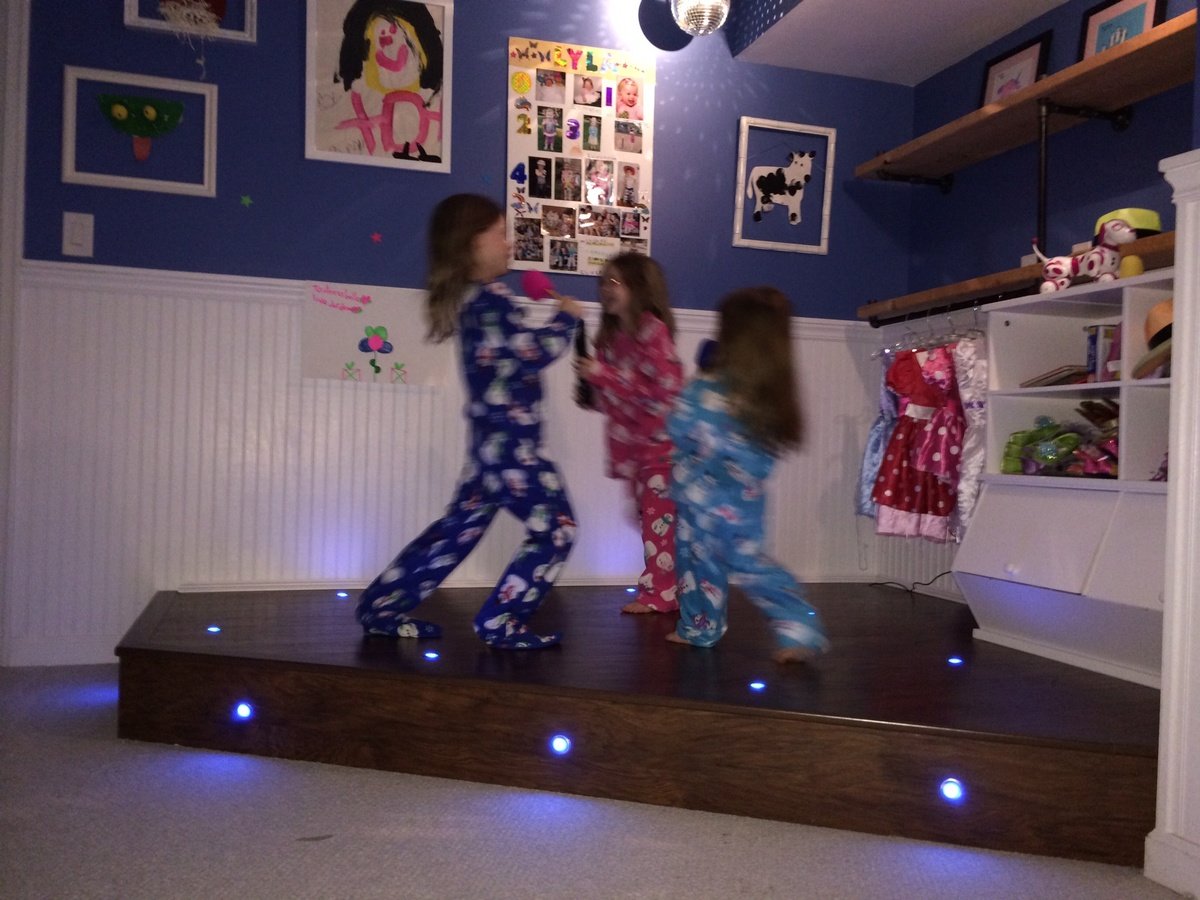
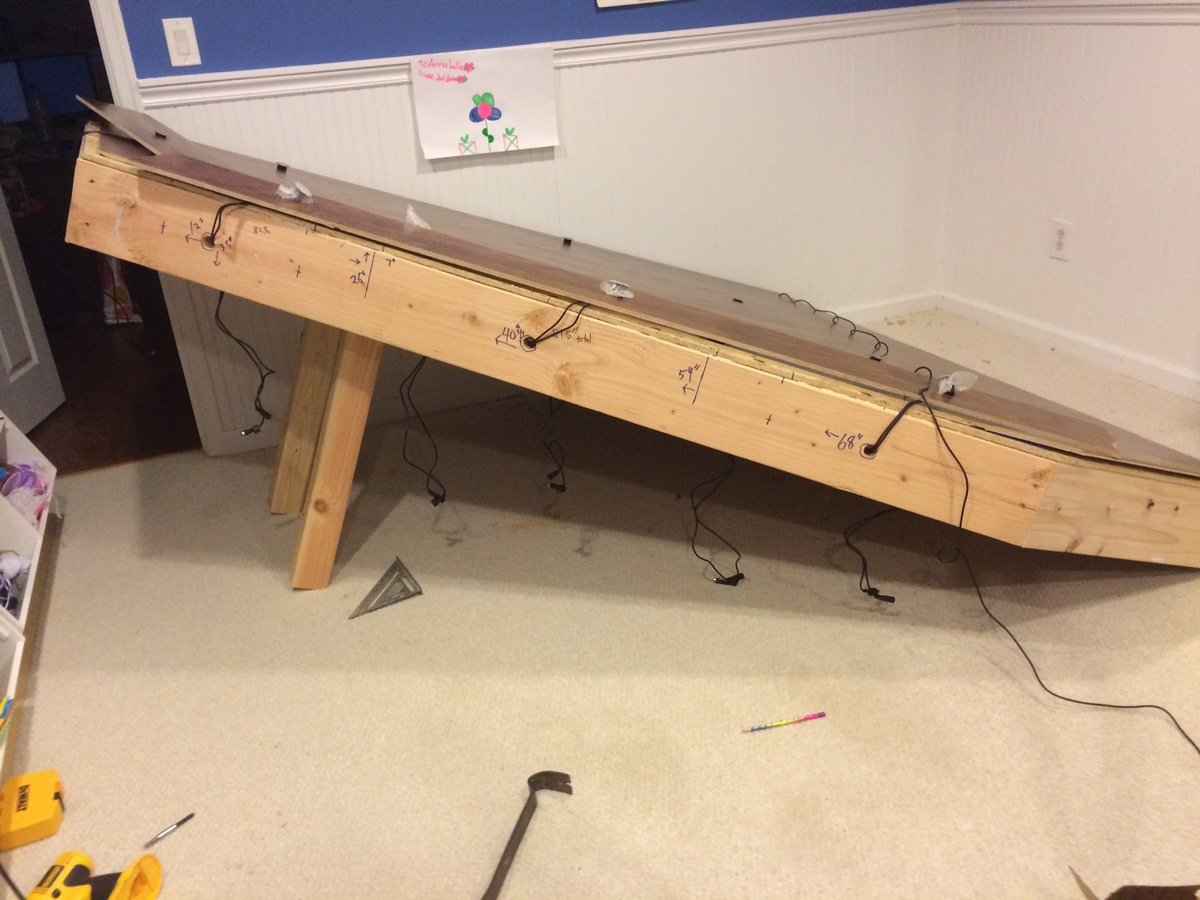
I had a perfect corner in our playroom that was reserved mostly for clutter and always wanted to do something fun with it. The base is made with 2x8"s topped with Handscraped Hickory laminate flooring. Bored holes into the floor and installed 1" diameter color-changing LED decklights. Added theatre-style tracklights, disco ball and other dance floor lighting for extra effect. Of course the stage wouldn't be complete without wireless microphones for karaoke and mic stands hooked up to a small amp and speakers in the ceiling. I made the shelving on the right side with 1/2" black pipe and used leftover 2x12" shelves from an old garage shelving install from 7 years ago! The kids were ecstatic on Christmas morning for the reveal!

Estimated Cost
$125-150 for wood, flooring and moldings. Black pipe is very inexpensive.
Estimated Time Investment
Weekend Project (10-20 Hours)
Finish Used
Send me message if you'd like to know which products I used, e.g. mics, speakers, lights, etc.
Recommended Skill Level
Intermediate

Comments

Garofola2013

Wed, 04/16/2014 - 11:53

I would like to know which products you used...e.g. mics, speakers, lights, etc. We want to do this is in our basement =)

THANKS!

Snix26

Sun, 07/27/2014 - 15:52

This is great! I was just wondering what your dimensions were? I've been looking for something like this to do for my niece but have been struggling to find a plan and figure it out myself LOL.

kdins31

Tue, 08/05/2014 - 05:58

Hello, the back wall is 8' and side wall is 6.5'. The stage comes out about 2.5' on each side then the front is around 7'.

Hope that helps, good luck!

atilley

Tue, 11/18/2014 - 19:37


Great job!! can you tell me where you got the microphones and mic stands for this?


dmbphoenix

Sun, 04/10/2016 - 14:44

Actually, I was wondering ,what lights did you use? I'm working on a very similar project and was curious to the lights your used please.

Mls4460

Wed, 11/13/2019 - 09:53

Do you have the actual plans to build this?

I would love to copy this idea for my 4 year old!

Double Vanity

Submitted by krmoon81 on Thu, 03/31/2016 - 22:30

Well to make a long story short I started out just replacing an old tub in the bathroom which turned into a whole remodel!! I’m talking new toilet, floor, lighting and heck while I was at it lets knock down a wall and make some room for a double vanity. After all in a few years three teenage girls  will be fighting for sink space!!! Honestly I just didn’t want to spend $800 - $1,000 on a double vanity so I decided to take matters into my own hands. This was my first time building any type of functional furniture. I made a ton of mistakes but I also learned many valuable lessons. I really took my time....about 3 weeks...ok, maybe 4. Building this vanity was like cutting 101 for me. #1 lesson I learned, MAKE SURE YOUR CUTS ARE STRAIGHT!!! I also learned the value in test cuts and having a lot of patience and extra wood on hand. Anyone can do this, just be willing to put the time and effort in…and do lots of research.

Estimated Time Investment
Week Long Project (20 Hours or More)
Finish Used
Paint
Recommended Skill Level
Beginner

Comments

Desk featuring "X" legs - farmhouse style

Submitted by Anonymous (not verified) on Fri, 12/27/2019 - 07:20

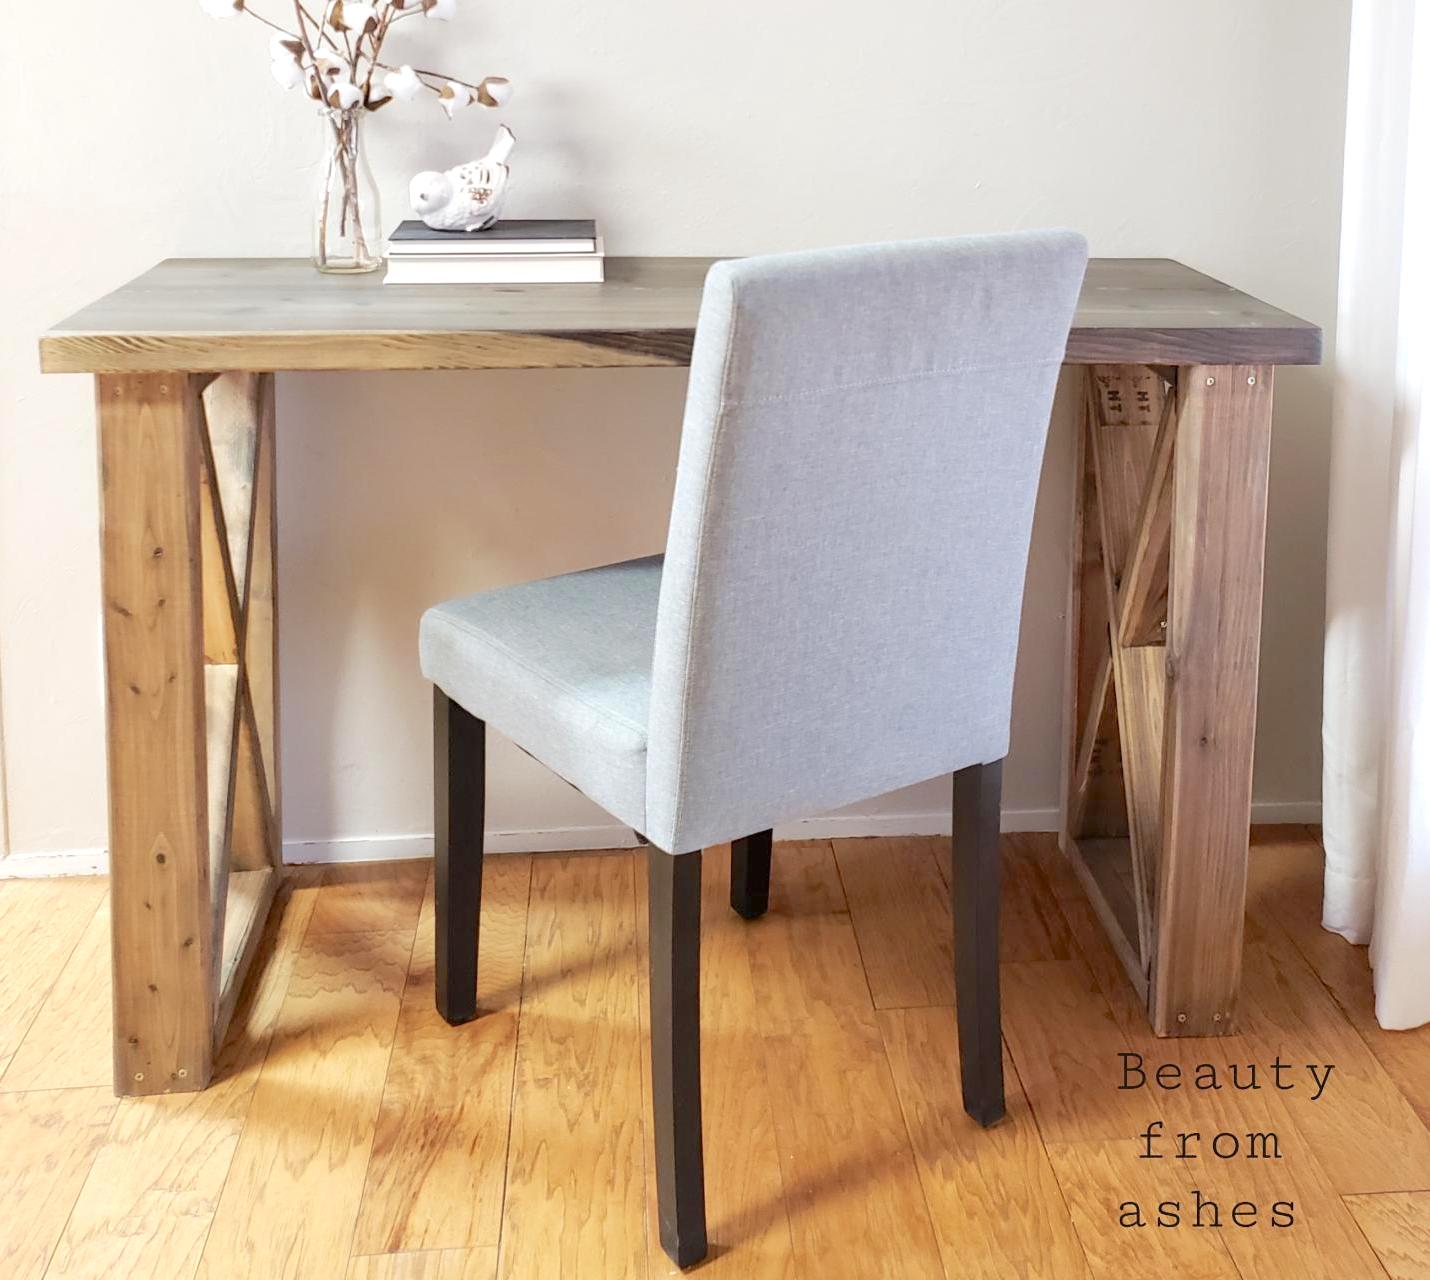
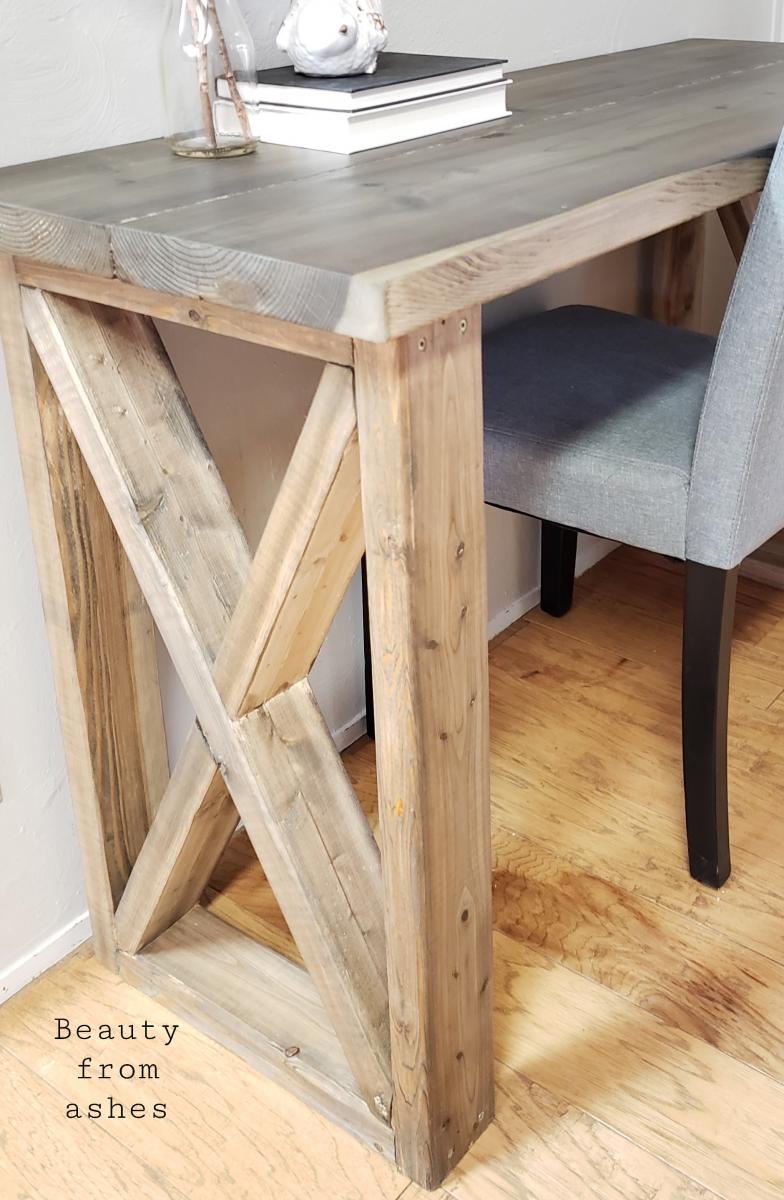
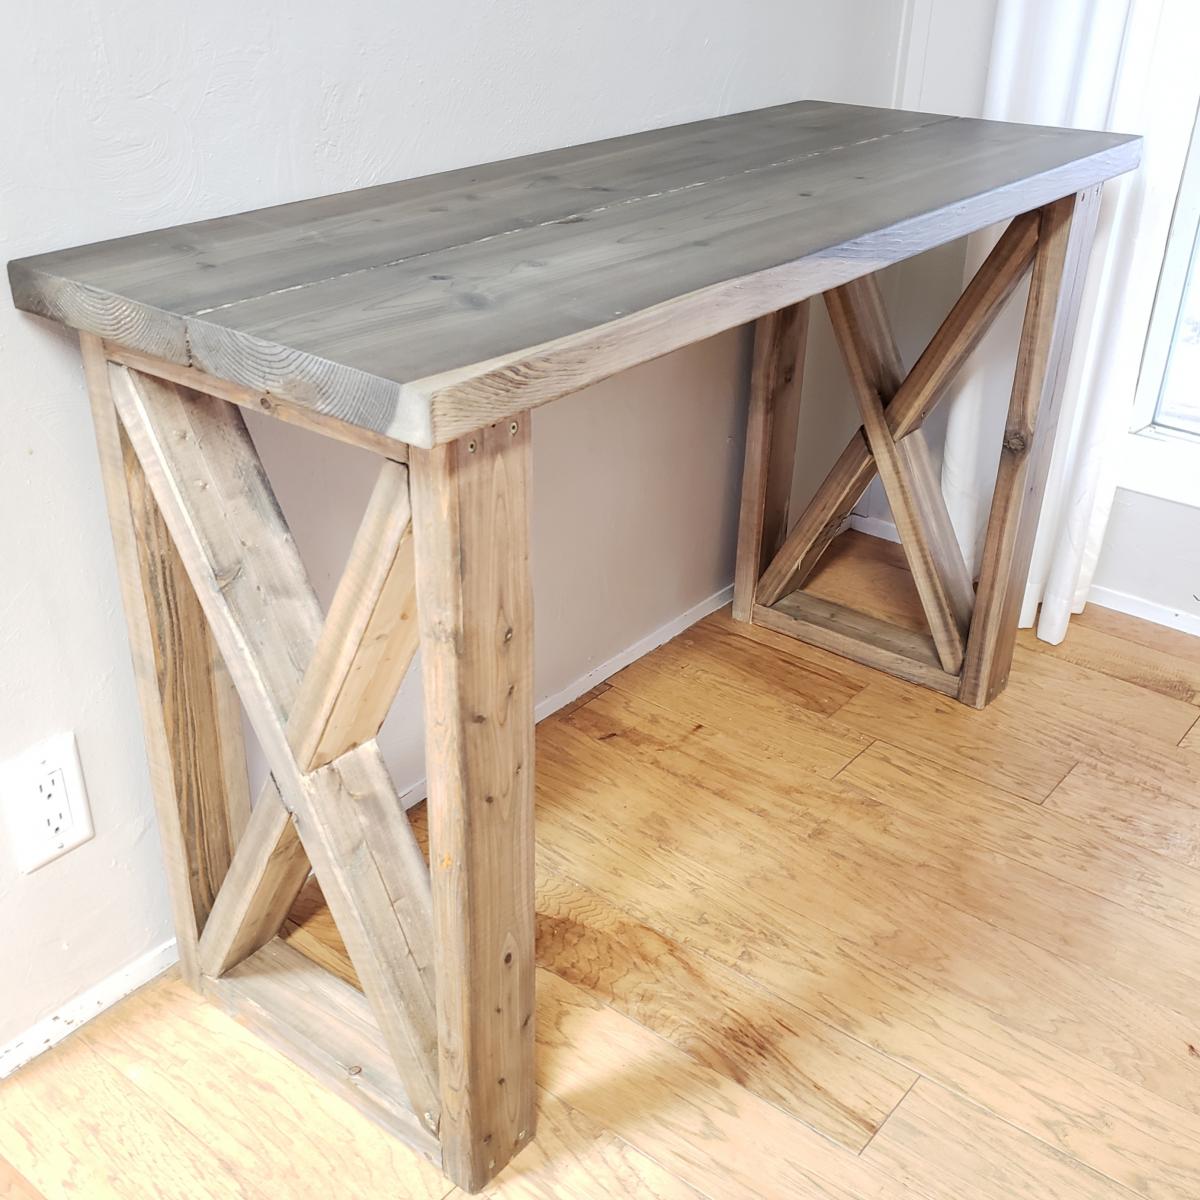
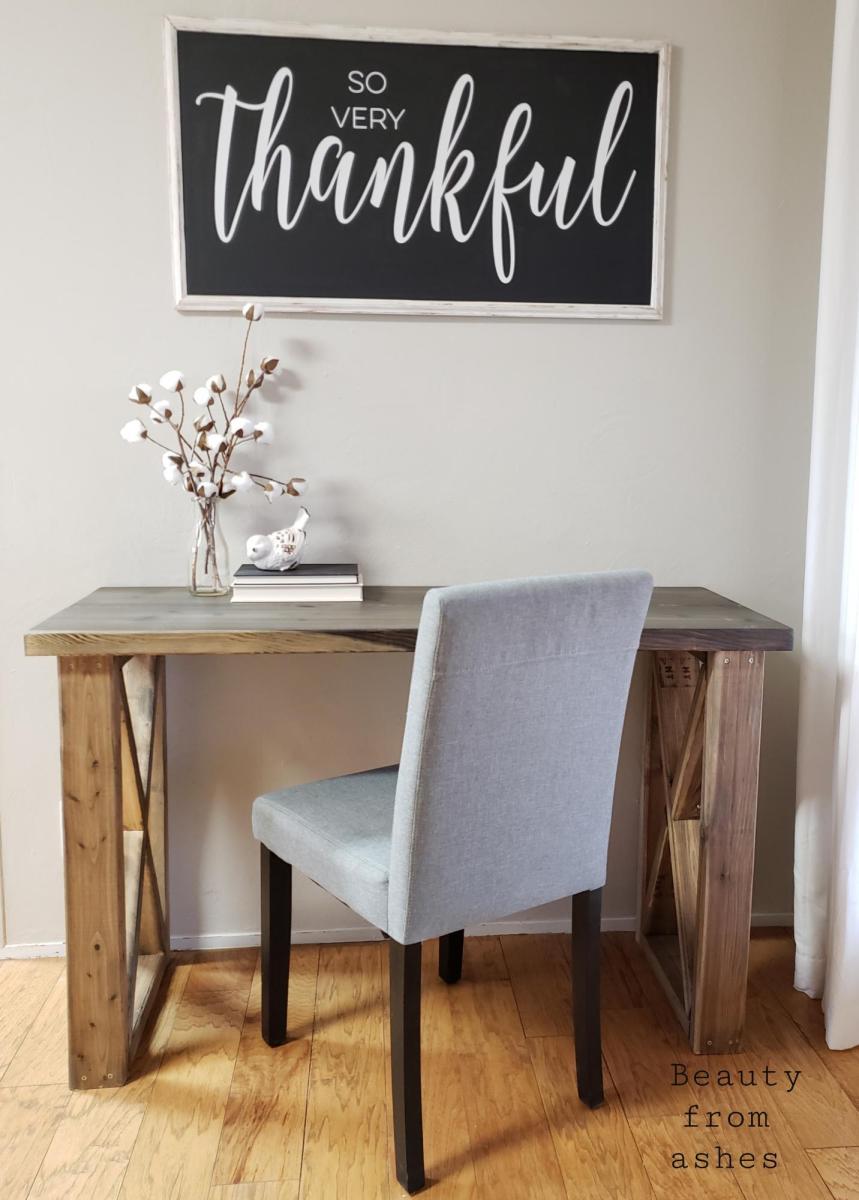
I built this table for my son to use as a "Lego building station" in his room. I made it narrower (18" deep) x 4' long to fit along three wall in his small room. I had some trouble chiseling out the piece for the "X" part to interlock and ended up just cutting the piece through like Anna does with her "$40 farmhouse coffee table", which worked well. I sanded and then stained using homemade vinegar and coffee stain and sealed with water based polyurethane in matte finish.

Built from Plan(s)
Estimated Cost
$35
Estimated Time Investment
Afternoon Project (3-6 Hours)
Finish Used
I mixed up a homemade batch of coffee stain (vinegar, coffee, steel wool) and top coated with Matte polyurethane.
Recommended Skill Level
Intermediate

Comments