Community Brag Posts

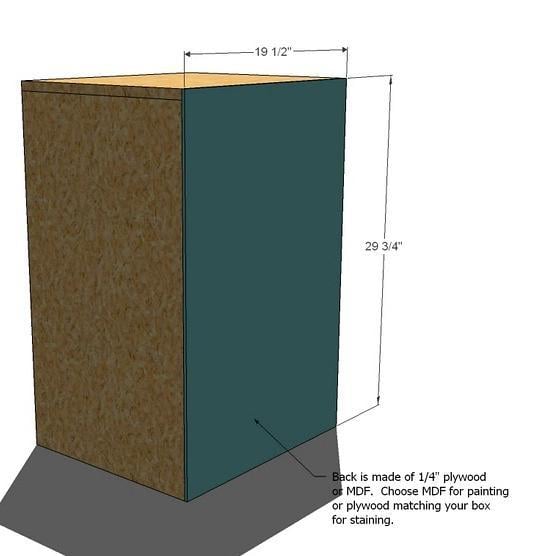
Modern Toy Box

Submitted by Anonymous (not verified) on Sun, 03/19/2017 - 14:32

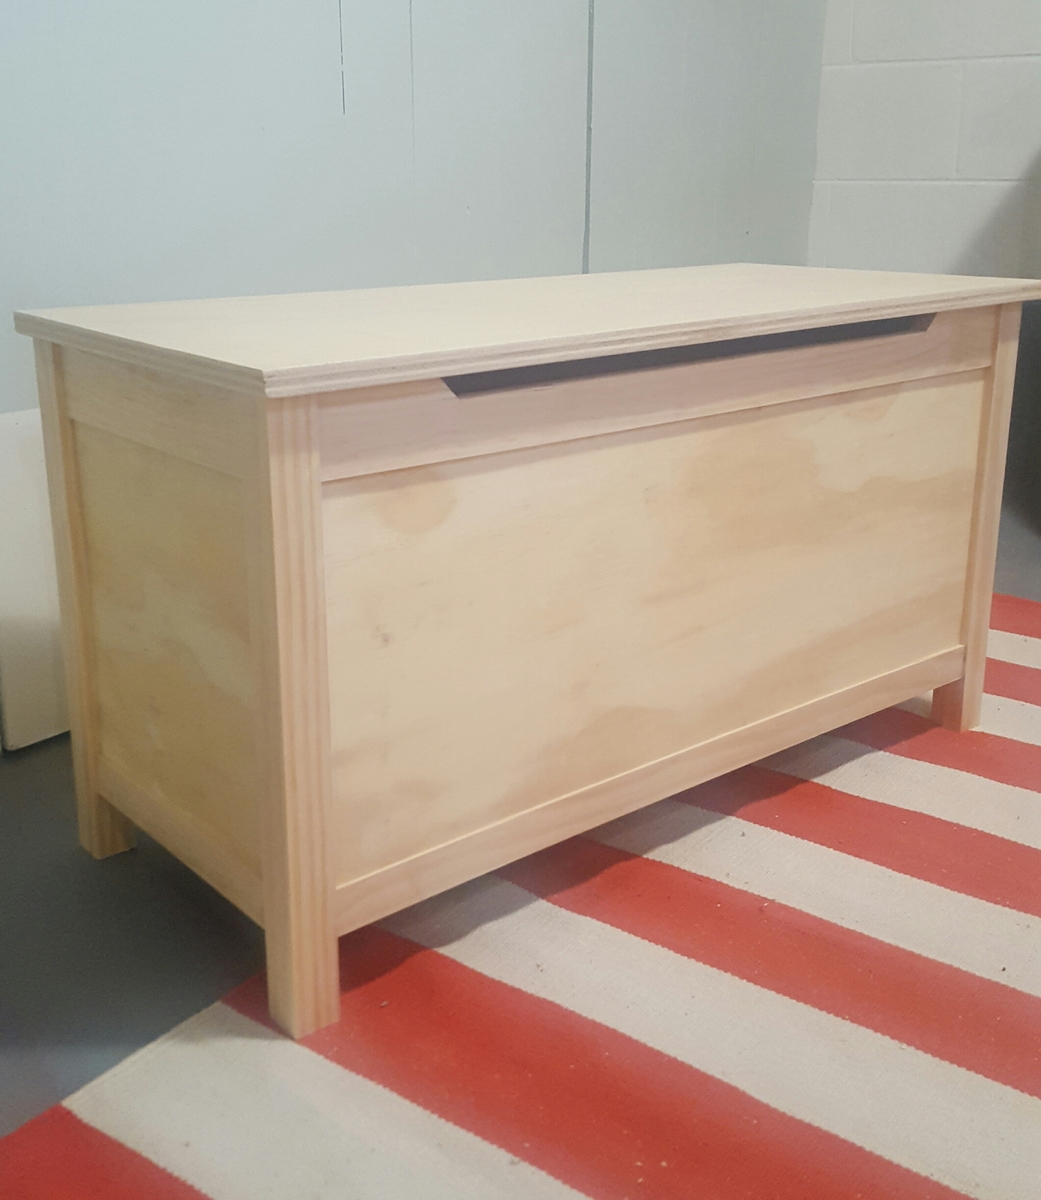
I had a wonderful time making this toy box and learning new techniques. Having access to a table saw really made this project turn out awesome. I was able to get 1/4" shims made that allowed for easy, precise offsets. The family just loved it!

Built from Plan(s)
Estimated Cost
$100
Estimated Time Investment
Weekend Project (10-20 Hours)
Finish Used
ProClassic white paint
Recommended Skill Level
Intermediate

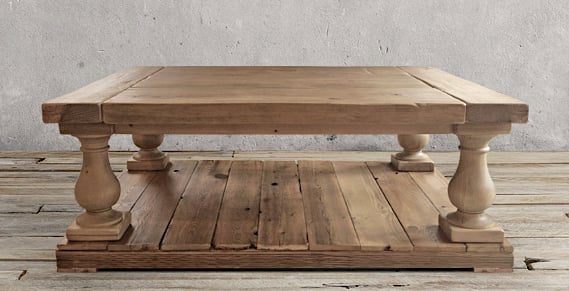
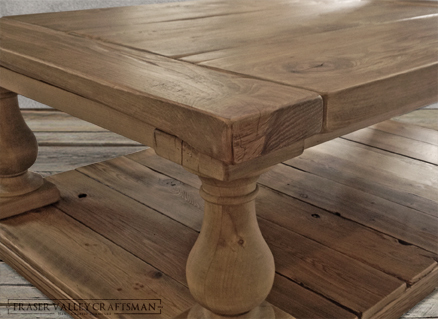
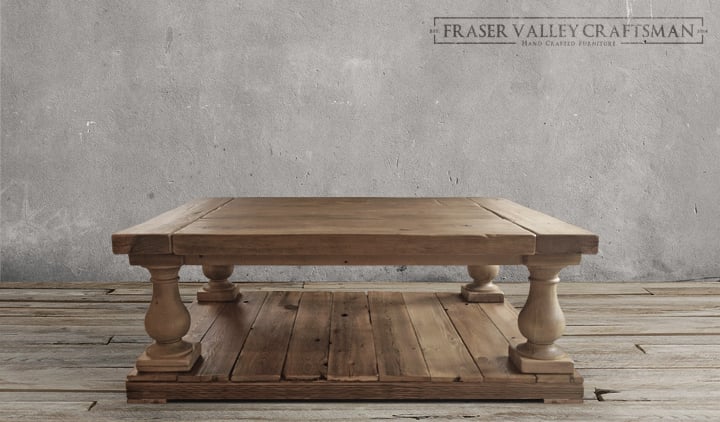
NEW Balustrade Coffee Table

Submitted by jhavinga on Wed, 02/25/2015 - 22:21

Here is the latest Table I have made. I cant get enough of this table design, the rustic bold feel blending with curved lines is awesome.

Built from Plan(s)
Estimated Cost
With reclaimed wood it was more than basic SPF at HD.
legs were $200 shipped to my door in Canada.
Wood was $125. Found from a local torn down barn! Very cool wood.
Stain/screws/glue $30.
Estimated Time Investment
Weekend Project (10-20 Hours)
Finish Used
My favourite combo! played with different levels of Weathered Oak and Special Walnut for each piece of wood so the whole table would flow together.
Recommended Skill Level
Beginner

Comments

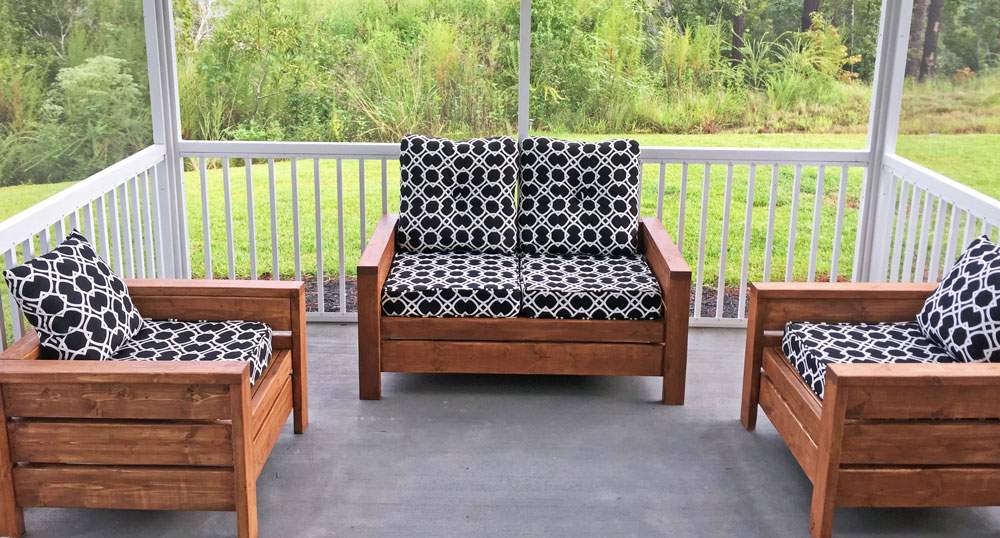
Chair Build with Loveseat Modification

Submitted by Joshh81 on Sat, 09/02/2017 - 12:26

Built the 2 chairs according to the plans, and then modified it for a bench that's 48" (our cushions are 23.5 x 23.5). Worked really well!

Estimated Time Investment
Weekend Project (10-20 Hours)
Recommended Skill Level
Beginner

Comments

Seasonal And Holiday

Kids Desk

Submitted by goltus on Sun, 05/31/2015 - 17:05

I build the x-desk with drawer with slight change in length and height to fit it for Kids. I also took pictures as I was building the project and converted them into a time lapse video of 2 minutes. Hope you enjoy it. https://youtu.be/KcrF2zqKudQ

Built from Plan(s)
Estimated Time Investment
Week Long Project (20 Hours or More)
Recommended Skill Level
Beginner

Comments

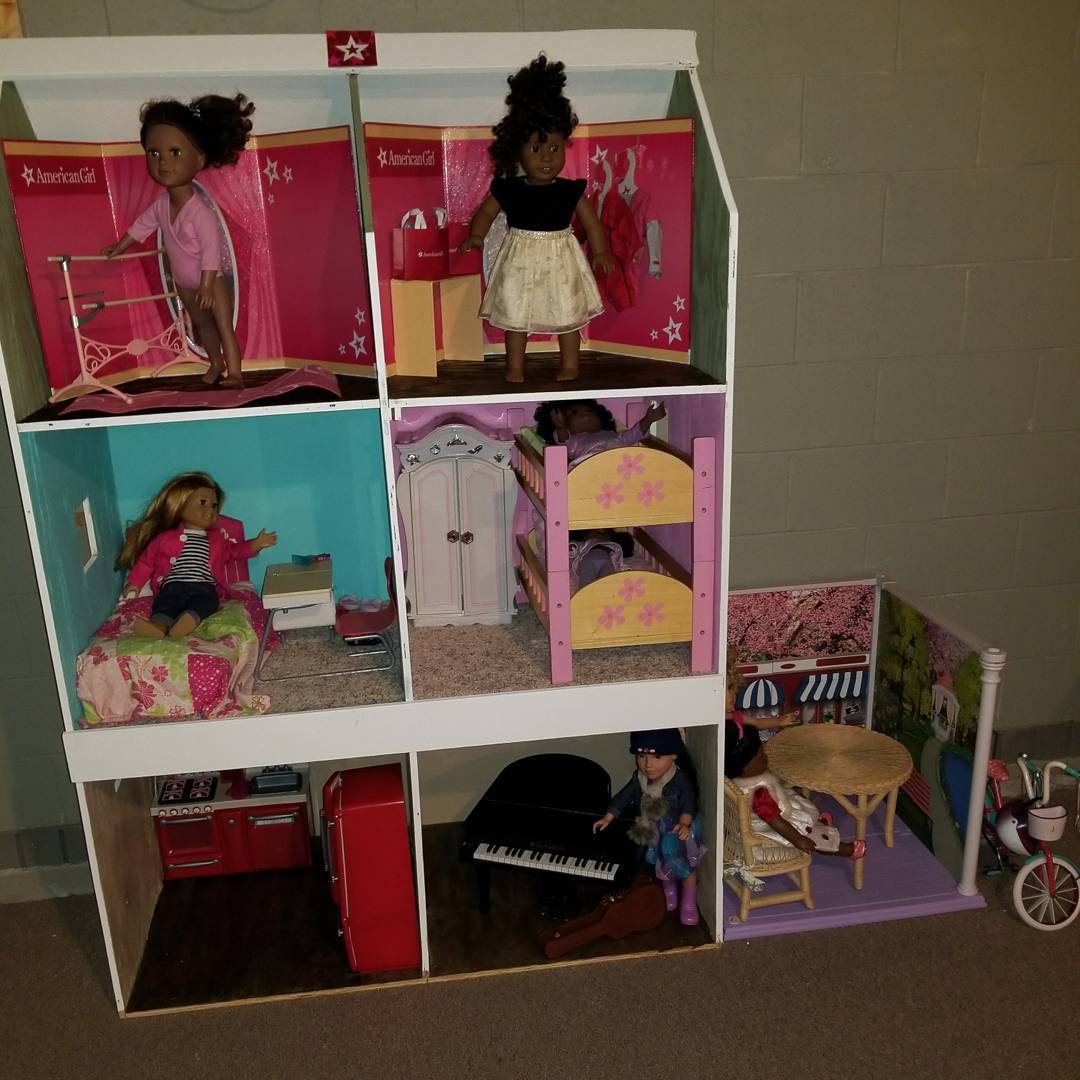
Doll house for 18" Dolls

Both my princesses absolutely LOVE their dollhouse. It was my first diy project and it's wasn't nearly as difficult as I thought it would be. 

Estimated Cost
I spent roughly $46 on the wood. We had a bunch of extra paint lying around the house and left over carpet pieces we decided to use.
Estimated Time Investment
Weekend Project (10-20 Hours)
Recommended Skill Level
Beginner

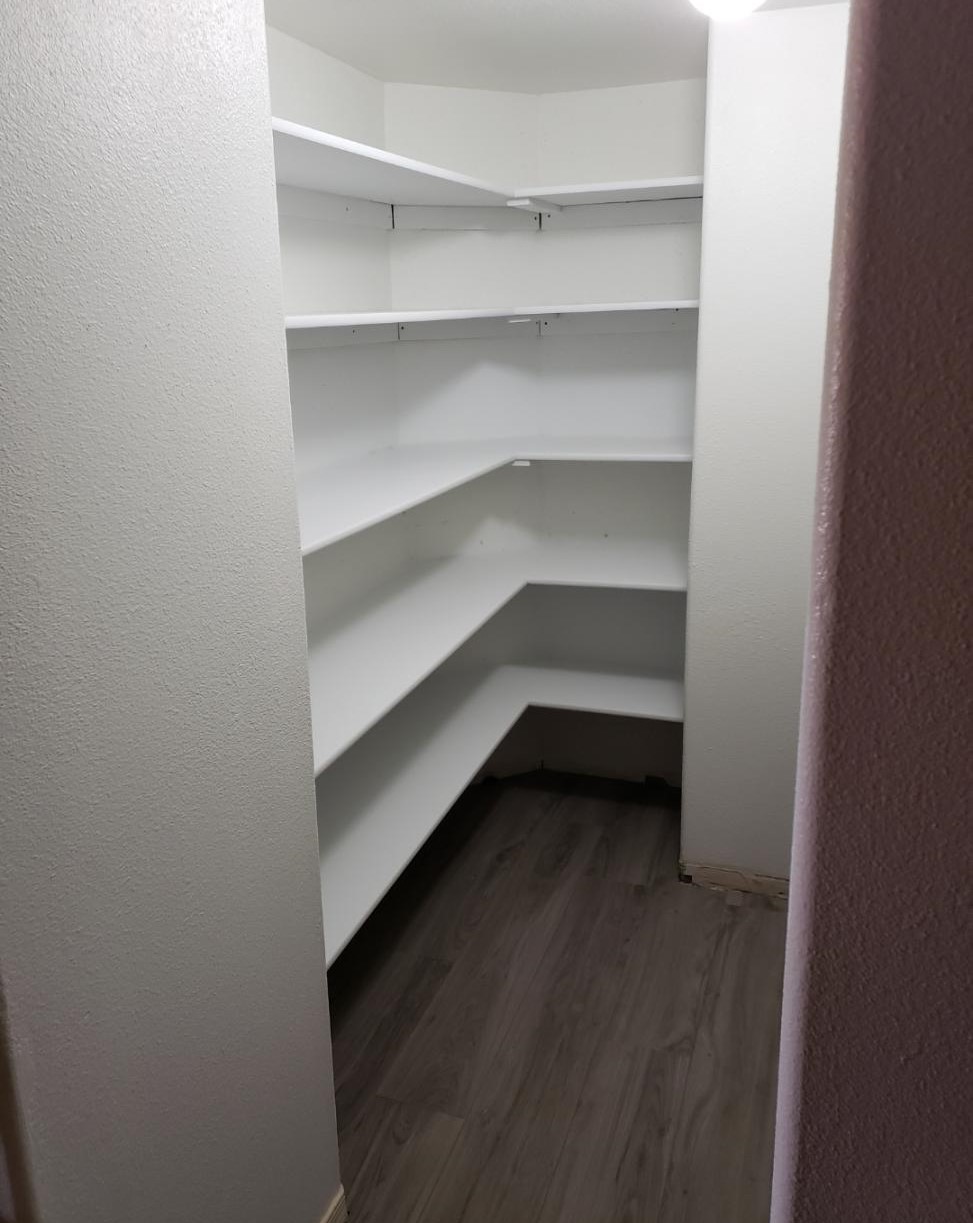
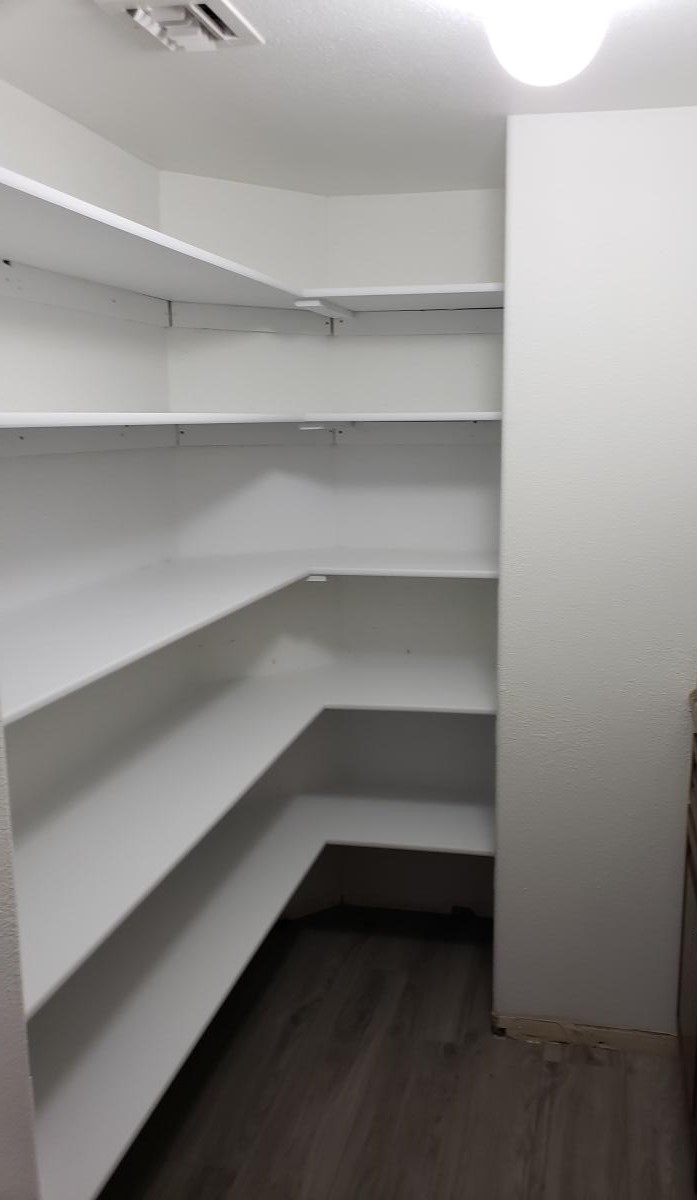
Pantry Shelves

Submitted by DIYAZMOM on Wed, 12/29/2021 - 09:03

We enclosed an unused wet bar and then I built the shelves to make it into a pantry.

Built from Plan(s)

Comments

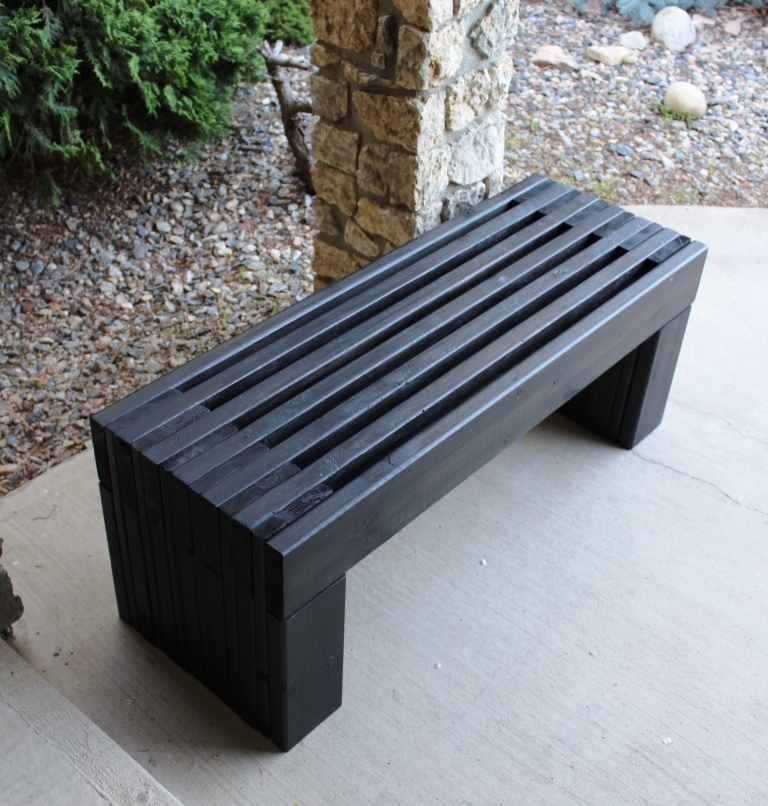
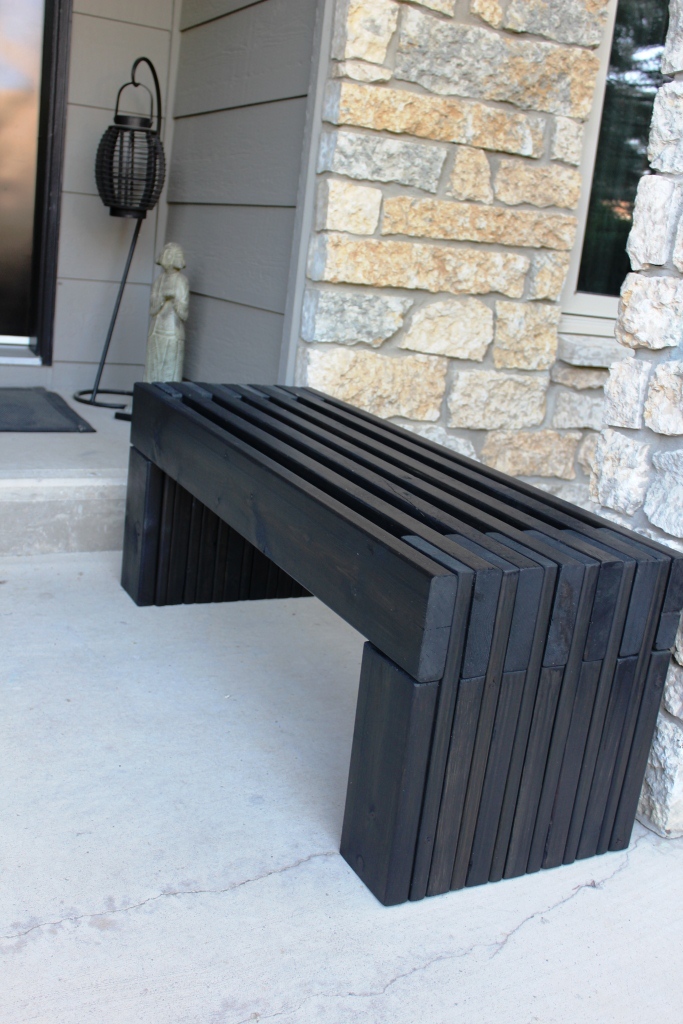
Modern Slat Top Outdoor Wood Bench

Submitted by ckaye on Sun, 07/07/2013 - 18:38

We wanted an outdoor bench for our front entrance way, this one is just what we were looking for! Thank you for the plans.

Estimated Time Investment
Day Project (6-9 Hours)
Finish Used
2" x 6" Spruce Black Stain
Recommended Skill Level
Beginner

Comments

beardjulie

Wed, 05/04/2016 - 10:01

I am really a novice. The plans say that the 1x4's should be 18-1/2" high? But the measurement of the vertical legs are 14", and the horizontal piece is 4" high, which adds to 18". It all looks flush in the photo. Could you explain what I am missing? Thank you so much!

In reply to by beardjulie

Rudystawarek

Wed, 05/04/2016 - 11:30

So from what i see in the plans Each 1x4 board is to be cut at 18" and the 2x4 is to be cut at 14-1/2". Cutting the 2x4 at 14-1/2" will insure the 1x4 and 2x4 are fluish for the end product. It doesnt seem to add up given the demensional names of the lumber hahaha however the actual width of a 2x4 (the one the will be going horizontal) is acutally 3-1/2". so then you cut you 2x4 leg piece at 14-1/2" and then lay the horizontal 2x4 on top the total height will be 18" and should be flush with your 1x4 that is cut at 18"

beardjulie

Fri, 05/27/2016 - 14:04

That is too funny! That is a dead give away that I'm new at this! Thanks you!

beardjulie

Fri, 05/27/2016 - 14:04

That is too funny! That is a dead give away that I'm new at this! Thanks you!

Chicken Coop with Run

Submitted by Jen Marzen on Fri, 06/17/2011 - 02:10

My husband and I live on a small hobby farm and are growing/raising a lot of our own food. We decided to venture into working with chickens. We wanted to start out small so we got 6 chickens and needed a home for them. We found a kids play house one day while shopping and got the idea of modifying it into a chicken coop with a run. We took off with this idea and with quite a bit of modification and some extra building materials we were able to raise it up in the air and attach a run so our chickens would have a nice home to protect them from preditors and the emements and not to mention one that looks good in our yard!

Built from Plan(s)
Estimated Time Investment
Weekend Project (10-20 Hours)
Finish Used
Cedar deck stain and white outdoor house paint
Recommended Skill Level
Beginner

Comments

Heather Dalton (not verified)

Tue, 02/21/2012 - 19:08

Are the plans available? I have Black Copper Marans and Lavender Ameraucanas and I really need to separate the LAs from the BCMs and this would be perfect!

madrona (not verified)

Tue, 02/28/2012 - 10:21

I'd also love the plans!
Great job - it's beautiful!

guest (not verified)

Tue, 02/28/2012 - 10:22

I'd also love the plans - thanks!

Eliza B (not verified)

Thu, 05/31/2012 - 10:02

Can you please post the plans you used? I have 4 week old chicks that need a coop. Thank you very much.

Jen Marzen

Sat, 06/02/2012 - 15:22

Sorry guys there are no plans for this coop. My husband and i just "winged it" and built it without any plans.

It is a play house that we found at Mills Fleet Farm and we modified it to make it a chicken coop. We put together the play house based on instructions from the box (with a few of our own modifications to make the window on the ground etc.) added some chicken wire to the doors and bay window, added some 4x4 "stilts" and a floor to get the house in the air, and constructed a frame around it with 2x4's and wire fencing to make the run

Sorry I dont have any plans to give you guys!

Seasonal And Holiday

Easy Build Wood Headboard from Pallets

Submitted by tsibiga on Wed, 07/20/2011 - 05:04

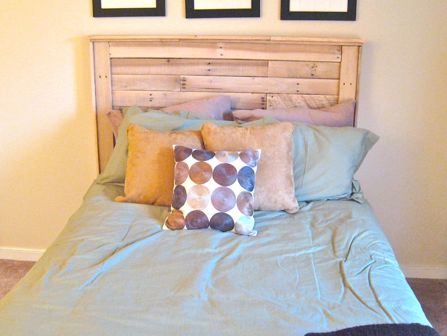
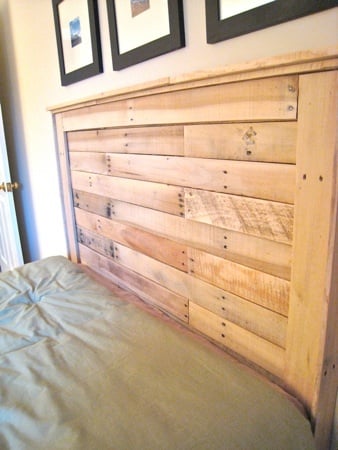
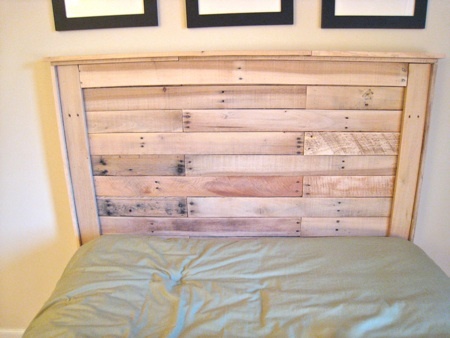
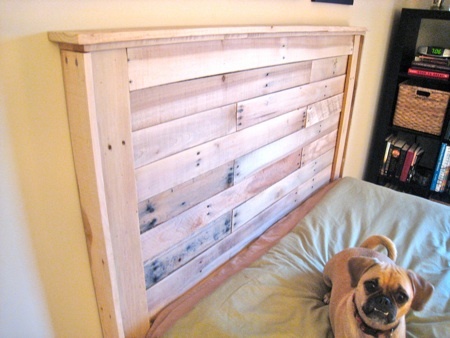
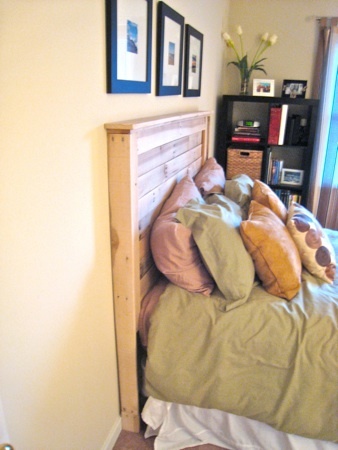
I've been using a bunch of FREE pallets on some projects here lately and decided to make the Reclaimed Wood Headboard with the pallet wood that I had. Every piece of wood came from pallets and it turned out pretty great. We're still undecided about if/how we want to stain it....but for now it's all natural'. I made mine a couple inches shorter then the plans called for and an inche or two narrower based on the measurements of our Full Size Bed. I documented this project as best as I could at: http://www.tommyandellie.com/Site/Home/Entries/2011/7/20_Entry_1.html

Estimated Cost
FREE!
Estimated Time Investment
An Hour or Two (0-2 Hours)
Finish Used
None yet.....Suggestions?
Recommended Skill Level
Starter Project

Comments

tsibiga

Wed, 07/20/2011 - 11:31

Thanks for the comment. We are definitely thinking about that. I also modified another pallet in such a way that we want to hang it on the wall and hang some pictures/things in it.

Other thoughts on a possible stain/finish?

Sharon L.

Sun, 07/24/2011 - 10:08

One of my favorite things is to use pallets for lumber! I have finished pallet wood before successfully using Minwax Poly-shades. Love Golden Oak as it doesn't do much but enhance the grain...grab a few samples and try them out on some scrap boards, that's the only way you will know how it will look in the end! Best of luck!

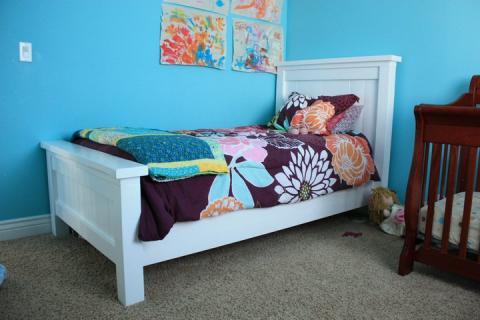
Charlie's Big Kid Bed

We needed to transition our son out of his crib-turned-toddler-bed to free up the crib for the next spawn, arriving in November. We wanted something we could sit or lie on with him for the reading of bedtime stories, which ruled out most toddler beds and the inexpensive twin size beds. The choice was clear between spending $1000 on some out-of-the-box bed from a furniture store, using a mattress-and-springs-on-metal-frame from the mattress store (which lacks any sort of organized storage potential) or building our own awesome storage-friendly bed that will hopefully last until the kiddo graduates high school and gets his own place.  I love this plan because of the ample storage it provides between the under-the-bed cubbies, the cubbies on the "walled-in" side of the bed that can be used for off-season clothes and less-frequently-used items, even the space between the cubbies only accessible by sliding the mattress off and popping out the slats.  Also, my child is doomed to need glasses at some point in his life, so the headboard with space to stow the glasses, an alarm clock, a glass of water, a couple books ... this plan was perfect for what we needed and what we wanted. And custom-made by dad? Painted Elmo-red (the current obsession) by 7-months-pregnant mom? What could be better?  We are thrilled by the bed and are already planning the expansion we'll do (create a bunk? Just build a matching bed?) in a few years when the new little brother has outgrown the crib.  

We opted to skip pretty much all the hardware on this bed and, with the help of a few nails inserted via nail gun, put the bed together with copious amounts of wood glue and clamps. This bed is NEVER wiggling apart, no matter how much the kid jumps on it.  The exception is the binding of the headboard and footboard to the base itself -- this is done with cleverly placed screws so that the bed can be disassembled if it ever needs to be moved.  The project would've been a weekend project from shopping through painting except that we had to wait hours for glue to dry in between steps. As a result, it monopolized our garage for about a week.  

Estimated Cost
We had to buy quite a few tools, so our Home Depot trip for this project was pretty pricy! I believe we spent about $200 on lumber. We bought two quarts of BIN shellac primer but used brushes/rollers we had on hand and a half gallon of Elmo-red paint left from another project.
Estimated Time Investment
Week Long Project (20 Hours or More)
Finish Used
Shellac primer + satin-finish interior paint
Recommended Skill Level
Beginner

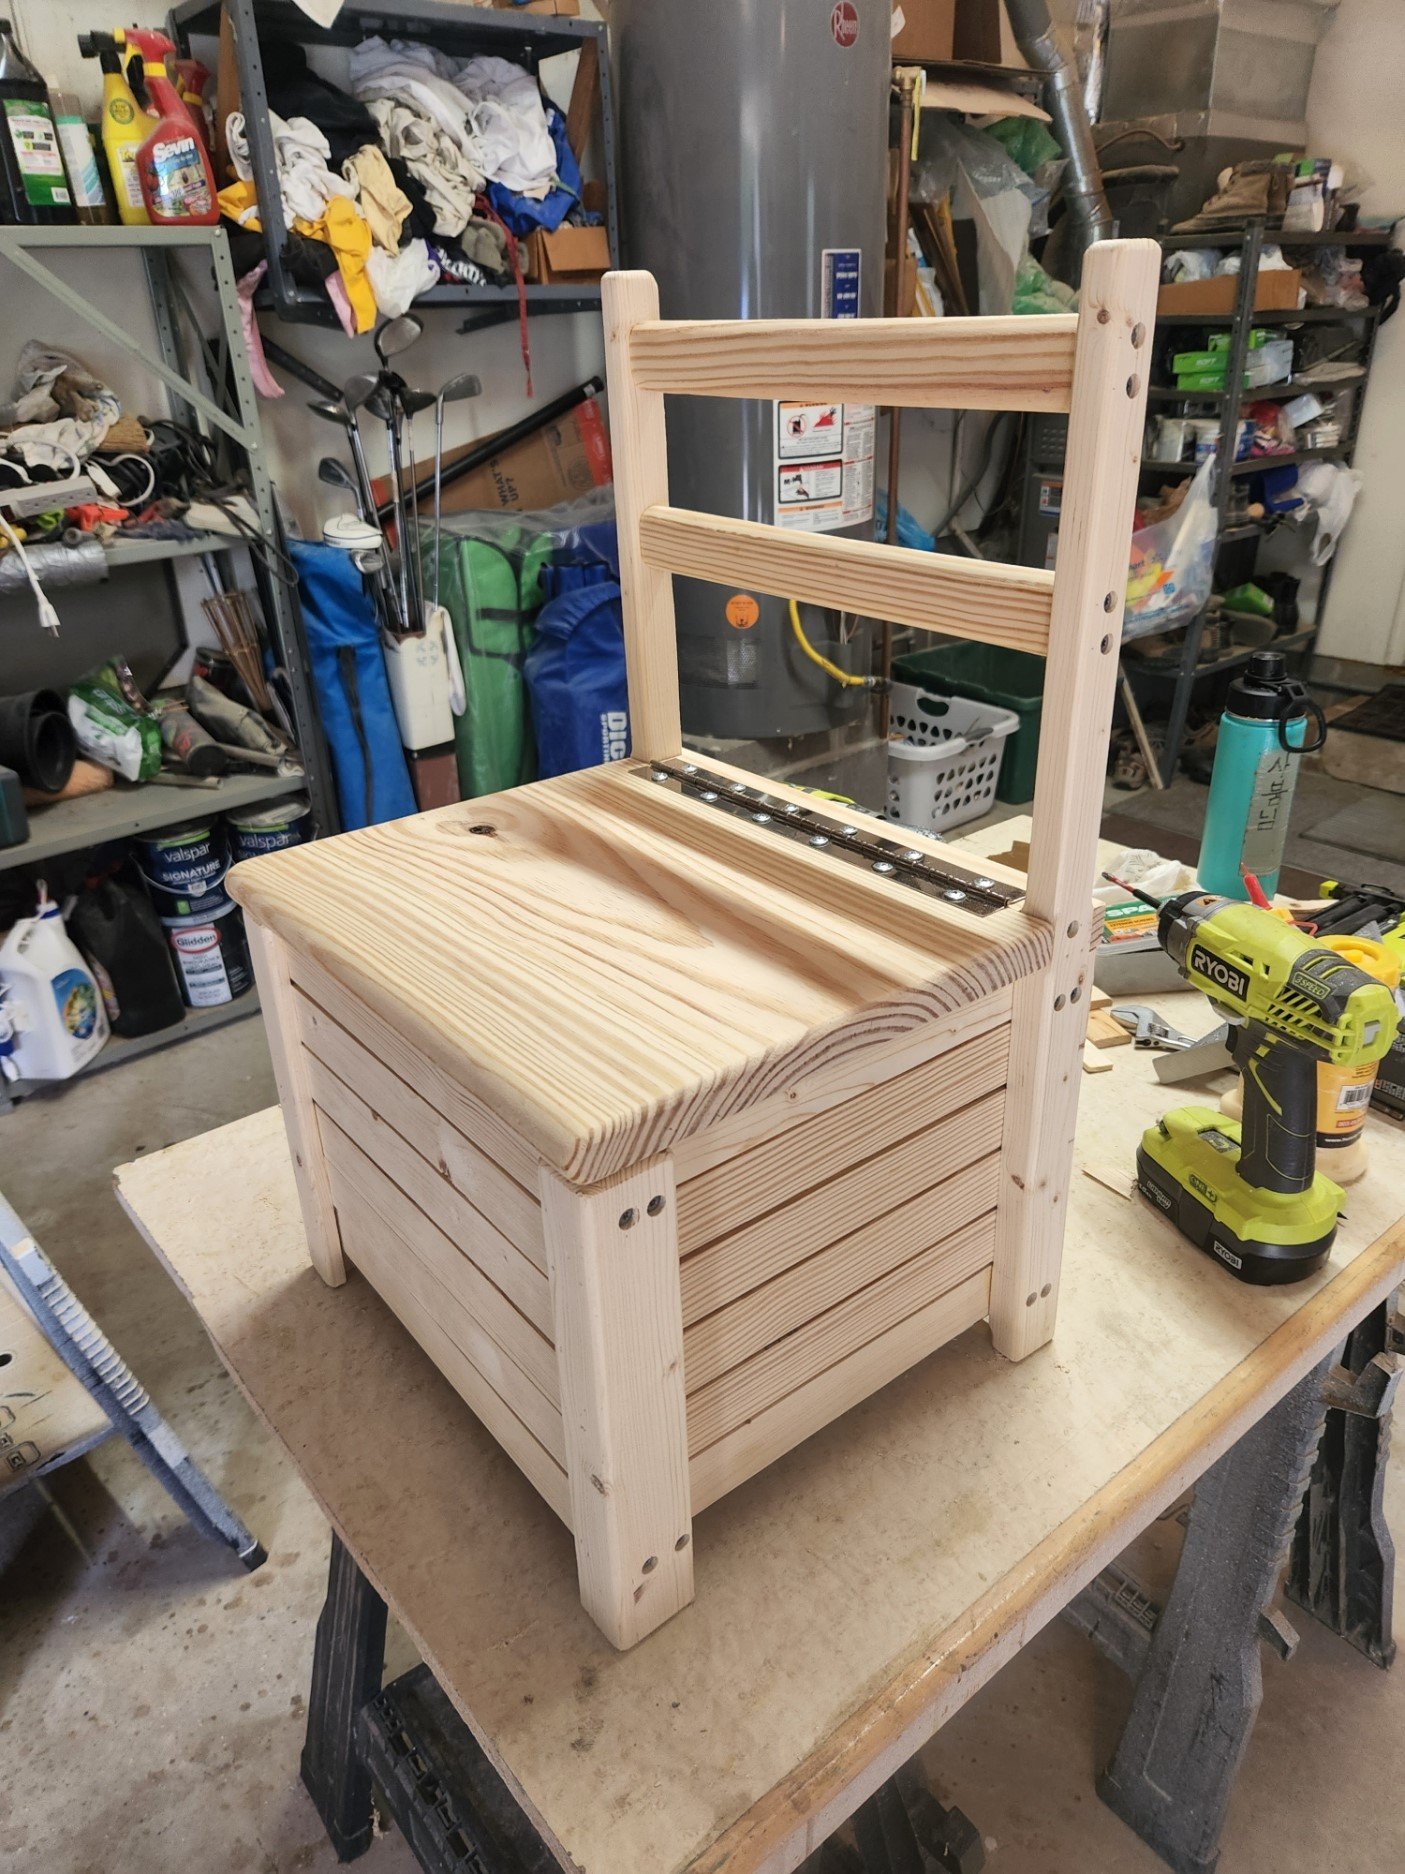
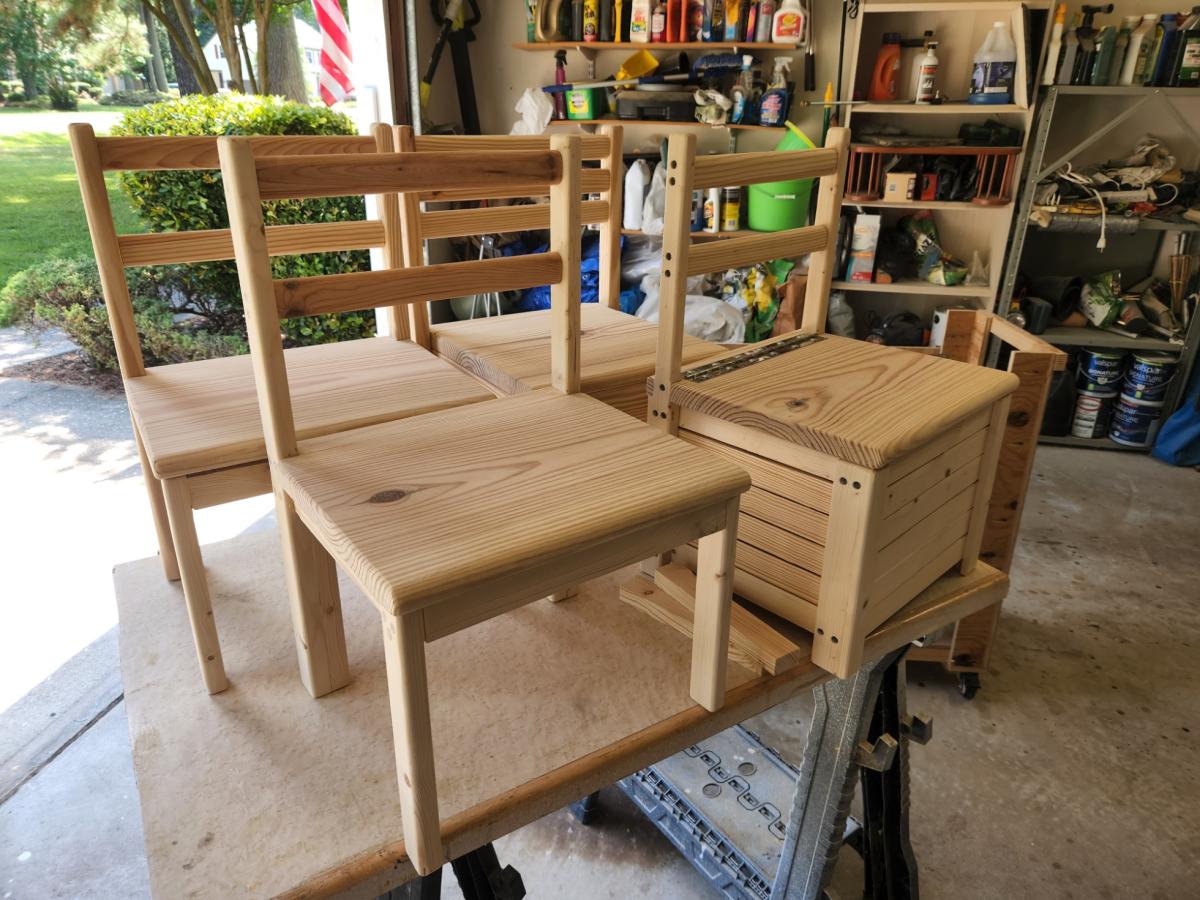
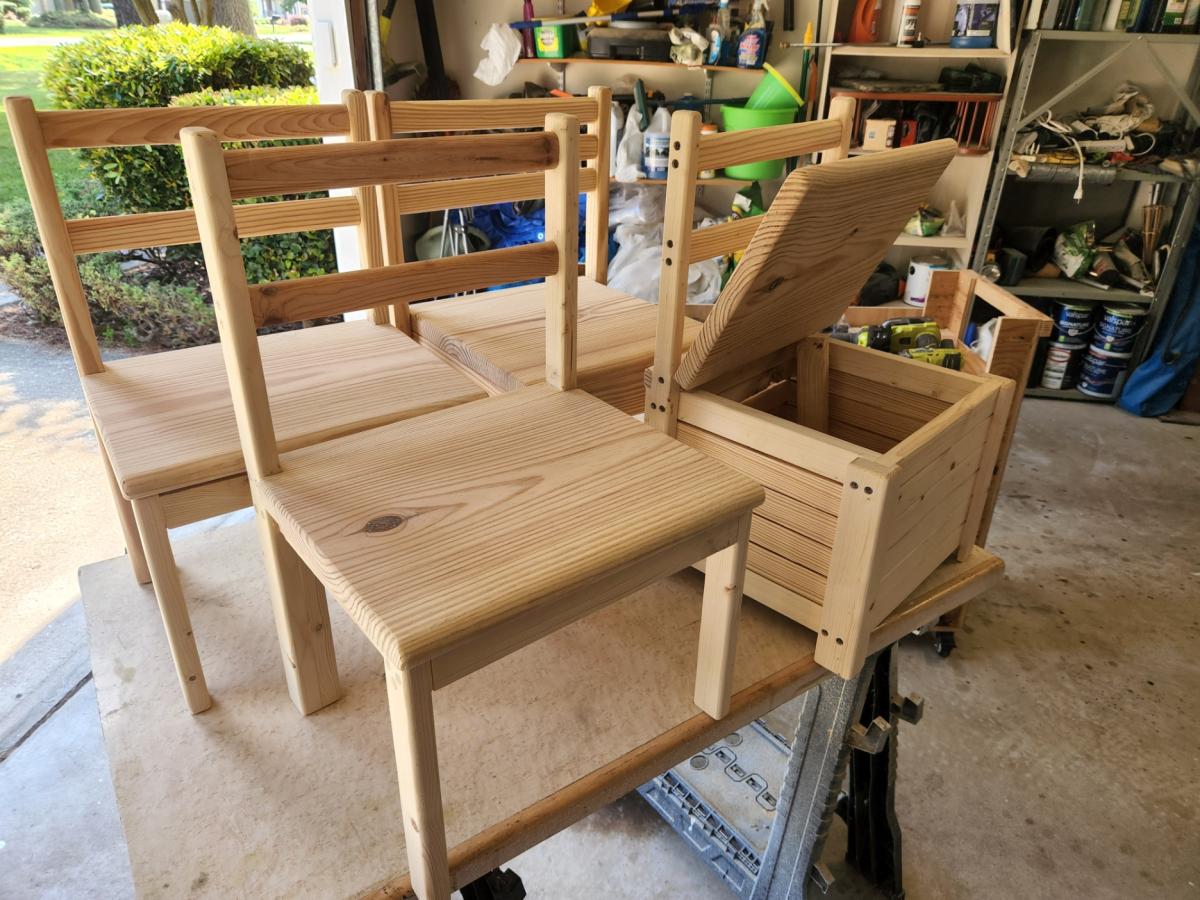
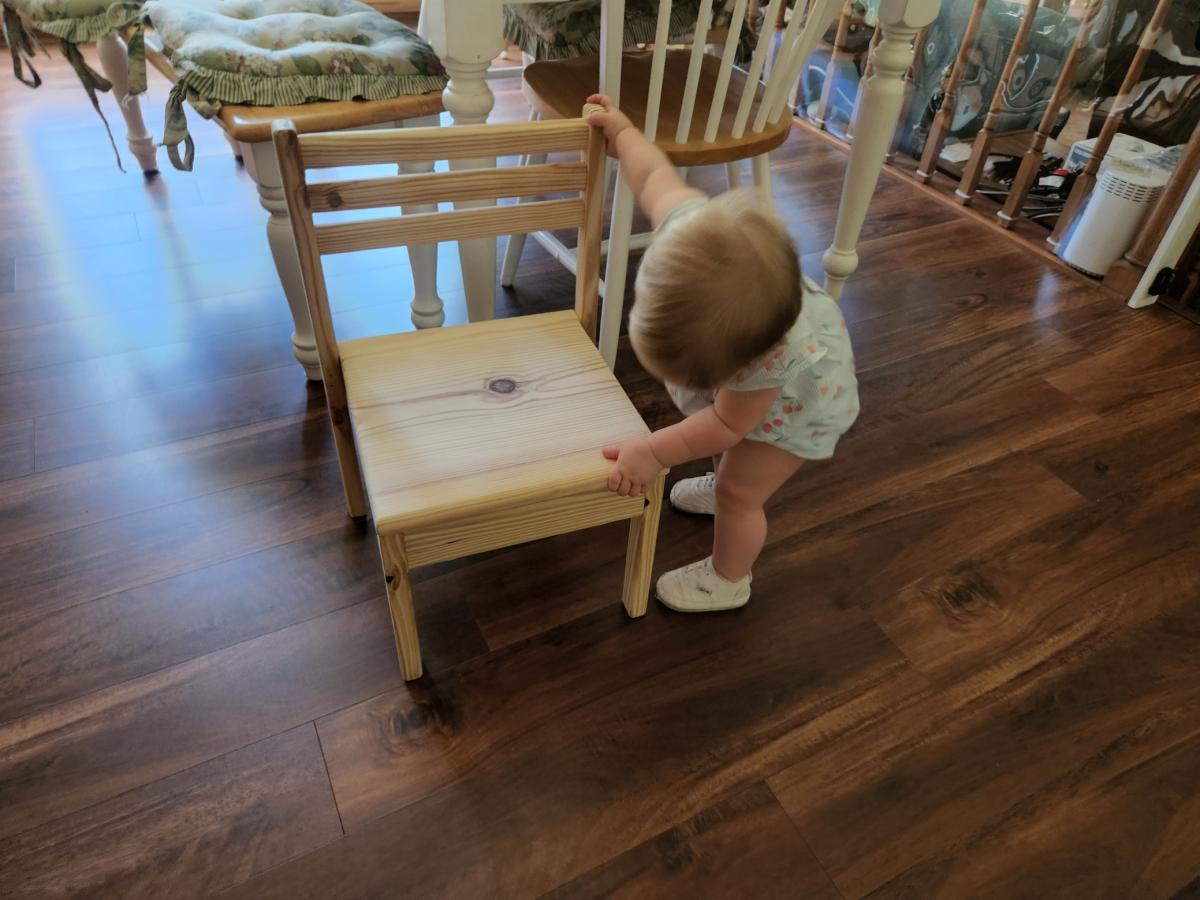
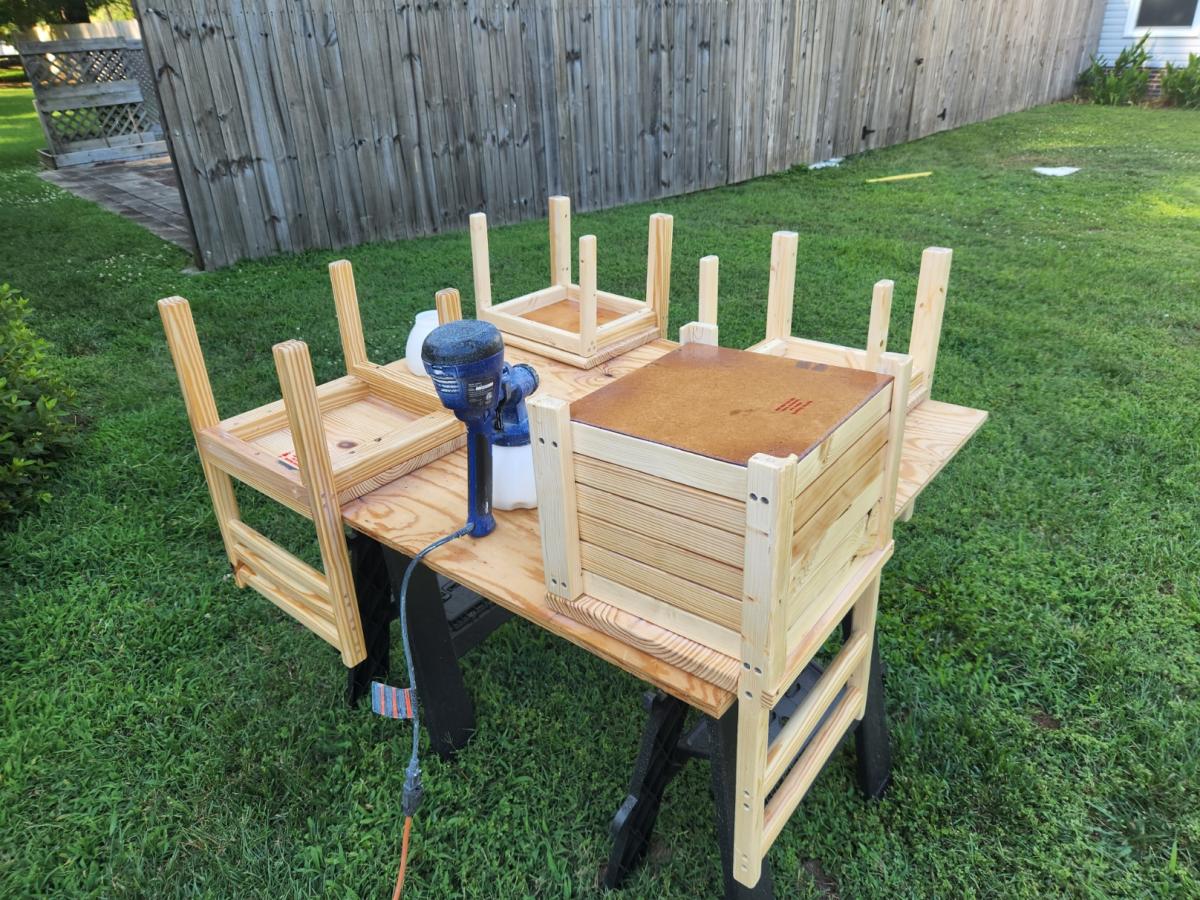
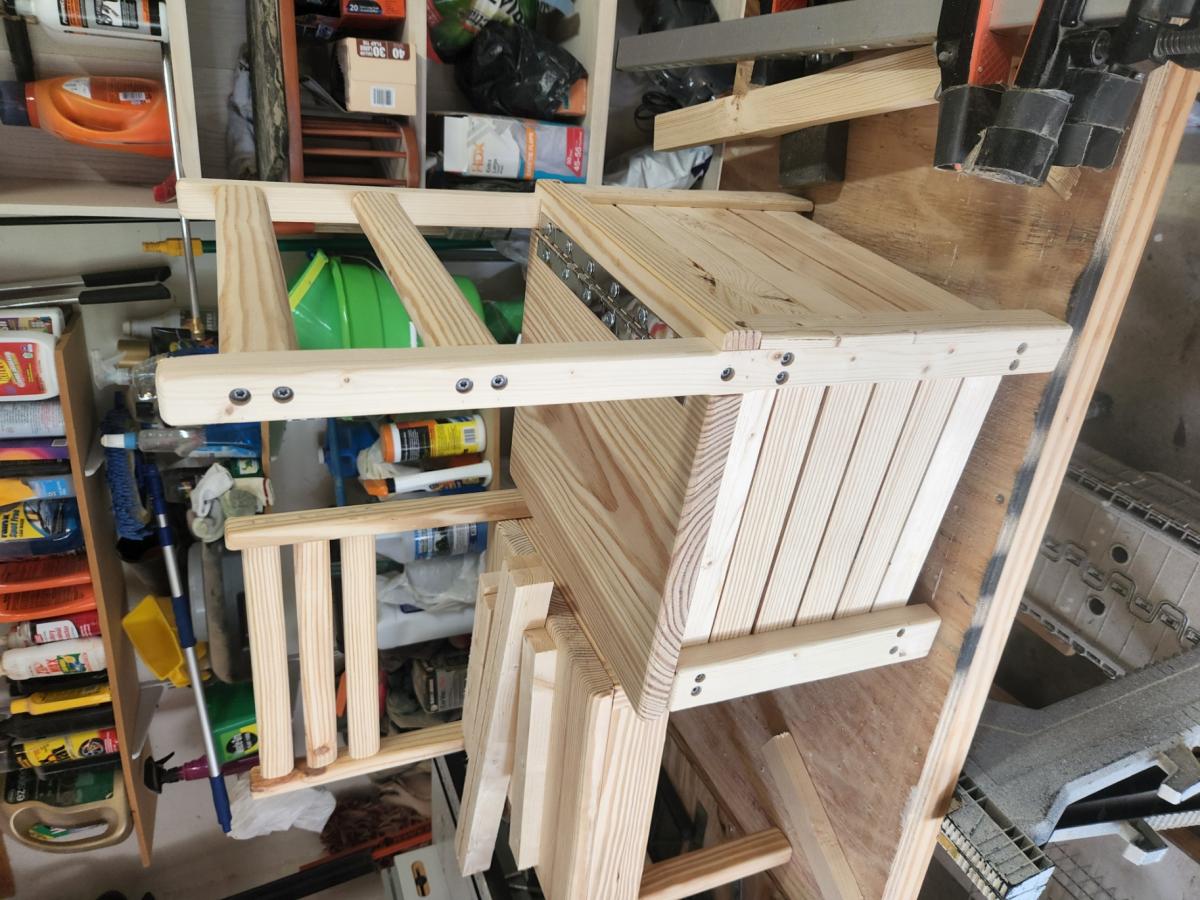
Kids Chair with Storage / Toy box

Submitted by bozarthm1 on Mon, 07/04/2022 - 18:24

Made from Ana's Kids Chair with Storage. Love these little chairs. I riped up some 2x4's to 7/8th and used a 1 x 12 stair tread for the seats. glued with screws, then removed the screws and replaced with glue and dowels. Made for kids, strong enough for adults.

Comments

My Simple Outdoor Sink

Submitted by kmatt55 on Sun, 08/14/2011 - 16:46

I finally completed the last piece to my customized simple two-toned outdoor collection...an outdoor kitchen sink!!! It still needs a couple of touch ups... but more on that later. This is by far my favorite and easiest project to date. We plan on using this as a grill caddie/garden station. This will eventually go onto a 24x12 deck up against our kitchen window (The indoor and outdoor sink will be against each others backs). I decided to go with the Sturdy Workbench plans for the base mainly because of the weight. We wanted something that's going to be difficult to move since it will be hooked up to outdoor plumbing. I used treated 2x4's for the base, cedar 1x4's for the top. I bought the bar sink for about $70. I also used a Kreg Jig to screw in the cedar slats from underneath so the screws won't be visible from the top. FYI - Wait a couple of weeks before you paint soaking wet treated wood. The green chemical from the 2x4 is starting to leak through my white paint. I'll have to go and prime/paint it again when it finally dries. Other than that, it came out 10 times better than I could ever imagine.

Built from Plan(s)
Estimated Cost
$120 ($70 for sink and hardware)
Estimated Time Investment
Weekend Project (10-20 Hours)
Finish Used
Thompson's Water Sealer, semi-gloss exterior white paint.
Recommended Skill Level
Beginner

Comments

Vegasboiz

Sun, 09/29/2013 - 08:16

I love the sink table a lot. I have been looking for one for a long time. Can you tell me what is the length, width, and height for this table. Thank you very much. Jimmy

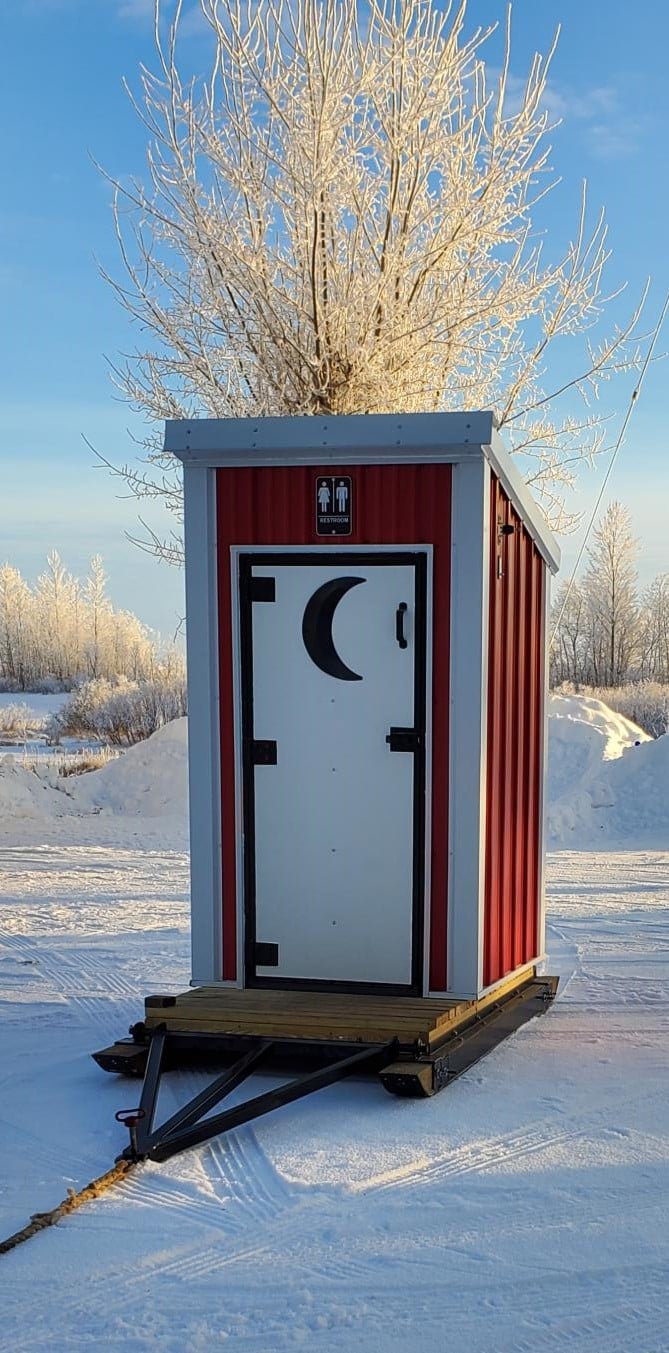
Solar Outhouse - By Deb

Your outhouse design was modified for a snowmobile club project as the building needs to be towed across a lake to a site next to a warming shelter.  An LED light with a timer switch and solar battery charger were installed to provide light in a remote area of Lake of the Woods.

A steel hitch and skids with hyfax were added to the design.

Thank you for providing a design that allowed us to make modifications for winter outdoor recreation accommodations.

Built from Plan(s)

Potting bench

Submitted by Anonymous (not verified) on Sat, 09/21/2019 - 08:52

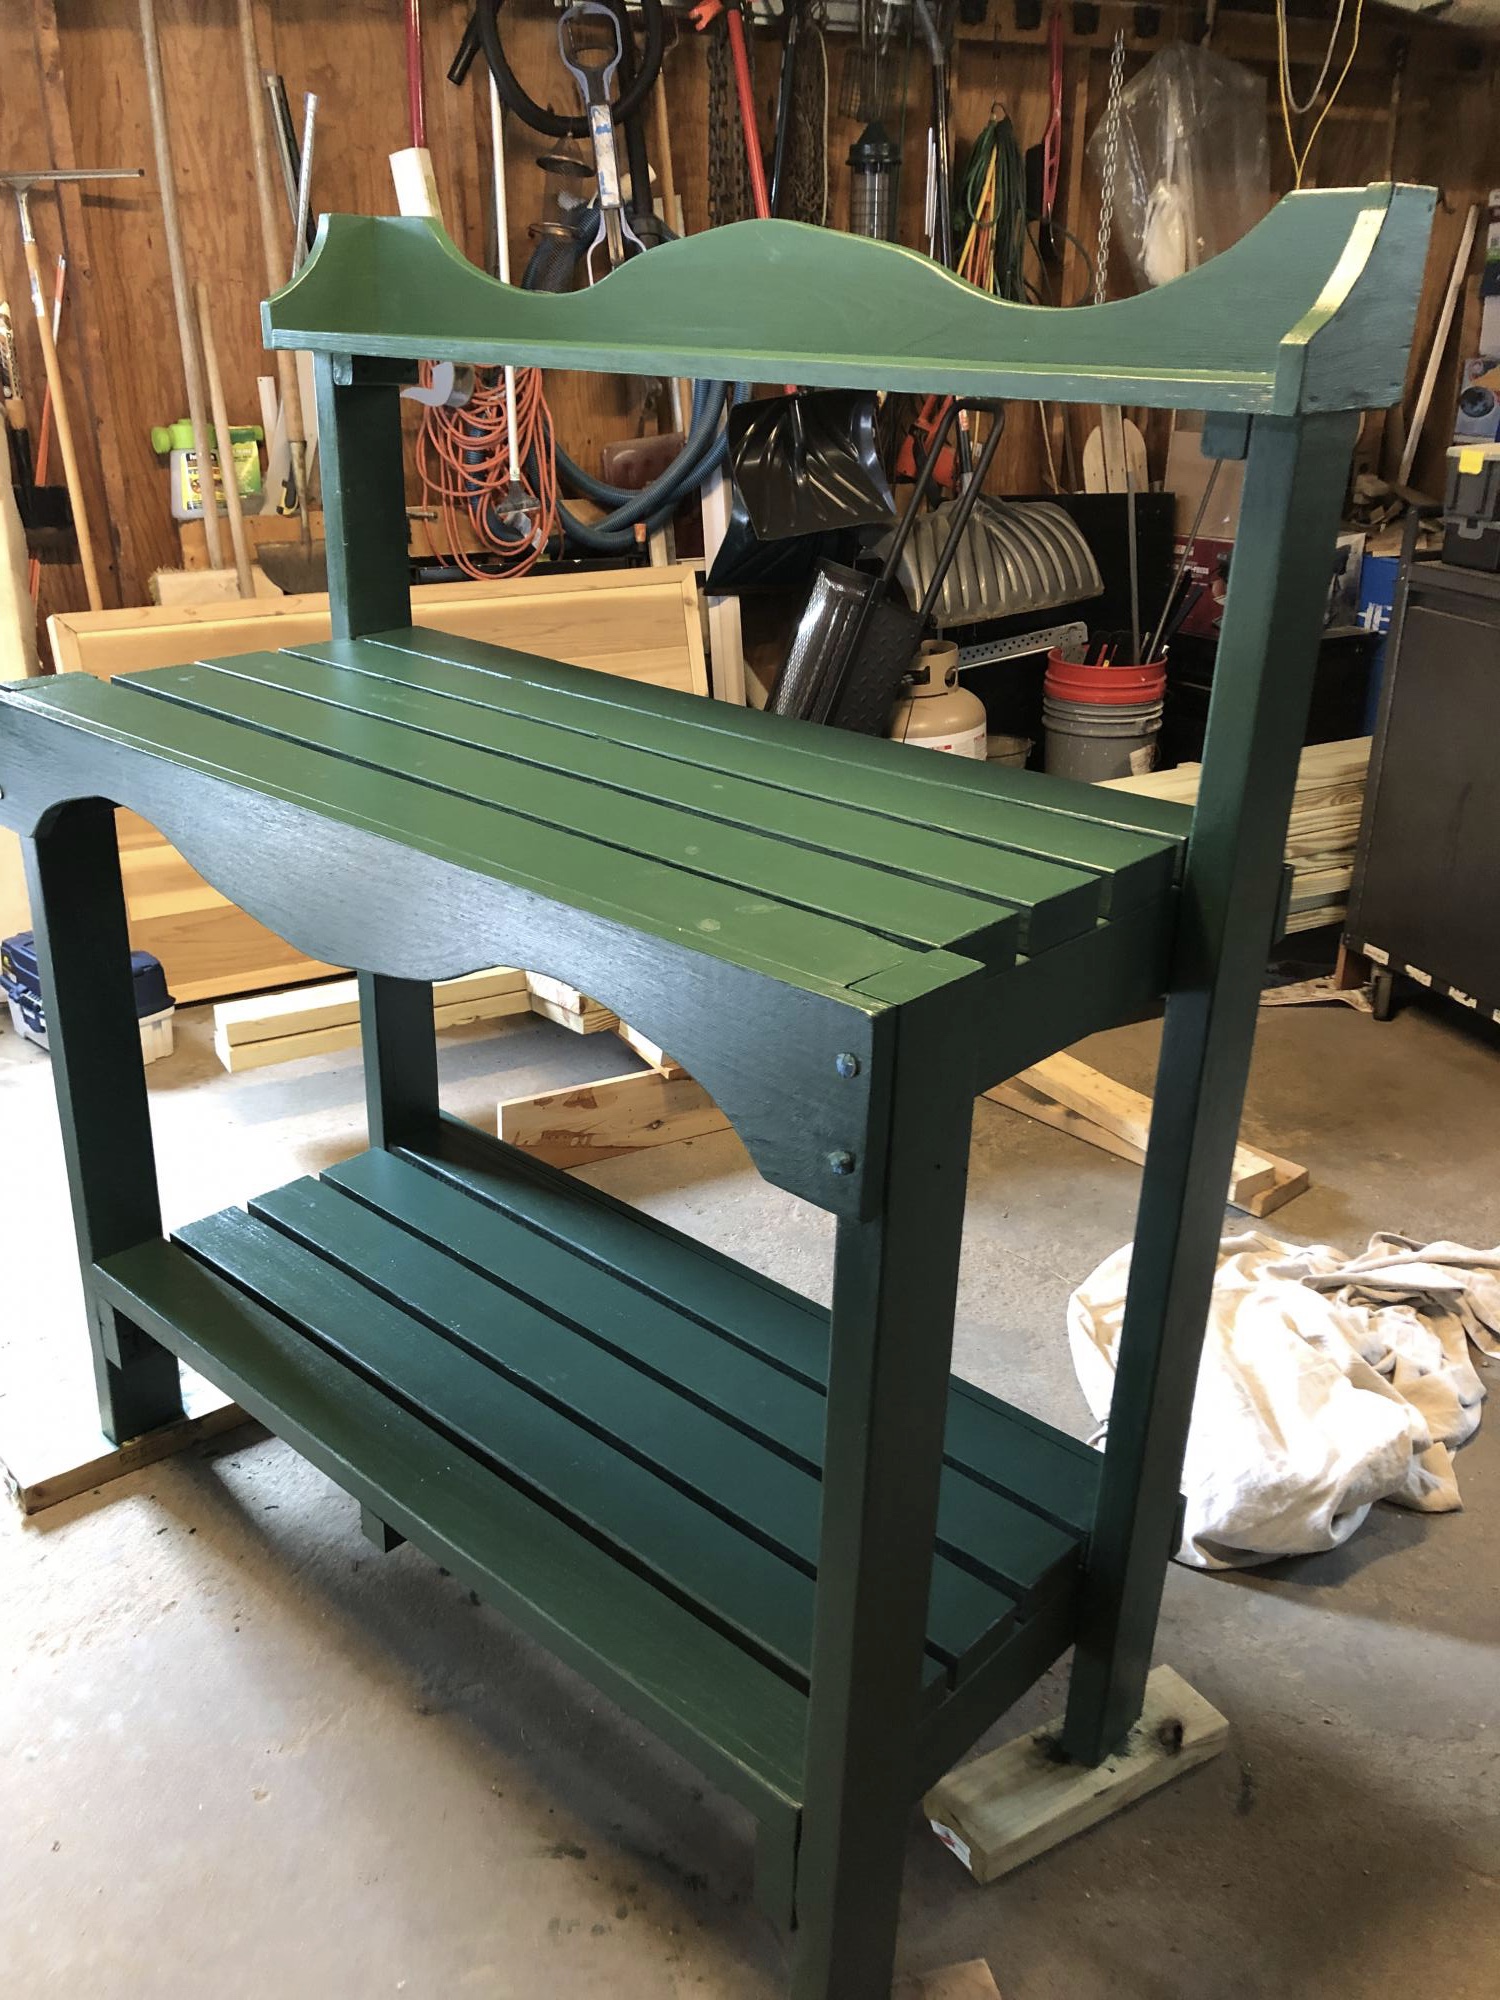
My good friend asked me to build her a potting bench for her garden wedding reception. She shouted me a photo of one from the internet. I used your plan and made a couple modifications. This is the color she requested and I used Cabot solid stain. I’m not a fan of solid stain and won’t use it again. She loved it.

Built from Plan(s)
Estimated Cost
$85
Estimated Time Investment
Weekend Project (10-20 Hours)
Finish Used
Cabot solid stain

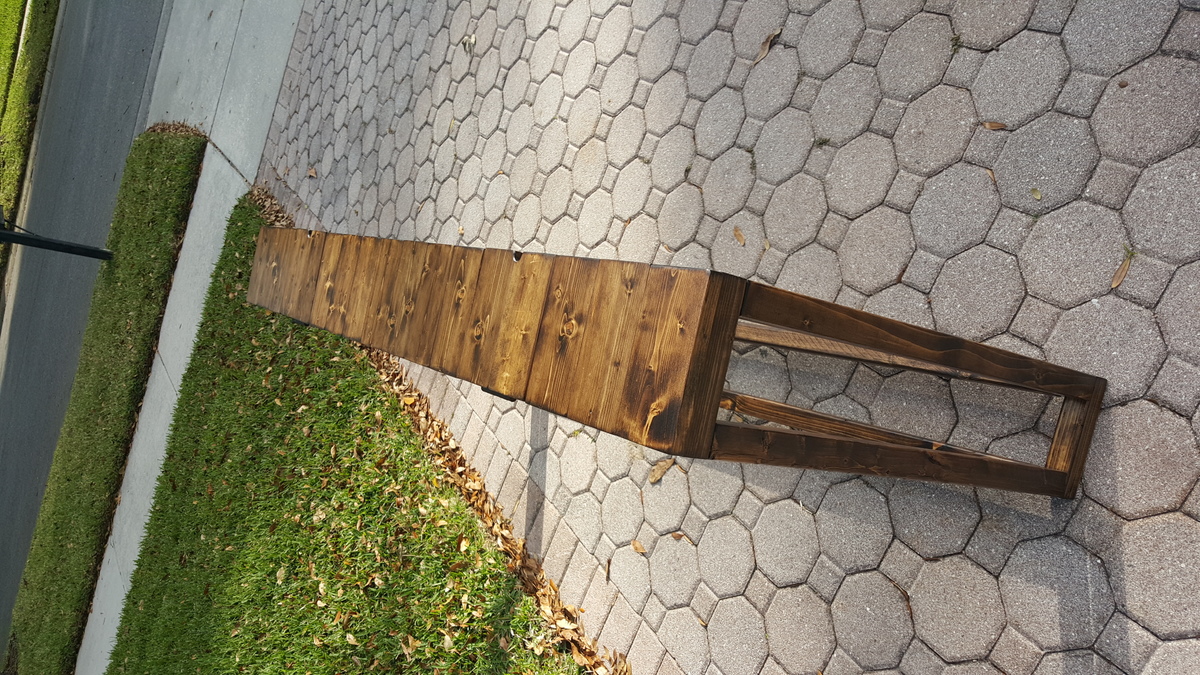
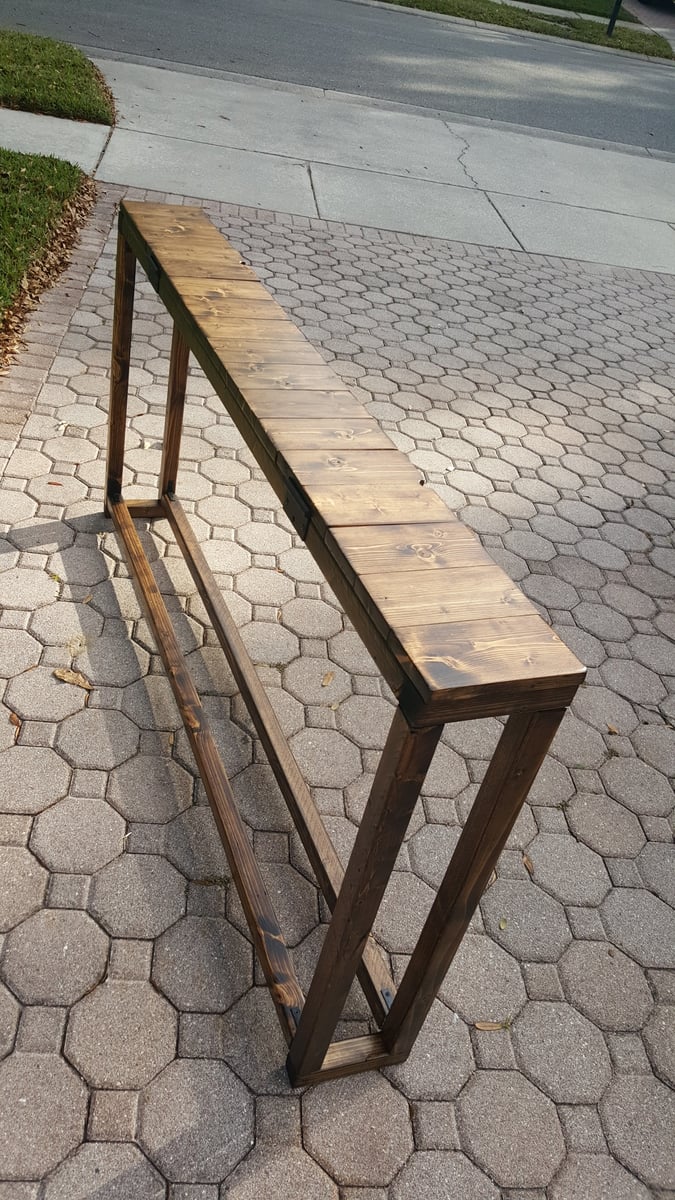
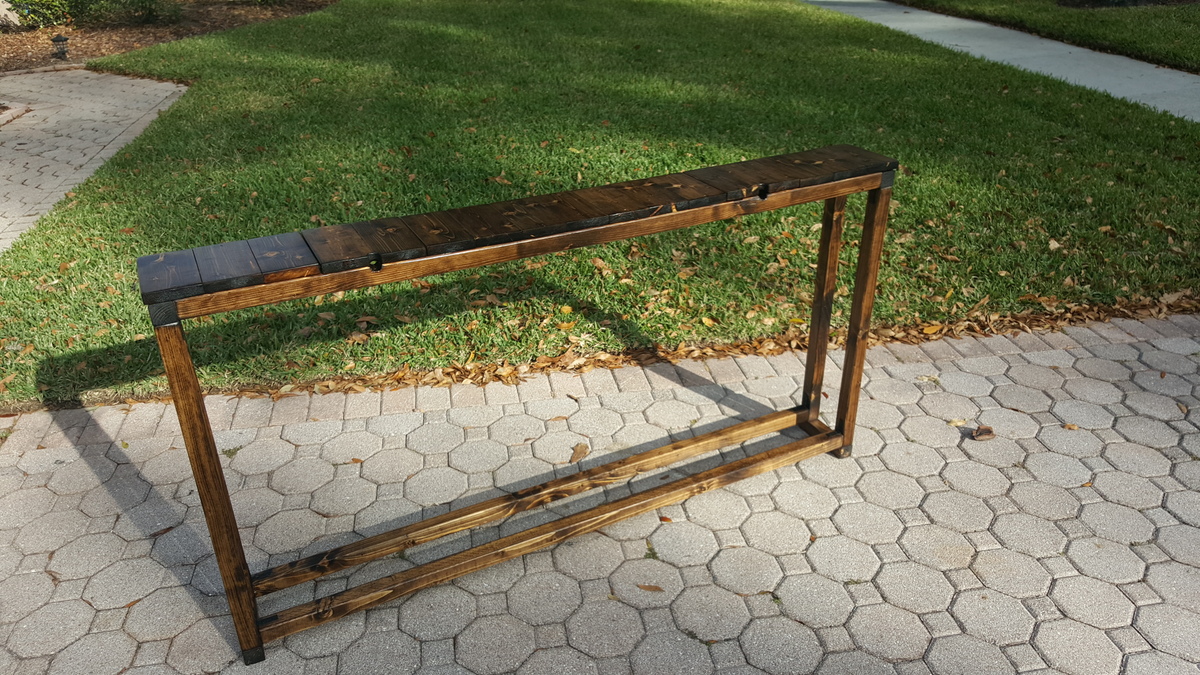
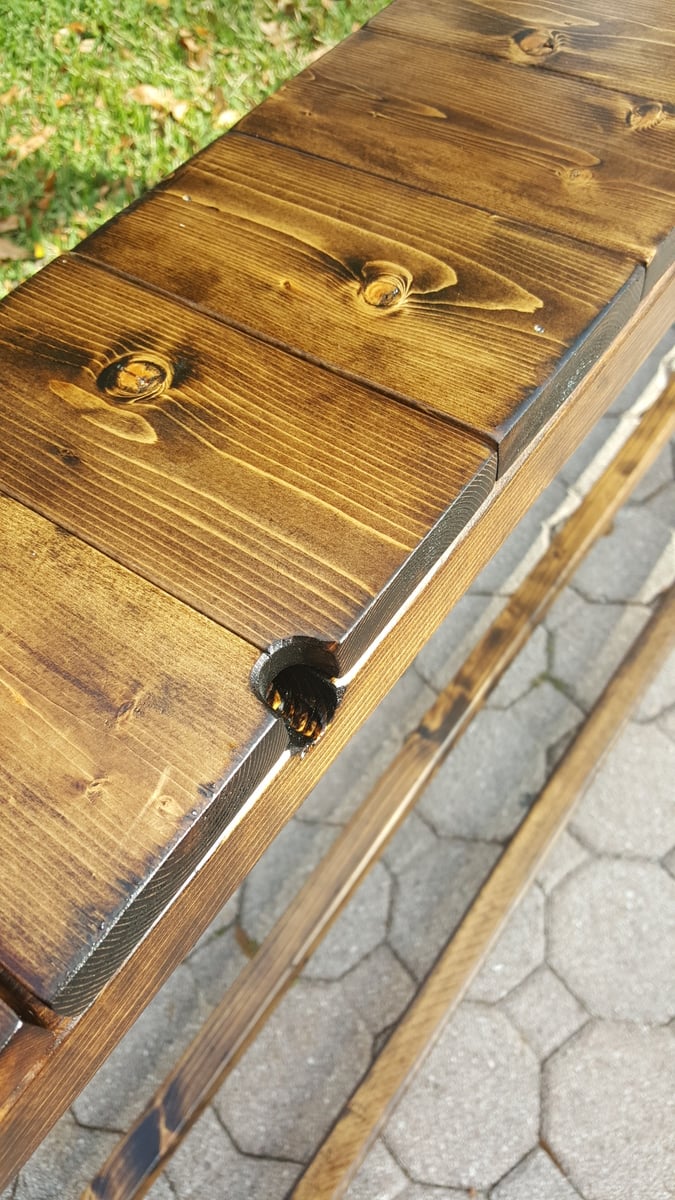
Slatted Sofa Table

Submitted by raybwright on Sat, 02/13/2016 - 09:36

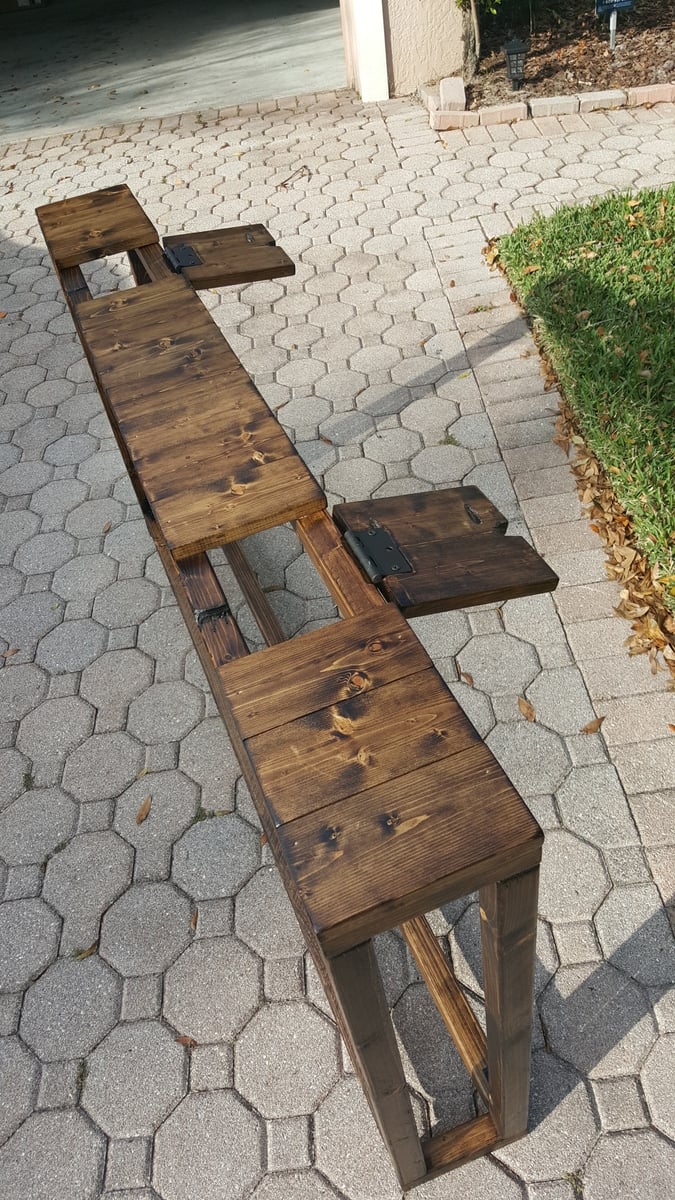
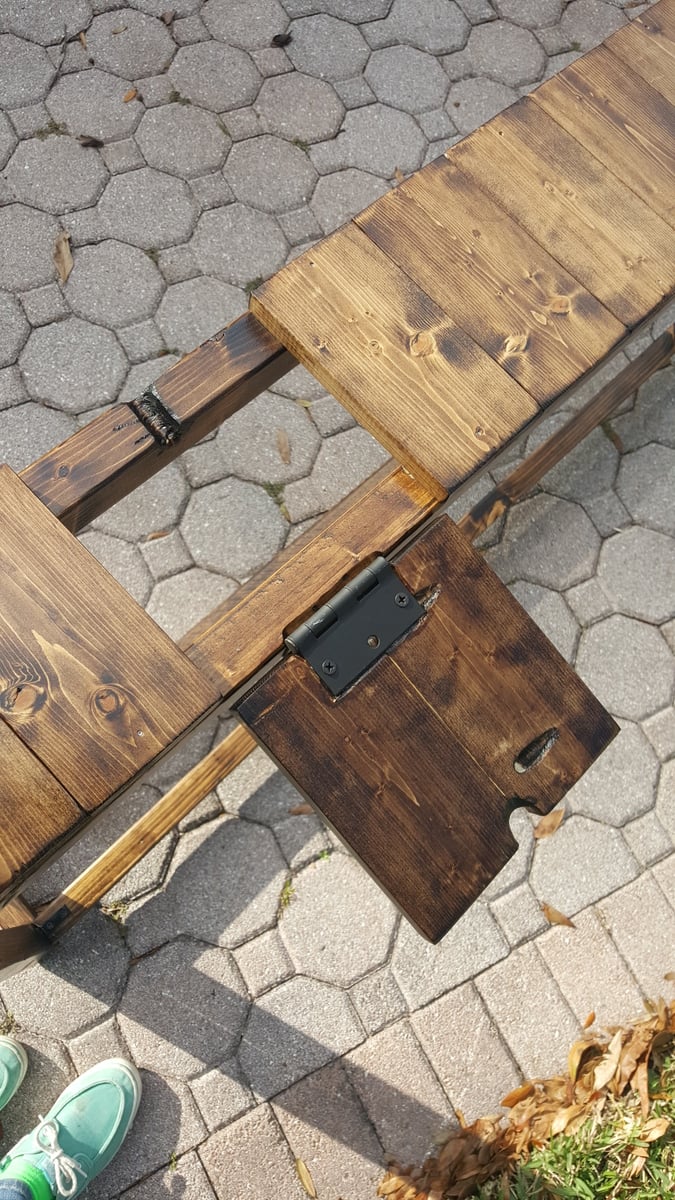
I based this design of the simple Sofa Table by Jenna Sue. Instead of a 2x8 across the top, I opted to use 1x4s side by side. This slatted look matched some of the other items in the house and to allowed me to create two hinged sections. These sections allow for easy access to wall plugs and include small notch for the cables to come through.

Estimated Cost
$35
Estimated Time Investment
Weekend Project (10-20 Hours)
Finish Used
Minwax Wodd Finish Dark Walnut Stain with Minwax Clear Satin Polyeurethane
Recommended Skill Level
Beginner

Twin Loft Beds for Twins

Submitted by annierey on Thu, 10/31/2019 - 16:33

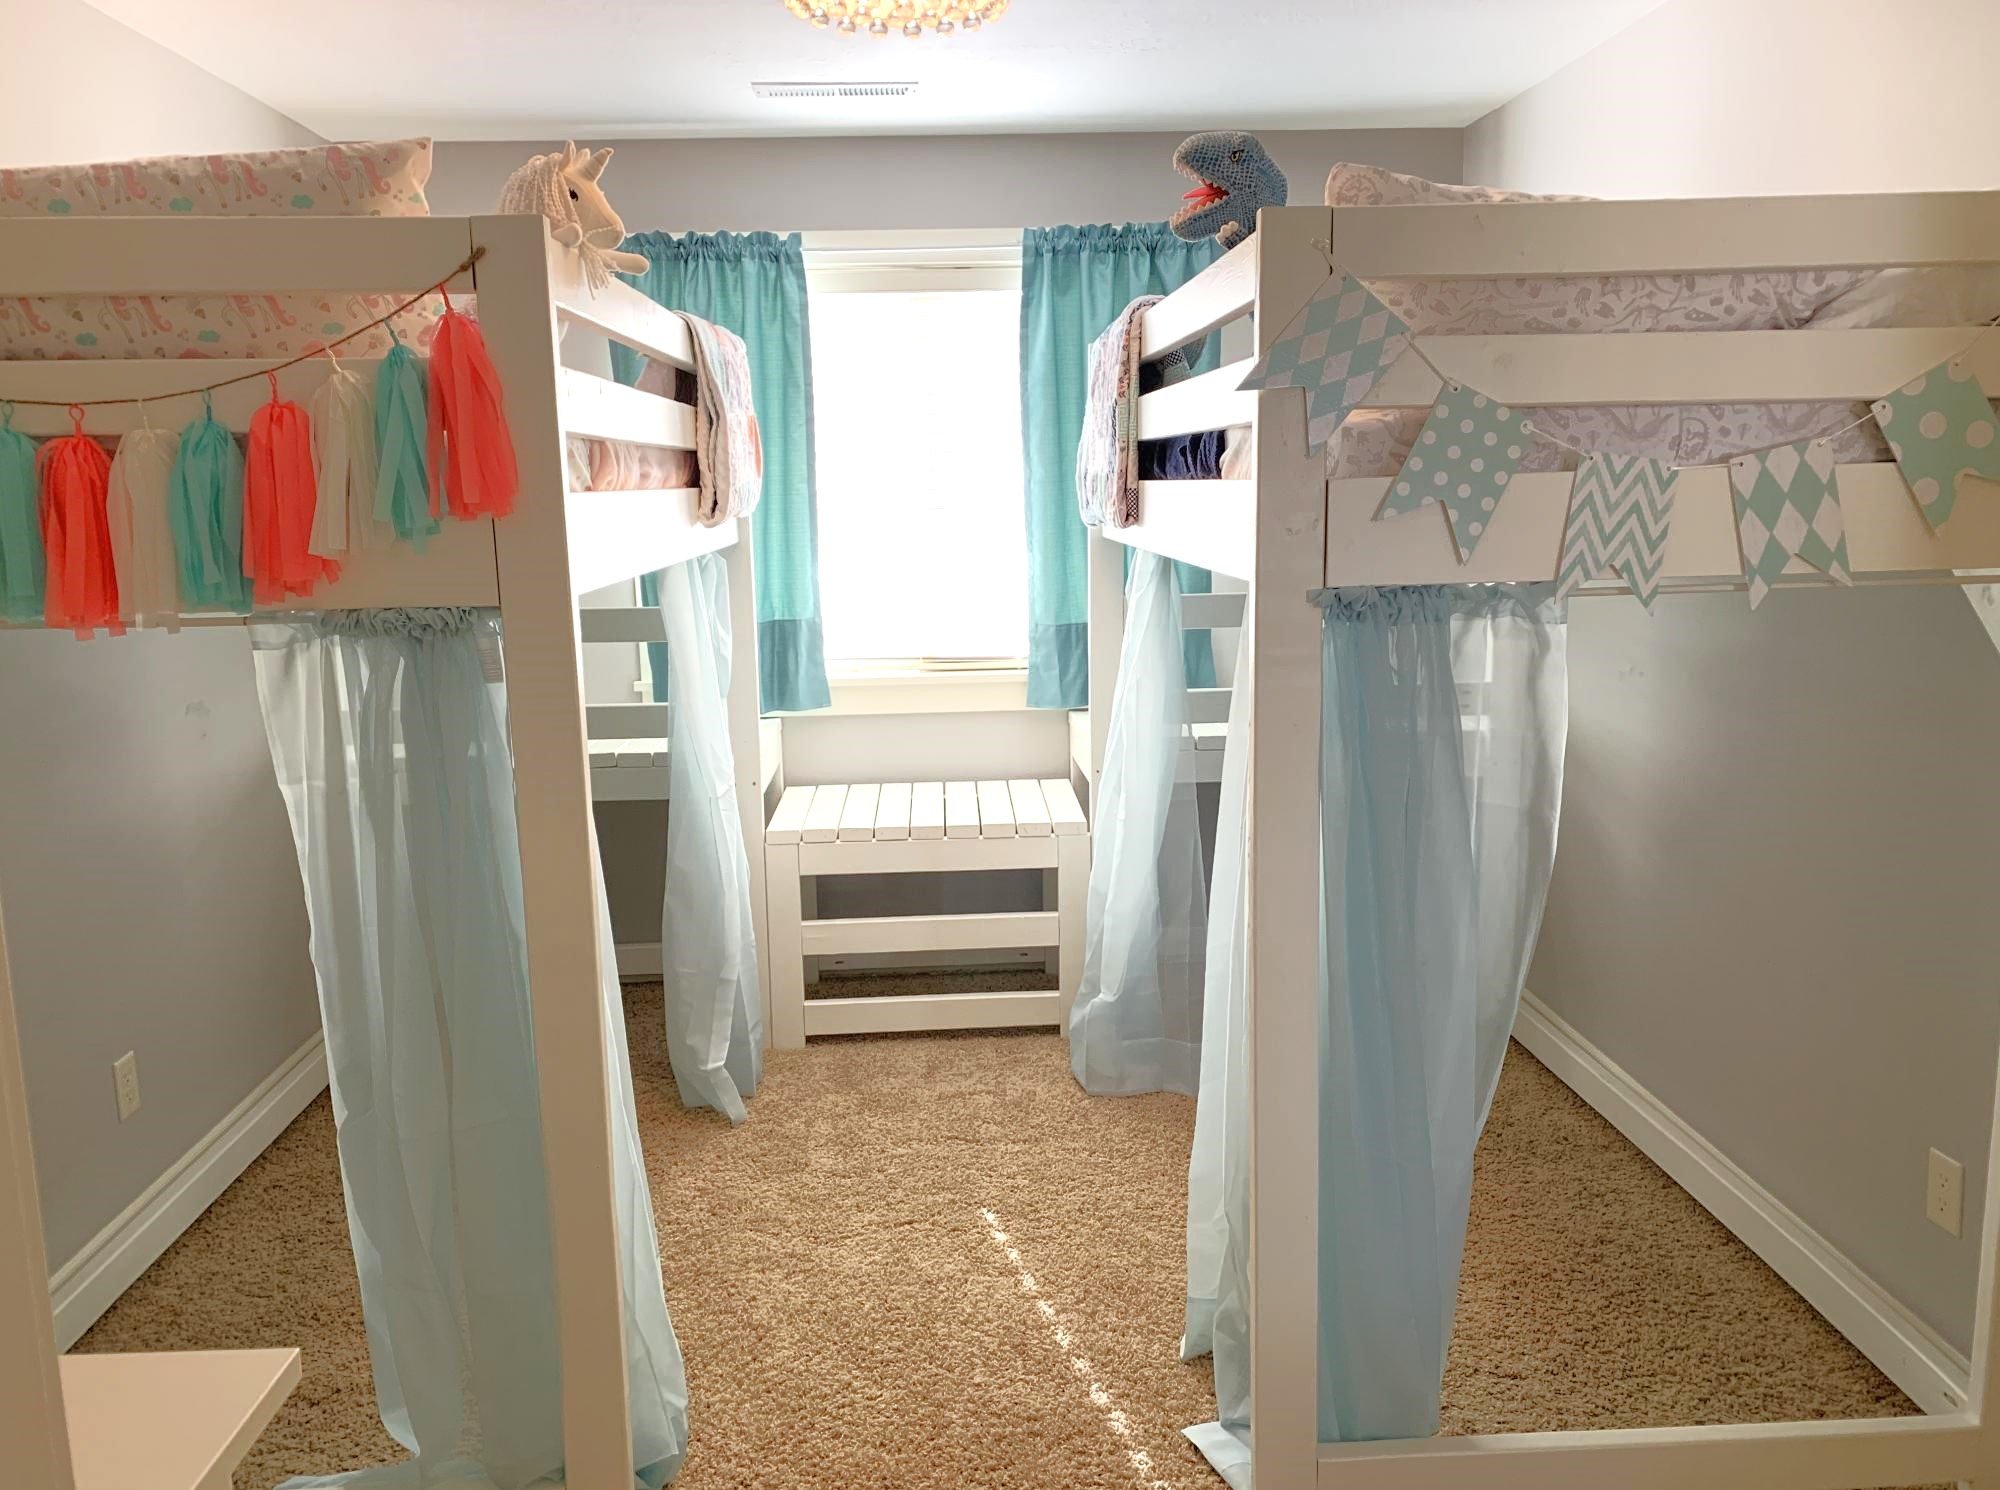
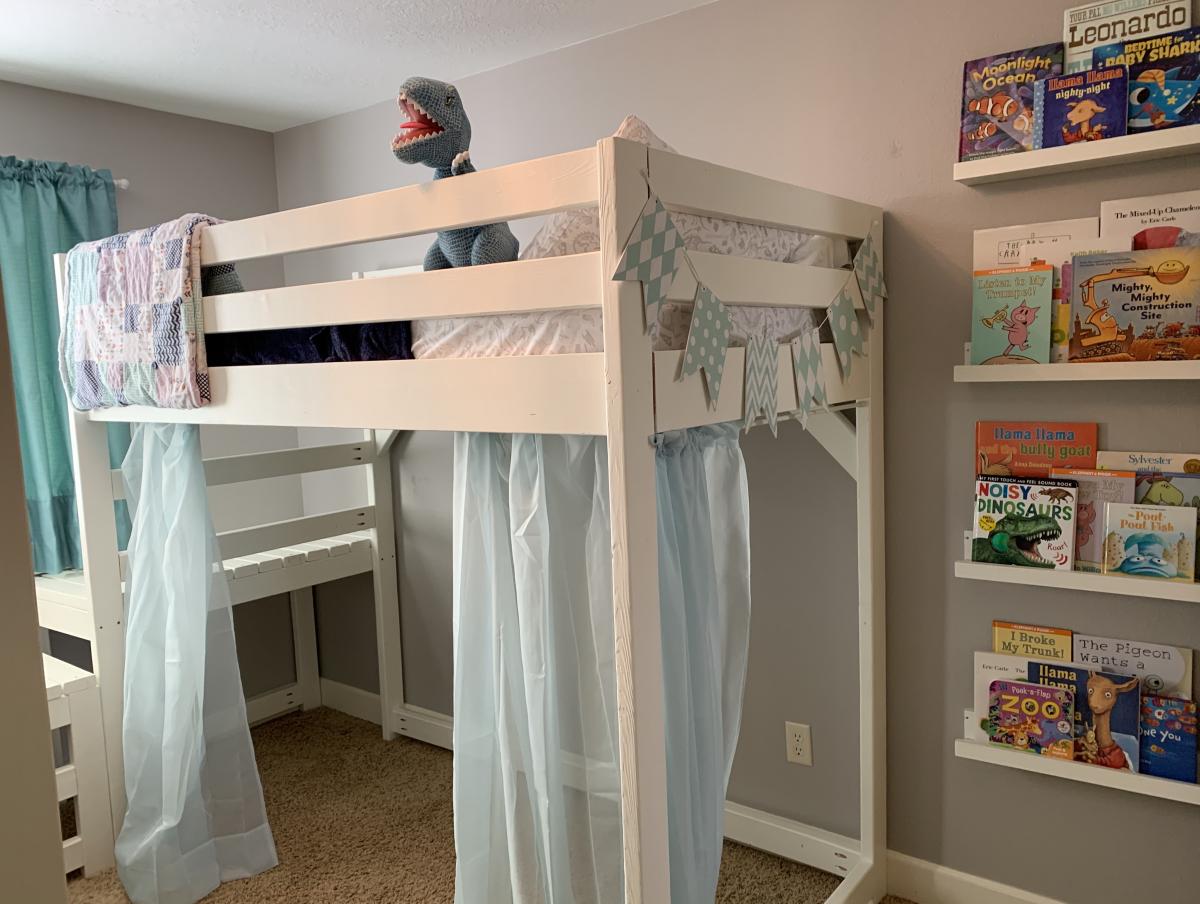
My twins just turned four and were still sleeping in their toddler beds, so it was time for an upgrade.  They still want to share a room so we knew we needed to maximize space and open up some room for them to play.  We chose the Camp Loft Bed but raised the height to 72" (with 53" of headspace) so we might be able to add a desk underneath when they get older. 

Essentially, we made two loft beds with the platforms but omitted the stairs.  Then we built a slightly lower platform to put between the two beds, which acts as a step down.  Then instead of making stairs that jut out into the room, we added two 2x4s as ladder rungs to the lower platform.  This also acts as a tunnel for the twins to crawl under to go between each other's play spaces.   This also makes it so the beds can be easily separated if we ever need to put them in separate rooms. 

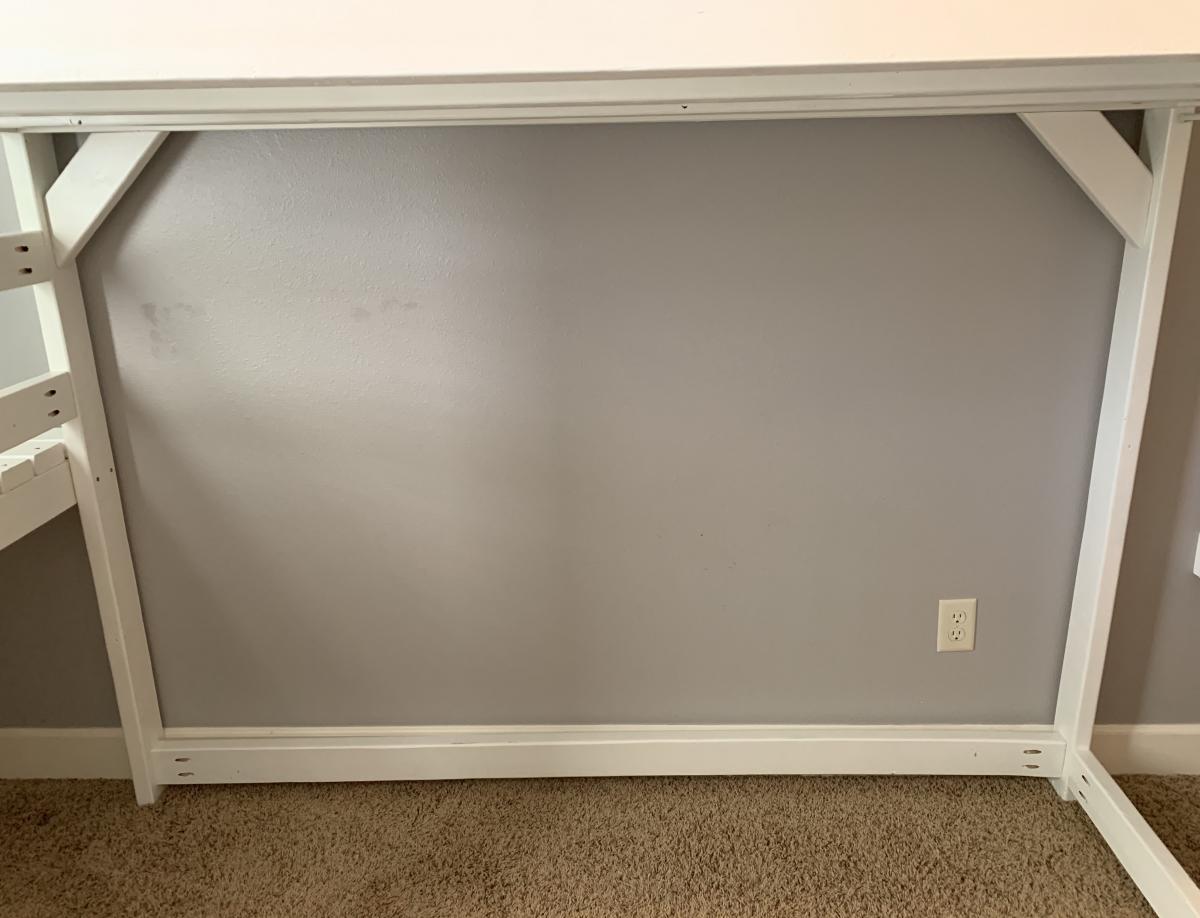
When it was complete we noticed one of the beds was a little wobbly, so we added diagonal braces in the corners and another 2x4 across the length of the bottom to help stabilize it.  We also chose to use 1x4 pieces of pine as the slats for the mattress to lay across, but they didn't feel like they would support our weight if we wanted to read to them in bed.  So we added two more 2x4s underneath the slats the entire length of the bed, which has added a ton of support. 

We stopped keeping track of exactly how much it cost, but it was close to $400 for both beds combined.  And it took most of my husband's free time for two weeks, but most of that was painting two coats of paint on every piece before assembling.  First he cut all the pieces to size, drilled the holes with a Kreg Jig, and then painted.  To make the painting more efficient, he put a bunch of screws into boards so he could paint all the exposed sides of the lumber, flip, and leave them to dry.  Then we assembled the beds in their room. 

The twins love their new beds, and we love how much more space they have to play in their room!  We were worried the room would feel too crowded but with the openness of the plan and the space that was opened up underneath, we think it turned out great!  Now we can move in a bunch of their toys and reclaim some of our house!  Thanks for the great plans!
Estimated Cost
$400
Estimated Time Investment
Week Long Project (20 Hours or More)
Finish Used
Two coats of white paint/primer
Recommended Skill Level
Beginner

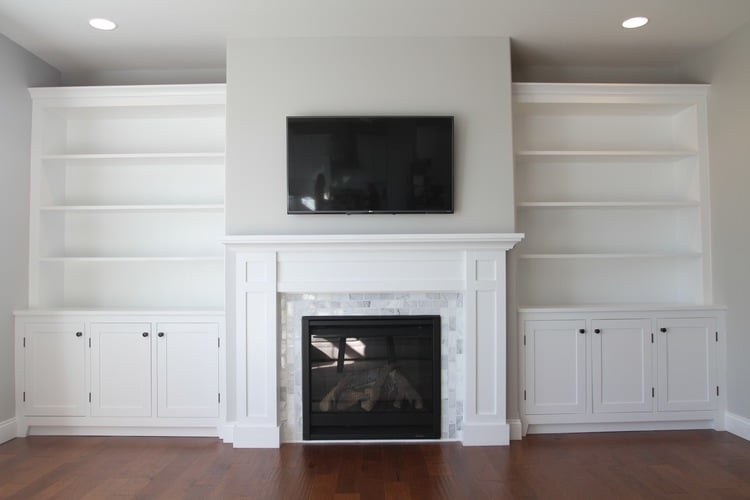
How to Build a Fireplace Mantel and Surround

Submitted by MillerMade on Thu, 03/24/2016 - 09:05

The Custom Built-ins started out with lots of research, and like many DIY project we looked to Pinterest and Houzz for inspiration. A lot of love and time went into this project. I can't stress enough how important research is. This process is often over looked because DIYers just want to get to the building process as quickly as possible, but trust me when I say doing solid research will save you a lot of stress and time when it comes to building.


Estimated Cost
$4,000-$6,000
Estimated Time Investment
Week Long Project (20 Hours or More)
Finish Used
White Paint
Recommended Skill Level
Advanced

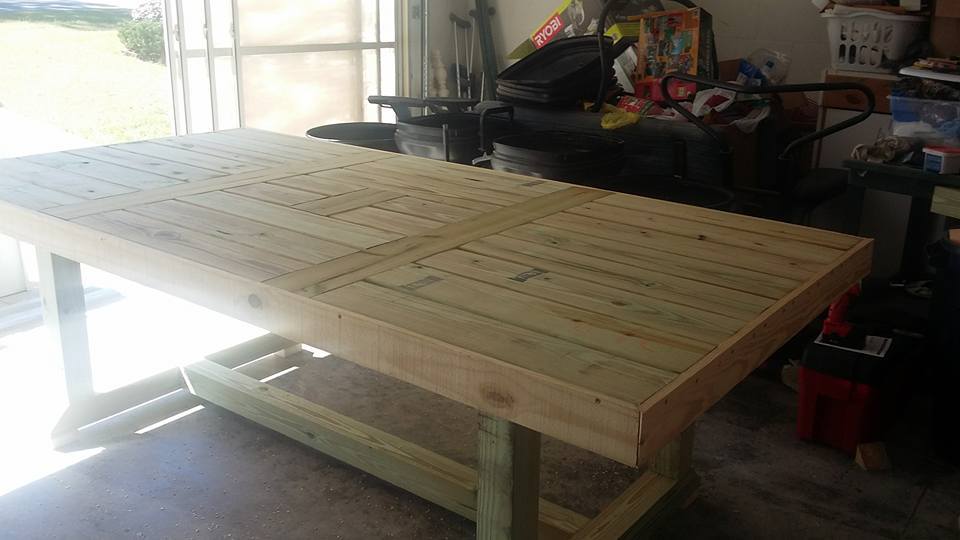
Patio Table/ my work table

I decided since I was doing a lot of wood working projects I needed to have a work table. I came across the patio table on Ana site and fell in love. I now have a great table in my garage for all my woodworking projects.

Built from Plan(s)
Estimated Time Investment
Weekend Project (10-20 Hours)
Recommended Skill Level
Beginner

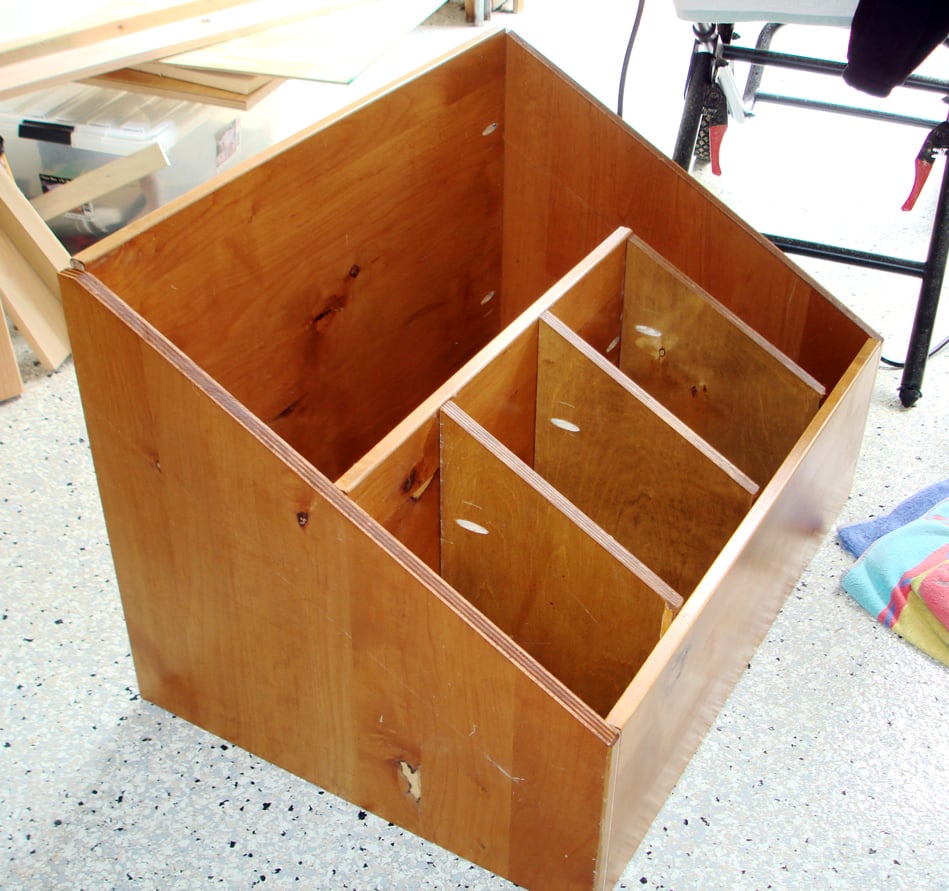
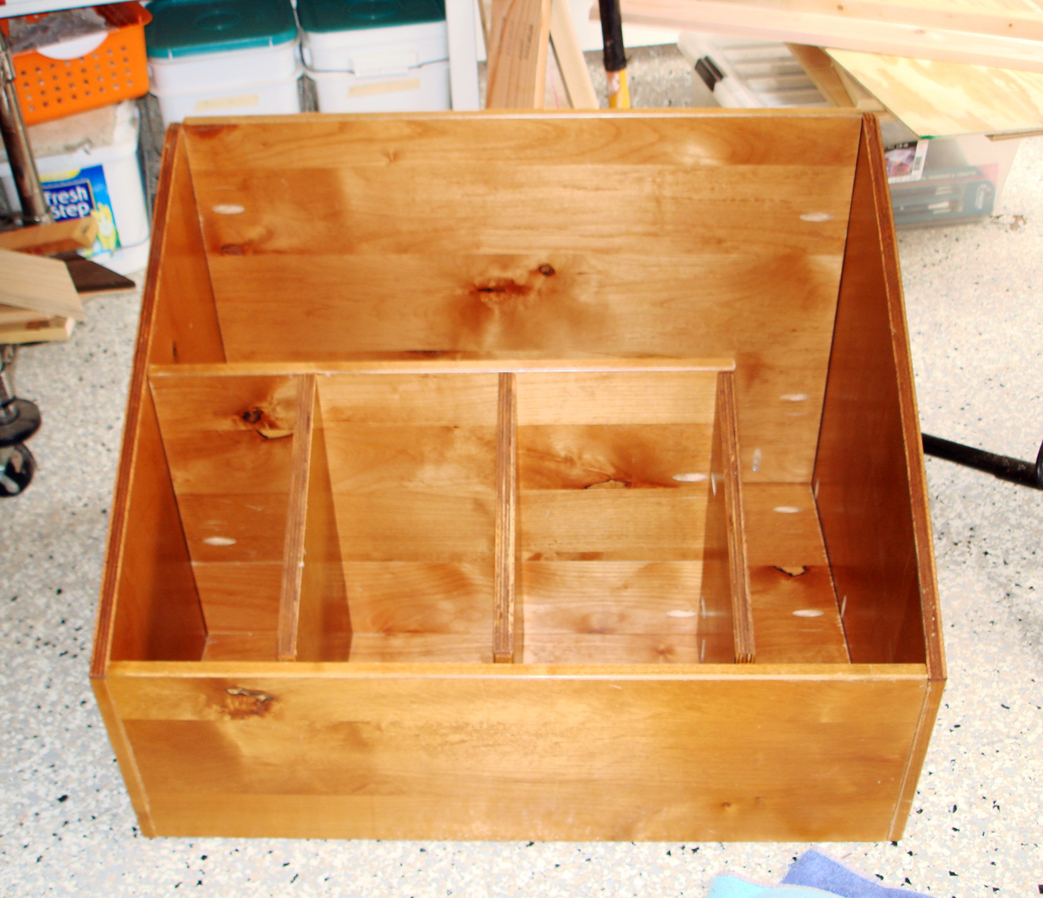
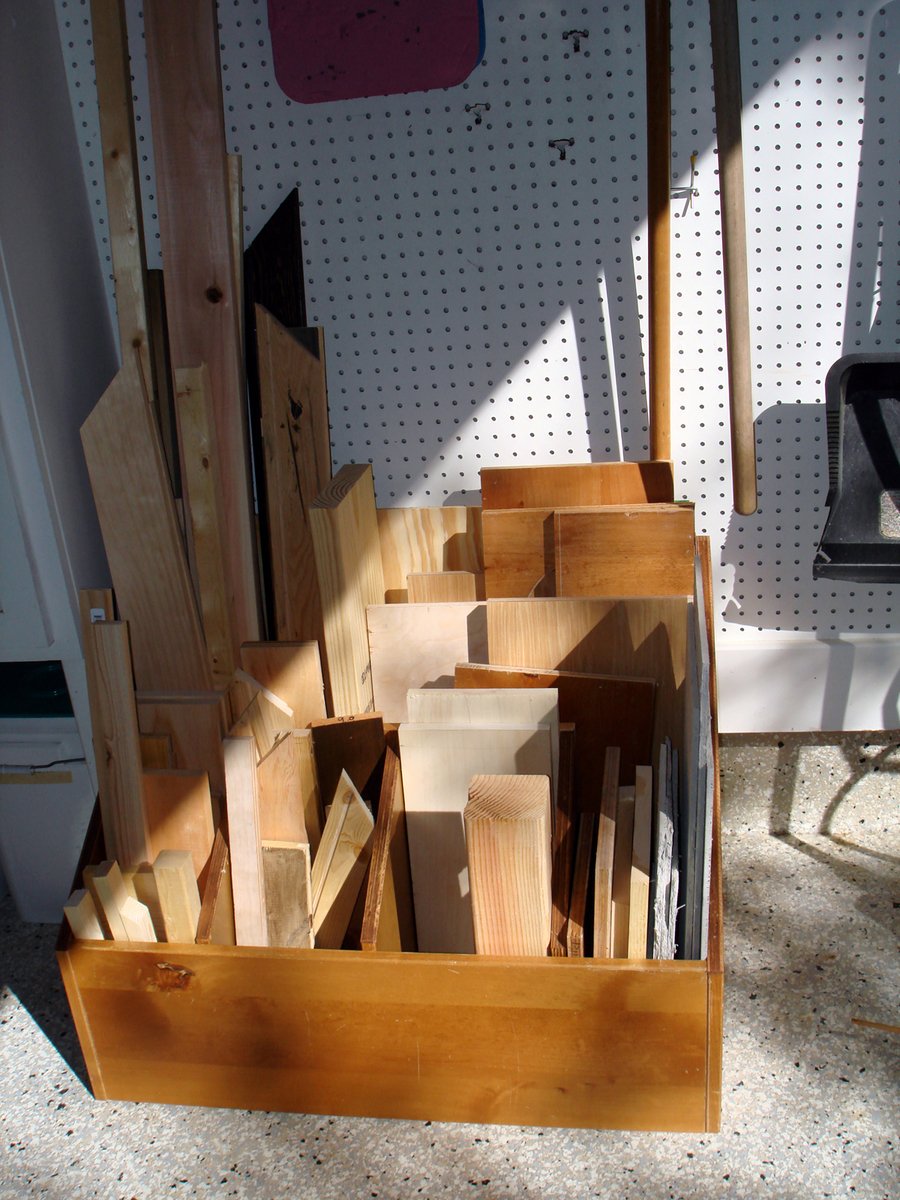
Wood Storage Box

Submitted by Joni on Sun, 03/18/2012 - 10:42

My wood scraps were definitely getting out of control, and I needed something to store the wood vertically. I had some spare wood (free from Craigslist), so I put together a wood storage bin. All in all, the project cost me the price of some Kreg screws.

Estimated Cost
Free!
Estimated Time Investment
Afternoon Project (3-6 Hours)
Recommended Skill Level
Beginner

Comments

hoffer5353

Wed, 06/06/2012 - 13:21

I have been struggling to organize my space because my lumber is on one of my work spaces. I have the perfect space for that, thanks for the great post!

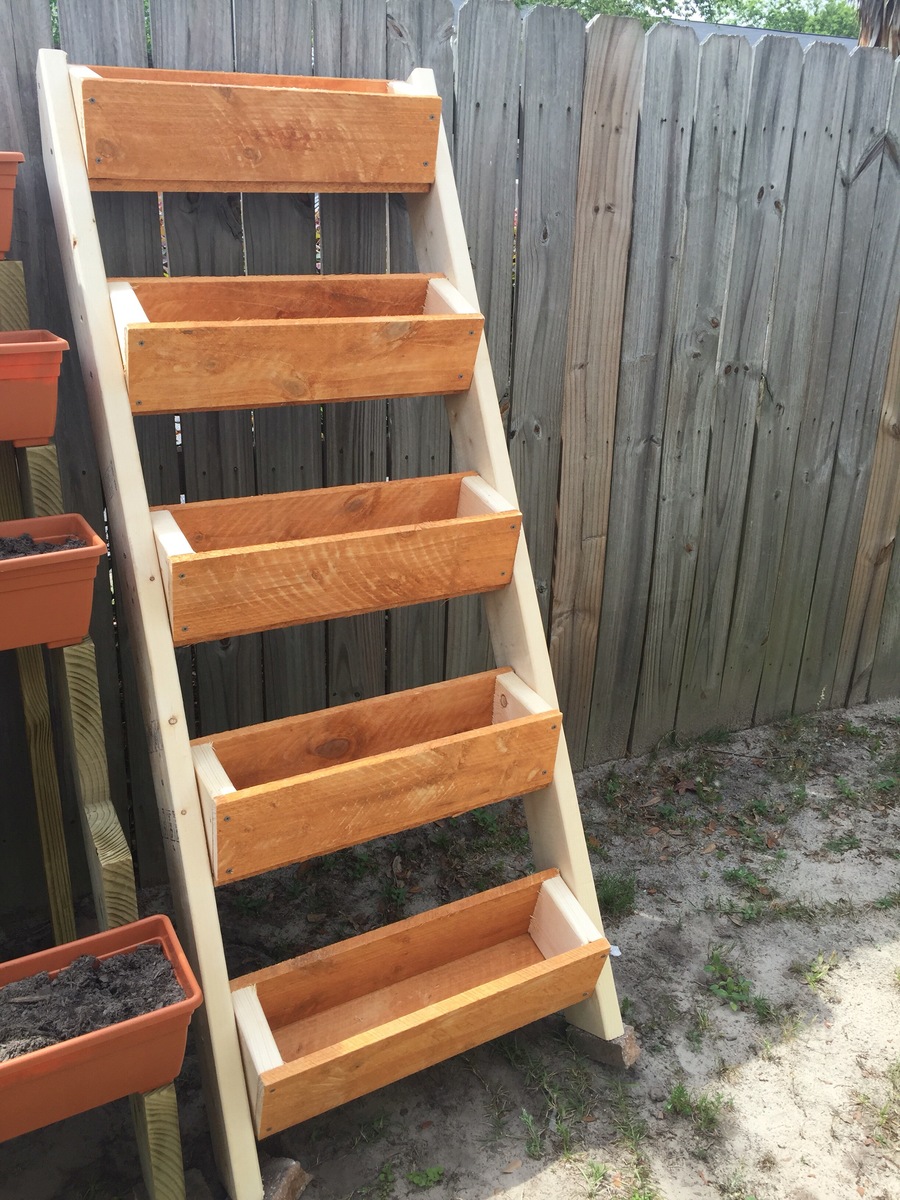
Vertical Herb Planter

Submitted by Anonymous (not verified) on Tue, 05/10/2016 - 20:04

Used your plans but make changes to the planters since I do not own an angle machine.  They look great and the cost was less than $30

Estimated Cost
$28
Estimated Time Investment
Afternoon Project (3-6 Hours)
Finish Used
Deck screws
Recommended Skill Level
Starter Project

Comments

NextGreenLife

Tue, 05/30/2017 - 14:33

Can appreciate wanting to do projects but not having all the necessary fancy tools.  I need to make two of these anyway (one to give away), so going to steal this idea to make it a wham-bam quick job!

Thanks for the plans!
Submitted by Anonymous (not verified) on Thu, 05/12/2016 - 18:29

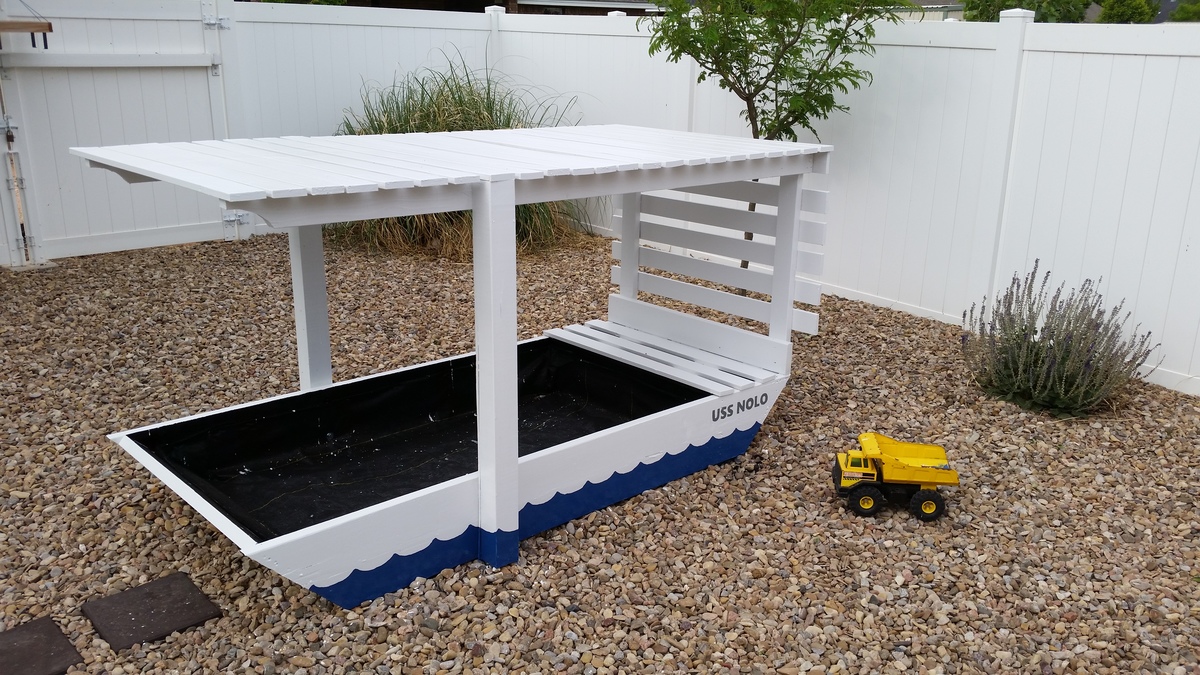
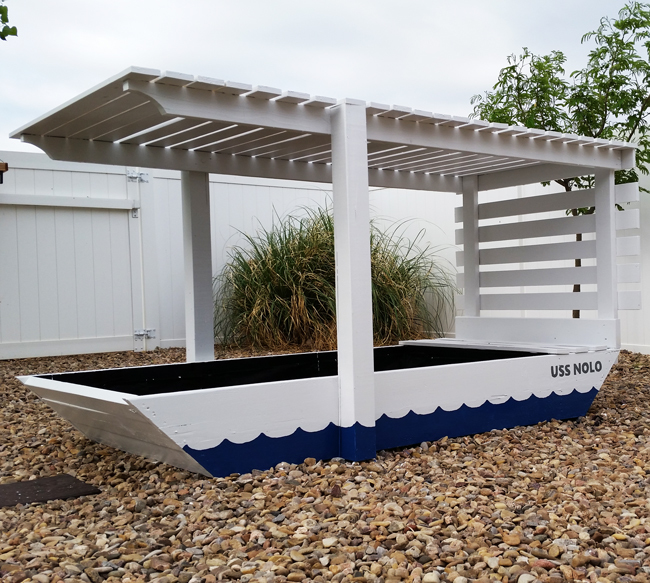
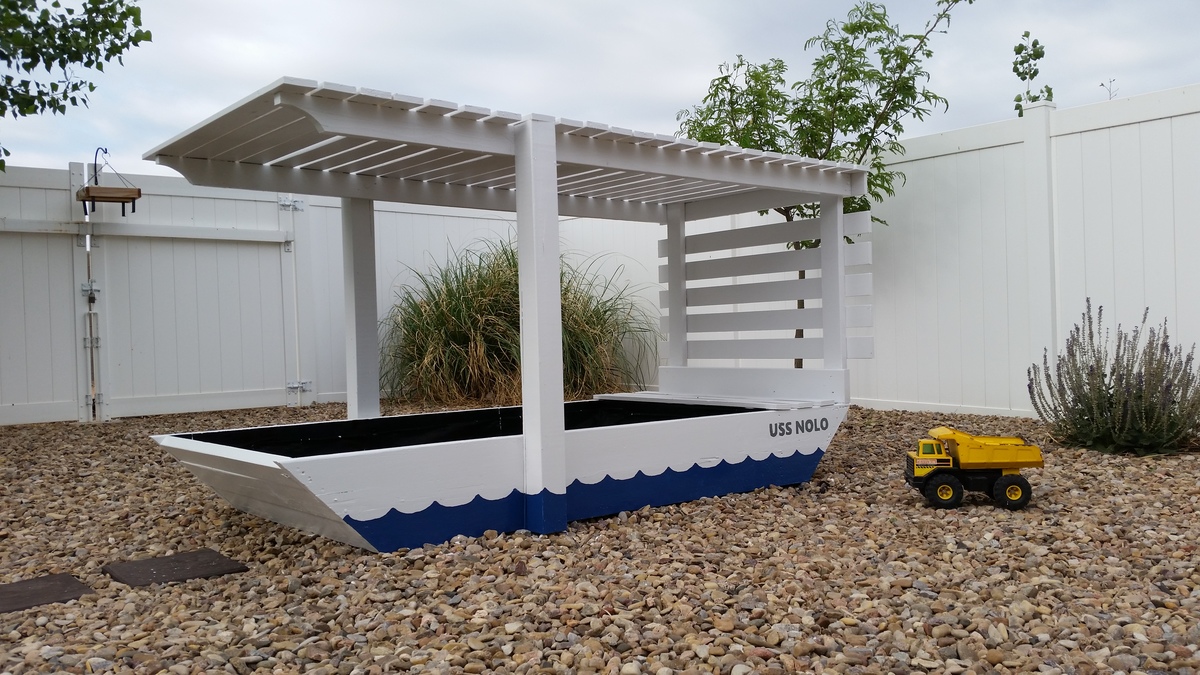
Ana, thanks for the plans! I modified mine to have more of a roof to give my son more play space and added a toybox at the "back" of the boat. Still need to pick up sand but has turned out great so far! I think it will be the starting point for a full playset.
Built from Plan(s)
Estimated Cost
225$
Estimated Time Investment
Weekend Project (10-20 Hours)
Finish Used
Outdoor oil-based enamel
Recommended Skill Level
Beginner

Comments