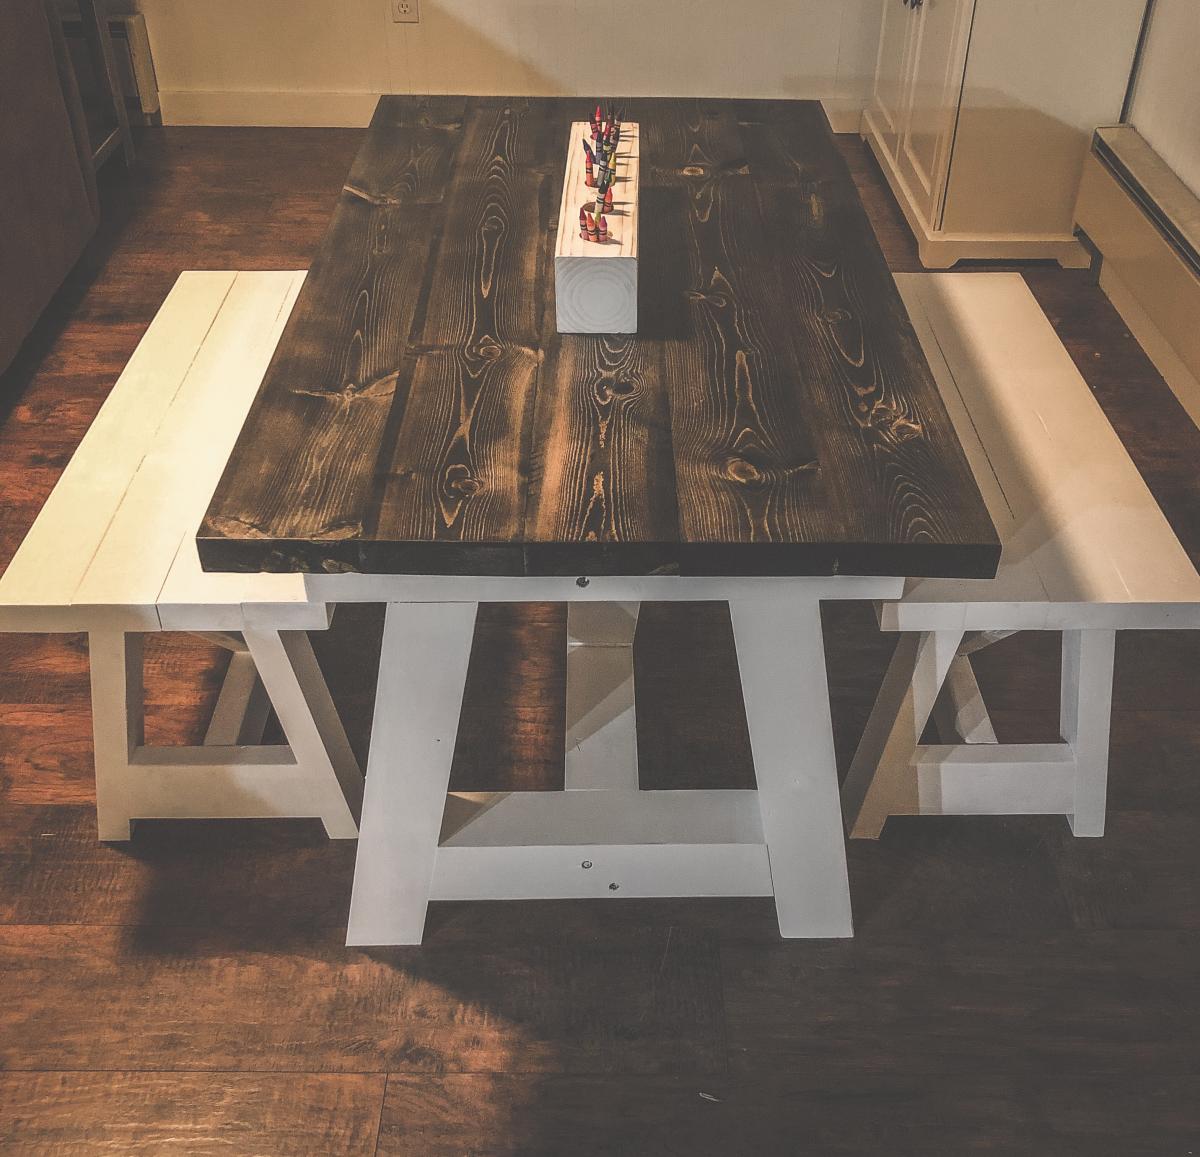
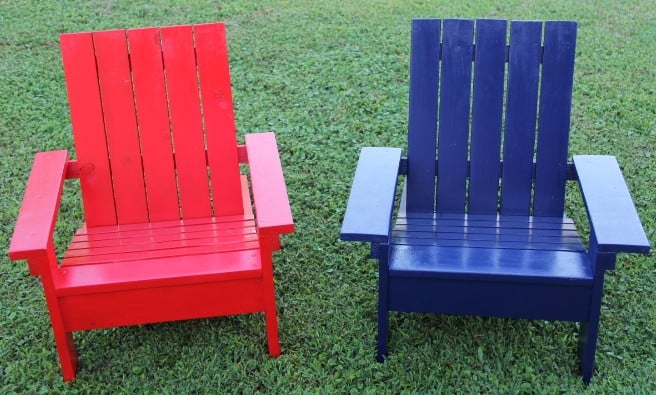
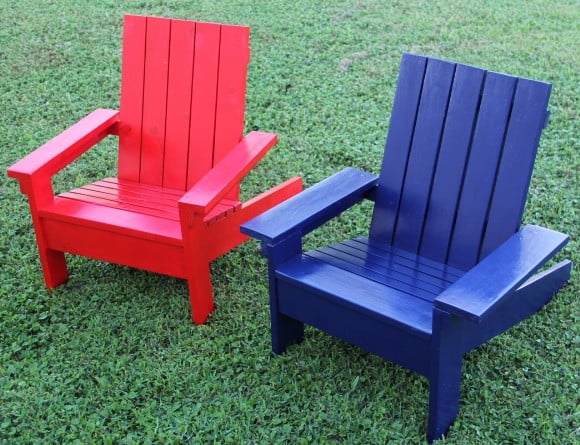
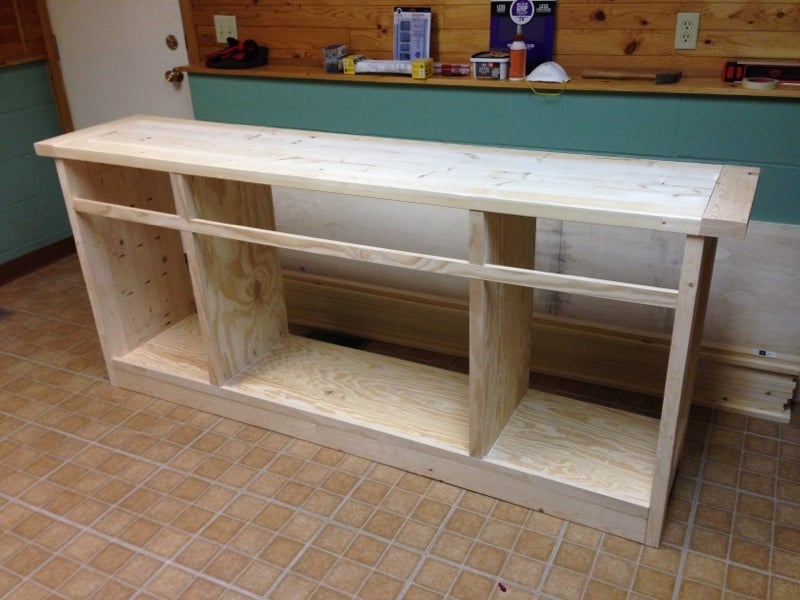
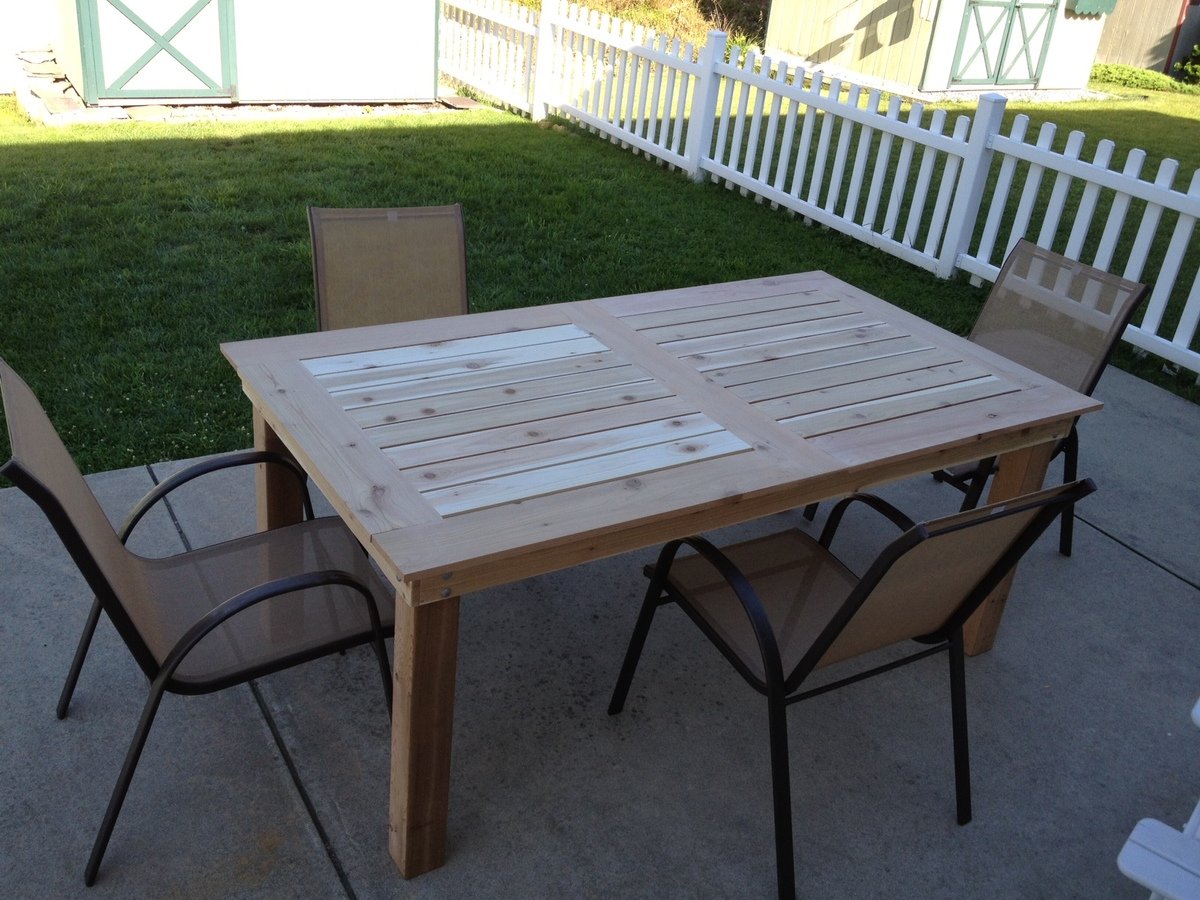
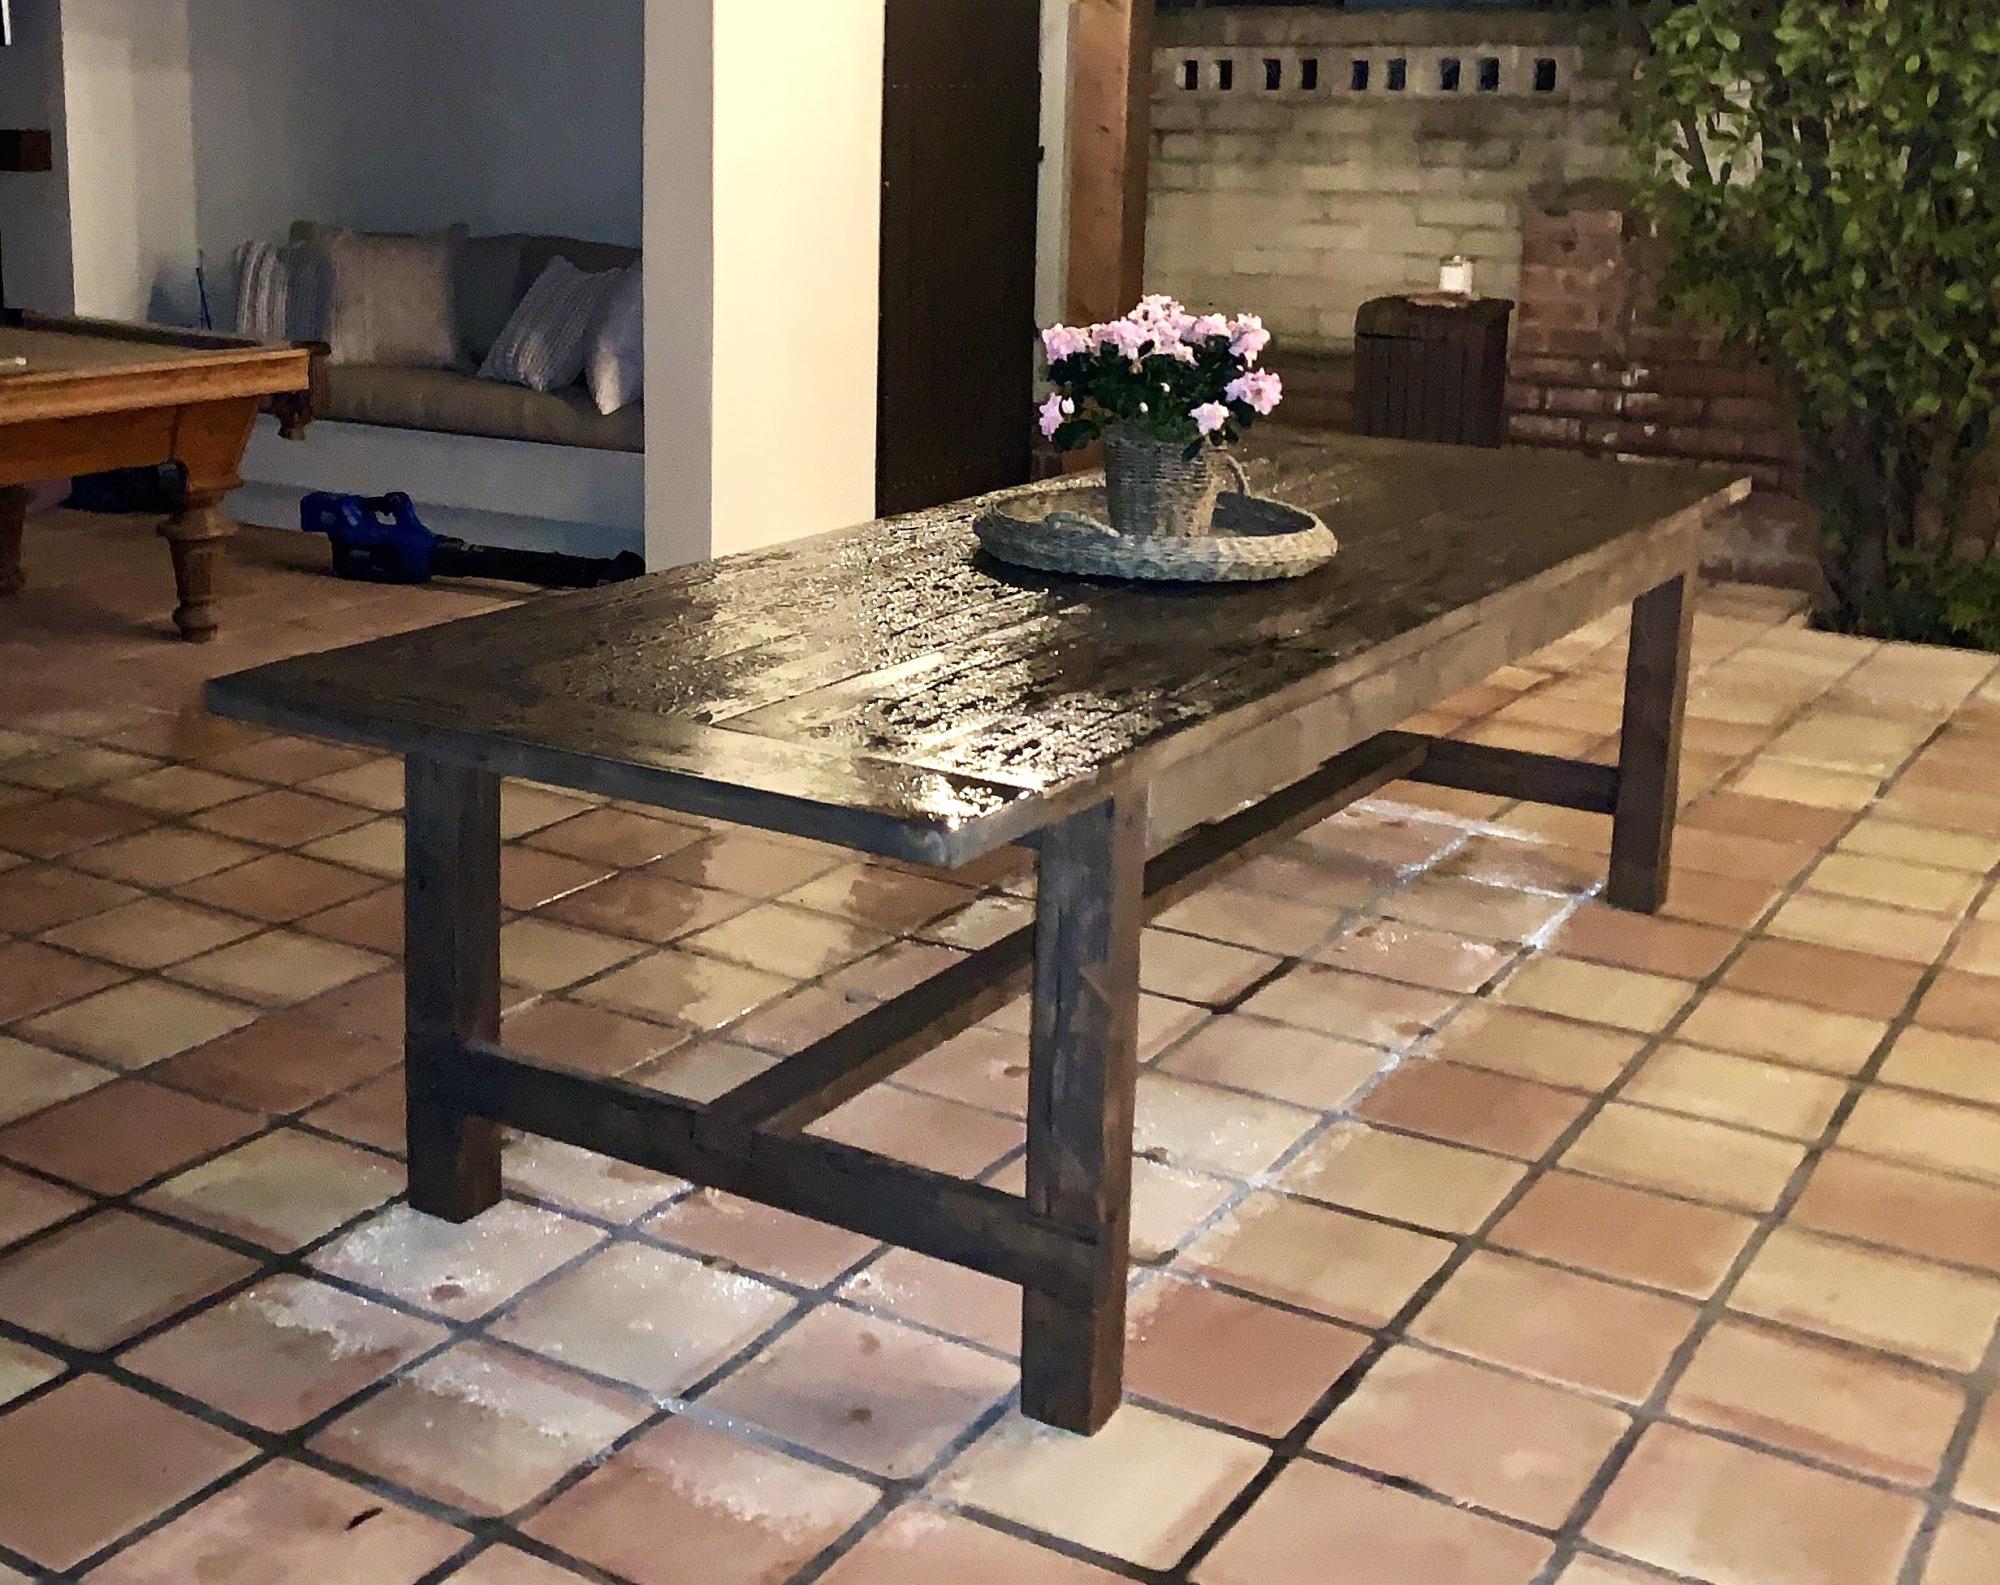
Kid 4x4 Truss Farm Table
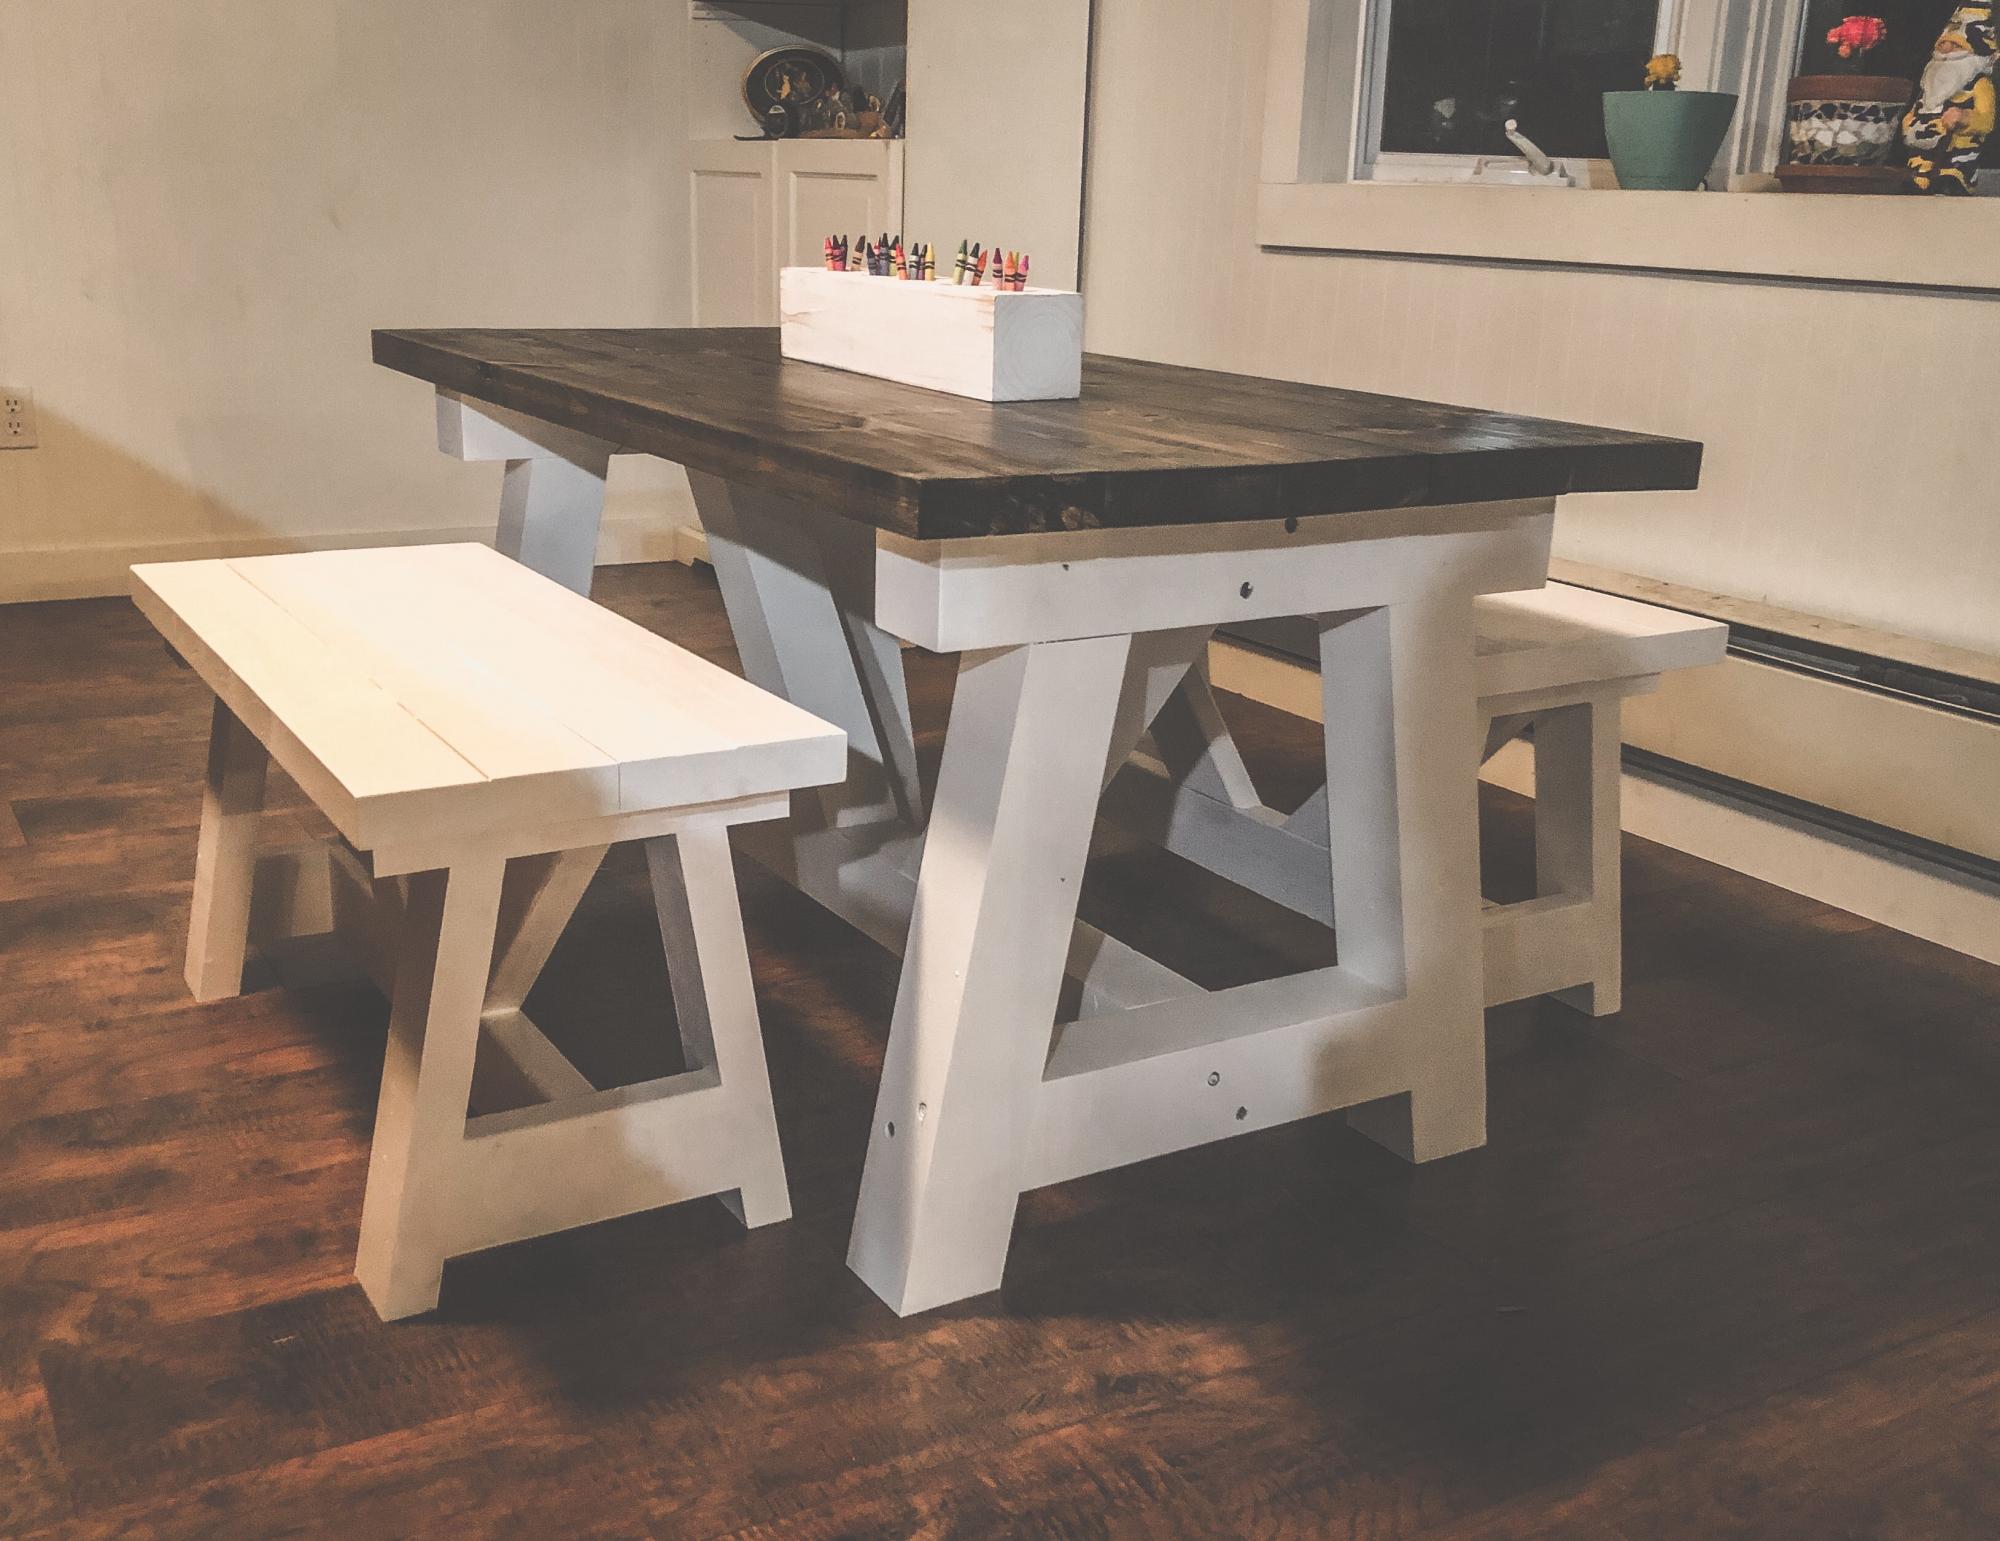
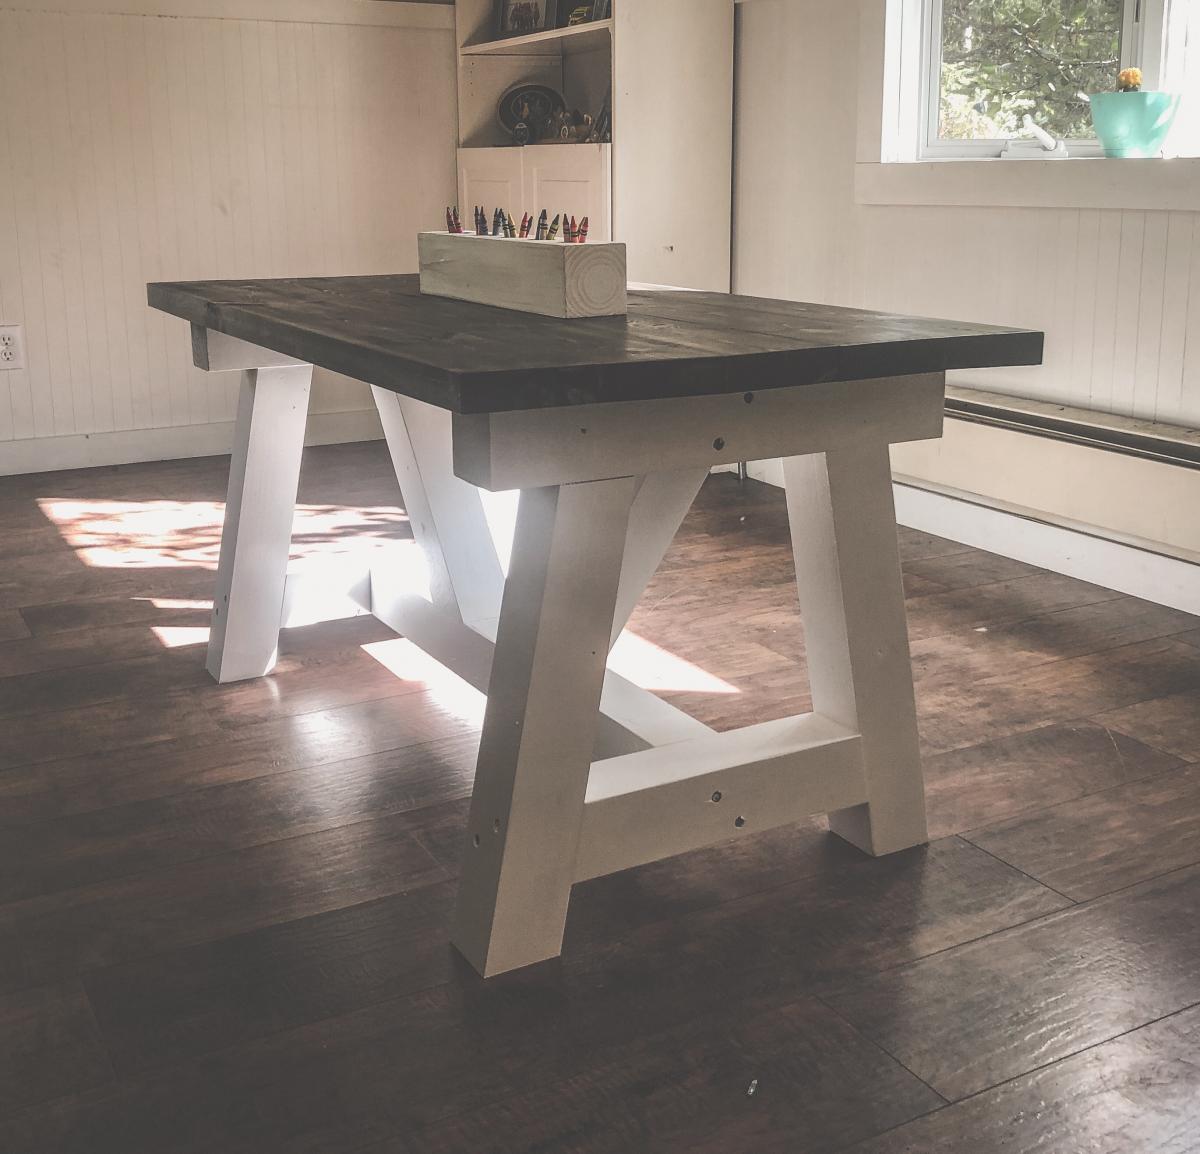
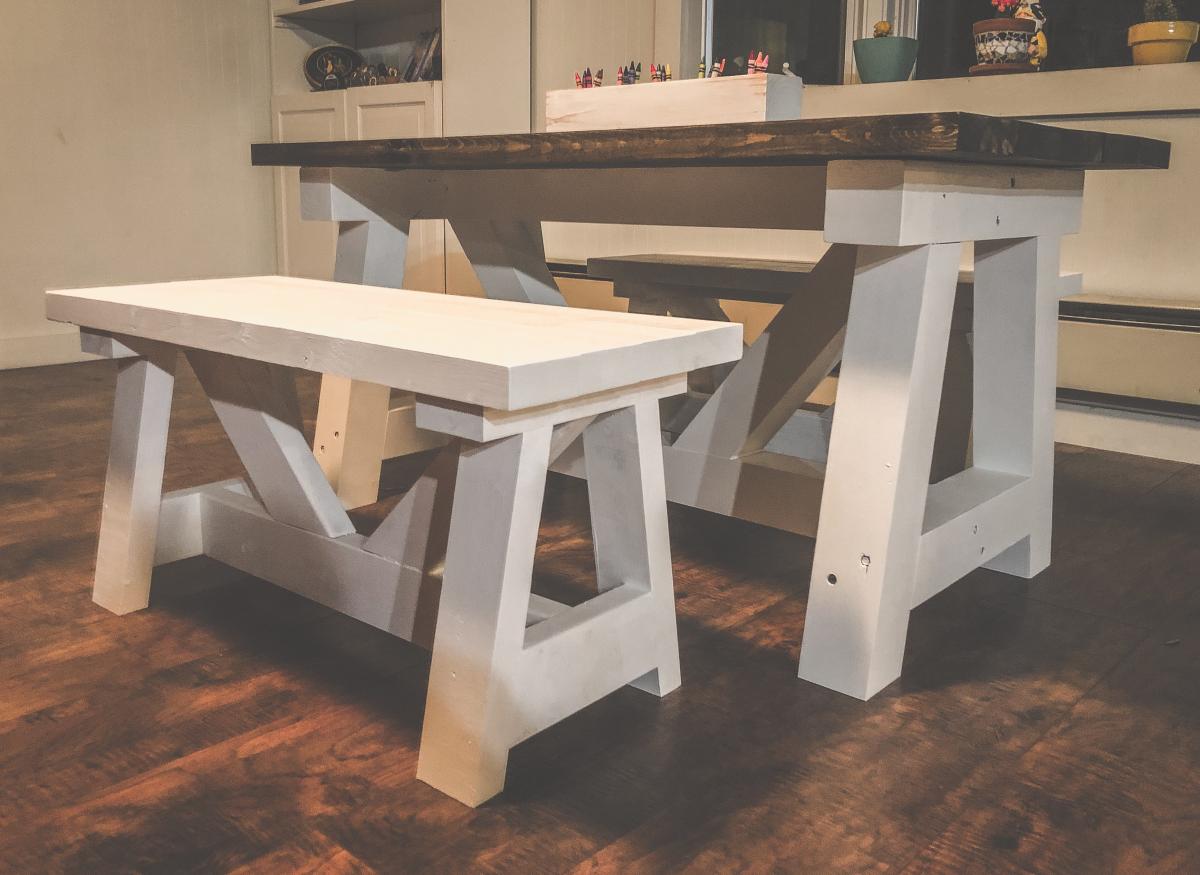
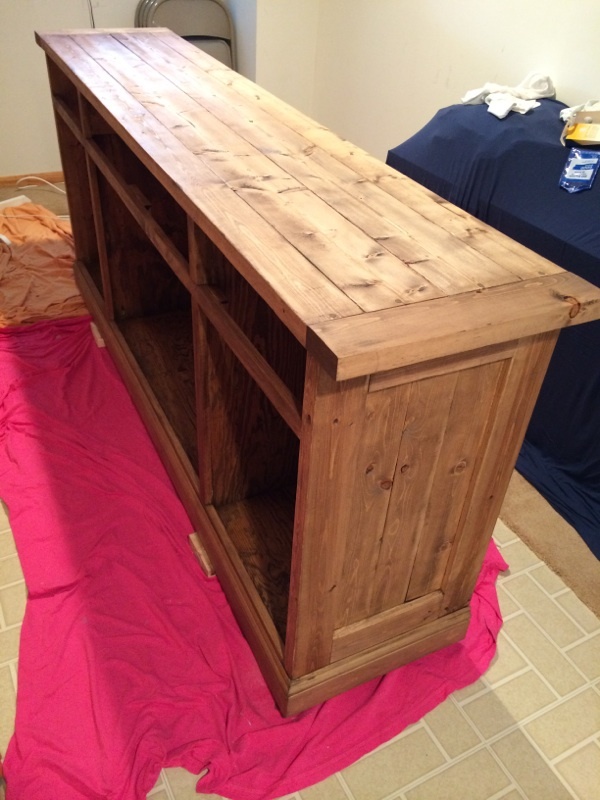
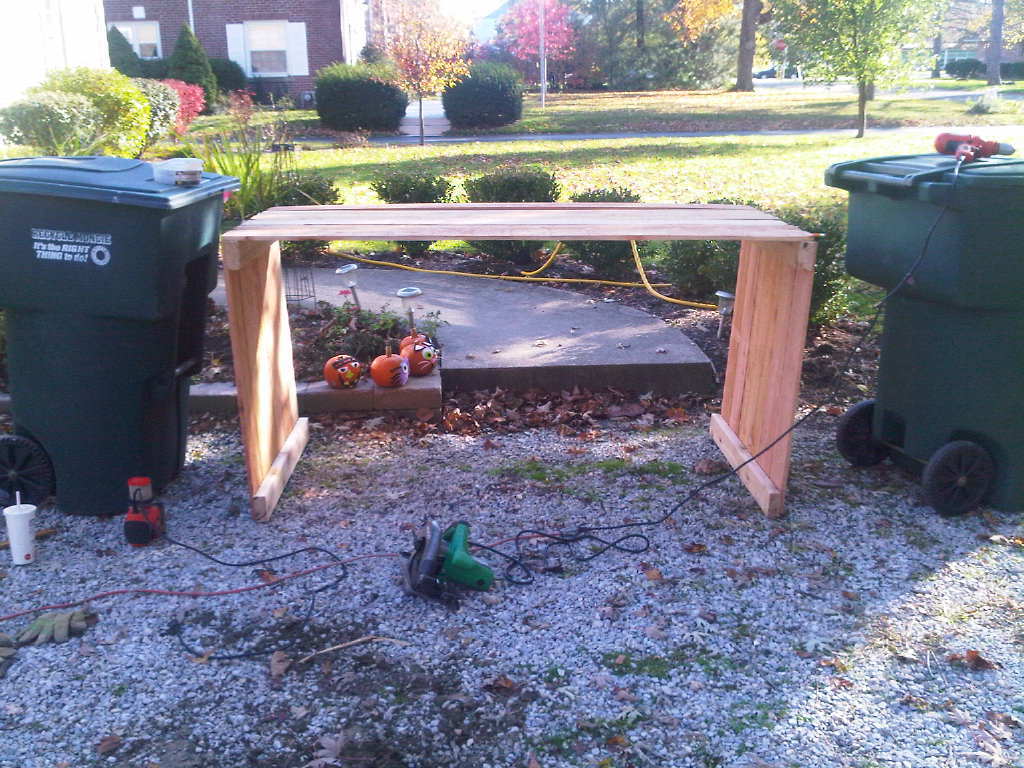
A friend asked for a kid sized farmhouse table and I knew immediately what plans I wanted to modify! The 4x4 truss table is my favorite go to table because it is extremely solid, easy to build and looks so nice! I know this table will hold up to the wear and tear of 4 kids for years! I also modified the 2x4 truss benches to match. They are the same style but not as chunky as the 4x4 truss bench plans.
Dimensions for table are 24”h x 24”w x 48”L
benches 16”h x 13.5”w x 33”L

Built from Plan(s)
Estimated Cost
$82 for table and two benches
Estimated Time Investment
Day Project (6-9 Hours)
Finish Used
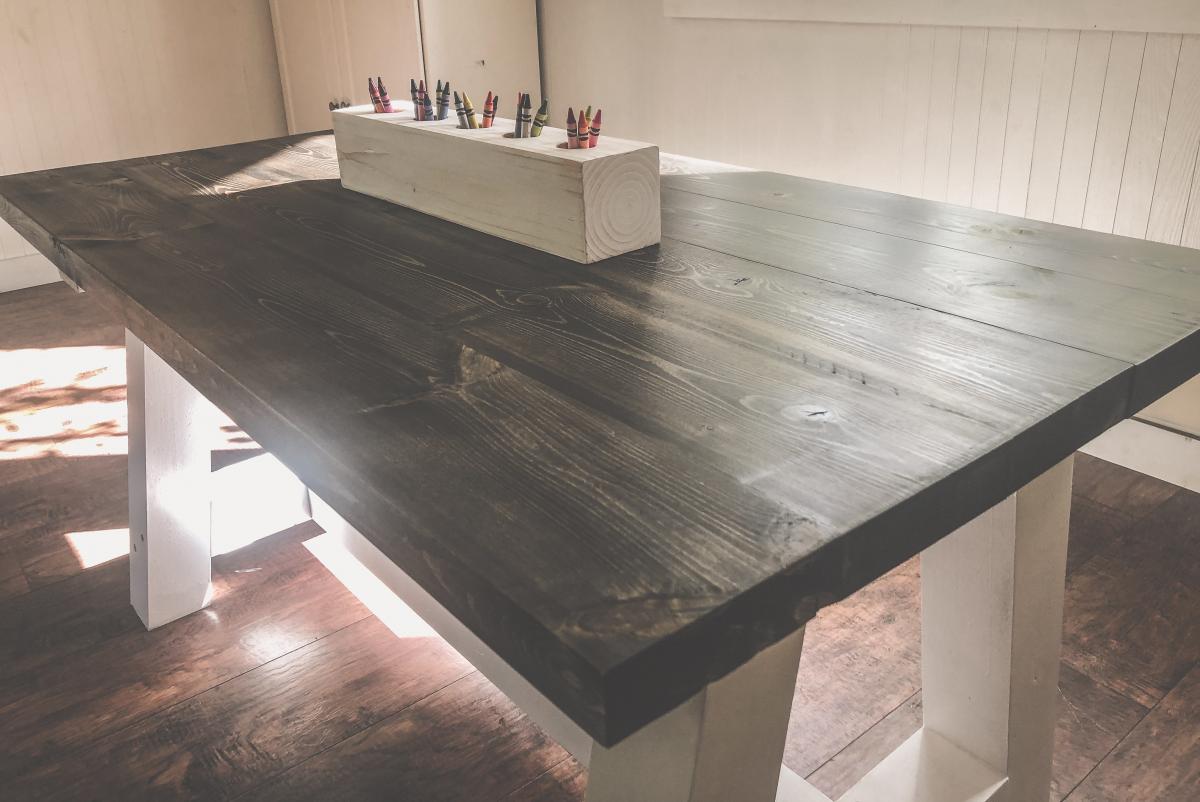
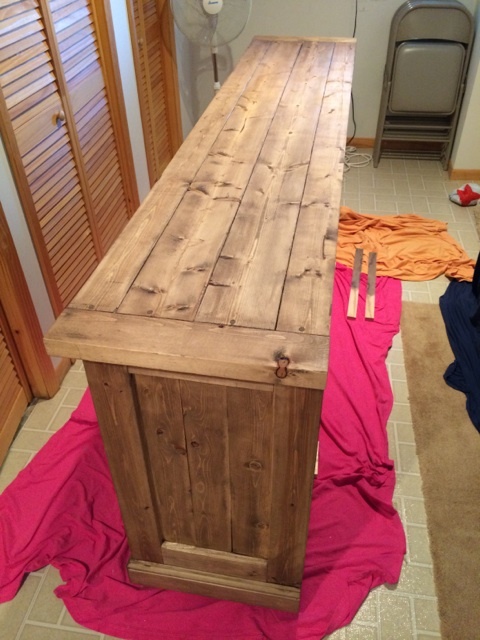
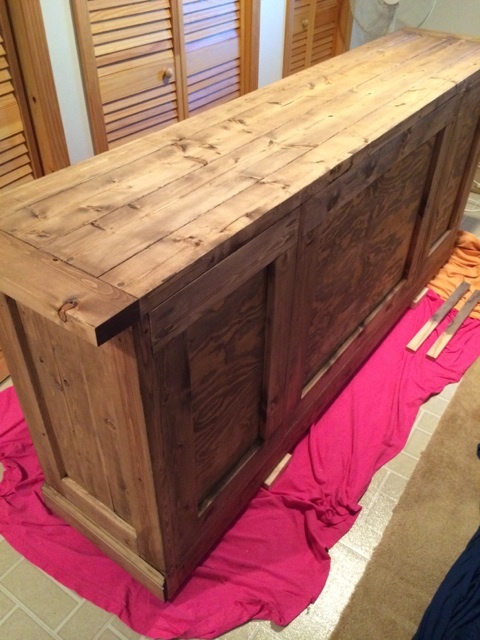
Ebony stain for the top and 2 coats of poly. Behr paint and primer for base and benches- just white off the shelf
Recommended Skill Level
Beginner


Comments
Robohead
Thu, 01/26/2012 - 13:48
Those turned out great. Love
Those turned out great. Love the bead-board and color.
loniwolfe
Thu, 01/26/2012 - 21:10
Very Nice!
Very Nice!
oldpaintdesign
Thu, 01/26/2012 - 23:24
Wow! Those turned out great!
Wow! Those turned out great! I love the idea of using beadboard - so creative!
In reply to Wow! Those turned out great! by oldpaintdesign
AlohaMama
Fri, 02/17/2012 - 17:13
Thanks OPD!
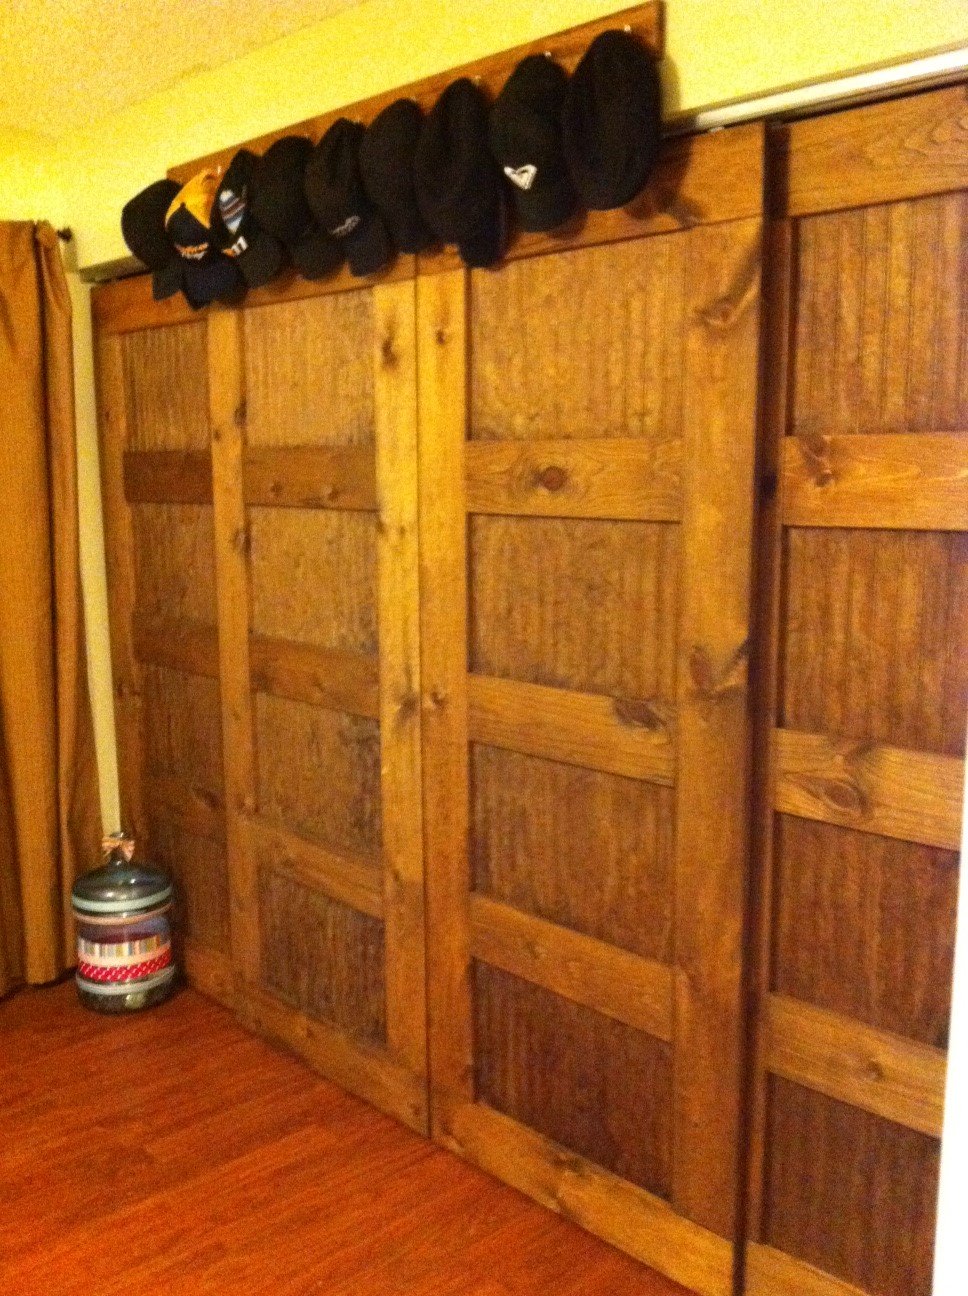
Thank you for your plans...love them. I've been asked to help a friend of mine build some doors for his house!
Jilley27 (not verified)
Tue, 08/28/2012 - 15:27
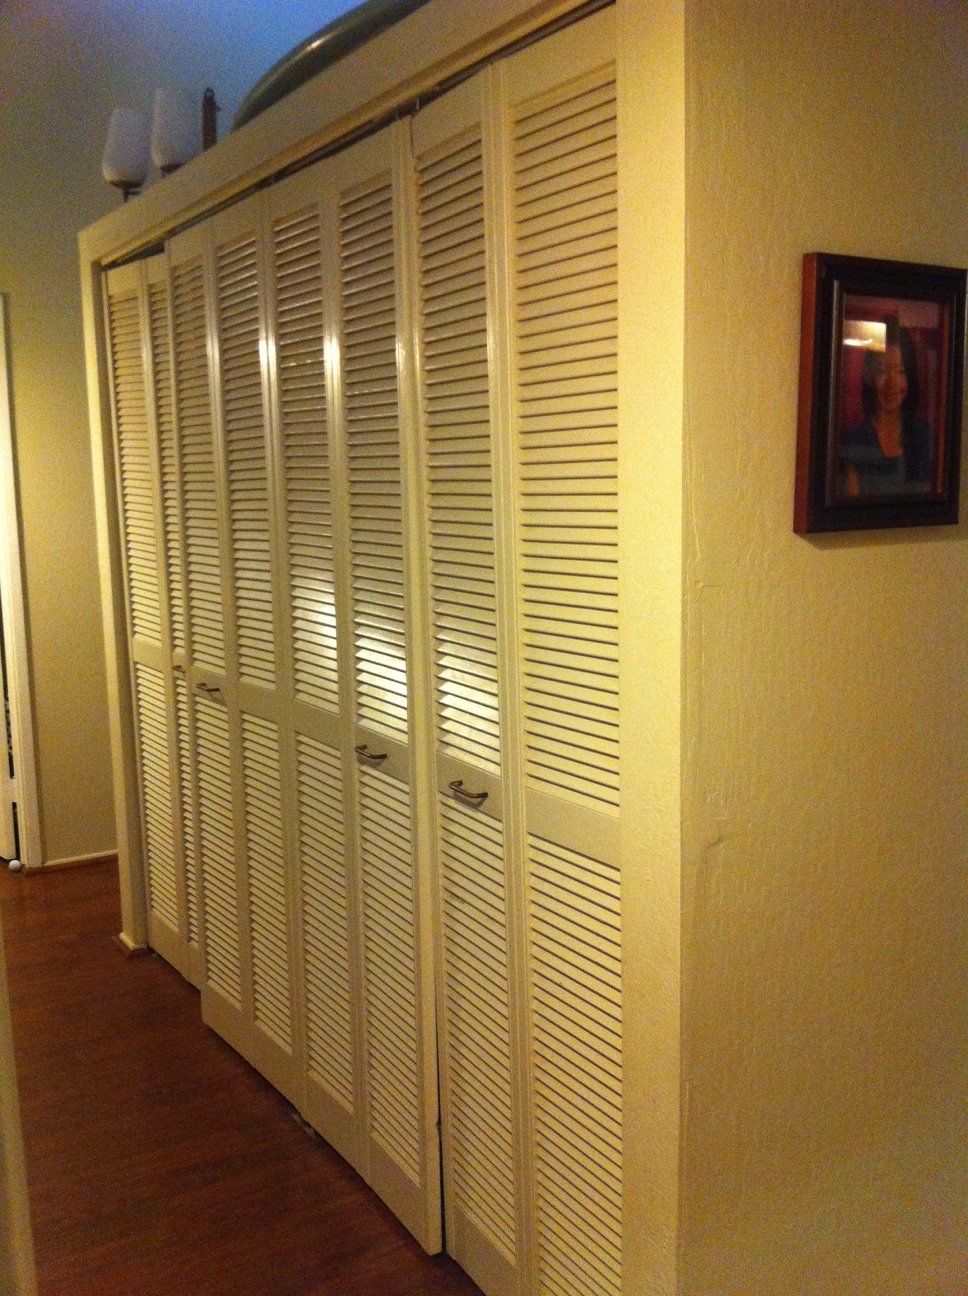
Bypass Closet Doors
Great job on the doors! I am interested in doing this myself. I will have to make 4 doors for my closet as well since I have such a large opening. Can you tell me what the measurments of your closets are? Also what are the dimensions of the pine that you used? Thanks a bunch!
In reply to Bypass Closet Doors by Jilley27 (not verified)
AlohaMama
Tue, 08/28/2012 - 18:44
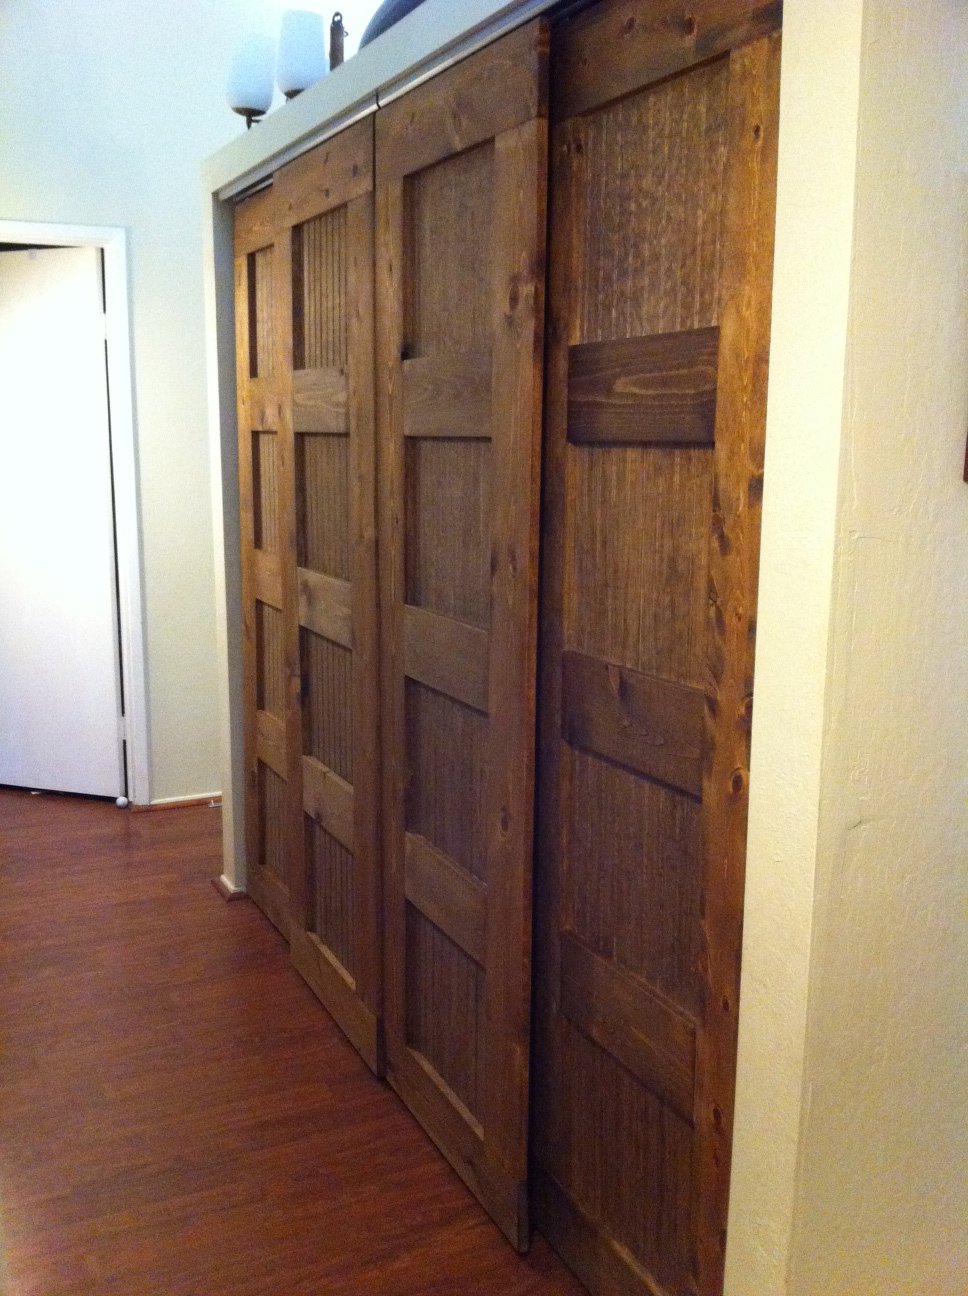
My closet opening is about 8'
My closet opening is about 8' across. Each door is 26" wide and 79" tall. I made them so the would have a 1" overlap on each side...
I used 1x6 @ 8' lengths of pine. I like the really knotty pine with lots of character! Have fun building! These were pretty simple to make once you get all the boards cut.