Twin Farmhouse Bed
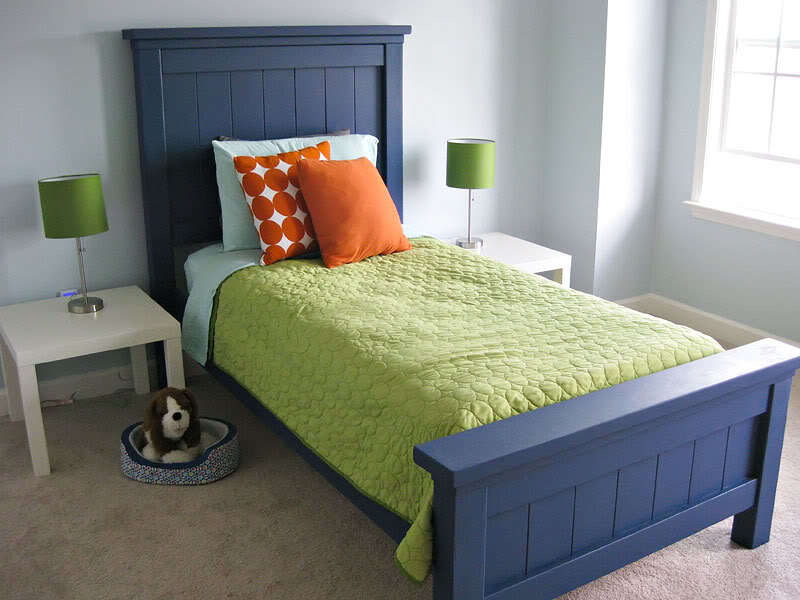
One of our first projects was the Farmhouse twin bed for our son. We couldn't love that bed anymore than we do. It is gorgeous and while it was a learning process, it was still much easier than we ever thought possible.
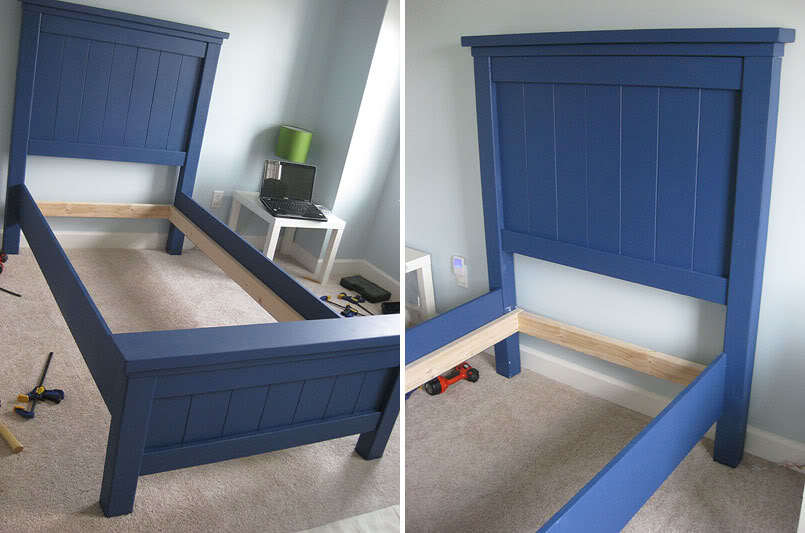
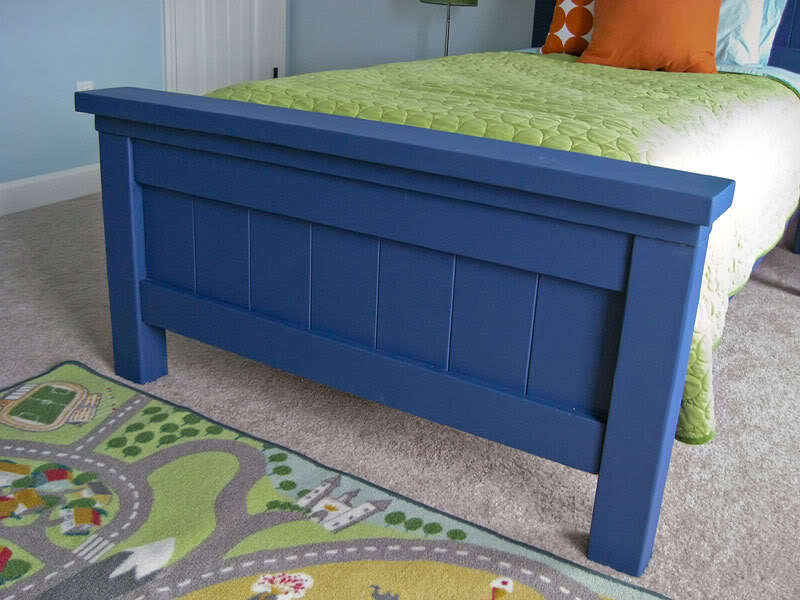

One of our first projects was the Farmhouse twin bed for our son. We couldn't love that bed anymore than we do. It is gorgeous and while it was a learning process, it was still much easier than we ever thought possible.


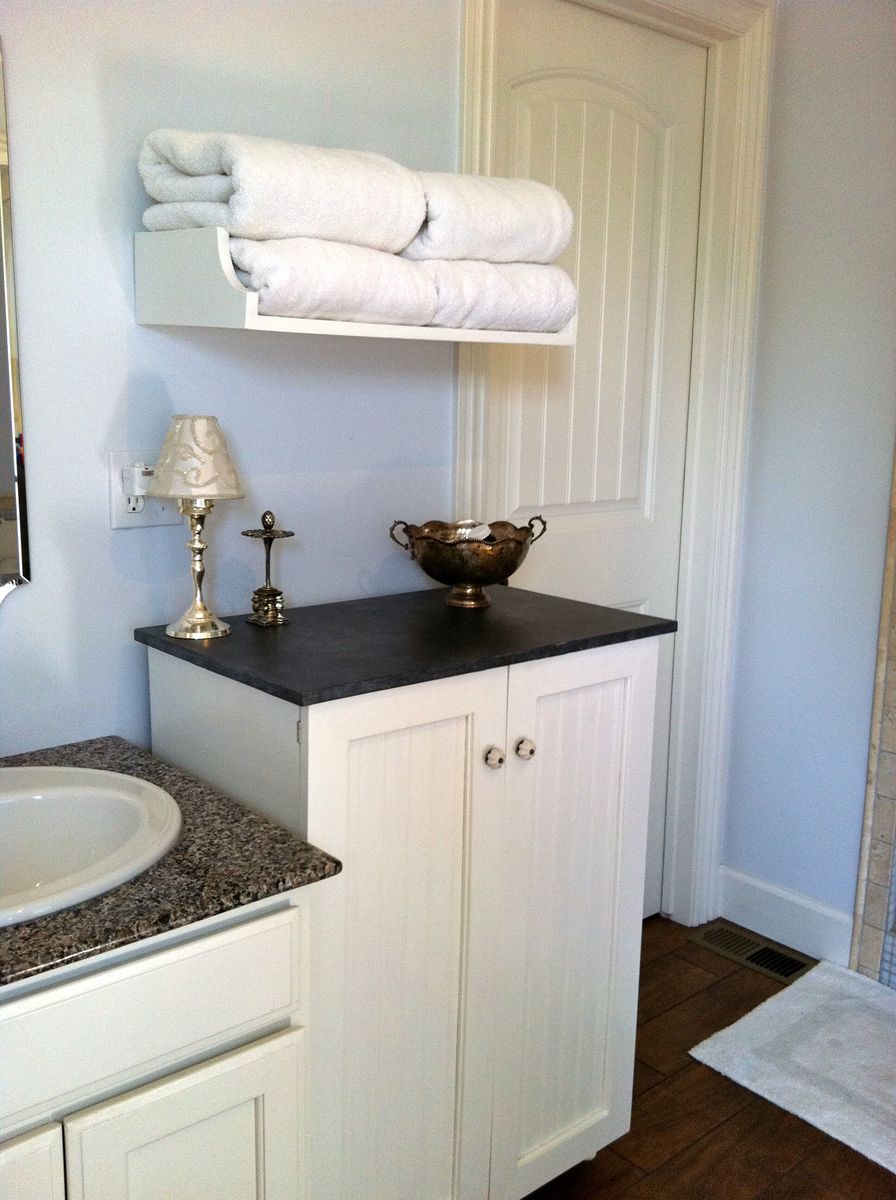
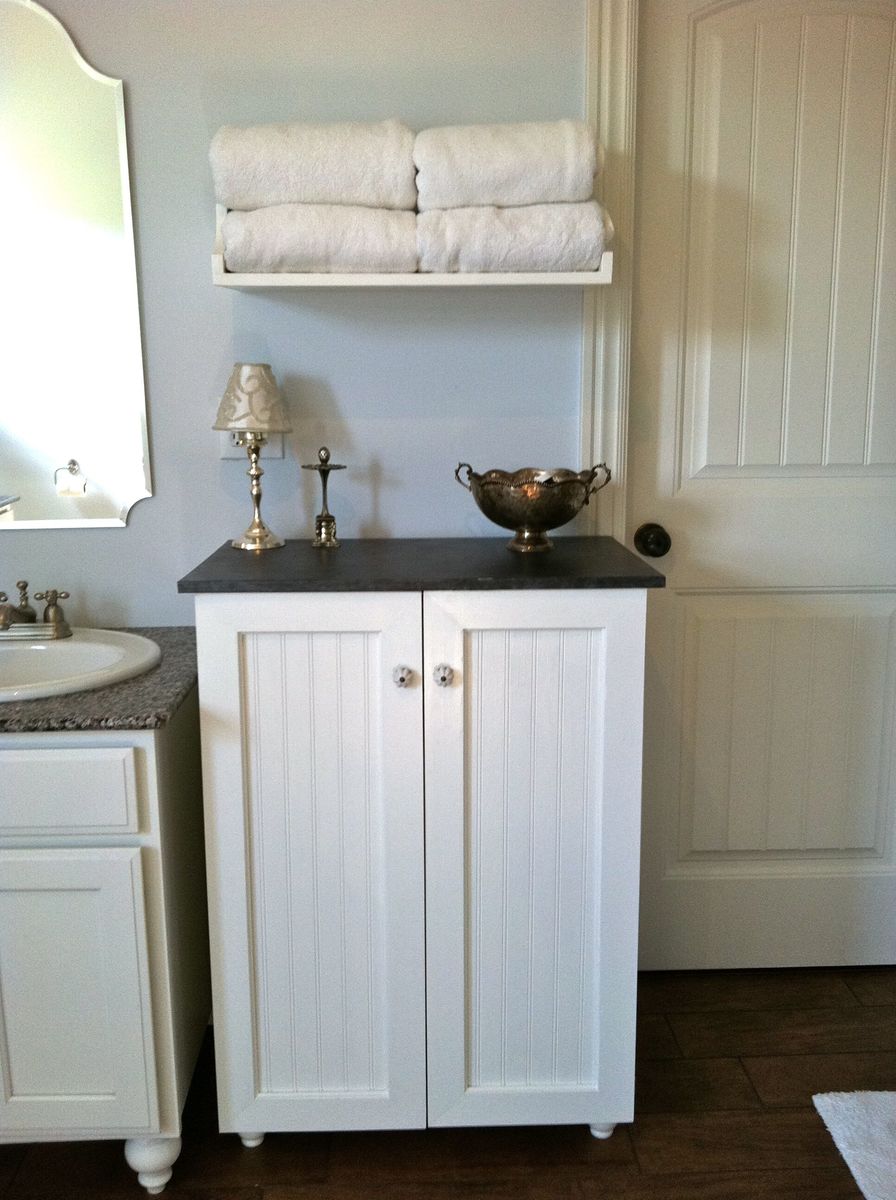
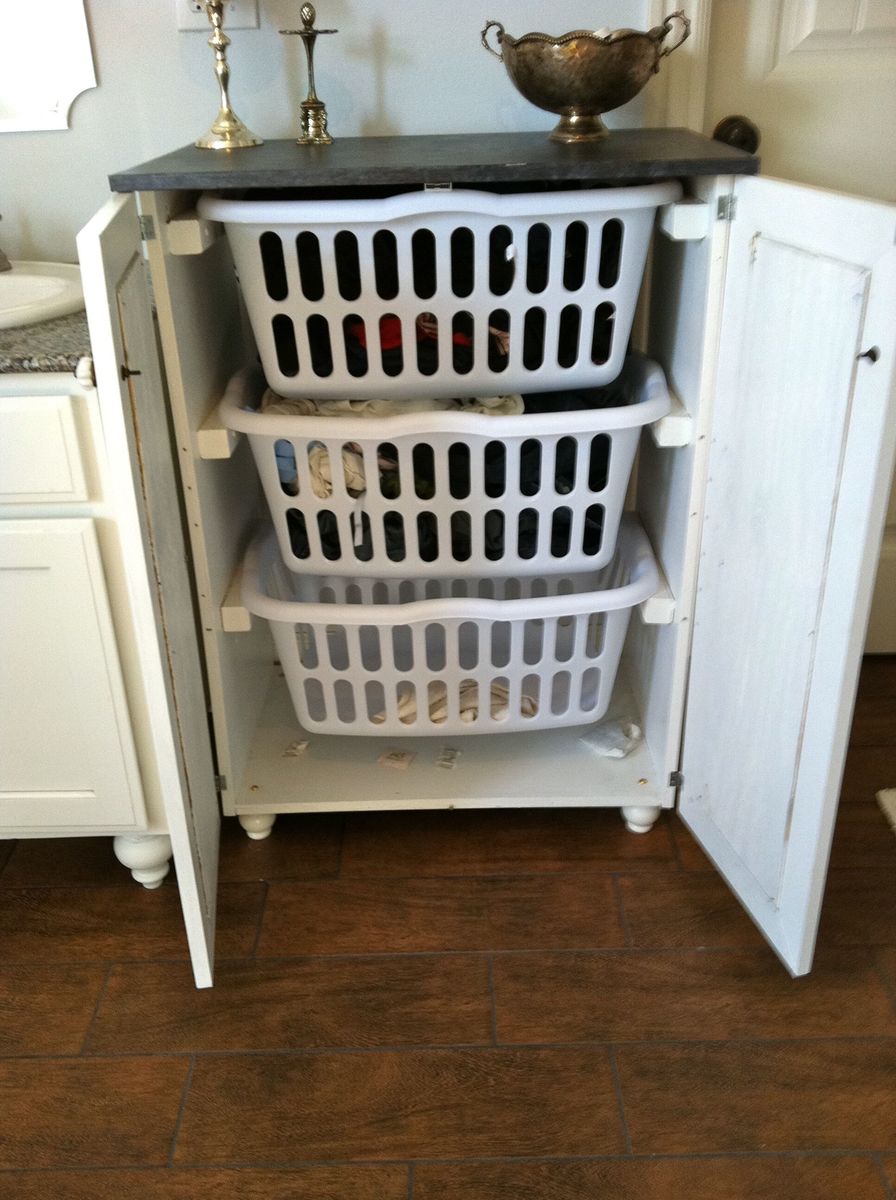
I wanted to use our laundry basket dresser as a collector for dirty laundry in our bathroom, and wanted it to have doors so it would blend in better. I also made the shelf above for our towels. It is painted white with a faux-zinc finish on the top. I made the top slightly larger so it would overhang and added cute little bun feet. My talented friend Carli helped me build the doors (and by helped I mean I handed her things while she impressed me with all her tools and skills!) and frame.
Fri, 07/29/2011 - 23:37
this is perfect! i totally need a bunch just like this! I love the added doors!
Tue, 10/11/2011 - 20:42
Would you mind sharing the dimensions for this cabinet? Love this idea!!!! Great job!
Wed, 01/11/2012 - 08:29
I love this idea! I will have a new bathroom soon and I think this will get used! What are the dimensions, or what style cabinet would you suggest to look for? TIA!
Fri, 02/17/2012 - 05:57
The dimensions are the same as Ana's plan: http://ana-white.com/2010/11/laundry-basket-dresser except that the top is slightly bigger (3/4" overhang on front/sides) to look more like a countertop. On the doors we just made a frame w/ angled pieces, routed a notched line on the back & glued/nailed some beadboard in from the back. Sorry I can't be much more detailed on that, a friend did most of the doors for me!
Sun, 02/19/2012 - 07:42
I actually got the plywood to do this project and I was going to add doors. I looked at the baskets suggested but it seems they would stick out the front. I was just curious, did you use different baskets that would fit inside the cabinet or did you make the cabinet slightly deeper?
Sat, 02/25/2012 - 05:36
Actually I discovered the same problem after it was built. I just didn't put a back on and they stick out a tiny bit in the back. I actually kind of like it that way because it lets some air in (being in the bathroom and putting towels in I could see it getting mildewy without much circulation). But if I had gotten the baskets first I probably would have made it about 2" deeper, then leave some open space, but not all, on the back.
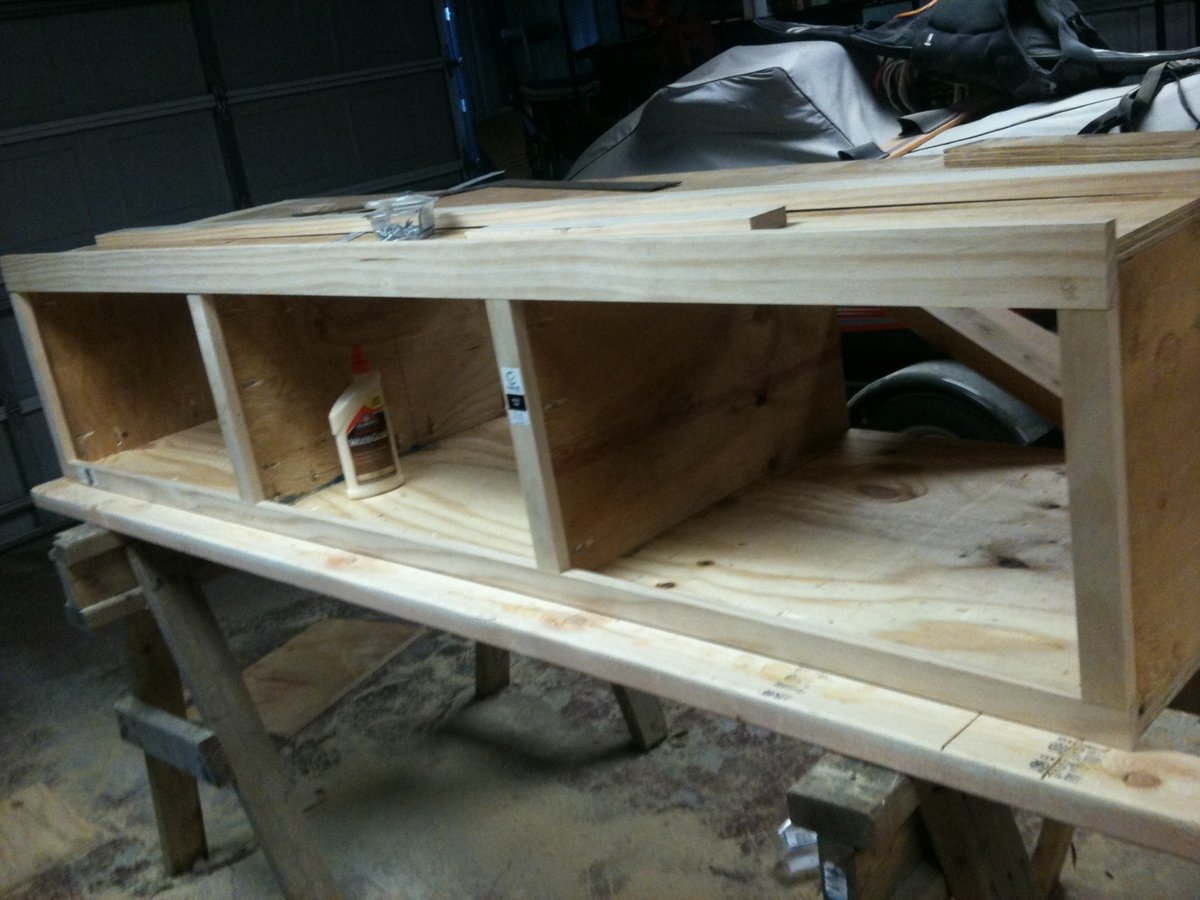
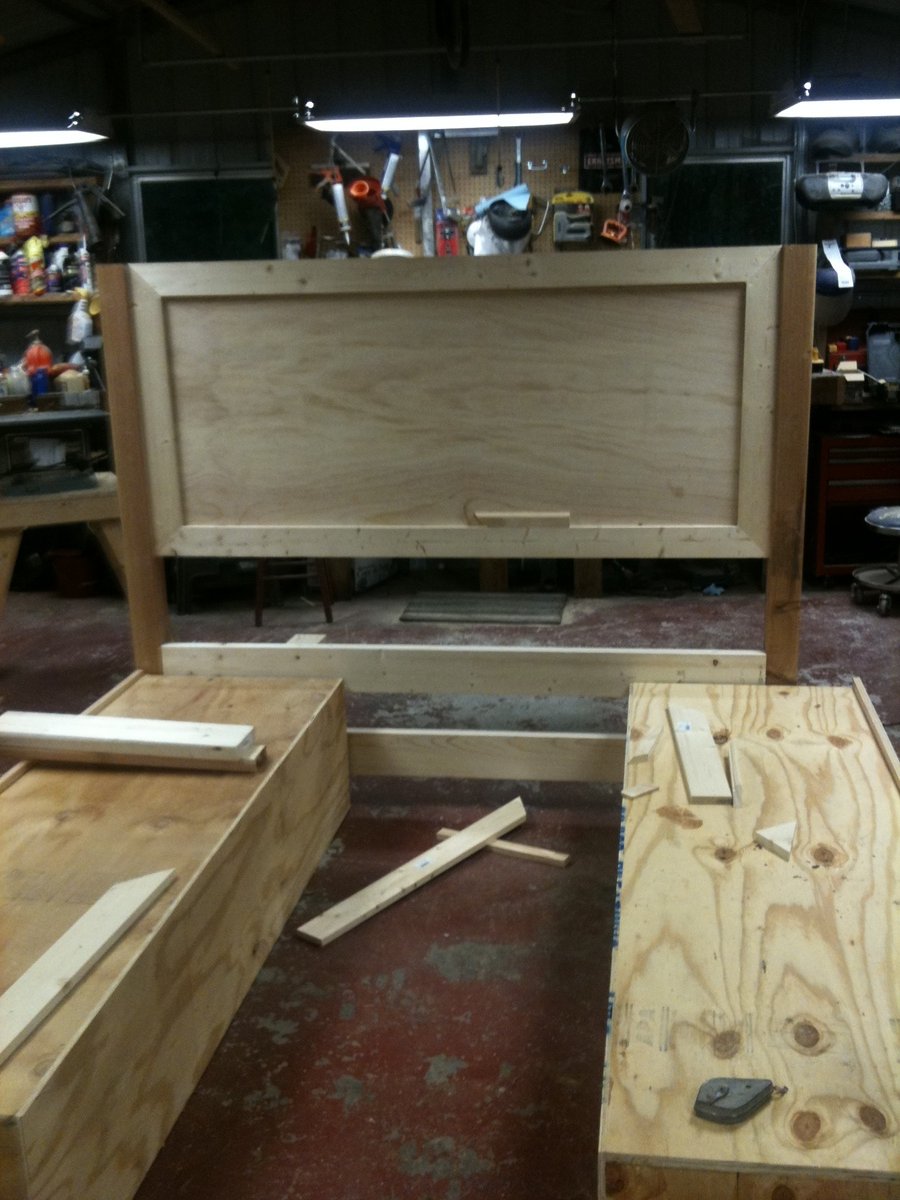
My husband designed this after the farm house bed. I wanted panels on the head board and foot board to "dress it up a bit" and storage drawers. He did a wonderful job. I don't think I have ever had a more prized piece of furniture. Now to find some tall night stands.
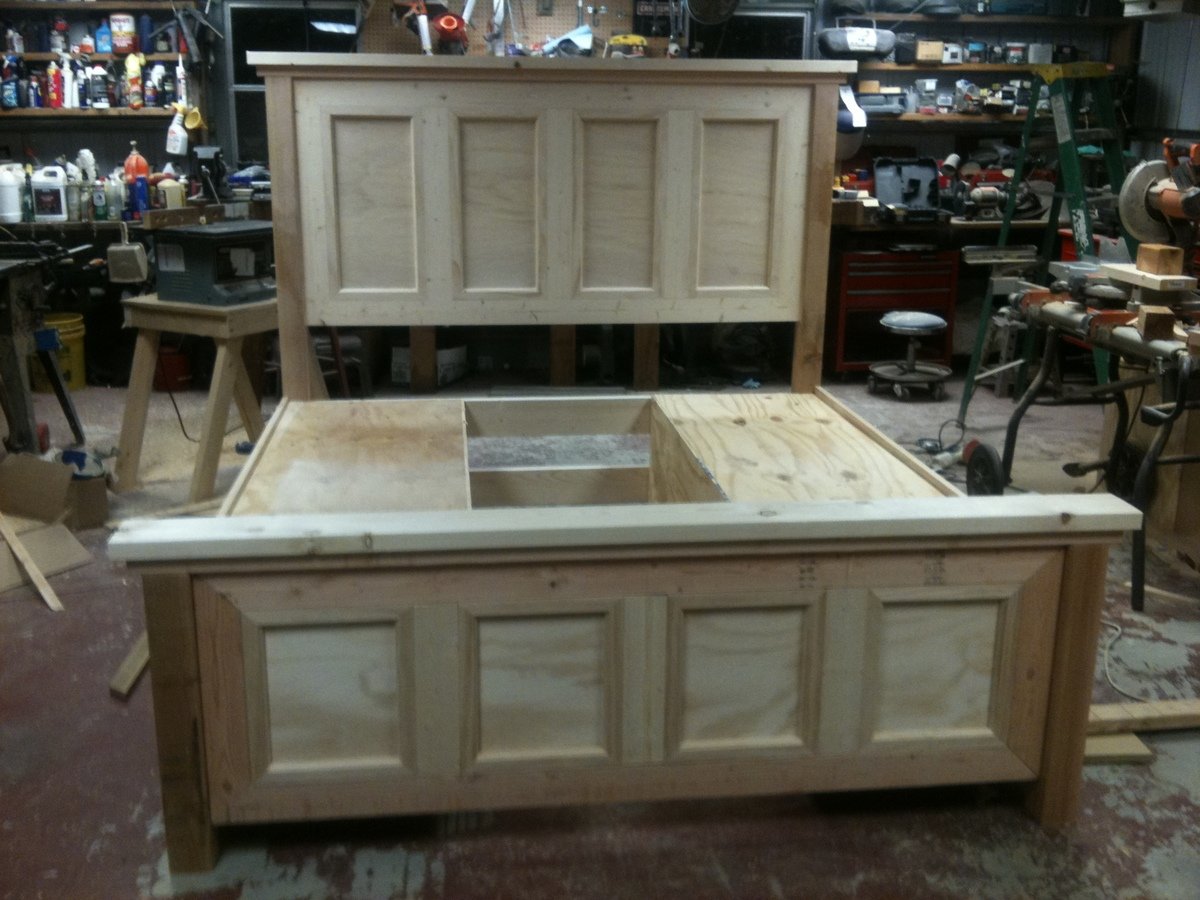
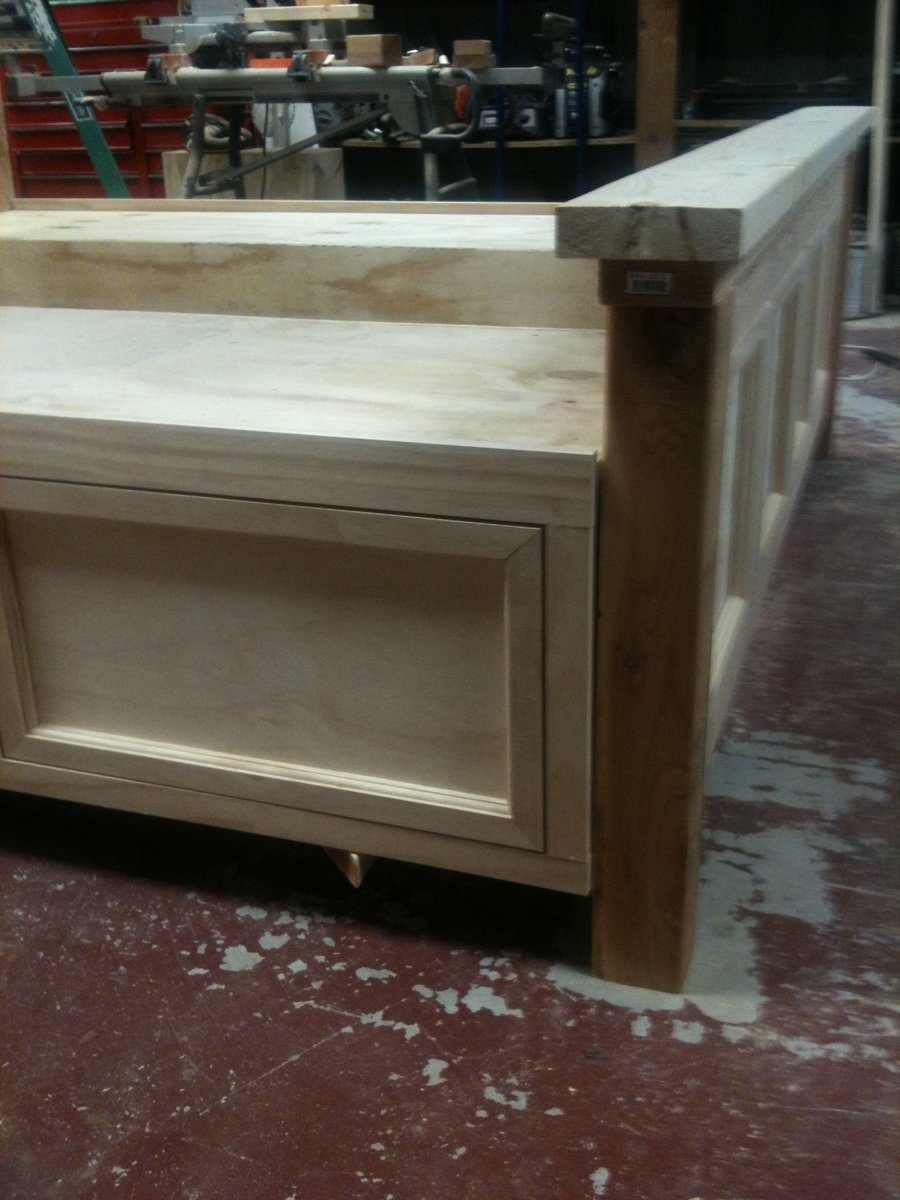
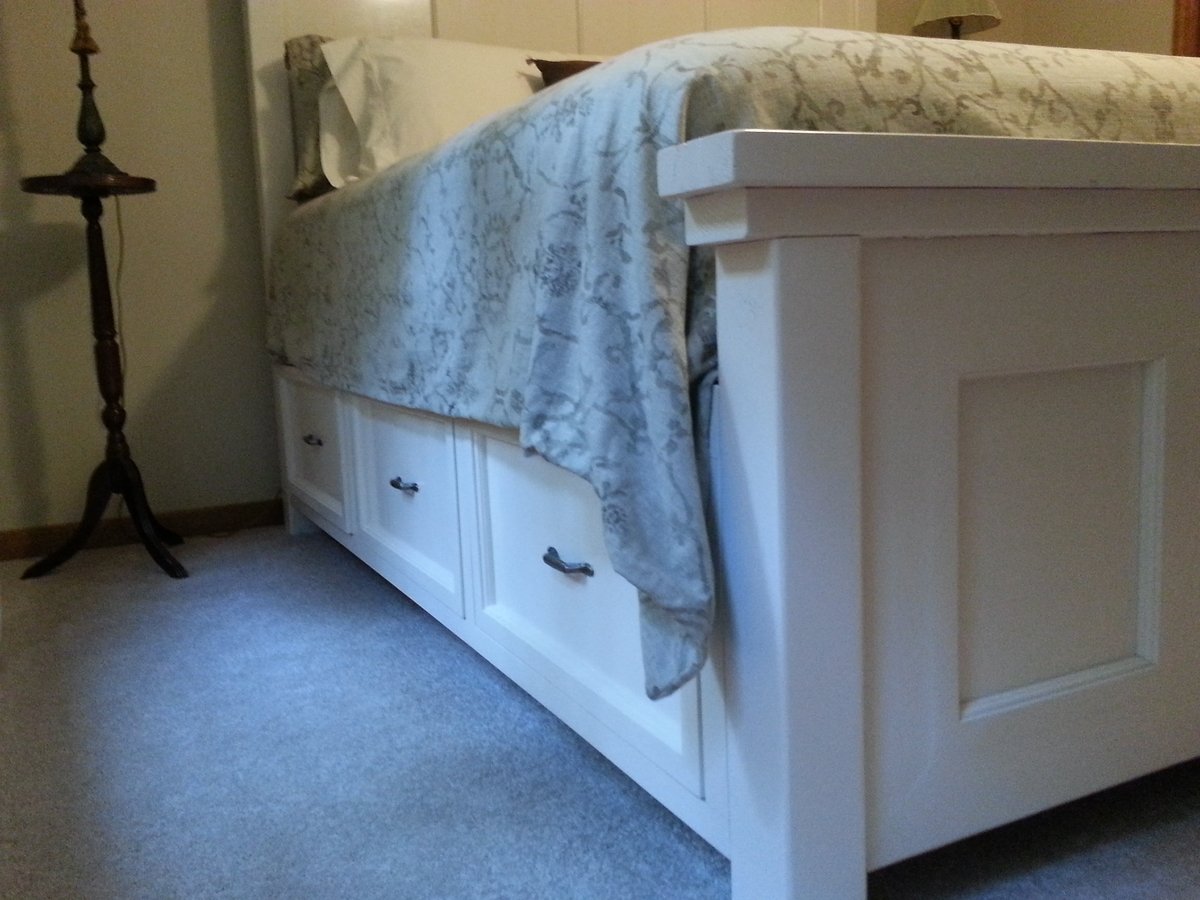
Thu, 07/23/2015 - 07:56
is there anyway to get the plans from him? for the adjustments and cubbies he made?
Wed, 09/23/2015 - 11:54
Any chance you or your husband would share the adjusted plans to include the storage under mattress?
Thank you so much! love your site and your work!
Thu, 01/21/2016 - 21:52
Hi Ana!
I was wondering if you had the plans available for this bed with the drawers underneath and the head and foot board ?
:) thank you!
vanessa
Wed, 09/25/2019 - 10:40
Ana,
Can you provide plans with pics for this bed? My wife wants it and I got tasked with doing it.
Sun, 06/07/2020 - 06:27
Do you have the plans for this in a King size bed with the drawers? This is a beautiful bed!!
thank you!
Tue, 01/26/2021 - 12:26
I would love to have plans for this bed with draws for a California king bed if at all possible.
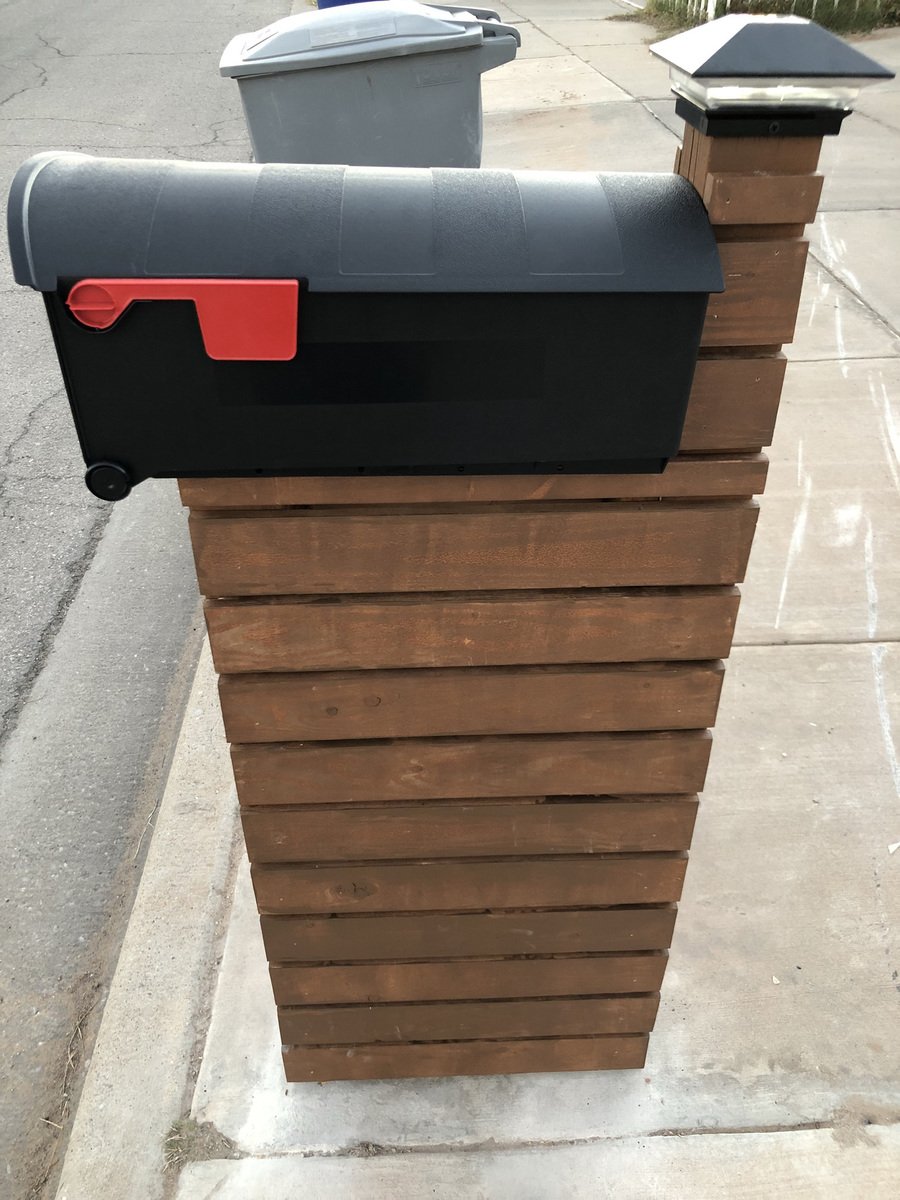
my mailbox was hit by a vehicle so I decided I wanted to do something creative/different but also didn't want to spend much money as it may just get taken out again in the future :)
this is a good project to get kids to help you with
instead of cutting into the concrete easement, I installed 2 post bases & locked them with sleeve anchors. They're sturdy enough but will give if hit again. drilling the holes for the sleeve anchors was the hardest part of the project.
I used a left over 4x4x8 for the posts, scrap 1x4s, 1x2s up the sides (1/2" gap between boards), and a 2x4 scrap to attach the mailbox. I eyeballed the width between posts using the mailbox itself. I left over stain from another project (almost bought a quart of oops paint at HD)
I figure the total cost would have been about $100
It's a super easy project that took about 4hrs. I've already had a couple of neighbors come by to take measurements to try something similar.
FYI: USPS guildlines for installing a curbside mailbox: https://www.usps.com/manage/mailboxes.htm
The kitchen helper tower was a fast and easy build, the modification of 16 hinges to allow the tower to fold flat was actually the most time consuming part of the build. I added clear skateboard grip tape to the platform floor. I found the hinges and griptape on ebay and most of the wood was scrap leftover from other projects.
Tue, 10/04/2011 - 20:38
Love the use of grip tape! Will use it on my little helper! It definitely adds a little flair...thanks!
Mon, 02/27/2012 - 08:52
First off, your website is awesome and I love how you give such great directions. However, on everything I pull up all this information is on it. On this one it is not, can you help me? I really want to build this for my daughter.
Thanks so much.
Stacey
Fri, 03/09/2012 - 19:46
Stacey, This page is just a brag post from someone who has made the project for themselves. The full project plans are here: http://ana-white.com/2010/12/helping-tower.html
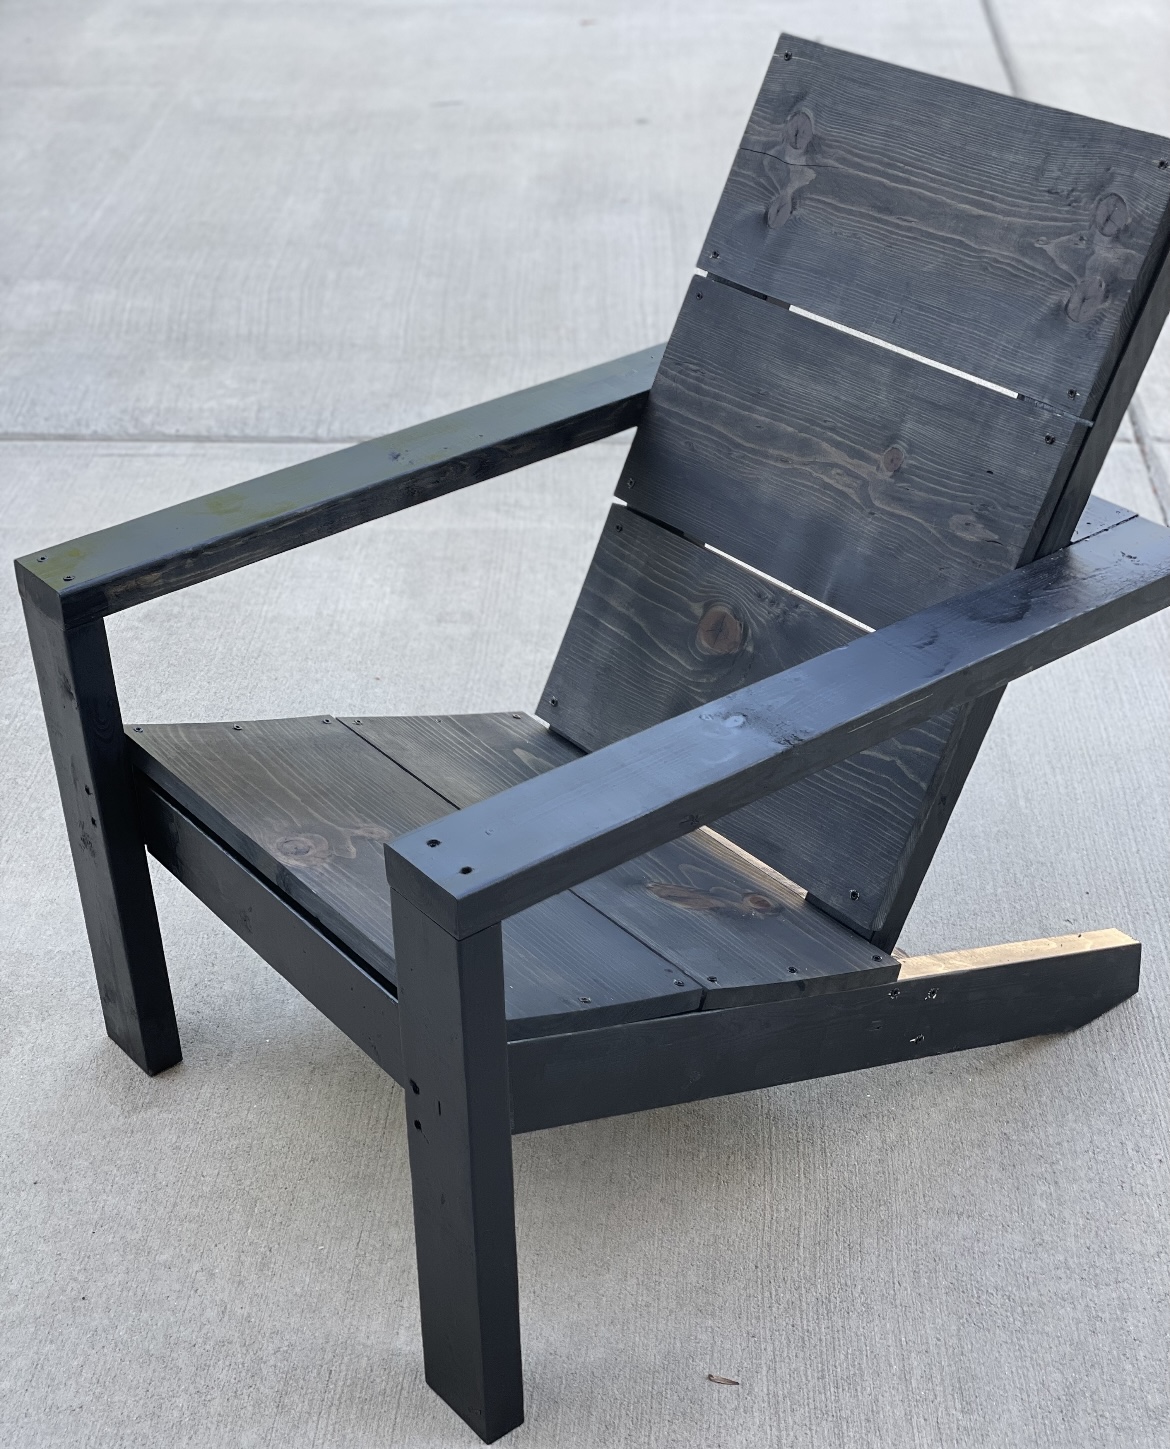
Had so much fun with my first woodworking project and obsessed with the grey/black stain!
Mon, 10/03/2022 - 16:31
Love the finish choice! Now sit back and enjoy your first build, can't wait to see what's next:)
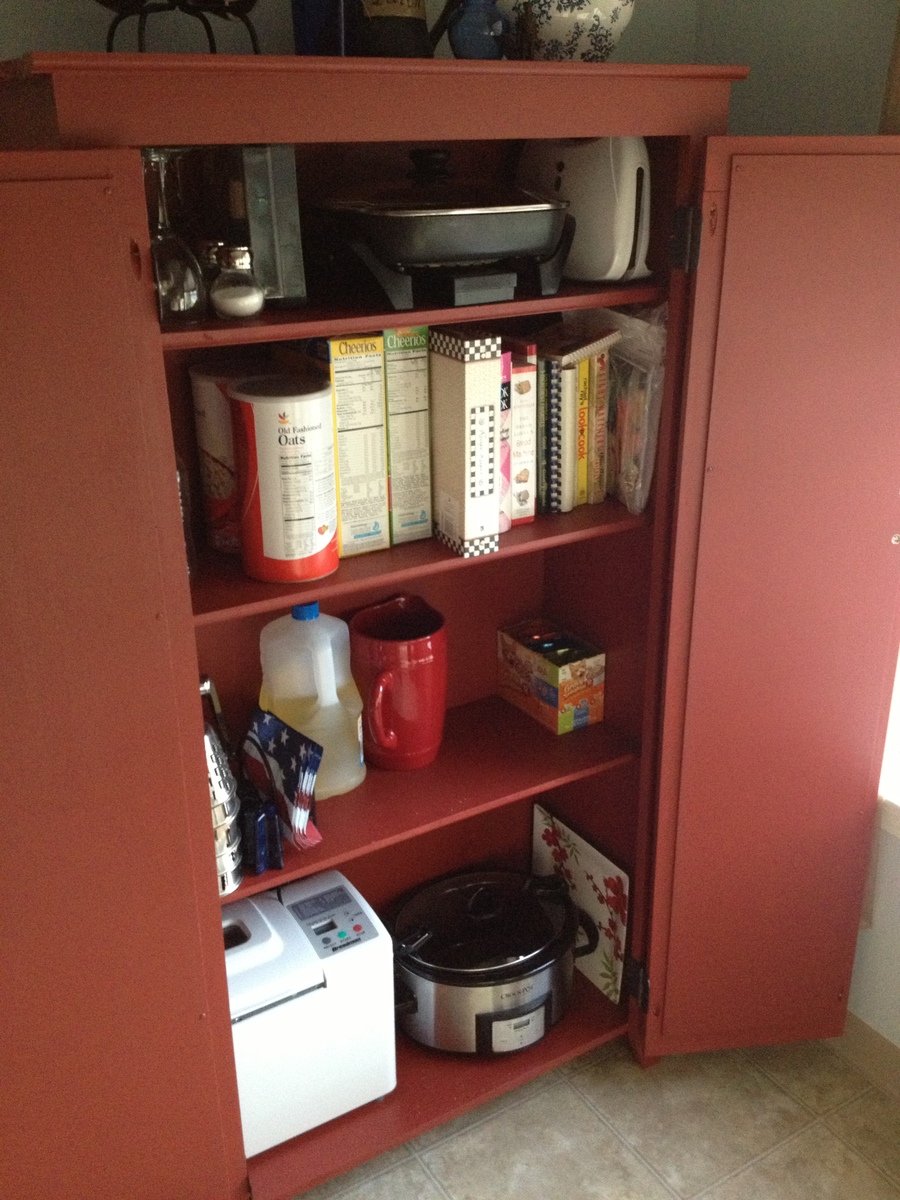
My wife and I needed space in our kitchen to store various items. This cabinet works perfectly for that purpose.
Fri, 09/27/2013 - 21:17
That paint colour is beautiful. As is the pantry, very well done. I wish you could find out the name and brand of the colour. It is stunning.
Fri, 09/27/2013 - 21:17
That paint colour is beautiful. As is the pantry, very well done. I wish you could find out the name and brand of the colour. It is stunning.
Mon, 09/30/2013 - 05:30
I believe this was the color. Red Brick S-H-170 by Behr. Hope that helps.
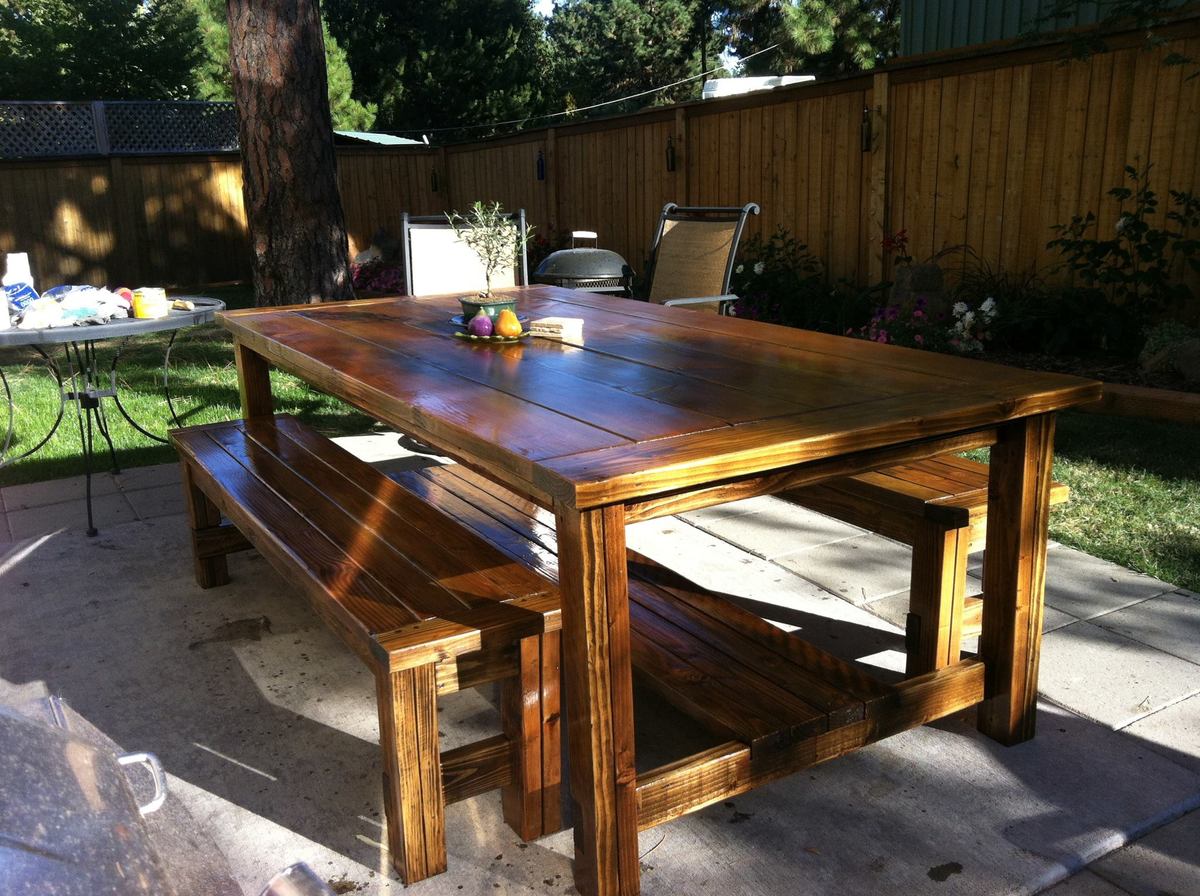
Ah behold the allure of a really good set of plans. :) Famous last words, "it looked a lot easier on paper!"
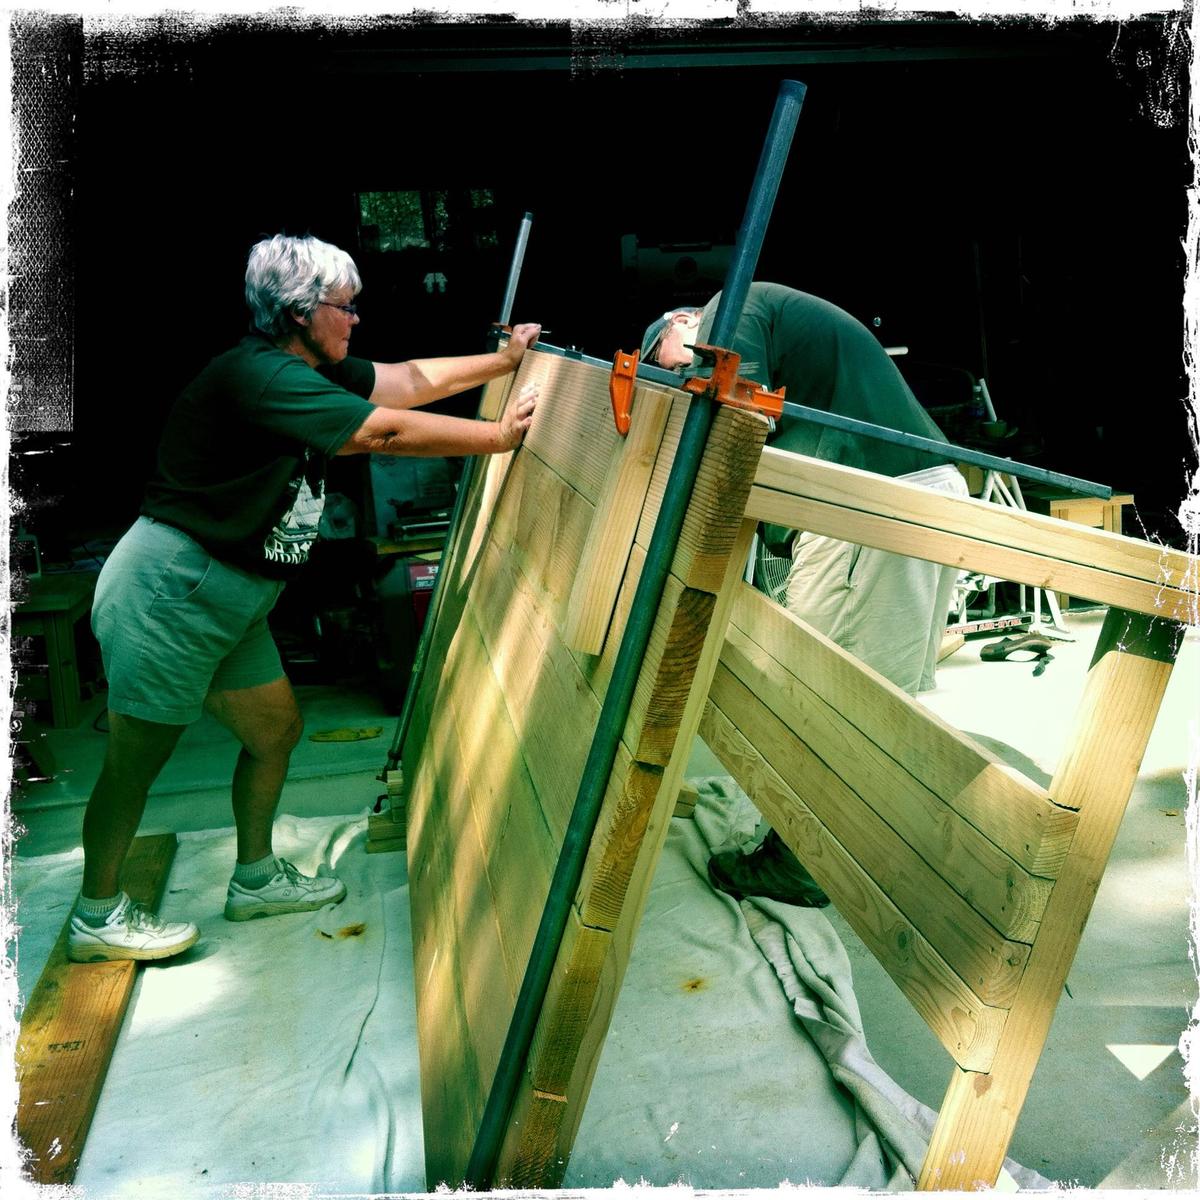
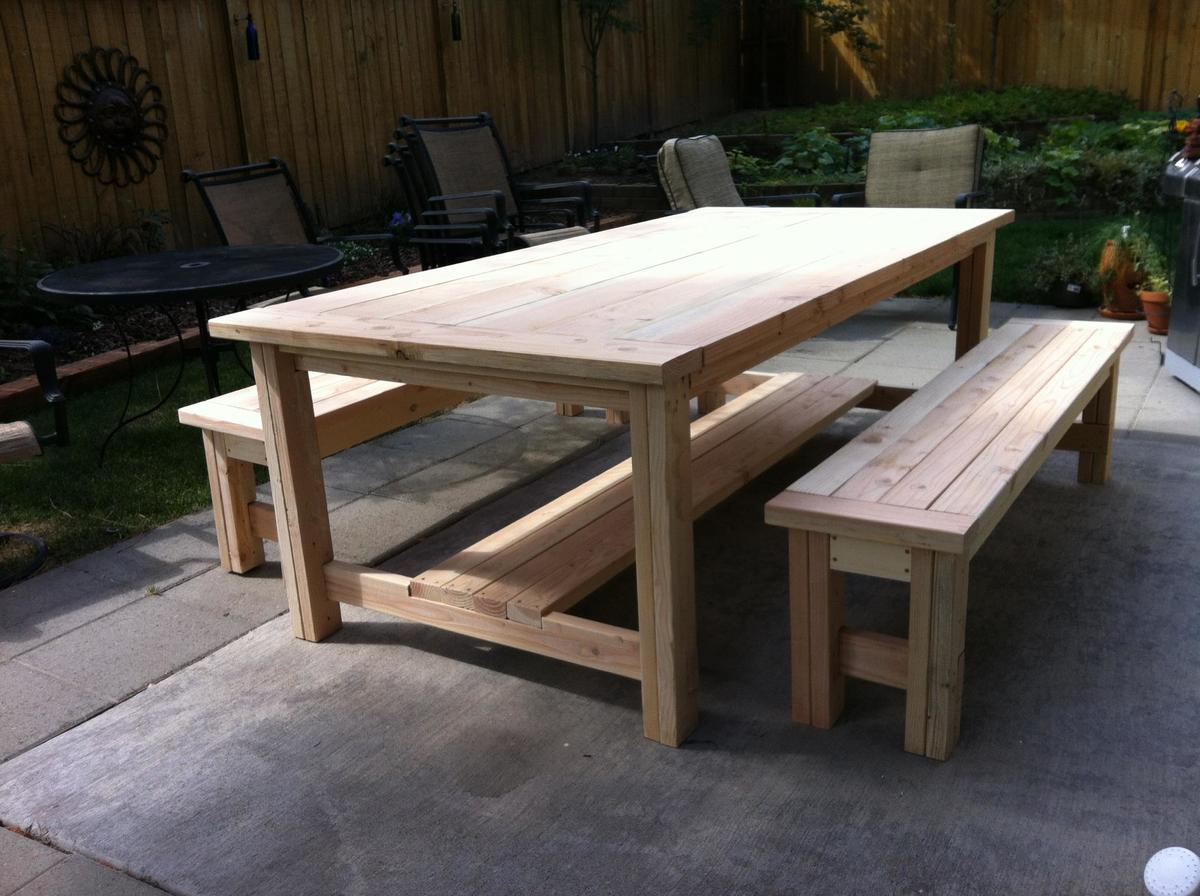
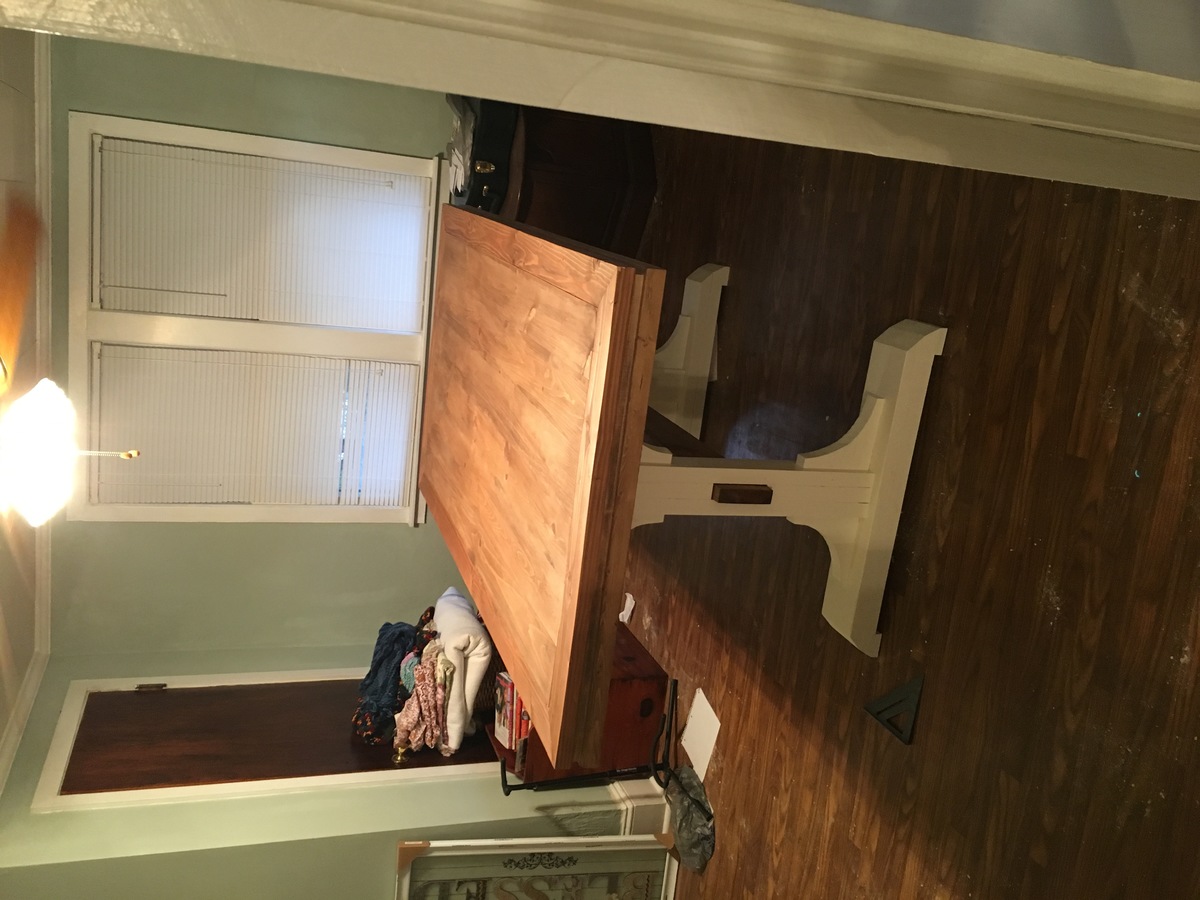
I happened across the wonderful plans for the Farmhouse Table on this site. Then I saw how it only took Handy Andy a mere 2-3 hours to make his out of reclaimed wood and thinking I would enlist my retired carpenter father to help me, easy peasy, right? Well, that was the plan anyway. :)
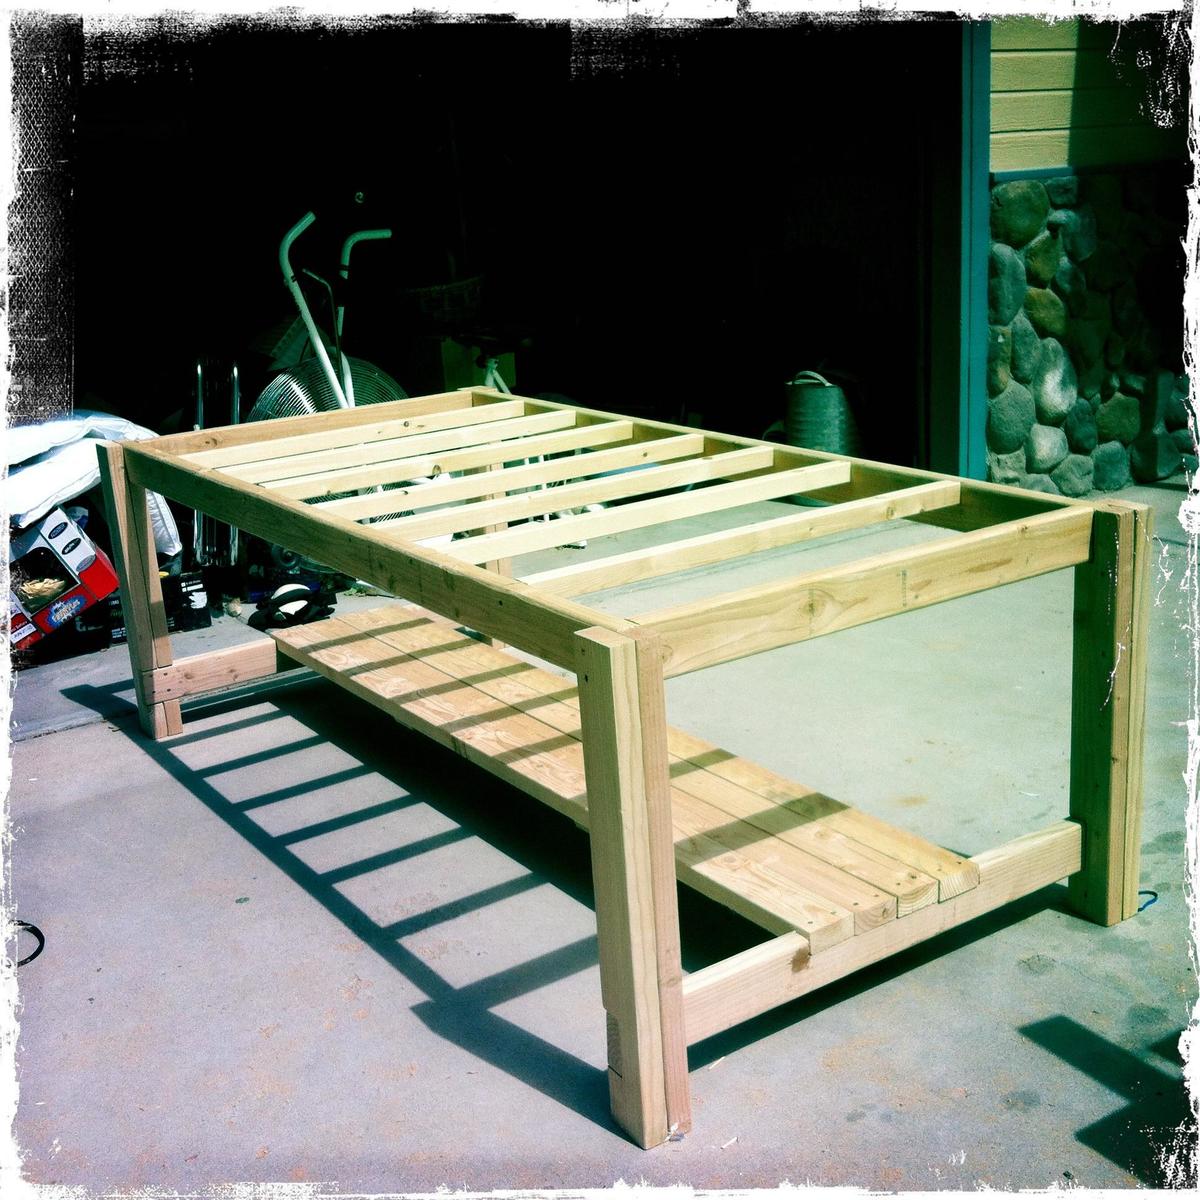
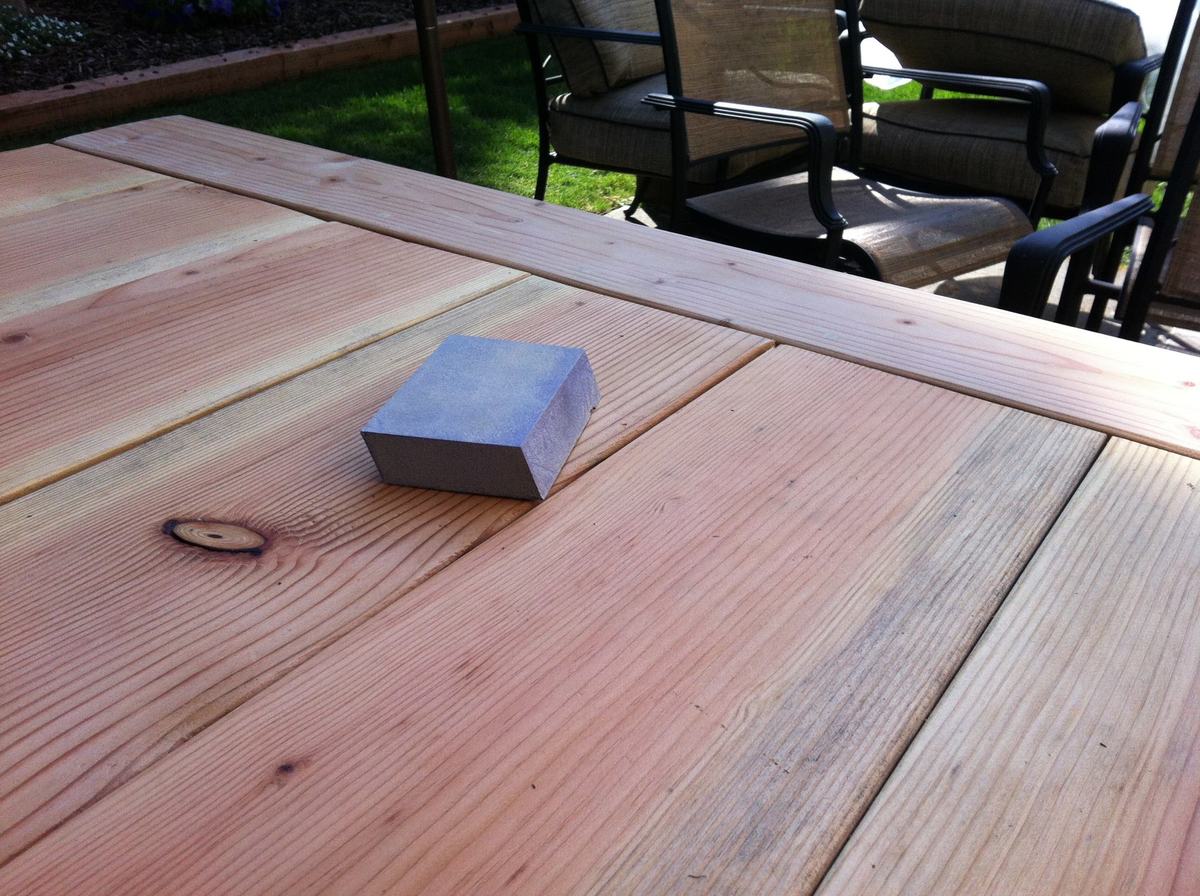
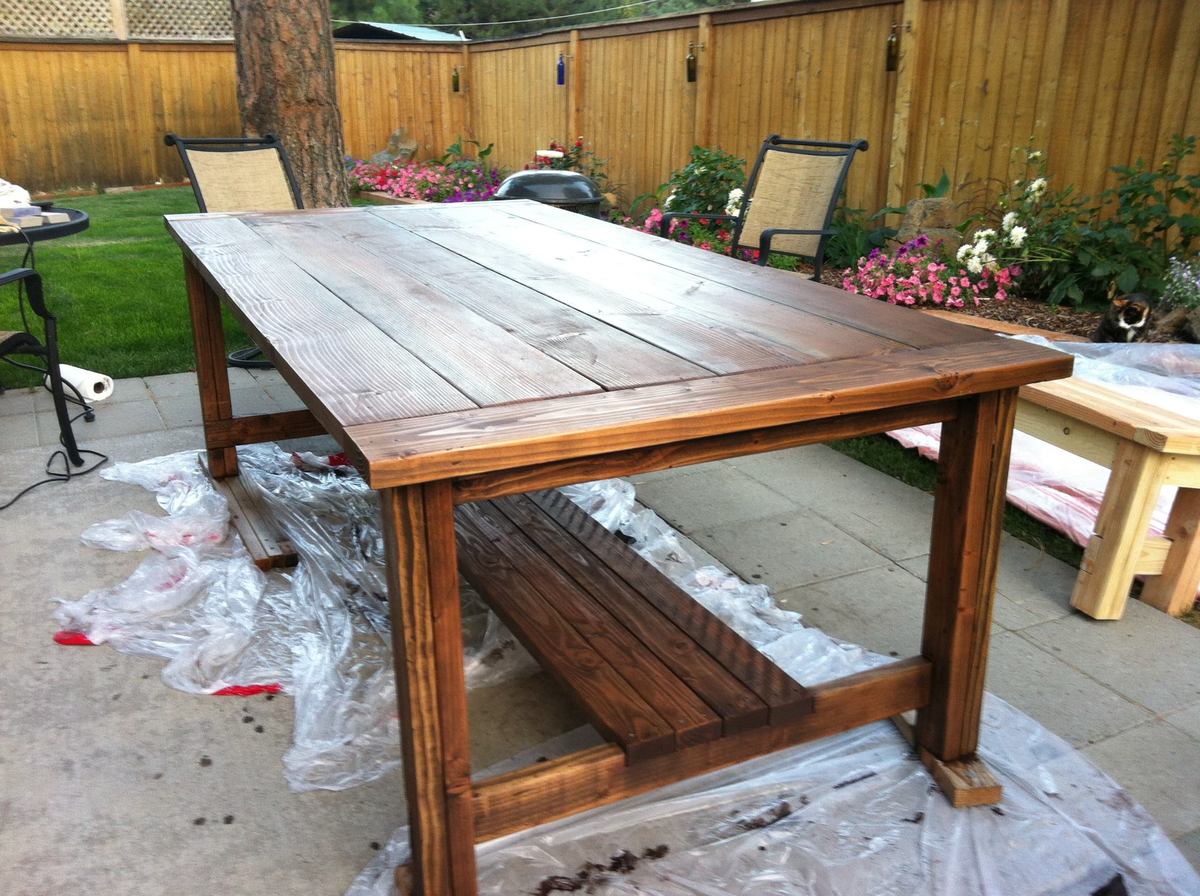
A couple of things to note, I purchased new fir wood as it was the most cost effective and frankly the least problematic in regards to finding the straightest boards. I did vary the design in that I added the shelf under the table for both storage as well as a footrest for diners. The design I ended up with was a little more complicated and I tried sanding as much of the boards from the beginning as possible in order to try and cut down on the amount of time spent on my knees later. Yeah, that was a nice thought.
Dad and I followed the plan provided, allowing my modifications for the footrest/shelf and I also made my top 45" wide. (I have another dining table that I had hopes of butting them together for large dinner parties if needed and wanted them relatively the same size). I will say that what I ended up with was an extremely heavy table which I transported home to stain and varathane on my own.
A couple of weeks later, well, the project took more than 2-3 hours (heh) but I am really happy with the results. If I were to do it again, I would probably have stained it a tad darker as this was my first staining/sanding/varathaning project and I took a little too much of the stain off sanding. It's okay, maybe someday I will strip off the varathane and restain it. Then again, it took so much time to do the first time maybe I won't!
A couple questions:
I would like to keep my table outdoors, but would like to add low profile metal feet to protect the wood. Does anyone have a suggestion where to look for heavy duty feet?
Second, any suggestions on how to get the spar varathane off my concrete patio? Yikes!
Thank you Ana for the wonderful plans!
Thu, 10/10/2013 - 14:49
Well done! Bravo! It looks as if you will spend many wonderful summers there.
Thu, 10/10/2013 - 15:13
We had a couple of lovely dinner parties this summer on it. I was surprised as to how many we were able to seat around it. A really good set of plans. :)

Adirondack Chair by Ricky
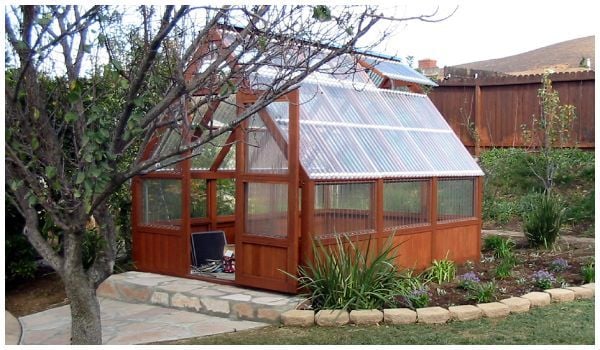
I saw the barn shaped greenhouse plan but preferred a regular roof pitch. I did however incorporate the corrugated polycarbionate as a covering. I find it odd that you guys installed the polycarbonate horizonitally instead of vertically.
Anyway thanks for the info on polycarbonate.
Tue, 09/01/2020 - 17:47
Love this! I really prefer the roofline on your greenhouse. Did you modify Ana's design, or did you get plans from another site? Would love to replicate your design if possible-very elegant.
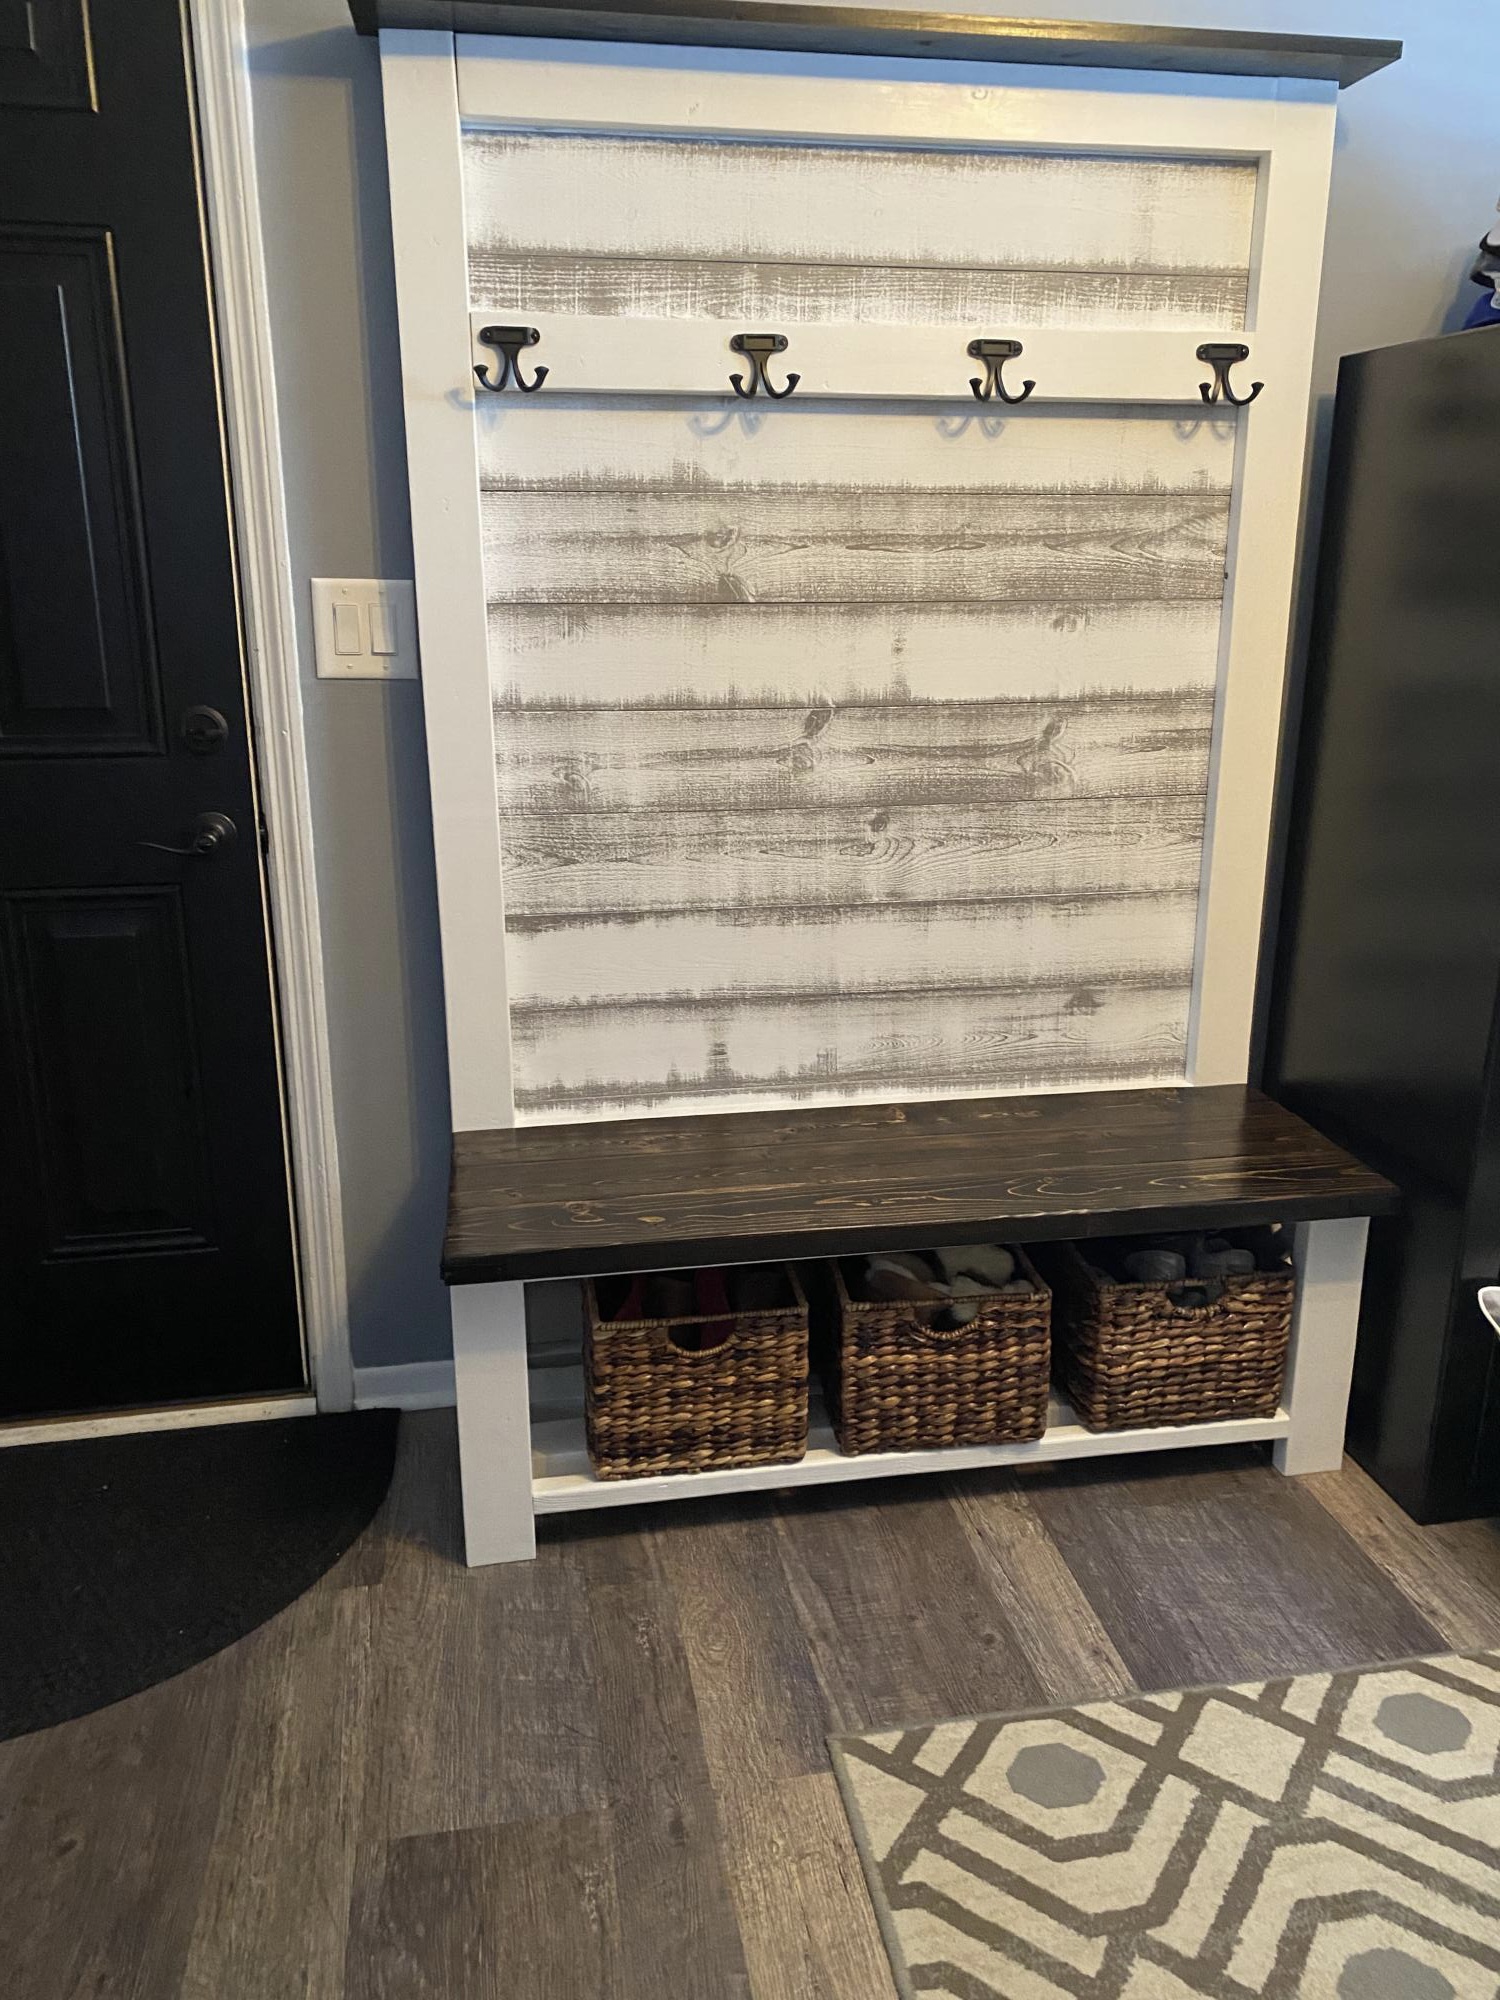
I had a lot of fun making this. Thank Ana, I enjoy looking at your work and doing new projects.
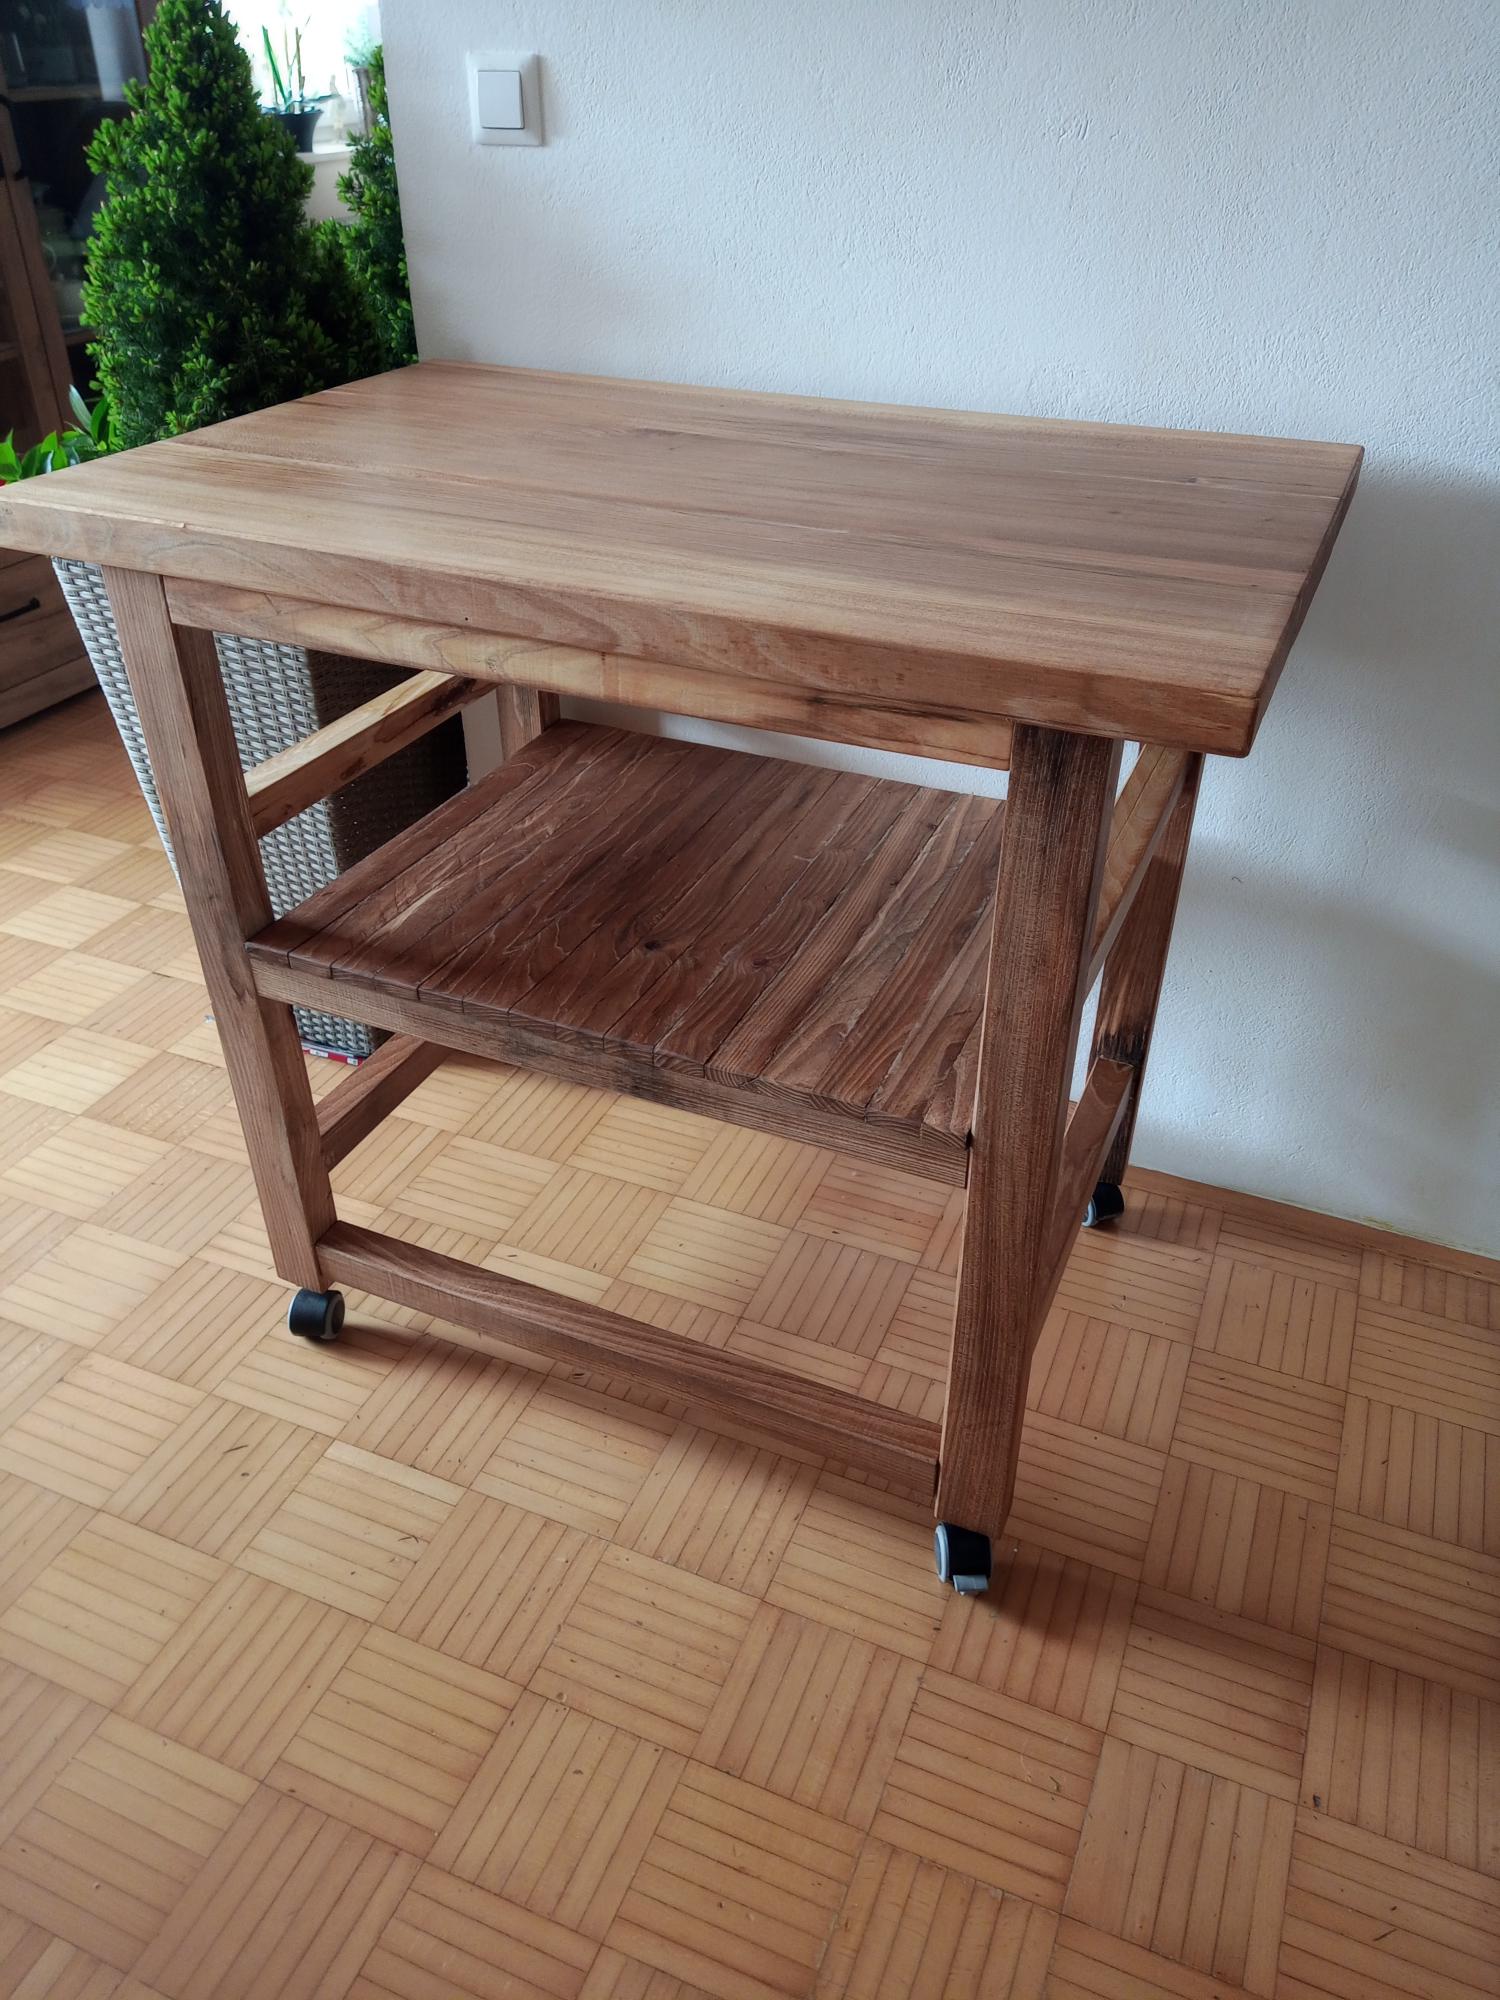
my first project!
Sat, 04/22/2023 - 09:53
Thank you for sharing, you did an amazing job! Can't wait to see your next project.:)
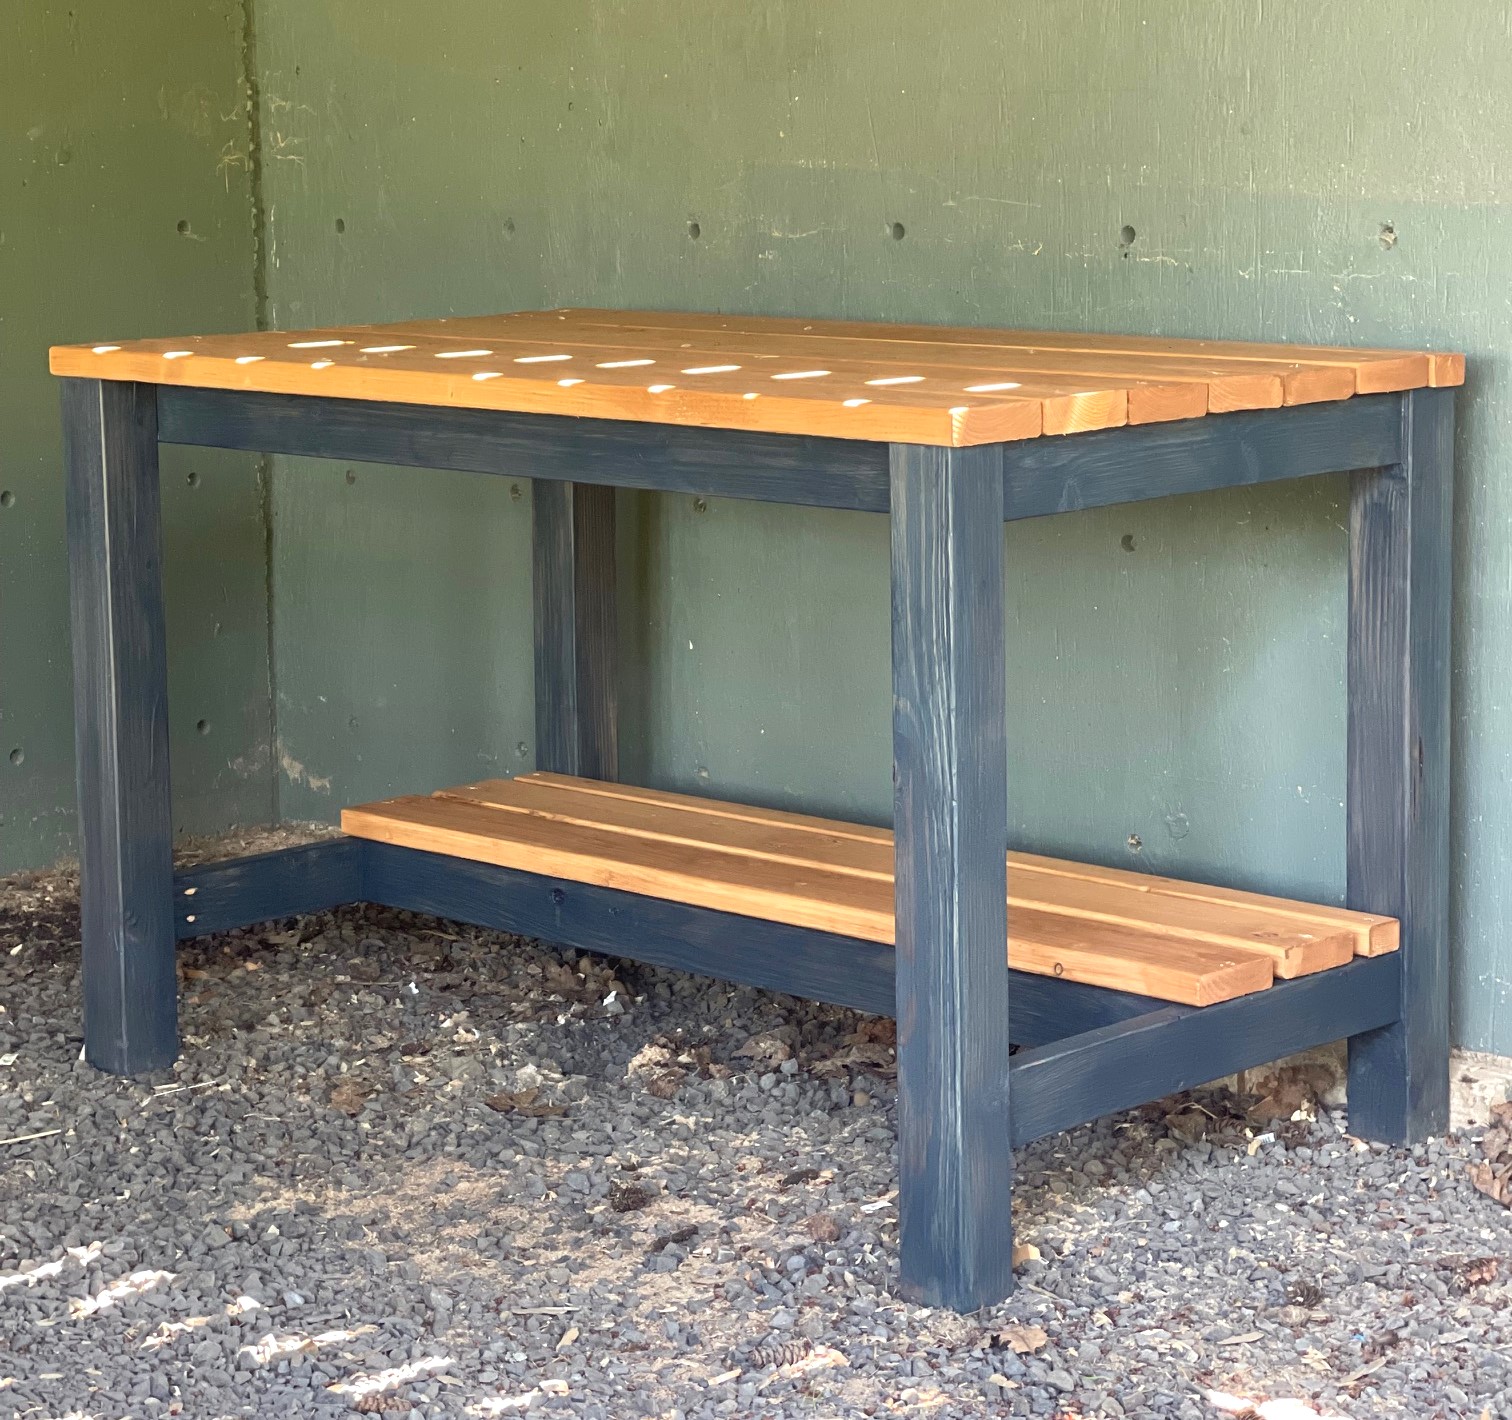
Wanted to build a sturdy workbench with 4x4 legs, so I used Ana's plans linked below with a few mods!

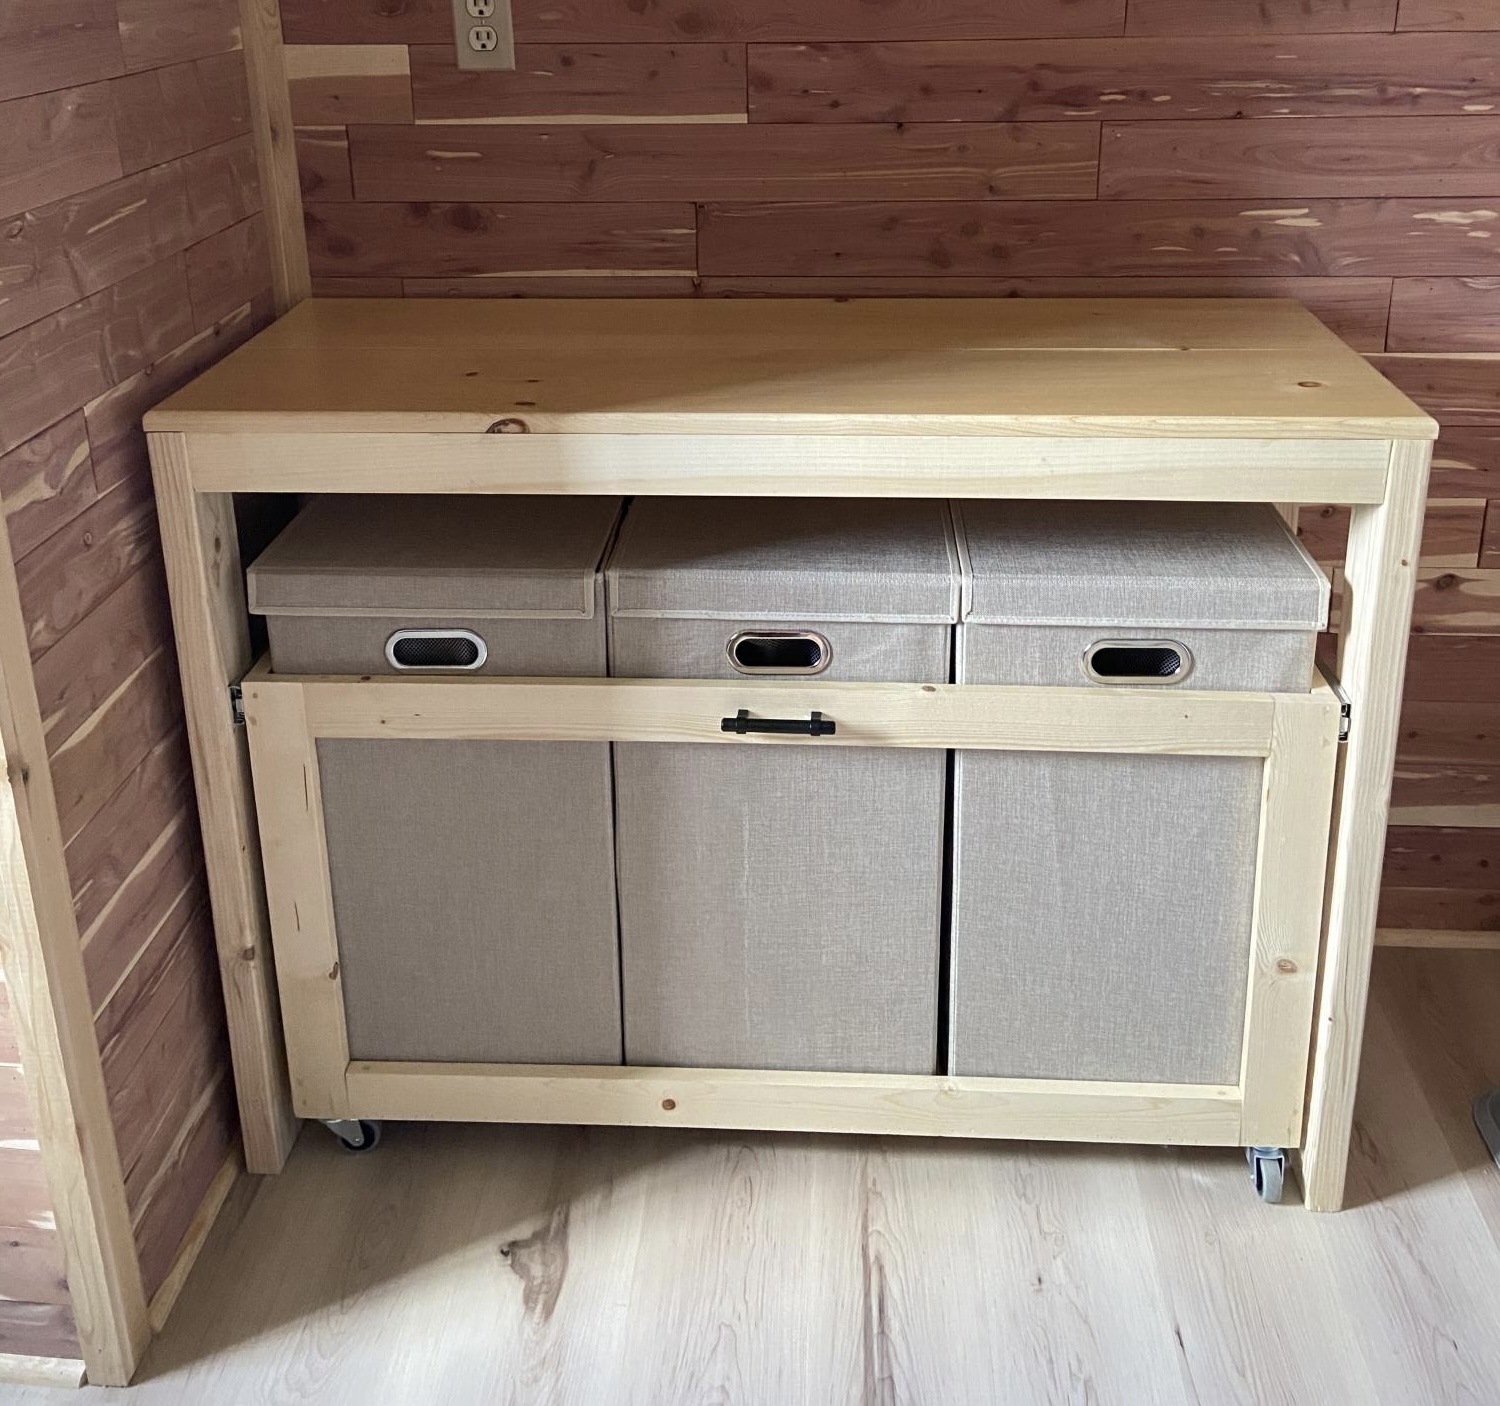
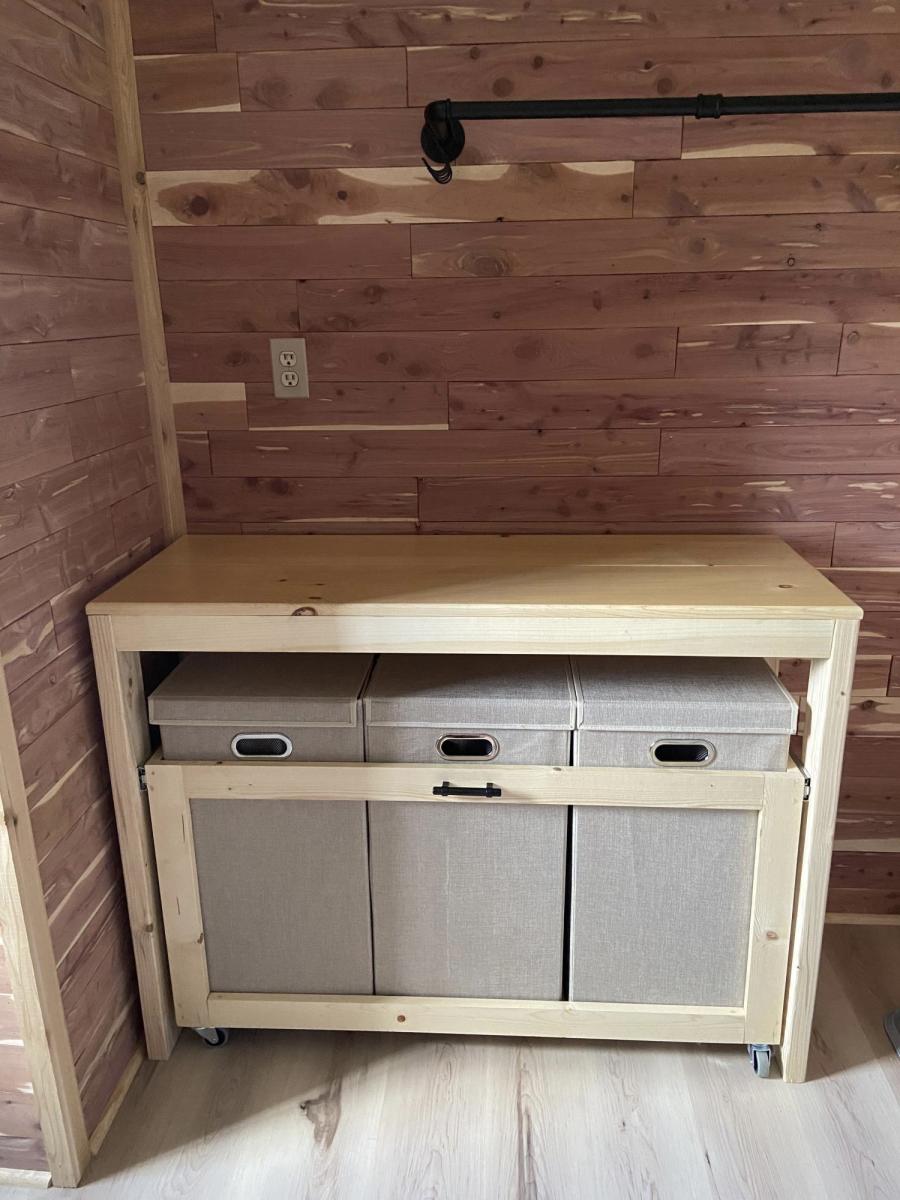
This laundry station is perfect for our new red cedar laundry room. We left the wood natural to match the unstained trim and the light color in the cedar planks. Coated with polyacrylic for a smooth finish. Thank you so much for providing the inspiration and plans for such an amazing laundry room solution!!
Mon, 06/05/2023 - 07:48
Fabulous job, absolutely love the light wood look! Thanks for sharing.
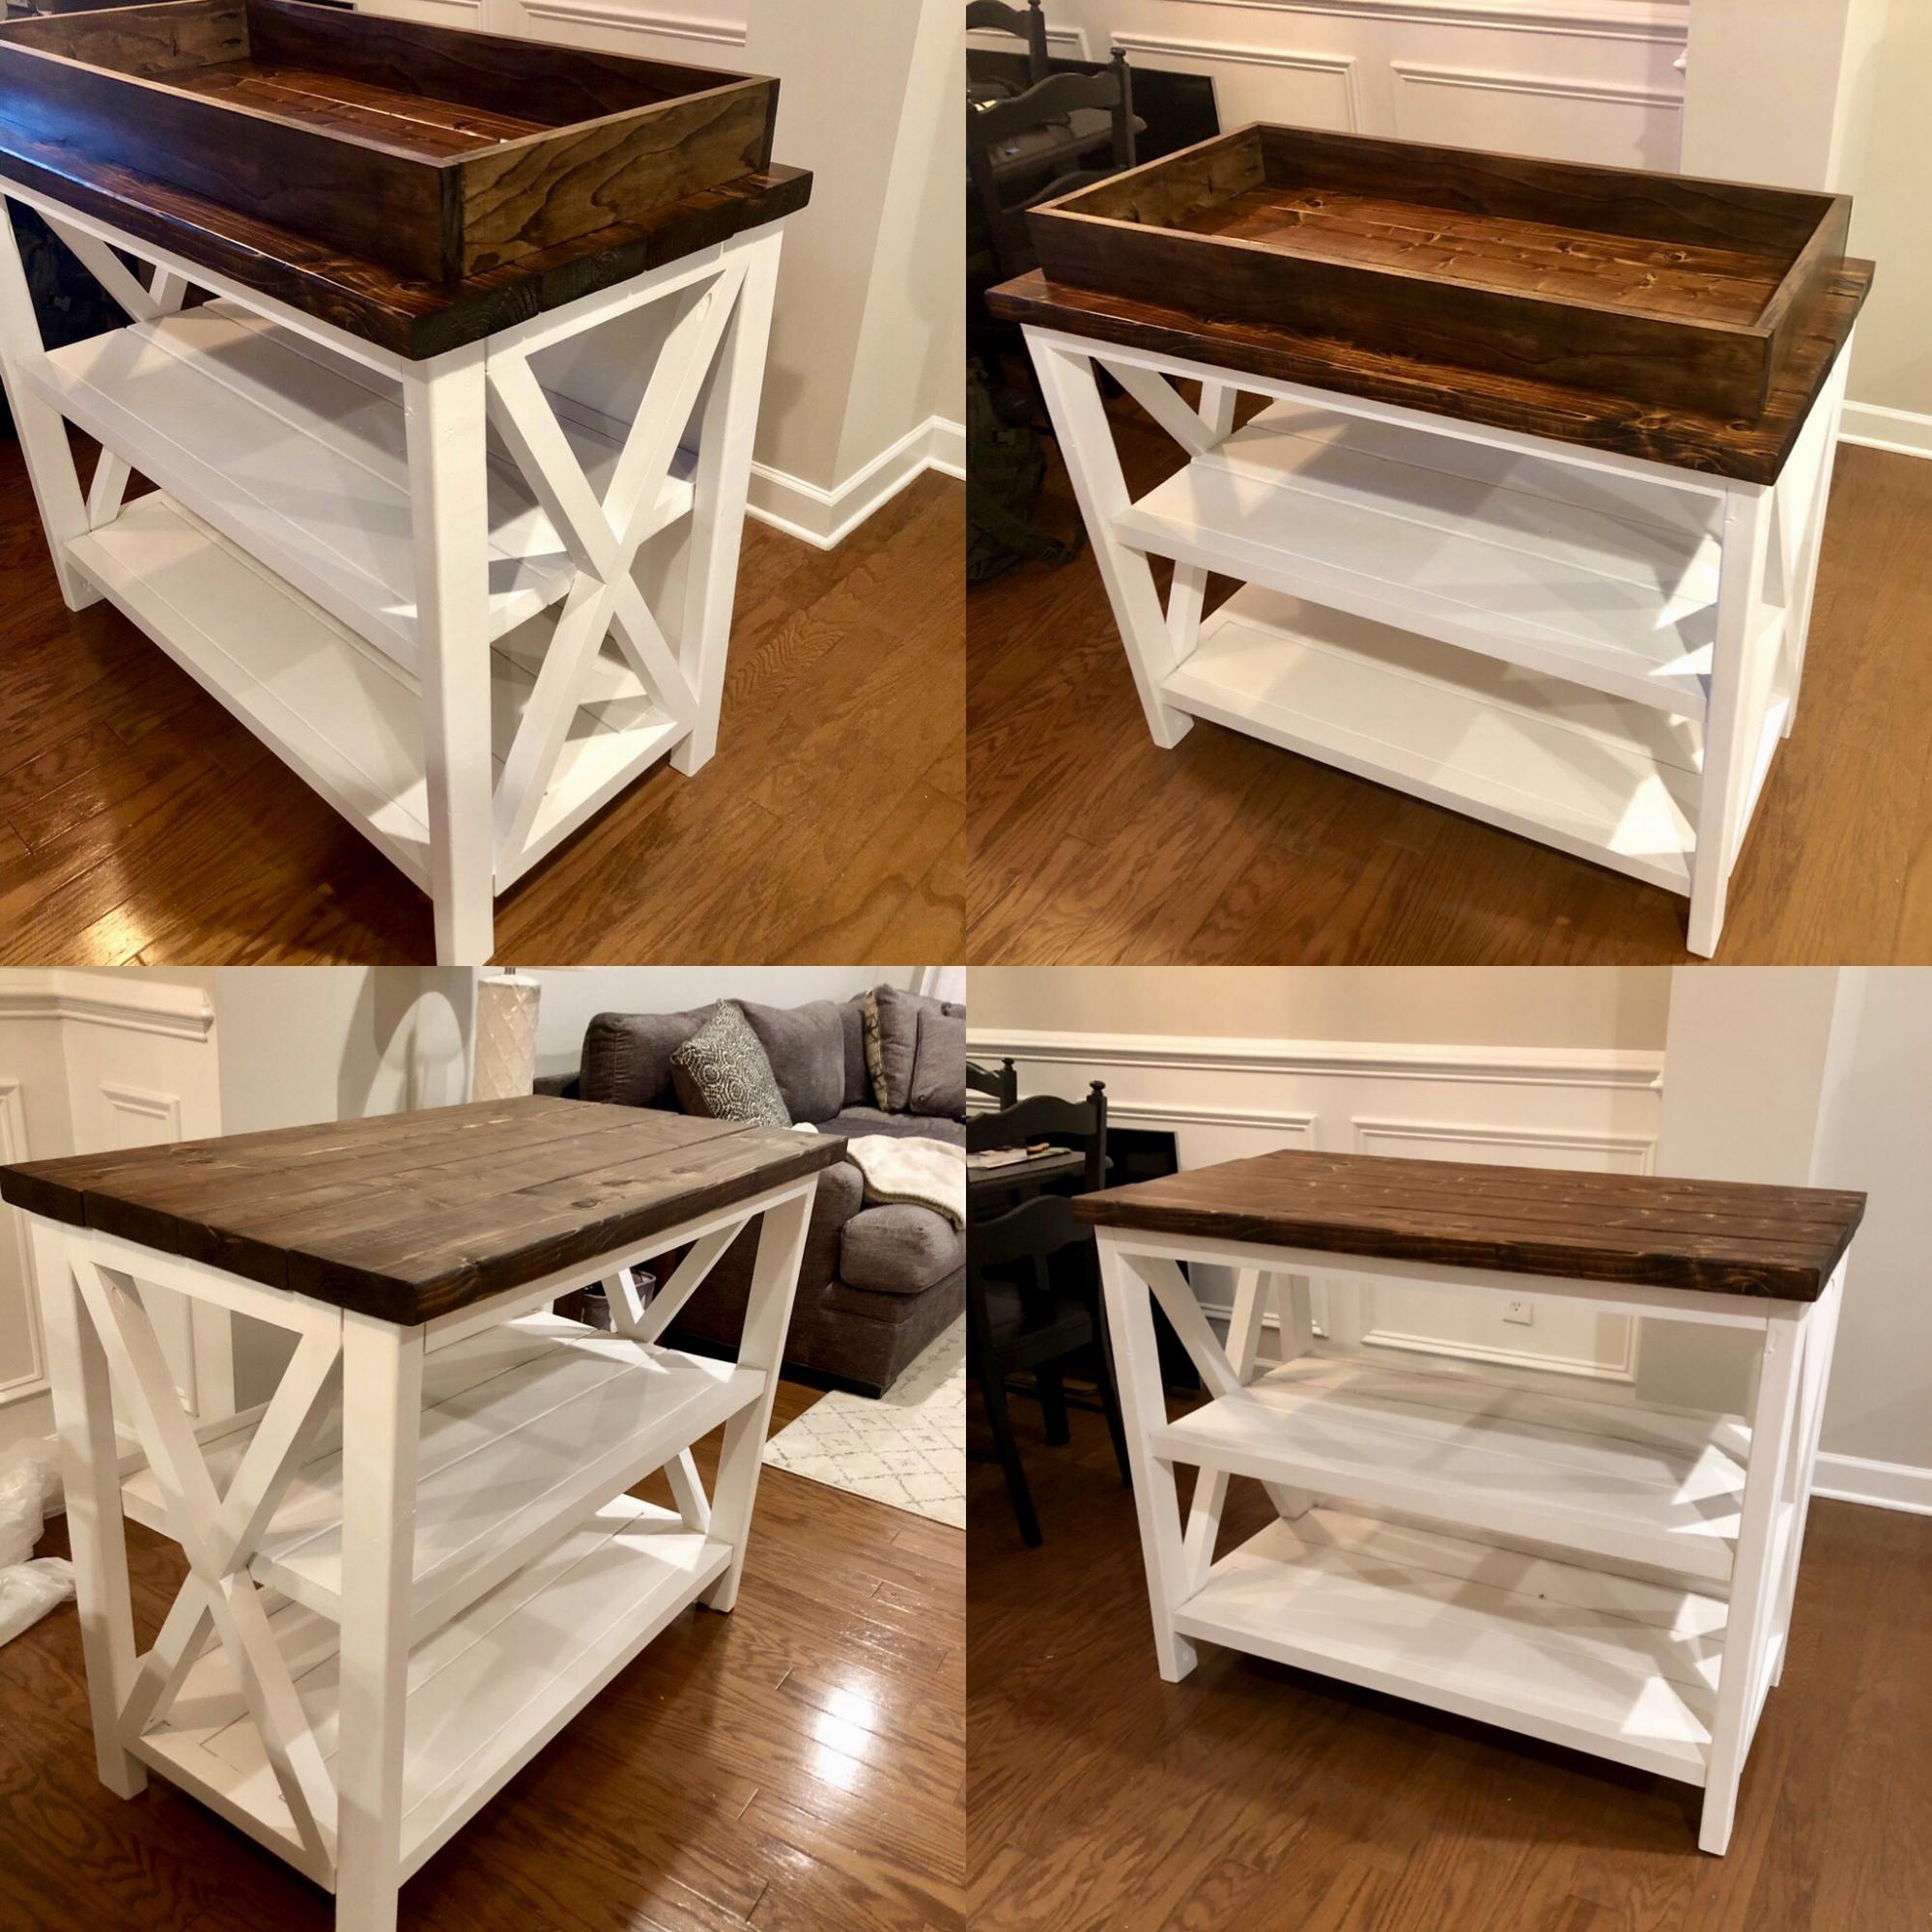
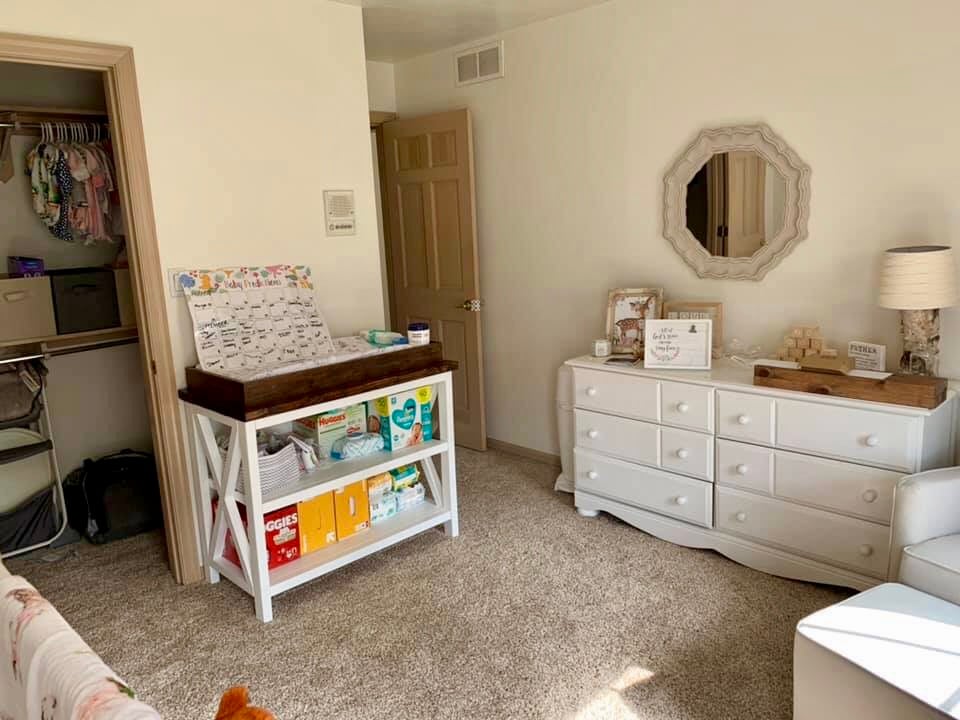
Built this for a very dear friend as a baby shower gift for her new baby, Prim. I tailored it to fit her space as she was looking for it to fit on a certain wall and finished it how she liked! Simple and timeless white and natural stained top. ✨
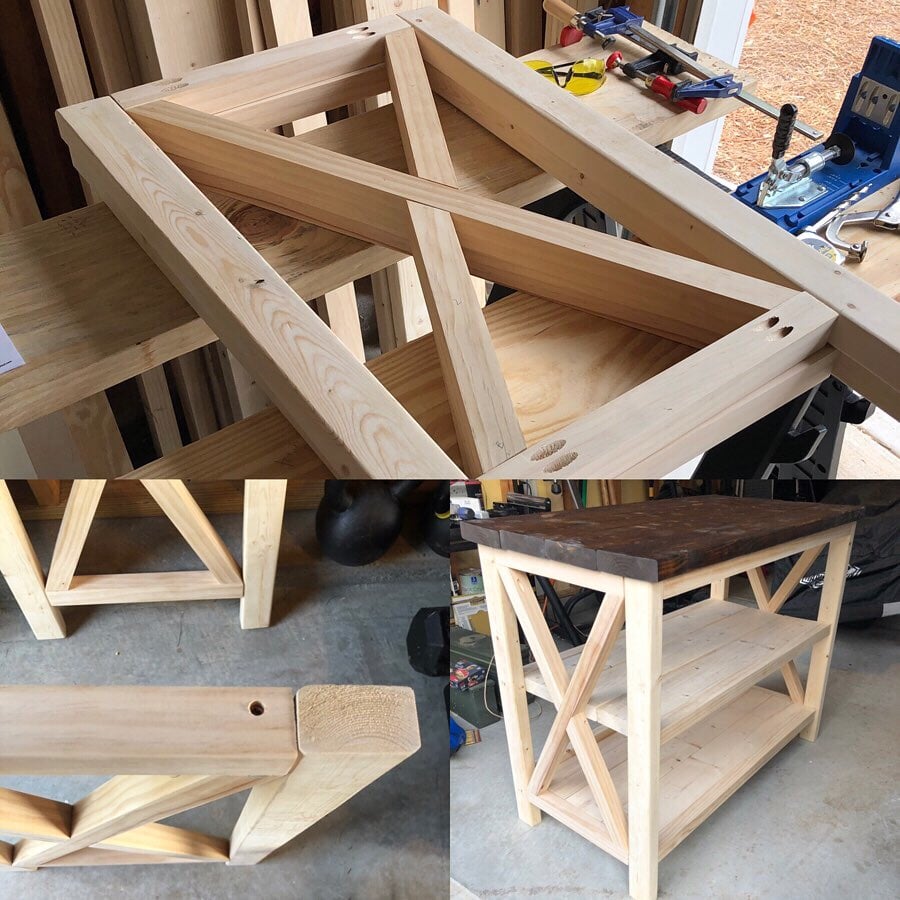
Wed, 10/02/2019 - 13:35
I love this, what a perfect baby changing station!
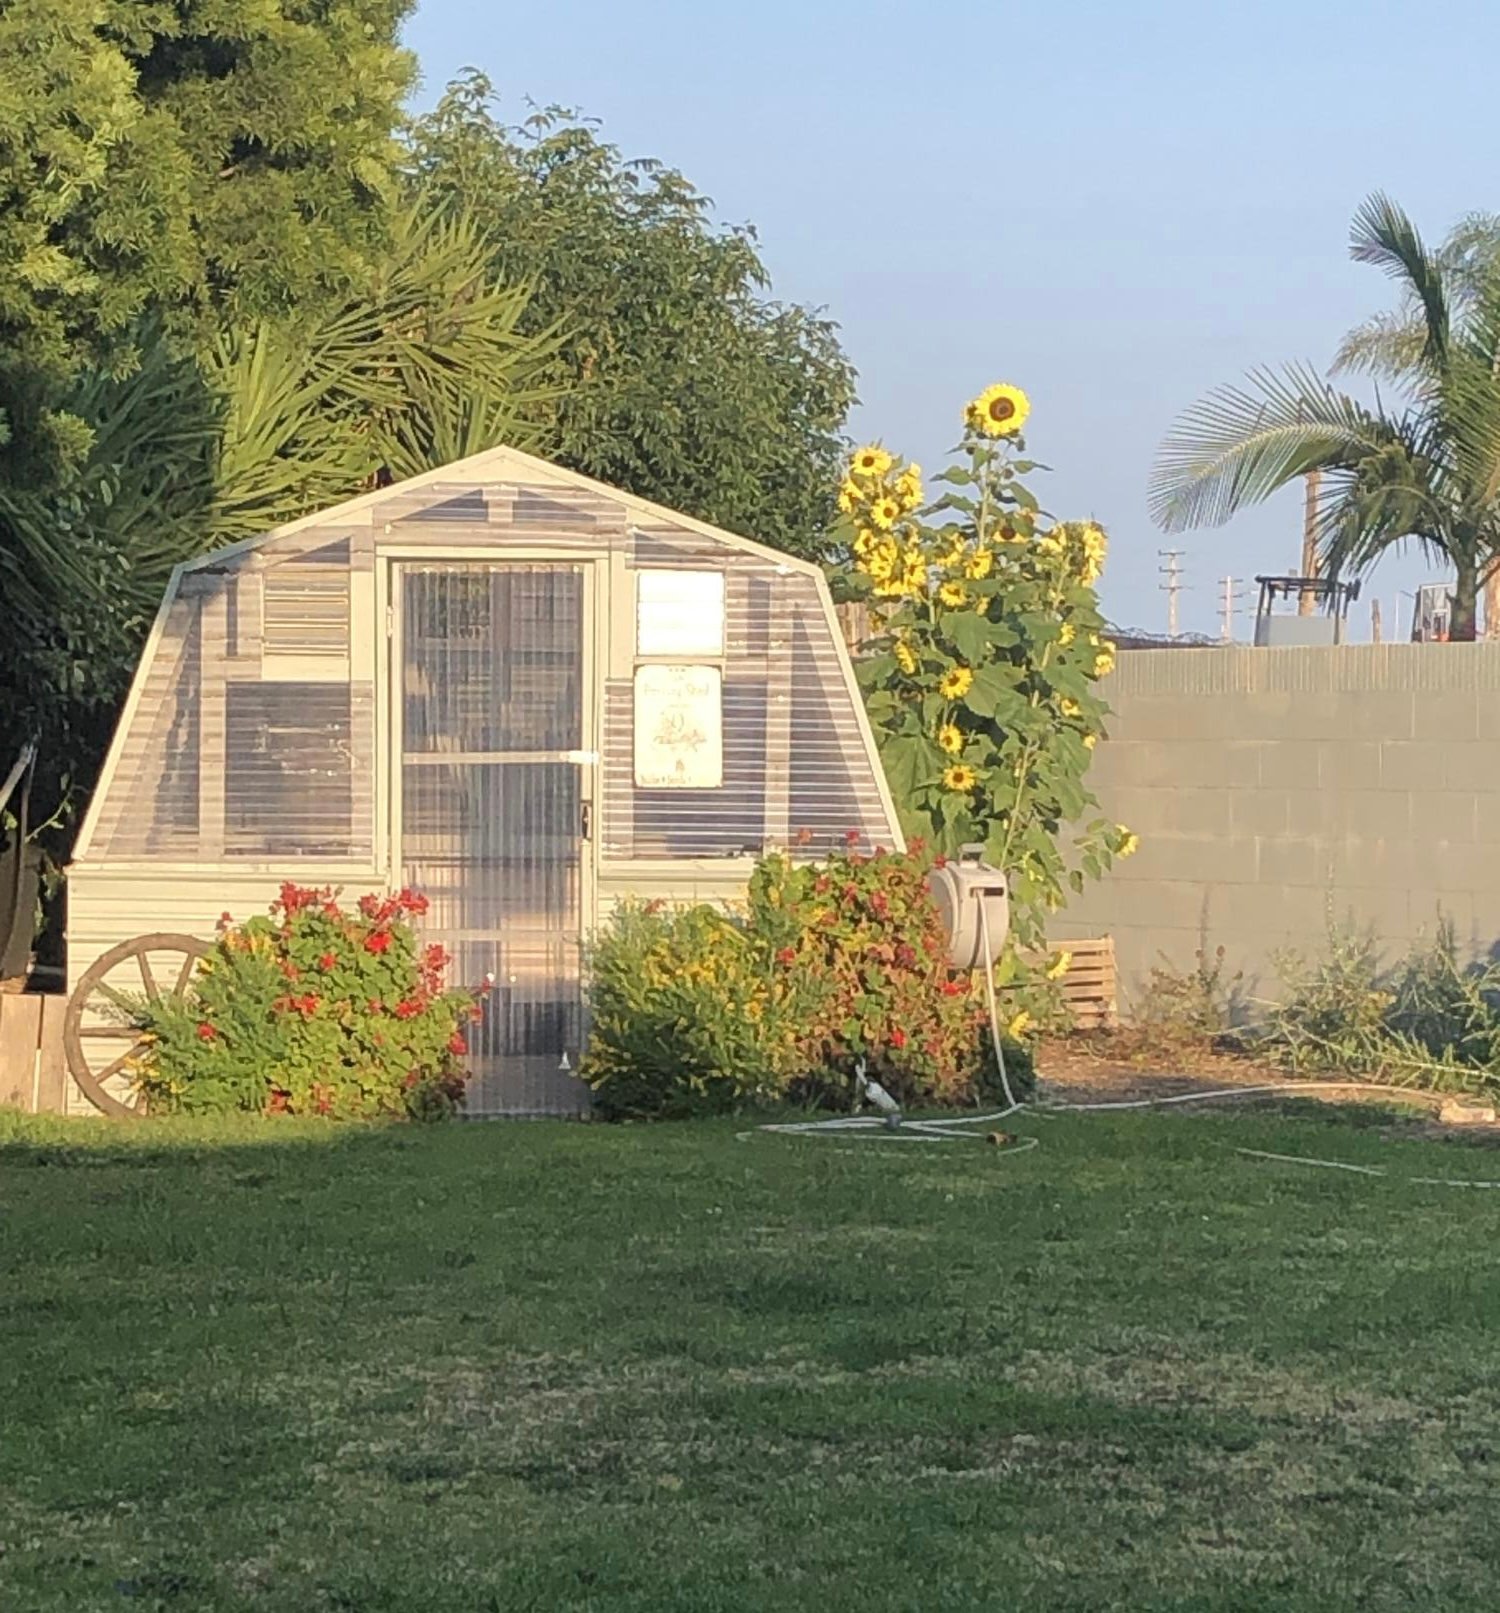
I saw this greenhouse built on the Justin Rhodes YouTube channel and immediately wanted my own. My husband was a champ at making my dream come true!
Tue, 04/09/2024 - 01:43
What a great idea! Building your own greenhouse can be a rewarding and cost-effective project. With the right planning and choice of materials, you can create a sturdy structure that will last you for years to come. In fact, a greenhouse is a great way to take care of your health because the crops grown there are undoubtedly of higher quality and healthier for you. Speaking of health, if you want to improve your health, consider using natural supplements such as mullein. Mullein supplements are known for their potential respiratory benefits and can promote overall well-being. You can find organic mullein supplements https://www.amazon.com/USDA-Organic-Mullein-Drops-Lungs/dp/B0CKBPTPRL on Amazon. Adding them to your daily diet can complement the peaceful environment of your greenhouse. So, whether you are a gardening enthusiast or just starting out, remember to take care of both your plants and your health!
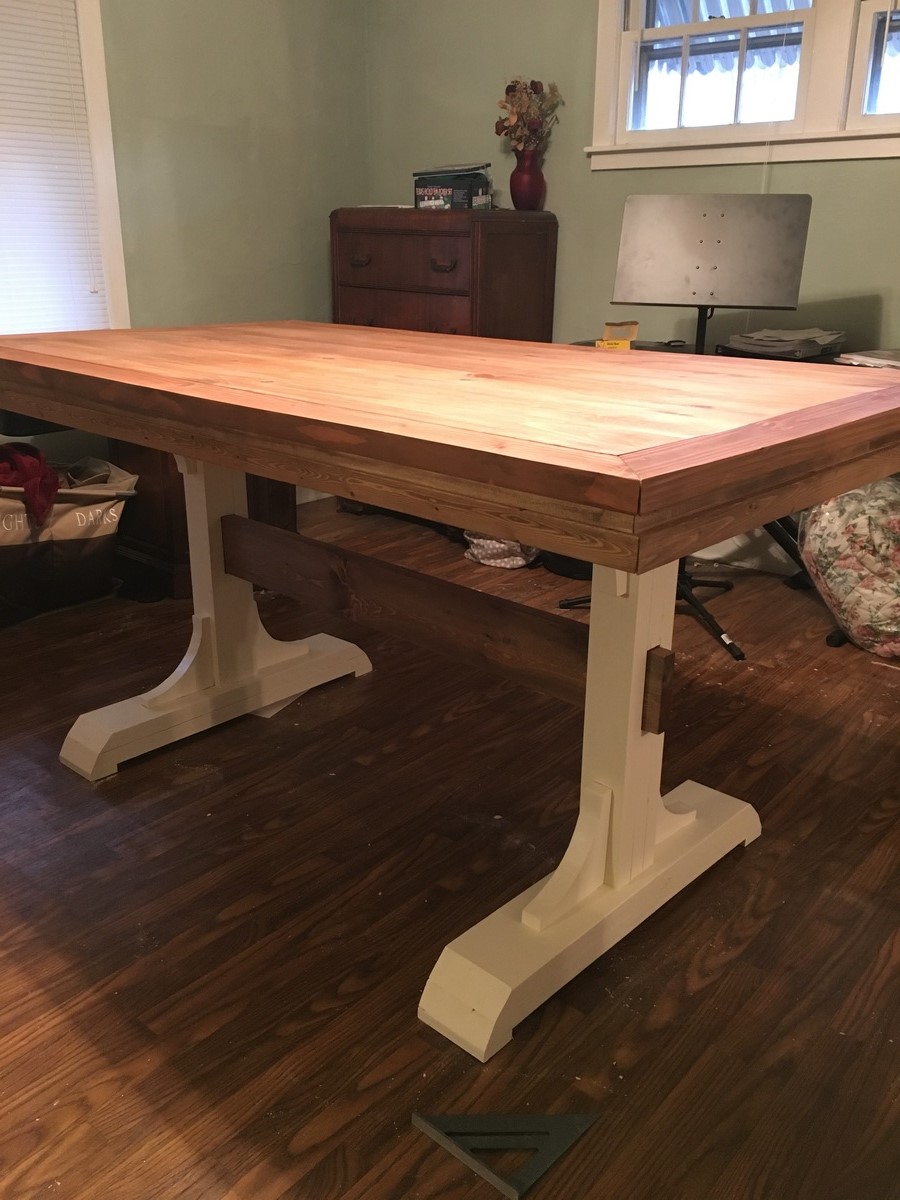
Lots of fun on this one
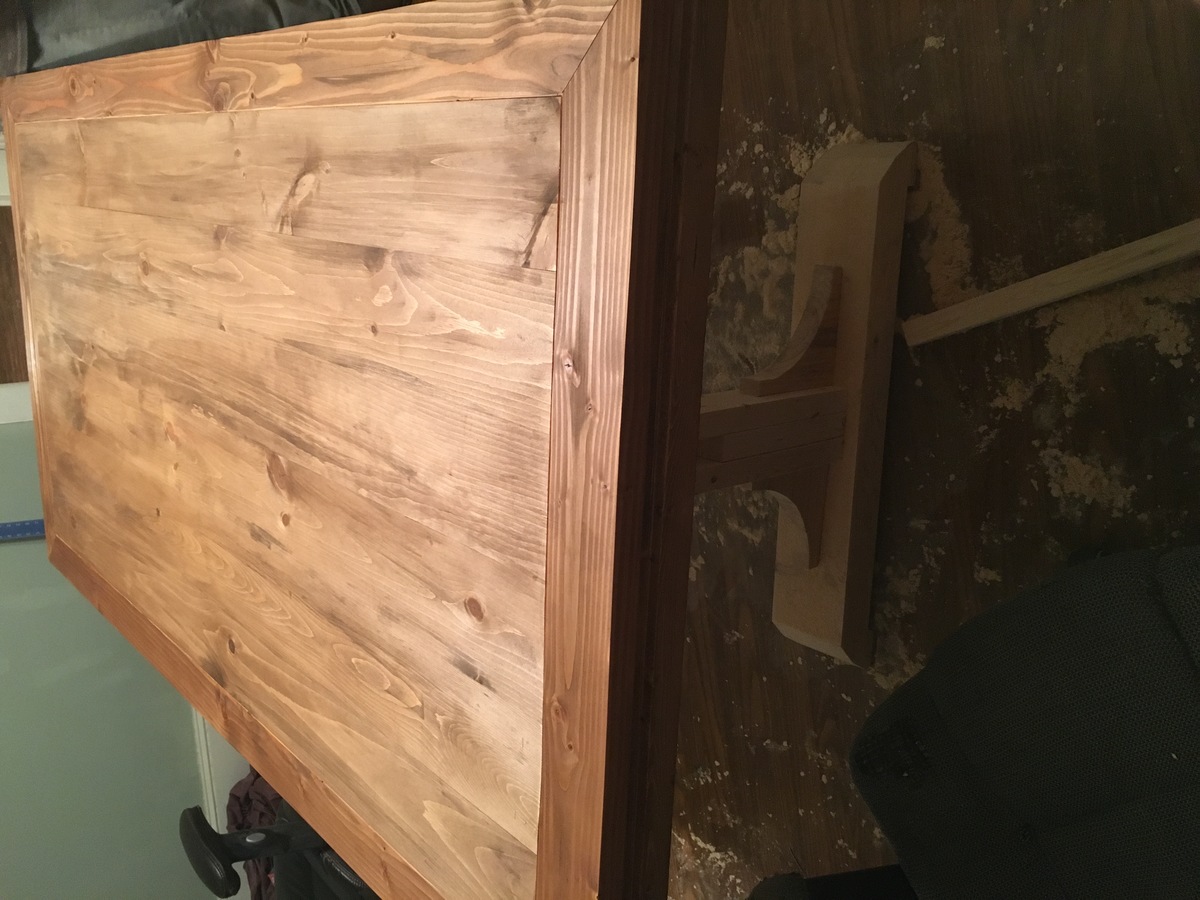
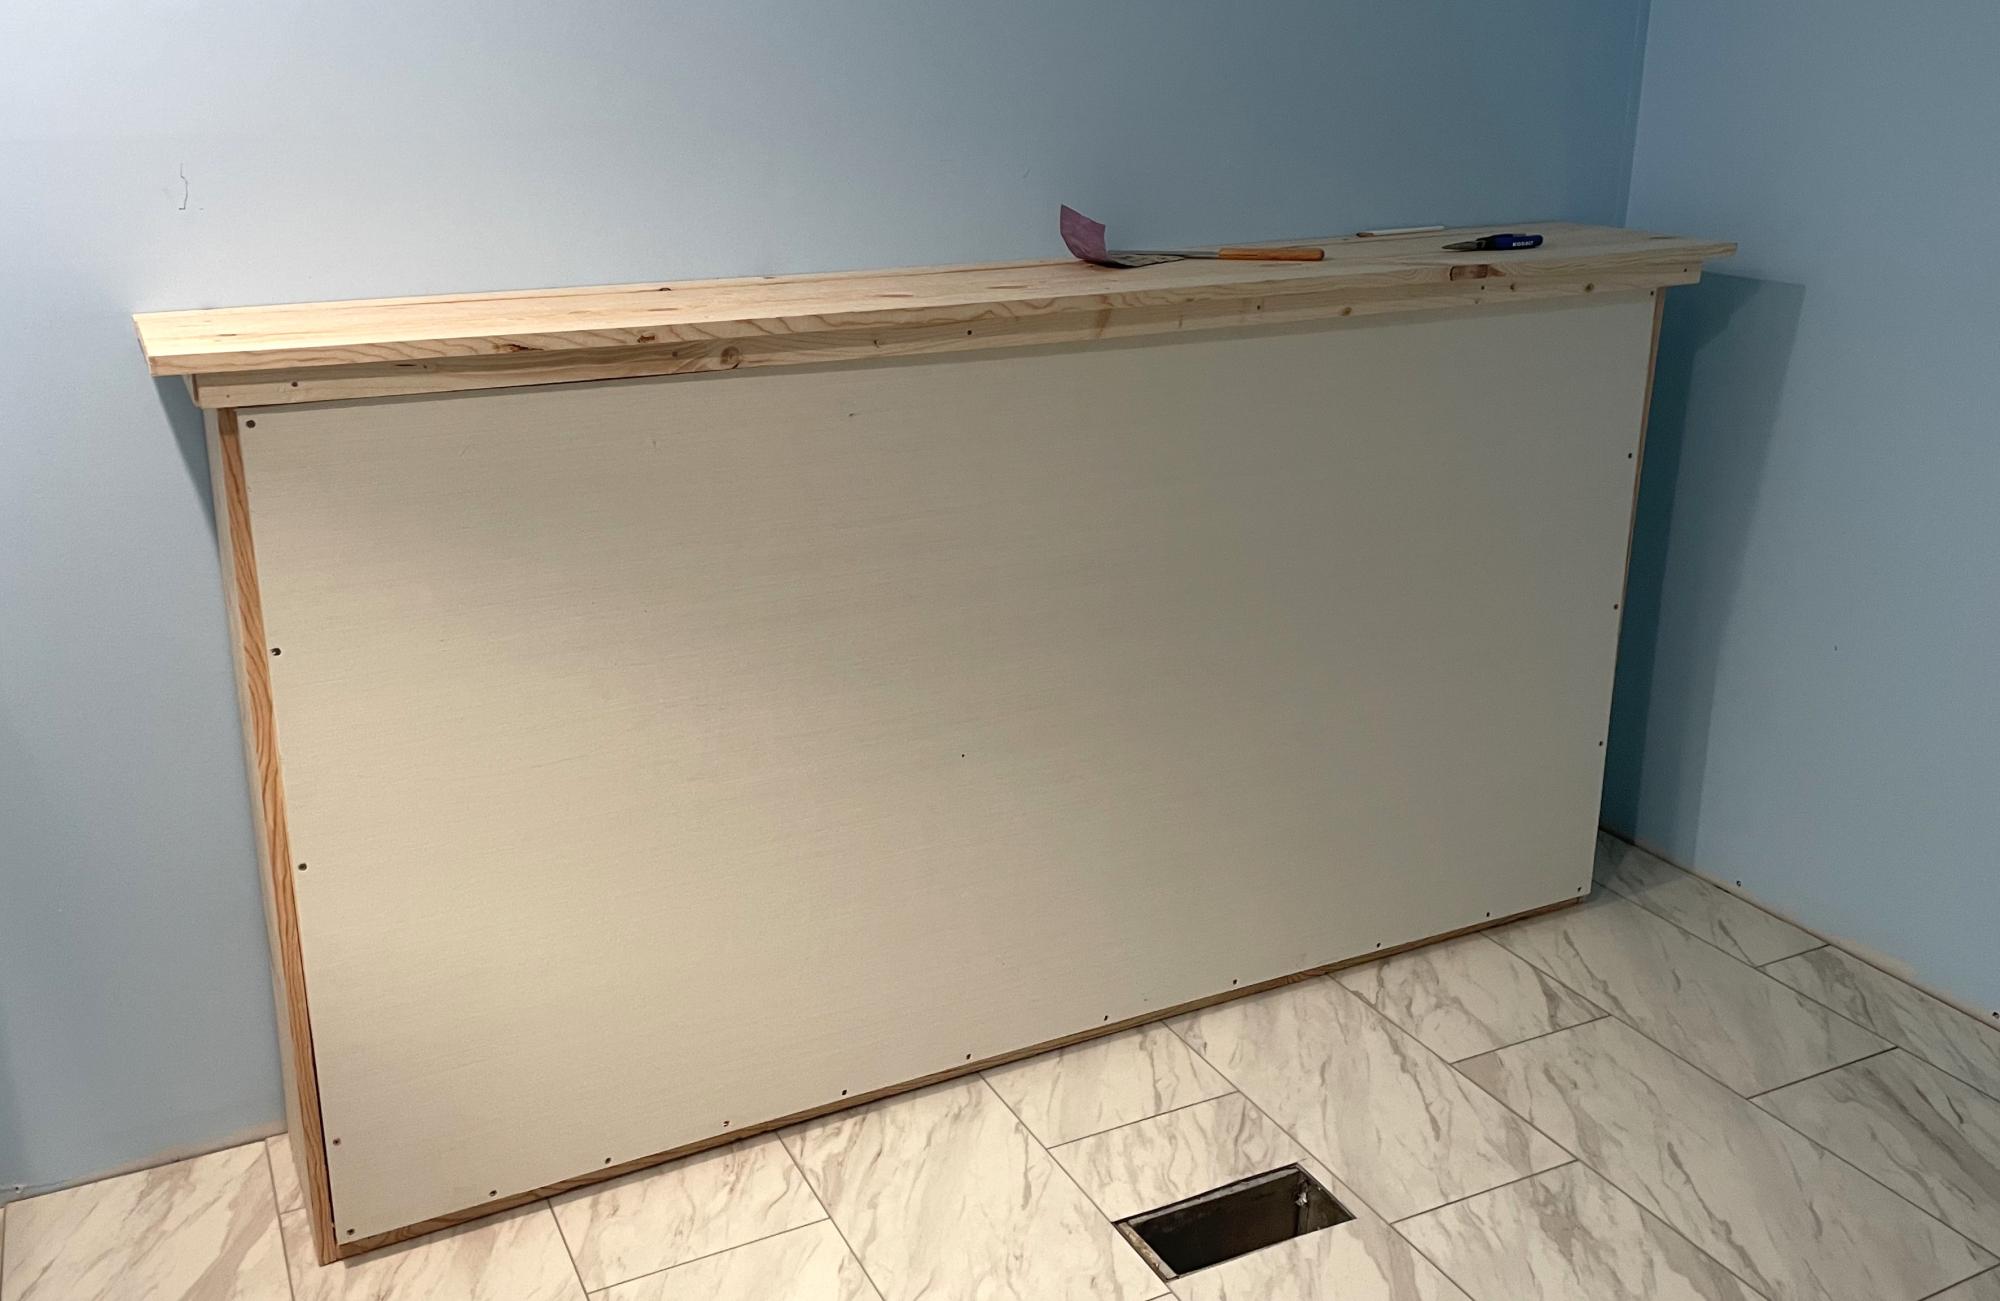
We are remodeling our 3 bedroom house into a 4 bedroom. In doing so, my youngest is getting the smaller room. We decided to go with a Murphy bed to allow more play time space. I do not particularly like the fact that this bed doesn’t sit off the ground but overall love the simplicity of making it. We turned it horizontal and just love the overall product. I can mot wait to make something else from this site!
Tams
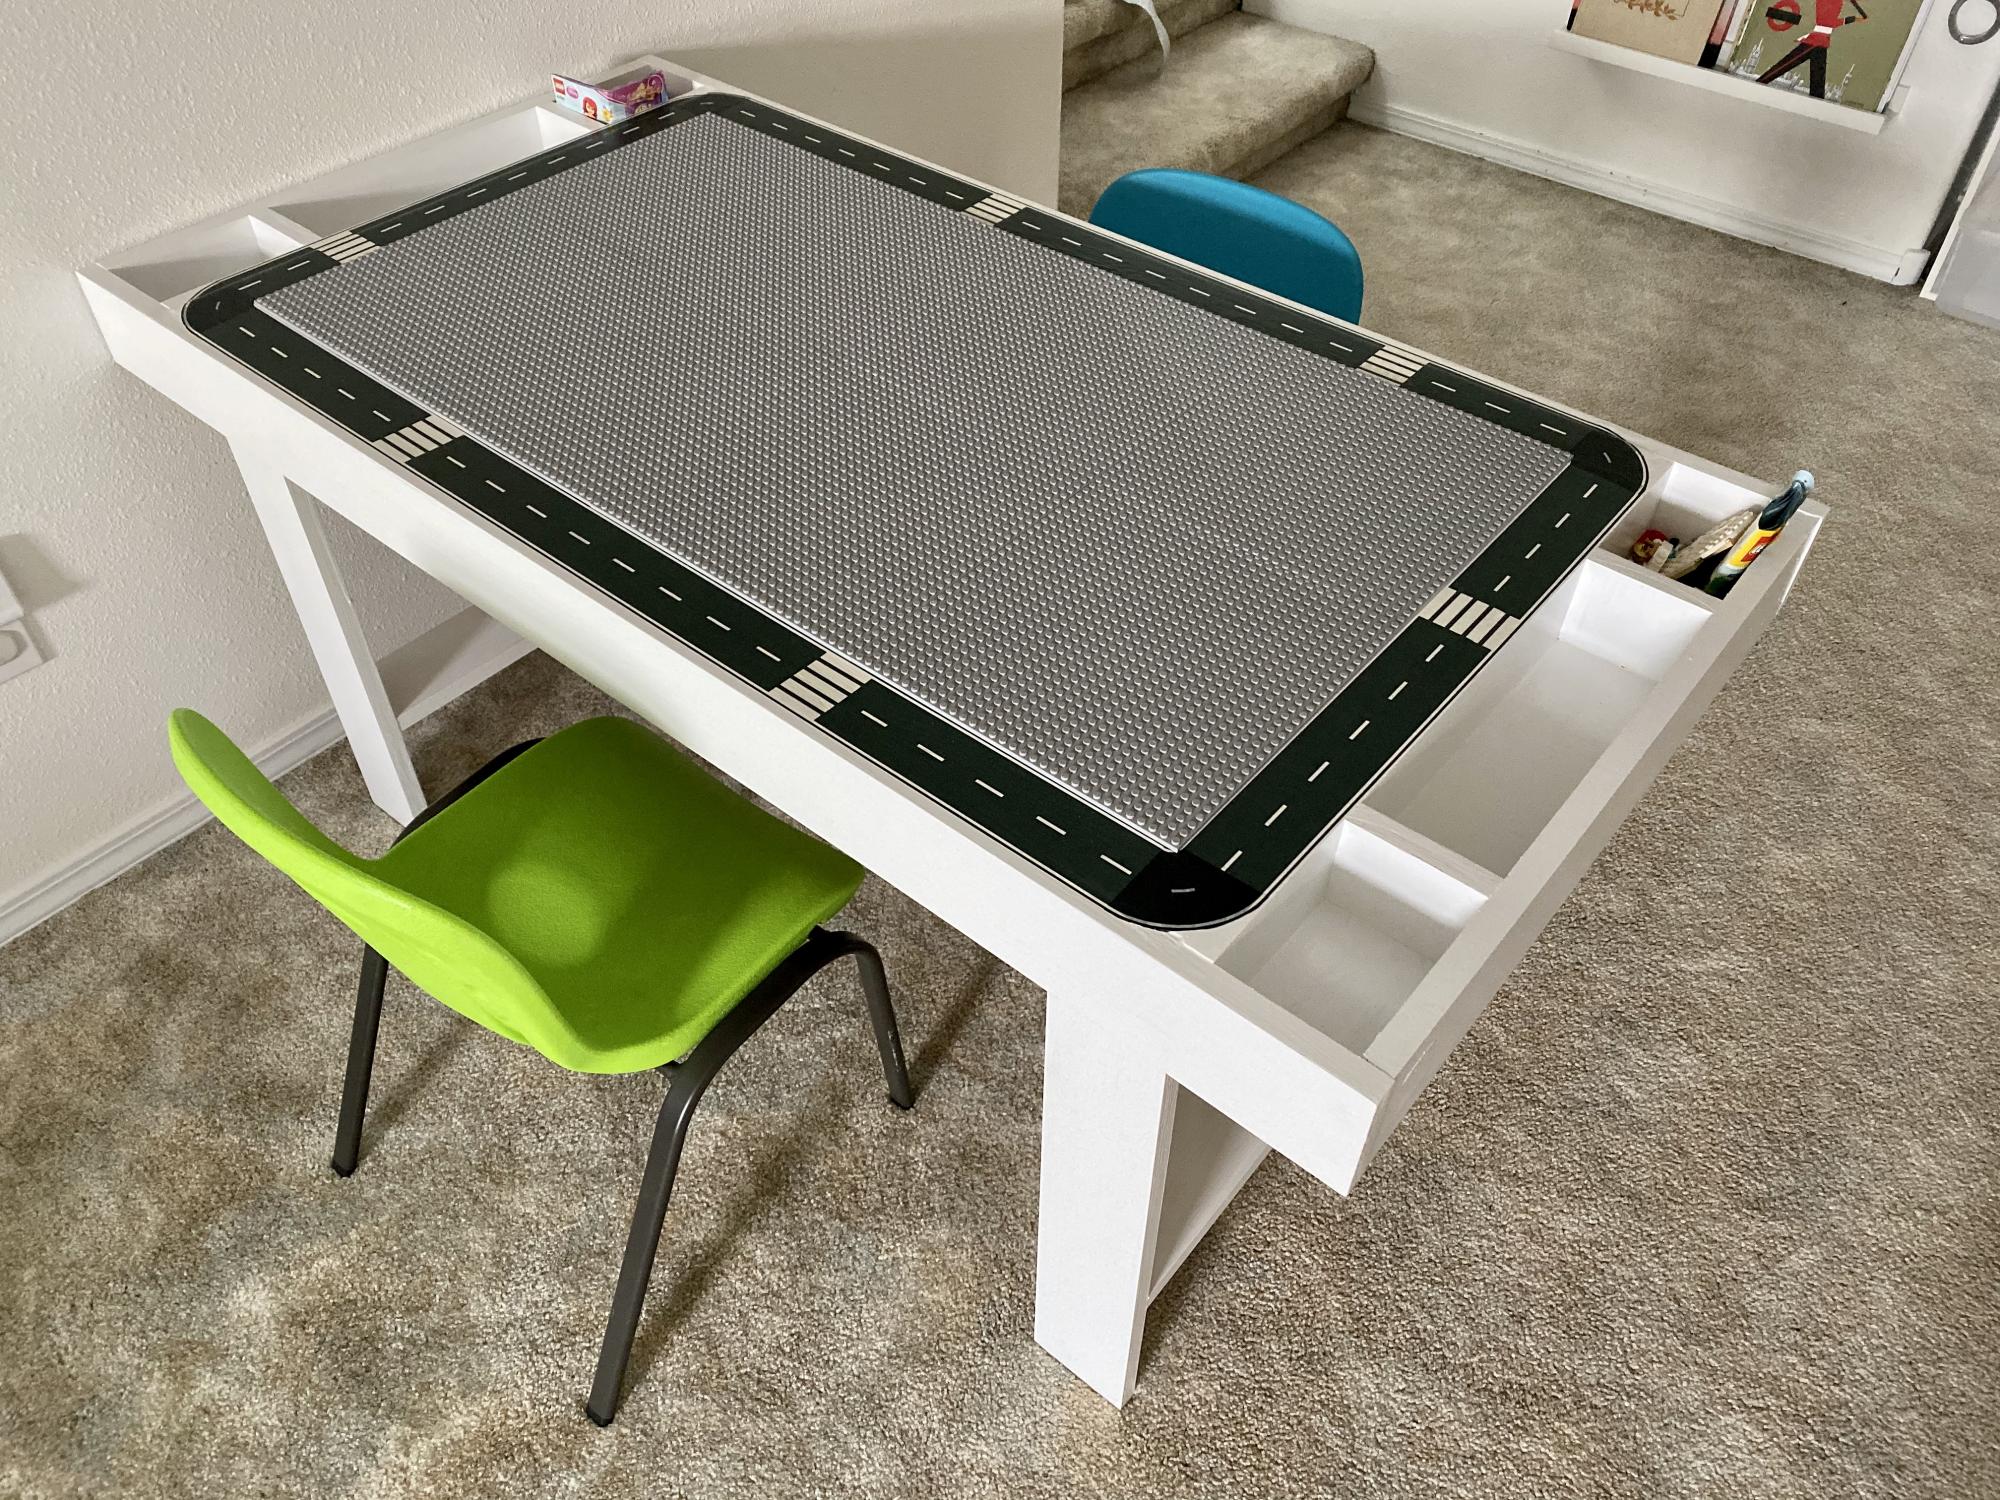
I built this Lego table for my son’s fifth birthday. I added some dividers in the trays for organization, Brickyard plates for the table top and road tape around the edges.
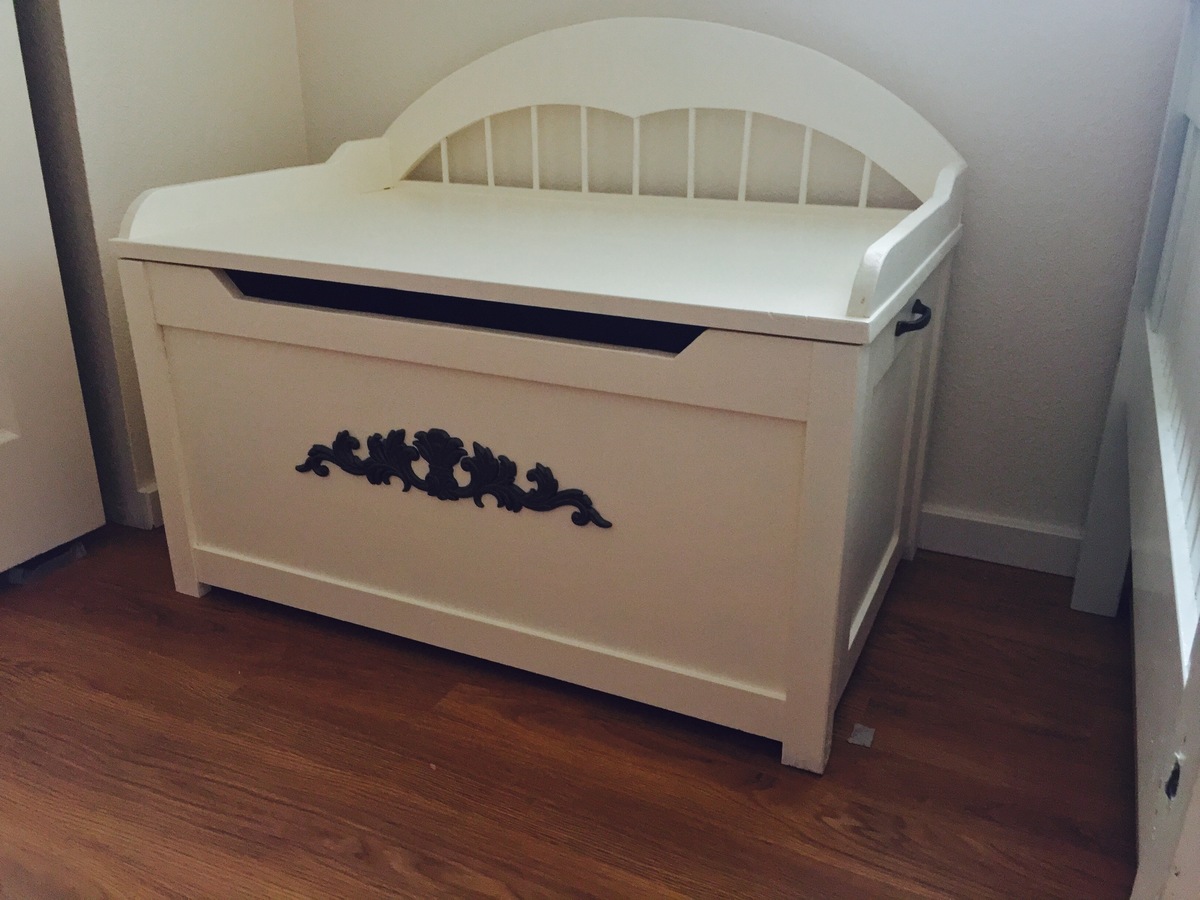
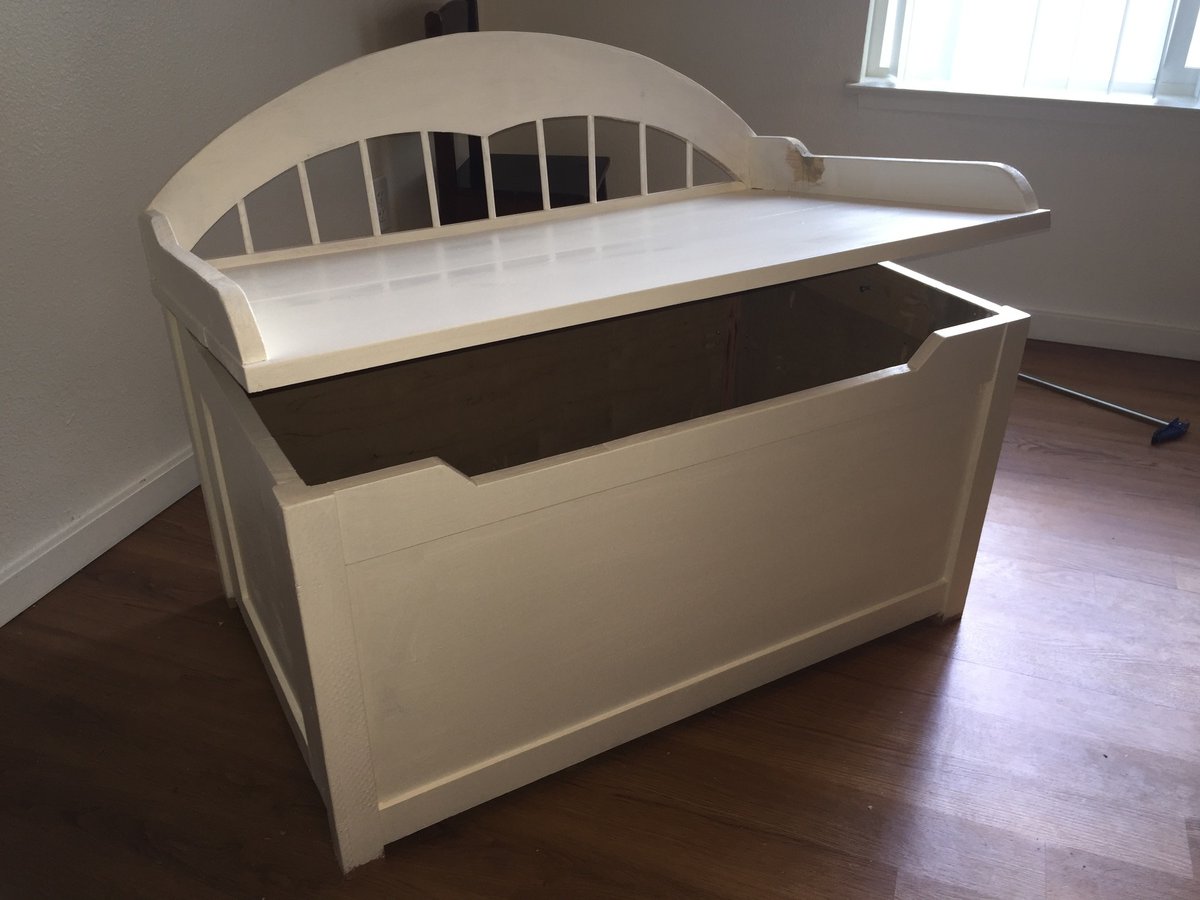
We've just moved and closet space is very limited to just clothes for my two girls. I have been wanting to get them a toy box but wanted something that I could say that I had made for them. The original plan was ok but these kids have a lot of toys. Most of the time I'll build the full project and then disassemble to ensure that everything lines up properly, that's when I decided that the depth wasn't going to be enough for these young hoarders. Before final prep I added an extra 1x4 to the front and back of the side panels. Overall I'm very happy with the way it came out.
Comments
Ana White
Thu, 06/30/2011 - 13:50
Absolutely beautiful!
Absolutely beautiful!
debandtom25
Sat, 07/09/2011 - 08:36
Just fantastic
Your bed has inspired me to build one for my son. LOVE the color too! I'm going to add a trundle so he can have friends stay over. I'll post when I've got it finished.
Justjanet
Tue, 11/10/2015 - 06:43
love it
this was the best post showing how you attached the rails. there are so many questions about it and yours looks so sturdy. thanks for the picture. gorgeous color for the bed as well!