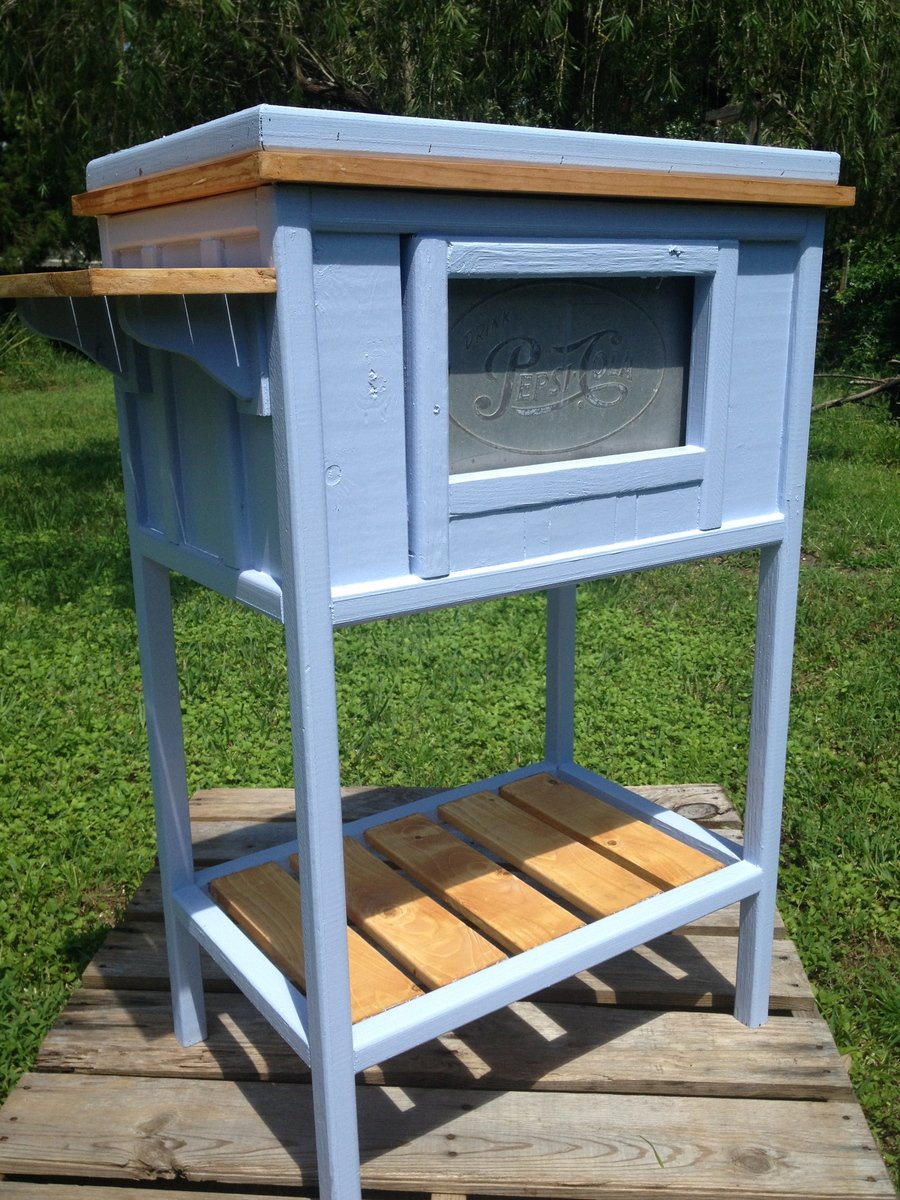
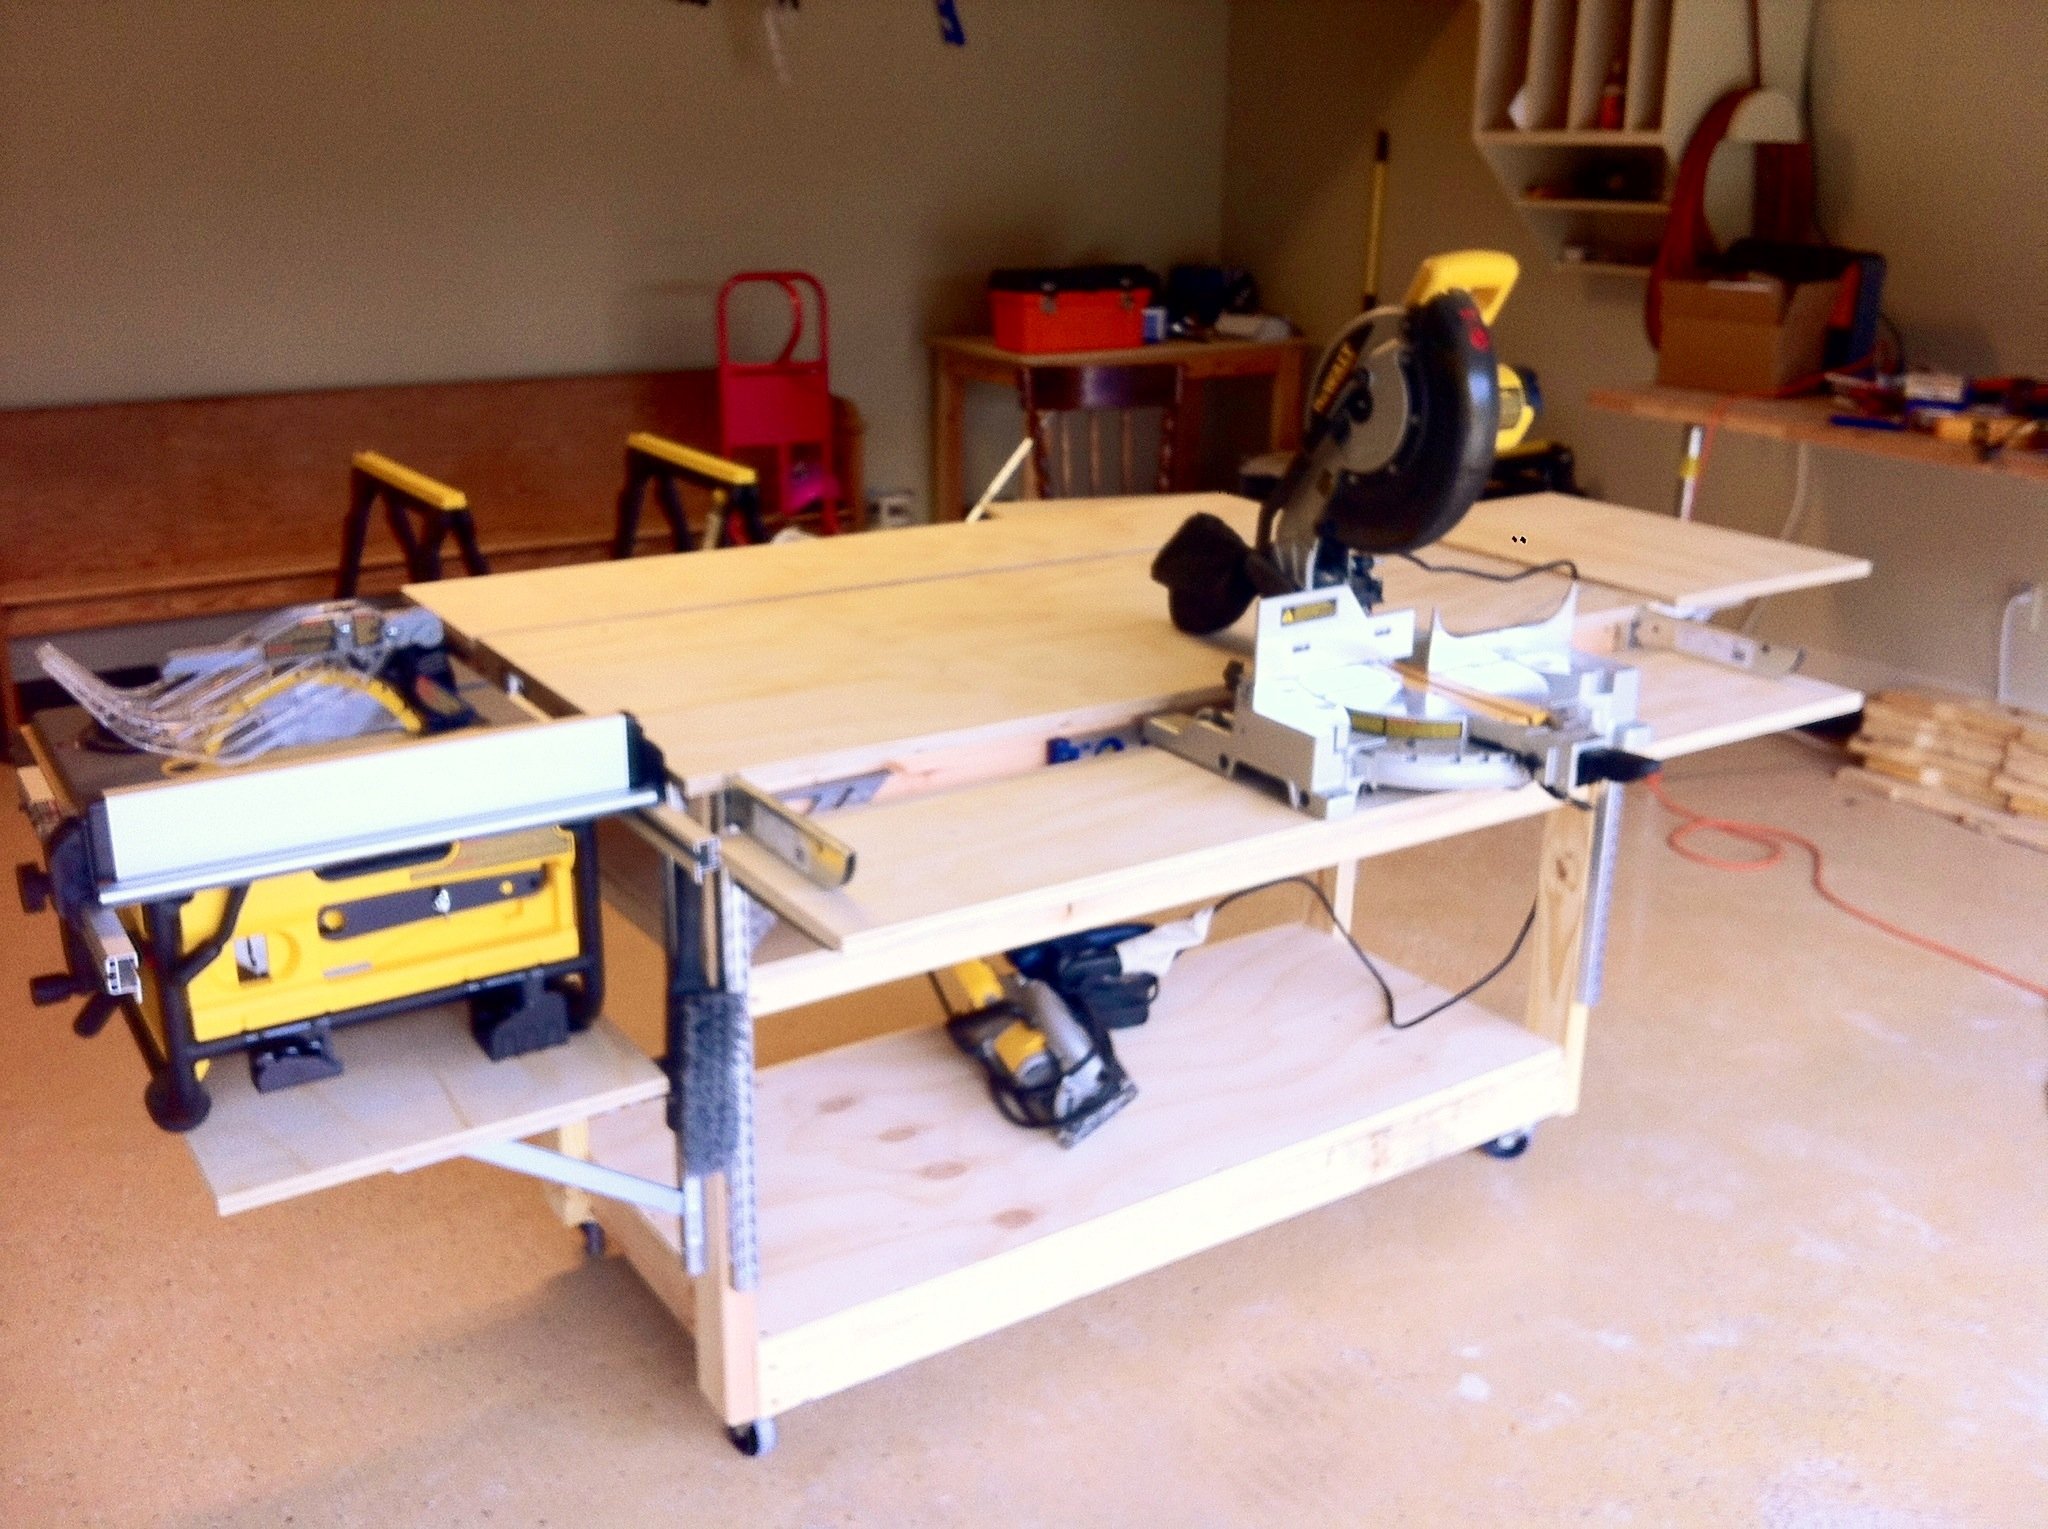
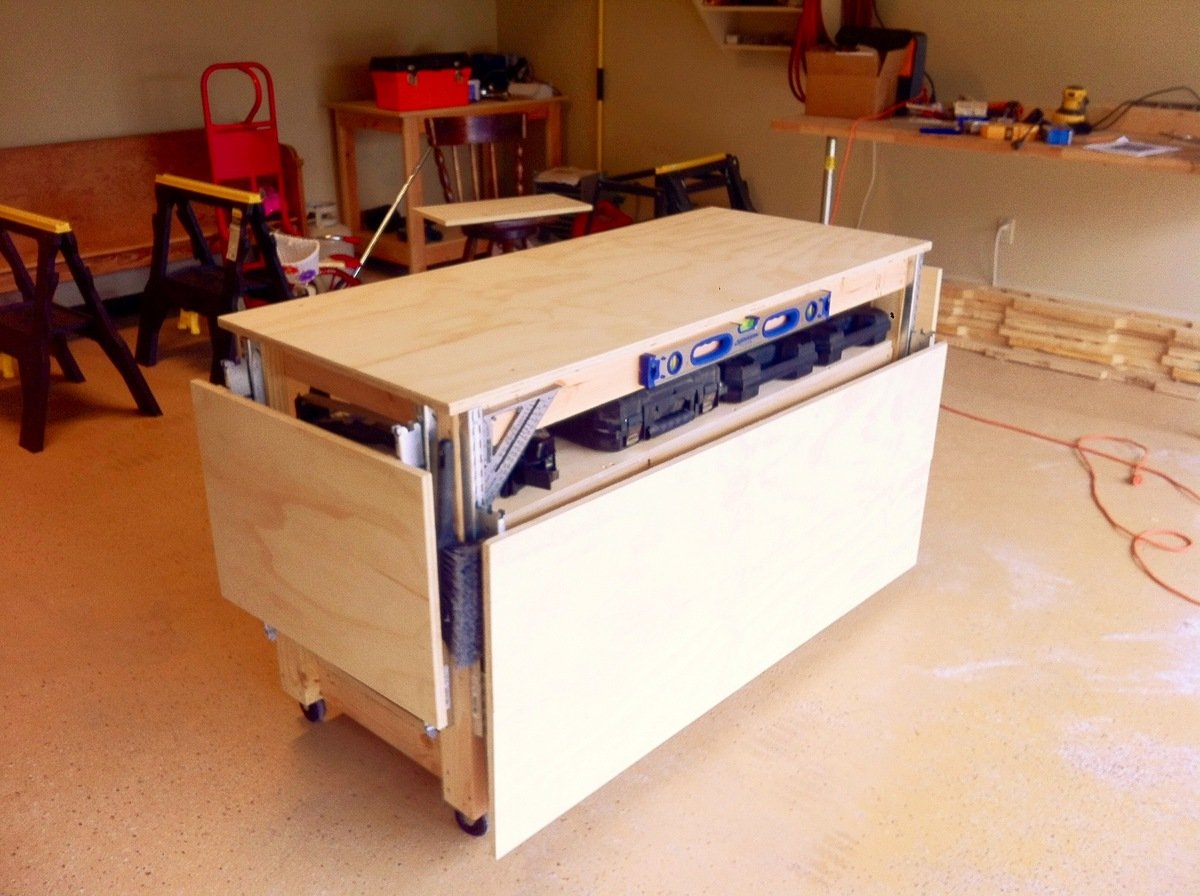
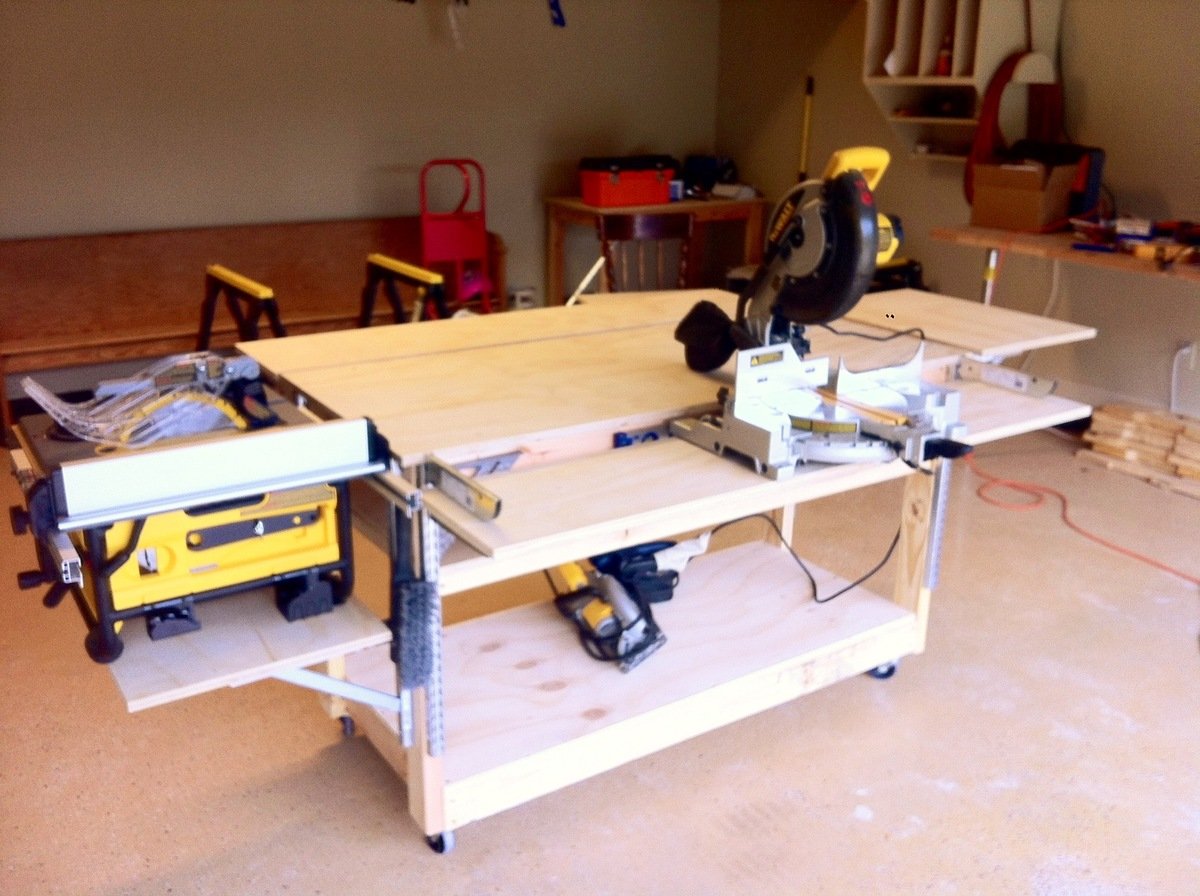
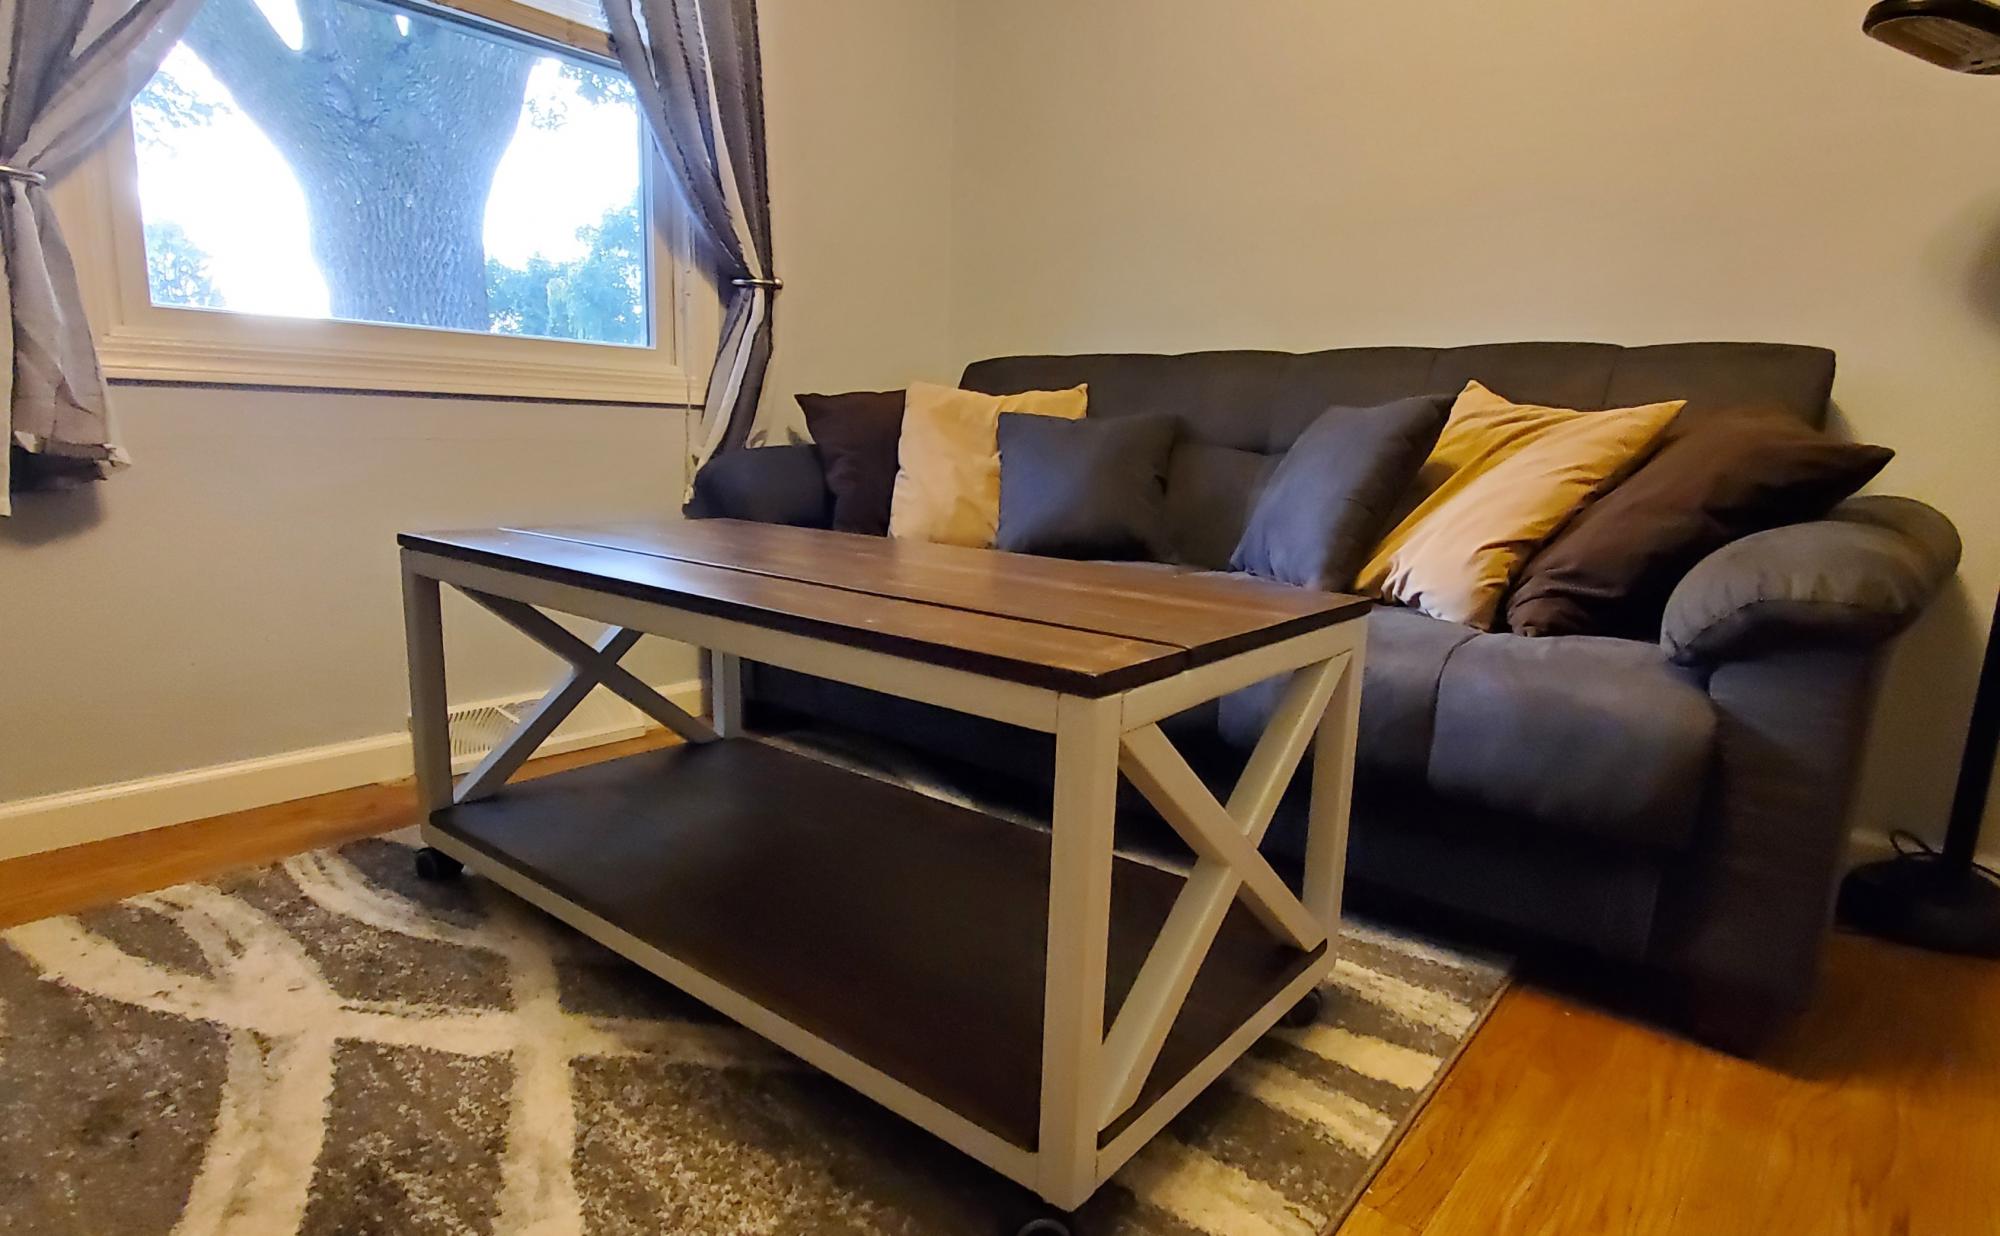
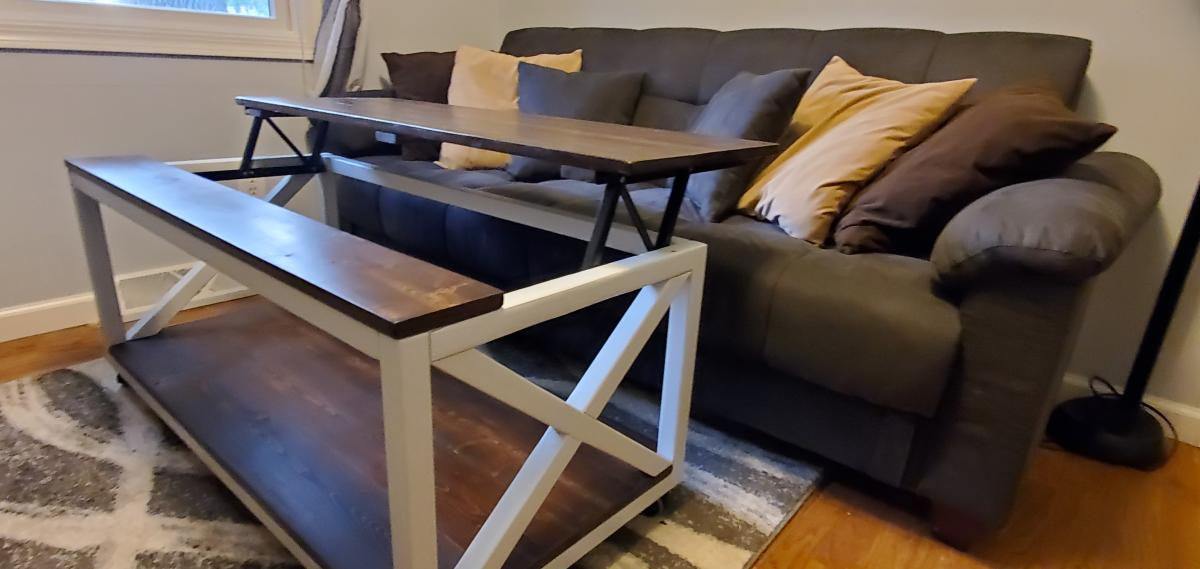
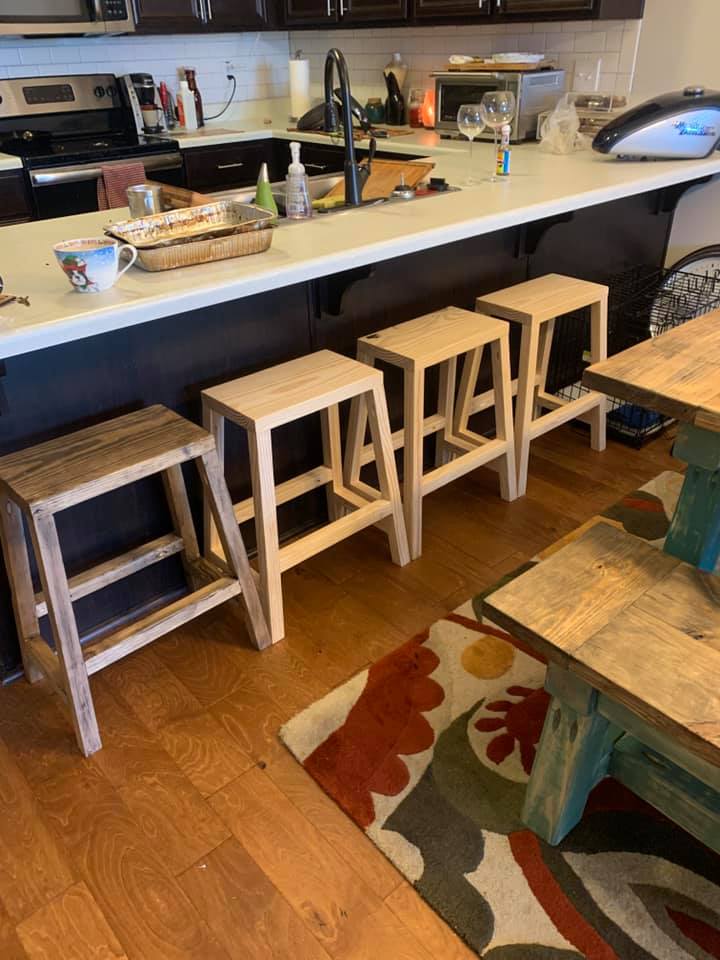
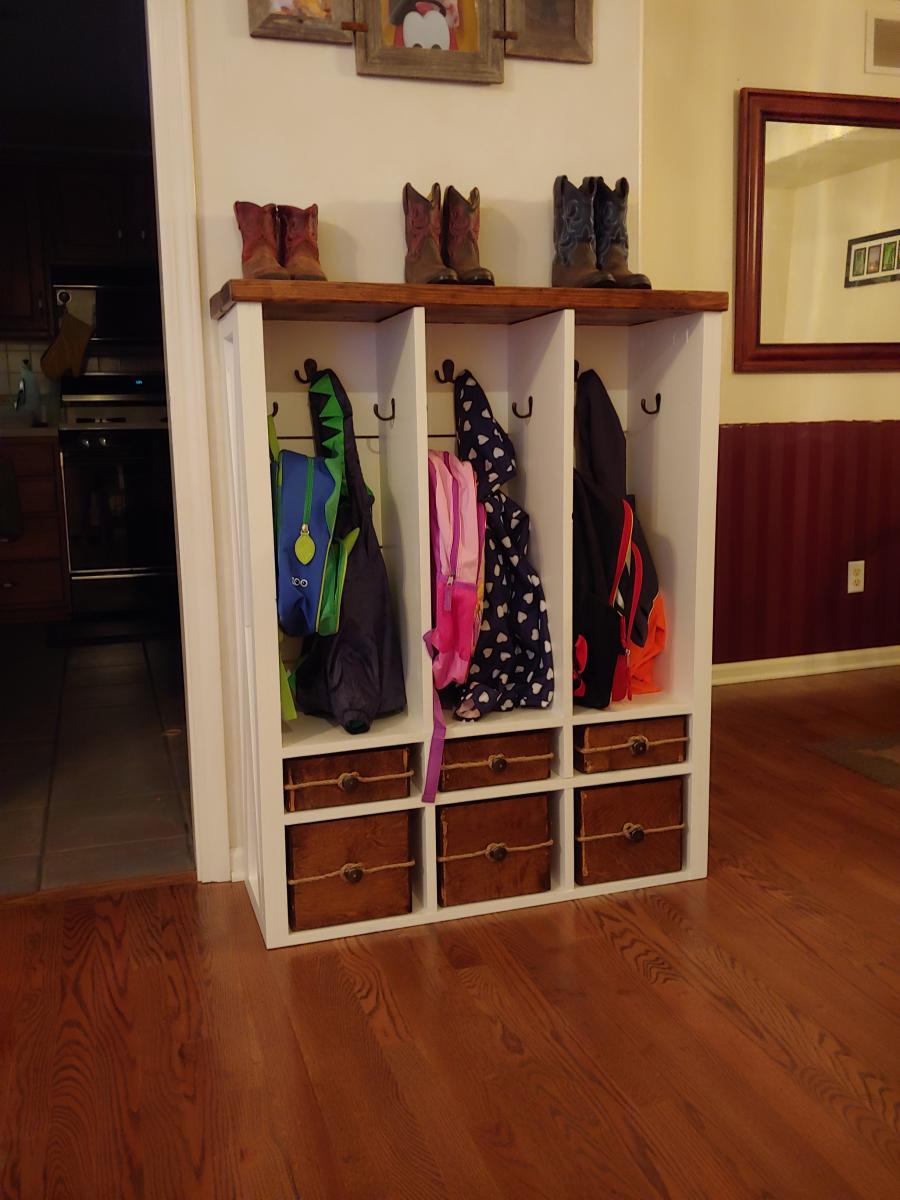
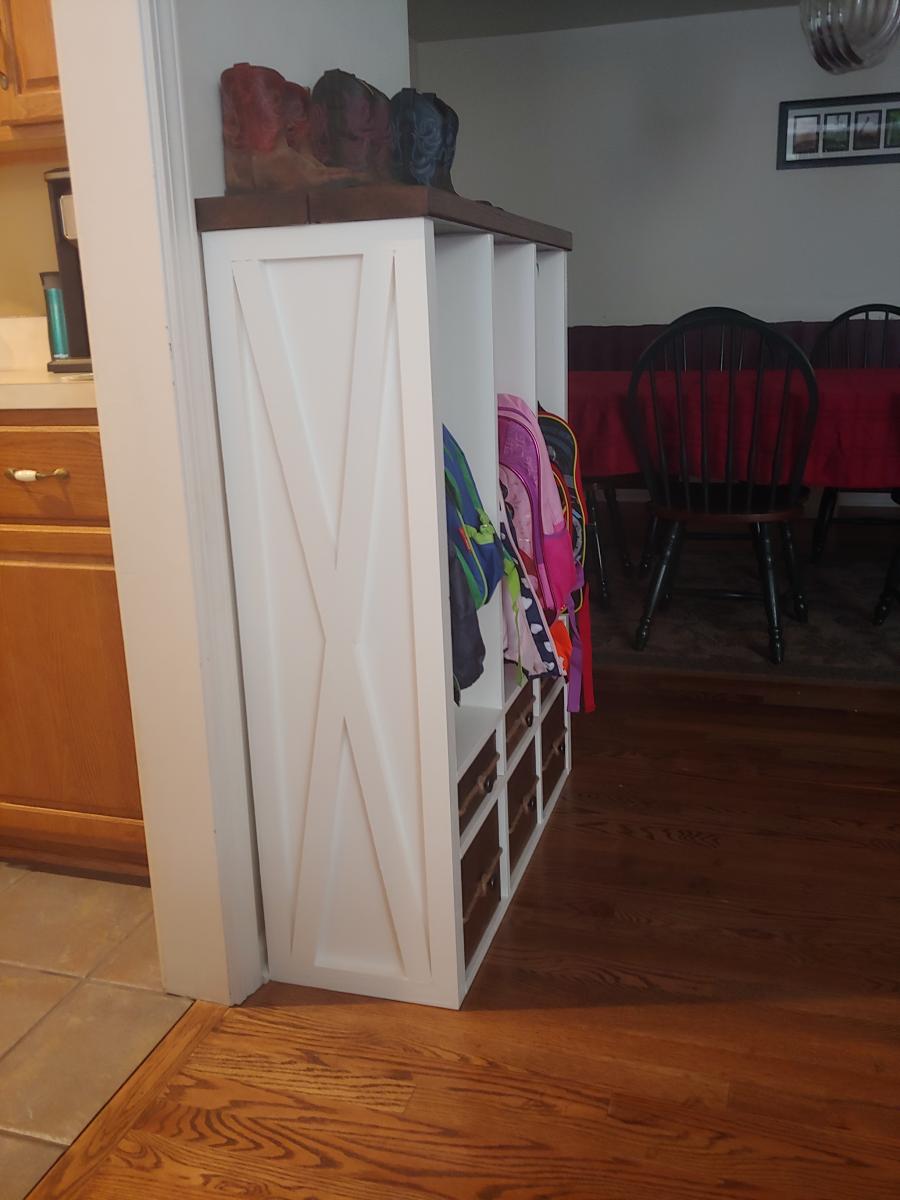
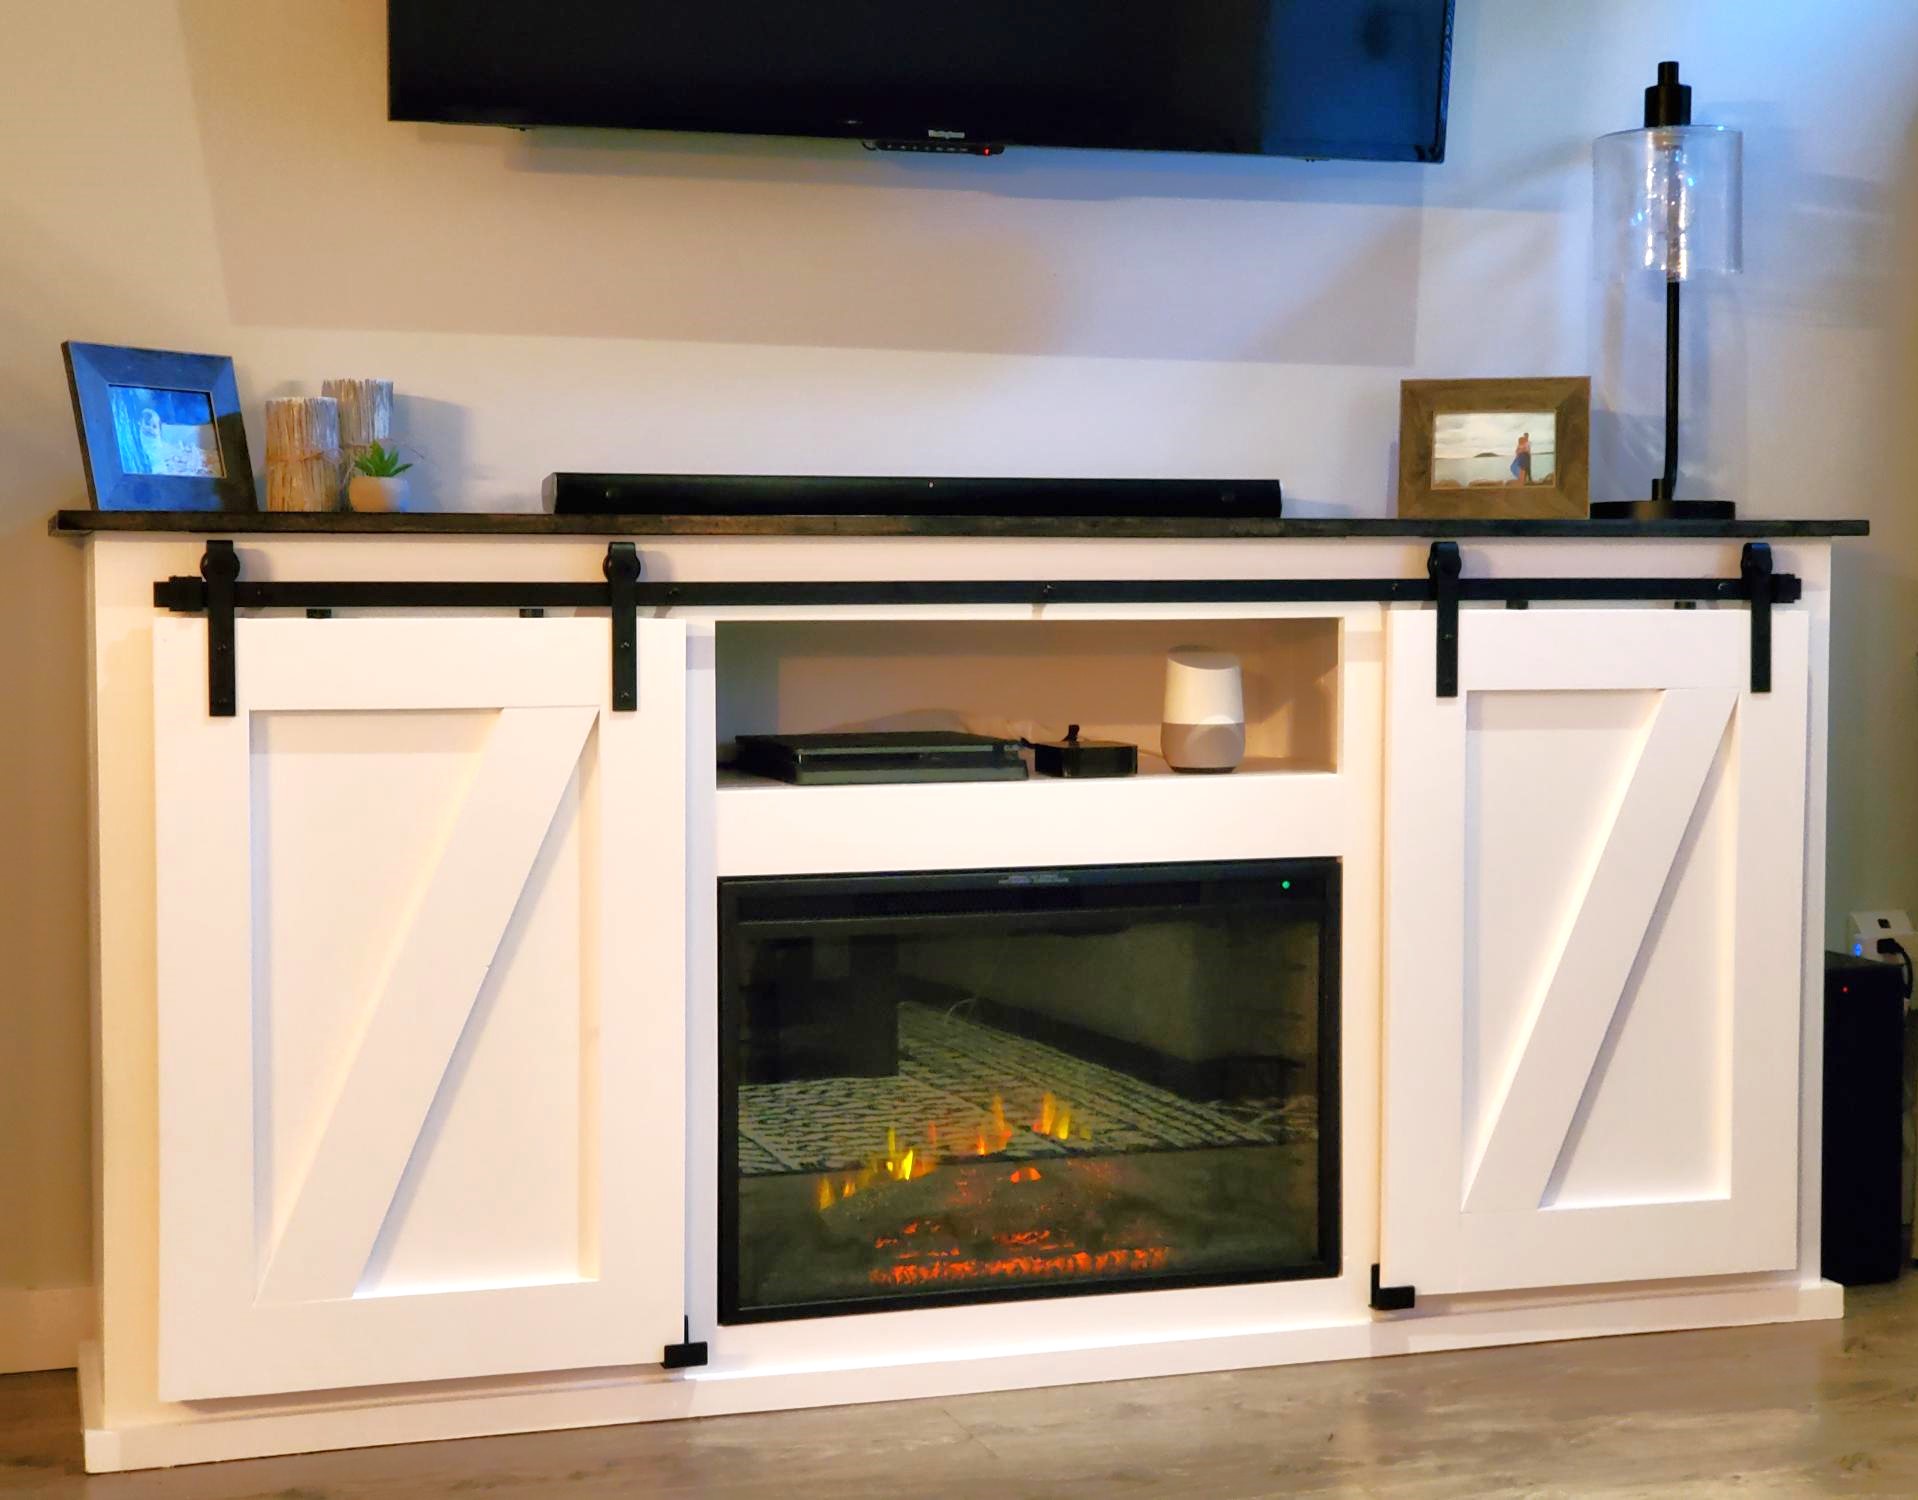
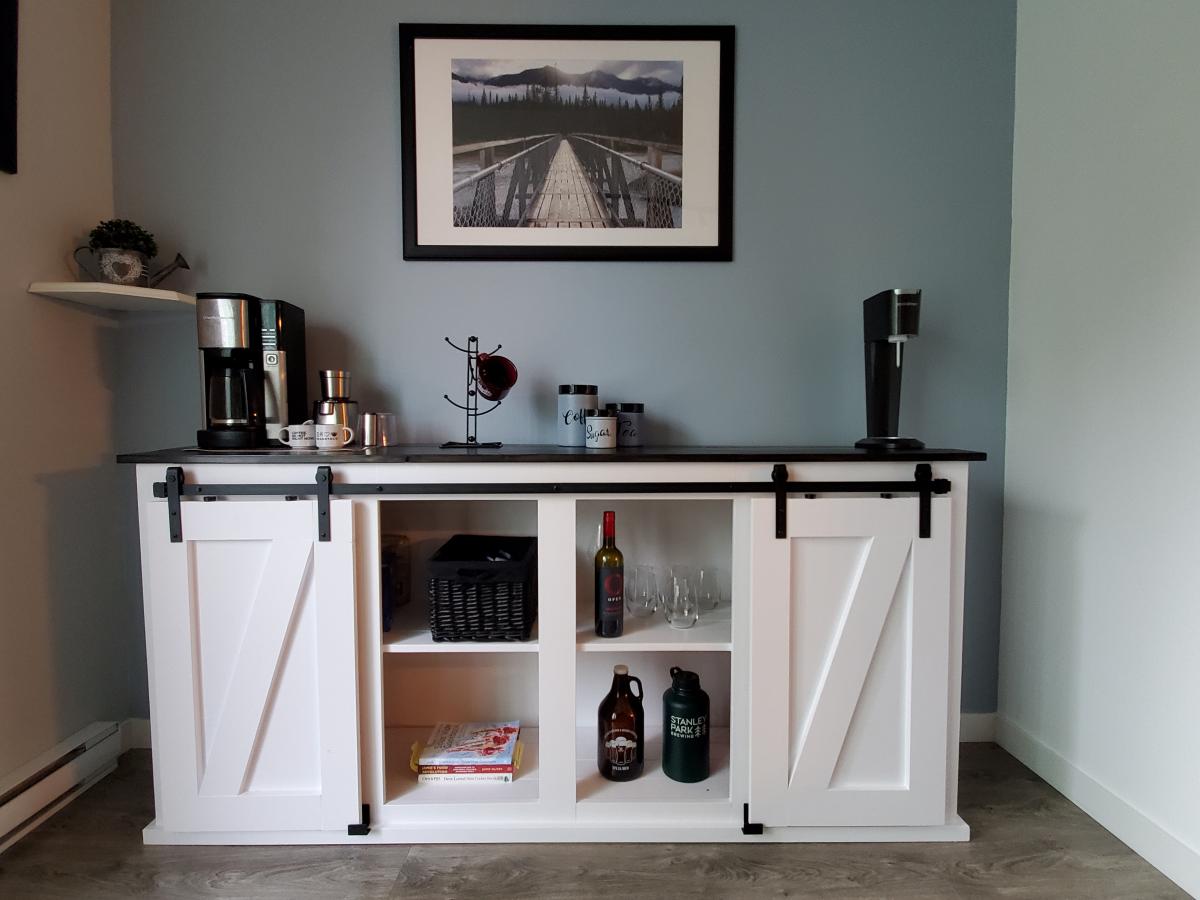
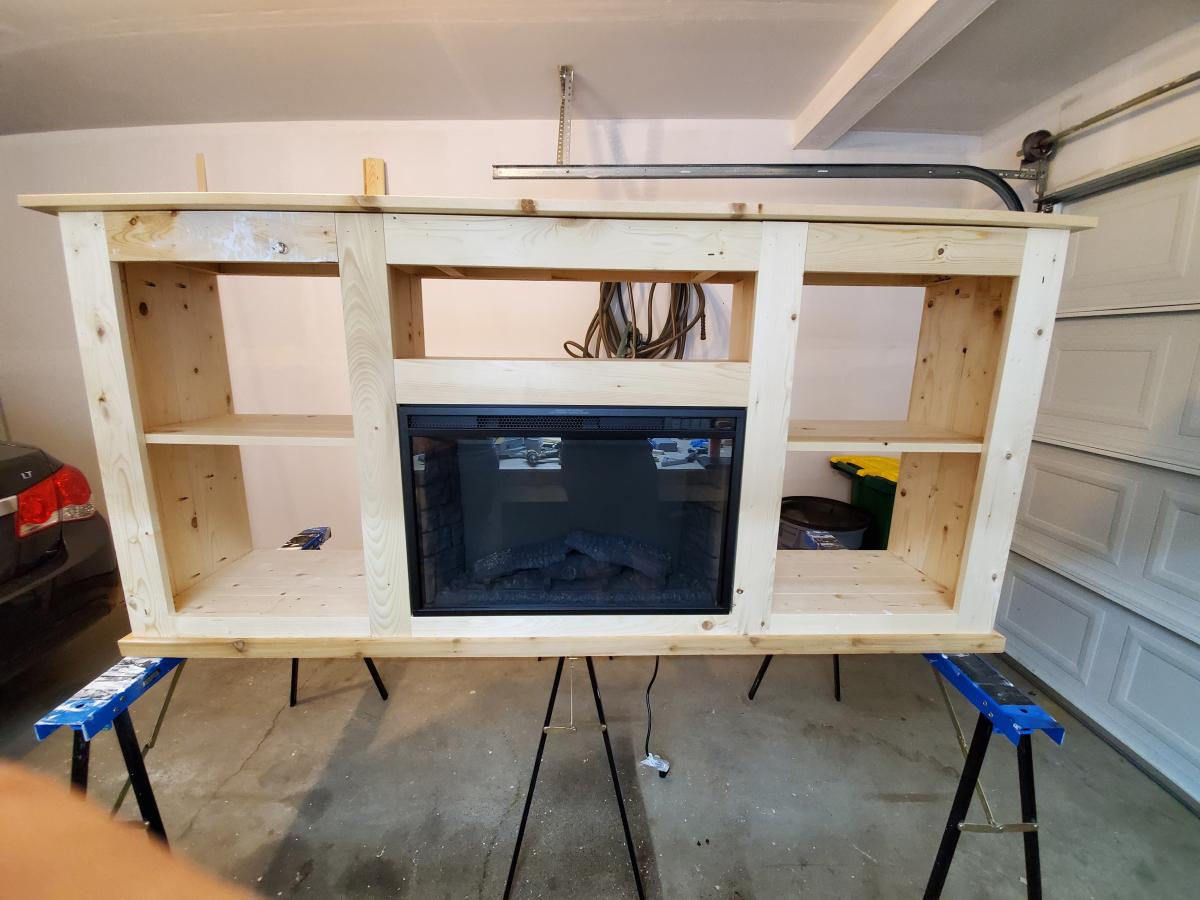
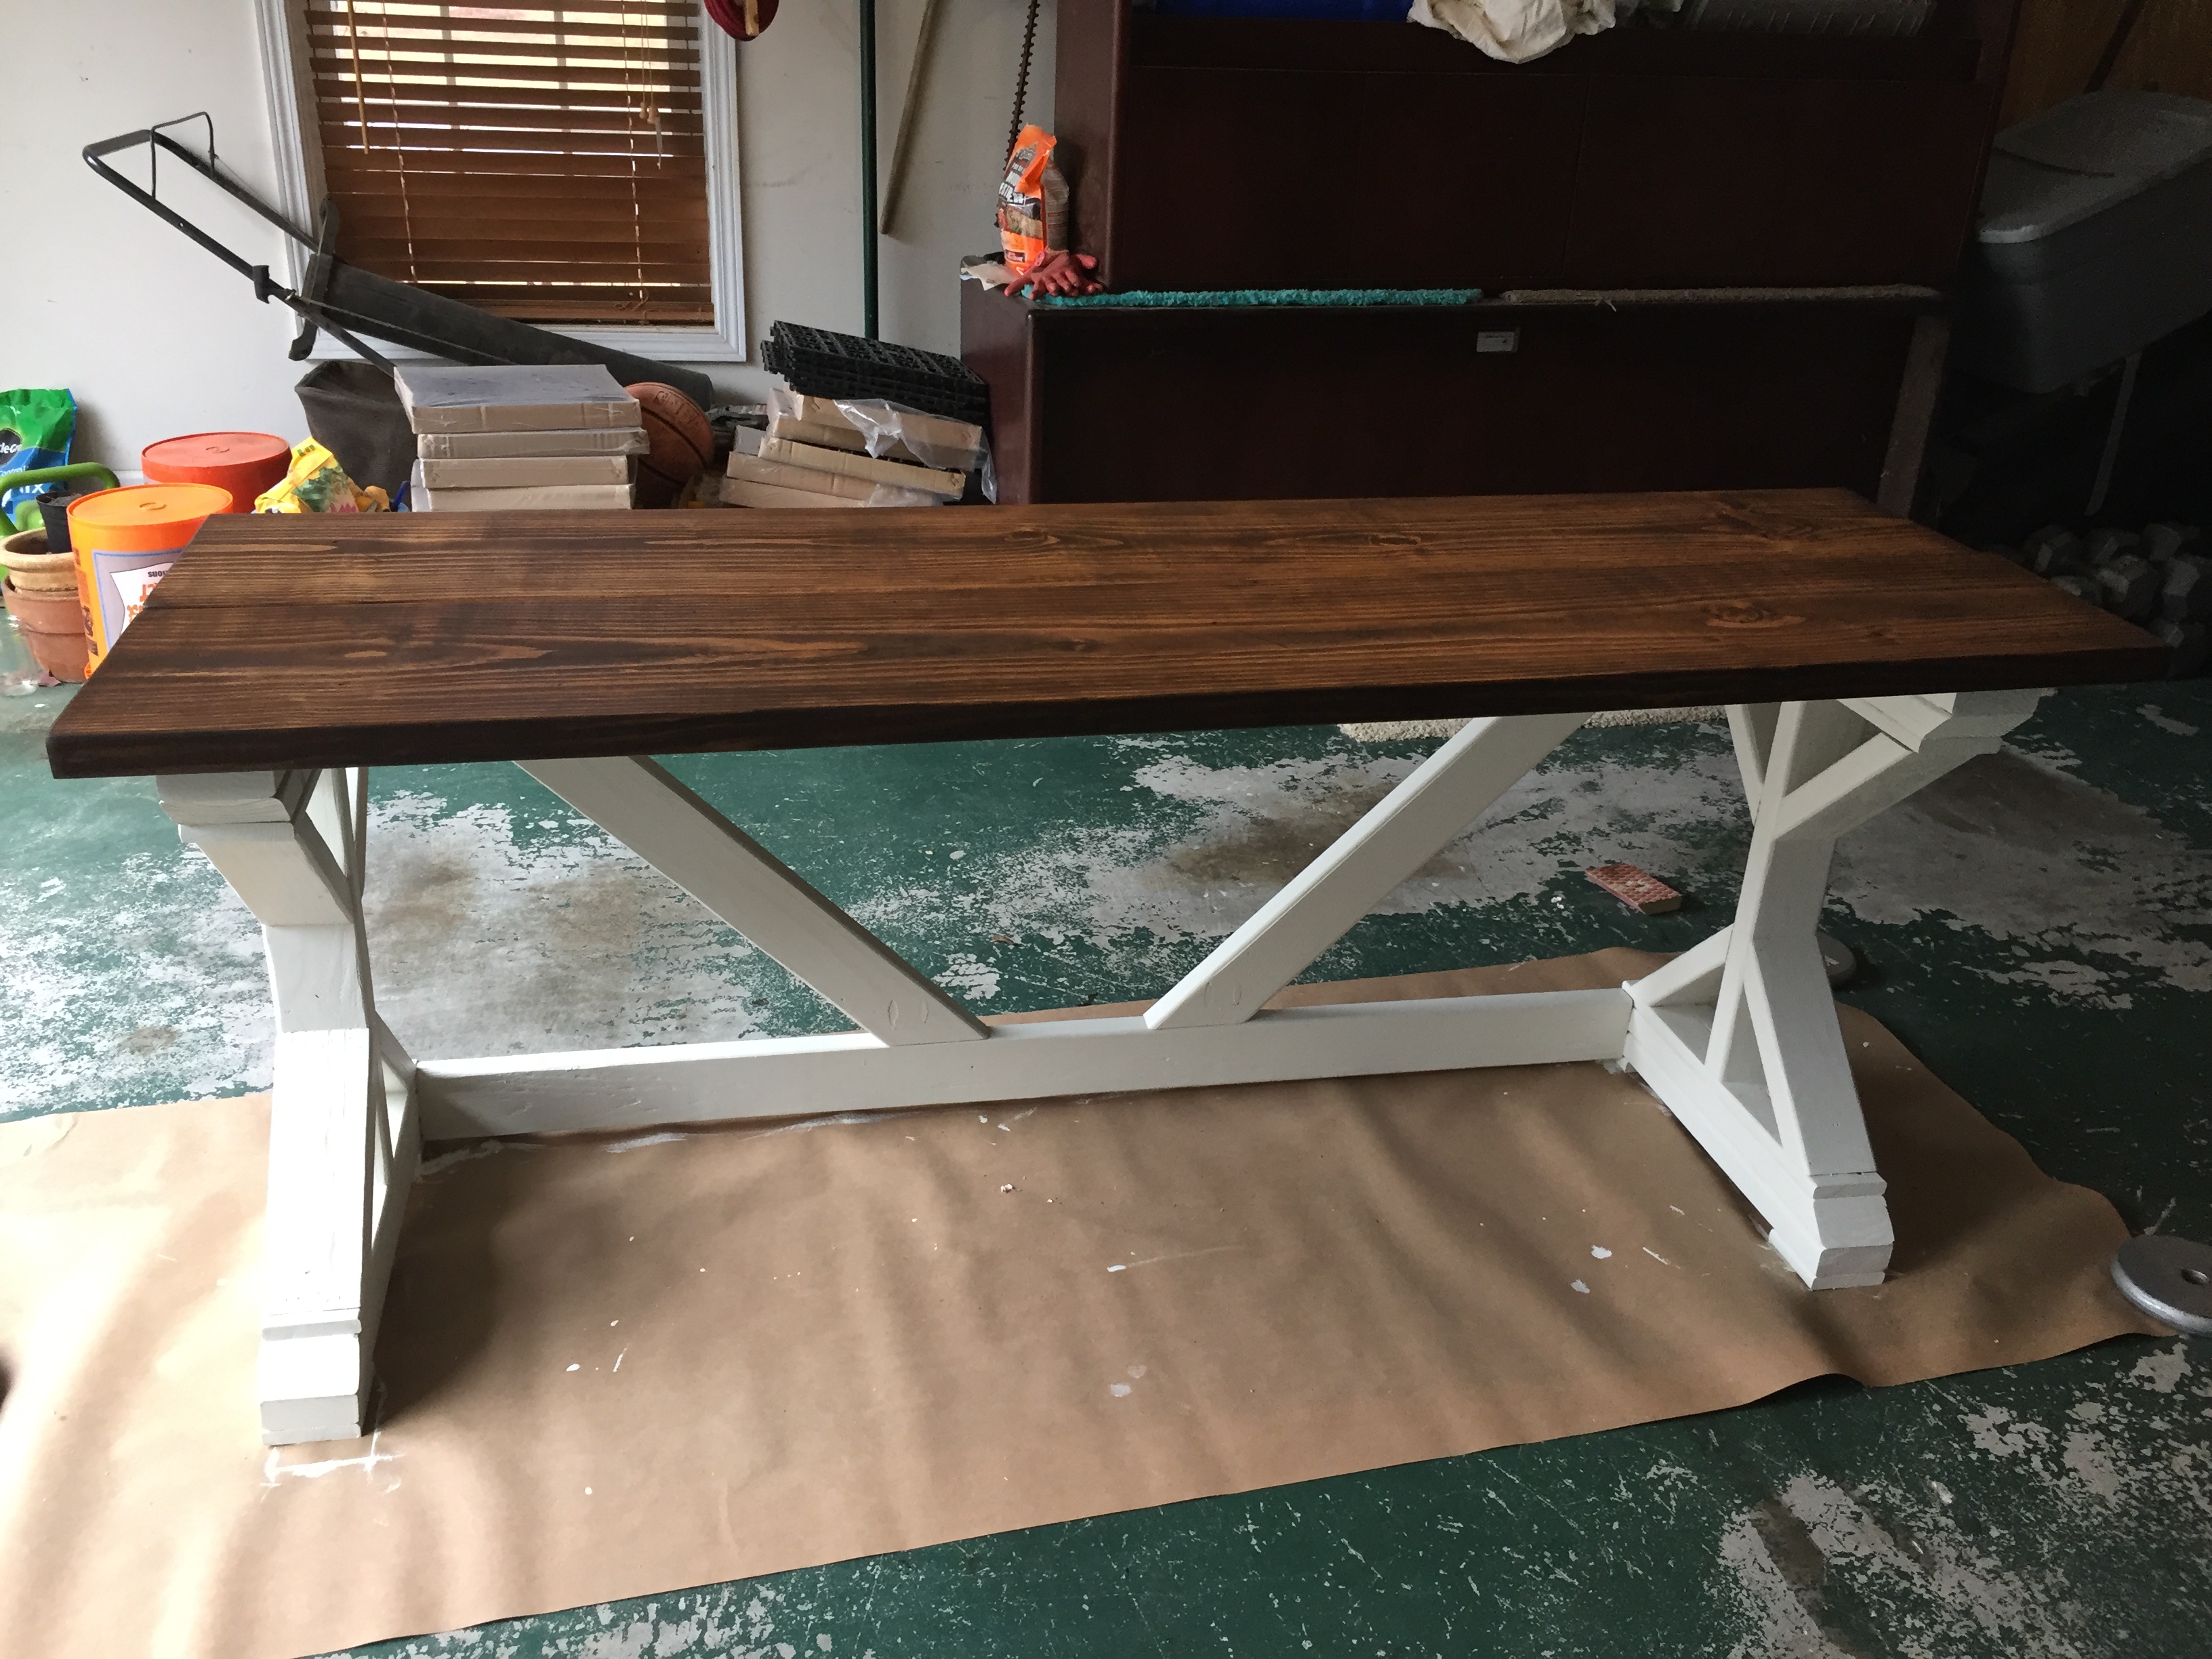
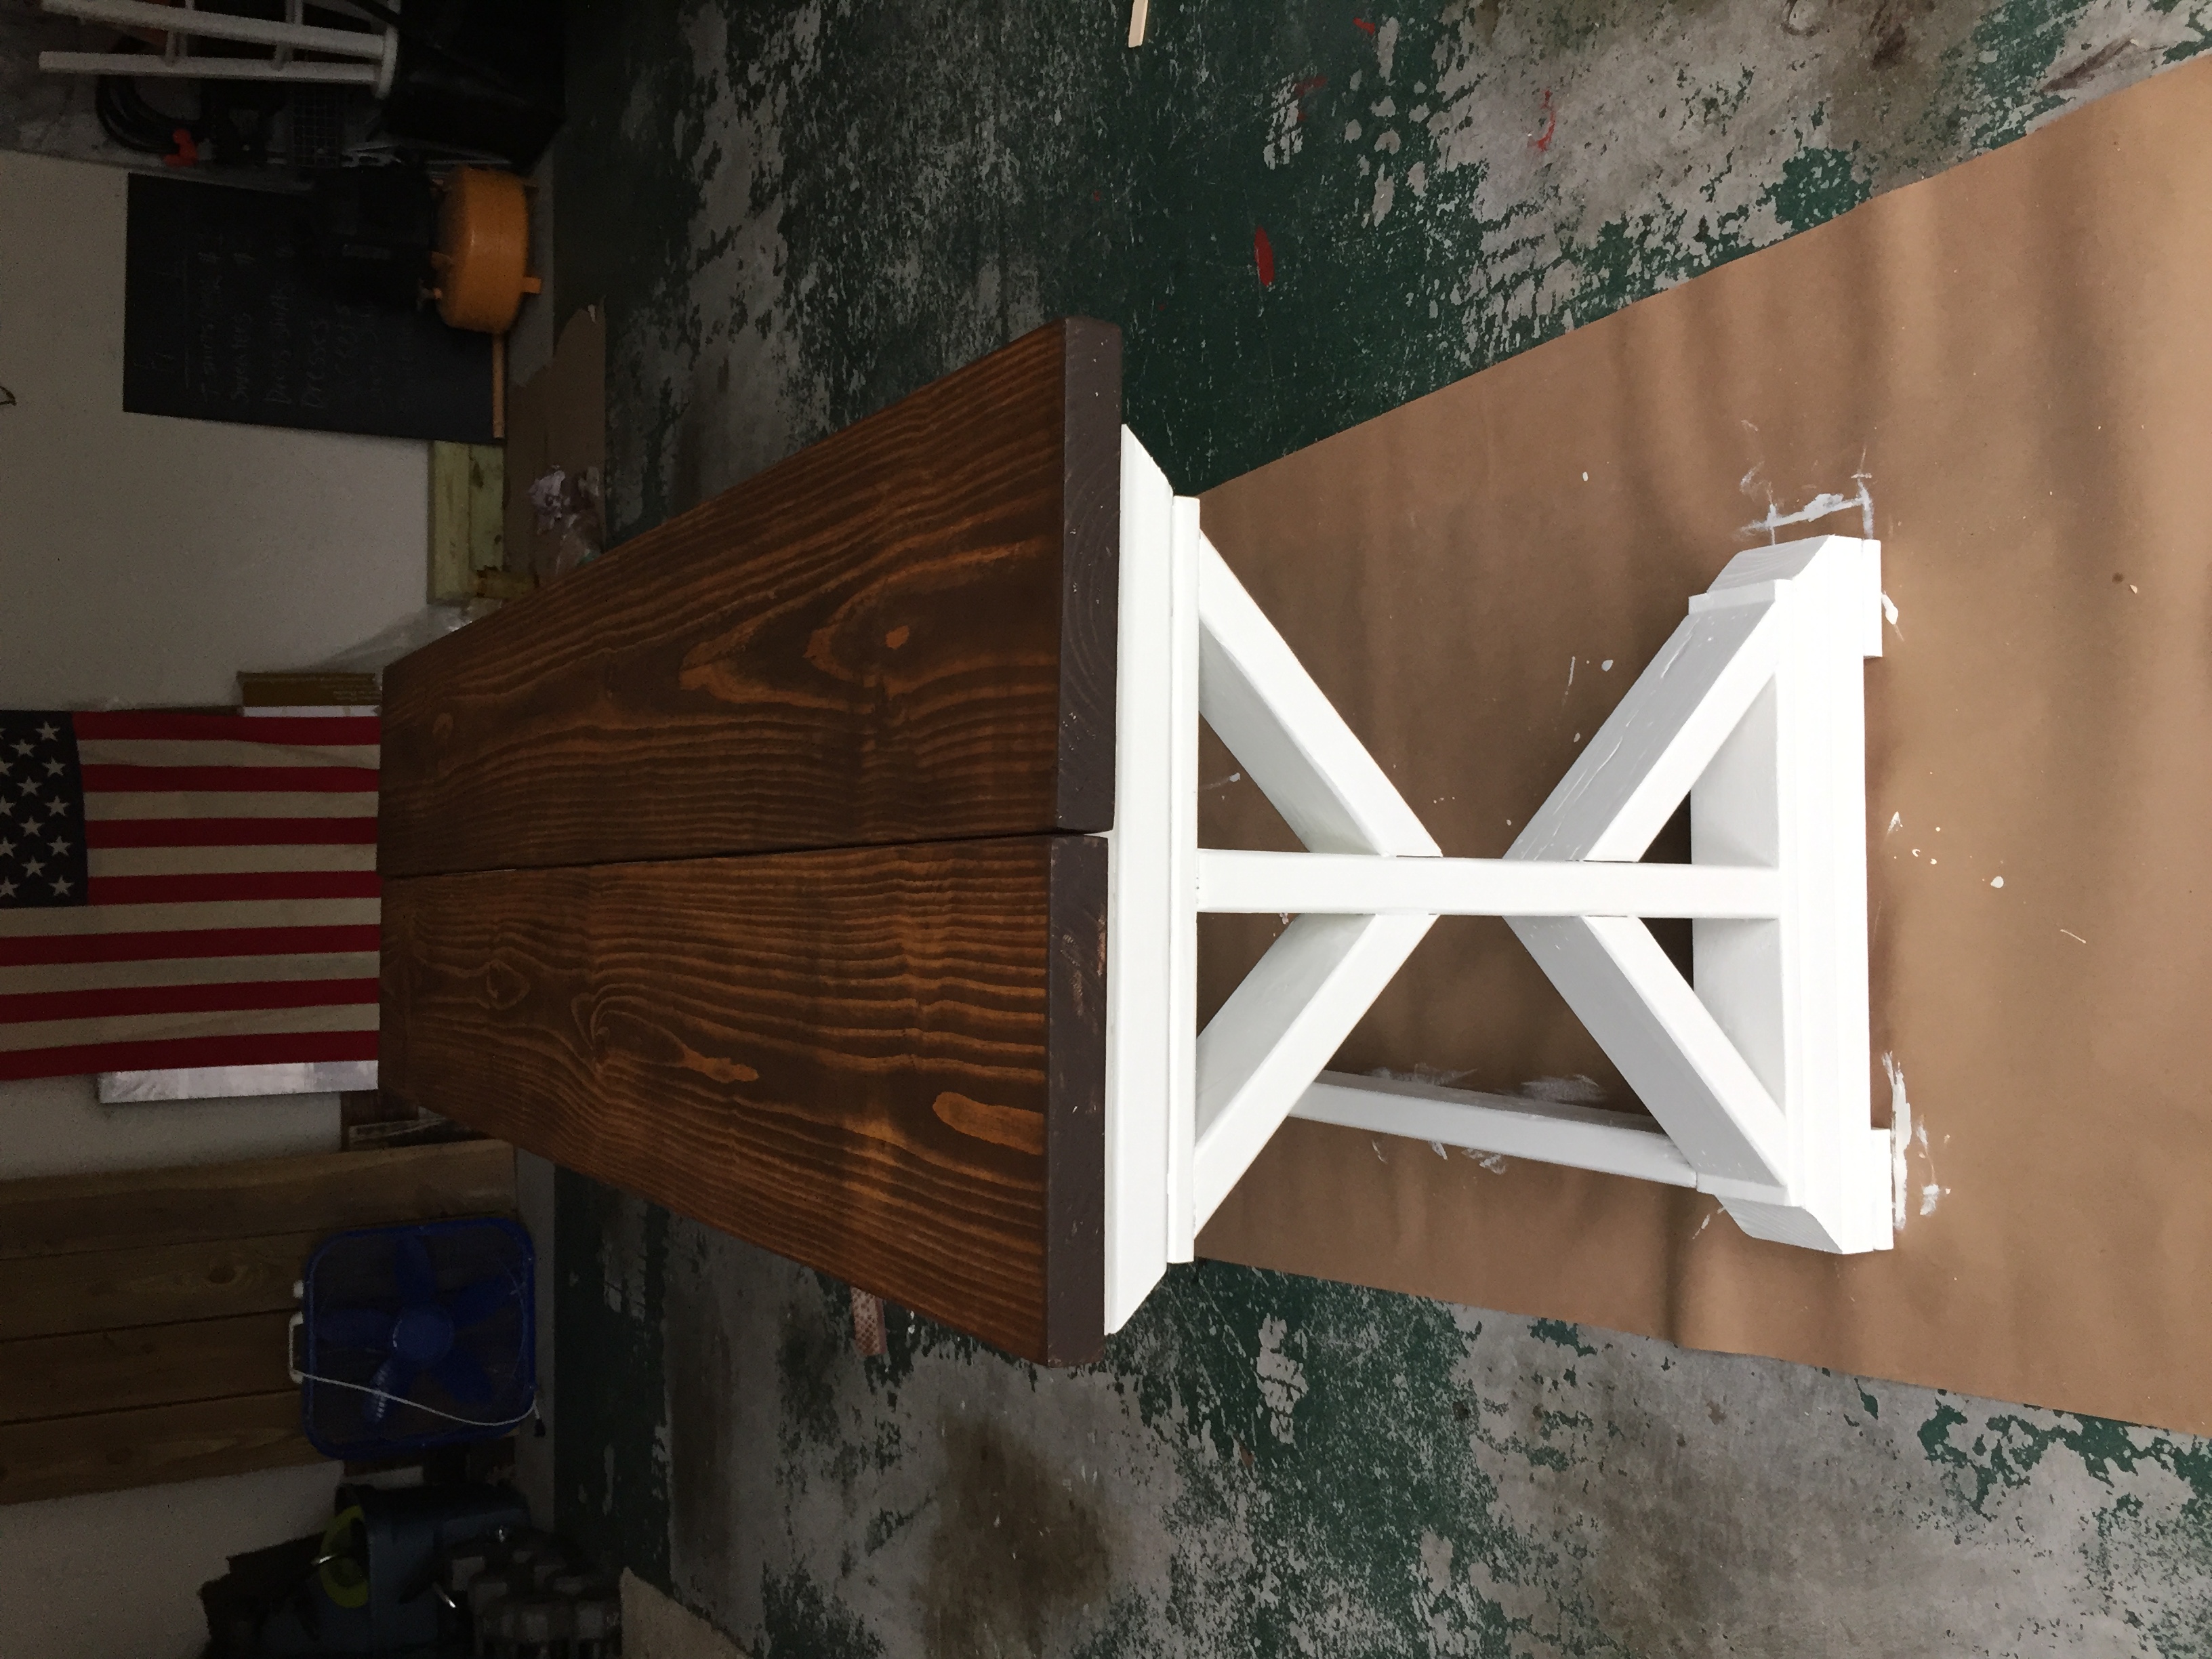
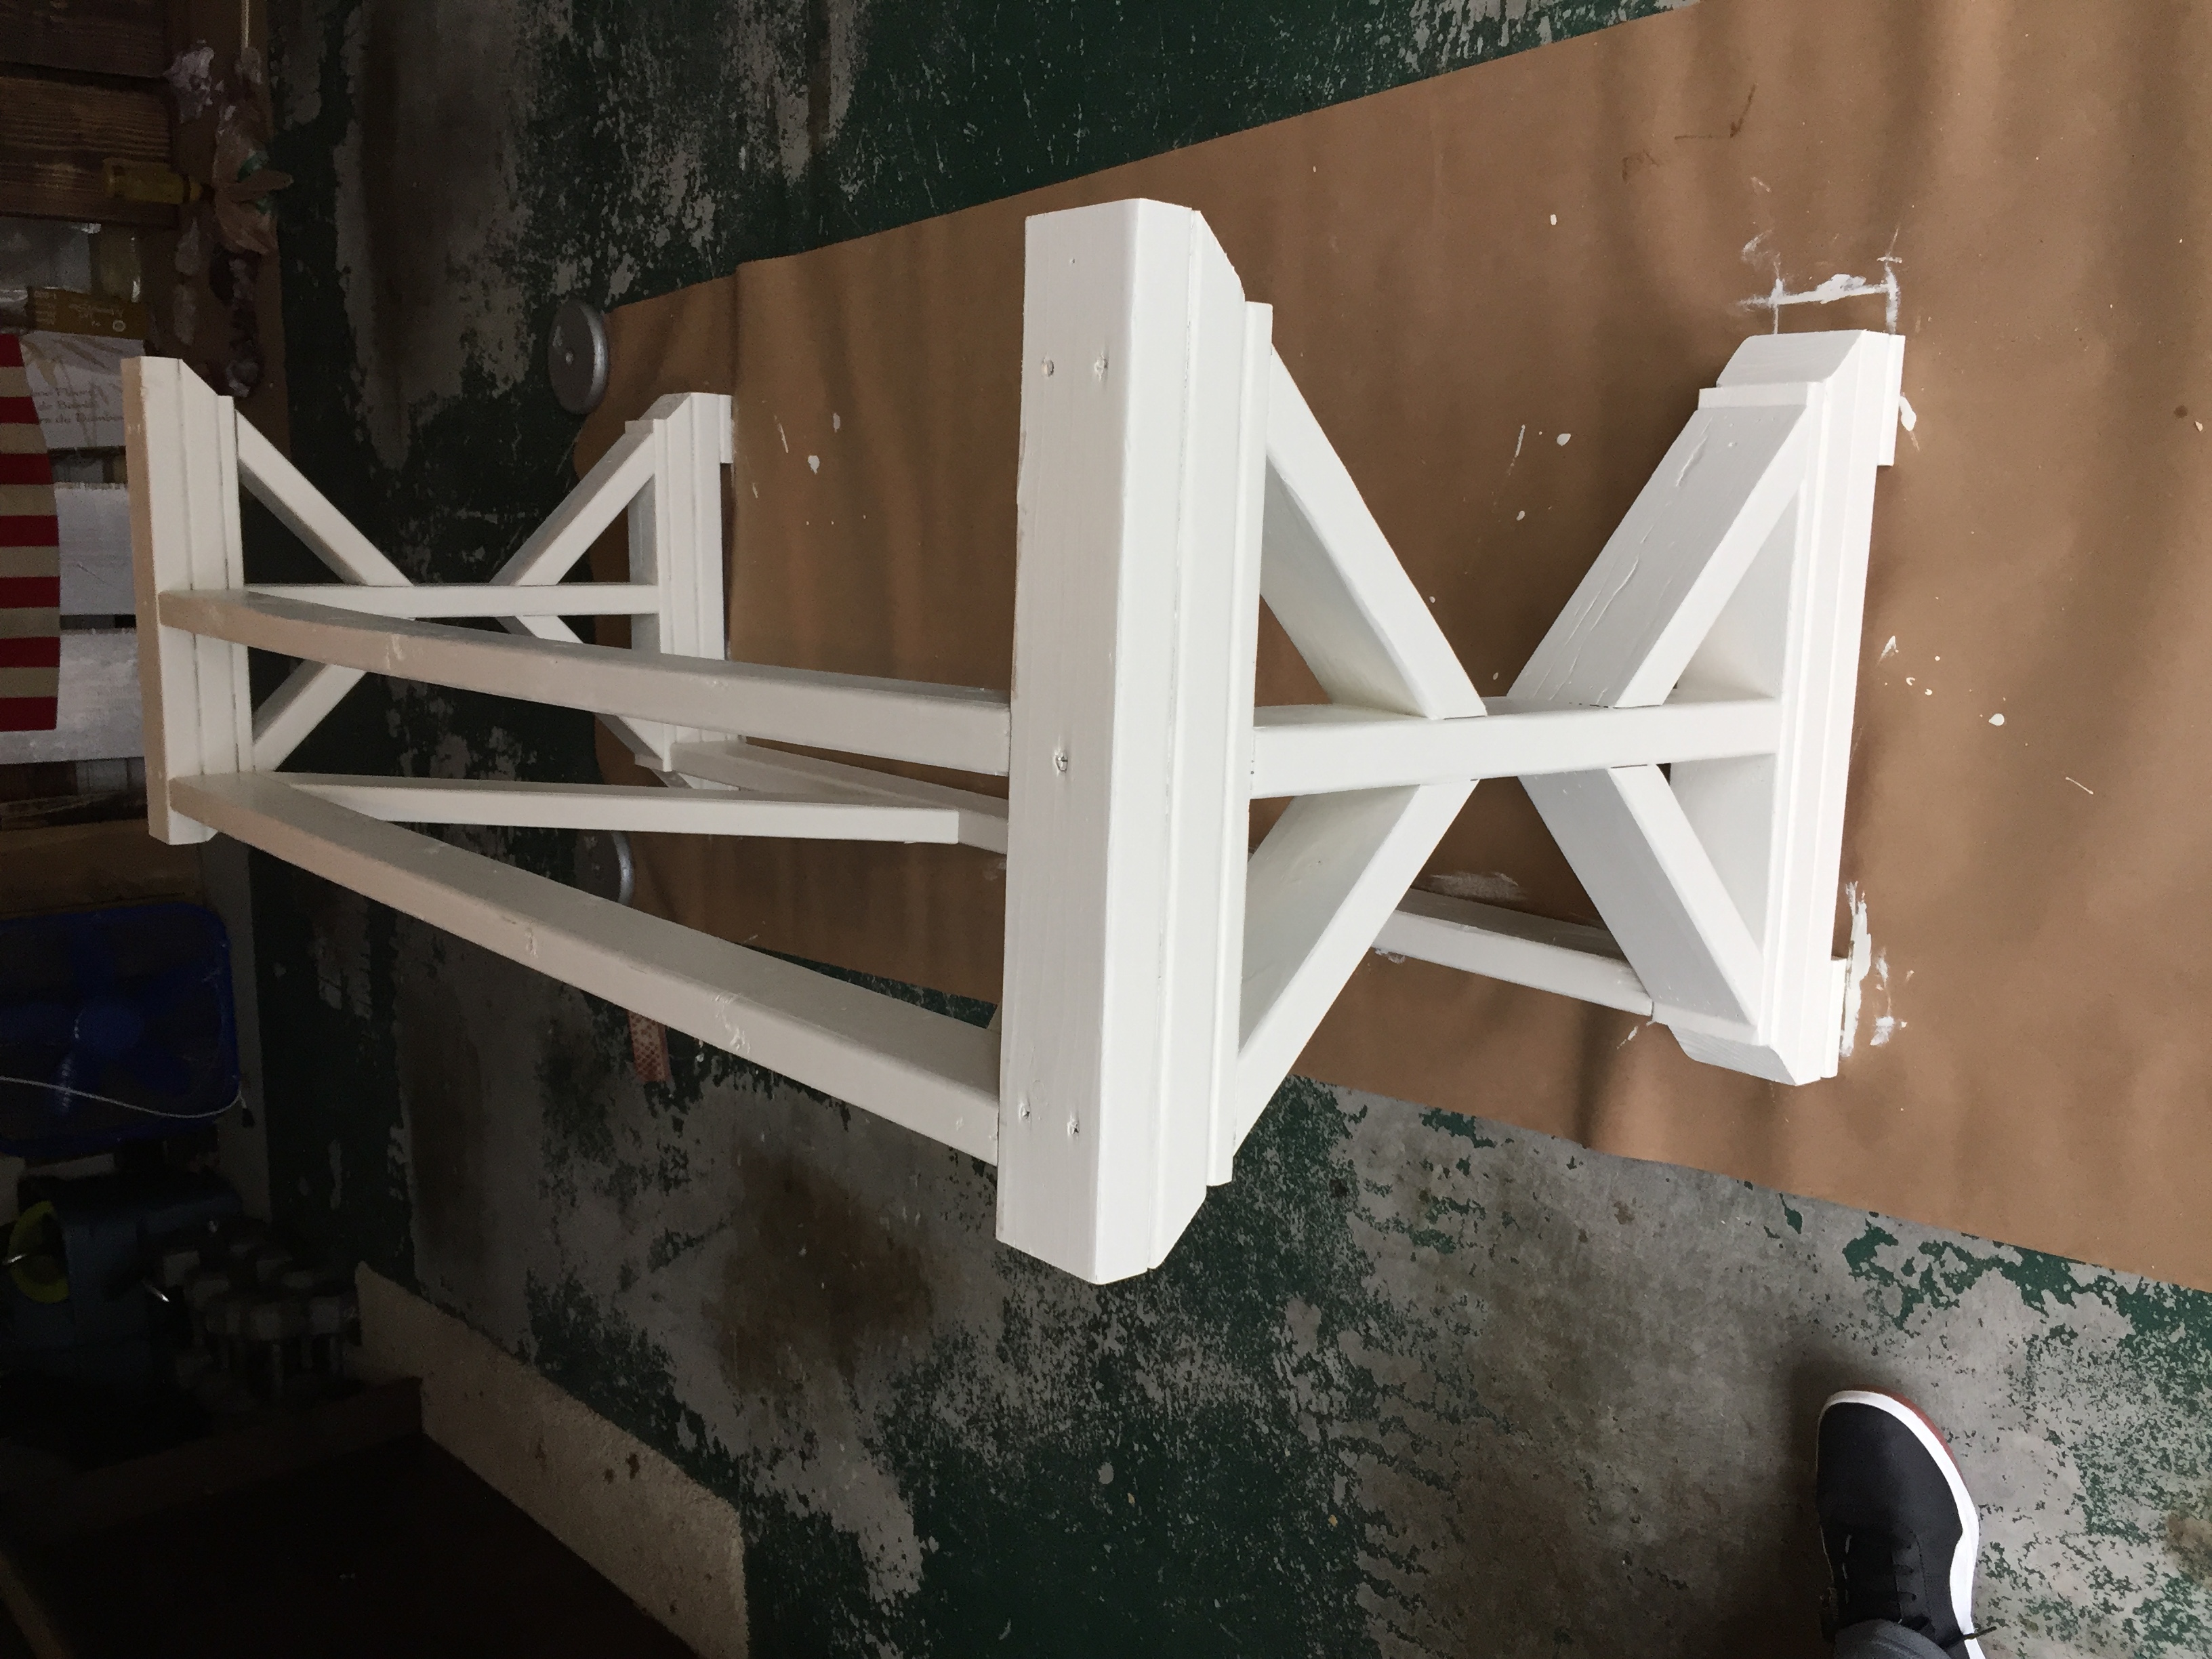
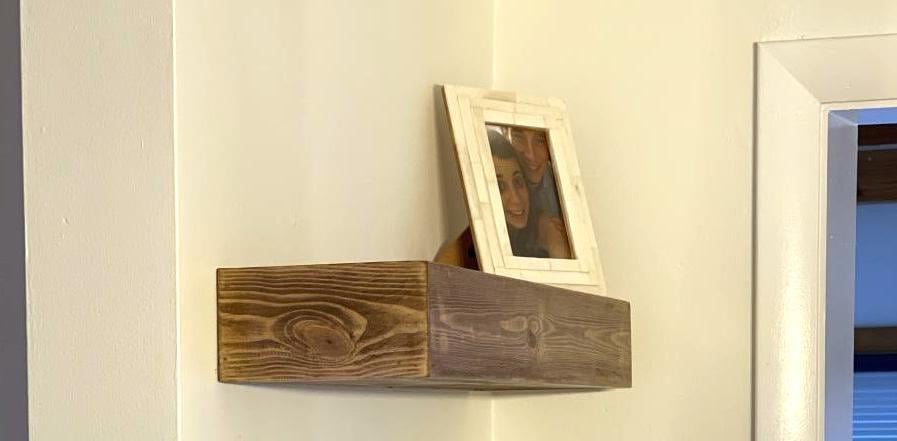
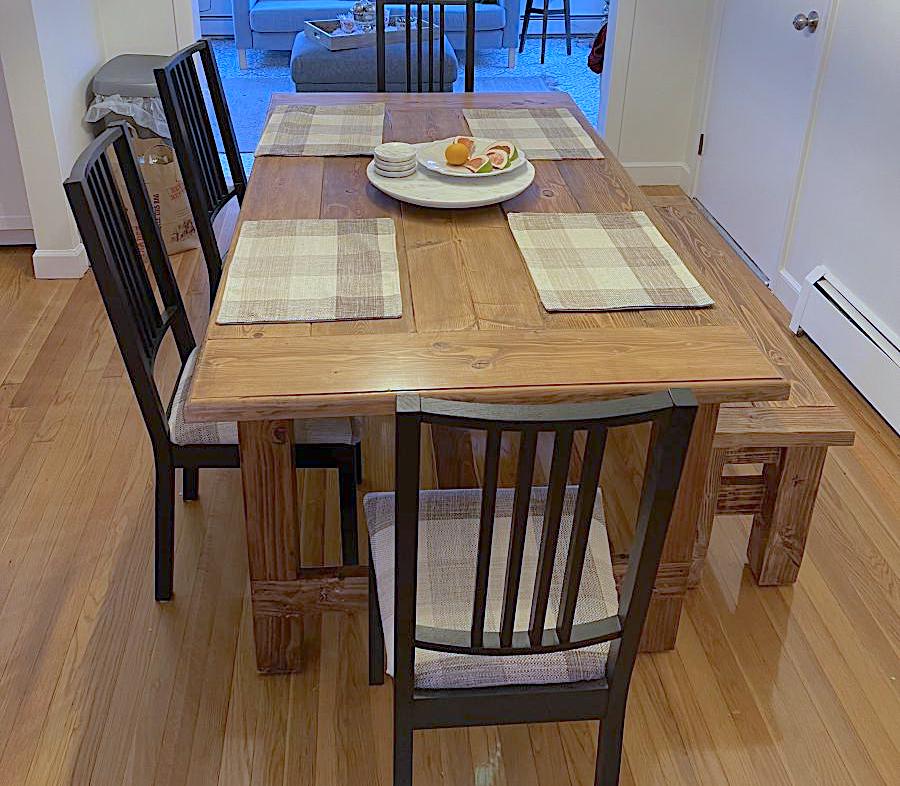
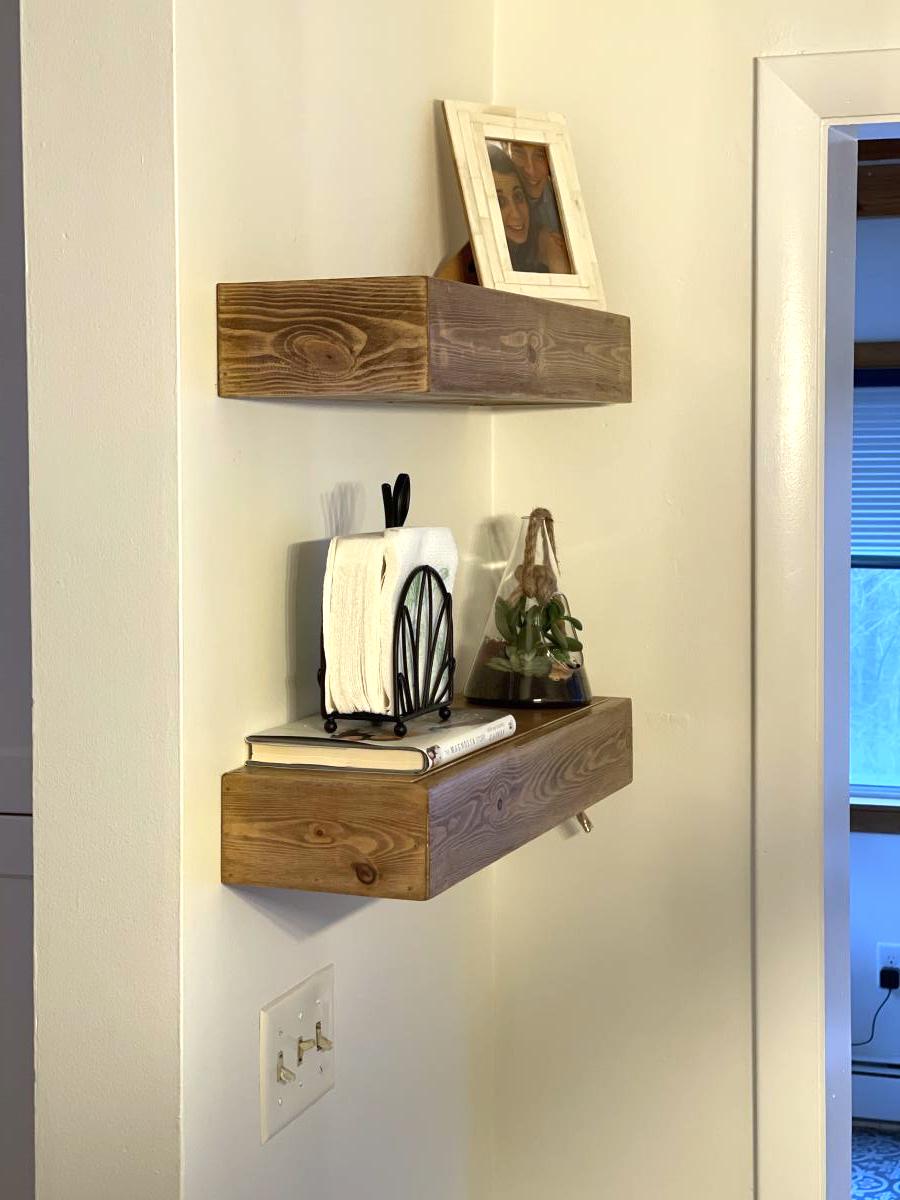
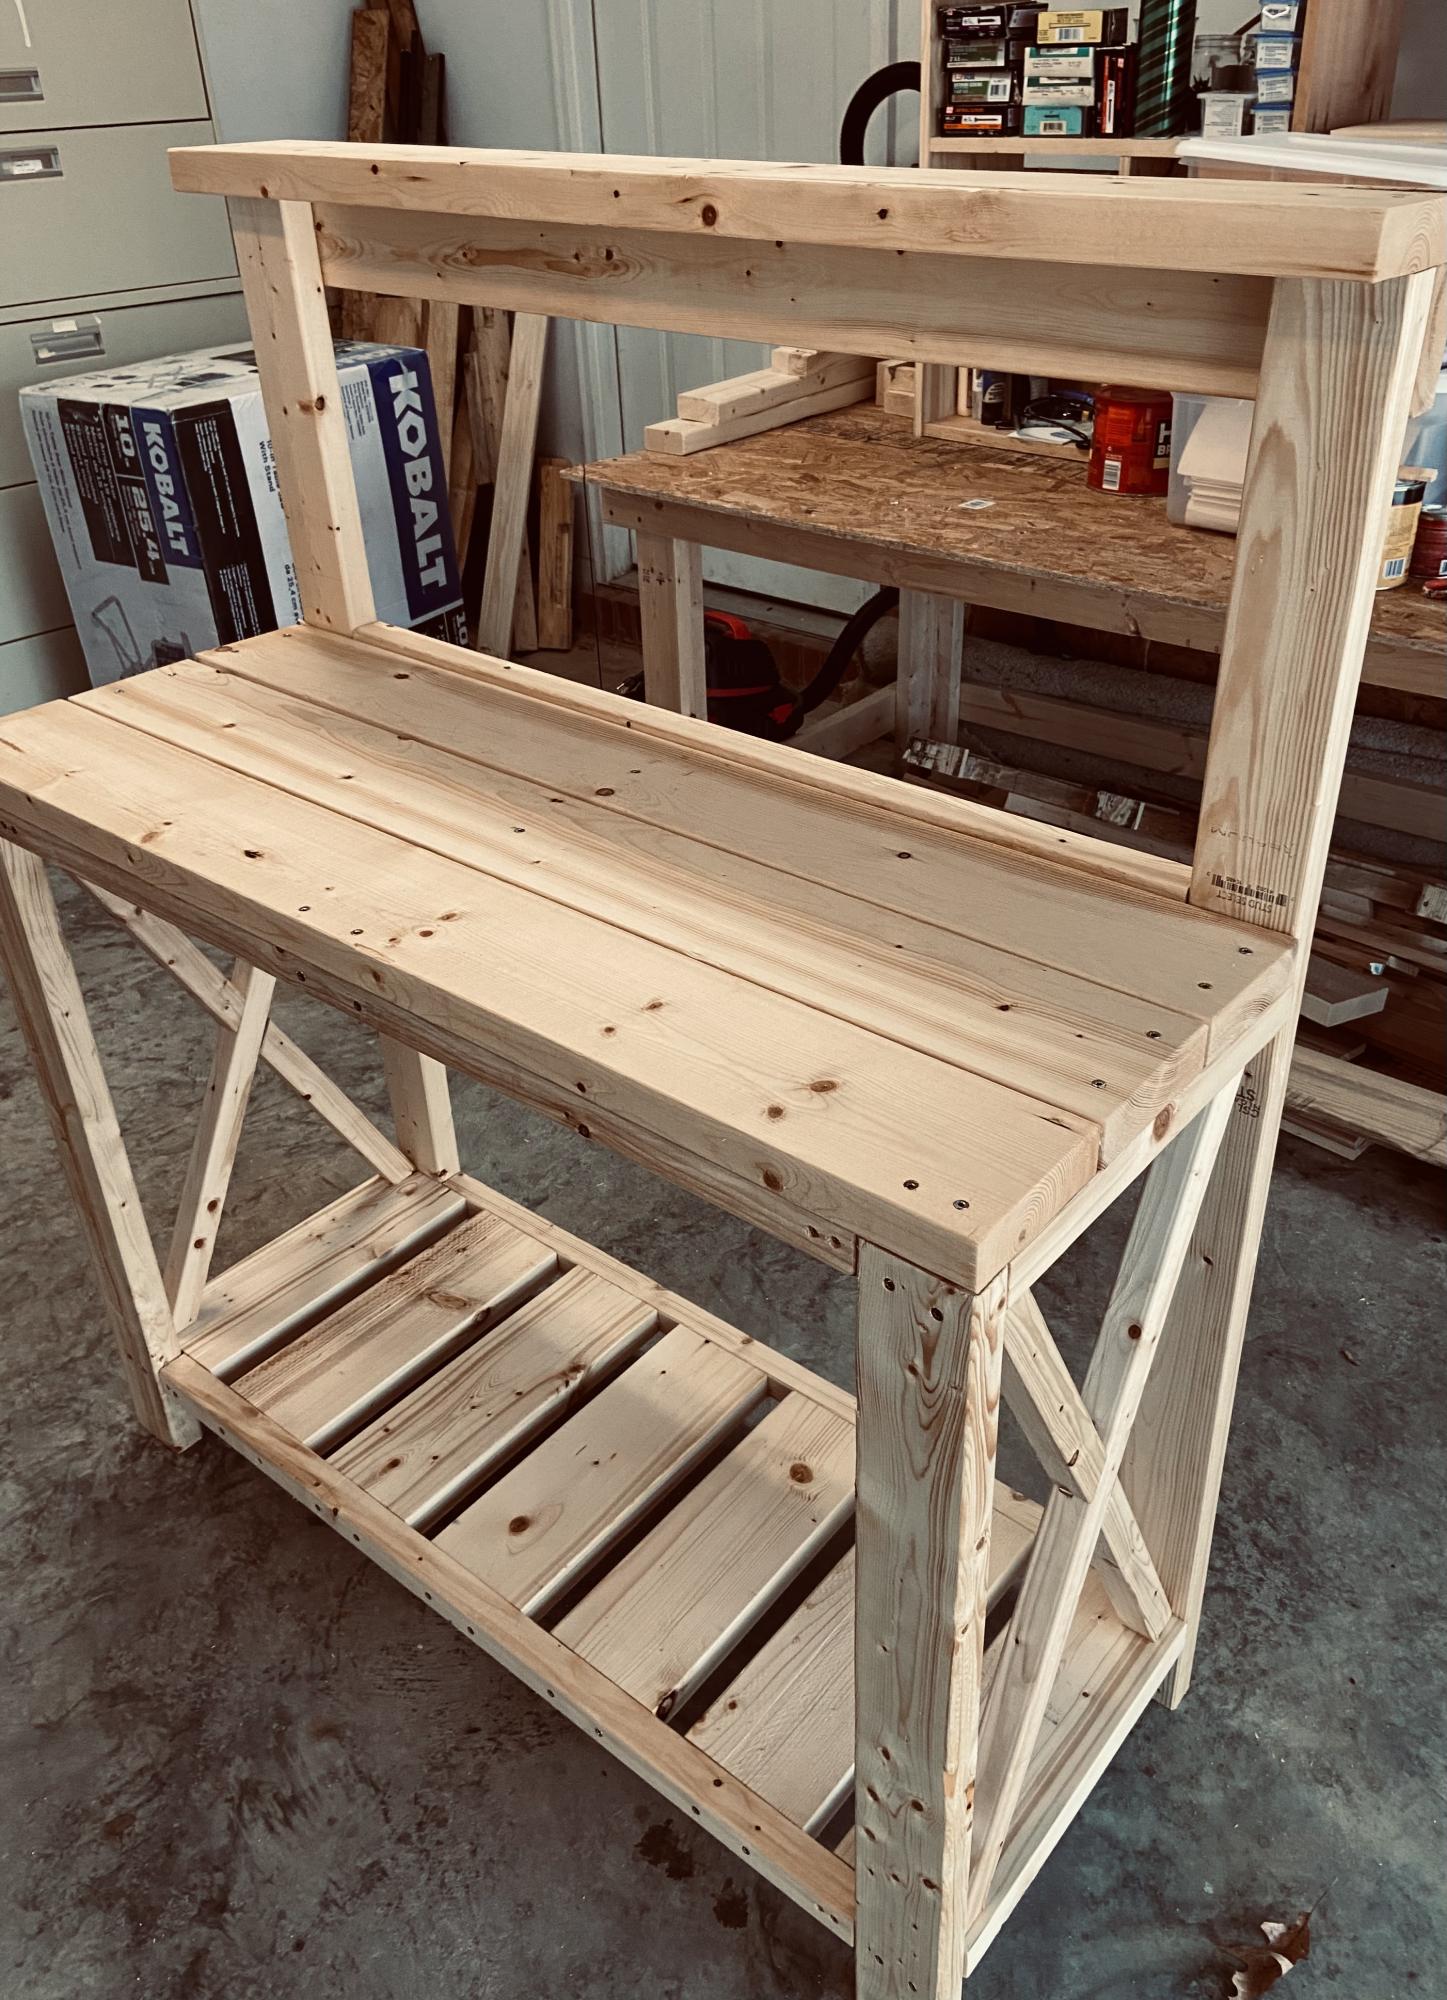
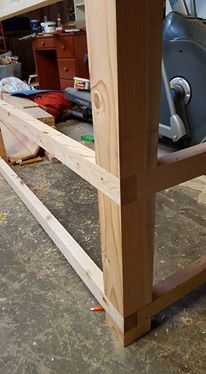
My version "Michaela's Kitchen Island"
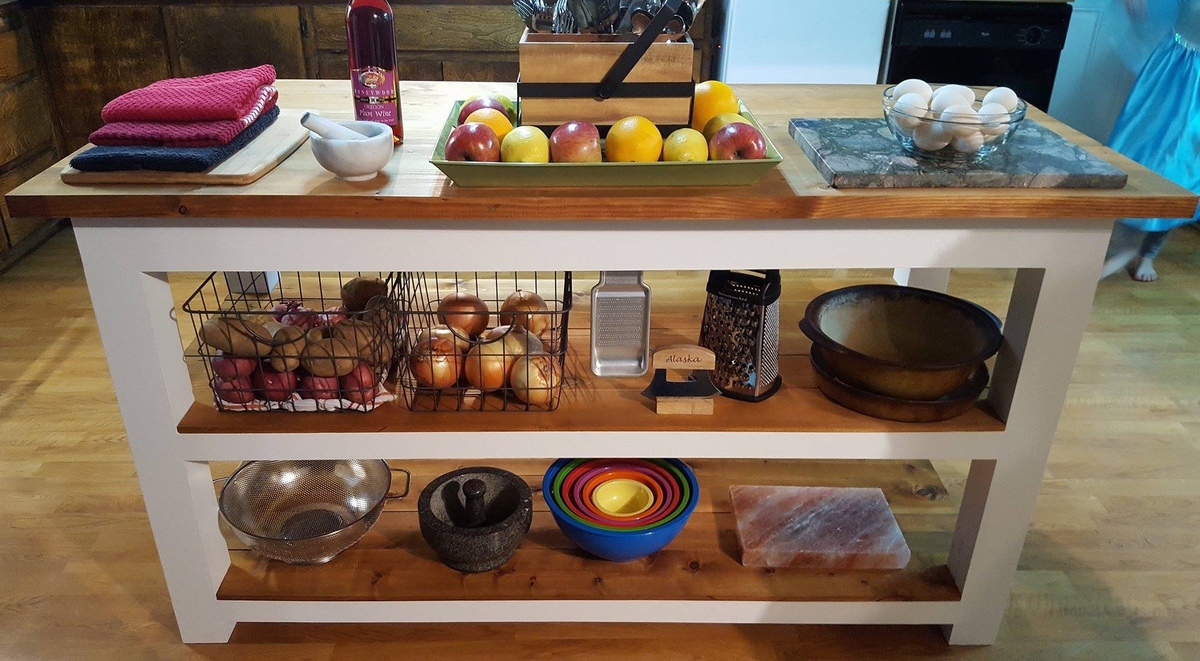
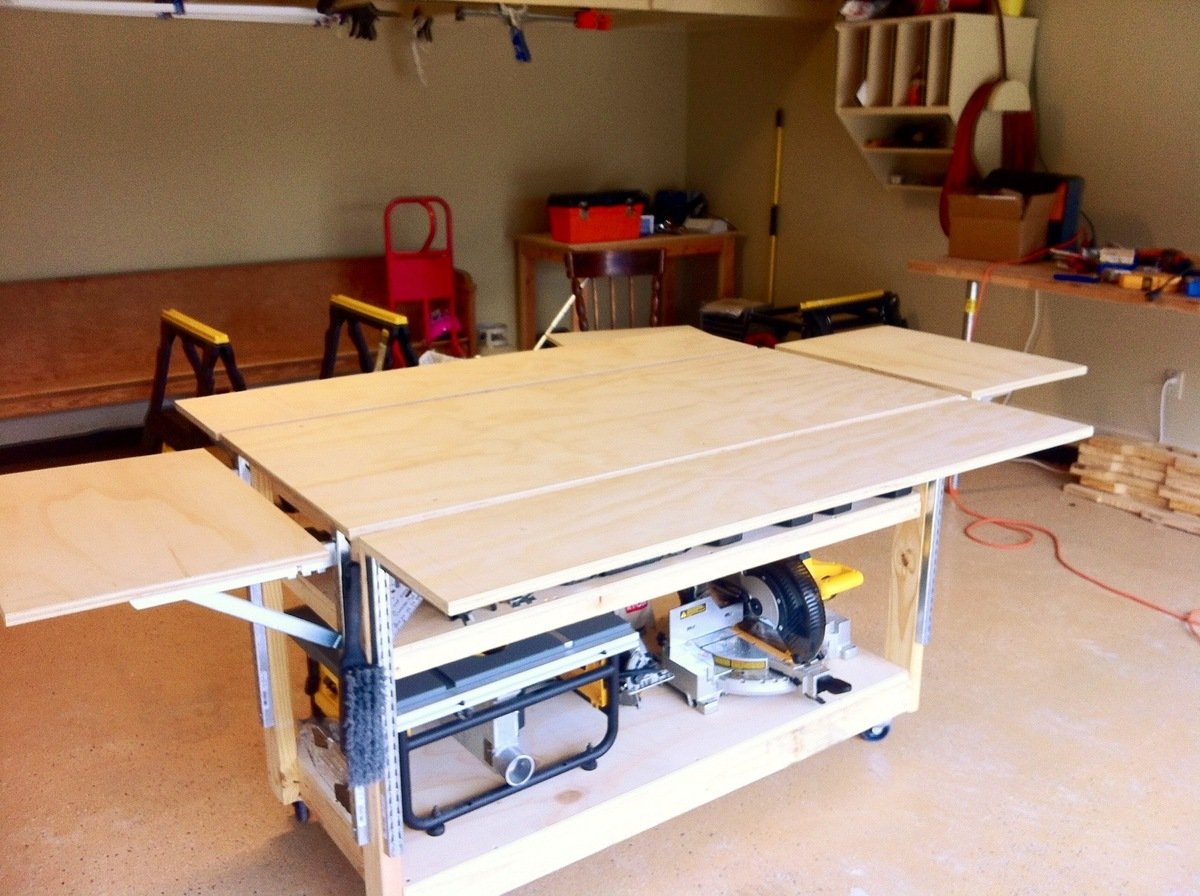
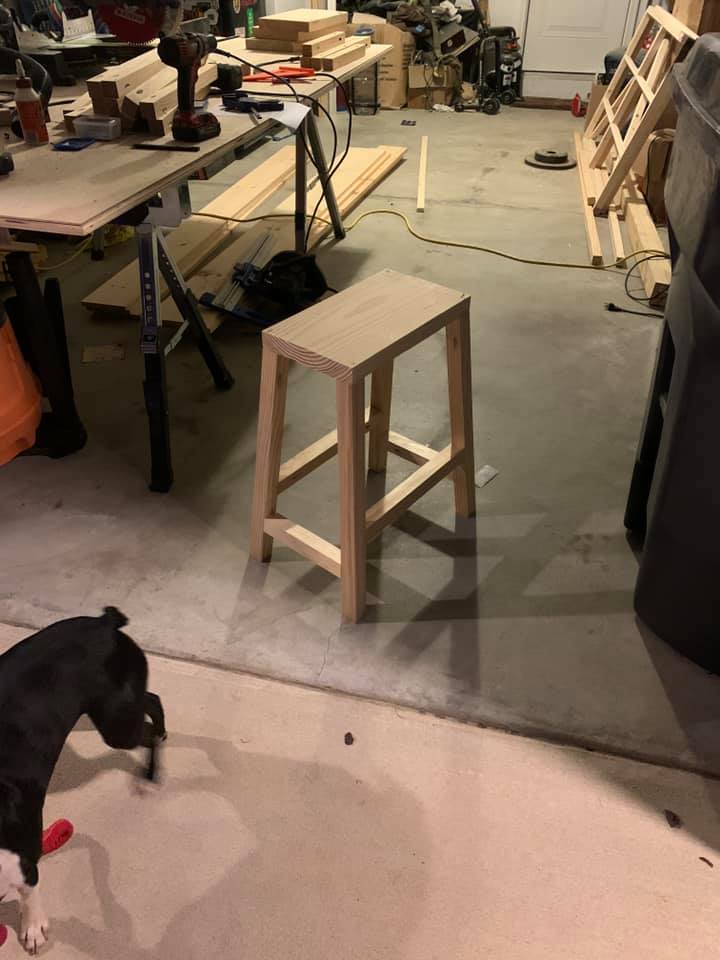
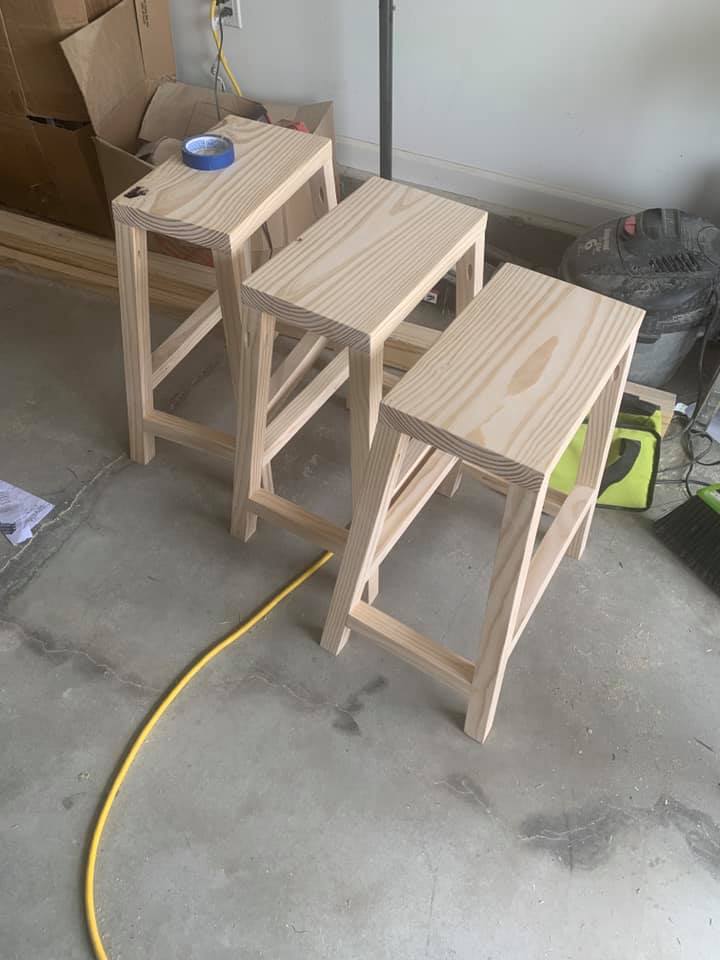
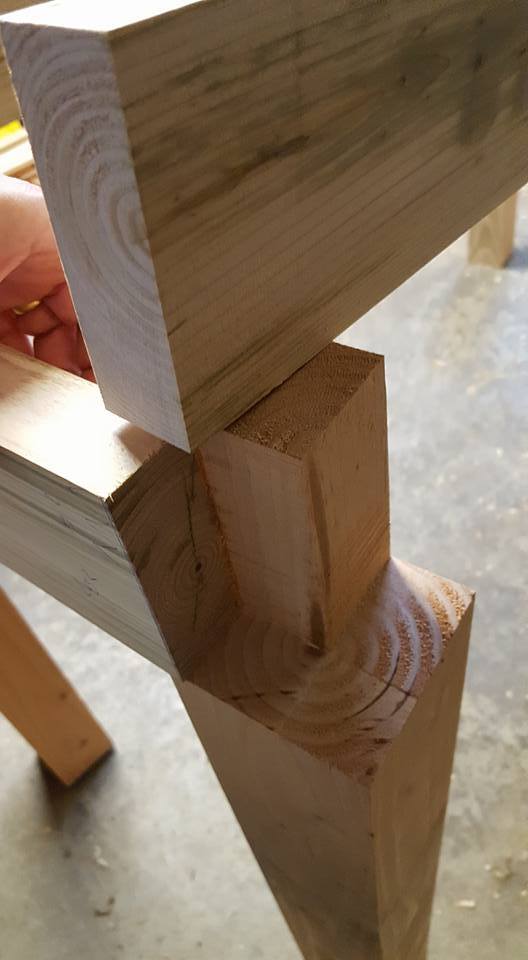
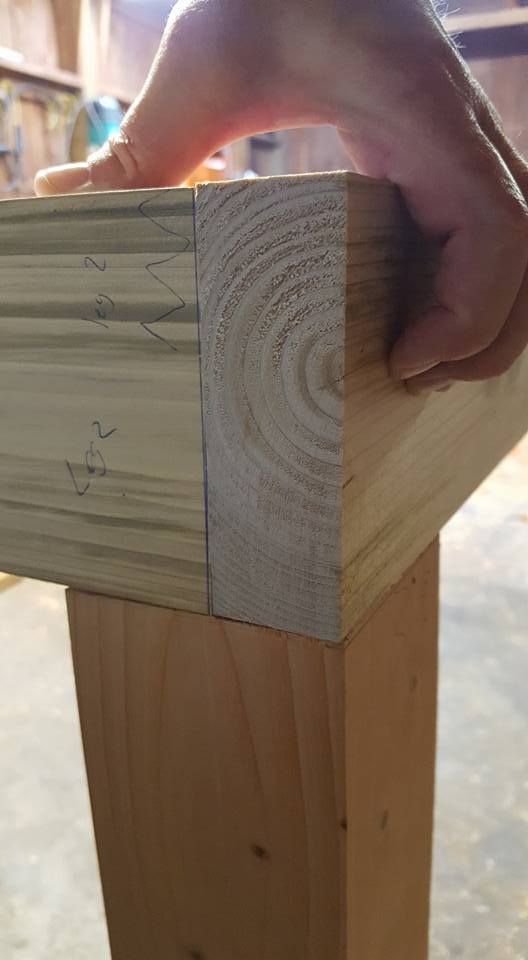
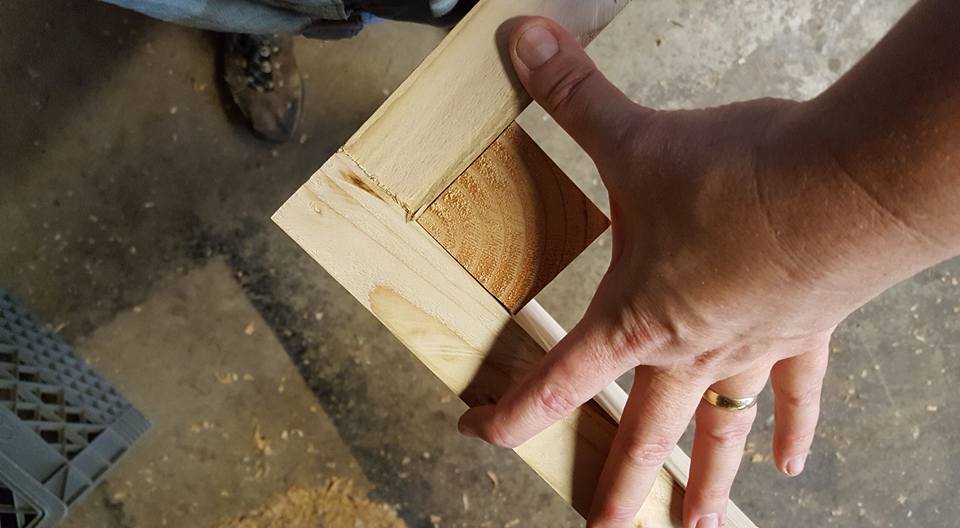
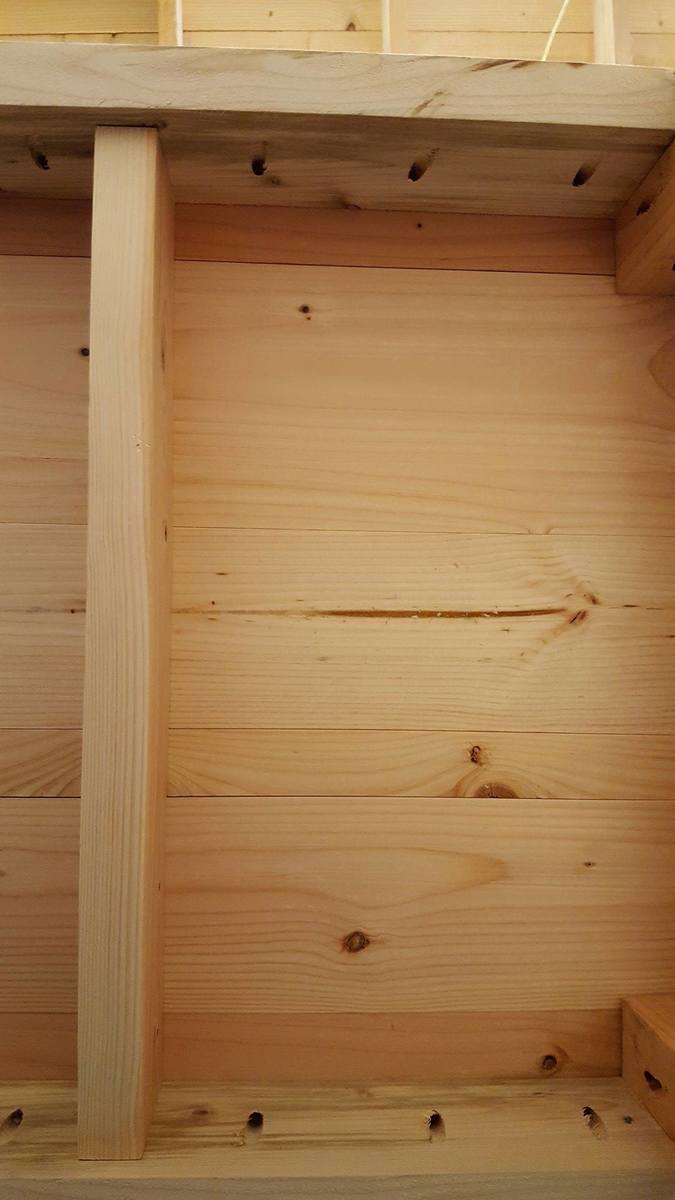
Built from discount 70% off lumber from Home Depot. I planed and cut down to size with a Ridged planer and table saw, then screwed together with kreg pocket screws. Since I will be kneading bread on it, I used a natural coffee stain and then butcher block finish..
Built from Plan(s)
Estimated Cost
$120
Estimated Time Investment
Week Long Project (20 Hours or More)
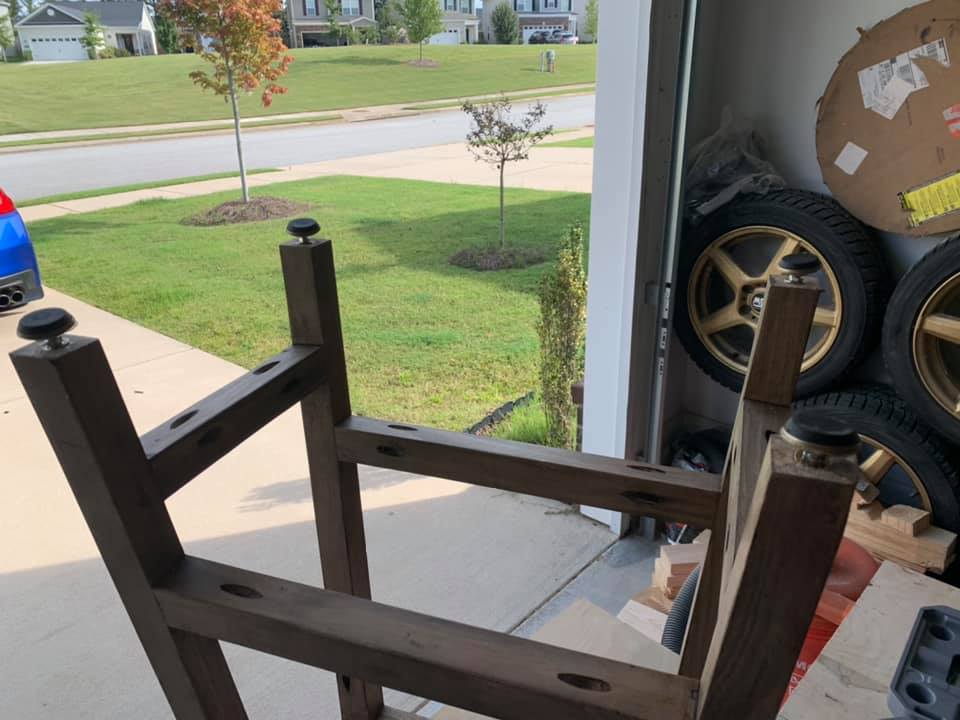
Finish Used
Coffee stain with butcher block mineral oil and bee's wax.
Recommended Skill Level
Intermediate