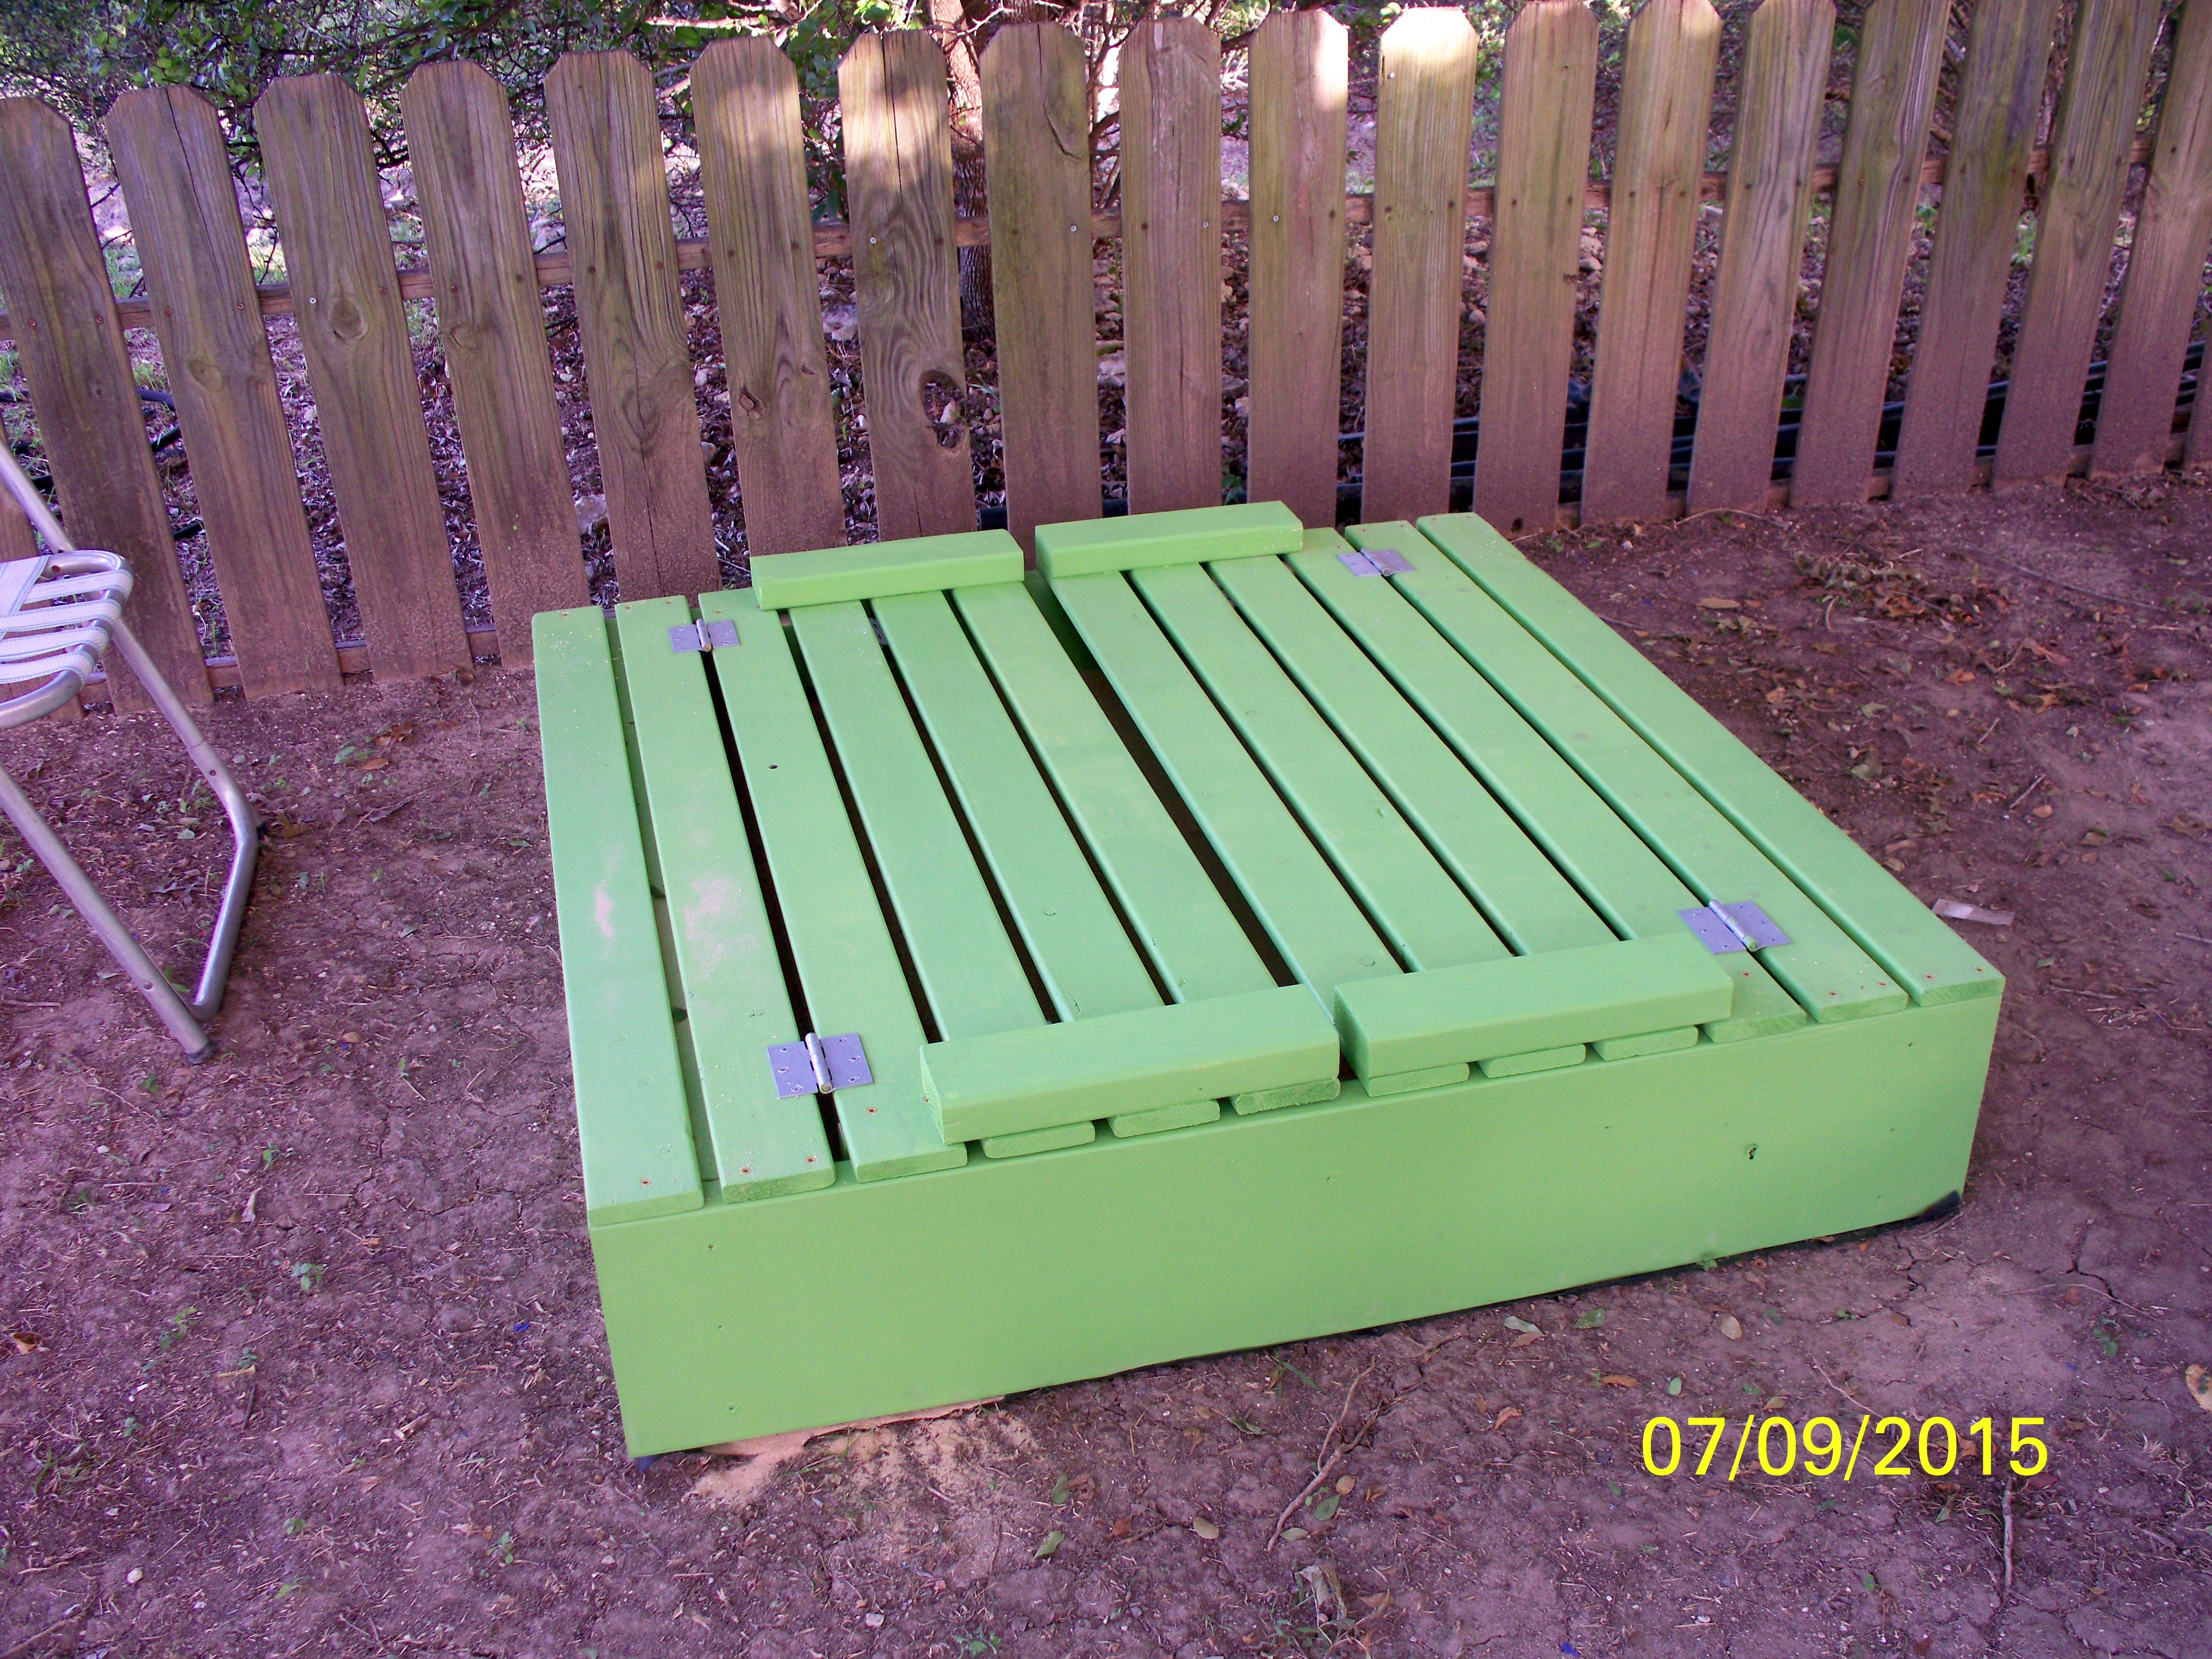
Simple Tree/Porch Swing
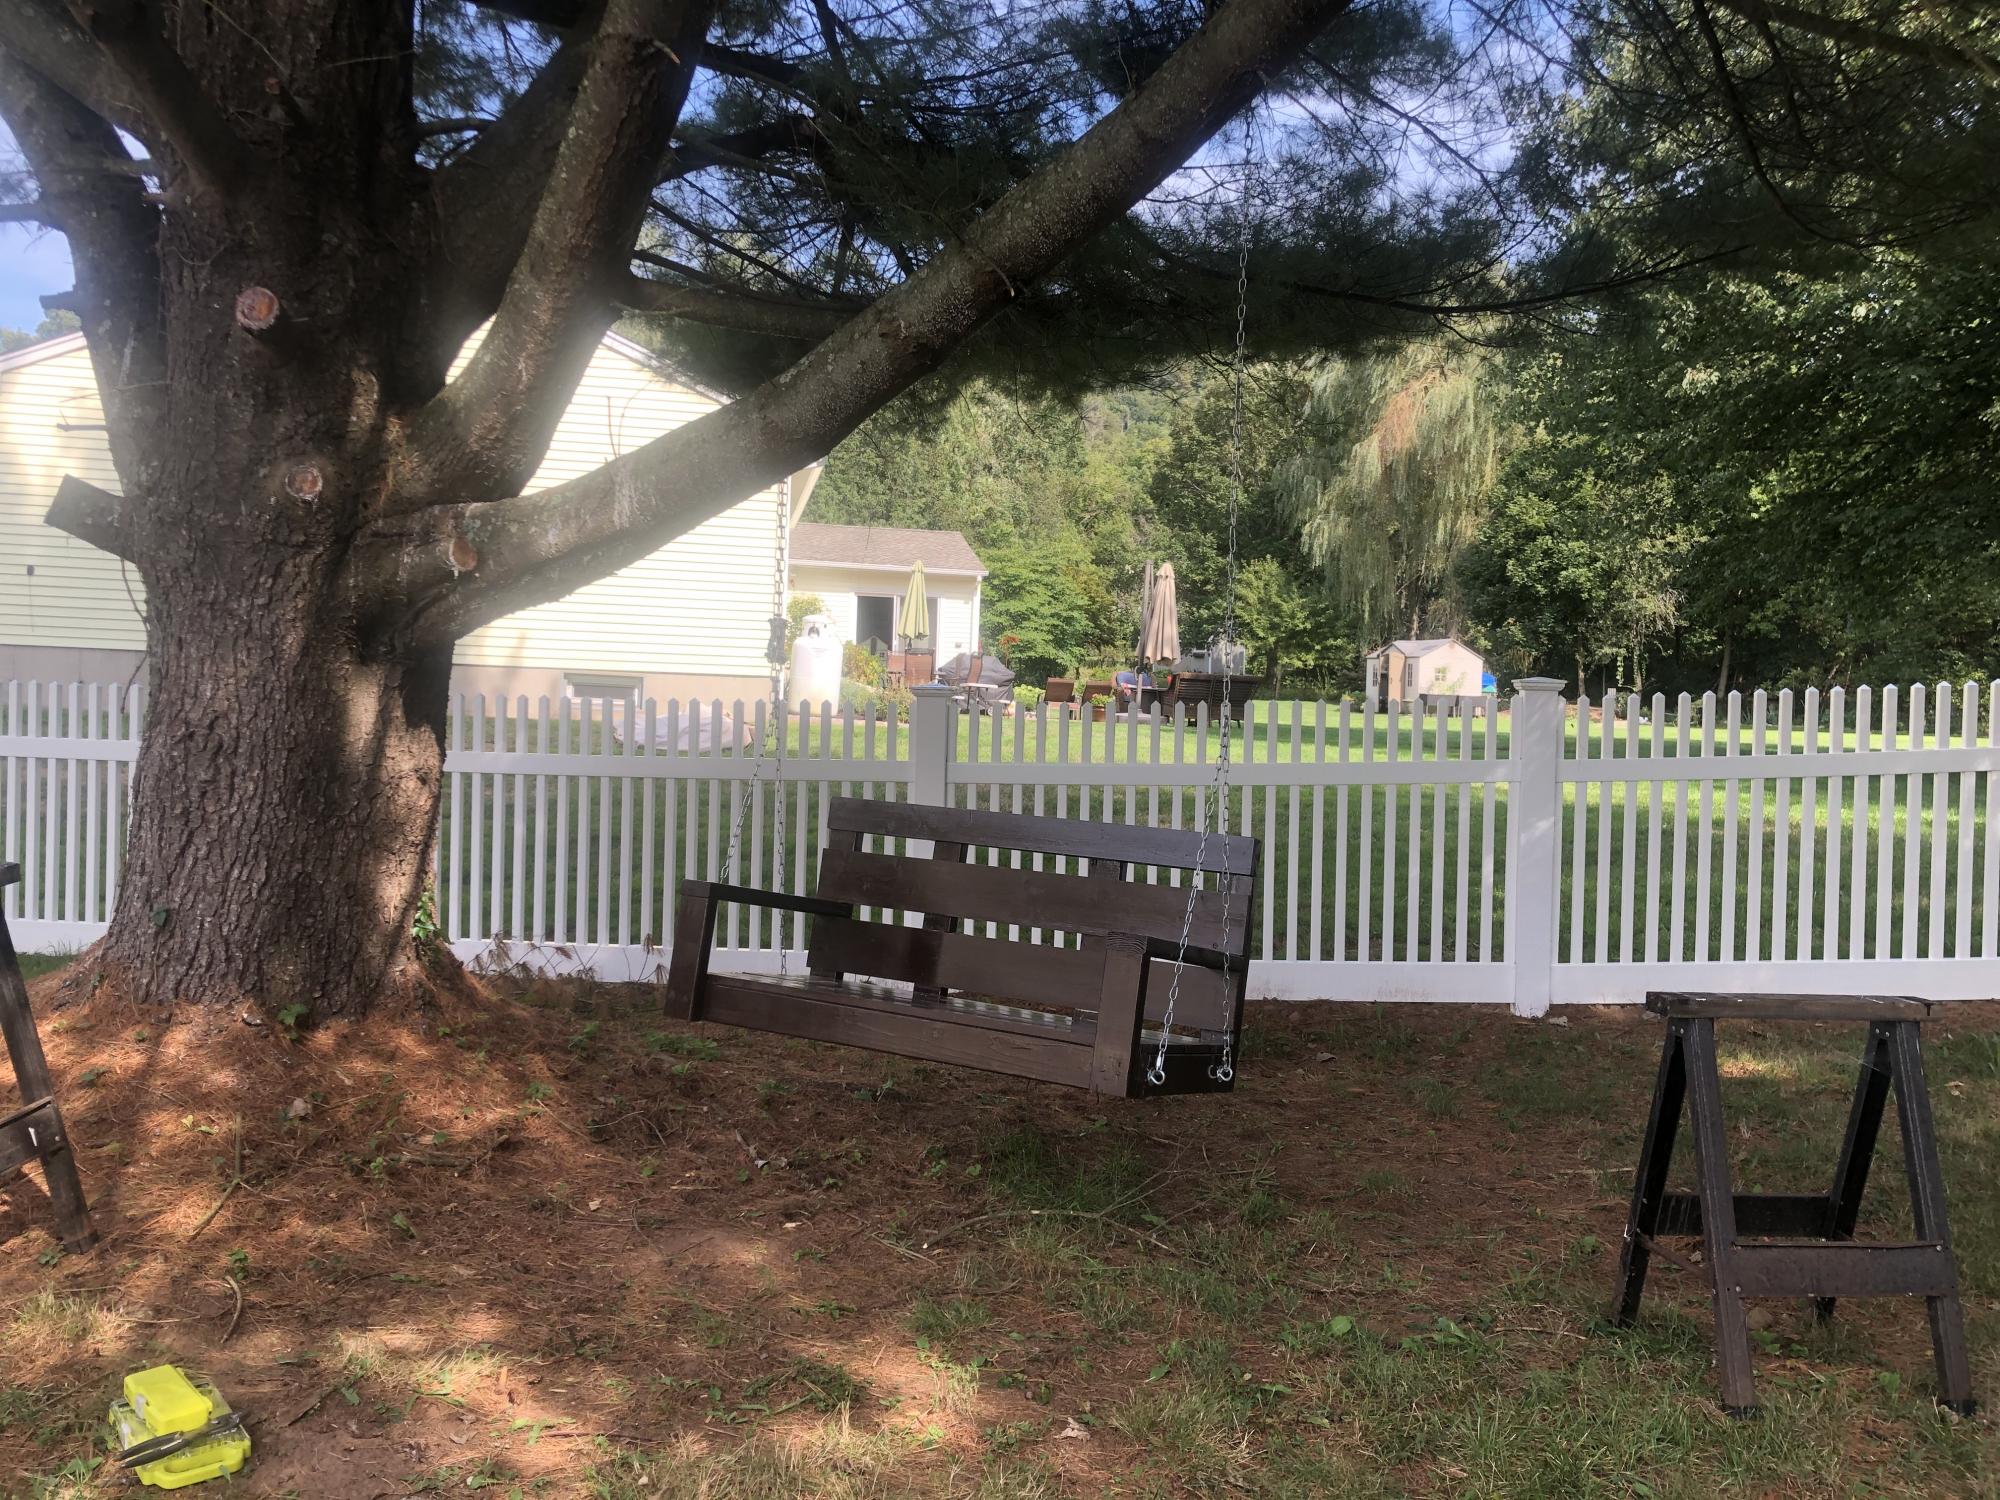
Awesome Tree Swing built in about an hour! Super easy plans to follow. Two quotes of Stain and Three coats of exterior Poly!

Built from Plan(s)
Estimated Cost
$75
Estimated Time Investment
An Hour or Two (0-2 Hours)
Finish Used
Minwax stain and exterior poly.
Recommended Skill Level
Beginner


Comments
Ana White Admin
Sun, 01/31/2021 - 11:48
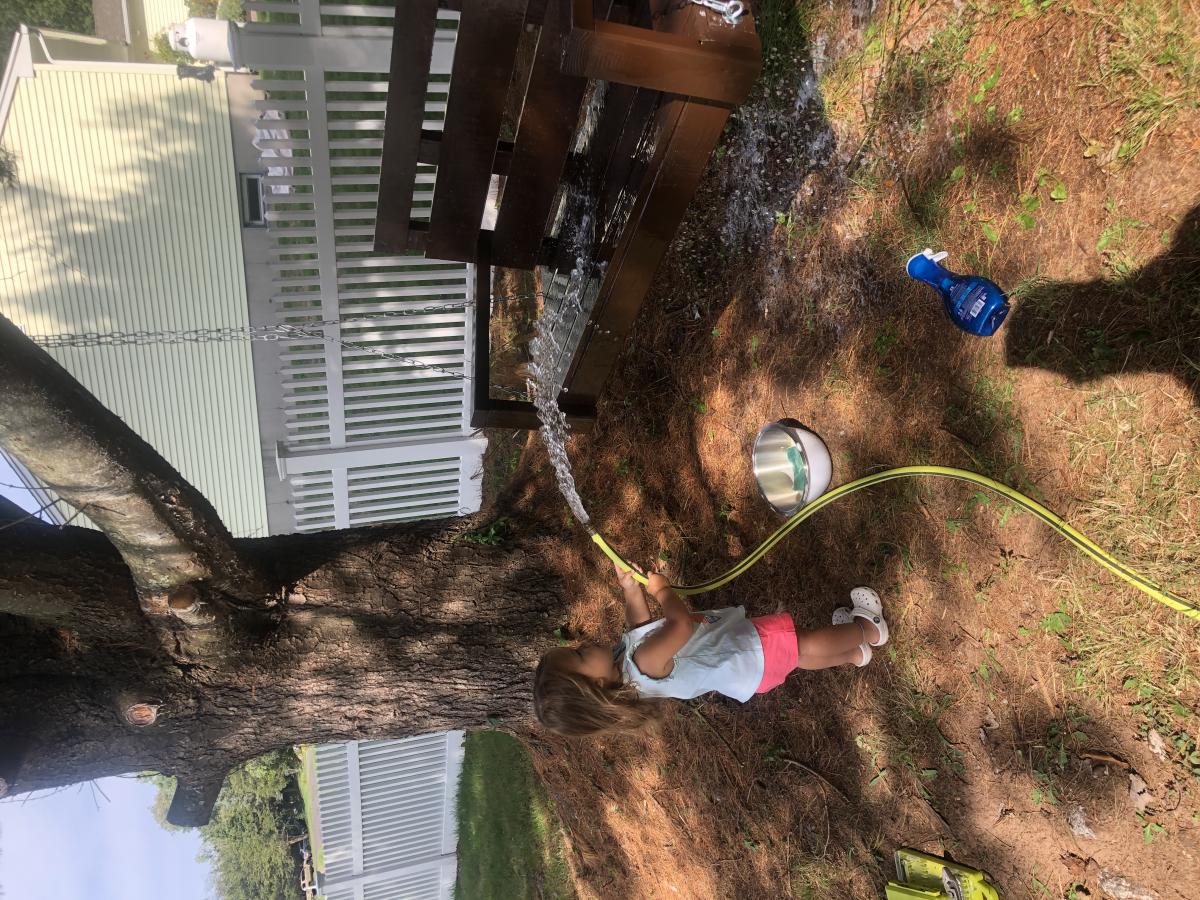
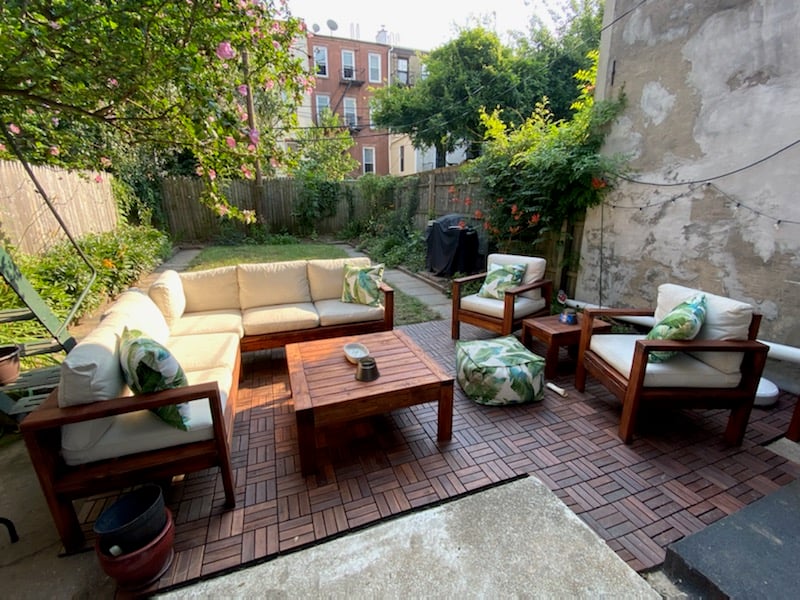
Relaxing!
Looks like a great place to relax and hang out!