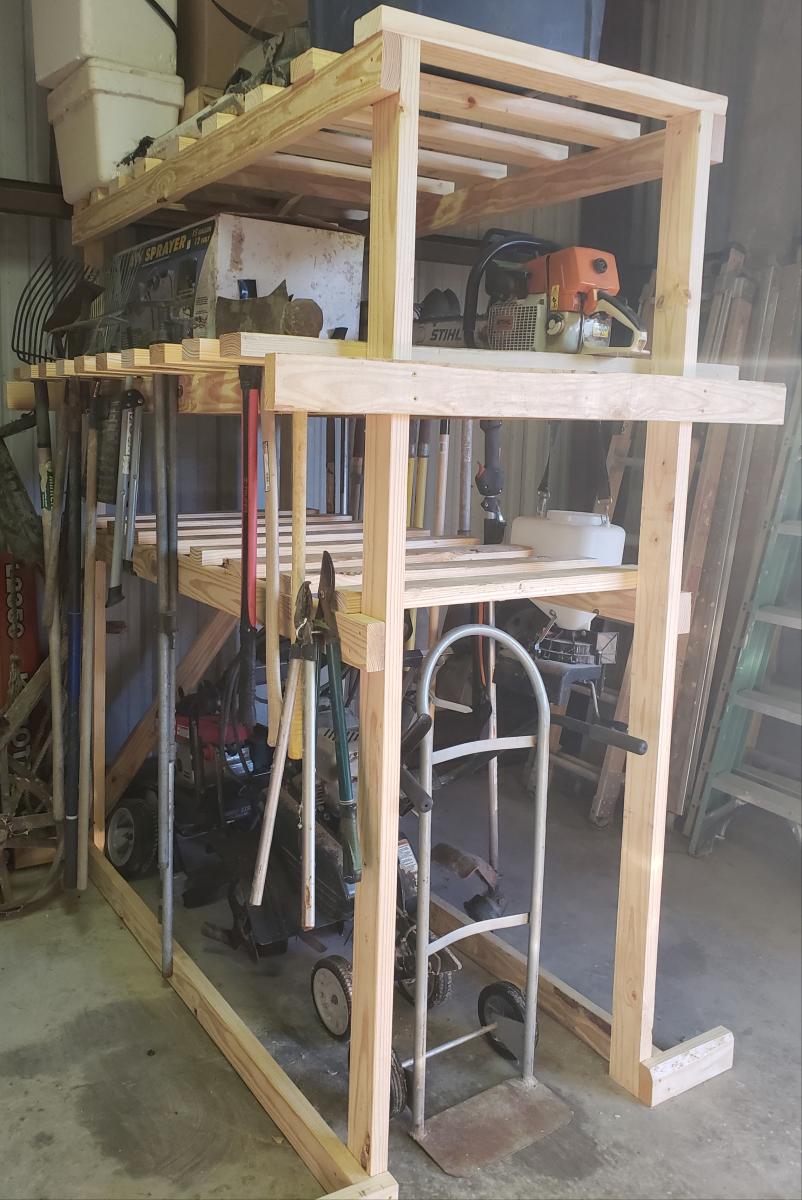
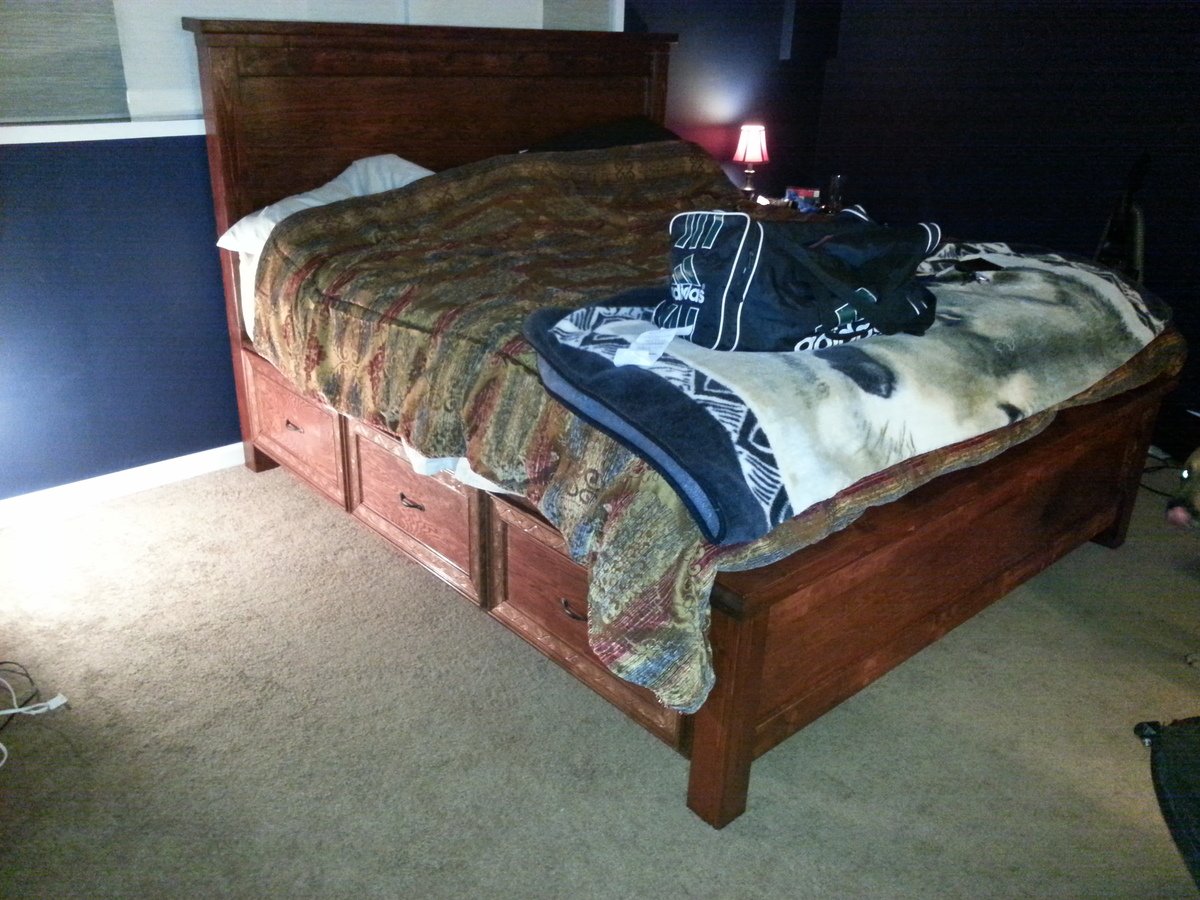
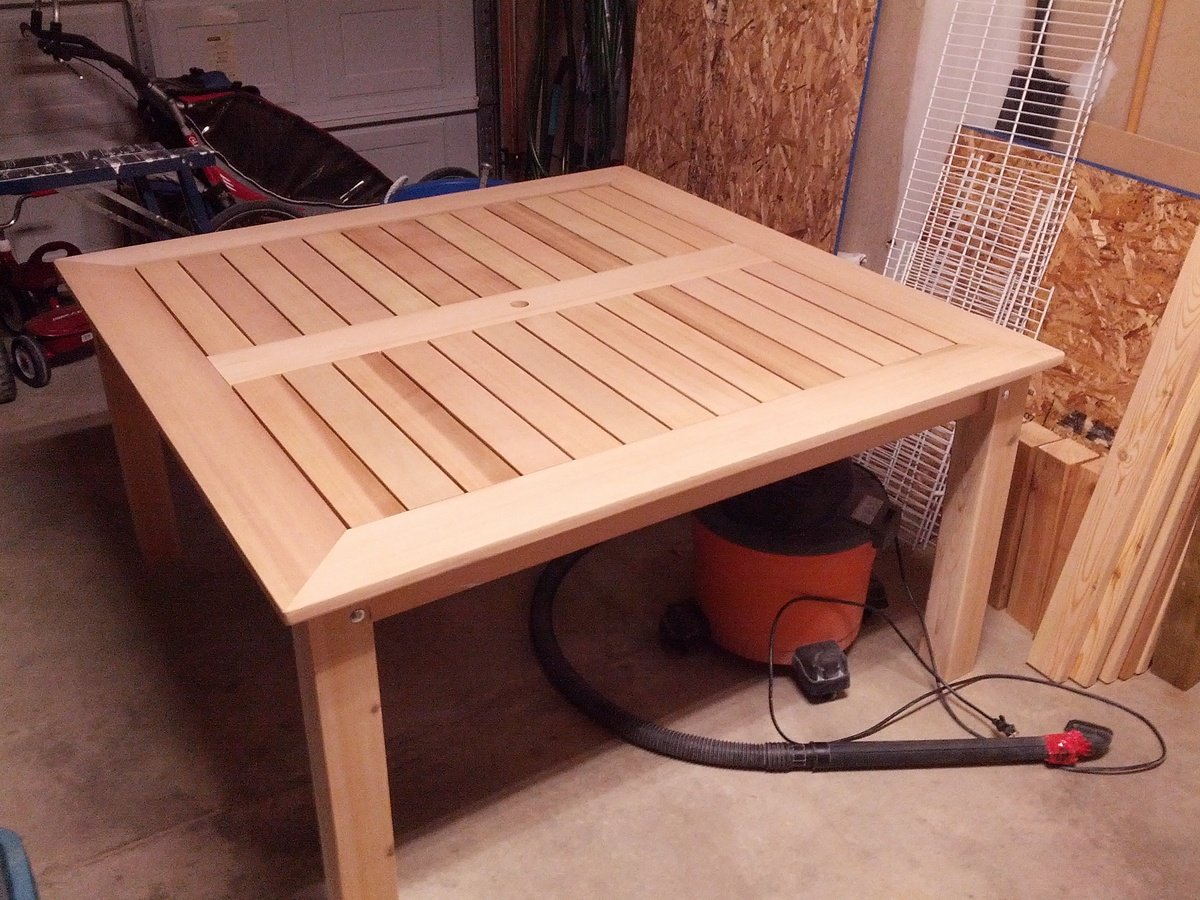
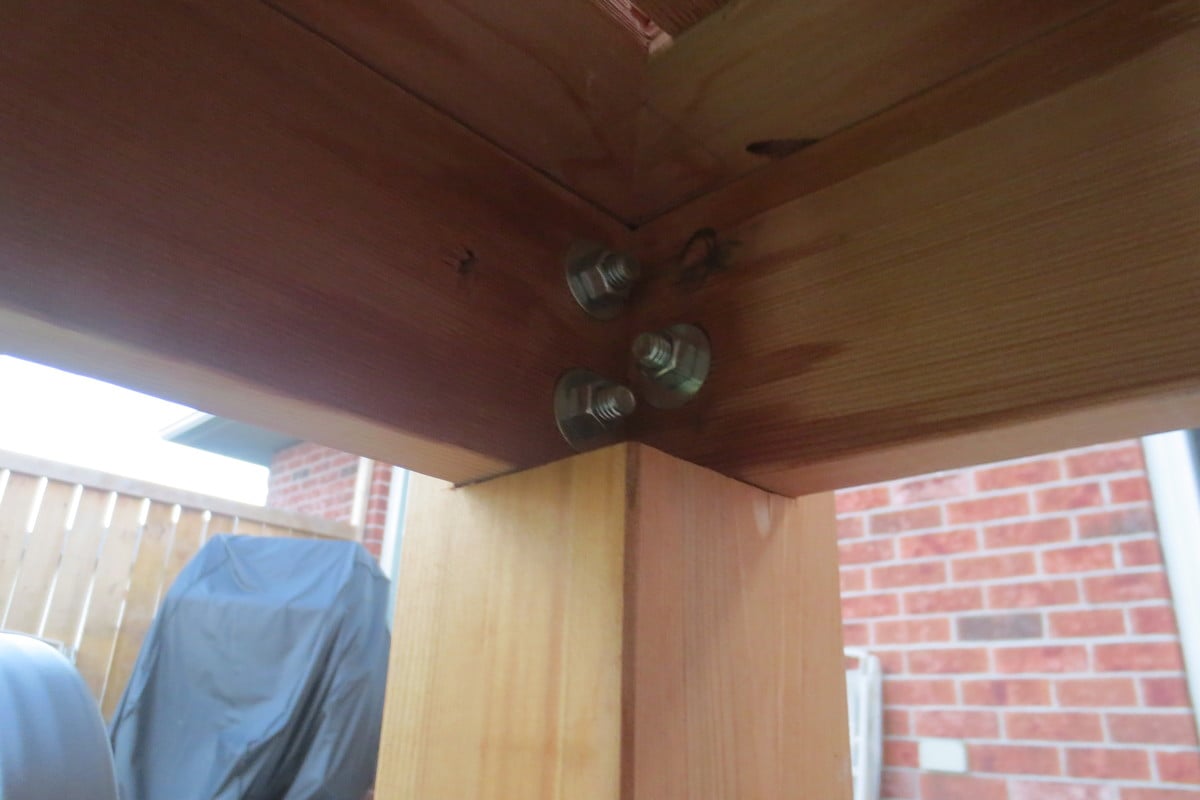
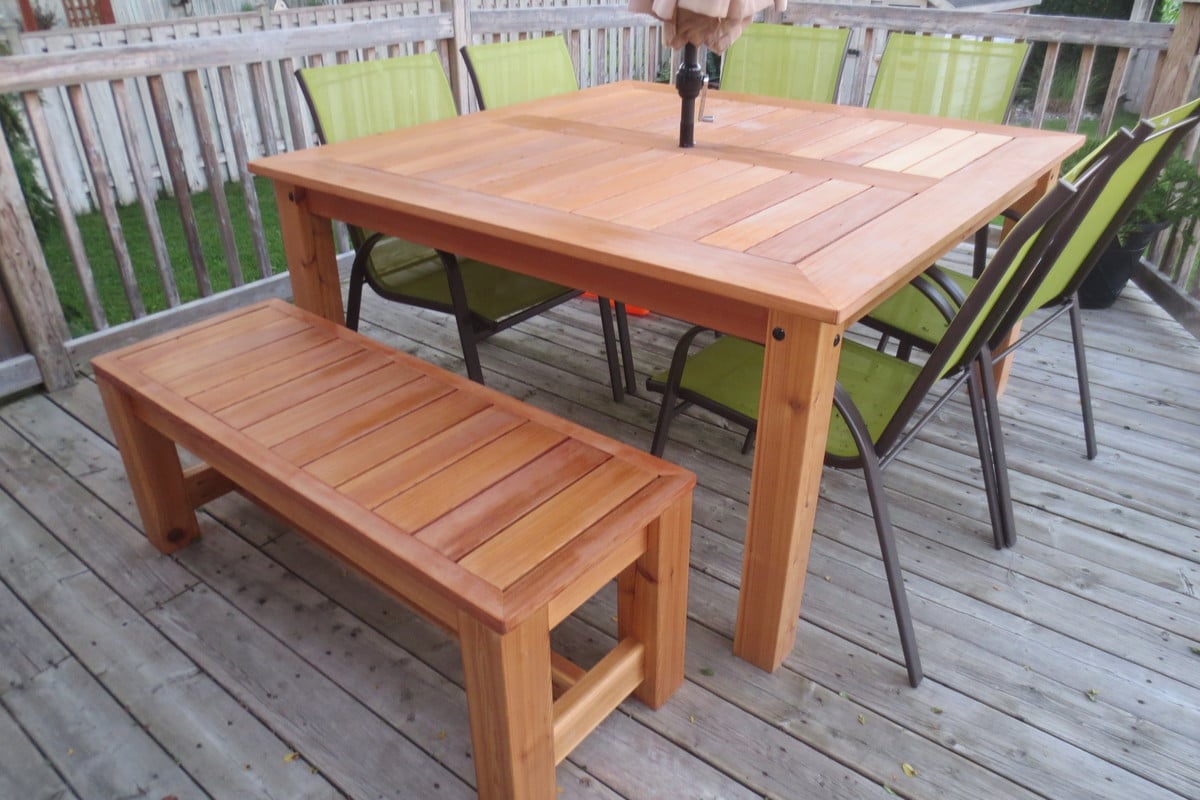
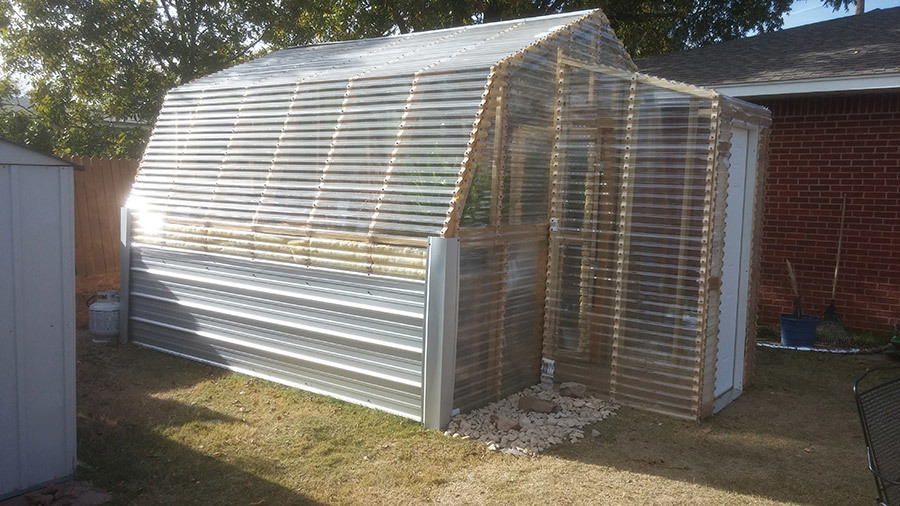
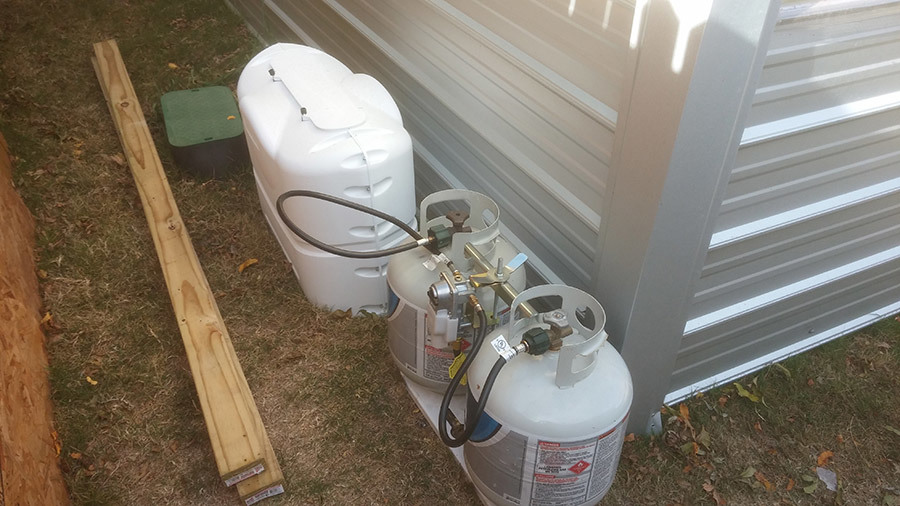
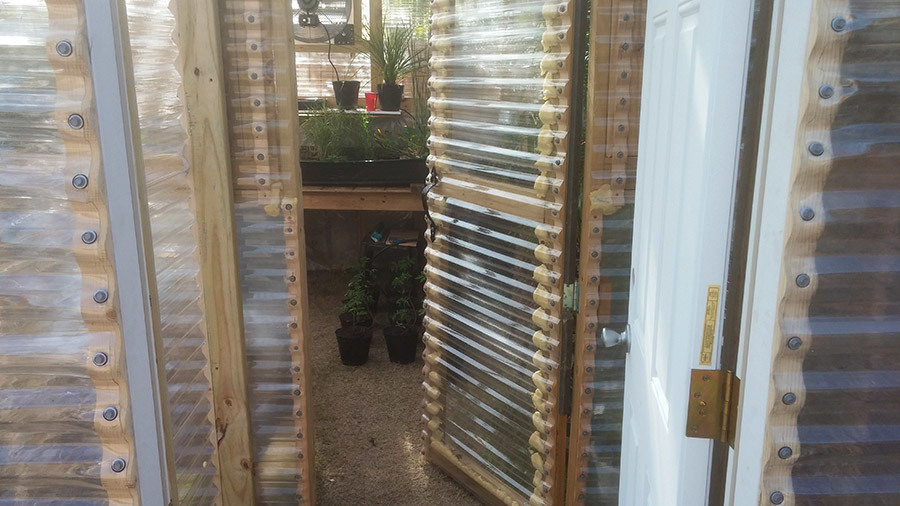
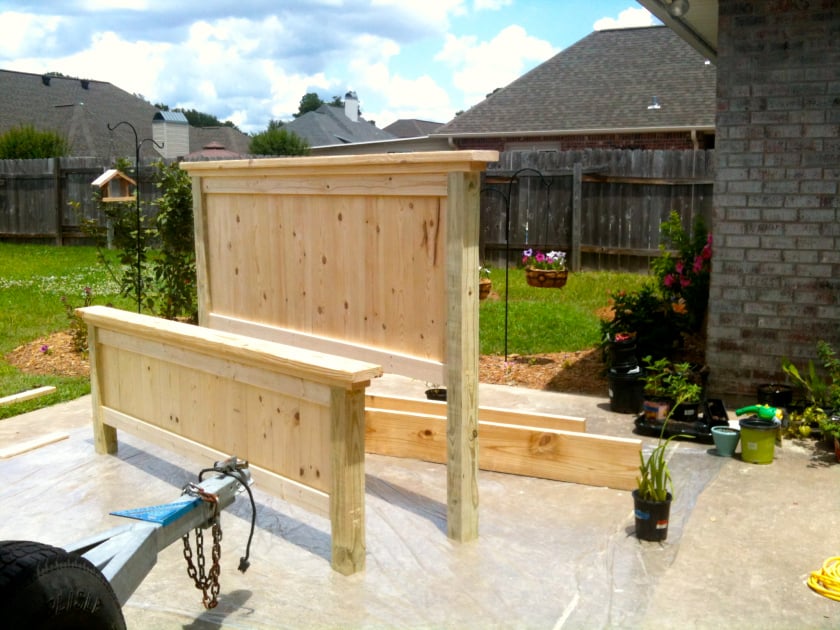
Garden Tool Storage Rack
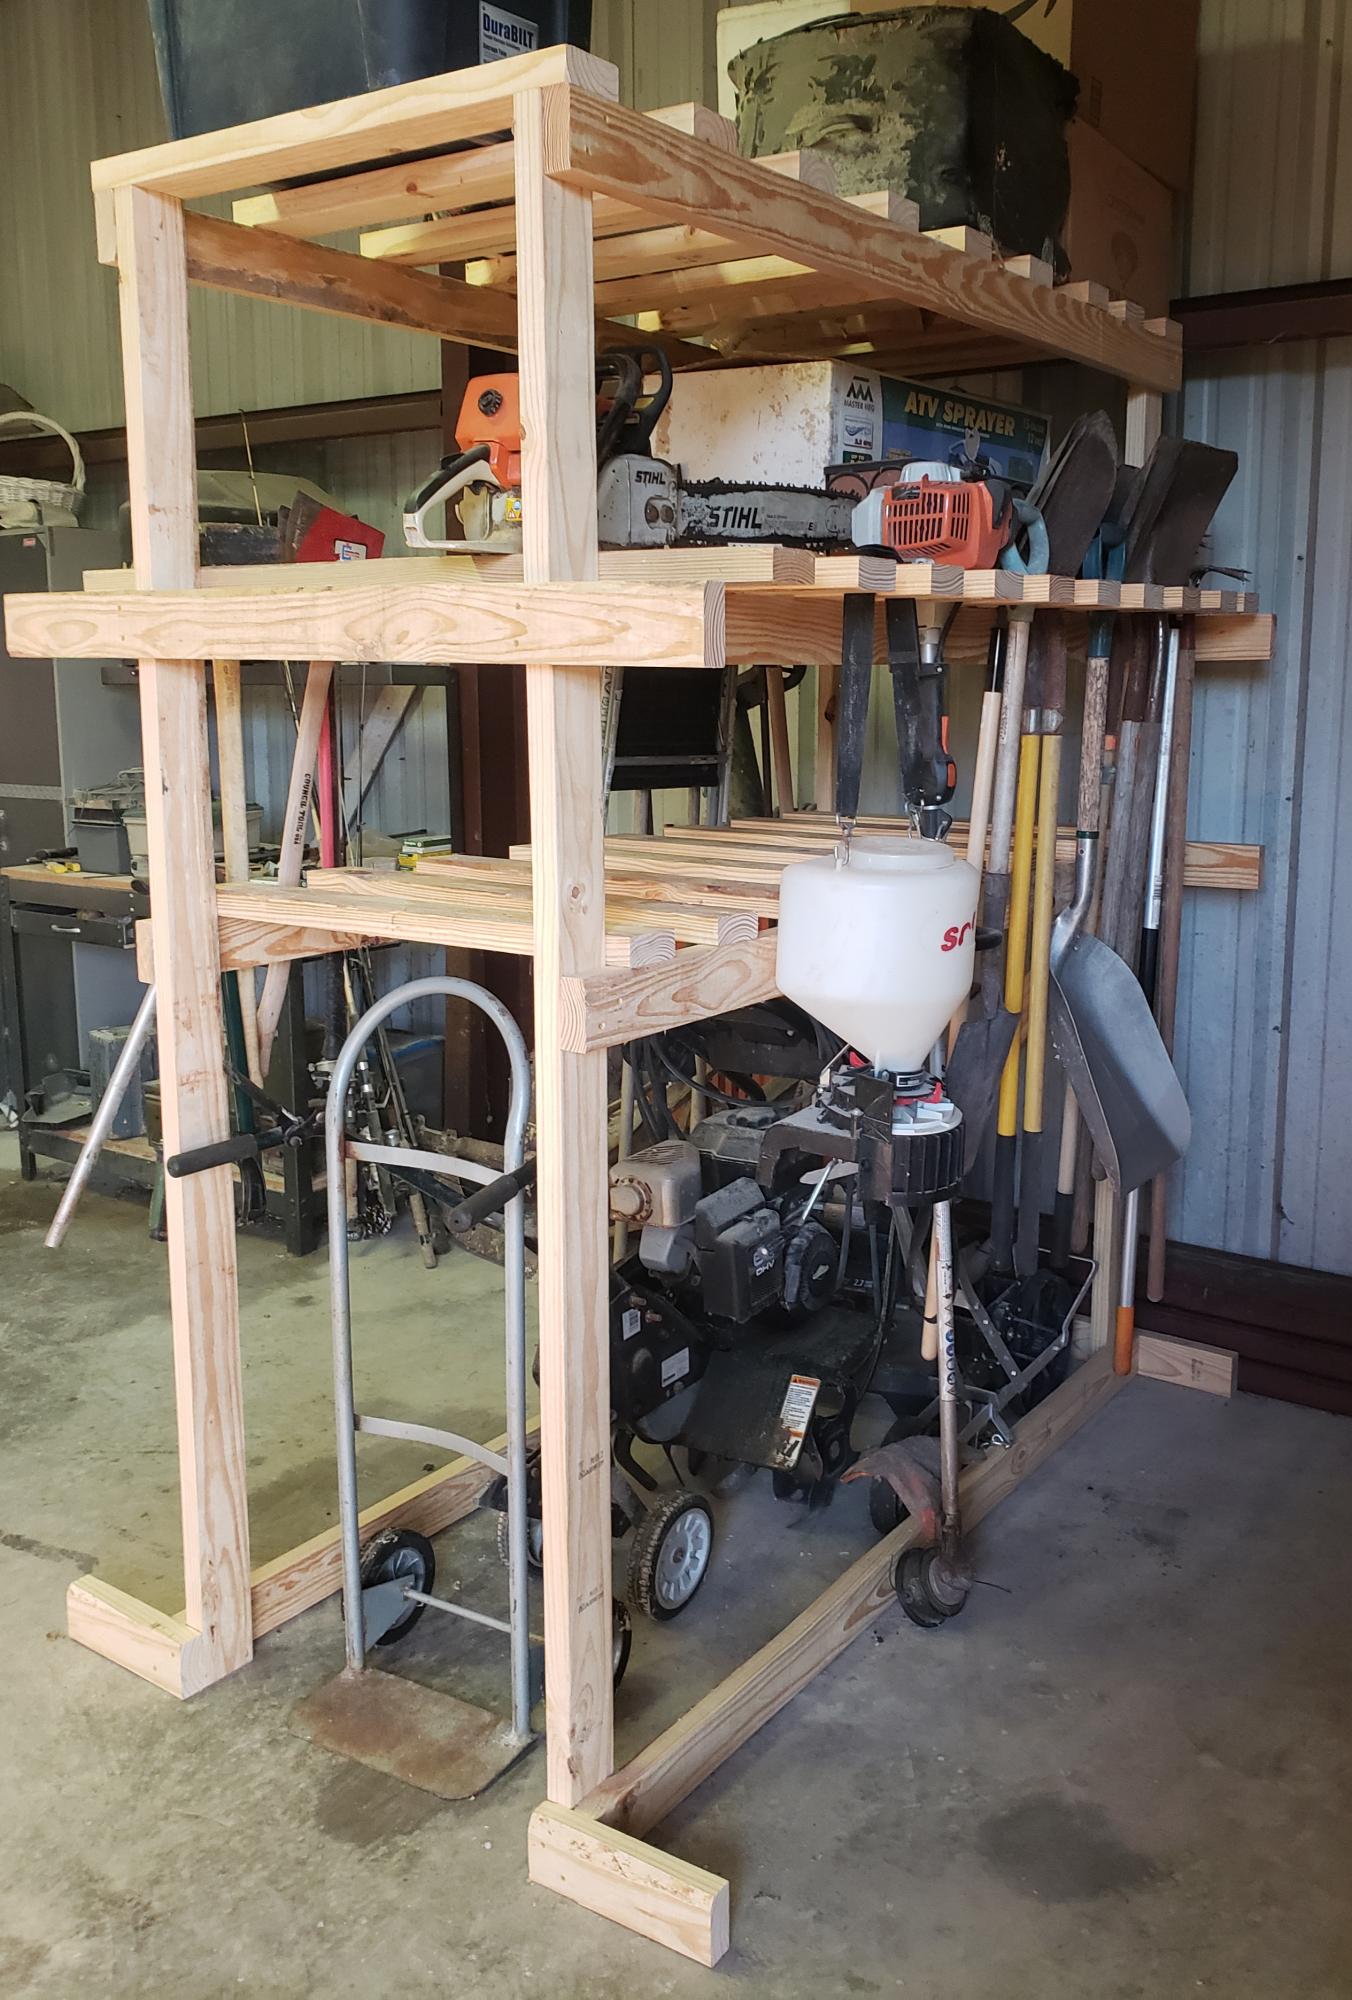
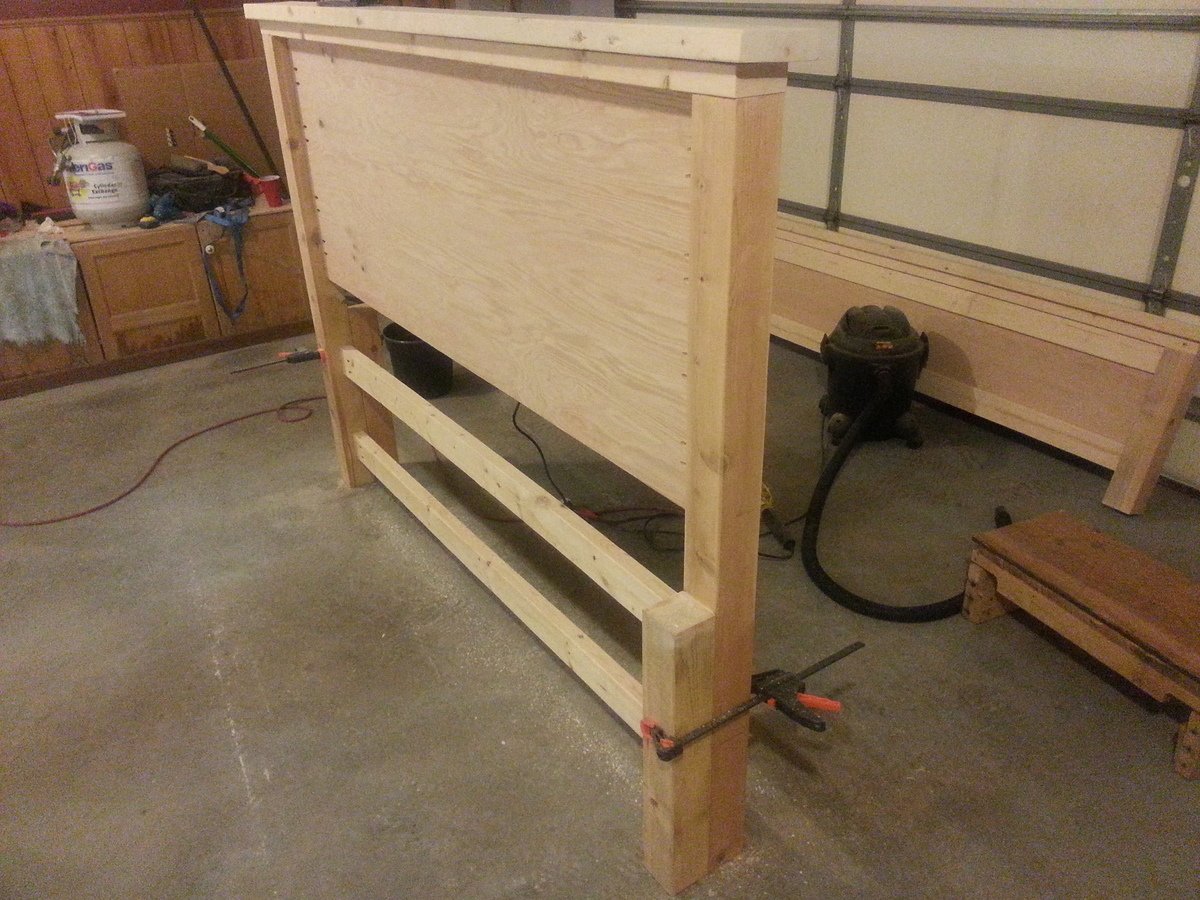
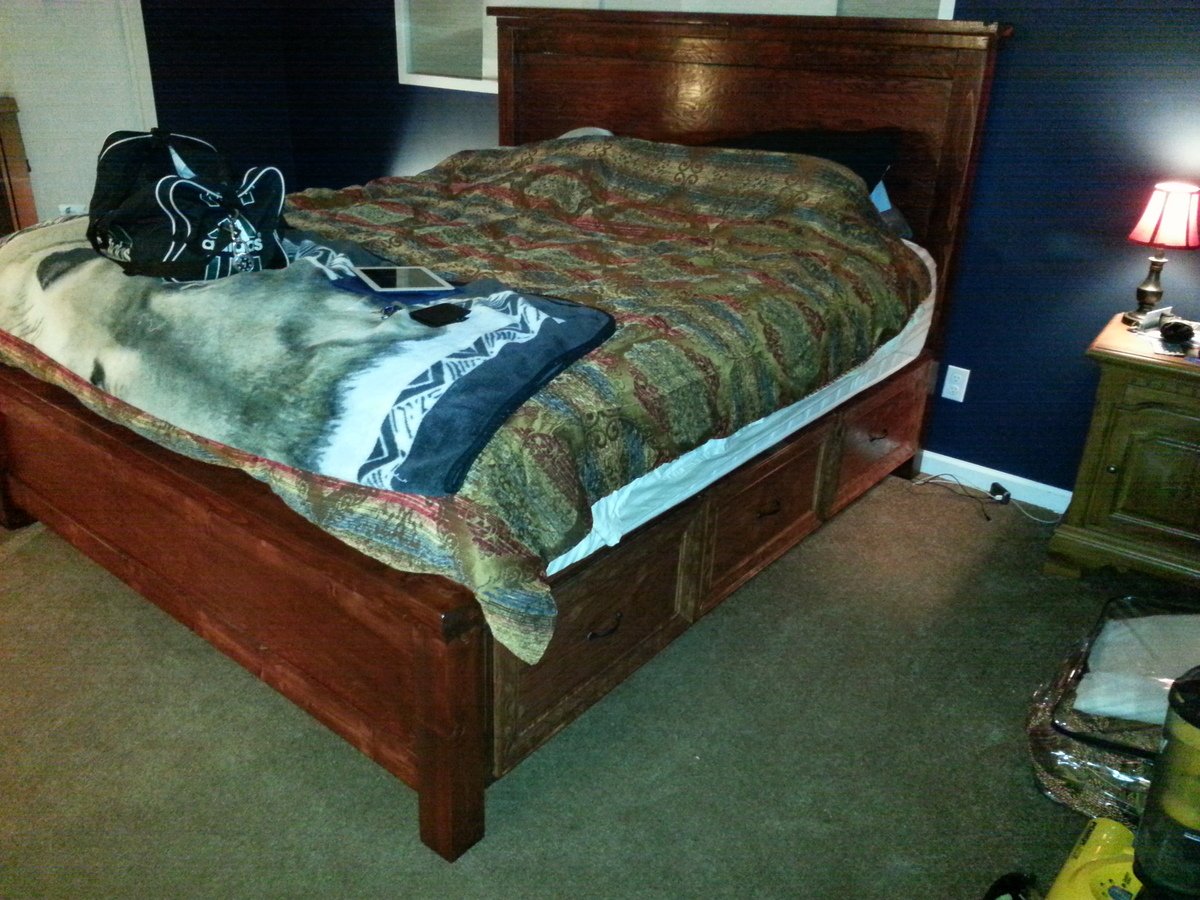
This isn't an Ana White plan but I've learned so much from this site that I designed and built this garden tool rack. Its pine 2x4 construction. I love it!
It is 84" tall x 72" long x 26 wide (opening) and 48"wide for garden tool hangers.
Built from Plan(s)
Estimated Cost
100
Estimated Time Investment
Afternoon Project (3-6 Hours)
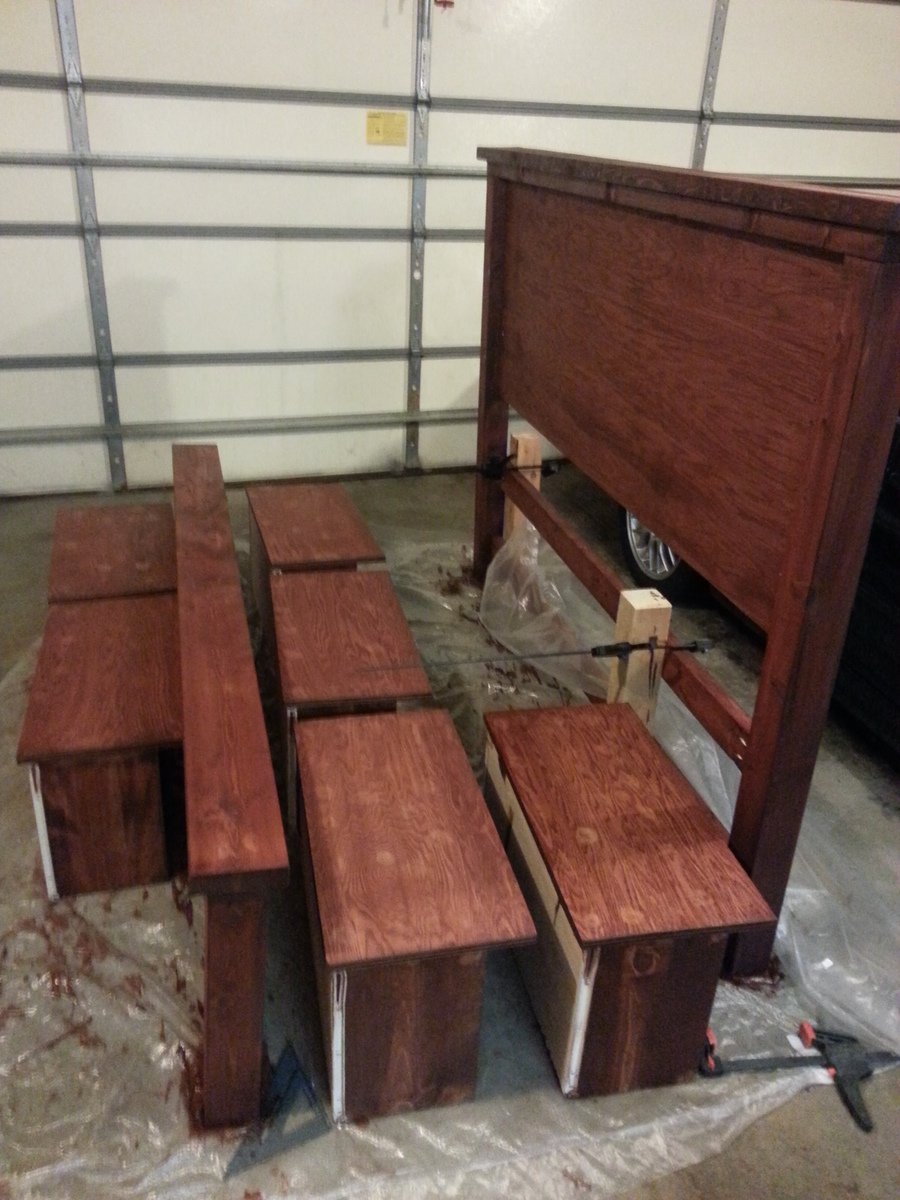
Finish Used
No finish
Recommended Skill Level
Beginner


Comments
kwildman
Sat, 05/02/2020 - 19:38
.
.